


無料で色々なWebサービスを1カ所で管理できるツール「Slapdash」を使ってみた
GmailやDropbox、Google DriveなどのWebツールを使っている人の中には、「使い分けるのが面倒なので1つにまとめたい」「1度の検索で複数のストレージサービスのファイルをまとめて検索できたらいいのに」と思ったことがある人も多いはず。「Slapdash」を使うと、さまざまなサービスをひとつにまとめた画面からGmailで新規メールを作成したり、クラウドのファイルを閲覧したりすることが可能なほか、自分で好きなサービスやコマンドを登録してカスタマイズすることもできます。
Slapdash
https://slapdash.com/
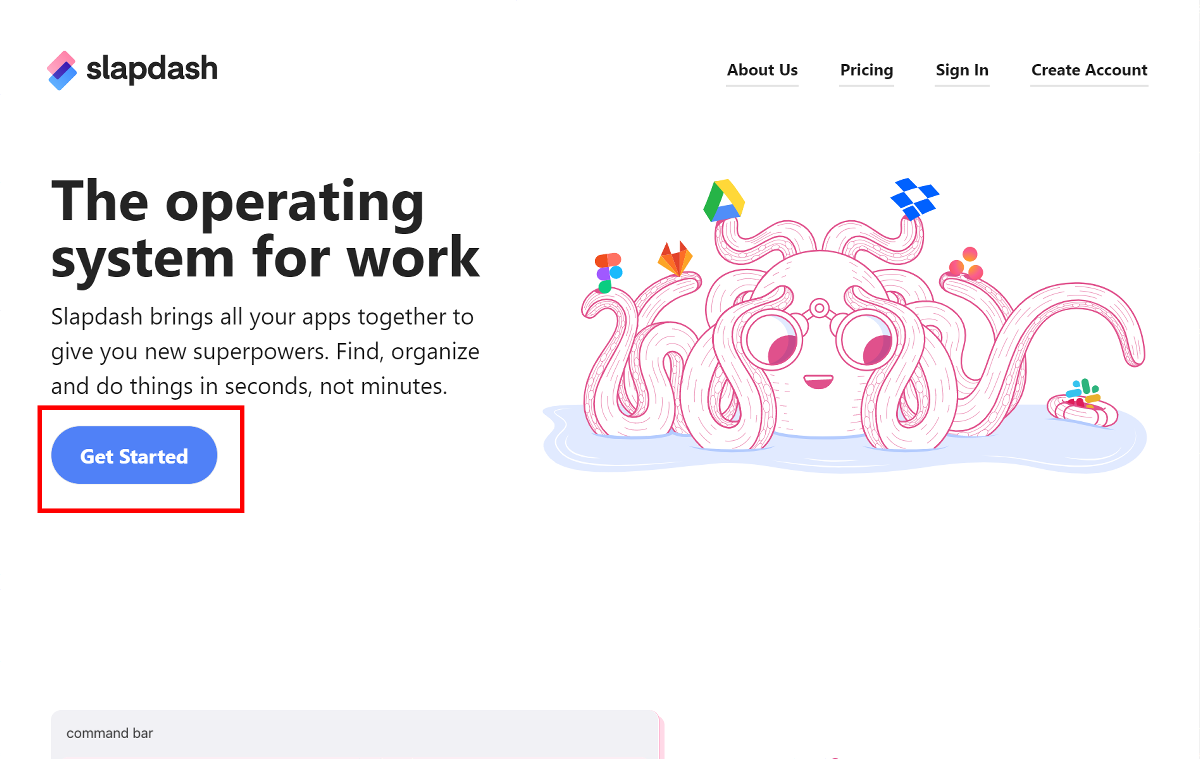
使用するには、まずSlapdashのページにアクセスし、「Get Started」をクリックします。
アカウント作成画面に移るので、ユーザーネームとメールアドレス、パスワードを入力したら「Create Account」をクリックします。

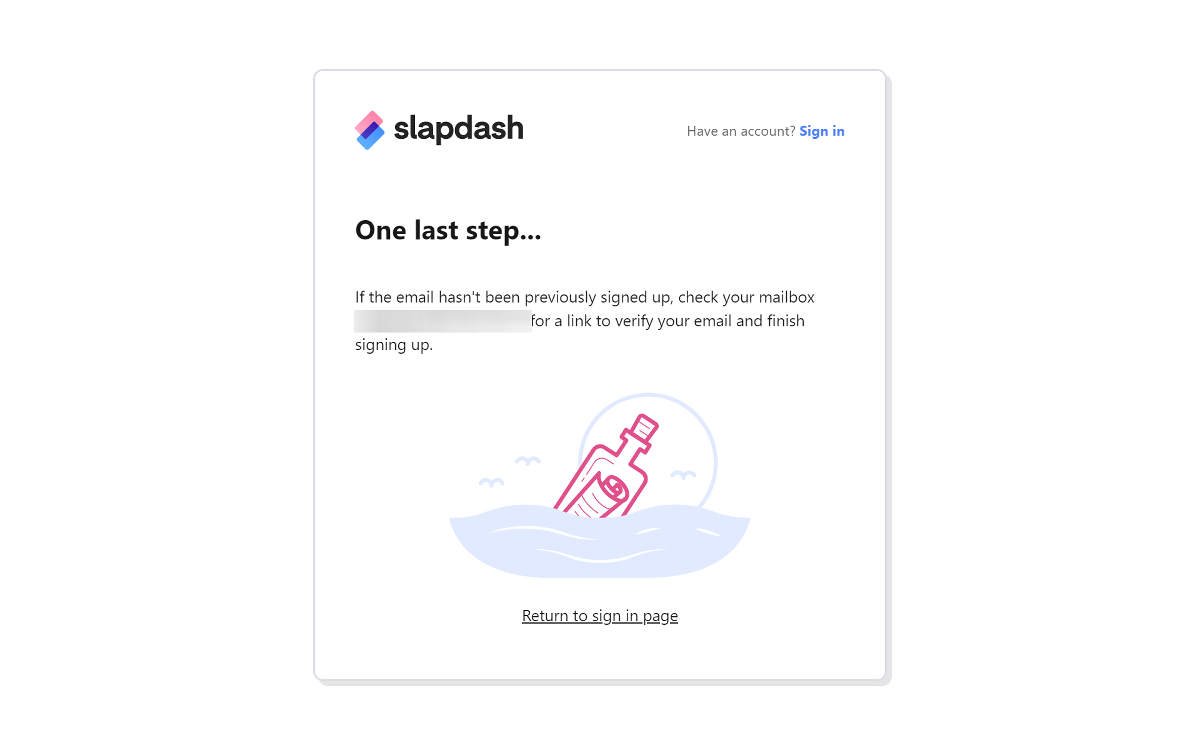
登録したメールアドレス宛に認証メールが送られているので確認します。
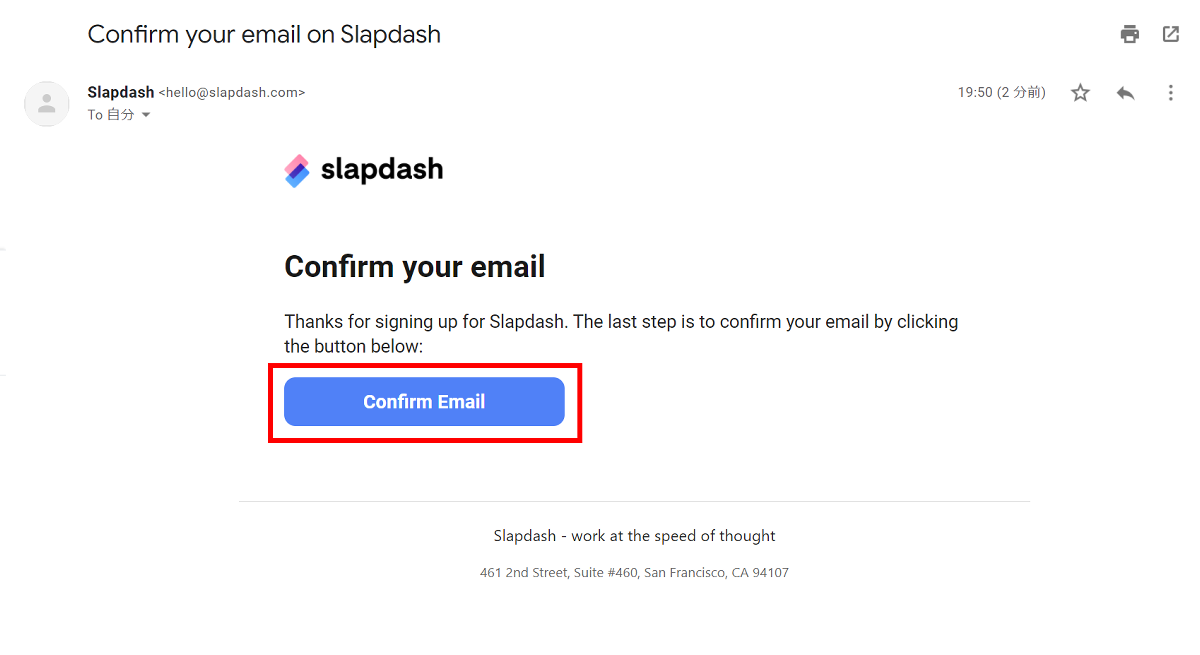
送られてきたメールを確認し、「Confirm Email」をクリックします。
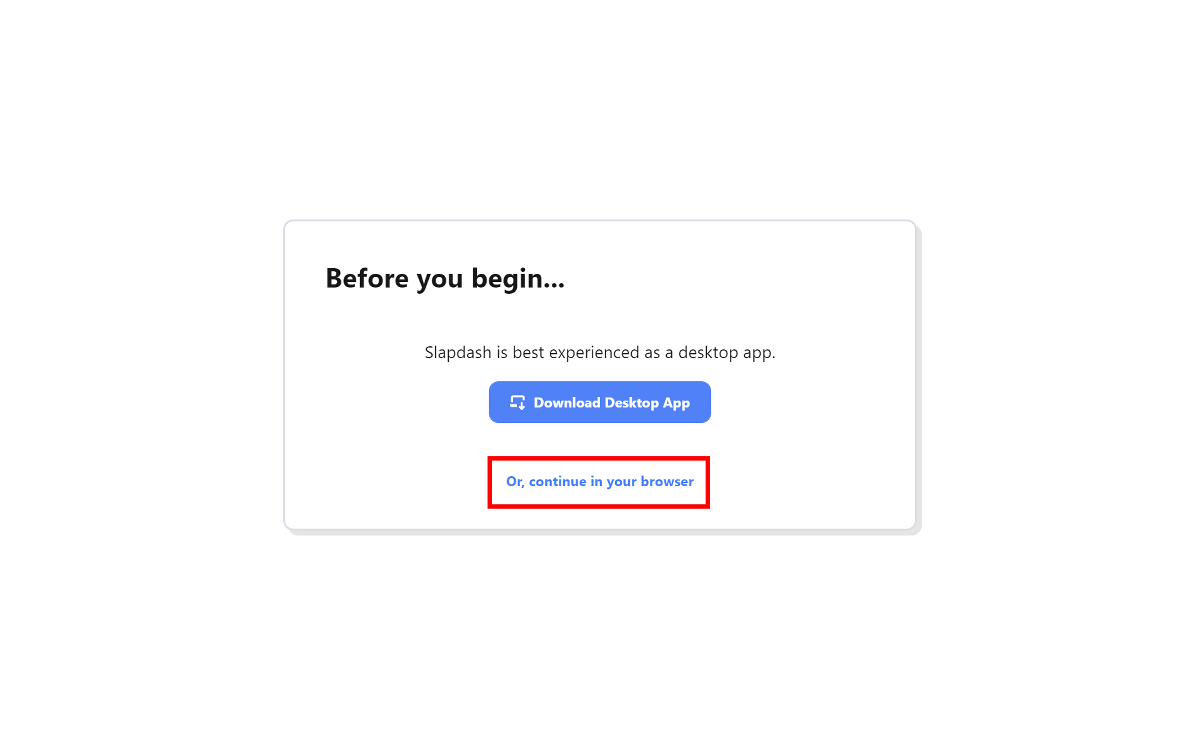
デスクトップアプリをダウンロードするか、ブラウザ版で続行するかを選択します。今回はブラウザ版を使用します。
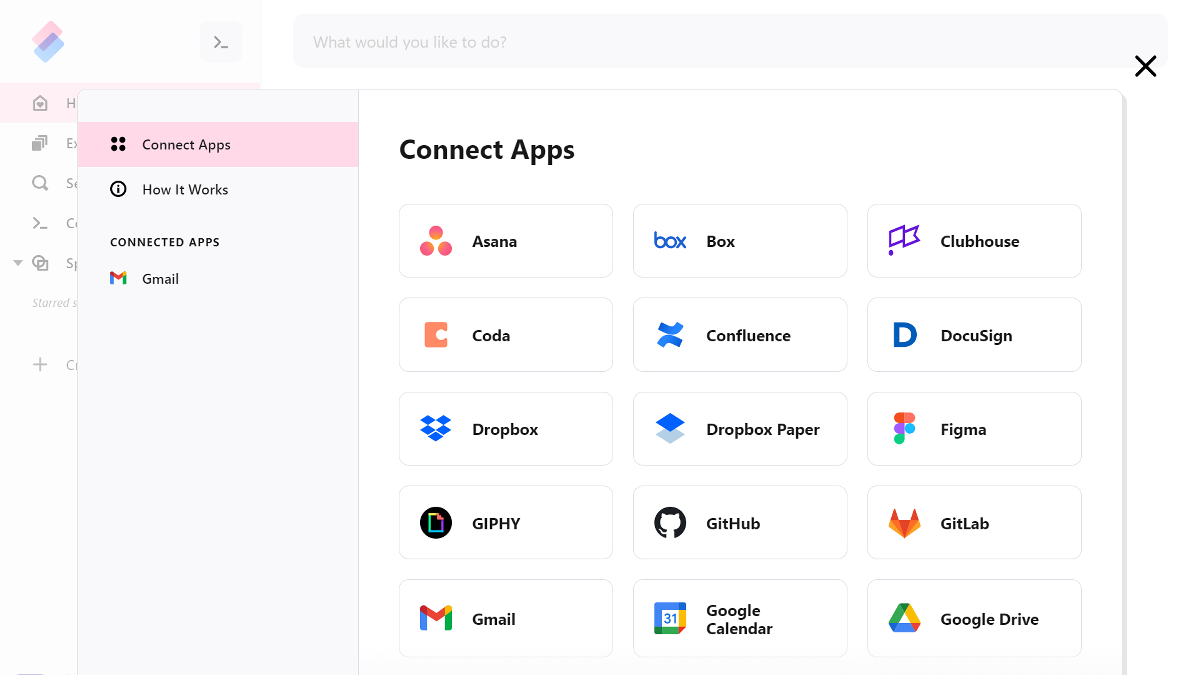
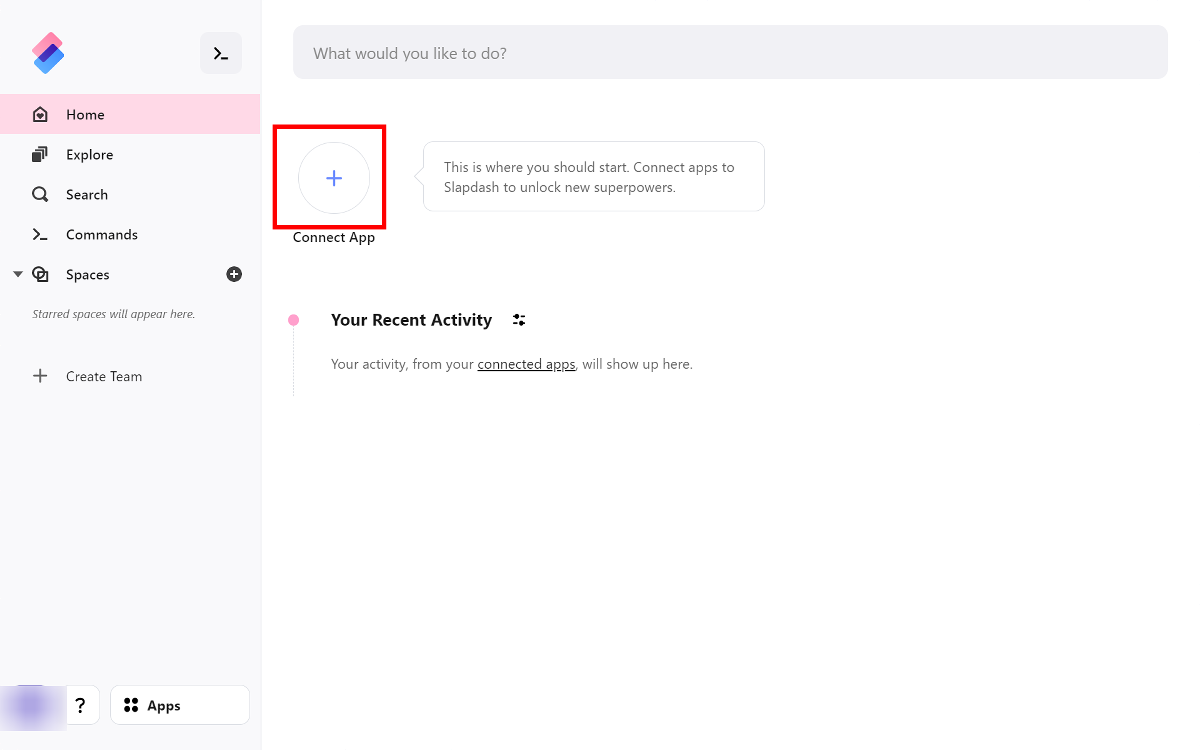
Slapdashのホーム画面はこんな感じ。使うためには、自身が使用しているWebサービスとSlapdashを連携させる必要があります。まずは「Connect App」をクリック。
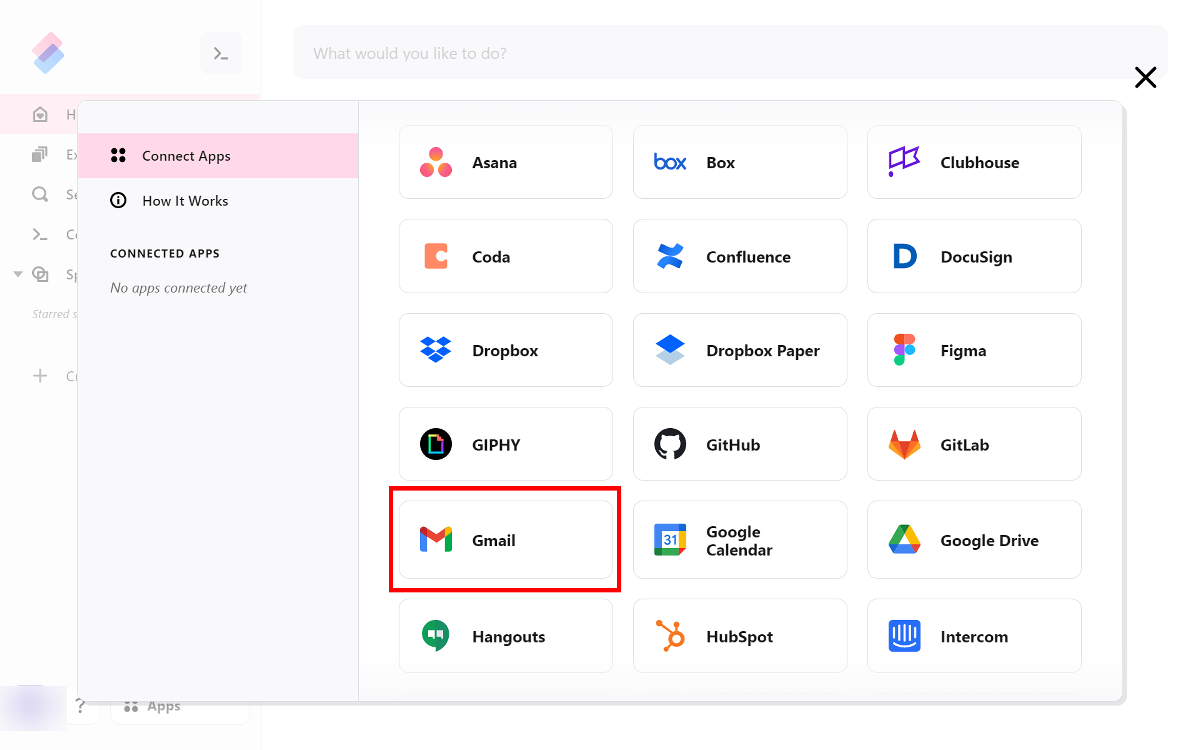
Slapdashと連携できるWebサービスが一覧で表示されます。今回は「Gmail」と連携させるため、Gmailをクリックします。
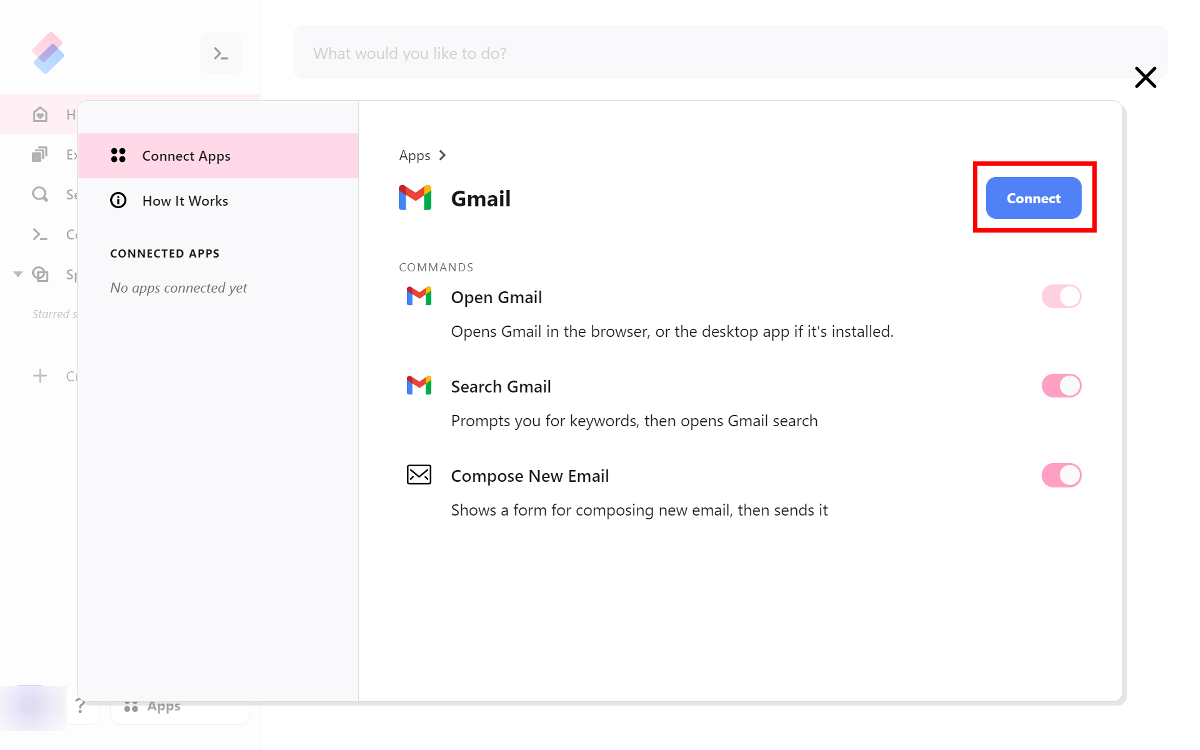
このような画面が表示されるので、「Connect」をクリック。
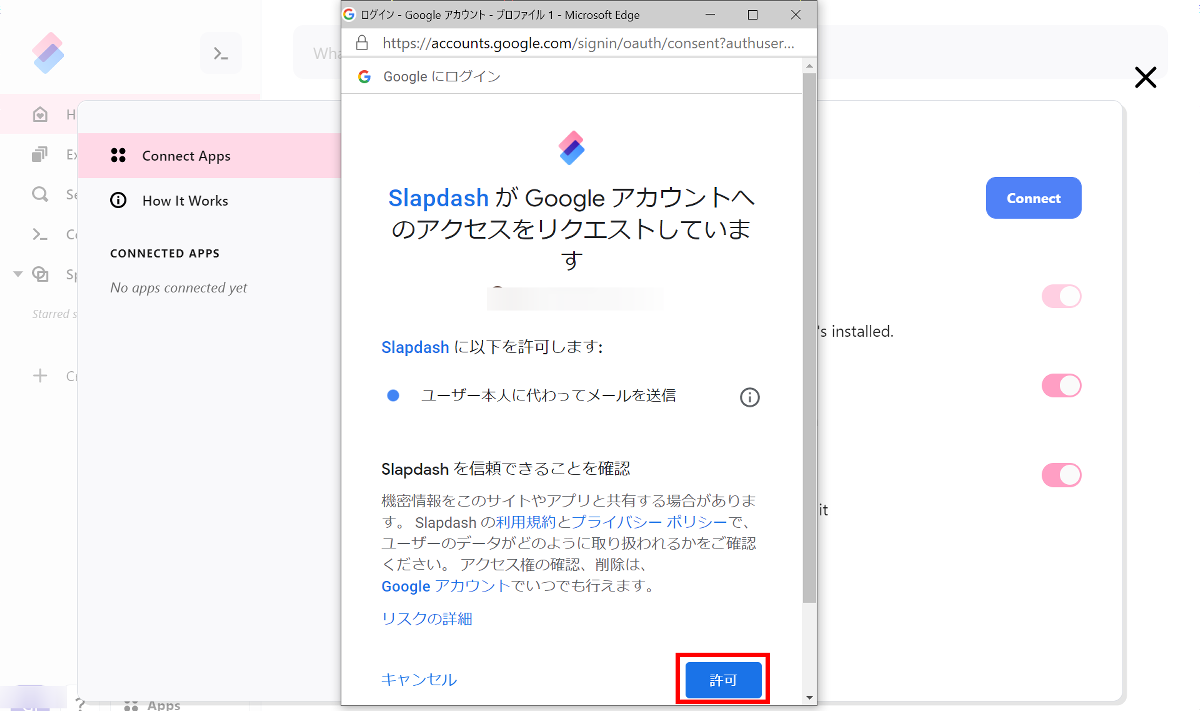
Gmailのアカウントを選択します。

「許可」をクリック。
Gmailとの連携が完了しました。
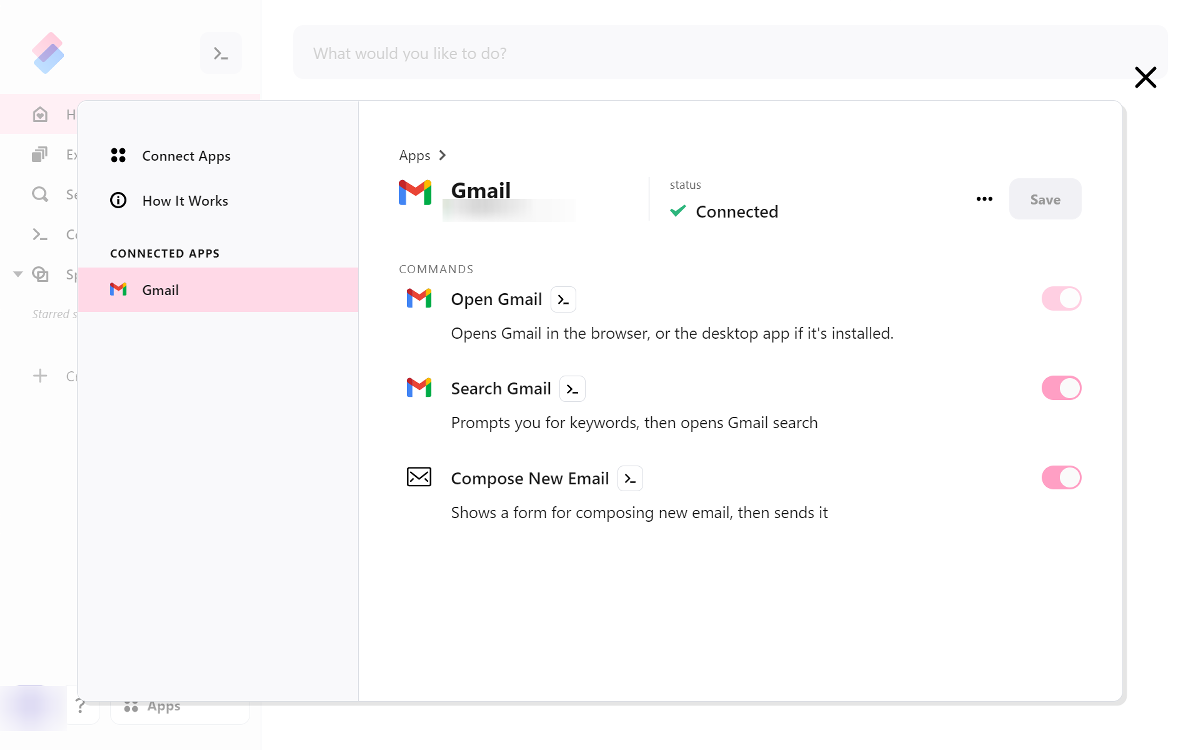
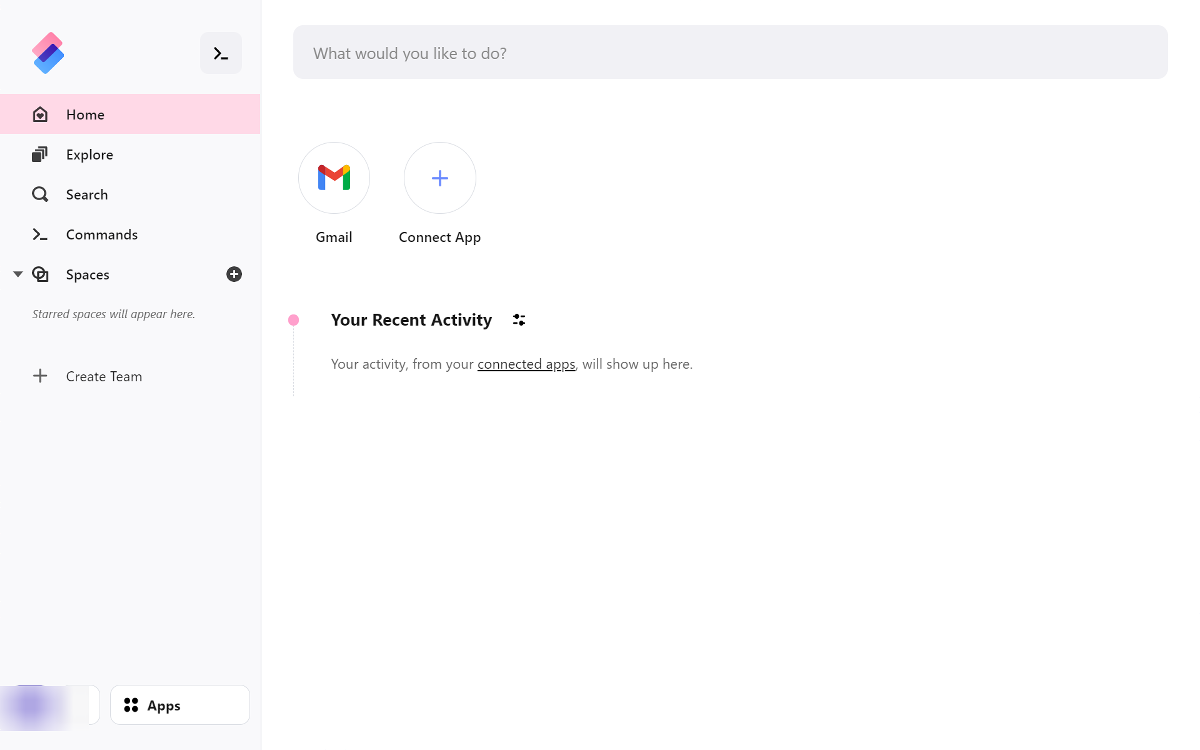
連携が完了すると、先ほどの画面にGmailが追加されます。
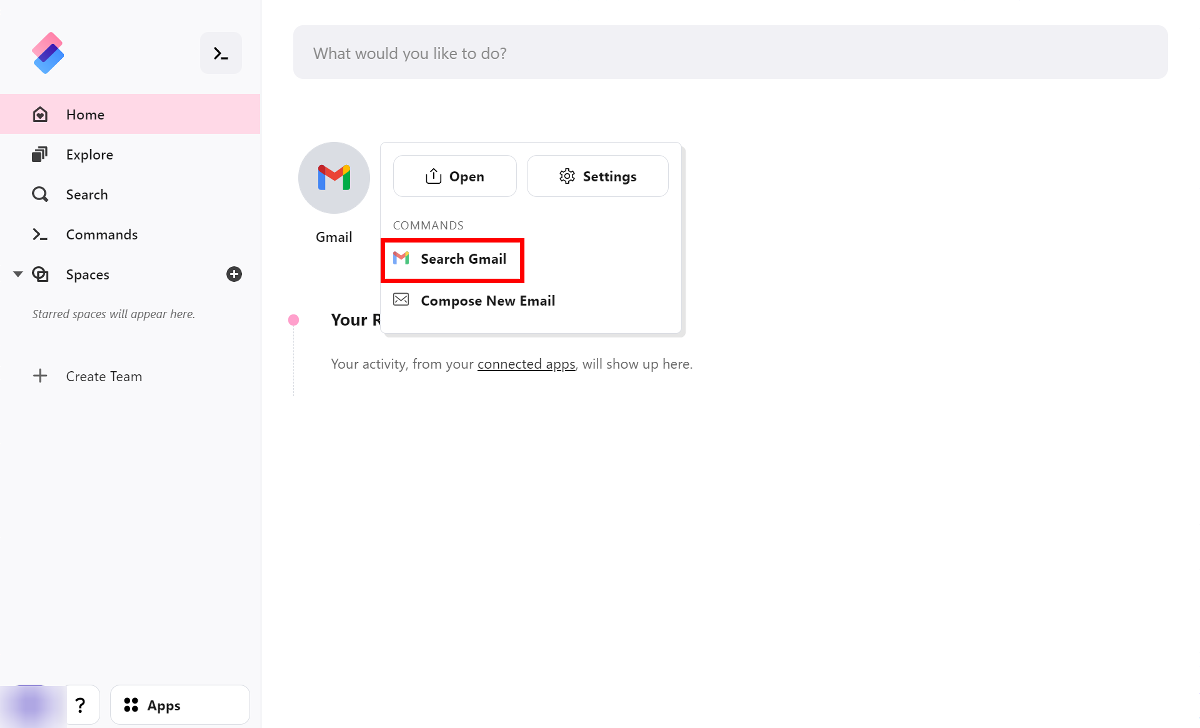
Gmailをクリックするとこのような画面になります。「Open」をクリックするとGmailのページが開きます。
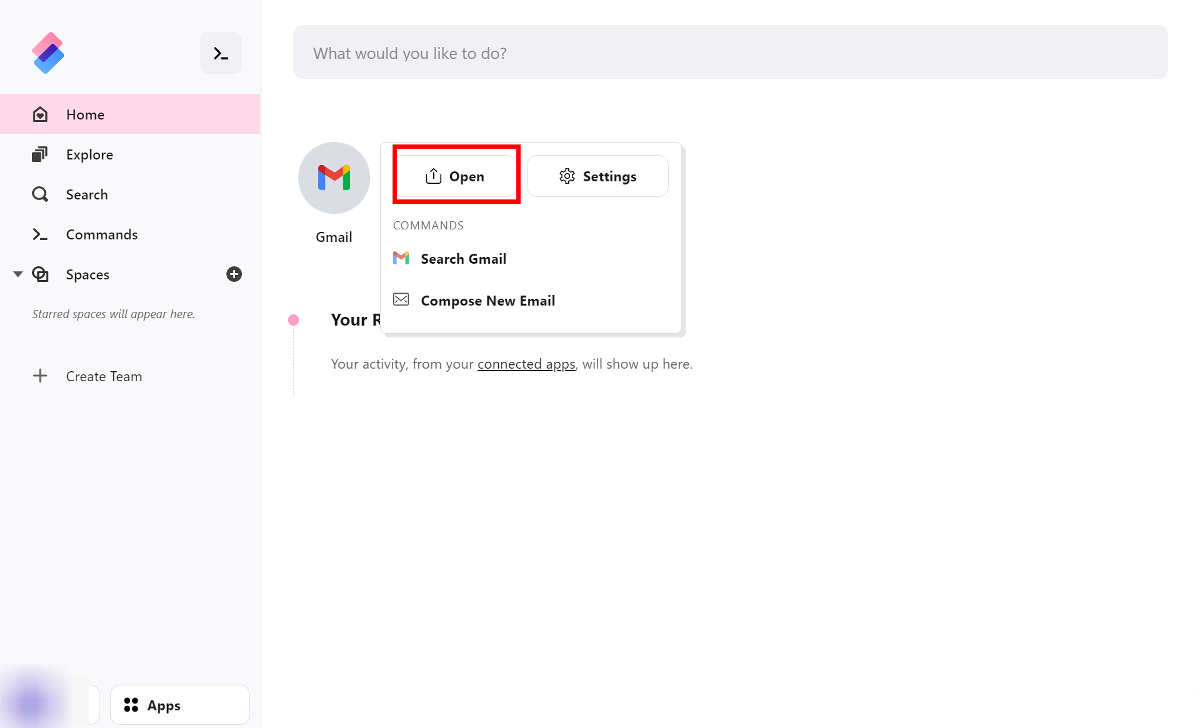
「Search Gmail」をクリックすると、Gmailの受信トレイにあるメールの全文検索を行えます。
試しに「apple」と入力してみると……
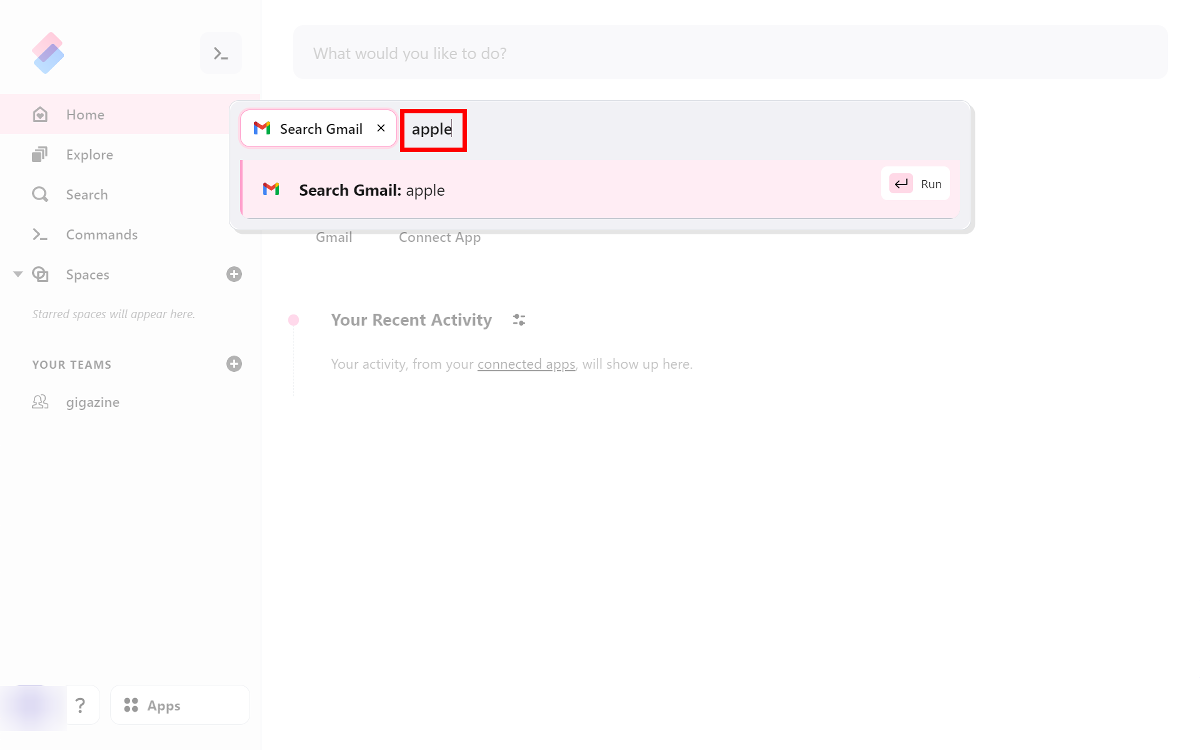
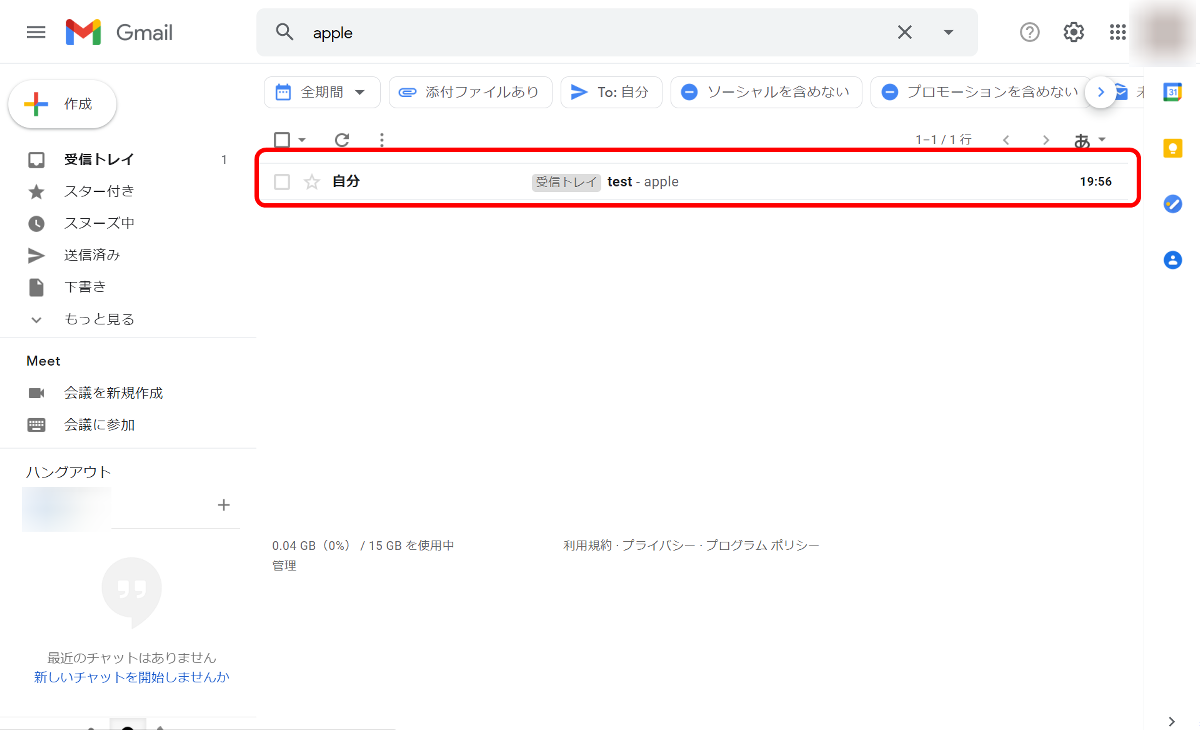
Gmailのページが開き、受信トレイのメールに「apple」とあるメールが表示されました。Gmailのページで検索したときと同じ挙動を行っていることになります。
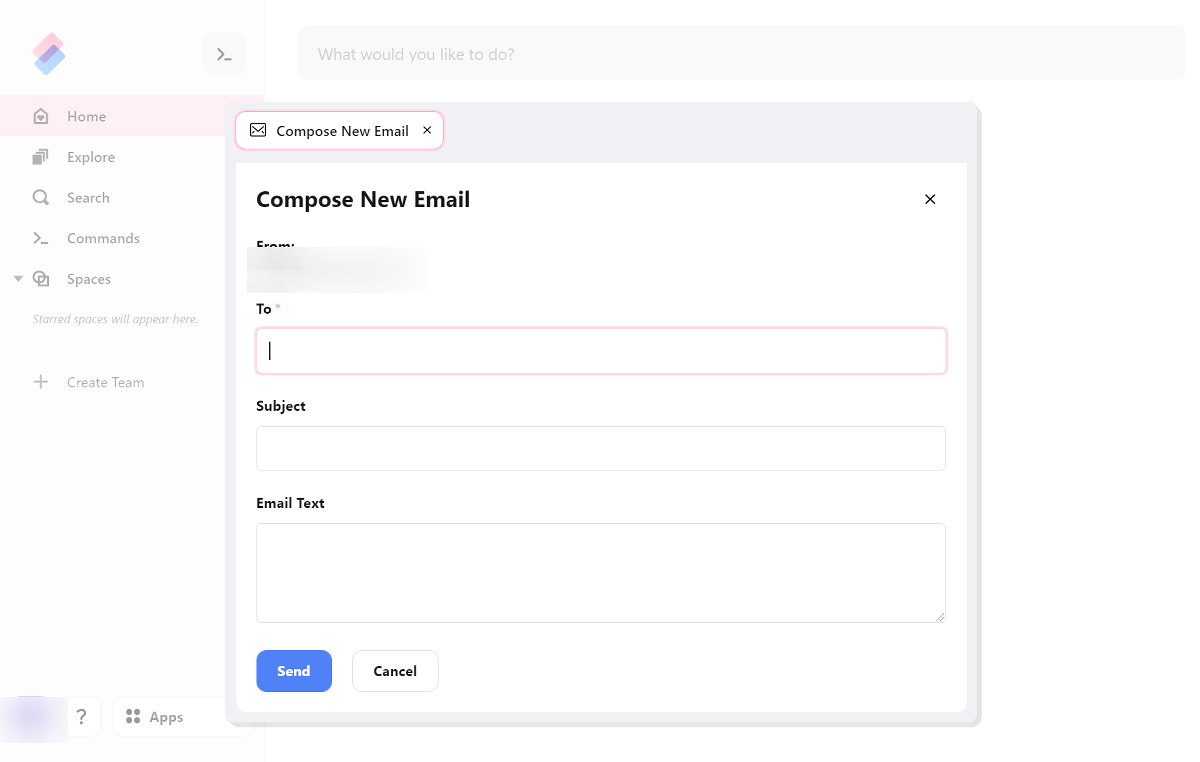
「Compose New Email」をクリックすると、新規メールを作成することができます。
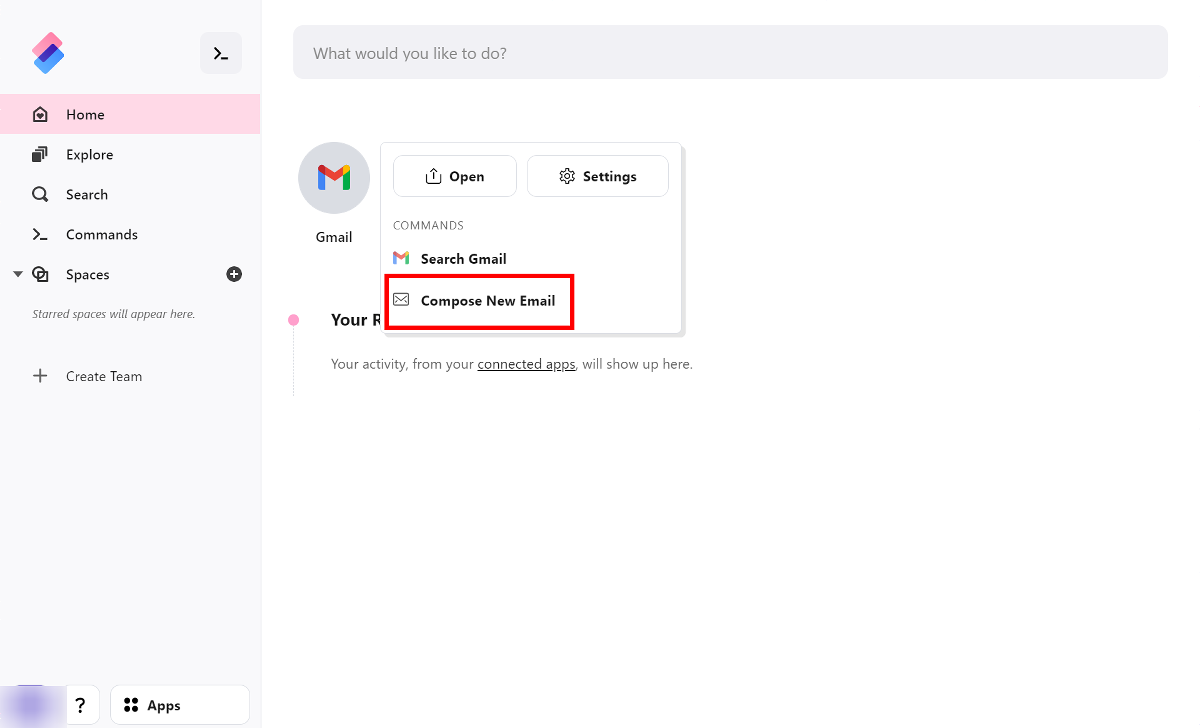
Gmailのページを開かず、Slapdashのページから直接メールの作成、送信まで行うことができます。
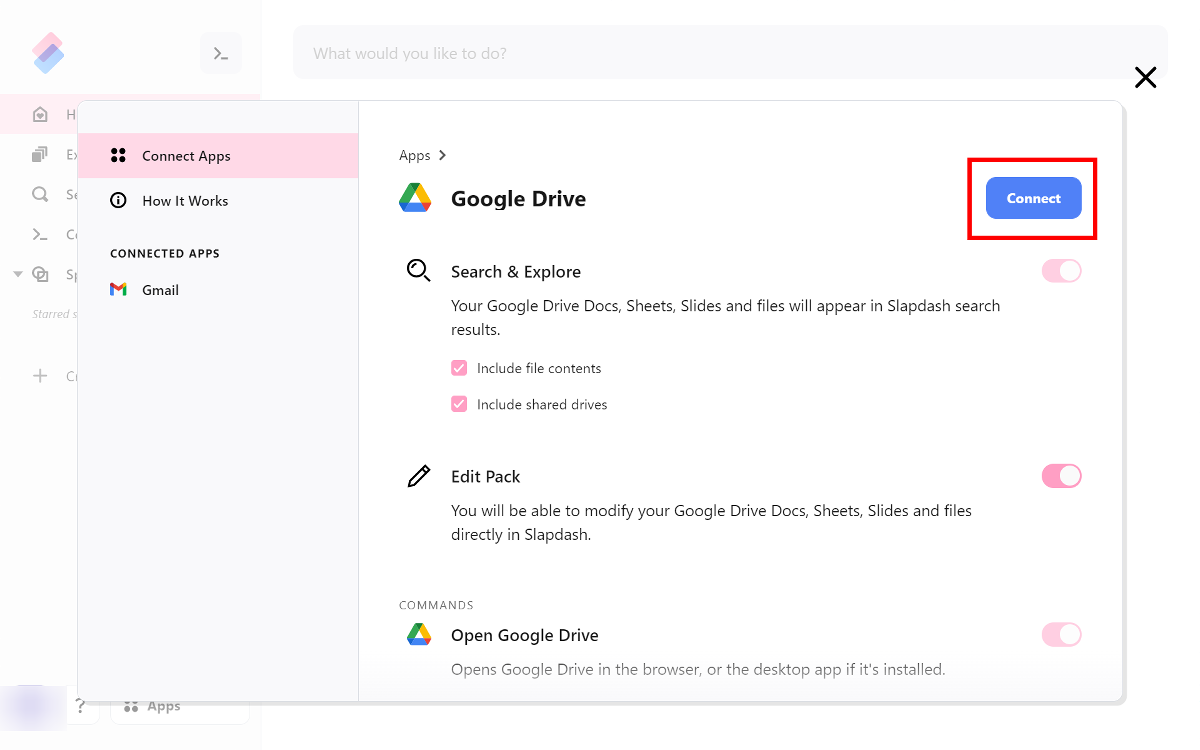
他のサービスを連携させてみます。今度は「Google Drive」と連携させます。

「Connect」をクリック。
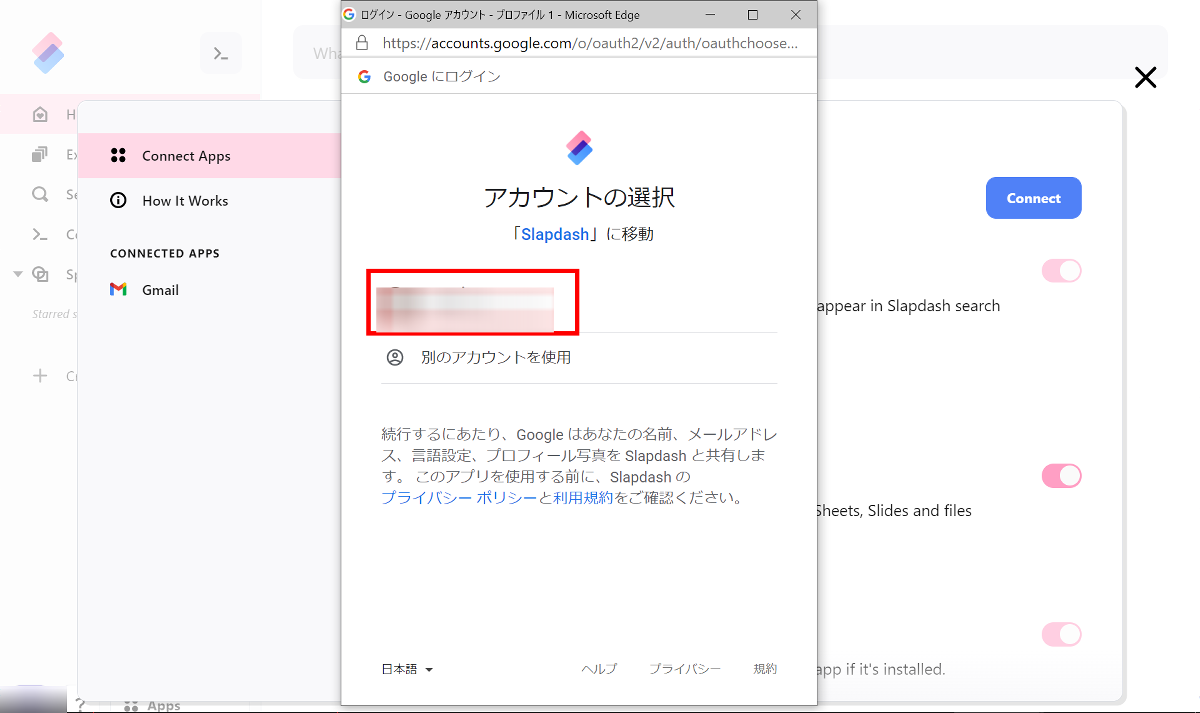
Googleアカウントを選択します。
「許可」をクリック。
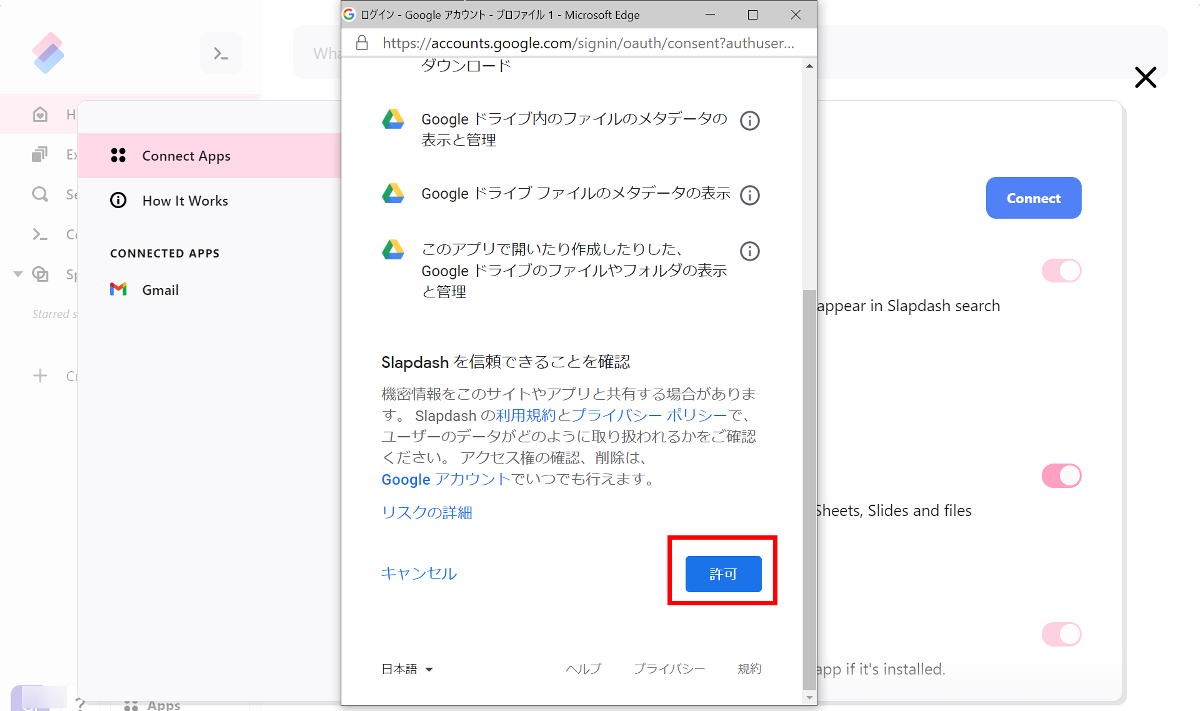
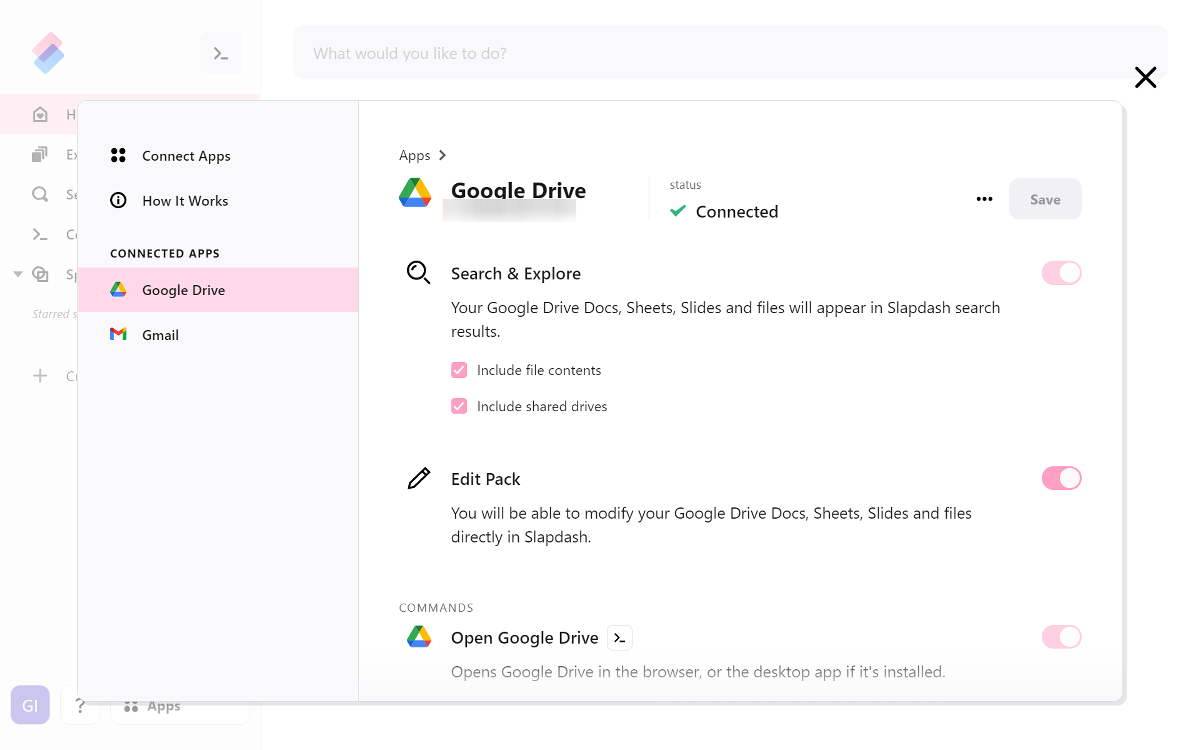
Google Driveとの連携が完了しました。
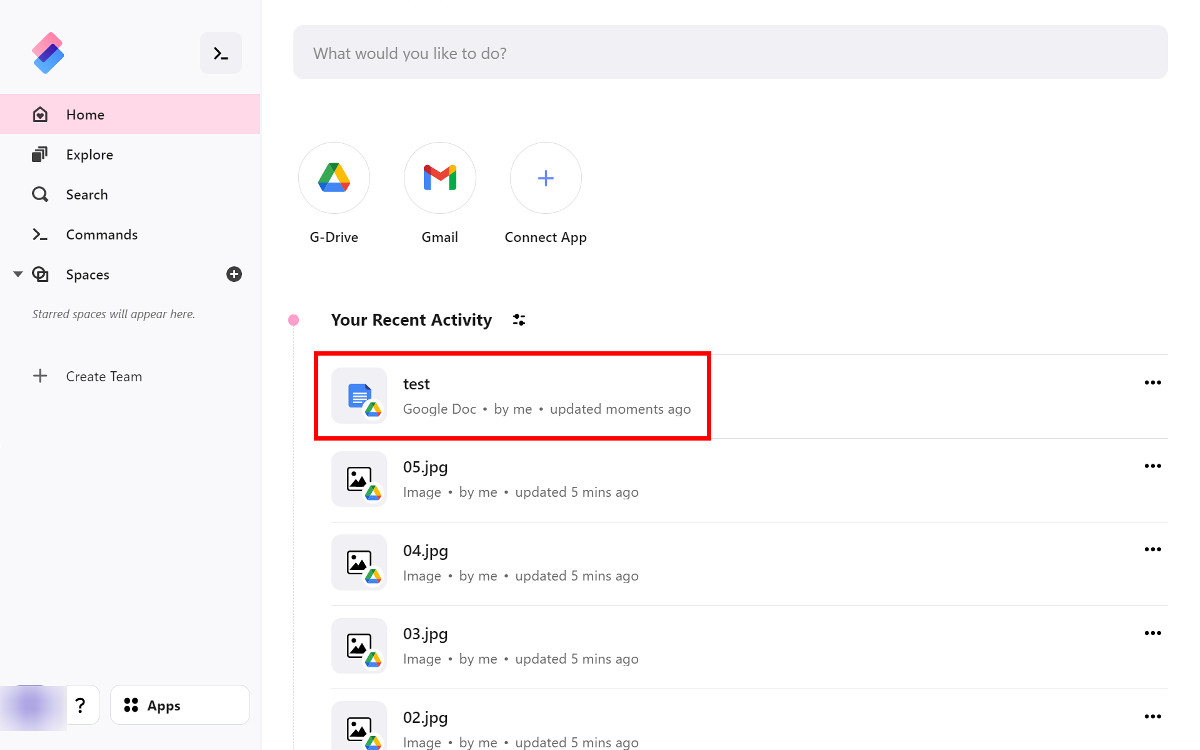
「Your Recent Activity」の下にはGoogle Driveで最近表示したファイルの一覧が表示されています。また、この一覧から直接ファイルにアクセスすることもできます。表示したいファイルをクリックすると……
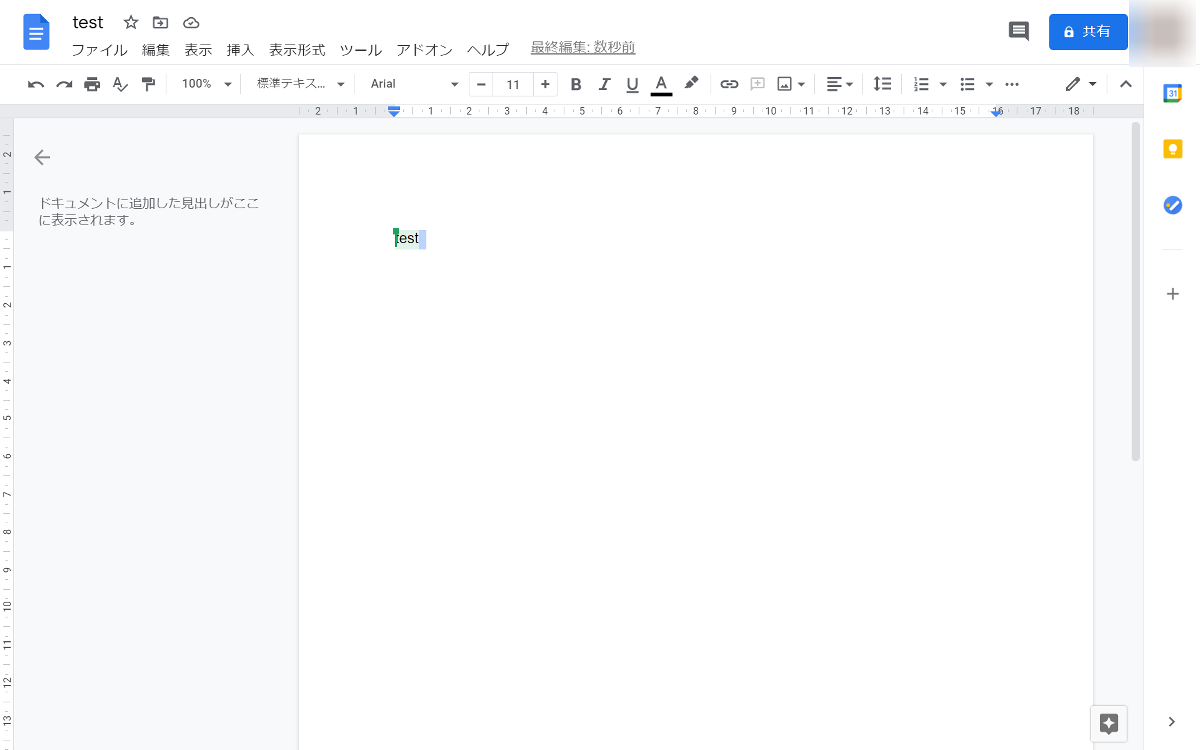
Google Documentのページが開き、ファイルが表示されました。
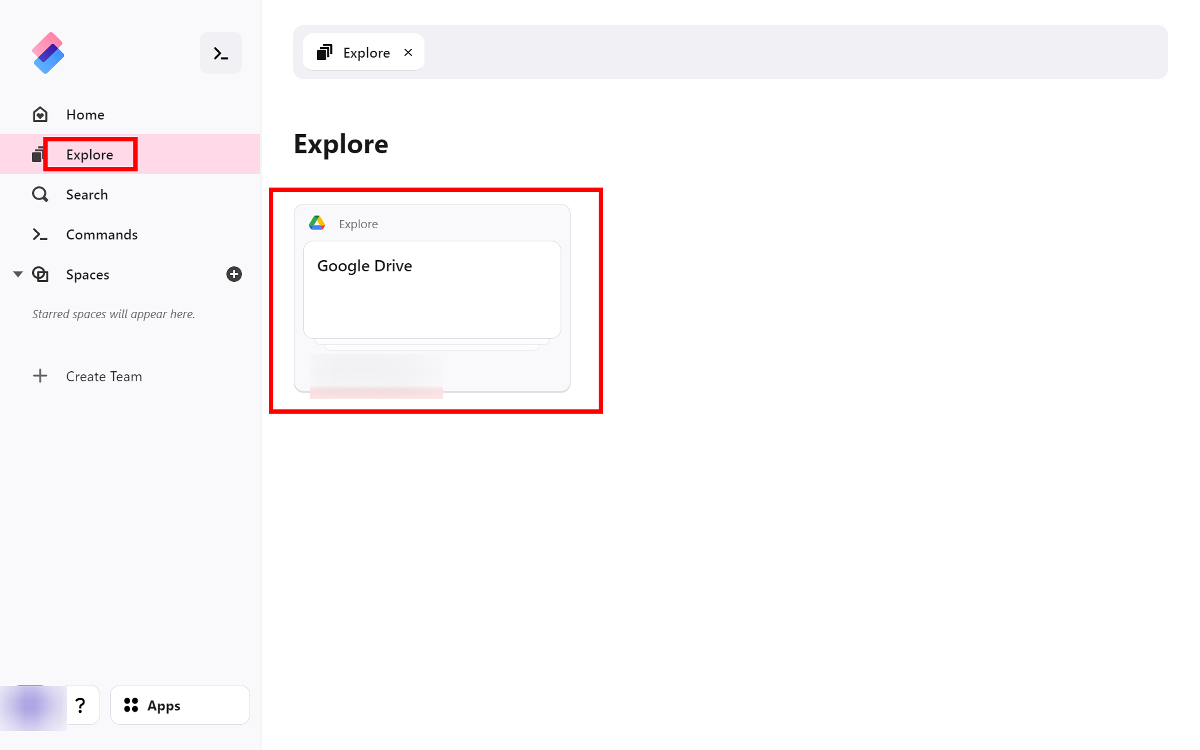
左の「Explore」のタブからは、連携したサービス内のファイルを閲覧できます。「Explore」をクリックし、「Google Drive」をクリックすると……
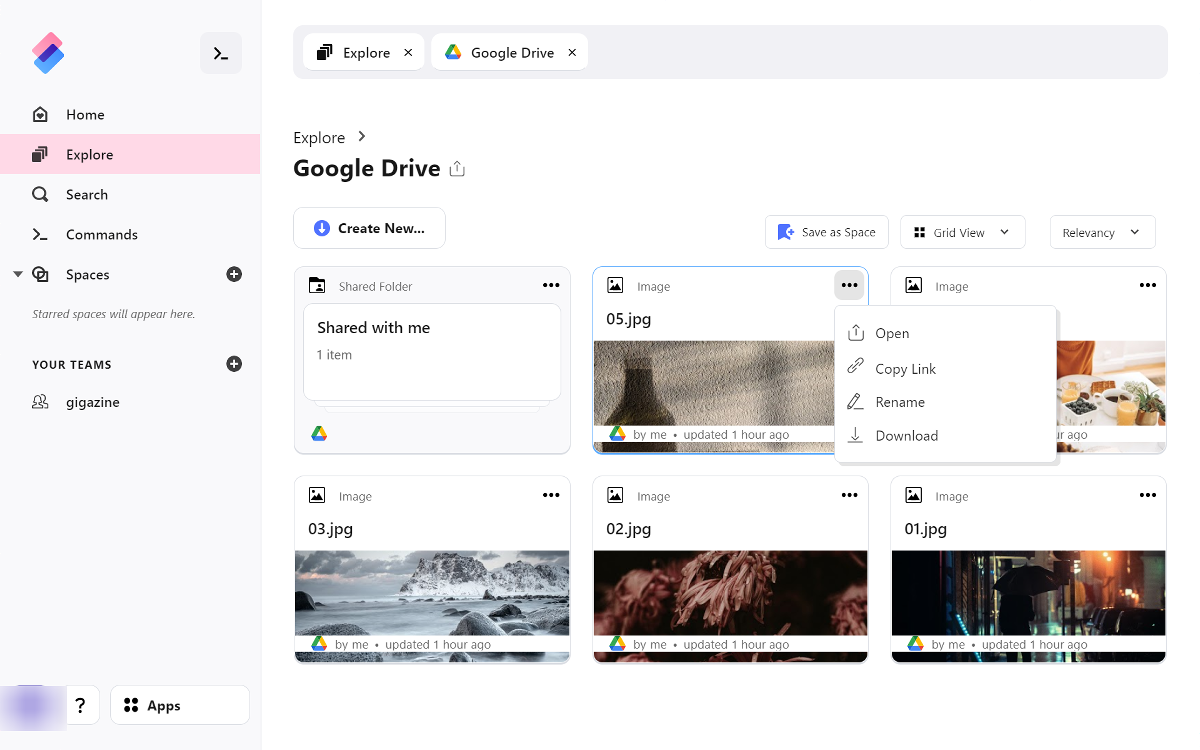
Google Driveに保存しているファイルが一覧で表示されます。このタブから直接Google Driveにファイルを作成したり、ファイルのリネームやダウンロードを行ったりすることもできます。
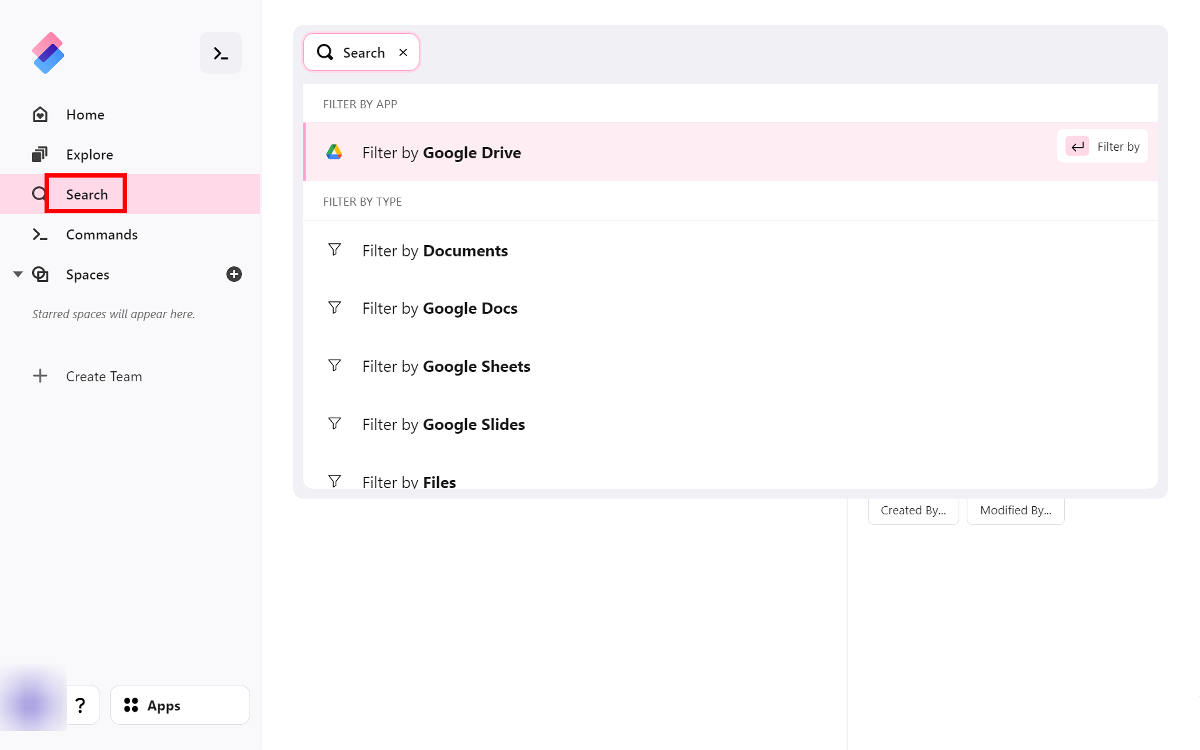
「Search」のタブでは、連携したサービス内から検索を行うことができます。
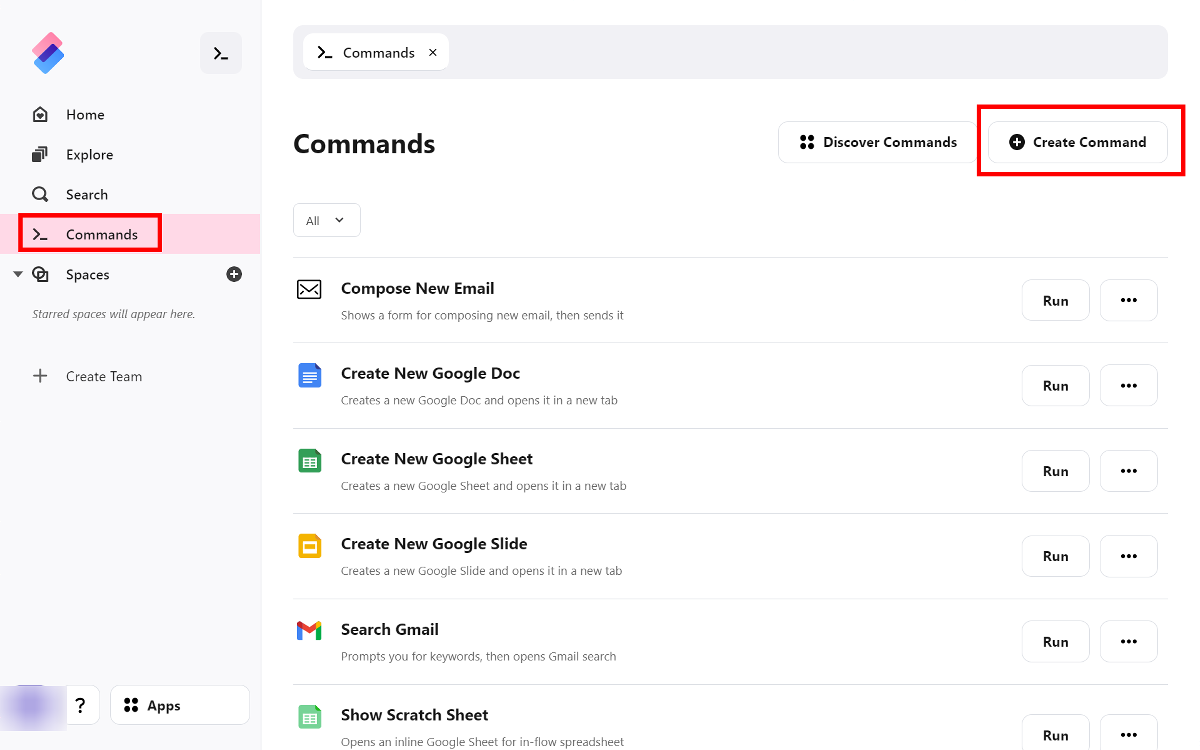
「Commands」のタブでは、連携したサービスの機能が「コマンド」として表示されており、ここから直接機能を使用することができます。また、自分で好きなコマンドを作成することもできます。作成するには右上の「Create Command」をクリック。
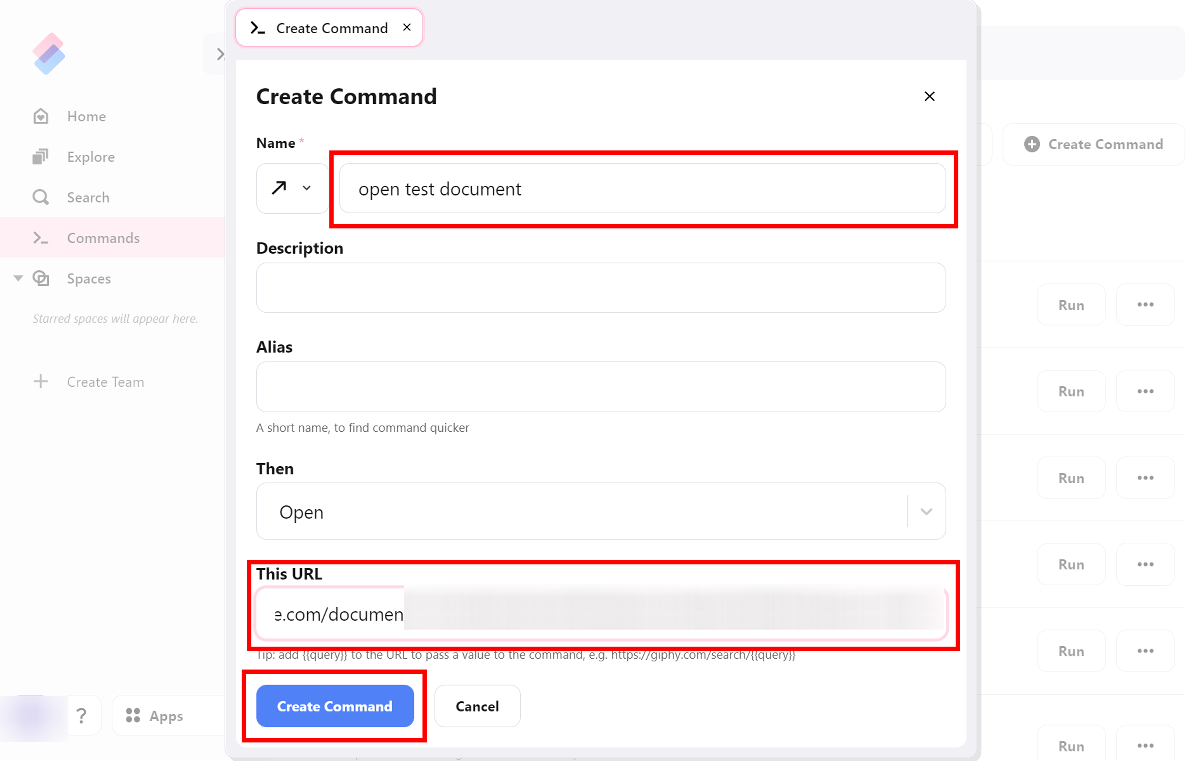
一番上から「コマンド名」「コマンドの説明」「コマンド略称」を入力します。「コマンド名」以外は空白でOK。「Then」は「Open」のままにして、「This URL」に起動したい機能のURLなどを入力します。今回は先ほど表示したGoogle DocumentのURLを入力します。入力し終えたら「Create Command」をクリック。
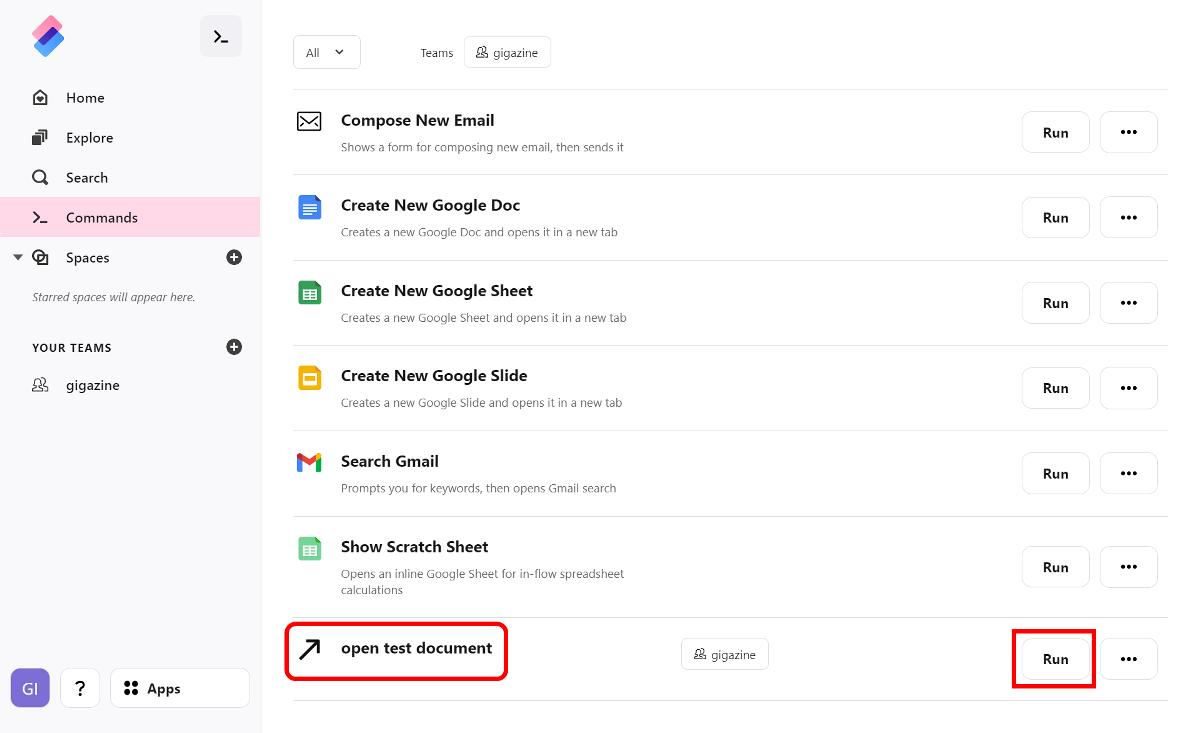
コマンド一覧に作成したコマンドが現れました。「Run」をクリックするとコマンドが起動します。このようにして、自分の好きなコマンドを追加することができます。
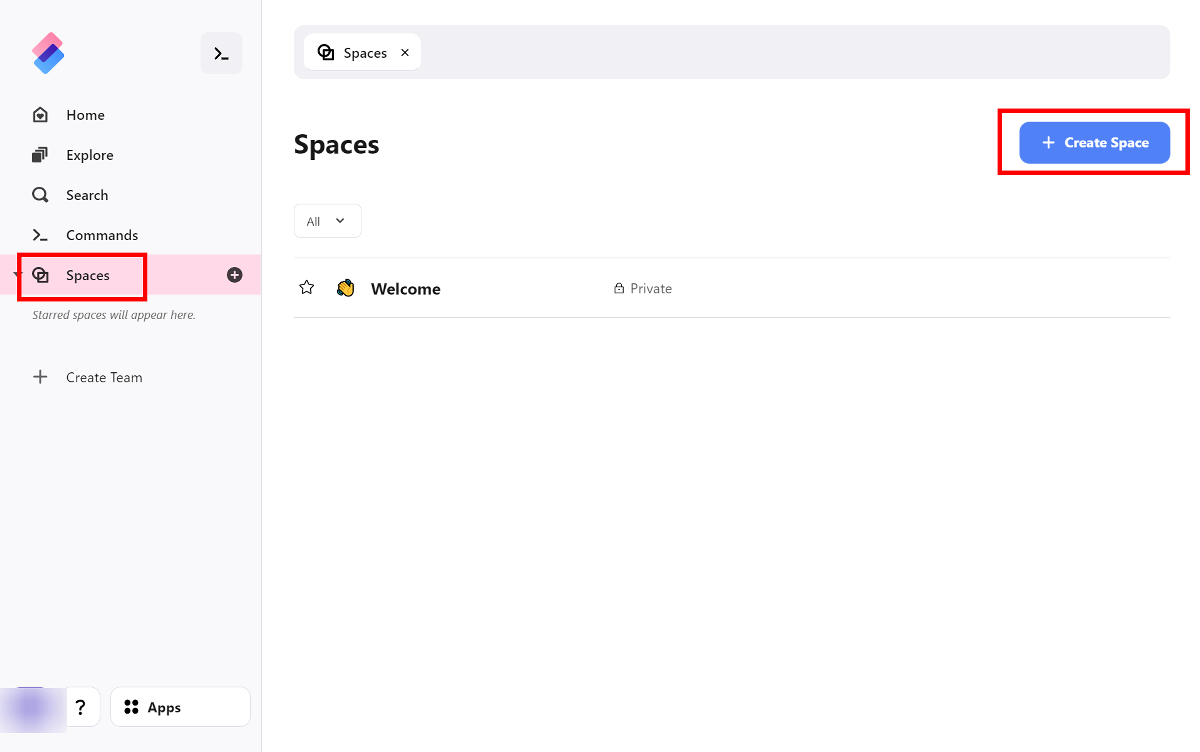
「Spaces」タブでは、起動したい機能を1カ所の「スペ-ス」にまとめて表示させることができます。「Spaces」をクリックし、右上の「Create Space」をクリック。
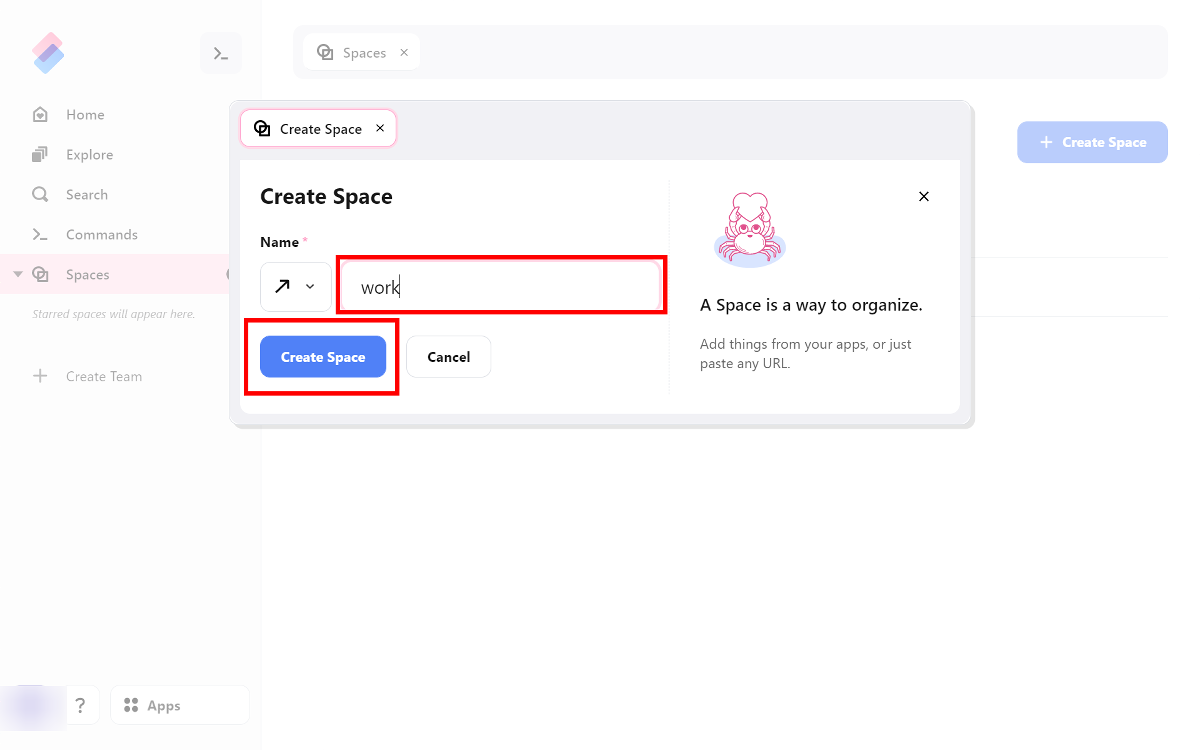
適当な名前を入力し、「Create Spase」をクリックします。
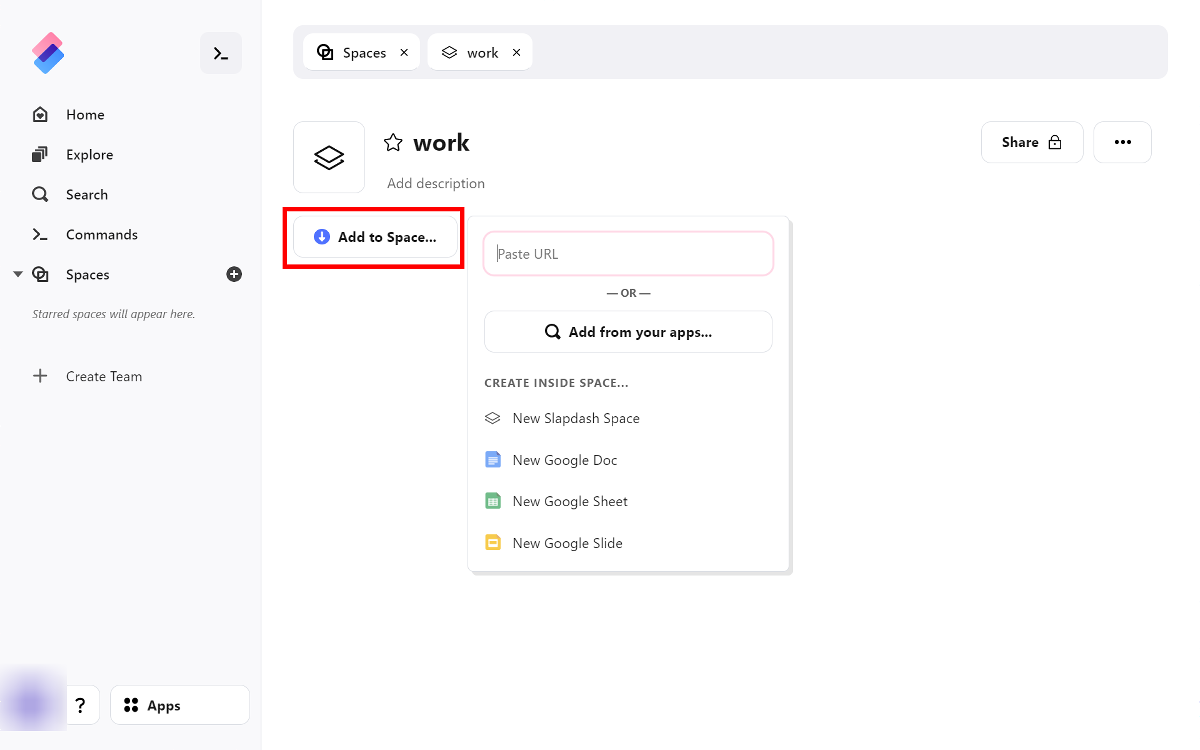
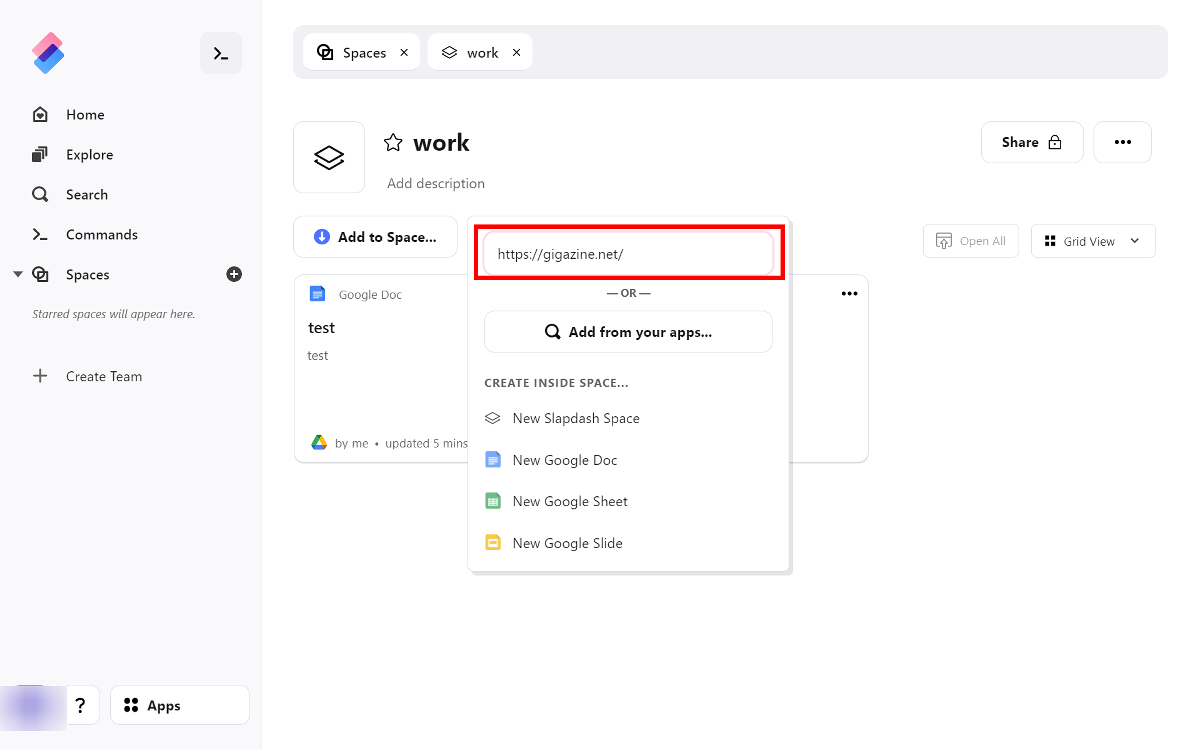
作成したスペースが表示されました。「Add to Space」をクリックすると、ここに表示させたい機能を選んで表示させることができます。「仕事中」「休憩中」などのスペースを作成し、状況によって使い分けられます。
WebページのURLを入力することもできます。GigazineのURLを入力すると……
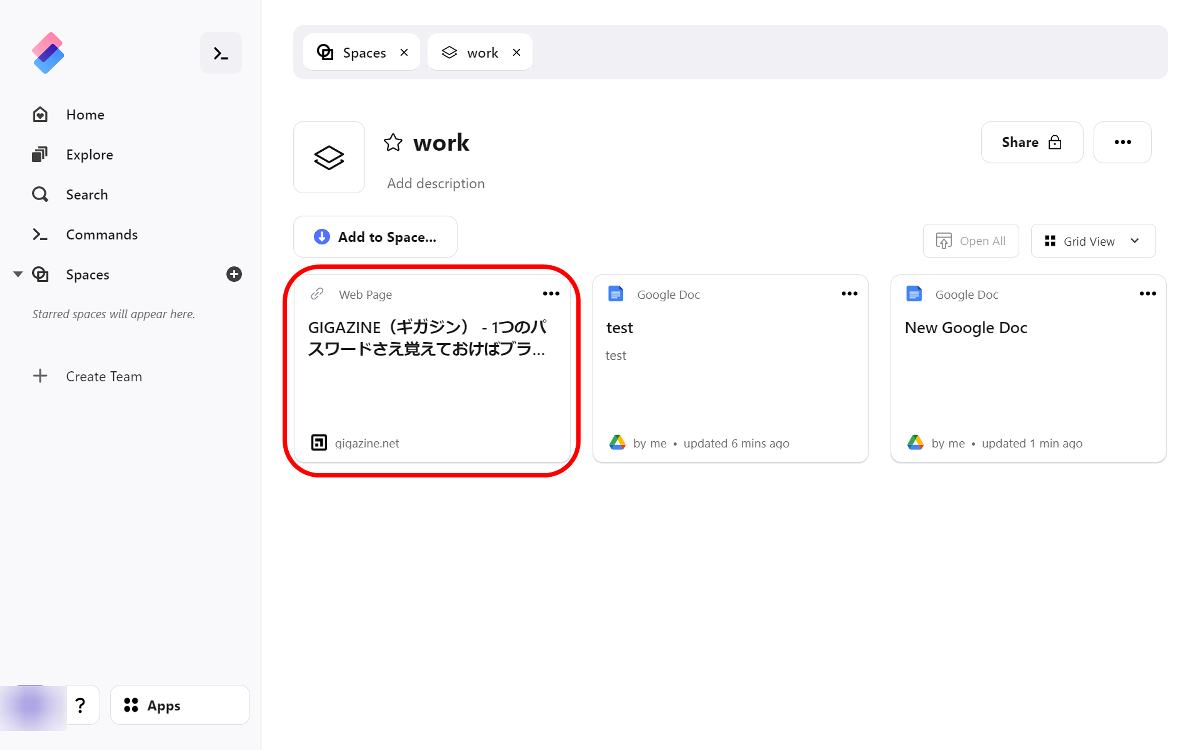
「Gigazine」のリンクがスペースに表示されました。
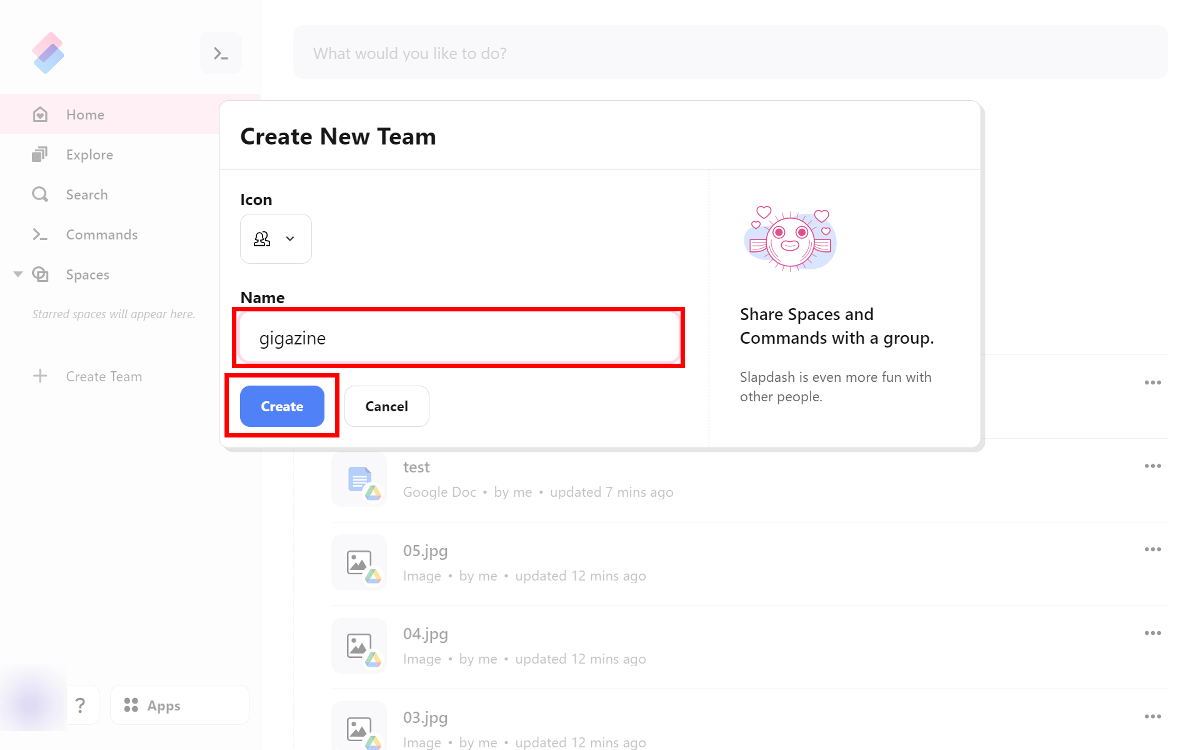
コマンドやスペースを共有できるチームを作成することもできます。「Create Team」をクリックし、チーム名を入力したら「Create」をクリックします。
新しいチームが作成されました。
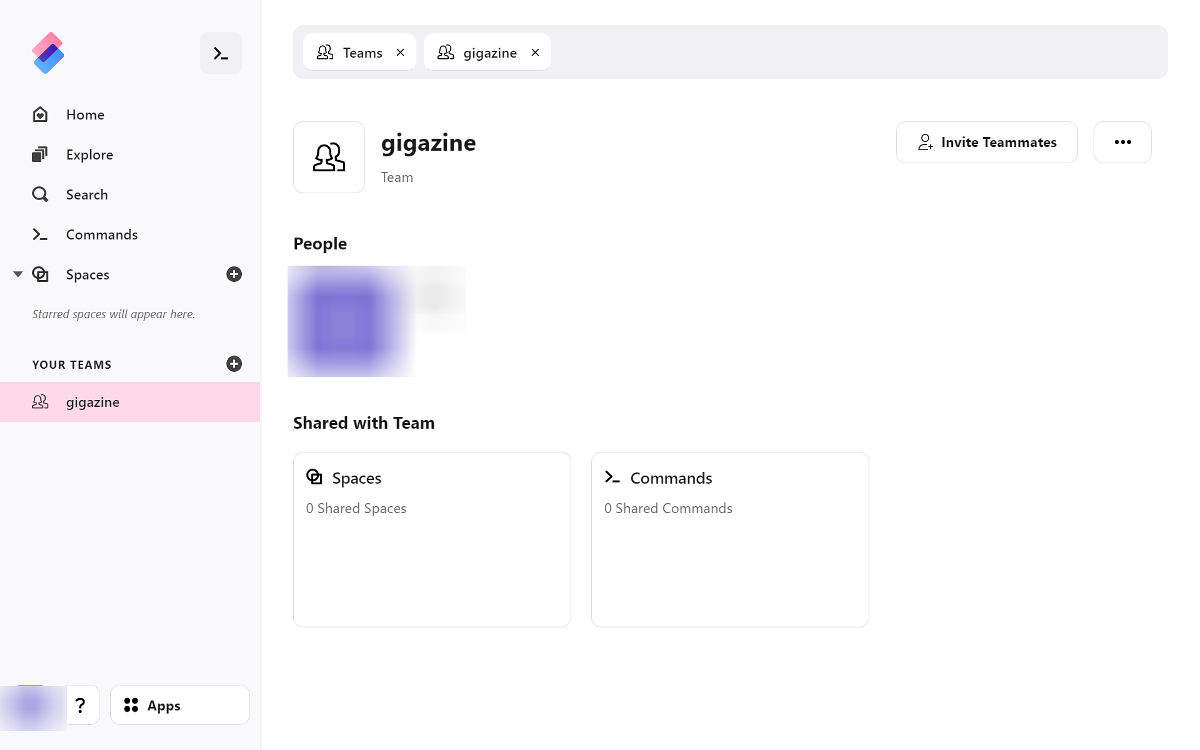
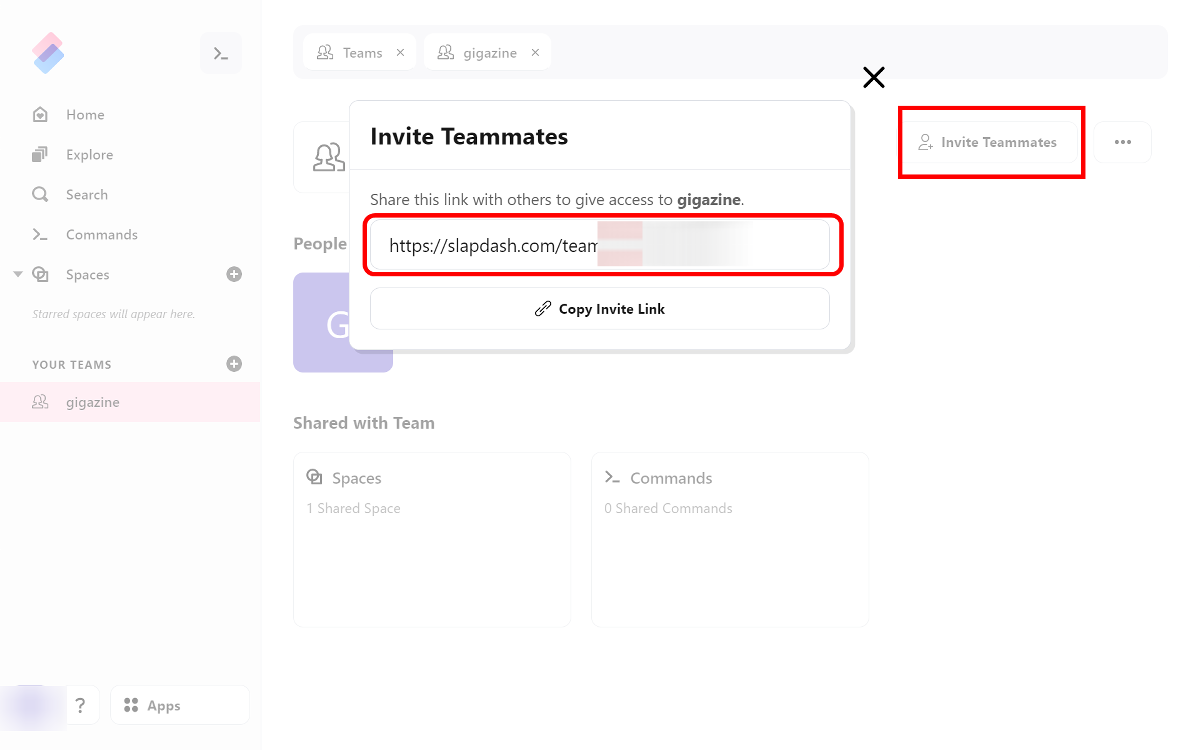
右上の「Invite Teammates」をクリックすると、他人と共有するためのリンクが表示されます。
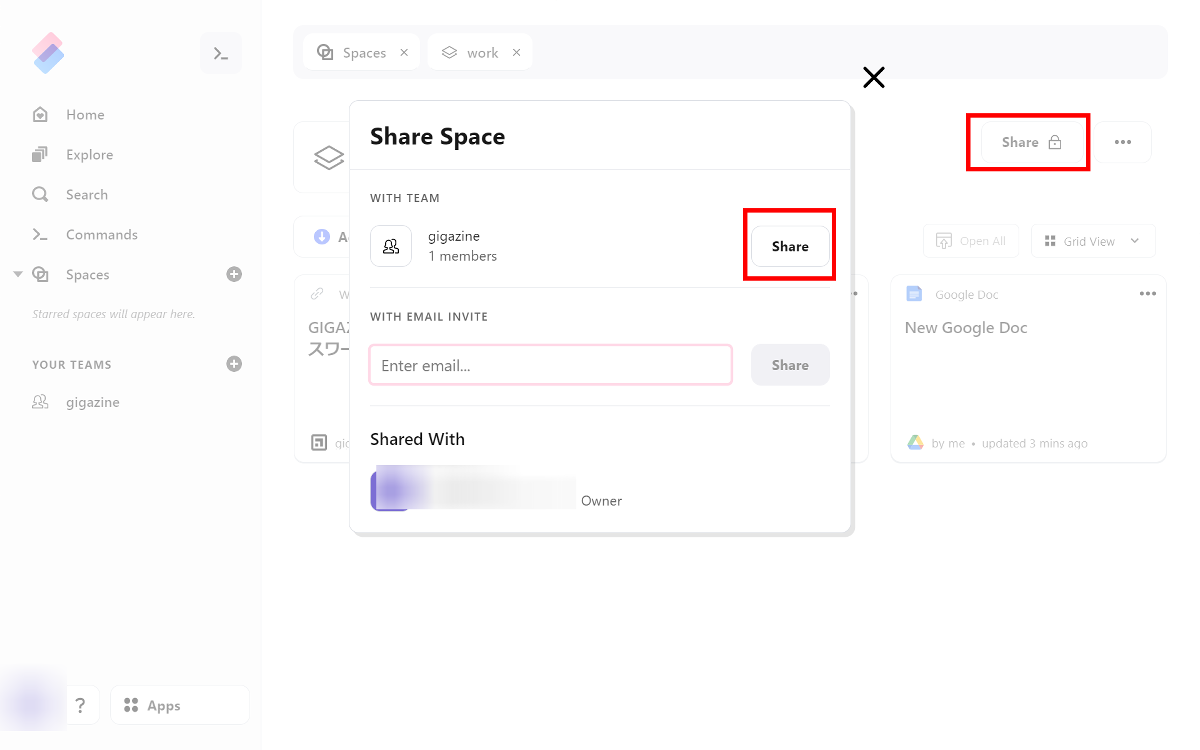
共有したいコマンドやスペースから「Share」をクリックすると、チームと共有が可能です。
使っているサービスが増えて管理が面倒な人は、これに一本化できるため大変便利です。
・関連記事
1つのパスワードさえ覚えておけばブラウザ・スマホでパスワード管理ができる「Passit」レビュー - GIGAZINE
無料でKeePass上のアカウントから直接リモートデスクトップ接続を行える「KeePassRDP」レビュー - GIGAZINE
モノの大きさを比較できる教育アプリ「Universe in a Nutshell」 - GIGAZINE
Chromeの操作を記録してPuppeteerやPlaywrightのコードに置き換えてくれる「Headless Recorder」レビュー - GIGAZINE
・関連コンテンツ

in ネットサービス, レビュー, Posted by log1p_kr
You can read the machine translated English article I tried using 'Slapdash', a tool that ca….