I tried using 'Wrike' which can manage projects & tasks in multiple formats such as Kanban format and Gantt chart

' Wrike ' is a project management service that is used by more than 1000 companies in Japan as well as well-known companies such as Google and Airbnb. Not only is it overwhelmingly easy to use, but it was also talked about on January 21, 2021 when
Manage your team's work online | Wrike
https://www.wrike.com/ja/
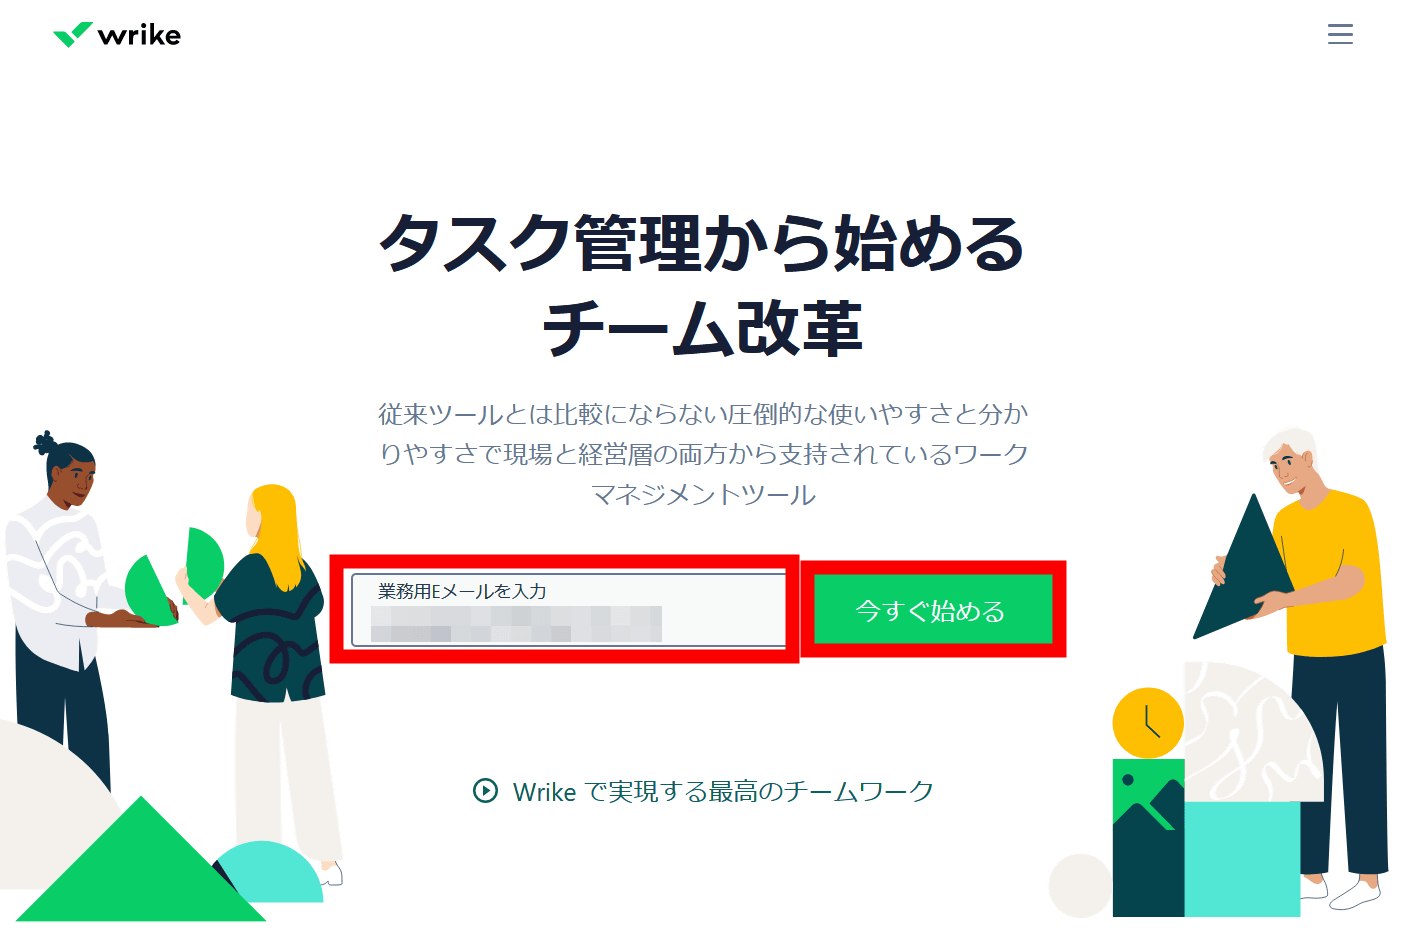
First, access the official website , enter your email address and click 'Start Now'.
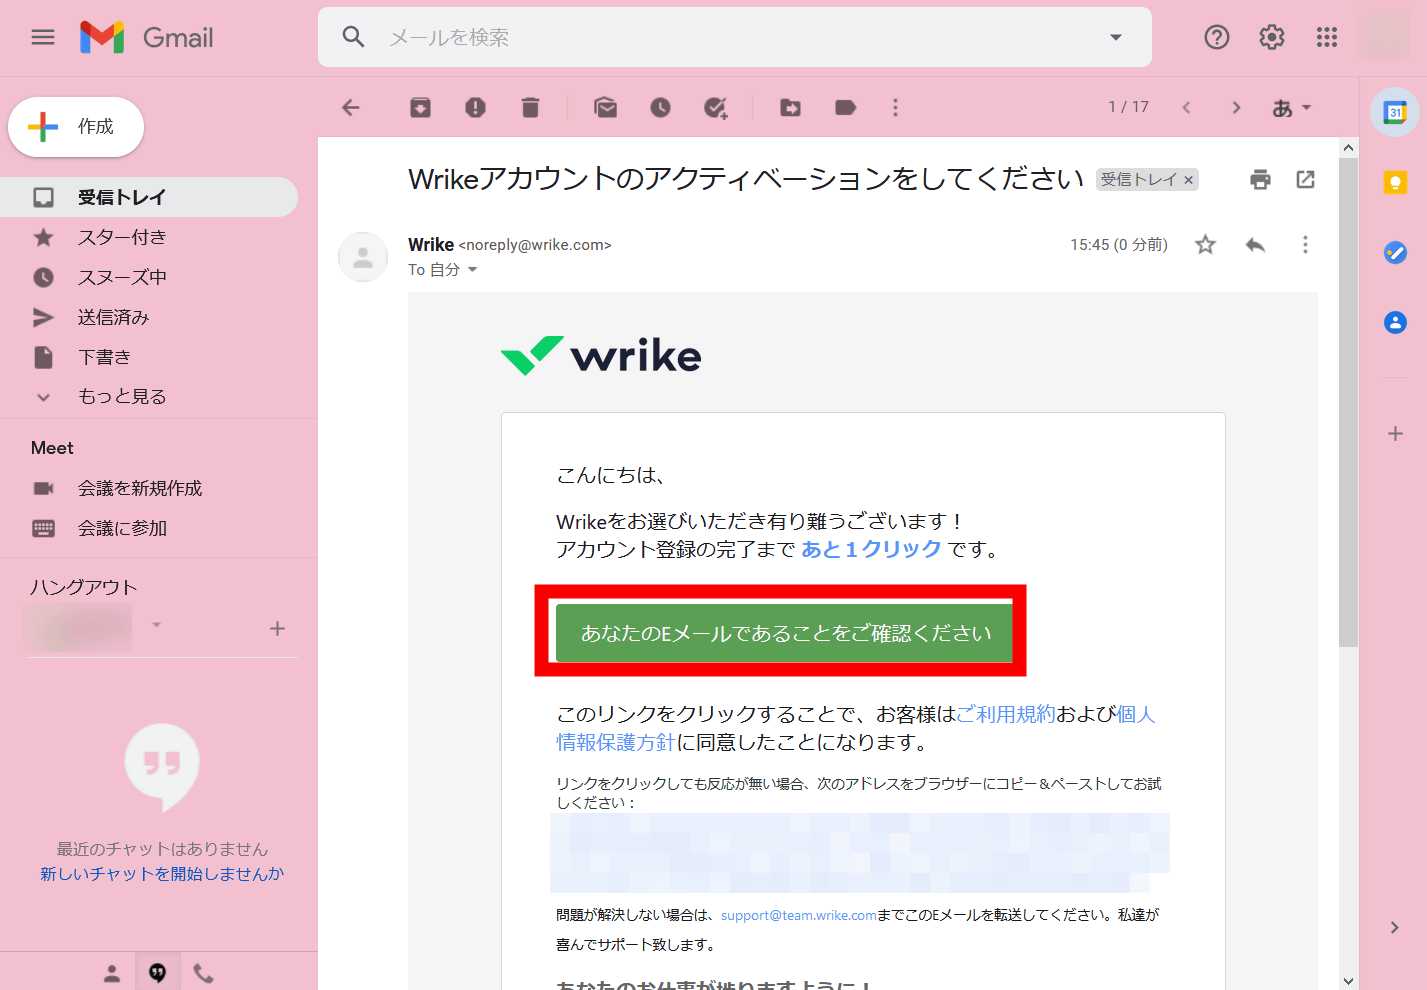
A confirmation email will be sent to the email address you entered, so click 'Please confirm that it is your email' in the text.
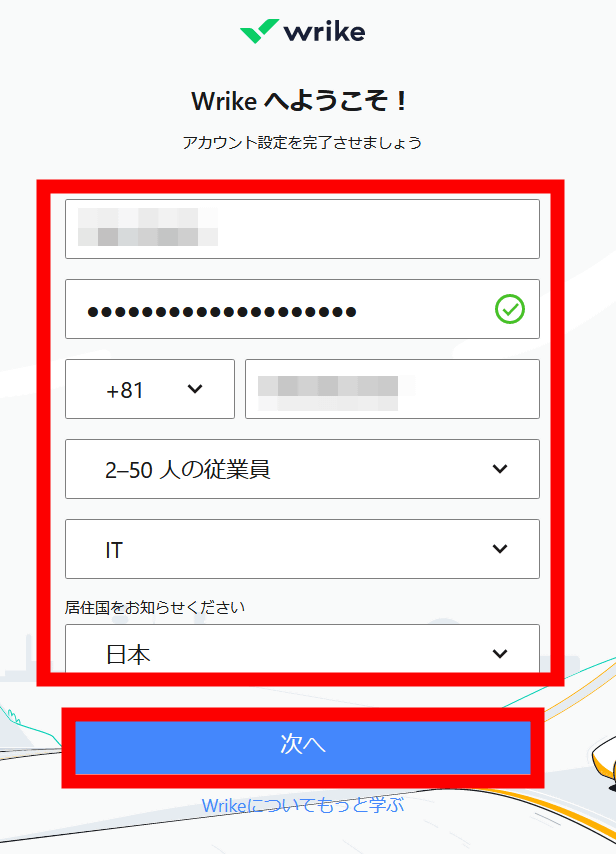
You will be taken to the account creation page. Enter your name, password, and phone number from the top, select the company size, department, and country of residence, and then click 'Next'.
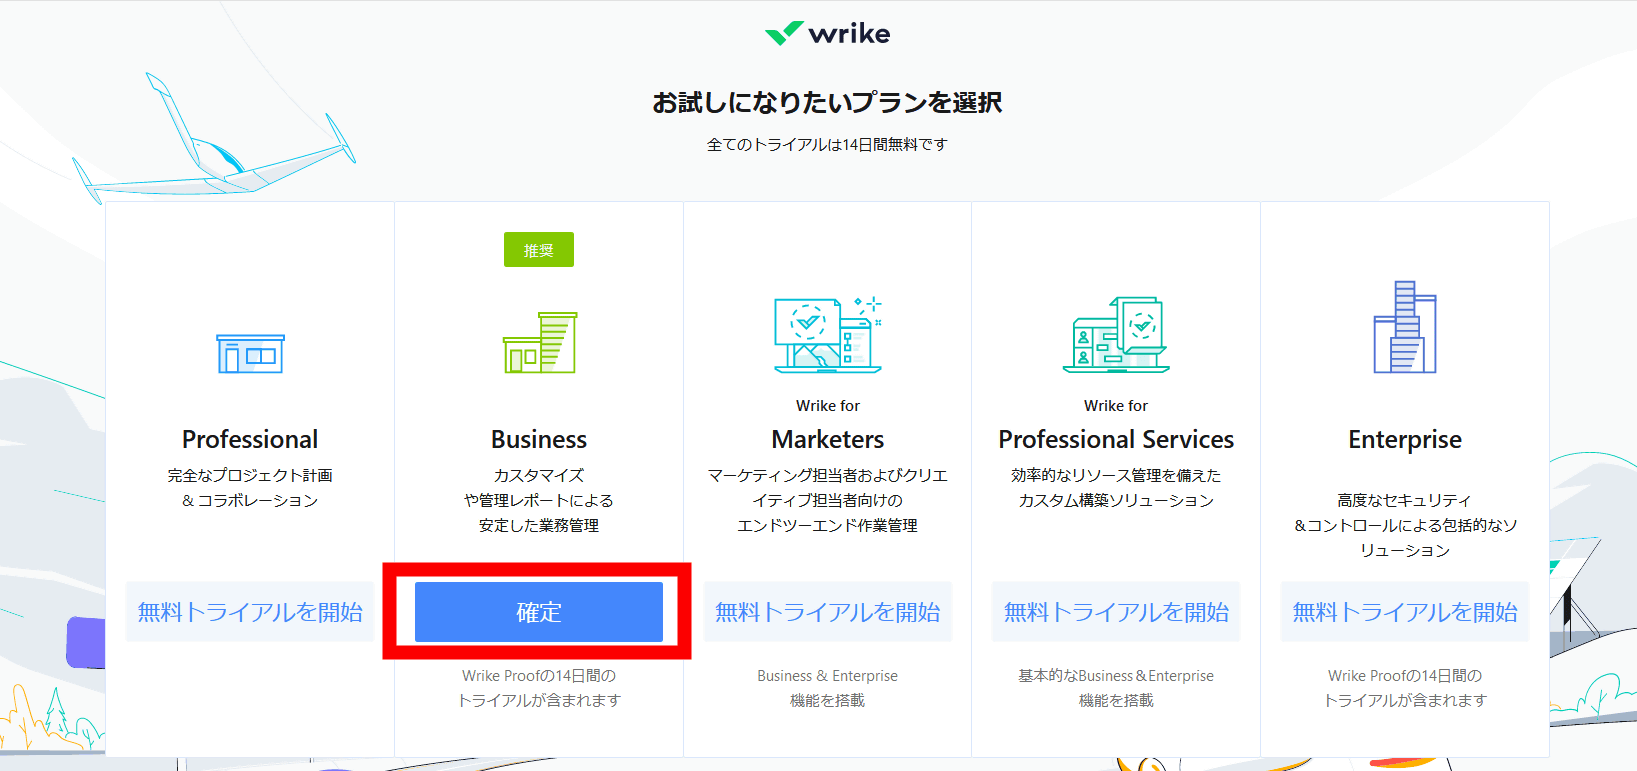
Then, a list of plans will be displayed. Wrike also has a free plan, but all paid plans offer a 14-day free trial, so this time I tried using the recommended Business plan.
Next, you will be asked if you want to send an invitation to your teammates, so select Skip this time.

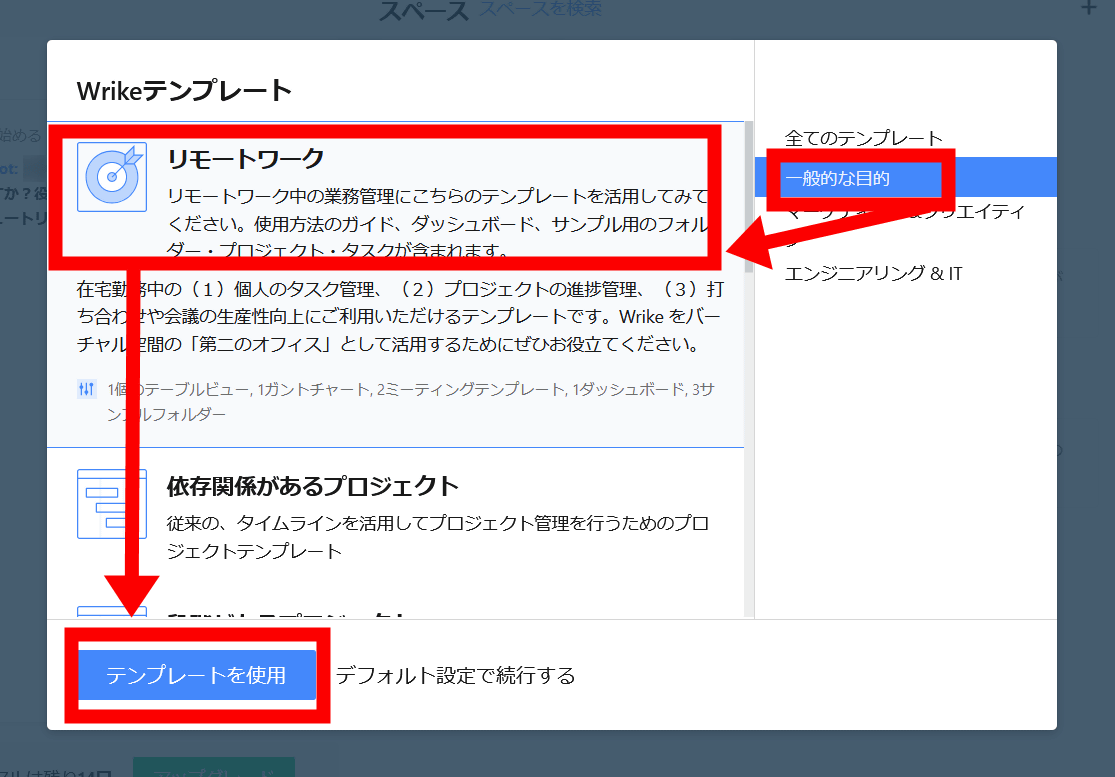
Then Wrike started. The template choices are displayed at the first startup. There are various templates such as 'IT service management', 'service desk', and 'product launch', but this time, select 'remote work' from 'general purpose' and click 'use template'.
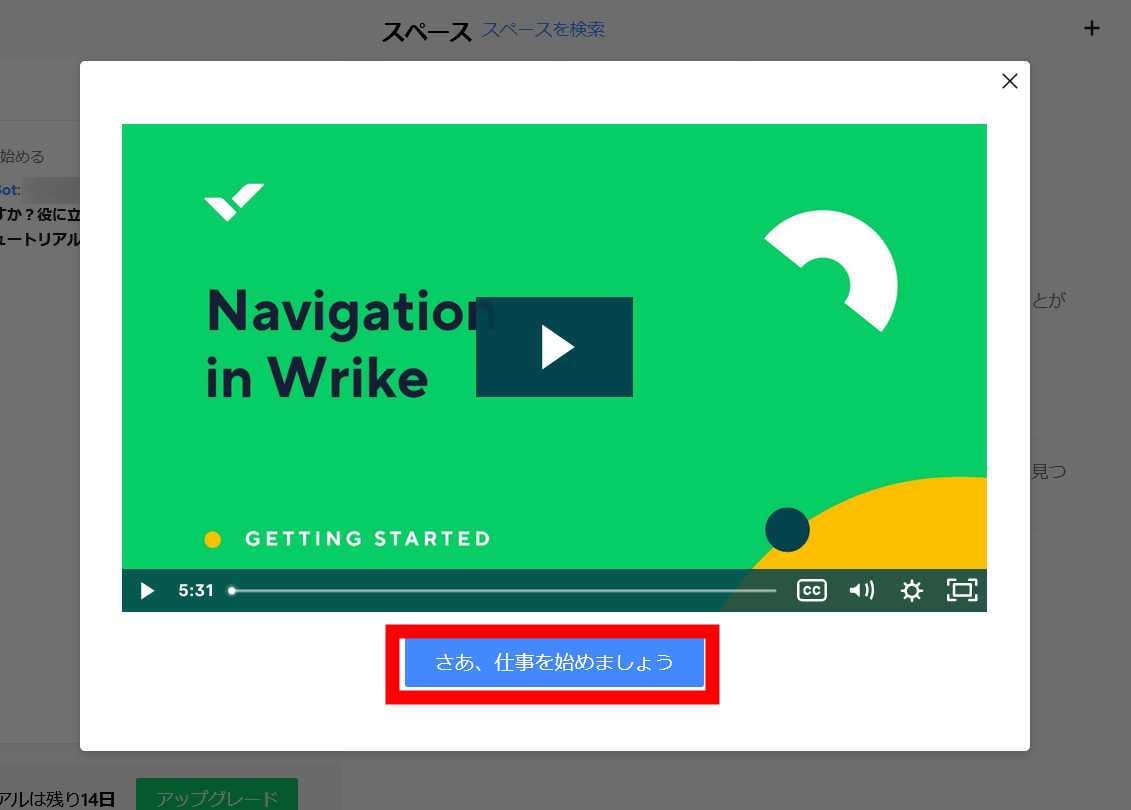
A tutorial movie with Japanese subtitles will be displayed, so start with 'Let's get started'.
The Wrike home screen looks like this. It is a dashboard with an inbox, browsing history, and various shortcuts. First, to build a new project, click the add icon in the upper right and select 'Project or Folder'.

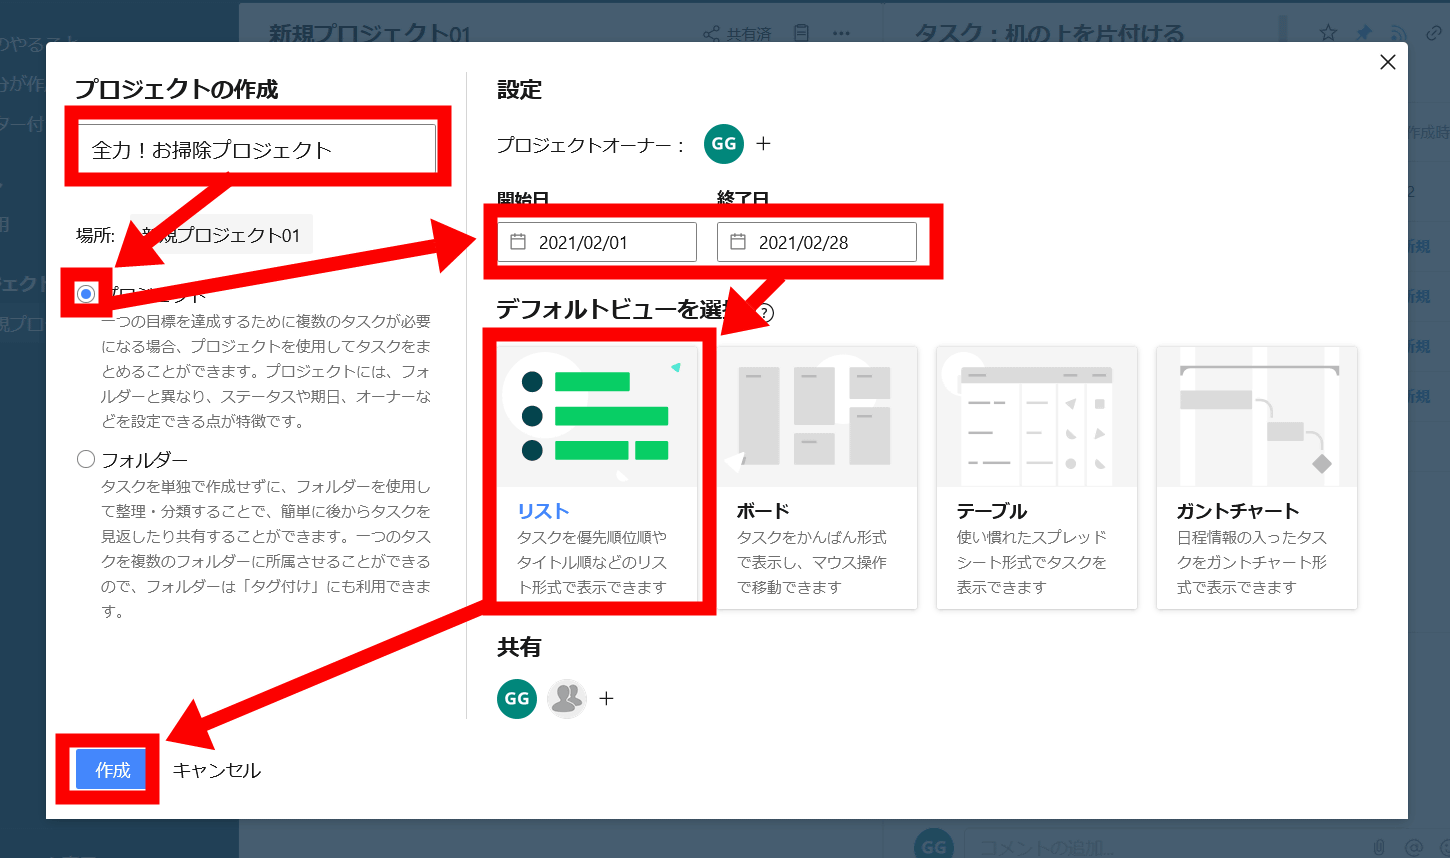
Enter the project name in the text box below 'Create Project' and select either 'Project' or 'Folder' below it. If there is a delivery date such as a marketing project, select 'Project', otherwise select 'Folder'. Since 'Project' was selected, it became possible to enter the start date and end date of the project, so set this, and finally select the desired display format from 'Select default view' and click 'Create'. If you want to share the project with multiple people, you can add the sharing partner from this screen, but you can share it later, so this time through.
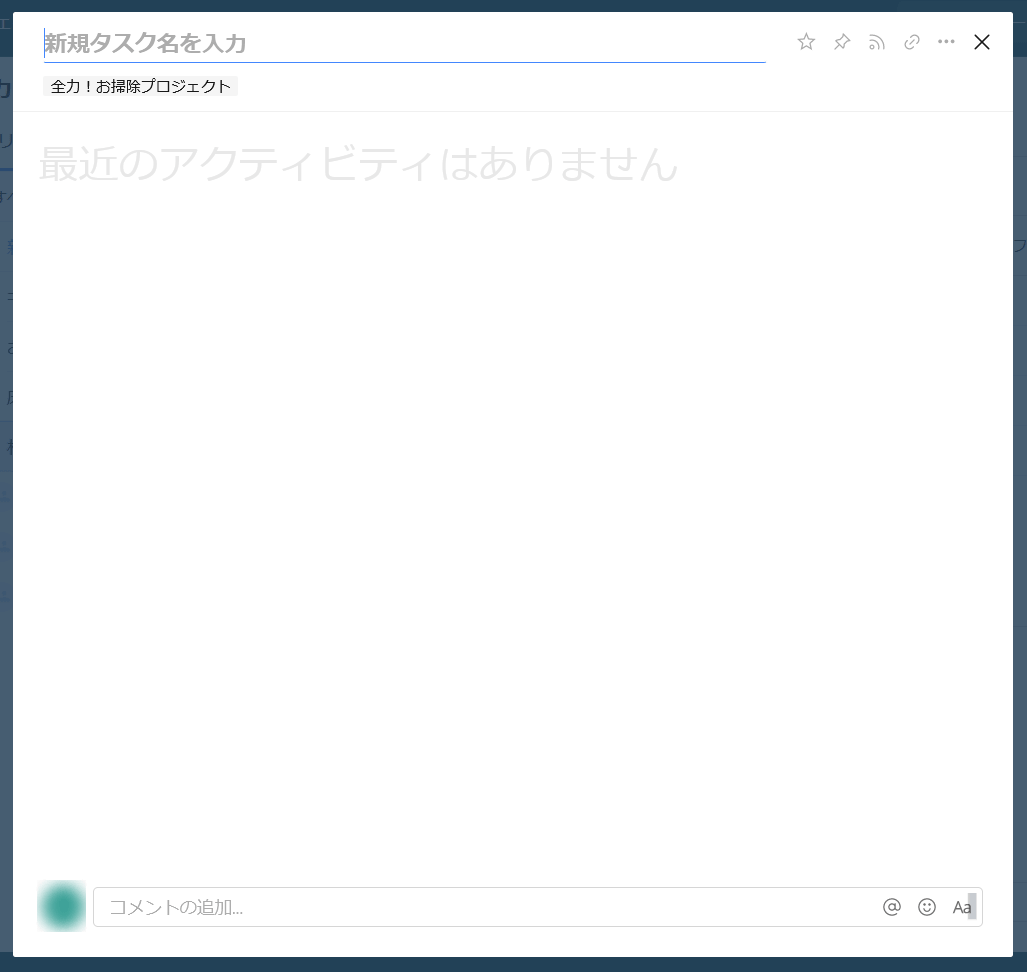
Once you've created your project, it's time to add the tasks you need to accomplish your project. Click the add icon in the upper right and click 'Tasks'.

The task creation screen looks like this. You can enter the task name at the top, and after entering it, press the x button on the upper right to create the task.
If you enter the task name, you can set the person in charge, date, approval, file attachment, description entry, etc. Approval allows you to add a review process by other members as to whether or not the task can be completed.

You can also add 'subtasks' for plans above Professional. When you click 'Add subtask', an input field will be displayed. Enter any subtask name and press the enter key ...
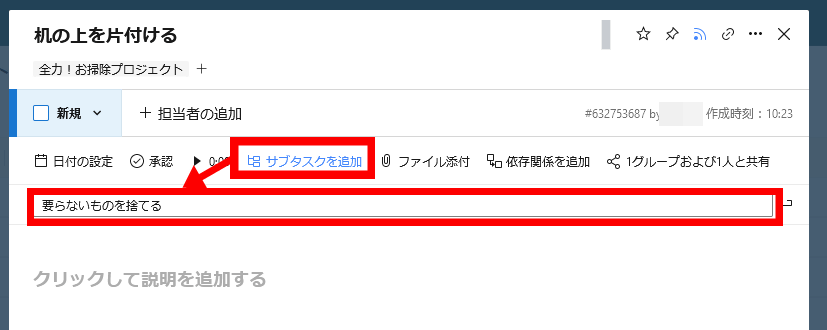
As shown below, we have added a subtask of 'discarding unnecessary things' to the task of 'cleaning up the desk'.

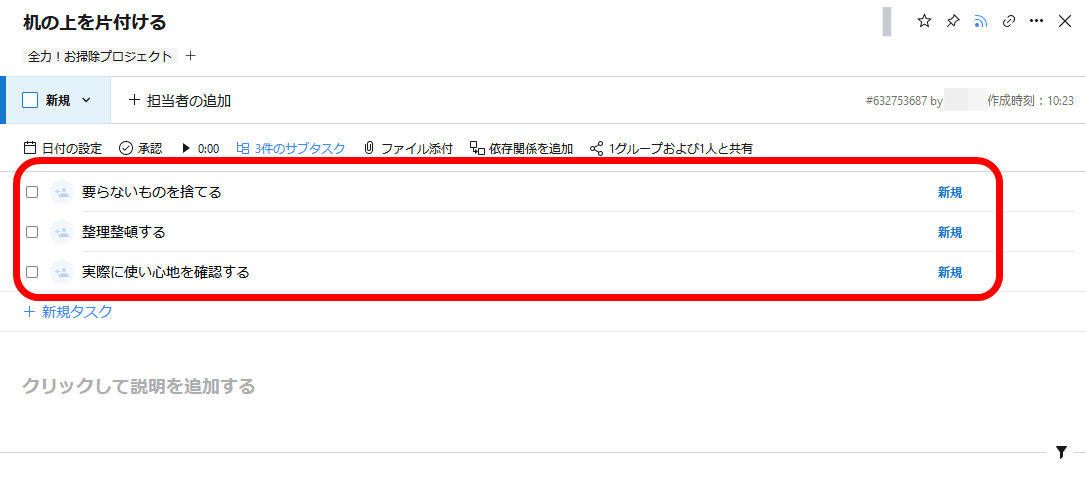
By subdividing one task into subtasks, it is possible to easily grasp the progress of the task and assign different persons to each subtask.
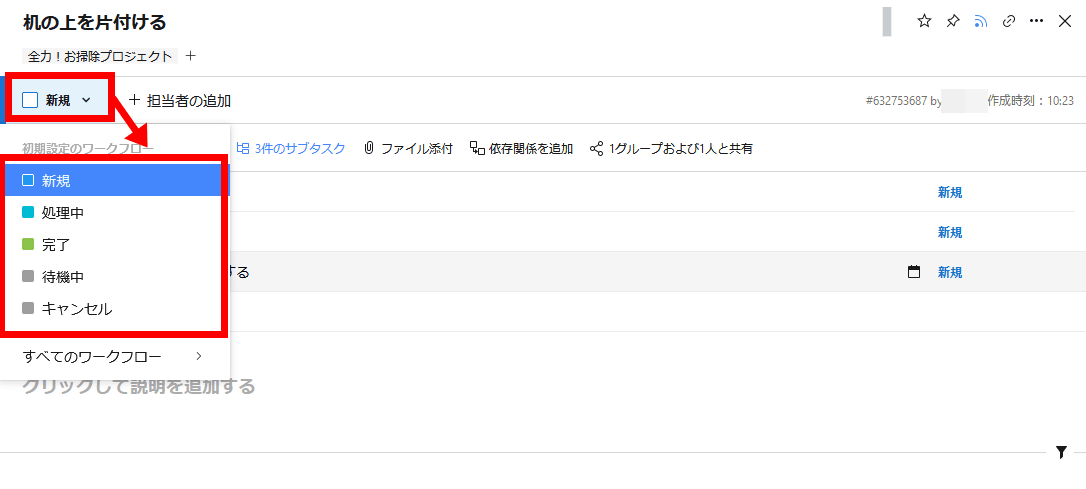
You can also change the 'workflow' that tags the progress of tasks. You can select a workflow such as 'Processing', 'Completed', or 'Waiting' by clicking the part labeled 'New'.
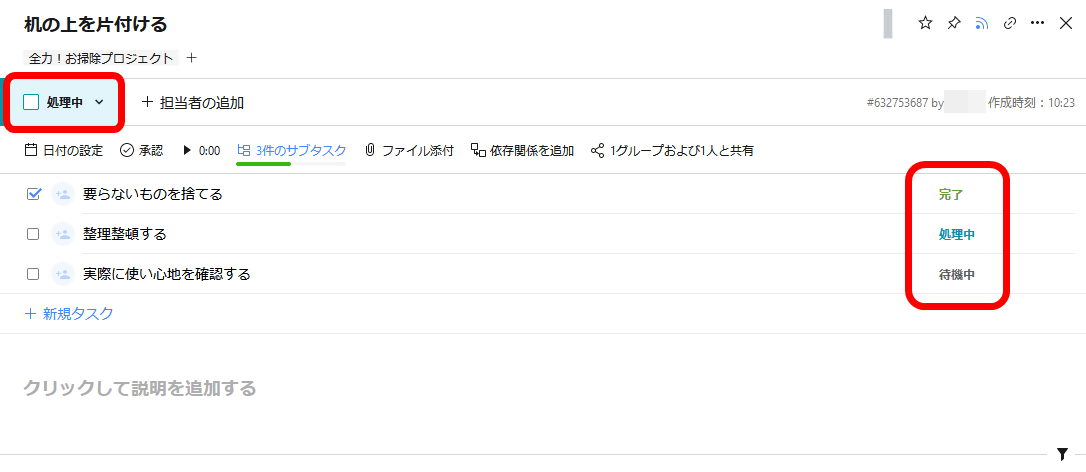
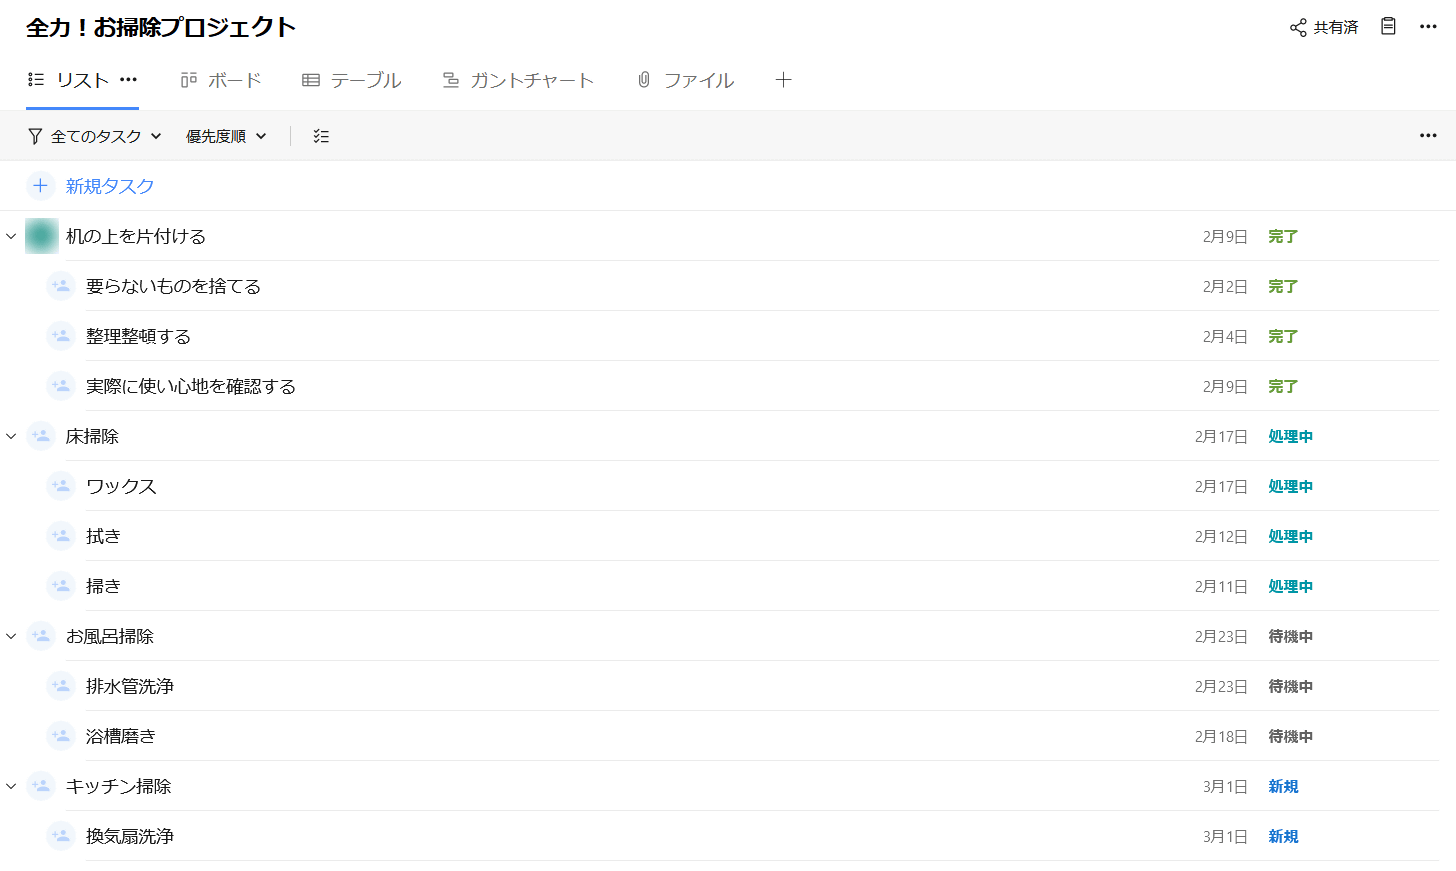
Workflows can be set for each subtask, so you can visually see information such as the first subtask being completed, the second being processed, the third being waiting, and the task as a whole being being processed.
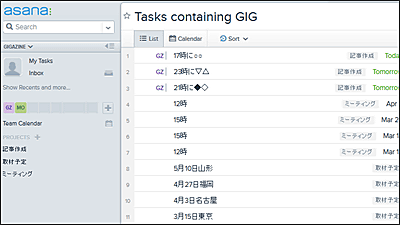
In the display format called 'list' selected this time, when a task is added, it looks like the following.
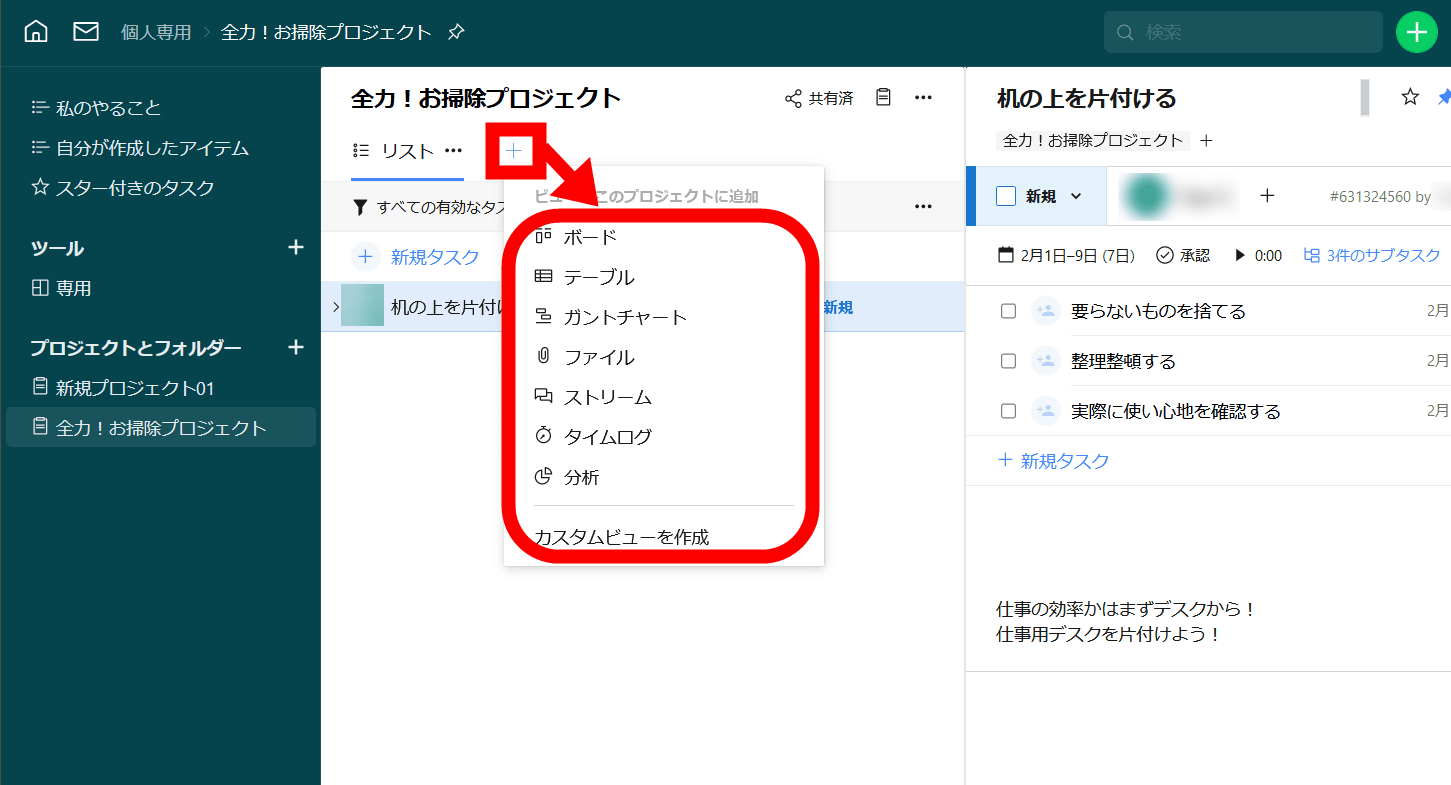
One of the features of Wrike is that you can freely change the display format of the created task. You can change the display format by clicking the add icon in the red frame below.
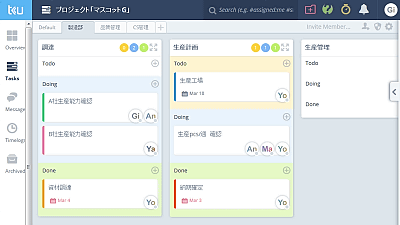
'Board' allows Kanban-style task management using cards like

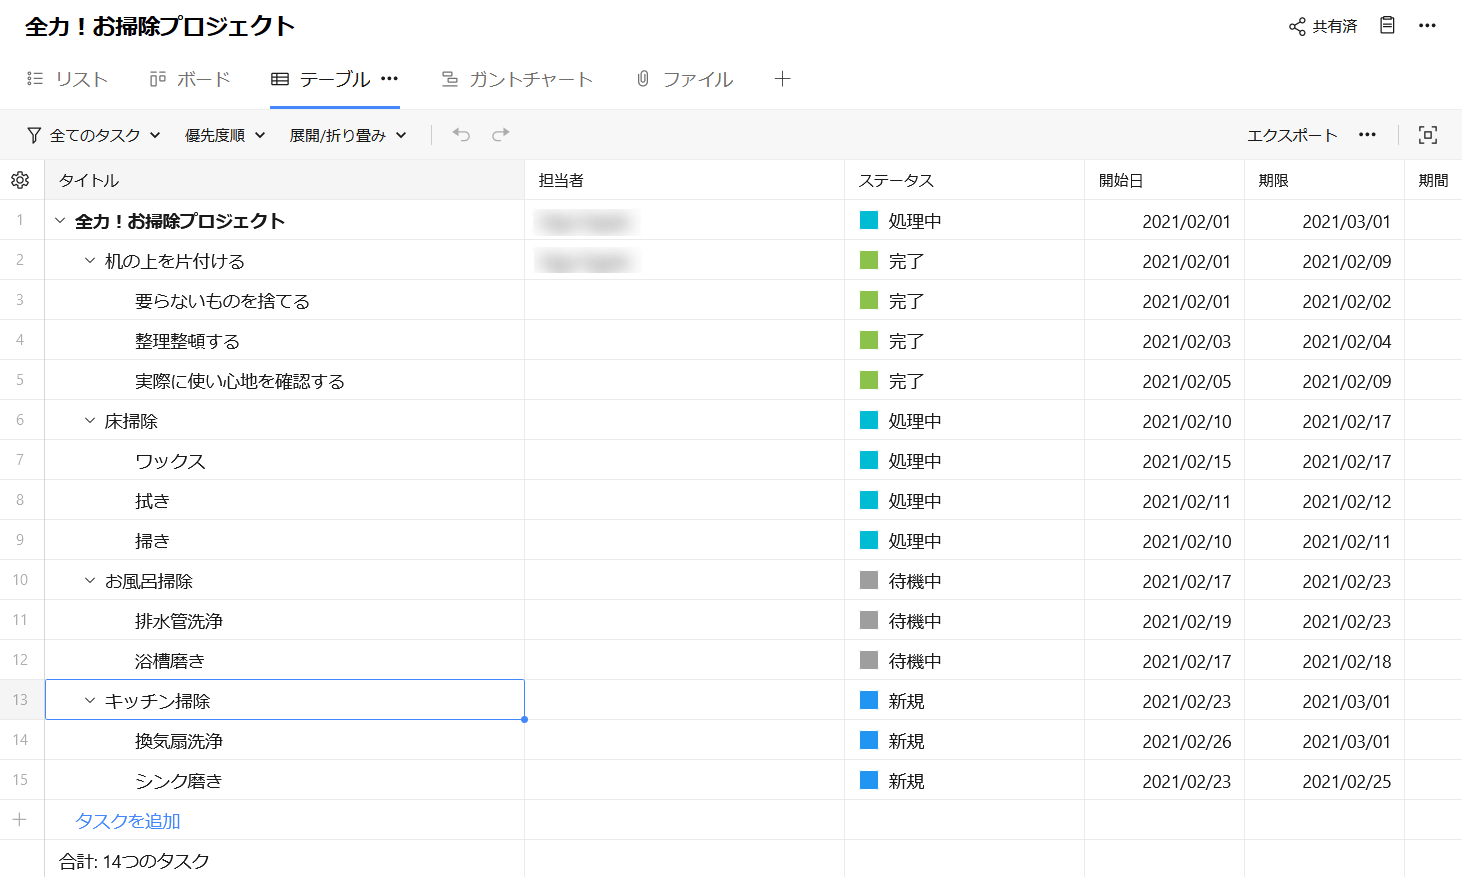
'Table' is a display format like Excel. Suitable for editing the contents of each item.
In the paid plan, you can use the '

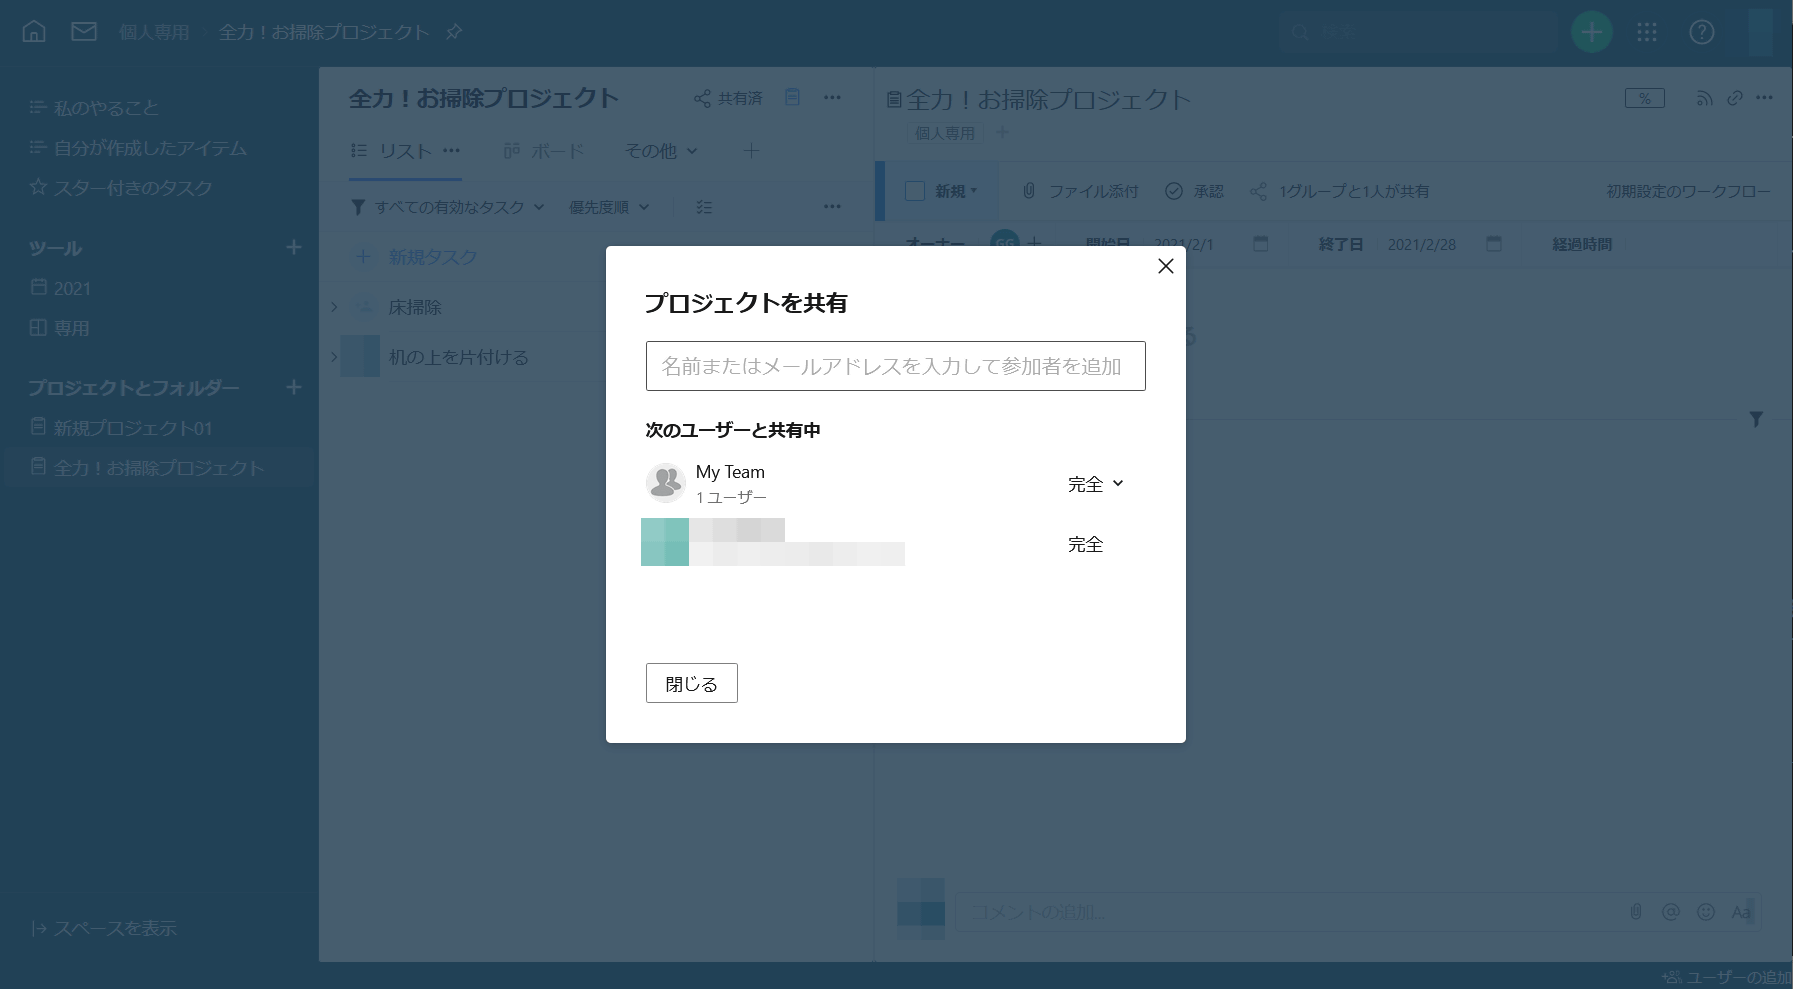
It is also possible for multiple people to manage the above projects. By clicking on the 'shared' part ...
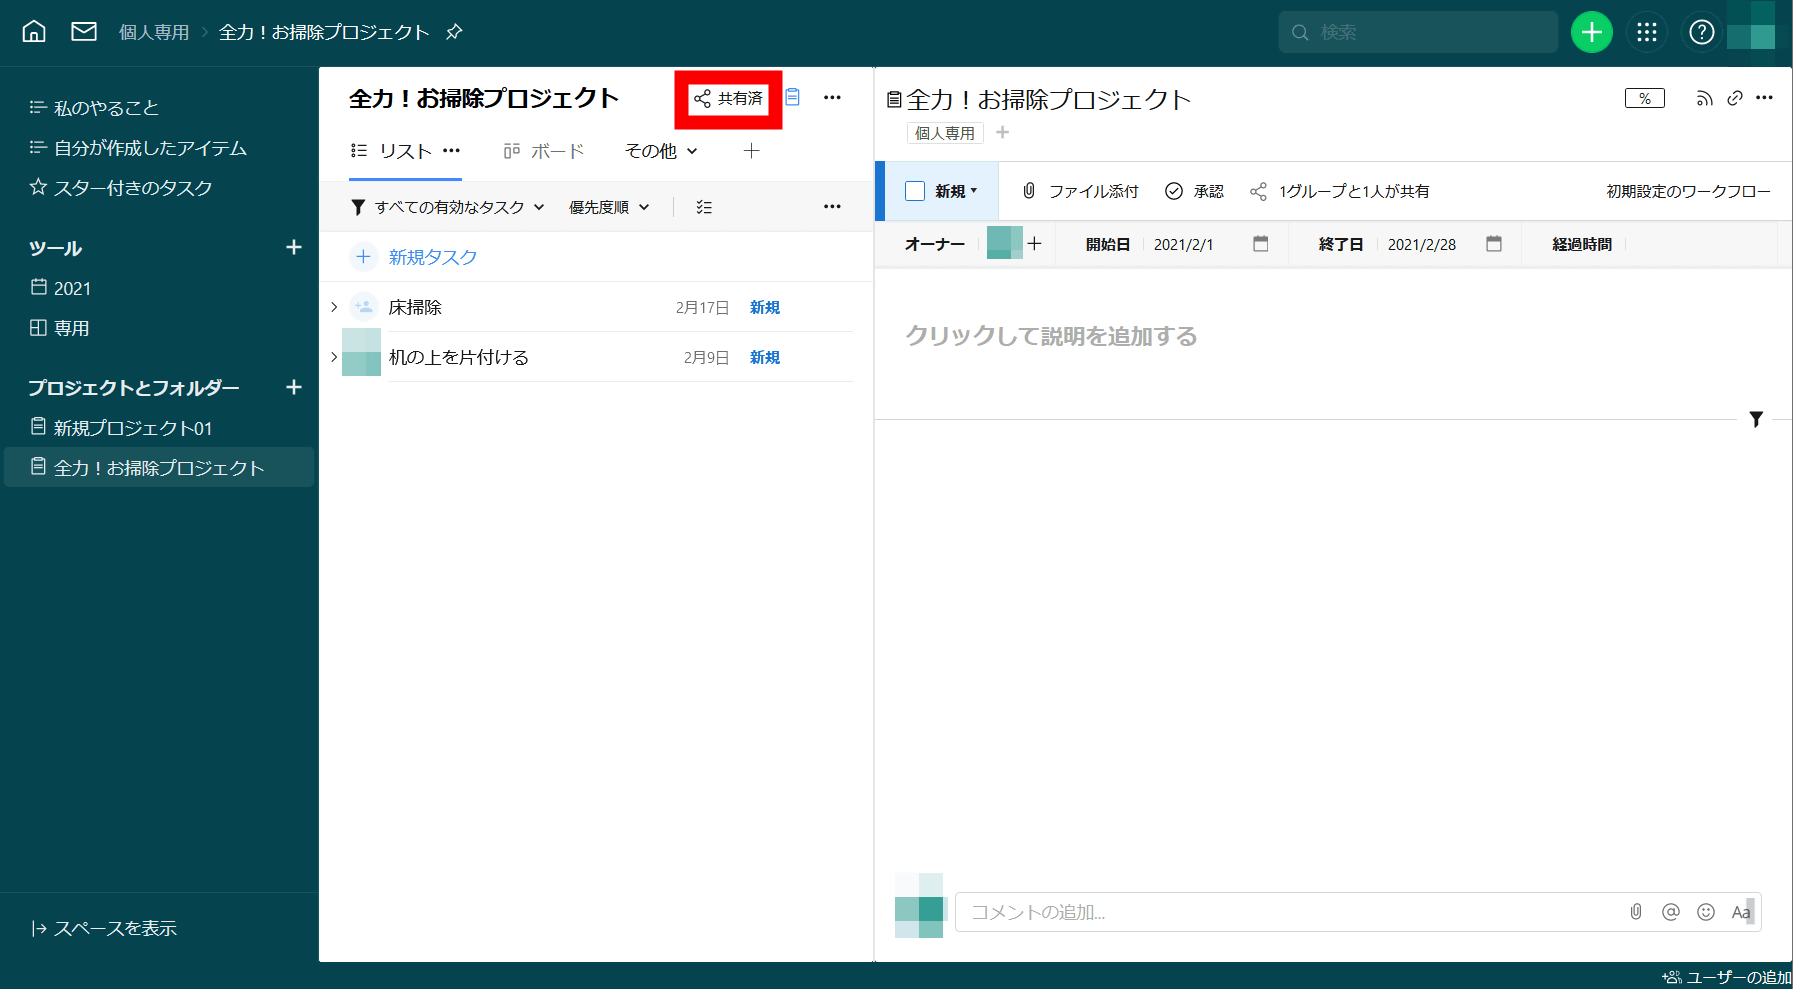
Participants can be added by email address or user name.
So, when you create multiple projects, create tasks, and then return to the home screen, it looks like this. The projects you are participating in are lined up in the 'Recent Browse' section in the center of the screen. In addition, a list of shortcuts to convenient functions is displayed on the right side of the home screen.

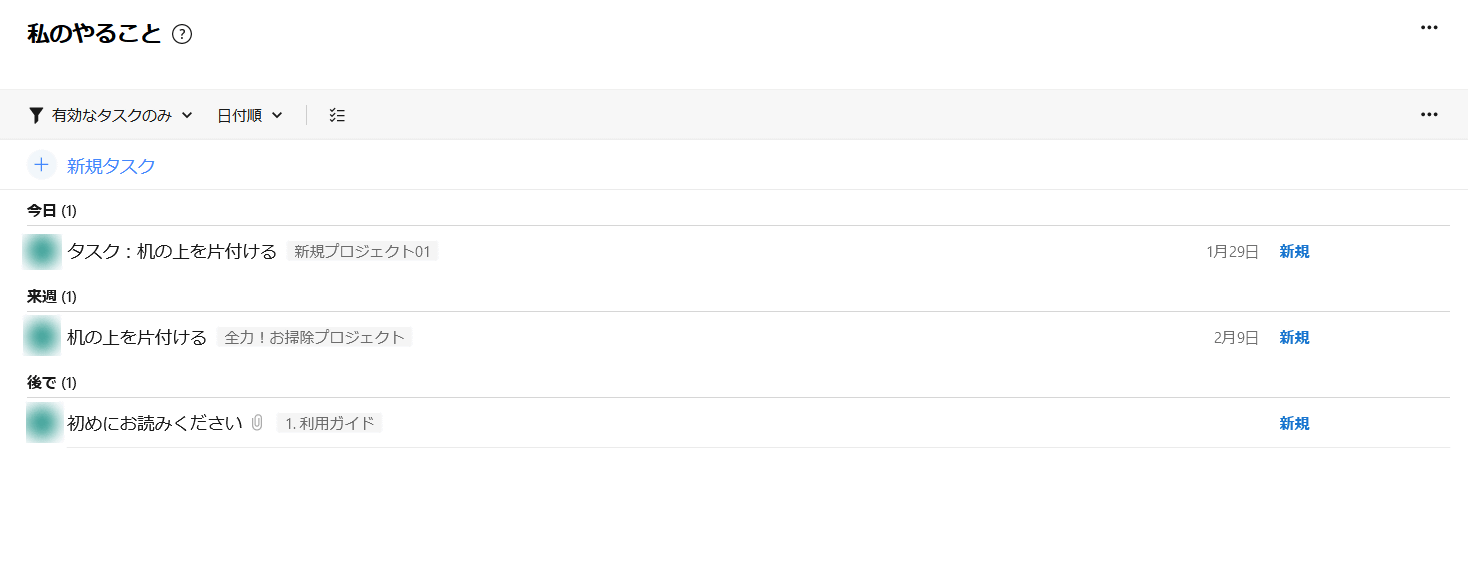
'What to do' will show you the tasks assigned to you that are nearing the deadline or that have been postponed.
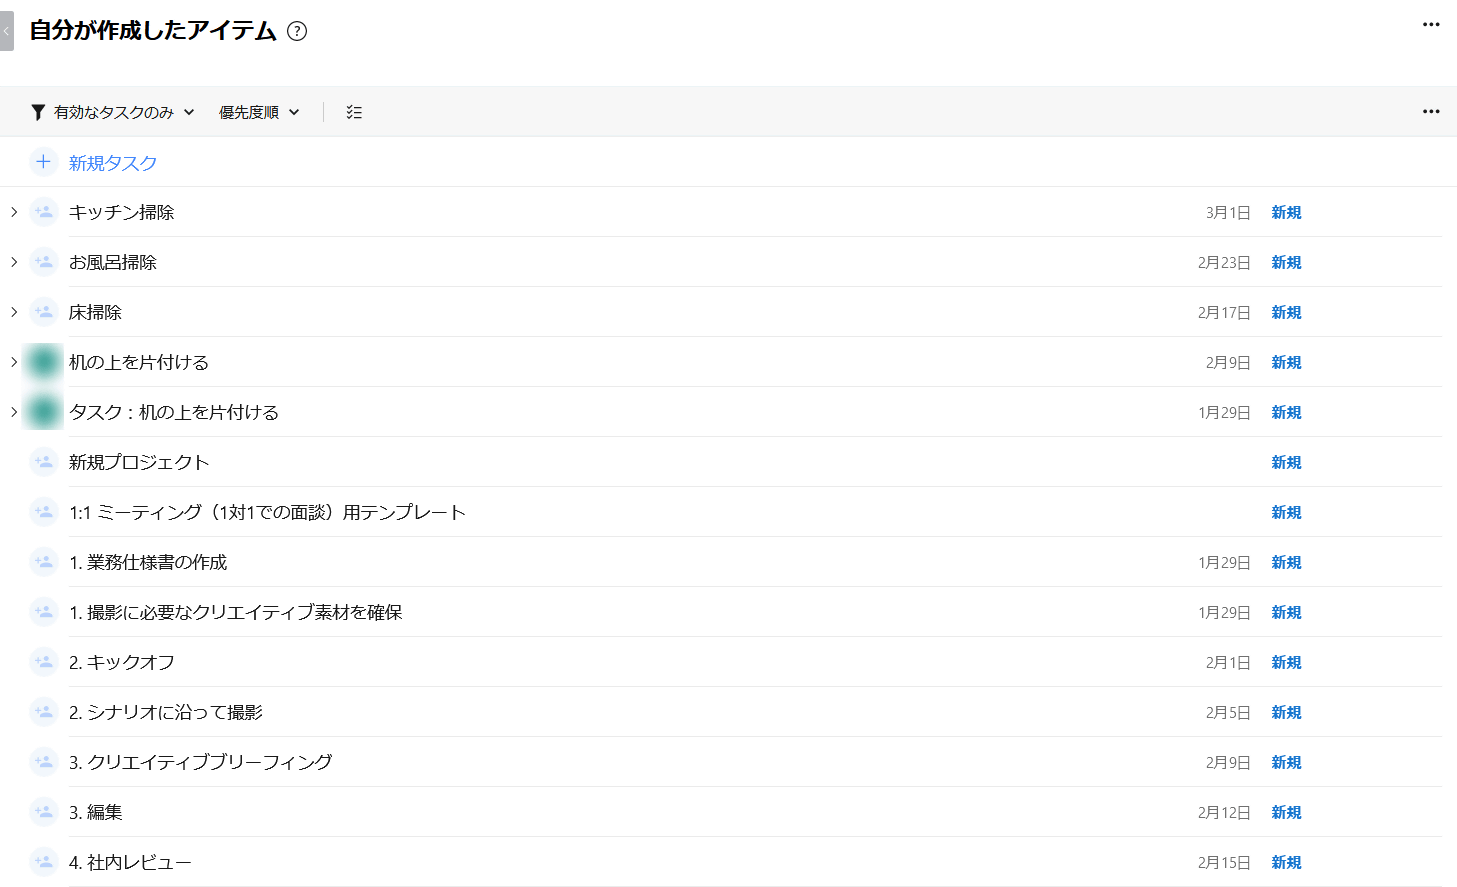
As the name implies, 'items I created' is a history of tasks I created. In addition to the tasks you created, it seems that tasks created by the system such as 'Read me first' are also displayed.
'Starred Tasks' is a task favorite feature that allows you to view only starred tasks.

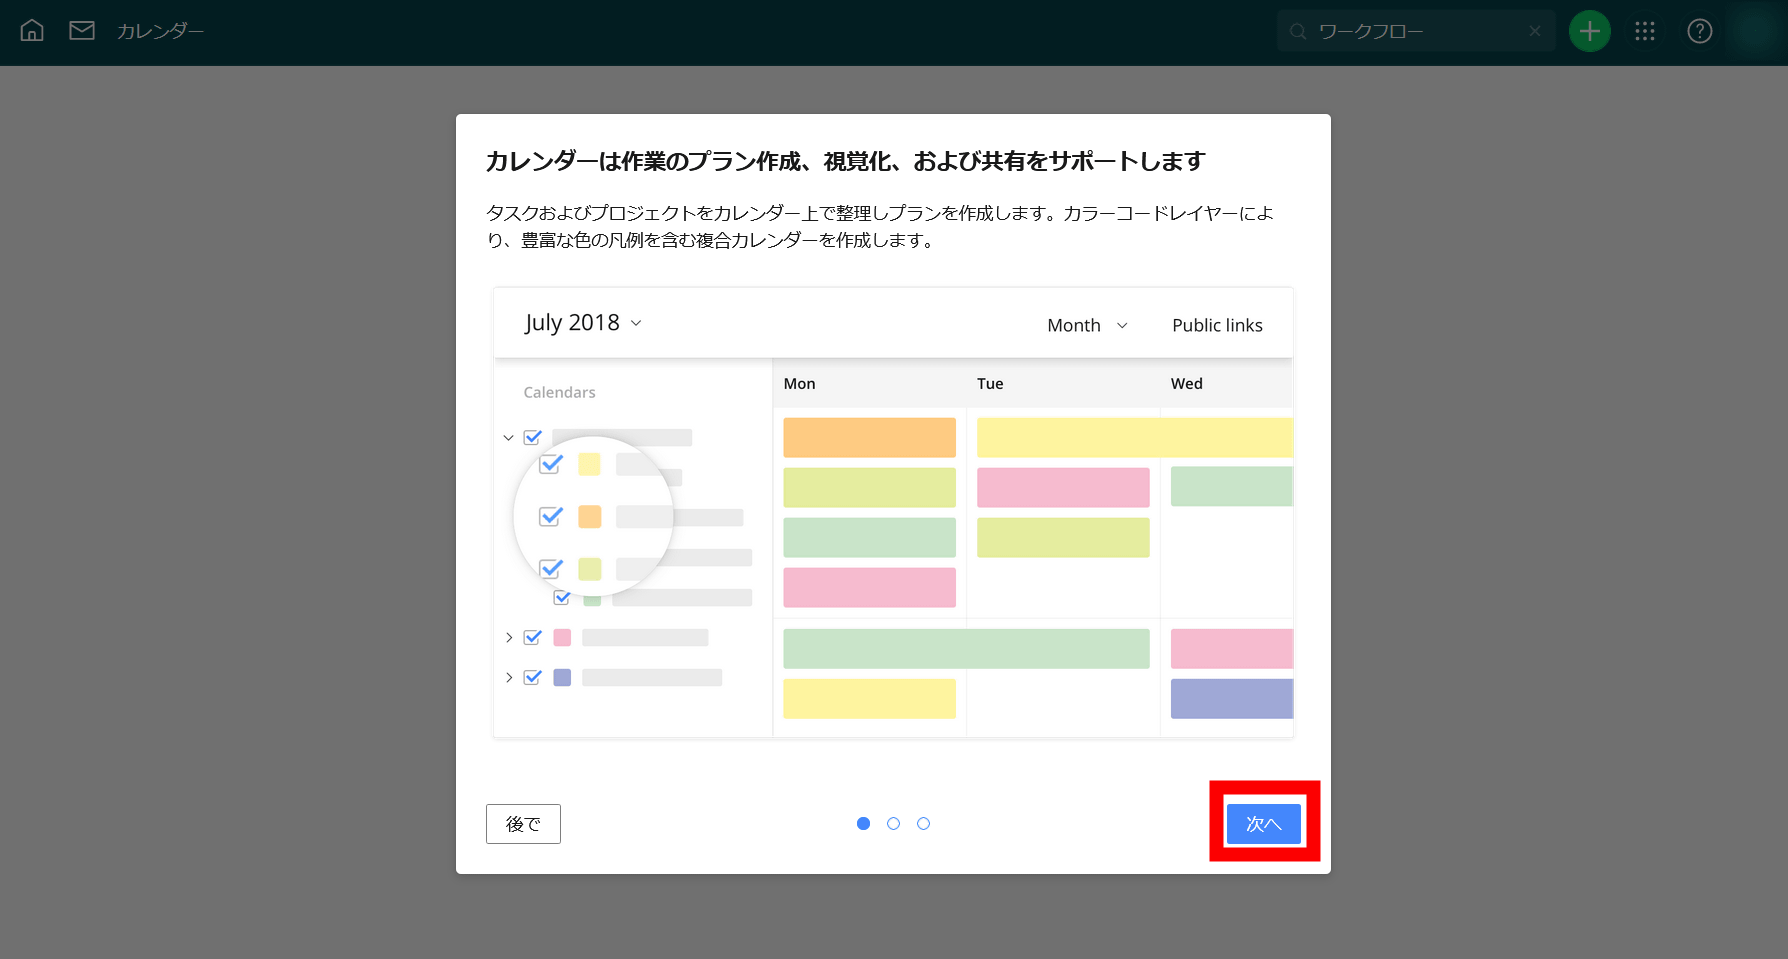
The calendar that can be used with the Professional plan and above is a function that allows you to visually grasp the progress of the schedule by displaying the tasks on the calendar. The tutorial will be displayed for the first time, so read on with 'Next' to complete.
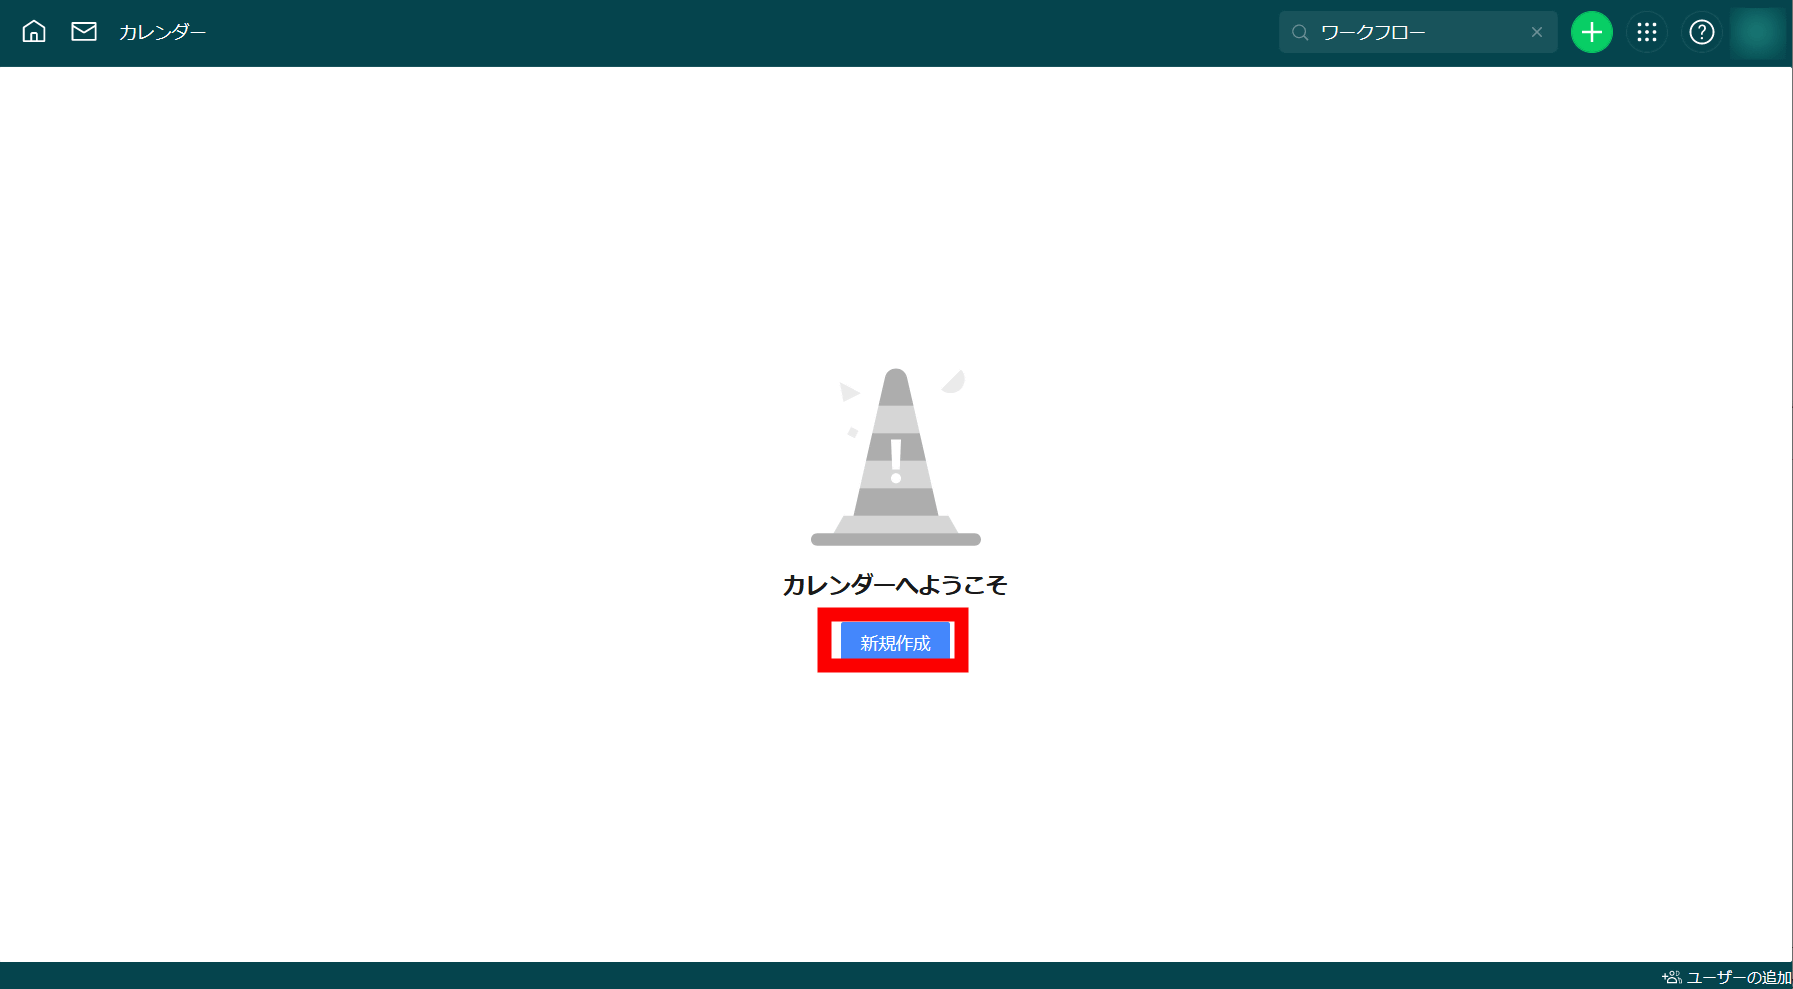
You can create multiple calendars, such as 'for yourself' and 'for teams', and manage them separately. For the first time, click 'New' to create a calendar.
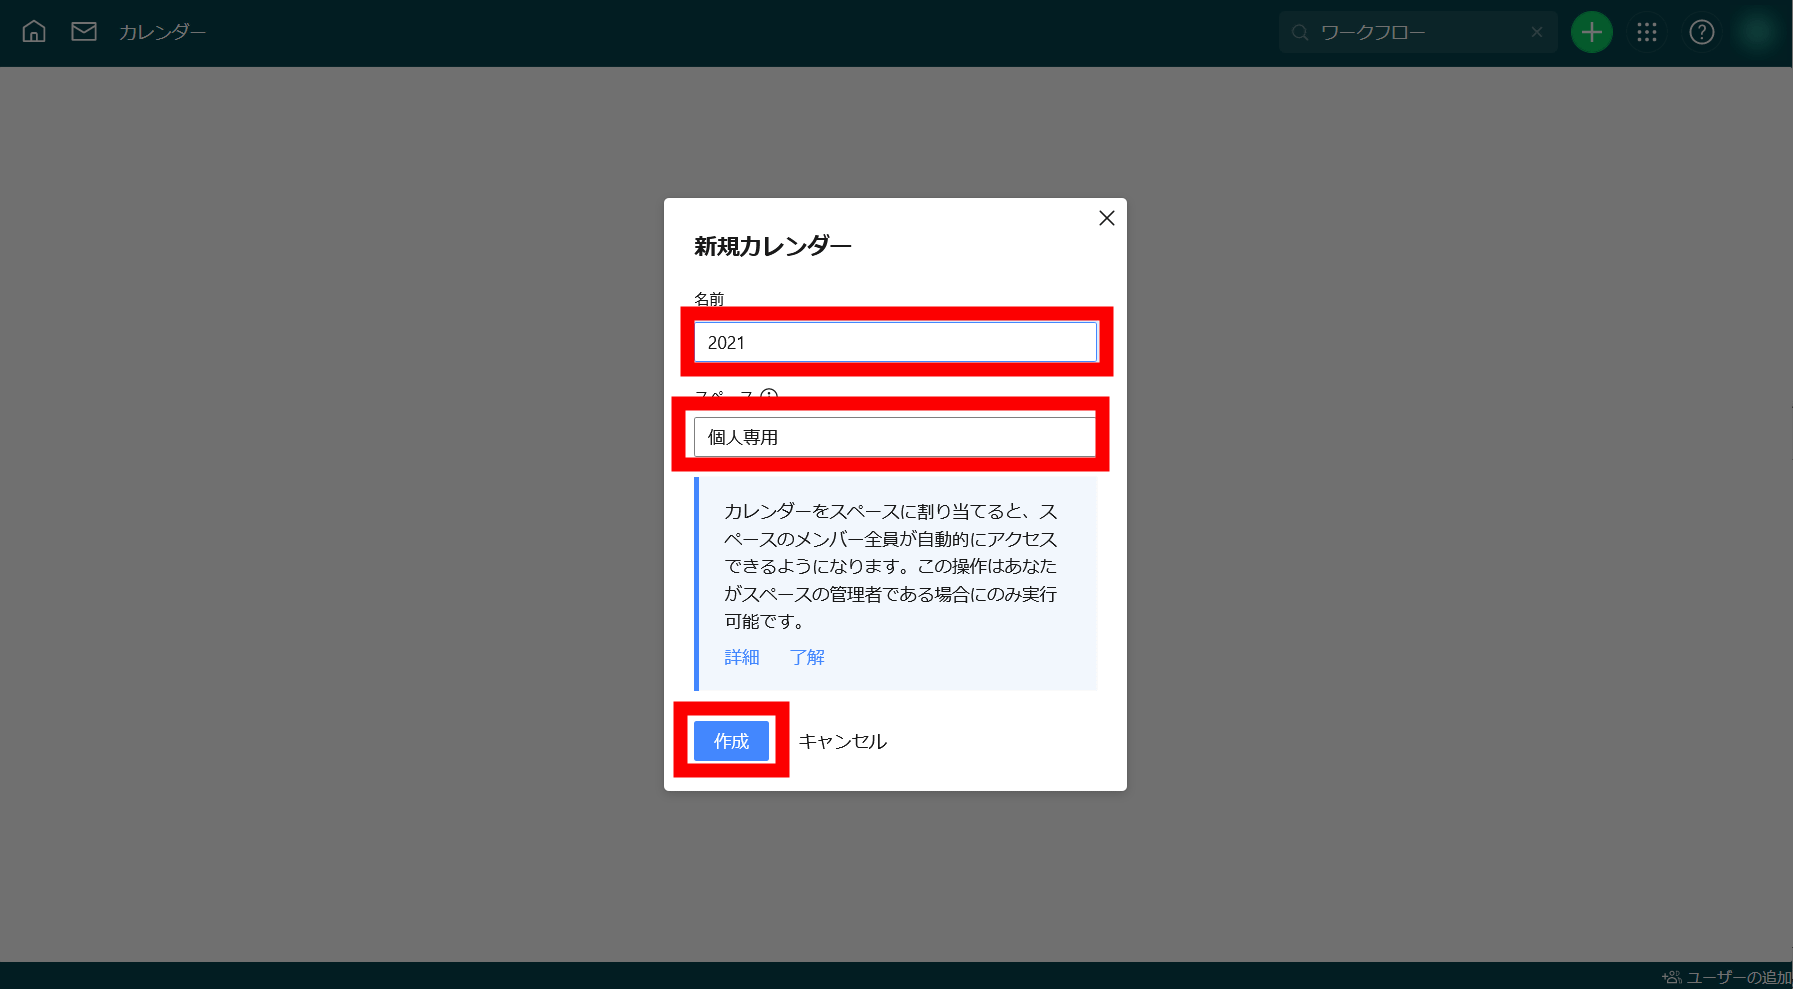
Decide the name of the calendar and the space to be shared, and click 'Create'.
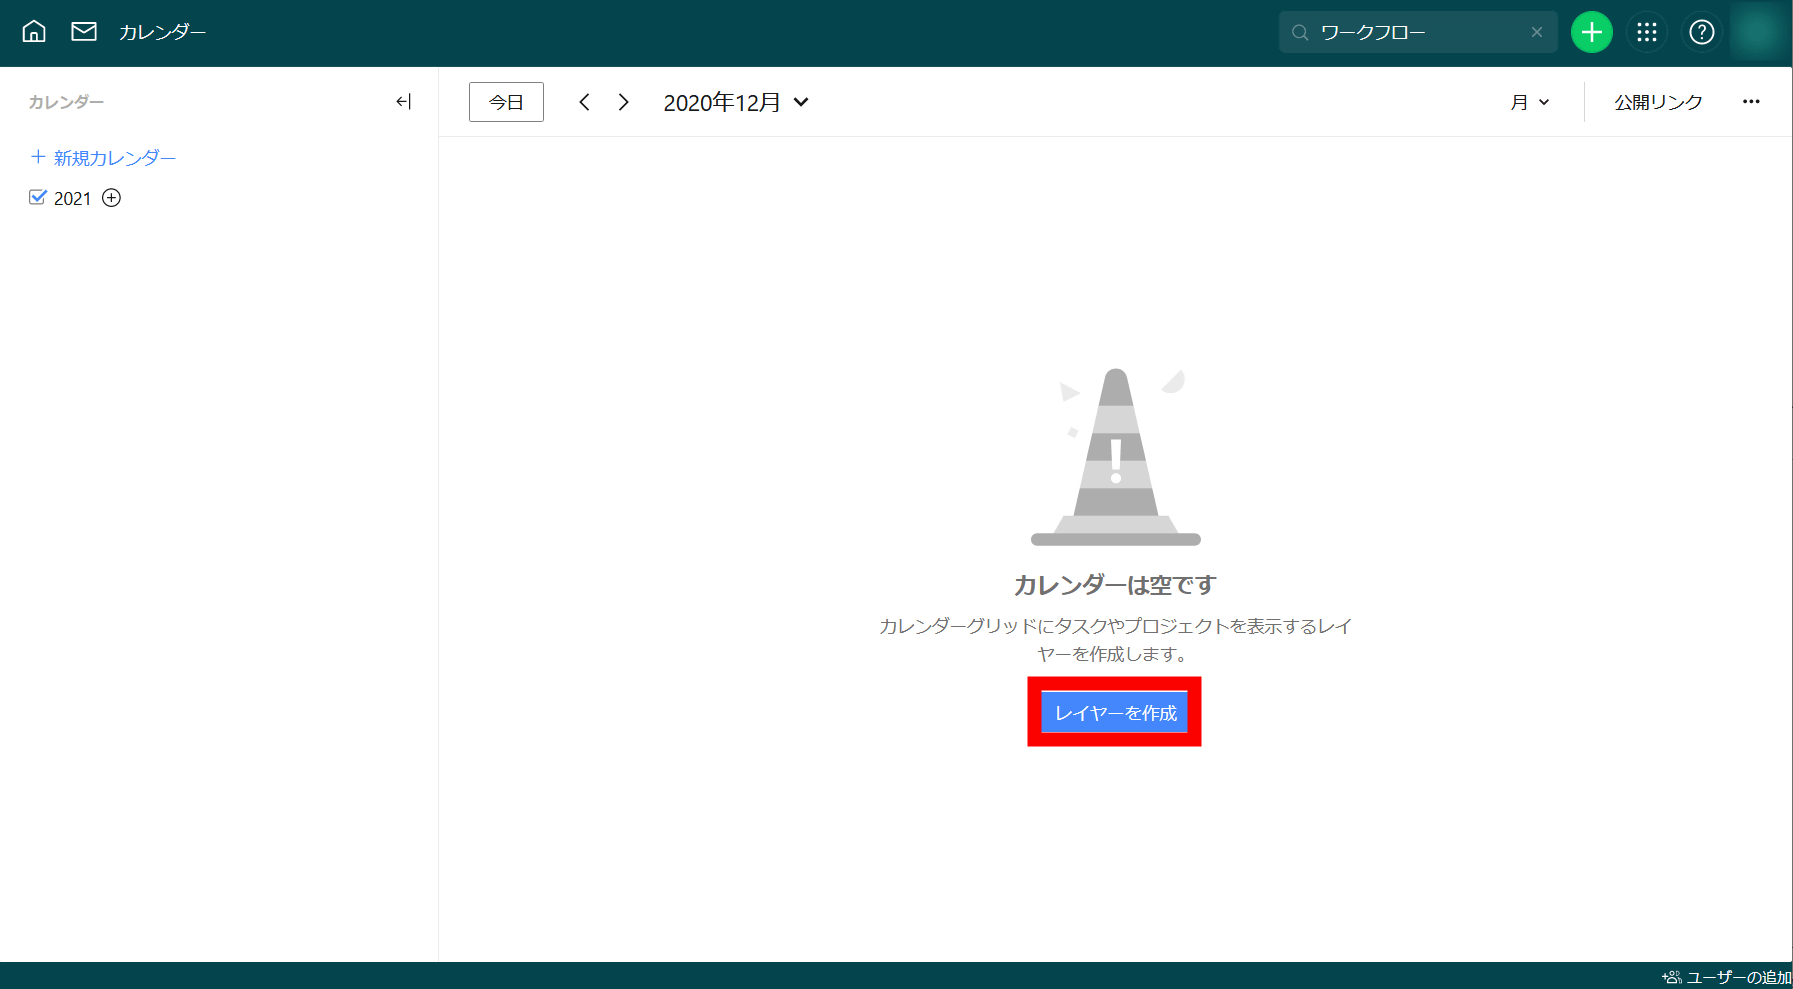
The created calendar looks like this and is in a clean state. Add the contents of the calendar with 'Create Layer'.
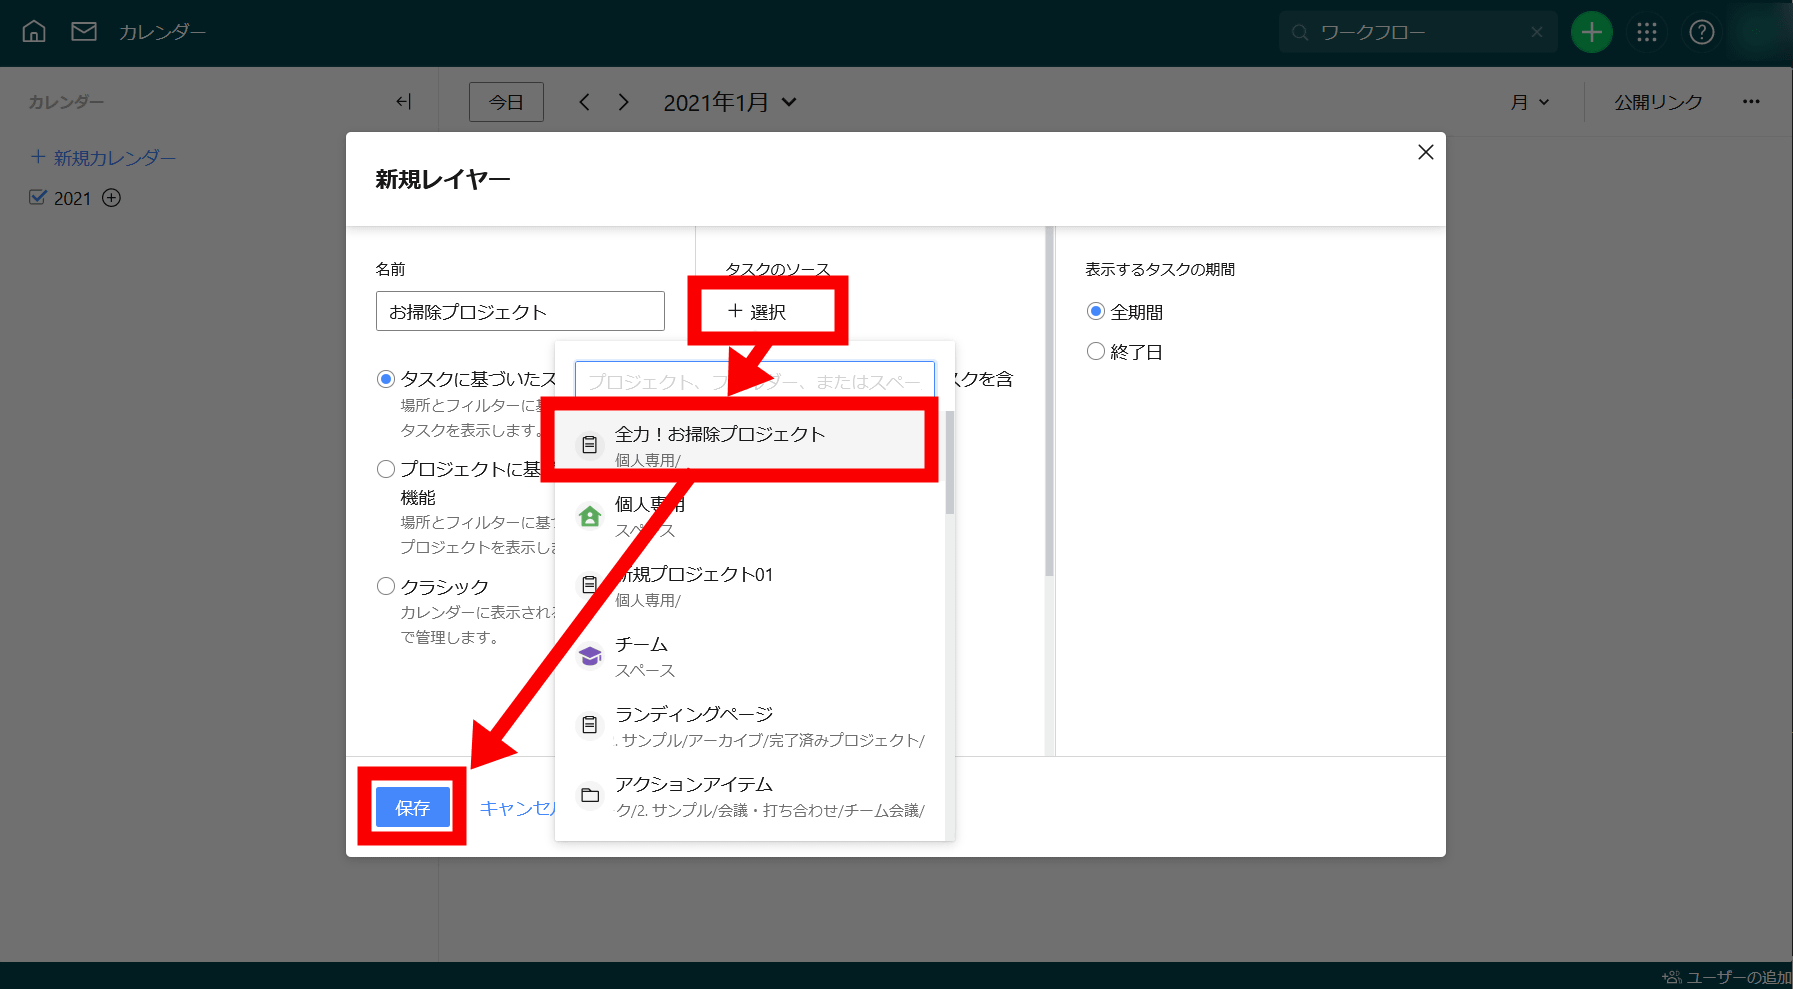
The layer is the part that decides 'where to bring the contents of the calendar'. This time I decided to display the tasks in the project created earlier on the calendar. Give the calendar an arbitrary name and check 'Task-based smart features' ...
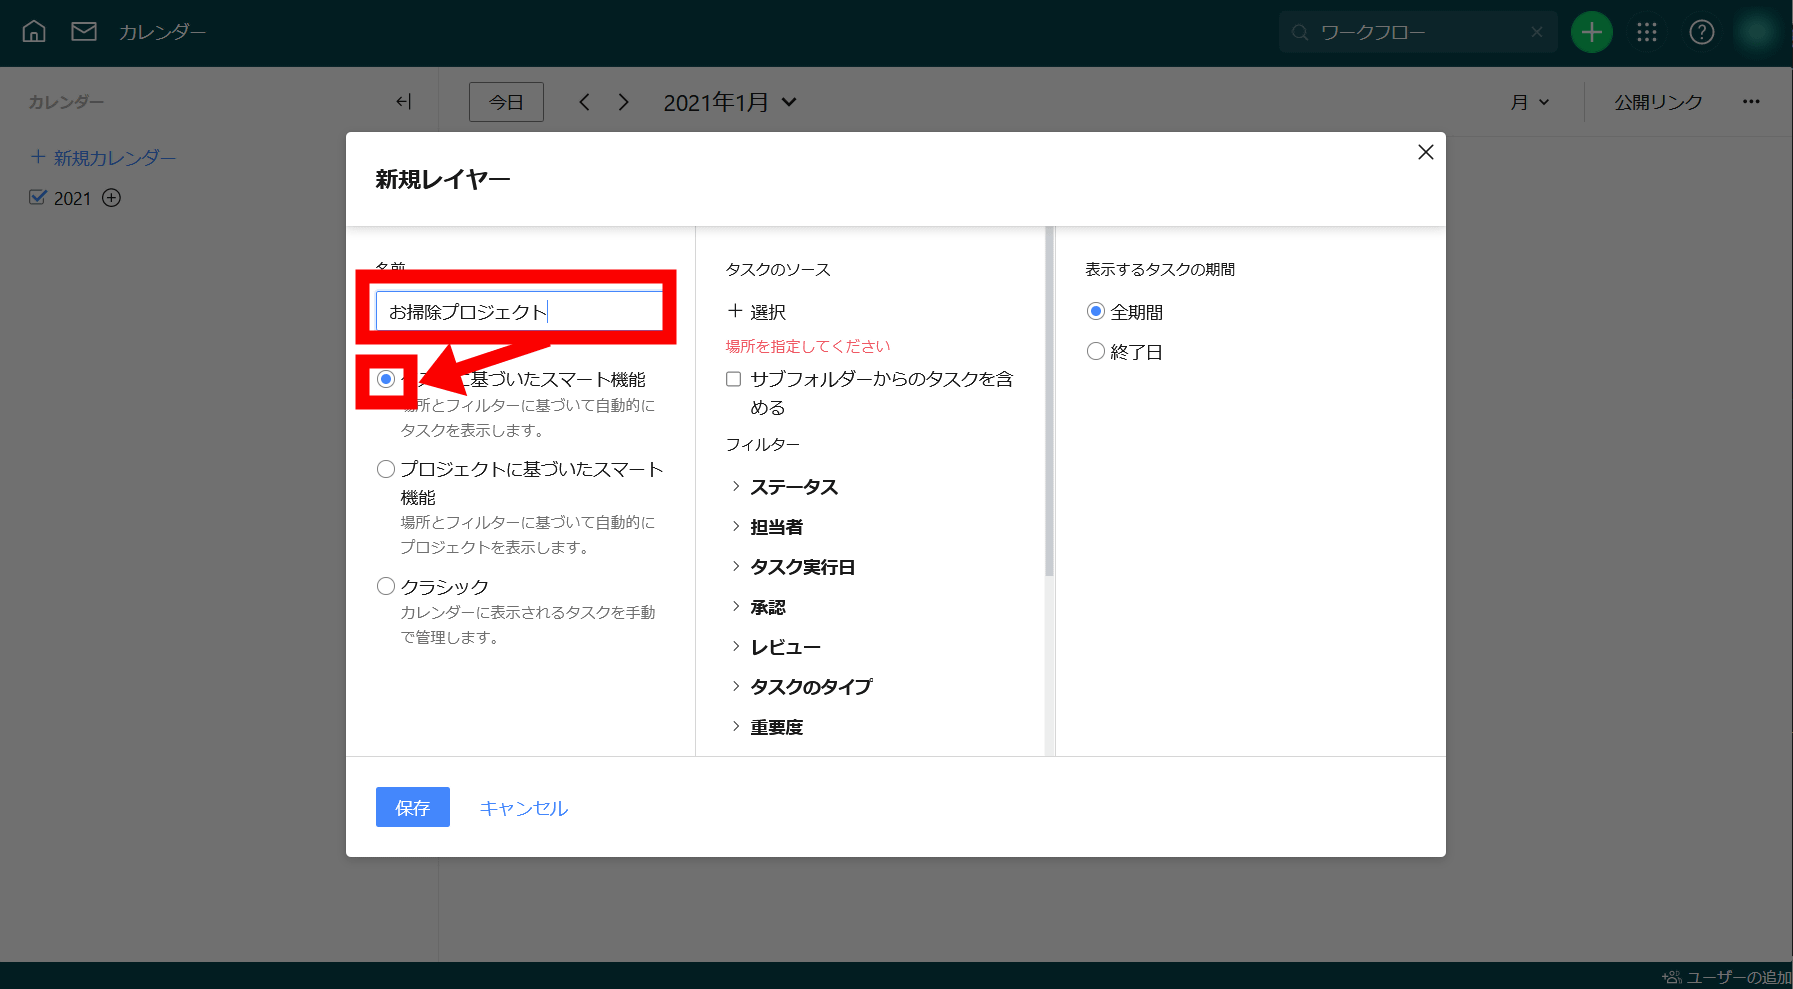
Select the project you created from 'Select' of the project source and click 'Save'.
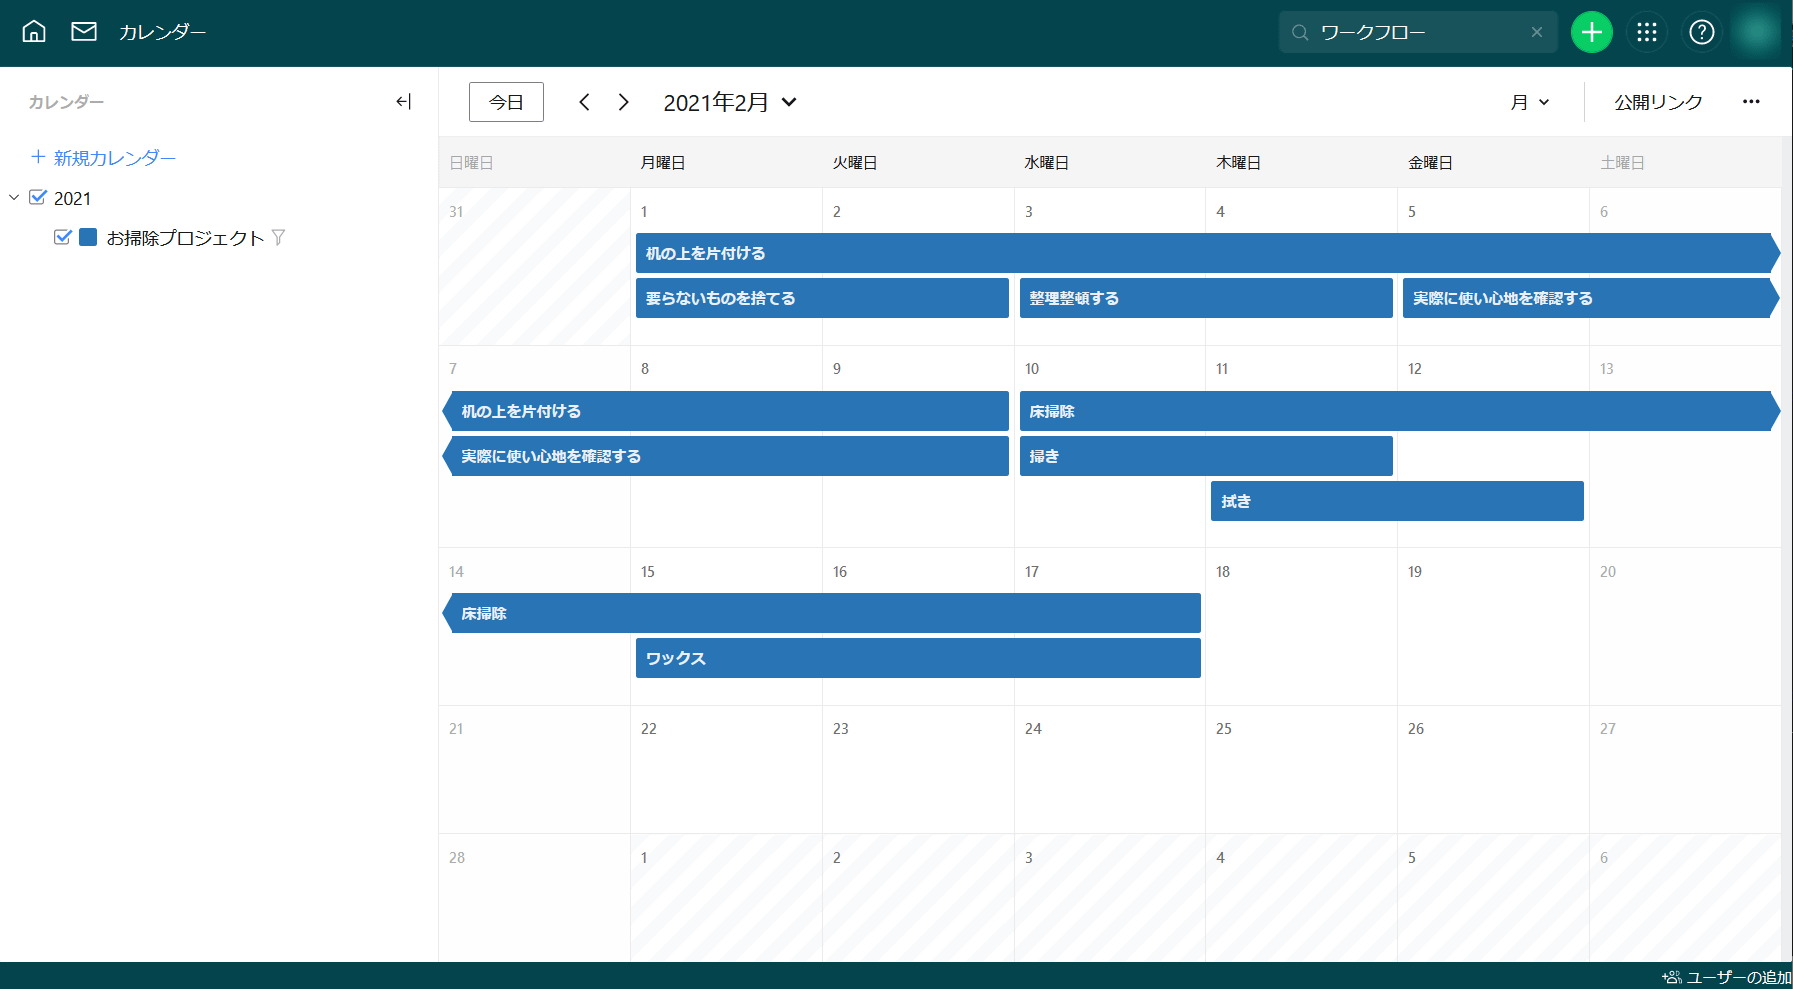
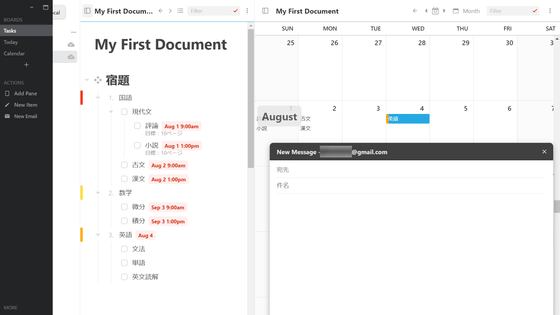
Then, the tasks in the project will be displayed on the calendar like this.
You can also edit directly by double-clicking each task.

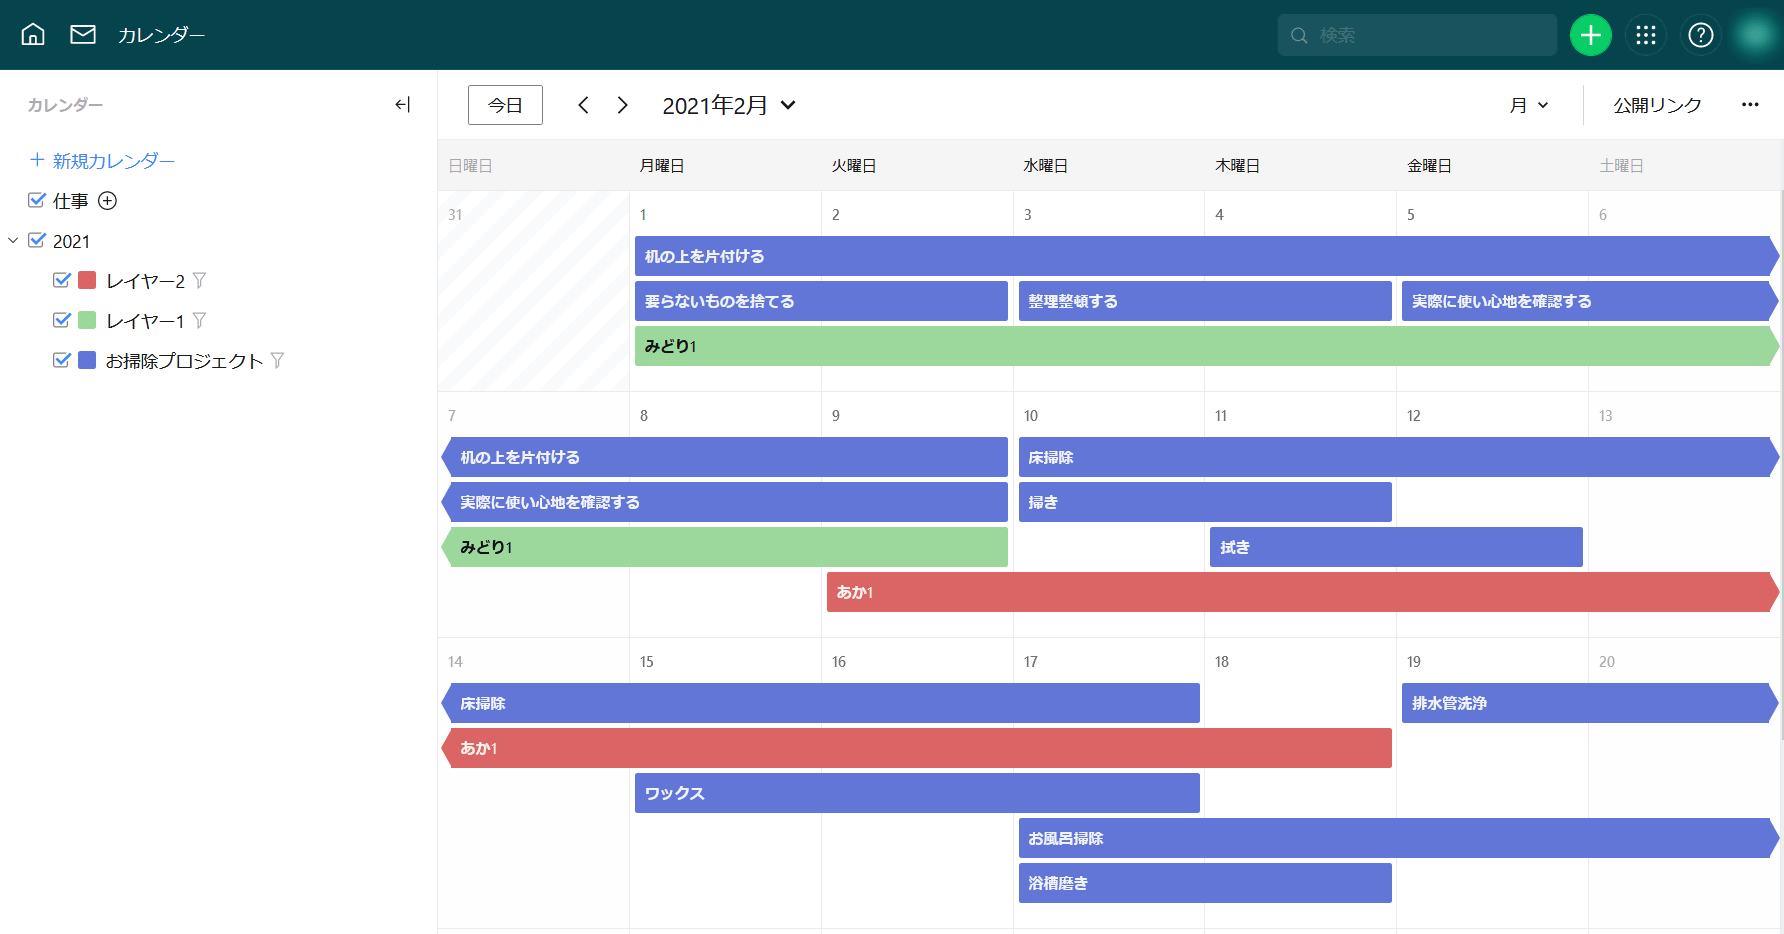
You can also change the color for each project you add.
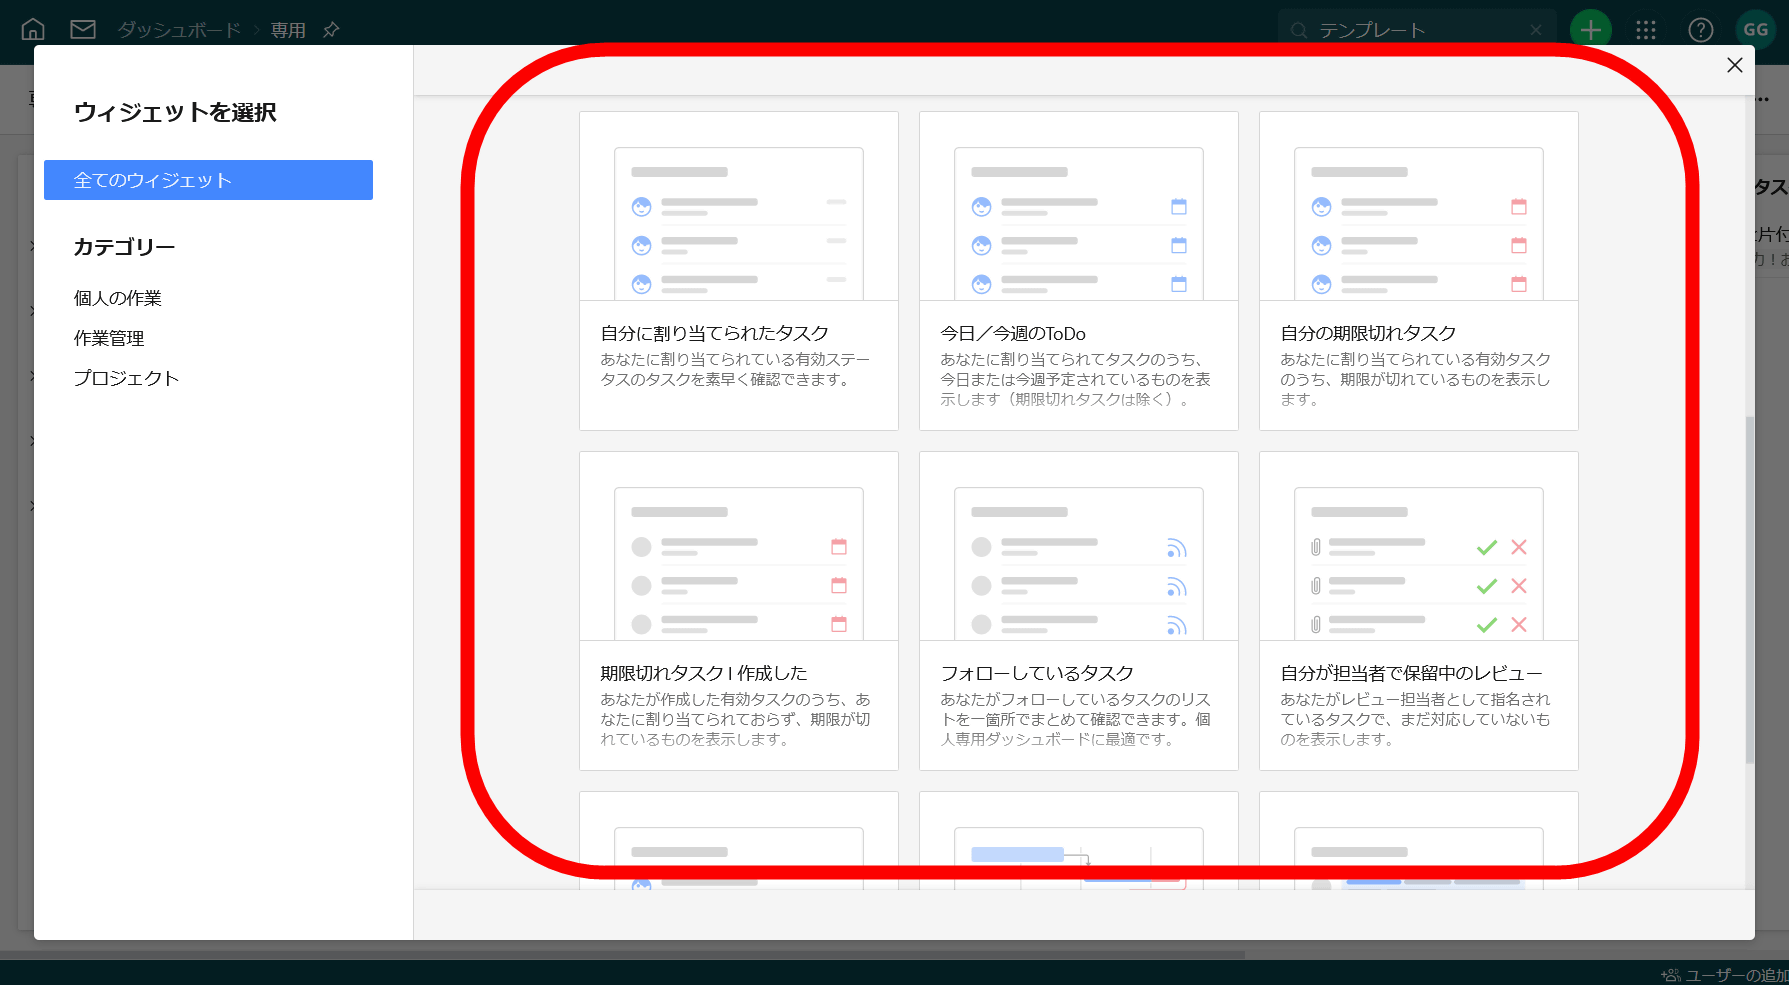
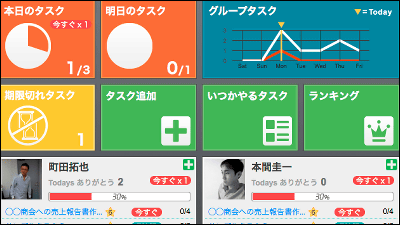
The dashboard is a function that makes it easier to see by classifying tasks according to specific conditions. By adding a 'new widget' ...
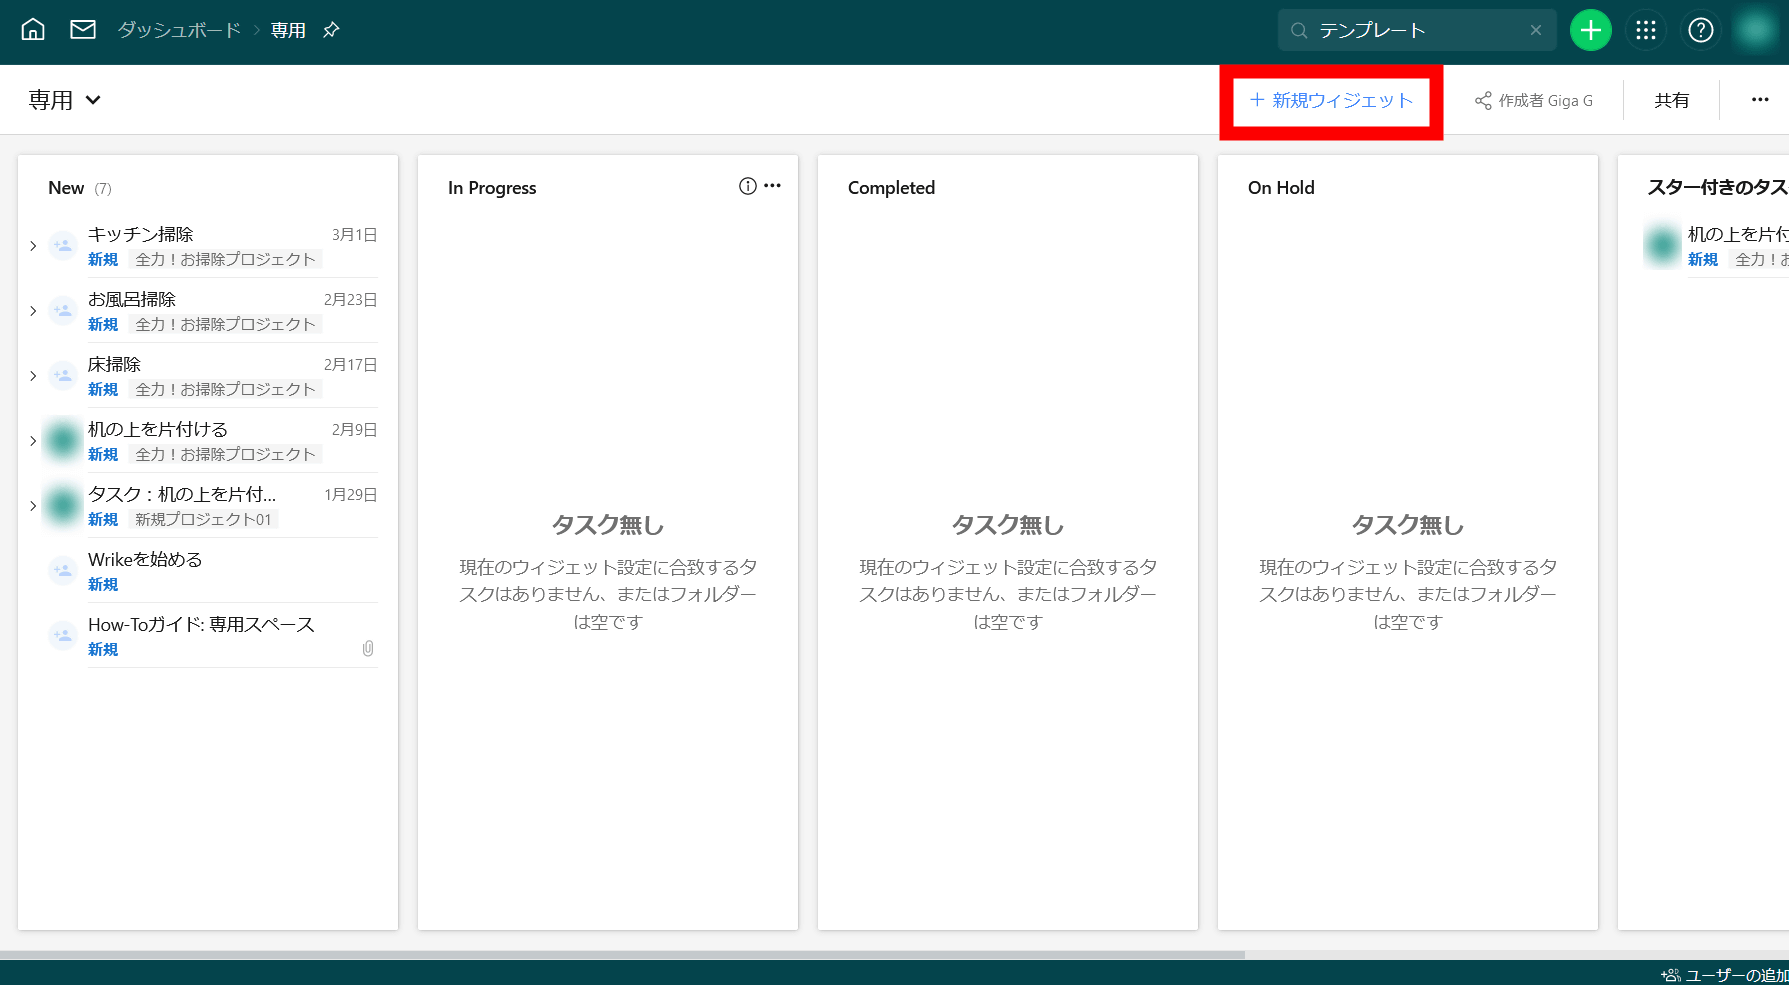
You can add various search criteria such as 'tasks assigned to you', 'ToDos of today / week', and 'My expired tasks'.
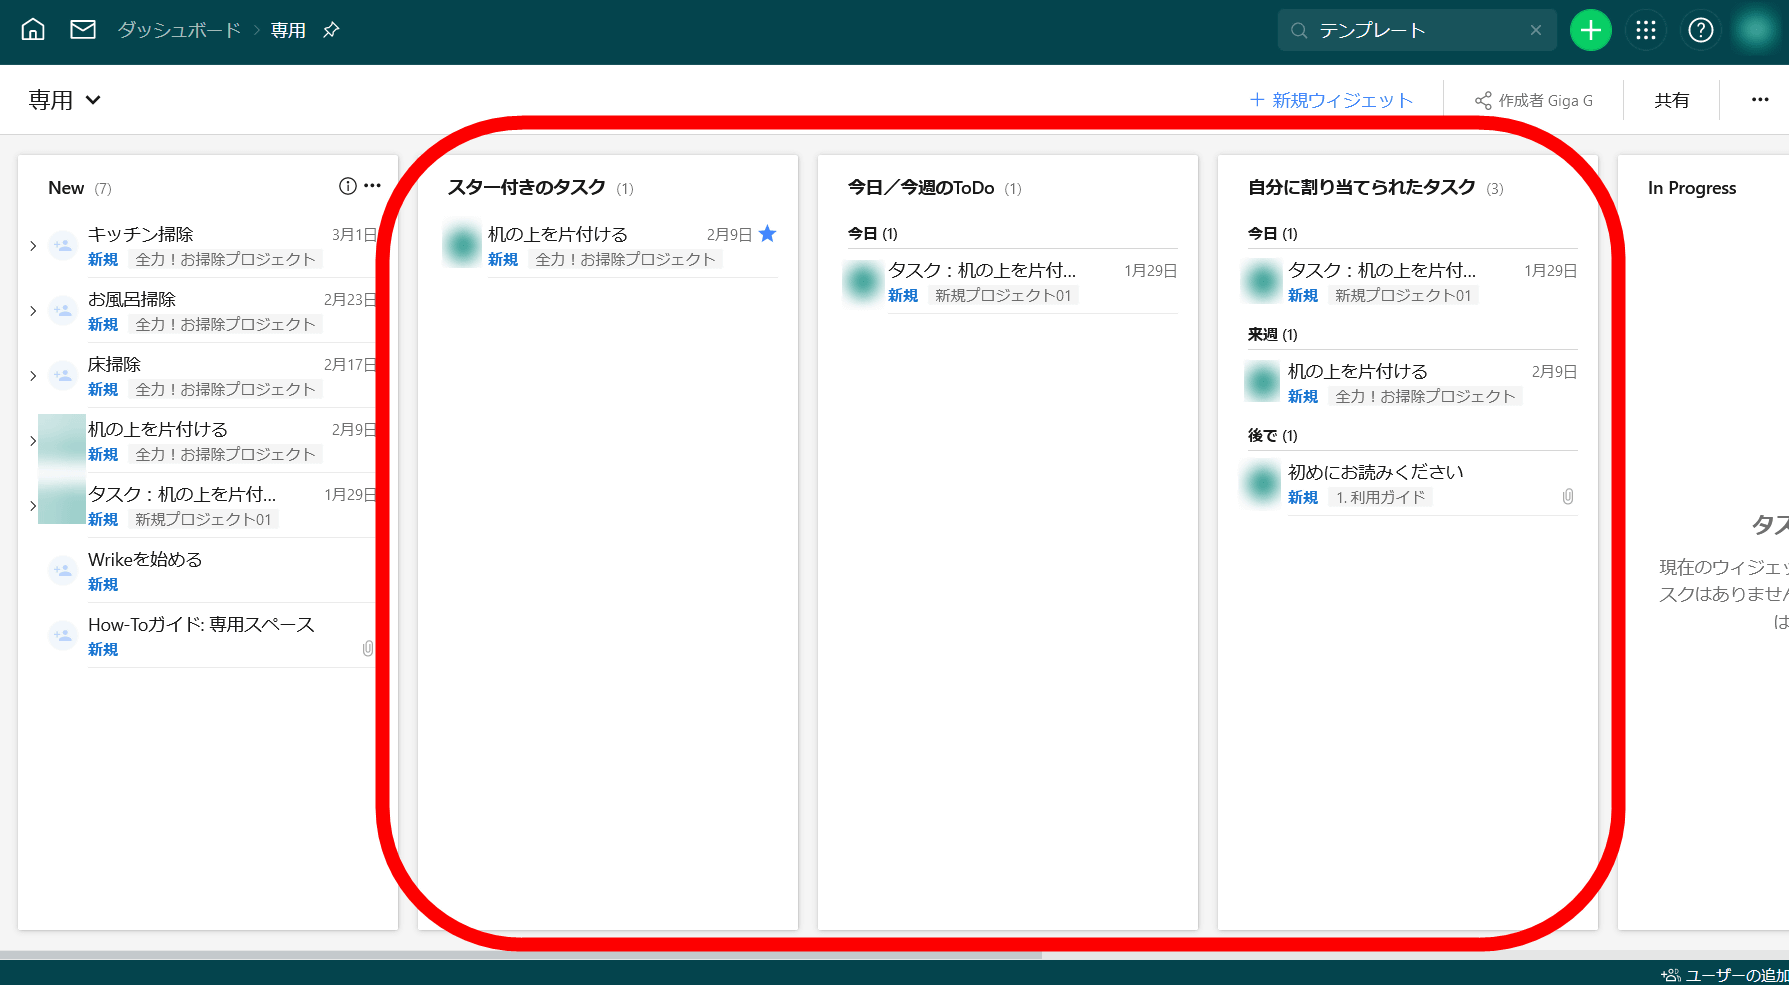
When added, tasks that meet each condition will be displayed in a list like this. By choosing the layout you like, you will be able to see at a glance which tasks you should do today and which tasks are of high importance. Dashboards can be shared, but only for Professional plans and above.
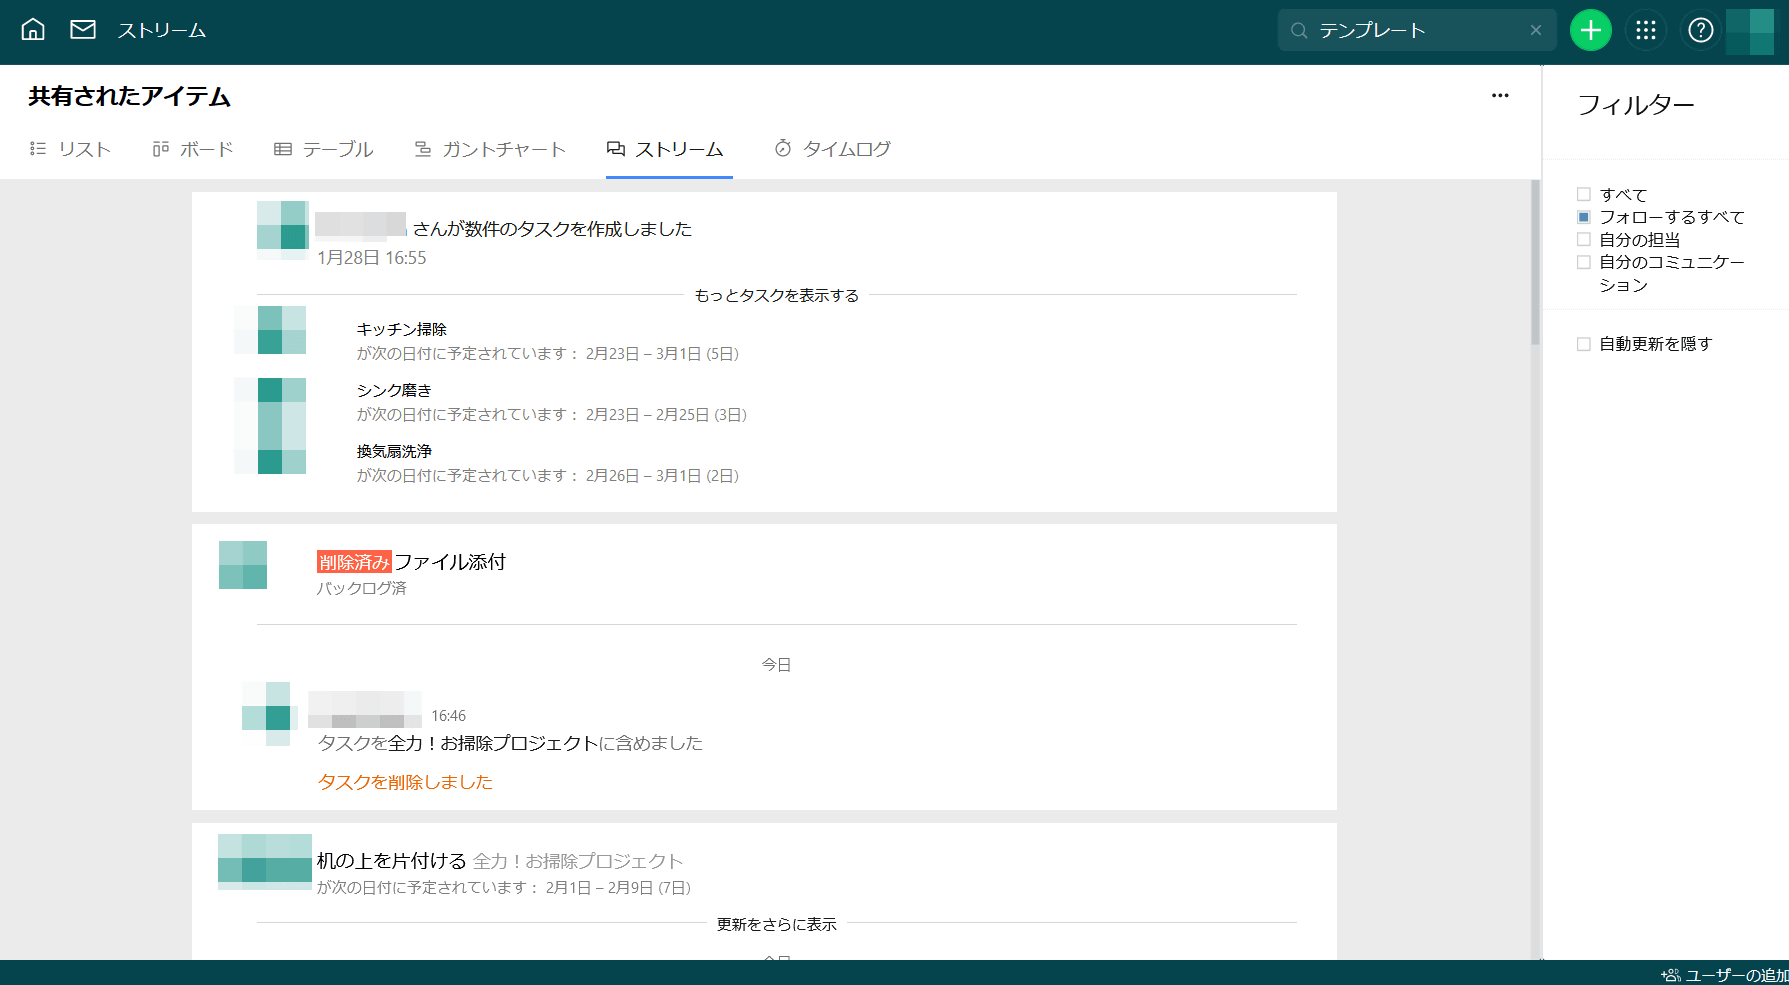
'Stream' is an action history, and actions such as creation, editing, and deletion performed by yourself and team members are displayed in chronological order.
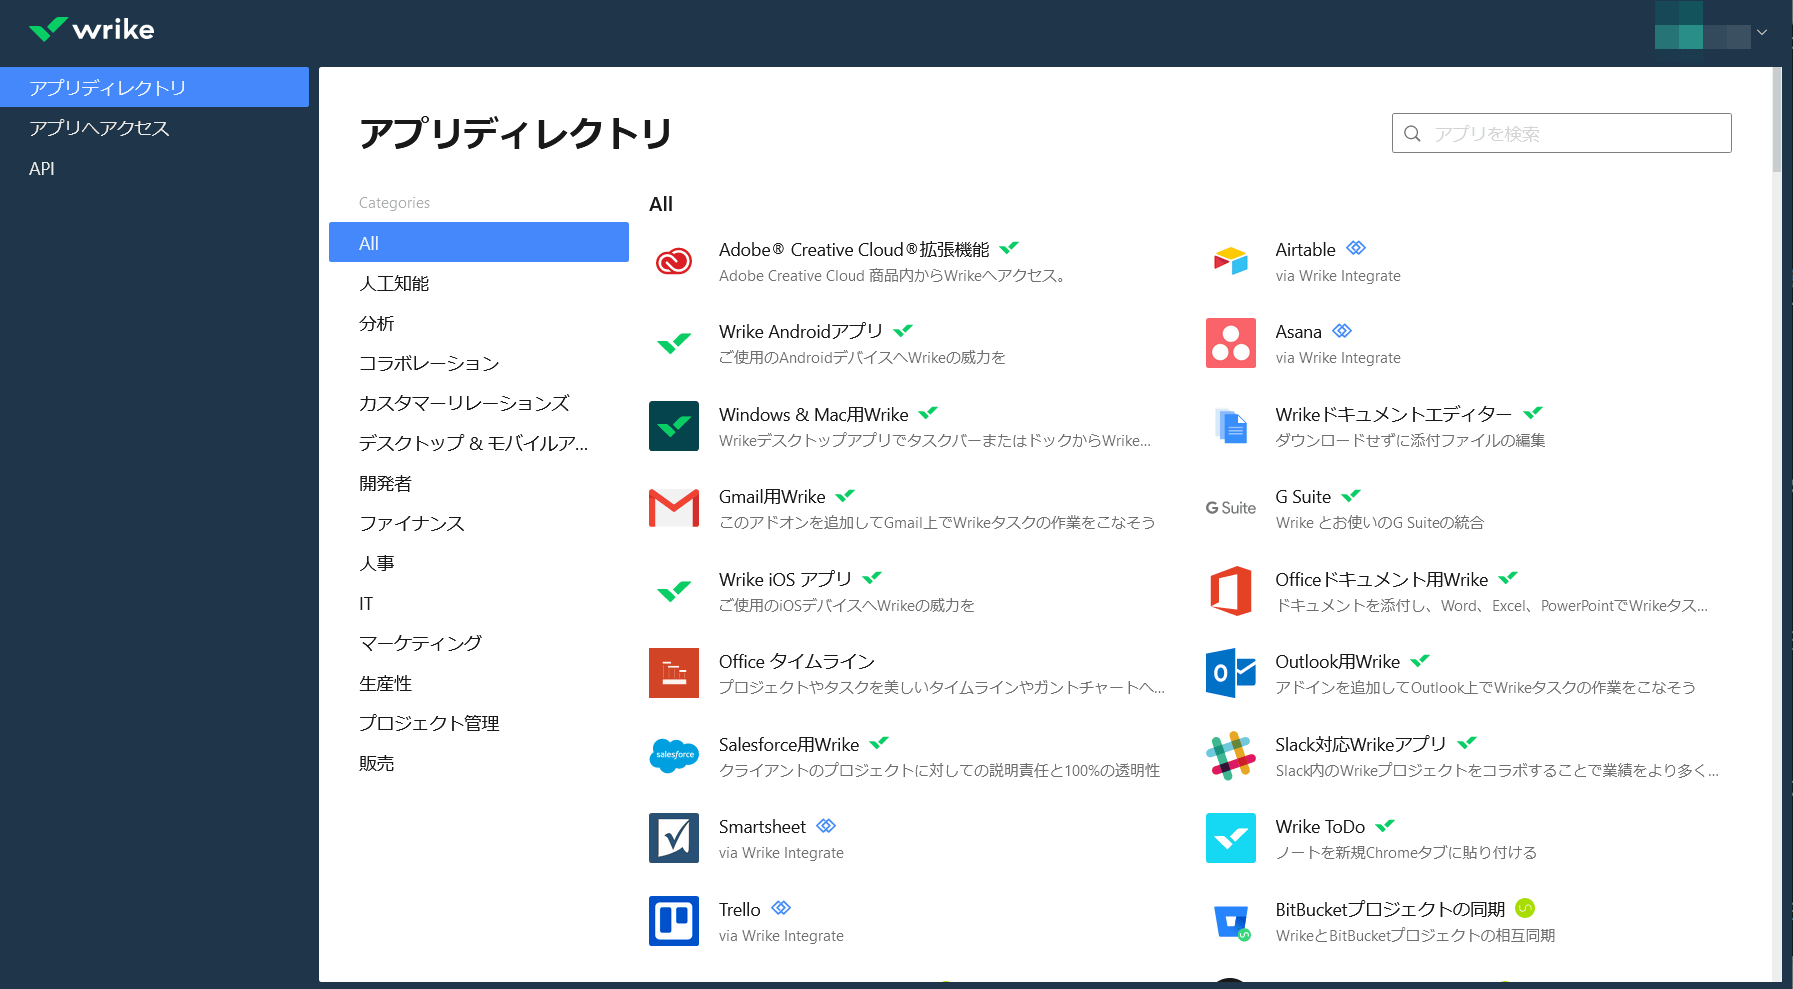
In addition, Wrike can add Gmail, Outlook, Slack, Office, etc. as add-ons. It also supports many other apps such as Google Drive and Google Calendar, but most of them require a subscription.
In addition to the Free plan with a maximum of 5 members, the Professional plan with a maximum of 15 members is $ 9.80 (about 1020 yen) per month, and the Business plan with up to 200 members is $ 24.80 (about 2590 yen) per month. ), Enterprise plan with no member limit is offered by price inquiry.
Various plans and pricing | Wrike

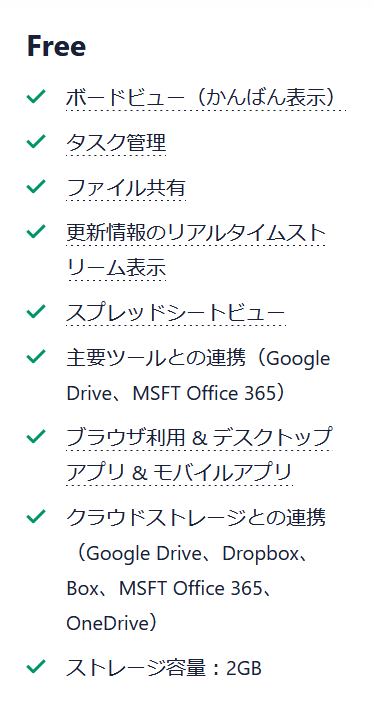
With the Free plan, in addition to display formats such as board view and spreadsheet view, task management, file sharing, integration with major tools such as Google Drive and Office 365 are possible. The storage capacity is 2GB.
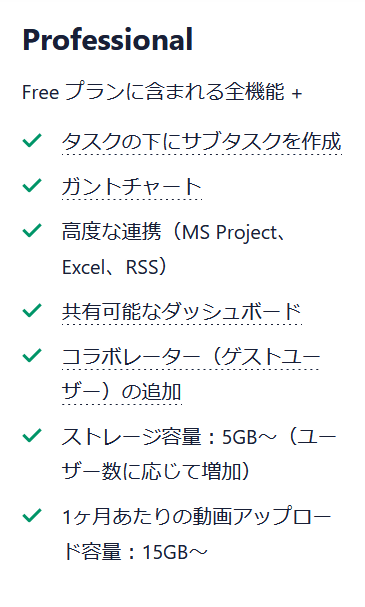
Professional can create subtasks, display Gantt chart format, share dashboard, etc. in addition to the functions of Free plan. The storage capacity is 5GB, and you can upload more than 15GB of movies per month.
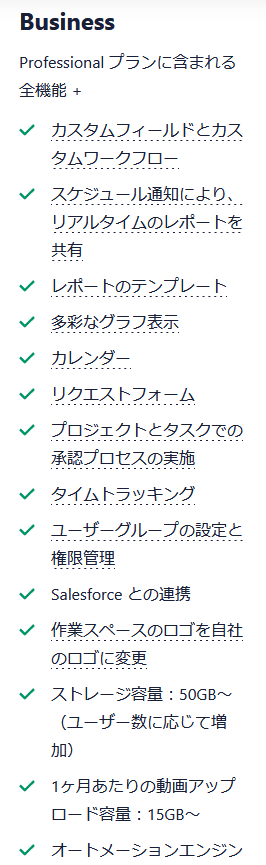
Business has Professional plan functions, calendar, graph display, approval function, etc. Storage capacity is 50GB, movies are over 15GB.
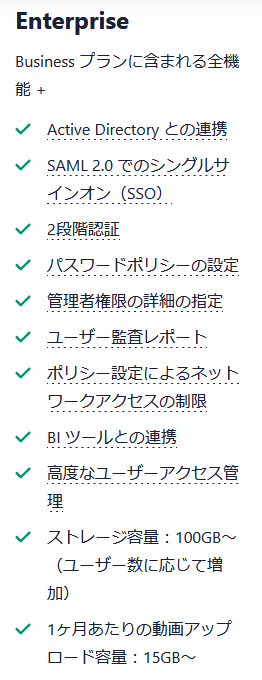
Enterprise adds security enhancements such as two-step authentication, advanced administrator privileges, and user access management functions to the functions of the Business plan. The storage capacity is 100GB and the movie is 15GB or more.
Related Posts:


in Web Service, Review, Web Application, Posted by darkhorse_log