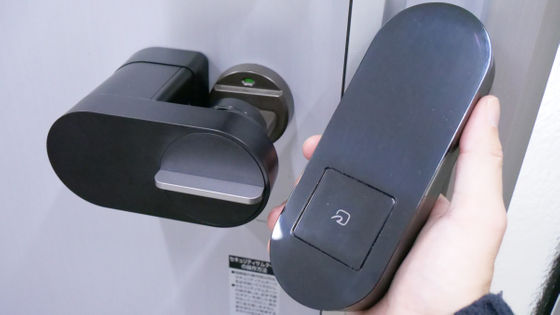
Smart lock 'Qrio Pad' setup that can be installed without any construction work, is it true that it can be attached to most doors just by sticking it on?
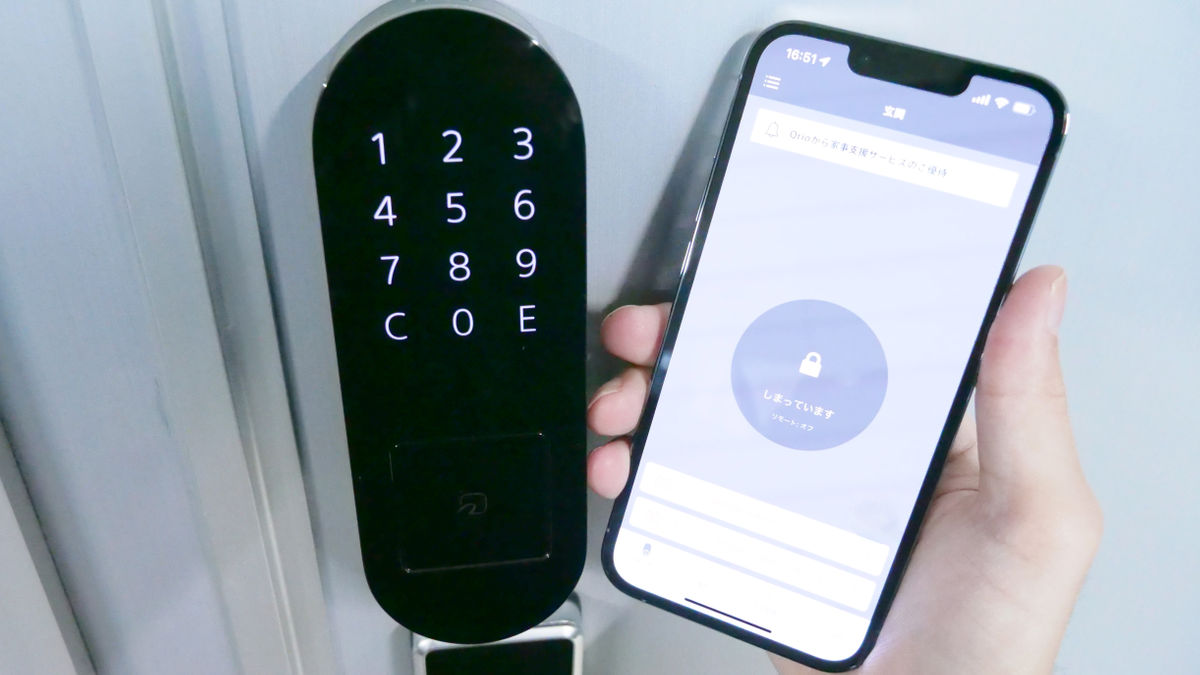
The 'Qrio Pad ' and ' Qrio Lock ', which can automatically unlock the front door of your home without using a key, can be attached by simply attaching them to the door with adhesive tape, and you need to make holes in the door or perform construction work. The feature is that there is no such thing. So, I actually attached the 'Qrio Pad' and 'Qrio Lock' to the door and tried to see if it was really easy to set up.
Qrio Pad | Qrio Lock | Qrio Product Information | Qrio
Qrio Lock-A life where the keys are free. | Qrio
https://qrio.me/smartlock/
This time, we will set up the smartphone app after installing the Qrio Pad and Qrio Lock on the door. You can see the appearance of the device and the contents of the set from the following articles.
'Qrio Pad' photo review that turns the door of the house into a smart lock with full wireless --GIGAZINE
·table of contents
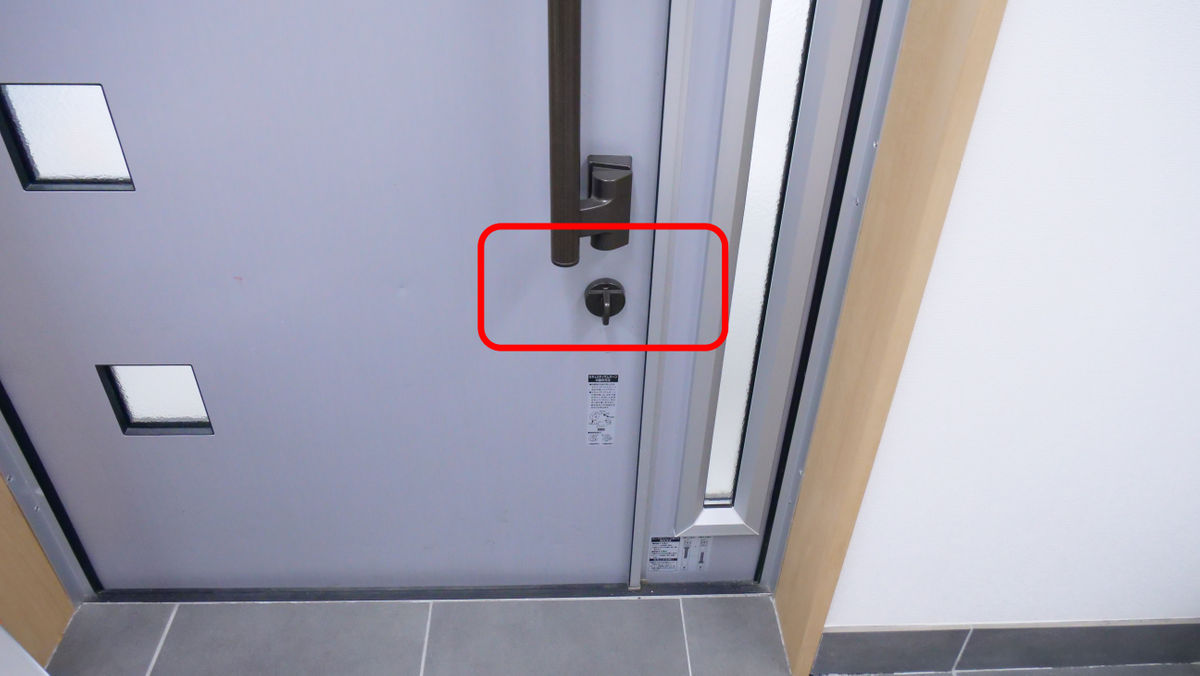
◆ 1: I installed Qrio Lock on the thumb turn inside the door.
◆ 2: Qrio Pad is OK just by inserting the battery and sticking it with adhesive tape.
◆ 3: Set up the app quickly
◆ 1: I installed Qrio Lock on the thumb turn inside the door.
First, install the Qrio Lock inside the door.
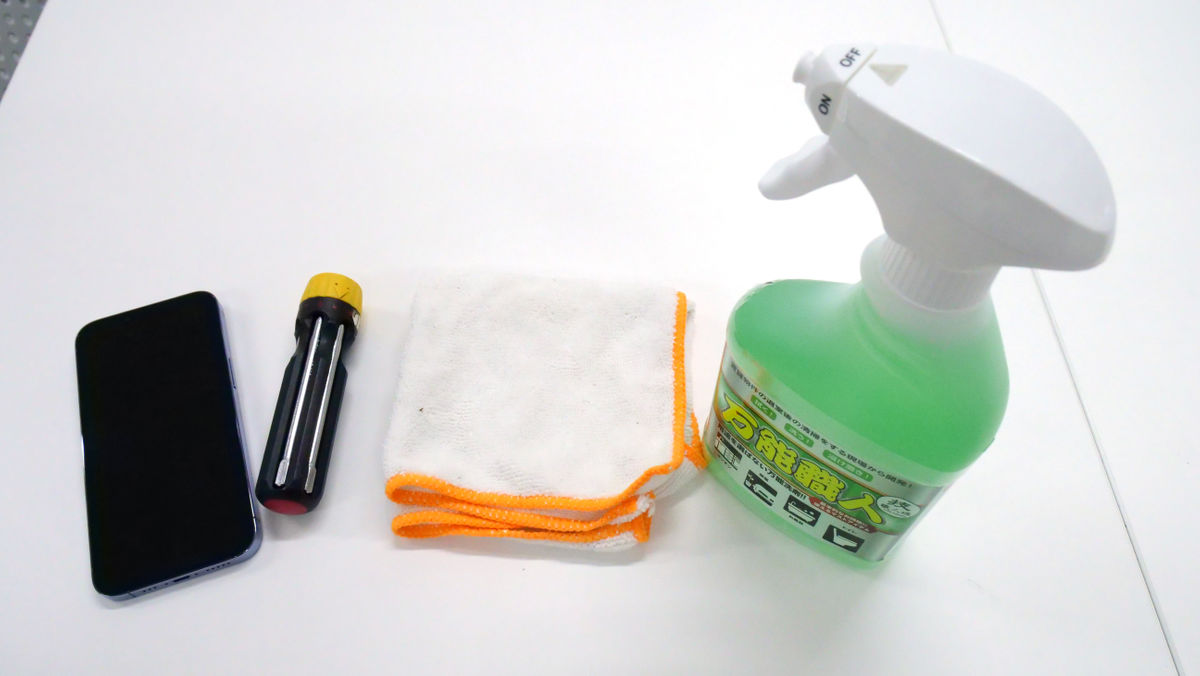
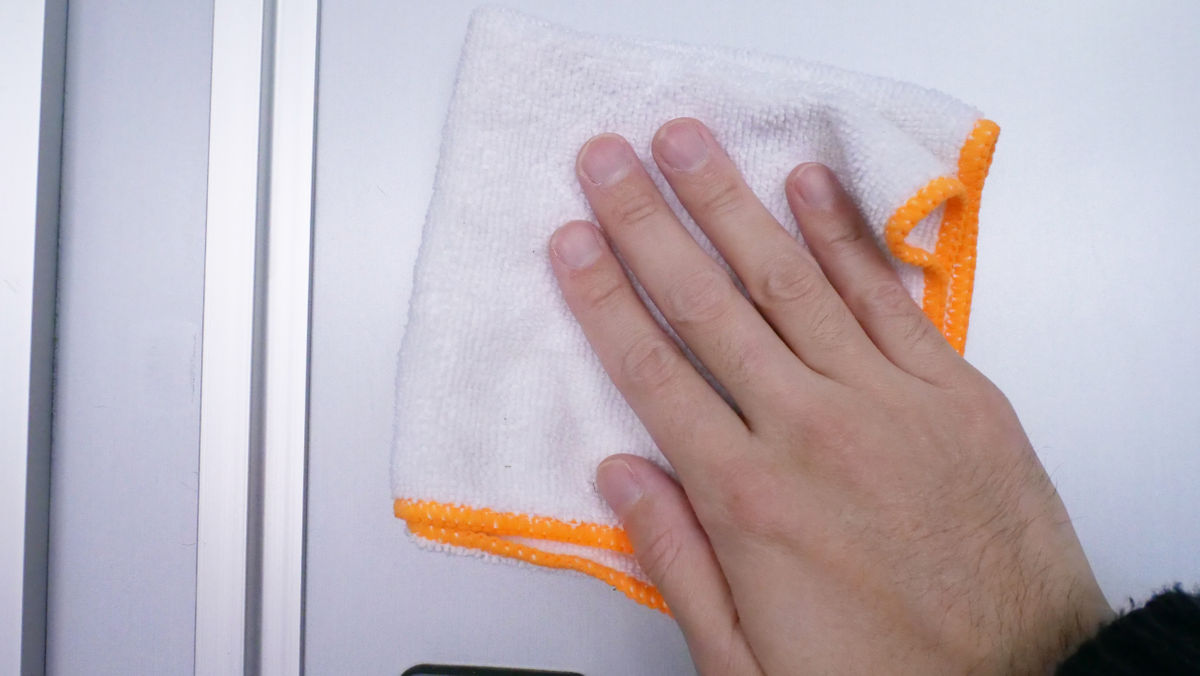
All you need to install is a Bluetooth-enabled smartphone, a Phillips screwdriver, a soft cloth, and a mild detergent.
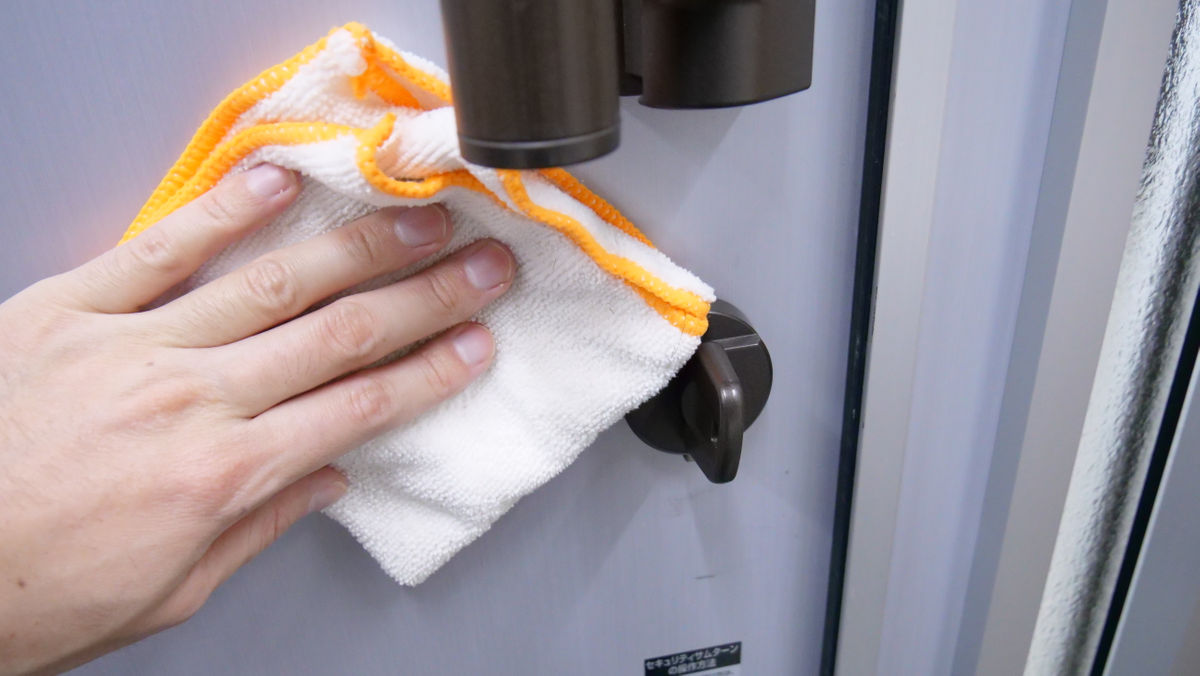
First, wipe the installation area thoroughly with a mild detergent and a cloth.
Next, place the thumb turn holder on the knob of the thumb turn and select the one with the smallest gap.
I attached the 'M' thumb turn holder, which was perfect for the thumb turn to be installed, to the Qrio Lock.
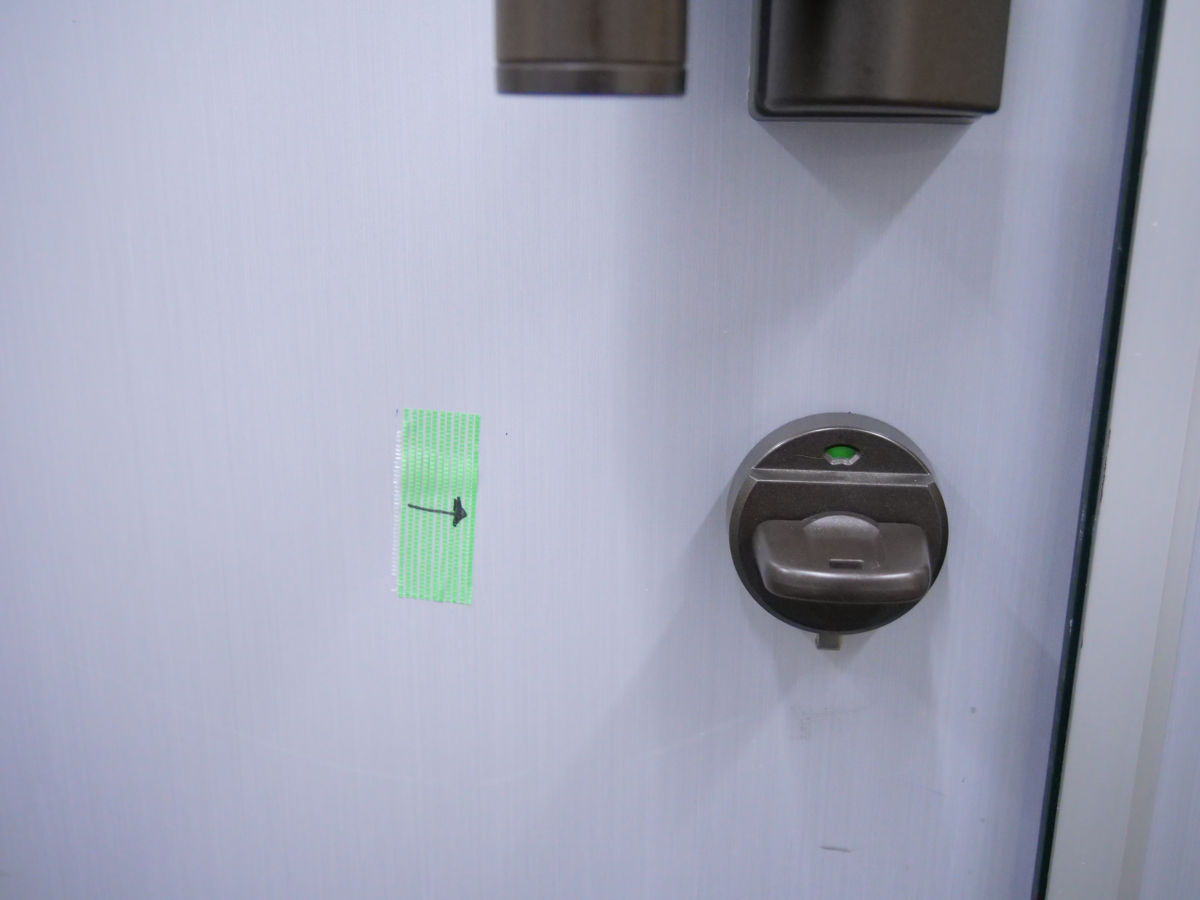
Next, temporarily place it in the installation location, turn the knob of Qrio Lock, and check if the thumb turn can be turned without difficulty. The Qrio Lock can be installed vertically or horizontally, so this time I decided to install it sideways with plenty of space.
Once you have decided on the mounting position, mark it.
Next, adjust the height. This time, the thumb turn was a little high, so fix the 'height adjustment plate (large)' to the main body with the shorter screw.
When the installation of the plate is completed, it looks like this.
Next, loosen the screw in the red frame part with a screwdriver while hitting the thumb turn.

When the screws are loose, extend the thumb turn holder and retighten the screws with a screwdriver. The thumb turn holder can now hold the thumb turn firmly.
Then slide the cover up to remove the battery.
Set the two included batteries.

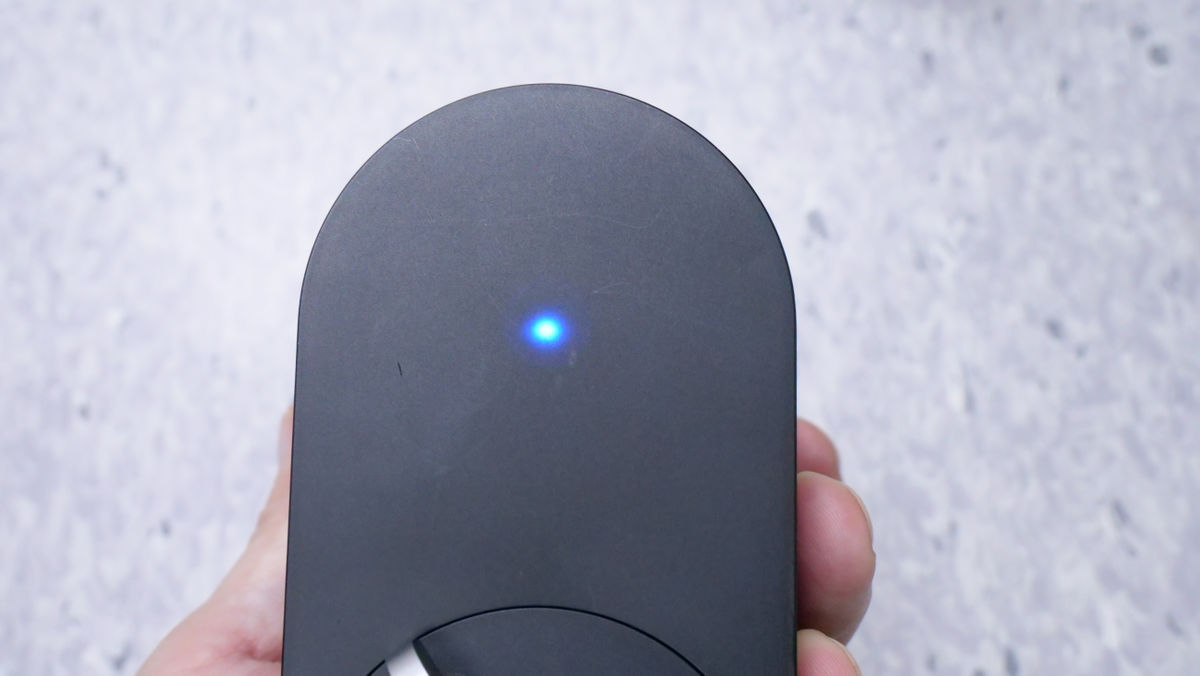
When you insert the batteries, the LED on the main unit lights up in blue and a confirmation sound sounds.
Next, in order to fix the main body to the door with double-sided tape, remove the double-sided tape for the main body from the mount.
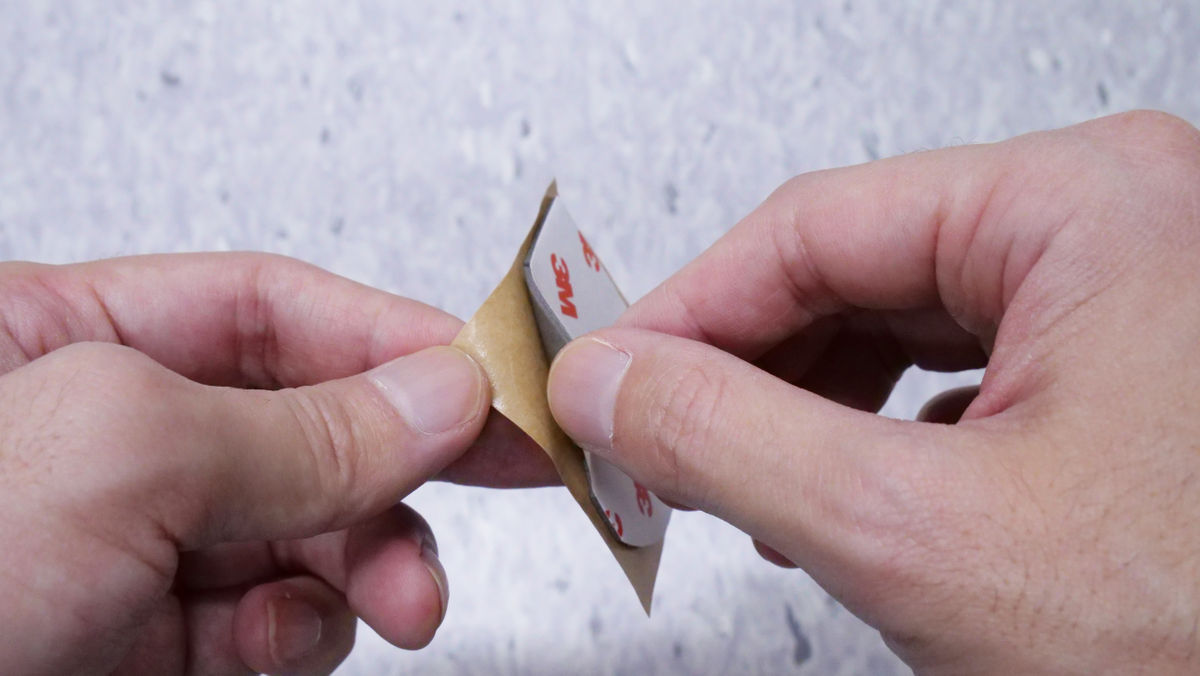
Attach the double-sided tape to the height adjustment plate attached to the Qrio Lock earlier.
After that, peel off the release paper ...
Press the Qrio Lock against the door for 2 minutes.
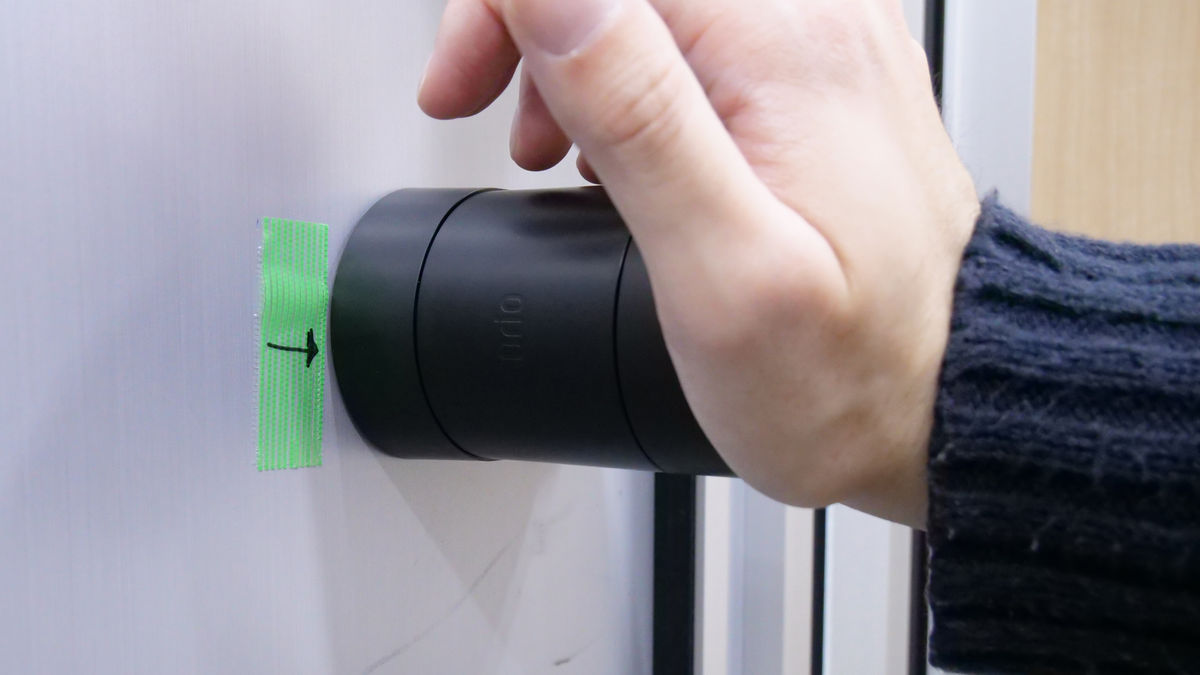
Installation is complete.
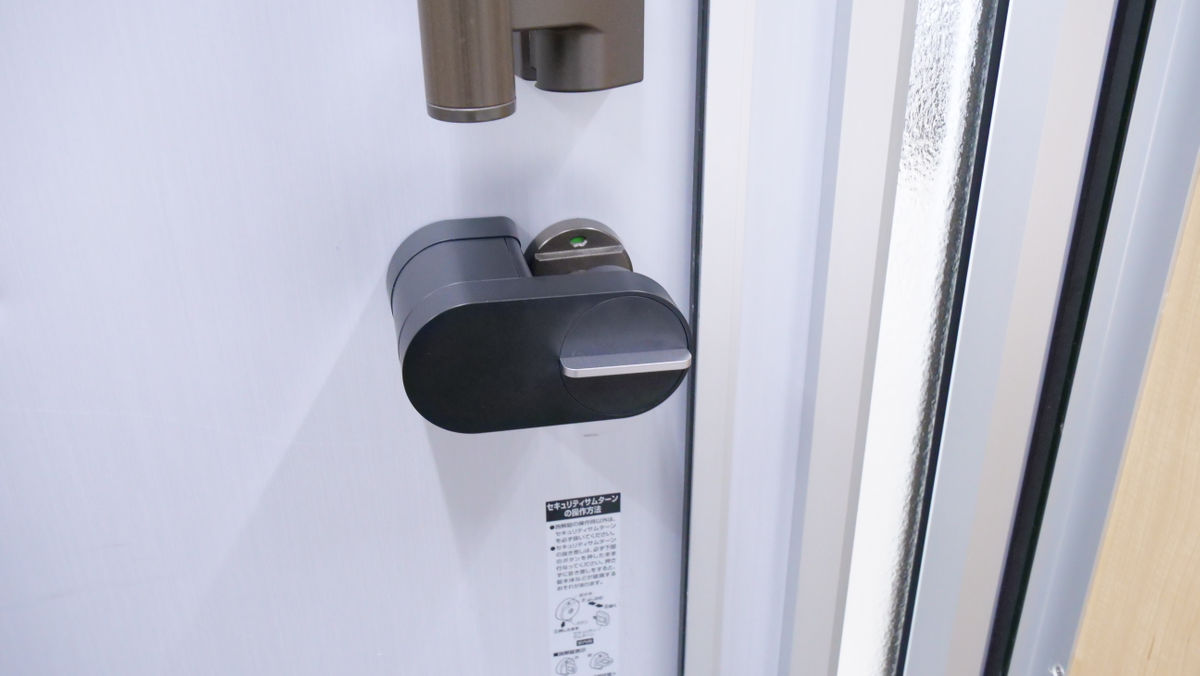
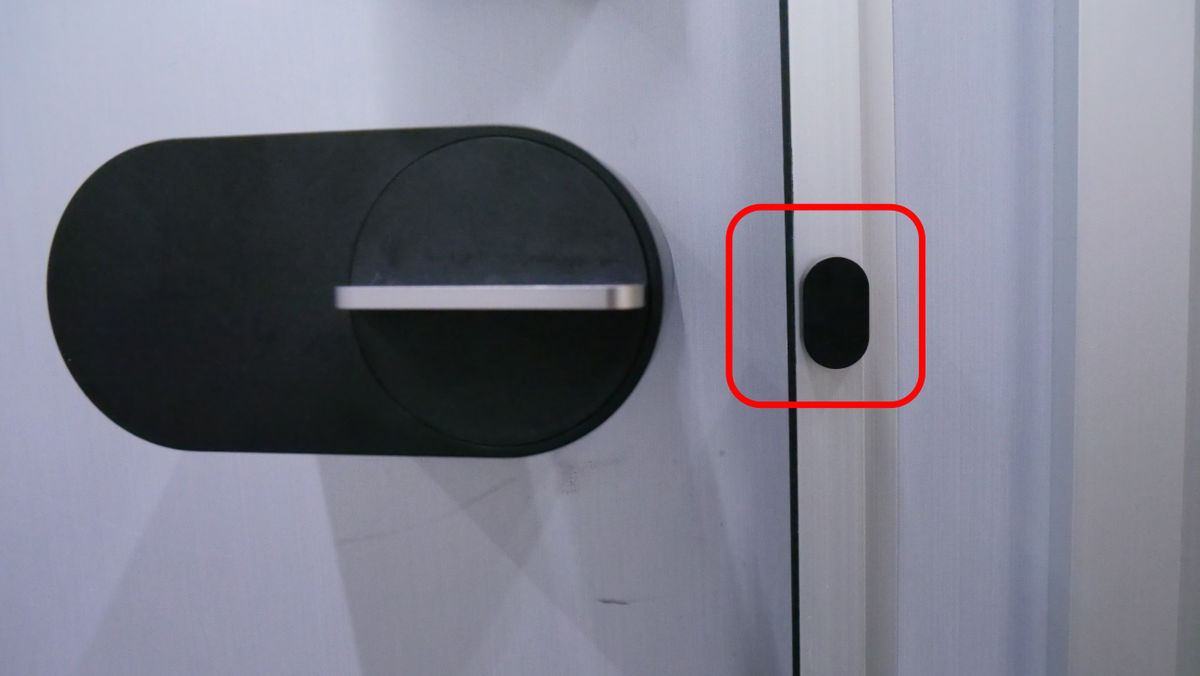
Finally, attach the open / close sensor to the door frame next to the main unit with double-sided tape, and the Qrio Lock is ready.
◆ 2: Qrio Pad is OK just by inserting the battery and sticking it with adhesive tape.
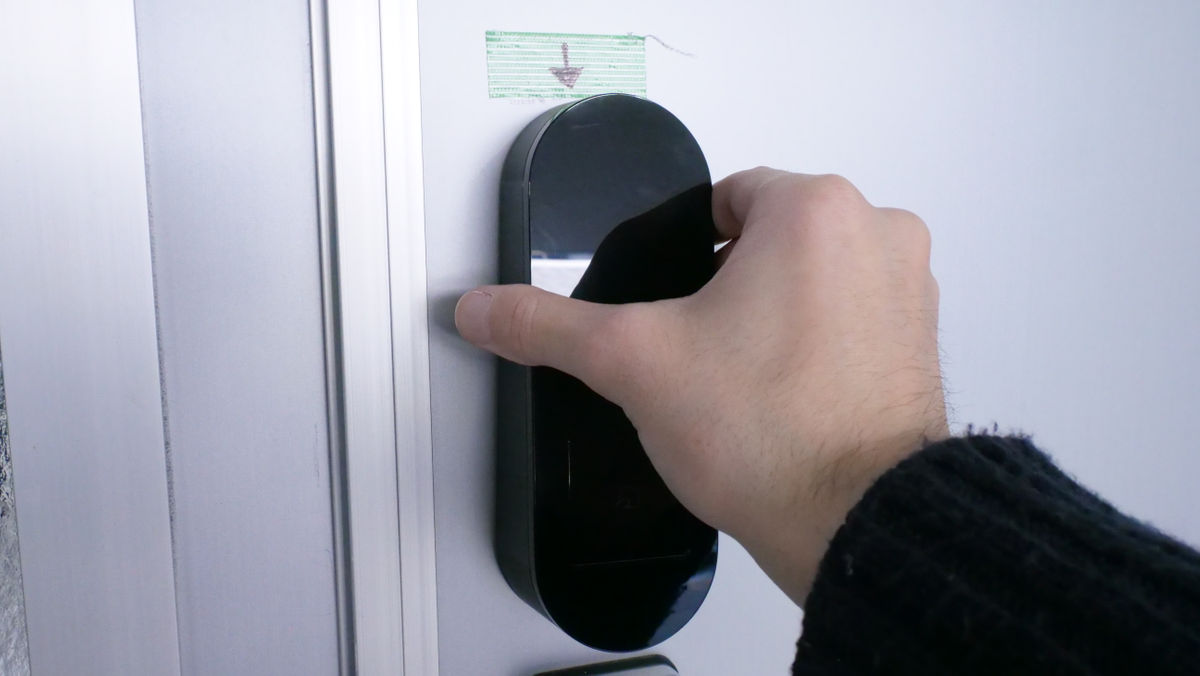
Now attach the Qrio Pad to the outside of the door.
First, clean the installation location as you did with the Qrio Lock.
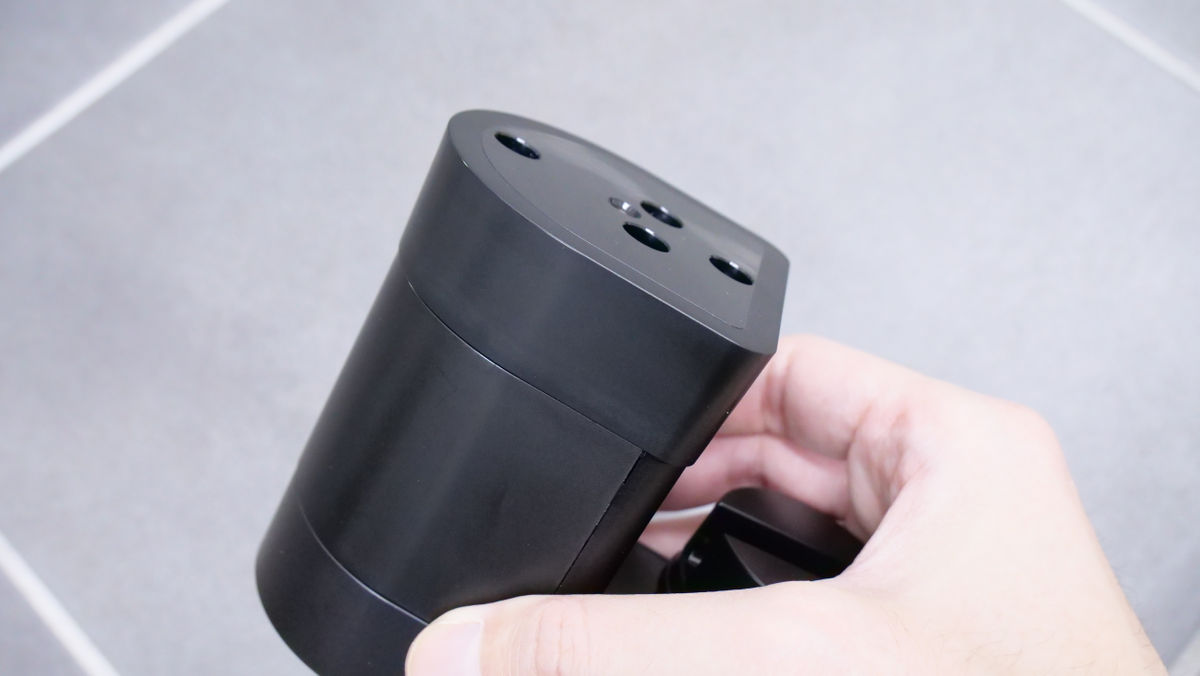
Next, position it.
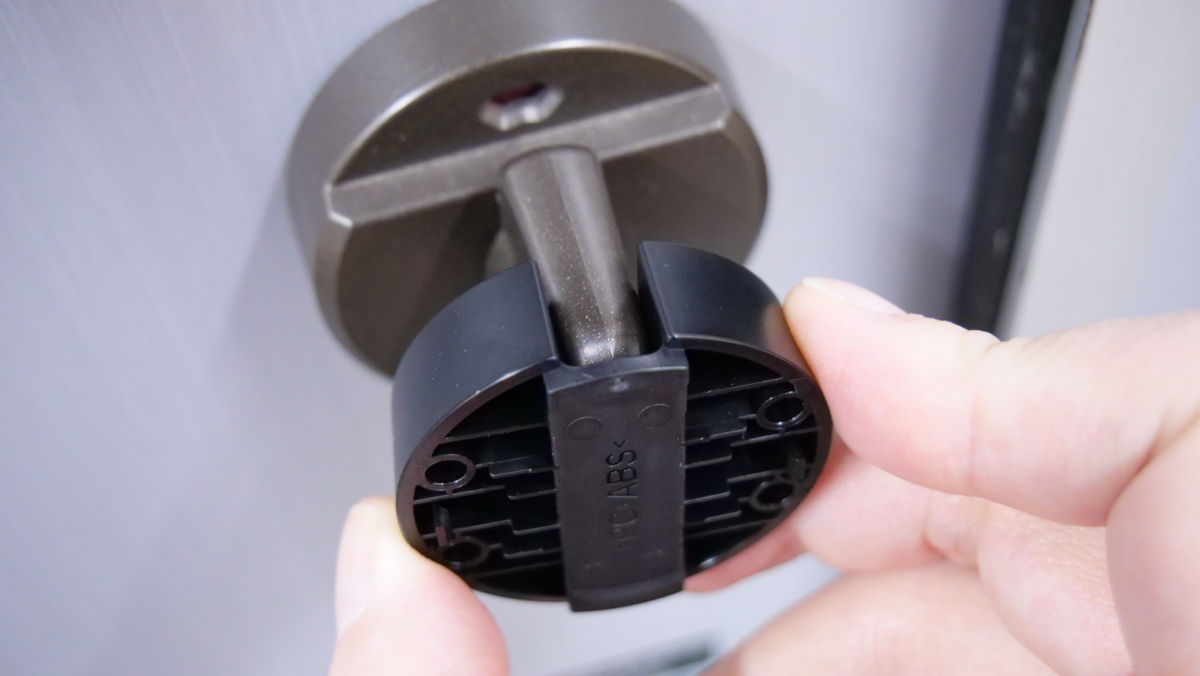
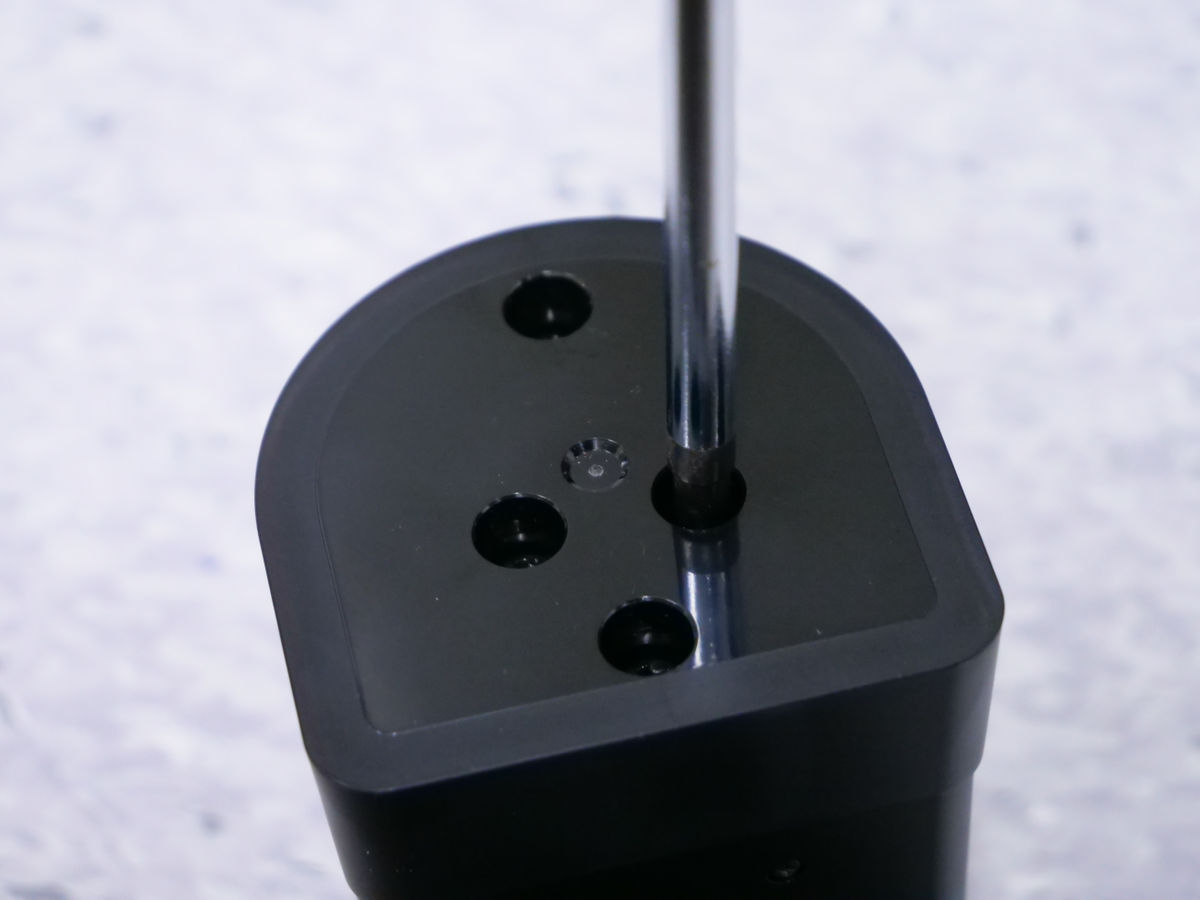
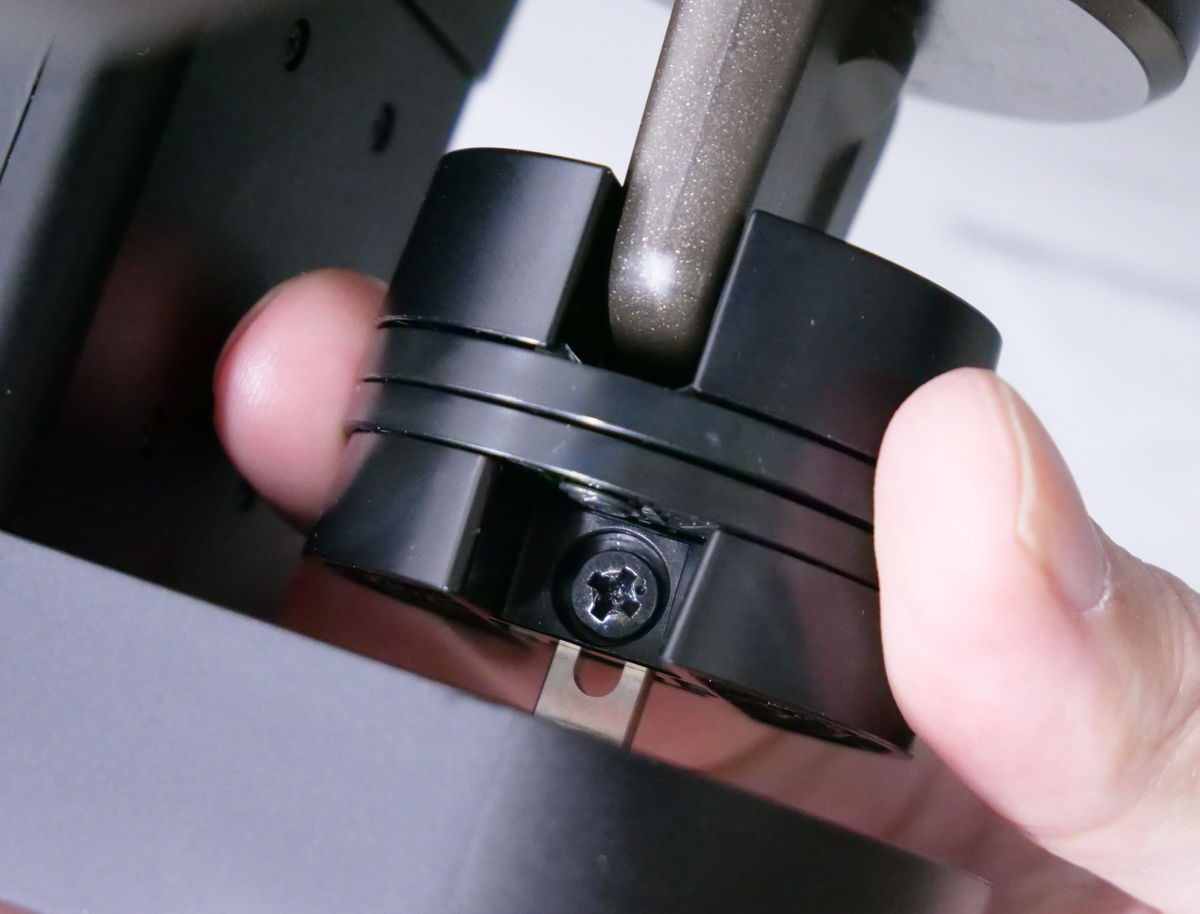
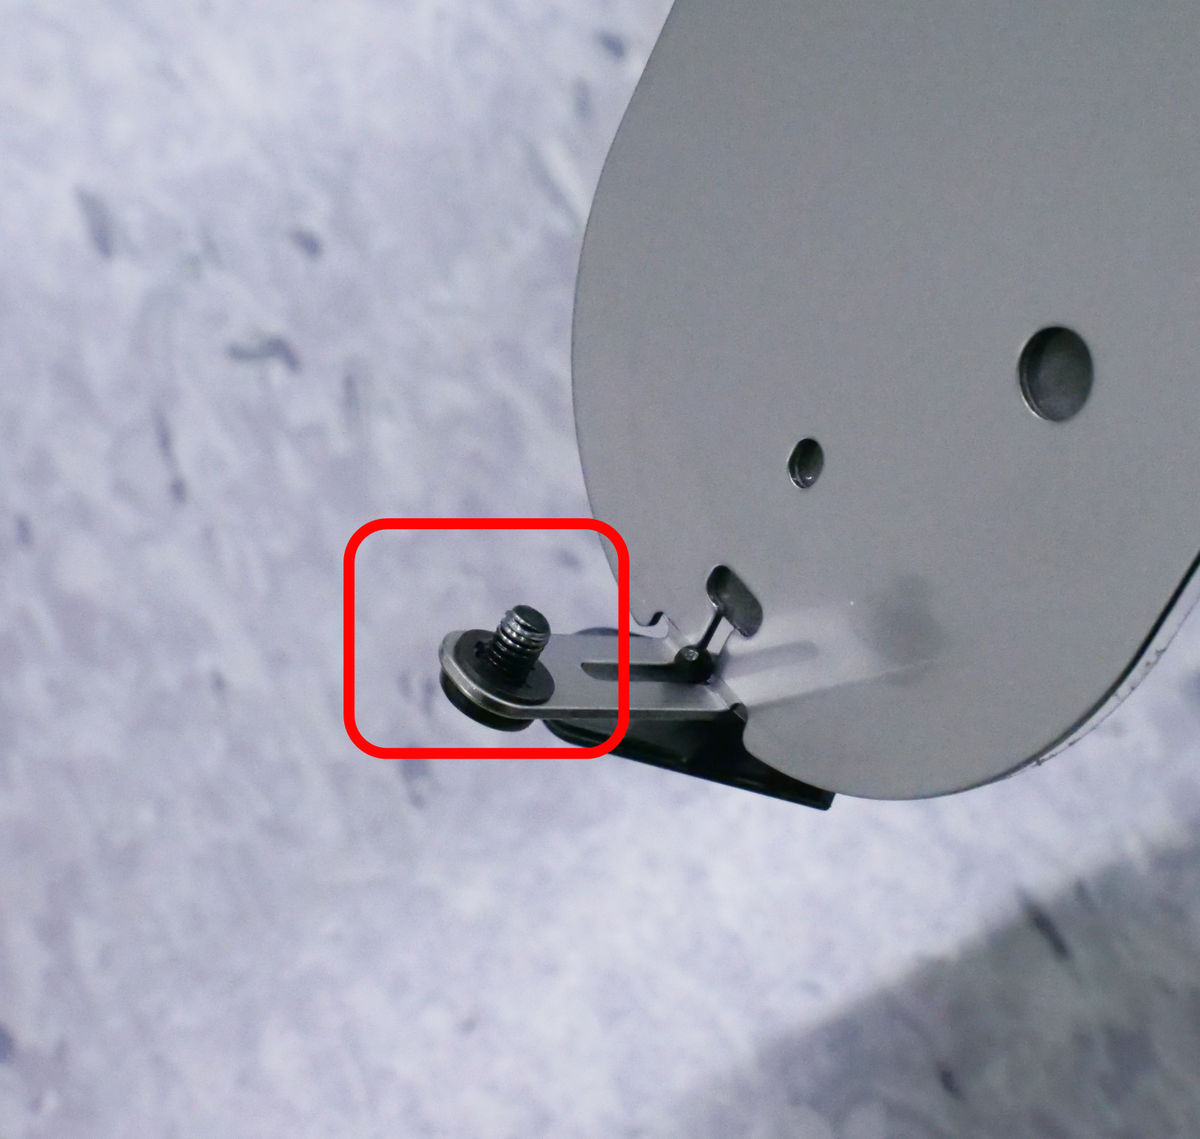
Next, set the batteries. First, shift the parts at the bottom of the main unit ...
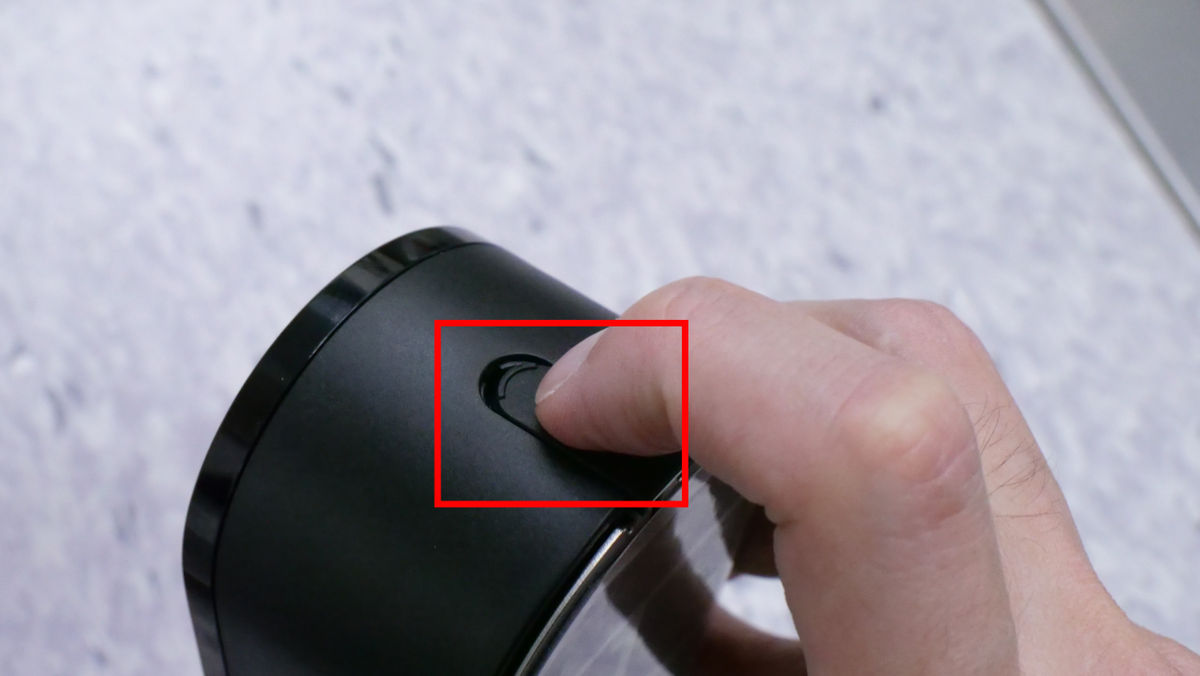
Loosen the exposed screws with a screwdriver.
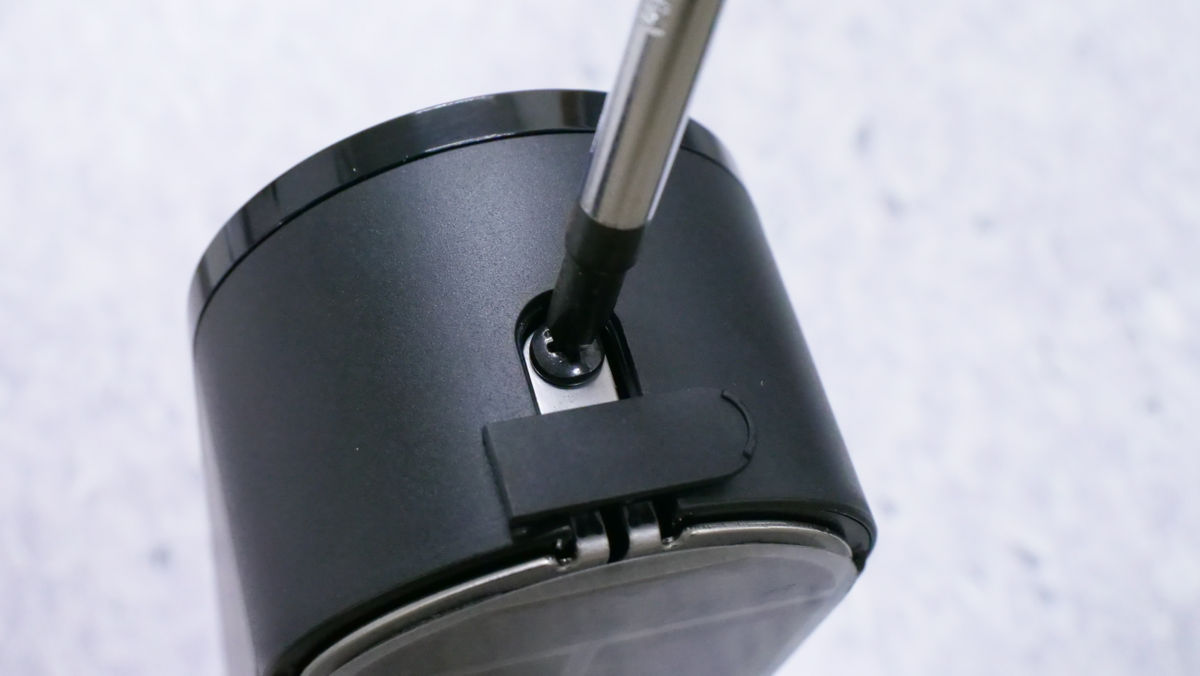
Then, the mounting bracket attached to the back of the Qrio Pad came off.
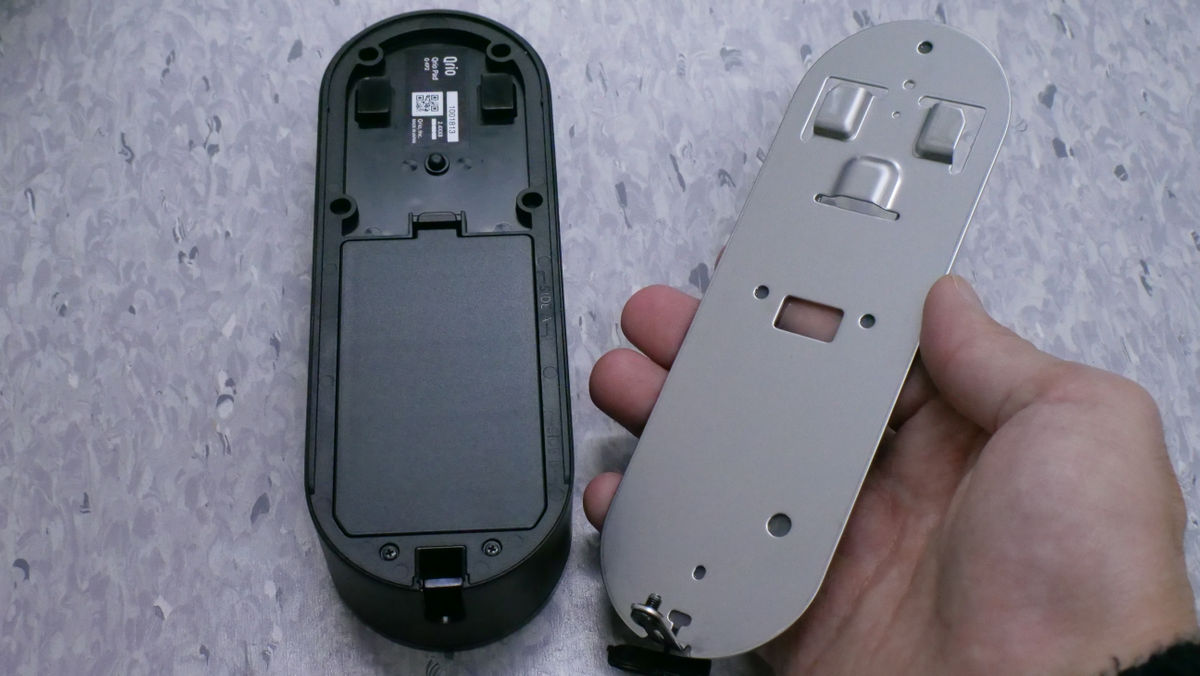
Since the screw has a fall-off prevention mechanism, there is no need to worry about going somewhere in the beat loosened by the screwdriver.
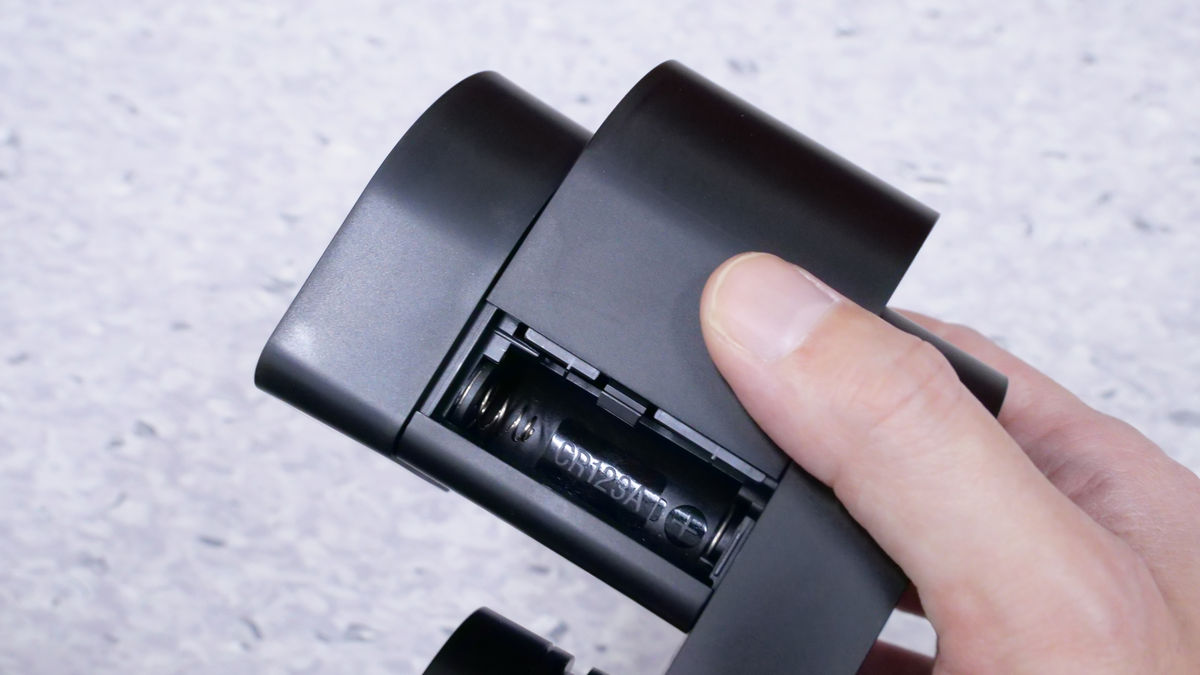
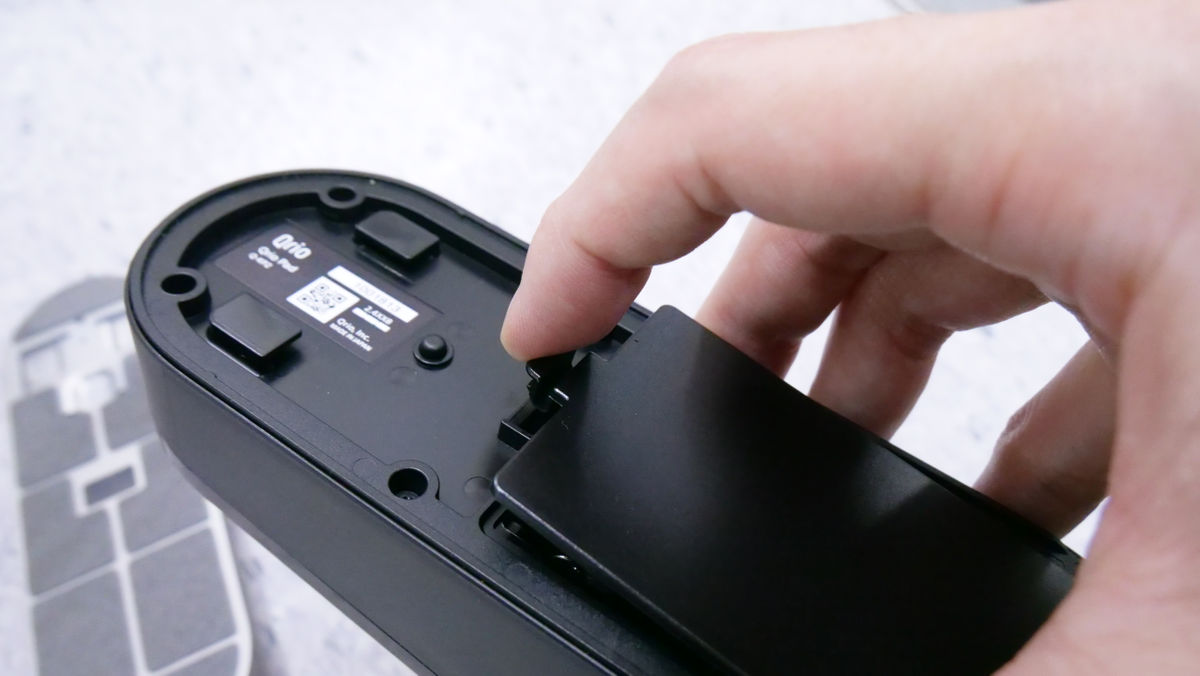
Next, remove the battery cover.
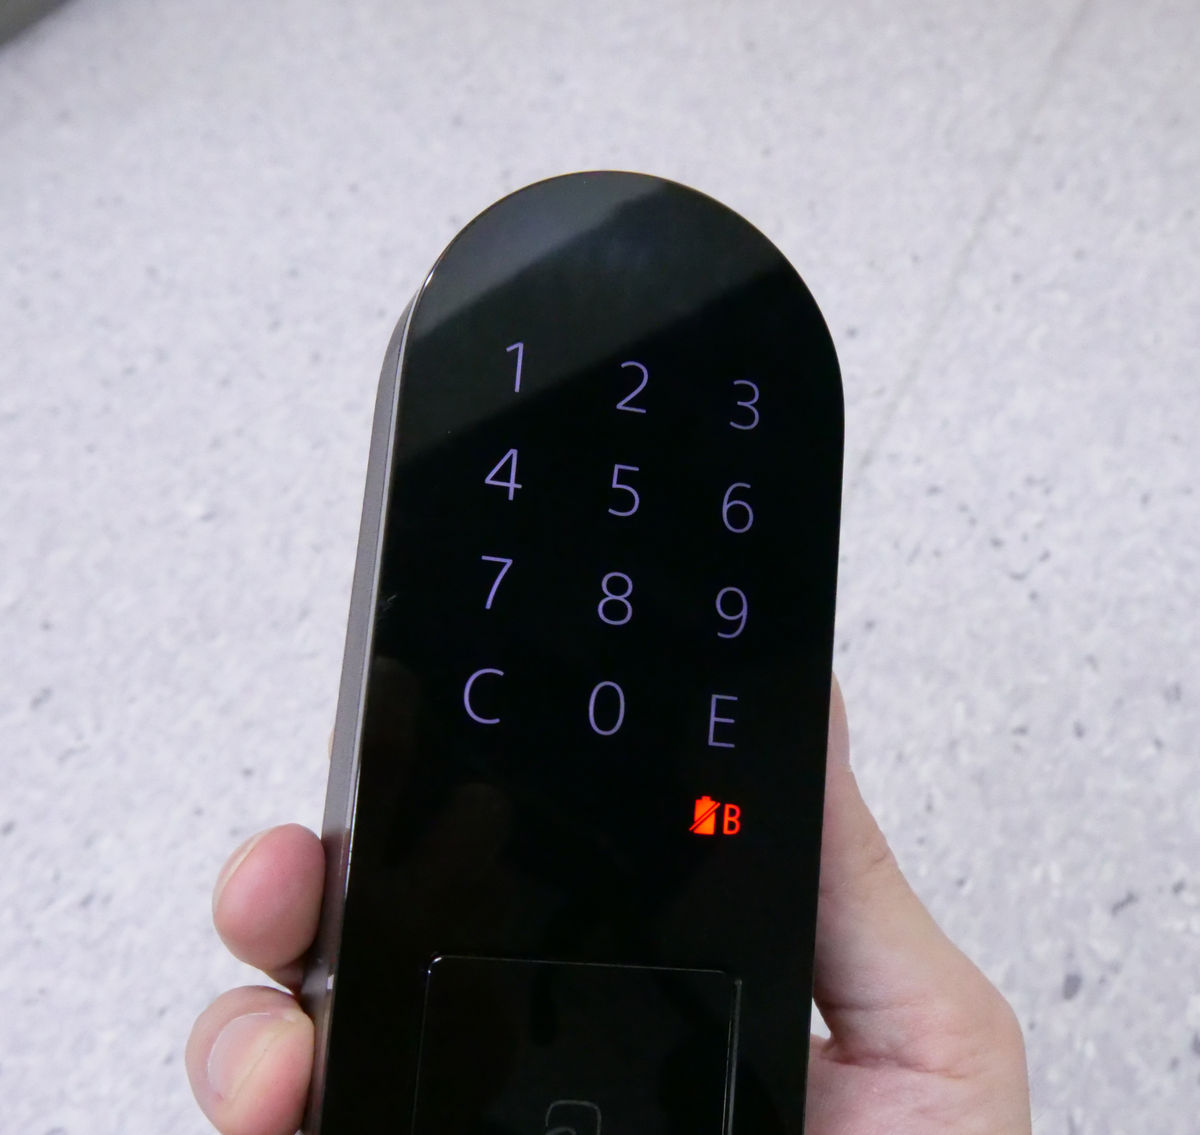
Set the two included batteries. You can purchase additional spare batteries and set up to four, but you can use just two.
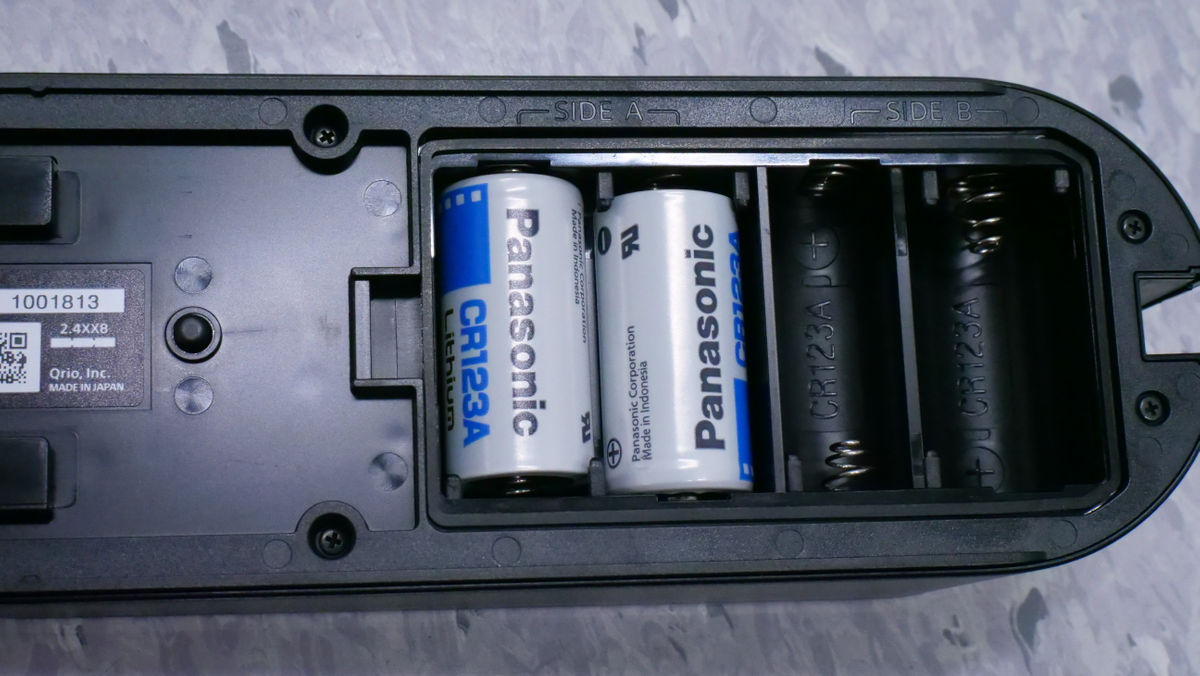
The power turns on automatically when the battery is inserted.
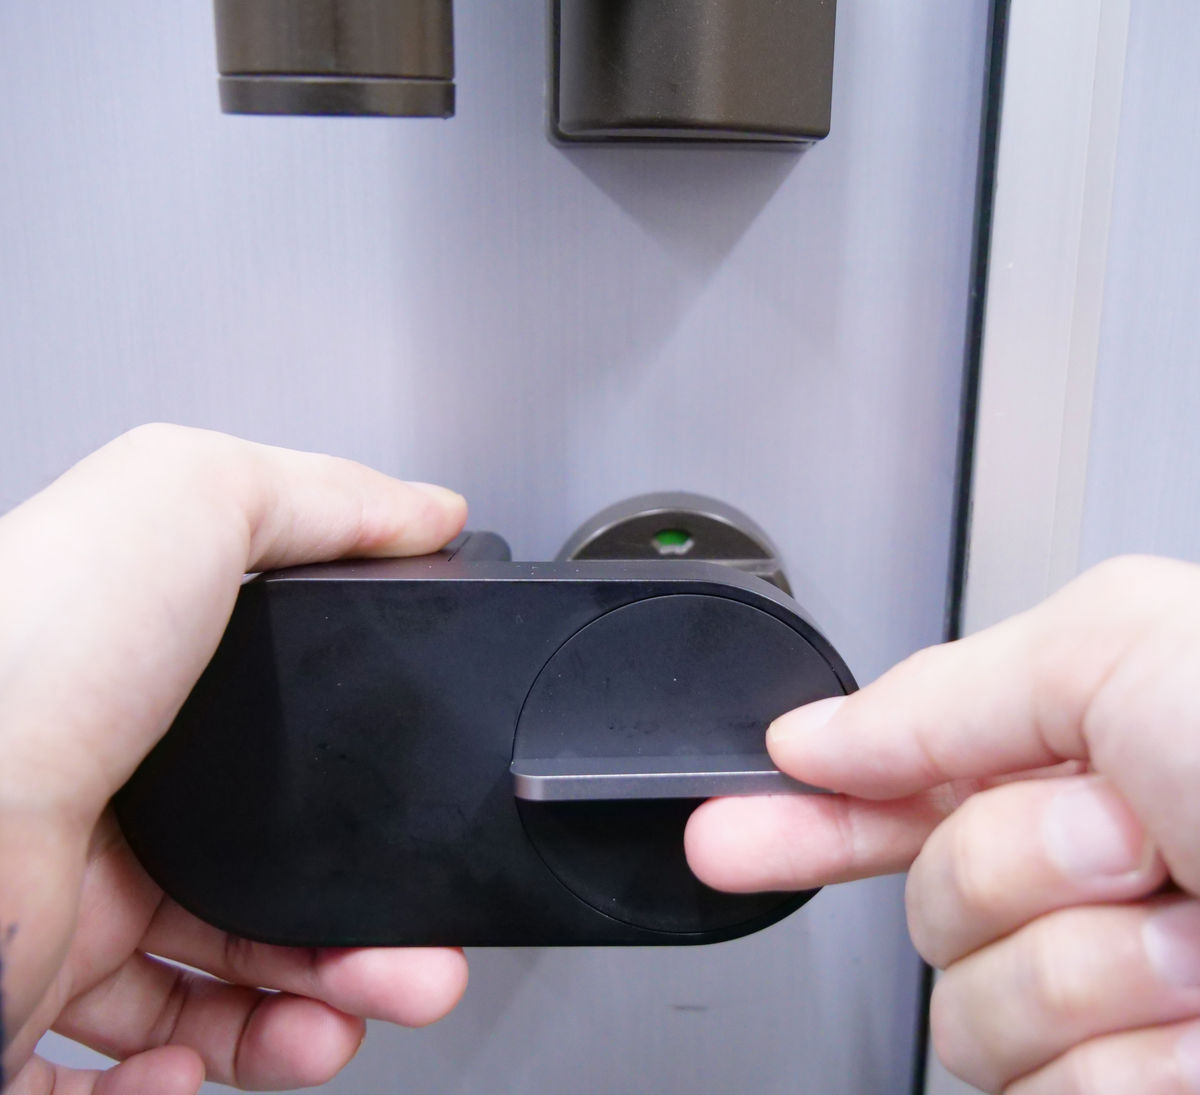
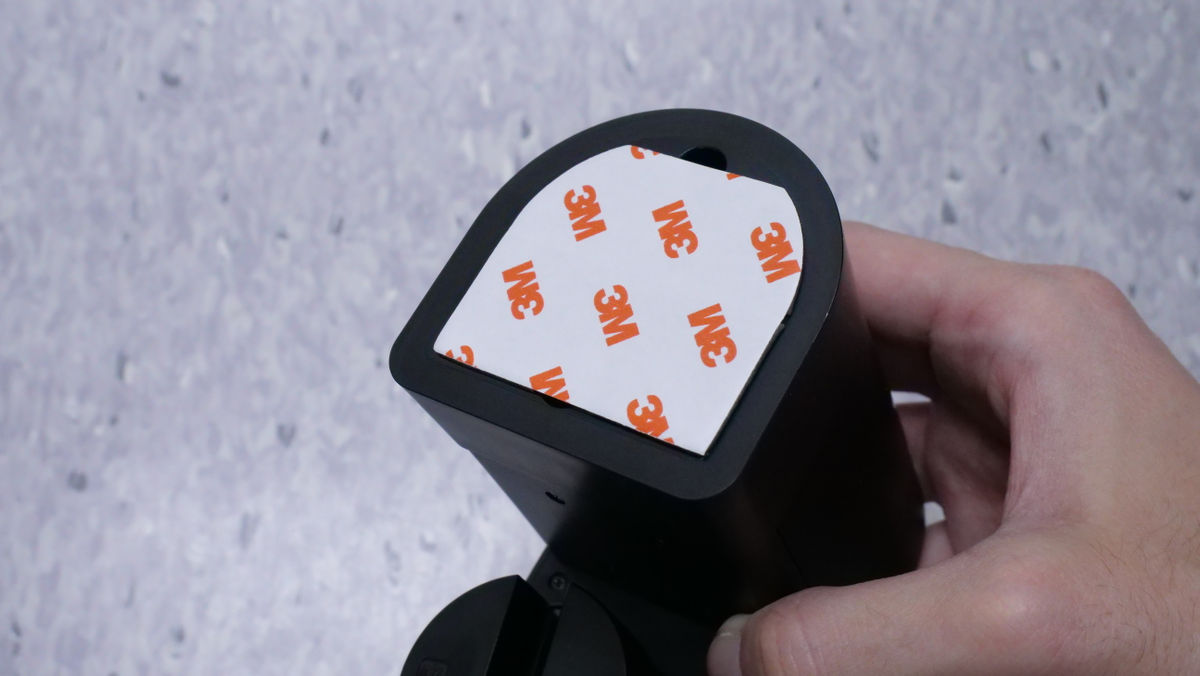
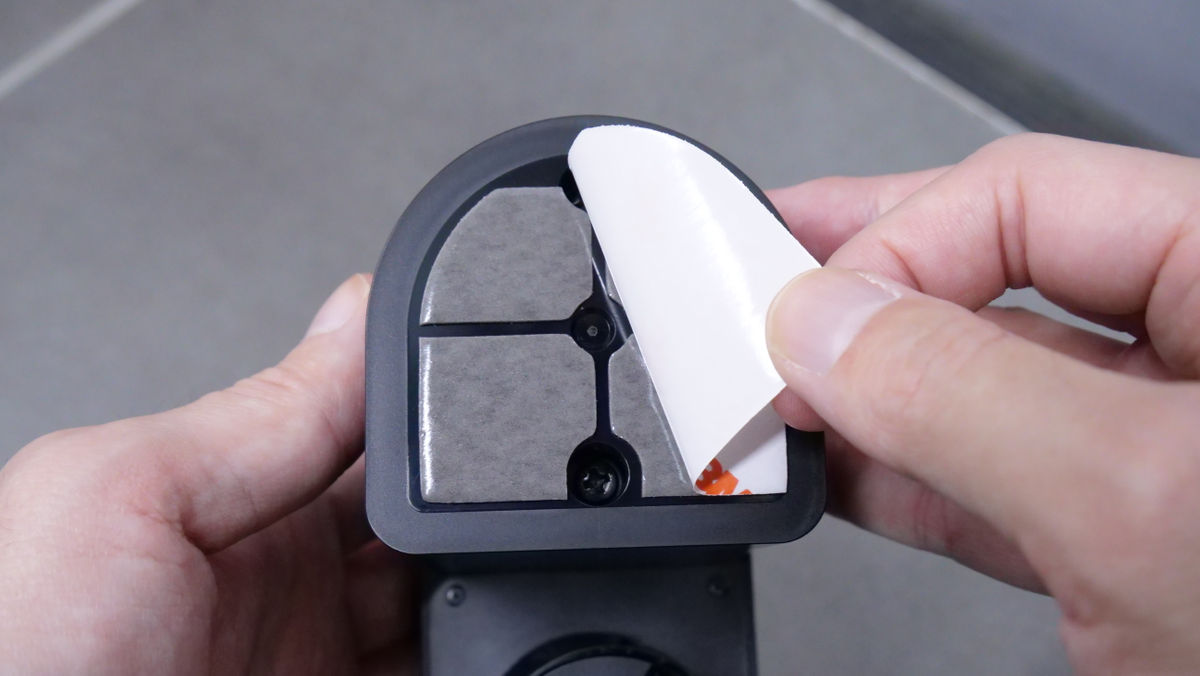
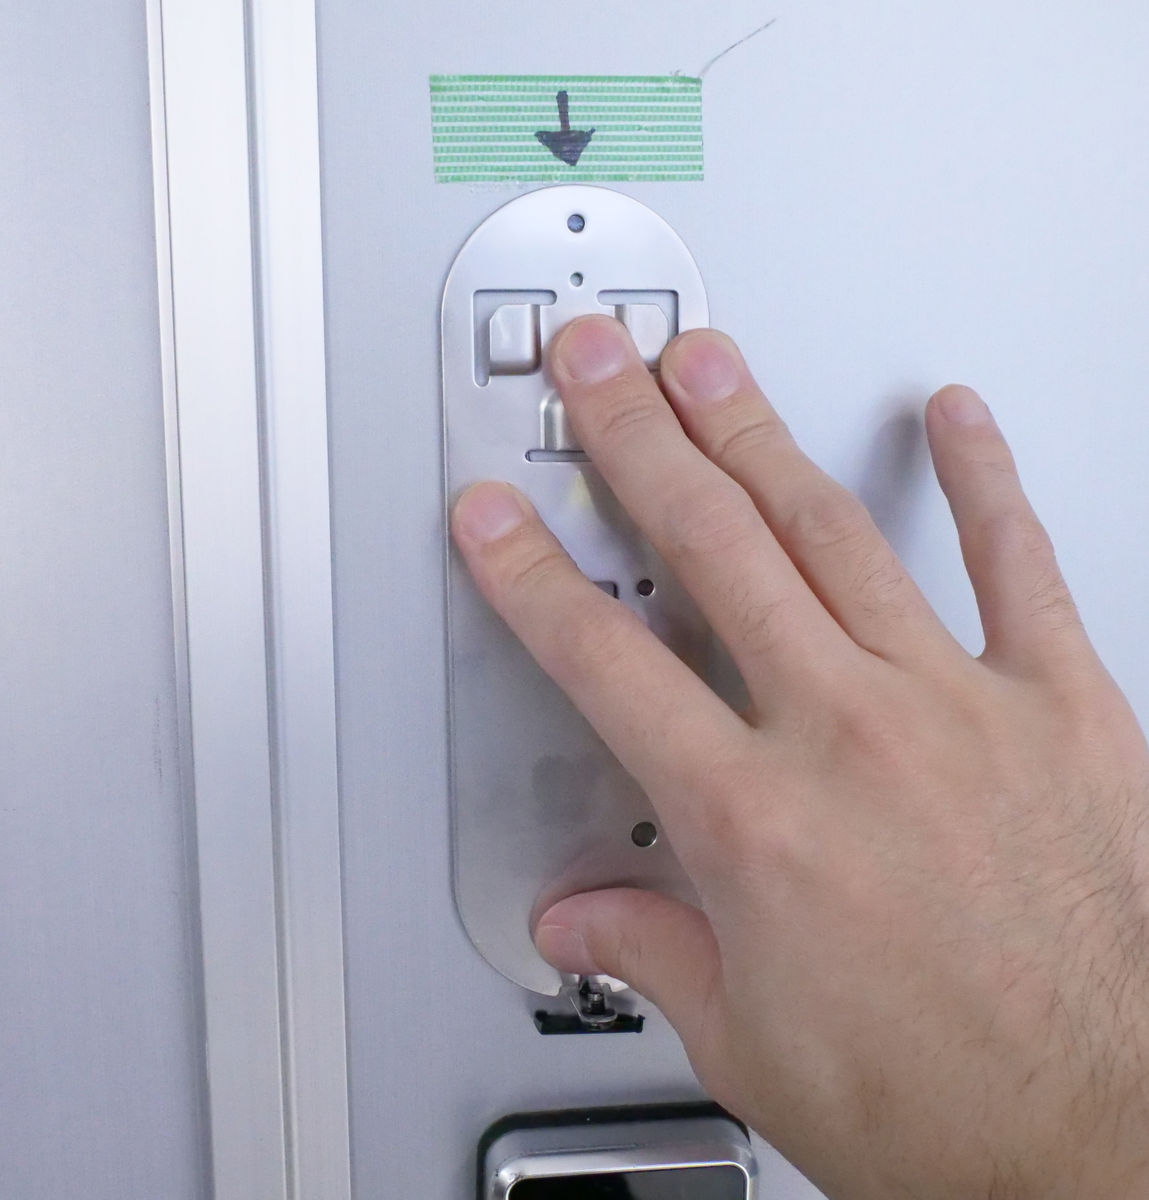
Next, remove the release paper from the adhesive tape on the mounting bracket and attach it to the door.
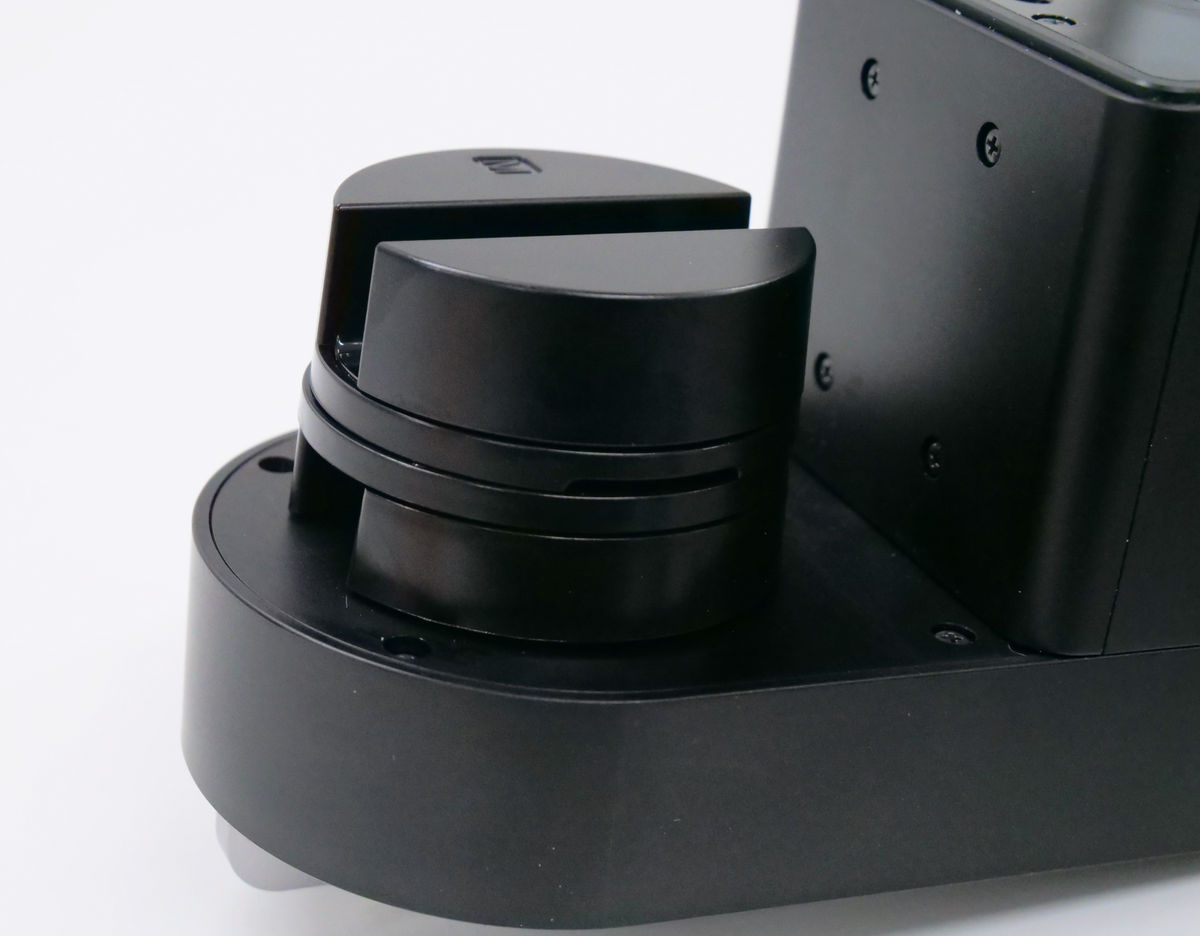
Install the main body on the mounting bracket.
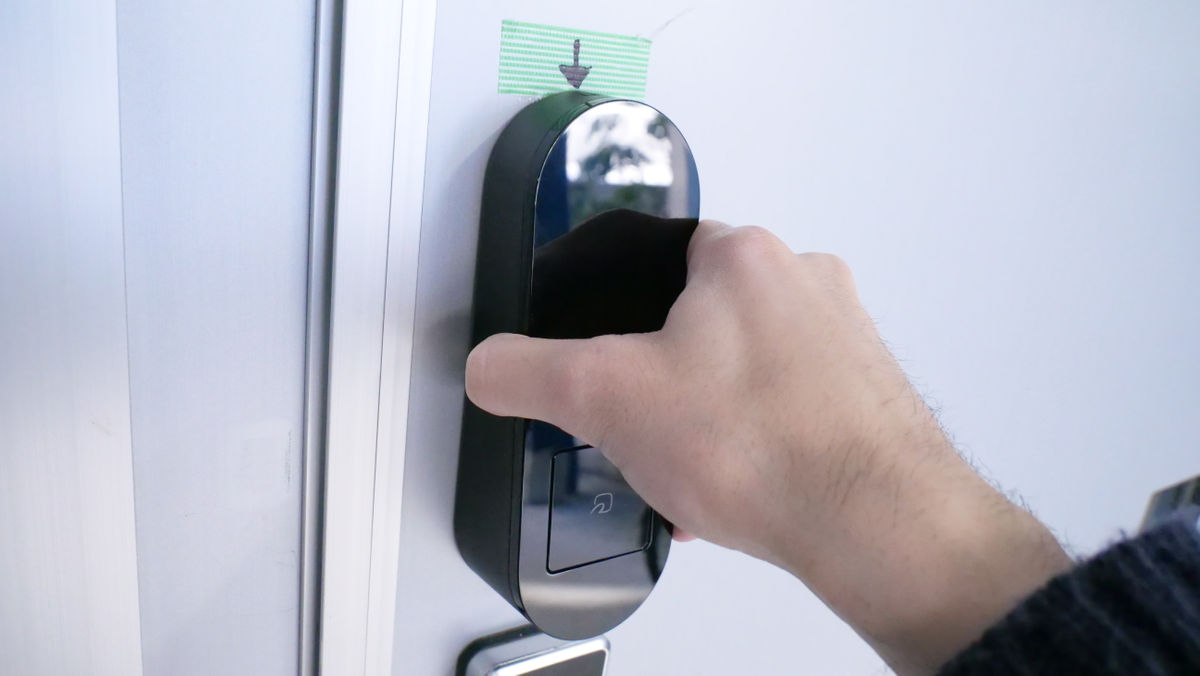
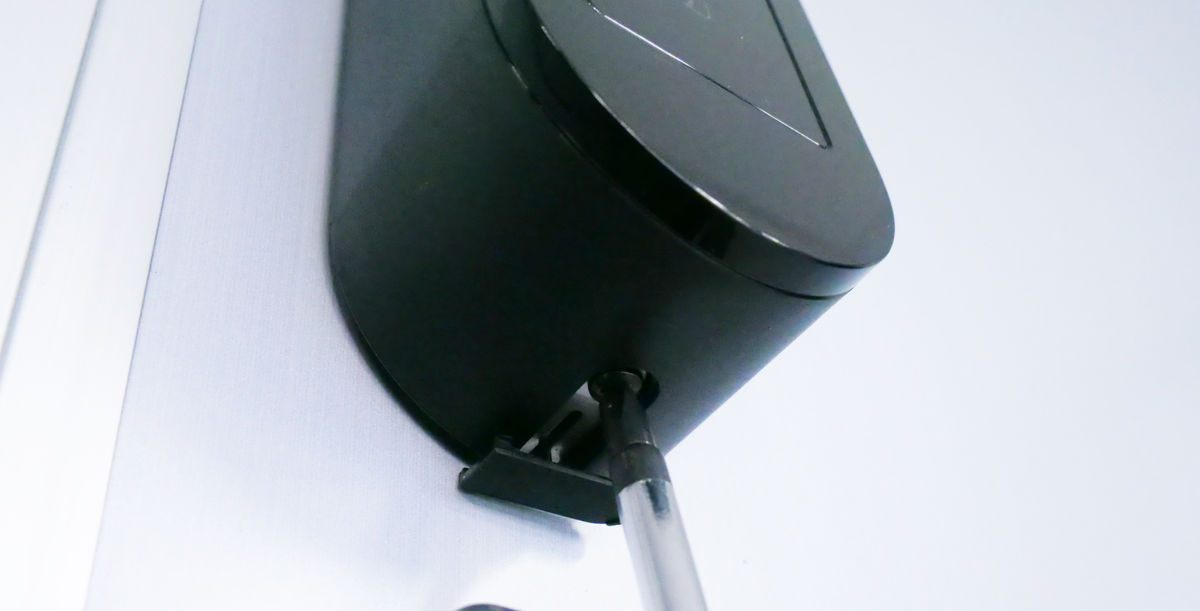
All you have to do is tighten the screws at the bottom of the main unit.
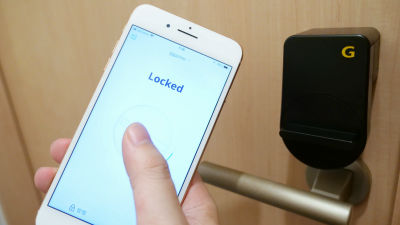
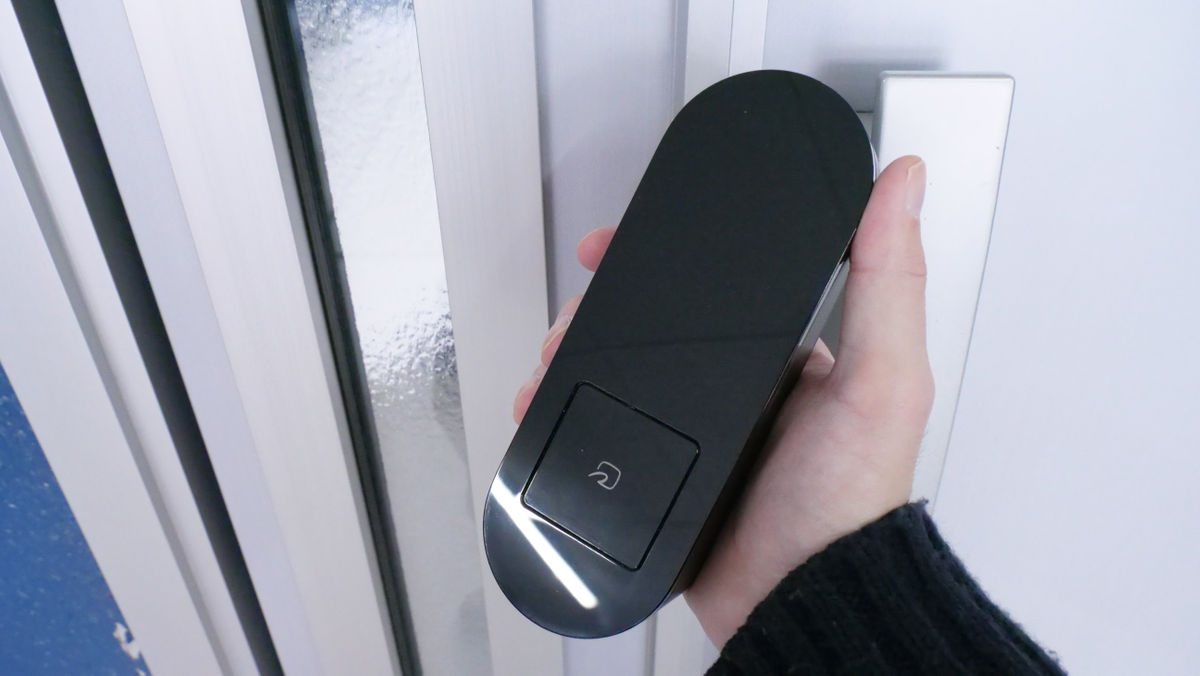
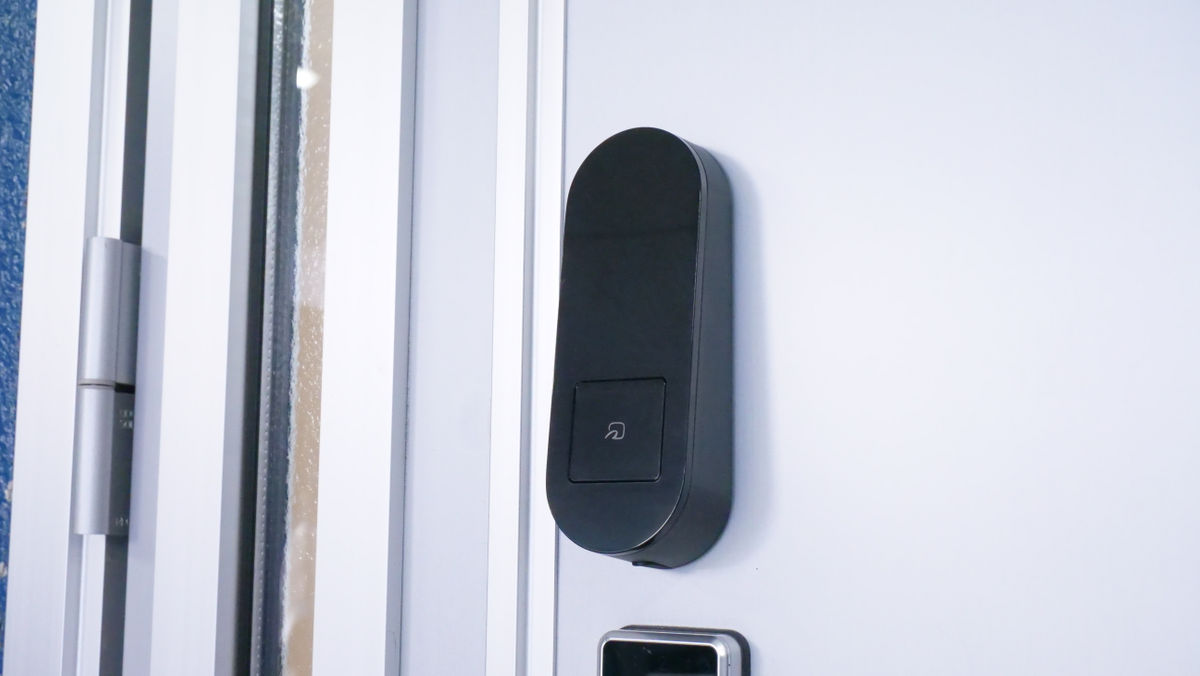
It looks like this when installed. The Qrio Pad is waterproof equivalent to IPX5, so it is safe to install on the outside of the door. However, I would like you to avoid installing it in a place where raindrops directly hit.
◆ 3: Set up the app quickly
Now that the device has been installed, install the app.
'Qrio Lock' on the App Store
Qrio Lock-Google Play app
https://play.google.com/store/apps/details?id=me.qrio.smartlock2
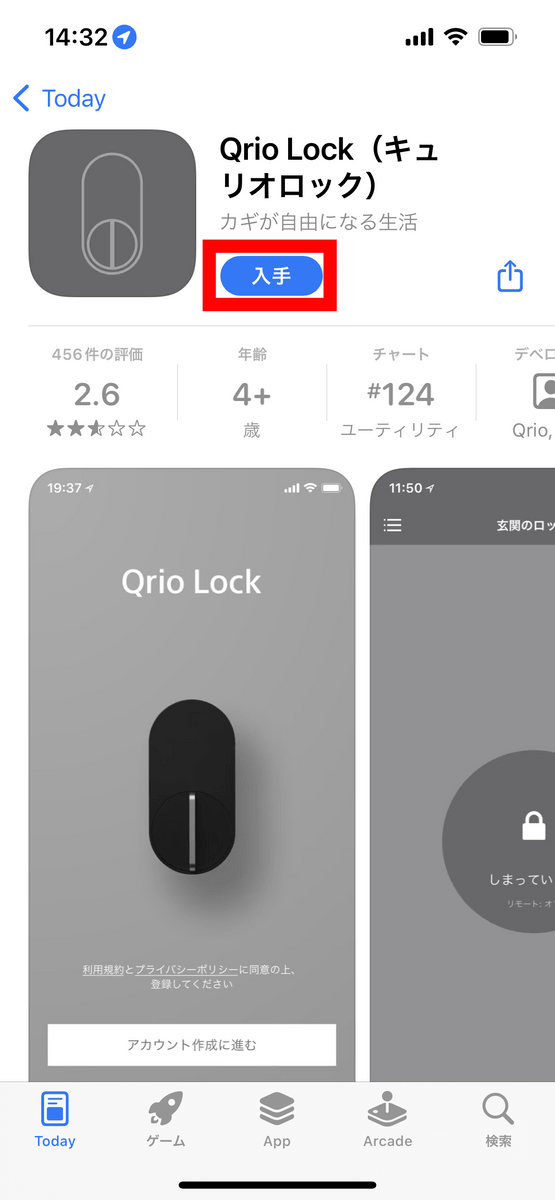
This time, we will install it on the iPhone. The model is iPhone 13 Pro and the OS version is iOS 15.1.1. To install, first access the above URL and tap 'Get'.
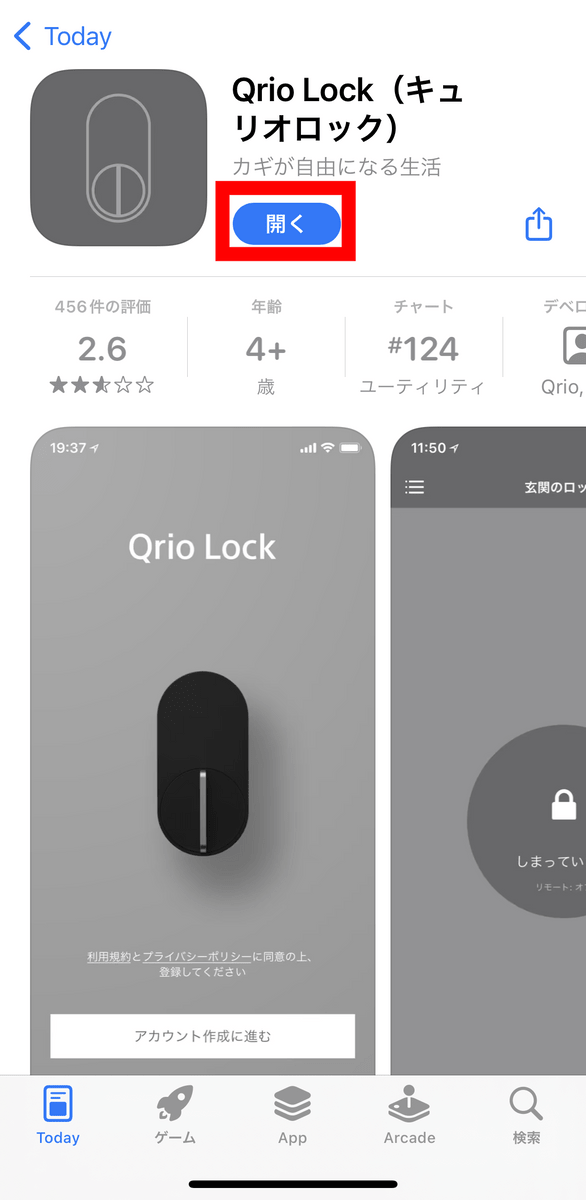
Tap 'Open' when the installation is complete.
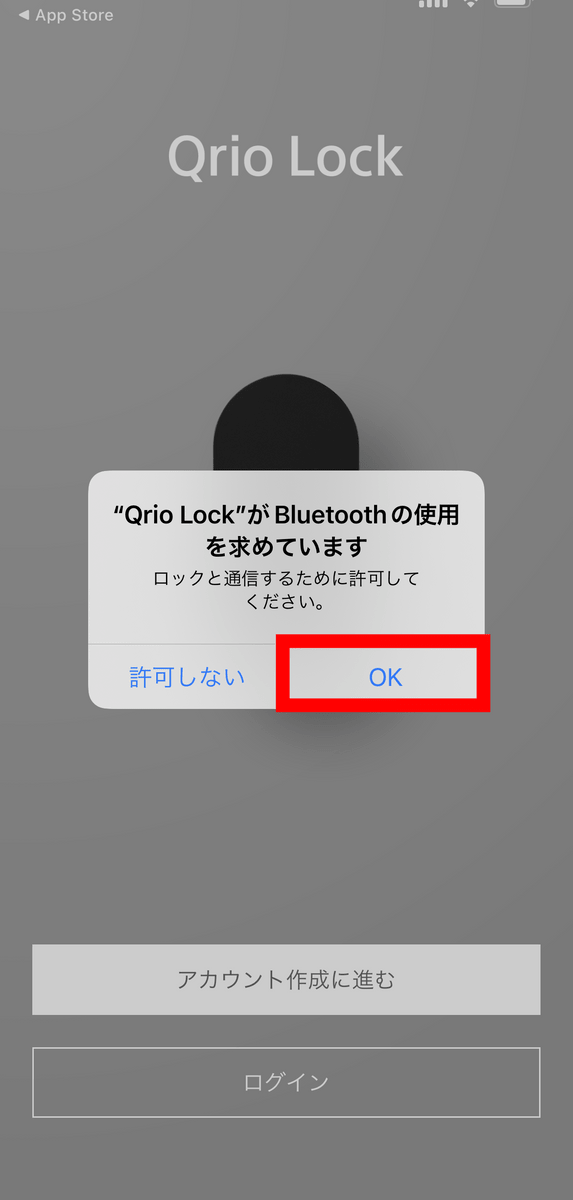
When the app starts, you will be asked for permission to access Bluetooth, so tap 'OK'.
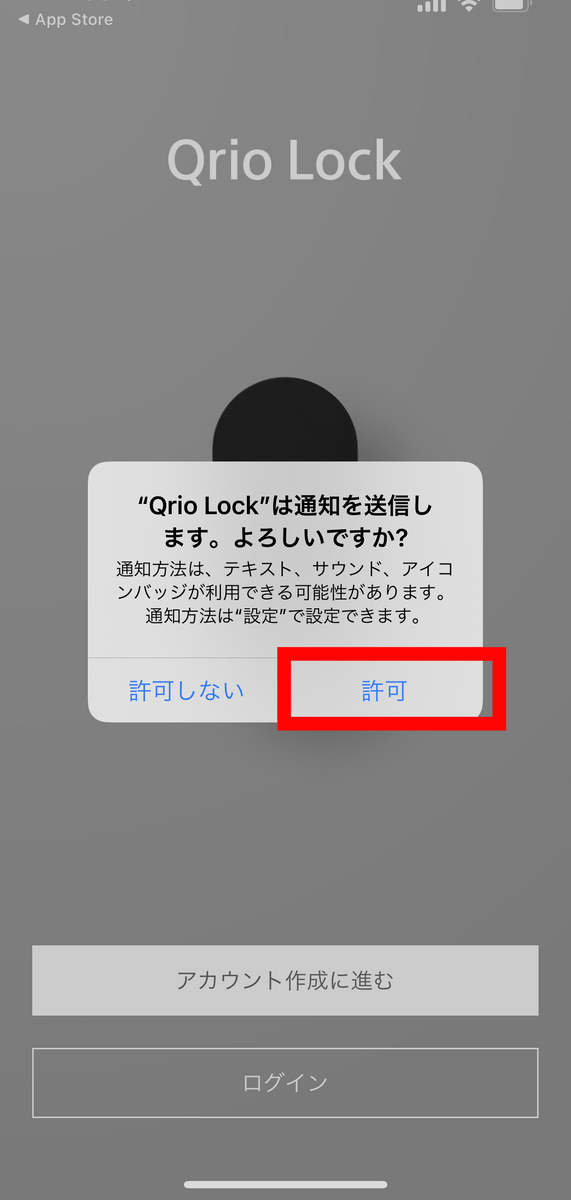
You will be asked to allow the notification, so tap 'Allow'.
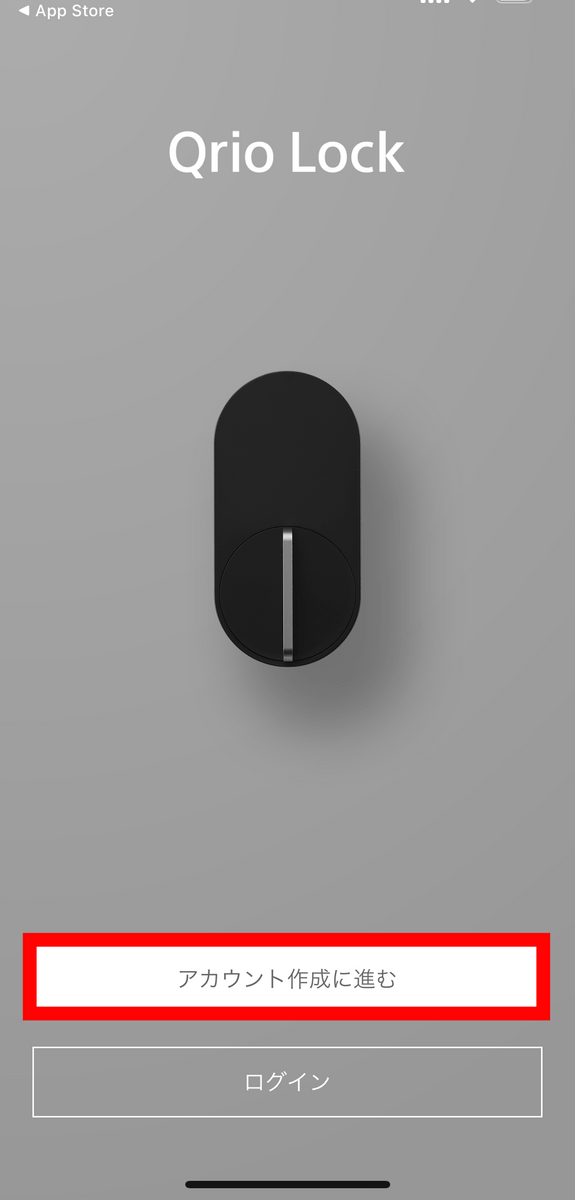
Then select Proceed to create an account.
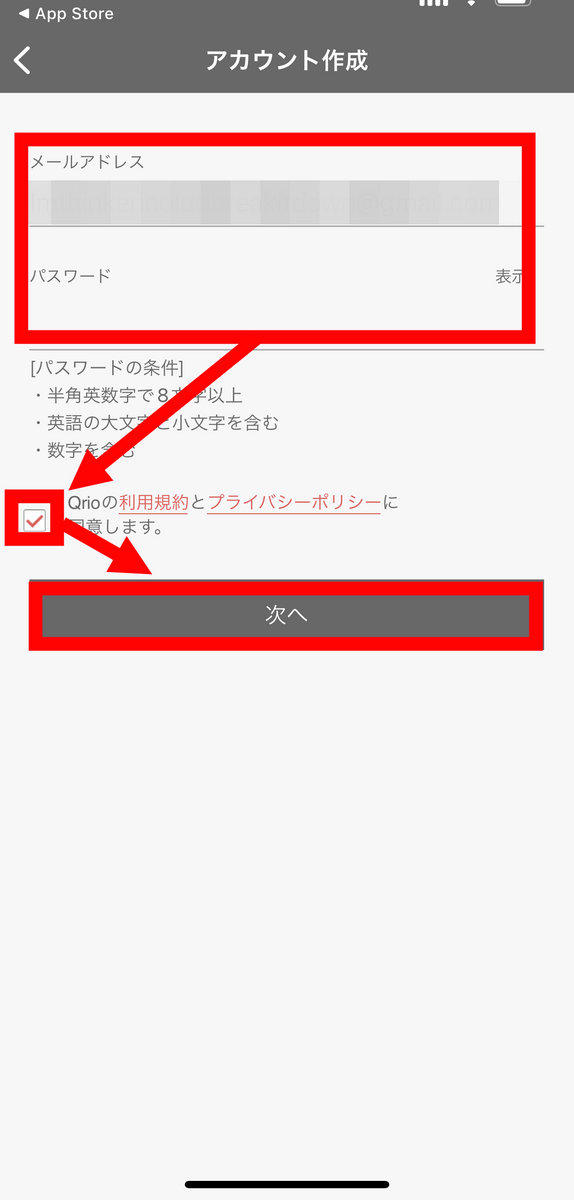
Enter the email address and password you use to create your account, check your agreement to the terms, and tap Next.
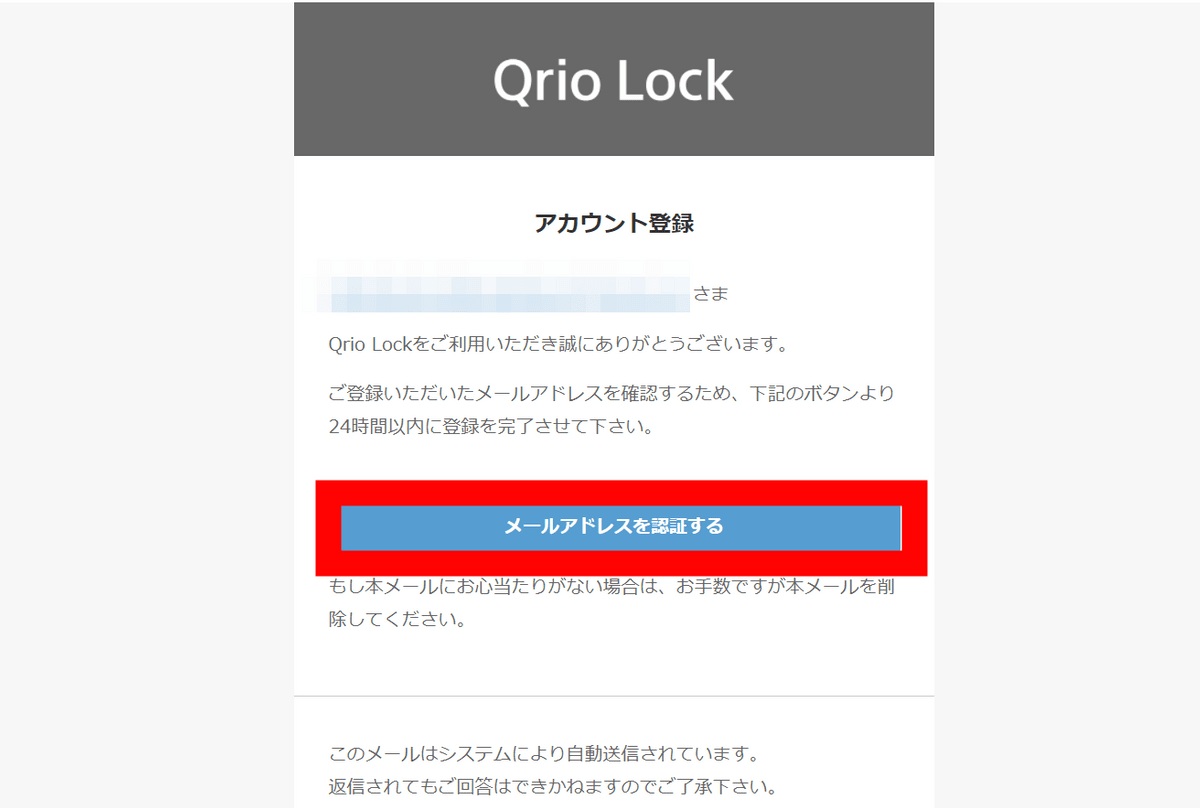
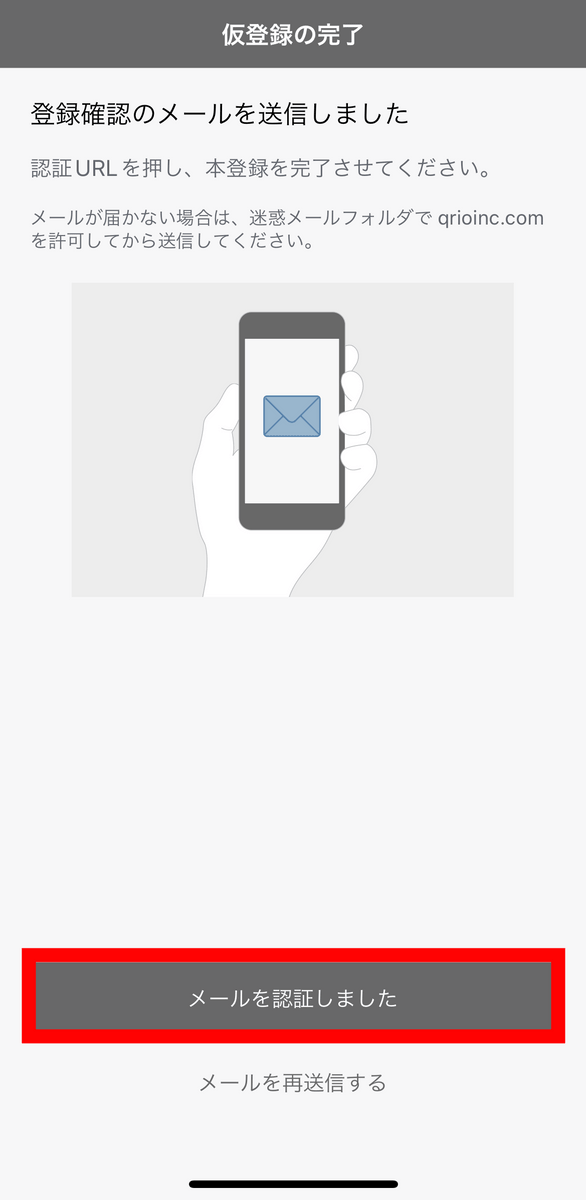
Then, the following email has arrived at the email address you entered, so click 'Authenticate email address'.
Go back to the app and tap 'Authenticated email'.
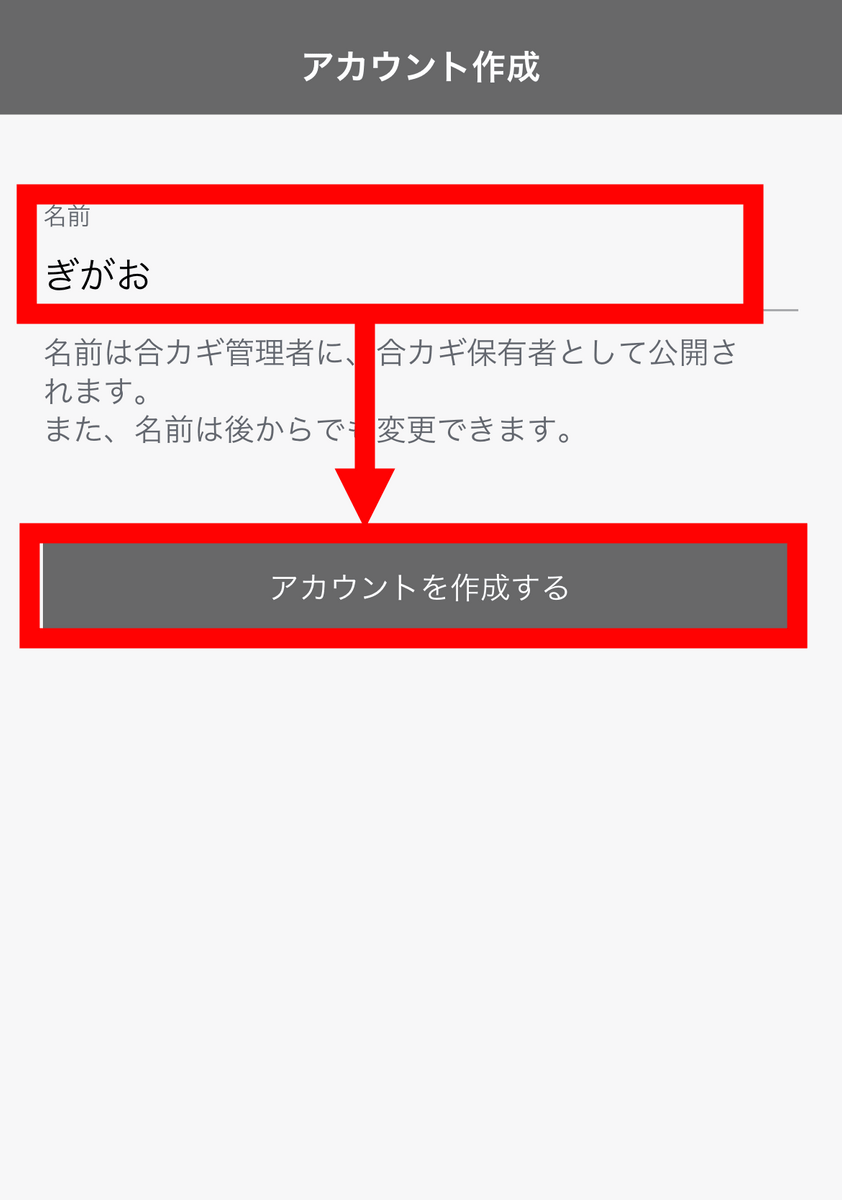
Enter a name and tap 'Create Account'.
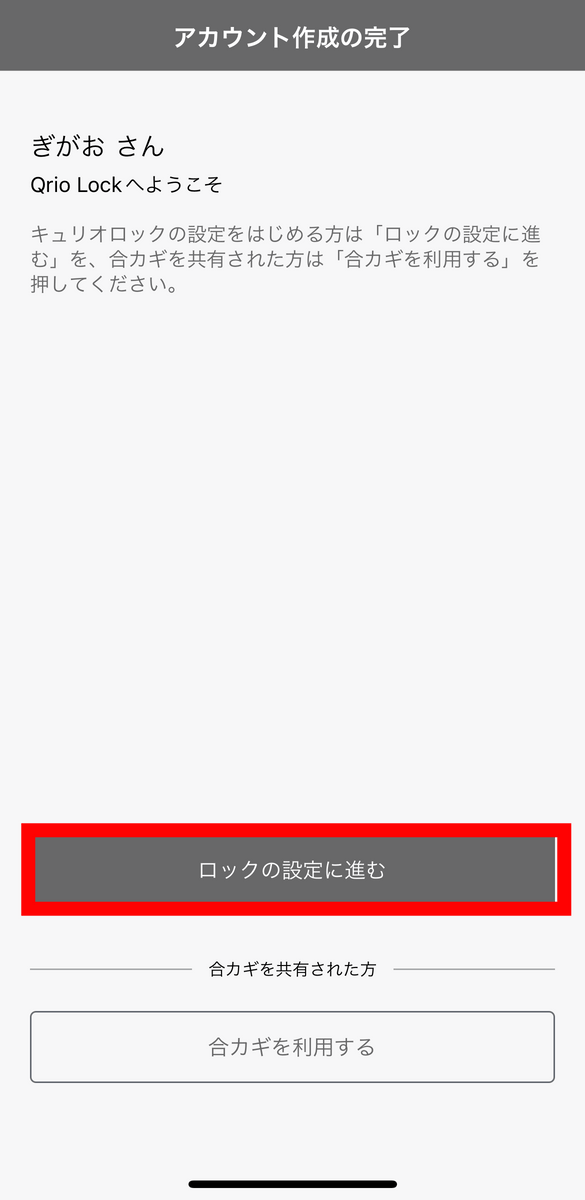
This completes account creation. Then tap 'Proceed to lock settings'.
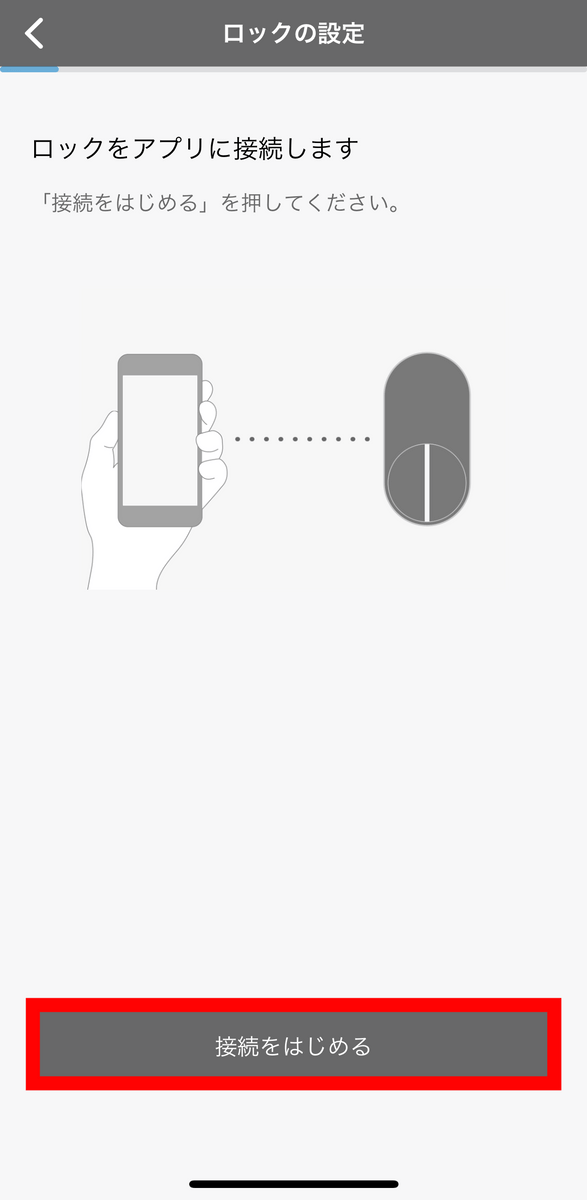
Tap 'Start connection'.
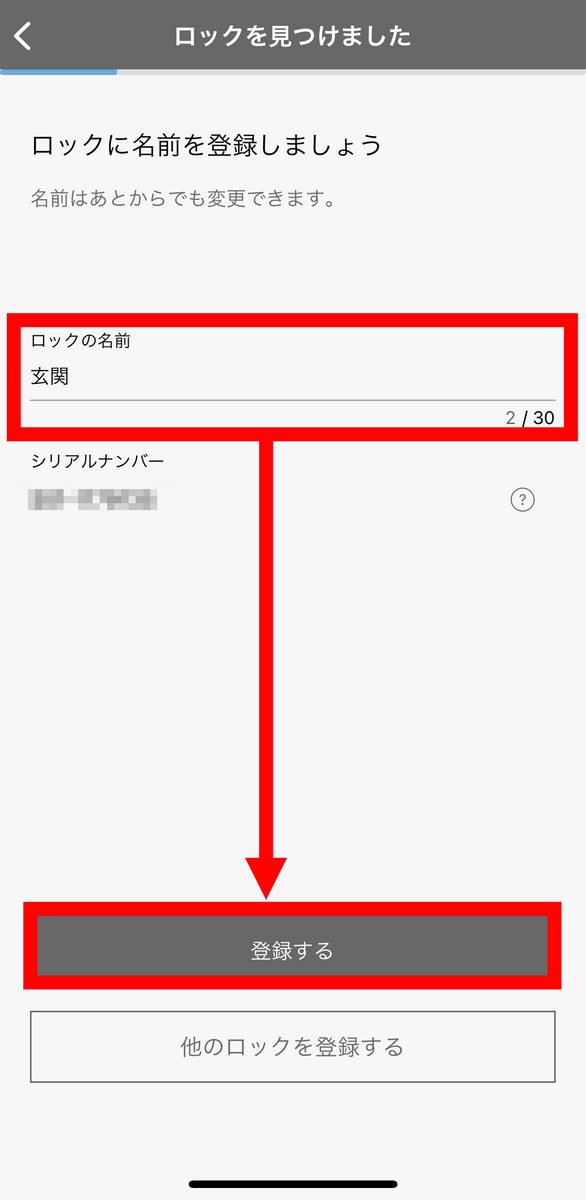
You will be asked to enter the name of the lock, so give it a name that makes it easy to understand where the lock is and tap 'Register'.
You will then be asked to set the unlock position.
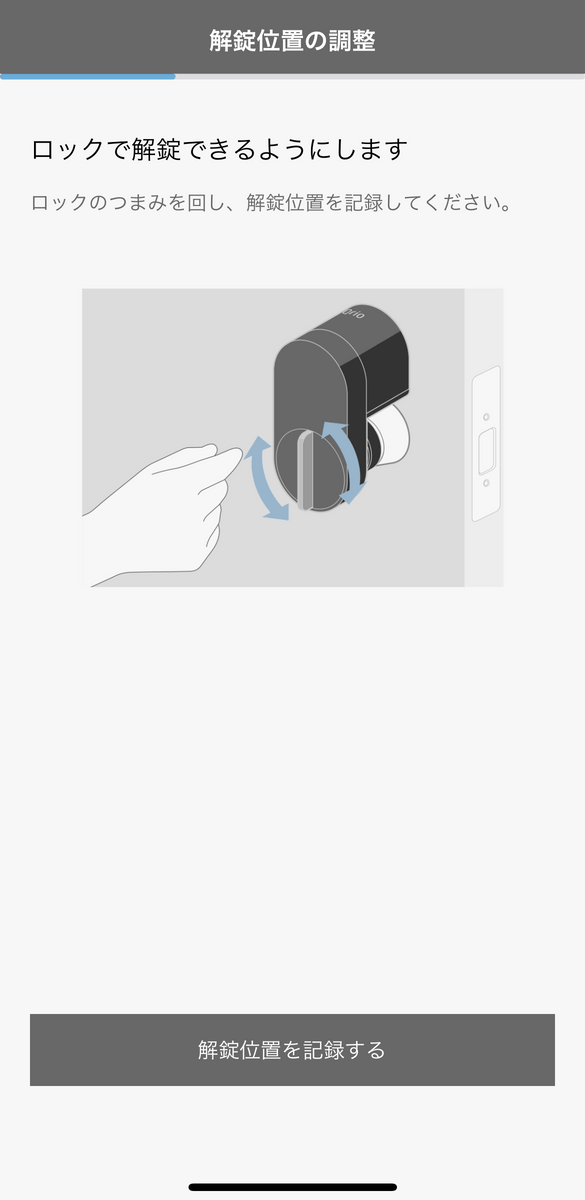
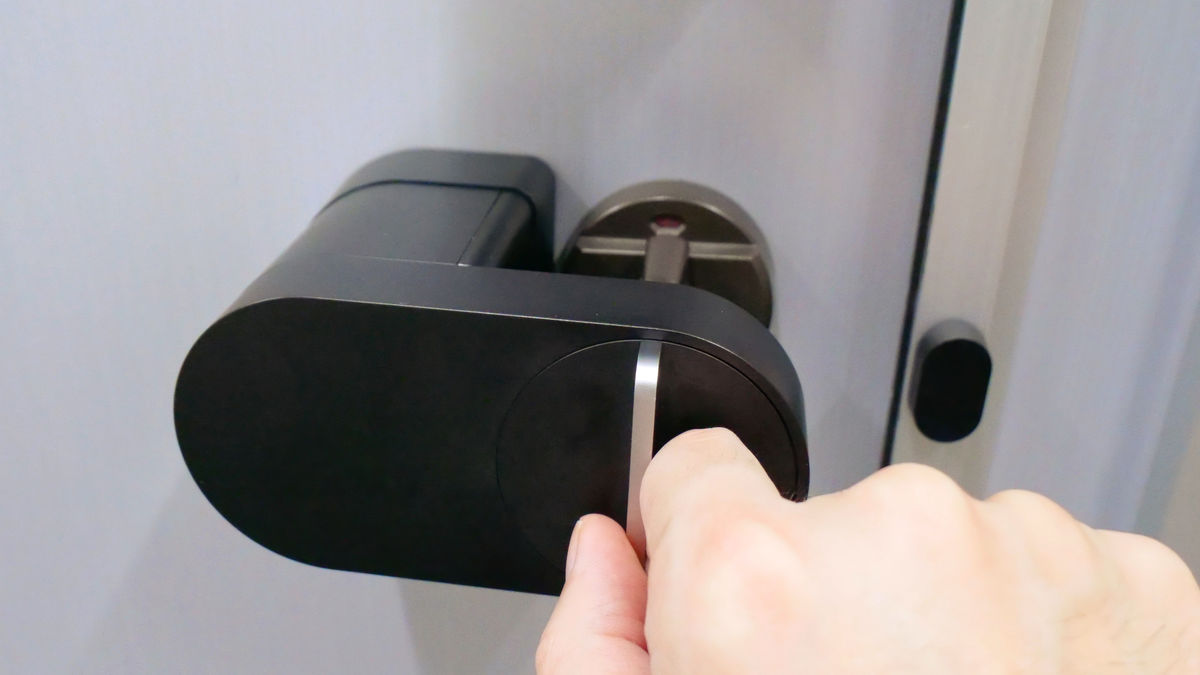
Therefore, put the smartphone once and turn the knob of Qrio Lock to unlock it.
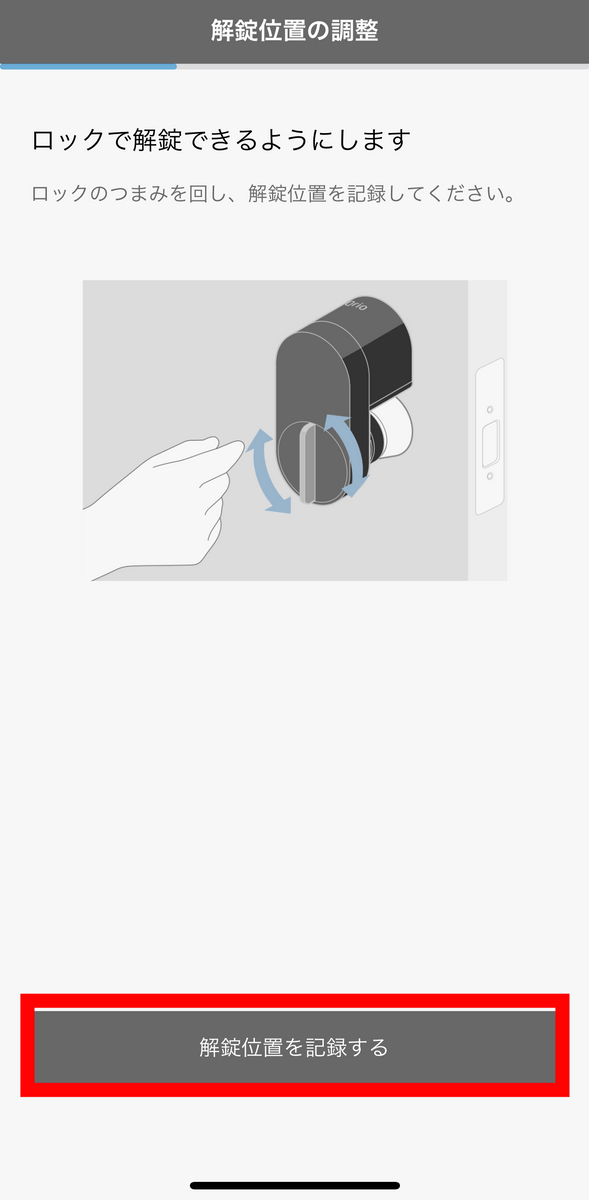
Next, return to your smartphone and tap 'Record unlock position'.
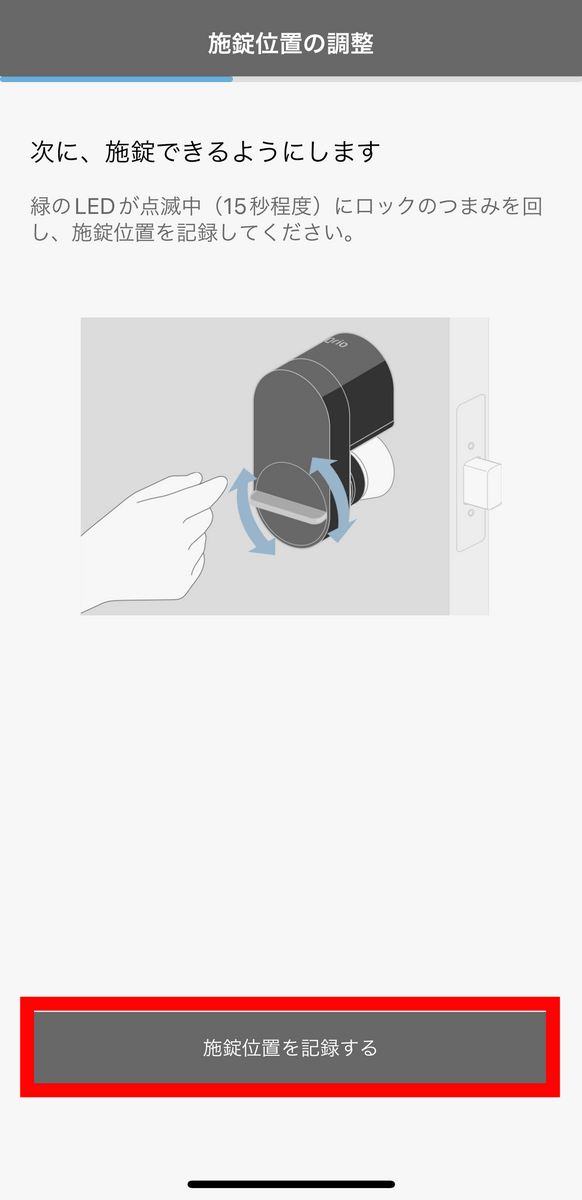
This time, you will be asked to set the lock position. Similarly, set the Qrio Lock knob to the locked state and tap 'Record lock position'.
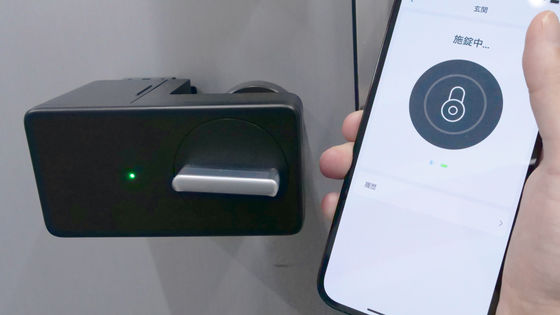
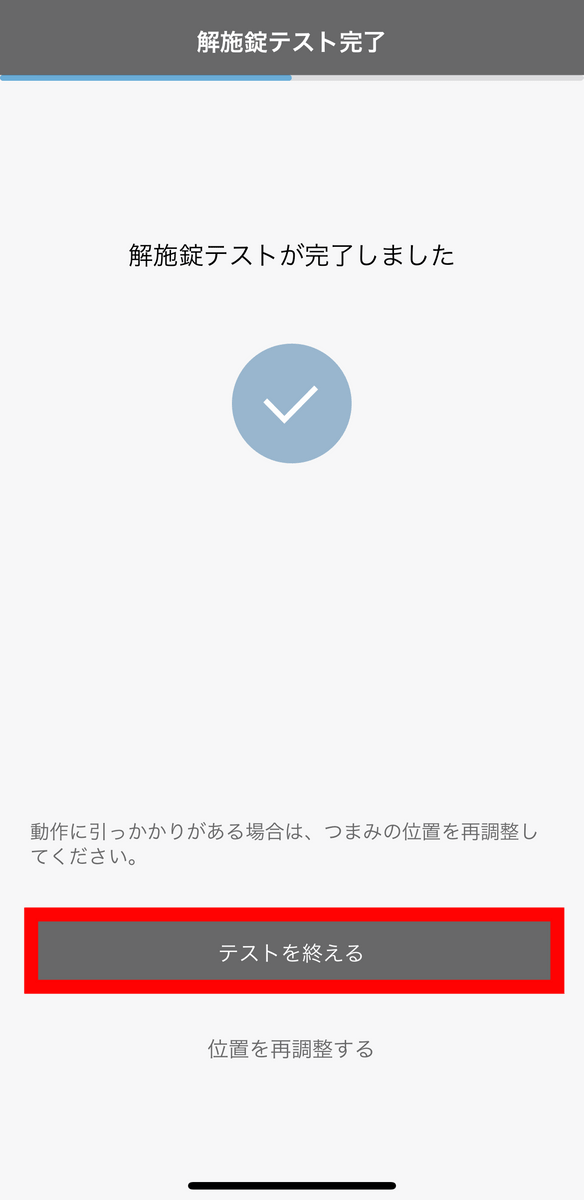
Then, Qrio Lock will automatically lock and unlock, so check if it stopped or exerted excessive force on the way. If there are no problems, tap 'Finish test'.
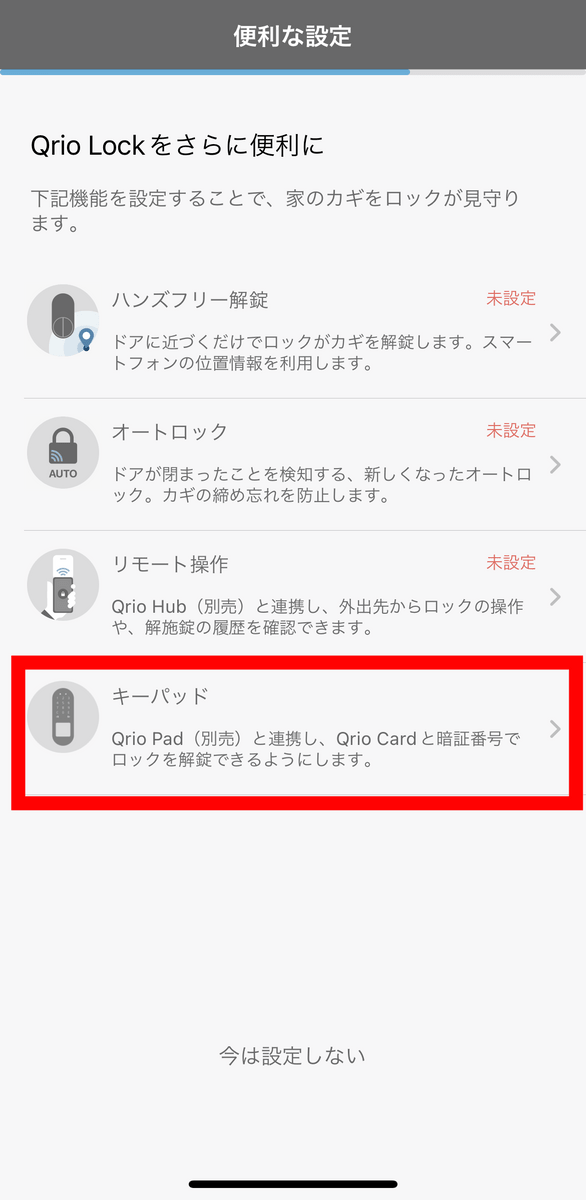
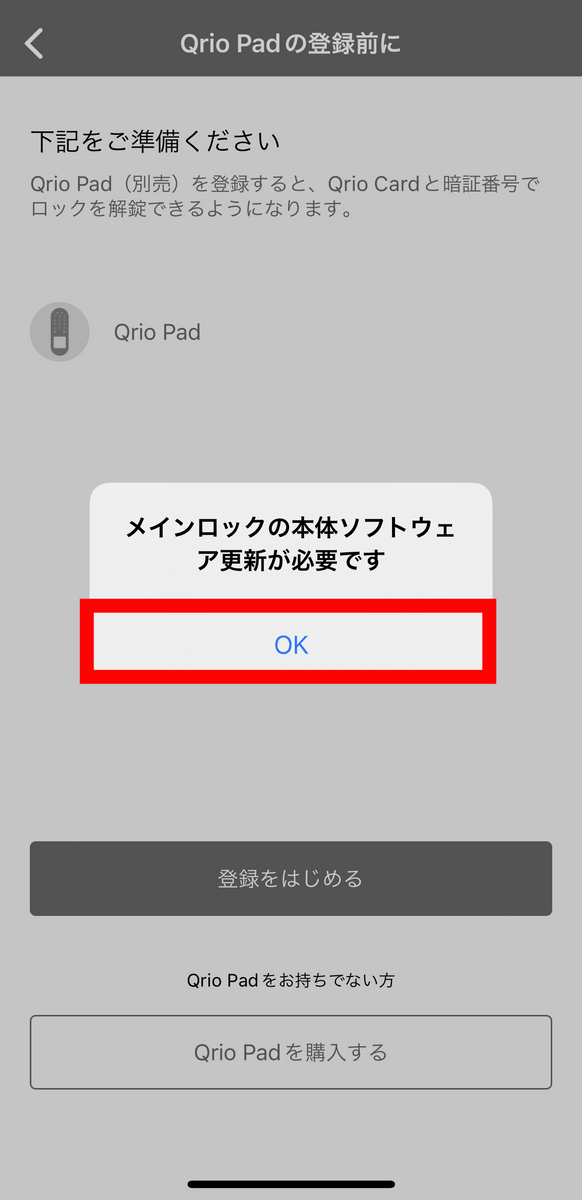
This completes the Qrio Lock setting. Next, tap the part in the red frame to register the Qrio Pad.
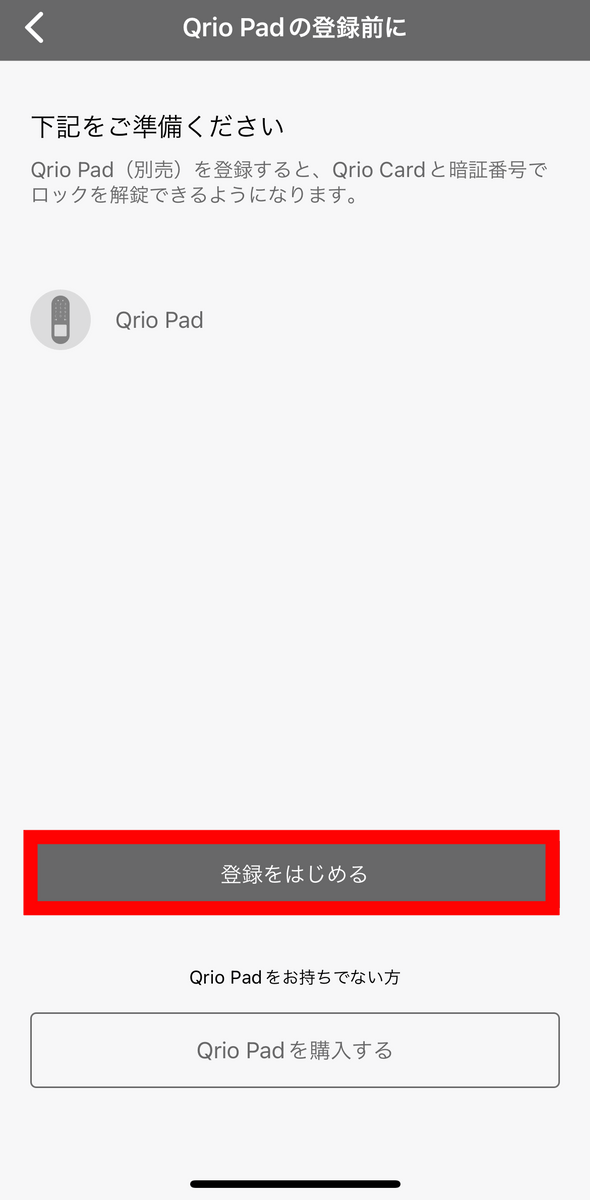
Tap 'Start registration'.
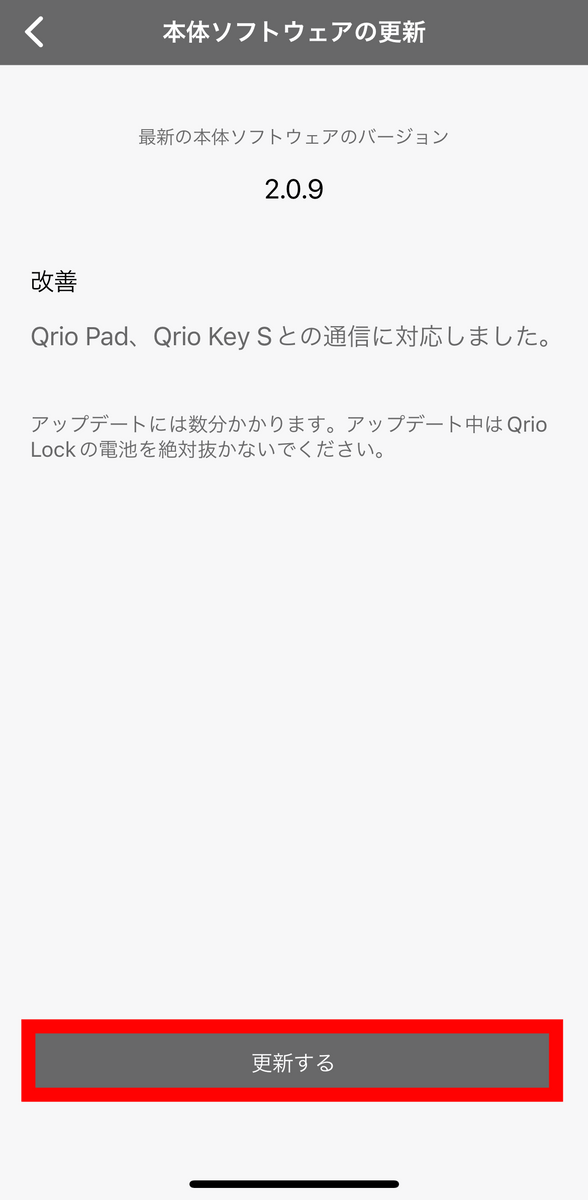
When the screen below appears, tap 'OK' to update the software.
Tap 'Update'.
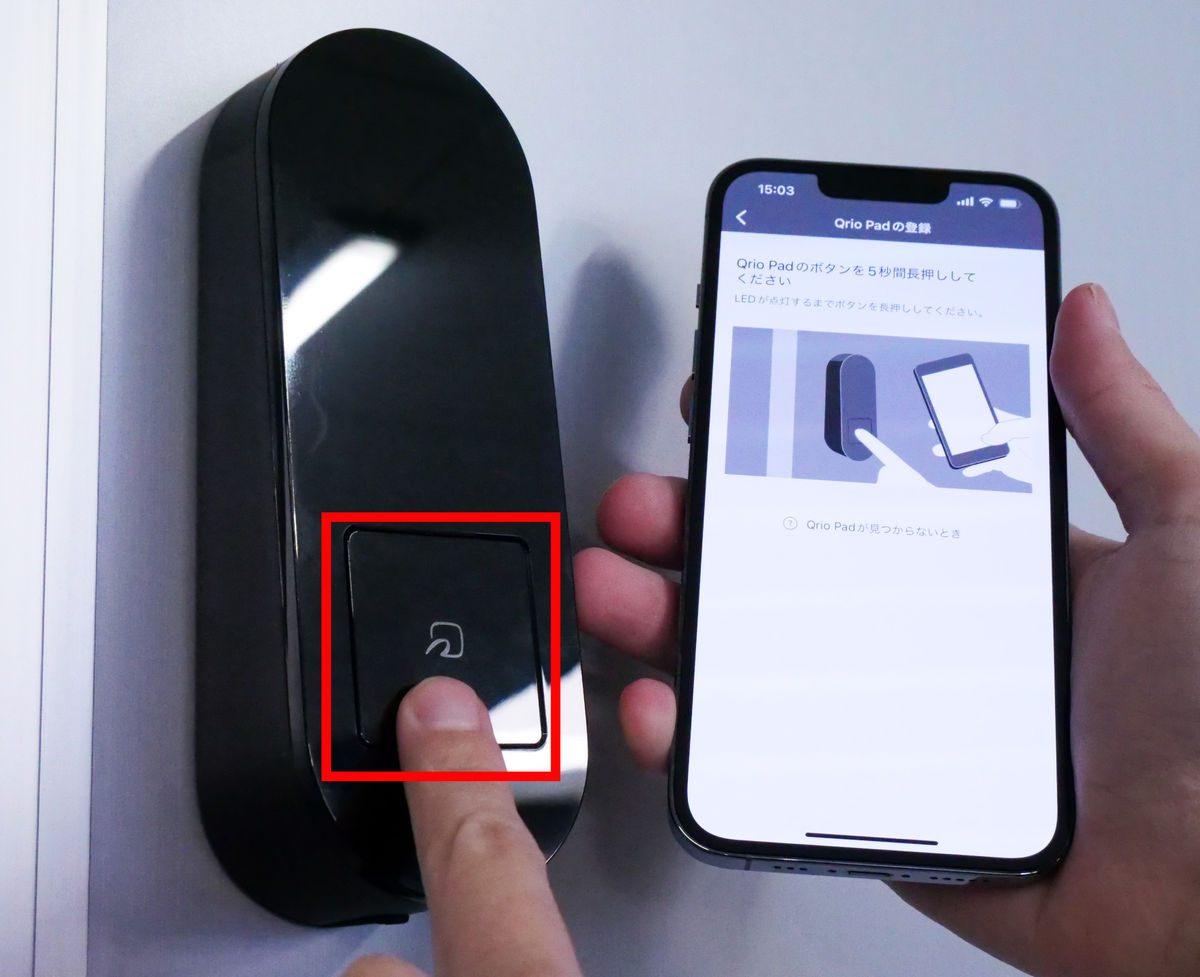
After updating, you will be asked to register for Qrio Pad ...
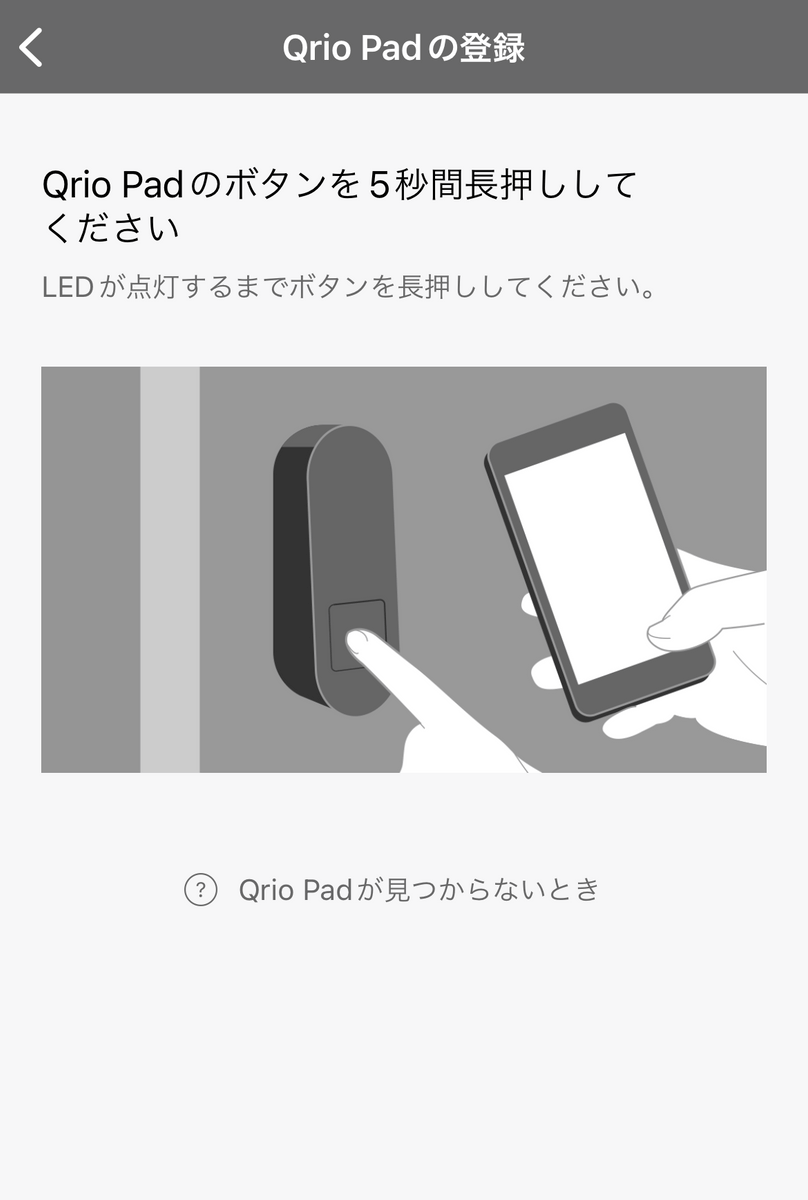
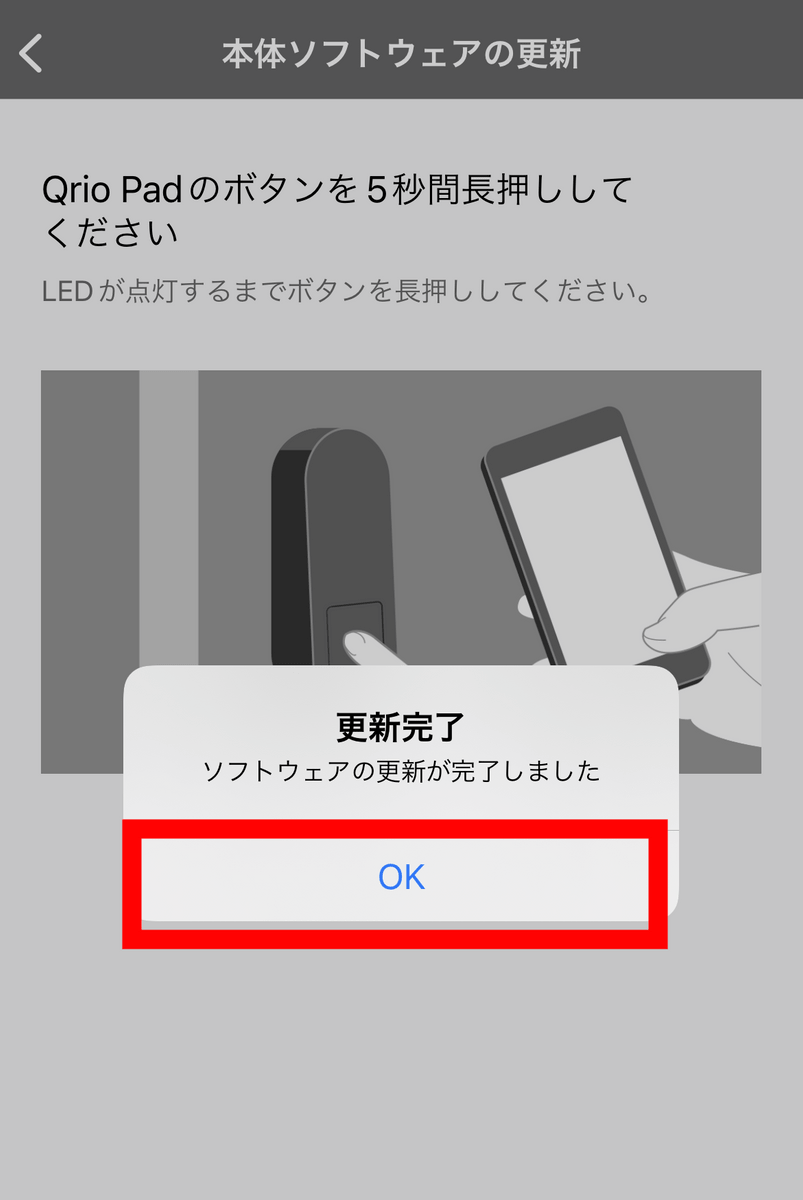
Press and hold the button on the main unit for 5 seconds. If registration is successful, a confirmation sound will sound.
The update of the main unit will start automatically, so tap 'OK' when finished.
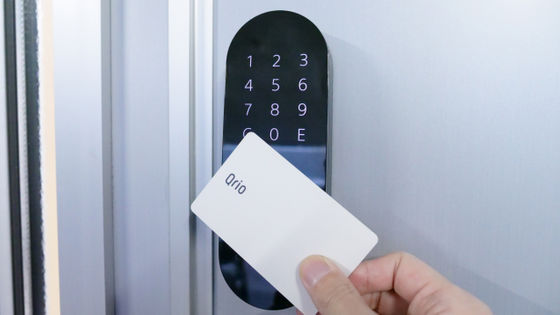
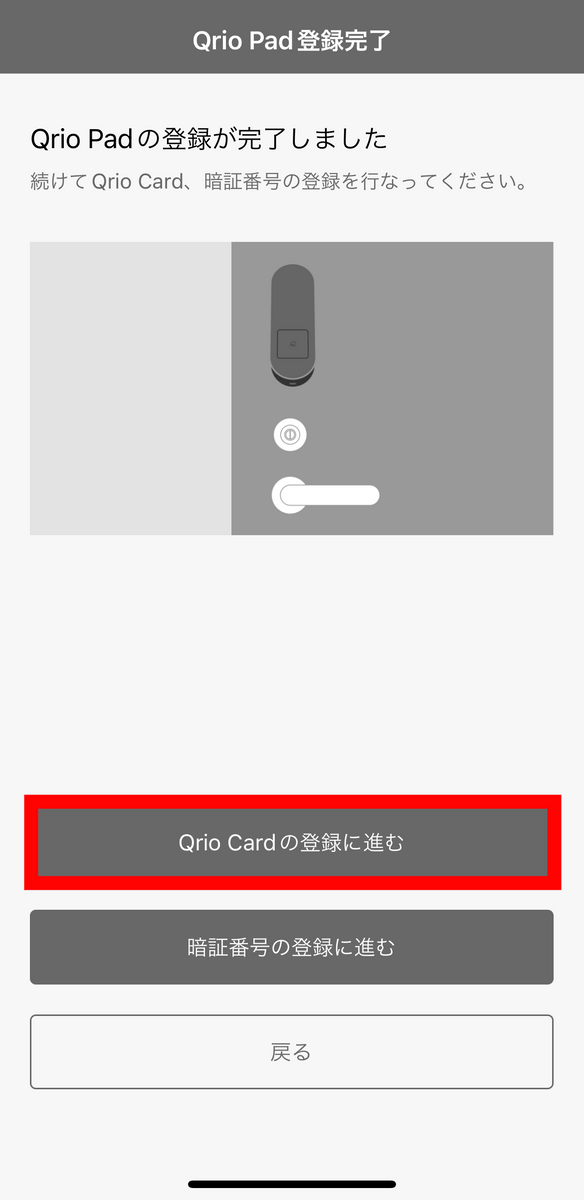
Finally, the Qrio Card required for unlocking will be registered, so tap 'Proceed to Qrio Card registration'.
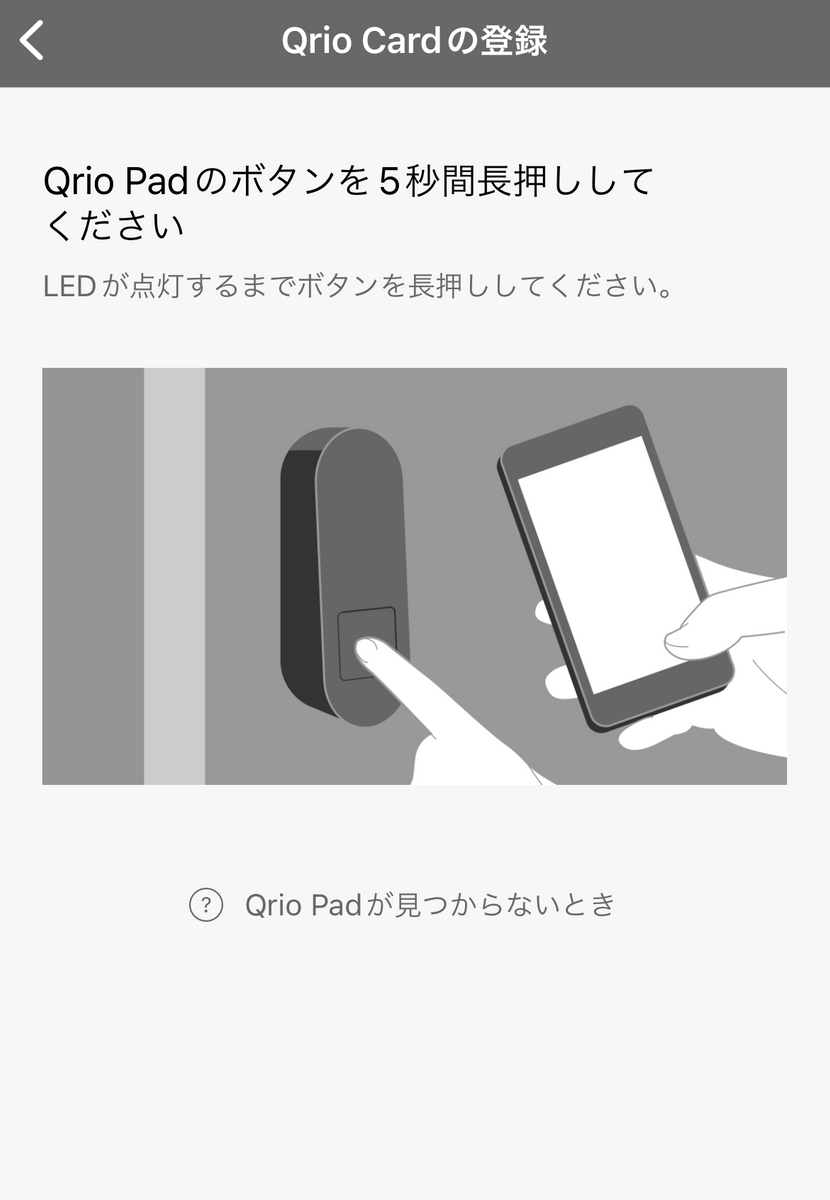
Tap 'Start setting'.

Follow the onscreen instructions and press and hold the Qrio Pad button.
You will be asked to touch the Qrio Card, so put your smartphone down once ...
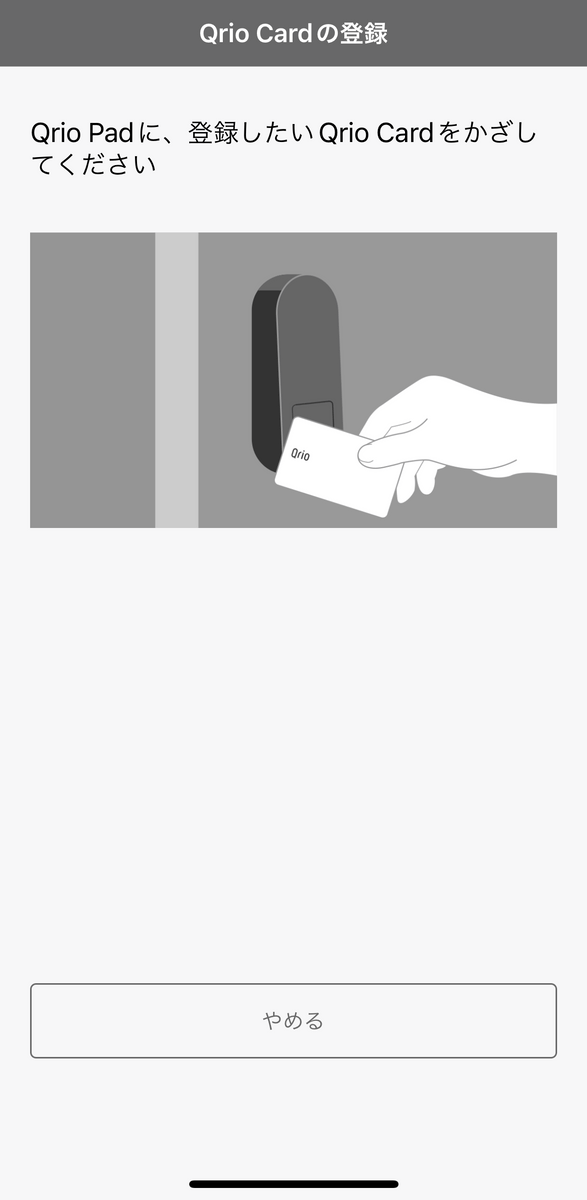
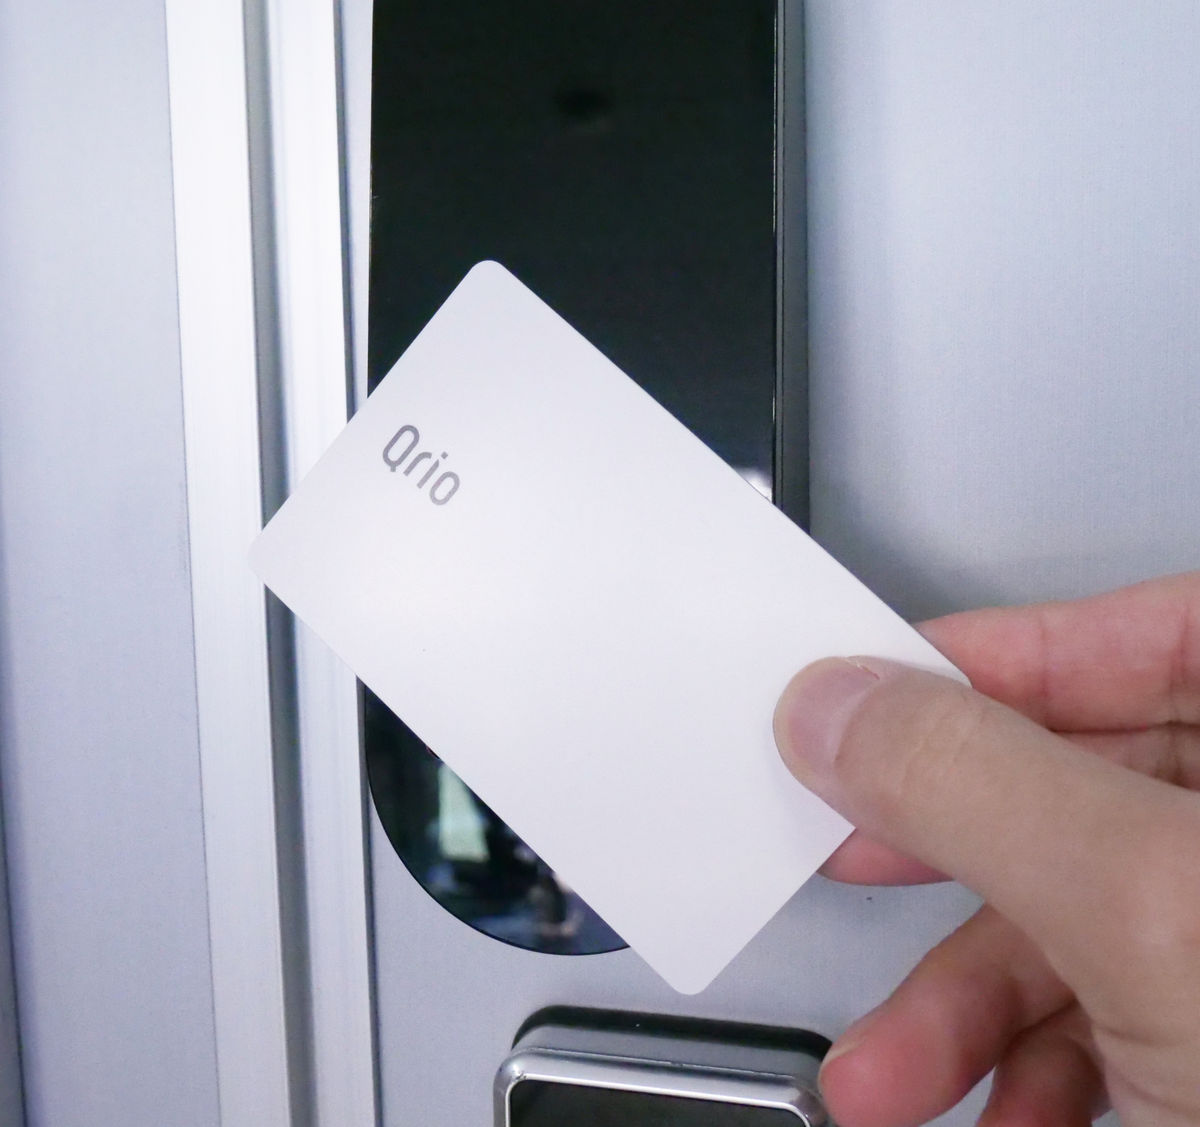
Hold the included Qrio Card over the Qrio Pad.
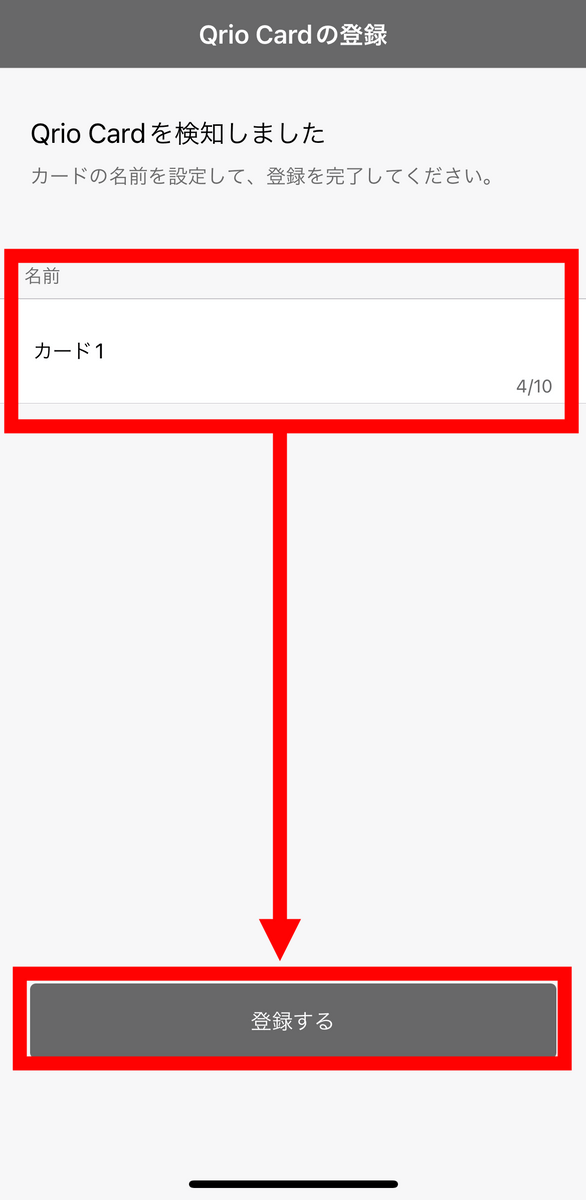
Give it a name and tap 'Register'.
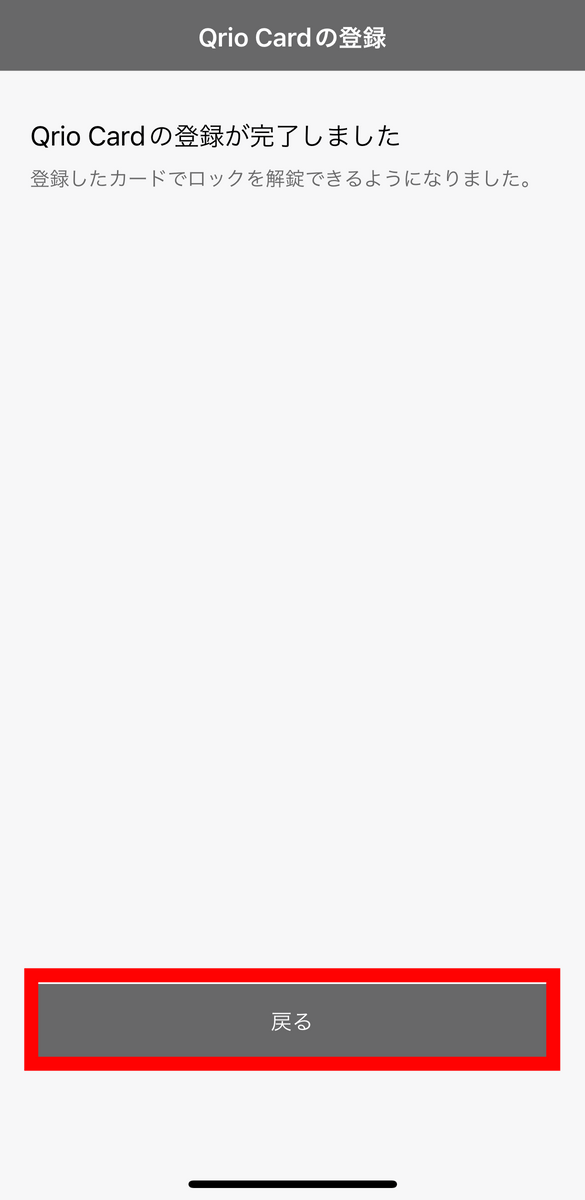
Now that the Qrio Card registration is complete, tap 'Back'.
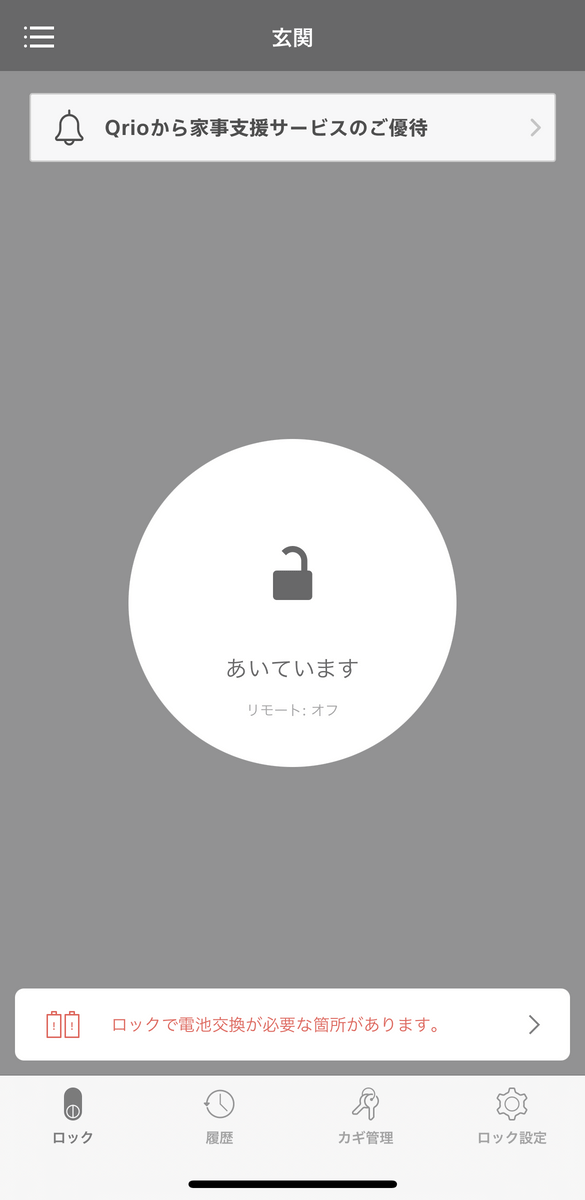
This completes the basic settings.
Related Posts: