I installed a multifunctional surveillance camera ``eufyCam 2C'' that can record full HD wirelessly & save data in local storage
From
Eufy Security eufyCam 2C 1-Cam Kit
https://www.ankerjapan.com/collections/eufy-security/products/t8830
◆Appearance
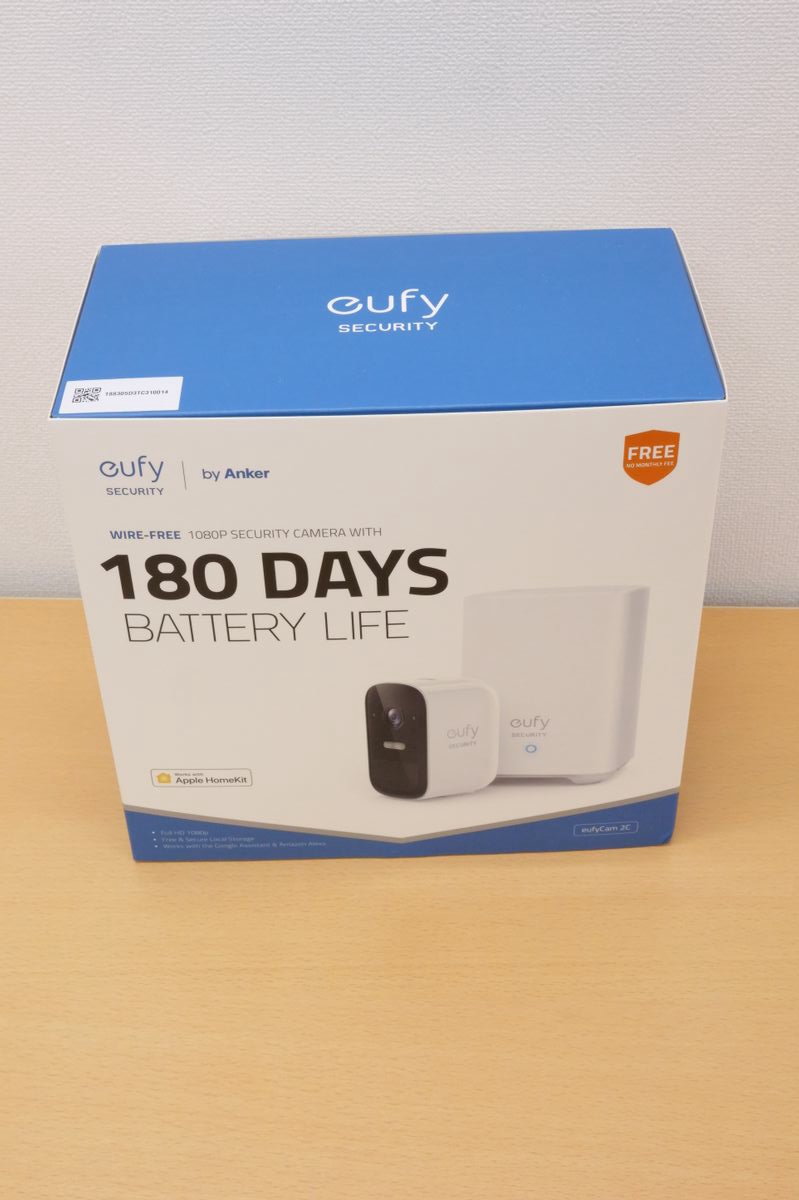
The box of 'eufyCam 2C 1-Cam Kit' looks like this.
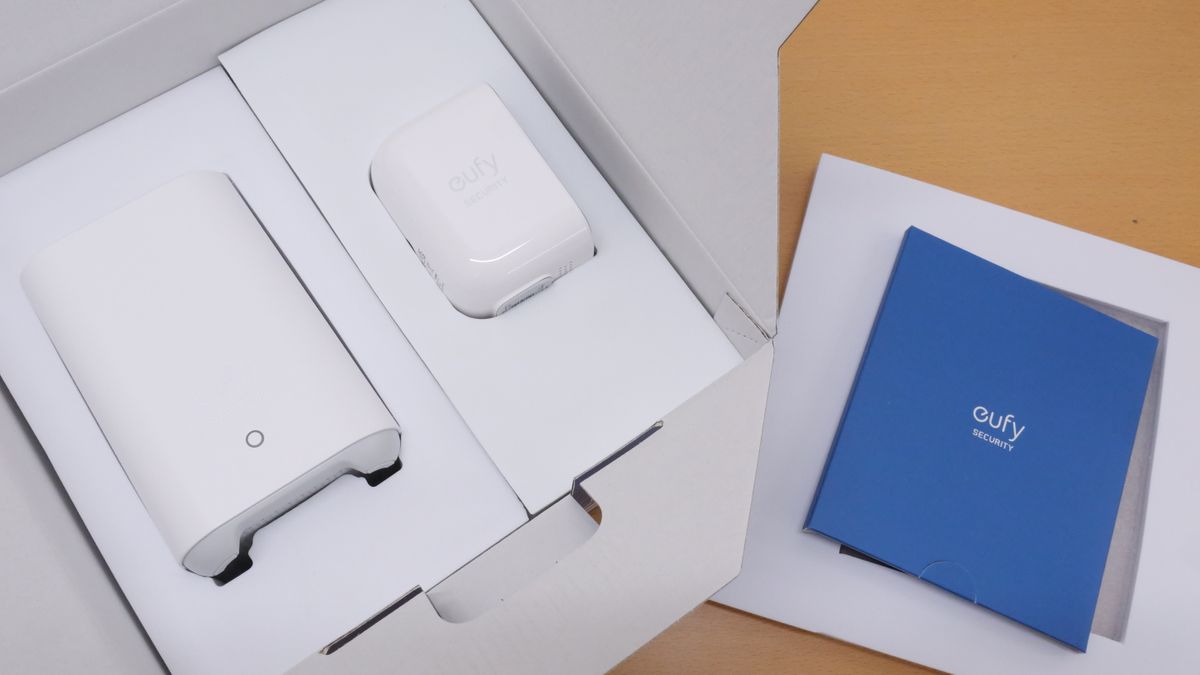
When opening the box, various devices and instruction manuals came out from inside.
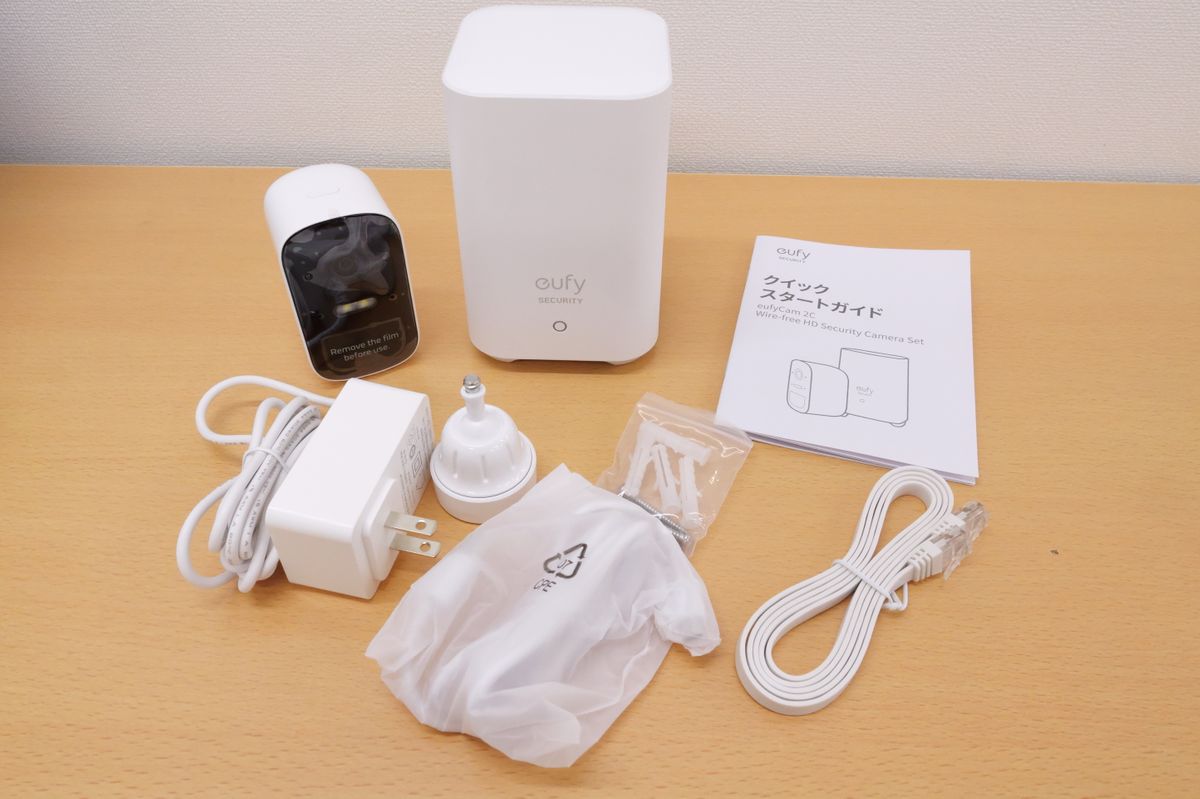
The contents are eufyCam 2C of surveillance camera, HomeBase 2 of device that saves recorded video, instruction manual, power adapter of HomeBase 2, camera mounting bracket, mounting screw and anchor, Micro-USB cable for charging camera, HomeBase 2 It's an Ethernet cable.
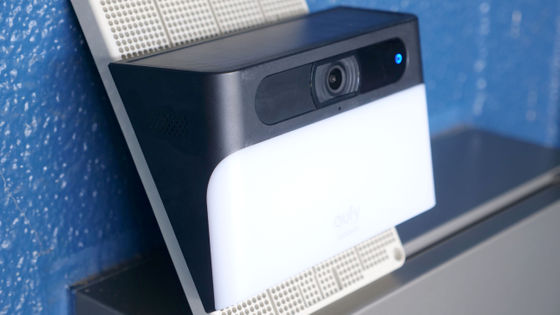
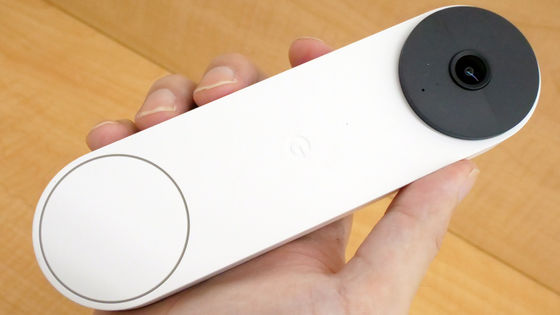
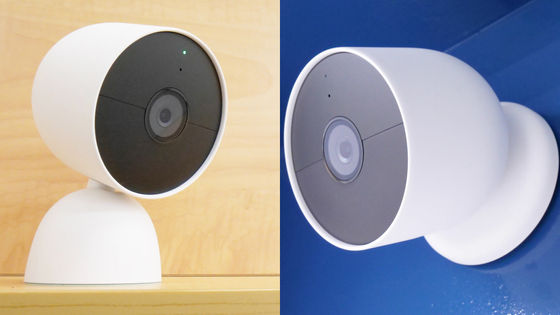
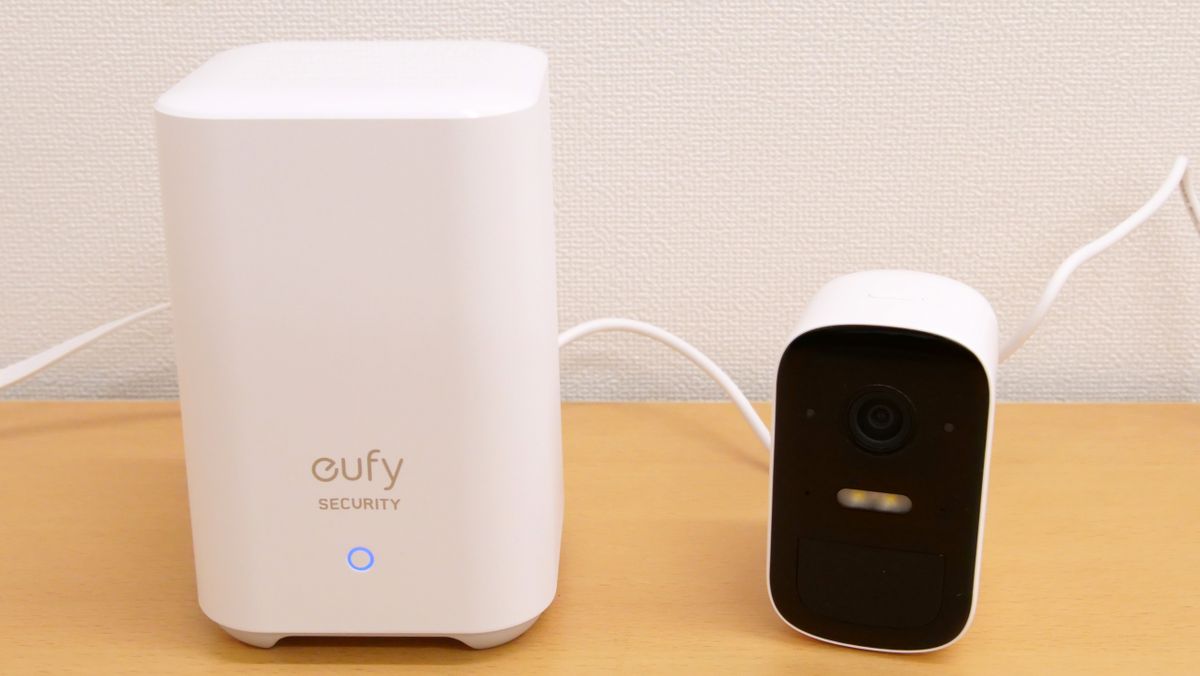
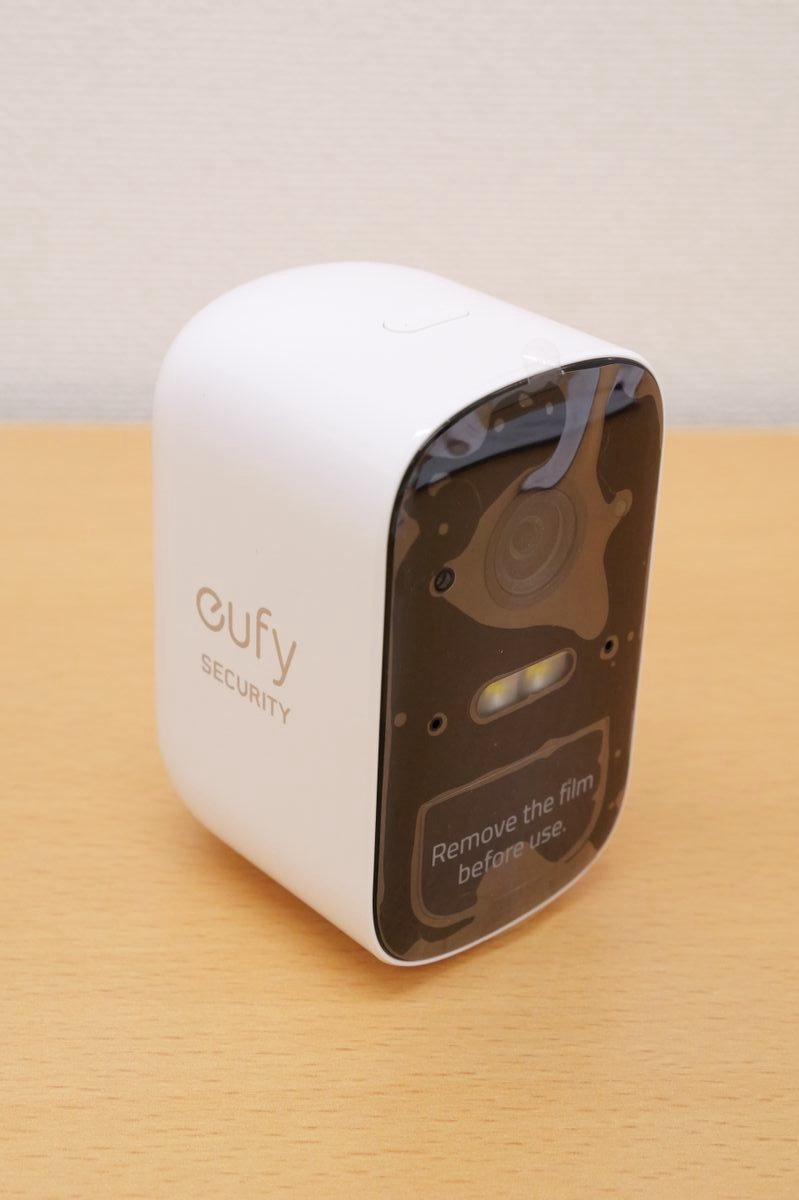
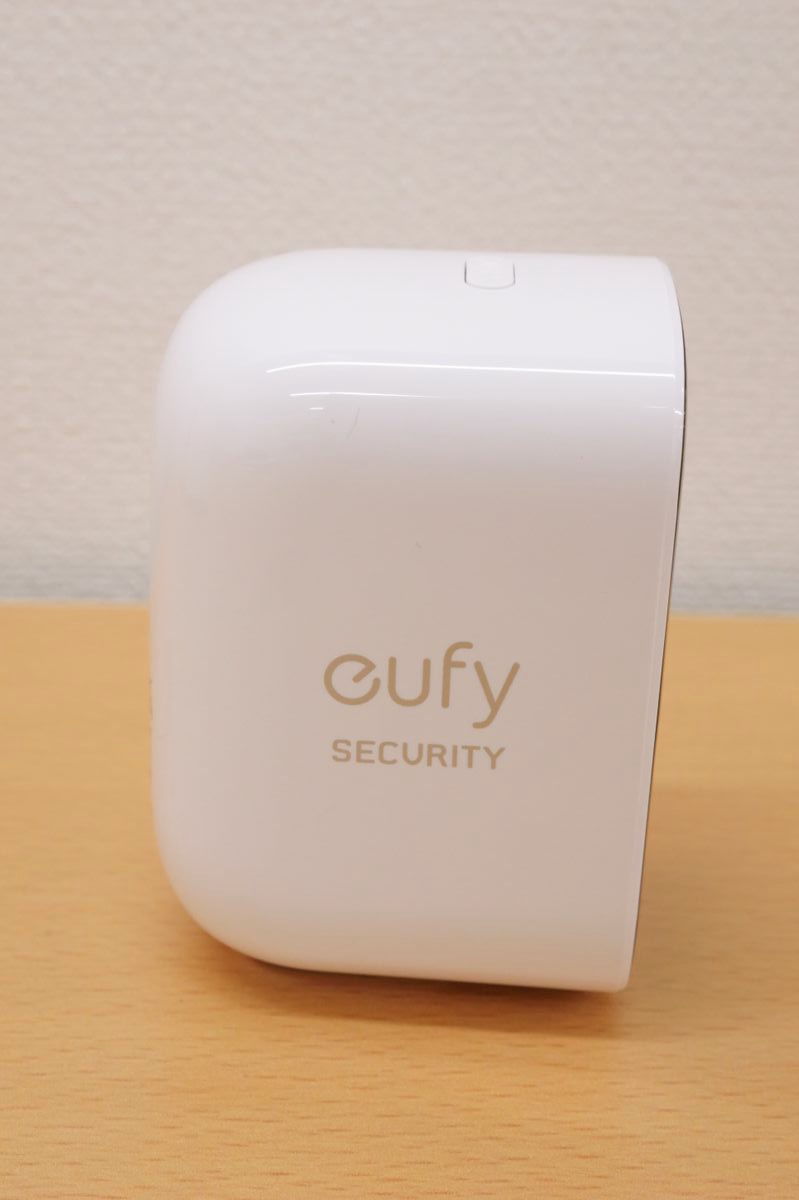
The eufyCam 2C body looks like this.
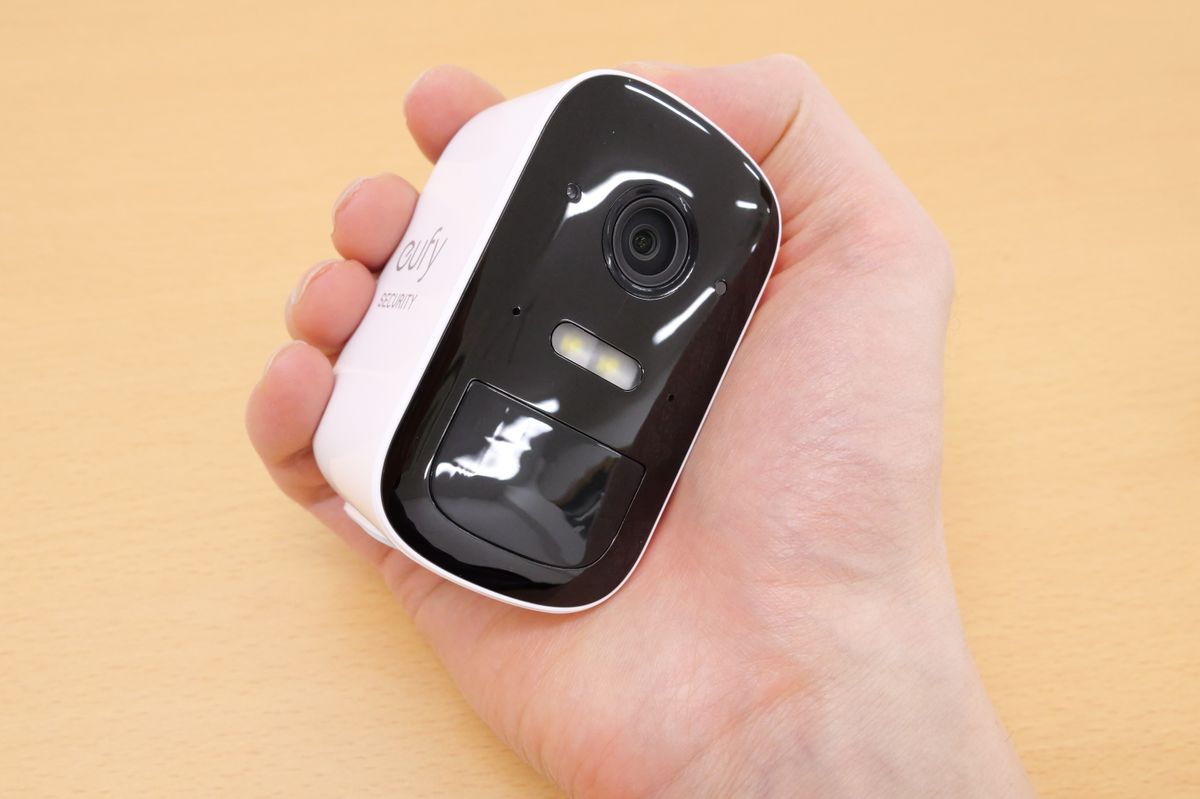
The size is 8.1 cm high, 4.8 cm wide, and 5.7 cm deep, so compact that it fits in the palm of your hand.
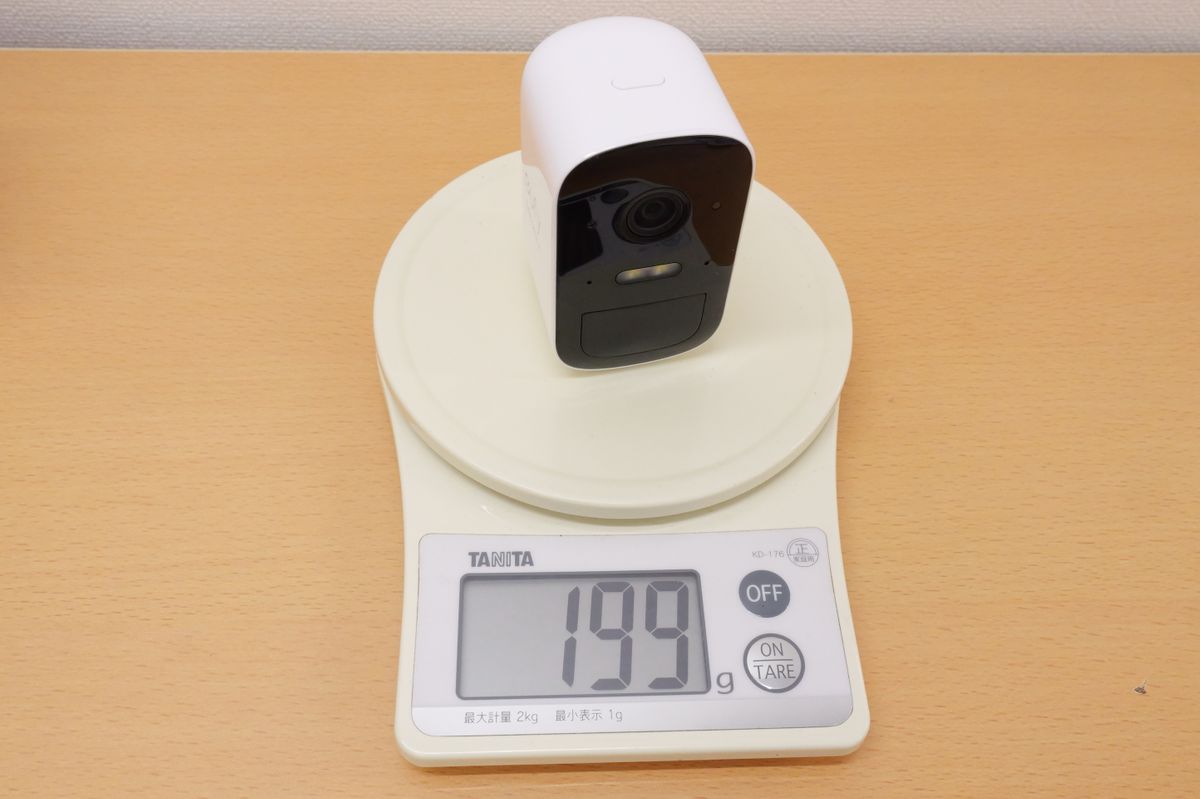
It weighs 199g, excluding mounting brackets, etc.
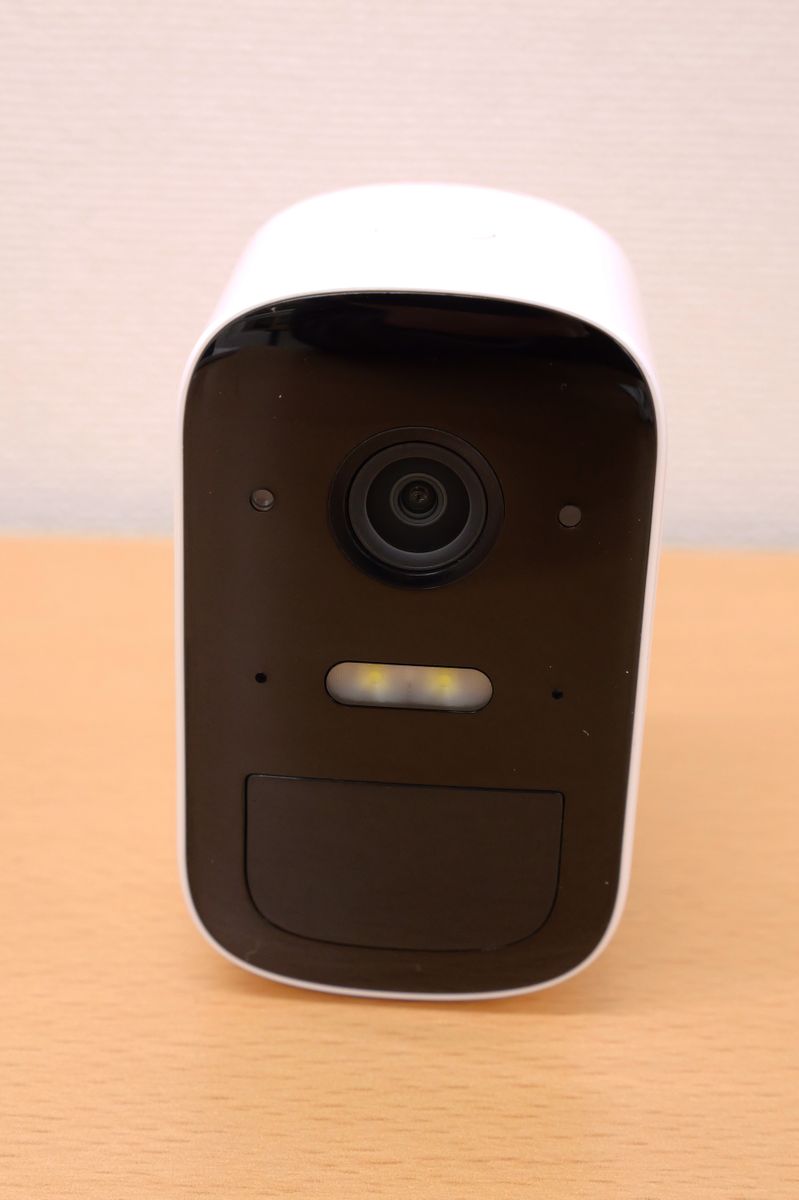
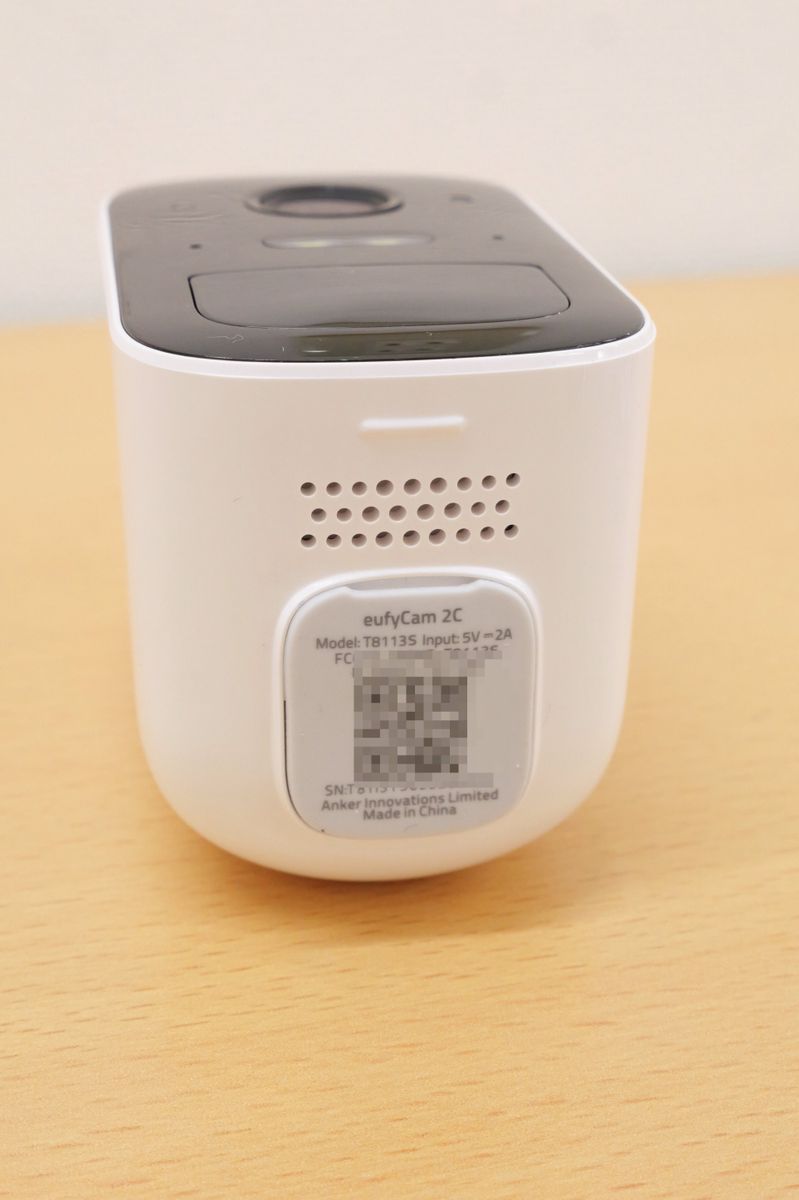
Various devices such as camera lenses, sensors, microphones, spotlights, and motion sensors are installed on the front.
It has a logo on the side.
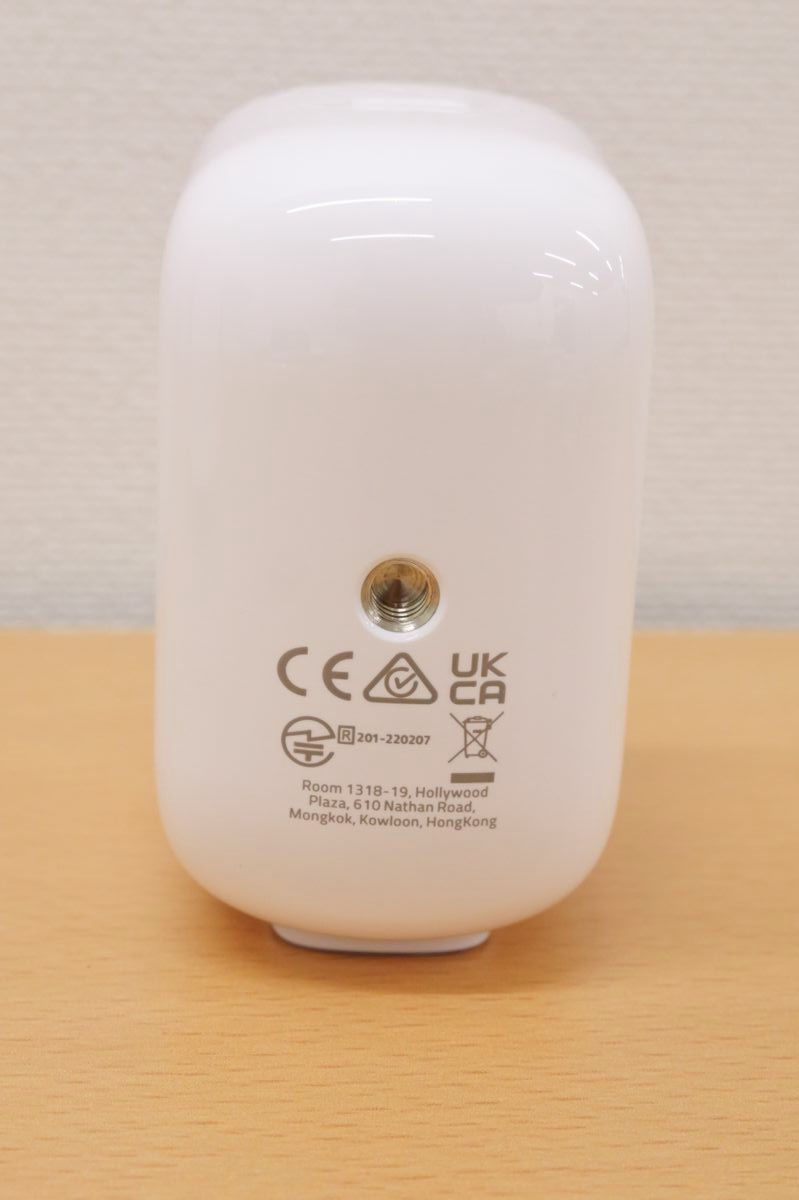
There were screw holes on the back for inserting the mounting bracket.
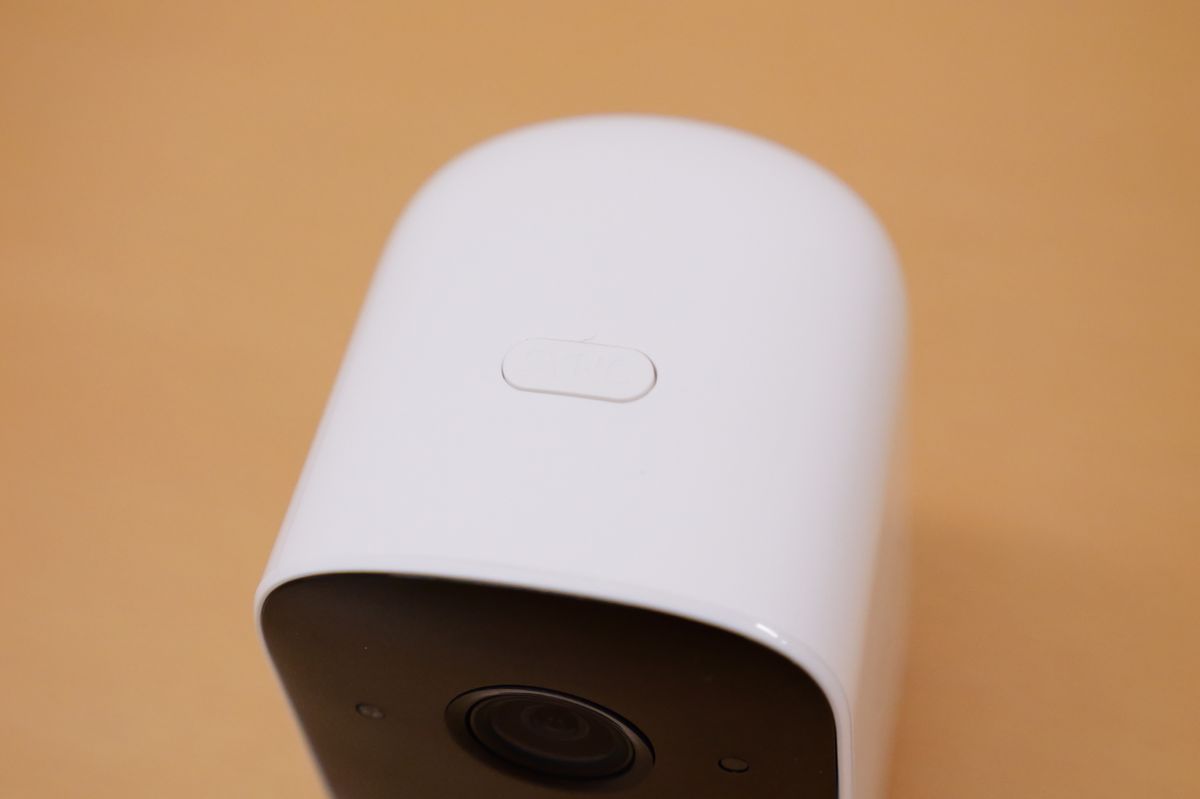
At the top there is a button used when connecting with HomeBase 2.
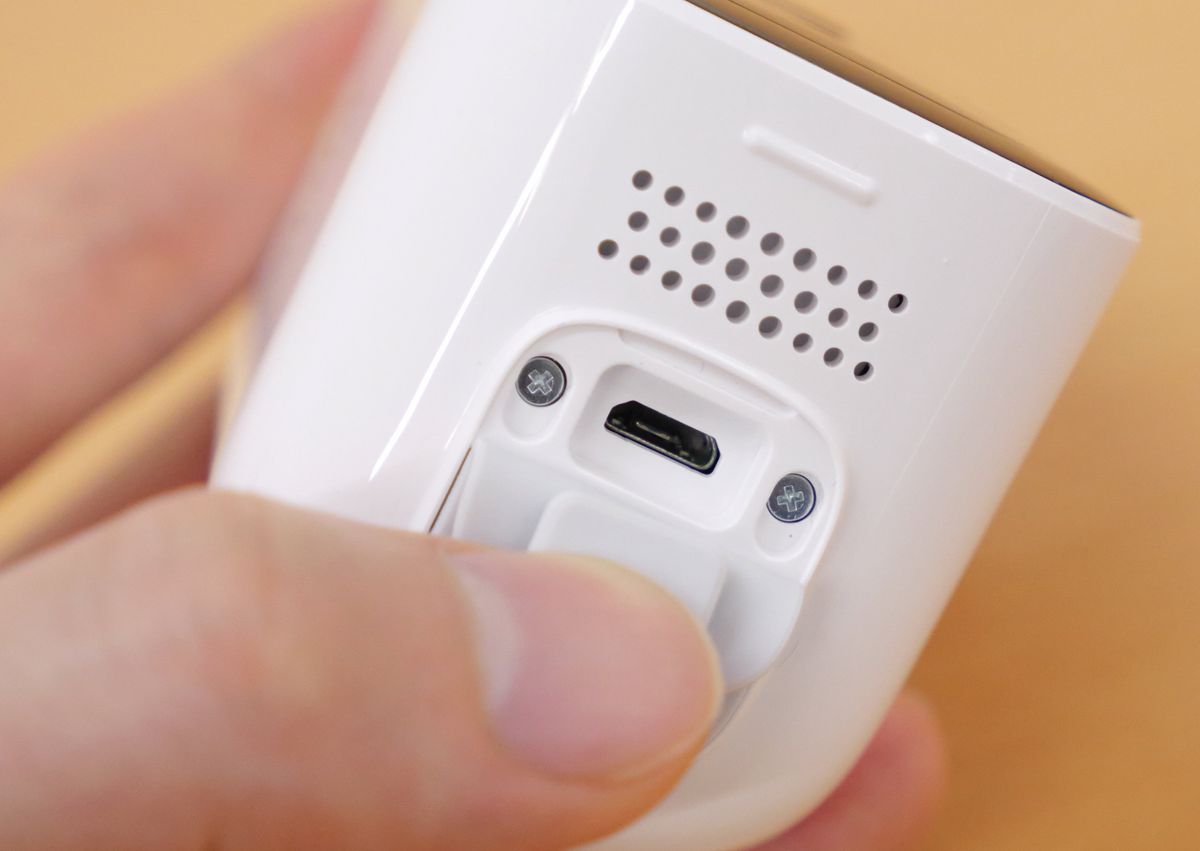
The bottom has a rubber cover with the speaker and model number.
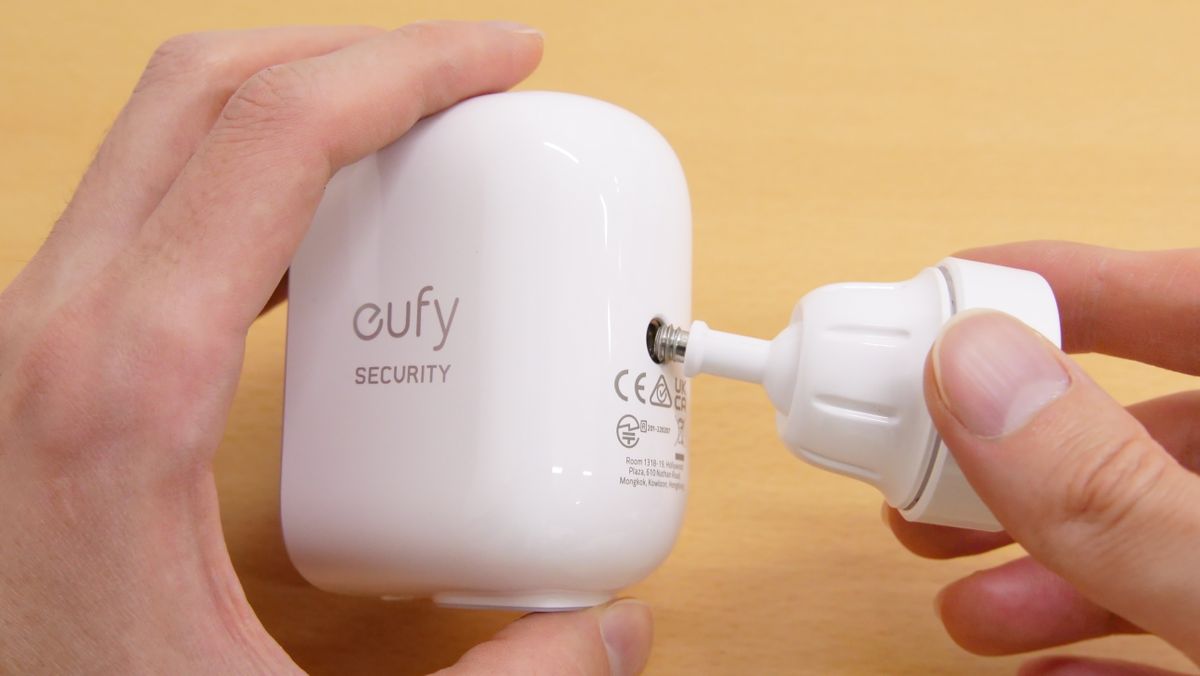
When I shifted the cover, there was a Micro-USB port to insert the charging cable.
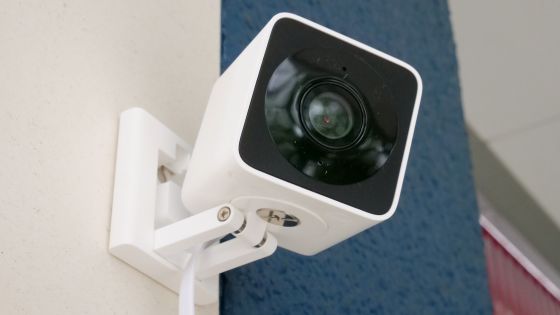
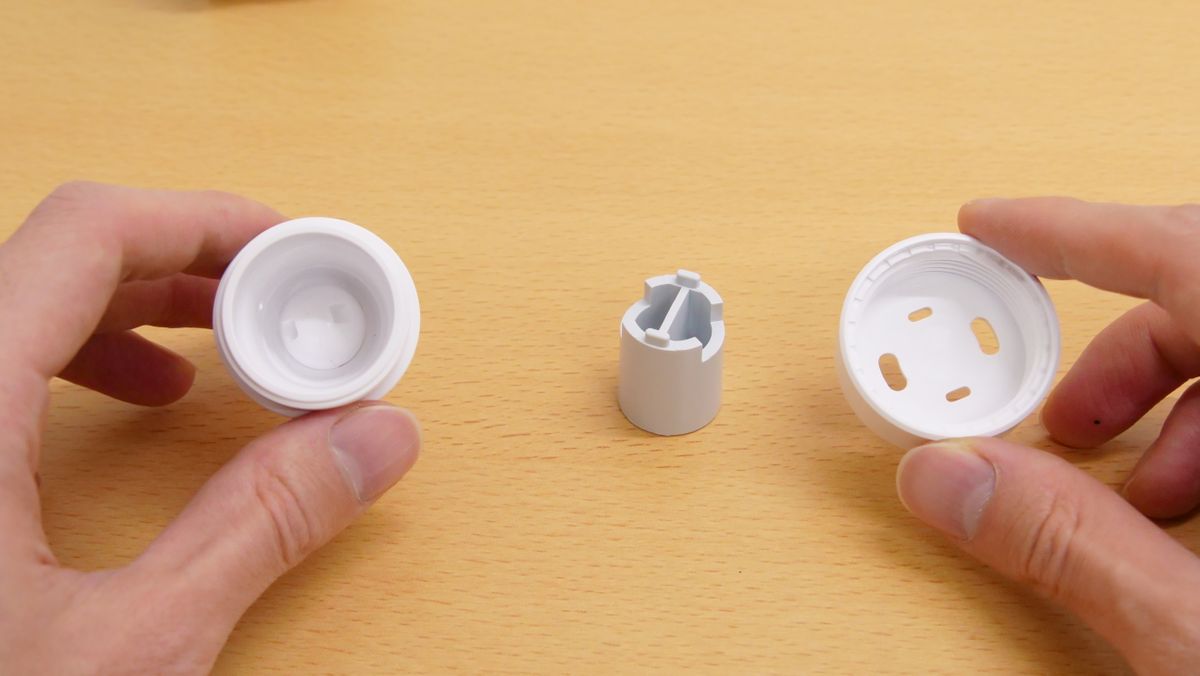
The eufyCam 2C is installed using the included mounting bracket.
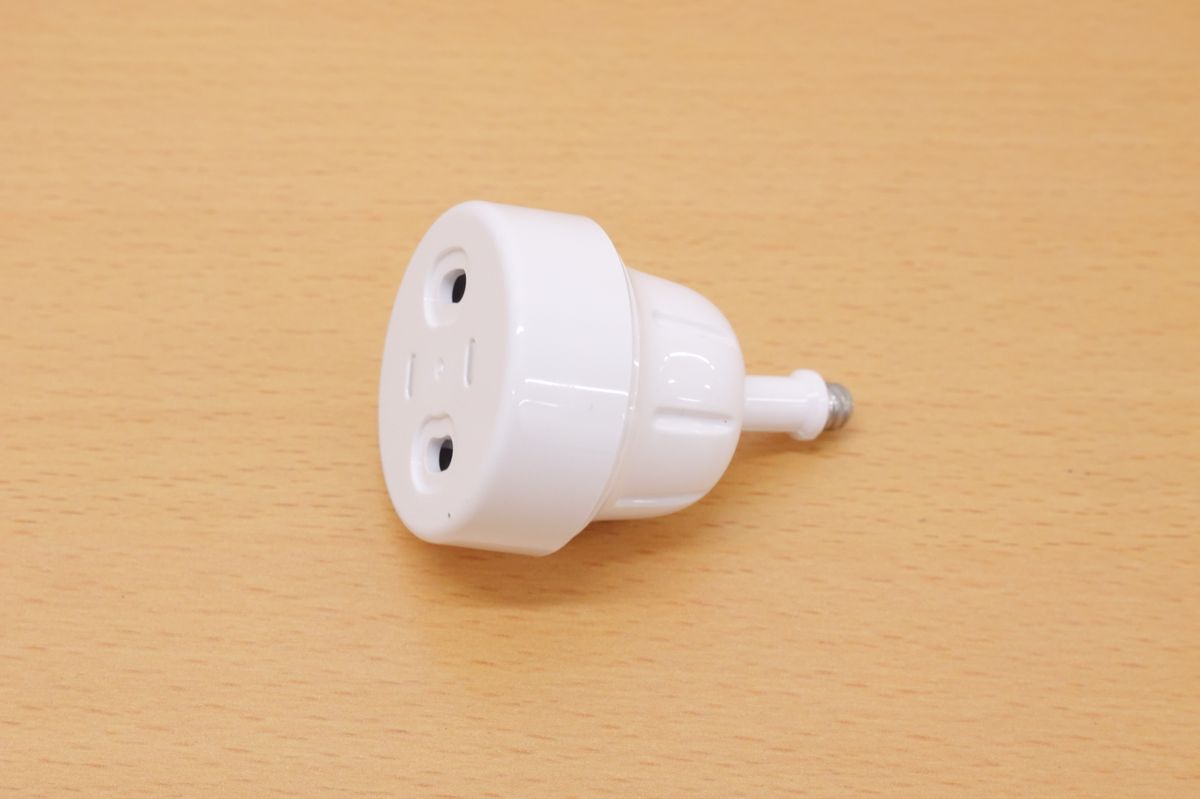
When you turn the mounting bracket and disassemble it, some parts will come out from inside.
To install, simply drill a 5.95mm drill pit into the desired wall or tree, insert the anchors, and secure the base of the mounting bracket to the surface. Then rotate the mounting bracket body to secure it to the base.
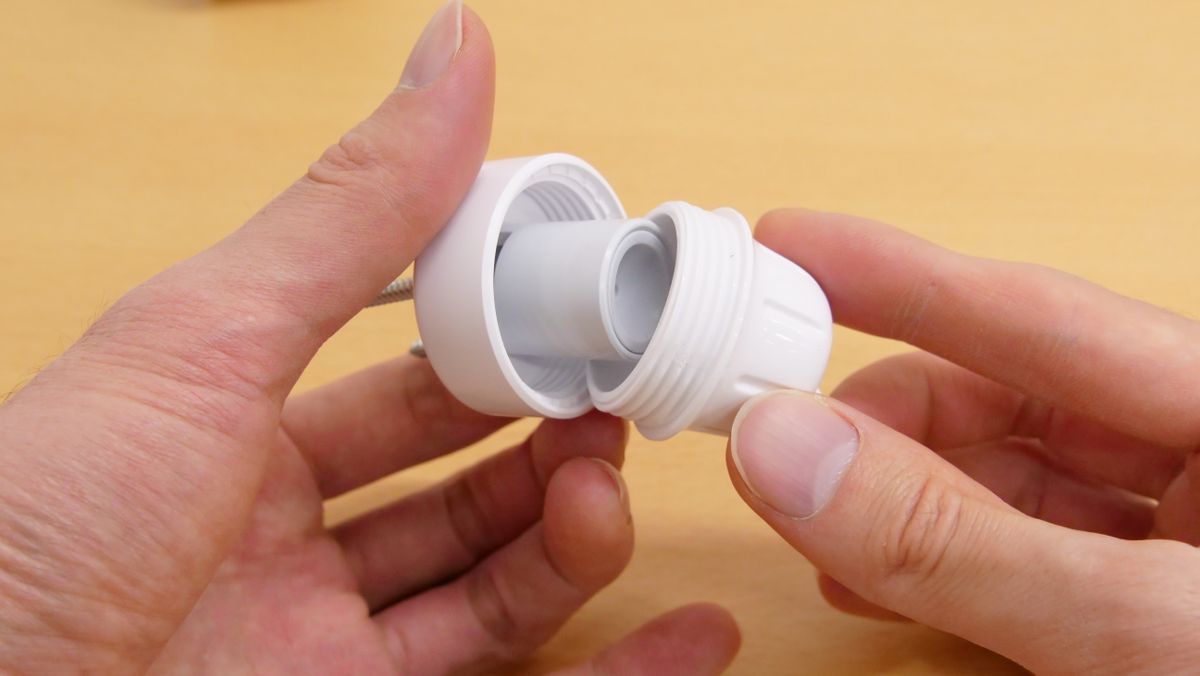
Finally, use the screw holes on the back of the camera to fix it to the mounting bracket. Since the arm of the mounting bracket is movable to some extent, it is possible to adjust the angle of view by moving the main unit.
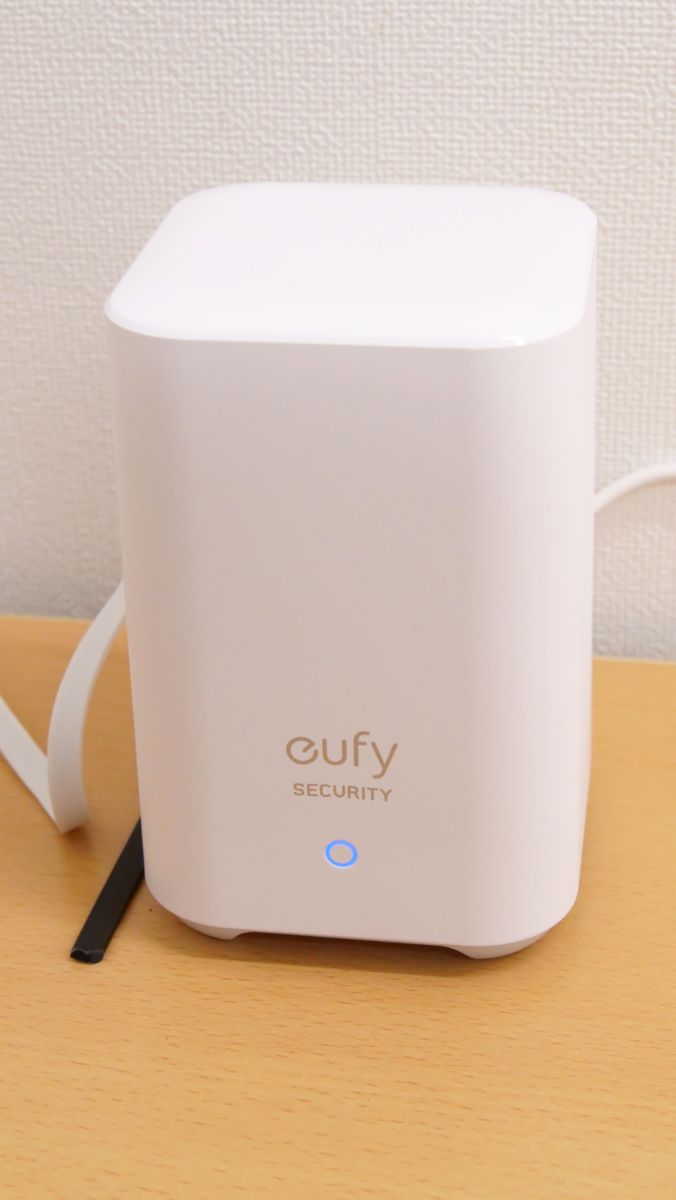
In addition, there is a lamp on the front of HomeBase 2, which stores images taken with eufyCam 2C, to indicate that it is in operation.
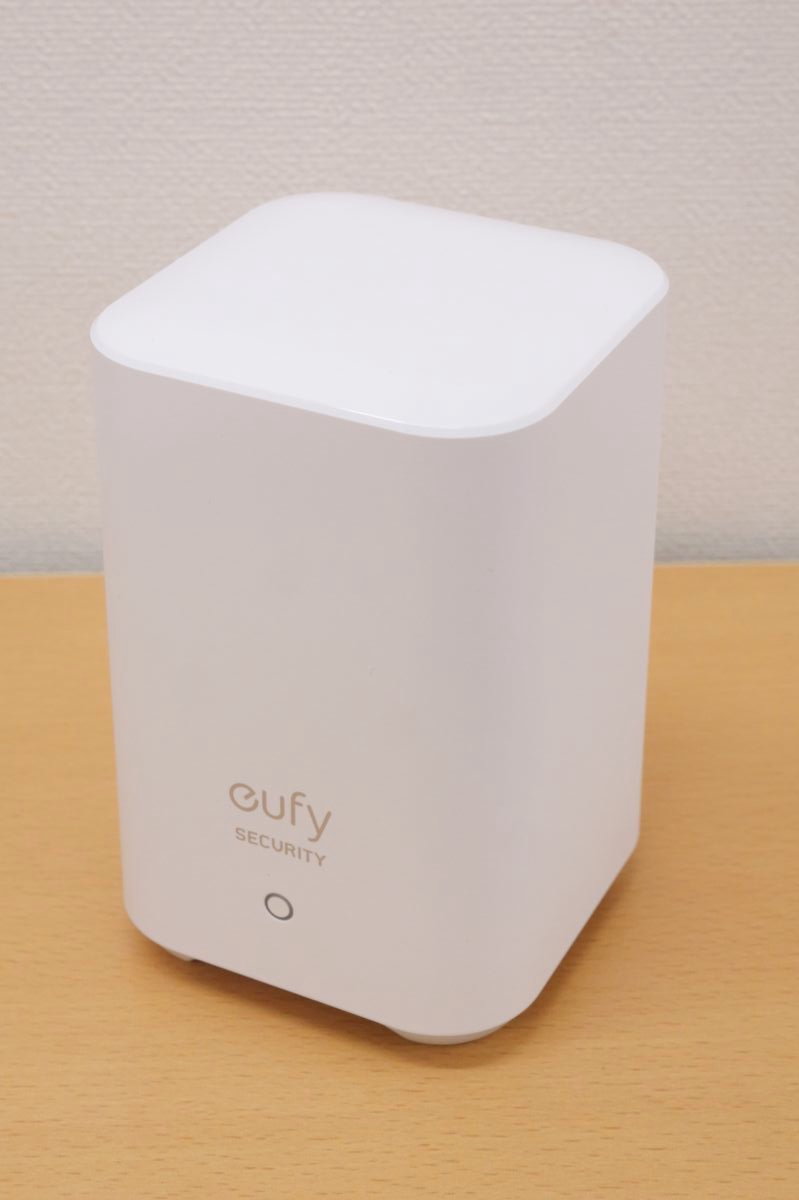
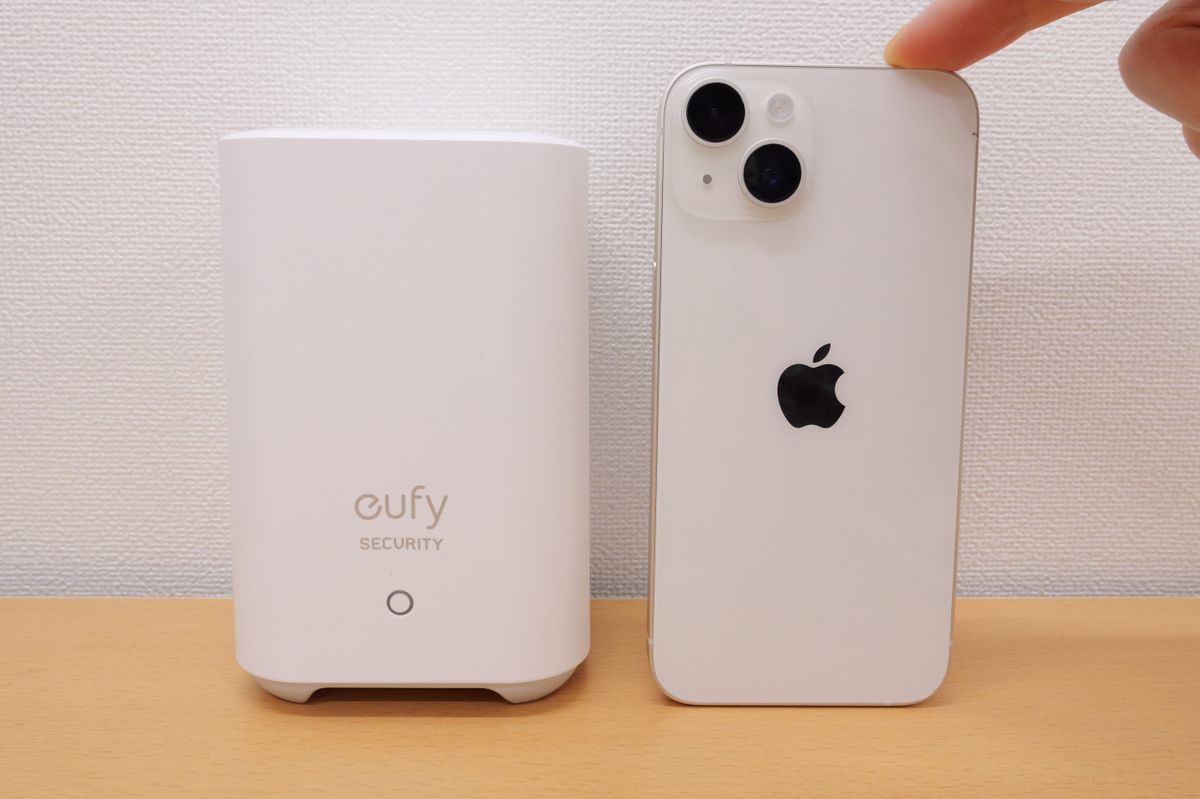
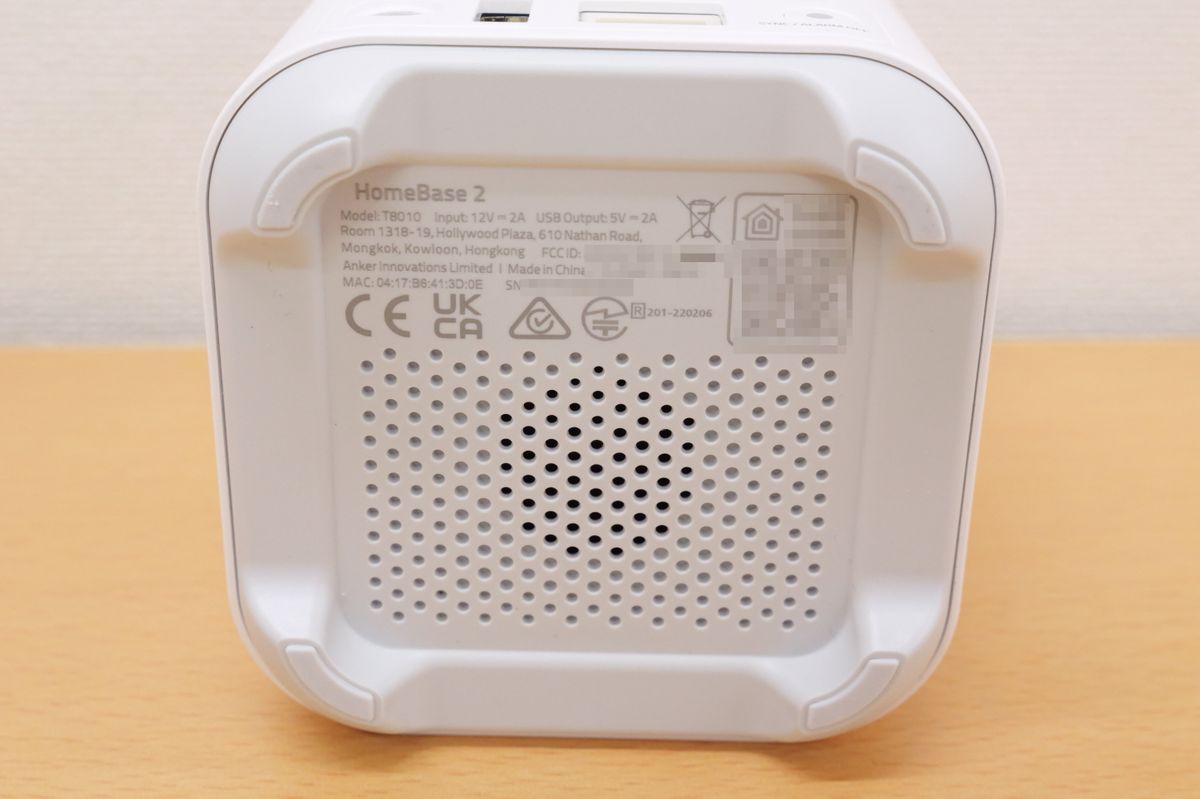
HomeBase 2 is 13.1 cm high and 8.5 cm long and wide, and it looks like this when compared to the iPhone 14 with a height of 14.7 cm.
Weight is 280g.

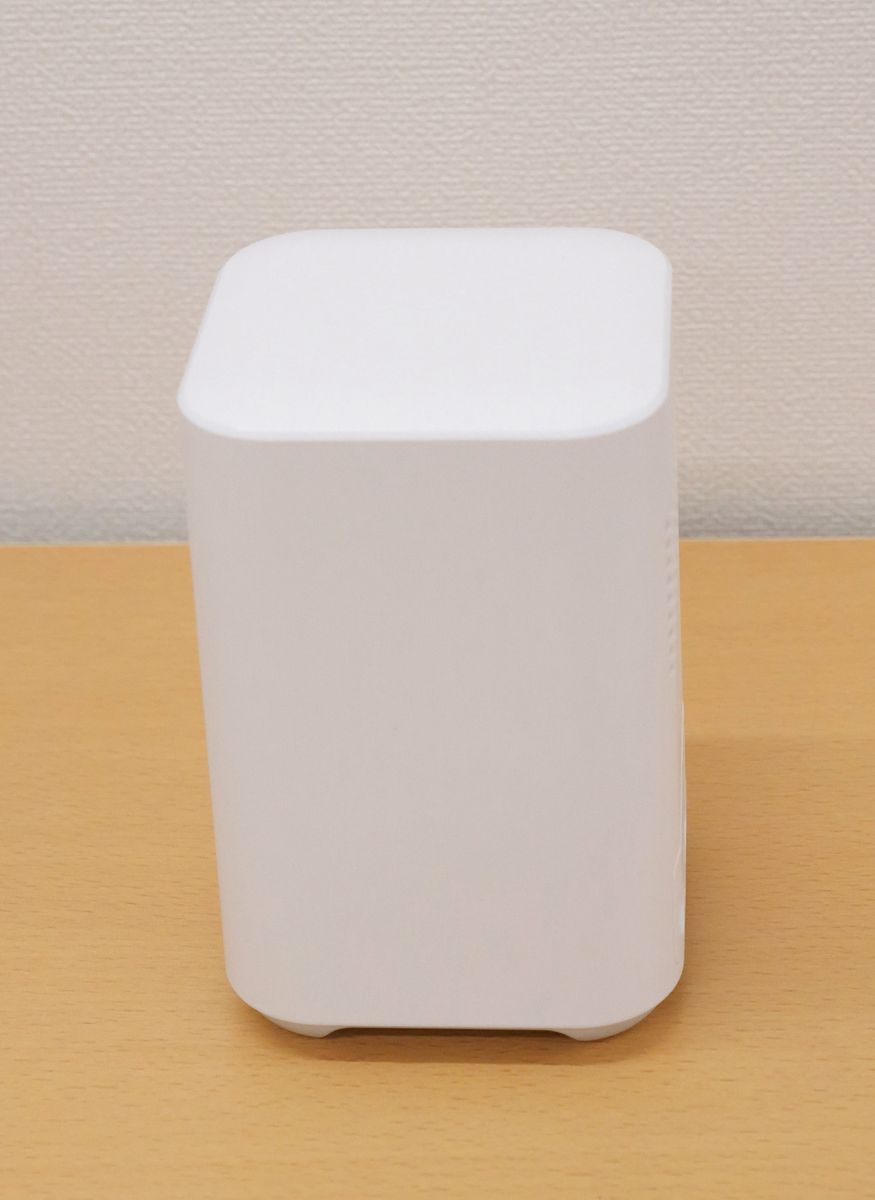
The side looks like this.
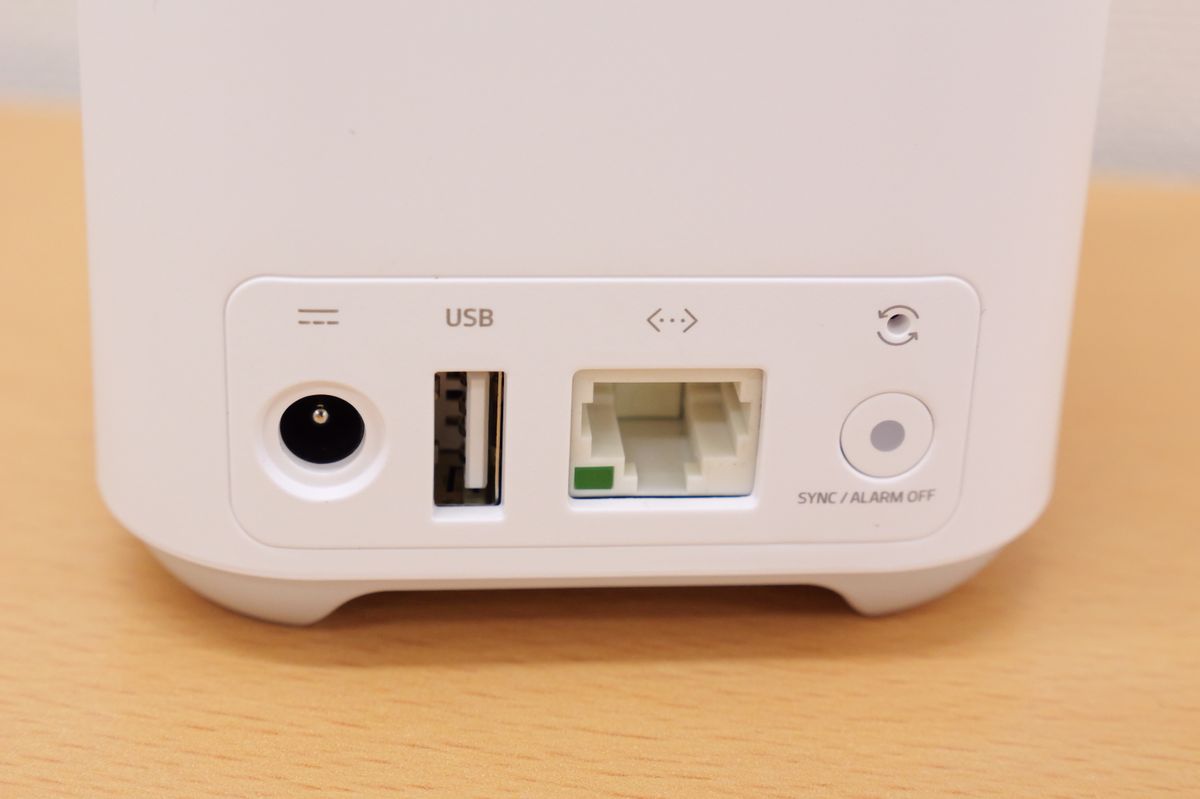
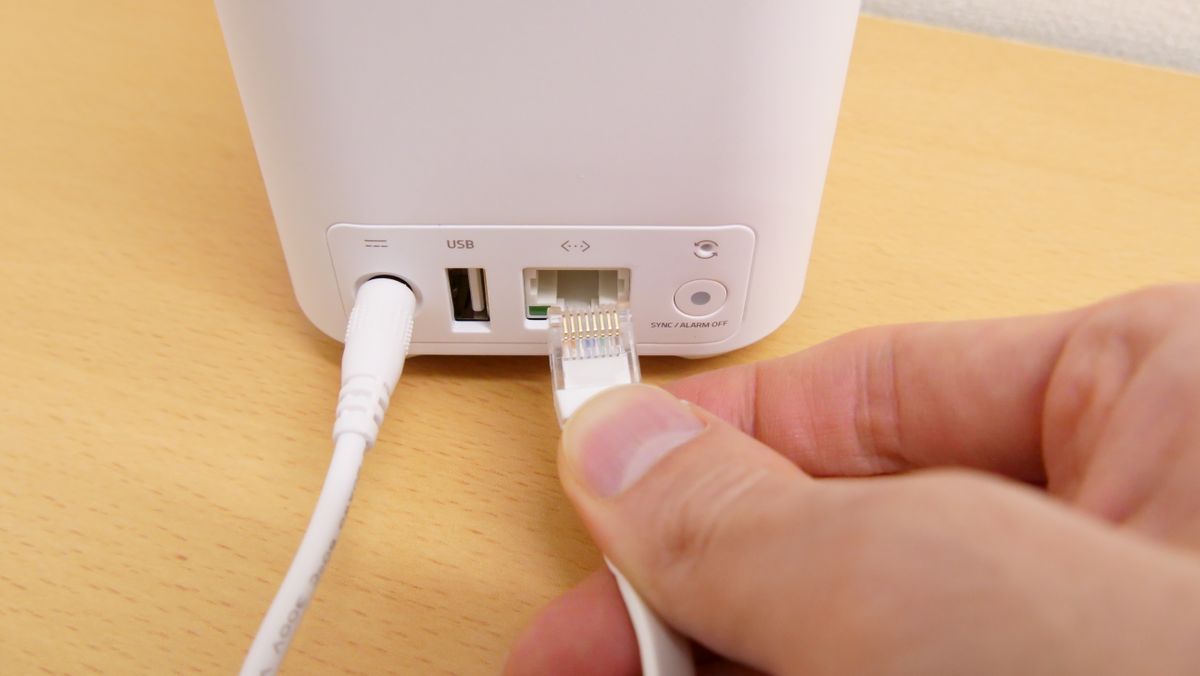
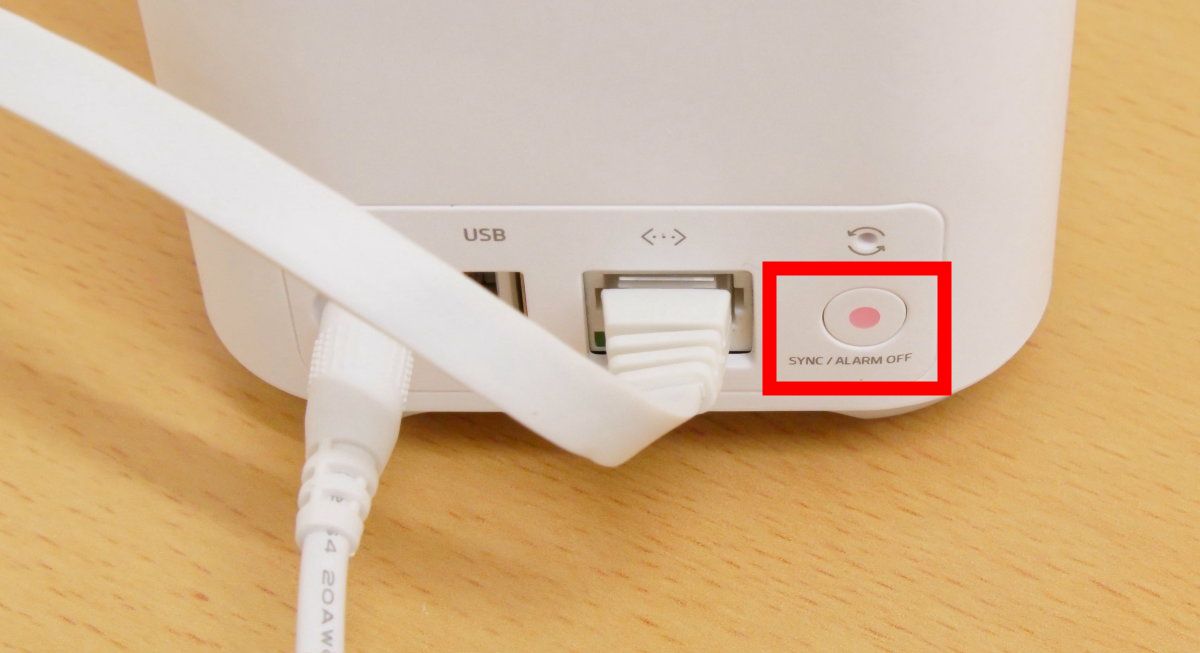
There are speakers and various ports on the back.
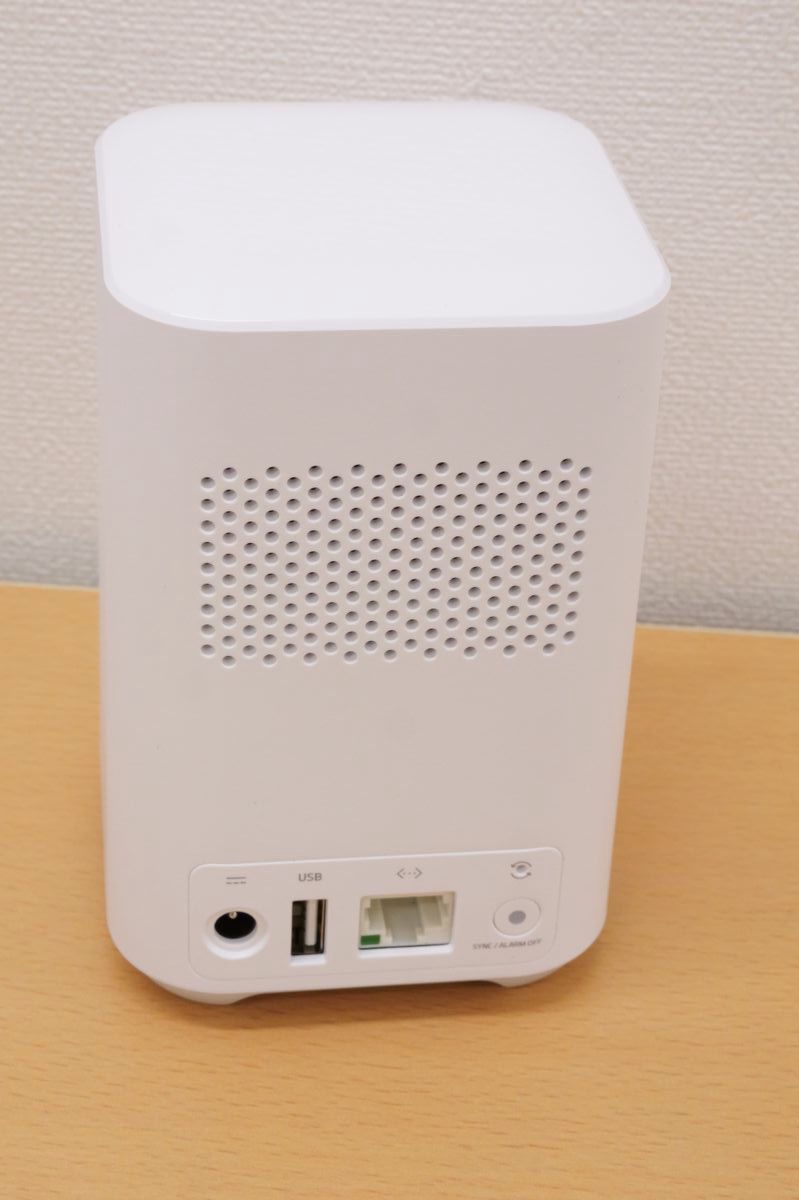
From the left is a power supply port for power supply, a USB port for direct connection with eufyCam 2C, a LAN cable connection port, and a button for device connection.
There is a QR code used when connecting the device on the bottom.
◆ Charging the main unit
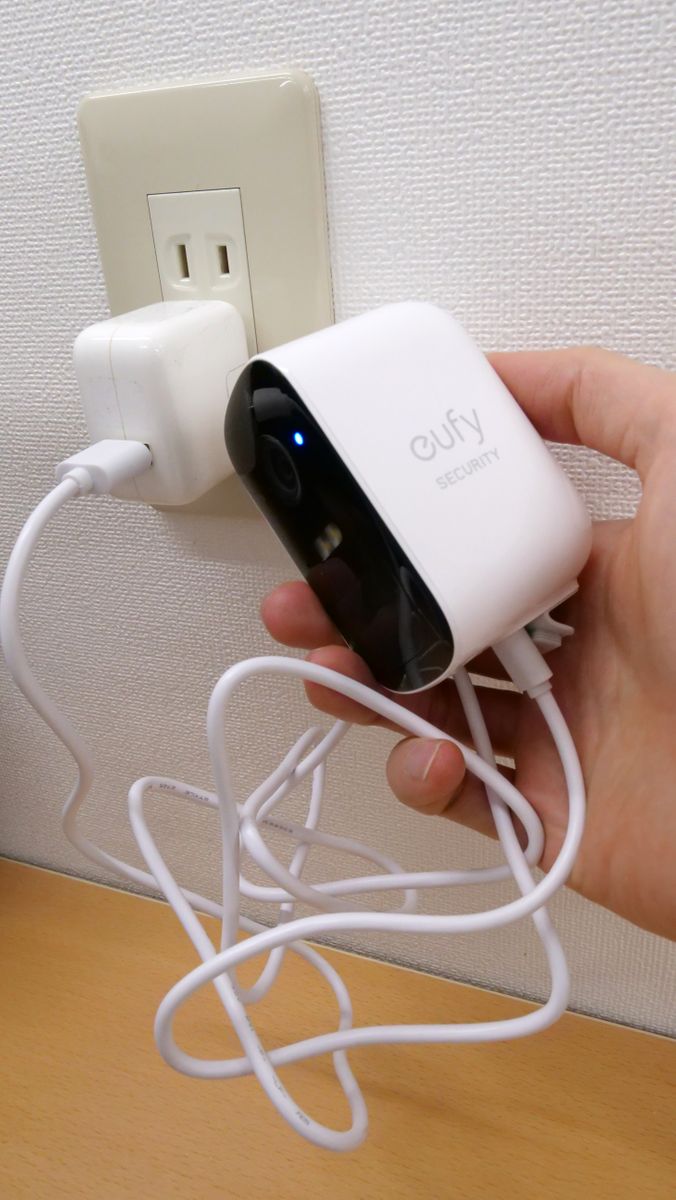
Since the eufyCam 2C is rechargeable, you need to charge the camera first. Remove the cover on the back of the main unit and connect Micro-USB.
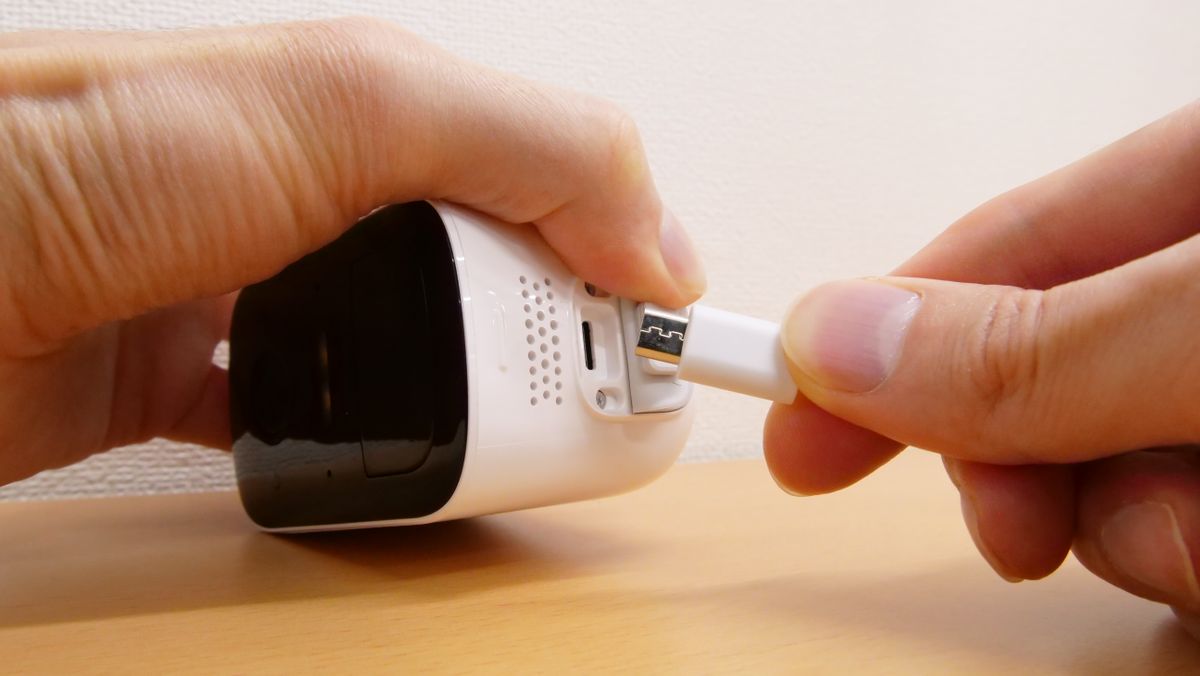
When charging starts, the blue lamp on the front of the main unit lights up. Charging time is about 4 hours from an empty state to a full charge when using a 5V / 2A AC adapter.
Next, insert the power cable into the power supply port on the back of HomeBase 2 and connect it to the outlet.
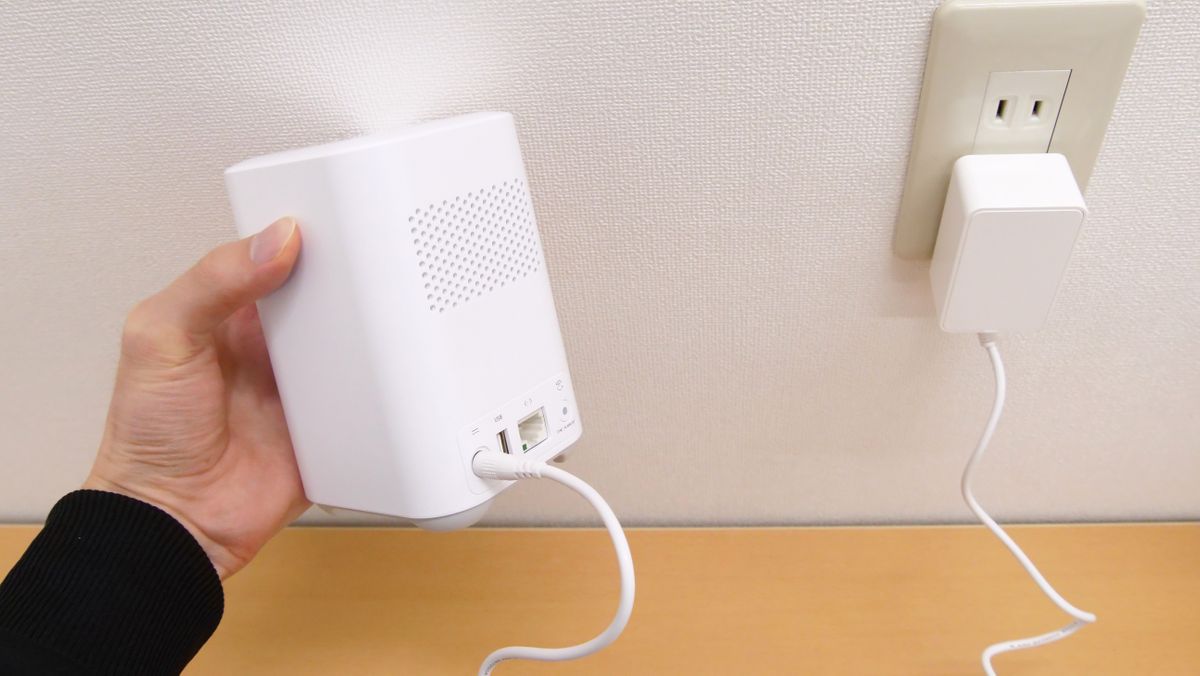
When the power supply starts, the red lamp on the front of the main unit starts blinking, and eventually it will be in a constant lighting state.
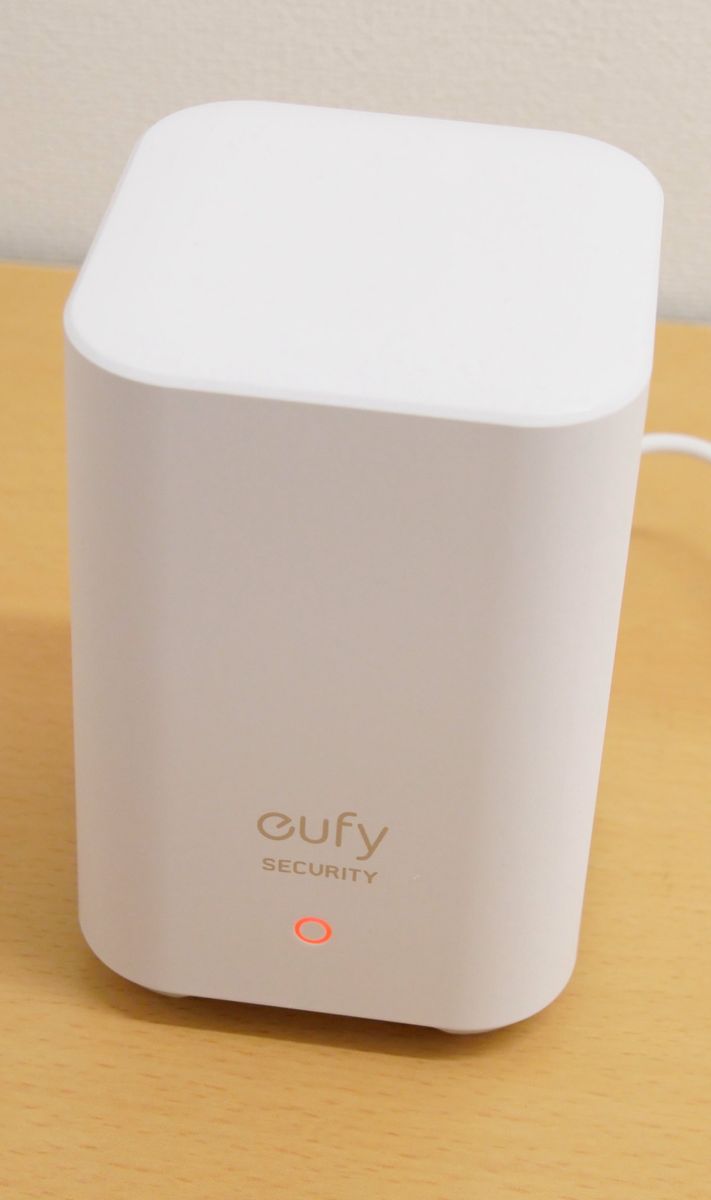
Connect the LAN cable to connect to the network.
When connected to the network, the lamp on the front of the main unit lights up blue, and the English voice 'Welcome to the Eufy Security Systems.'
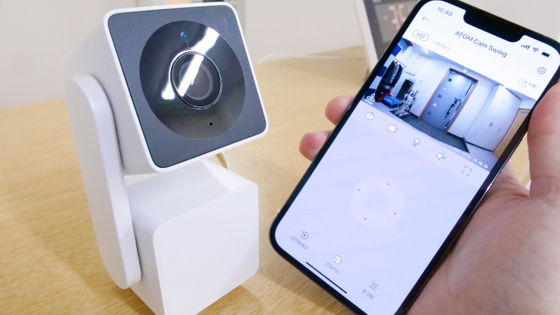
◆ Introduction of smartphone app
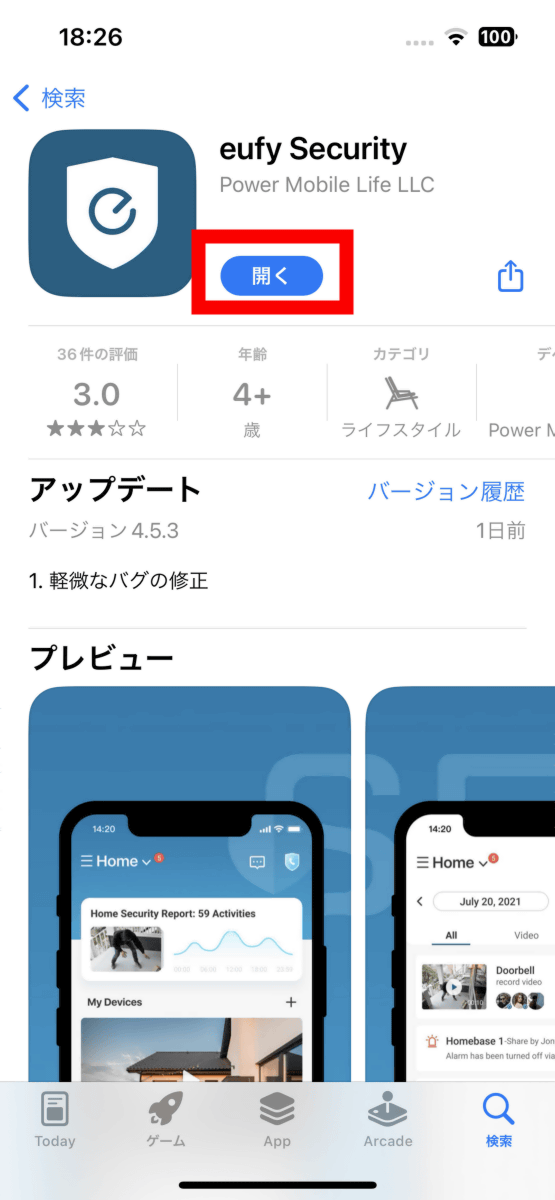
To use eufyCam 2C, you need to install the official smartphone app 'eufy Security'. In this review, I used an iPhone, so I installed the
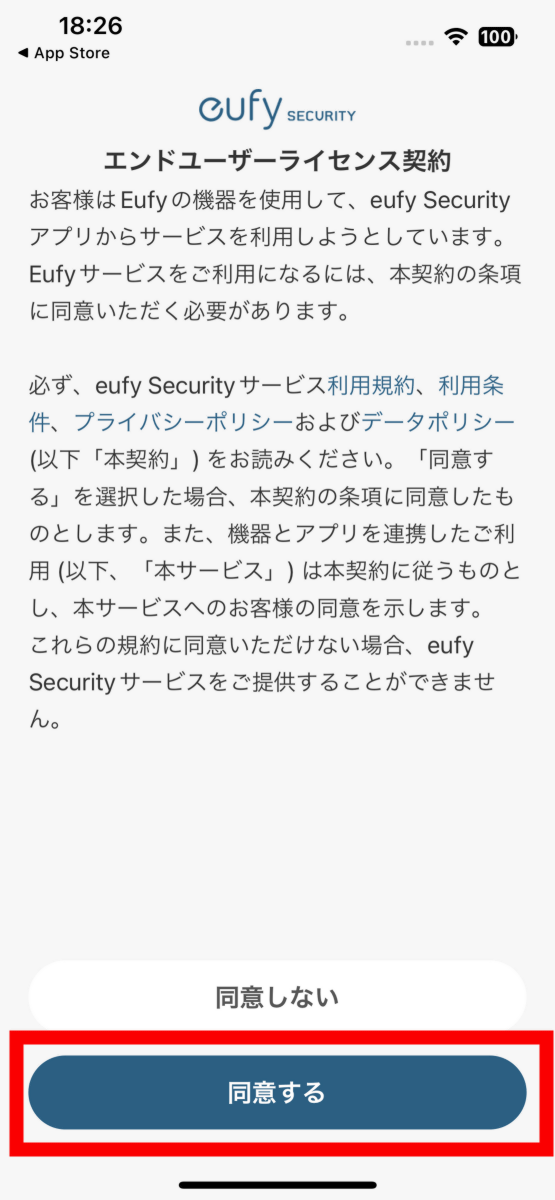
If you have never used the eufy Security app in the past, first register a user account. Read the End User License Agreement and tap 'Agree'.
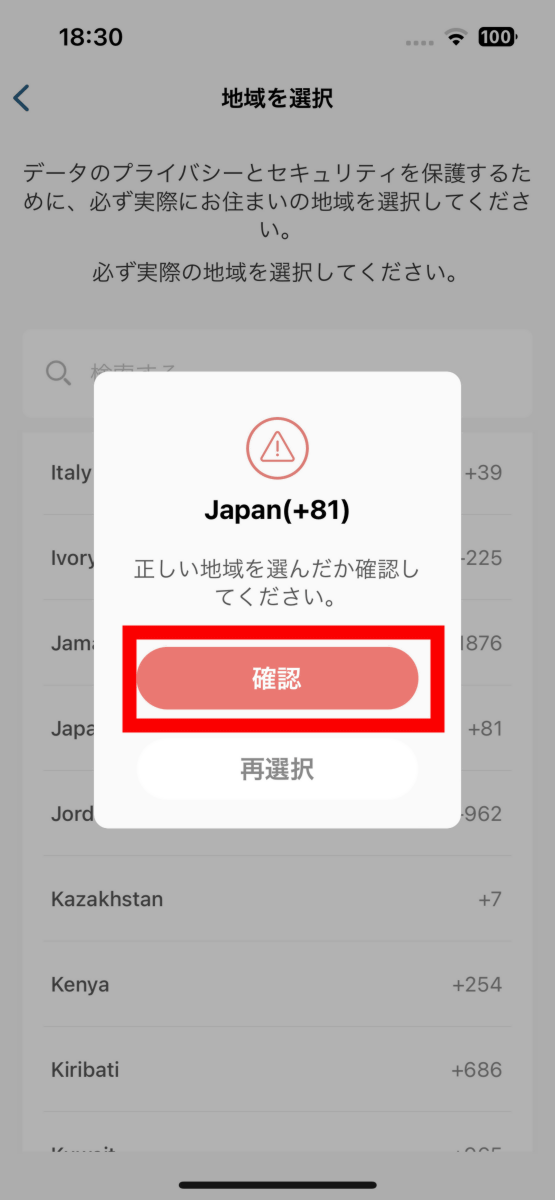
Select your country or region. This time, select 'Japan' and tap 'Confirm'.
Enter your email address and password and tap 'Register Account'.
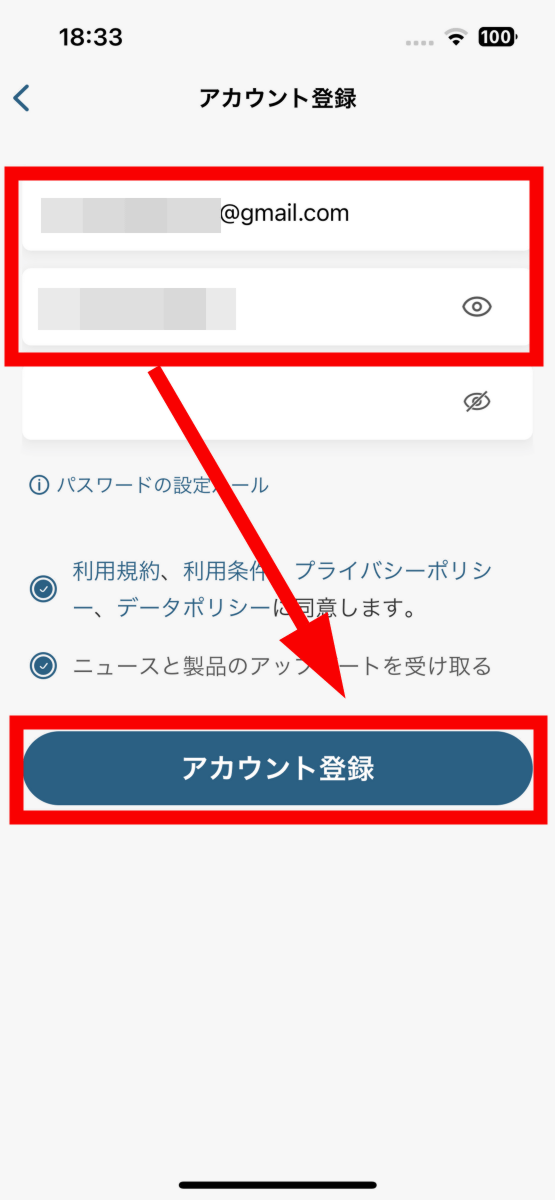
Then, an email will be sent to the email address you entered, so copy the authentication code and click the link.
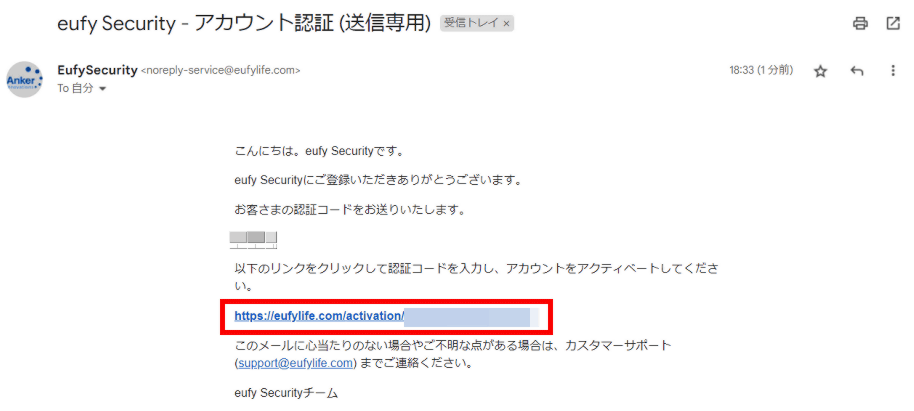
Enter the verification code on the screen that opens.
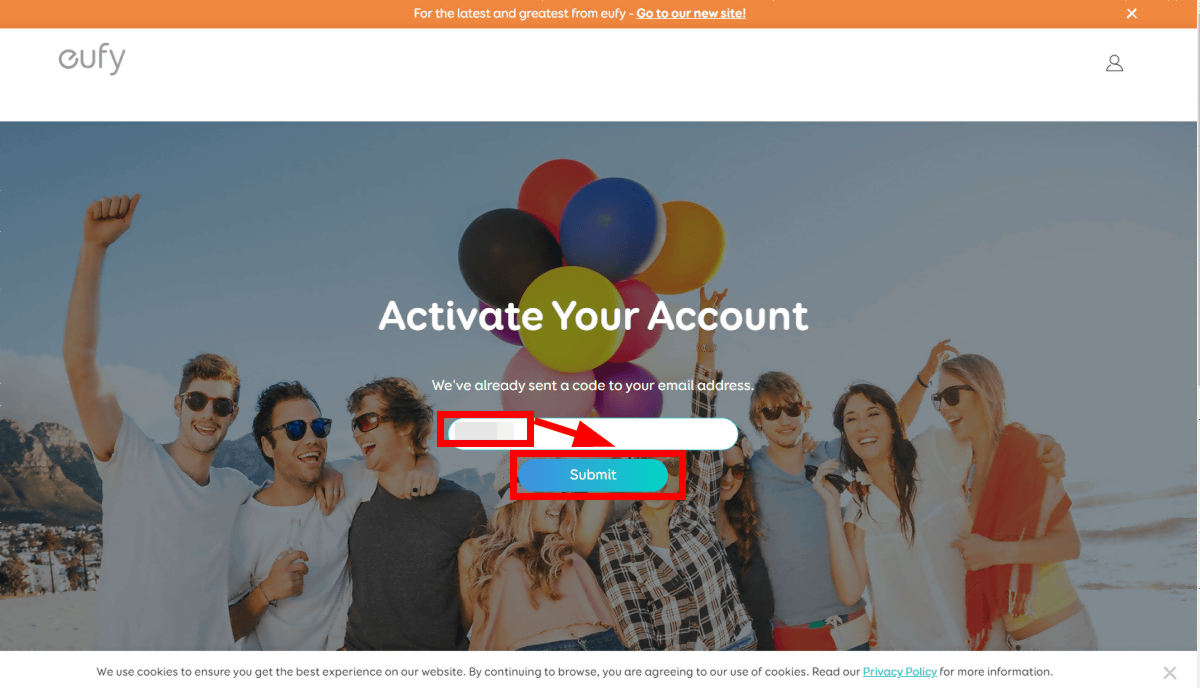
Your account is now created.

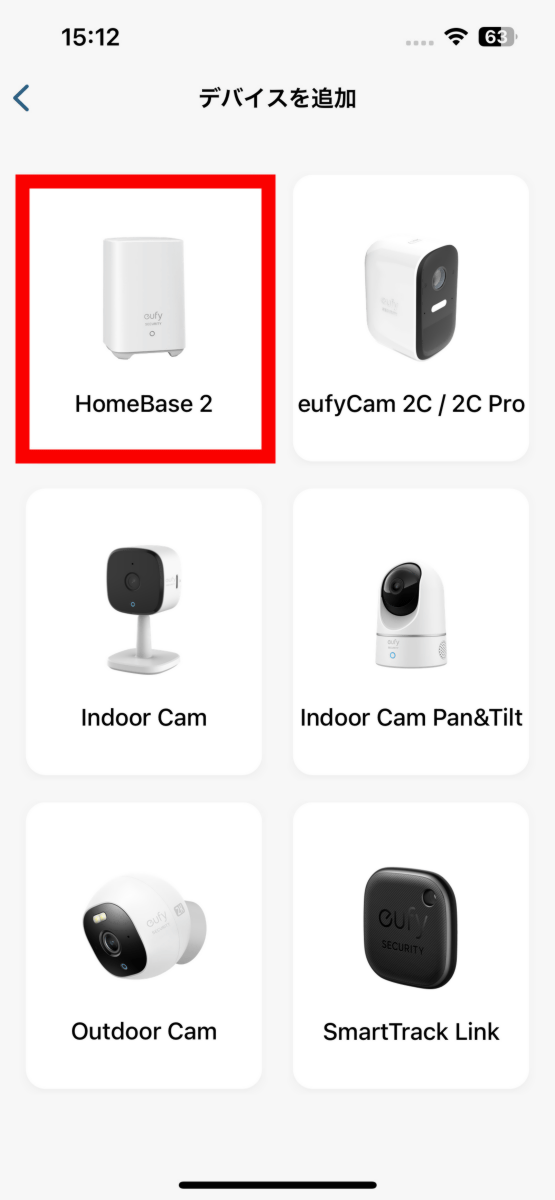
◆Register a device using the app
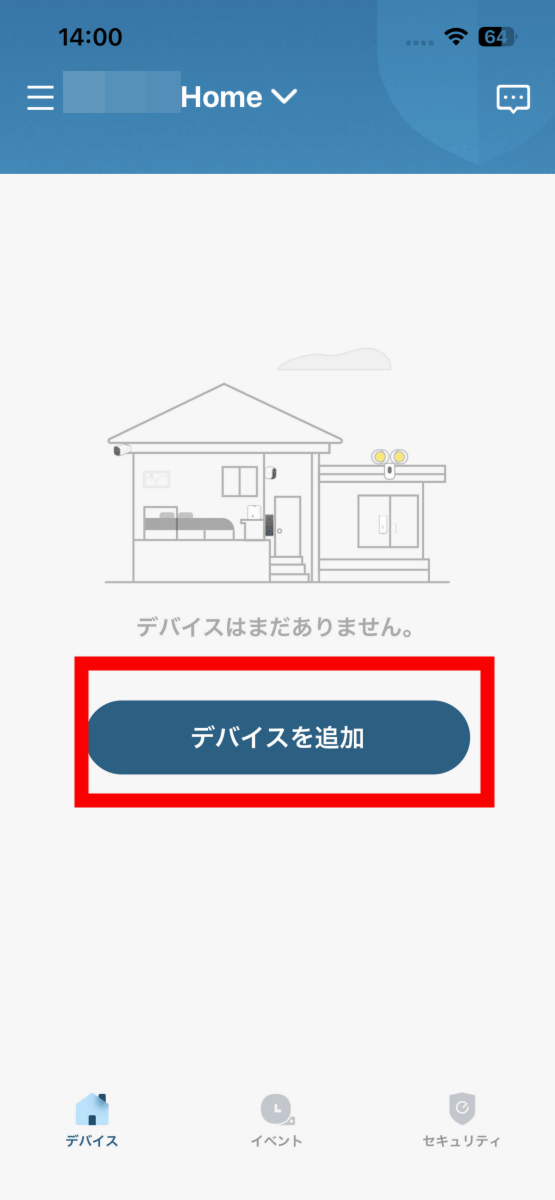
Enter your email address and password to sign in to the app. Tap 'Add device'.
Tap 'HomeBase2'.
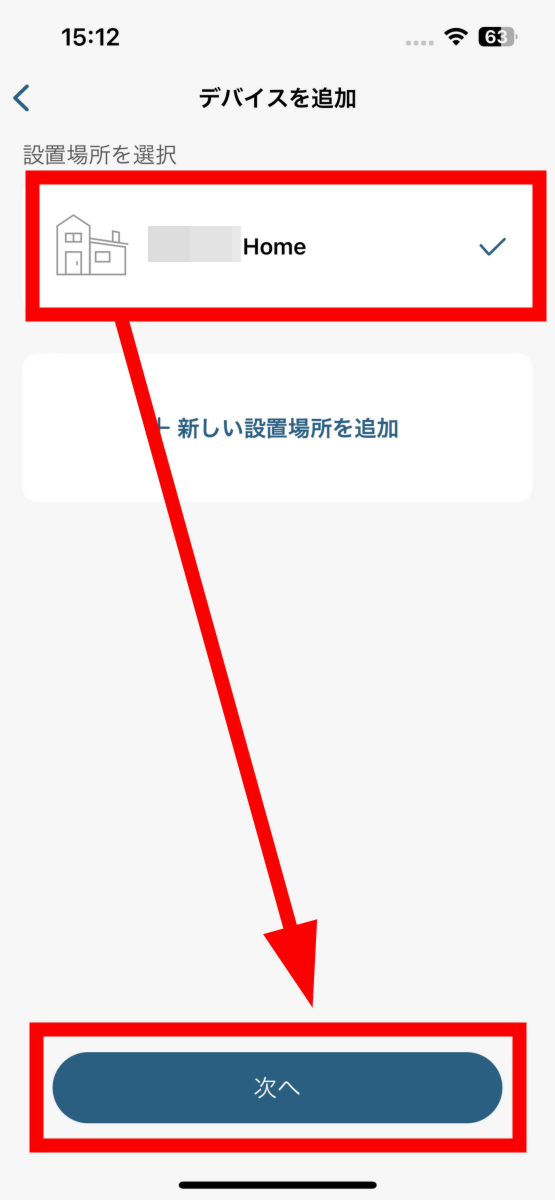
Select the location to use and tap 'Next'.
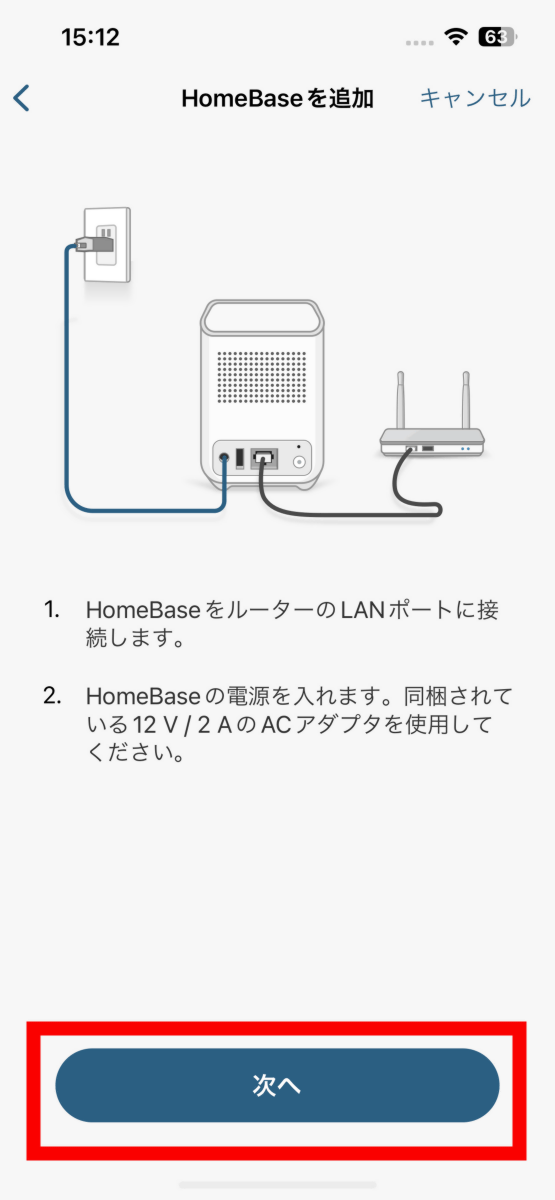
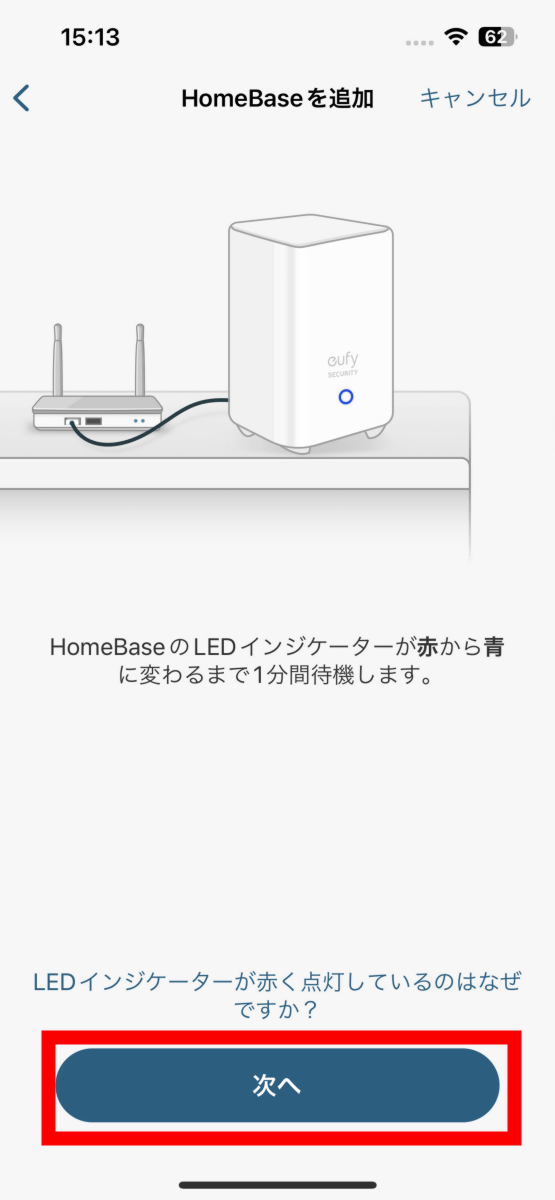
Since HomeBase 2 is already connected, tap 'Next'.
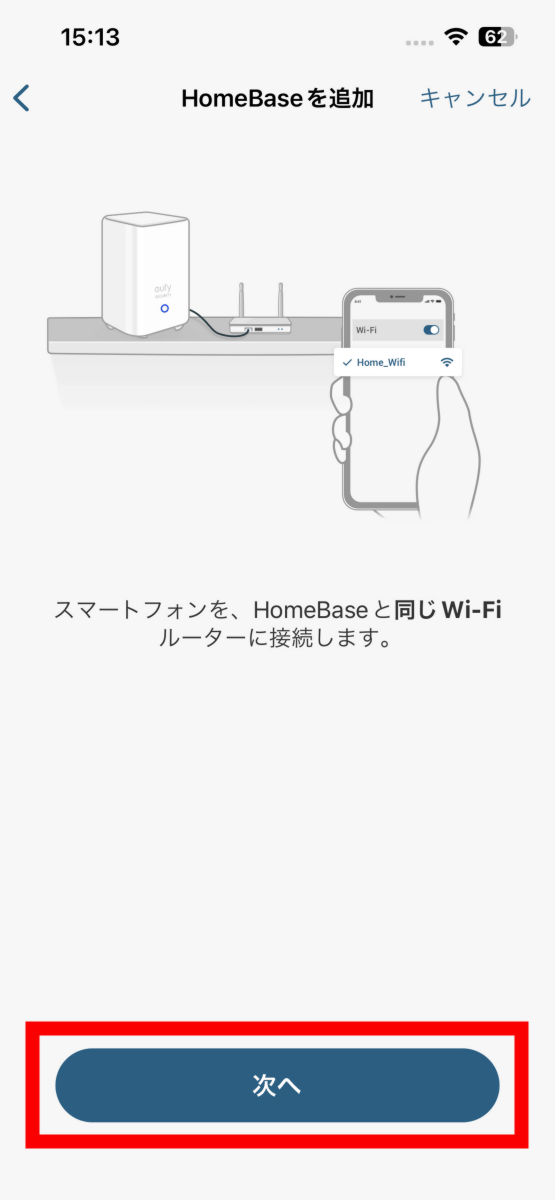
Make sure that the smartphone and HomeBase 2 are connected to the same Wi-Fi router and tap 'Next'.
Tap 'Next'.
The app reads the QR code and registers HomeBase 2, so tap 'OK' to allow access to the camera.
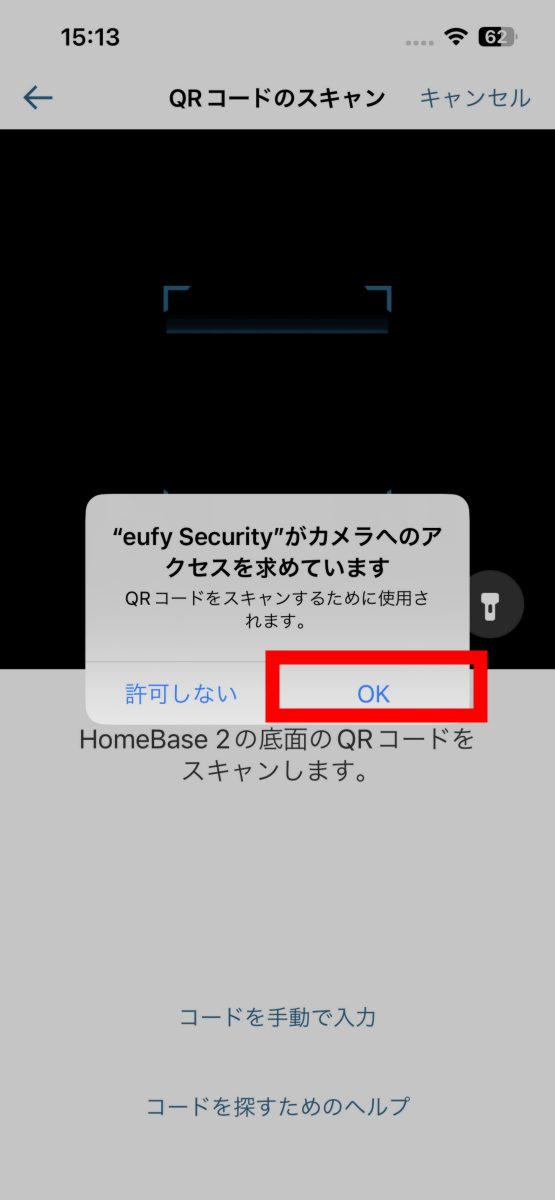
Then you can scan the QR code from the application screen.
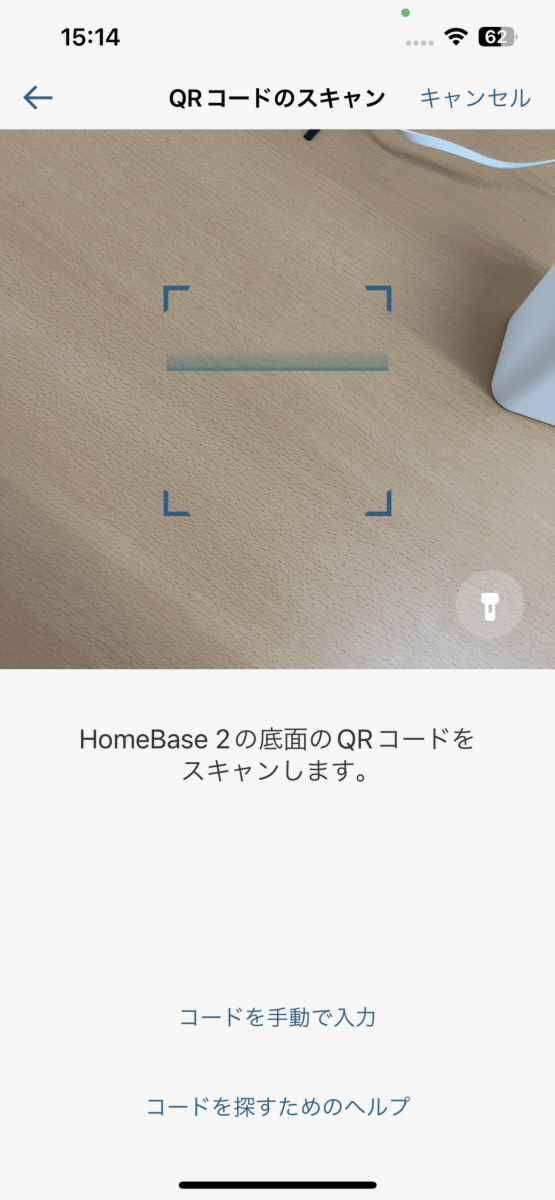
Scan the QR code on the bottom of HomeBase 2.

When the scan is complete, HomeBase 2 will make a sound, so briefly press the sync button on the back.
Once connected, name your HomeBase 2 and tap Continue.
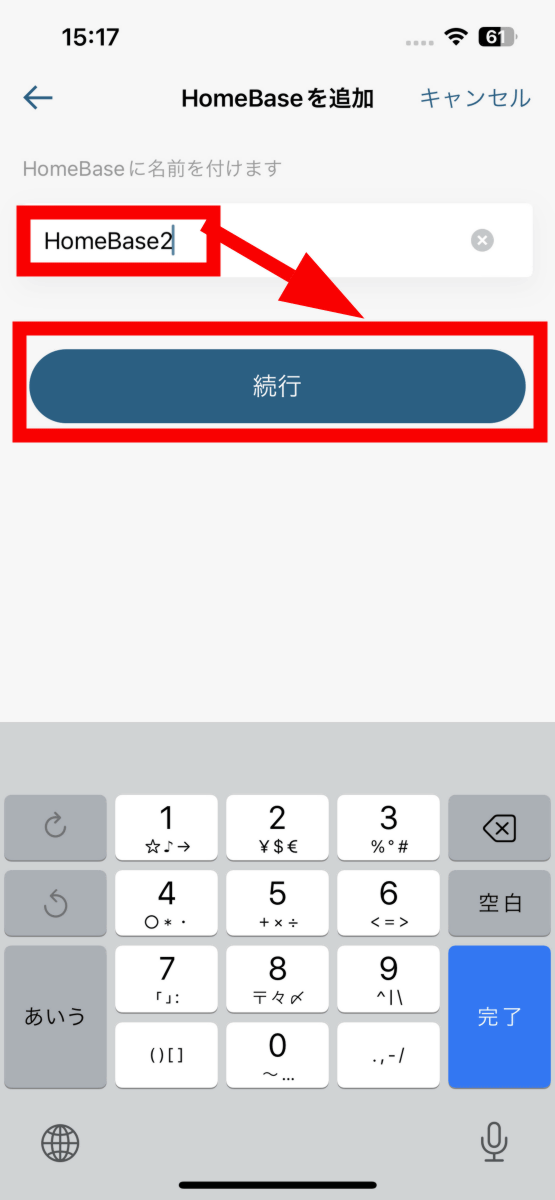
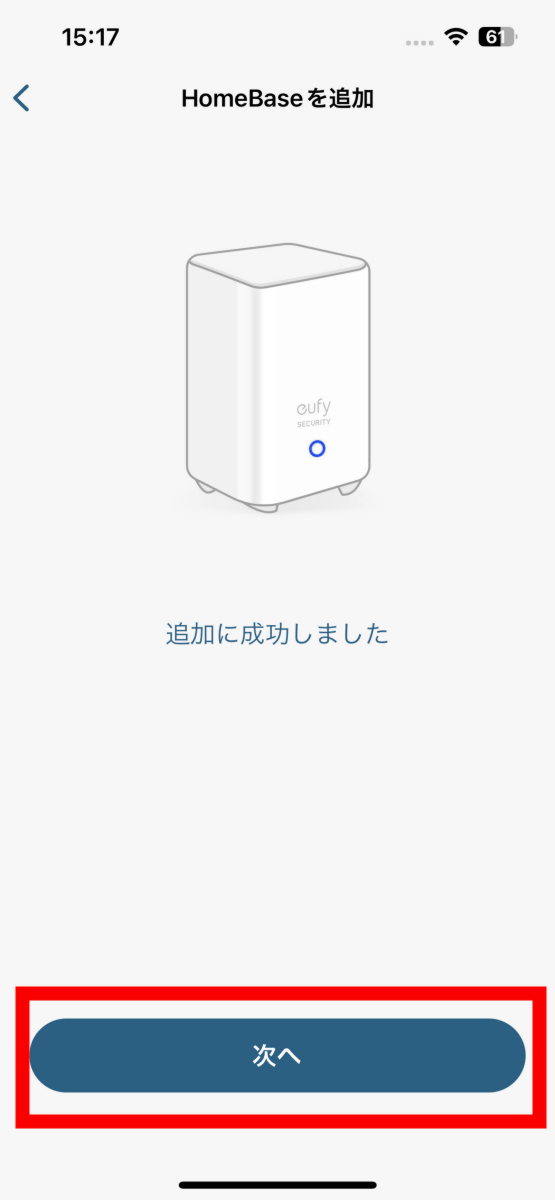
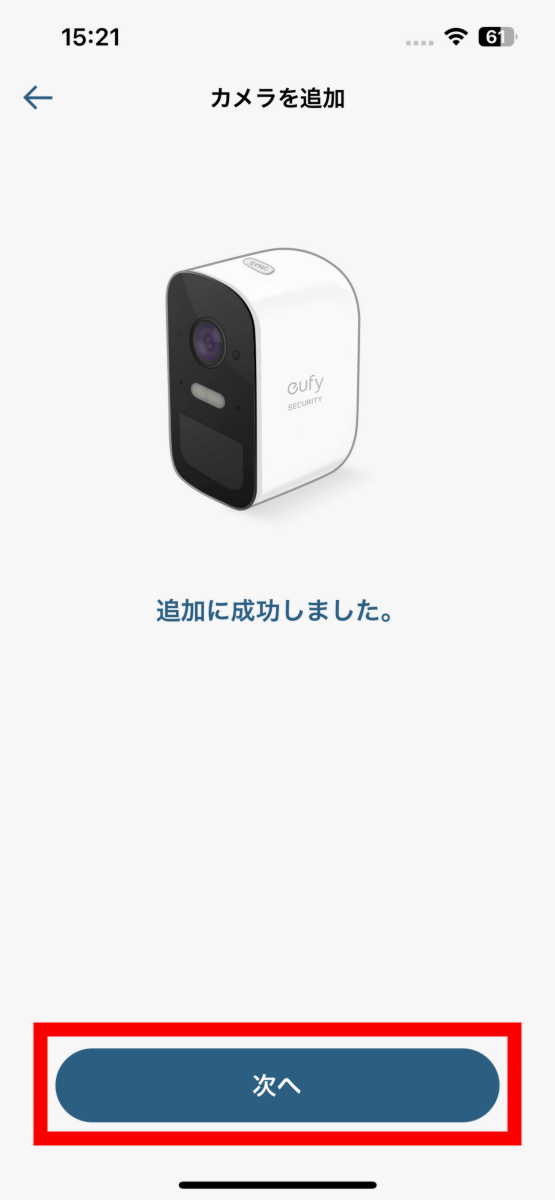
HomeBase 2 registration is now complete. Tap 'Next'.
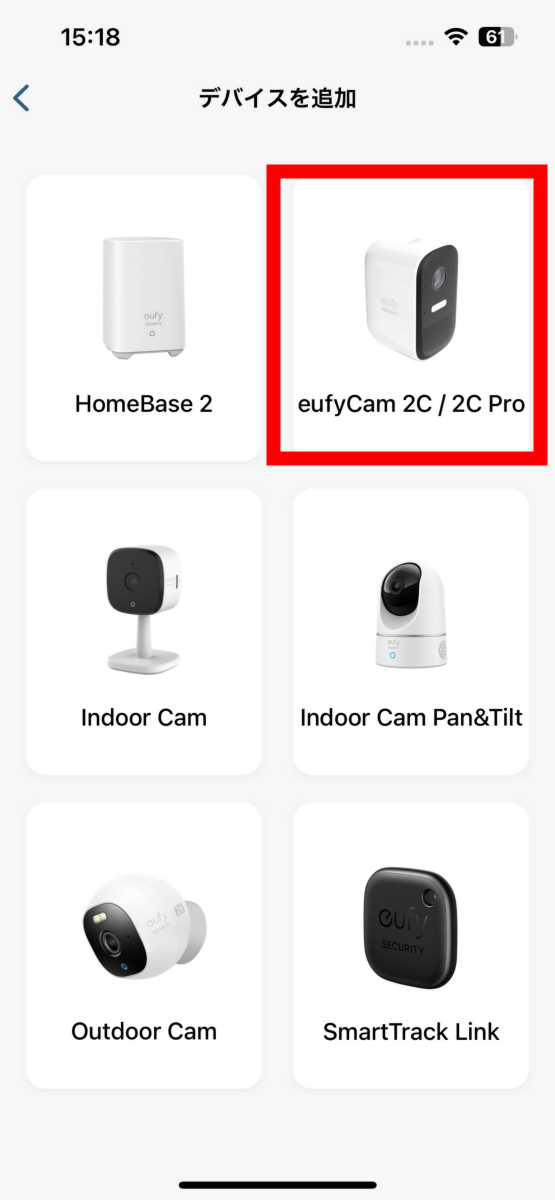
Then add eufyCam 2C. Select 'eufyCam 2C/2C Pro' from the 'Add Device' screen.
Confirm the place to install and tap 'Next'.

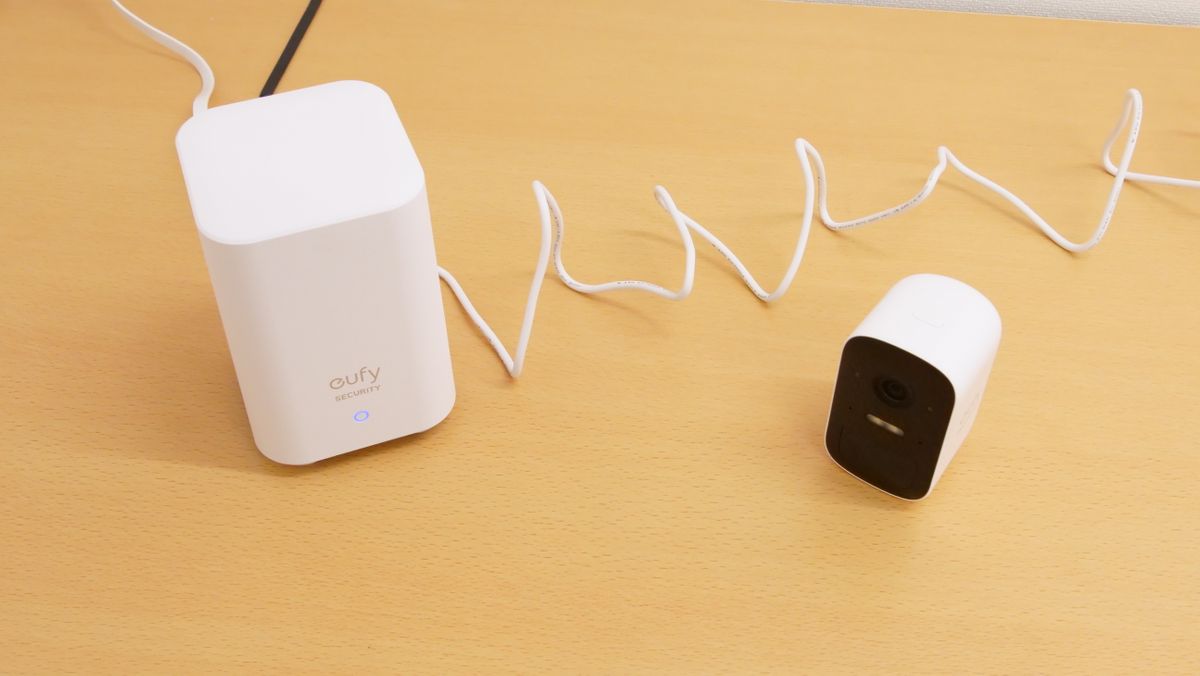
Place HomeBase 2 and eufyCam 2C within 1m range.
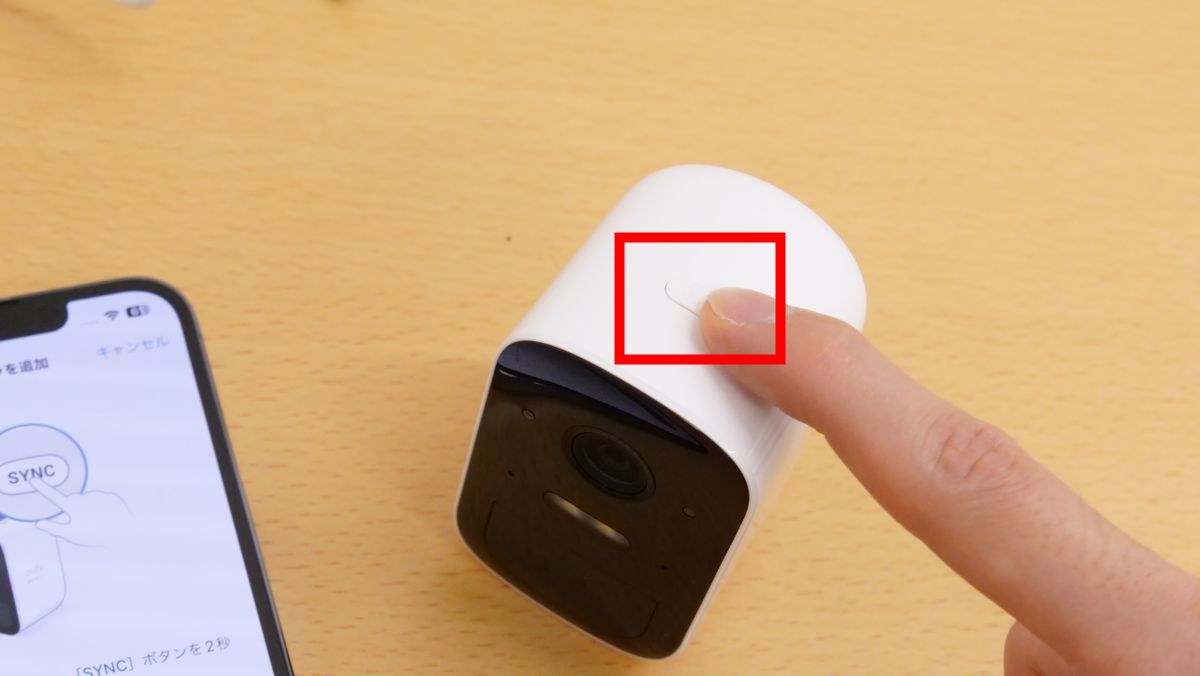
Press and hold the button on the top of eufyCam 2C for 2 seconds until you hear a sound to complete the registration.
Installation of eufyCam 2C
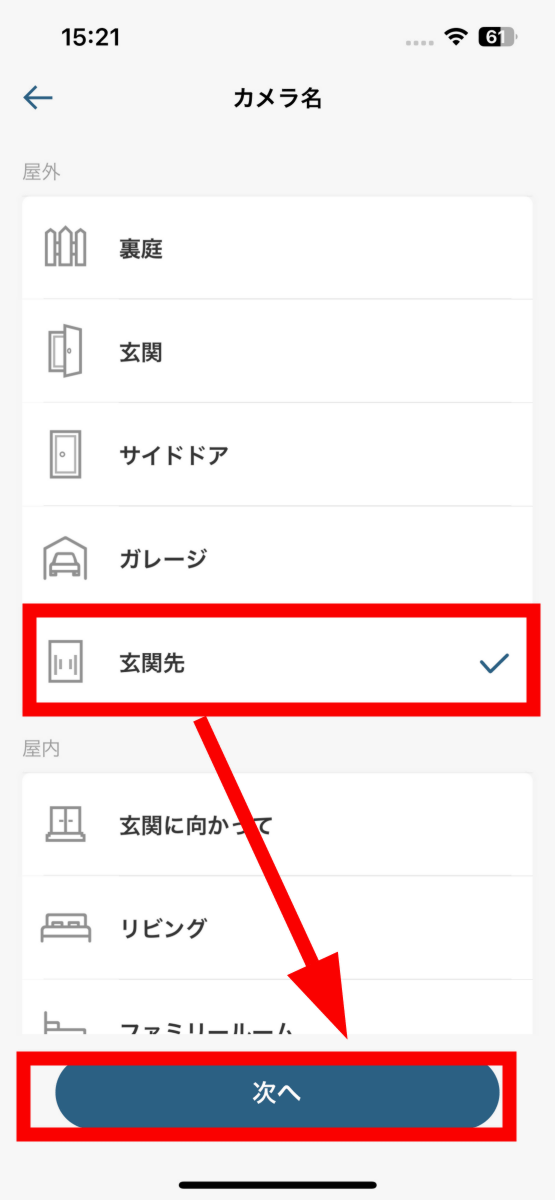
Next, install eufyCam 2C while operating with the application. Select the installation location of the camera and tap 'Next'.
Tap 'Next'.
The camera's operating modes are ``battery saving mode'' that makes it difficult to detect the same object by adjusting the detection time with a maximum recording time of 20 seconds, ``monitoring mode'' with a maximum recording time of 60 seconds, and the recording length and detection interval. You can choose from three types of 'Customize Mode' that you can customize. For this time, select 'Monitor mode' and tap 'Next'.

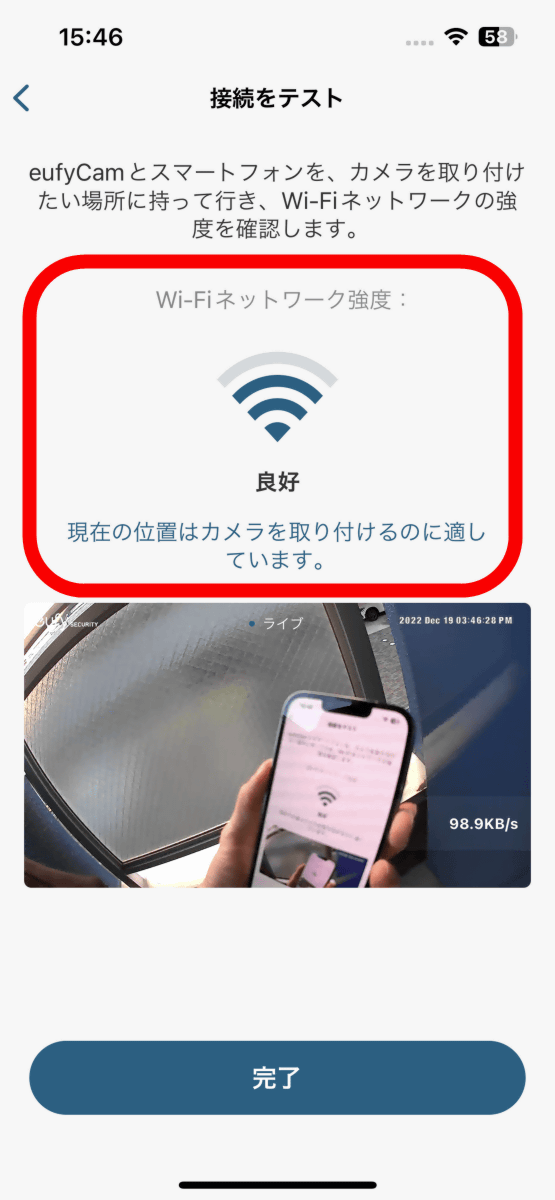
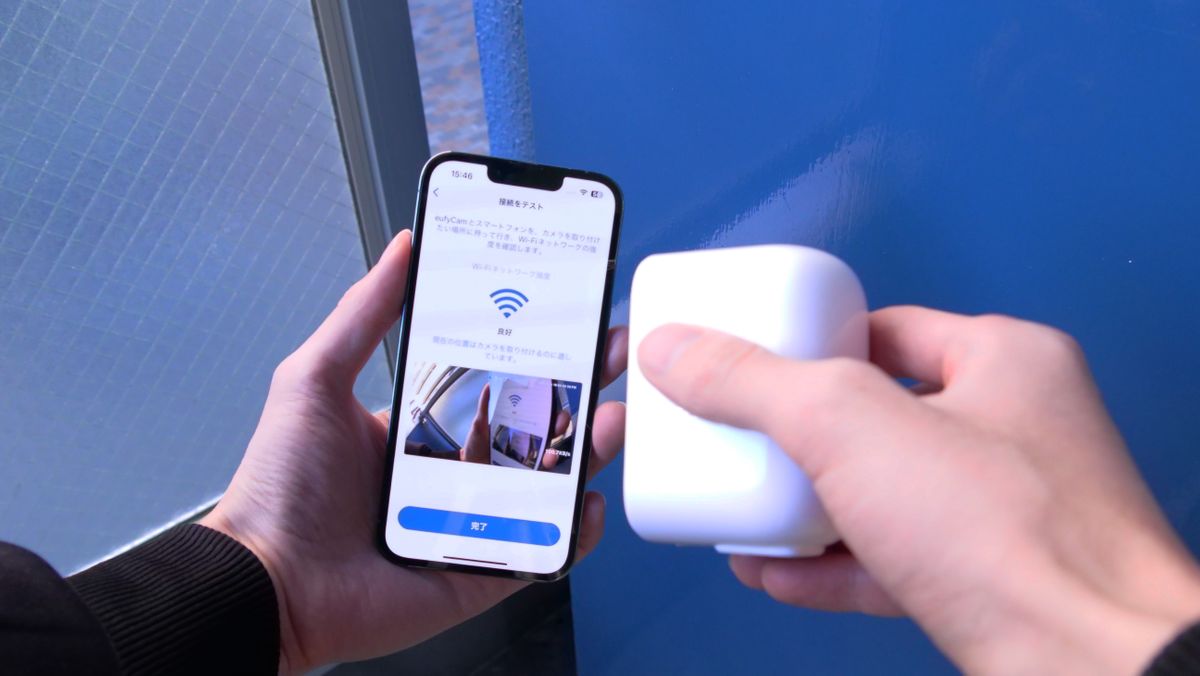
Since eufyCam 2C sends the captured data to HomeBase 2, it is necessary to test the communication environment at the installation location. When you enter the connection test mode, the eufyCam 2C camera will start up and you can check the communication environment by moving it with your smartphone.
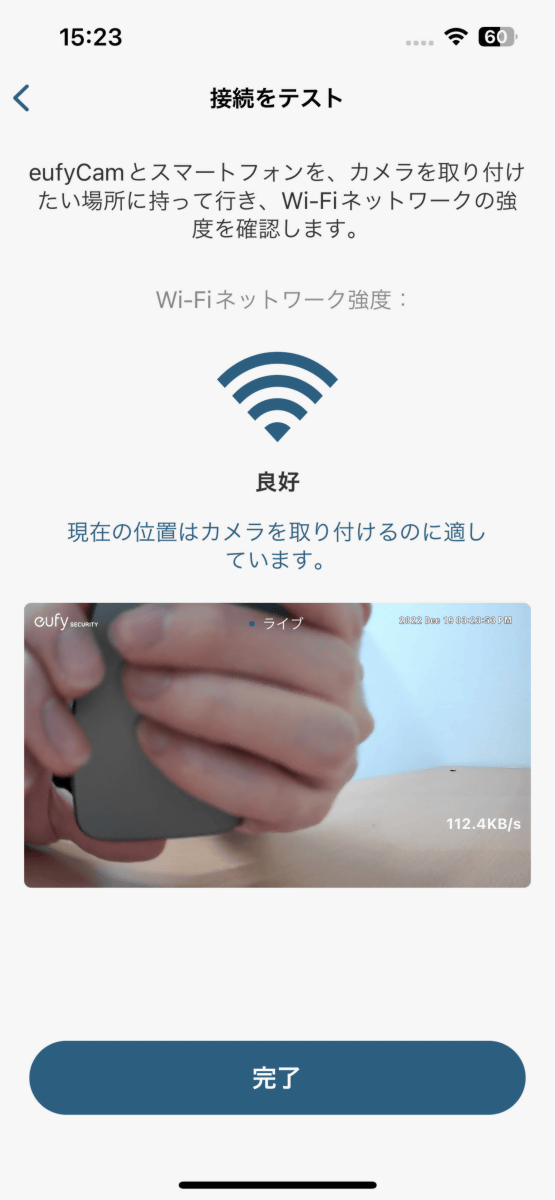
Move with eufyCam 2C and smartphone in this state.
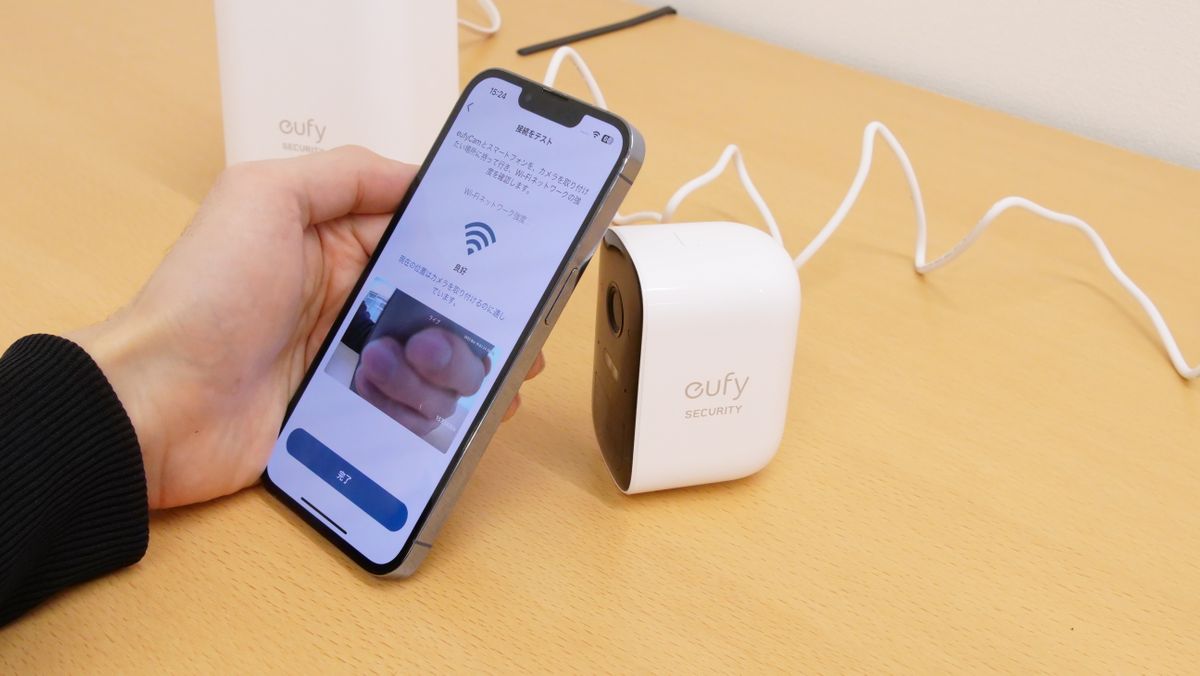
Check the communication environment of the place where you want to install, and if it is 'good', install it as it is.
If the communication environment is 'bad', you need to move the installation location of eufyCam 2C closer to HomeBase 2 or move the installation location of HomeBase 2 closer to eufyCam 2C.
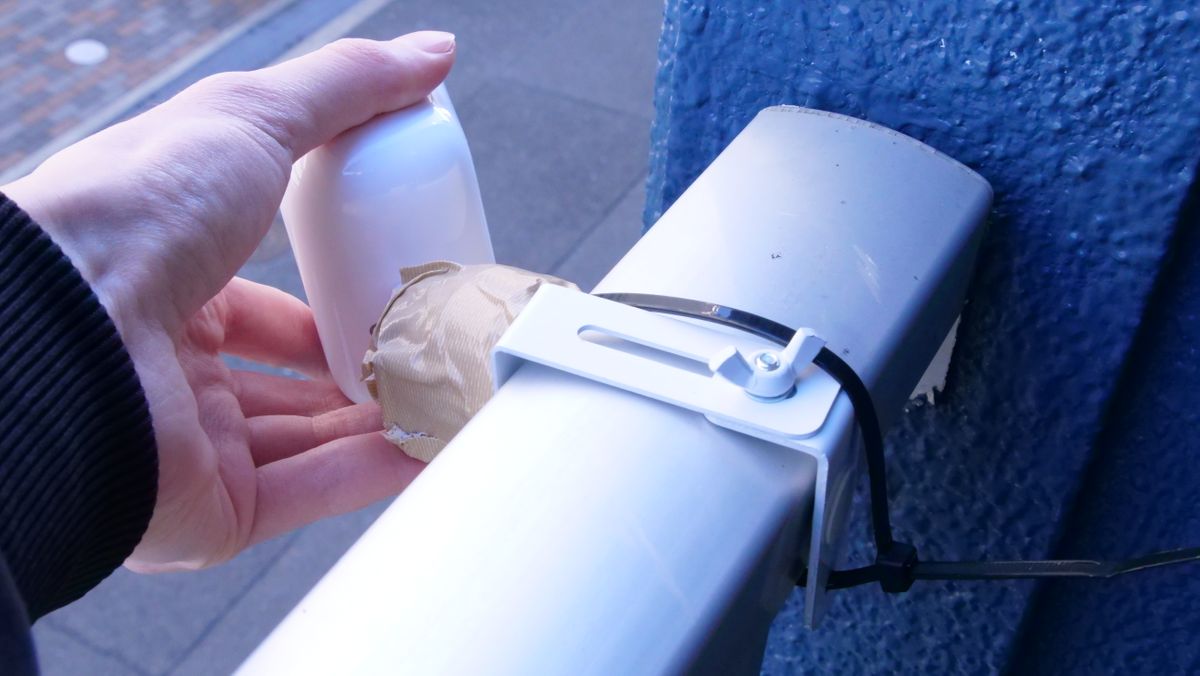
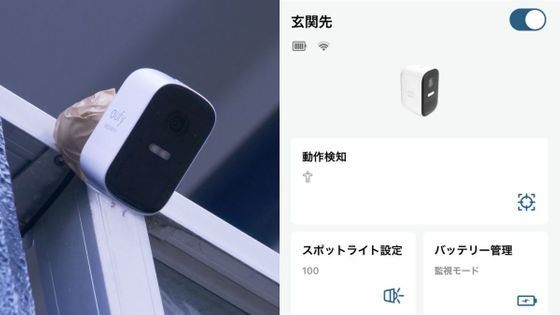
I couldn't find a suitable mounting location this time, so instead of fixing the mounting bracket to the wall with an anchor, I simply attached it to the railing of the balcony using metal fittings and zip ties.
After this, we will actually shoot videos with eufyCam 2C and review using various functions such as 'motion detection' and 'privacy zone'.
・Continued
I tried the functions that can be used with the multifunctional surveillance camera ``eufyCam 2C'' such as ``motion detection'', ``privacy zone'', ``voice call'', and ``warning alarm'' - GIGAZINE
Related Posts: