Google's battery-powered doorbell 'Google Nest Doorbell' Photo review & setup, how can an intercom that does not require power distribution be installed?
Google's smart speaker 'Google Nest' series, ' Google Nest Doorbell ' that can be attached to the entrance and used as an intercom has appeared on August 26, 2021. Ordinary intercoms have to be wired by calling a contractor, but the battery-powered Nest Doorbell, which operates fully wirelessly, can be installed by yourself, and you can watch live videos from the cloud, so you can respond to customers on the go. You can do it. I received such an intercom, so I opened it and installed it at the front door.
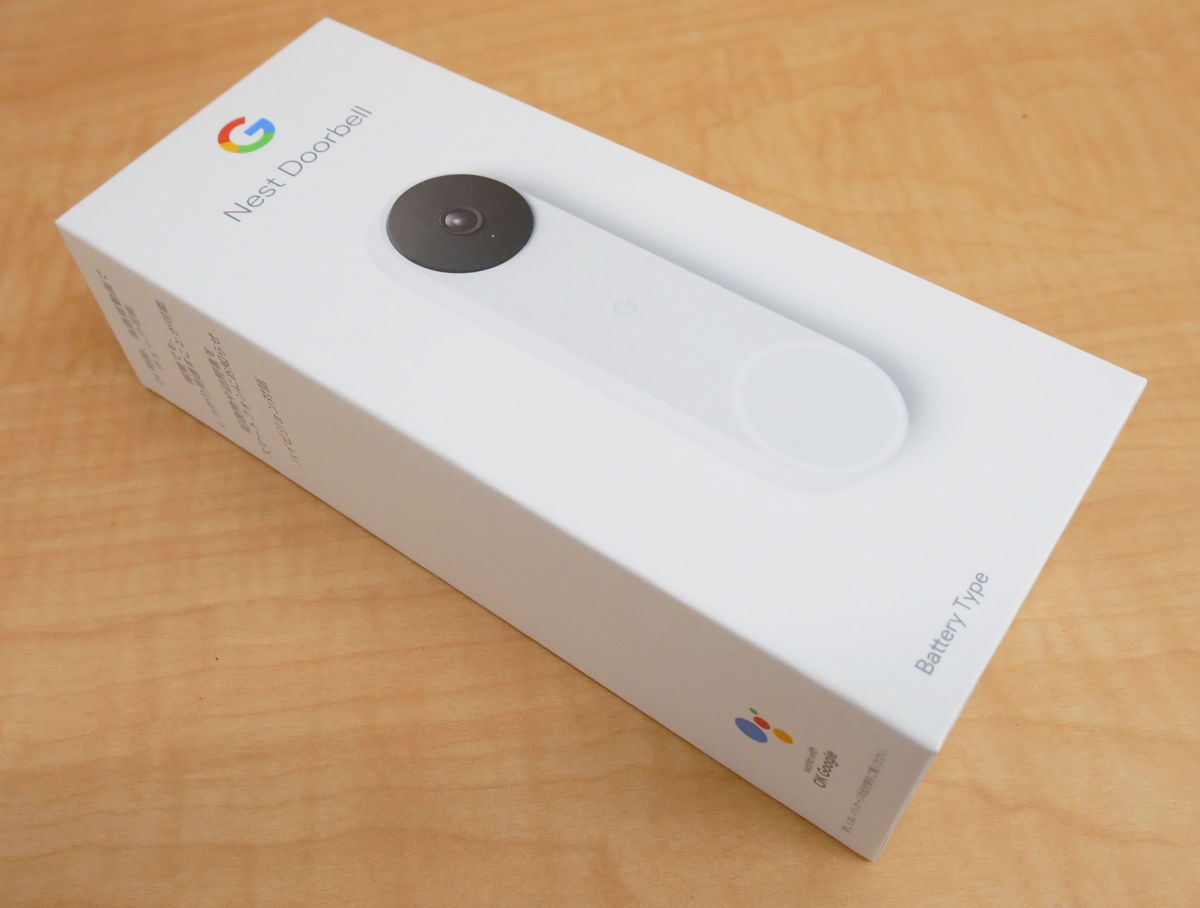
Google Nest Doorbell (Battery Type)-Smart Doorbell
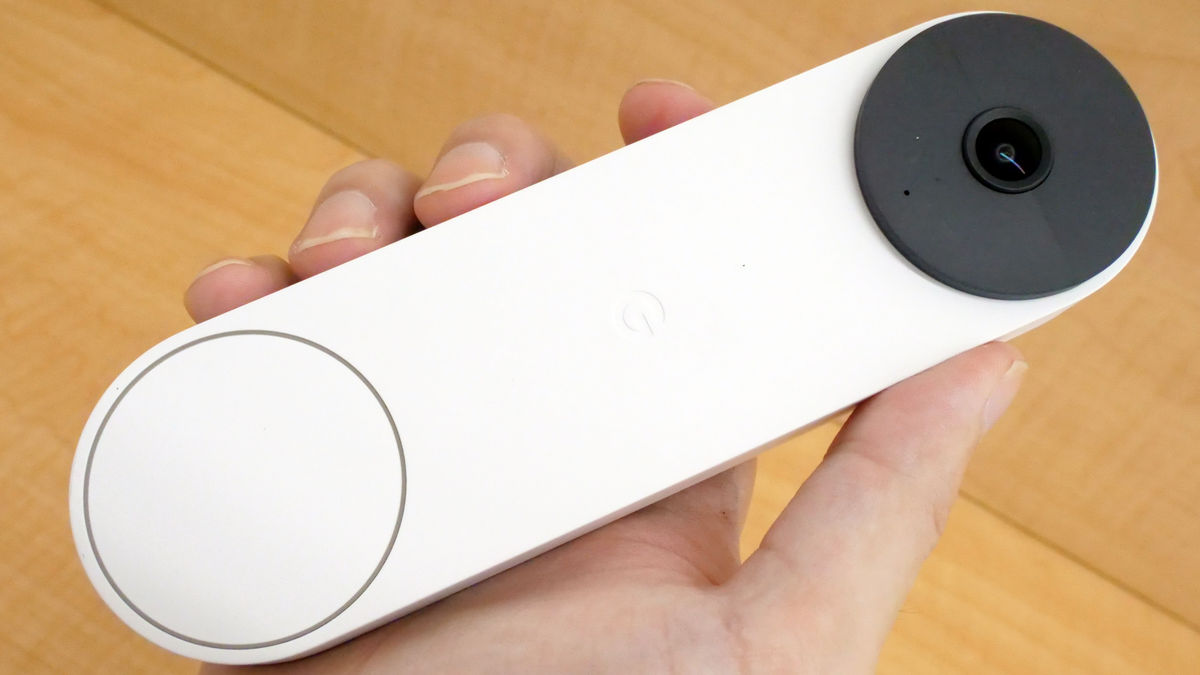
This is 'Google Nest Doorbell'.
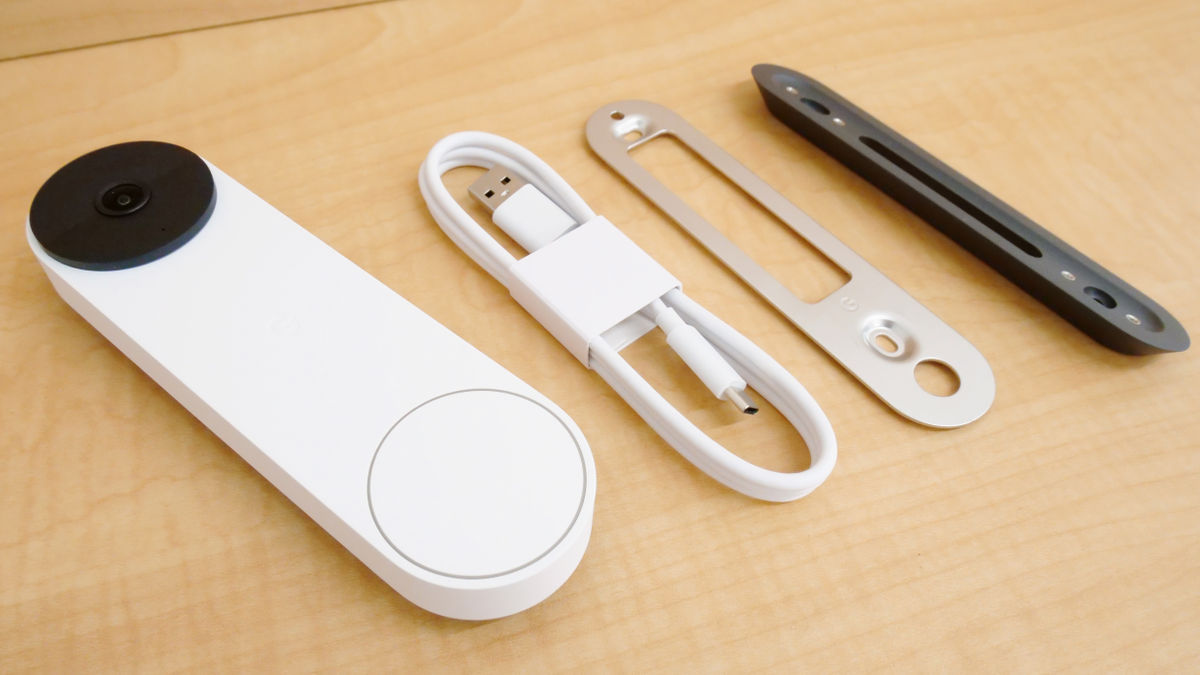
The contents are the Nest Doorbell body, USB Type-A / USB Type-C charging cable, base plate, and angle adjustment parts.
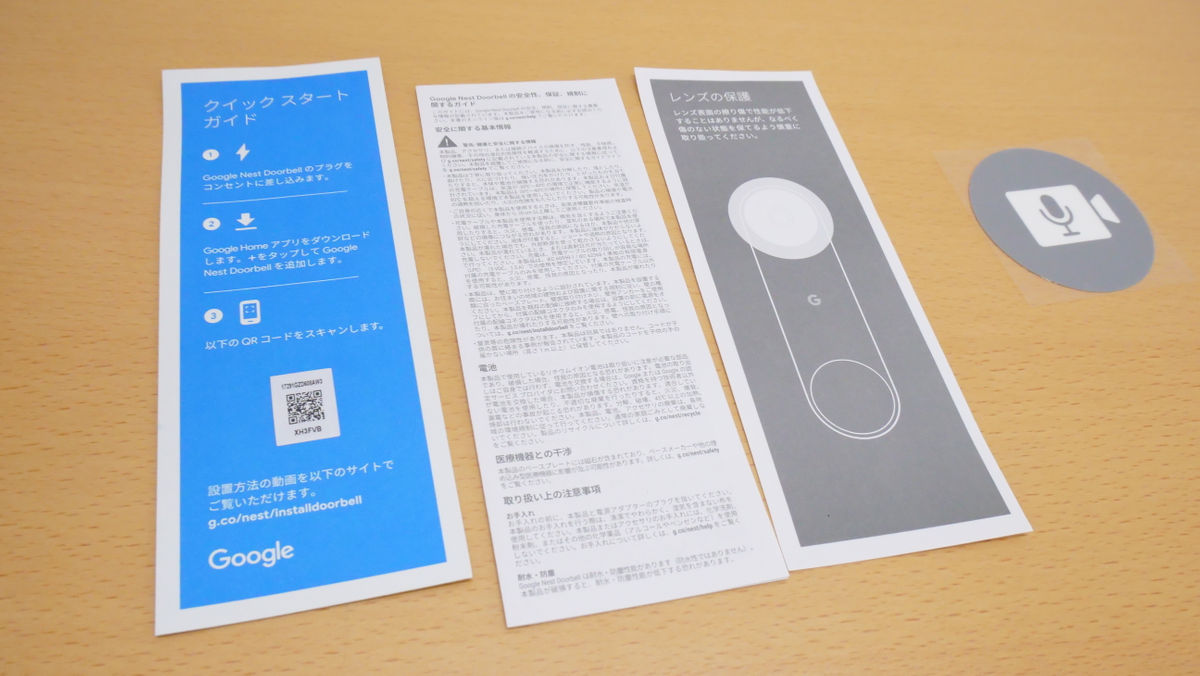
A quick start guide, a booklet with safe usage precautions, a piece of paper explaining lens protection, and a sticker to indicate that you are recording or recording.
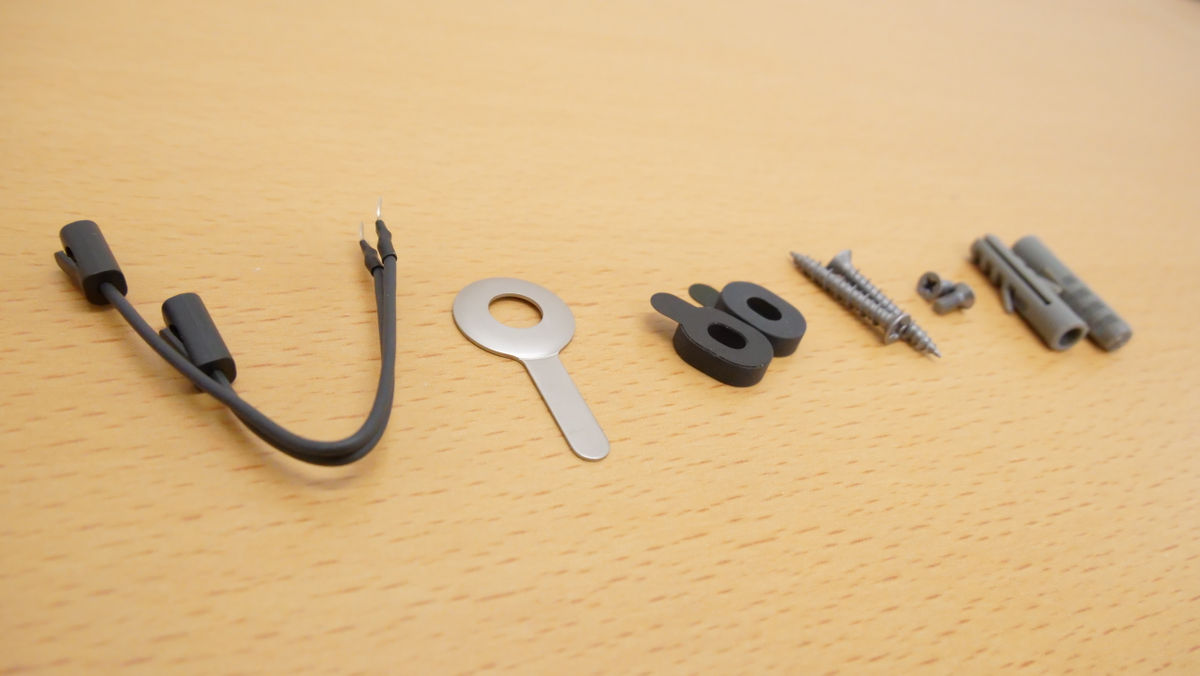
A wiring connector used to connect to the power supply for the doorphone, a removal tool, a spacer used when the wall is uneven, two long and two short screws, and a wall anchor.
The Nest Doorbell body looks like this. It has a long and thin shape with a length of 160 mm, a width of 46 mm, and a depth of 24.1 mm.
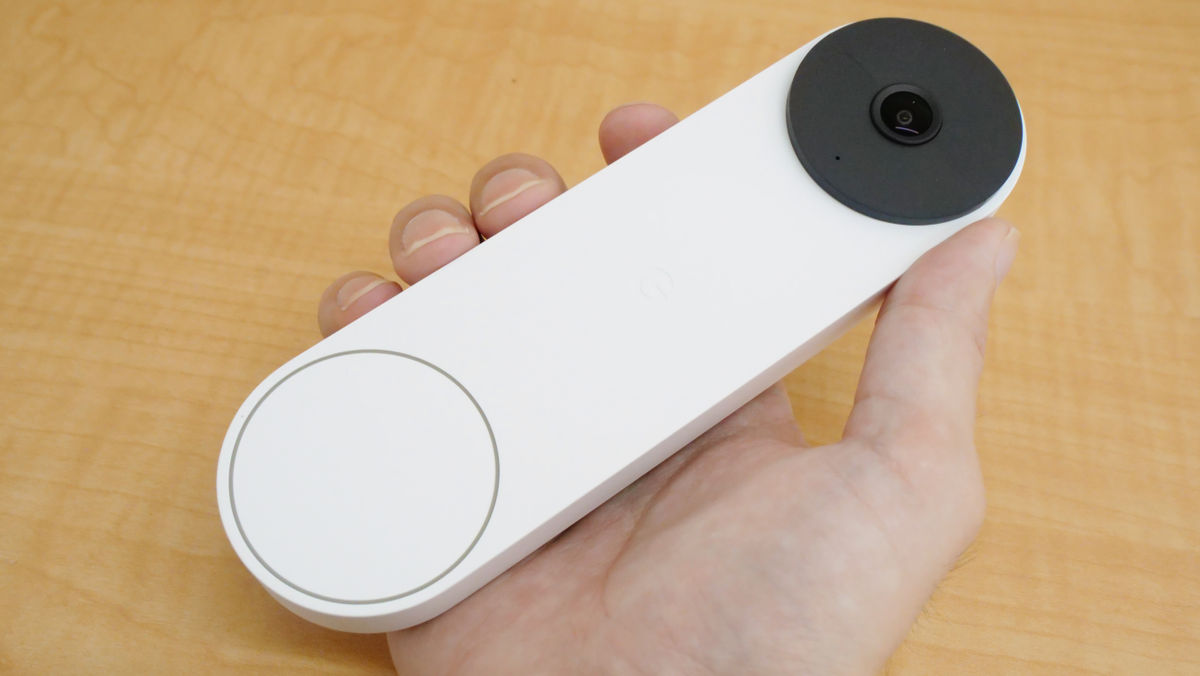
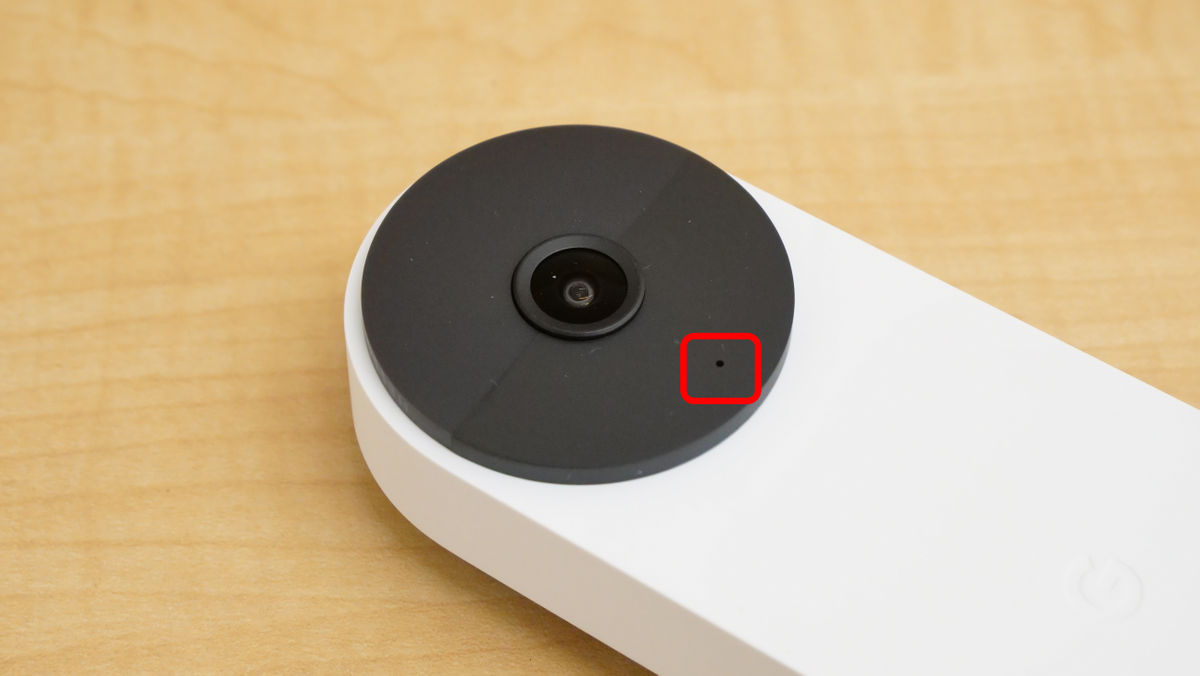
In addition to the camera with 1.3 megapixels on the main unit, there is also a status lamp under it.
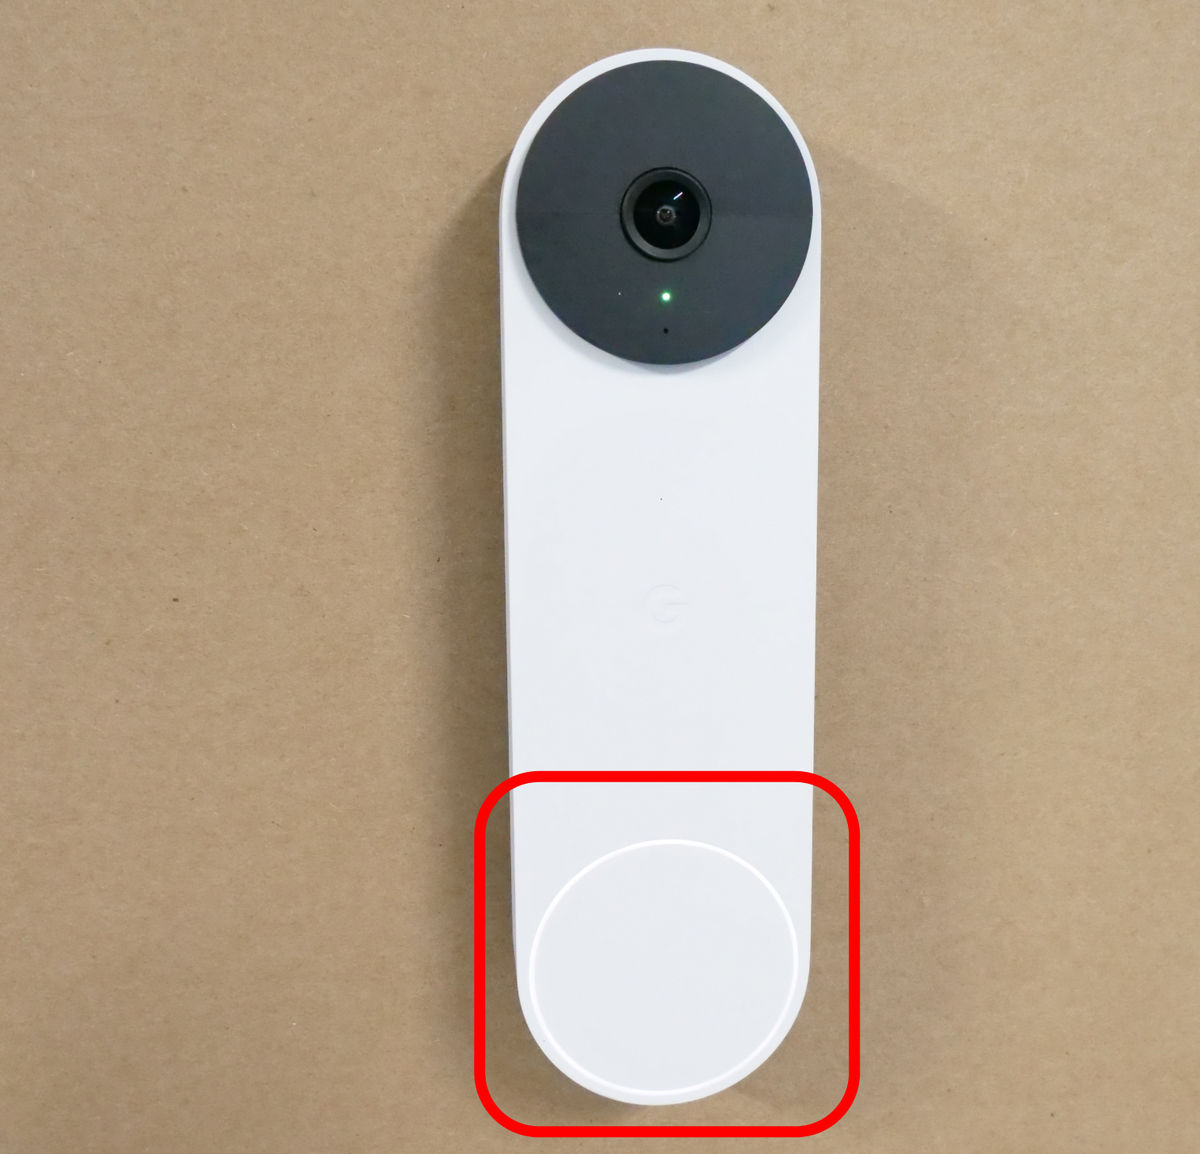
At the bottom of the main unit, there is a button for visitors to press.

There's a USB Type-C socket on the back for charging, and a metal fitting at the bottom to connect to the base plate.
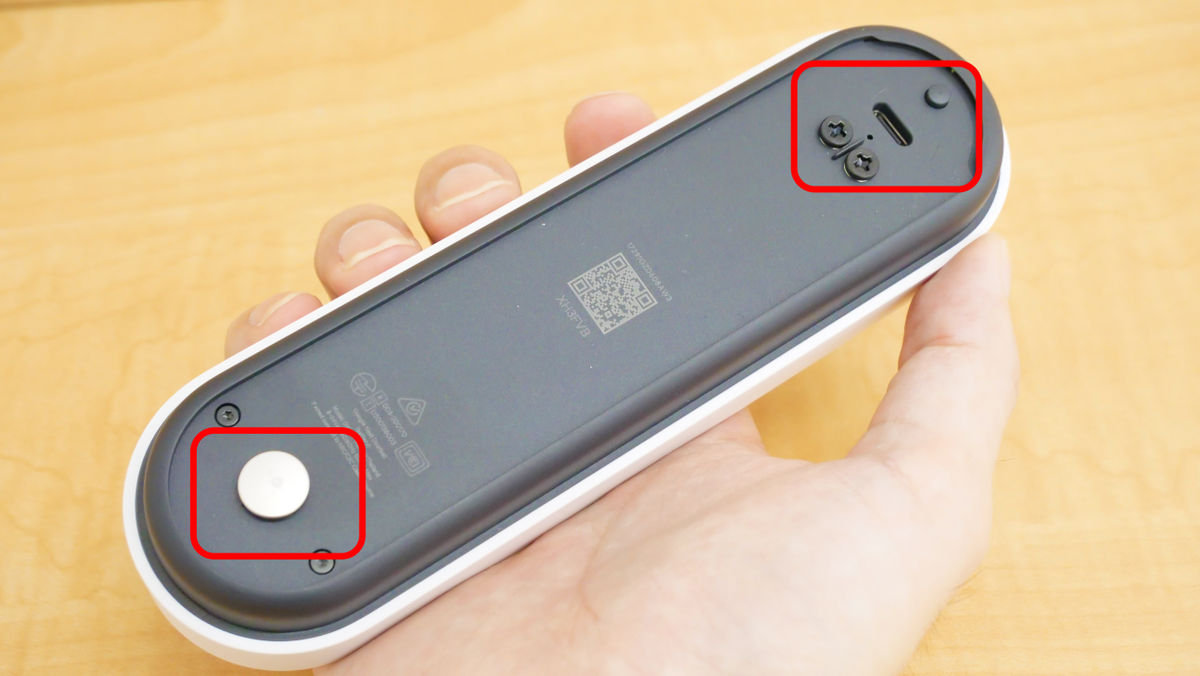
There is a groove on the back for fitting the base plate.
A base plate can be set in this groove.
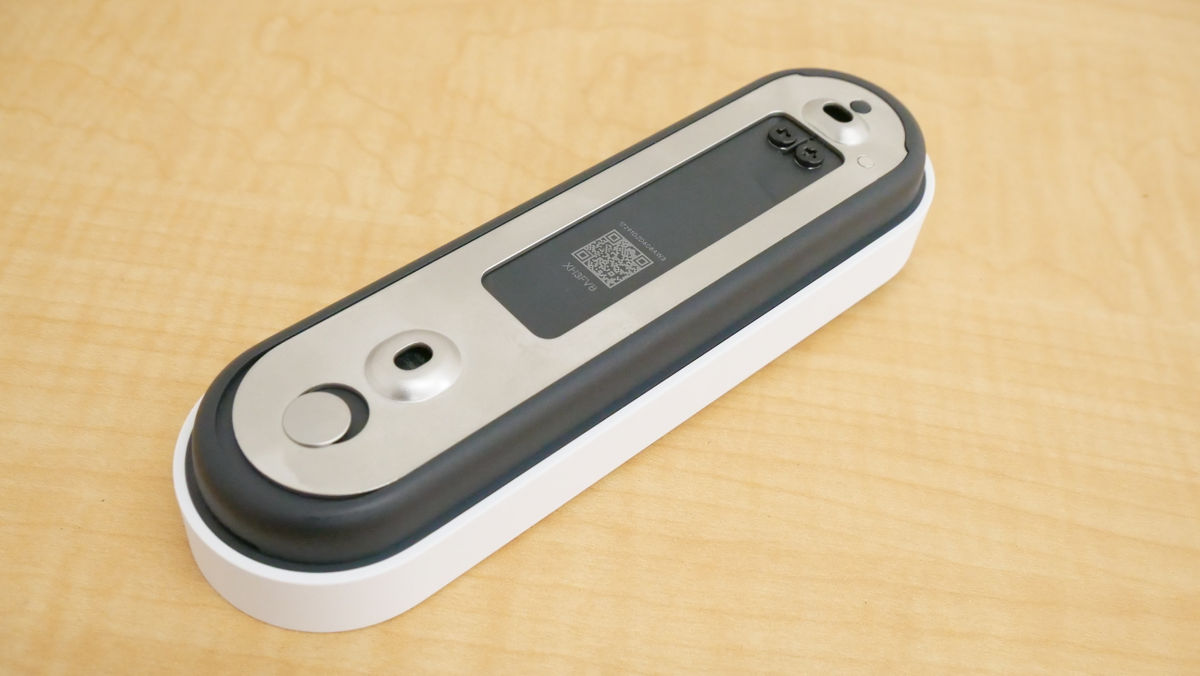
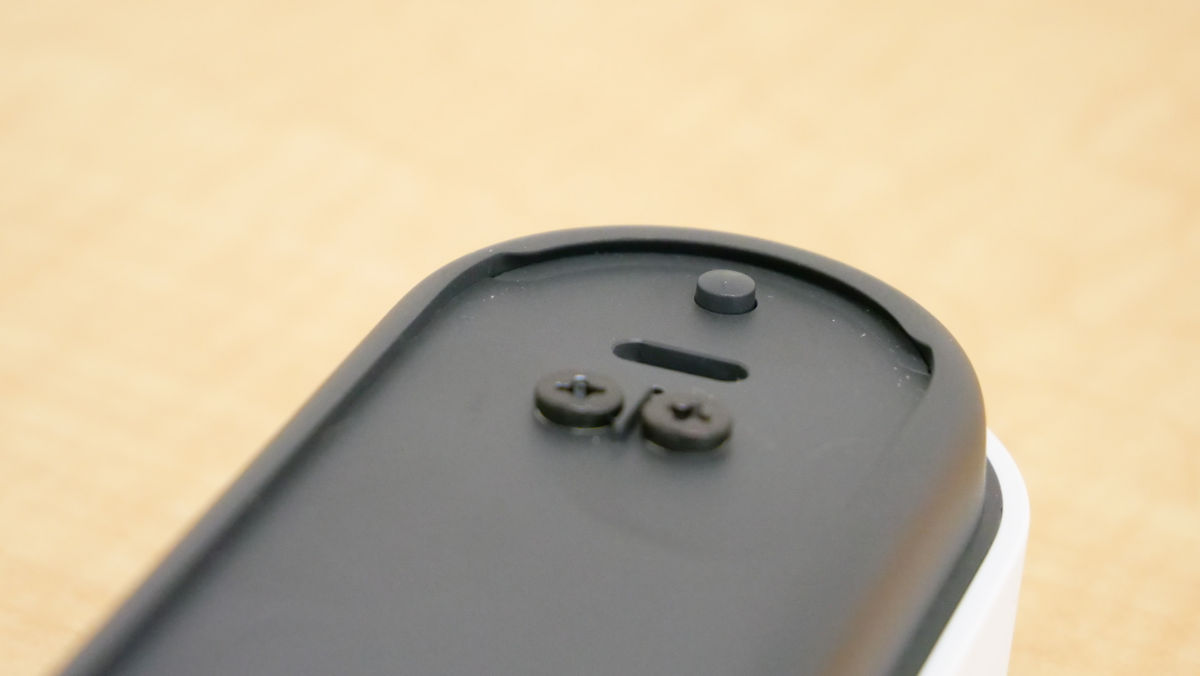
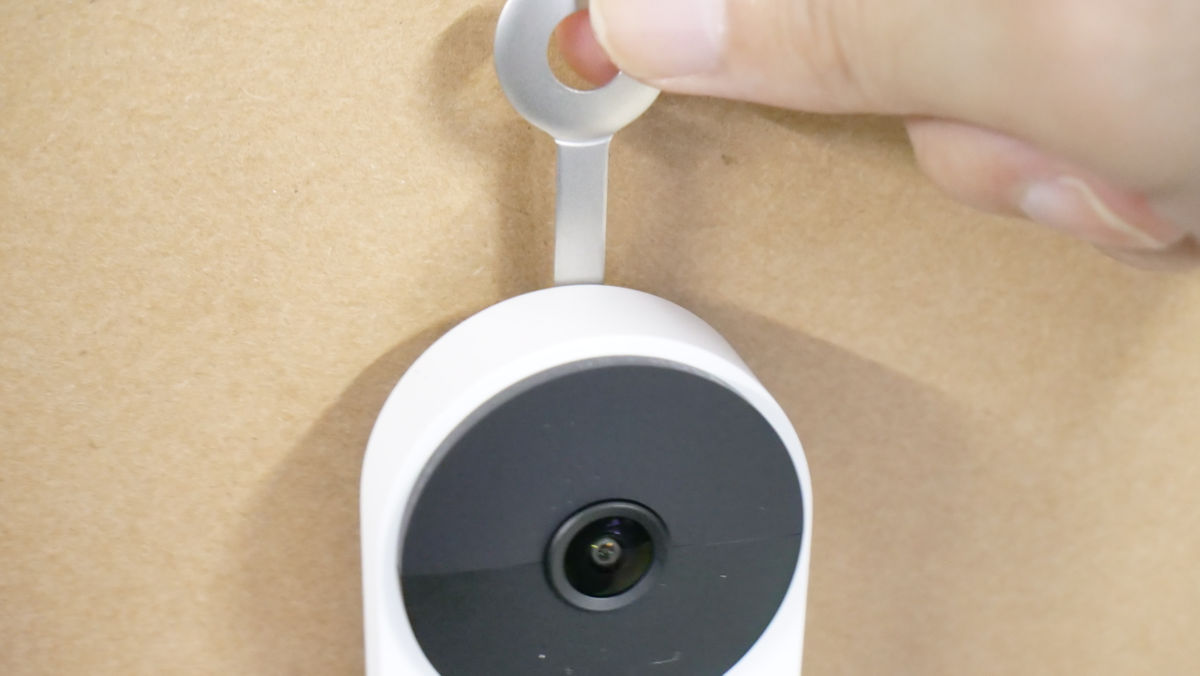
There is a hole in the upper part of the main body for inserting the removal tool.

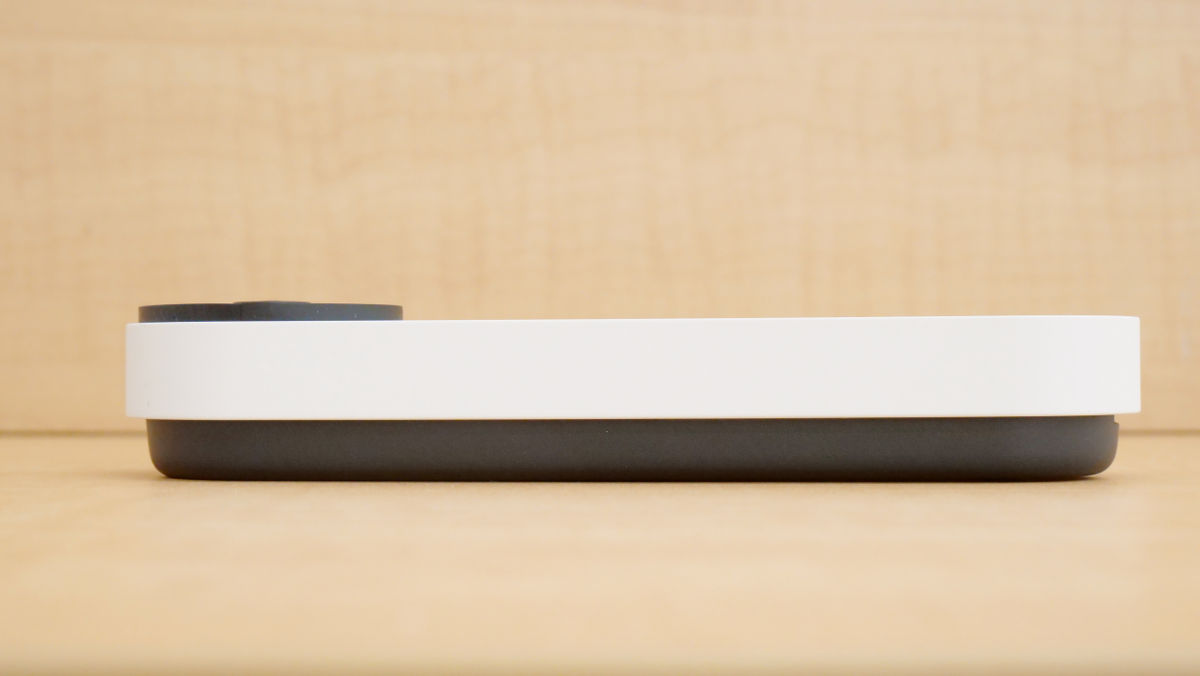
There are no buttons or switches on the left and right sides, and it has a neat design.
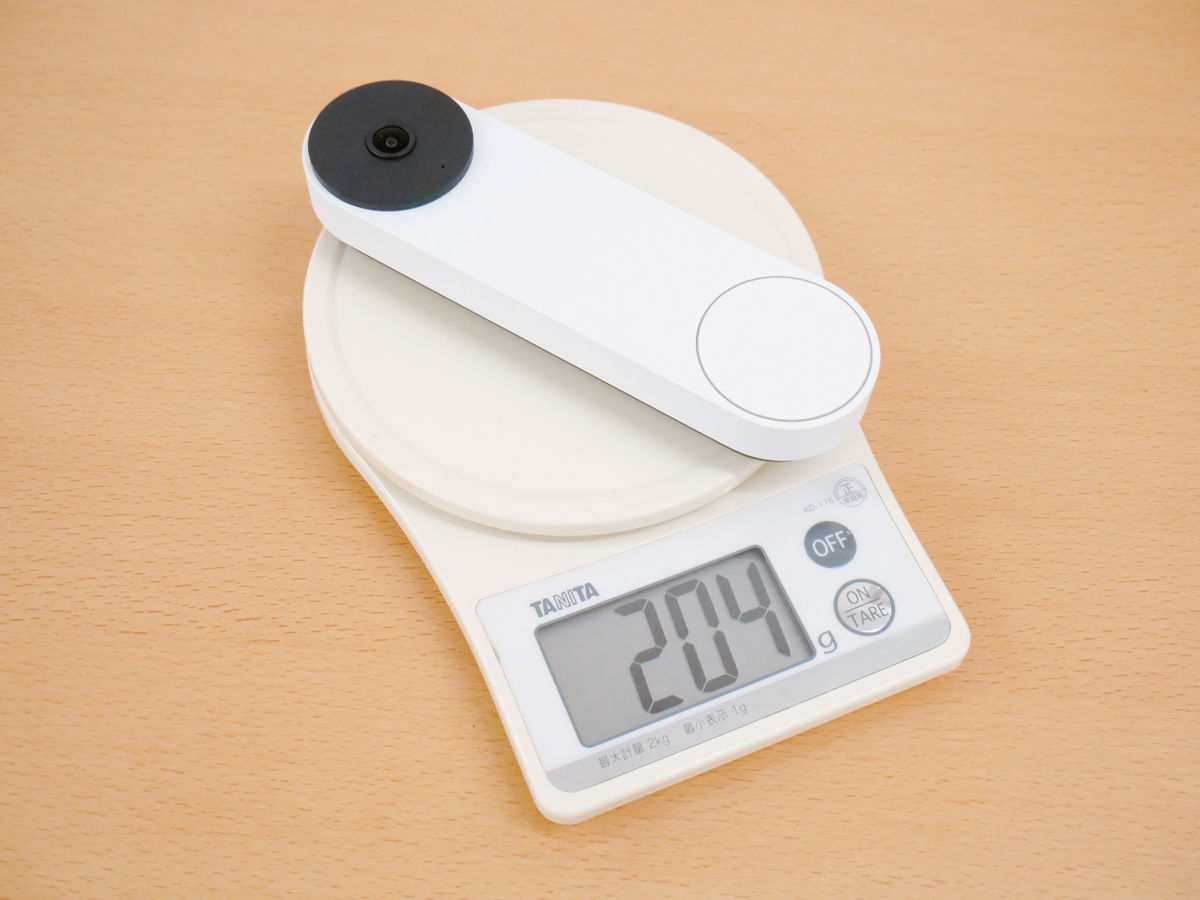
The actual weight was 204g.
So, I will prepare to use it immediately. First, insert the cable that came with the main unit.
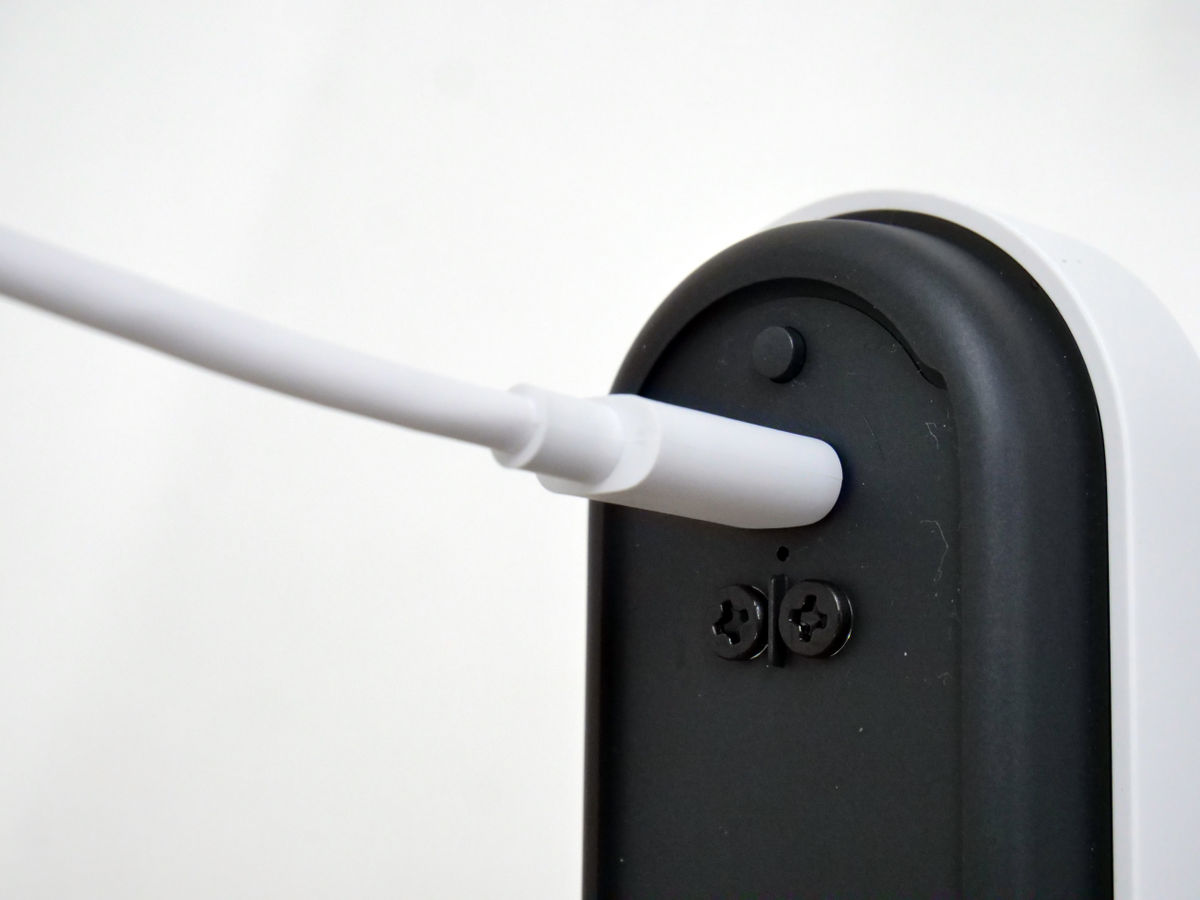
Then connect the other end of the cable to the power supply.
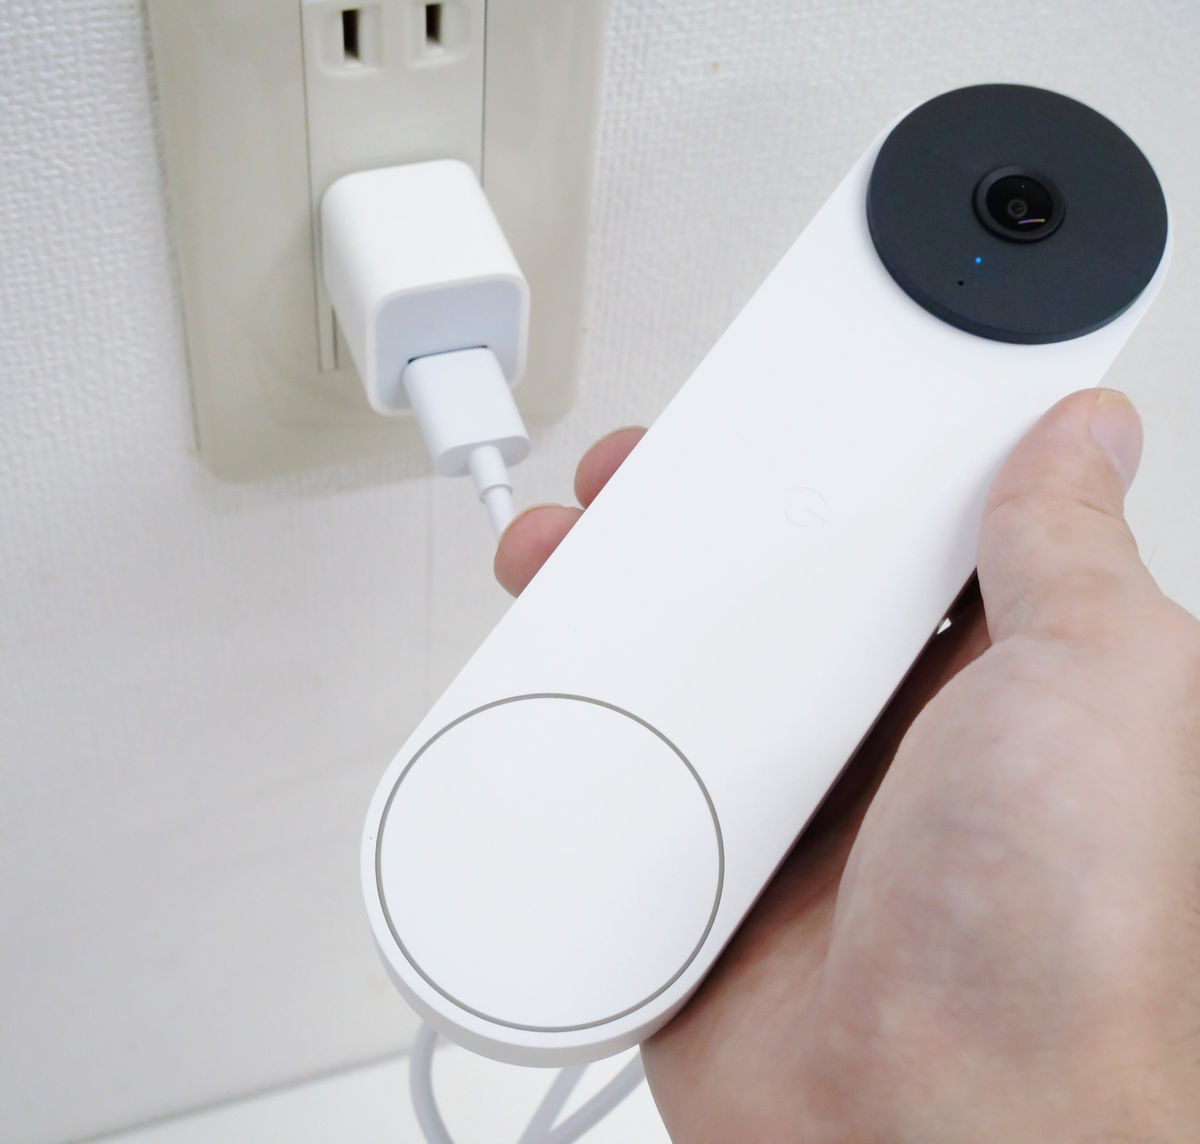
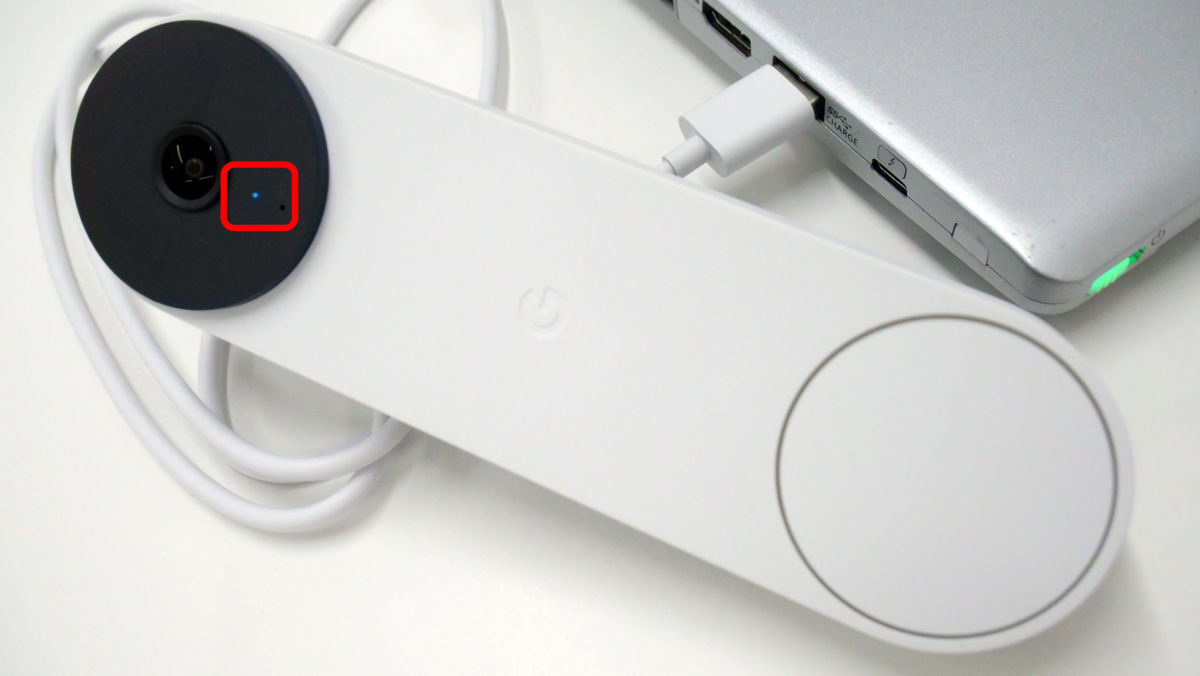
It doesn't come with a power adapter, so if you don't have an extra power adapter, you can plug it into your PC. When the status lamp lights up in blue, you are ready to go.
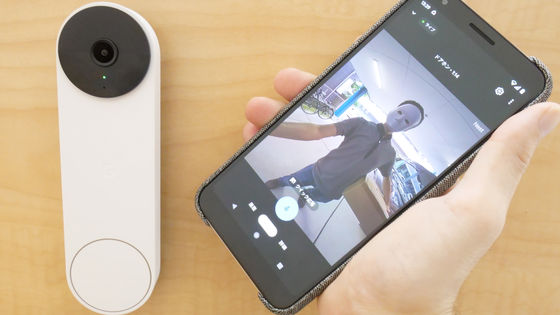
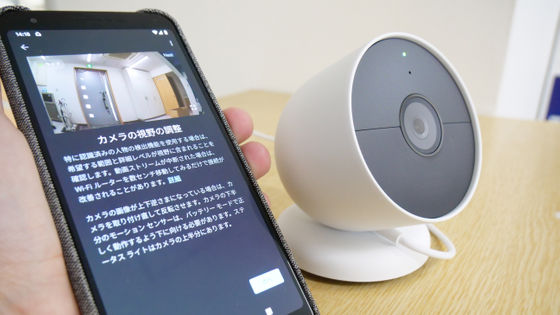
Next, place the Nest Doorbell once and connect the smartphone to the Nest Doorbell. The installation method of the Google Home app required for connection
Google's smart camera 'Google Nest Cam' setup, after installing the smartphone app, you're ready to go crispy --GIGAZINE
After adding Nest Doorbell to Google Home, the next step is to install Nest Doorbell at the entrance according to the instructions of the movie released by Google.
(1) Method setting and installation Google Nest Doorbell (battery-powered)) --YouTube
Since the Nest Doorbell is used by fixing it to the wall with screws, it is necessary to make a hole in the wall. However, the wall at the review site was a wall that was not easily punctured.

Therefore, this time I will stick a cardboard box and install it there.

The optimal installation location is about 1.2 meters from the ground.
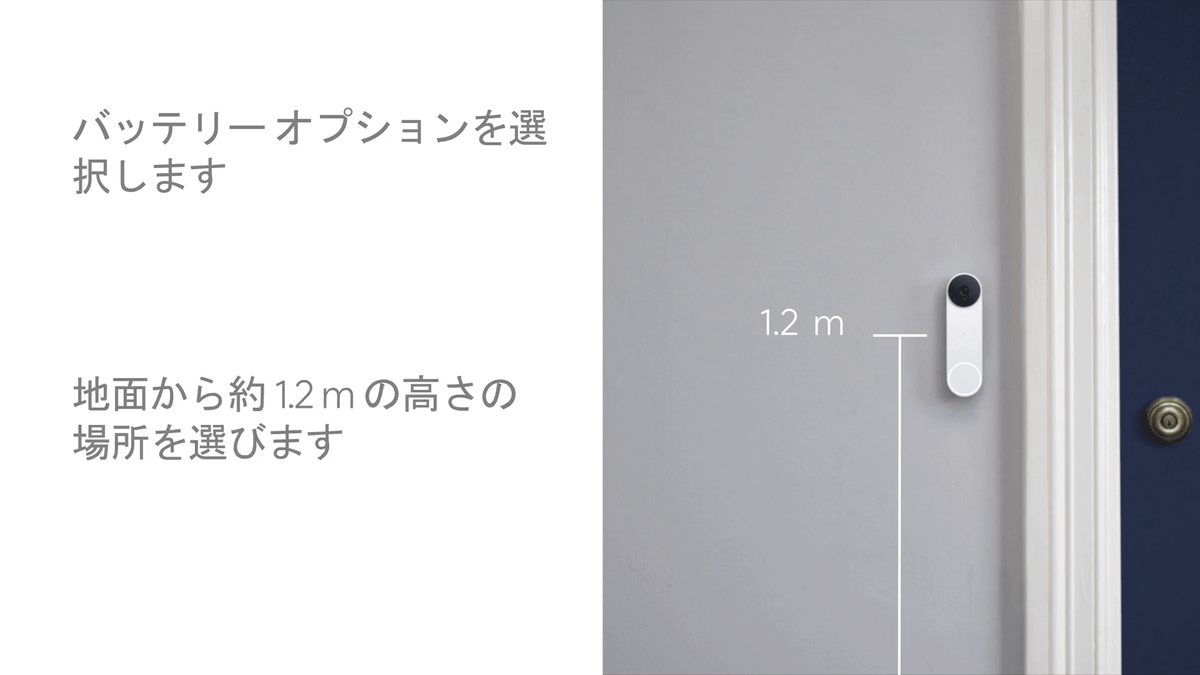
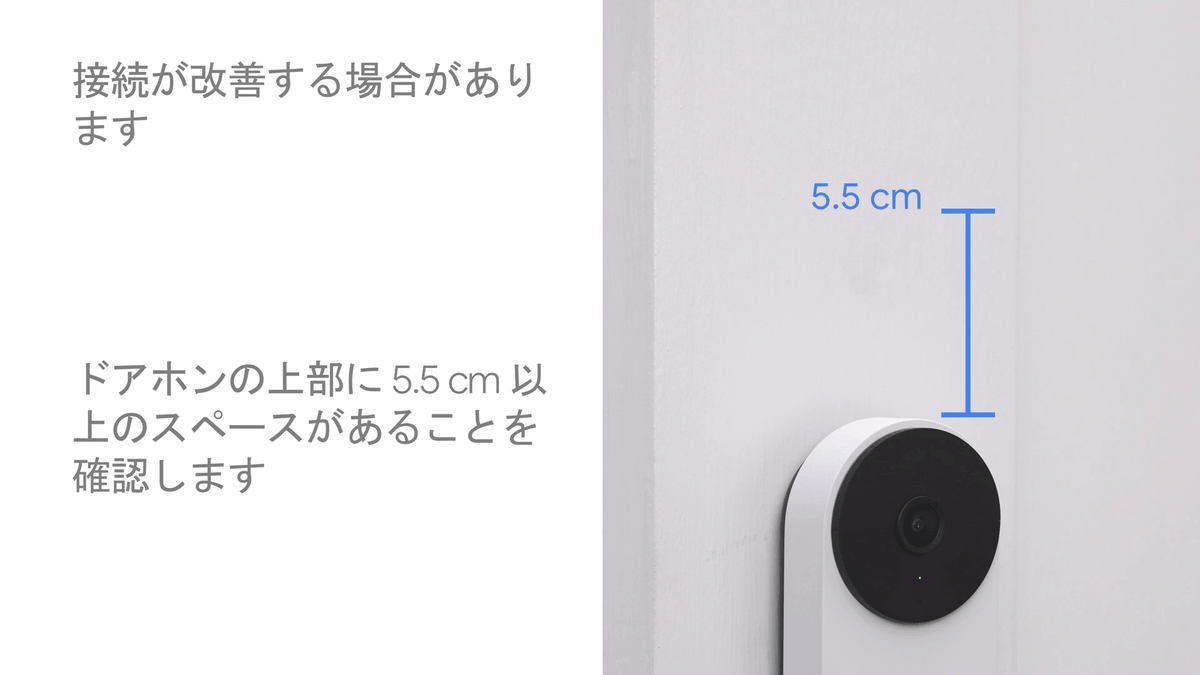
Also, when removing it, the removal tool is inserted in the upper part of the main body, so a margin of 5.5 cm or more is required in the upper part as well.
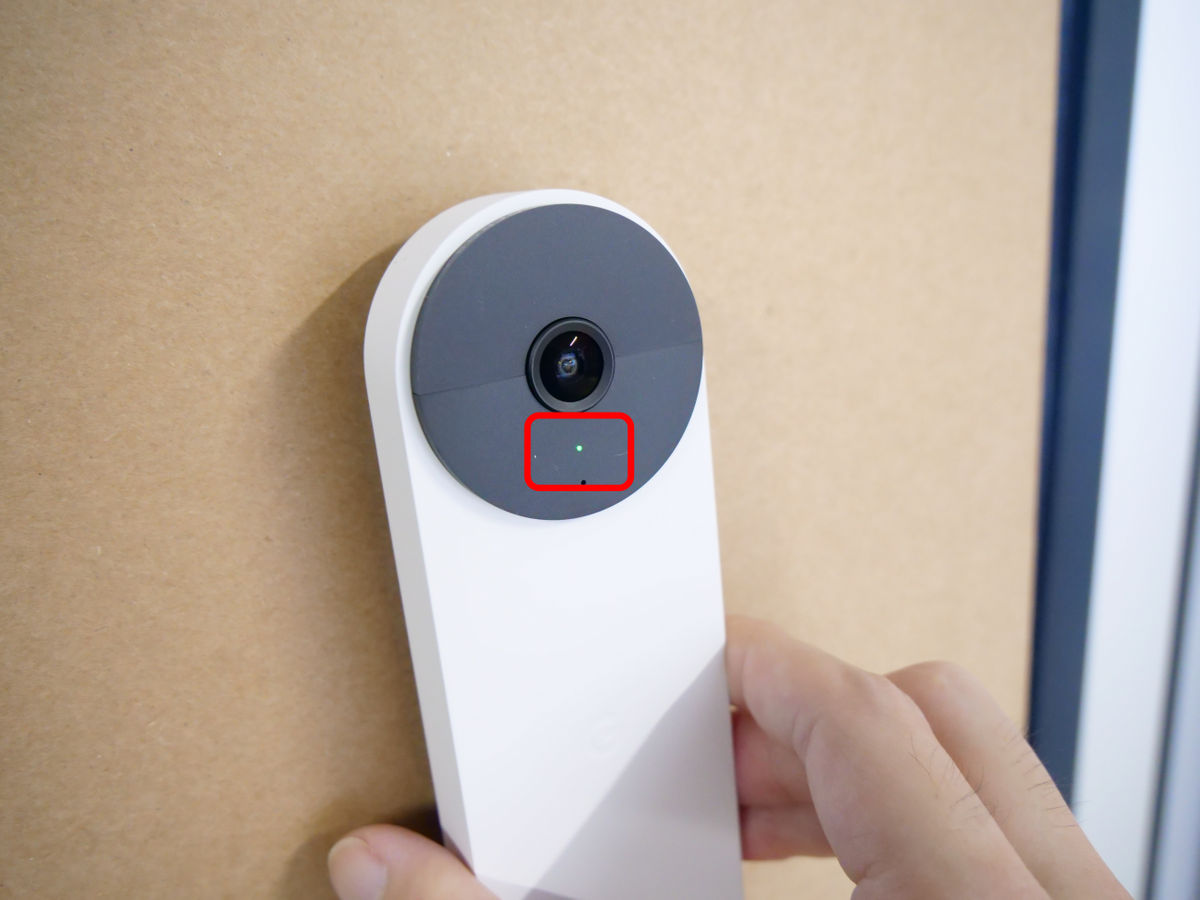
When you see the star of the installation location, place the main unit on it and check if the Wi-Fi connection is established. It is OK if the status lamp is lit in green.
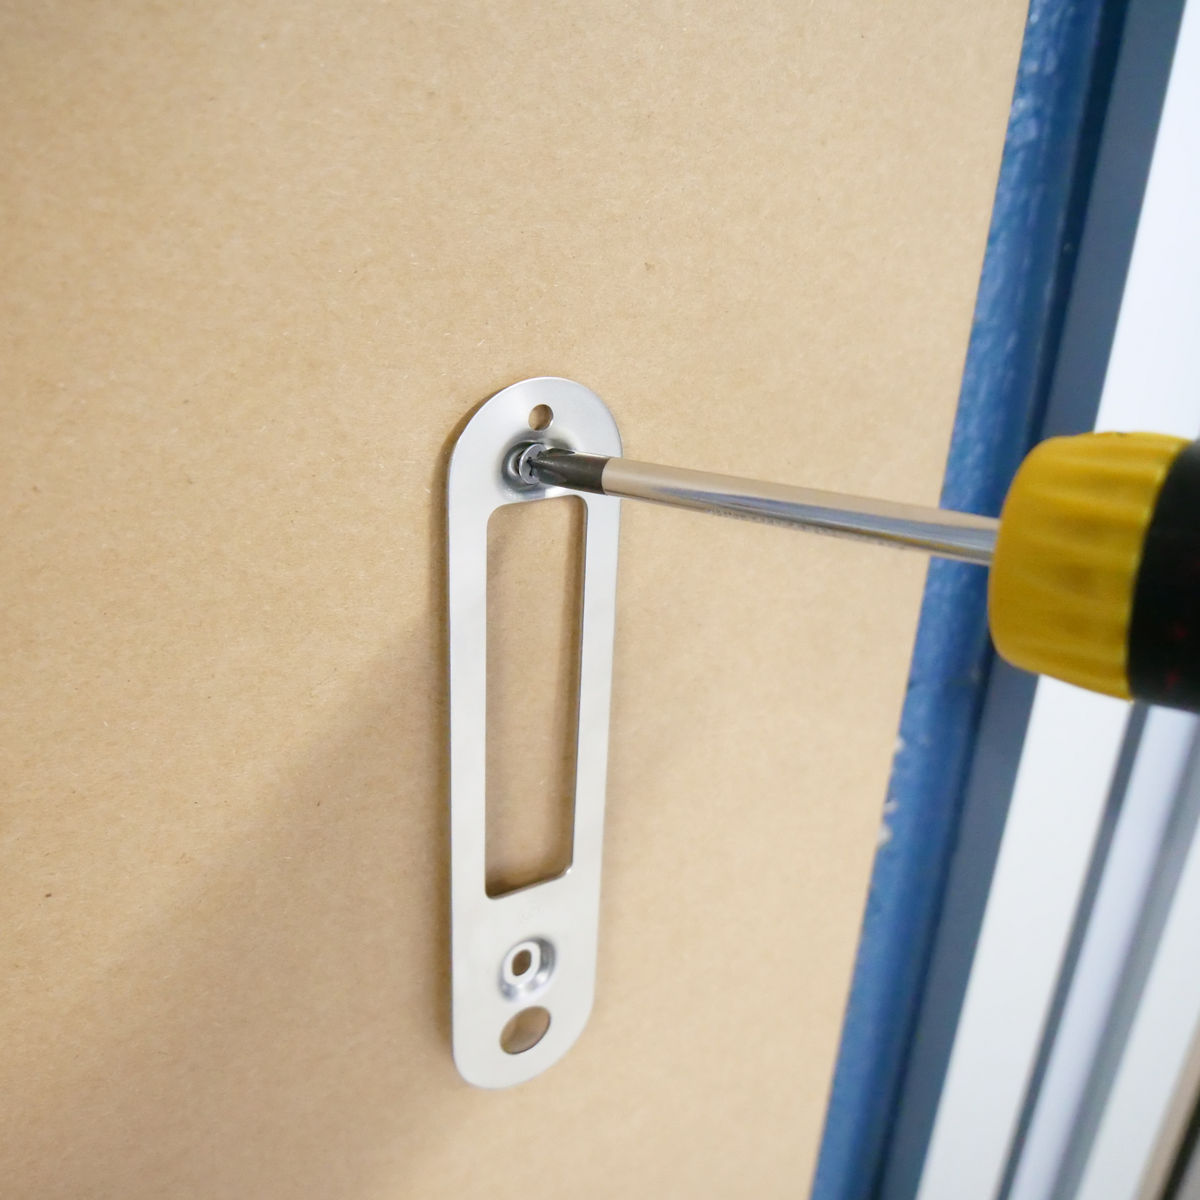
Next, mark the screw holes on the base plate.

Then use a tool to make a hole in the marked area. This process was unnecessary because it will be installed on cardboard for review this time.
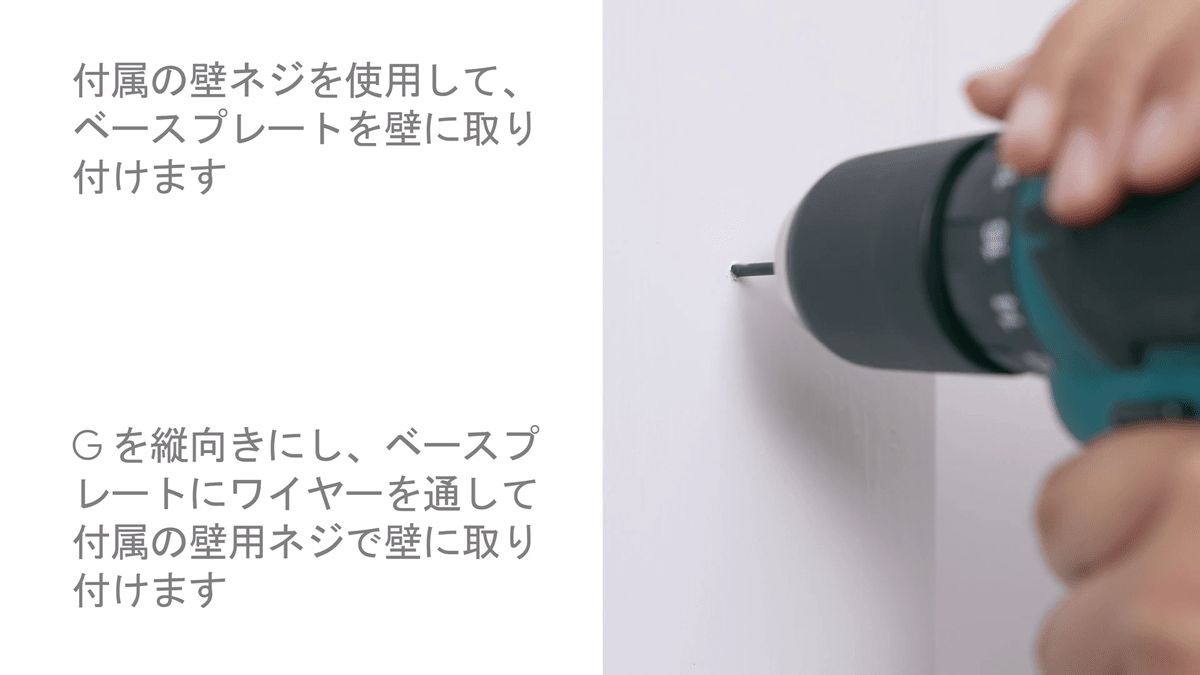
In addition, use screws to attach the base plate to the wall.
Finally, set the main body on the base plate so that the metal fittings at the bottom of the main body and the holes in the base plate match.
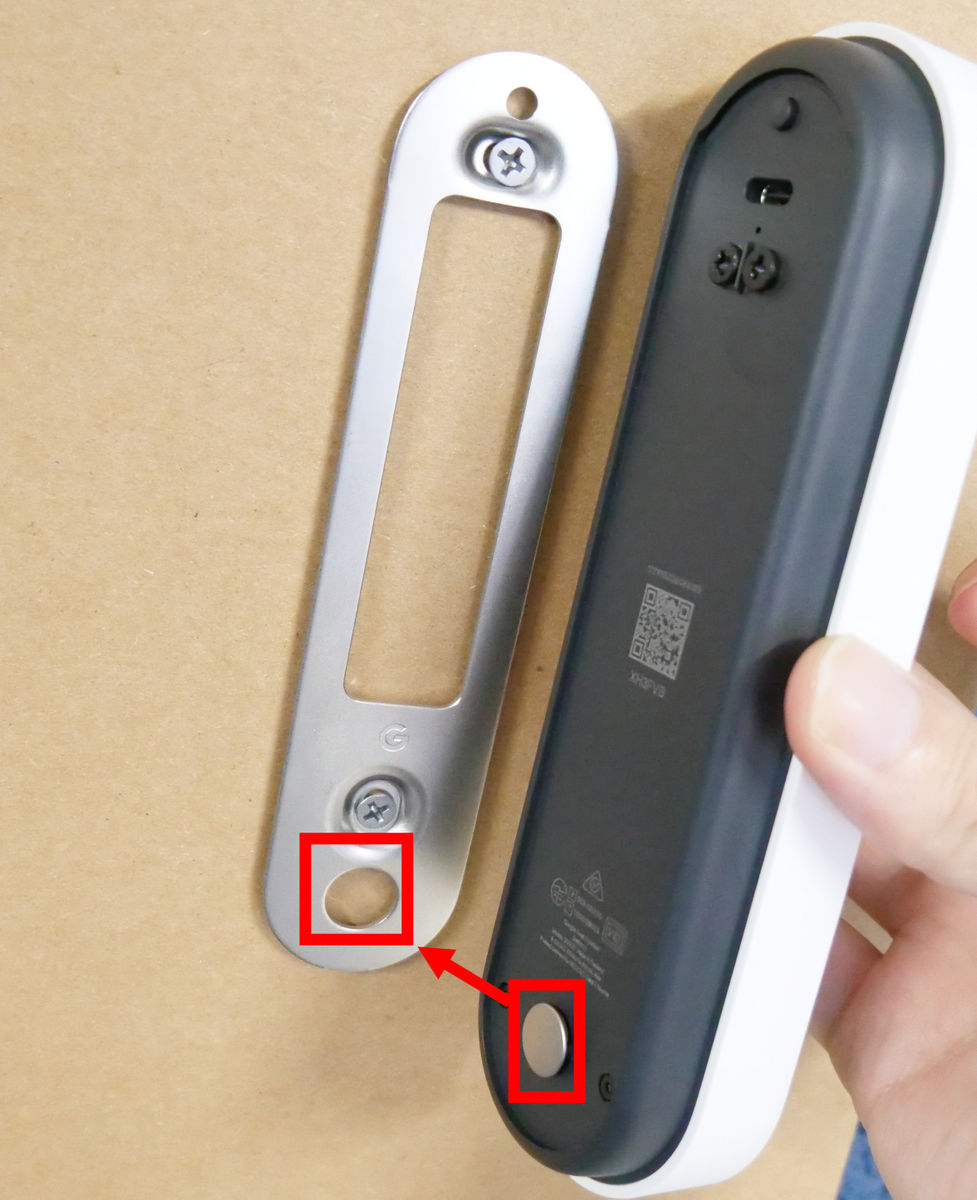
When the main body recognizes the connection with the base plate, the area around the button glows like this.
To remove it, insert the removal tool into the hole at the top of the main unit. This removal tool is not the key, so you can use a flat-blade screwdriver to remove the Nest Doorbell.
'Google Nest Doorbell'

Related Posts: