The small waterproof surveillance camera 'ATOM Cam 2' that you can get for less than 3000 yen has excellent cost performance with high image quality and low delay.

From burglary countermeasures to watching over pets and babies, network cameras that allow you to check the local situation on the go are becoming more popular. The network camera ' ATOM Cam 2 ' developed by
ATOM Cam 2 --Completely waterproof / dustproof + color night vision | ATOM series | ATOM Tech
https://www.atomtech.co.jp/series/atomcam2/
·table of contents
◆ Opened
◆ Installation method
◆ Initial setting
◆ Basic functions
◆ Motion detection settings
◆ Color night vision
◆ Other functions
◆ Summary
◆ Opened
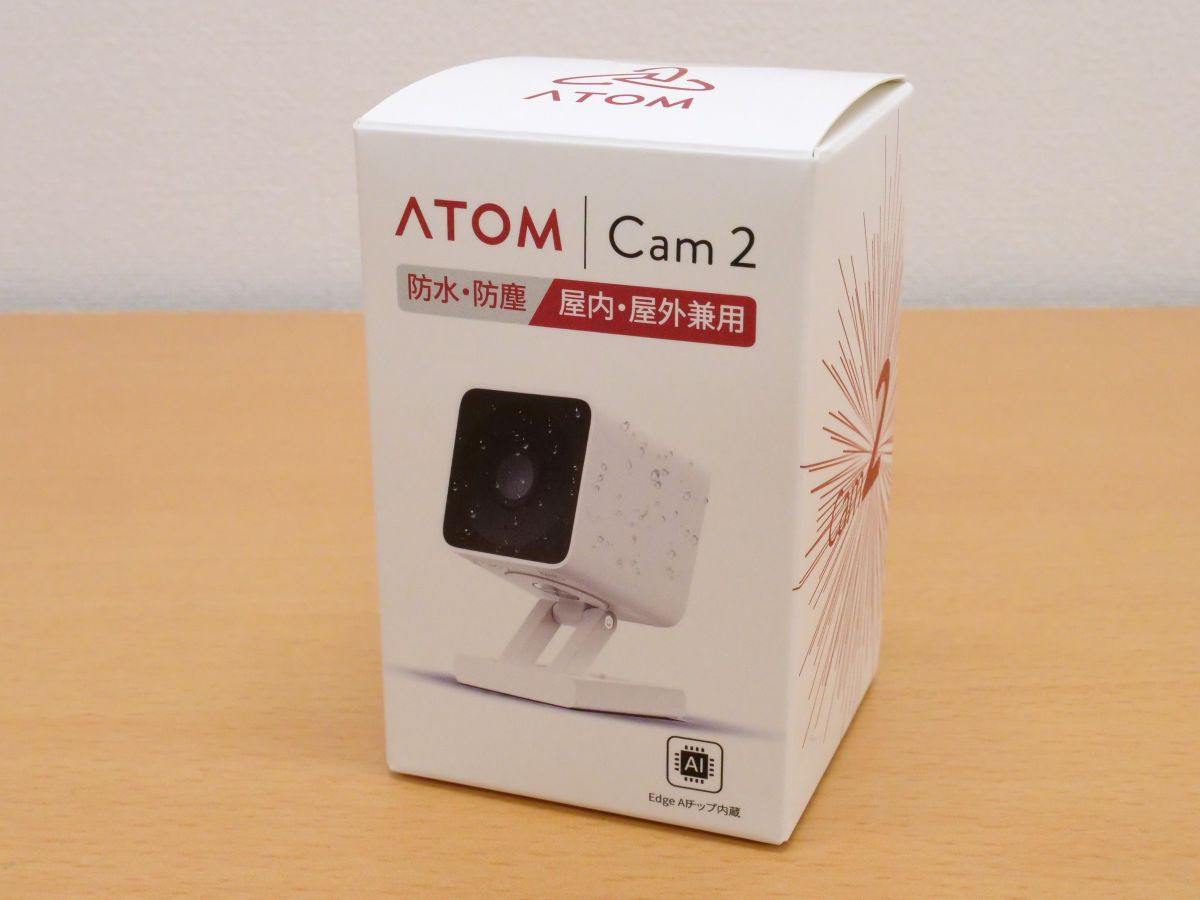
The package of 'ATOM Cam 2' looks like this.
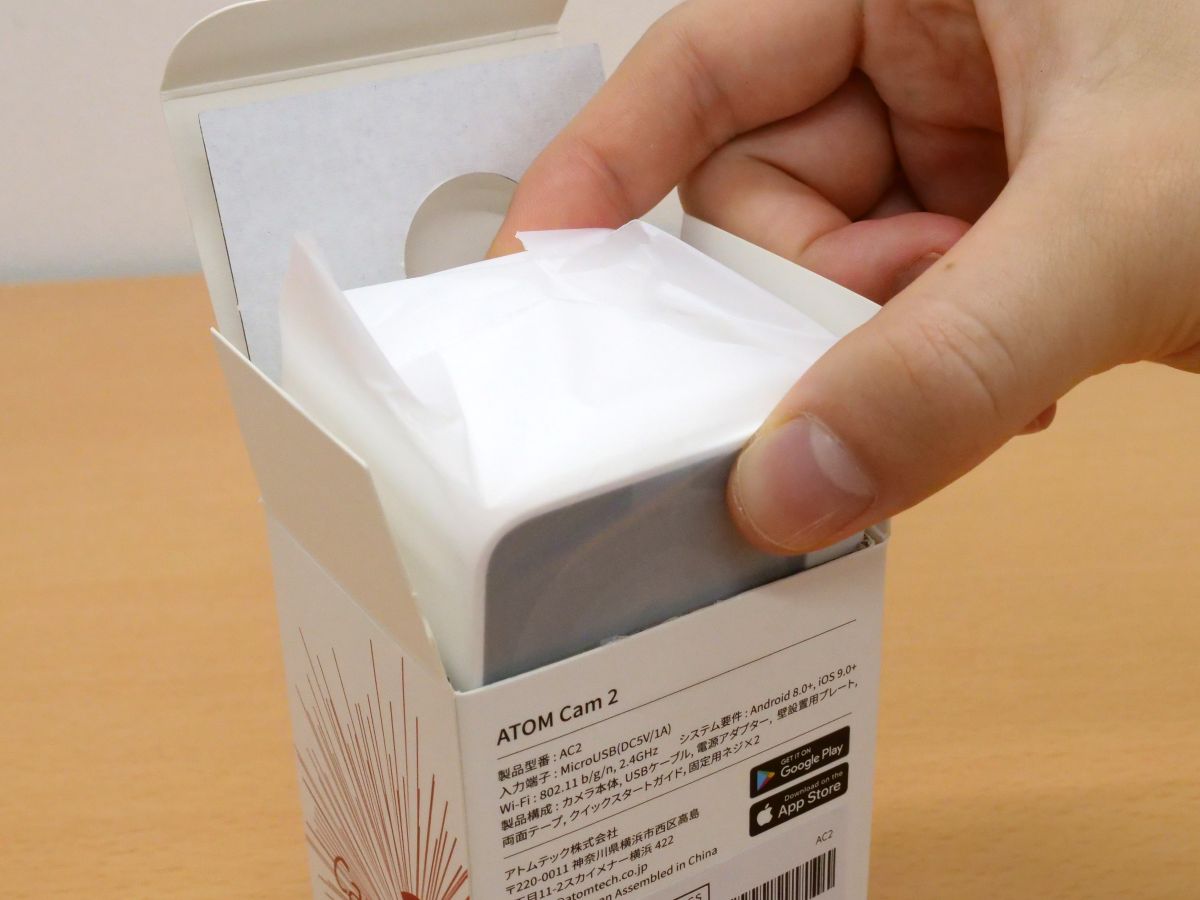
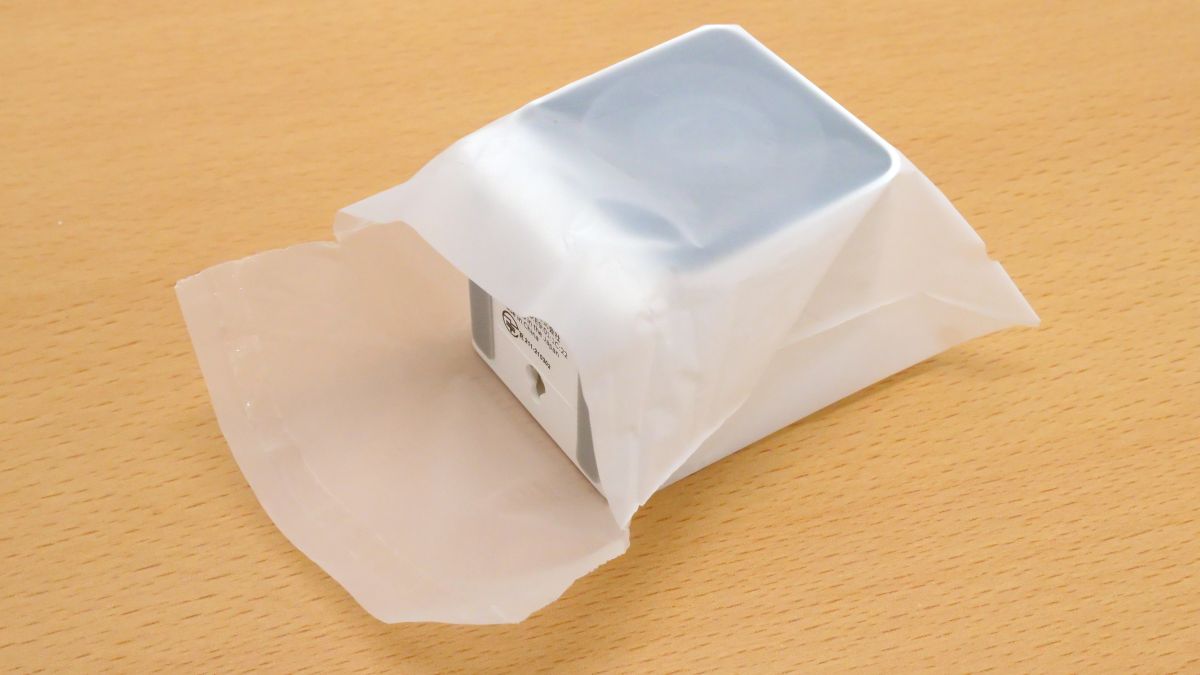
When you open the lid, you will see the 'ATOM Cam 2' body wrapped in a plastic bag.
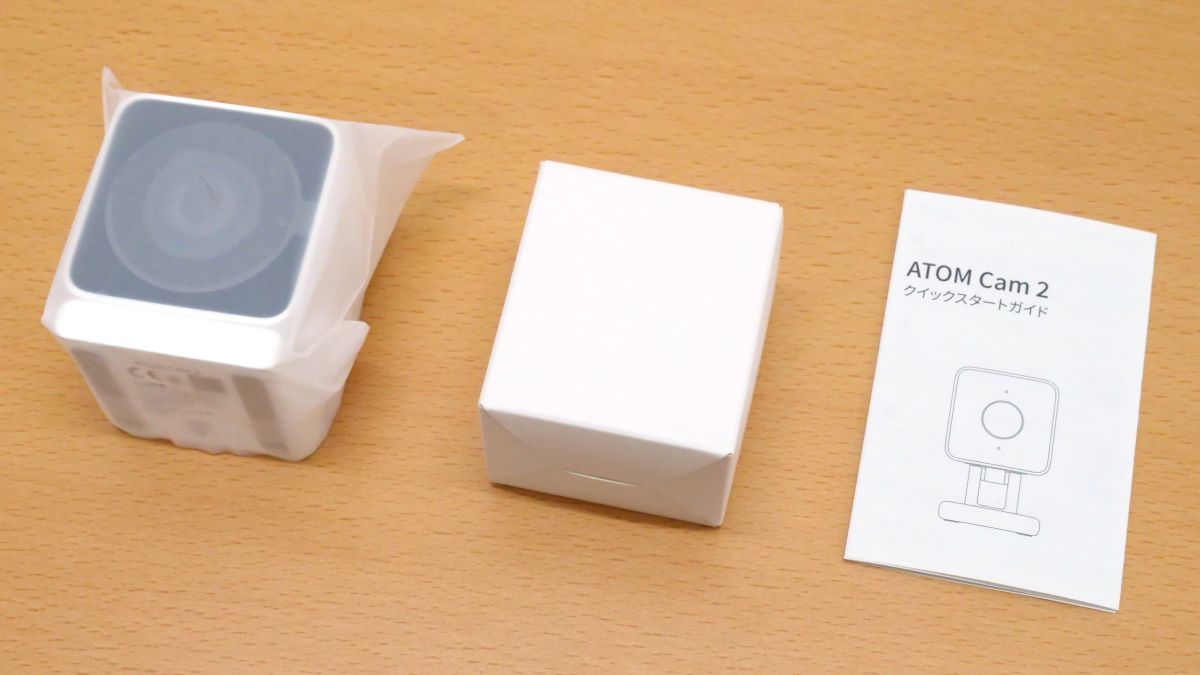
Inside the package was a small box containing the main body of 'ATOM Cam 2' and accessories, and a quick start guide.
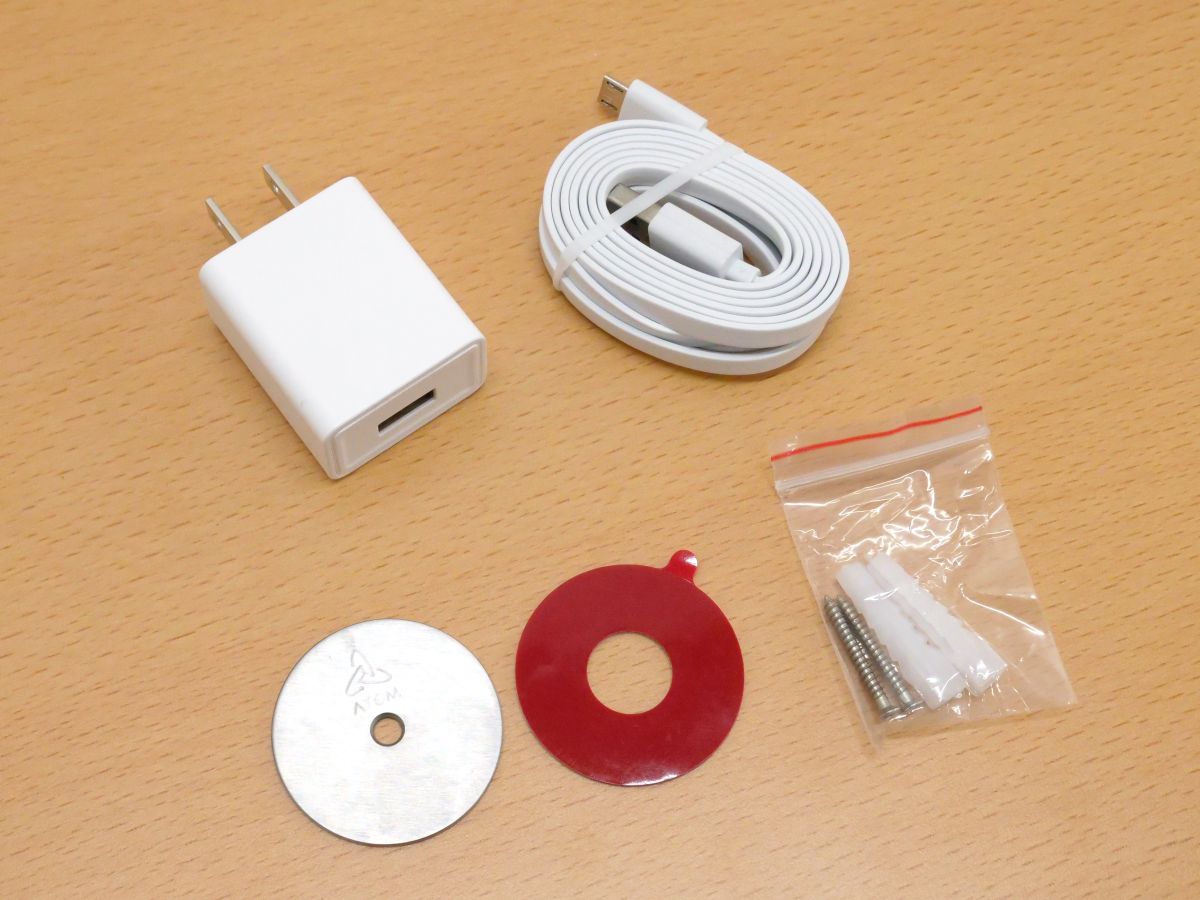
The contents of the small box look like this. From the upper left, it is a power adapter, a USB cable used as a power cord, a metal plate used when installing on a wall, double-sided tape, and fixing screws. The USB cable has a USB Type-A terminal on one side and a USB Micro-B terminal on the other side.
Remove the 'ATOM Cam 2' body from the plastic bag.
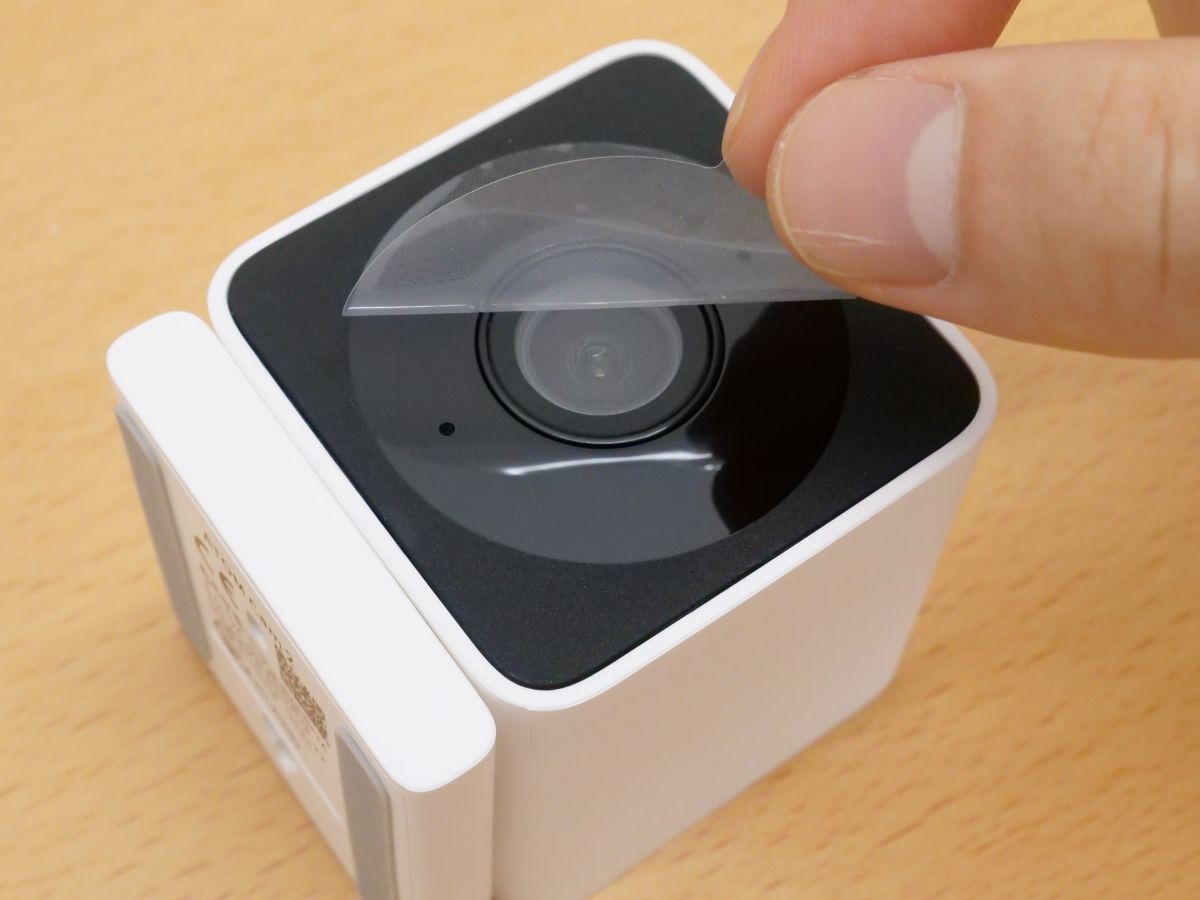
There was a film on the lens, so peel it off.
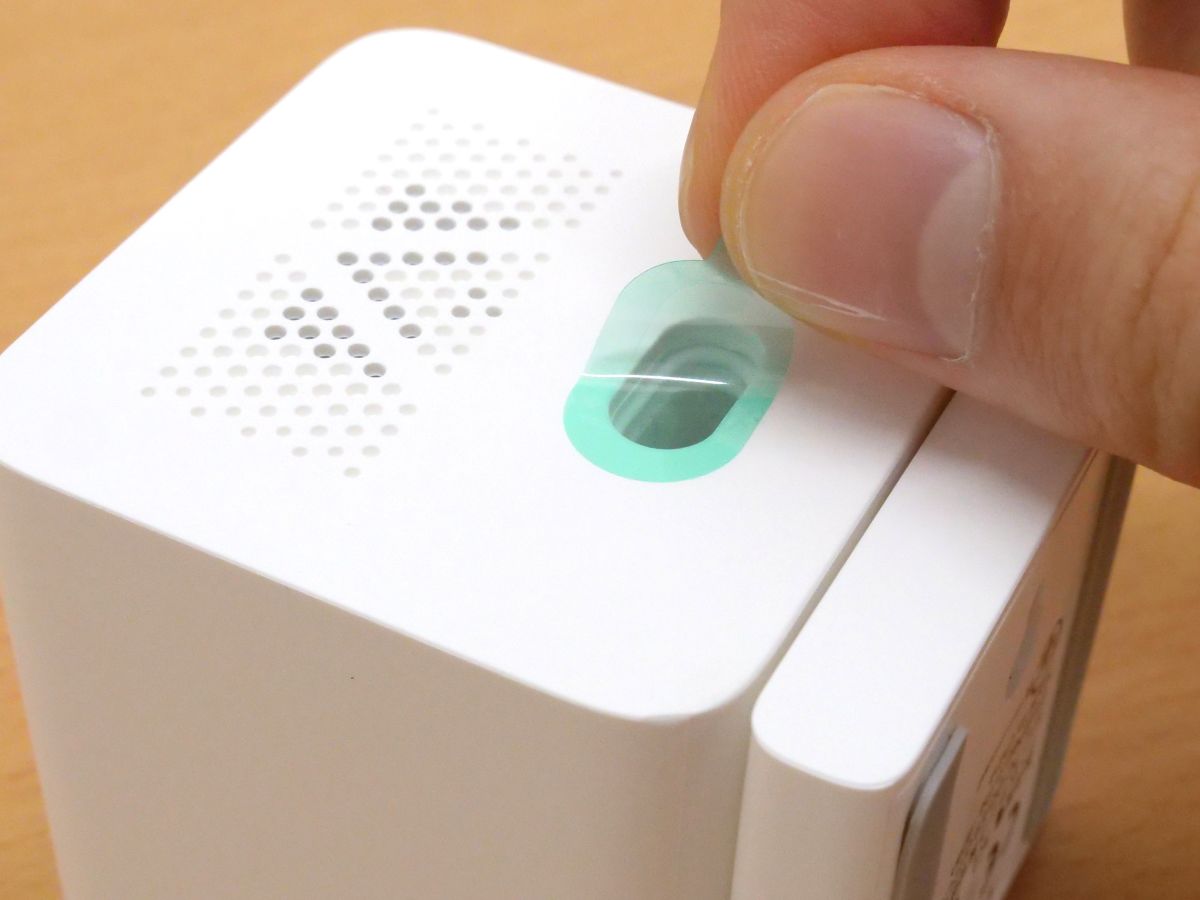
A film was also attached to the USB cable insertion slot.
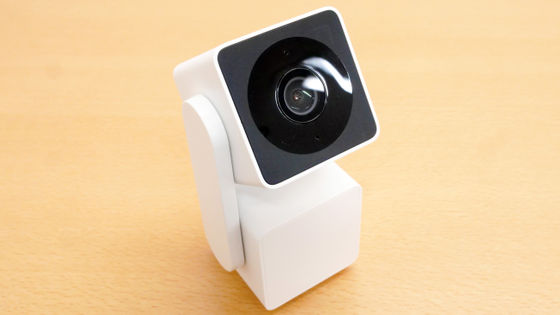
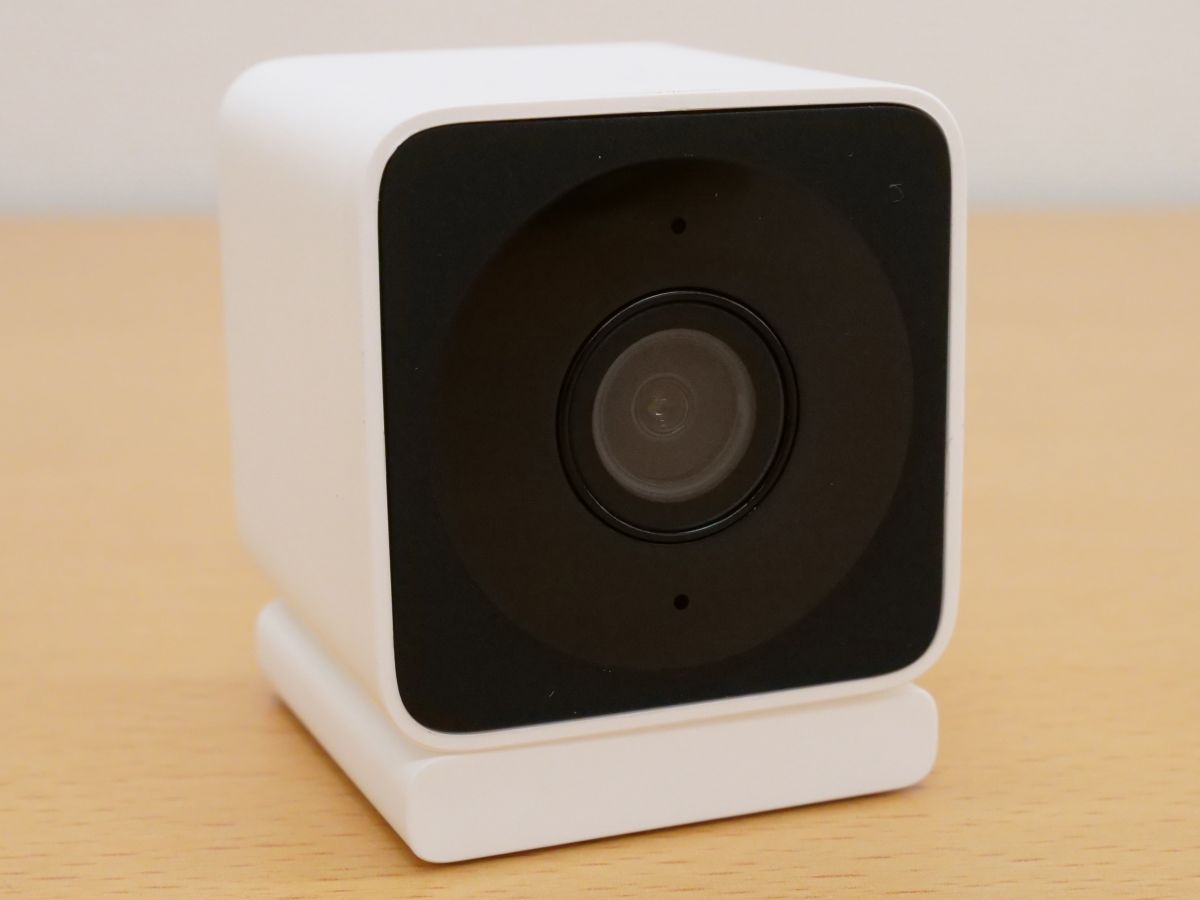
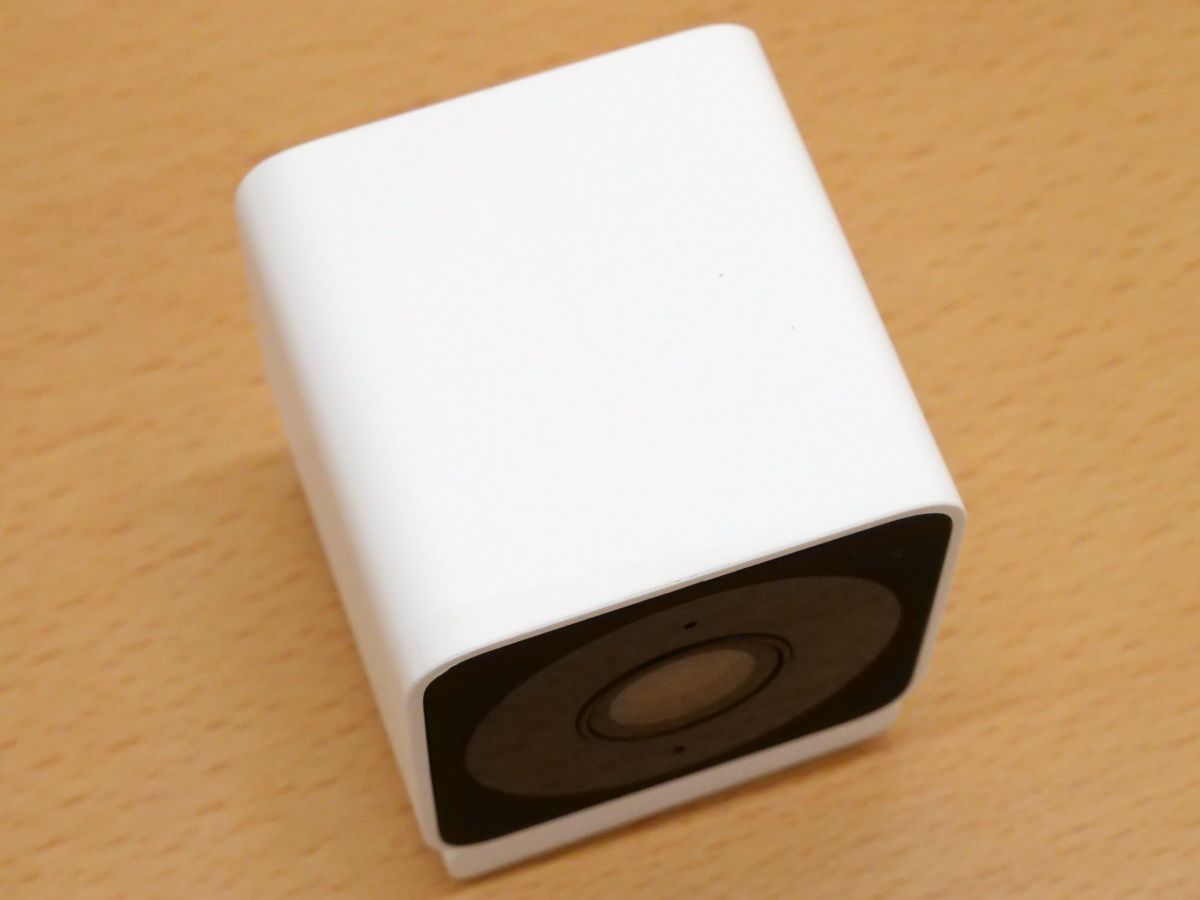
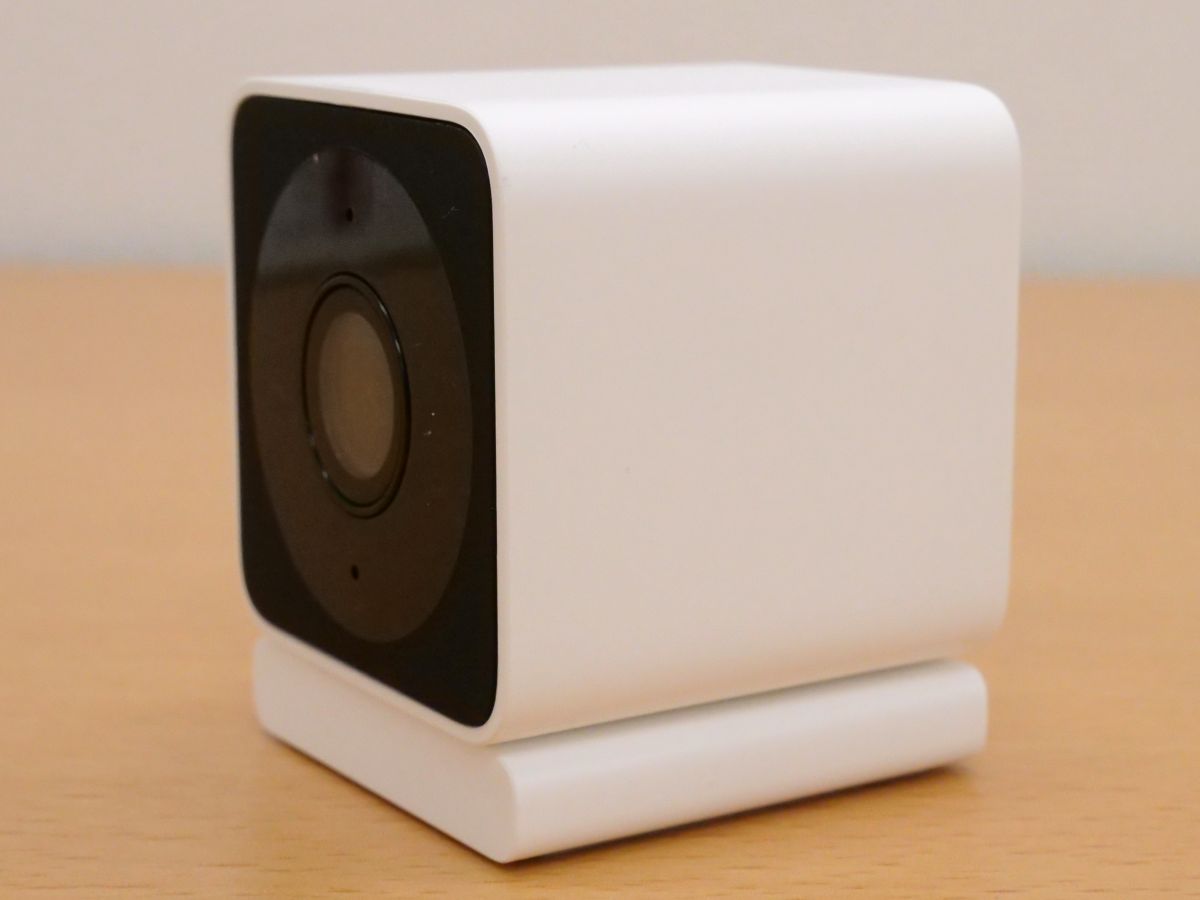
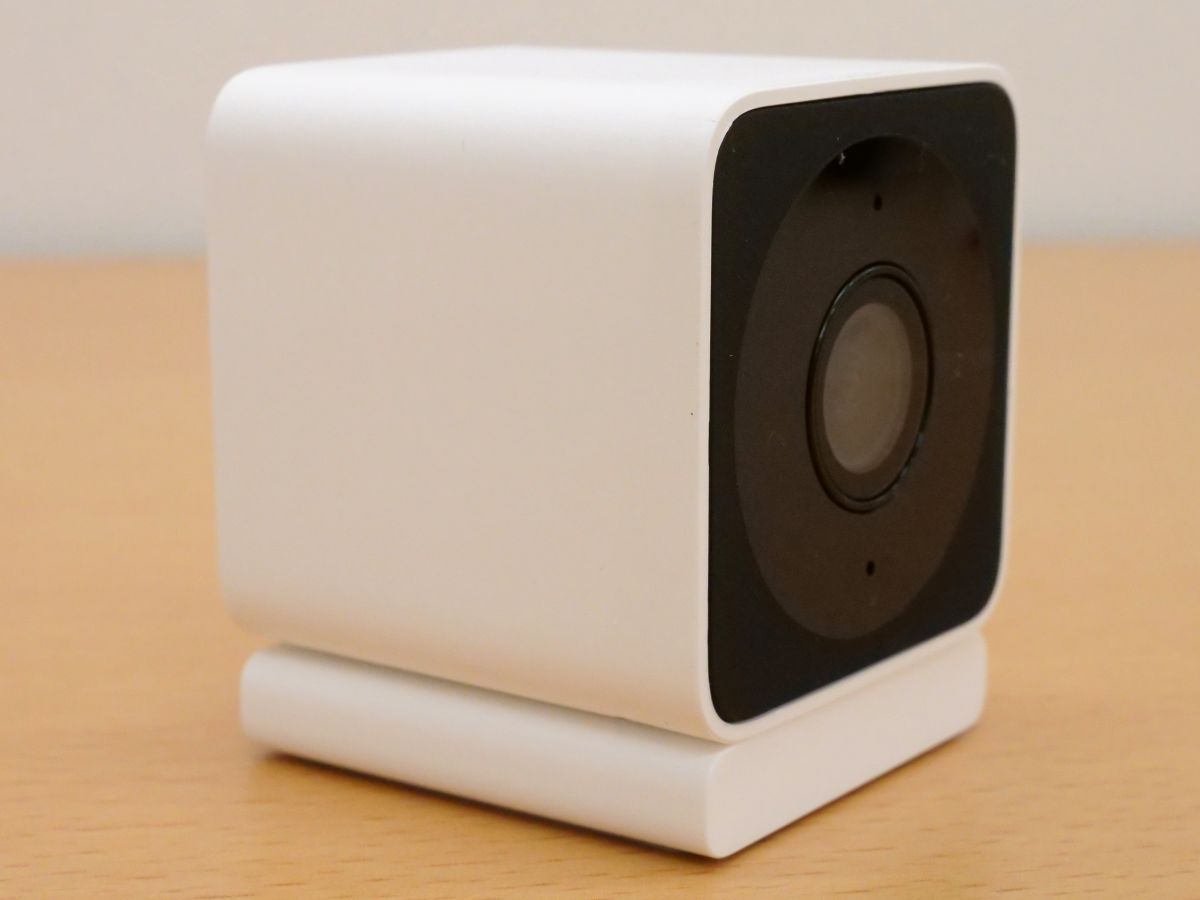
Looking at the main body of 'ATOM Cam 2' from the front, it looks like this. The lens is placed in the center.
The back looks like this. The upper part is a speaker, and the lower part has a USB cable insertion slot.

The top surface is pure white.
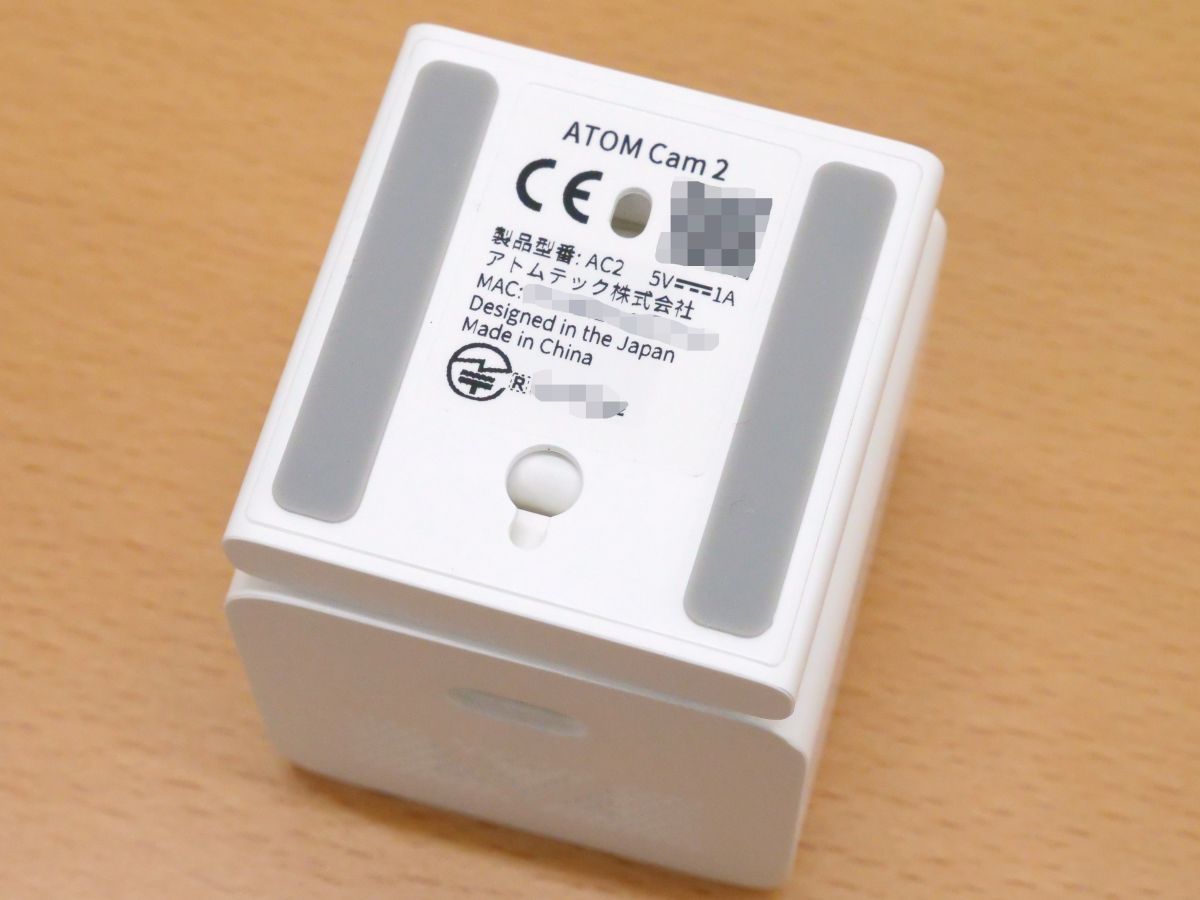
The CE mark and technical suitability mark are marked on the bottom.
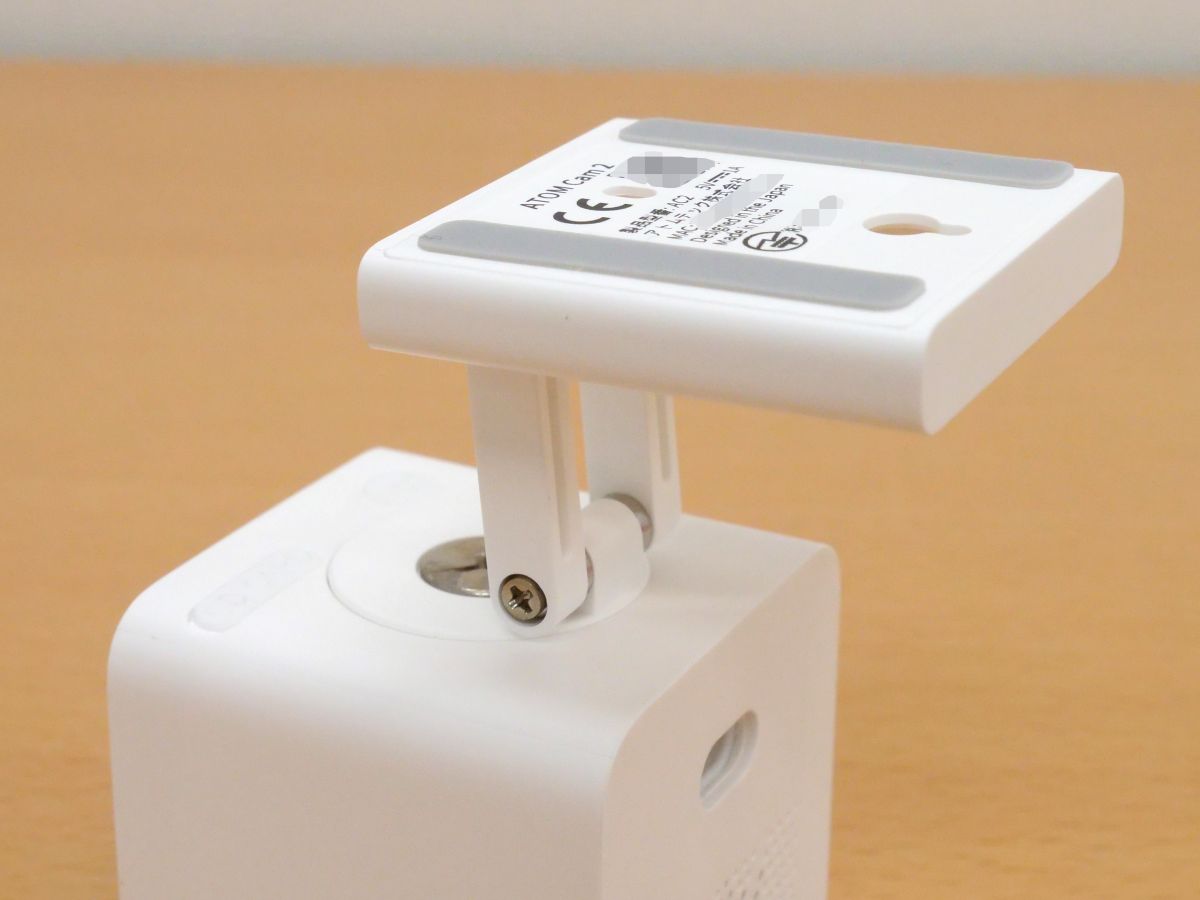
The bottom is a movable stand, and you can move it freely like this.
also. A magnet is embedded in the stand, and a metal plate can be attached to it.
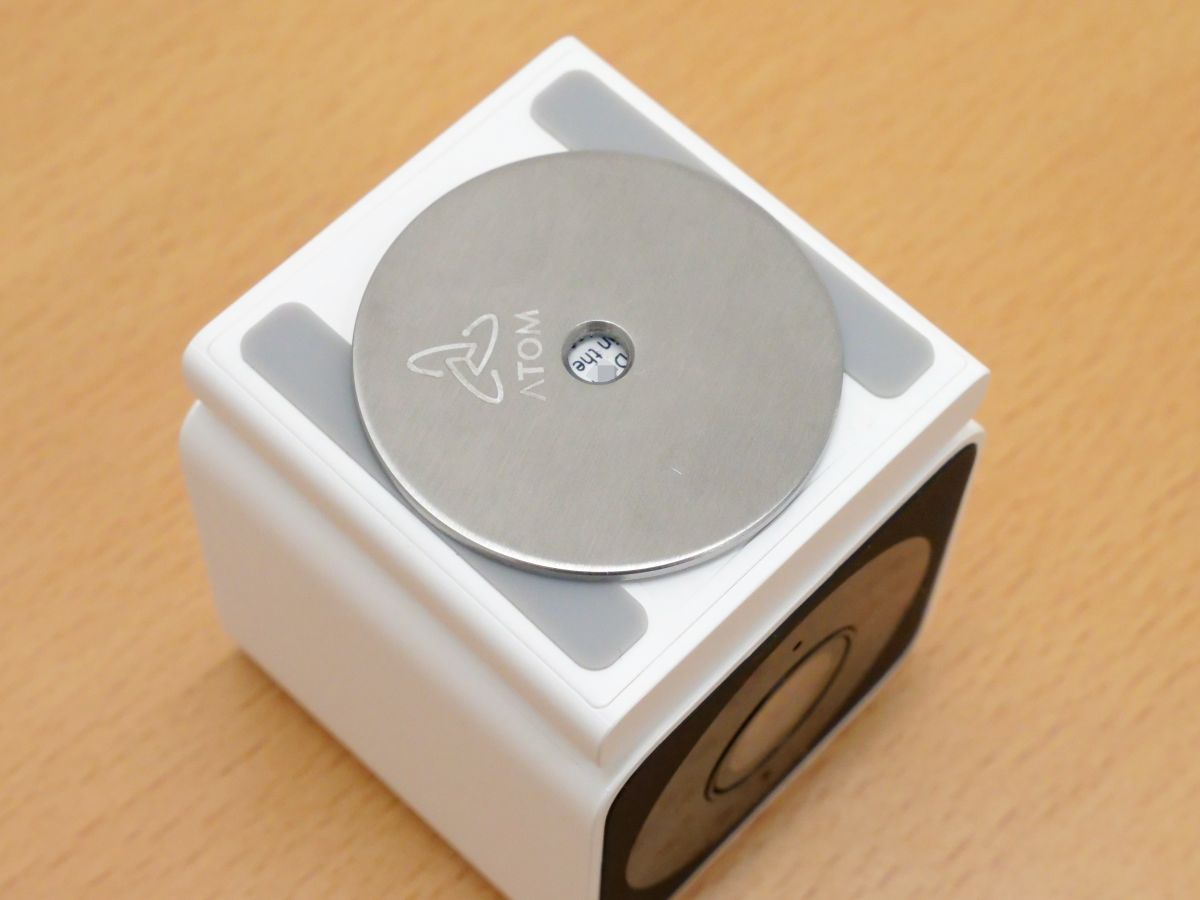
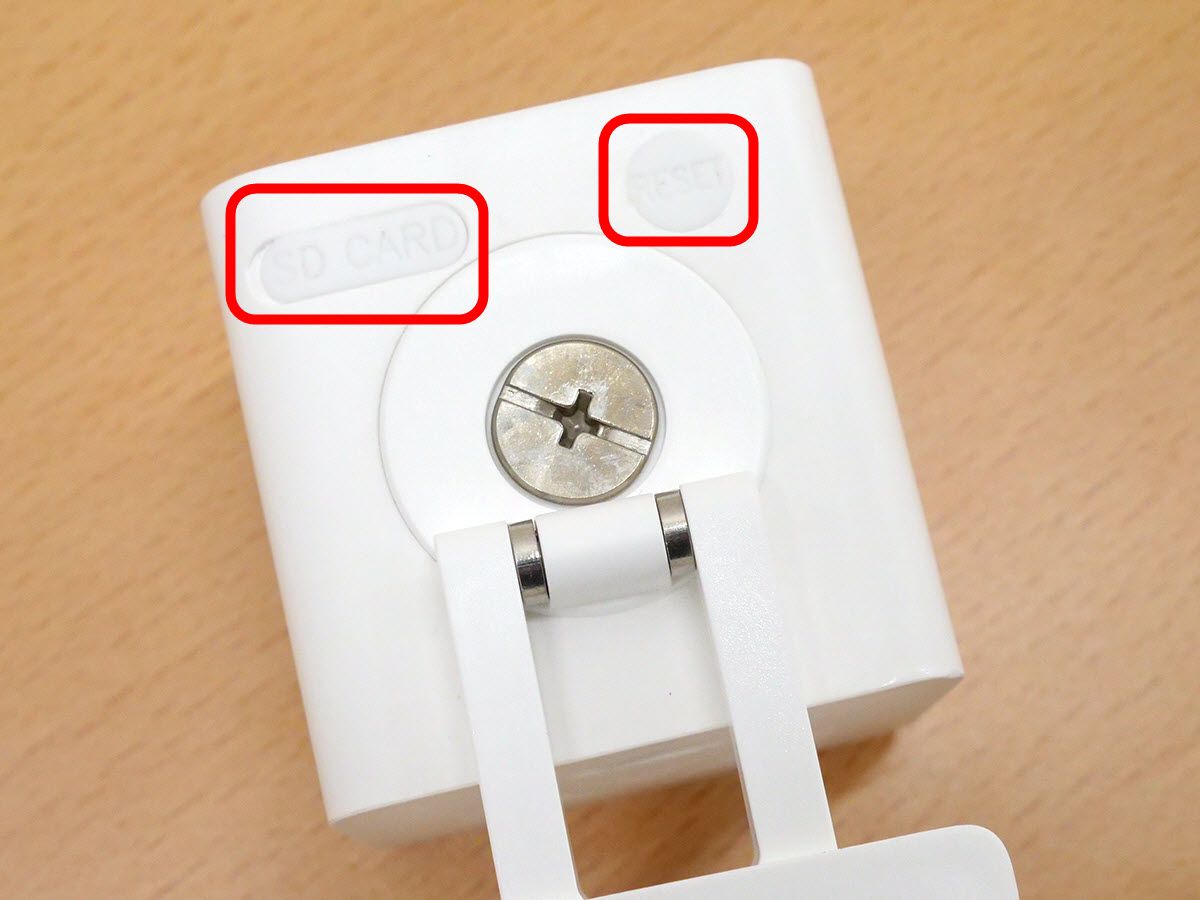
A microSD card slot and a 'RESET' button were placed in the part hidden behind the stand.
The left side is smooth.
The same applies to the right side. 'ATOM Cam 2' has a simple design with few buttons and decorations.
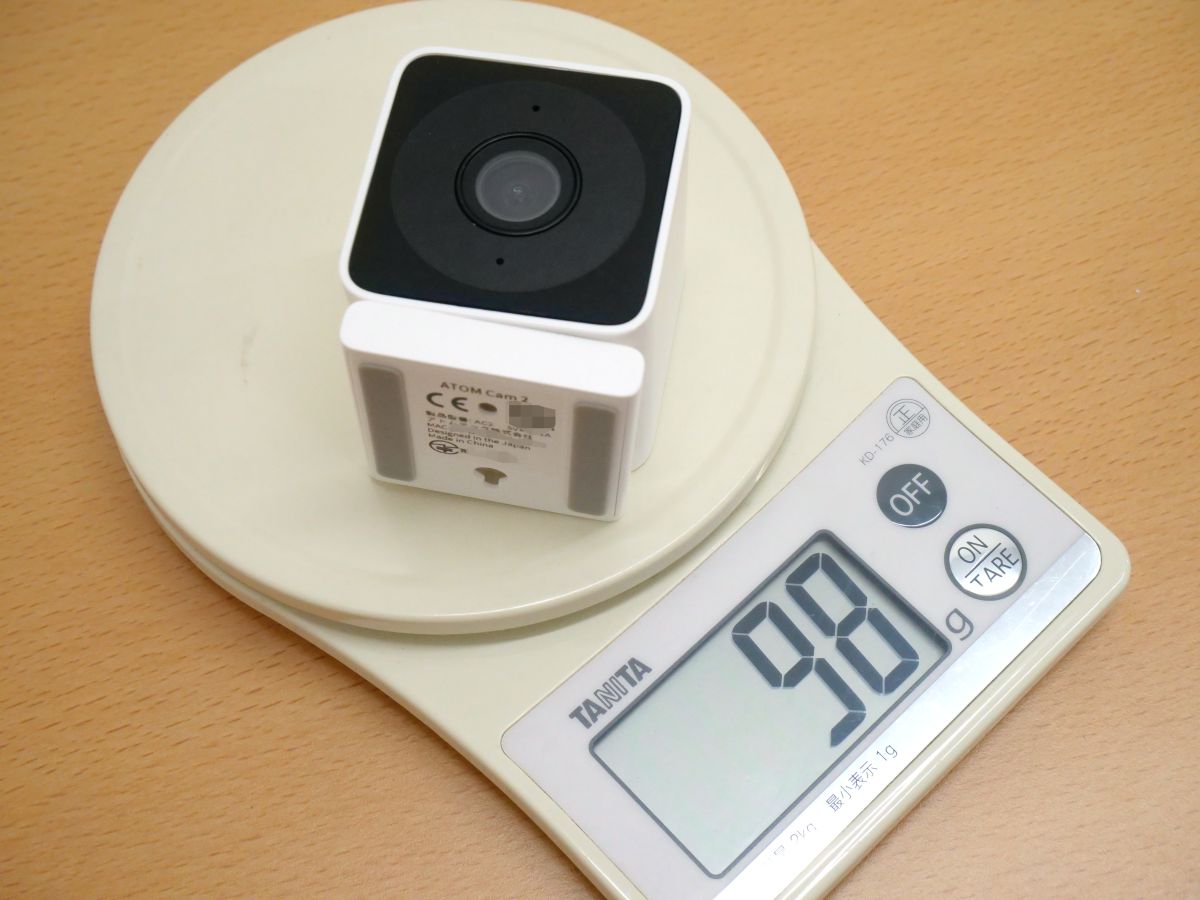
In order to compare the sizes, I put it side by side with the '

Seen from the side, it looks like this. According to the
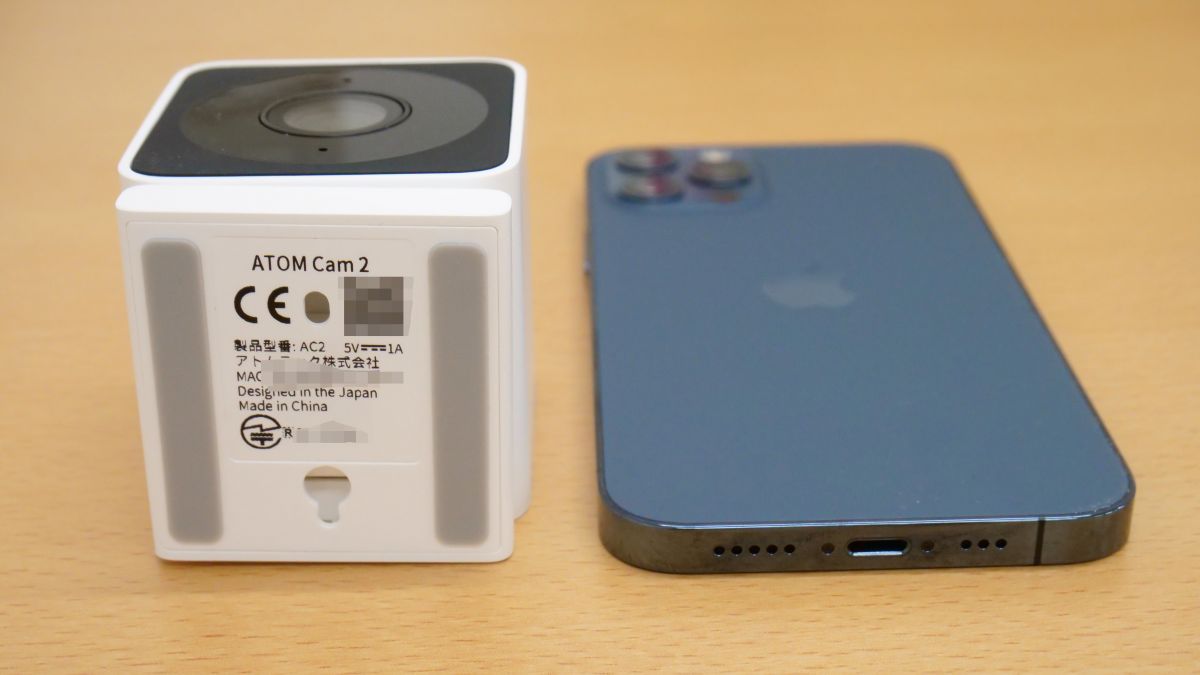
It weighed 98g.
◆ Installation method
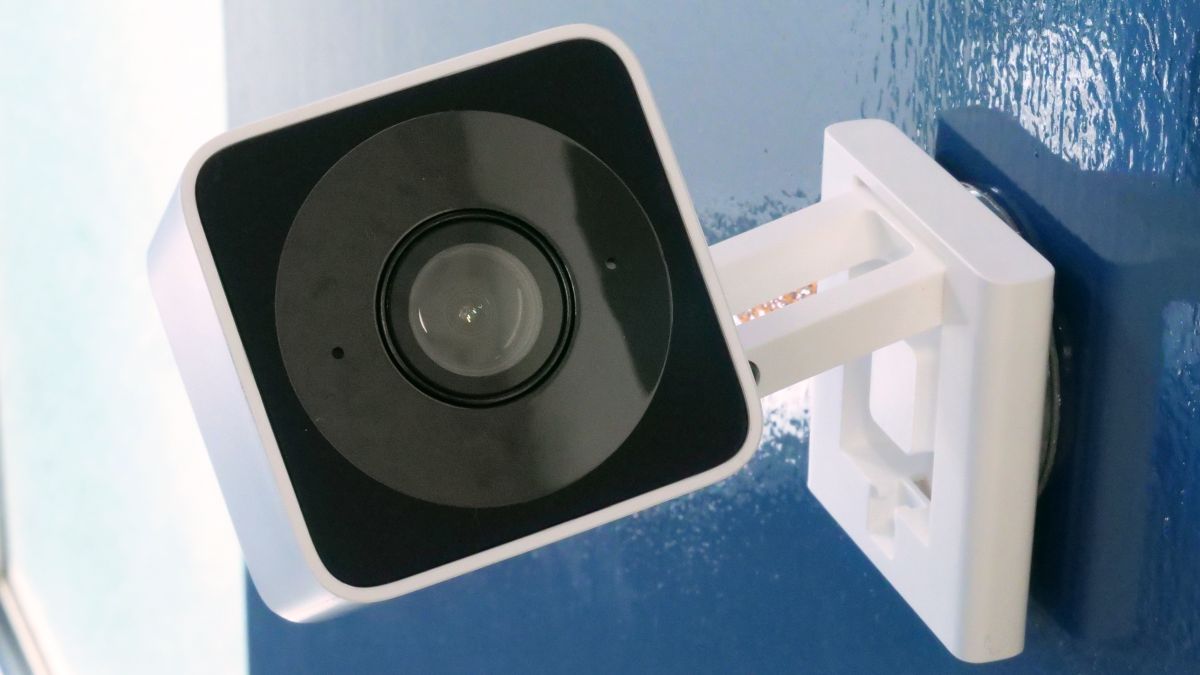
The installation method of 'ATOM Cam 2' is easy. First, attach the attached metal plate to the place you want to install with double-sided tape ...

Attach the stand with the embedded magnet.
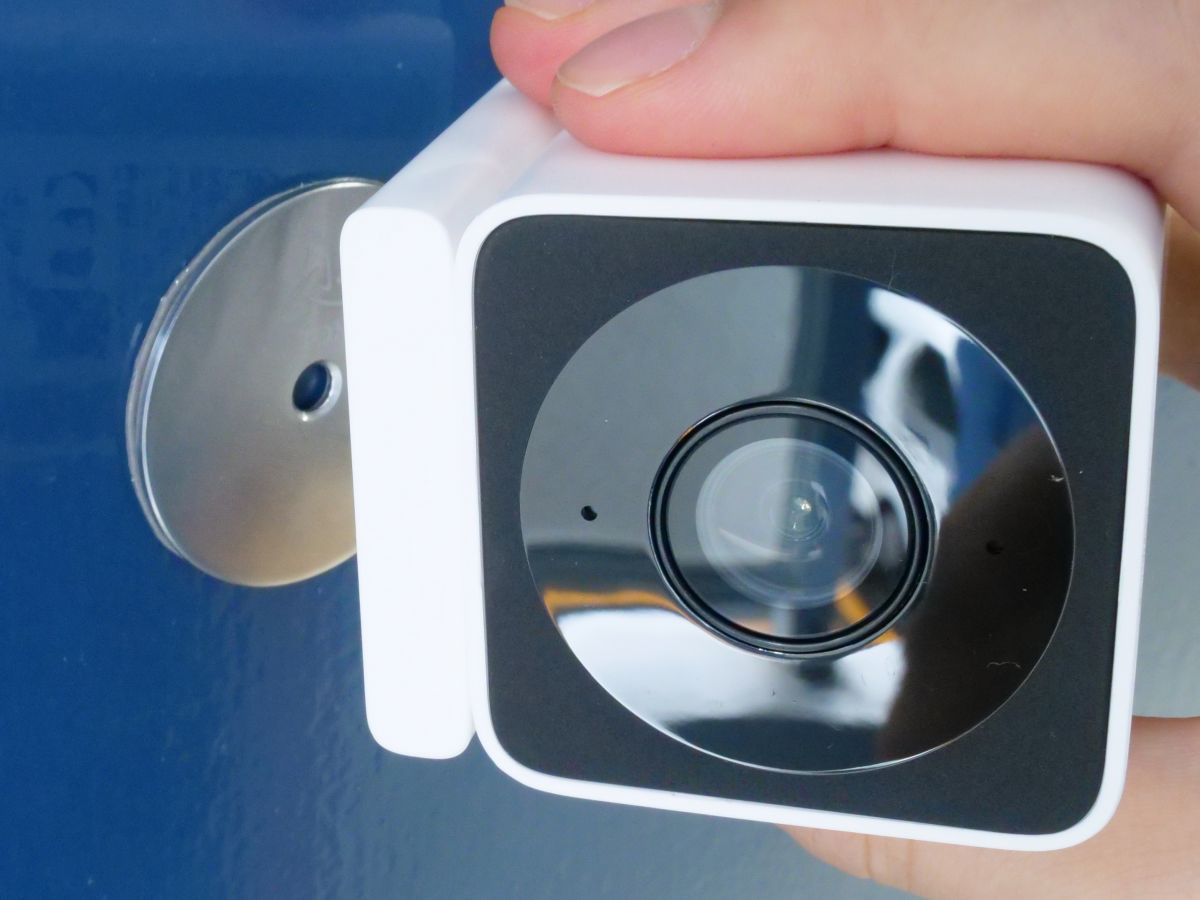
After that, adjust the angle of the stand to complete the installation. According to Atom Tech, it is necessary to fix it with the attached screws when using it outdoors.
Also, when actually installing 'ATOM Cam 2', it is necessary to secure a power supply.
◆ Initial setting
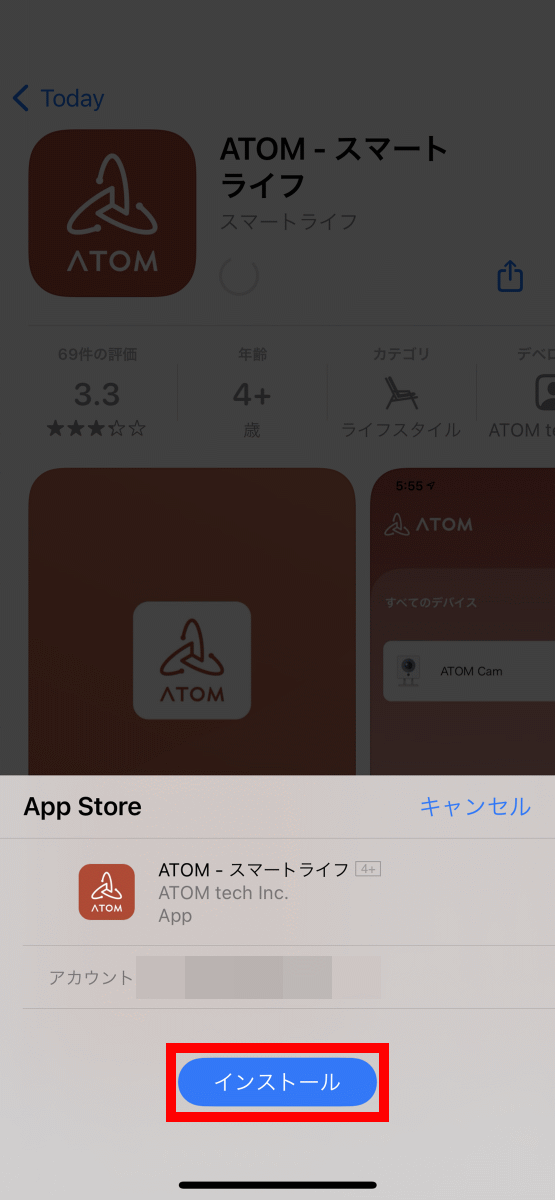
The initial settings for 'ATOM Cam 2' are made using the smartphone app 'ATOM-Smart Life'. The app is available for iOS and Android, but this time we will set it on the iPhone. First, search for '

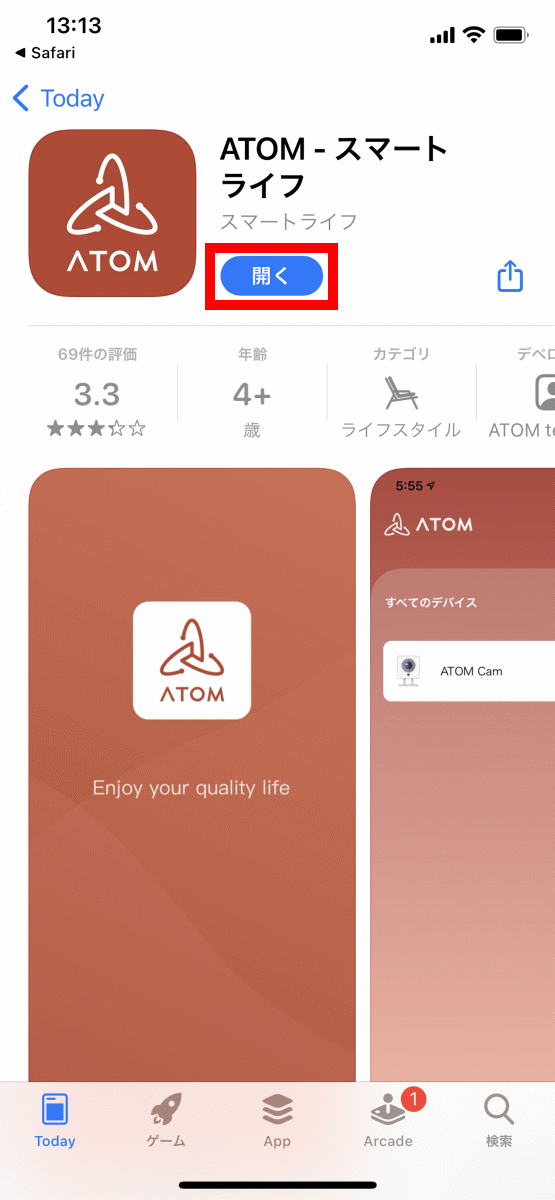
Then tap 'Install'.
When the installation is complete, tap 'Open' to start 'ATOM-Smart Life'.
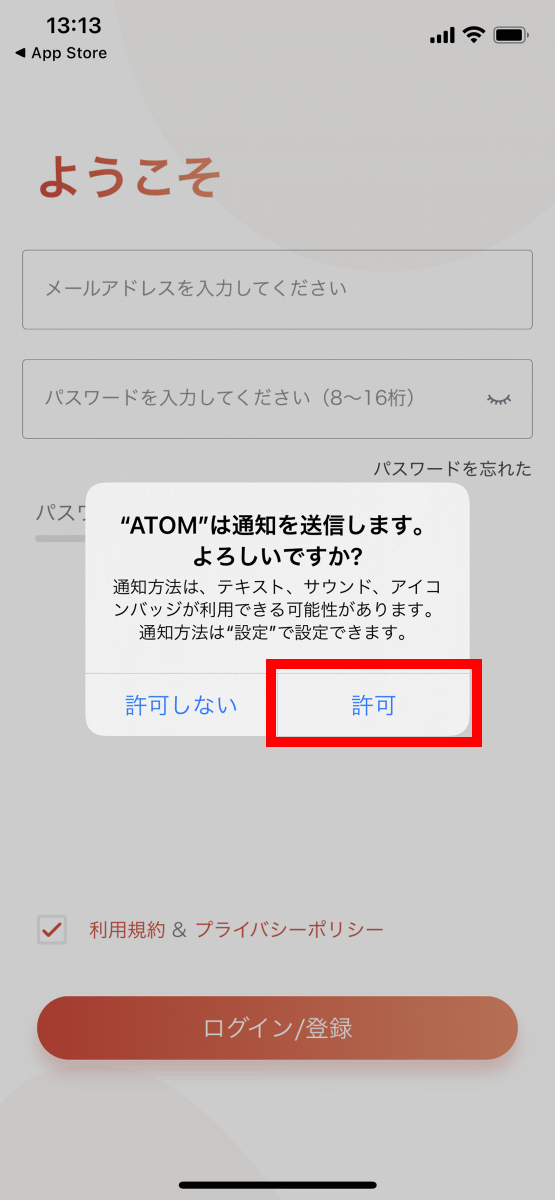
At the first startup, you will be asked for permission to send notifications, so tap 'Allow'.
When the account registration screen is displayed, enter your email address and password you want to set, read the terms of use and privacy policy carefully, make sure that the check box is checked, and tap 'Login / Register'. ..
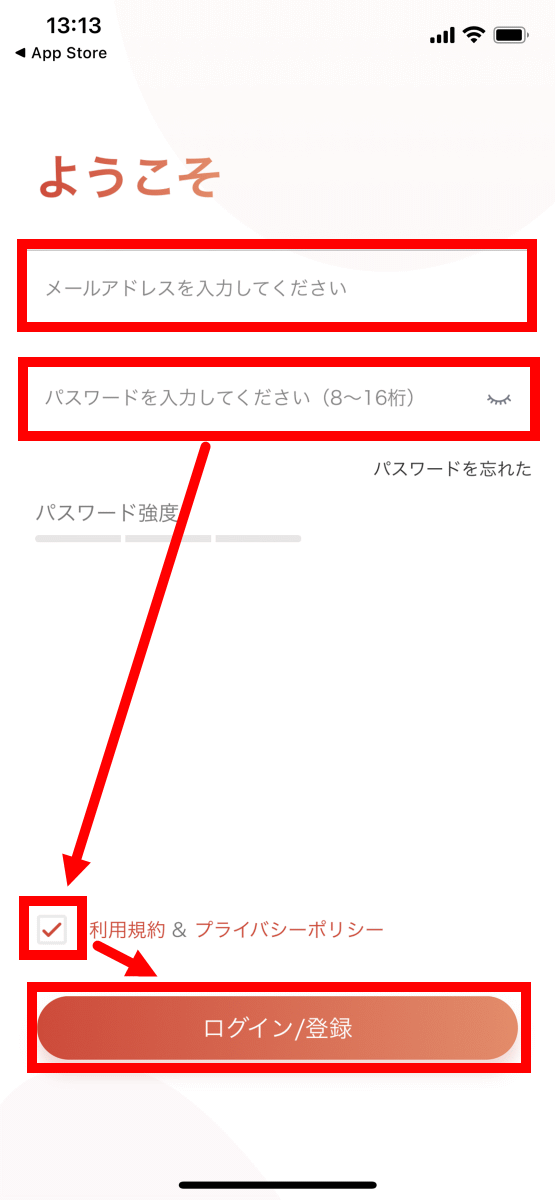
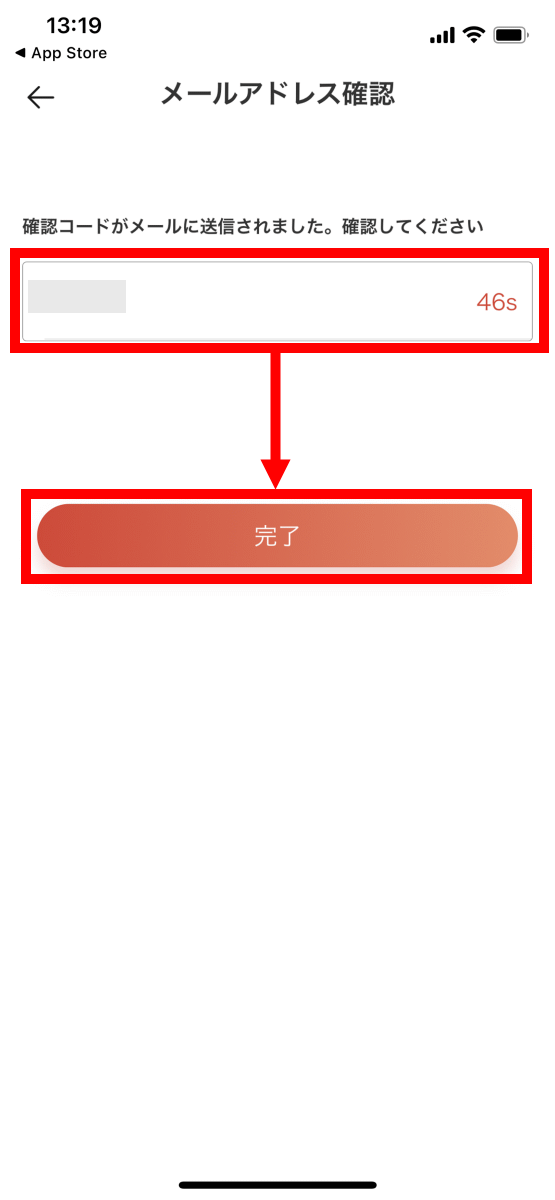
Then, a 5-digit registration verification code will be sent to the email address you entered ...
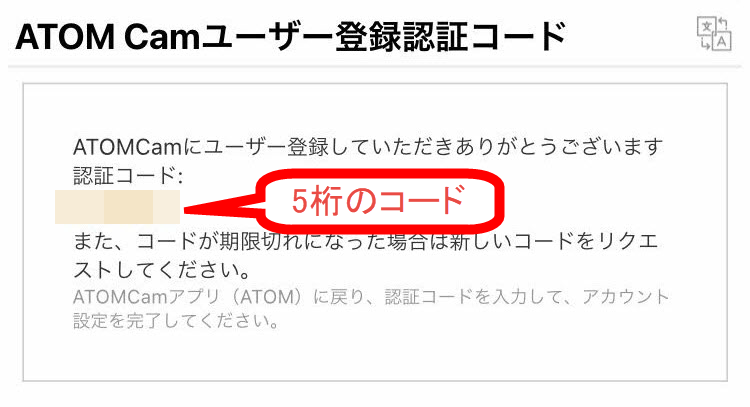
Enter the 5-digit verification code in the input field and tap 'Finish' to complete the account registration.
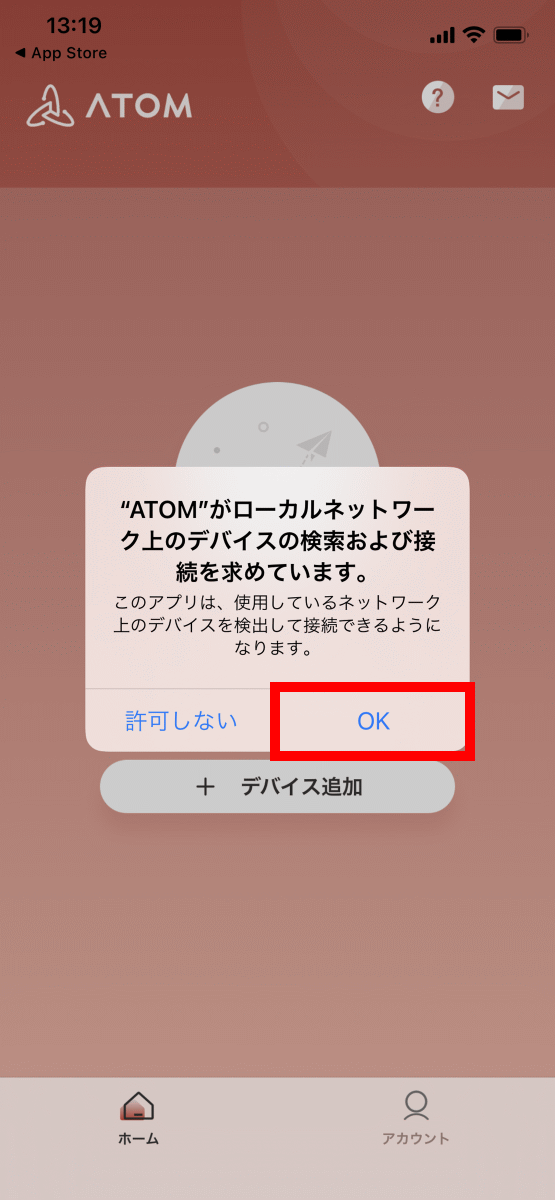
When registration is complete, the 'ATOM-Smart Life' home screen will be displayed. The first time you will be asked for permission to connect to the local network, tap 'OK'.
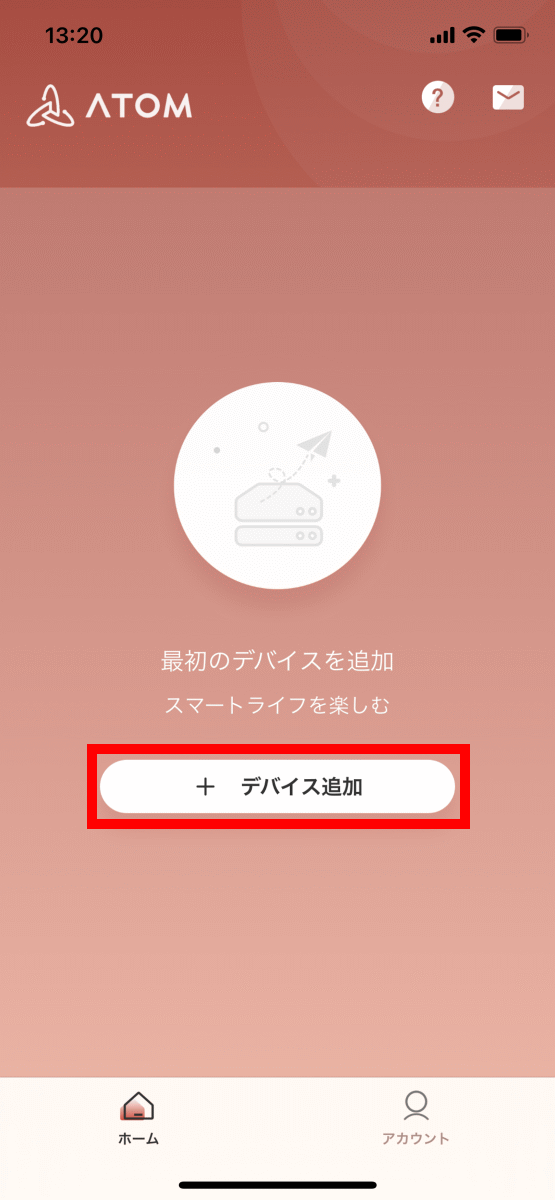
The home screen of 'ATOM-Smart Life' looks like this. A list of registered devices is displayed here. Immediately, tap 'Add' to register 'ATOM Cam 2'.
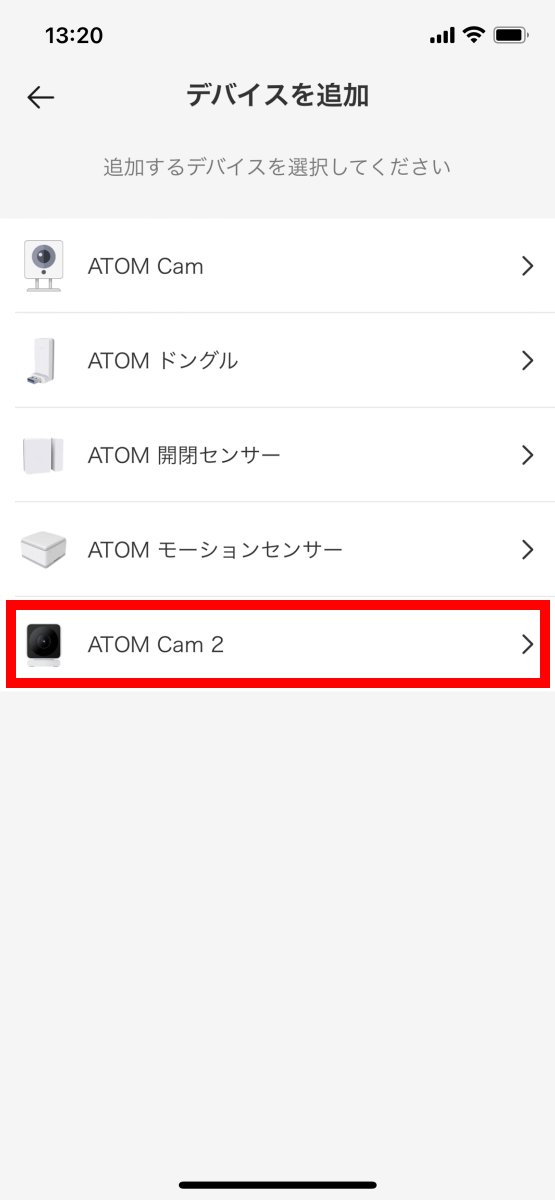
Find 'ATOM Cam 2' in the device list and tap it.
A note will be displayed asking you to peel off the film. This time I had already peeled it off, so I didn't do anything and tapped any part of the screen to close the note.
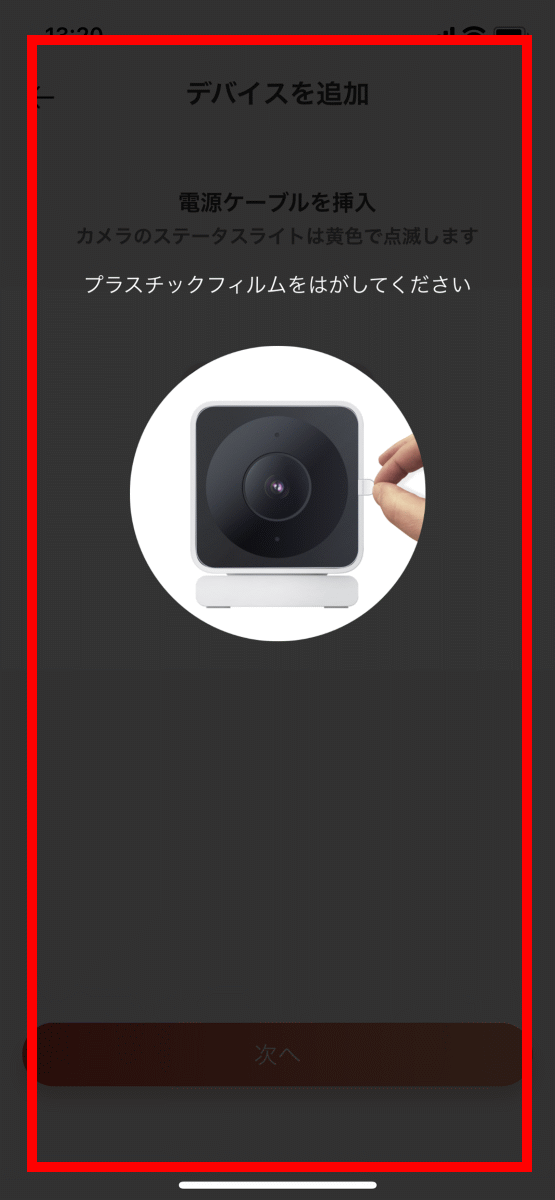
Next you will be asked to insert the power cable ...
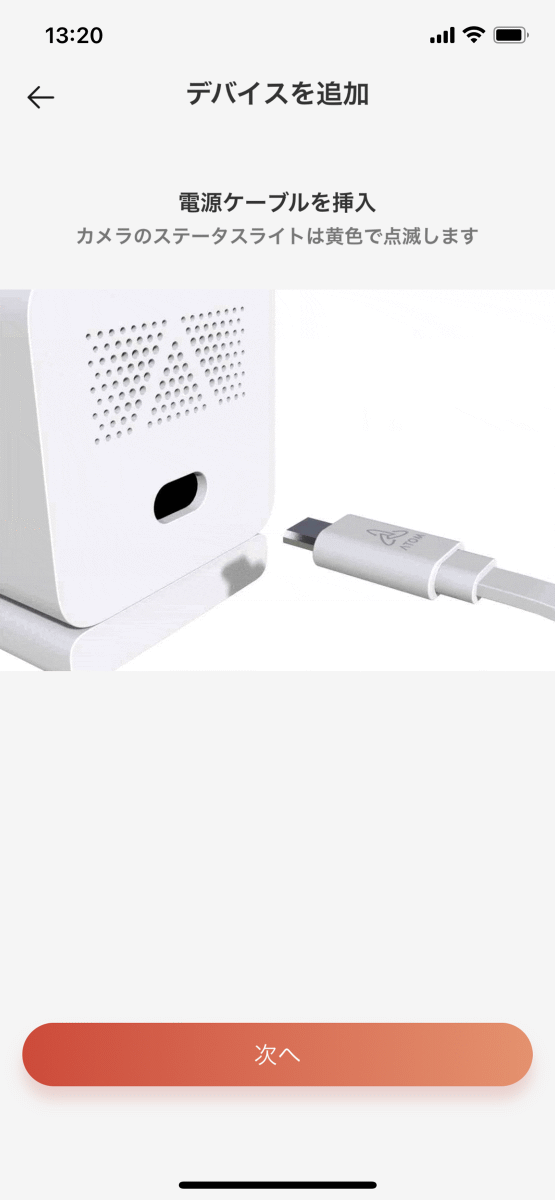
Connect the power supply and 'ATOM Cam 2'.
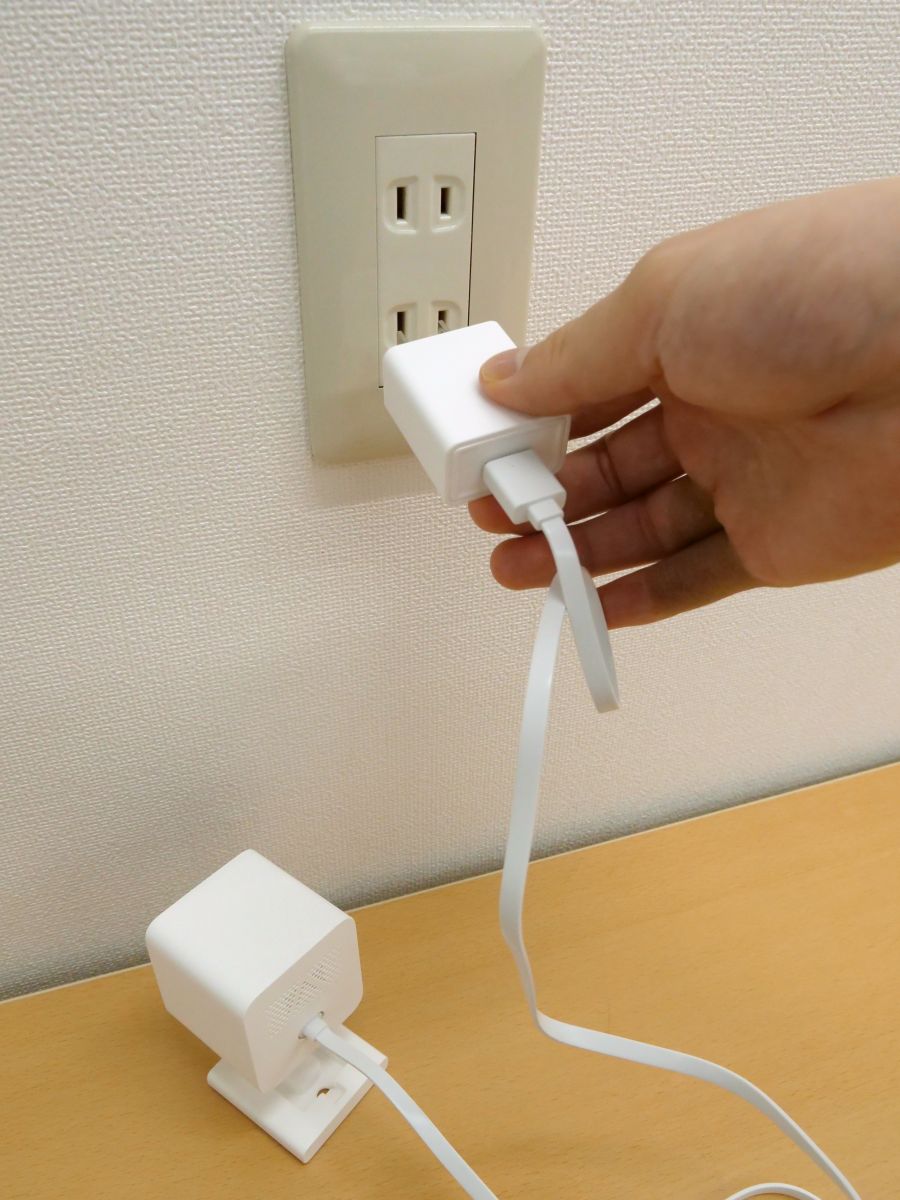
After connecting, tap 'Next'.
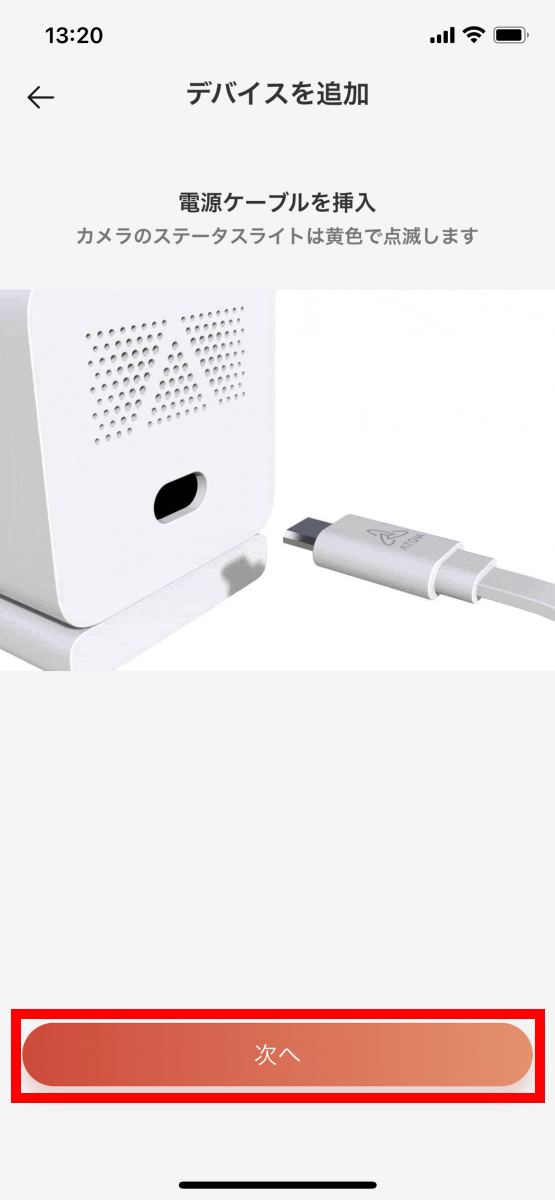
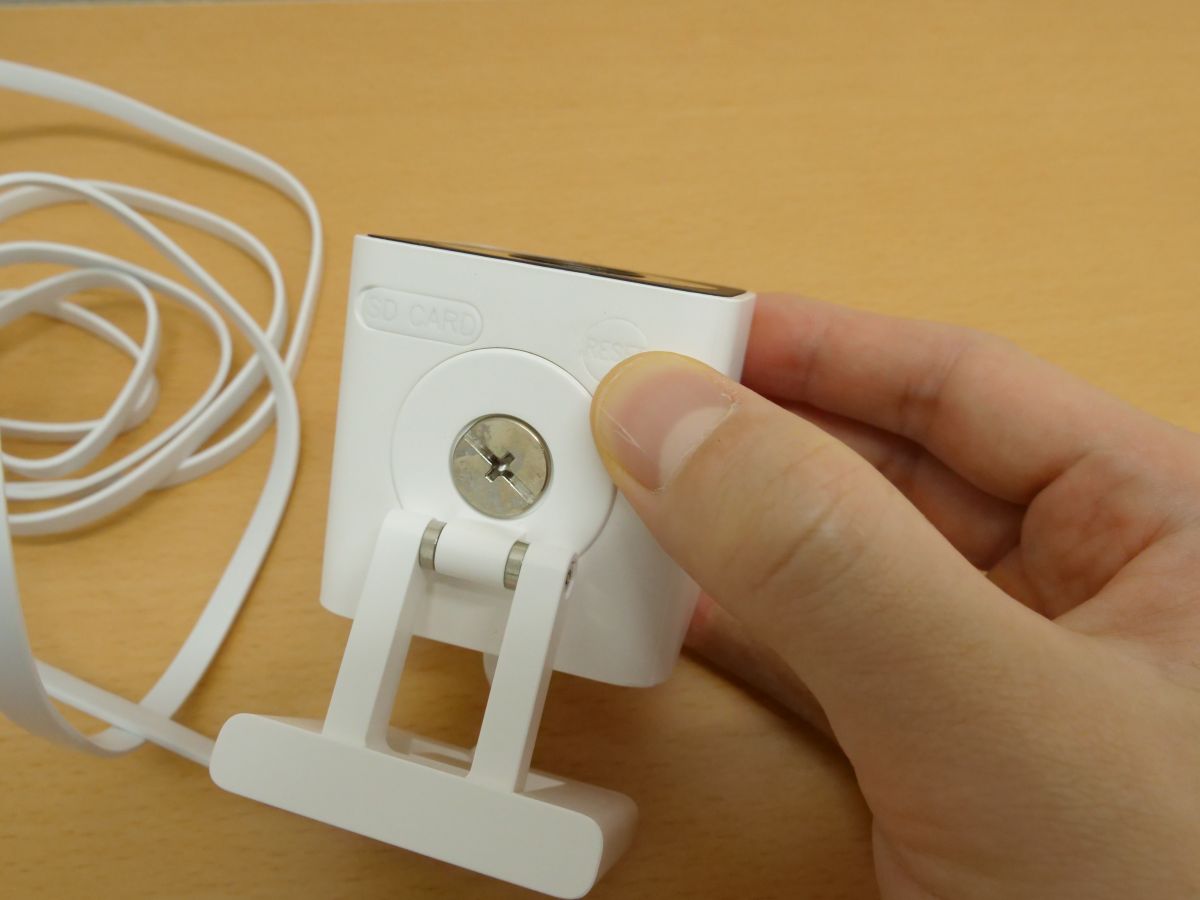
This time, you will be prompted to press and hold the 'RESET' button.
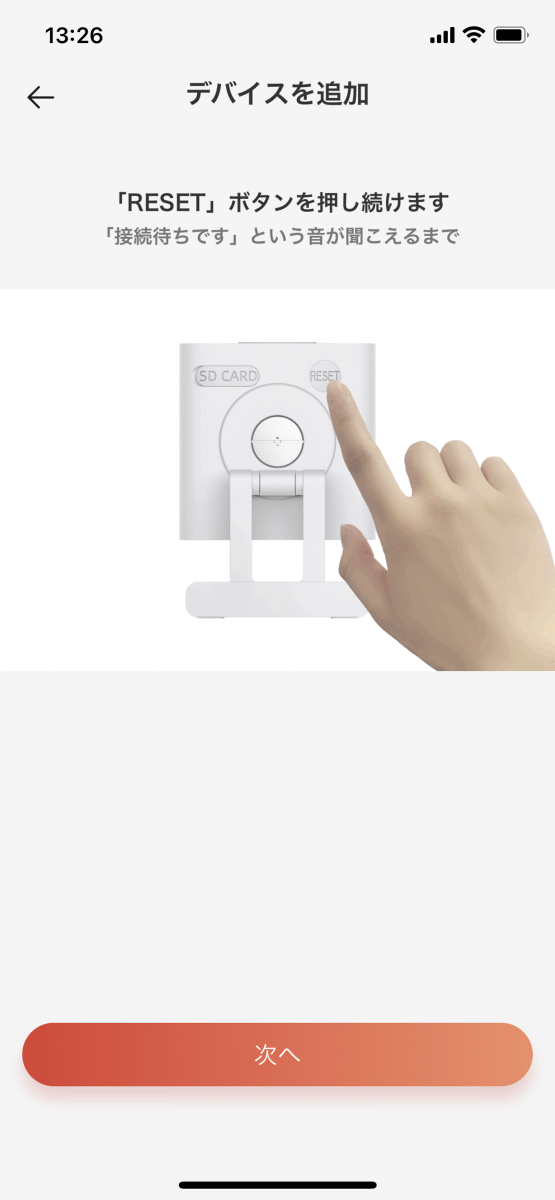
As instructed, press and hold the 'RESET' button until you hear the 'Waiting for connection' sound.
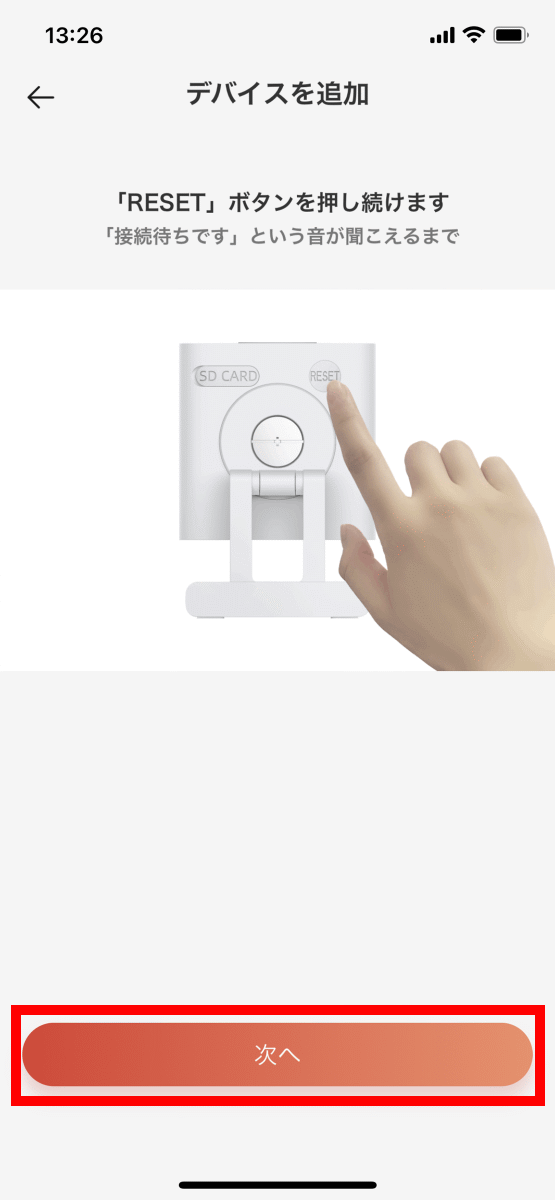
When you hear a sound, tap 'Next'.
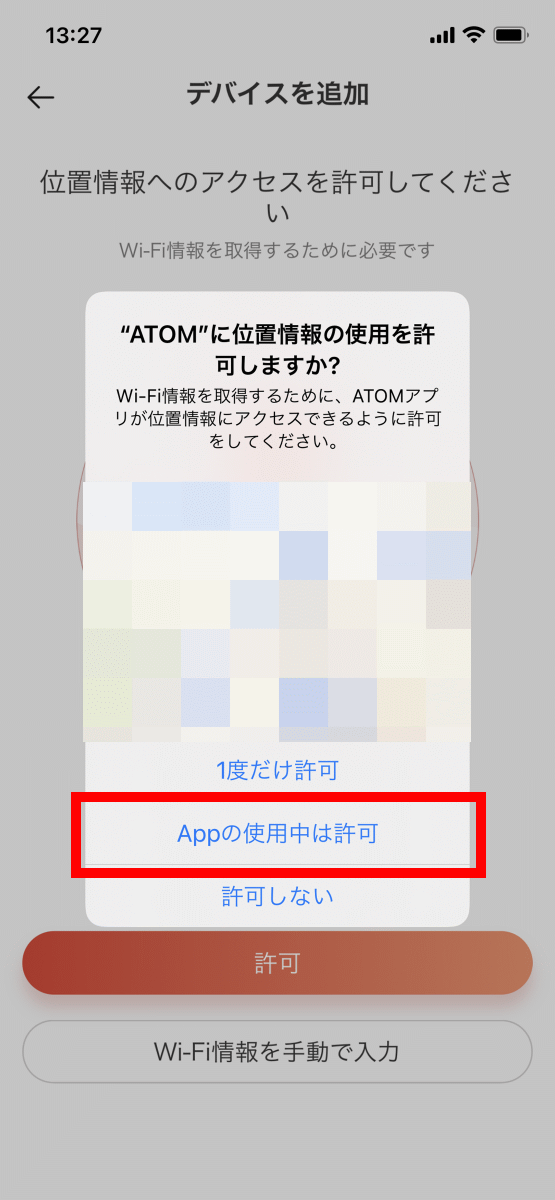
You will be asked for permission to access the location information, so tap 'Allow' ...
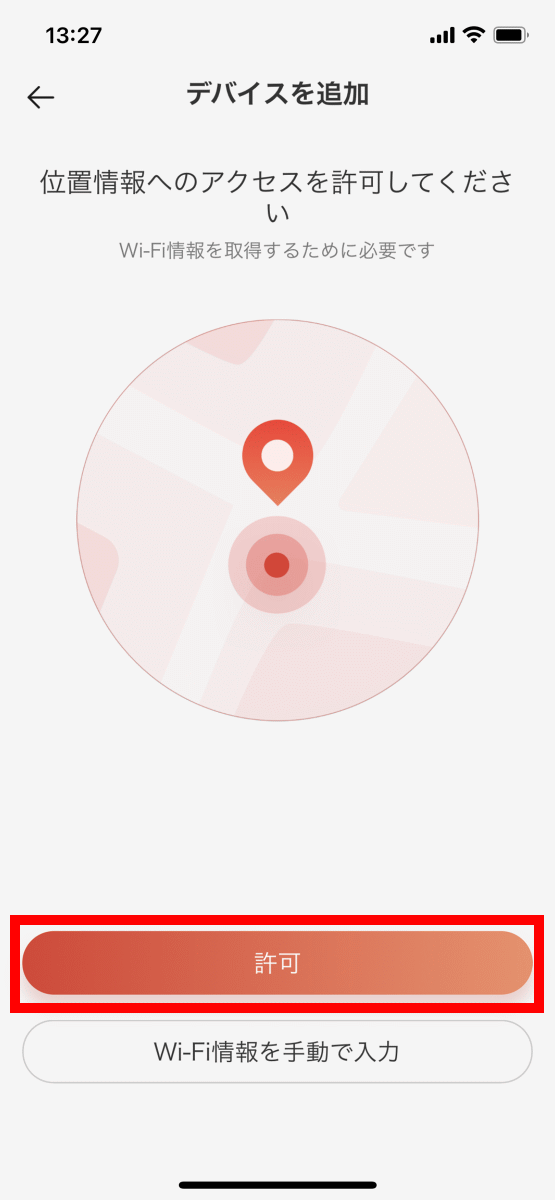
Select 'Allow while using the app' from the dialog that pops up.
Next, Wi-Fi connection settings will start, so select the access point you want to connect to, enter the password, and tap 'Next'.

You will be instructed to scan the QR code displayed on the screen using 'ATOM Cam 2', so tap 'Confirm'.
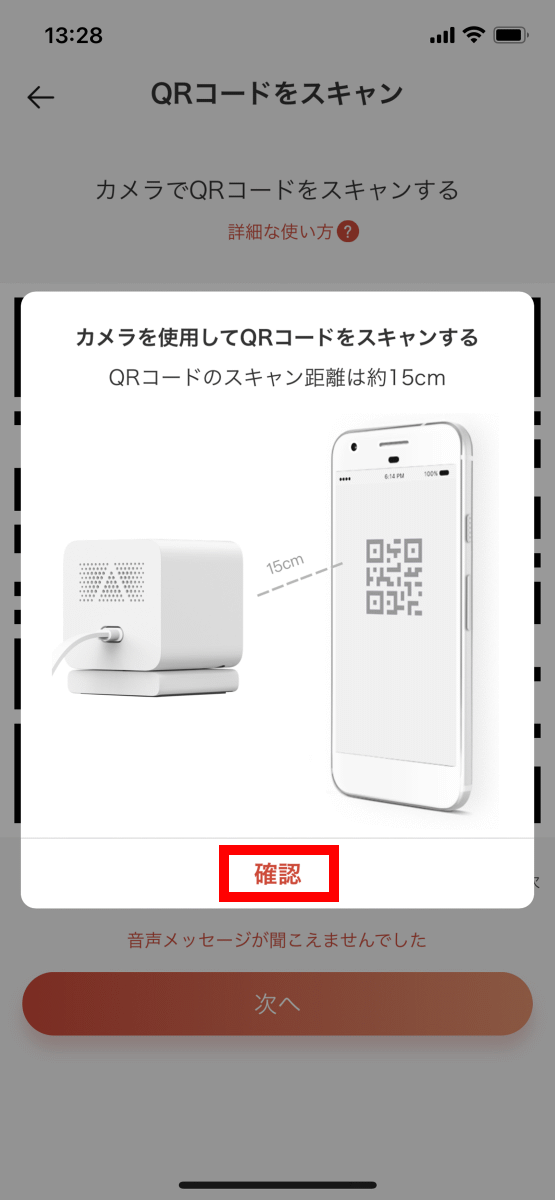
Then, the QR code will be displayed on the screen, so ...

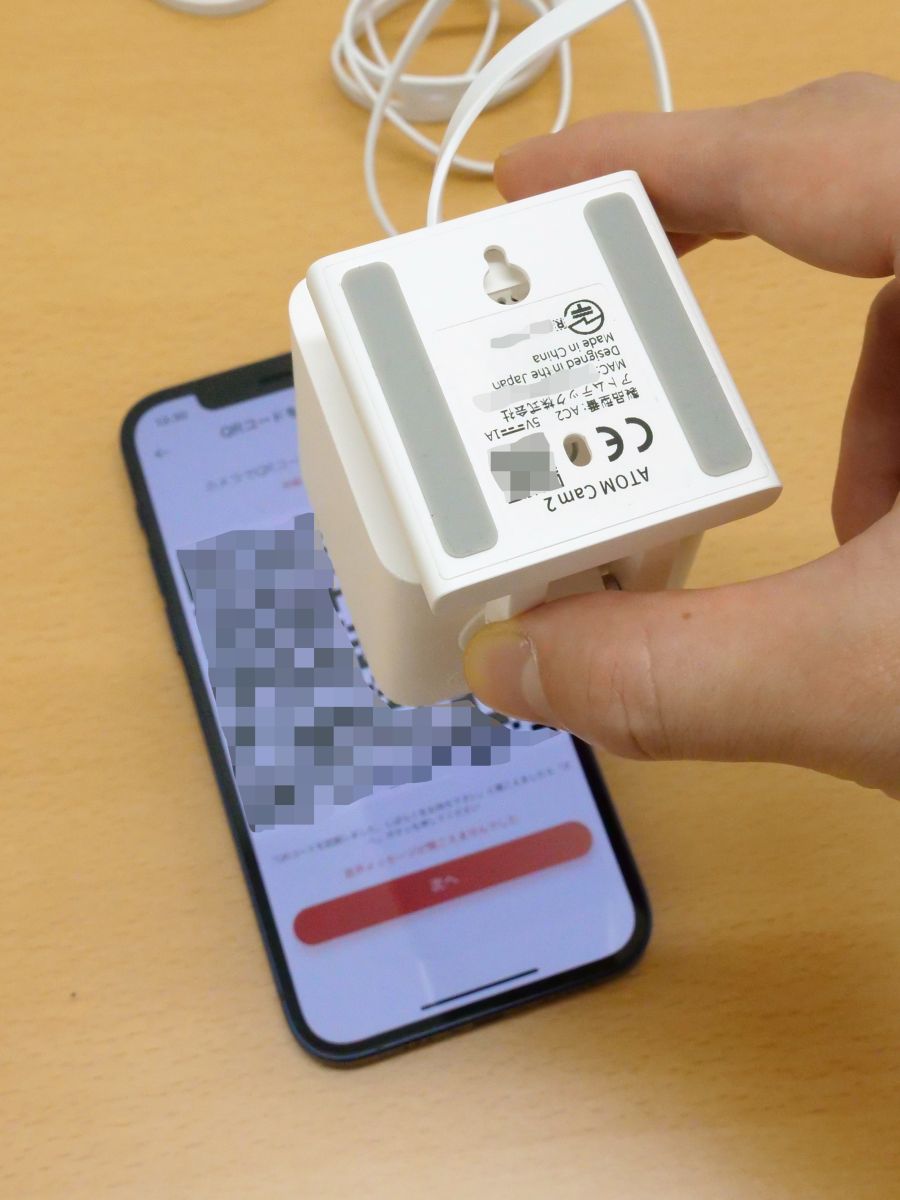
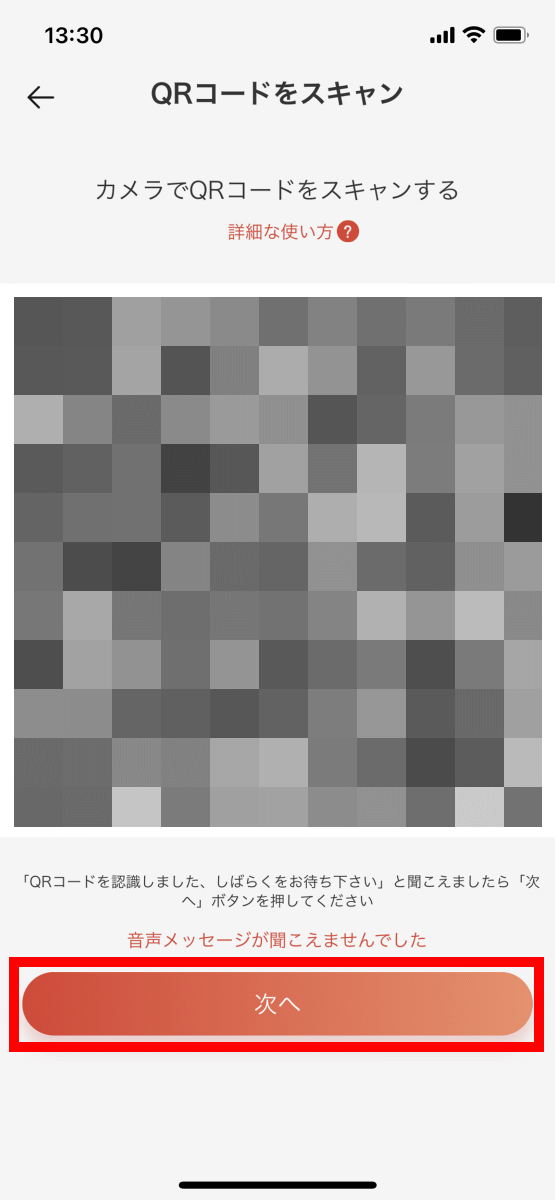
Hold 'ATOM Cam 2' over your smartphone and scan the QR code. If the reading is successful, the voice 'The QR code has been recognized' will be heard from 'ATOM Cam 2'.
Tap 'Next' when you hear the sound.
After waiting for a while ...

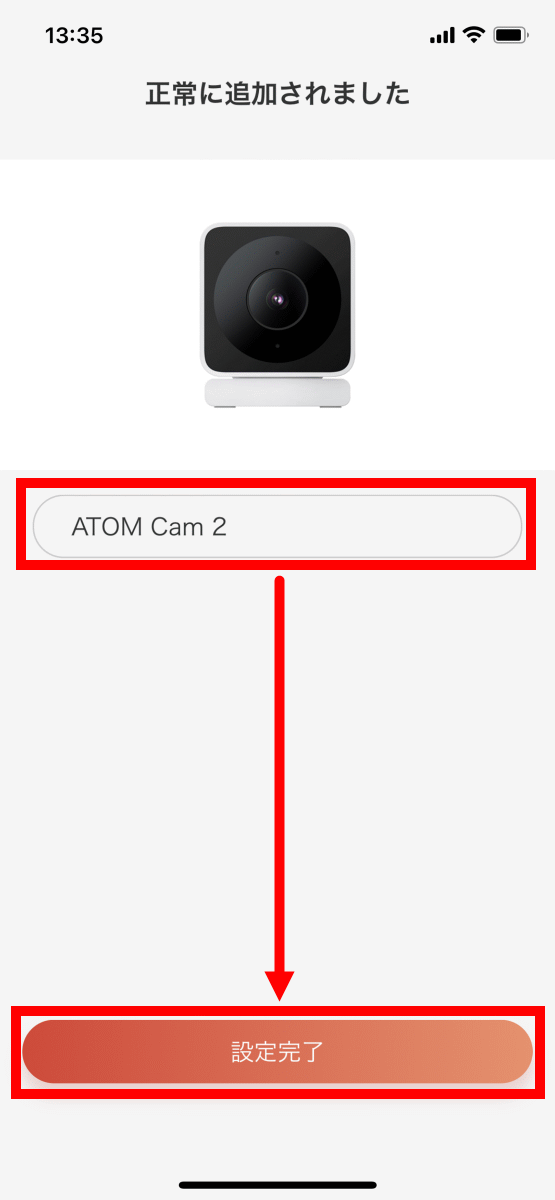
'ATOM Cam 2' will play a voice saying 'Setting completed' and 'Added successfully' will be displayed on the screen. After that, enter your favorite device name in the input field and tap 'Setting complete' to complete the initial setting.
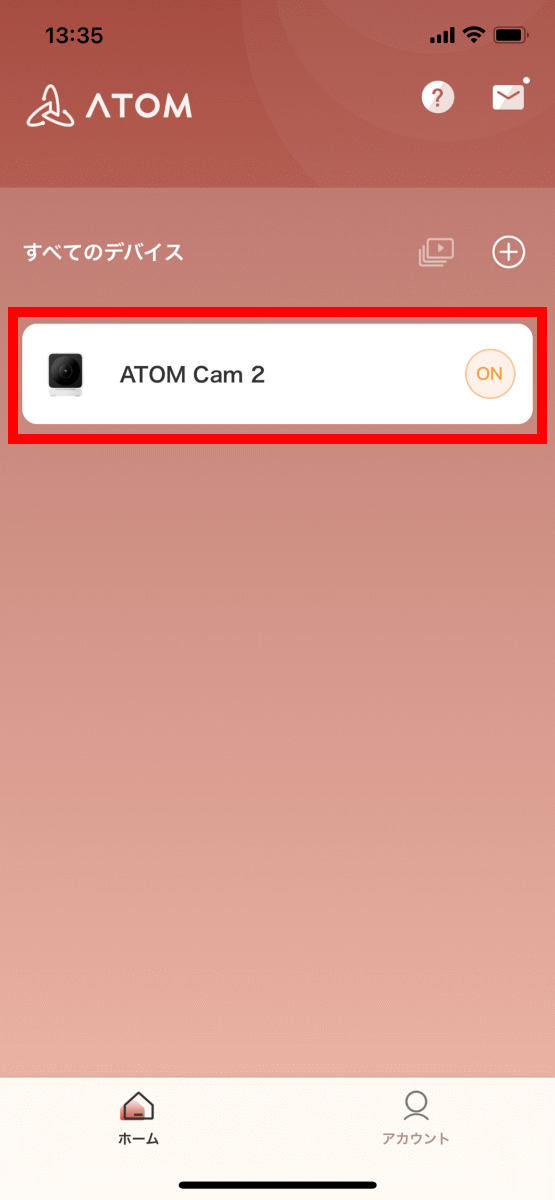
When the settings are complete, 'ATOM Cam 2' will be displayed on the home screen of 'ATOM-Smart Life'. By tapping 'ATOM Cam 2' from this screen, you can check the shooting contents.
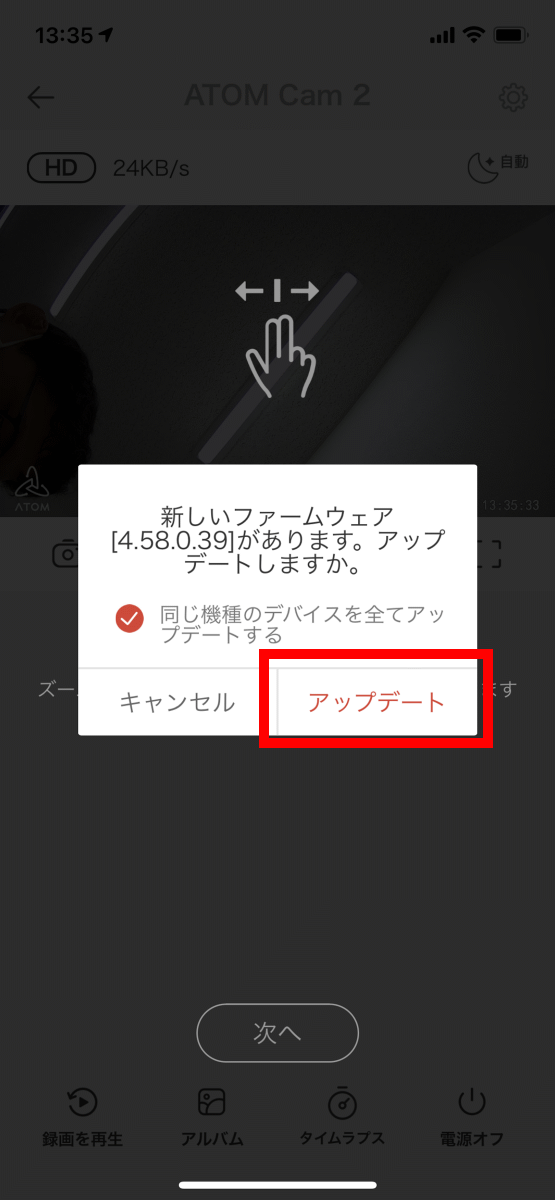
This time, the firmware update notification was displayed, so I decided to tap 'Update' to update the firmware.
When the following screen is displayed, tap 'Update'.
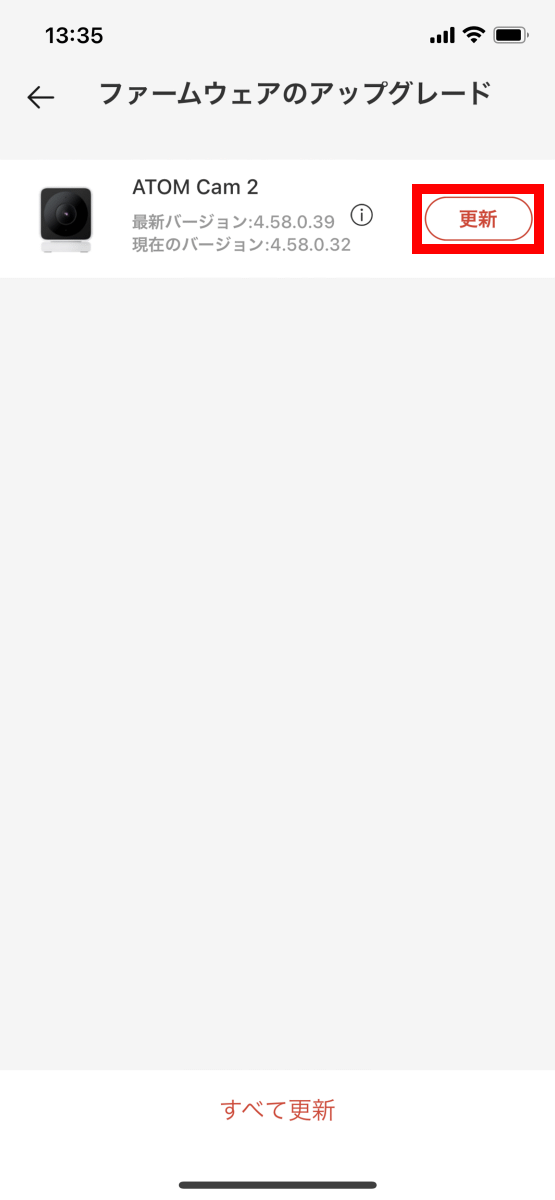
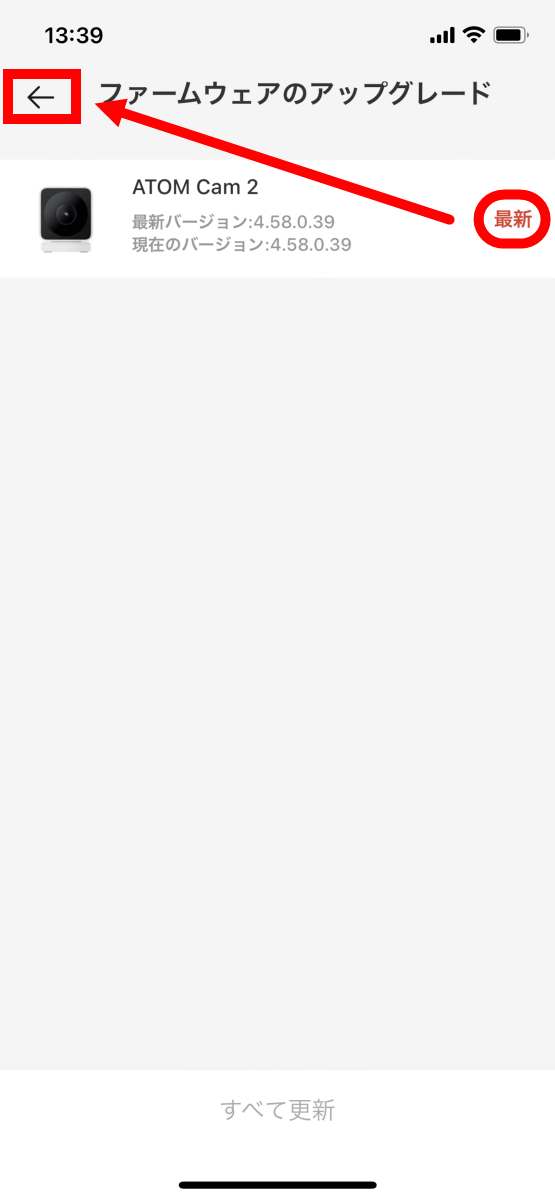
After waiting for a while, the firmware update is completed and 'Latest' is displayed on the right side of the device name. After that, tap the arrow on the upper left of the screen to close the update screen and it's OK.
◆ Basic functions
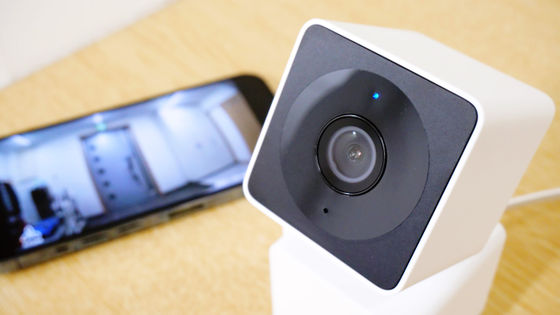
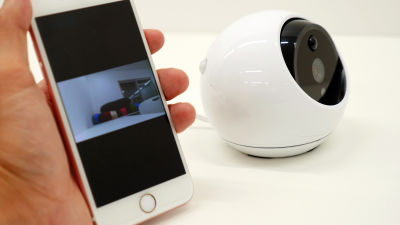
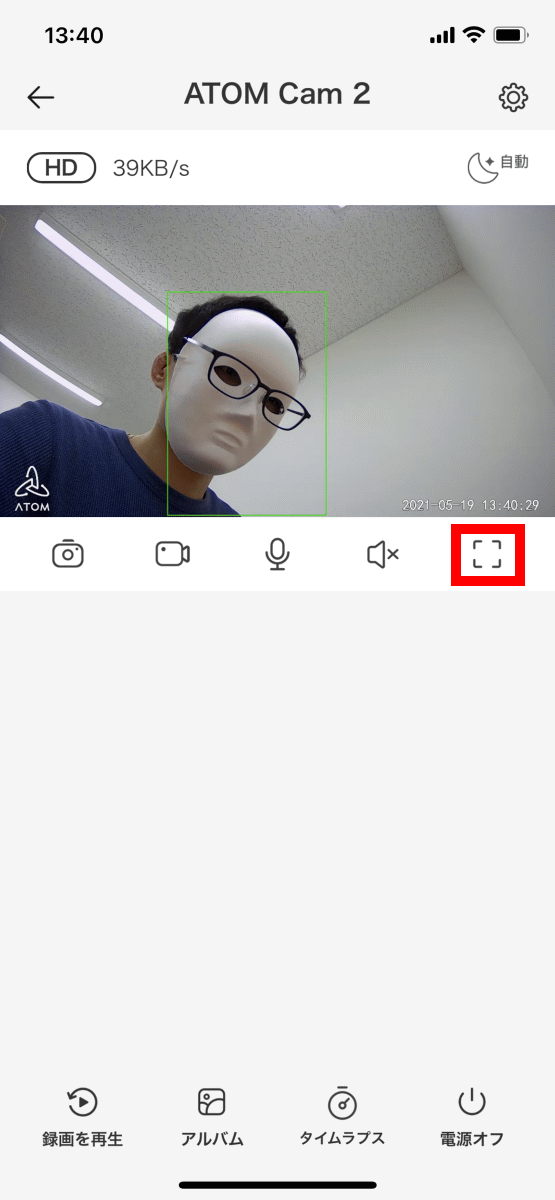
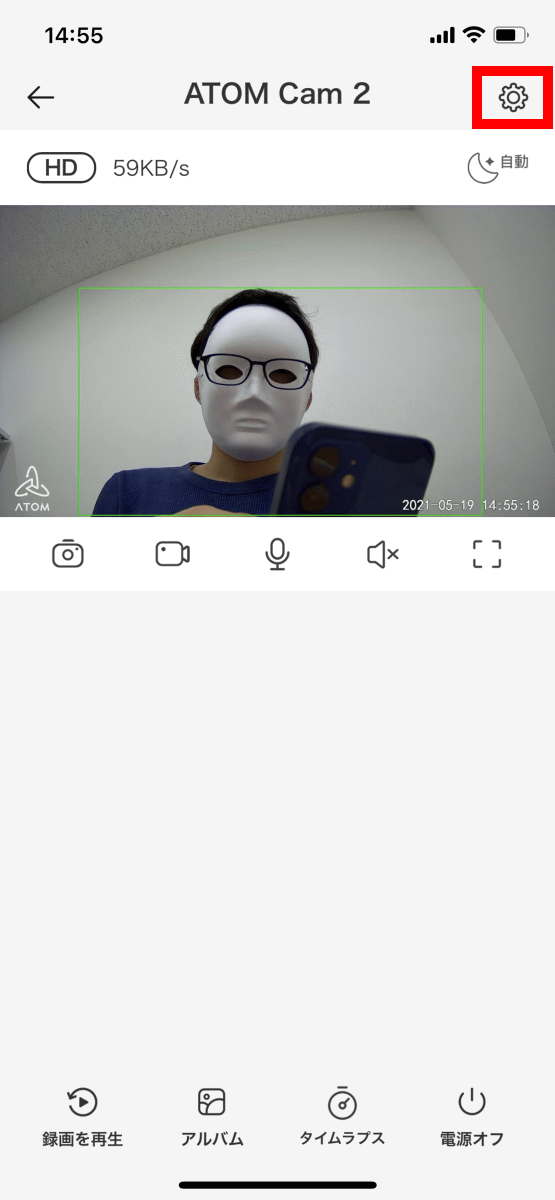
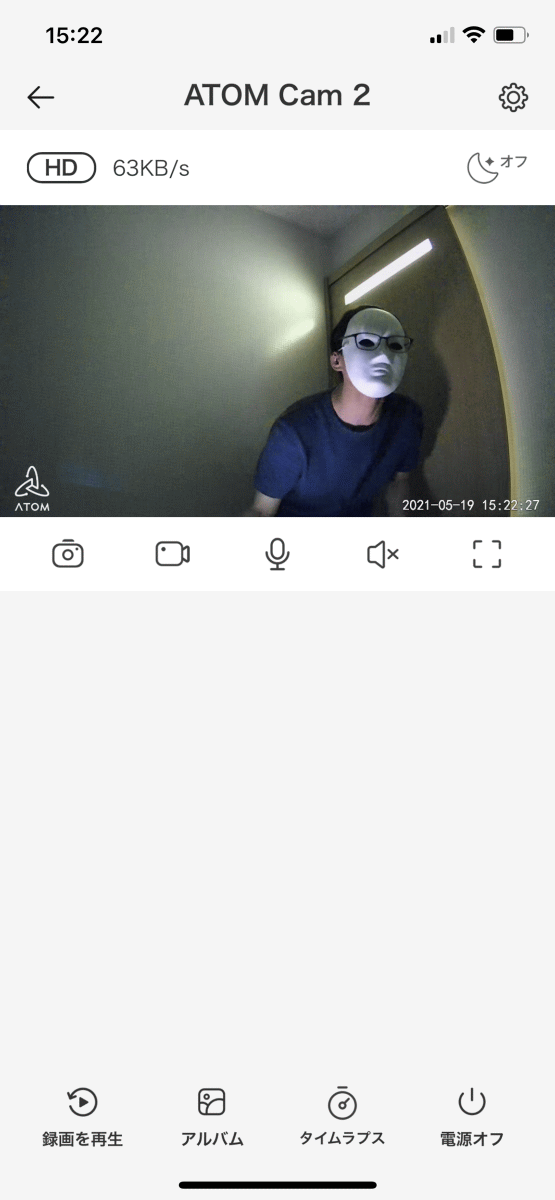
When you close the firmware update screen, the movie being shot by 'ATOM Cam 2' is displayed in real time like this. The current image quality and transfer speed are displayed at the top of the movie, and the 'snapshot shooting button', 'movie recording button', 'audio transmission button', 'speaker enable / disable switch button', and 'full screen display button' are displayed at the bottom of the movie. '' Is placed. In addition, 'play button', 'album display button', 'time lapse shooting button', and 'power button' are arranged at the bottom of the screen. If you try tapping the full screen display button ...
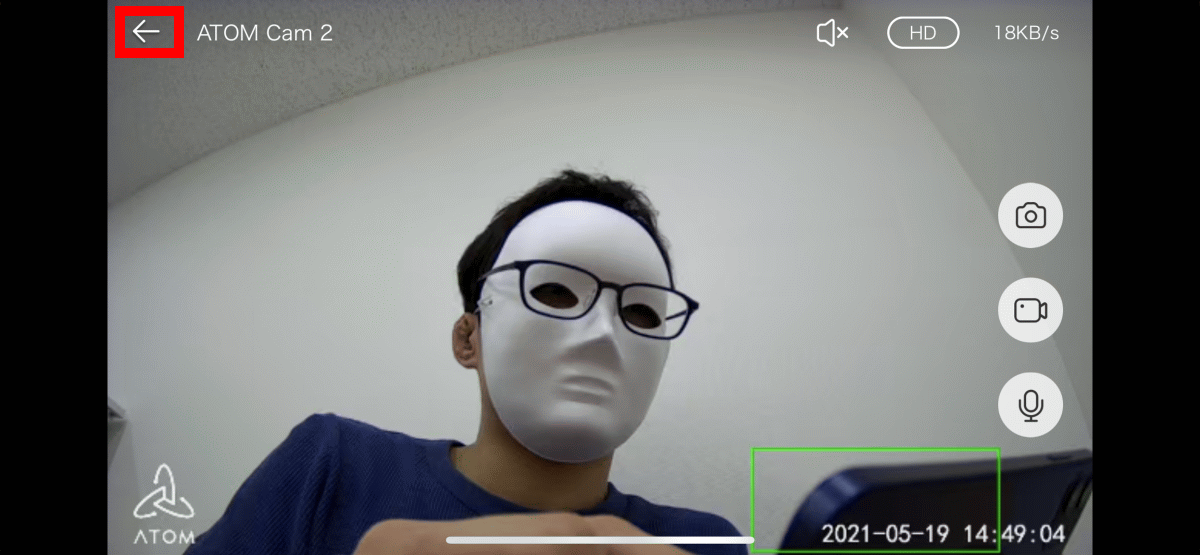
Like this, I was able to display the movie shot with 'ATOM Cam 2' on a large screen in real time.
The following movie was taken by shooting the timer with 'ATOM Cam 2' and checking the delay of the real-time display. You can see that a very low delay real-time display is possible with a delay of only 1 to 2 seconds.
The data saved with the snapshot shooting button or movie recording button is saved in Atomtech's free cloud. The data saved in the cloud can be displayed by tapping 'Album'.
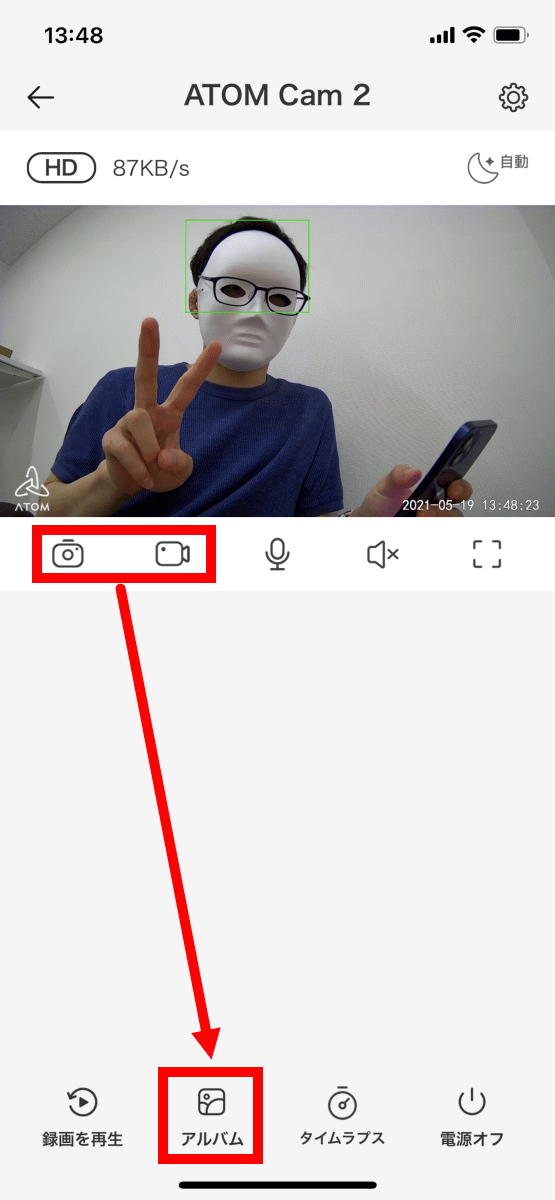
On the album screen, you can browse the list of data saved in the cloud like this. When you tap the data you want to check the contents of ...
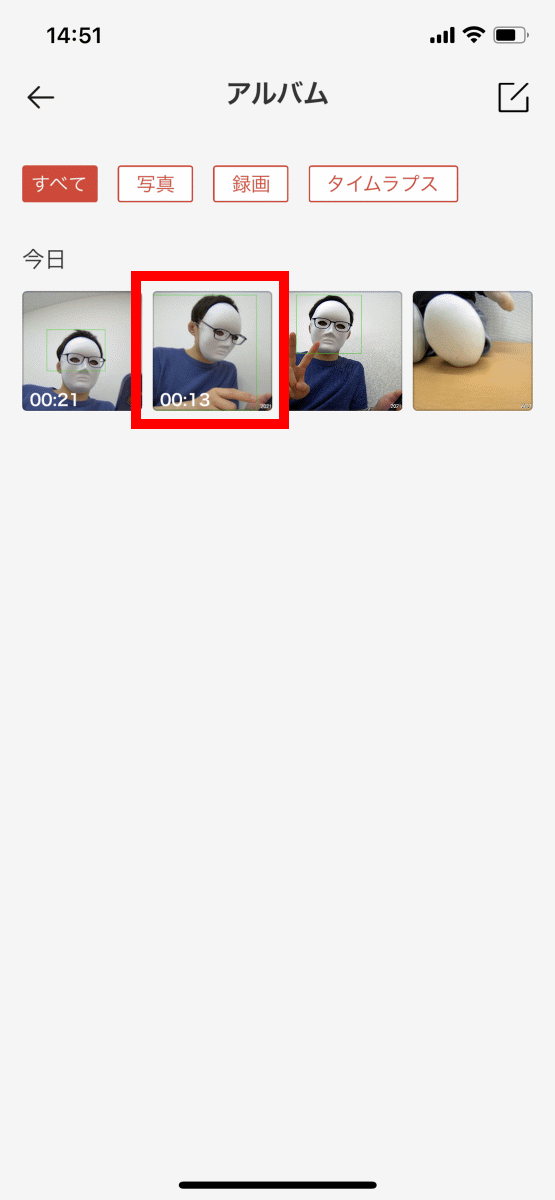
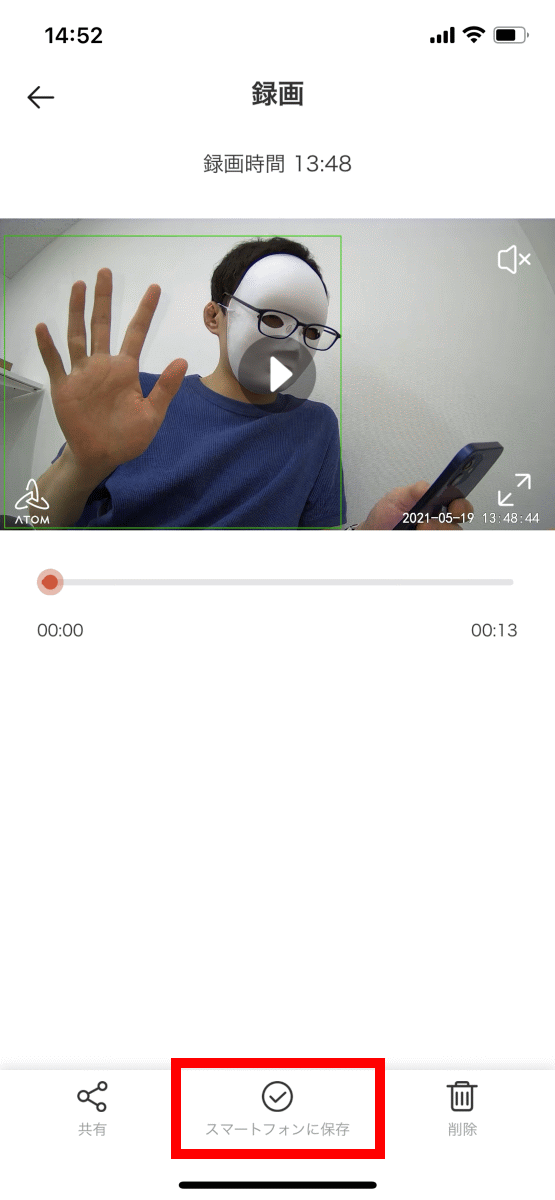
You can check the snapshots and movies you have taken. The data saved in the cloud will be deleted after the 14-day retention period ends, so you need to tap 'Save to smartphone' to save the data you want to save locally.
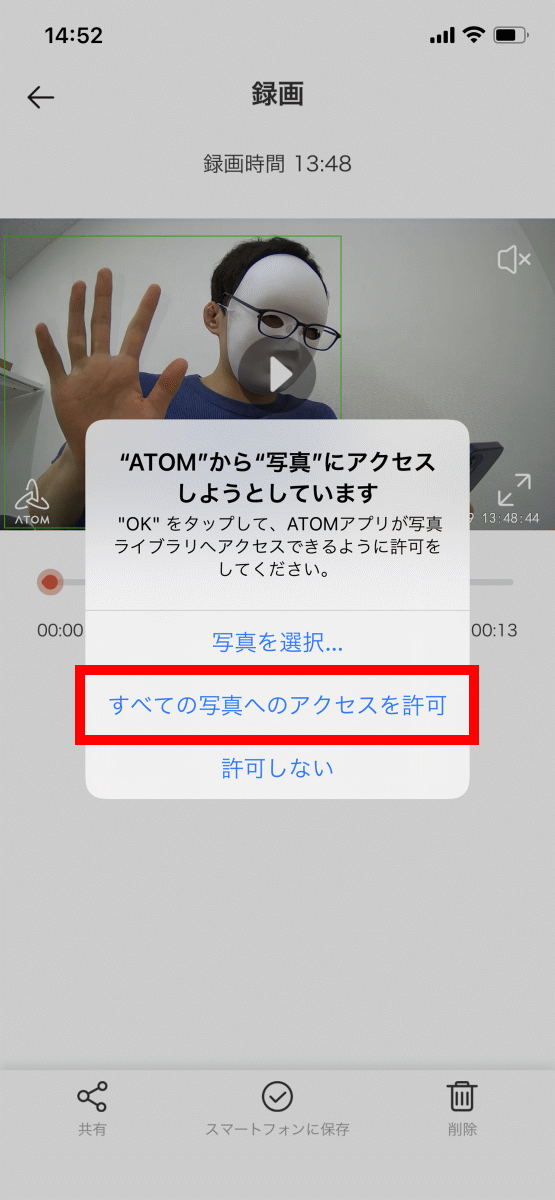
When saving for the first time, you will be asked for permission to access the photos, so tap 'Allow access to all photos'.
Then, the data will be saved on your smartphone.
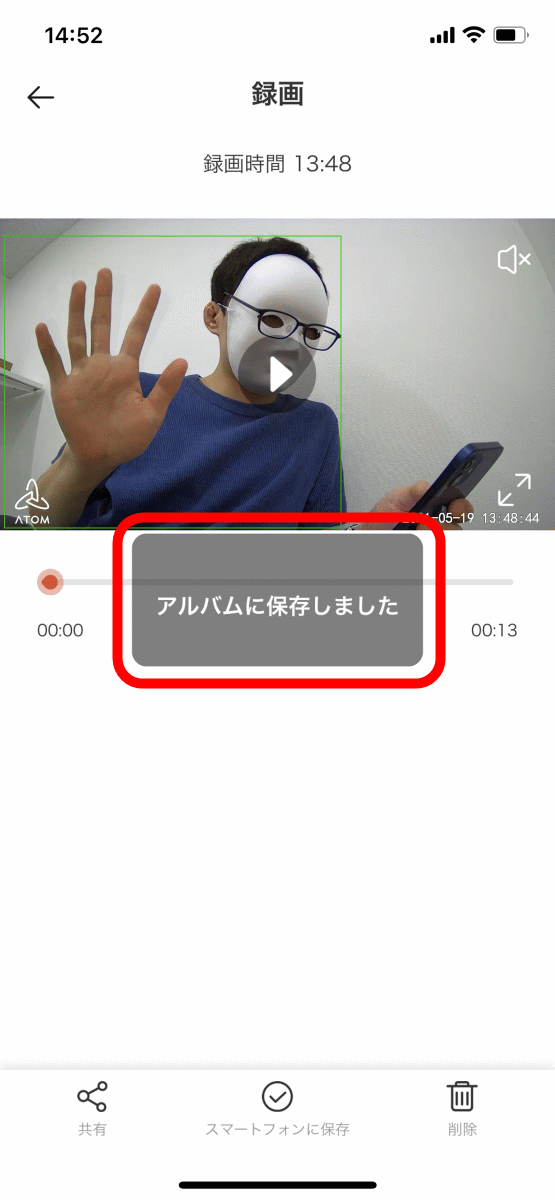
The data saved this time looks like this. 'ATOM Cam 2' supports movie recording at up to 1080p / 20fps.
◆ Motion detection settings
'ATOM Cam 2' is equipped with a motion detection function that notifies you when a moving object is caught. In the standard state, all areas on the screen are targeted for object detection, but it is possible to set only specific areas as detection targets, so let's actually set them.
First, tap the gear mark on the upper right of the screen.
When the setting screen is displayed, tap 'Detection setting'.

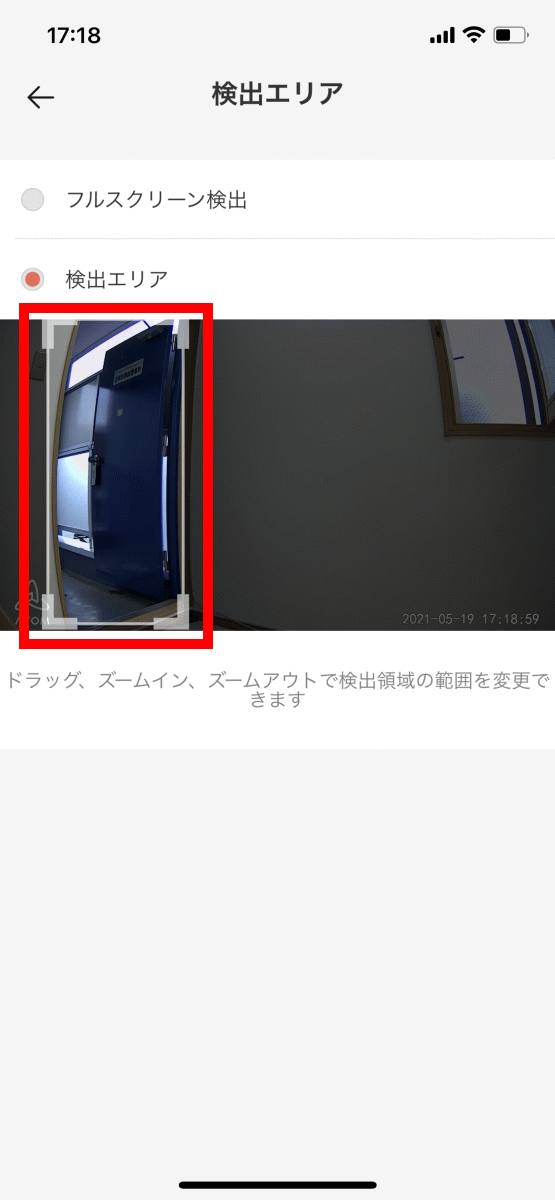
Next, tap 'Detection area' to open the area setting screen.

The detection area is set by adjusting the size of the rectangle like this. This time, the doorway located at the left end of the shooting range was set as the detection area.
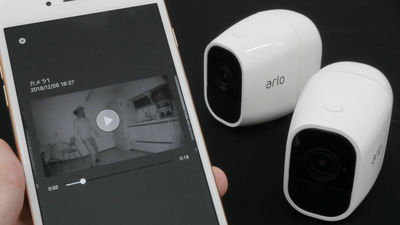
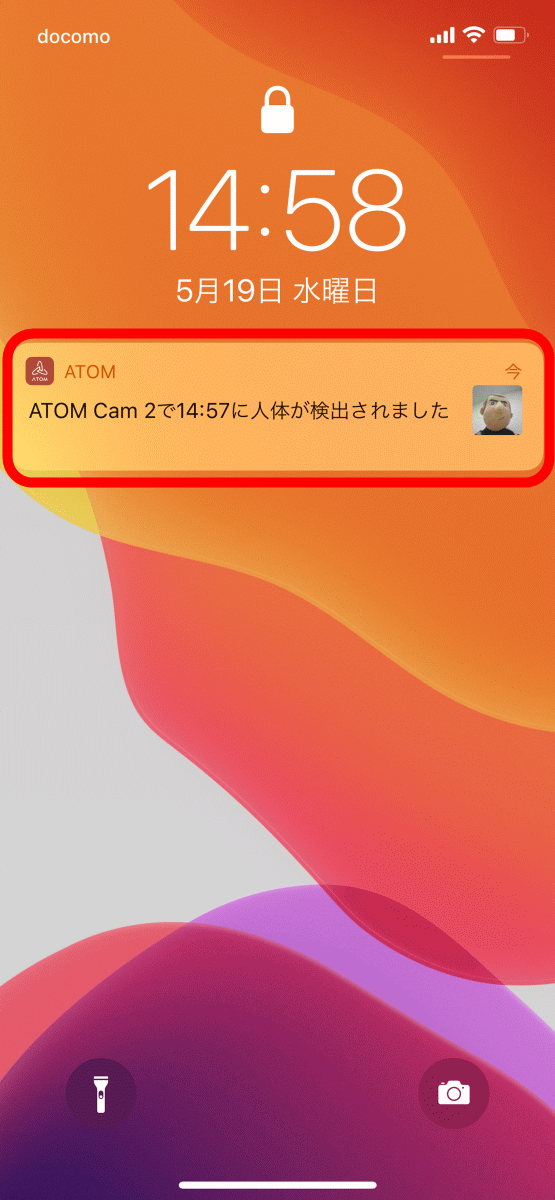
With this setting, a movie will be recorded automatically when a person or object invading from the doorway is detected. When a moving person or object is detected by the motion detection function, a 12-second movie is automatically recorded and stored in the cloud for 14 days.
You can check the list of detection notifications by tapping the button located at the top right of the home screen of 'ATOM-Smart Life' and opening 'Message Center'.
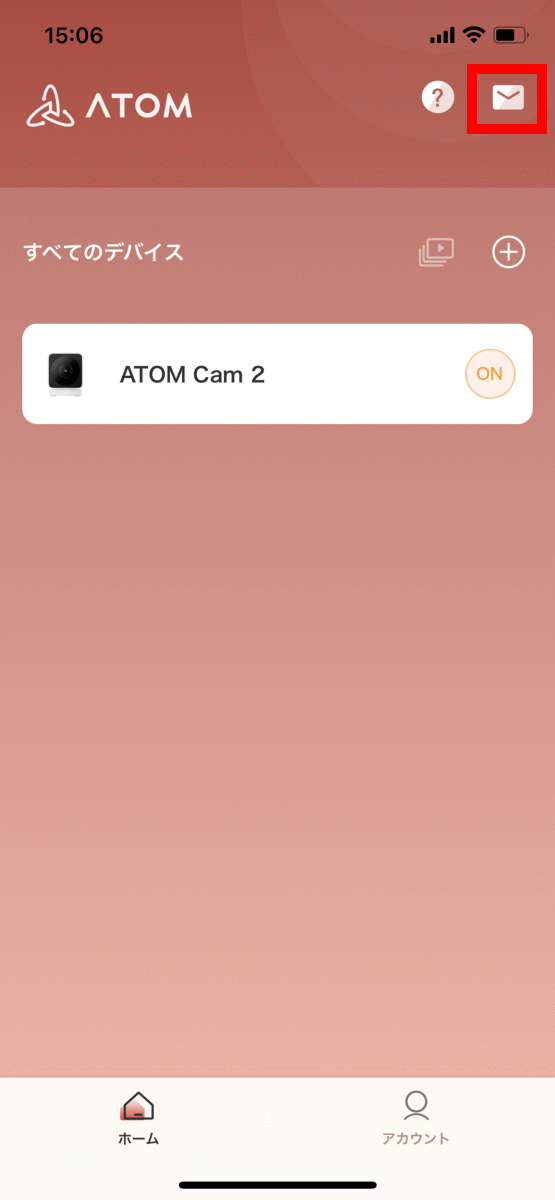
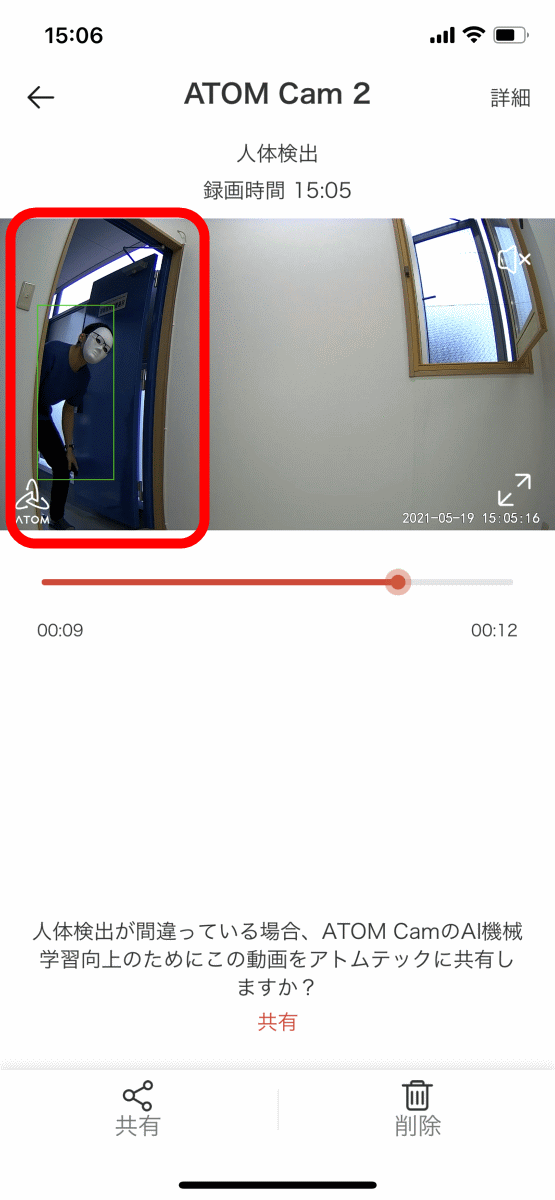
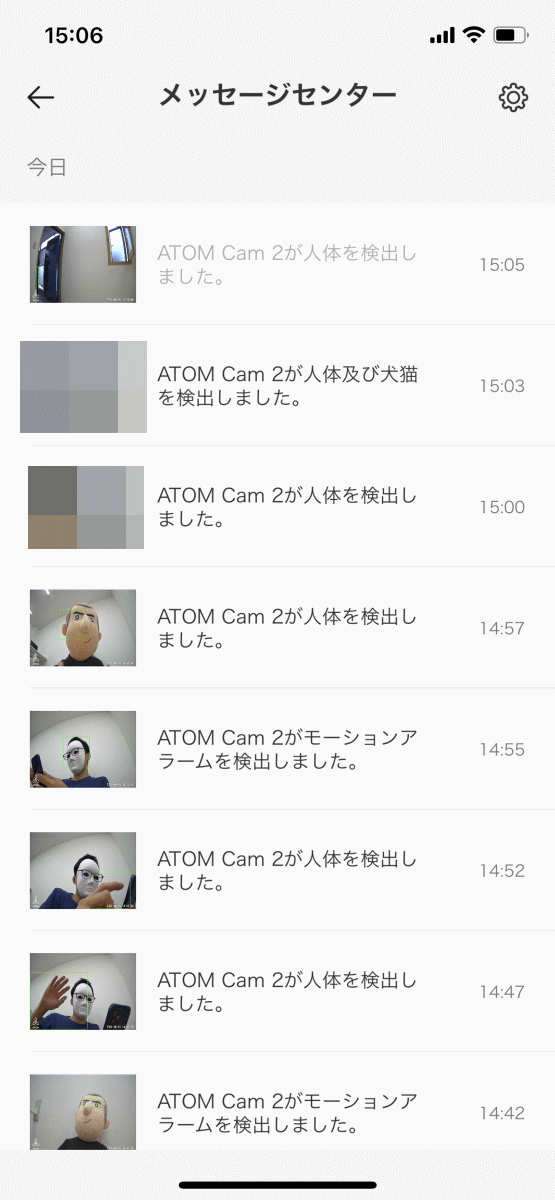
The screen of the message center looks like this. Past notifications are listed along with the notification content. You can check the recorded movie by tapping the notification displayed on this screen.
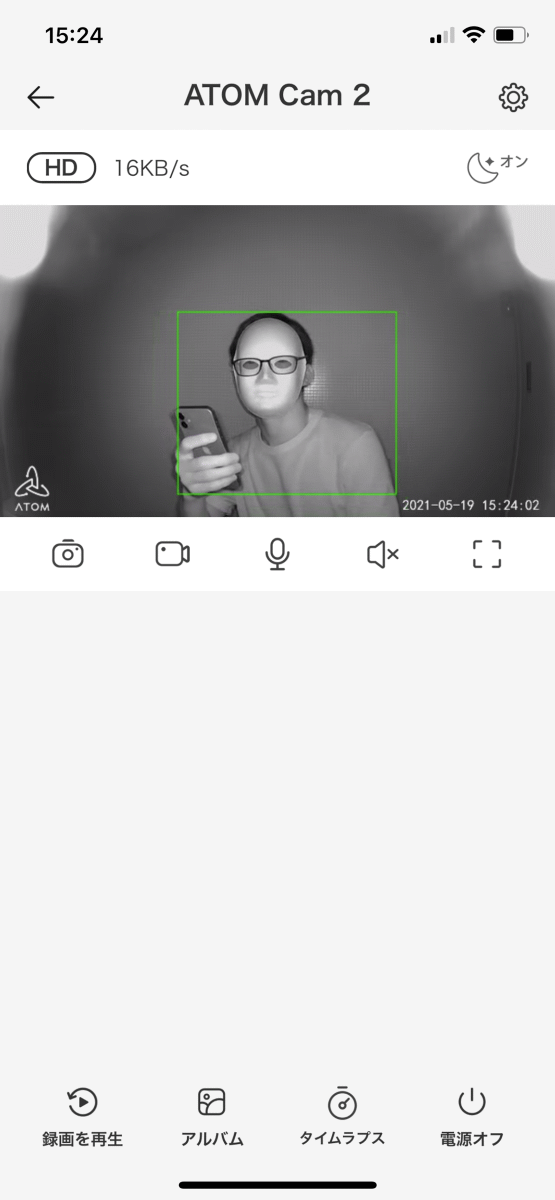
◆ Color night vision
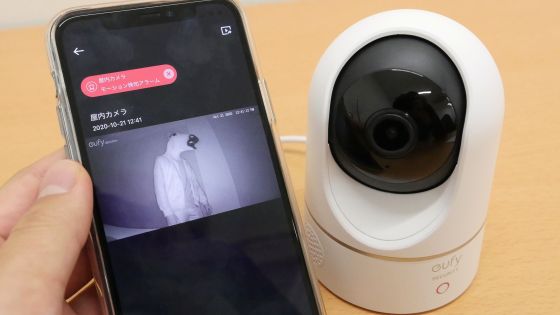
'ATOM Cam 2' is equipped with a 'color night vision' function that enables color shooting even in low light. Actually, when I installed 'ATOM Cam 2' in a place where light is leaking slightly like this ...

I succeeded in color shooting brilliantly.
When there is no light, the camera automatically switches to an infrared camera for night-vision photography. In the image below, you can see that the corners of the shot movie are white, but this is due to a defect in the manufacturing process. Atom Tech is aware of the bug and
◆ Other functions
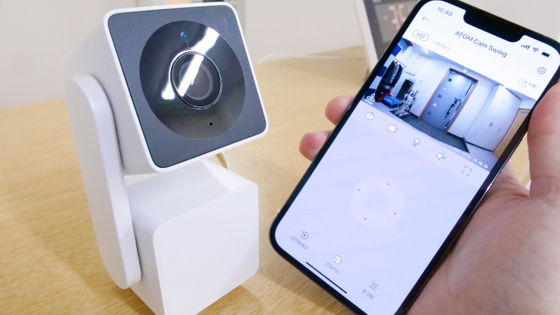
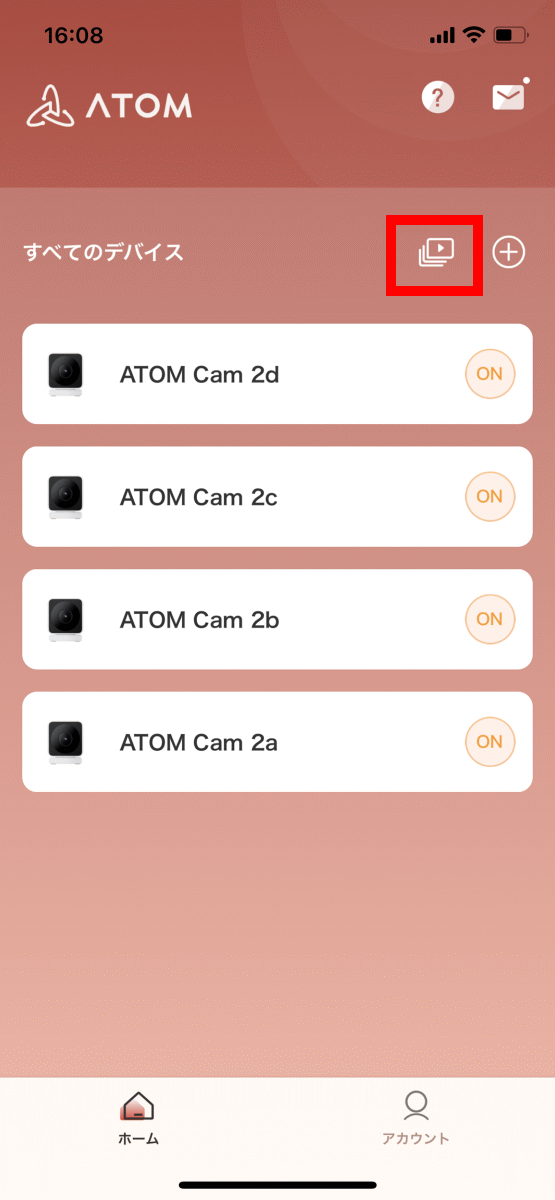
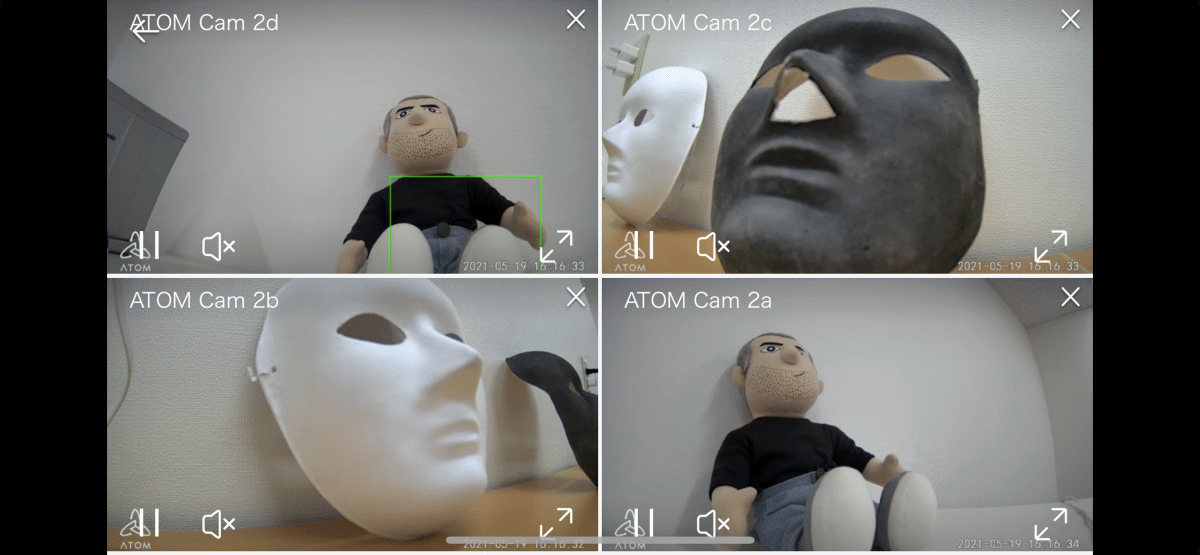
With 'ATOM Cam 2', it is possible to display up to 4 movies being shot in real time at the same time. If you register 4 'ATOM Cam 2' as a trial and tap the button surrounded by the red frame at the upper right of the screen ...
Like this, I was able to display the movie being shot with four 'ATOM Cam 2' in real time.
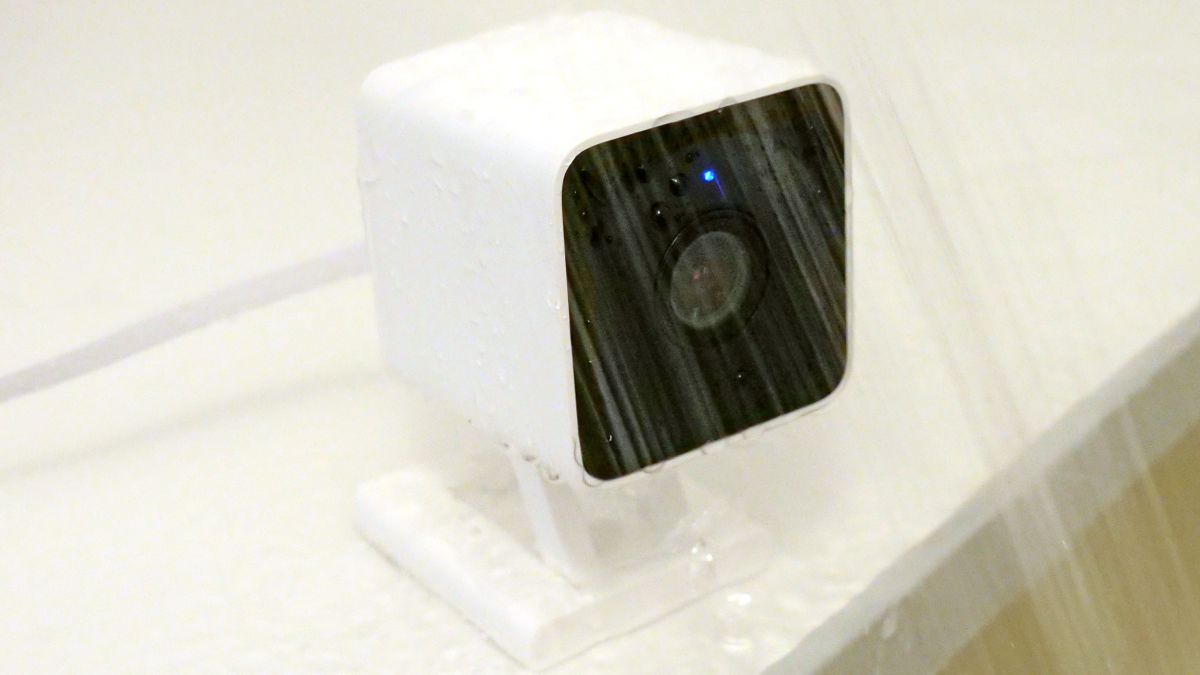
In addition, 'ATOM Cam 2' has an IP67 dust-proof and drip-proof function. Actually, I tried to apply shower water for about 5 minutes assuming use in the rain, but it continued to operate normally.
◆ Summary
When I actually tried using 'ATOM Cam 2', it can be set easily just by following the instructions on the screen, so even people who have never used a network camera can easily use it. In addition, it is equipped with convenient functions such as waterproof function, night vision function, and motion detection function, so I felt that it was an excellent product for cost performance.
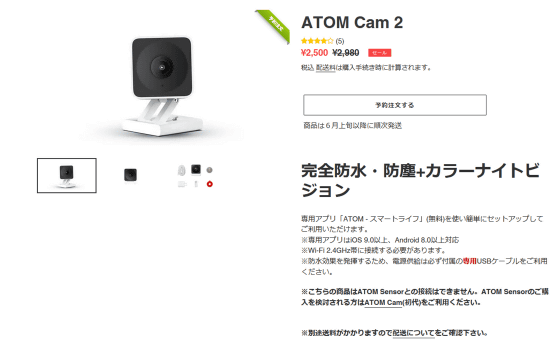
'ATOM Cam 2' is 2980 yen including tax, and pre-orders are being accepted at the time of writing the article. You can get up to 10,000 first-come-first-served basis for 2500 yen including tax.
ATOM Cam 2 – ATOM tech Store
Related Posts: