Review of Anker's solar panel-equipped wireless security camera 'Anker Eufy Solar Wall Light Cam S120'
Anker has released the Anker Eufy Solar Wall Light Cam S120, a security camera that can record audio and video while charging using a solar panel on the top. Anker provided us with this camera, so we tried touching it to see how it can be used.
Eufy Solar Wall Light Cam S120 | Outdoor security camera product information – Anker Japan Official Online Store
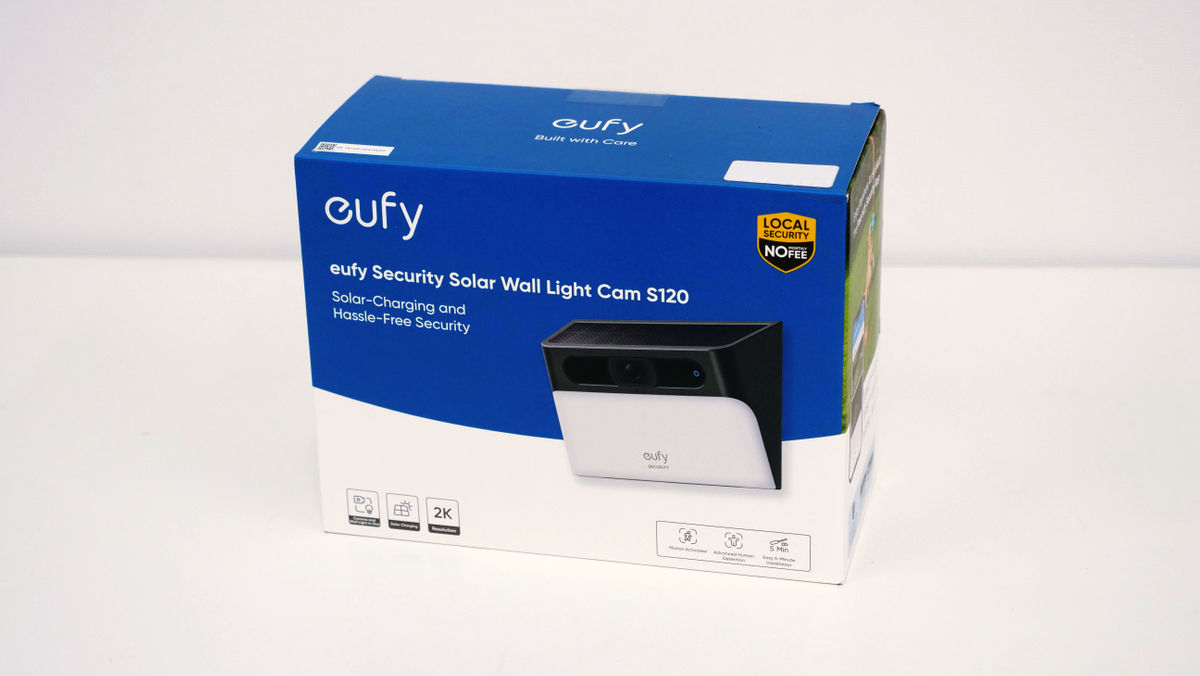
This is the 'Anker Eufy Solar Wall Light Cam S120' package.
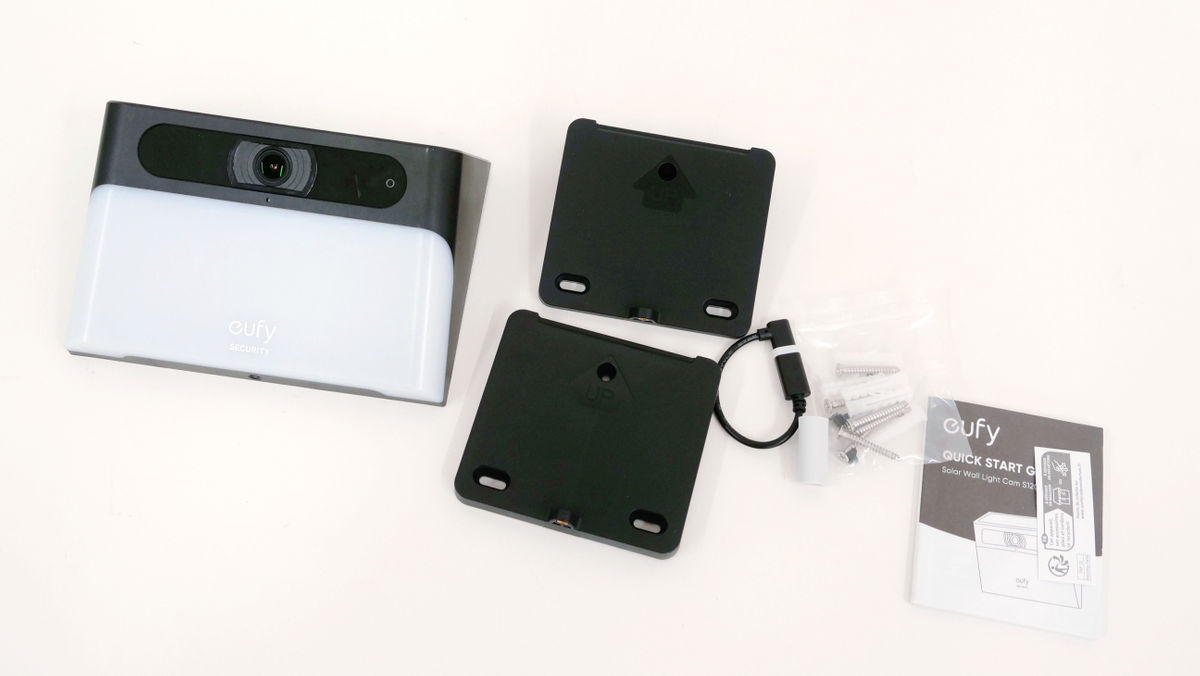
The contents include the camera body, two mounting plates, cables, screws, and a quick start guide.
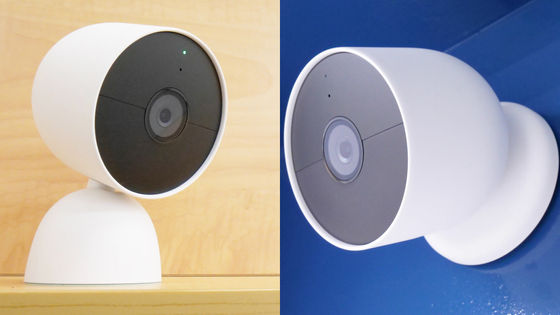
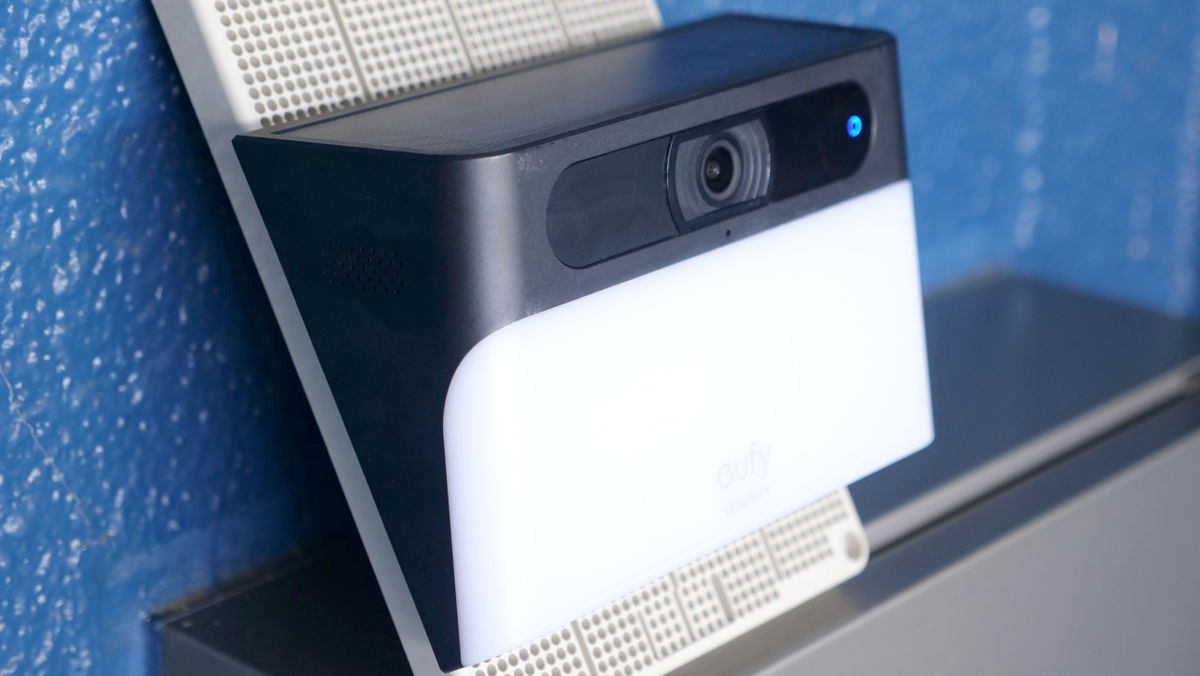
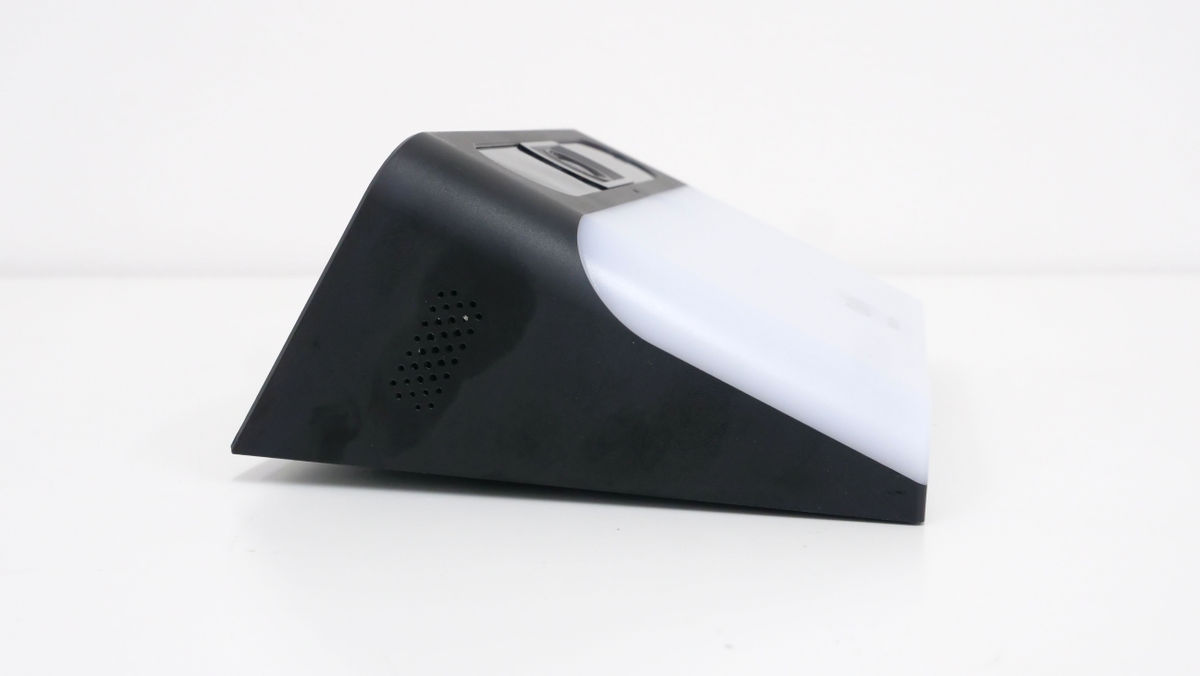
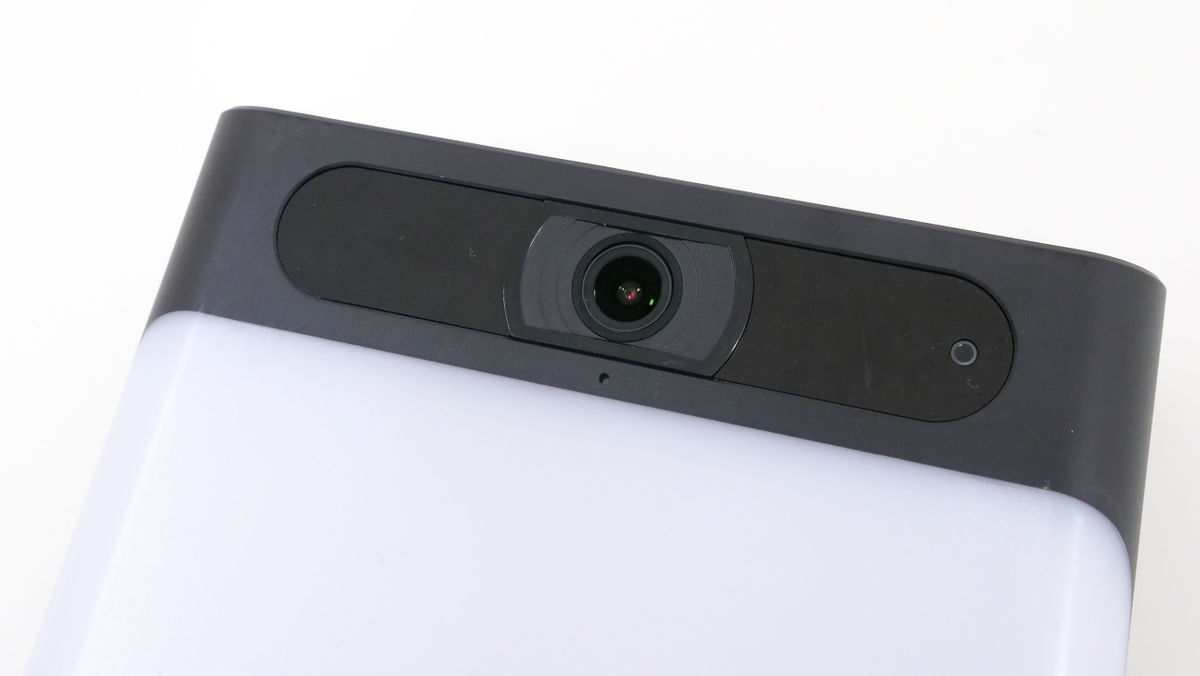
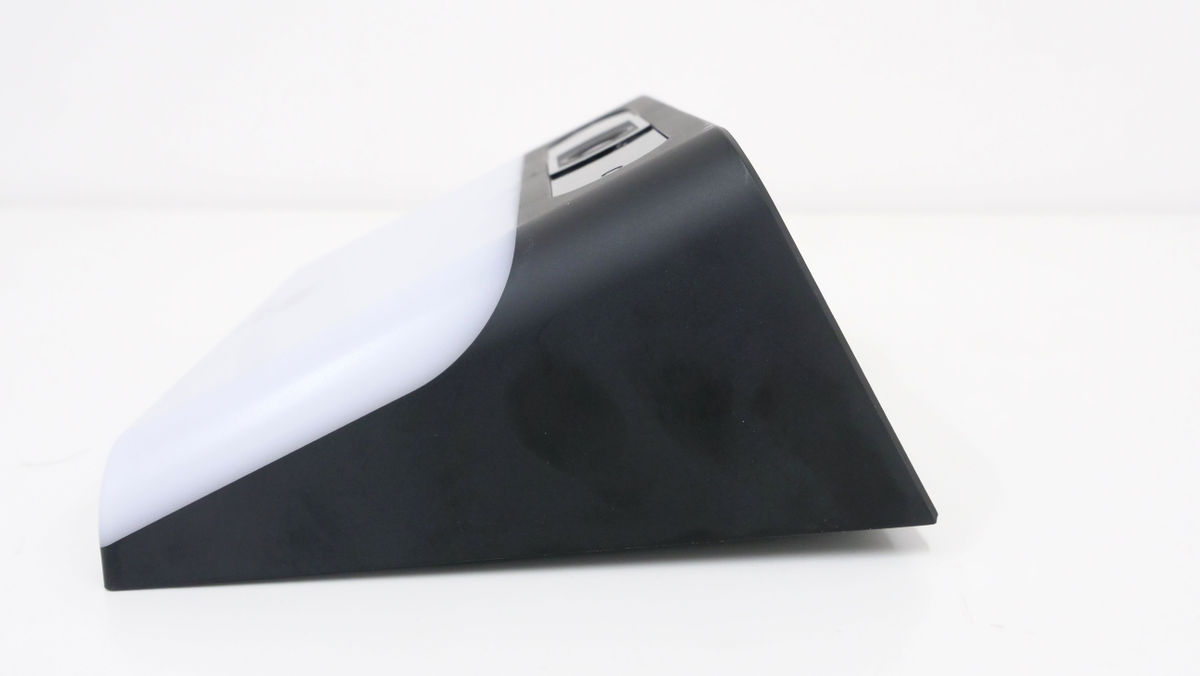
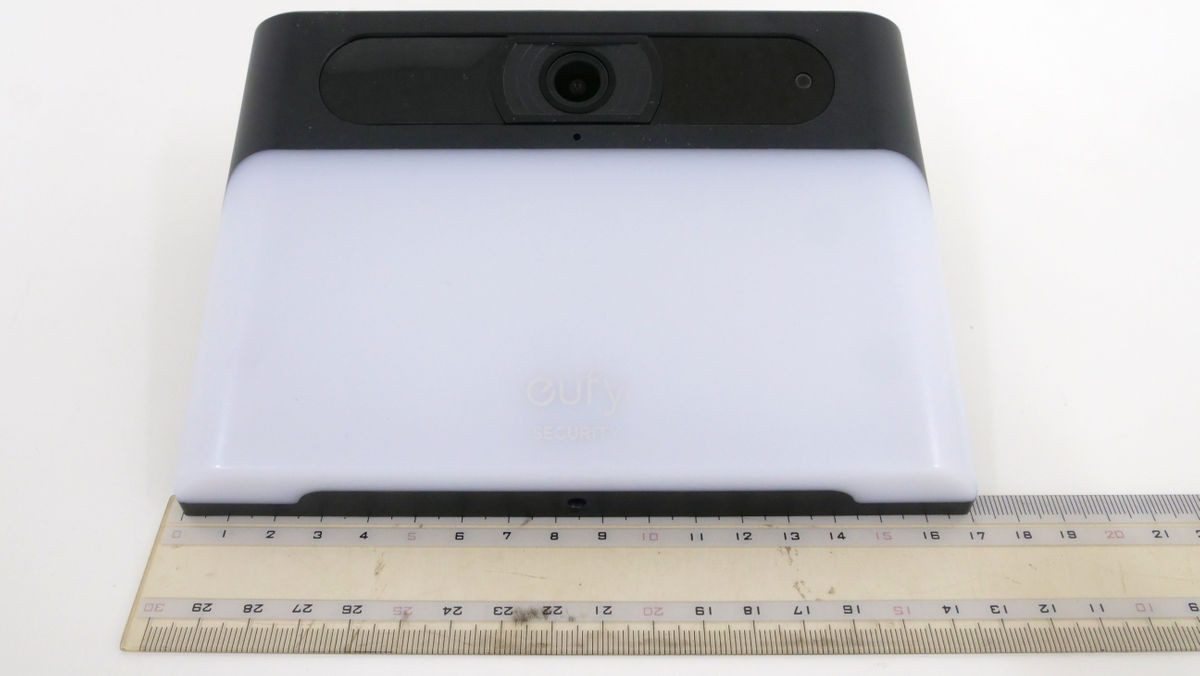
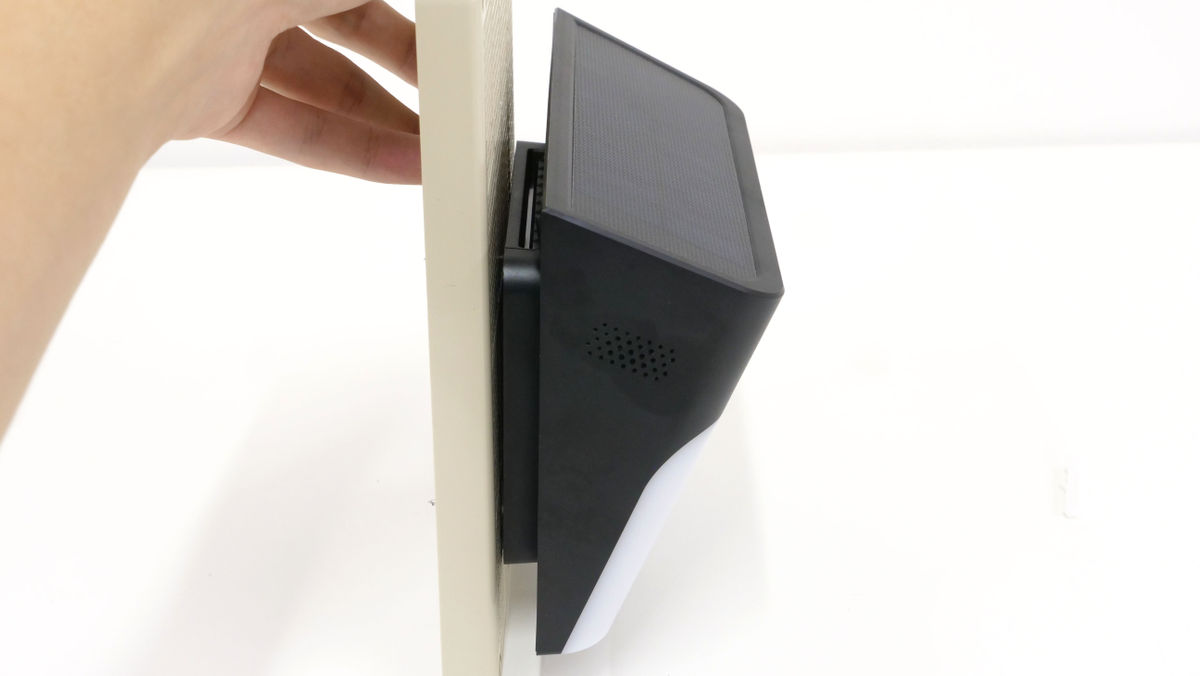
The camera body is shaped like a triangular prism, with the camera section protruding forward.
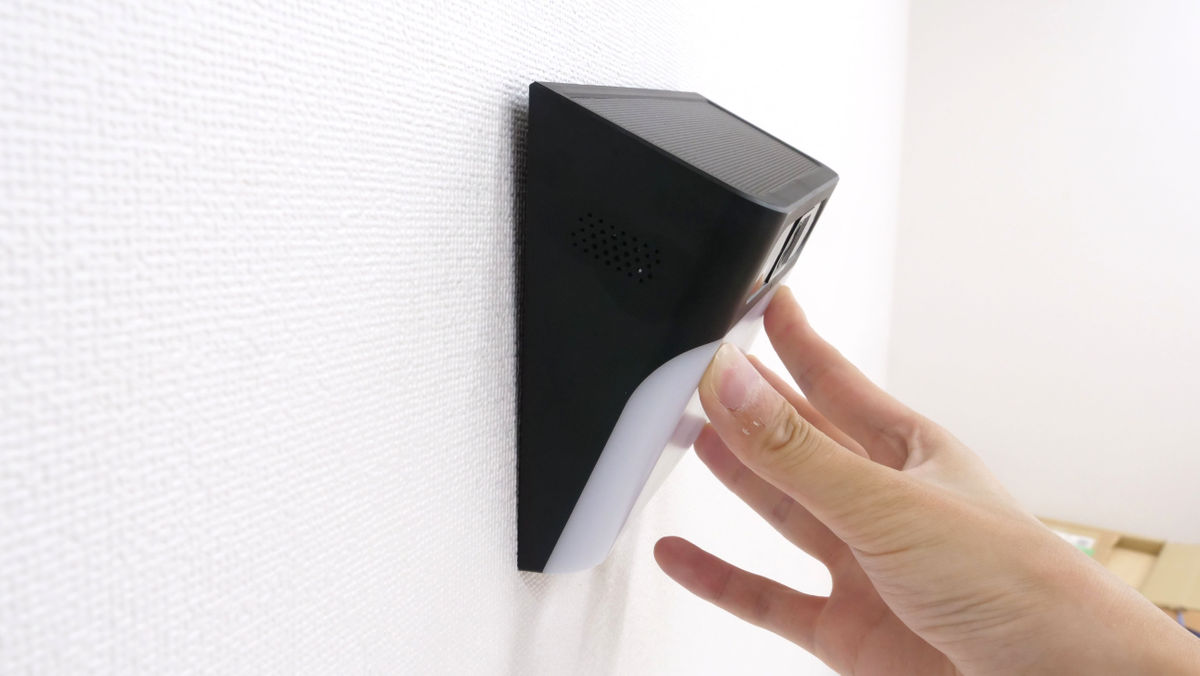
When mounted on a wall, the camera is angled slightly downwards.
The camera can capture video up to 2K.
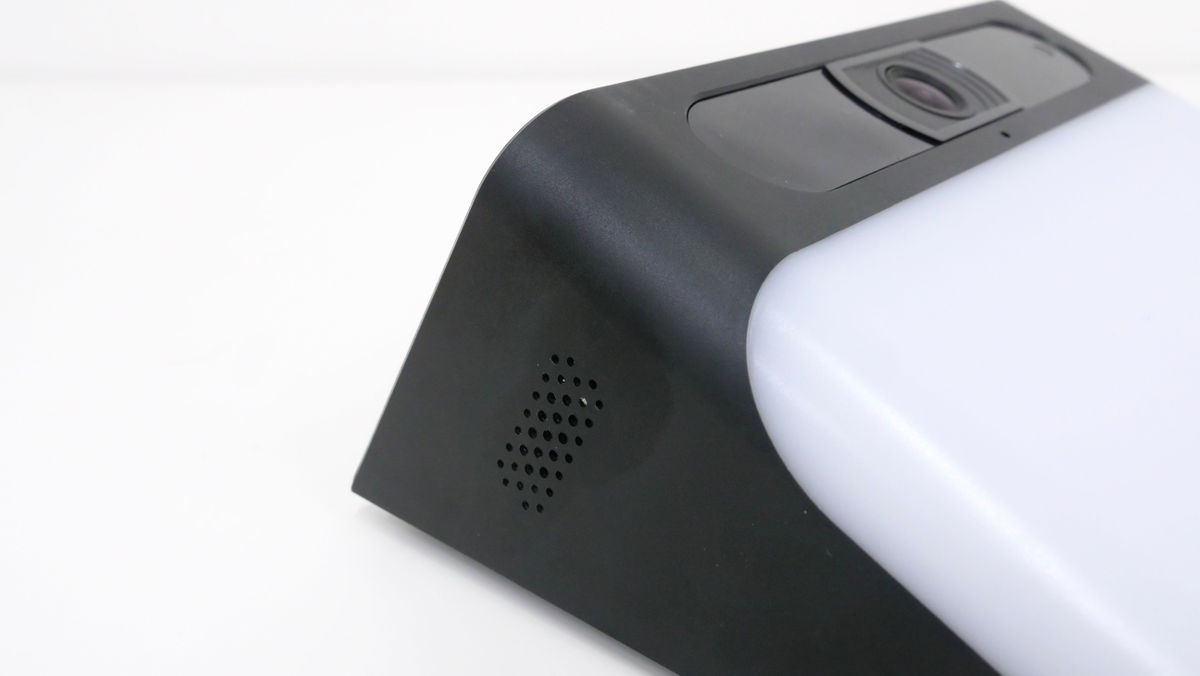
There is a speaker on the left side of the main unit.
There's nothing special on the right side.
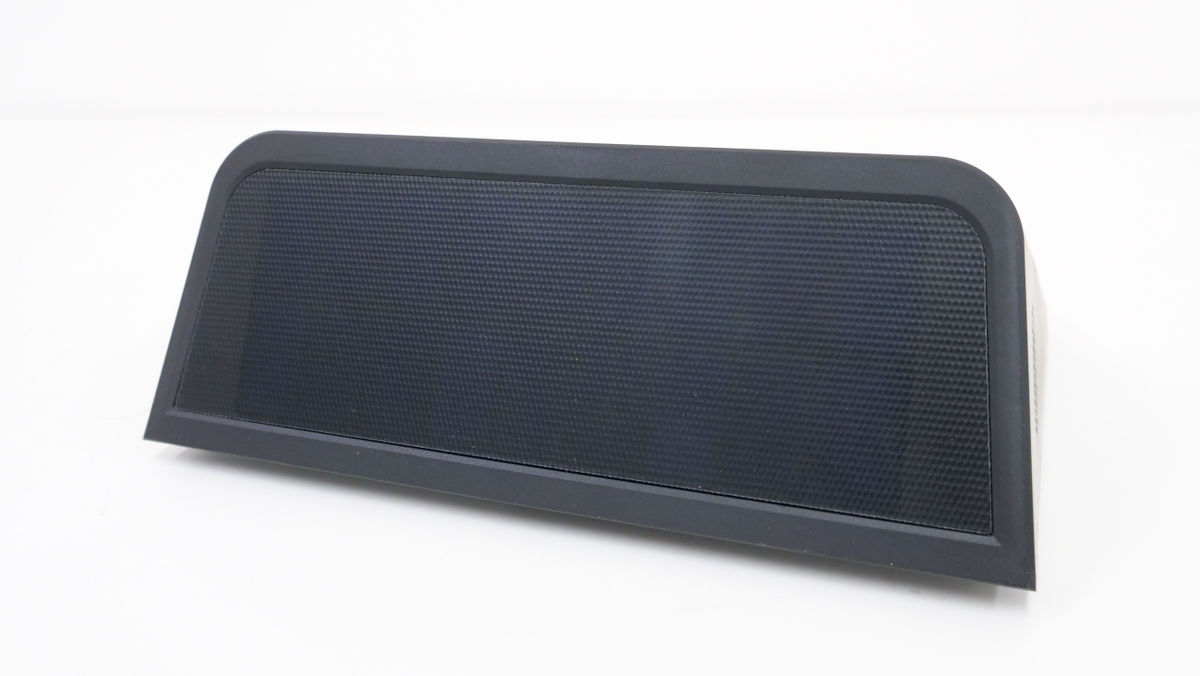
A solar panel is attached to the top.
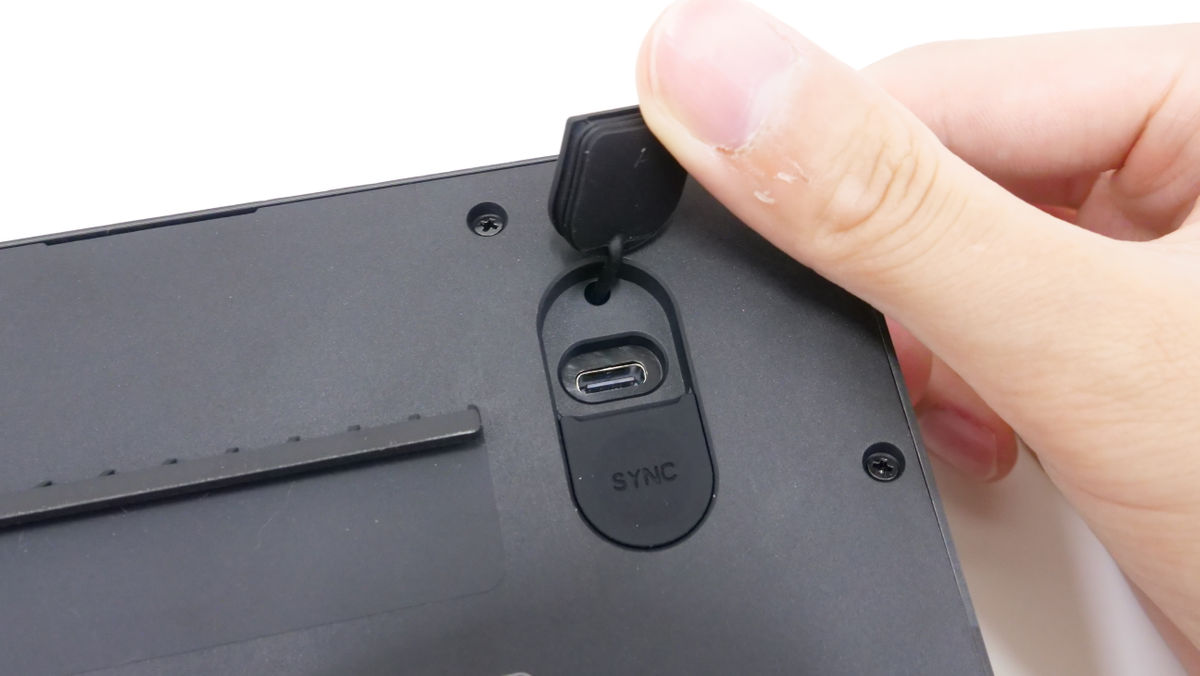
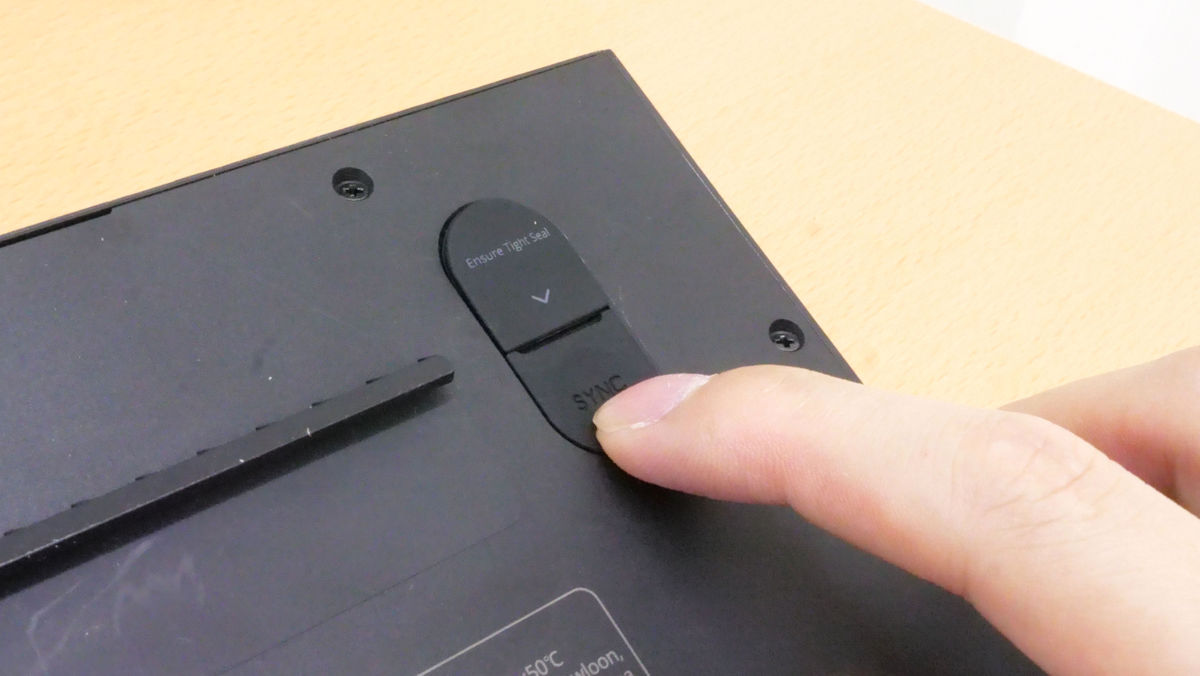
On the back there is a covered charging port and a SYNC button for connection.
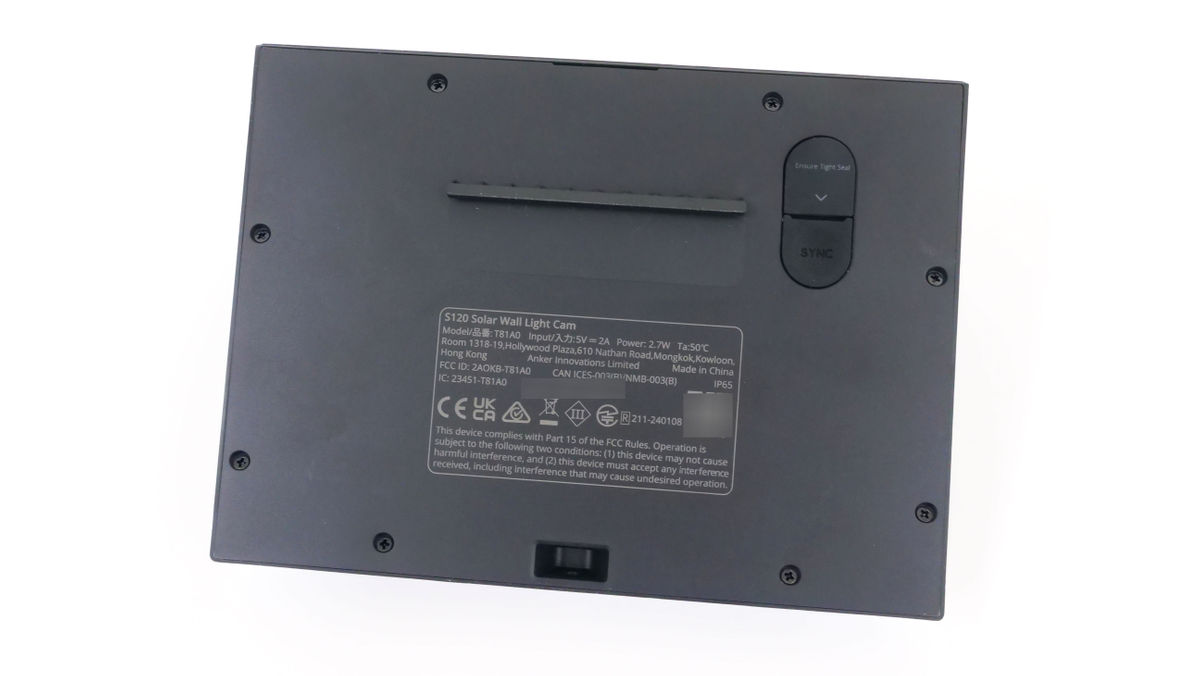
Under the cover is a USB Type-C port. You need to connect a commercially available USB Type-C cable and fully charge it before installing it. Once it's charged, you can install it anywhere you like and check the video or make a call wirelessly. You can check live video and recordings even when you're out and about and not connected to the same network.
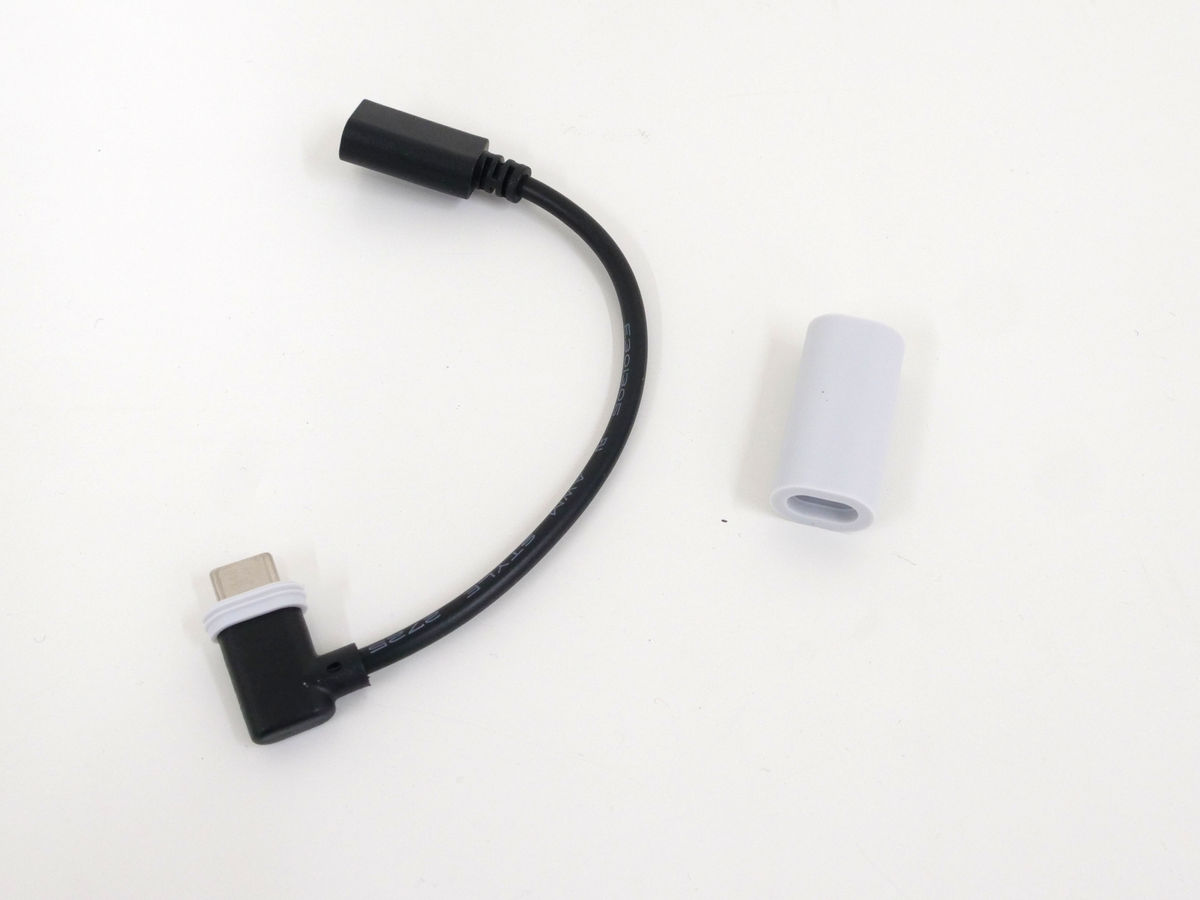
The included cable is for connecting to the separately sold outdoor solar panel '
The size of the main body is about 170mm wide x 124mm deep x 60mm high. It weighs about 450g.
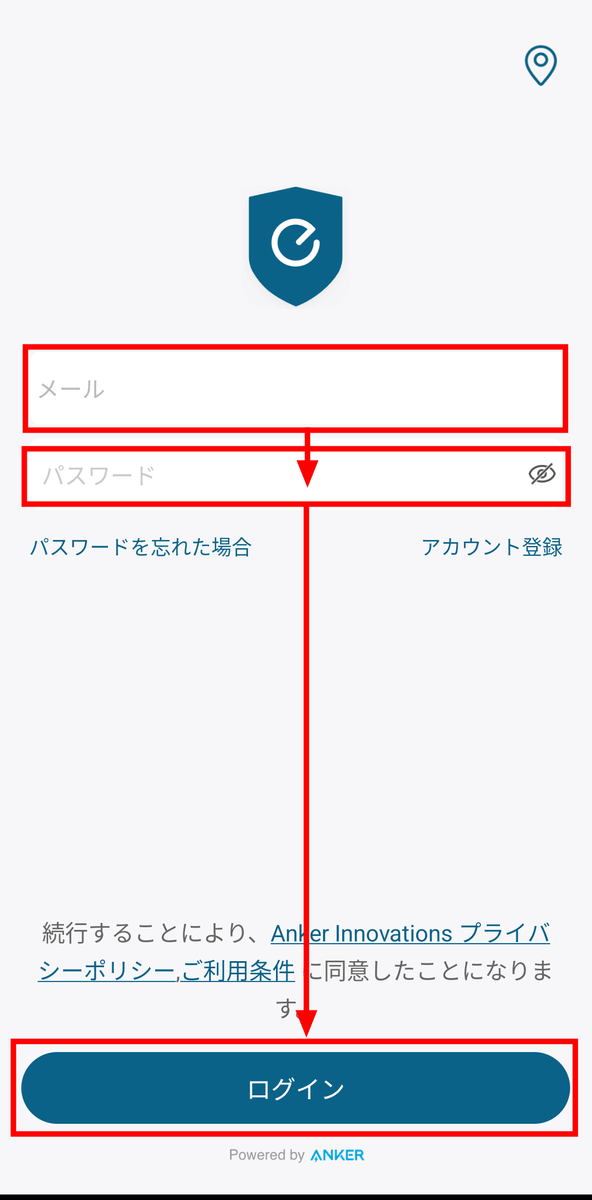
To use it, you first need to connect the smartphone app 'eufy Security' to the camera. The app is available for
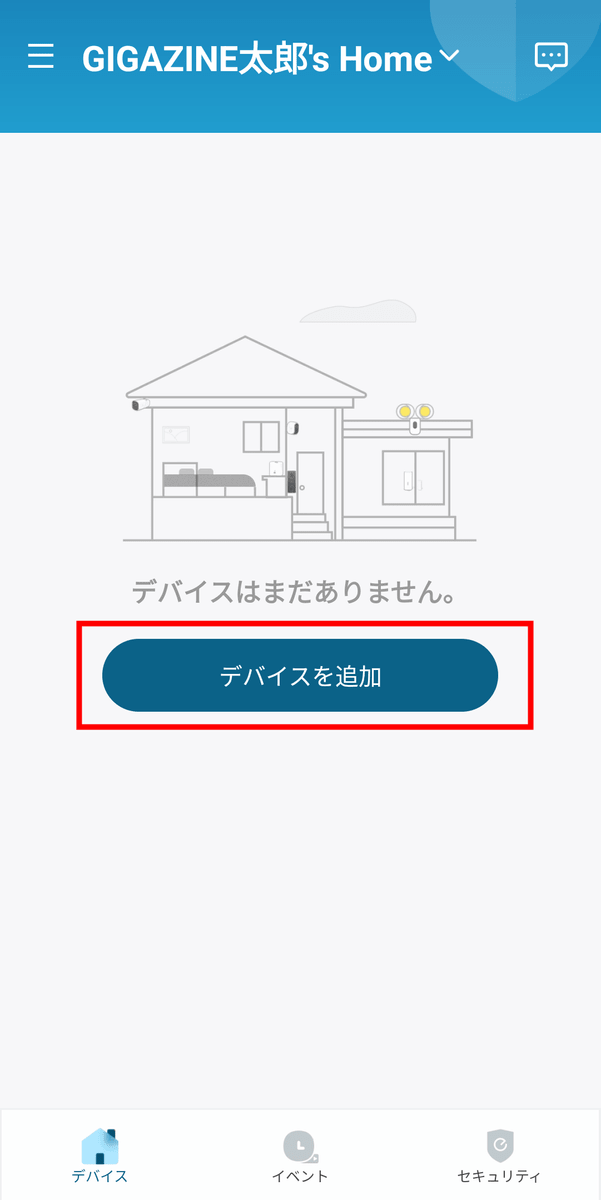
On the home screen, tap 'Add device.'
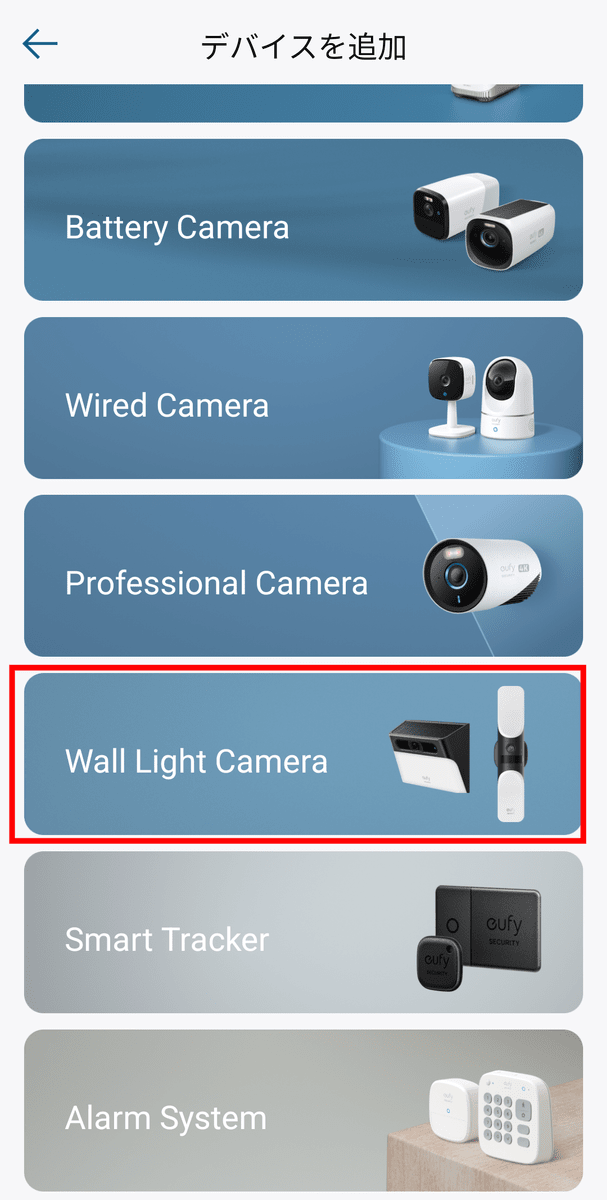
Tap 'Wall Light Camera'.
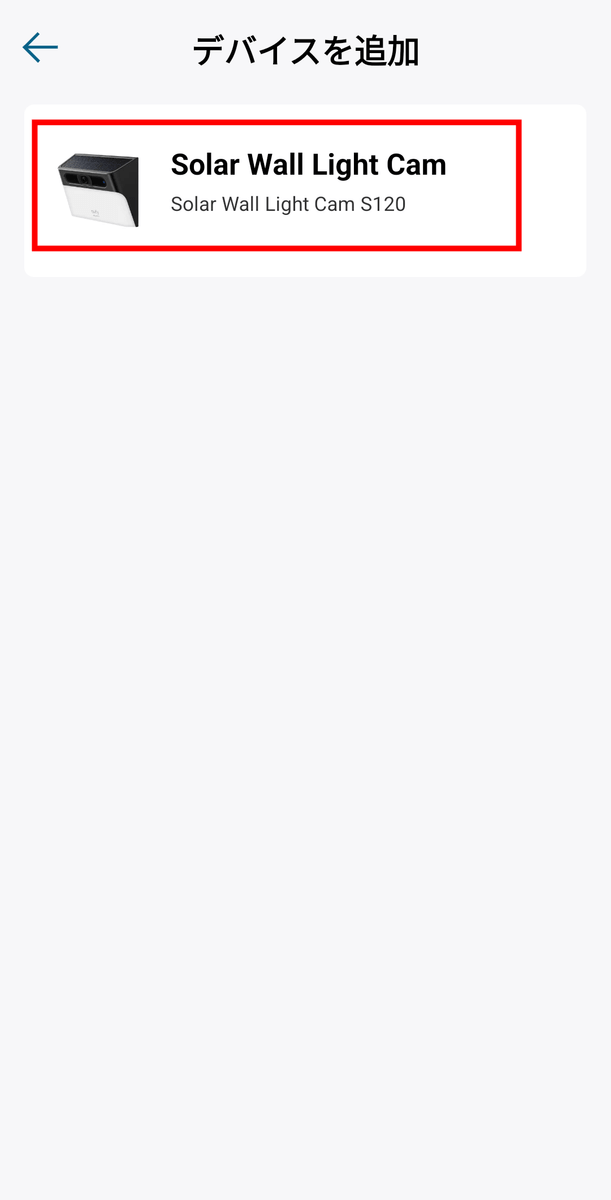
Tap 'Solar Wall Light Cam'.
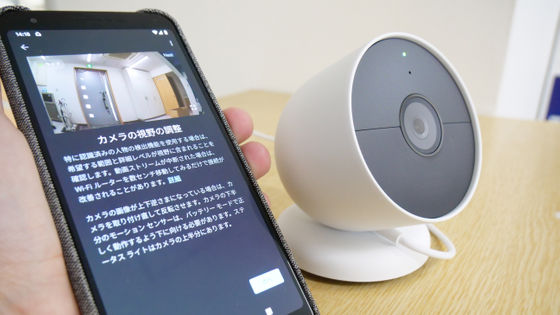
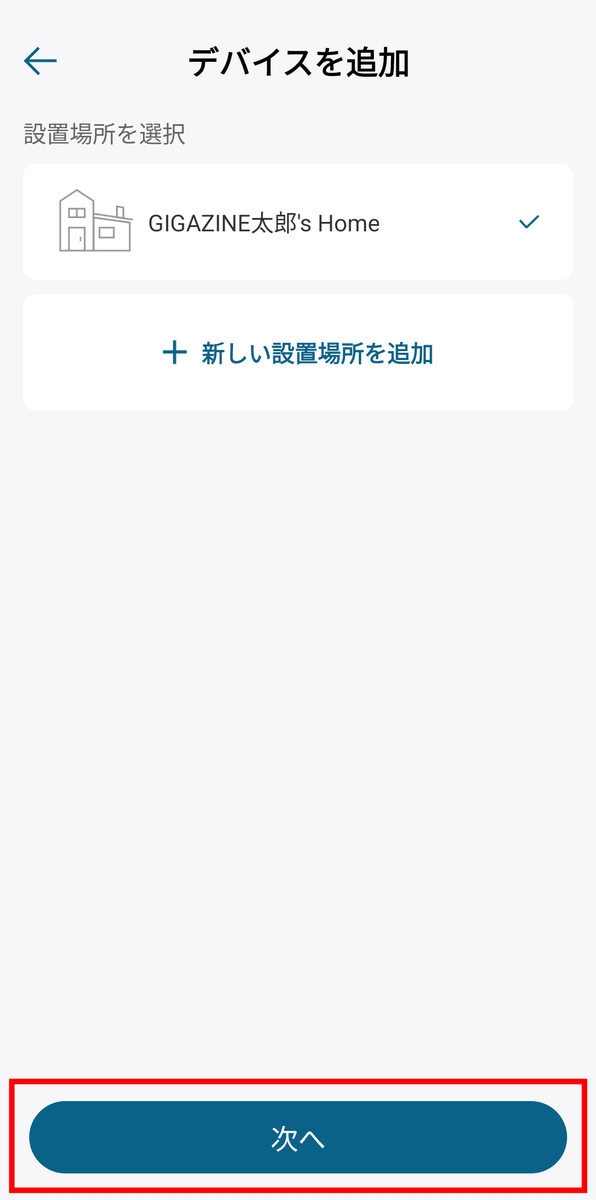
Check the installation location and tap 'Next'.
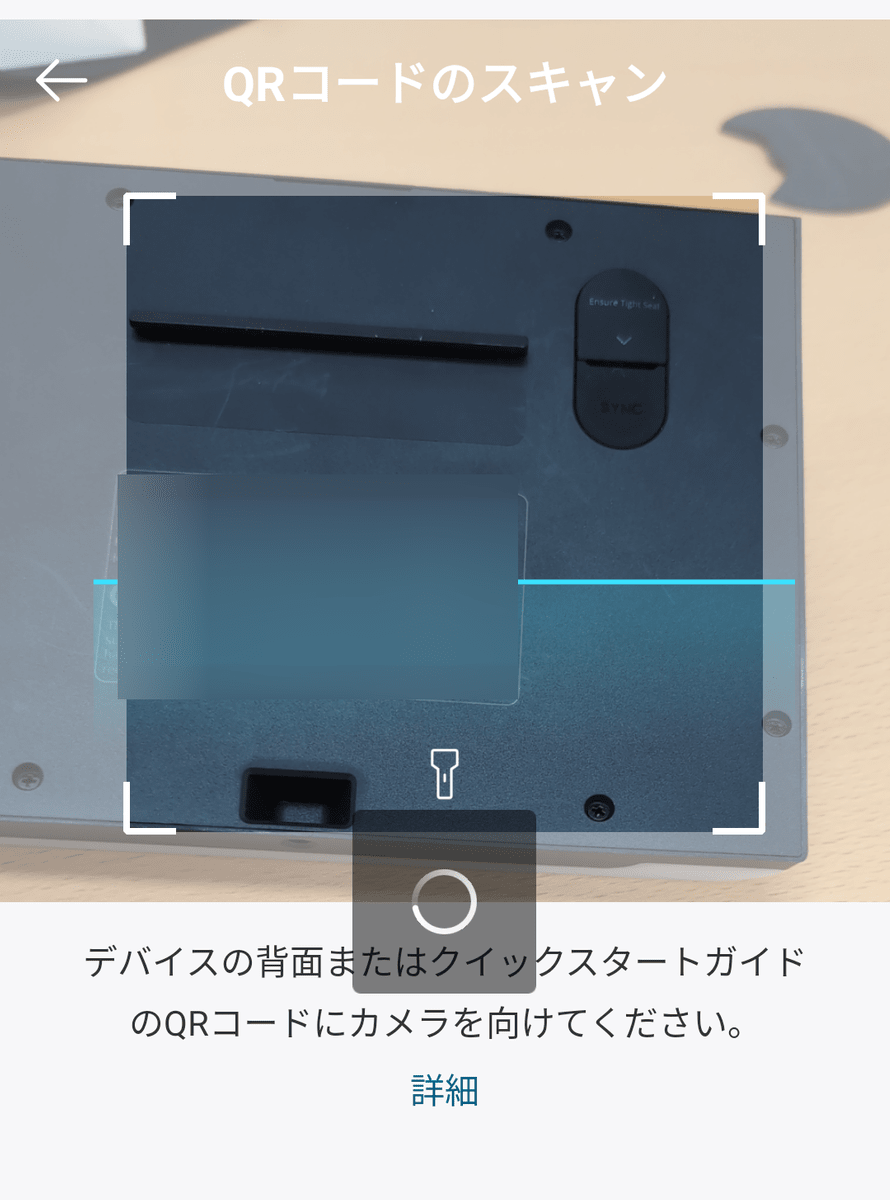
Scan the QR code printed on the back of the camera.
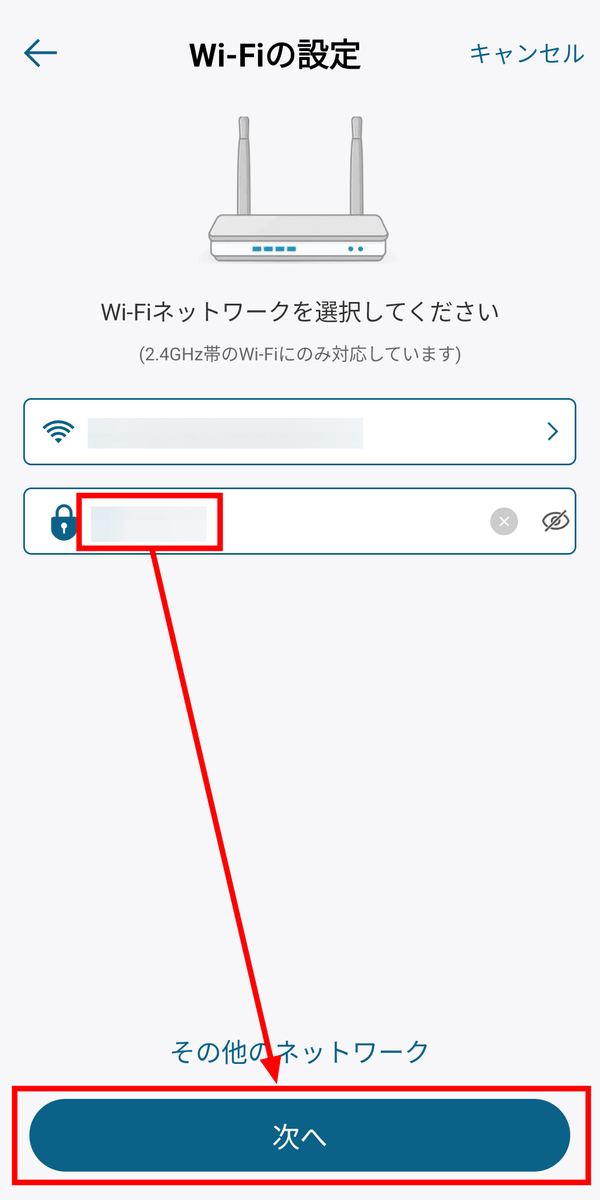
Enter the password for the network you want to connect to and tap 'Next.'
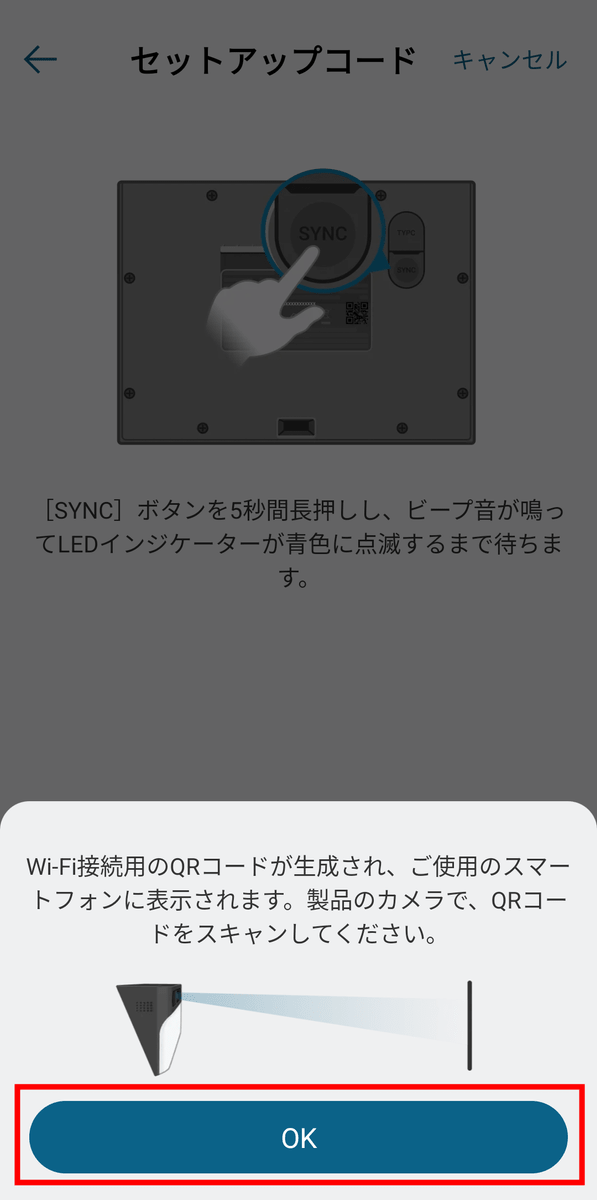
Press and hold the 'SYNC' button on the back of the unit for 5 seconds.
A message will appear saying 'A QR code for Wi-Fi connection will be generated,' so tap 'OK.'
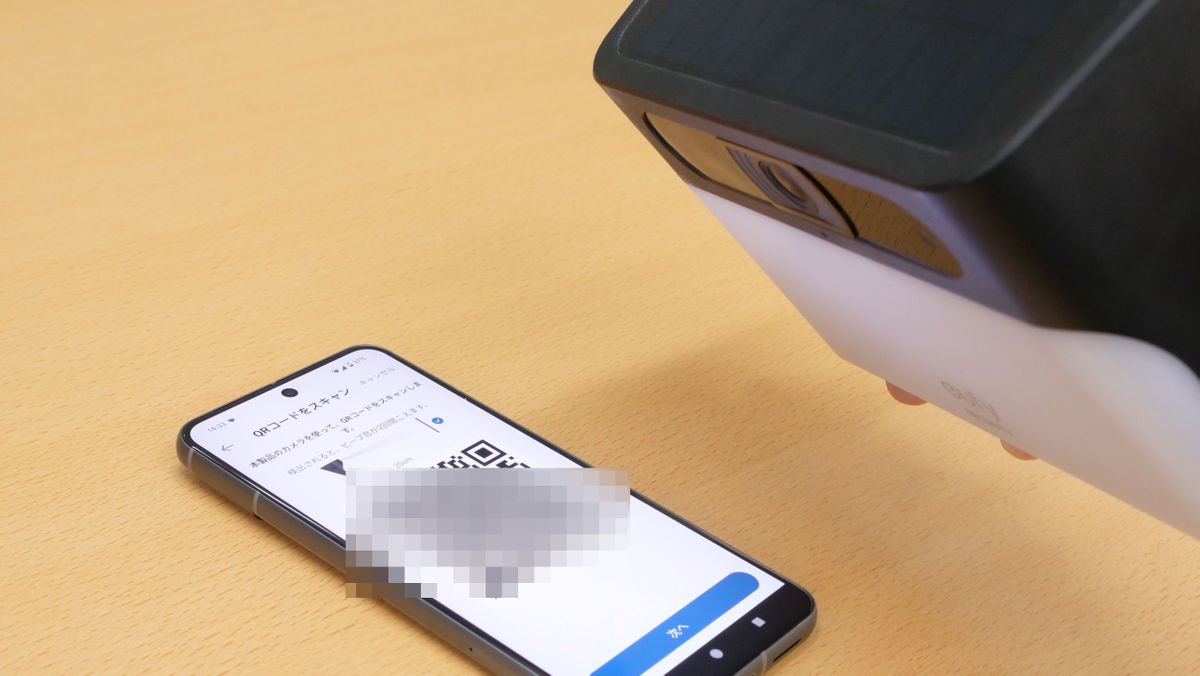
The app will display a QR code, which you can then scan with the camera. A beep will sound if the code is successfully read.
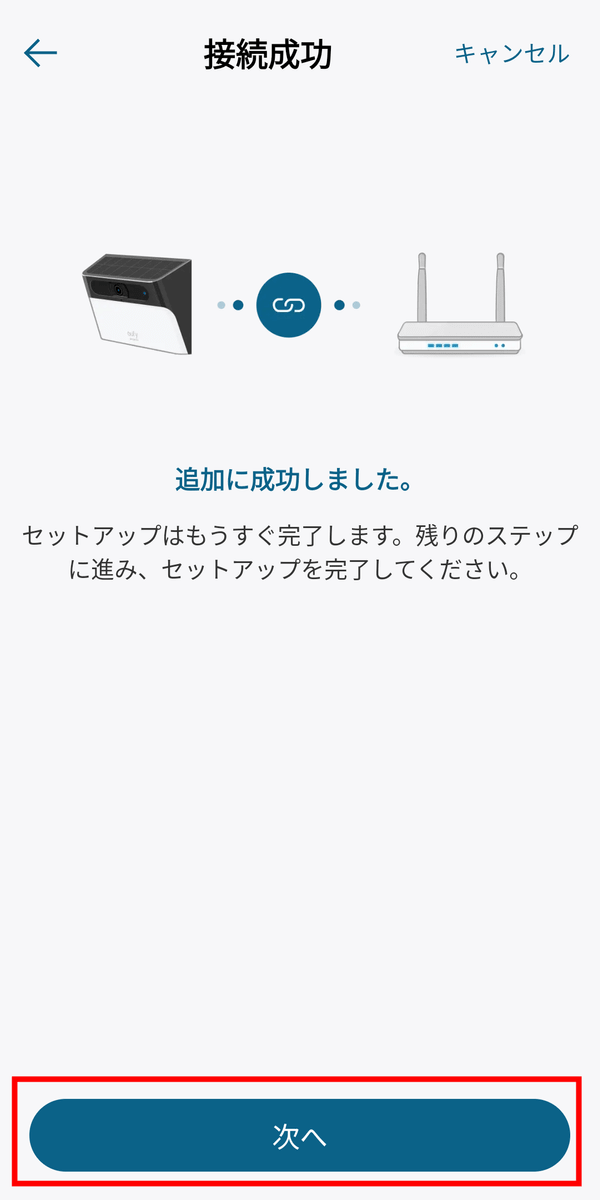
Once successful, tap 'Next' in the app.
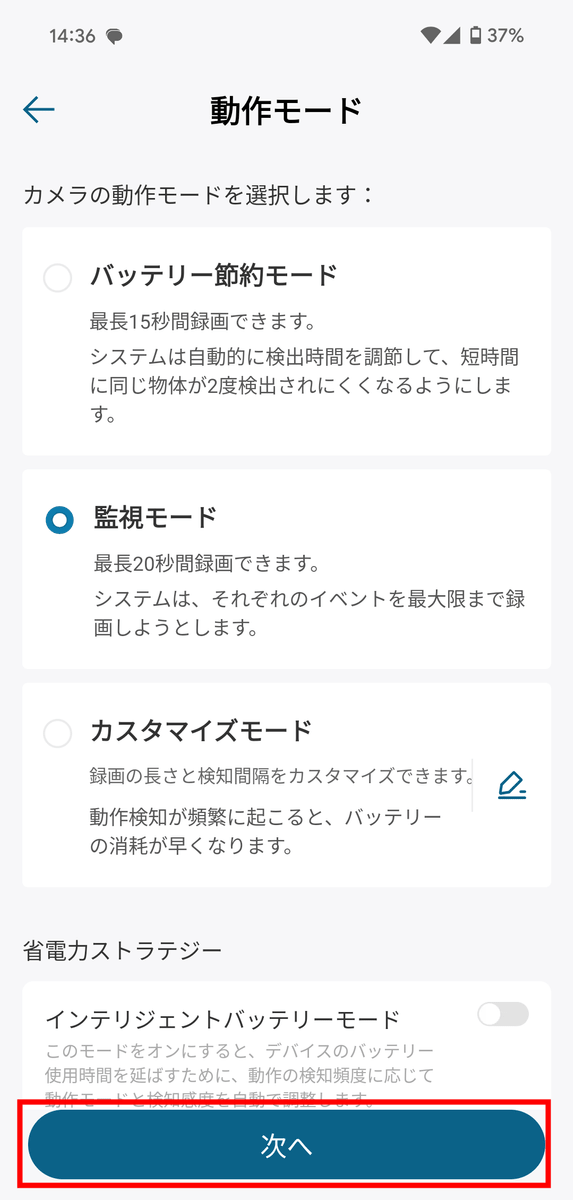
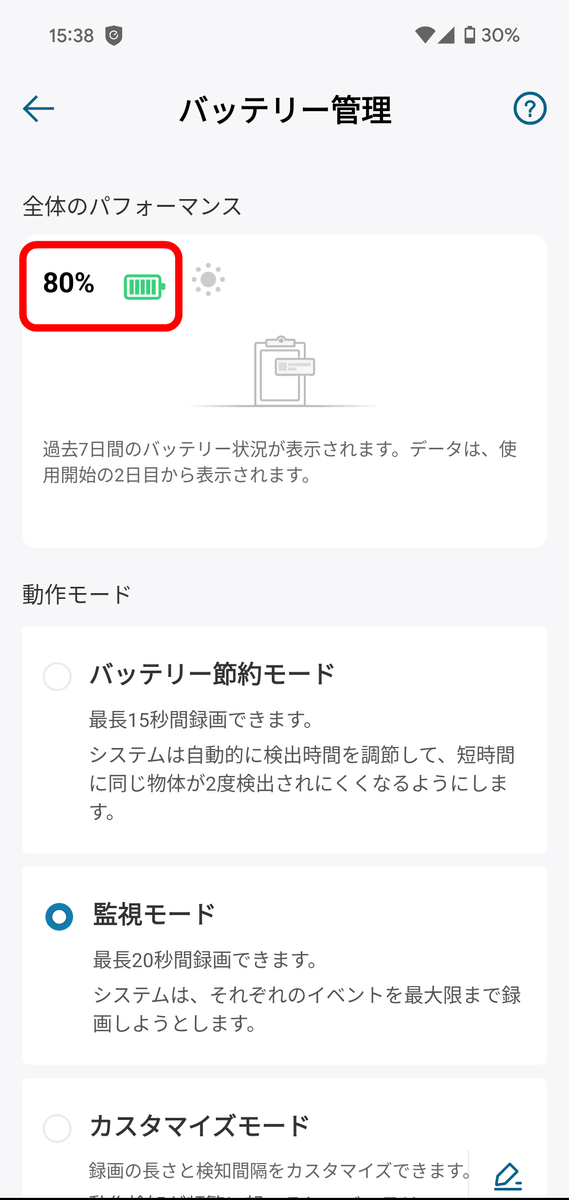
First, select the operating mode. The default is 'Monitoring Mode' which records for up to 20 seconds, and there is also 'Battery Saving Mode' which records for up to 15 seconds to make it harder for the same object to be detected twice in a short period of time, and 'Custom Mode' which allows you to set the recording time from 10 to 60 seconds and the recording interval from 5 to 60 seconds. This time, leave it as the default and tap 'Next'.
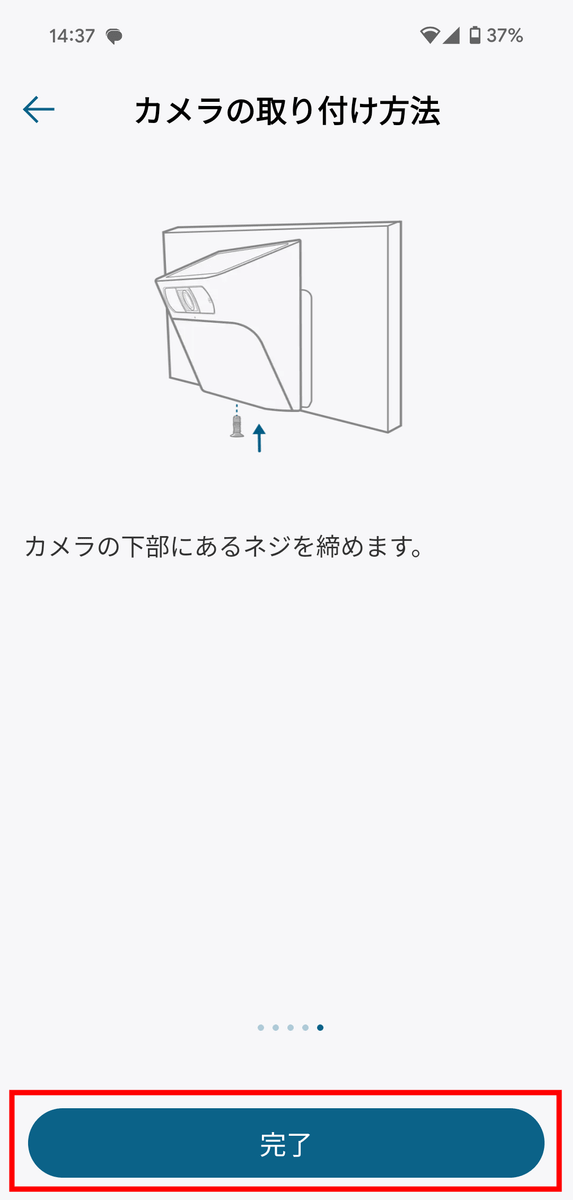
Read the installation tips and tap 'Done'.
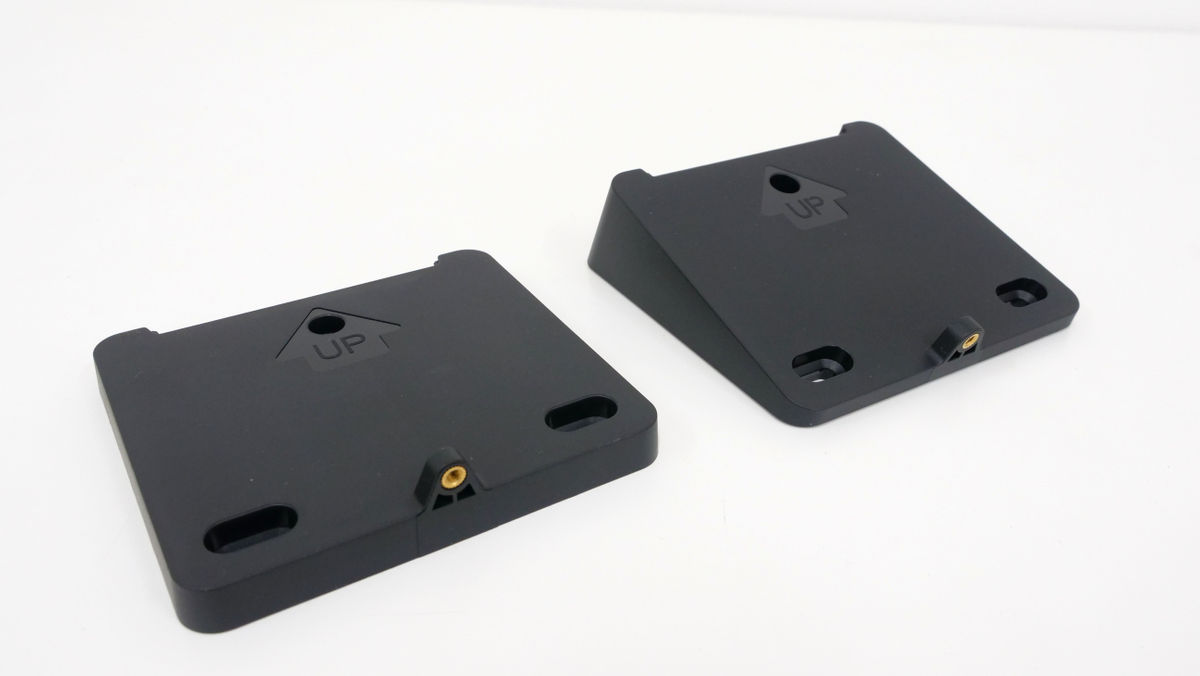
Next, connect the camera to the mounting plate according to
There are two types of mounting plates: a straight one and one tilted 15 degrees forward. This time, we used the straight one.
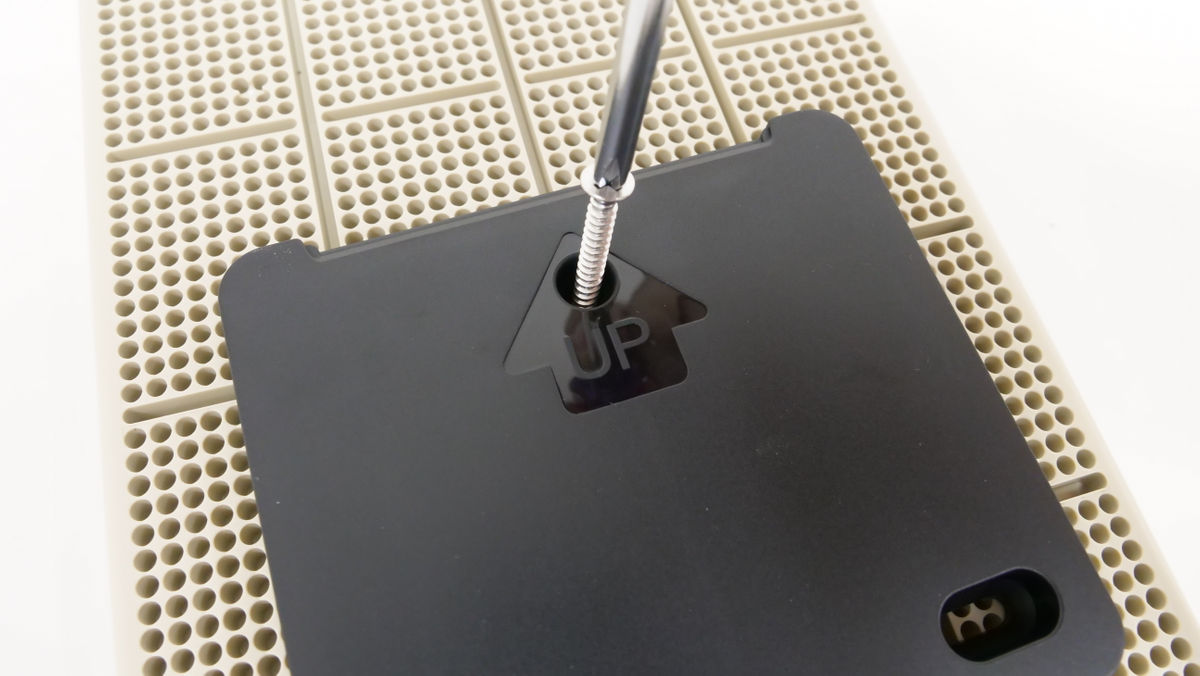
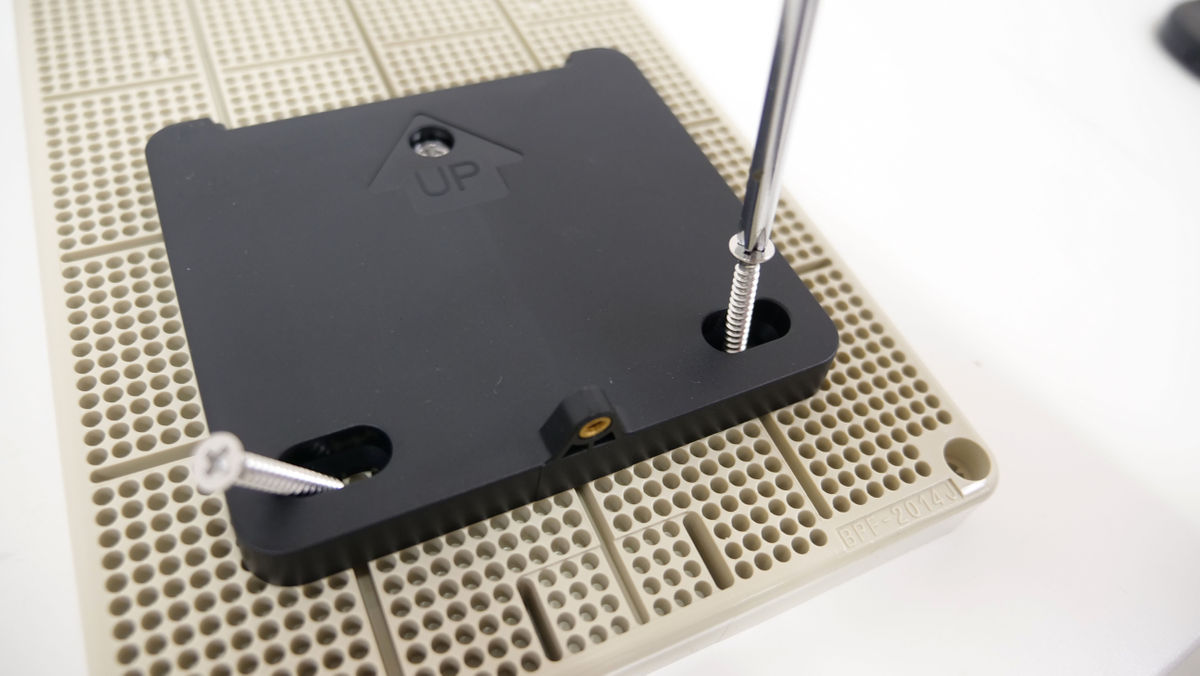
First, fasten the included screw to the top center where it says 'UP.'
Next, screw the screws into the two holes at the bottom.
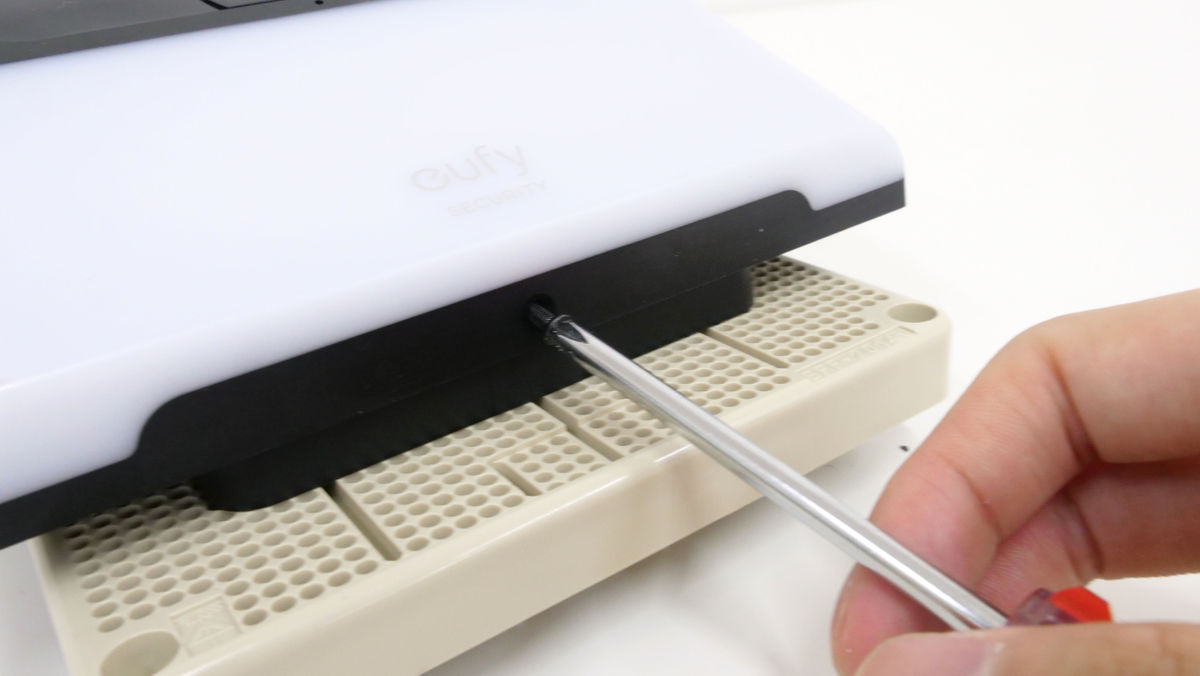
Attach the unit by hooking the recess on the back of the unit onto the mounting plate.
Finally, tighten the screws on the bottom to completely secure the mounting plate and main body.
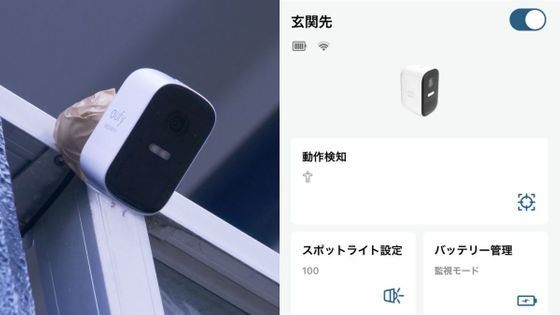
The app's home screen is as shown below. In the 'My Device' list, still images from the footage captured by the camera are displayed.
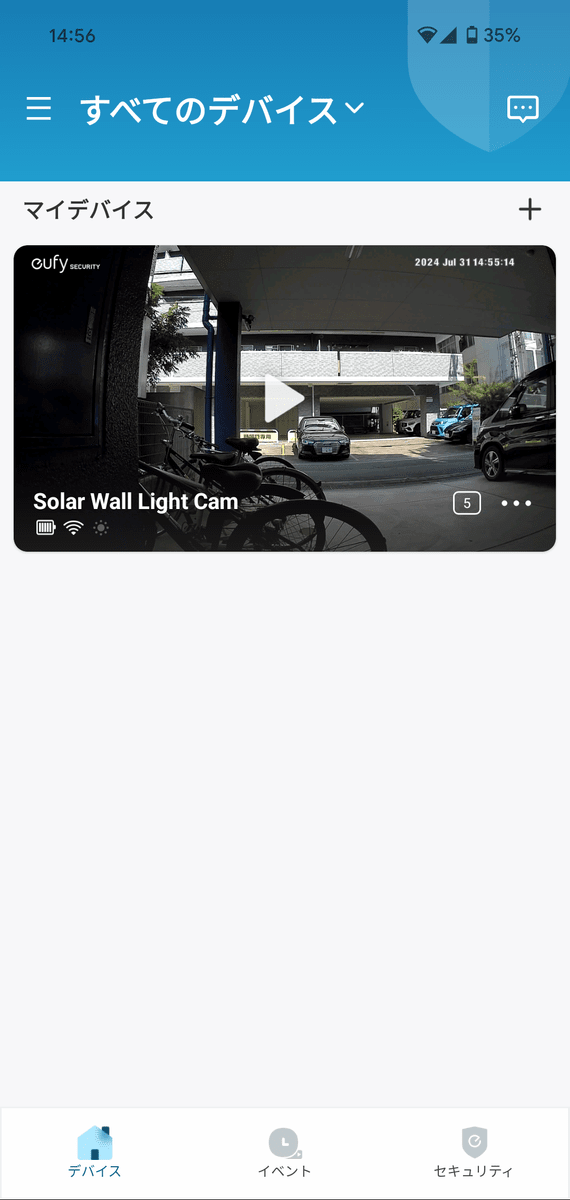
The icons on the left show the approximate battery capacity, the approximate Wi-Fi signal strength, and whether the device is charging using solar power. The number in a box on the right shows the number of detected events that the user has not yet acknowledged, and next to it is a menu icon.
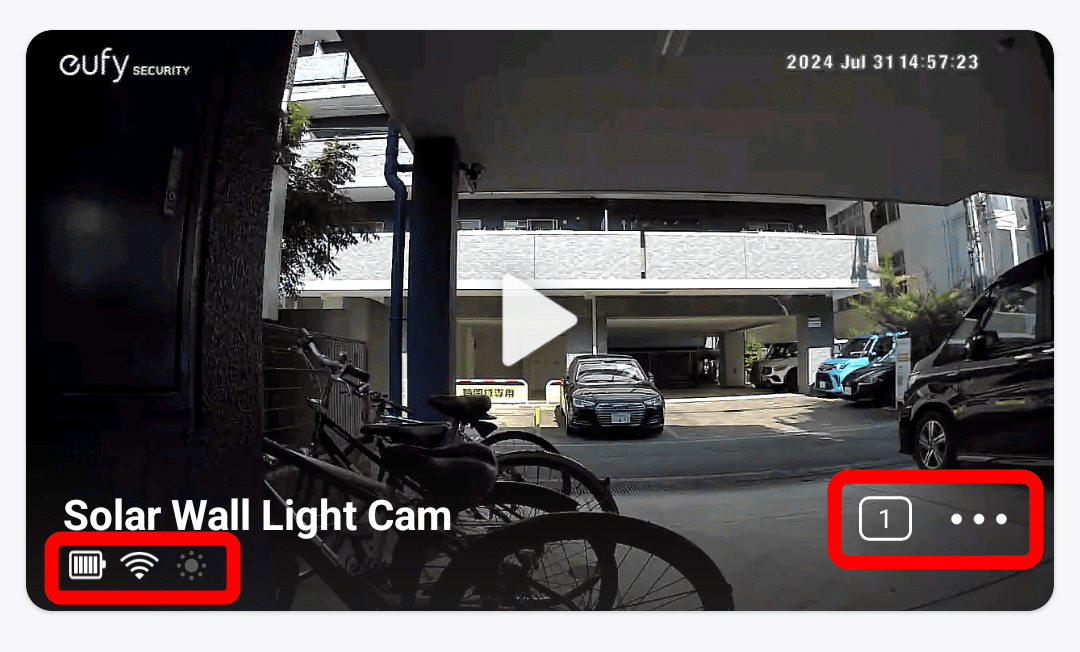
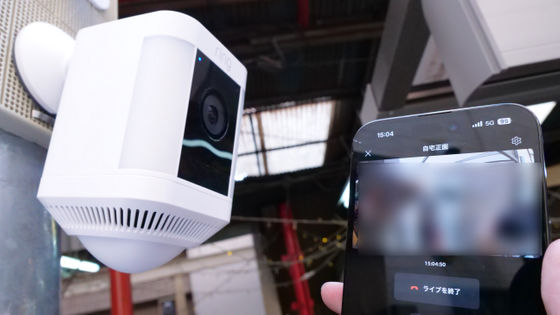
Tap the play button in the center to view live footage.

The live video confirmation screen looks like this. The live video is displayed at the top, and the operation panel is displayed at the bottom. In addition to 'recording,' 'screenshots,' 'calls,' and 'alarms,' the operation panel has functions such as 'sound' to mute the sound picked up by the camera, 'events' to check existing motion detection events, and 'auto night mode' to automatically switch to black and white night vision at night.
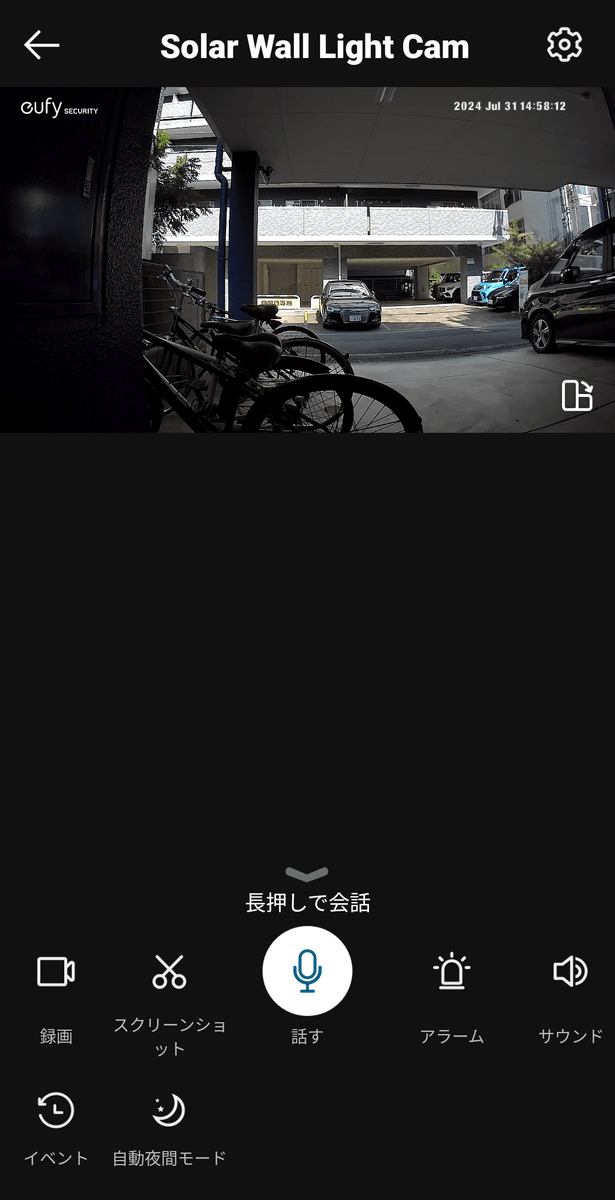
To make a call, just press and hold the microphone icon to talk. It is a one-way call, so you cannot hear the other person while you are talking.
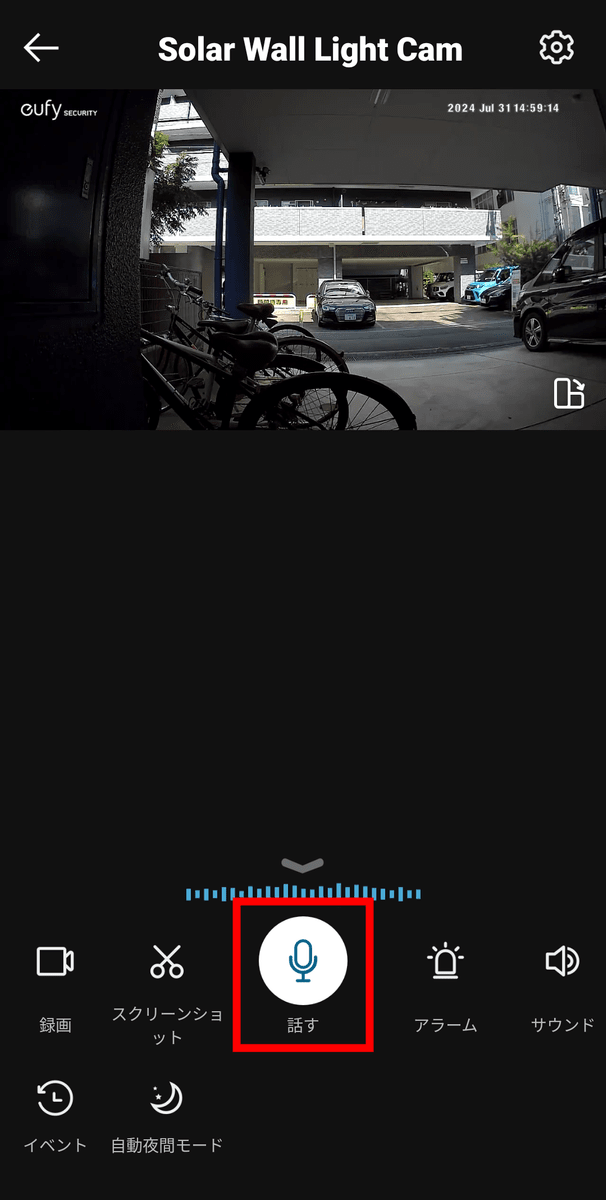
The sound quality and volume are as follows:
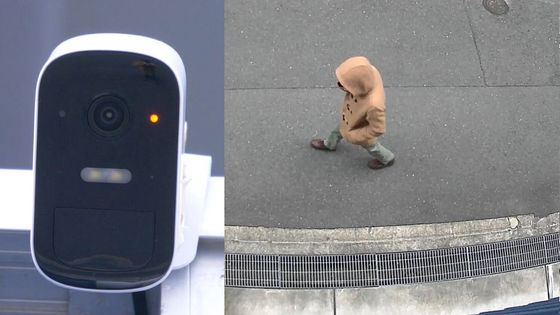
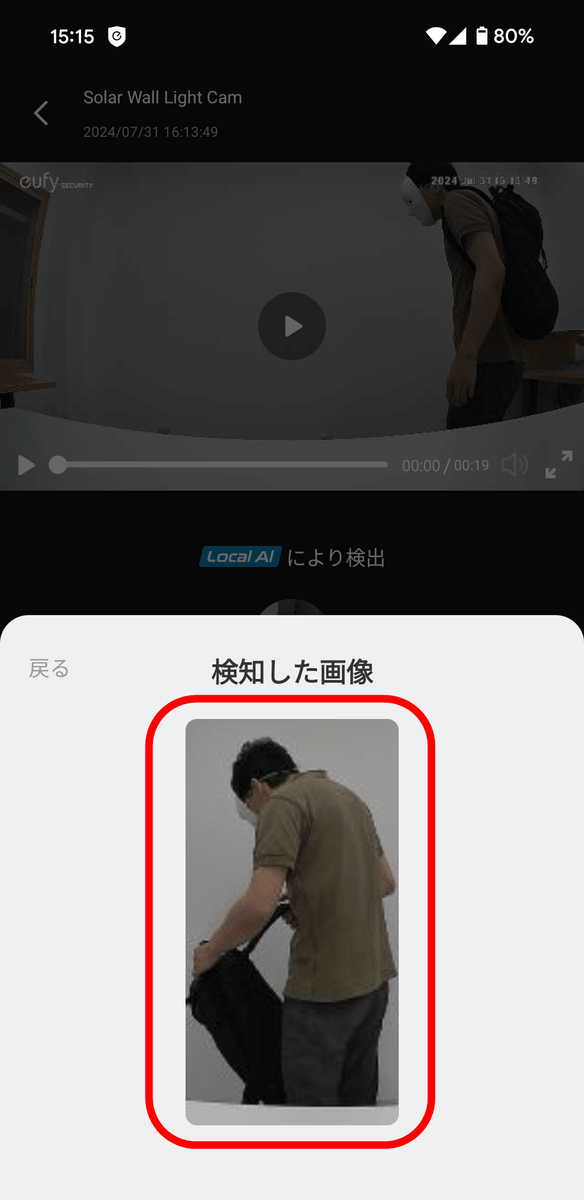
When the Anker Eufy Solar Wall Light Cam S120 detects a person or other moving object, it records it as an 'event' and automatically records it and saves it to the device's storage. You can view the recording list from the 'Events' section of the app.
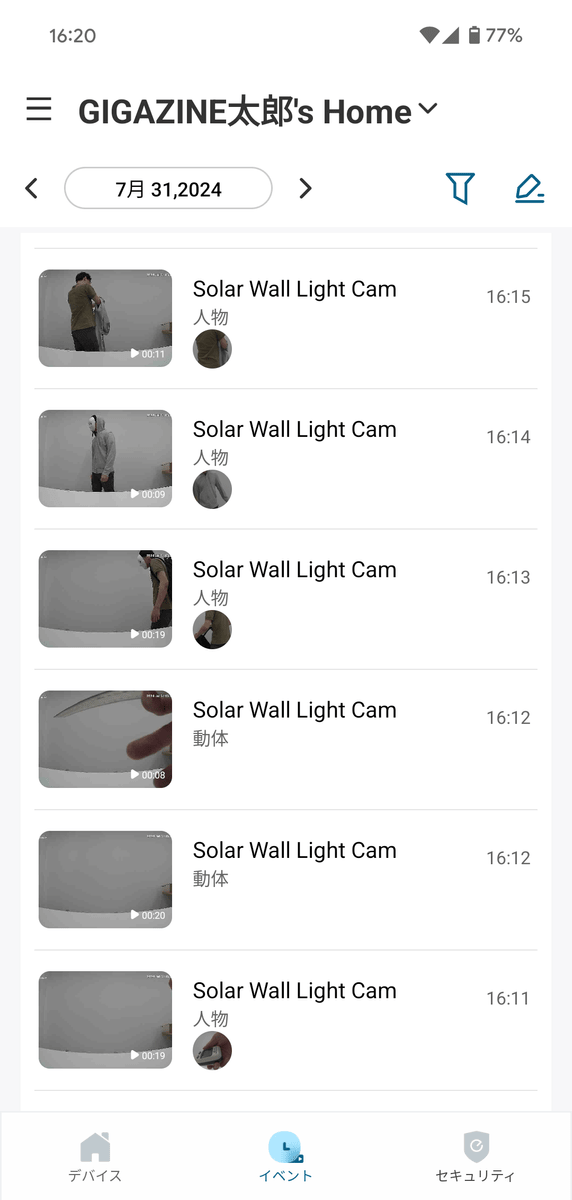
In the recording, photos of moving objects detected by Anker's AI are displayed like thumbnails, so you can see what was captured at a glance without having to watch the recording from start to finish. If you face the camera straight ahead, your face will be cropped and displayed perfectly.
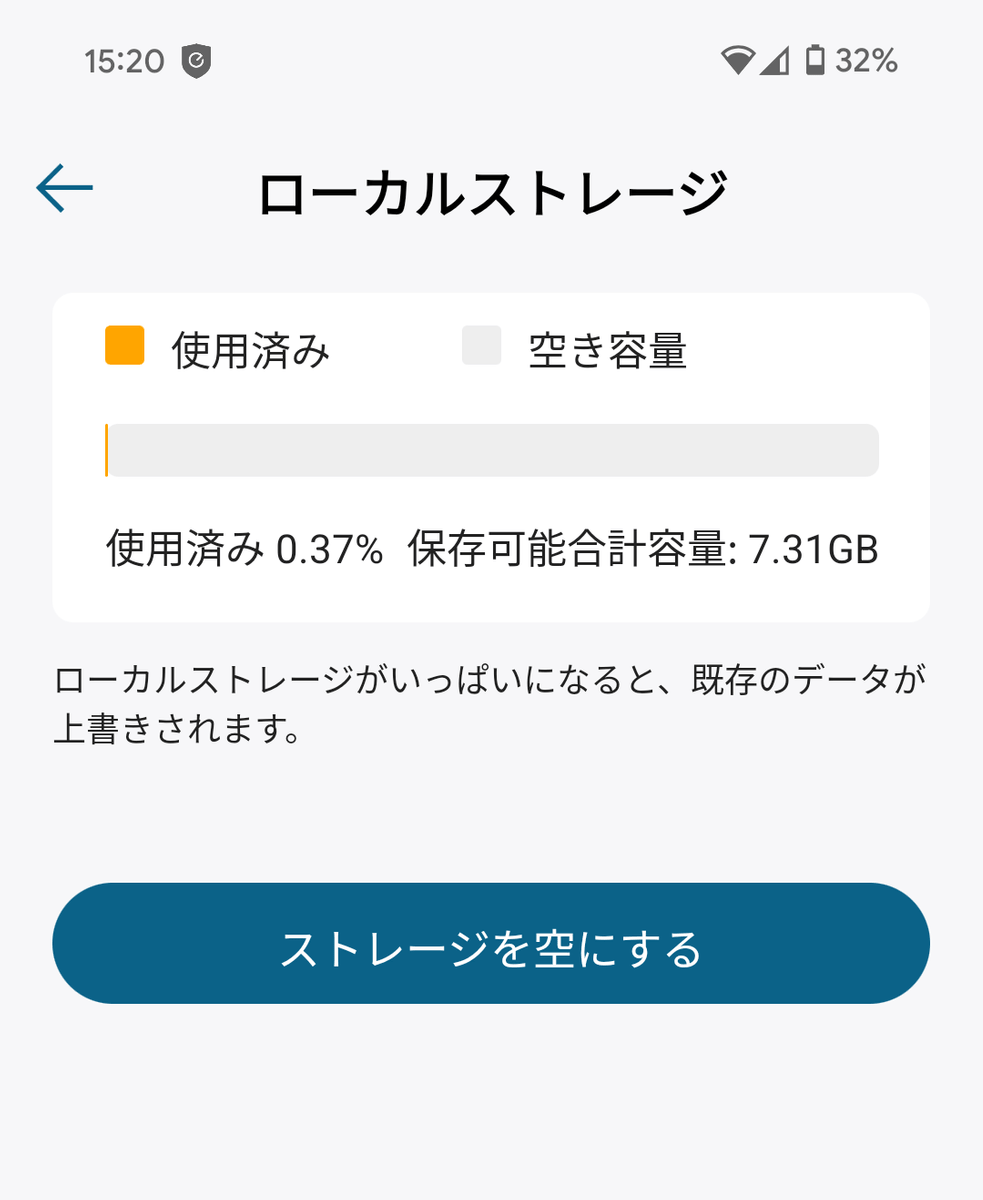
You can choose the recording quality from 2K or 1080p. Recordings are saved to the device's storage. The device's storage capacity is 8GB.
Here is one of the recordings. It was recorded in the shade at 3pm on a sunny day, and the overall impression is a little dark. There were no settings to change the screen brightness. The resolution was 2304x1296, 15FPS, and the file size was 1.1MB for a 9-second recording.
The following video was recorded indoors. It is 19 seconds long, 1920x1080, 15FPS, and 2.39MB in size.
Indoor footage recorded with the solar panel wireless security camera 'Anker Eufy Solar Wall Light Cam S120' - YouTube
The video below was recorded in a dark room. The Anker Eufy Solar Wall Light Cam S120 shoots black and white footage in dark conditions, but when it detects motion, the light automatically turns on and the footage switches to color.
Nighttime footage recorded with the solar panel wireless security camera 'Anker Eufy Solar Wall Light Cam S120' - YouTube
The detection range for moving objects is about 8m. In fact, cars frequently passed by on a public road about 8m to 11m away from the camera, but none of them were detected. Below is the video recorded by manually pressing the record button.
Outdoor footage manually recorded with the solar panel wireless security camera 'Anker Eufy Solar Wall Light Cam S120' - YouTube
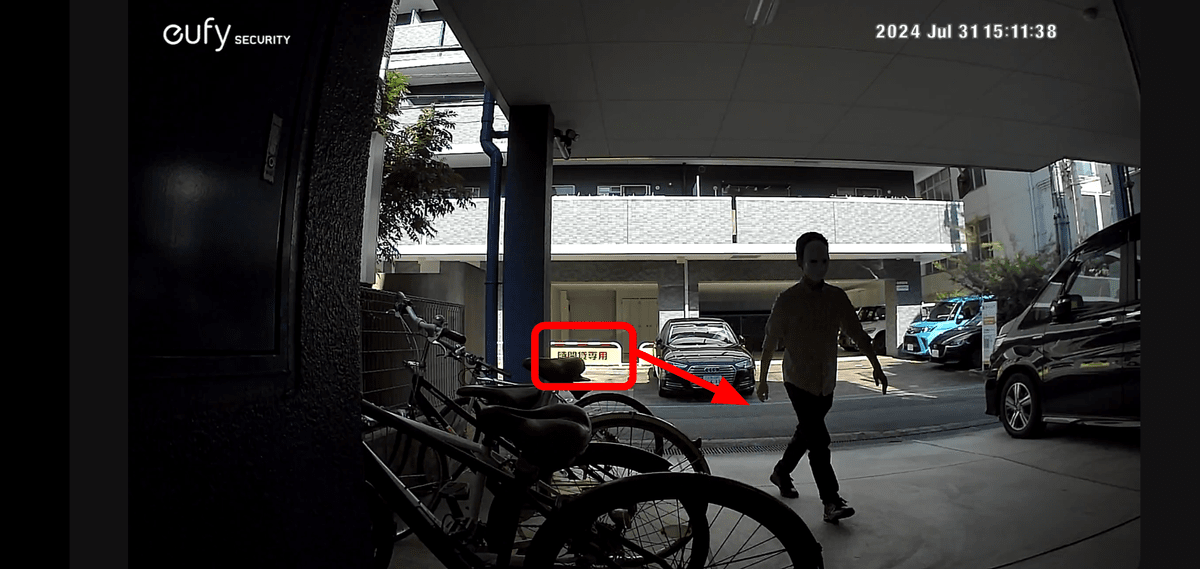
In an experiment where I approached the camera from a distance of about 13-14m, recording started when I got about 5-6m away from the camera. The area surrounded by the red frame below is about 13-14m away from the camera, and the person is standing about 5-6m away. Since it is not suitable for wide-area detection, I got the impression that the Anker Eufy Solar Wall Light Cam S120 is not suitable for wide-area detection, but rather for focused monitoring of a specific narrow area.
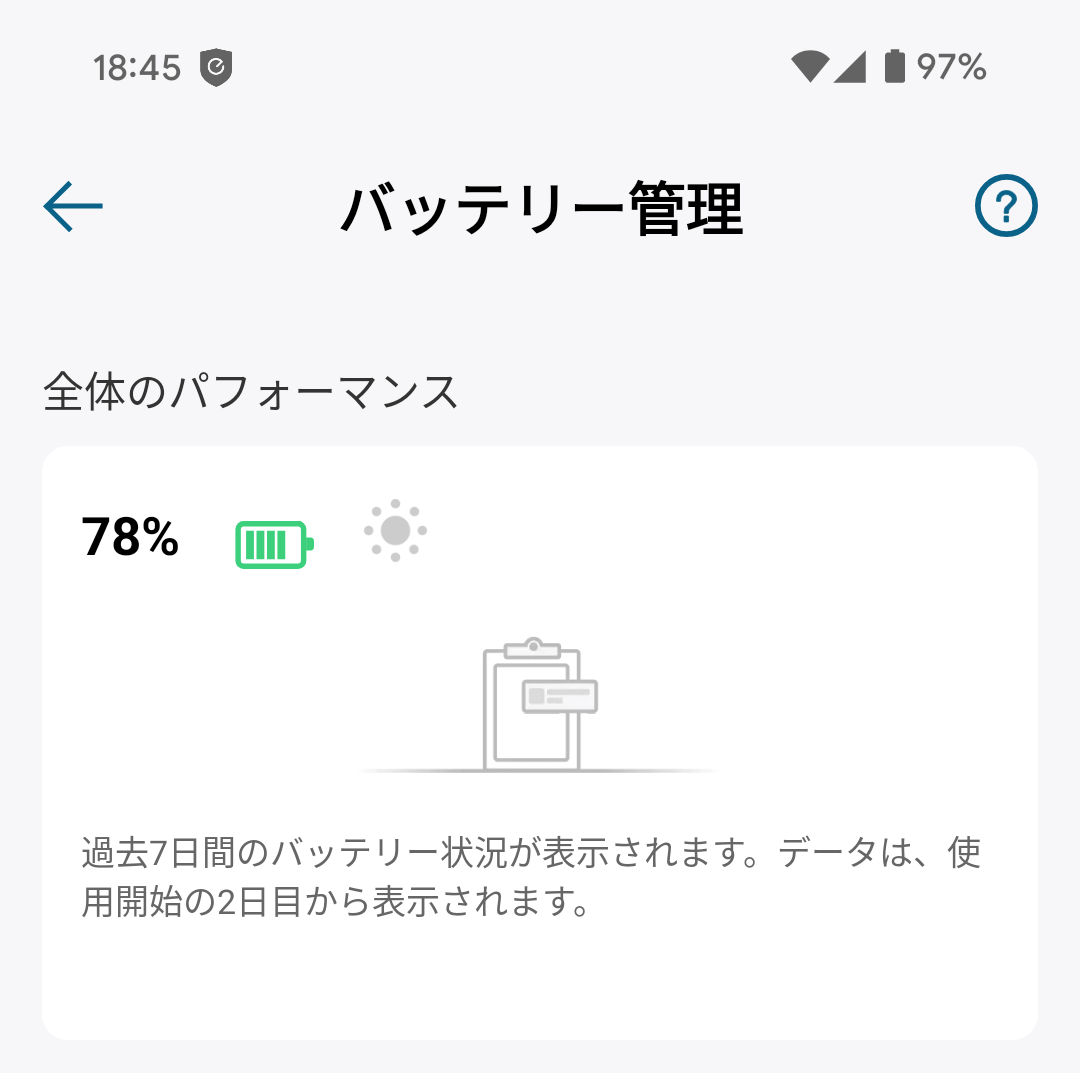
We also tested the battery life. First, it was at 80% as of 3:38 p.m.
After checking the recording and the camera footage for the next three hours, the temperature dropped to 78%. During this time, the unit was not exposed to sunlight.
After that, I left it indoors for about 20 hours and it was down to 75%. That's roughly a 5% decrease in 24 hours.

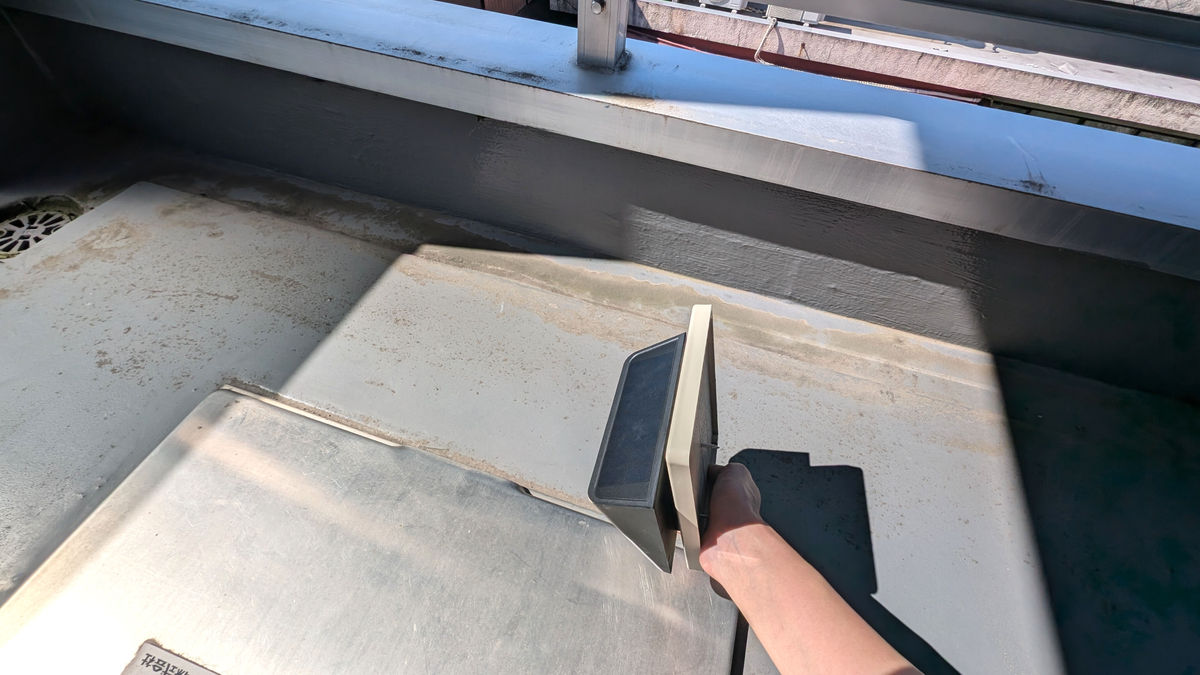
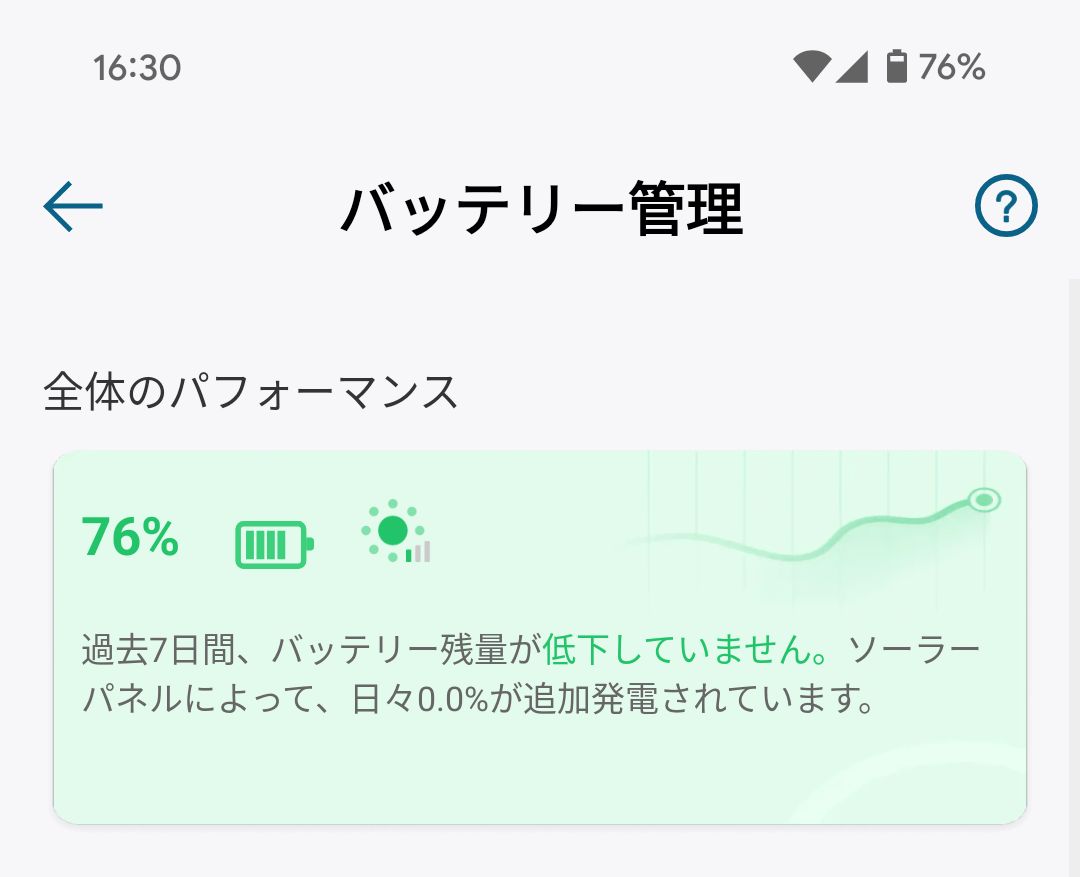
Then I put it in a sunny spot.
1% recovery in 1.5 hours.
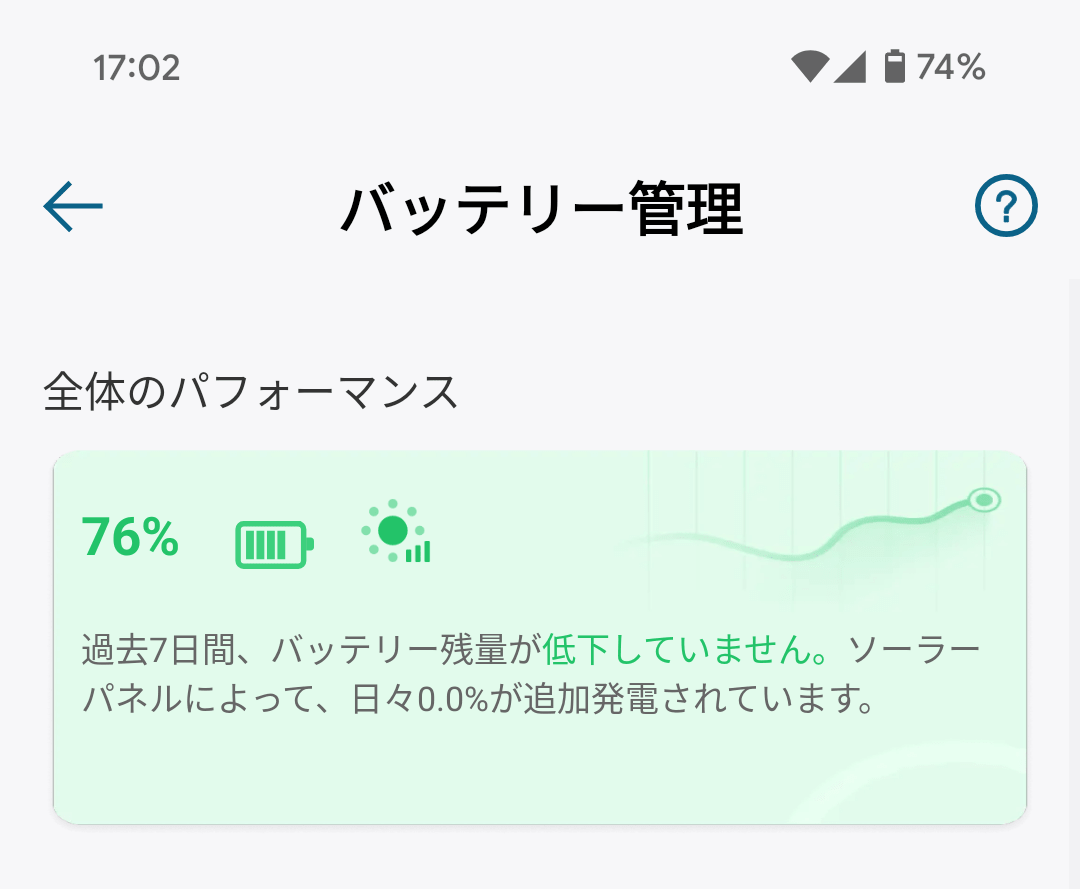
I left it for 2 hours and it was the same percentage.
One of the features of the Anker Eufy Solar Wall Light Cam S120 is that you can use all the services without paying a monthly fee, which sets it apart from monthly fee-based wireless cameras sold by major manufacturers. The main unit can be purchased for 14,990 yen (tax included), and it is also capable of night shooting, motion detection, and solar charging, so I think it is a very good value for money.
It was released on June 2, 2024, but at the time of writing, Amazon.co.jp was 'accepting pre-orders.'
Related Posts: