How to record screen with free open source live distribution software 'OBS' & easily capture screen with video conference

There are many software for capturing screens, but the one that is used especially for majors is the live distribution software '
How to Record Your Screen and Stream With OBS Studio
https://www.makeuseof.com/tag/record-screen-stream-online-obs/
You can understand how to install OBS and live stream by reading the following article.
Summary of how to record and distribute Nintendo Switch and PS4 game video with the built-in PC capbo 'AVerMedia Live Gamer 4K GC573' --GIGAZINE
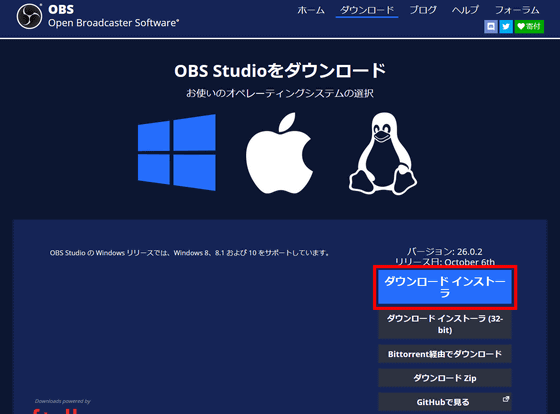
A feature of OBS is that you can freely configure the screen by specifying sources such as screens, windows, and input devices and managing them in layers.

To capture the screen with OBS, click the + icon at the bottom left of the source window and select 'Screen Capture'.

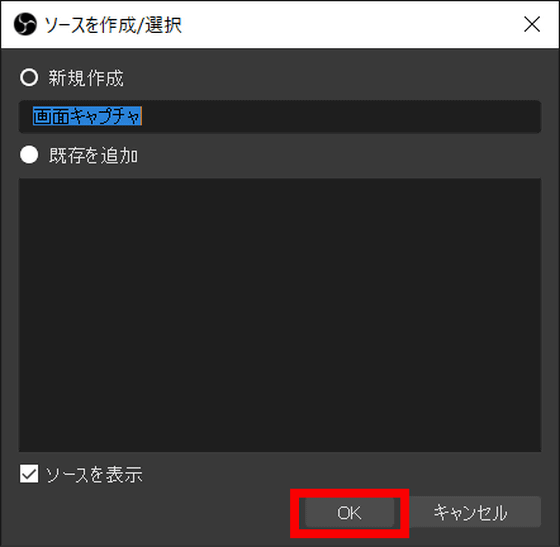
The 'Create / Select Source' window opens, so click 'OK'.
The properties of 'Screen capture' will open, so select 'OK'.

Then, you can capture the entire screen of your PC like this.

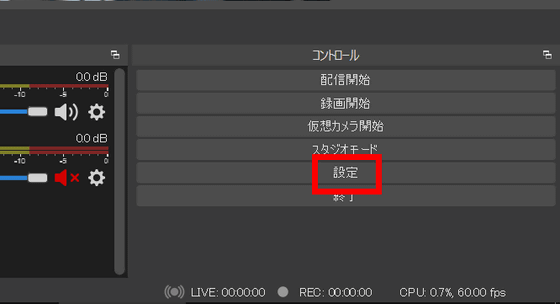
Select 'Settings' to set the recording profile.
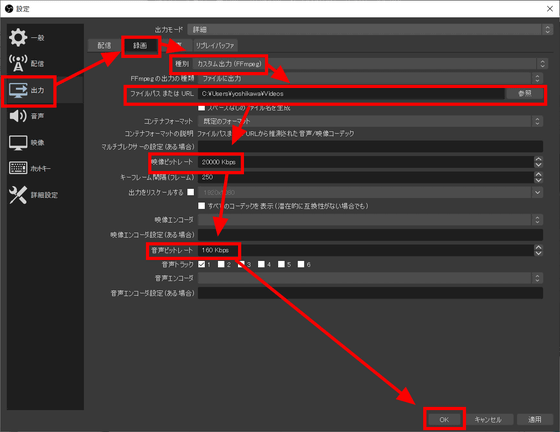
Select 'Output' on the left side of the setting screen, and select the 'Recording' tab. Set the type to 'Custom output (ffmpeg)' and click Browse for 'File path or URL' to specify where to save the recording file. Next, after deciding the 'video bit rate' and 'audio bit rate', click 'OK'.
Click 'Start Recording' from the control panel at the bottom right of OBS to start recording.

The following movie is an actual recording of the PC screen with OBS.
In addition, OBS is equipped with a 'virtual camera' function that can be operated as a virtual camera device. For example, by operating OBS as a virtual camera device and specifying OBS in the camera device settings of the video conferencing tool, you can easily share your screen or window in an online conference.
This time, I will share the Chrome screen with Google Meet. After starting Chrome, specify 'window capture' in the source.

Select 'chrome.exe' in the 'Window Capture' properties and select 'OK'.

Then, you can capture only the Chrome screen like this. When capturing with windows, only the Chrome screen is captured on OBS, even if other windows overlap Chrome on the actual PC screen. You can also change the size and position of the Chrome window on the capture by dragging and dropping the red frame.

Add an 'image' to the source to see the images you have and check for source overlap.

When you display the image, it looks like this, and only the specified image is displayed on the capture screen. .. Looking at the source panel, 'Image' is above 'Window capture' ...
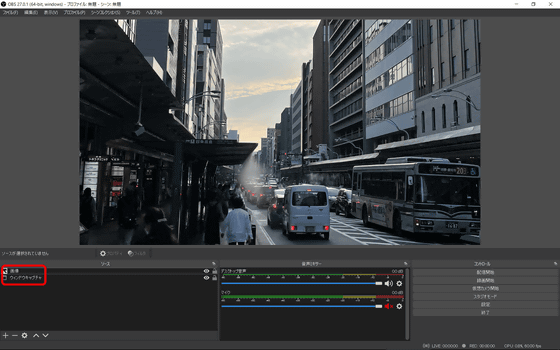
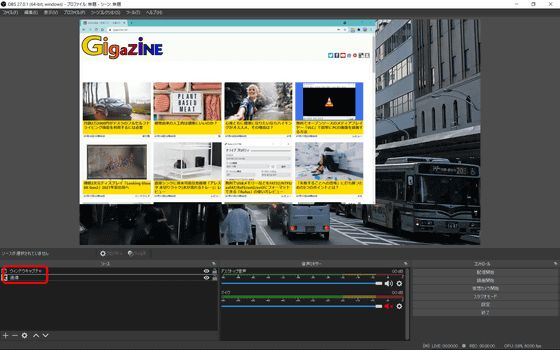
When I dragged 'Image' and brought it under 'Window Capture', Chrome displayed it above the specified image. As for the source, what is above the source panel is treated as an upper layer, so you can intuitively adjust the screen composition.
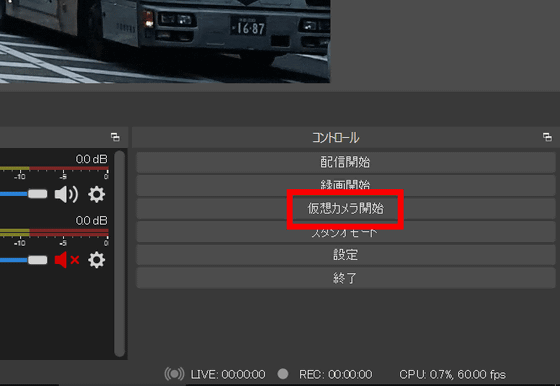
Click 'Start Virtual Camera' from the control panel at the bottom right.
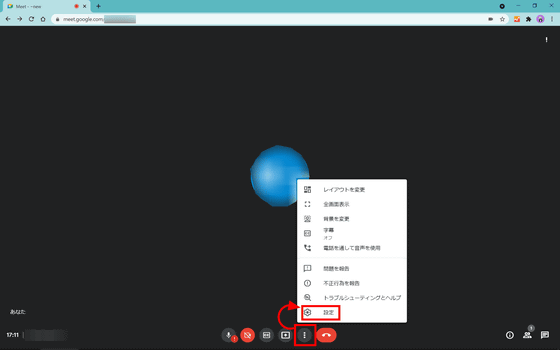
In this state, try accessing Google Meet. Select 'Settings' from the menu icon.
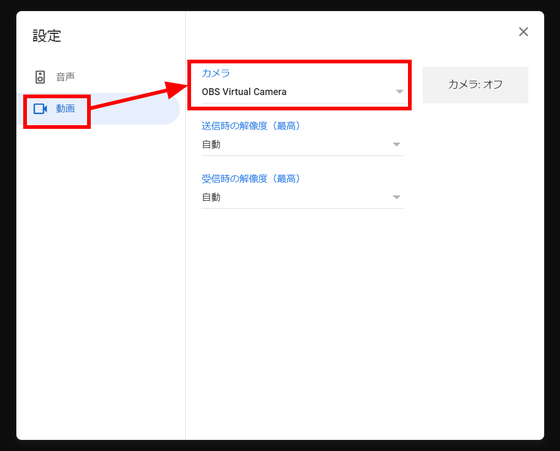
Select 'Video' and then 'OBS Virtual Camera' under 'Camera'.
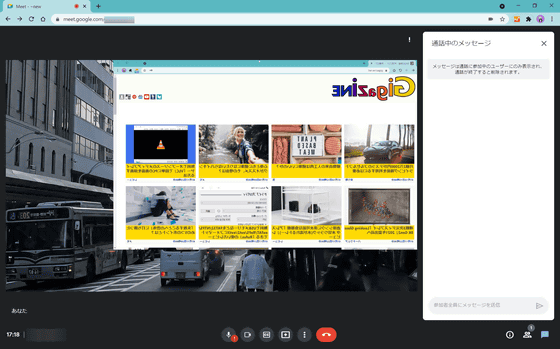
Then you can display the OBS capture screen instead of the webcam. With OBS's virtual camera feature, you can easily share your PC screen or gameplay screen in a video conference.
Related Posts:


