Summary of how to record and distribute game images of Nintendo Switch and PS4 with the built-in PC capbo 'AVerMedia Live Gamer 4K GC573'
Live Gamer 4K (GC573) | Compare | AVerMedia
https://www.avermedia.co.jp/jp/product-detail/GC573
The following article summarizes how to install Live Gamer 4K GC573 and how to set up RECentral, the official capture software.
I tried to incorporate the capture board 'AVerMedia Live Gamer 4K GC573' that can distribute and record 4K / 60fps game videos into the PC --GIGAZINE
◆ Try recording the game video
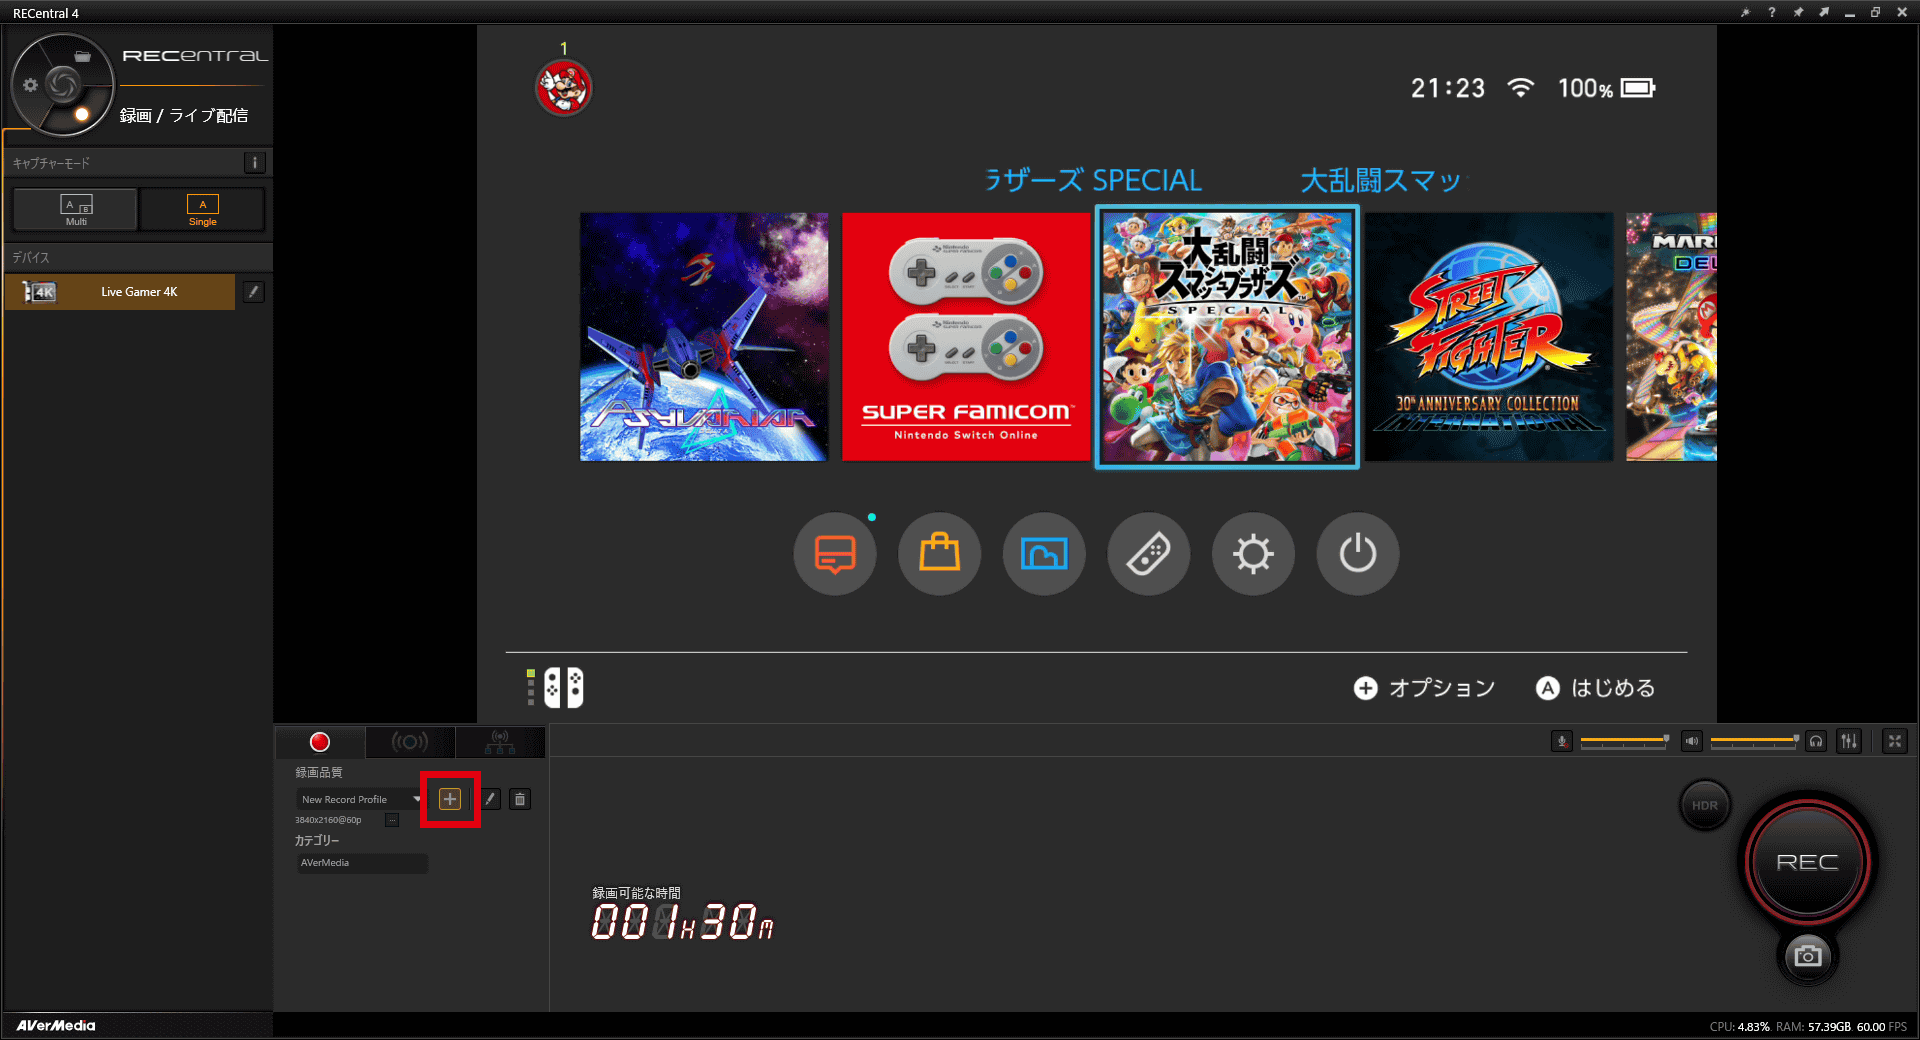
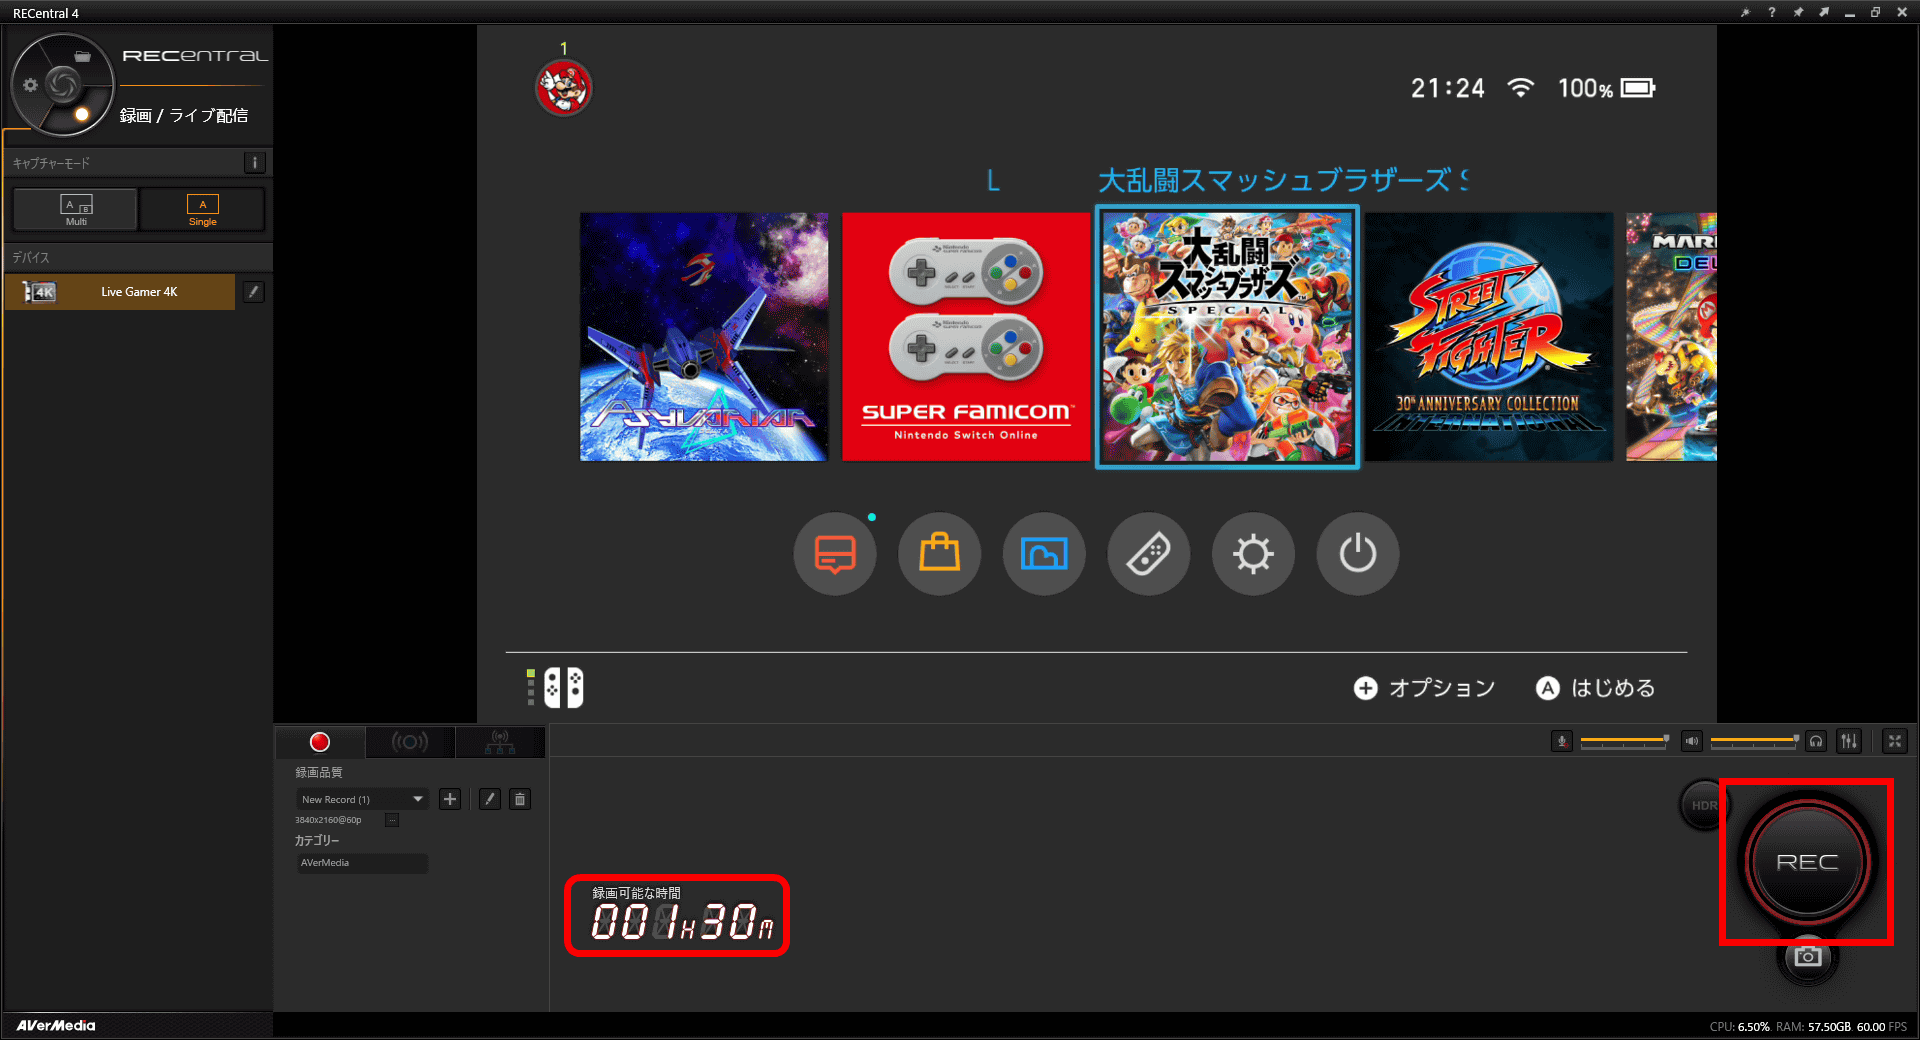
Use RECentral for recording. The following is the place where the video of Nintendo Switch is captured by RECentral. To set the recording quality, click the '+' at the bottom left.
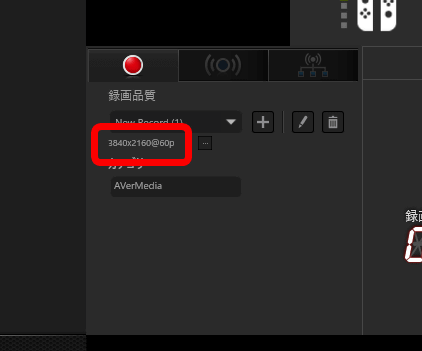
After setting the codec, keyframe, format, audio channel,

The set resolution and frame rate will be displayed under Recording Quality. Recording settings are now complete. In addition, you need to use RECentral to record HDR.
To record, click 'REC' at the bottom right. Recording can be stopped by clicking the same button again. The recordable time is displayed at the bottom of the window. If the resolution, frame rate, and bit rate are high, the amount of recorded data per second will increase, and the recordable time will decrease.
Below is an actual recording of the Nintendo Switch video. The Nintendo Switch can only output up to 1080p, but if you set the recording resolution setting to 4K, 1080p video will be upscaled to 4K and recorded.
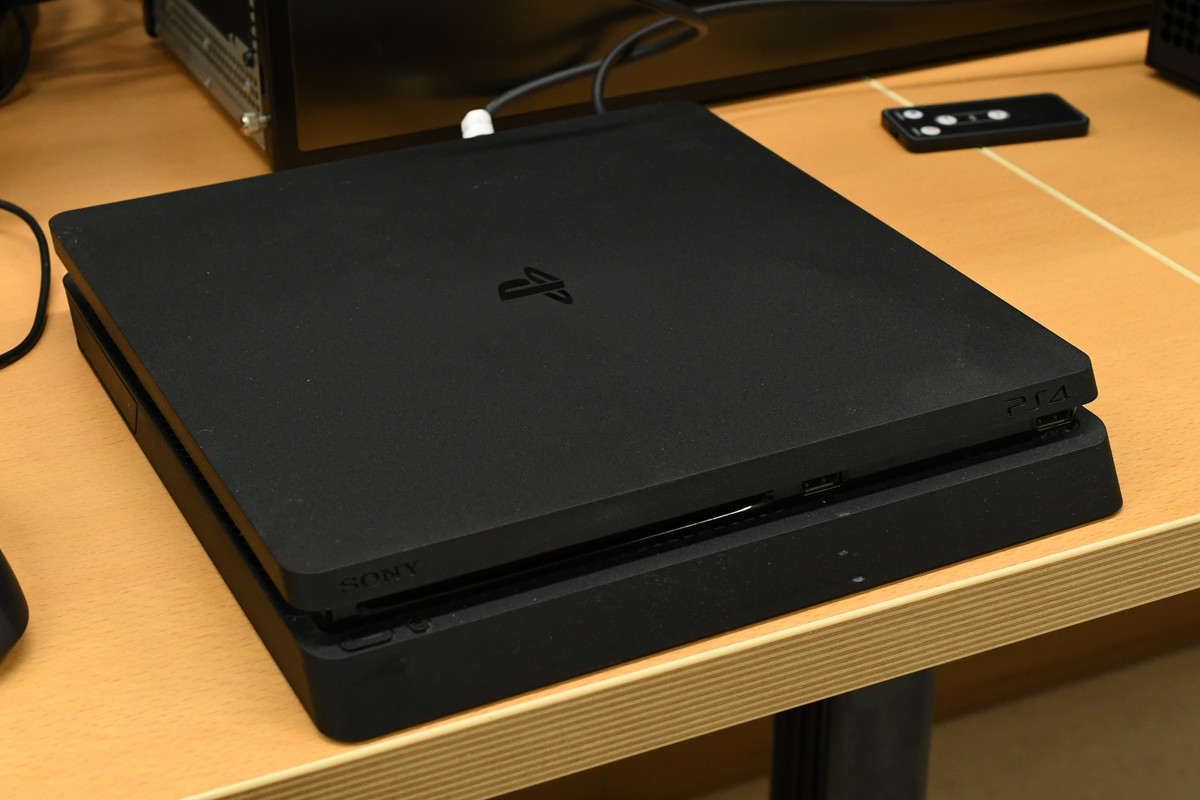
Next, let's record the video of PlayStation 4.
By default, the output signal of PlayStation 4 is encrypted with a copy protection technology called
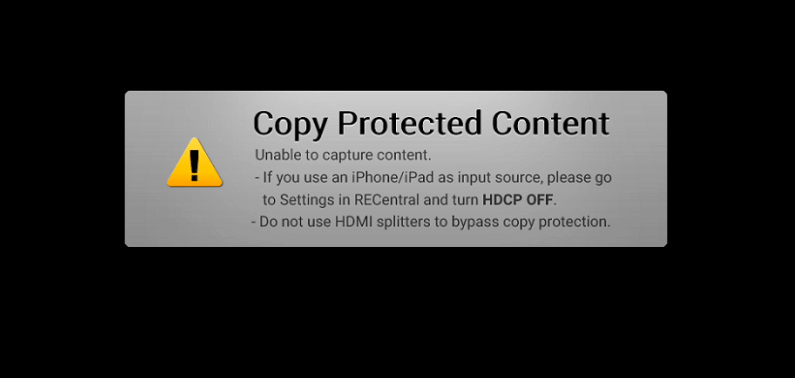
PlayStation 4 can disable HDCP by unchecking 'Enable HDCP' on the system. However, be aware that disabling HDCP will limit the use of some systems.
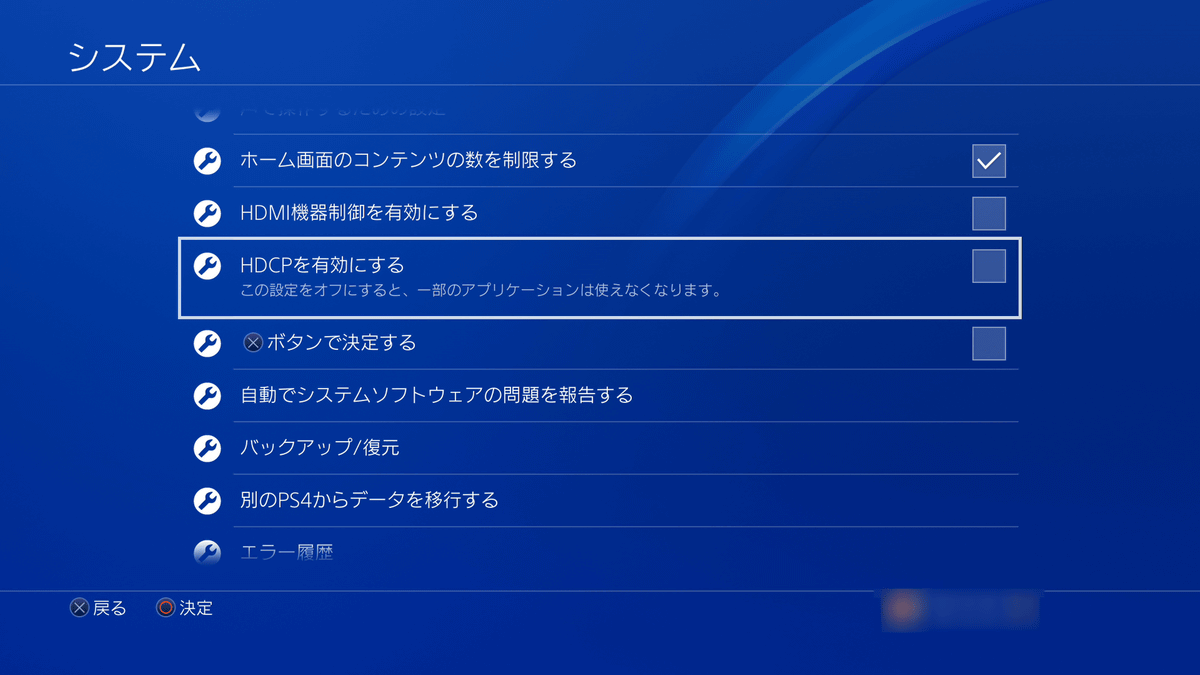
If you disable HDCP, the video will be captured and you will be able to record it.
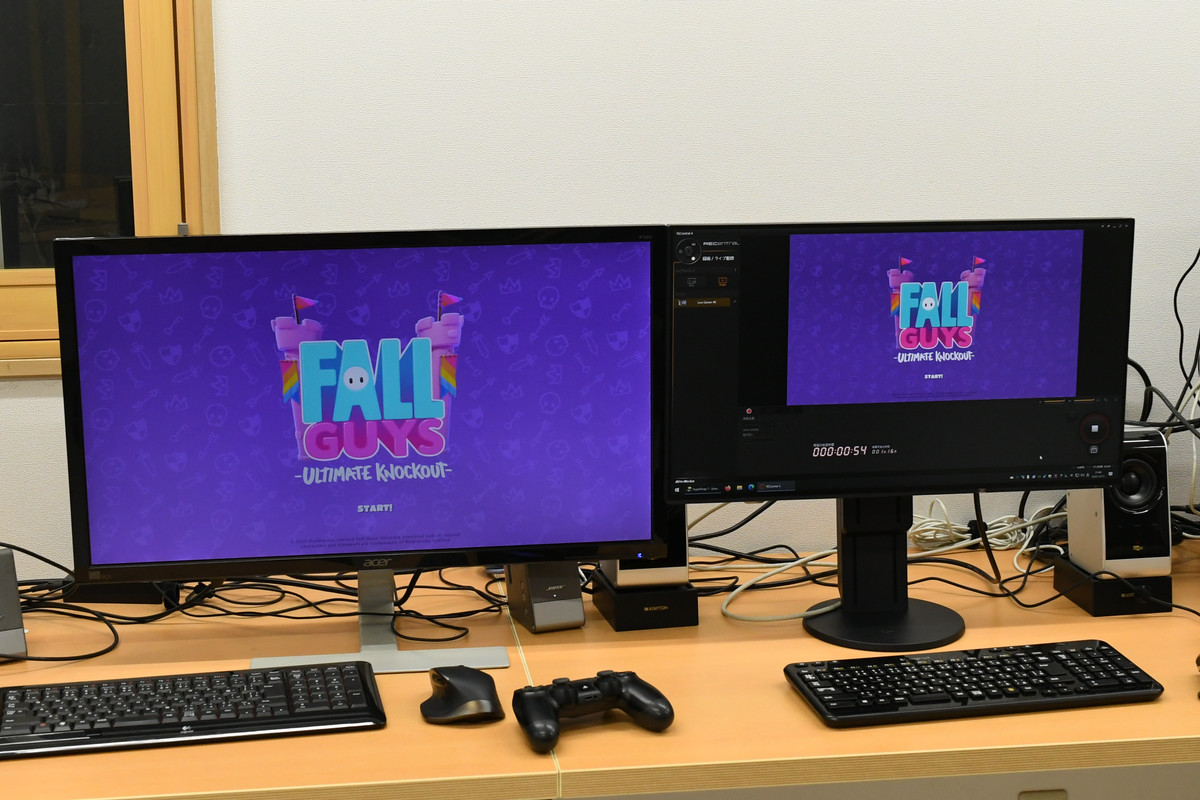
The following movie is a recording of actually playing on PlayStation 4 with Live Gamer 4K GC573. Since the hardware used this time is normal PlayStation 4, the recording is the same as Nintendo Switch, 1080p video is upscaled to 4K, but with Live Gamer 4K GC573,
Capture PlayStation 4 'Fall Guys: Ultimate Knockout' with AVerMedia Live Gamer 4K GC573-YouTube
Of course, if you input the HDMI output from the PC to the Live Gamer 4K GC573, you can also record the screen of the PC. However, many PC graphics boards are copy-protected by HDCP, so you may not be able to capture them.
◆ Try distributing the game video on Twitch or YouTube
Advances in network technology have also made it possible for people around the world to see their gameplay on Twitch, YouTube, and more. In addition, live distribution in 4K resolution is also possible on Twitch and YouTube.
Therefore, in the first quarter of 2020 (January to March), we set it so that it can be distributed on Twitch, the world's largest live game distribution platform, which accounted
It is possible to distribute with RECentral, which is the official capture software of AVerMedia, but this time we will use OBS Studio, which is open source broadcast software.
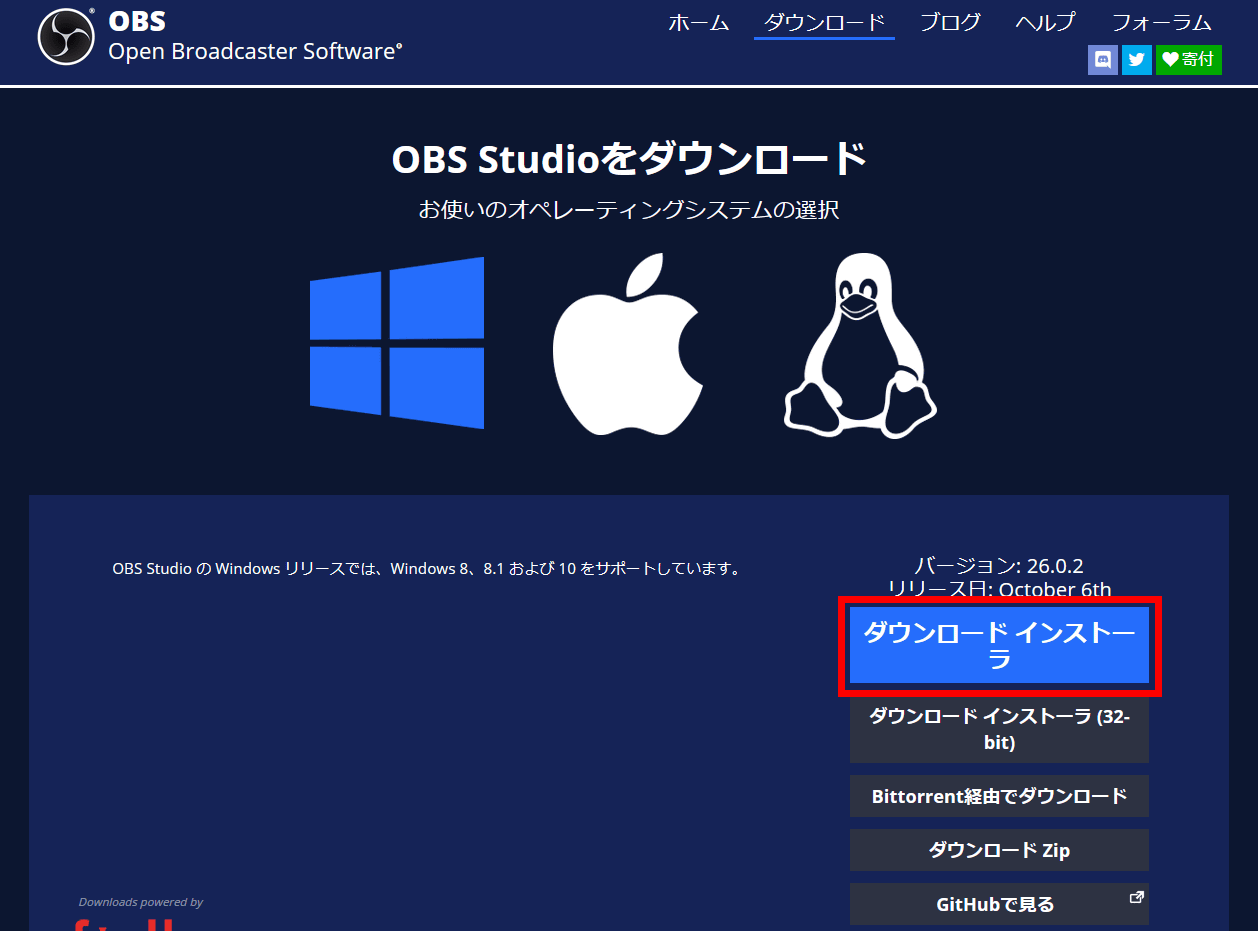
Download | OBS
https://obsproject.com/ja/download
This time, I will download it for Windows (64bit). Go to the download page above and click 'Download Installer'. The installer is in EXE format and has a capacity of 71.3MB.
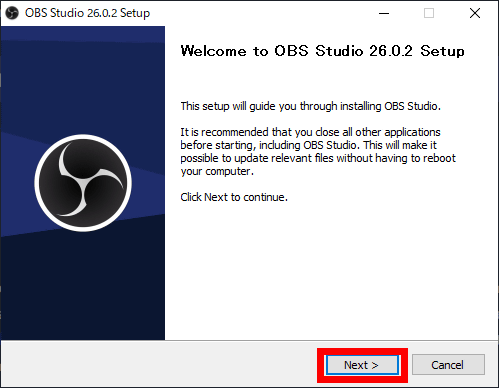
When you launch the installer, the setup wizard starts. Click 'Next'.
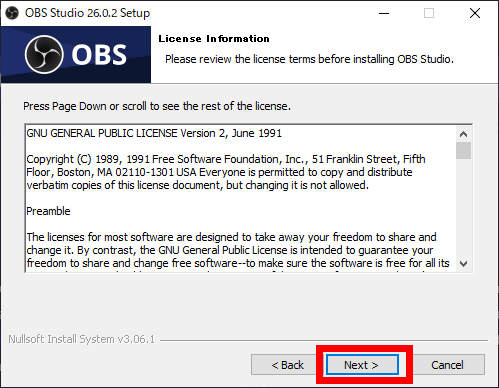
The license will be displayed, so click 'Next'.
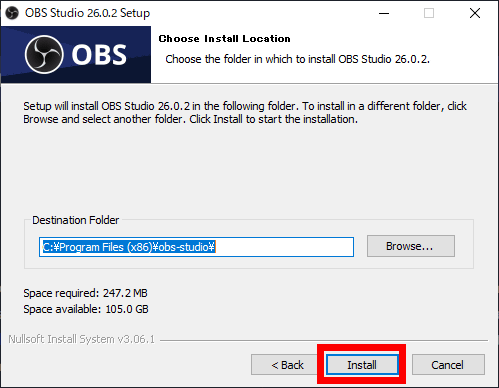
Specify the installation destination and click 'Install'. This completes the installation.
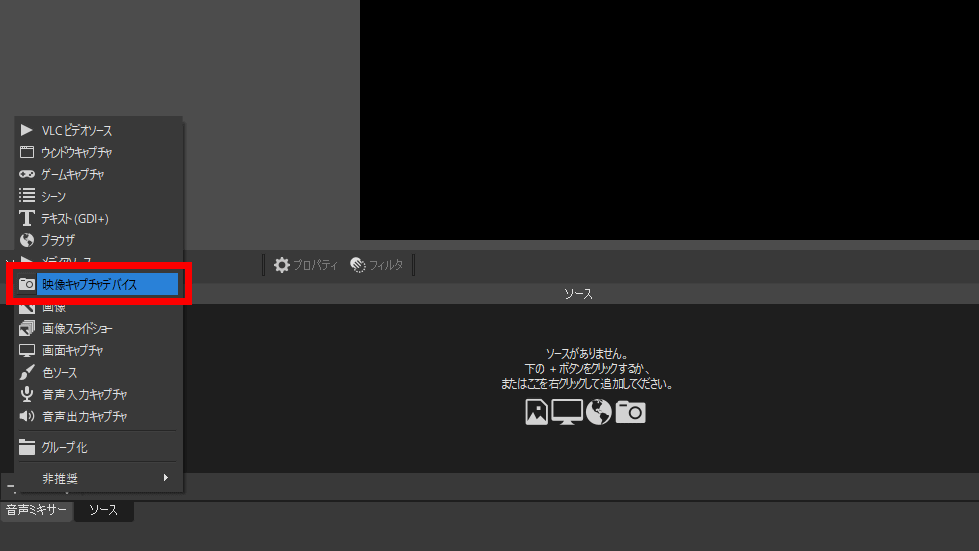
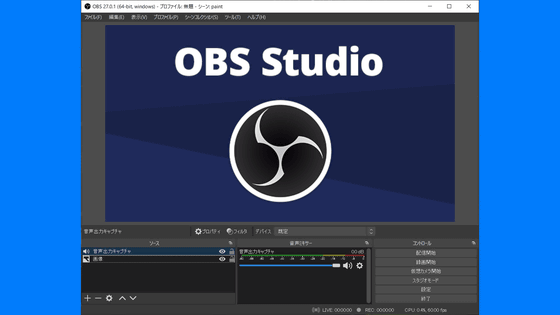
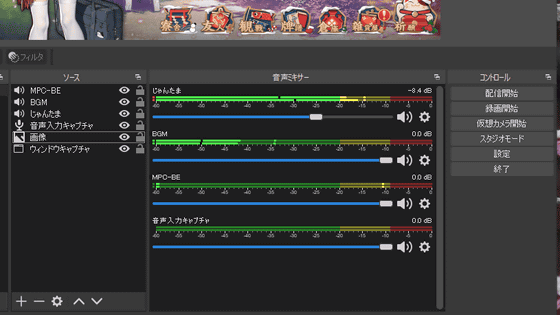
When you start OBS, it looks like this. Click the '+' at the bottom right of the Source window to make OBS aware of Live Gamer 4K GC573.

Select 'Video Capture Device' from the menu that appears.
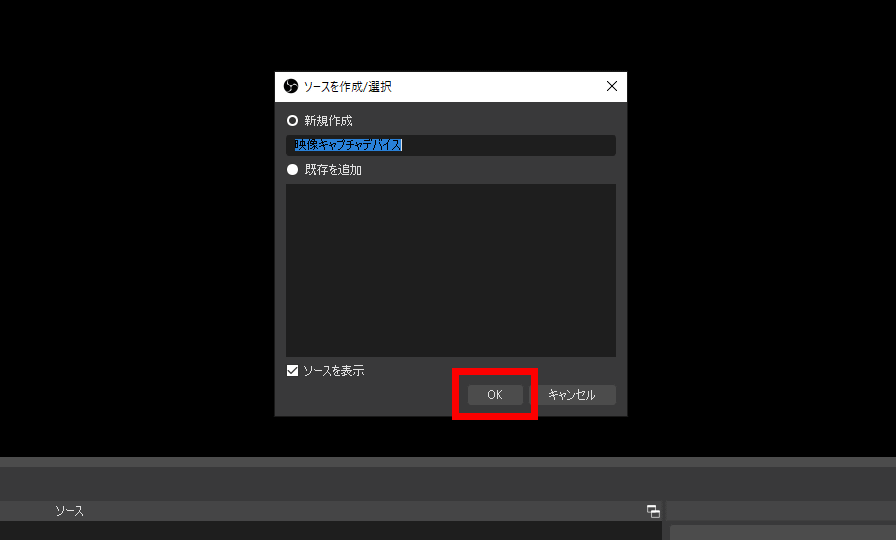
The 'Create / Select Source' window will appear. Click 'OK'.
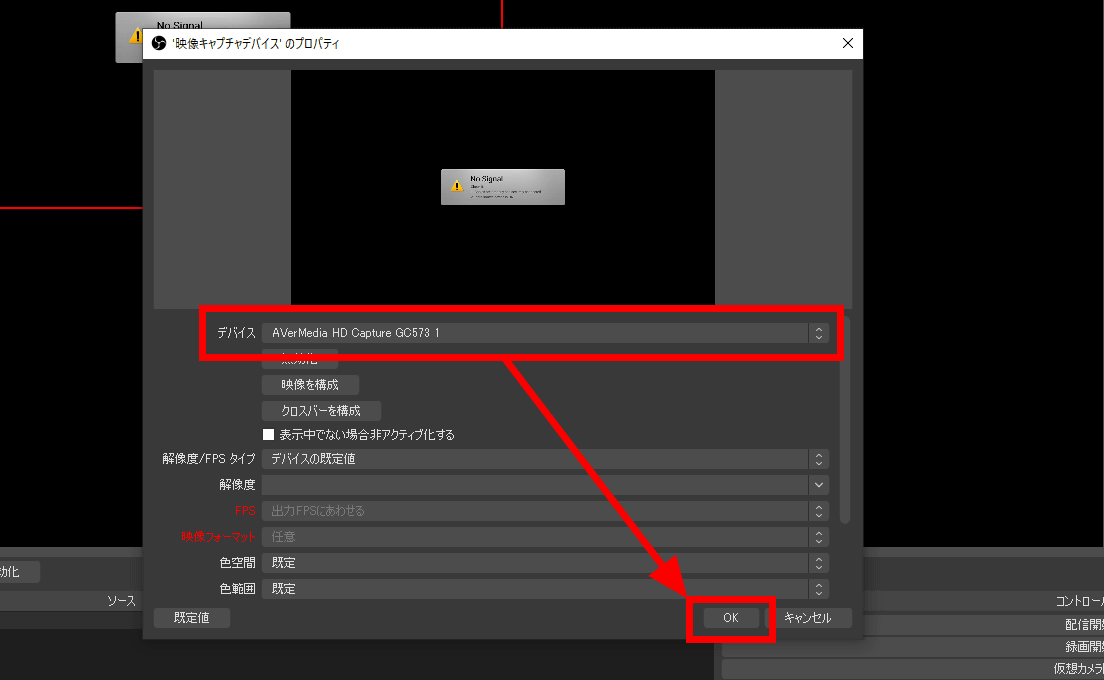
The properties of the video capture device will be displayed. Set 'Device' to 'AVerMedia Live Gamer 4K GC573' and click 'OK'.
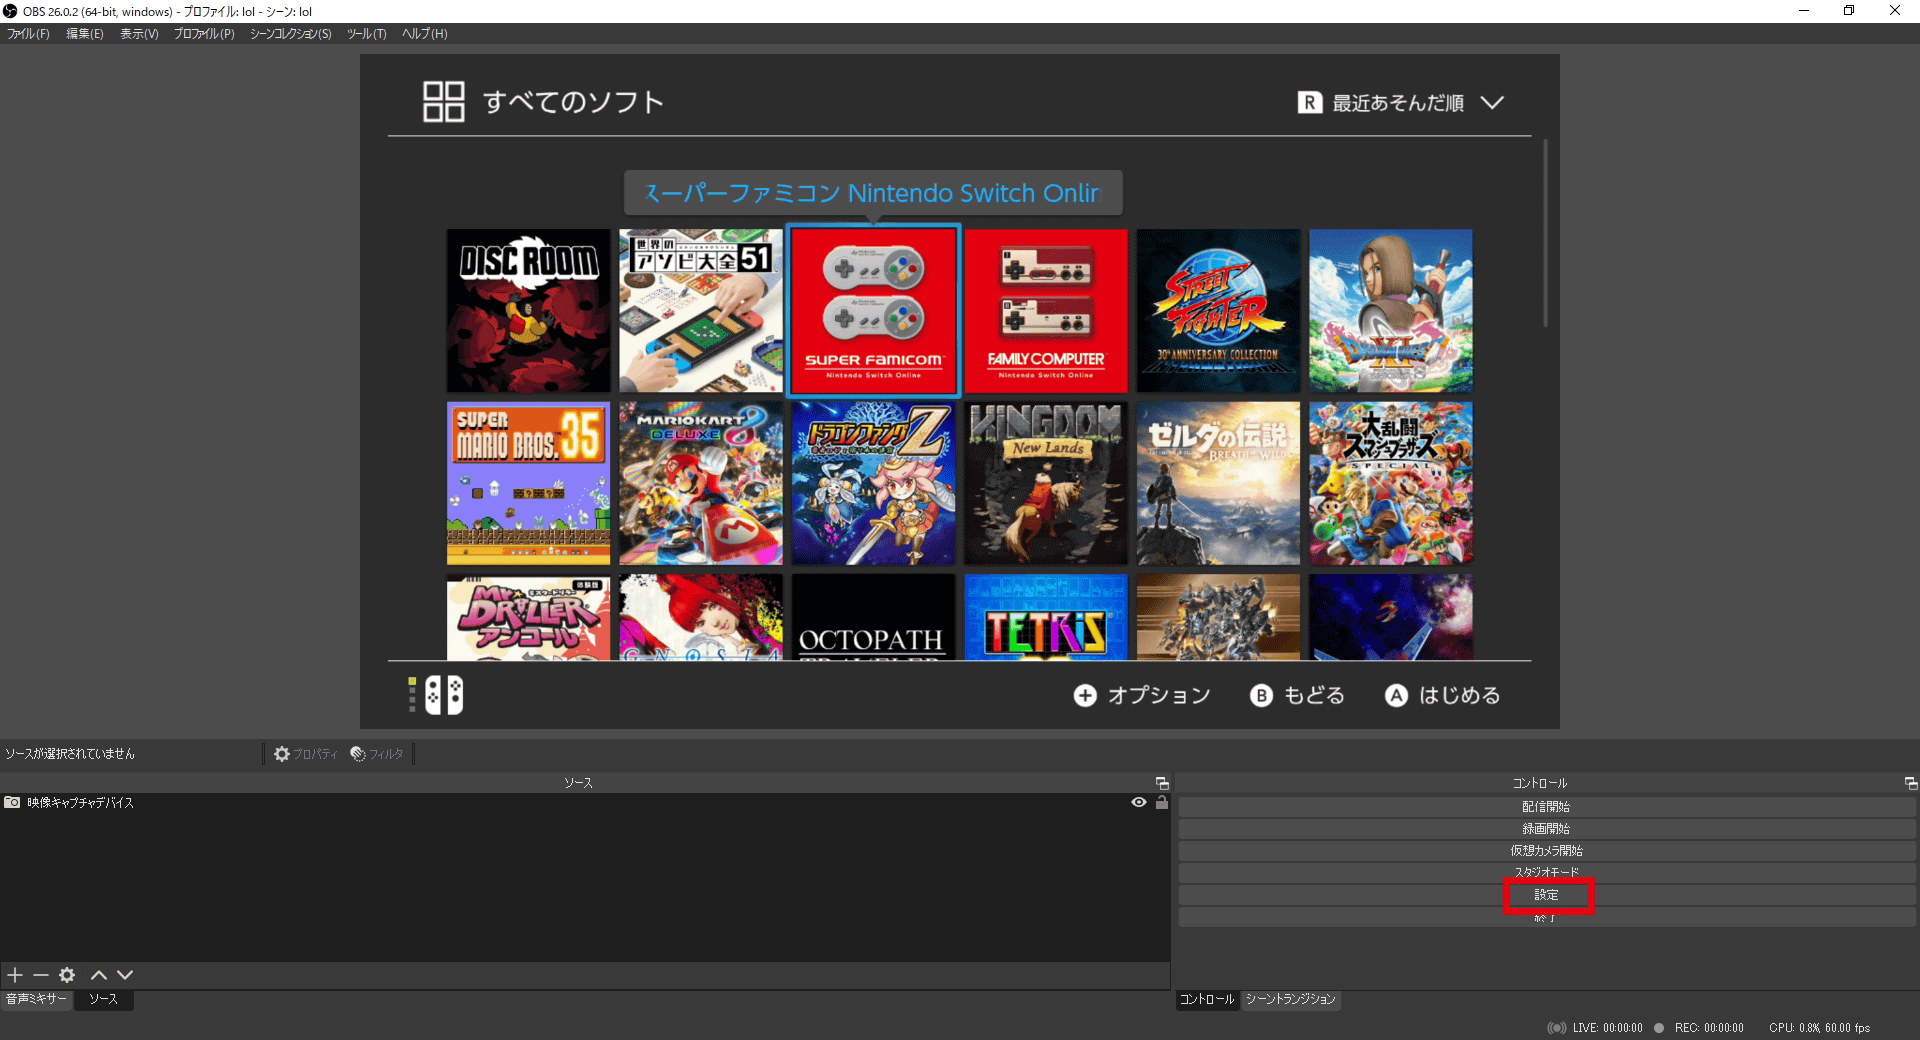
Now you can see the video being captured on the screen. Then click 'Settings'.
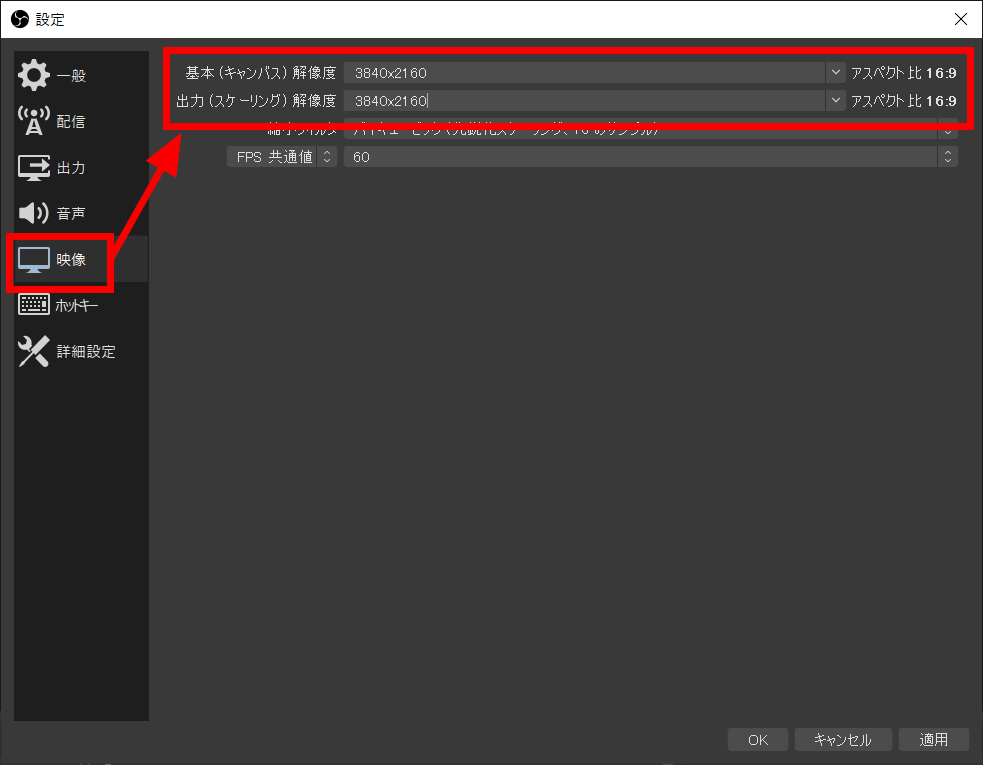
You can change the campus resolution and output resolution in 'Video'. The campus resolution is the 'resolution of the capture screen itself', and the output resolution is the 'resolution of distribution and recording by OBS'. Both are set to 3840 x 2160 this time.
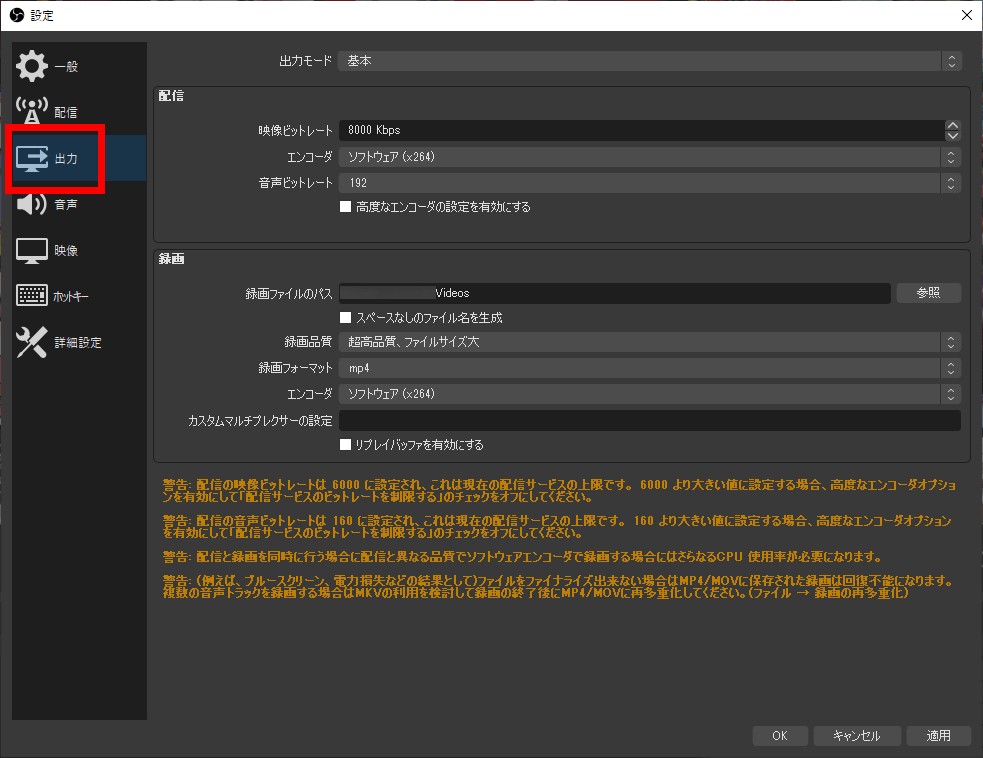
The bit rate and encoder of the output video can be changed in 'Output'.
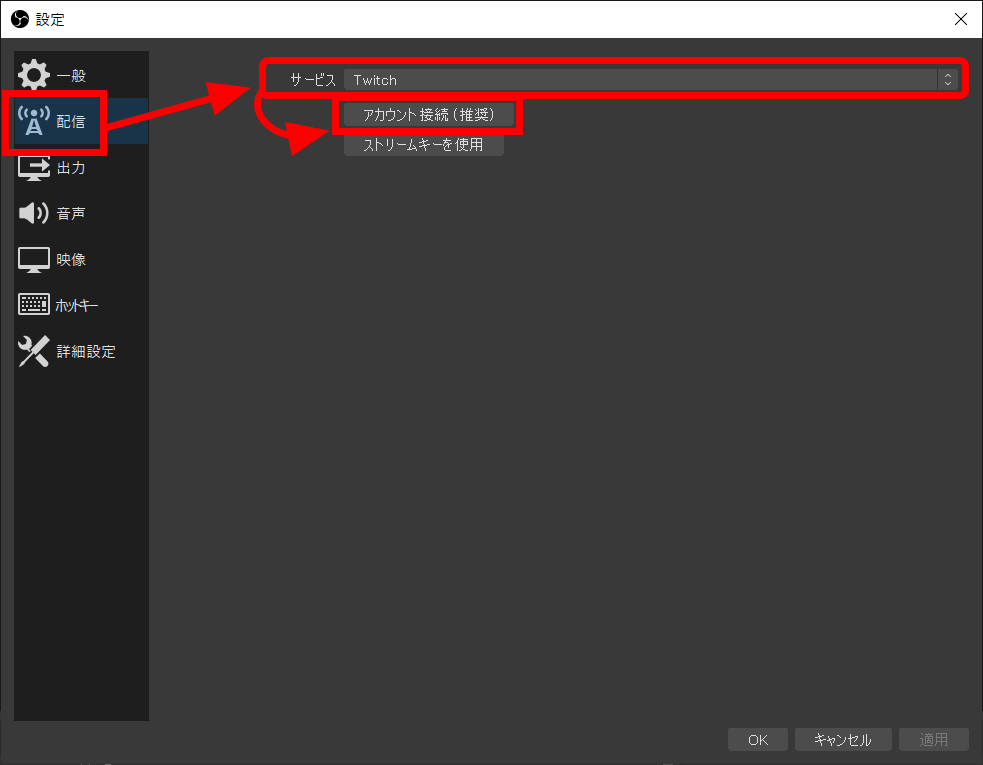
Next, click 'Distribute', confirm that 'Service' is 'Twitch', and then click 'Account Connection (Recommended)'.
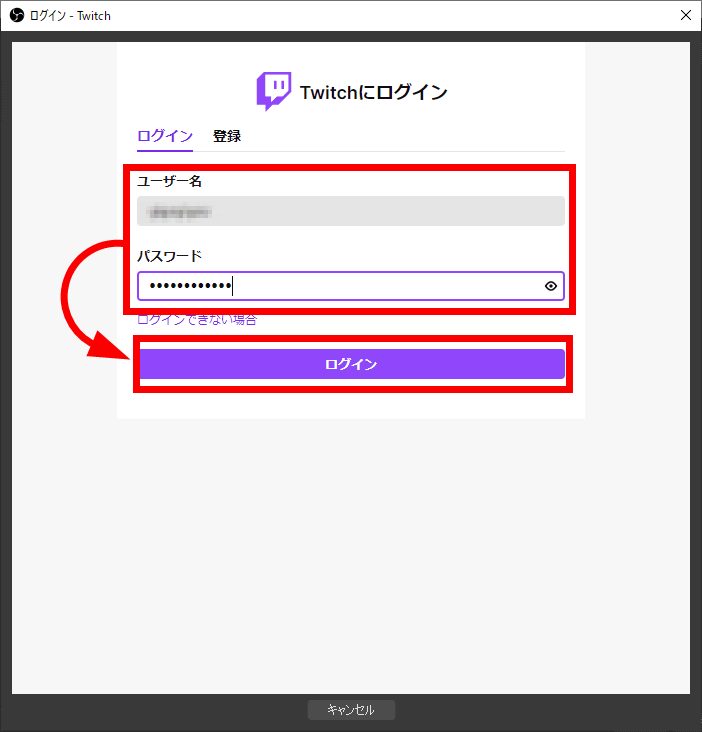
The Twitch login window will be displayed. Enter your user name and password and click 'Login'.
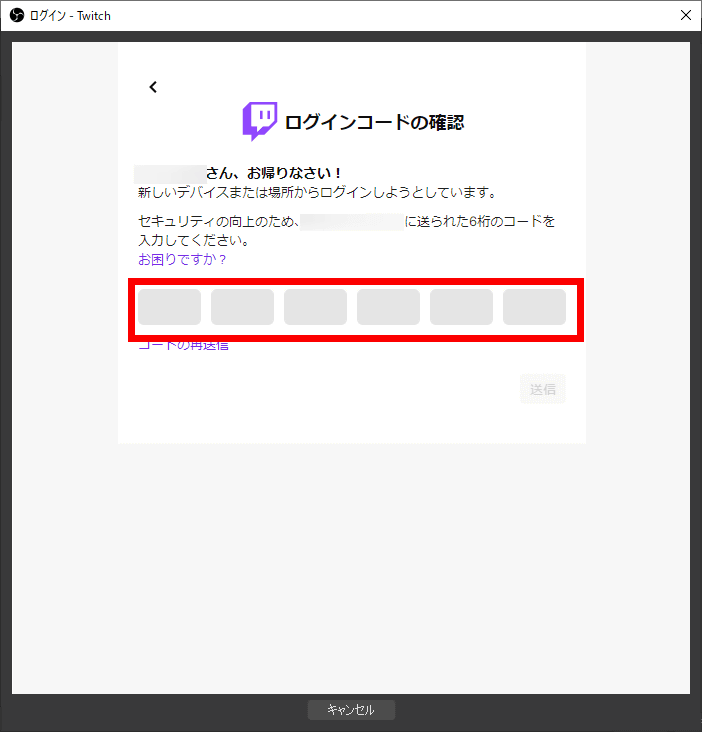
You will receive an email with a 6-digit login code at the registered email address. Enter your login code.
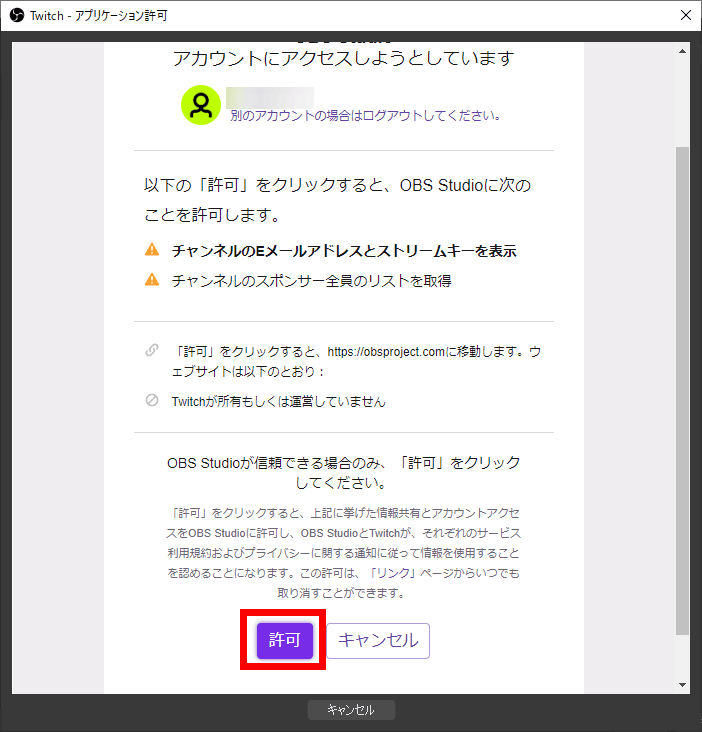
You will be asked for permission to access your account, click Allow.
After confirming that the account verification was successful, click OK.

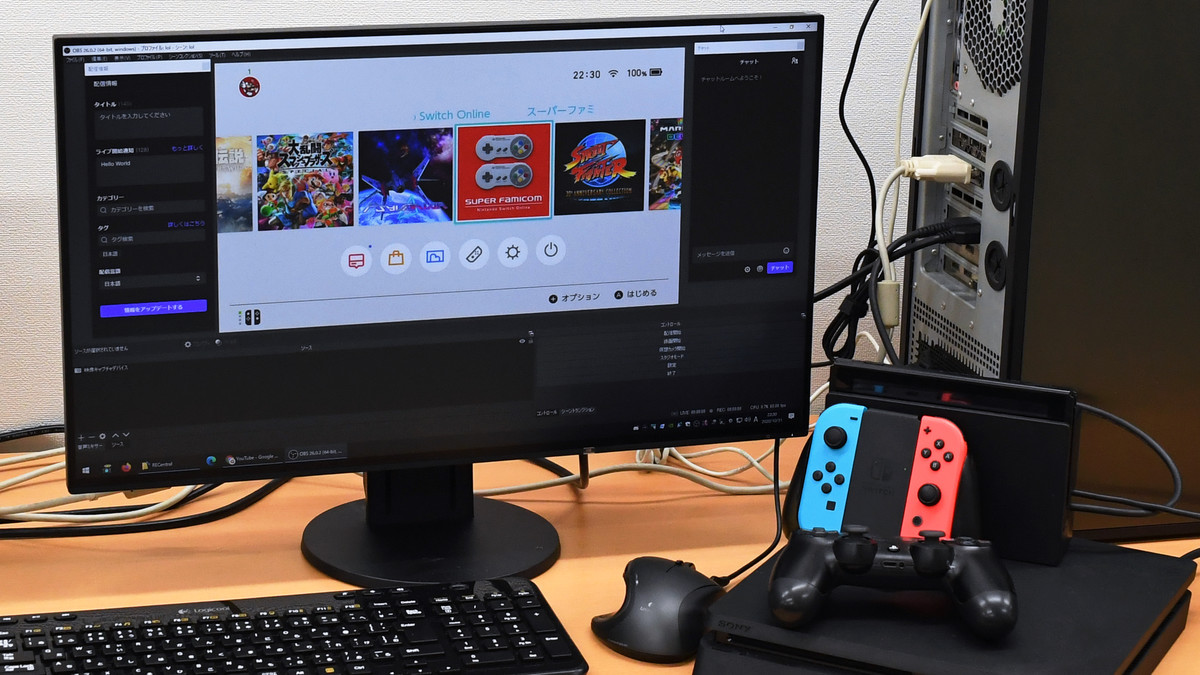
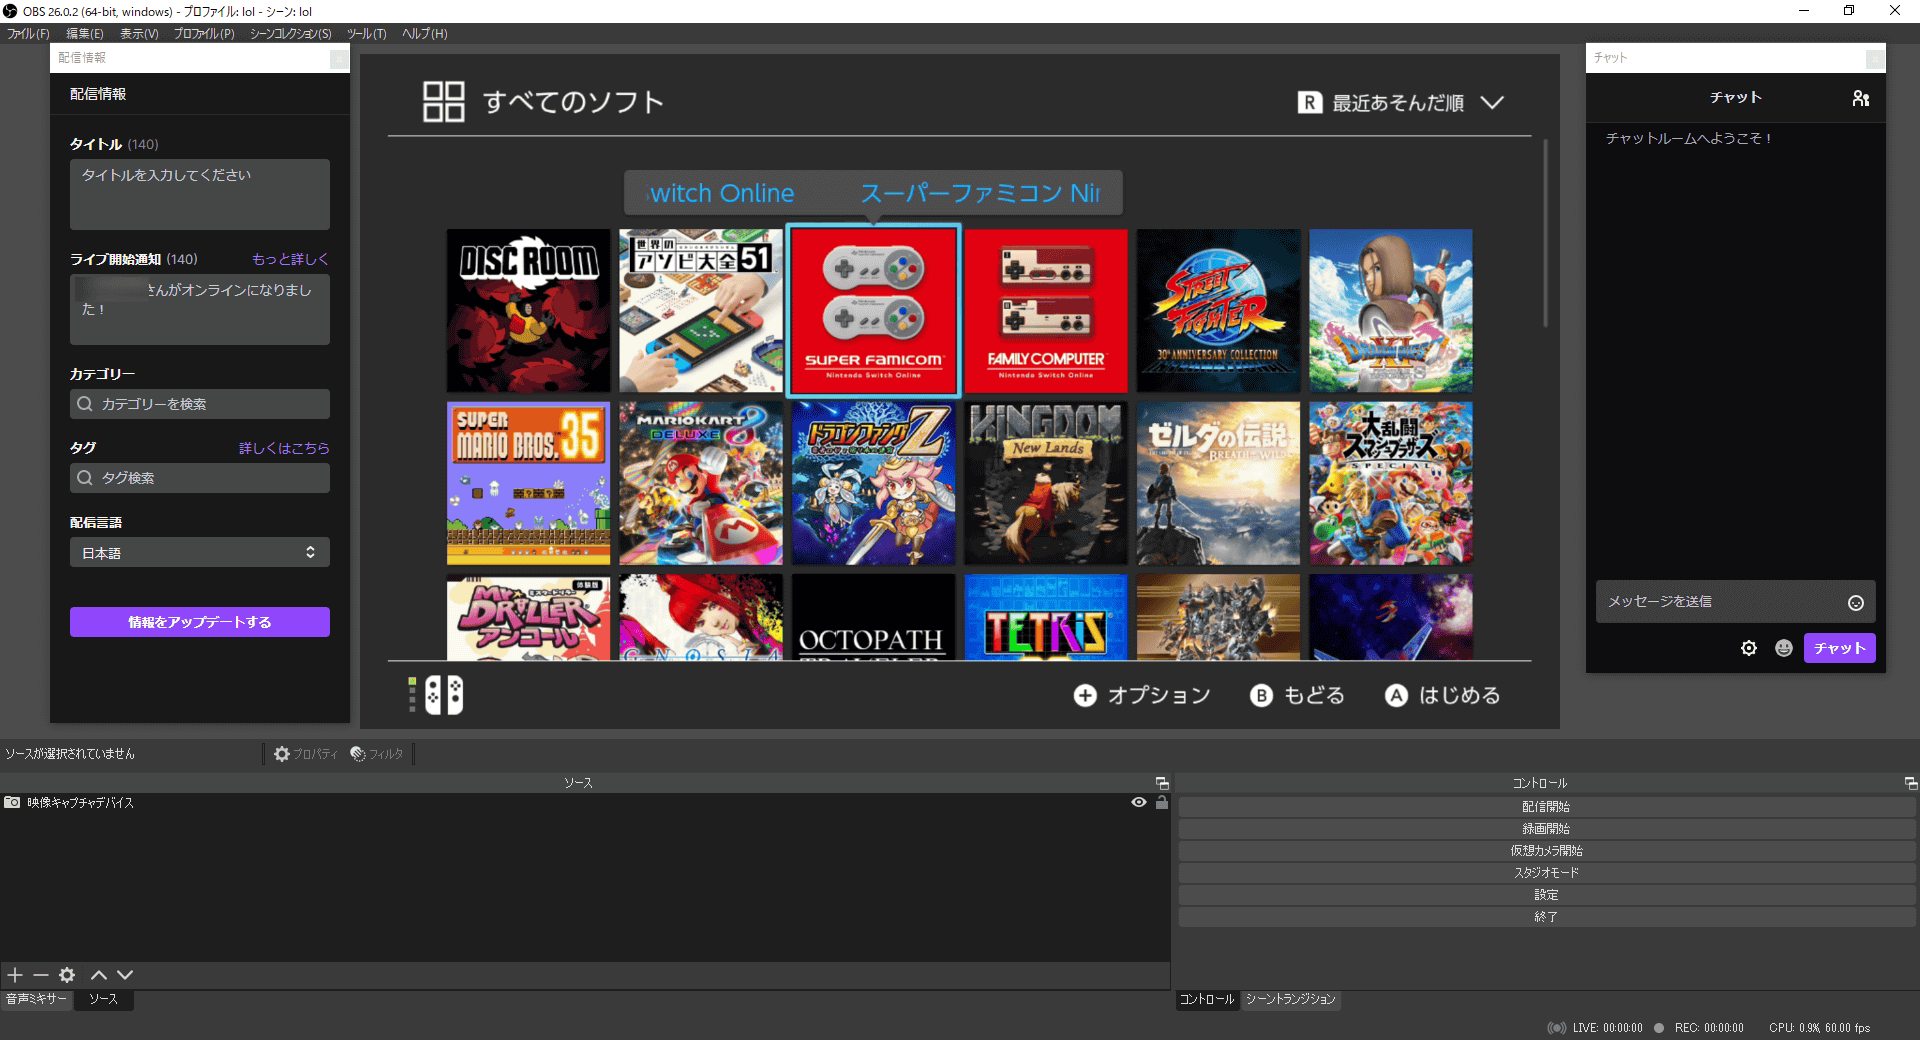
The state that can be delivered in cooperation with Twitch is as follows. The 'Distribution Information' window is displayed on the left side of the capture screen, and the 'Chat' window is displayed on the right side.
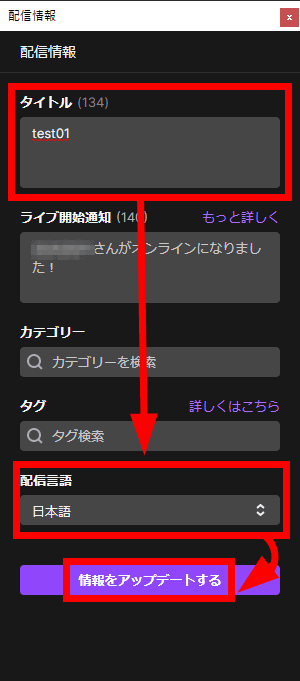
In the delivery information, you can set the delivery title, live start notification, category, tag, and delivery language. Of these, if you set the title and distribution language and click 'Update information', the minimum distribution is possible.
Click 'Start Streaming' at the bottom right of OBS to start streaming.

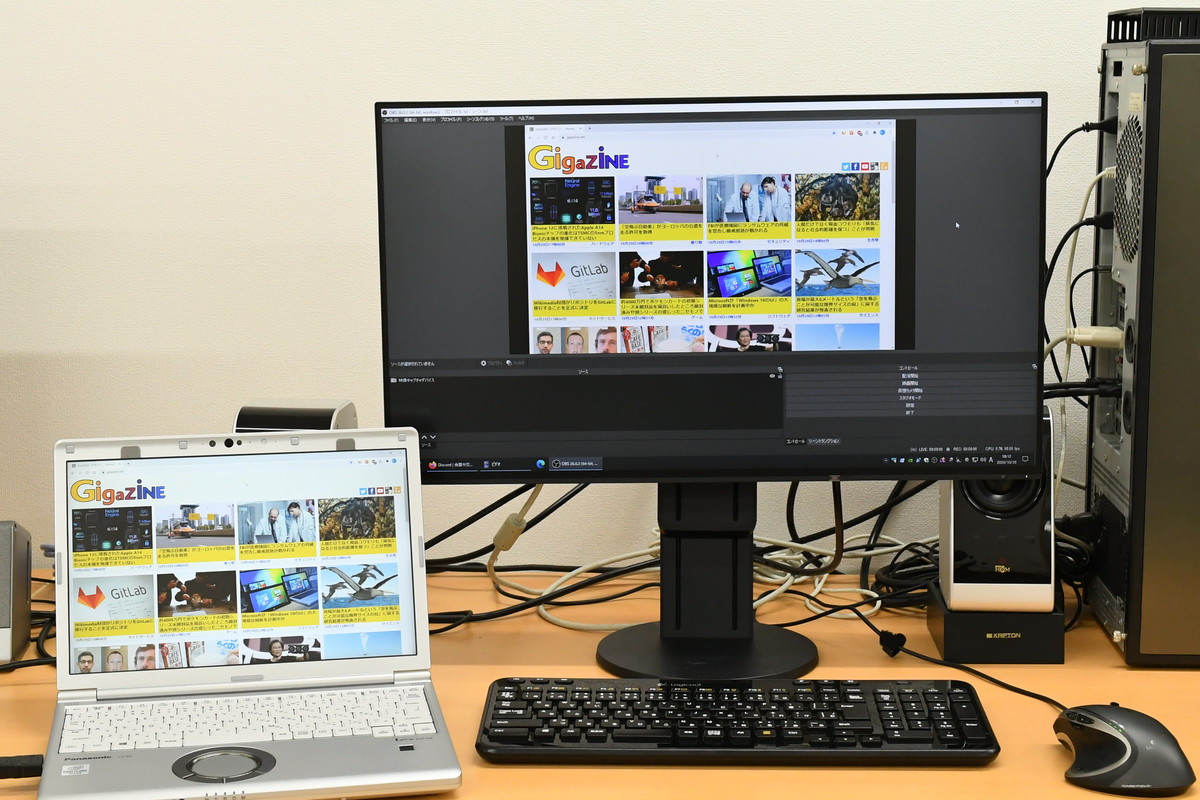
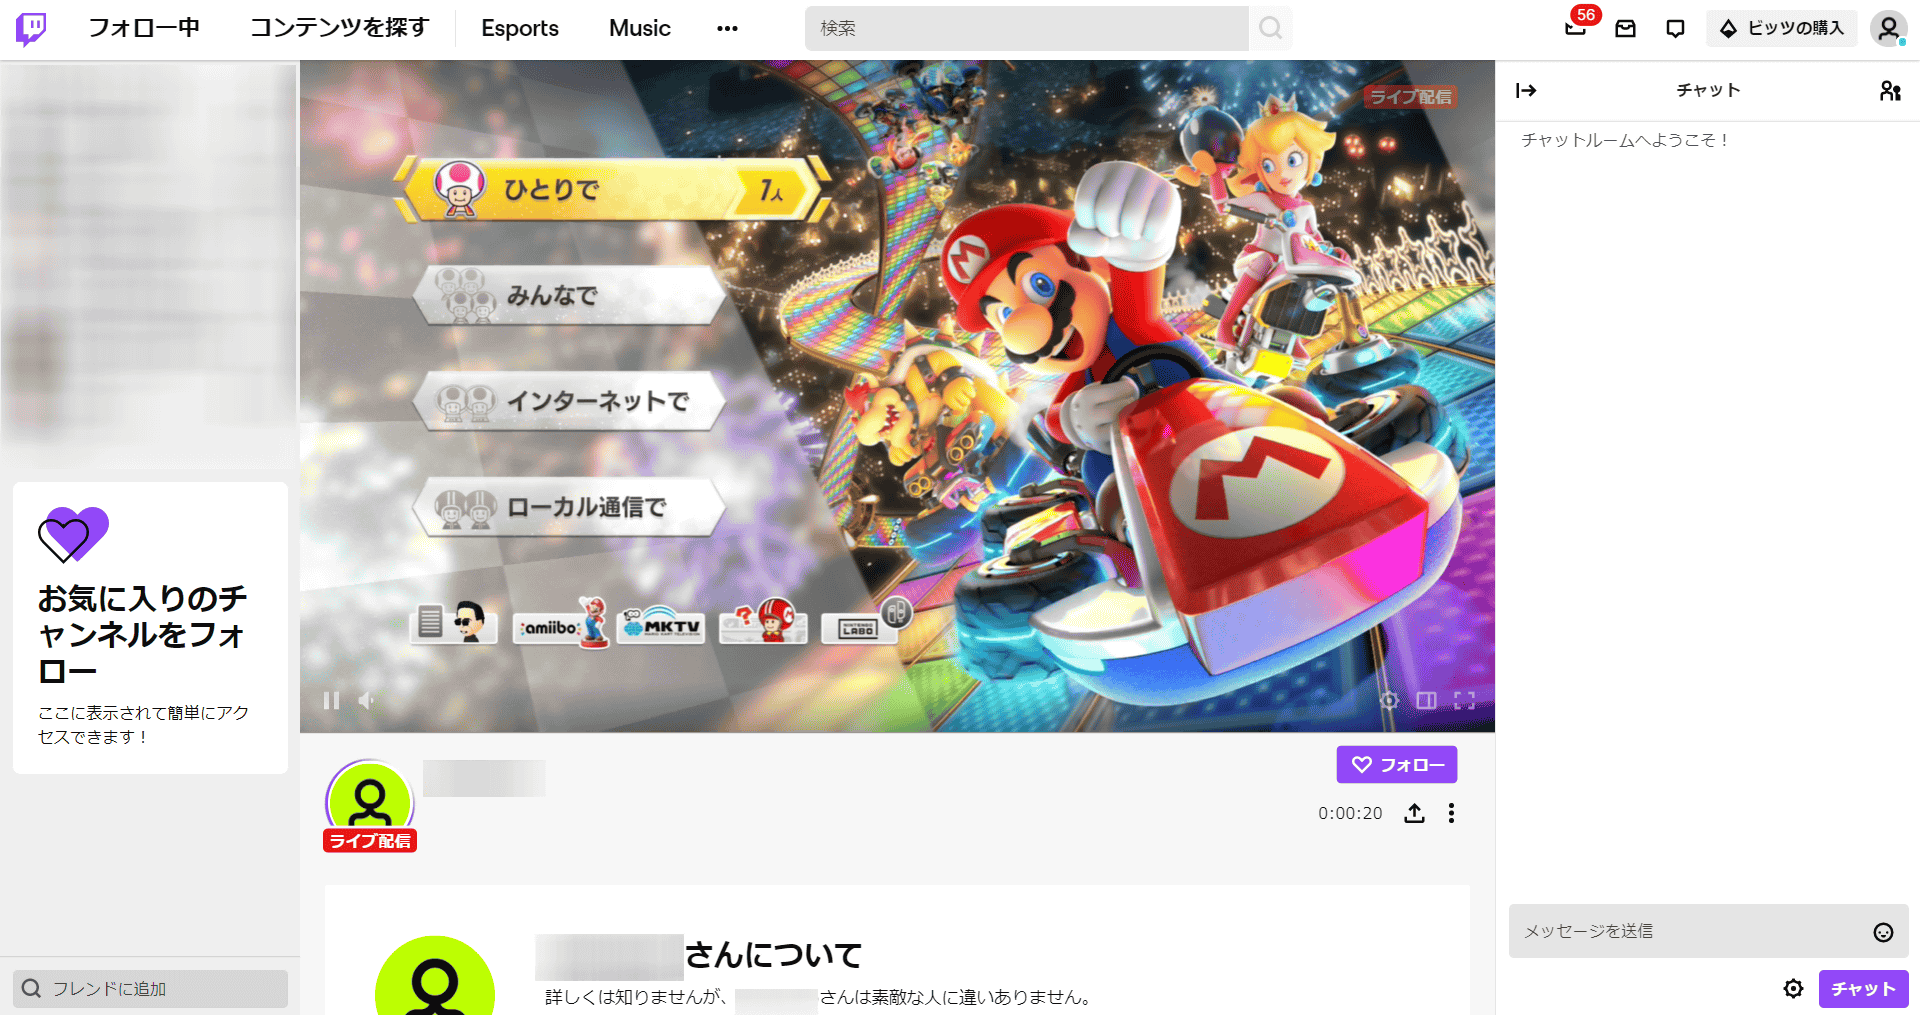
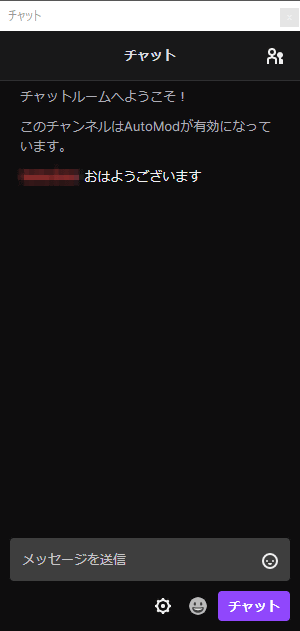
Below is a look at the delivery that actually started from another account.
Enter a message in the chat window and click 'Chat' ...
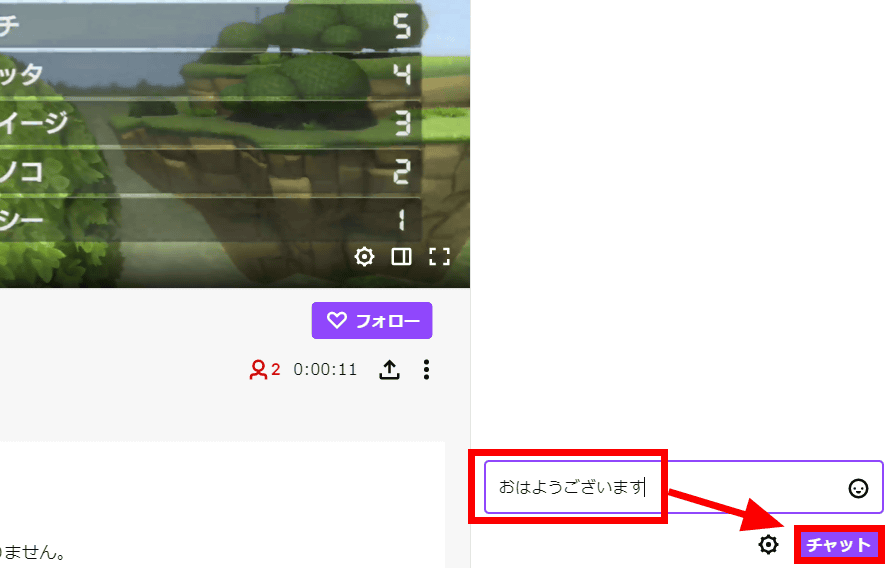
The comment has been reflected in the chat window on OBS. Various settings are automatically saved, so you can easily live stream your gameplay on Twitch at any time.
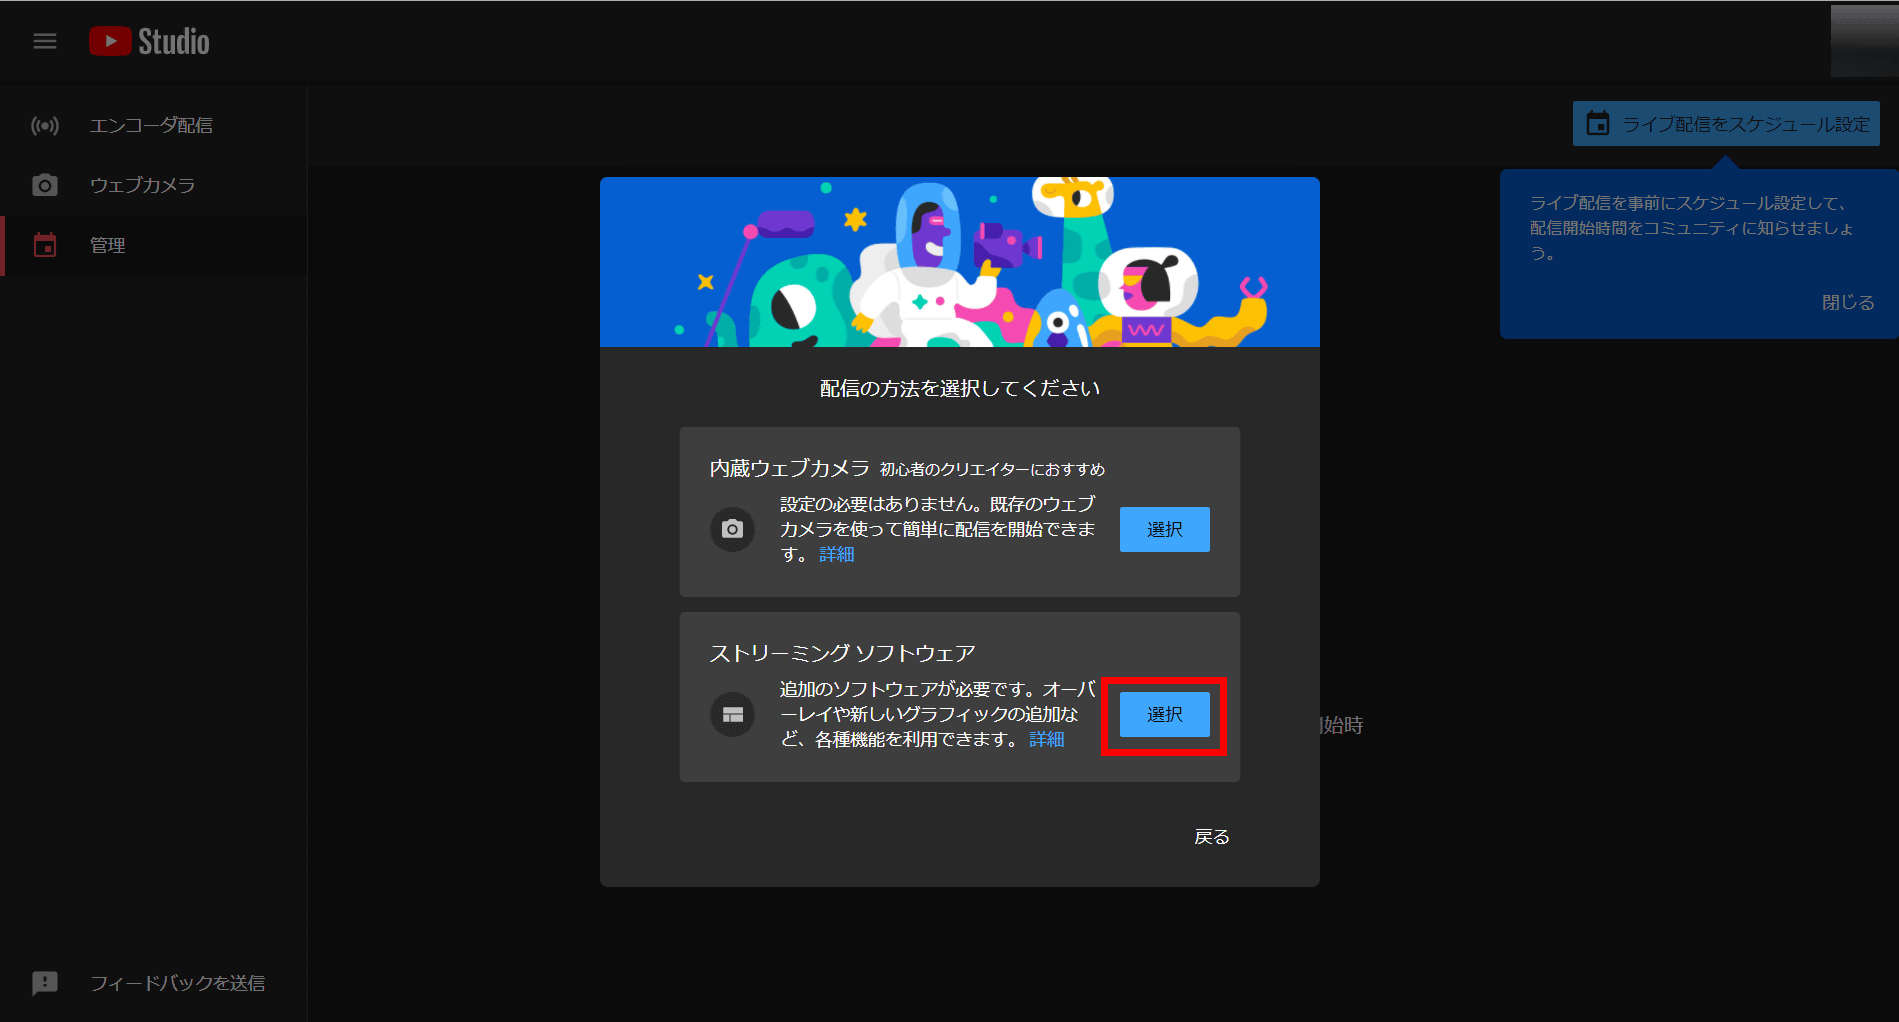
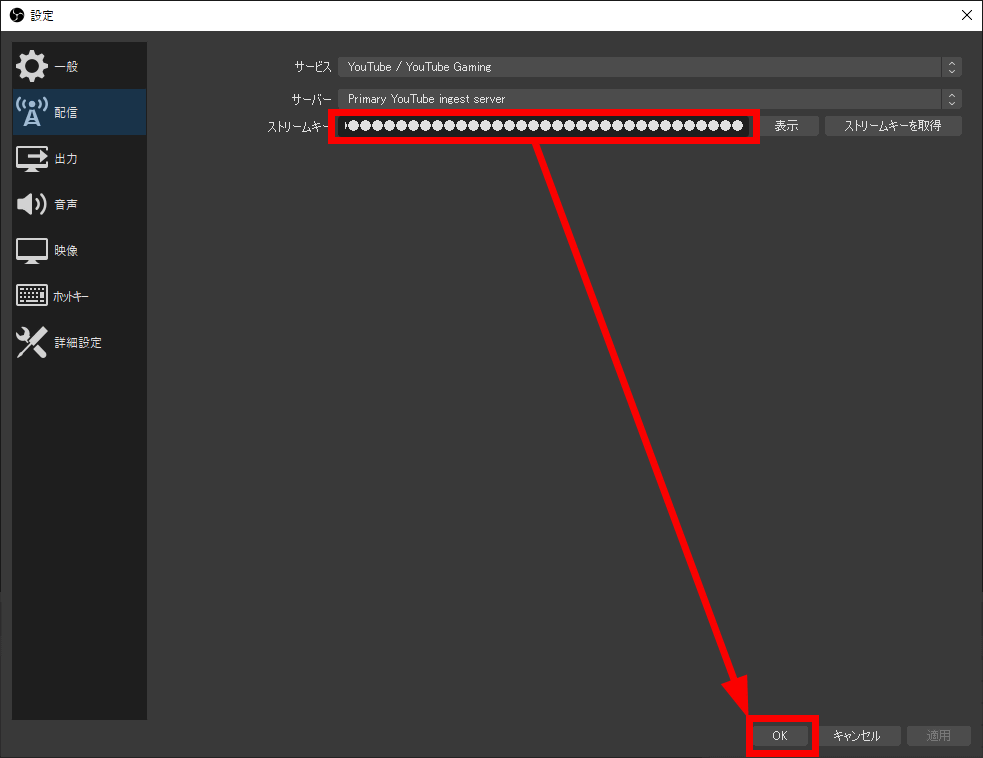
To distribute on YouTube, switch 'Service' in 'Distribution' to 'YouTube / YouTube Gaming' and click 'Get Stream Key'.

If your web browser is up and you are logged in to your Google account, you will be taken to YouTube Studio, your home for creators. Select 'Streaming software' as the delivery method.
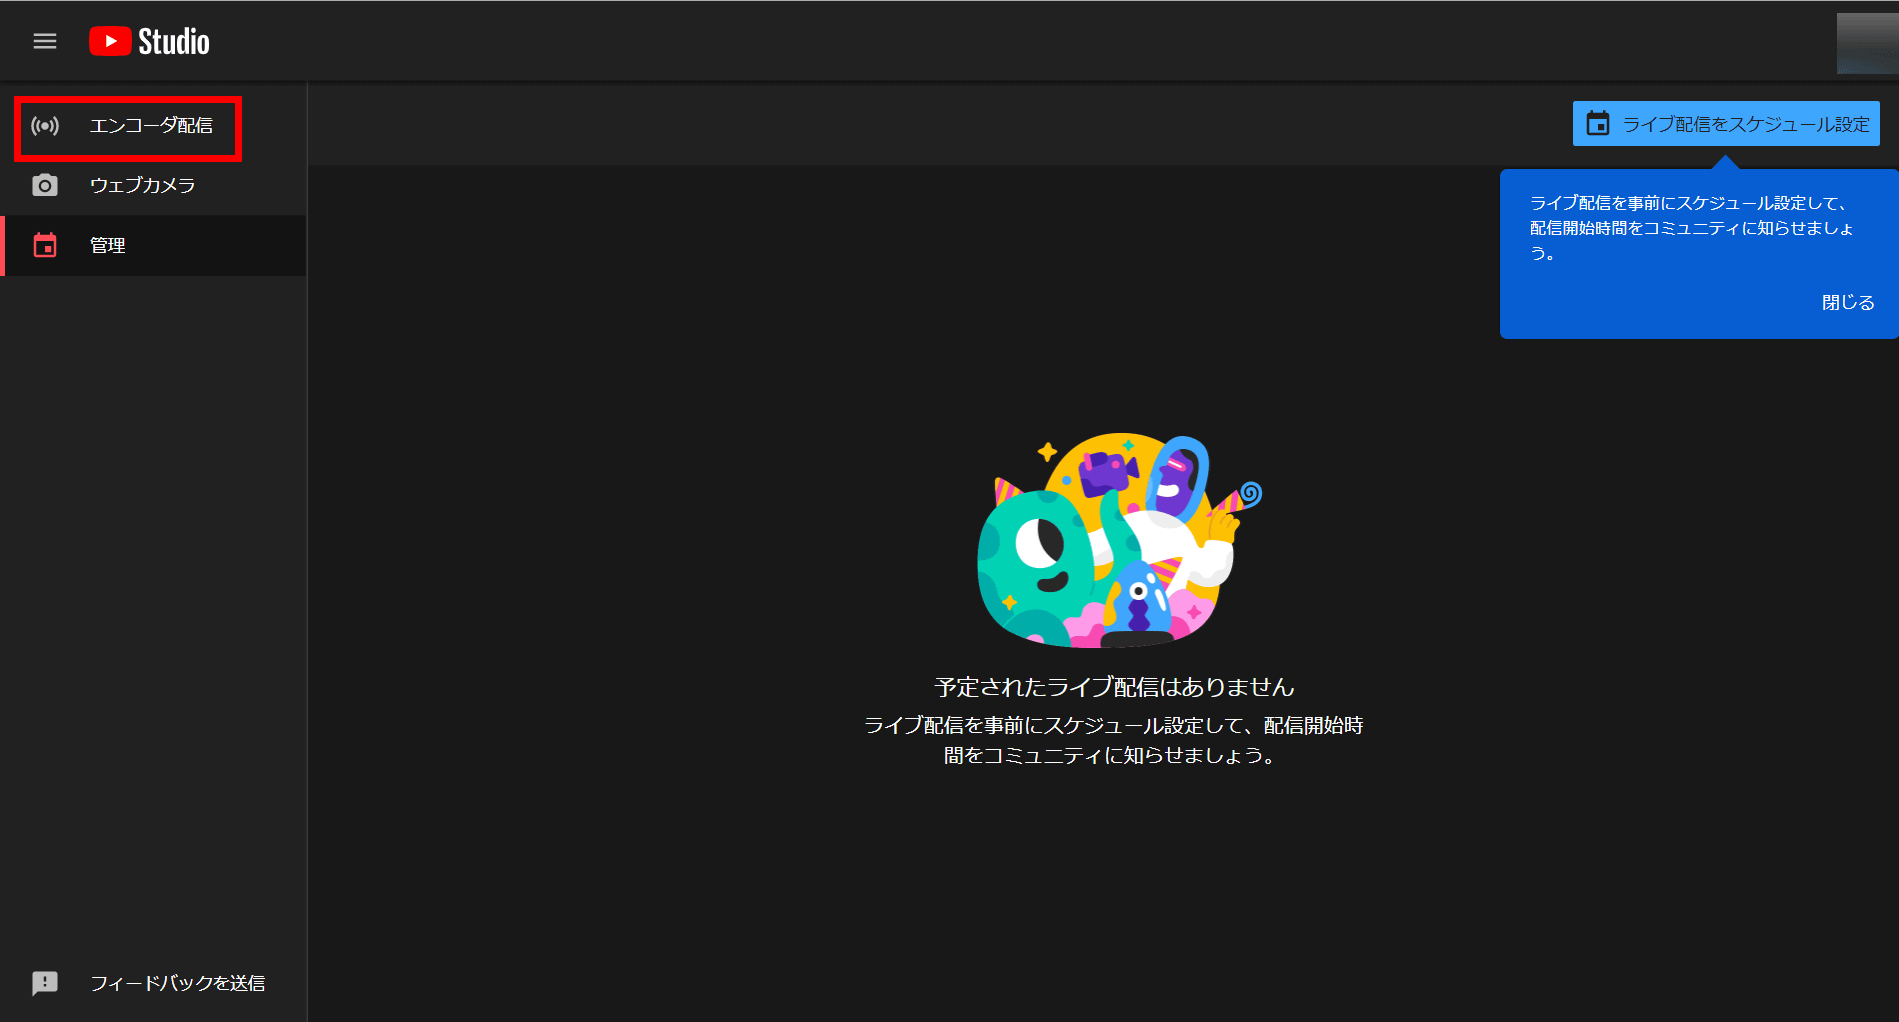
Then, the following screen will appear, so click 'Encoder distribution' in the left column.
Since the live distribution settings are displayed, click 'Copy' in the 'Stream key (paste to encoder)' part. This will automatically copy the stream key to your clipboard.
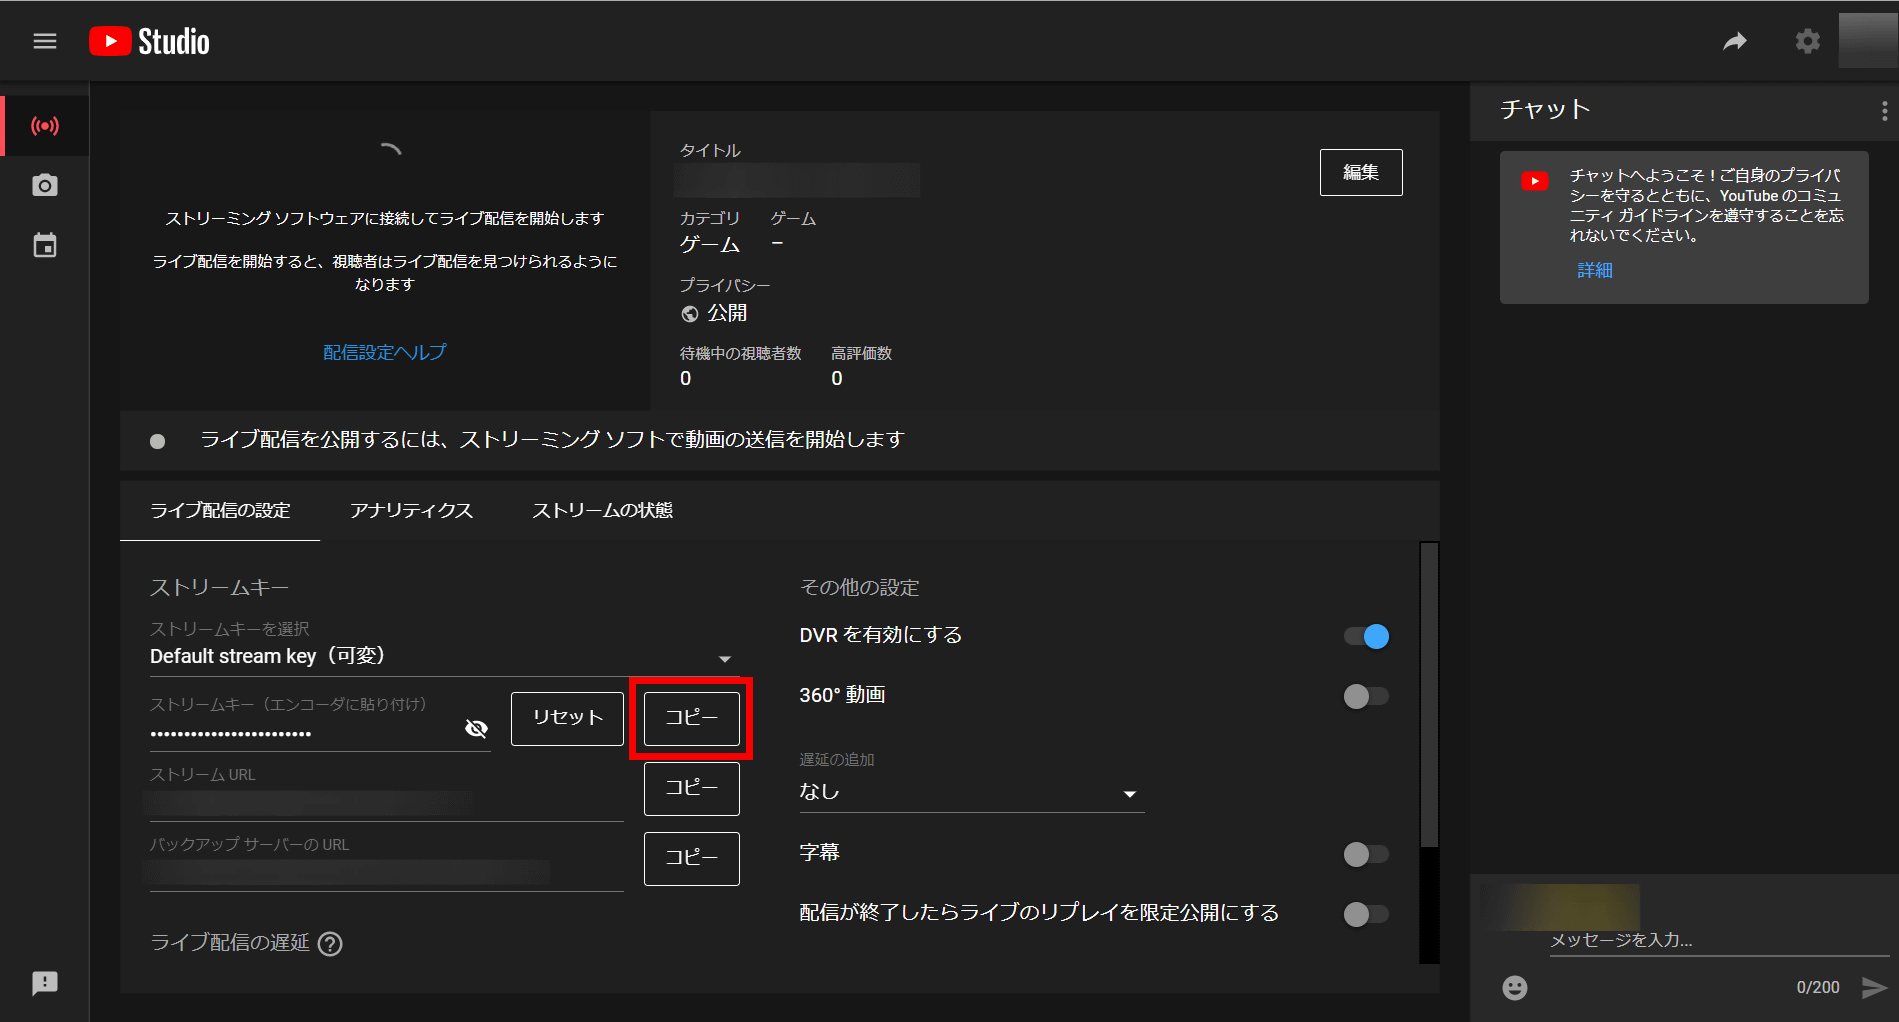
After that, return to the OBS screen, paste the stream key, click OK, and you will be able to distribute on YouTube.
Live distribution is possible with AVerMedia's official capture software, RECentral, but I chose OBS as the distribution software because its expandability was attractive. With OBS, it is possible to overlay images, images, text, etc. on the canvas as if they were layers, so anyone can easily create a screen that is easy to understand and full of individuality.
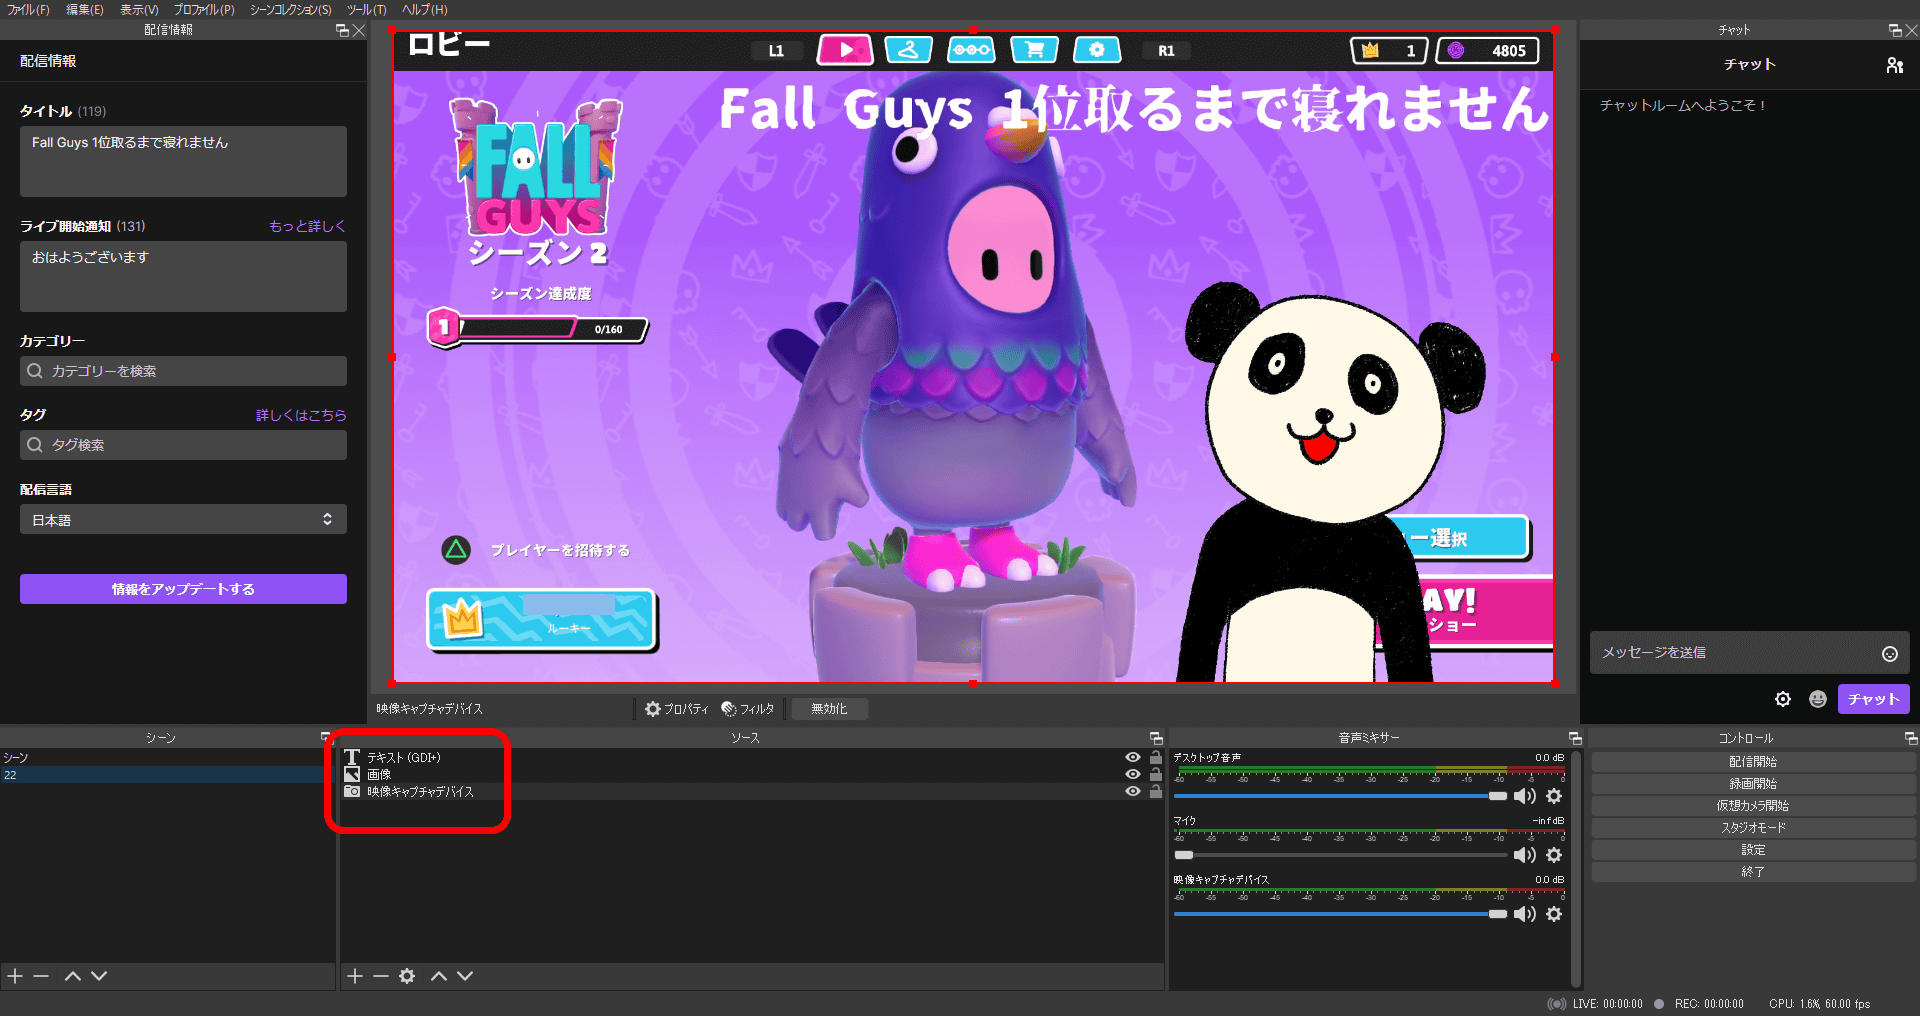
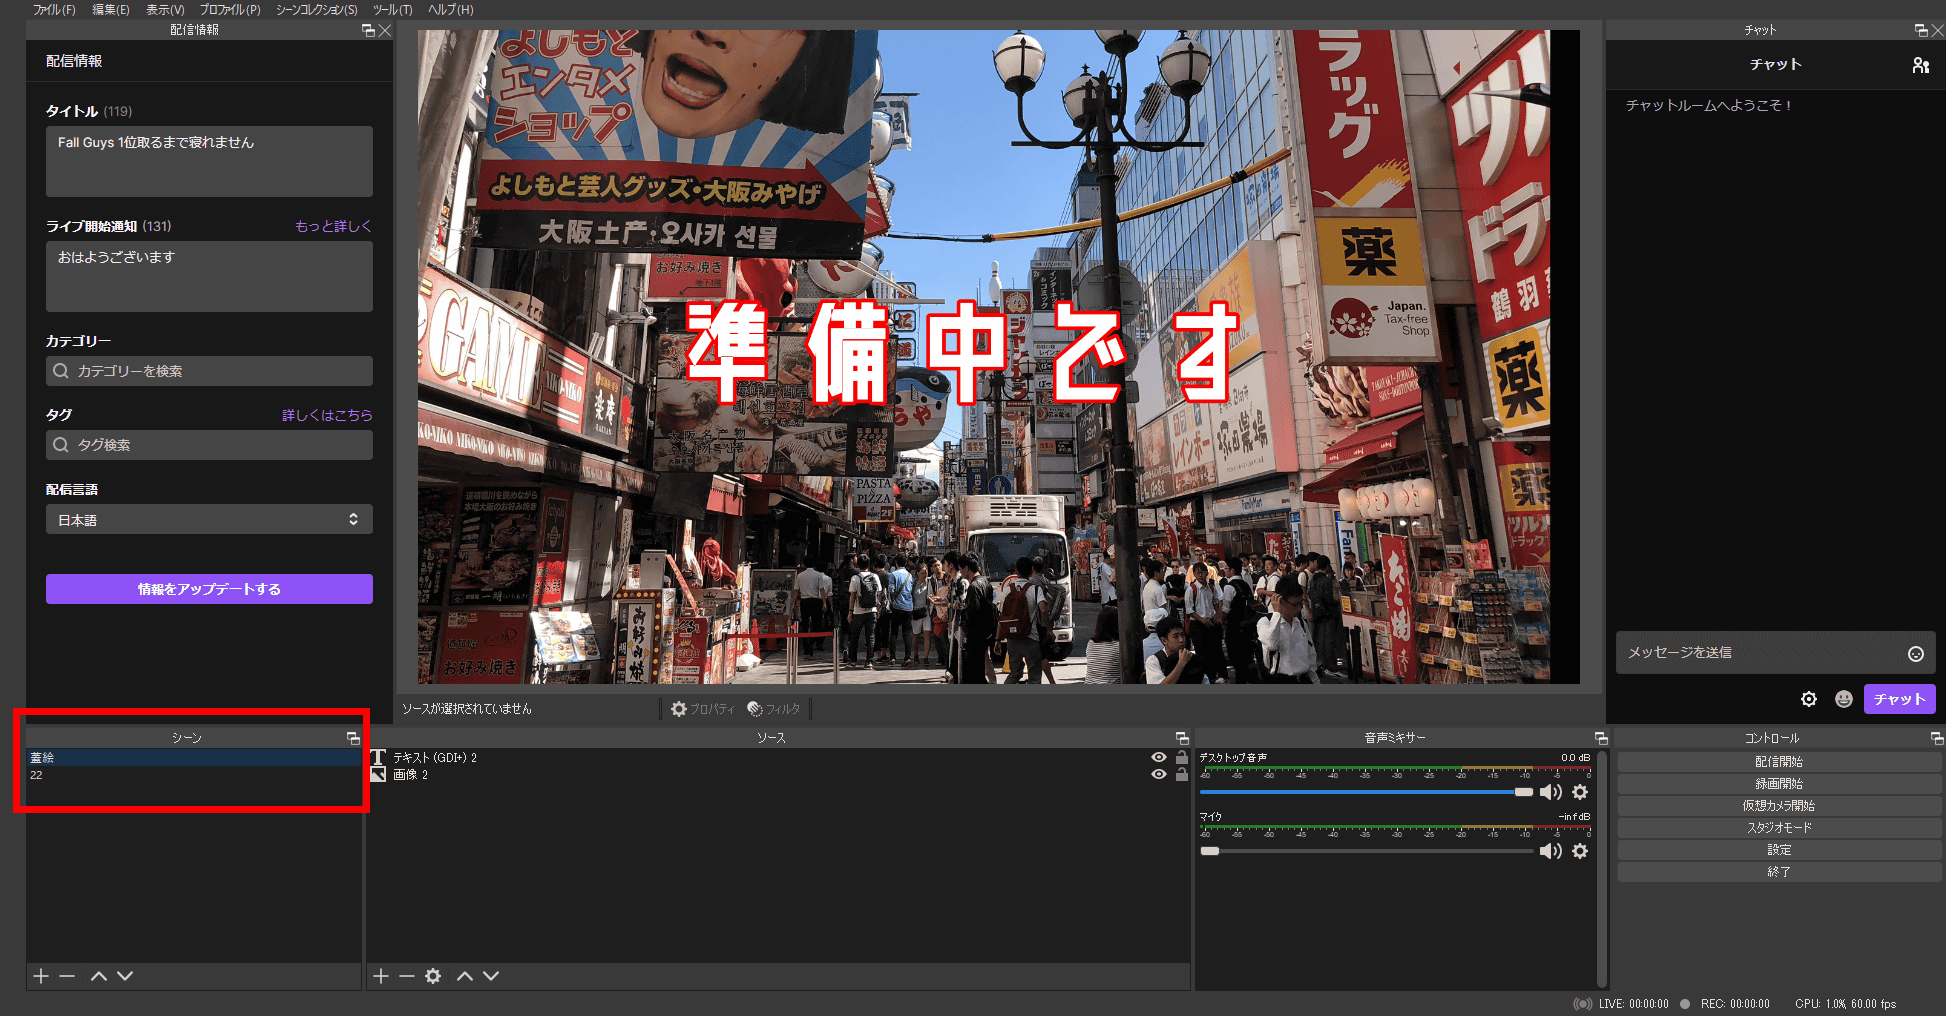
In addition, multiple campus configurations can be saved as 'scenes'. You can also switch from one campus to another by clicking and selecting 'Scene'. One of the features of OBS is that it not only displays the game screen, but also allows you to easily realize various effects and ideas.
With the introduction of PlayStation 5 and Xbox Series X, anyone can easily play games at 4K resolution, which was not possible without a high-performance gaming PC. If you want to save or share your gameplay in 4K quality, the Live Gamer 4K GC573, which can capture up to 4K / 60fps for the 30,000 yen range and is very easy to connect and deploy, is a pretty good choice. .. Another big point is the low latency of software encoding. It can be recognized by third-party software such as OBS and XSplit without any problems.
However, in order to input / output 4K / HDR video with Live Gamer 4K GC573 connected by PCI Express, a desktop PC that meets the recommended specifications is required. The AVerMedia official has a page to determine what kind of capture device is suitable for your PC and the 'AVerMedia Diagnosis Tool', so it is essential to check before purchasing.
Product Selection Navi-Find the best capture product for you!
https://www.avermedia.co.jp/event/product_select_jp/index.html
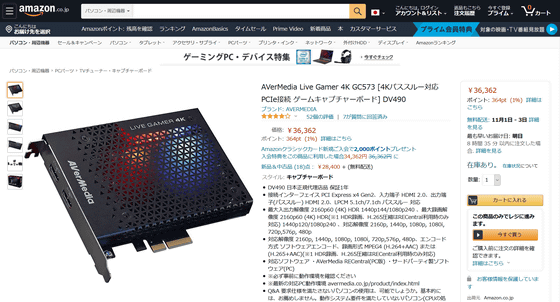
AVerMedia's Live Gamer 4K GC573 can be purchased at Amazon.co.jp for 36,362 yen including tax at the time of article creation.
Amazon | AVerMedia Live Gamer 4K GC573 [4K pass-through compatible PCIe connection game capture board] DV490 | AVERMEDIA | TV tuner / capture board mail order
https://www.amazon.co.jp/exec/obidos/ASIN/B07FDVYM6R/gigazine_bottom-22
Related Posts:
in Review, Software, Web Service, Hardware, Video, Posted by log1i_yk