I actually tried using the Wi-Fi compatible high speed scanner 'ScanSnap iX1600' that can scan 40 sheets per minute
PFU Limited, which develops the easy-to-use high-speed document scanner 'ScanSnap' series, released the latest model ' iX1600 ' on January 22, 2021 (Friday). The reading speed has improved by 33% from the highly popular previous model '
◆ Table of contents
1: Opening & setup
2: I actually used it
3: The movie I actually used
4: Scan speed comparison with the previous model
5: Summary
Scanner ScanSnap: iX1600 Product Top: Fujitsu
https://scansnap.fujitsu.com/jp/product/ix1600/
◆ 1: Opening & setup
The ScanSnap iX1600 was in a box like this.
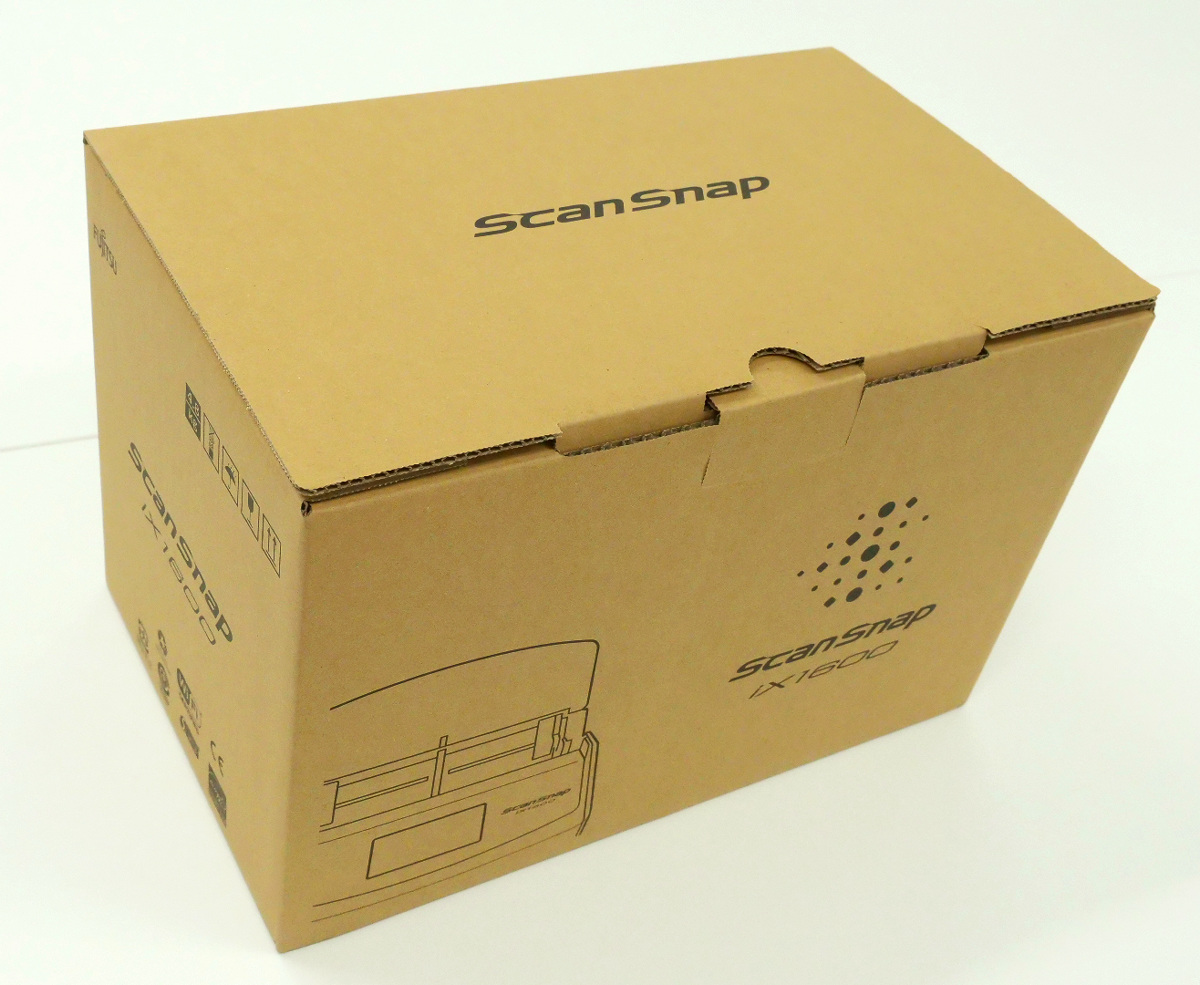
It contained a set of main unit, AC adapter, USB cable, business card / receipt guide, instruction manual, etc.

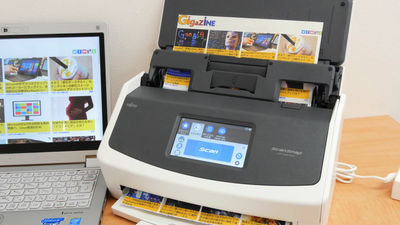
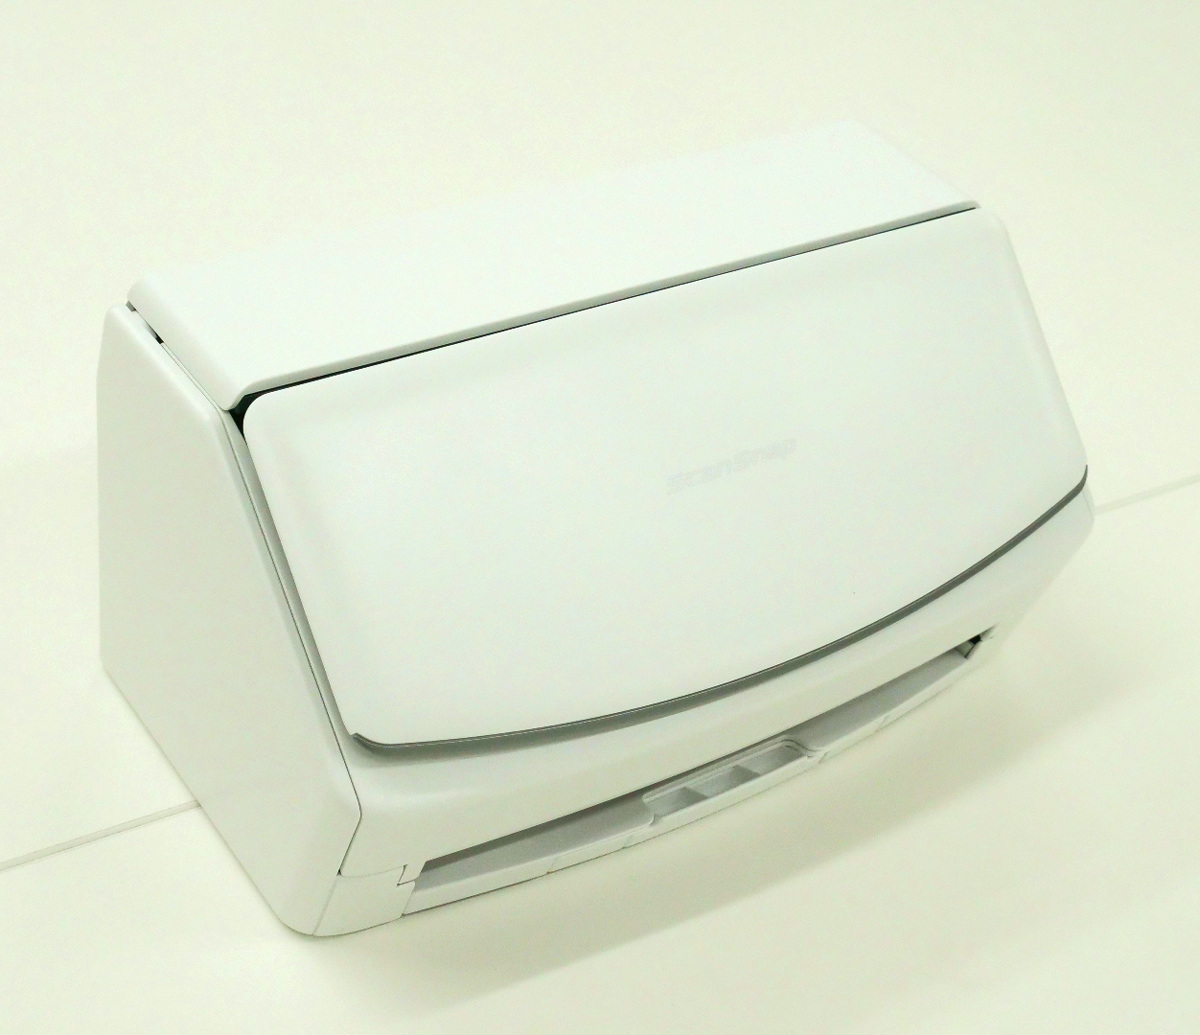
The main body dimensions are width 29.2 x depth 16.1 cm x height 15.2 cm, and weighs 3.4 kg, which are the same specifications as the ScanSnap iX1500. There is a cover on the top, and a paper output tray is stored in the lower part of the front.
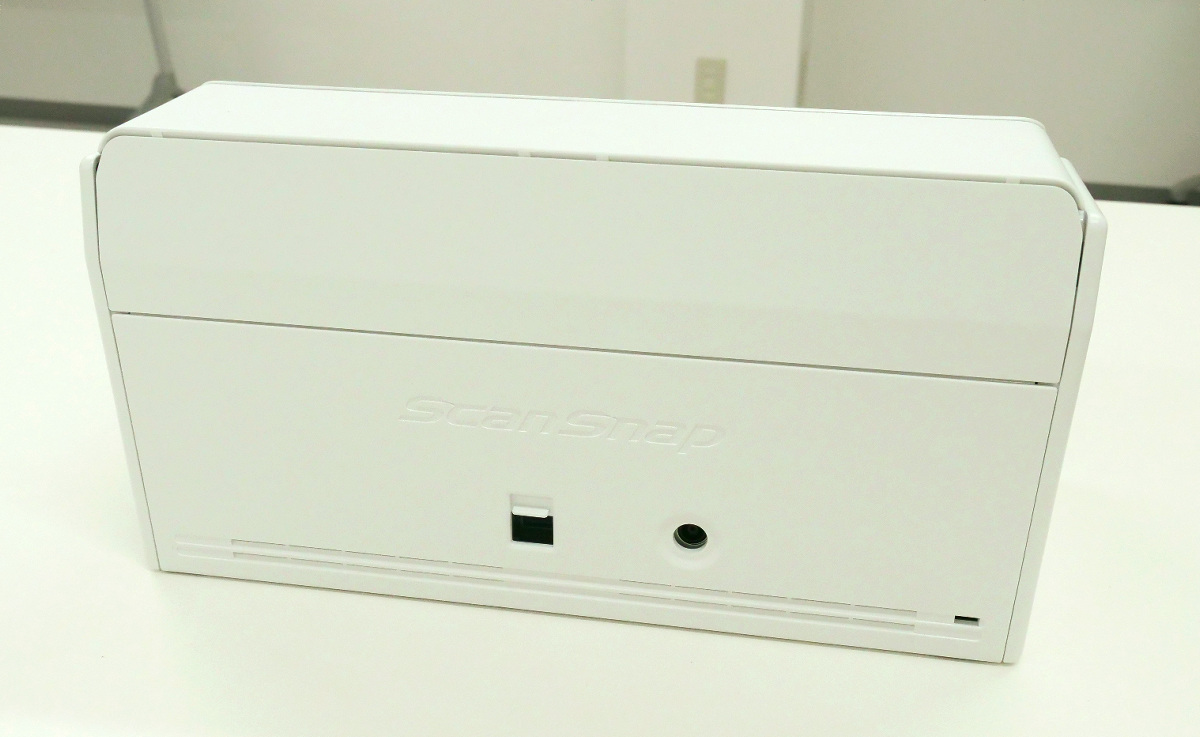
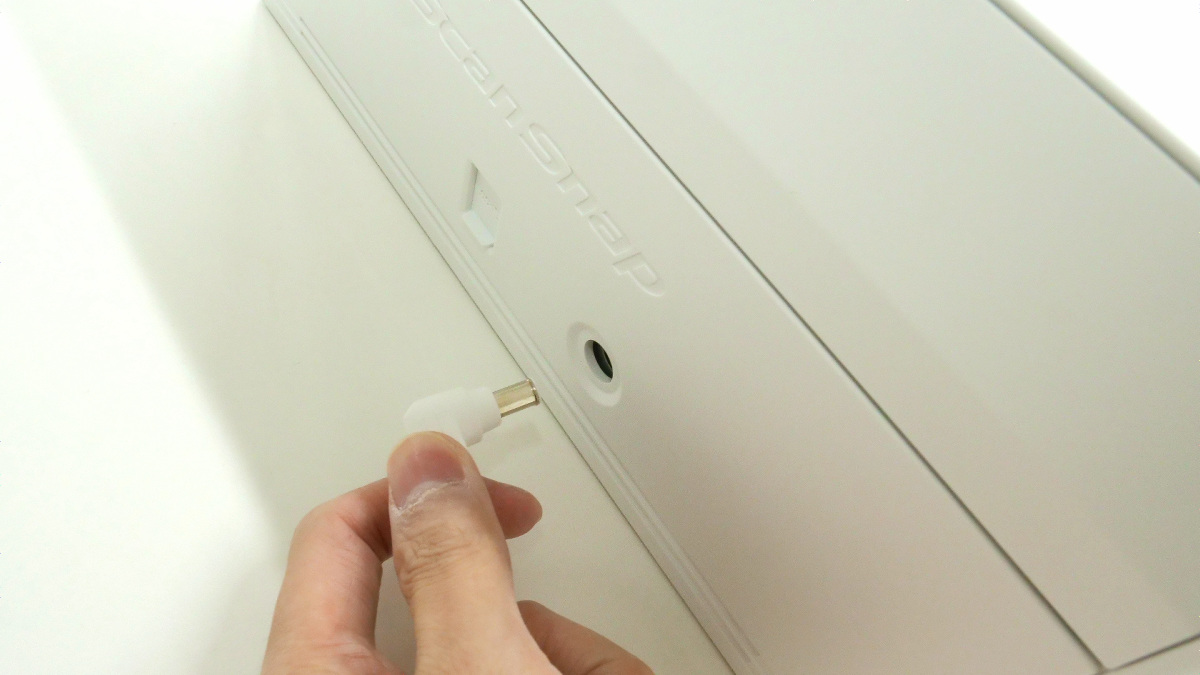
USB Type-B port and power port on the back.
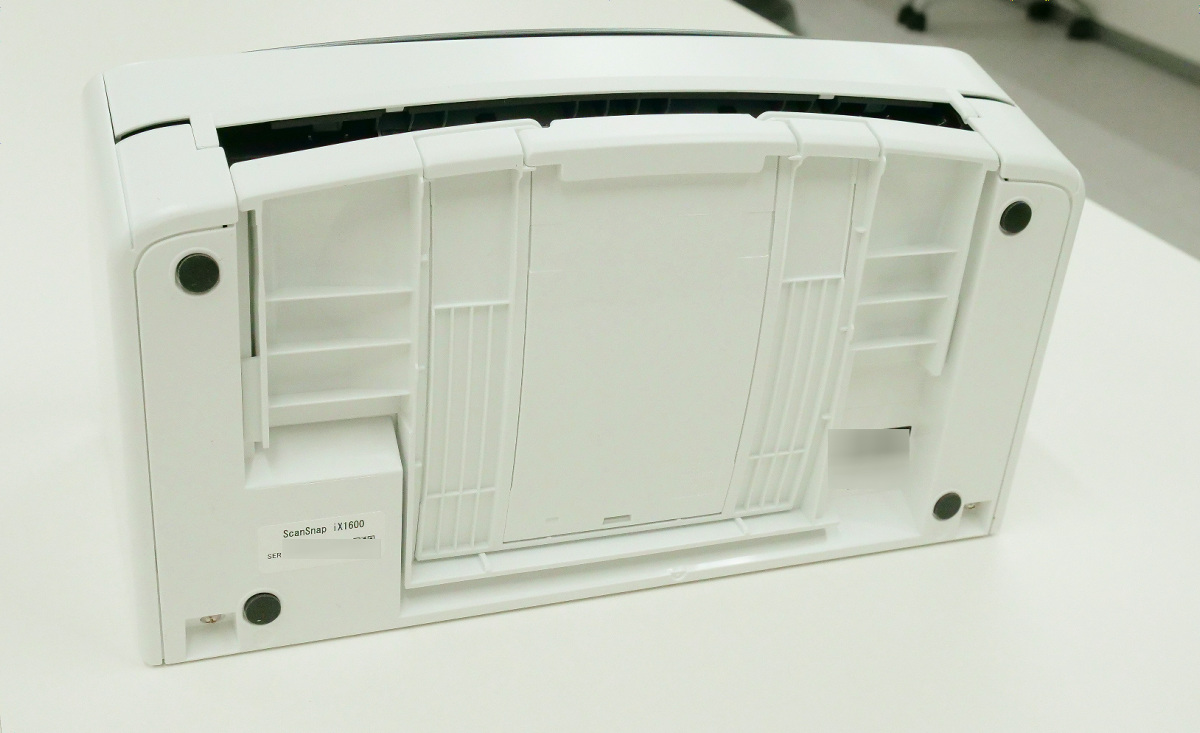
There is a sticker on the bottom with the serial number etc. In addition, anti-slip stickers are also attached to the four corners.
When you open the cover on the top of the main unit ...

The paper feed part appeared like this.

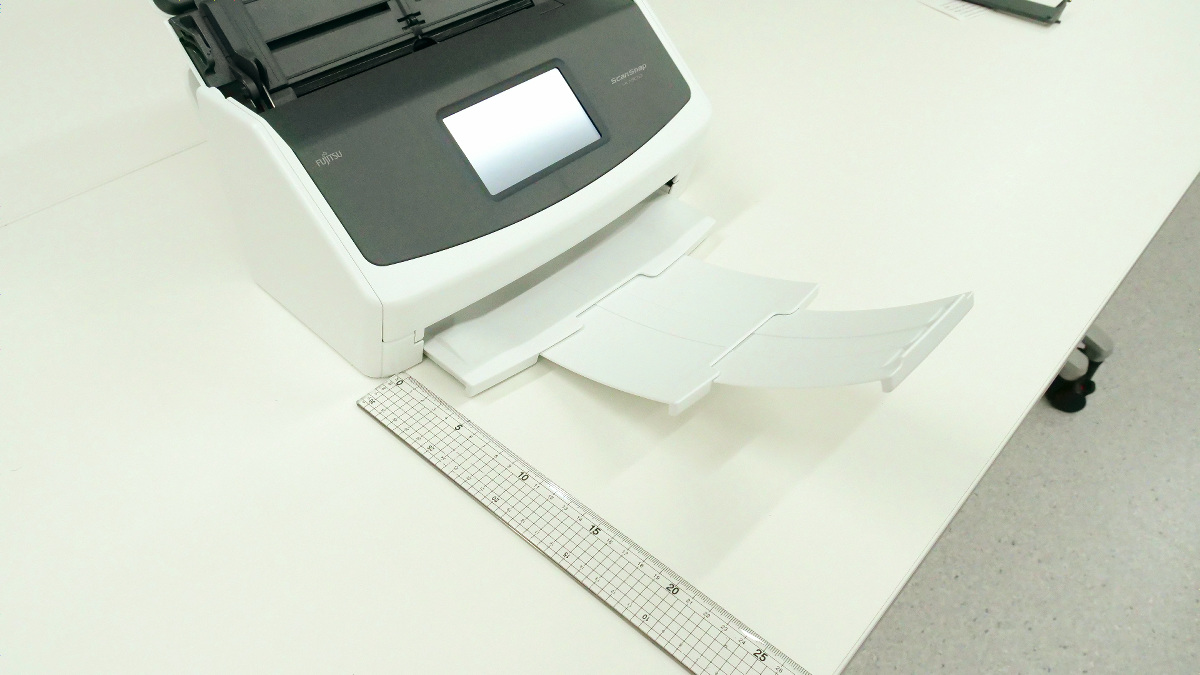
The output tray can be pulled forward in this way. The actual length of the tray when pulled out is about 21 cm.
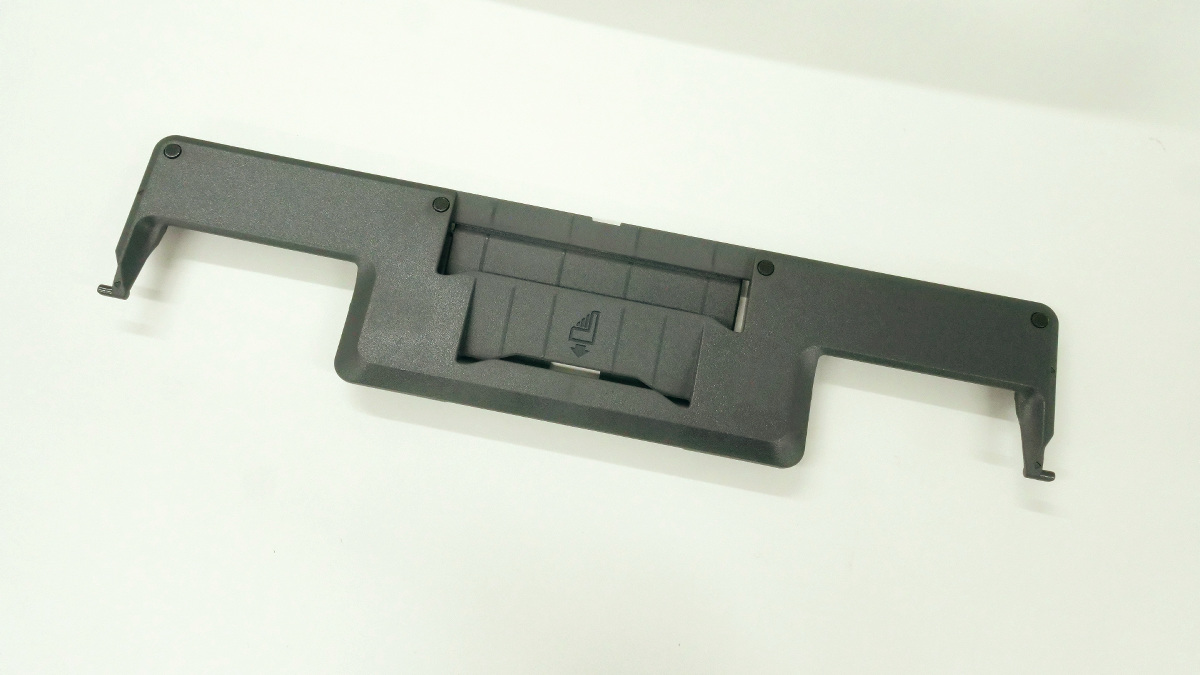
The business card / receipt guide looks like this. Once installed, it makes it easy to scan narrow business cards and receipts.
Look at the enclosed installation guide and actually install it.
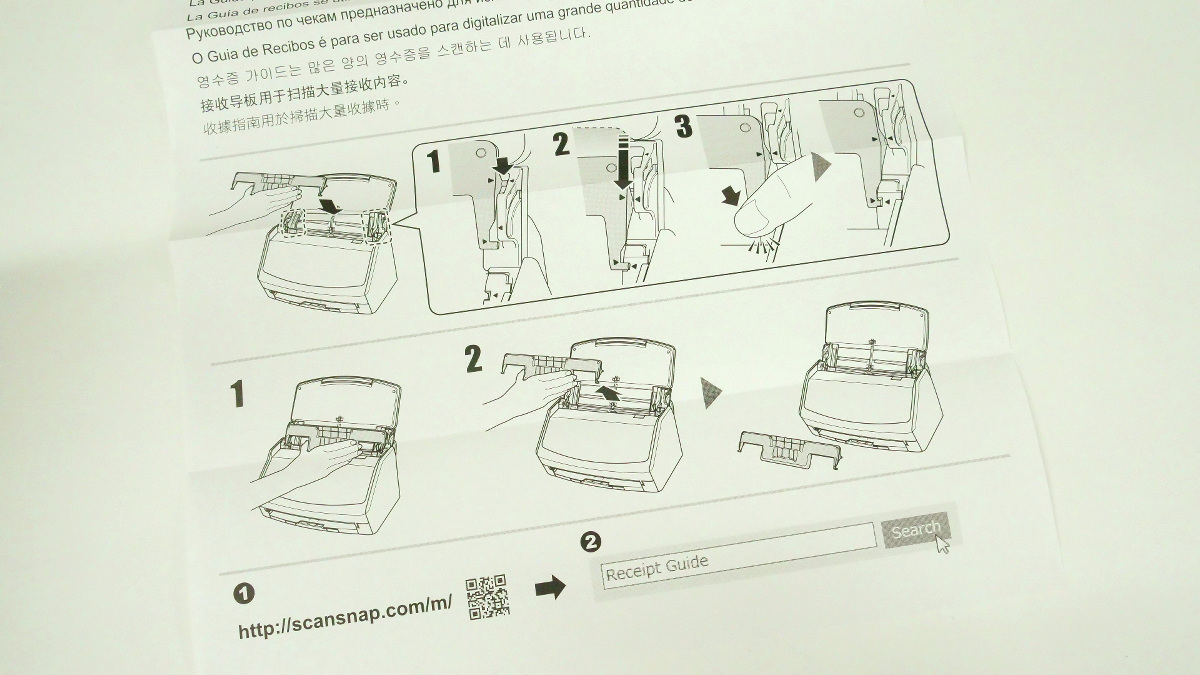
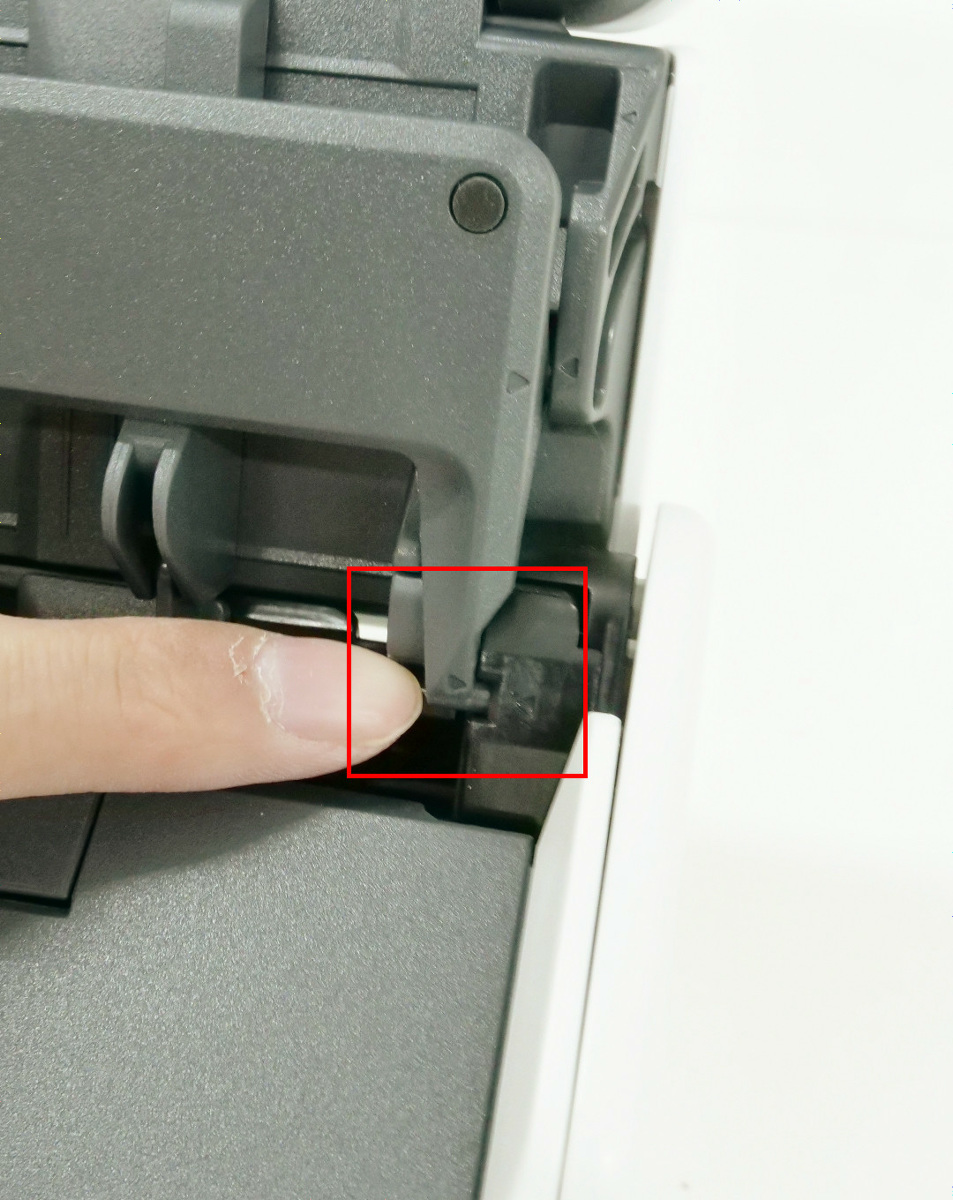
First of all, fit the upper one of the two protrusions on the end of the business card / receipt guide into the slit of the main body.

Slide the business card / receipt guide all the way down and push the lower protrusion with your hand to complete the installation.
This makes it possible to set business cards in a stable manner. To remove it, just follow the reverse procedure of installation.

To start the main unit, connect the AC adapter to the back of the main unit and plug the outlet into the plug.
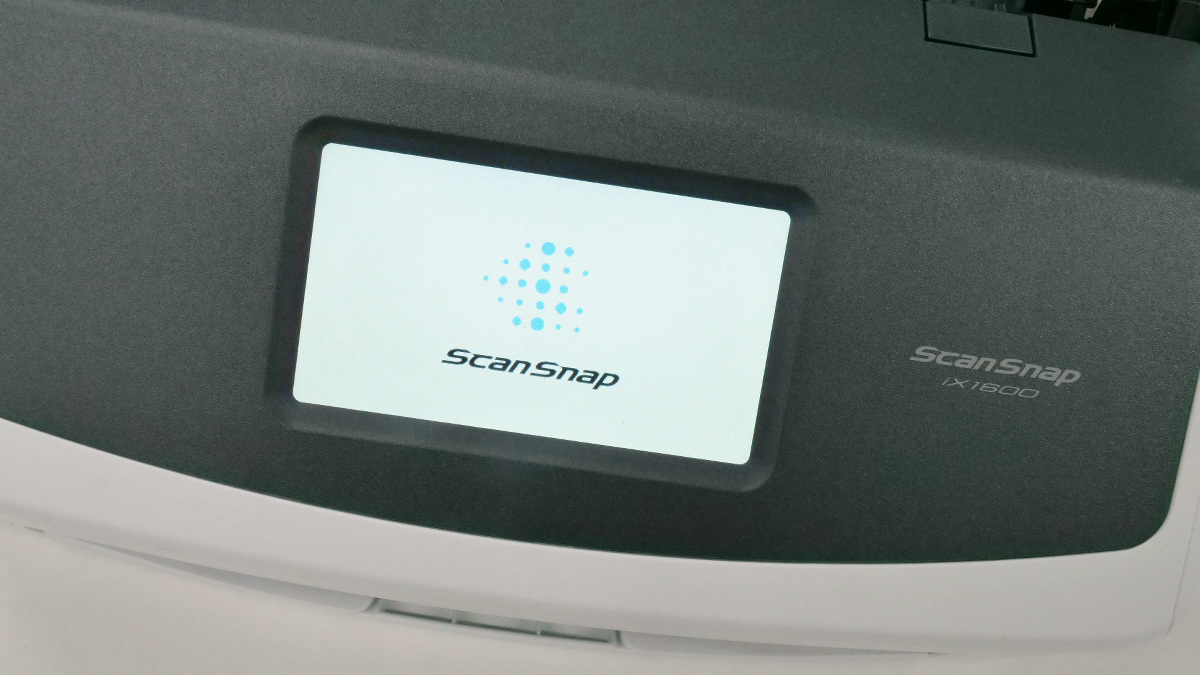
As soon as the power was turned on, the power turned on and the touch panel on the front of the main unit turned on.
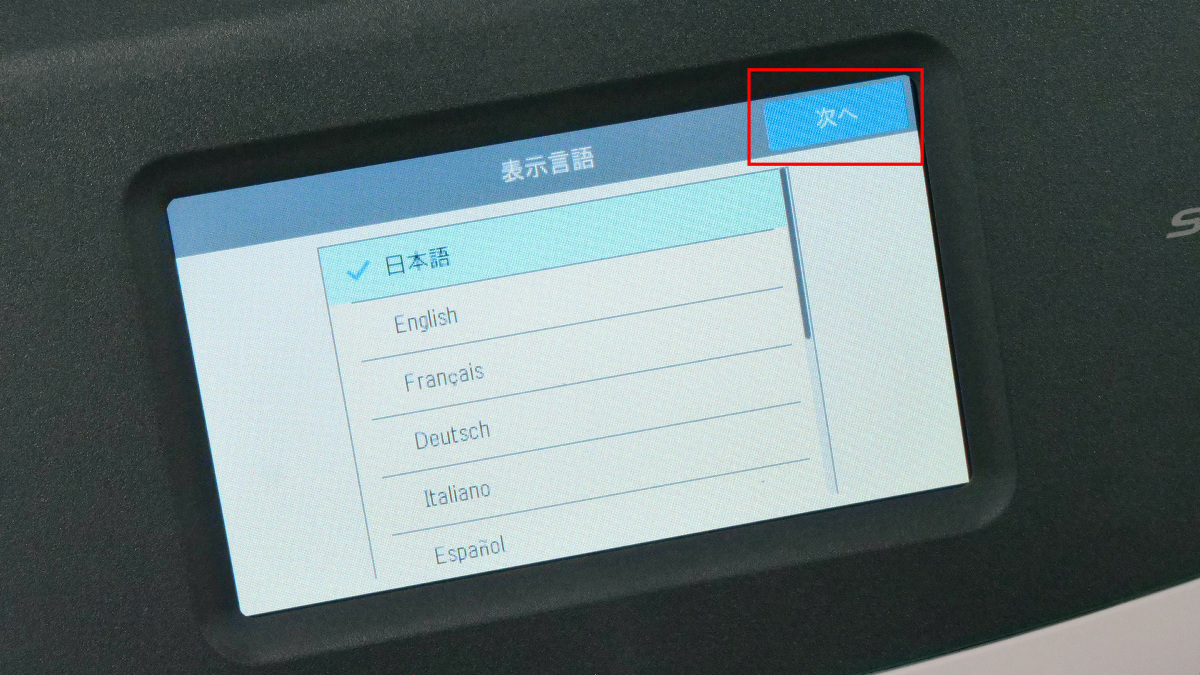
First of all, the language selection screen is displayed, but since Japanese is checked from the beginning, just touch 'Next'.
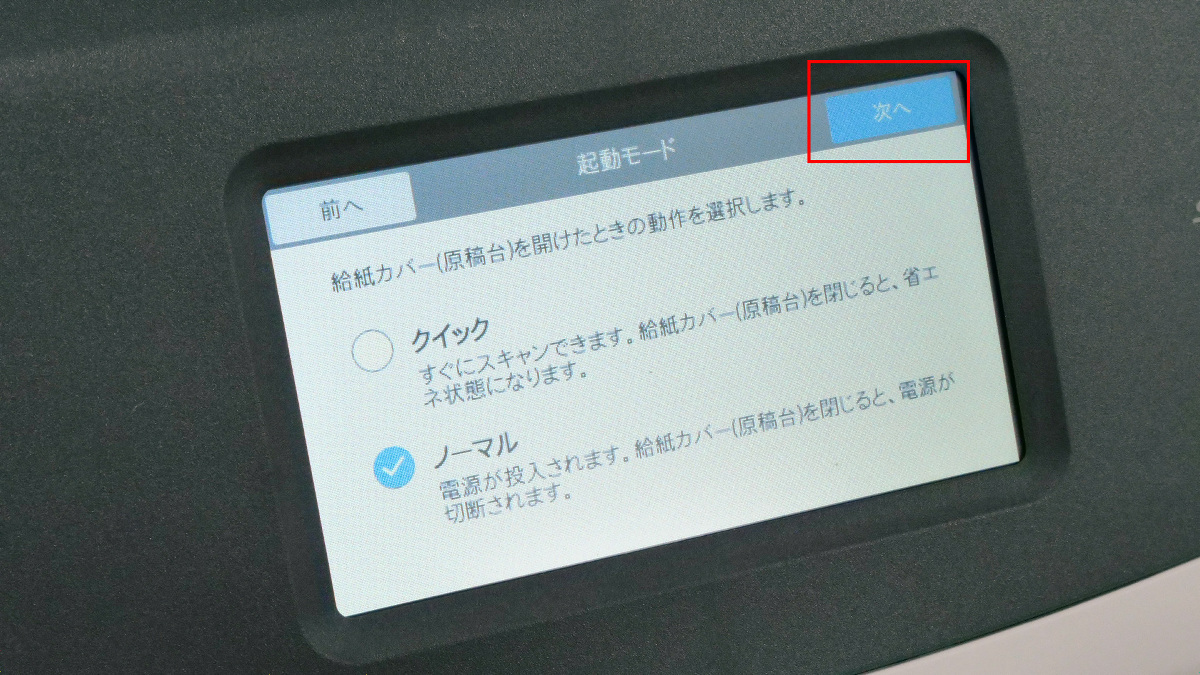
Select a boot mode. When you open the paper feed cover, the power turns on, and when you close it, the power turns off. 'Normal' is selected, so just touch 'Next'.
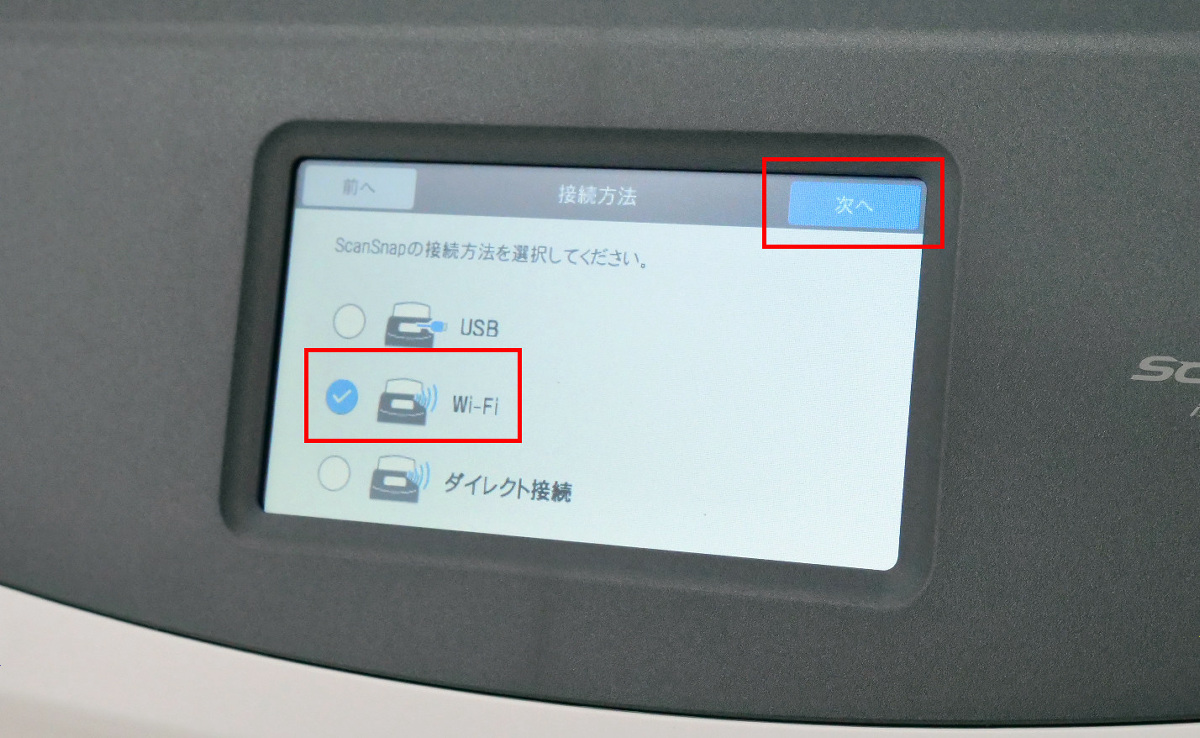
Select how to connect ScanSnap to your device. This time, to make a wireless connection, select 'Wi-Fi' and touch 'Next'.
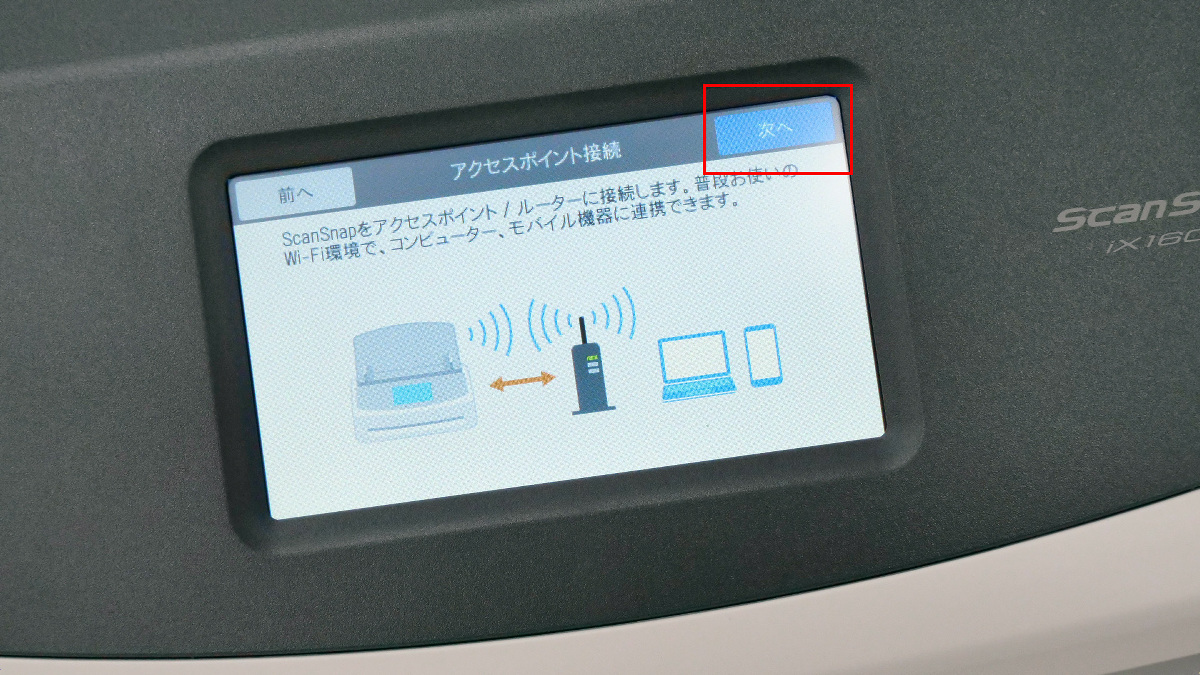
Read the explanation and touch 'Next'.
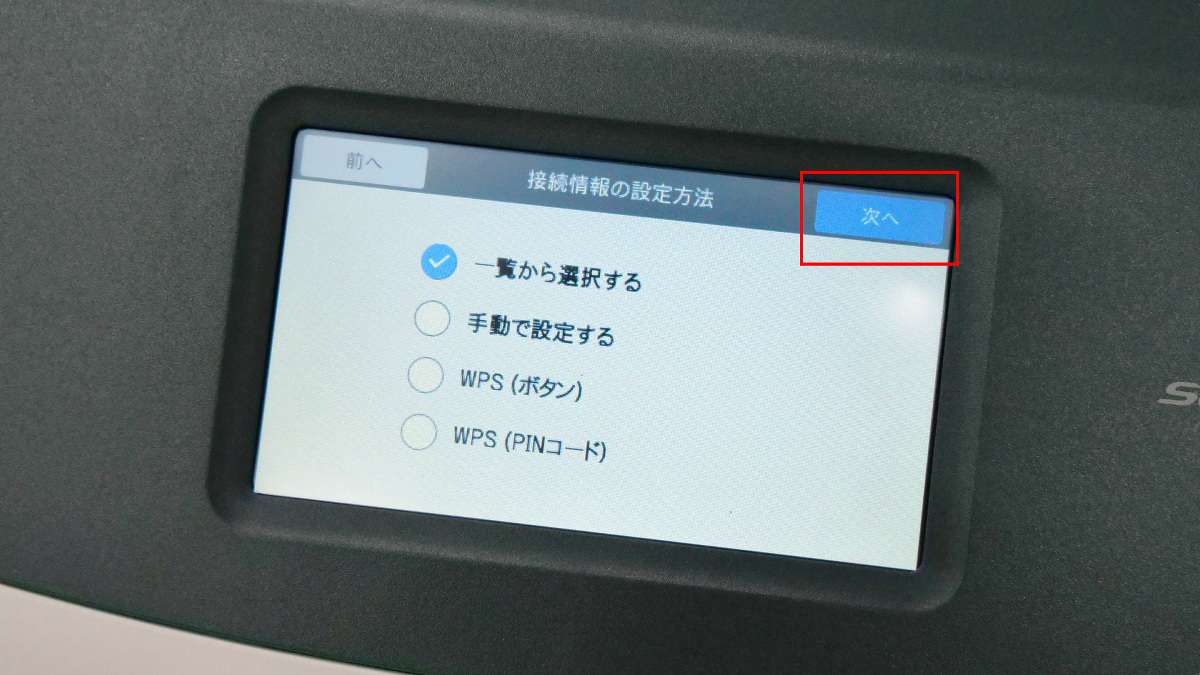
You can also use the WPS (automatic setting) function of the router, but this time, touch 'Next' while keeping 'Select from list'.
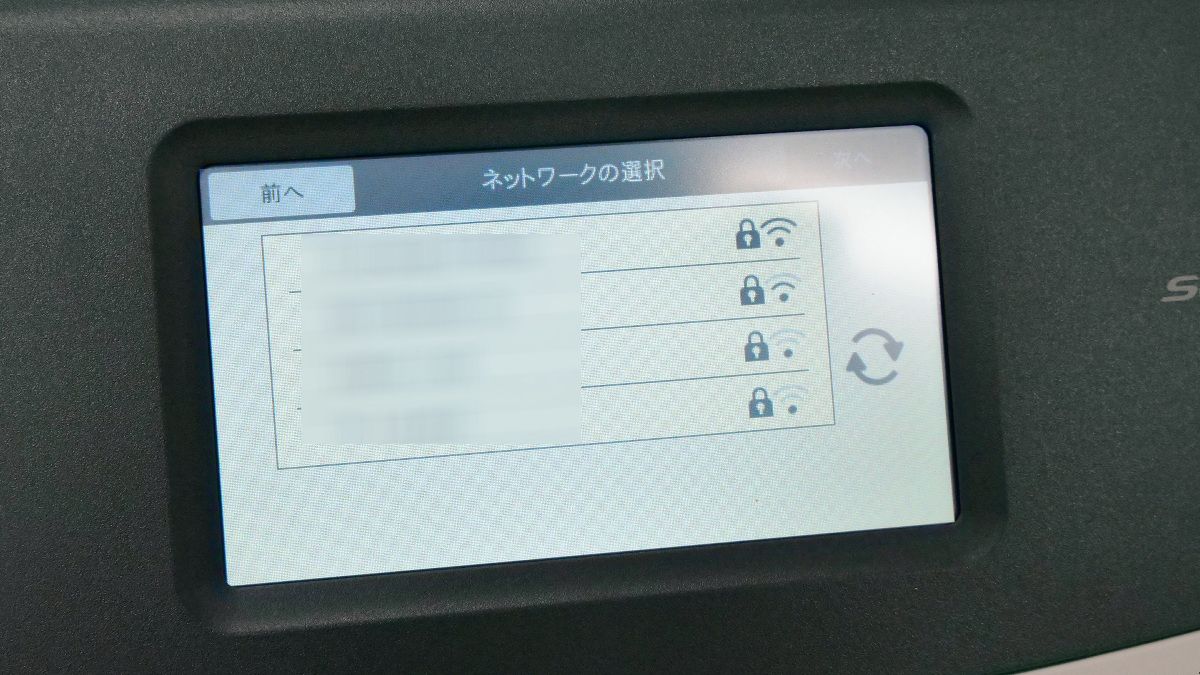
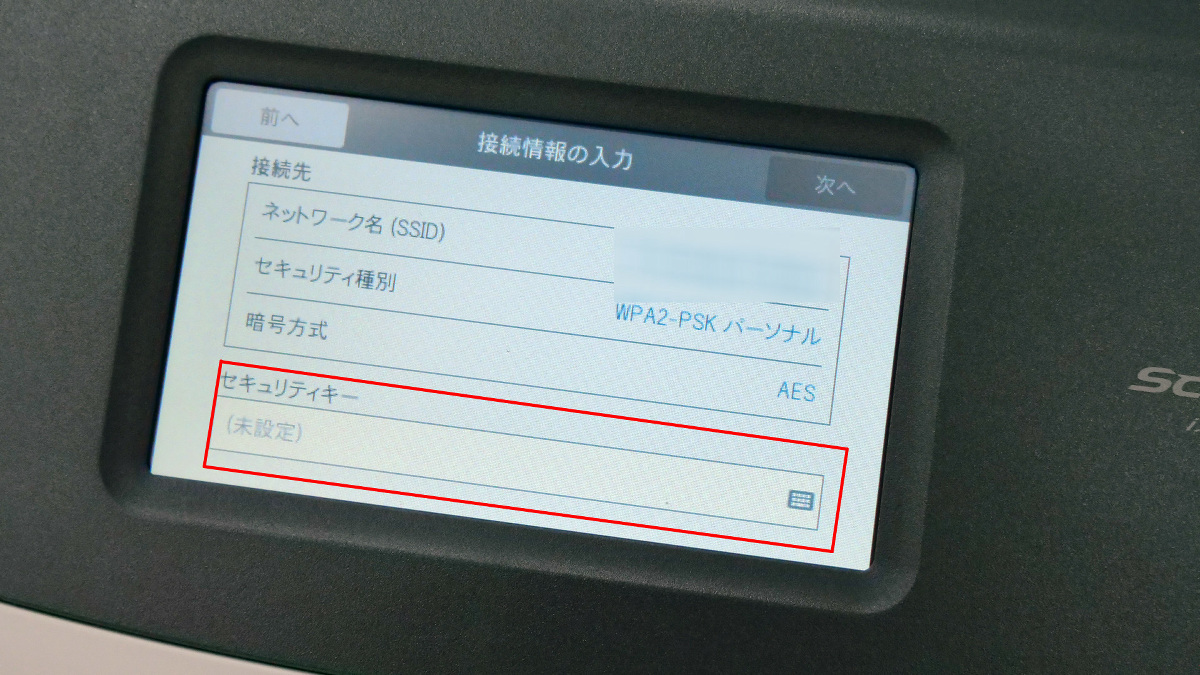
The access point will be displayed, so select the one you want to connect to.
After confirming that the network name (SSID) is the Wi-Fi you plan to use, touch the security key input screen.
Enter the security key and touch OK.
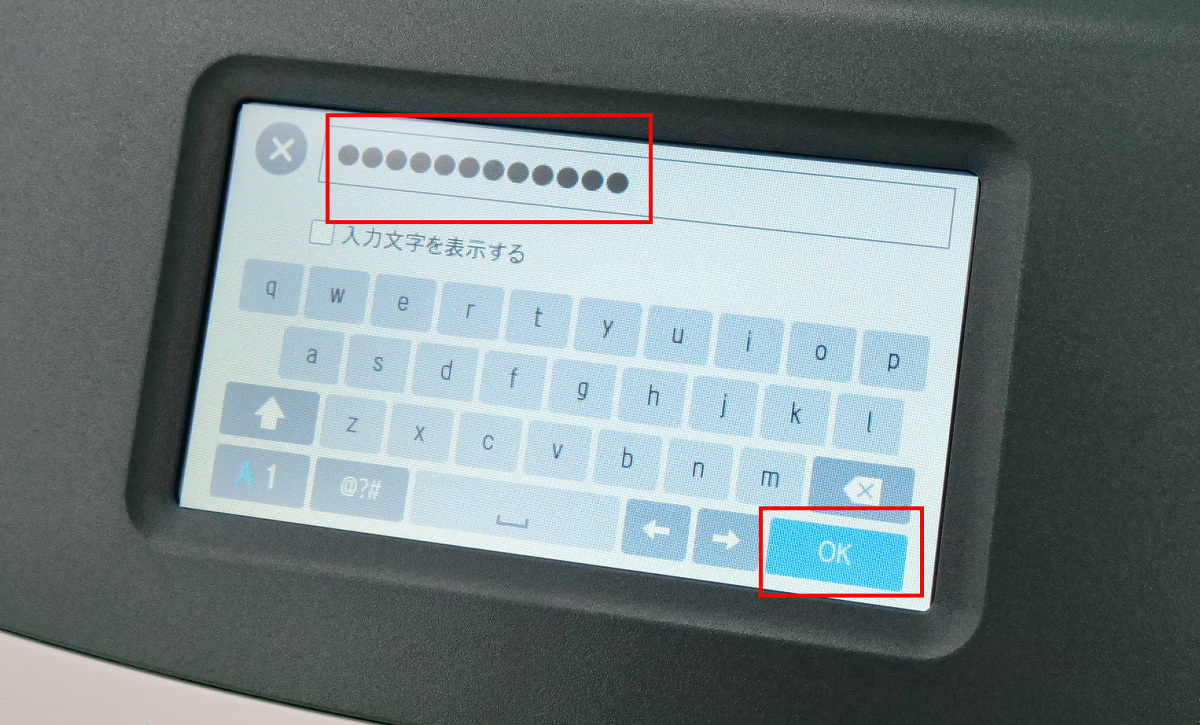
If you touch 'Next' as it is, the connection to the access point will be established.

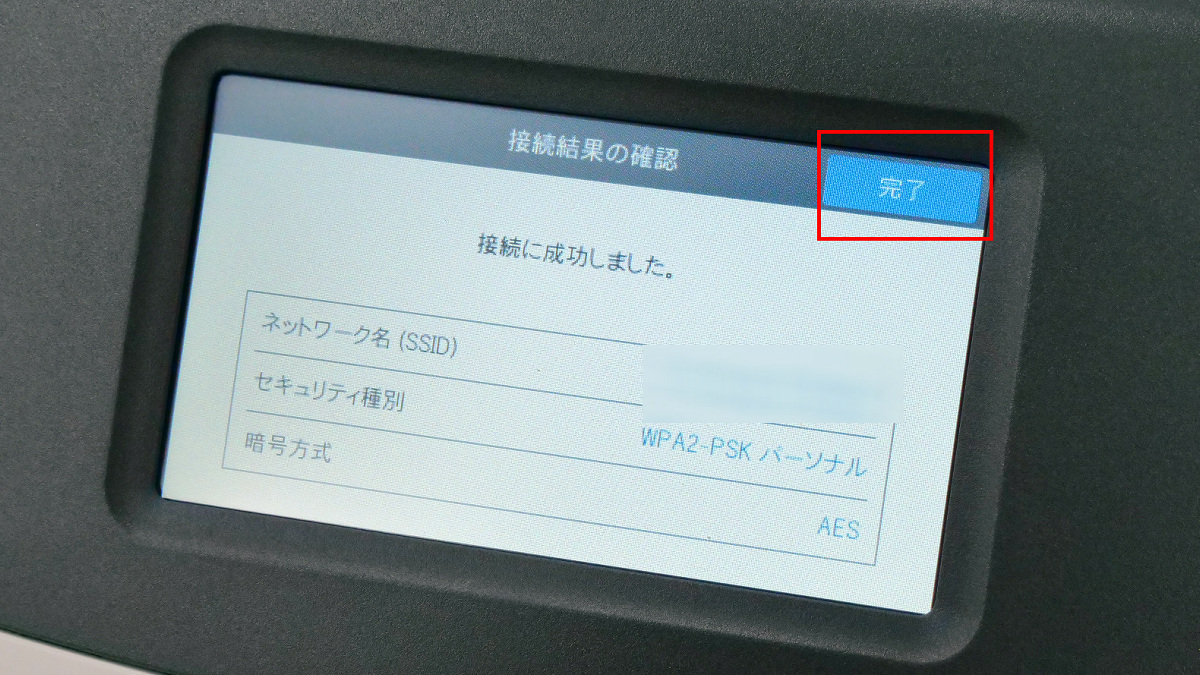
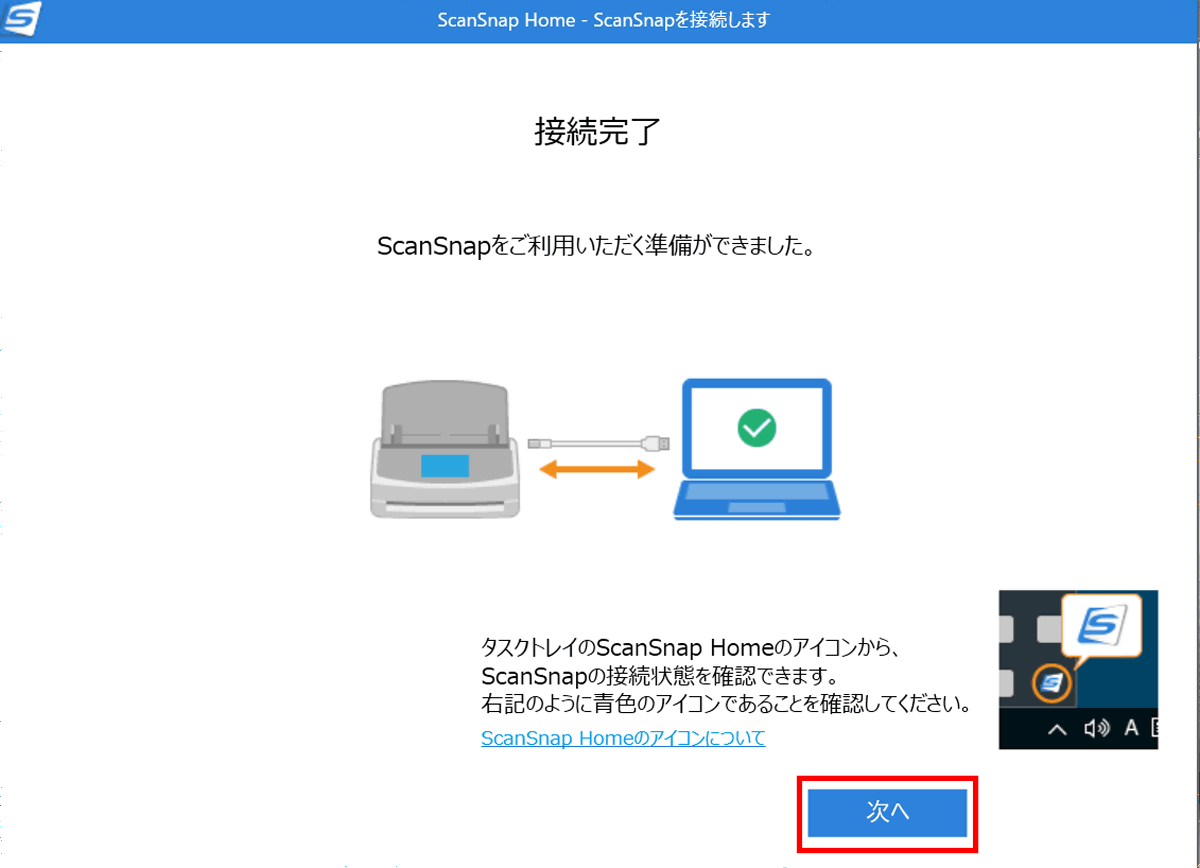
If the connection is successful, a screen like this will appear, so touch 'Finish'.
The setting of the main body is completed. You will be prompted to download and install the software from the URL provided.
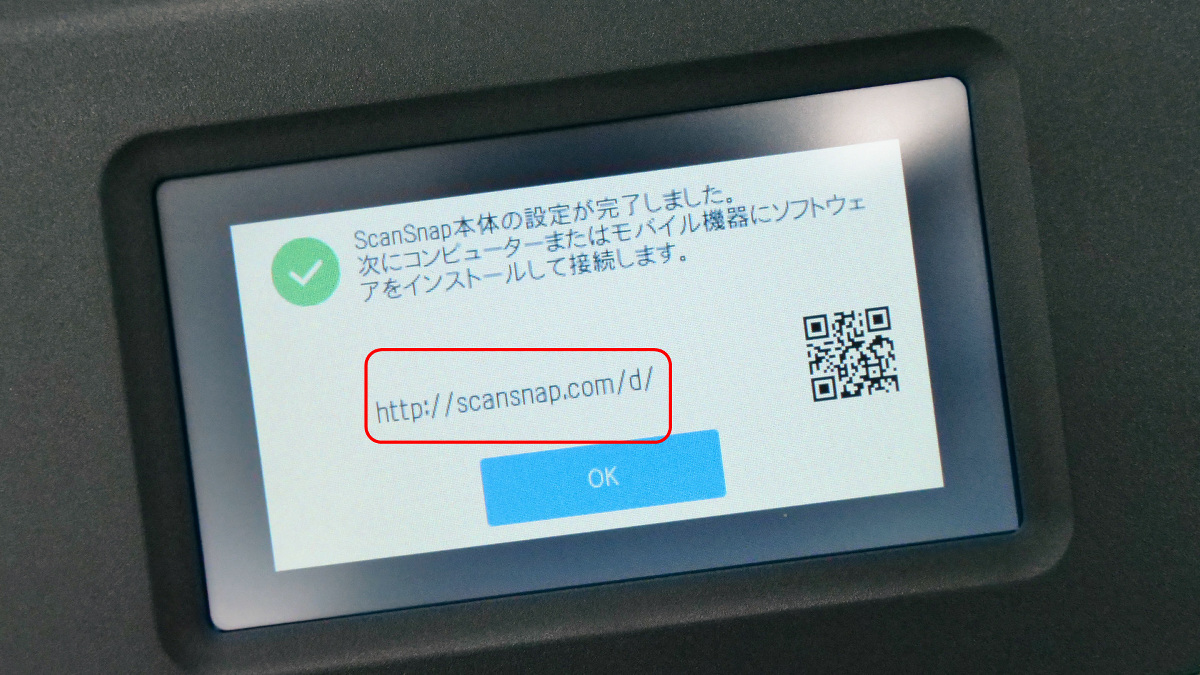
Access the ScanSnap software
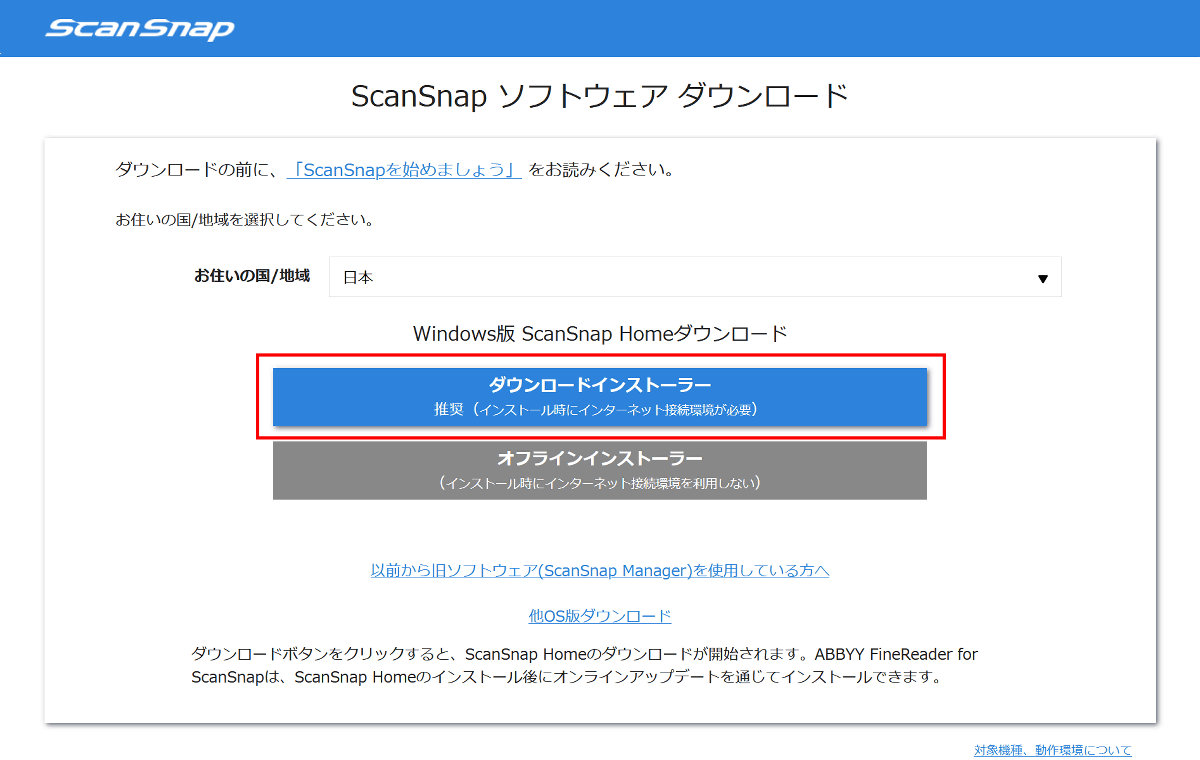
Read the terms of use of the software and select 'Agree' if you agree.

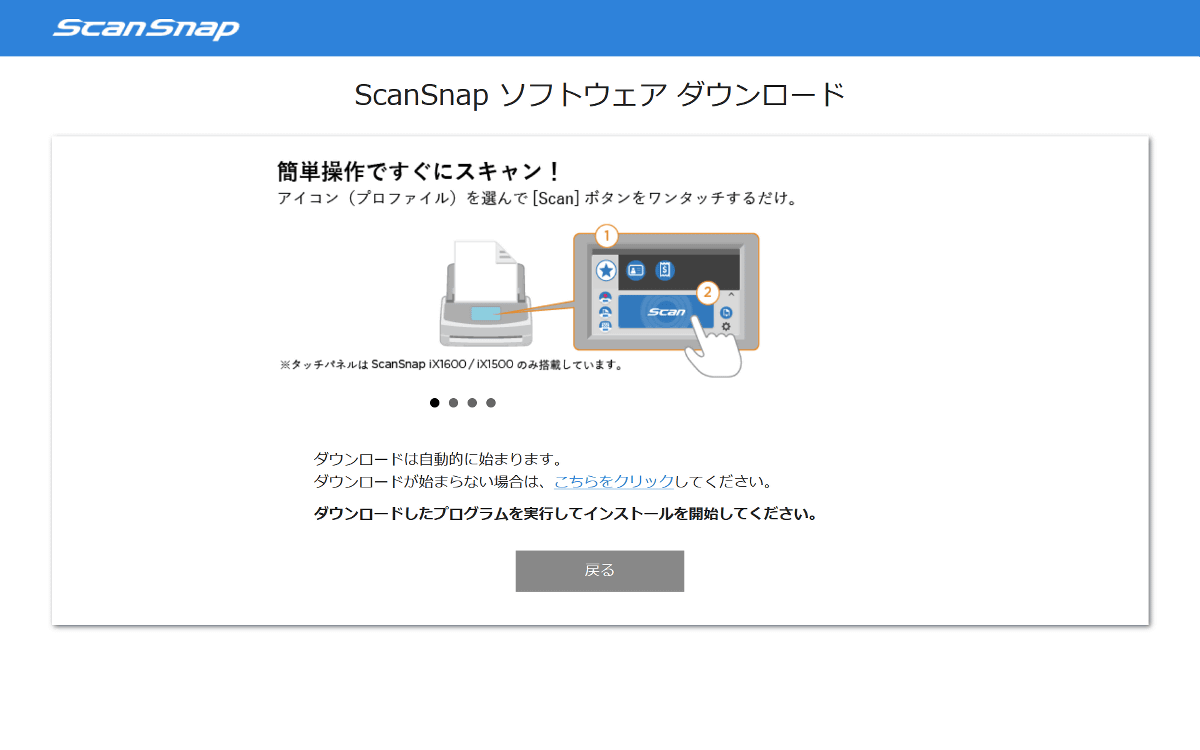
The software download will start.
When the download is complete, click the executable file to execute it.
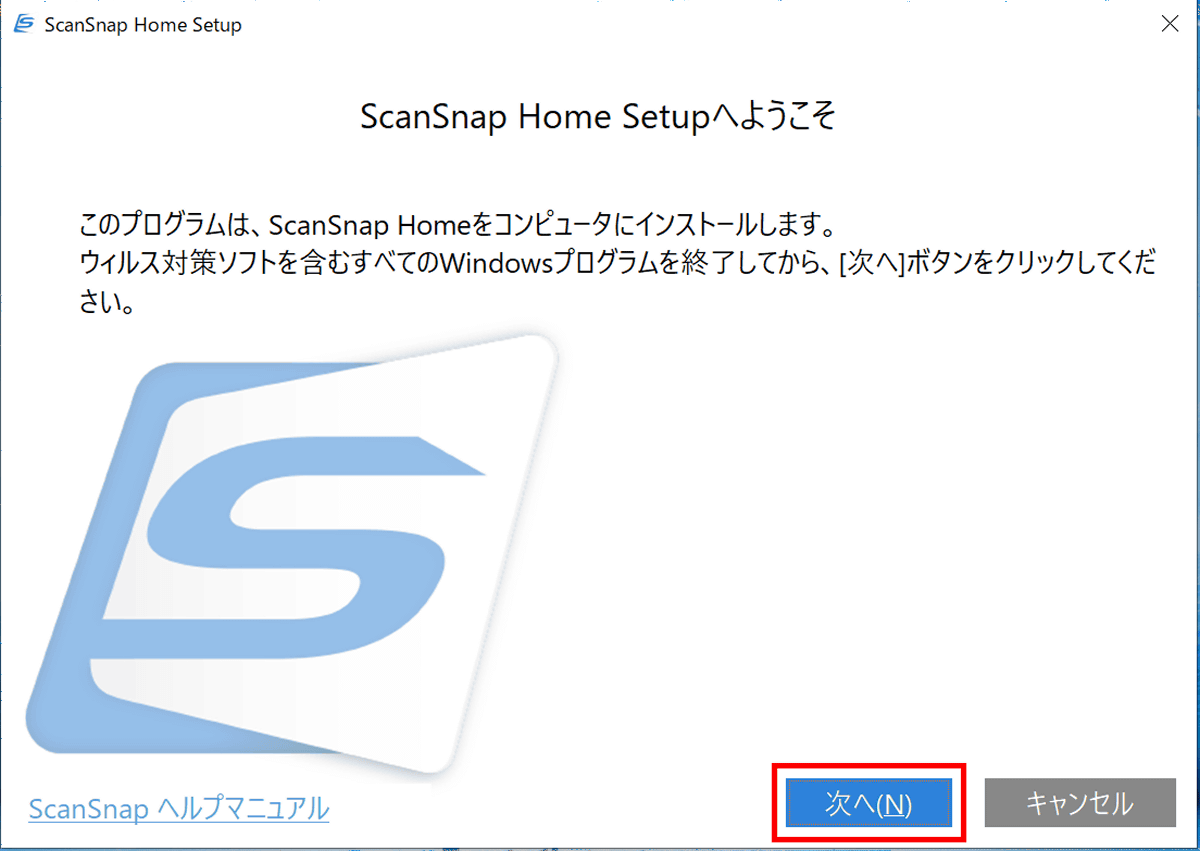
When the installation is complete, the setup screen will open. Follow the instructions and click 'Next'.
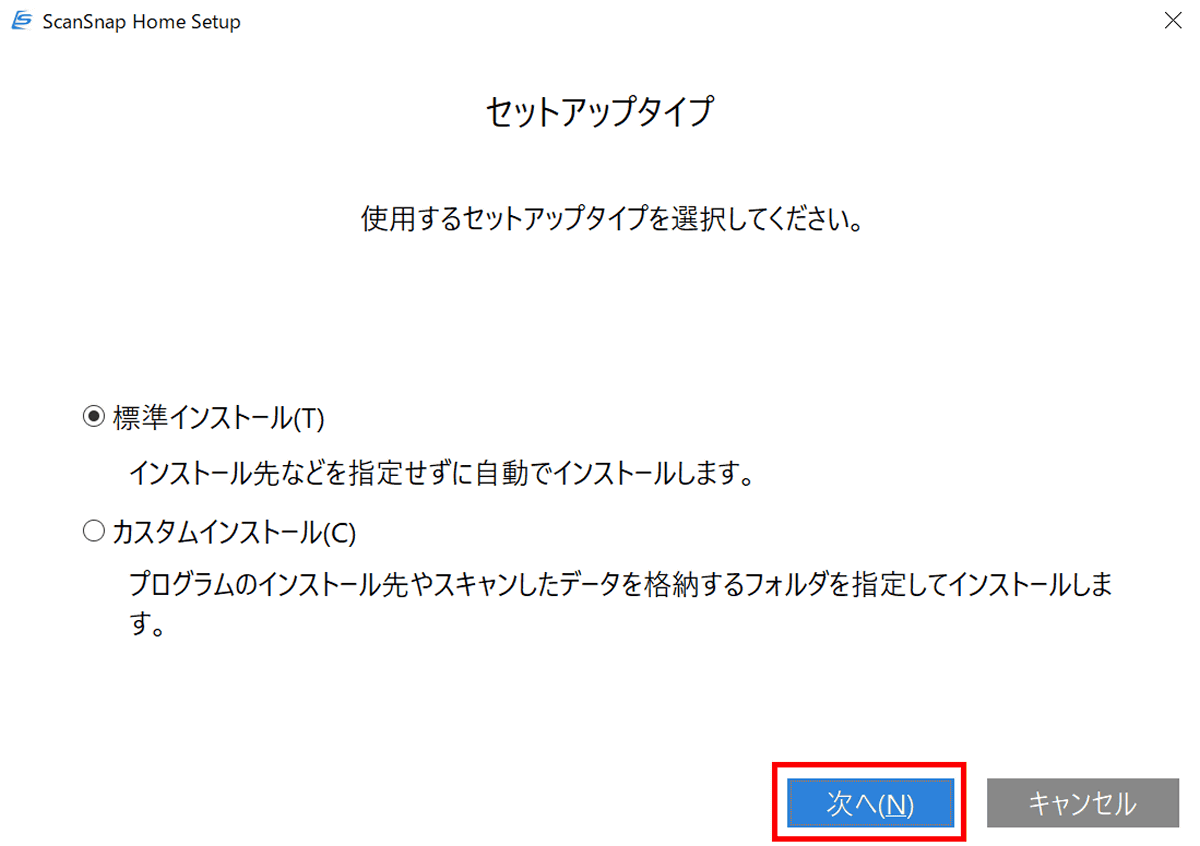
Select a setup type. This time, select 'Standard installation' and click 'Next'.
Confirm the installation destination and click 'Install' to start the installation.

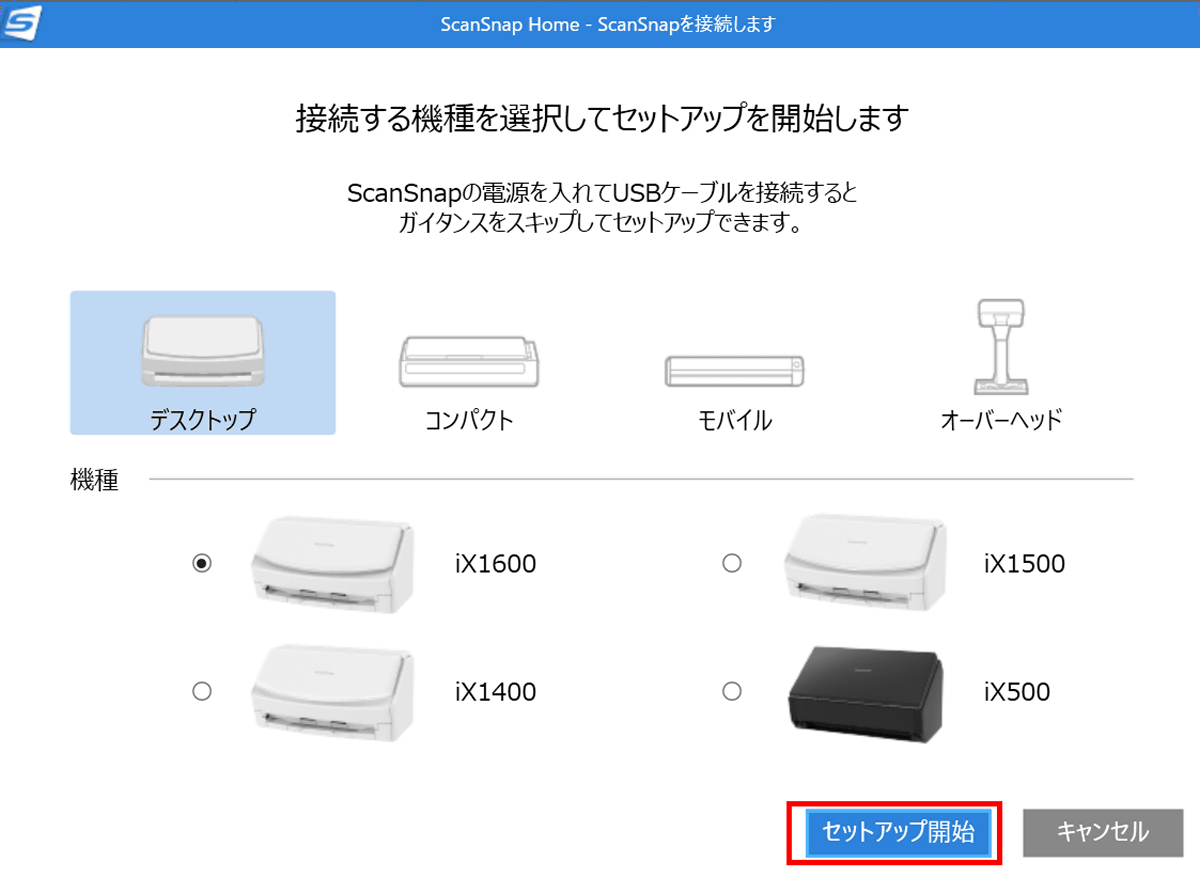
When the installation is complete, 'ScanSnap Home' will start and the screen for selecting the model will open. Since the 'Desktop' type 'iX1600' is selected, just click 'Start Setup'.
You will be prompted to connect your PC to the ScanSnap iX1600 with a USB cable.
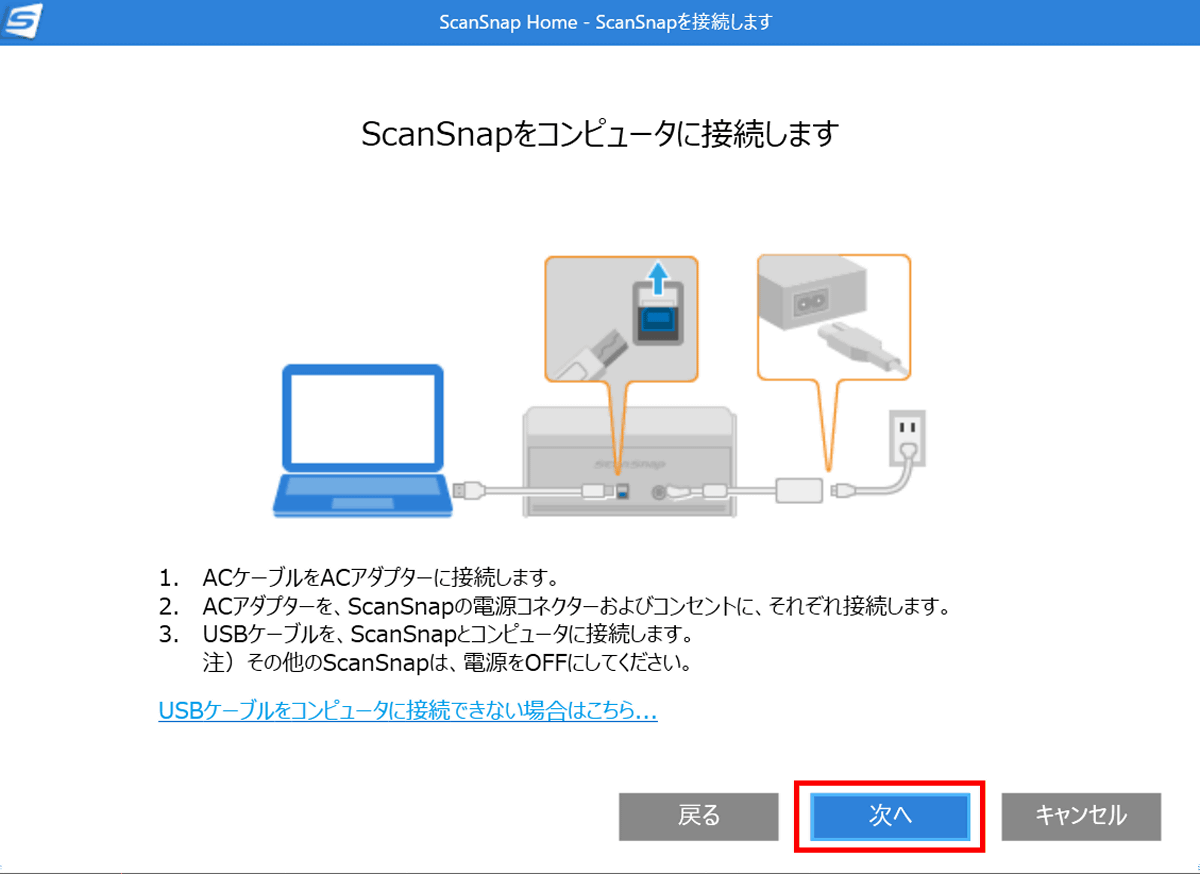
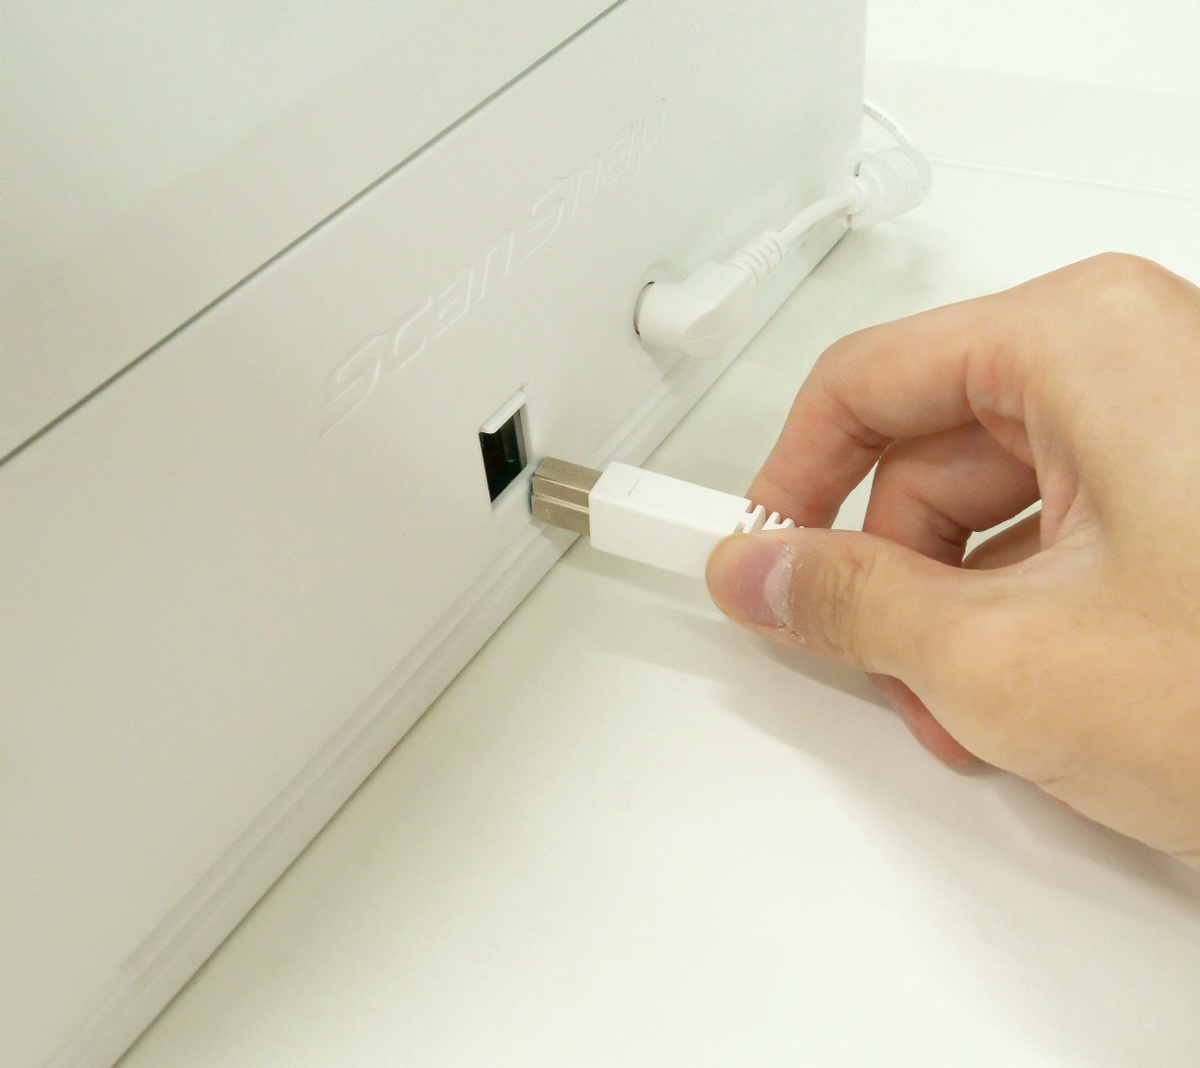
Plug the included USB cable into the USB port on the back of the ScanSnap iX1600 and connect the other to your PC.
ScanSnap Home will check the connection.

You are ready to use ScanSnap. If your ScanSnap iX1600 and PC are connected to the same network, you can disconnect the USB cable at this point.
The top screen of ScanSnap Home looks like this.
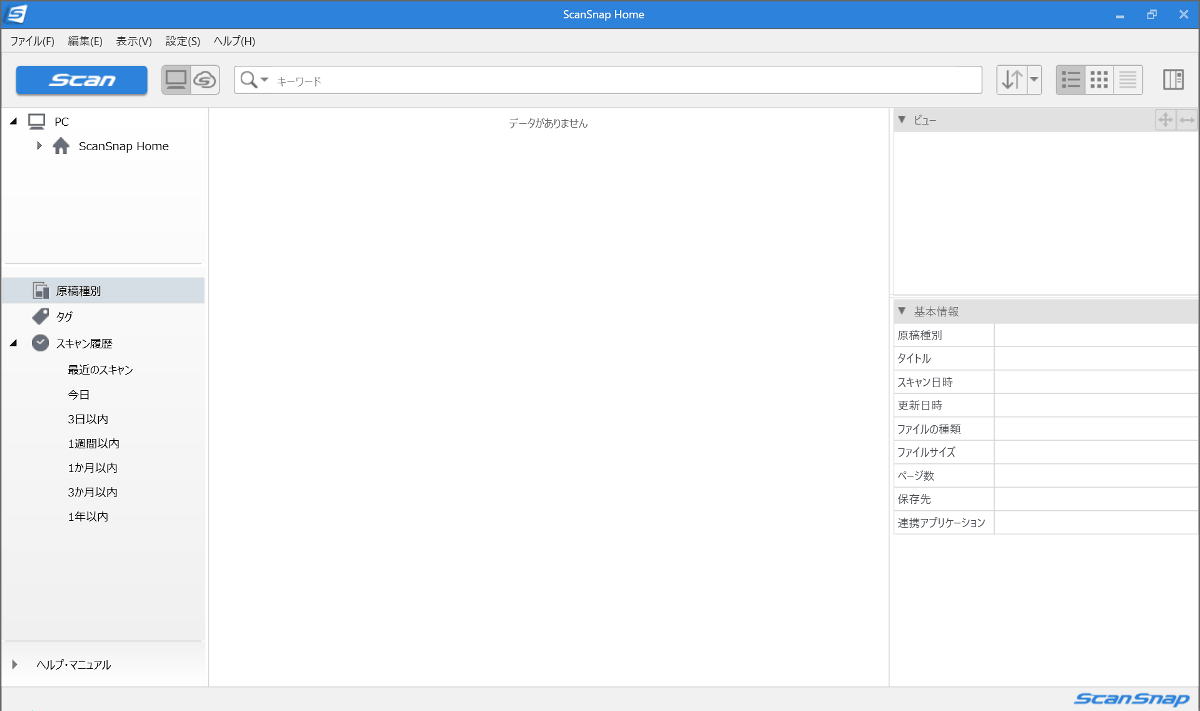
With this software, it is possible to change the scan settings of the main unit and manage the scanned documents.
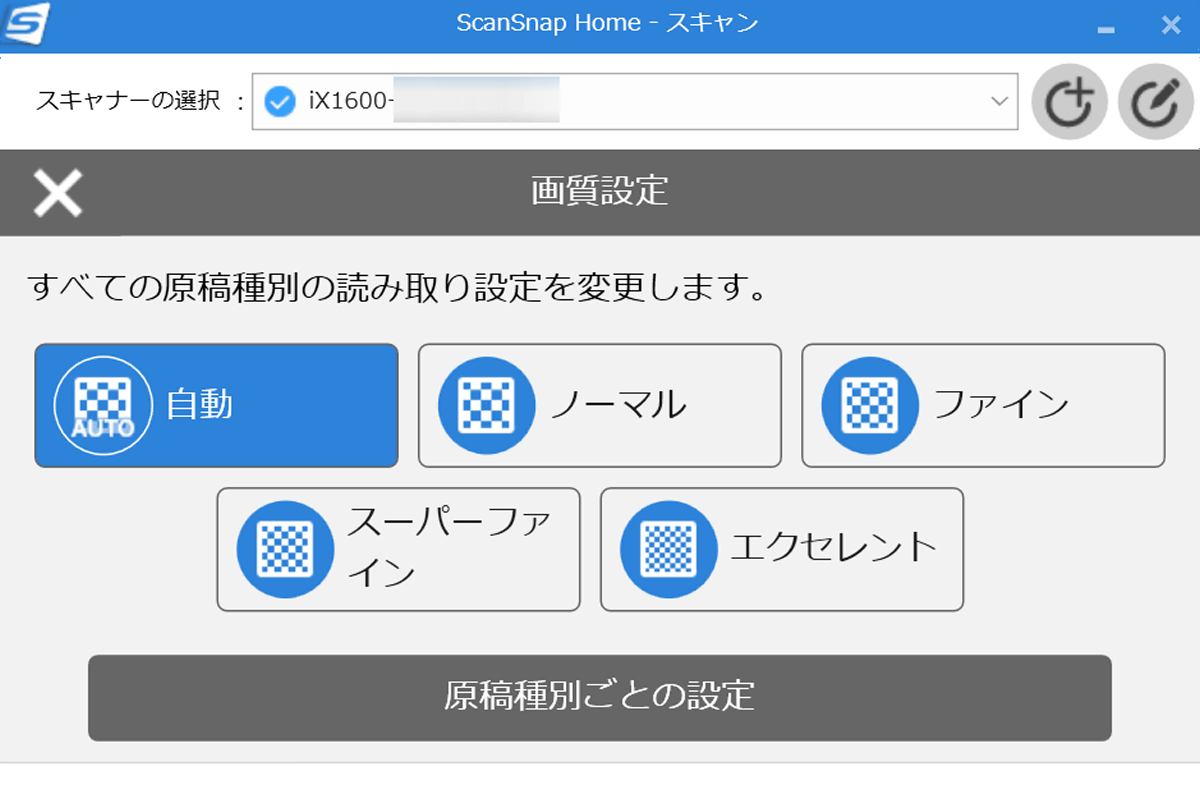
Set the color mode ...
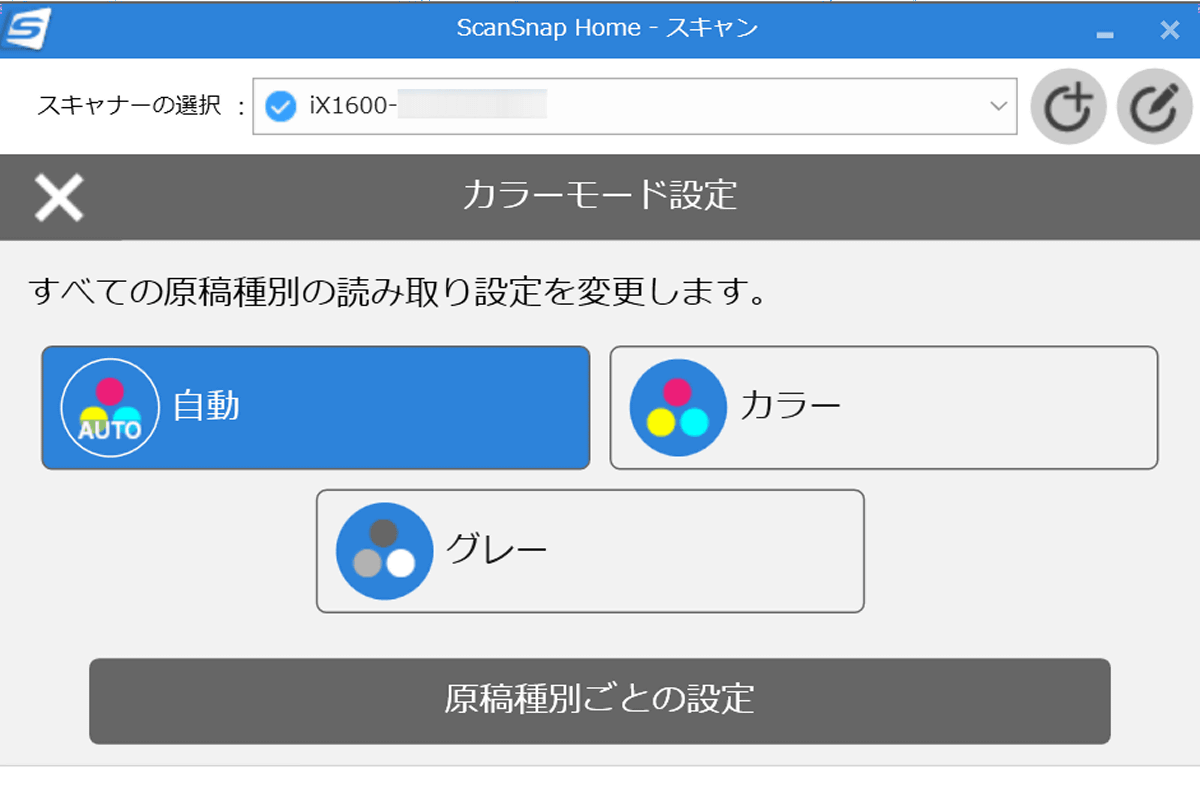
It is possible to set the image quality. The same operation can be performed from the touch panel of the main unit.
◆ 2: I actually used it
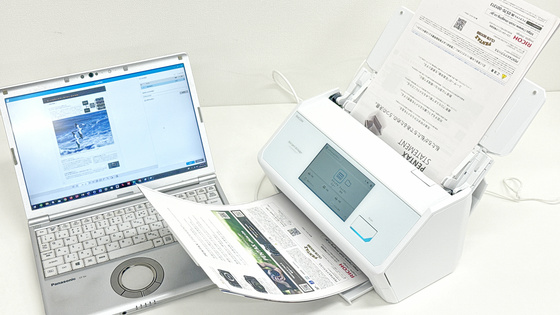
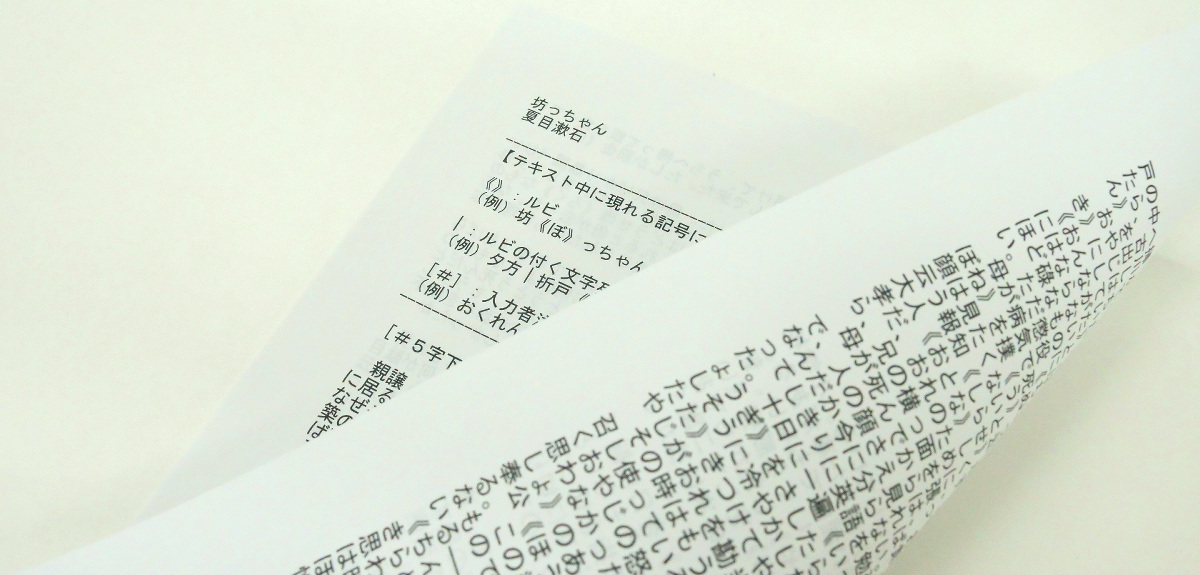
First, let's scan the document printed on both sides of A4 copy paper.
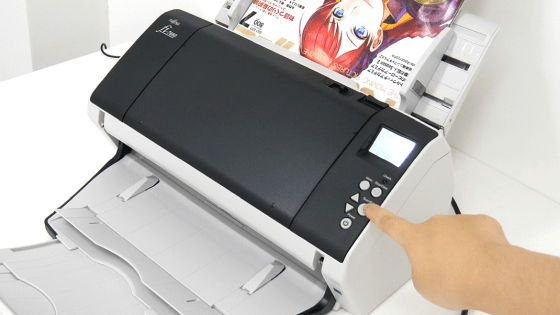
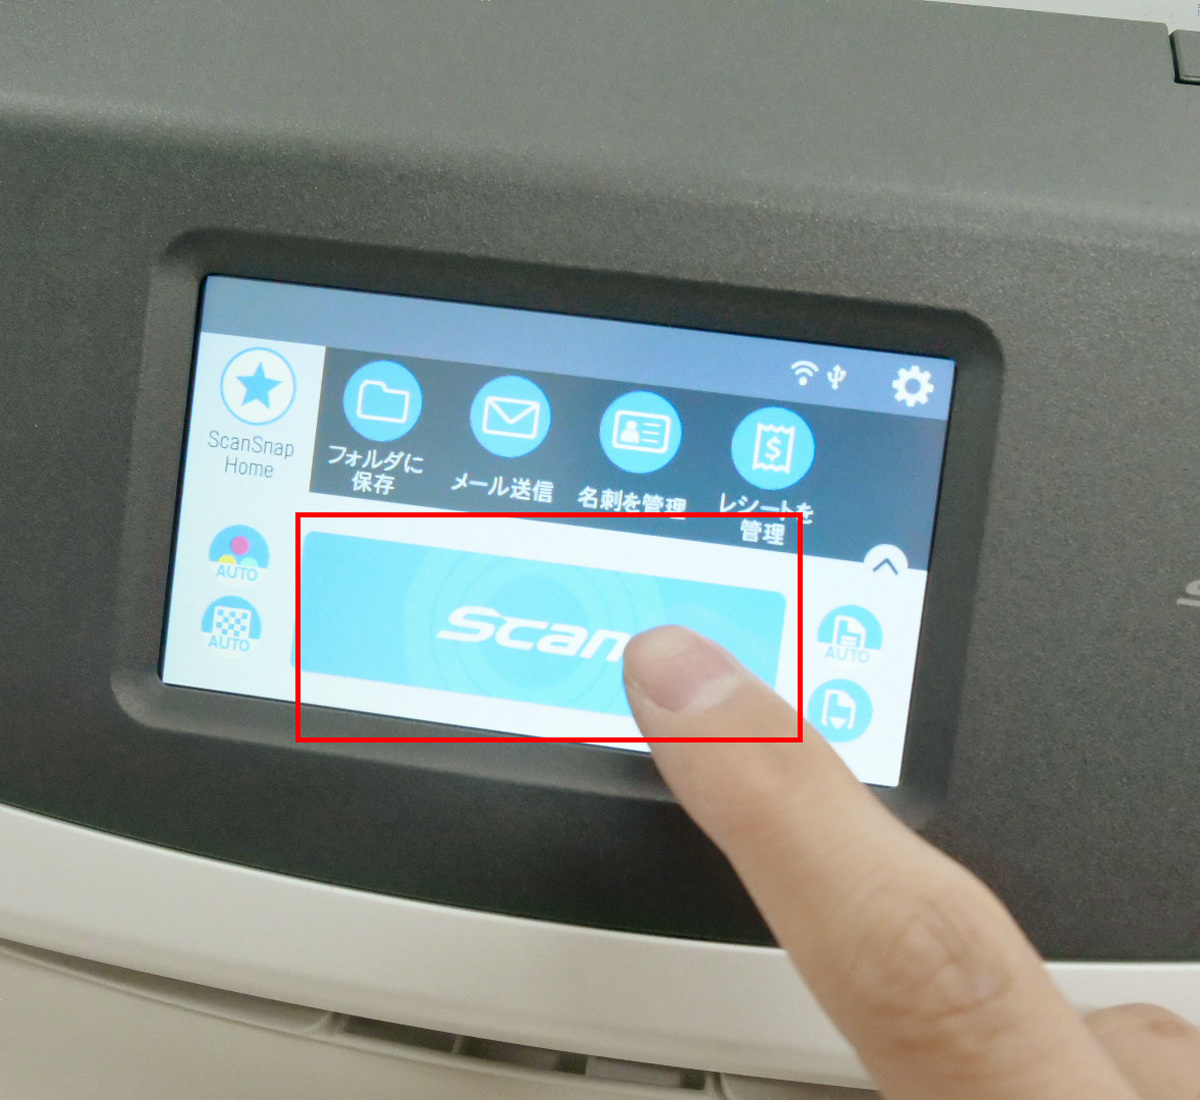
Adjust the slide bar of the main unit to the 'A4' position and load the paper.

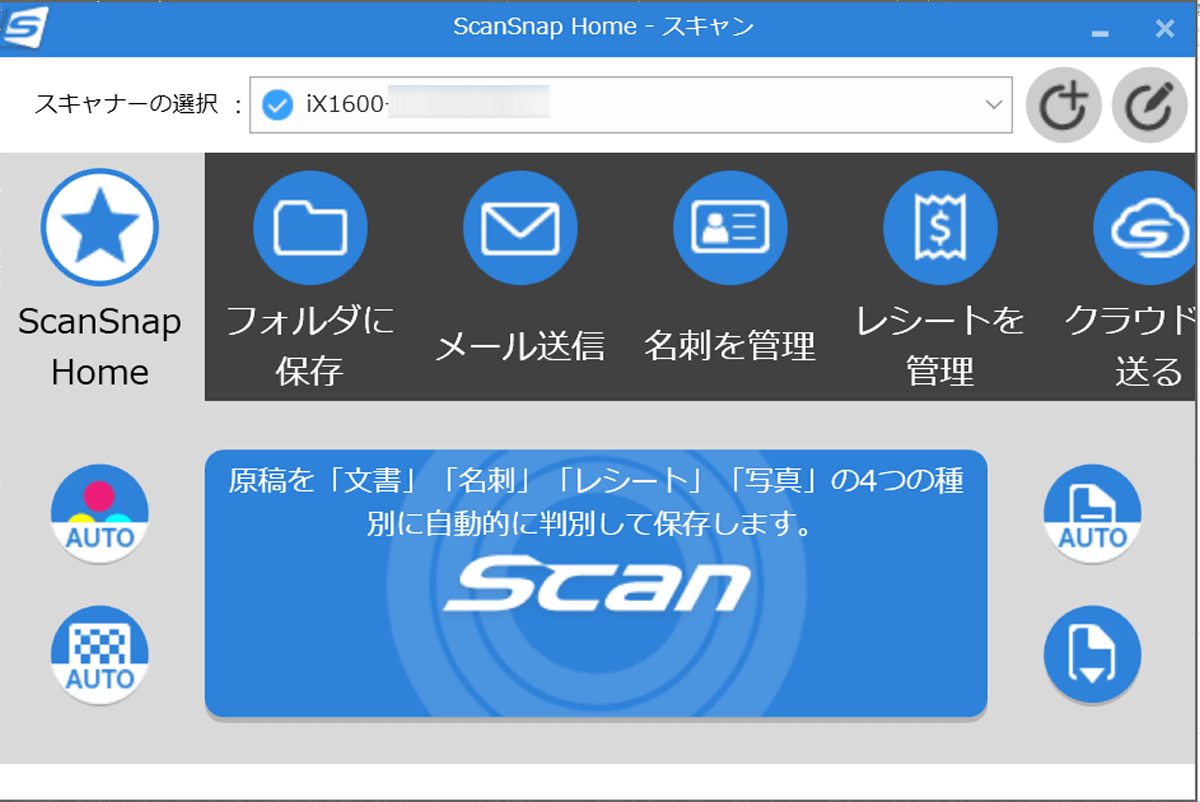
Touch 'Scan' on the touch panel of the main unit to start scanning.
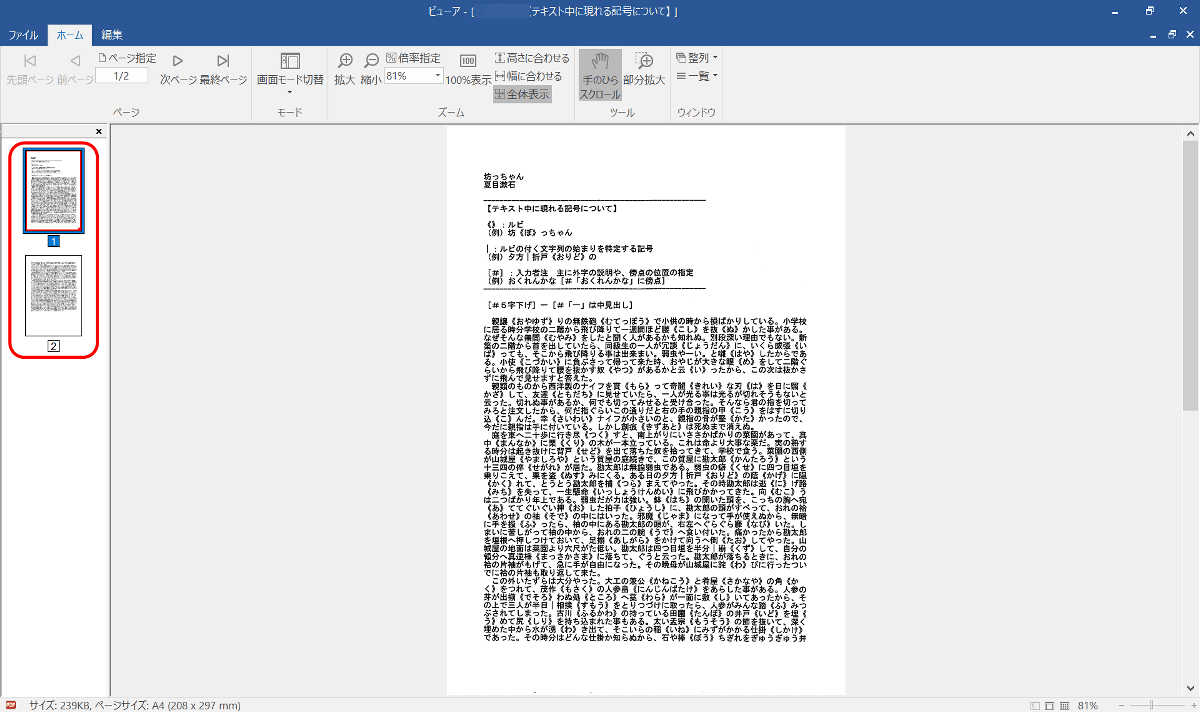
You can check what was scanned from ScanSnap Home. When I checked the column on the right side, the manuscript type was correctly determined to be 'document', and the title was automatically added. If you double-click the scanned document in the center of the screen ...
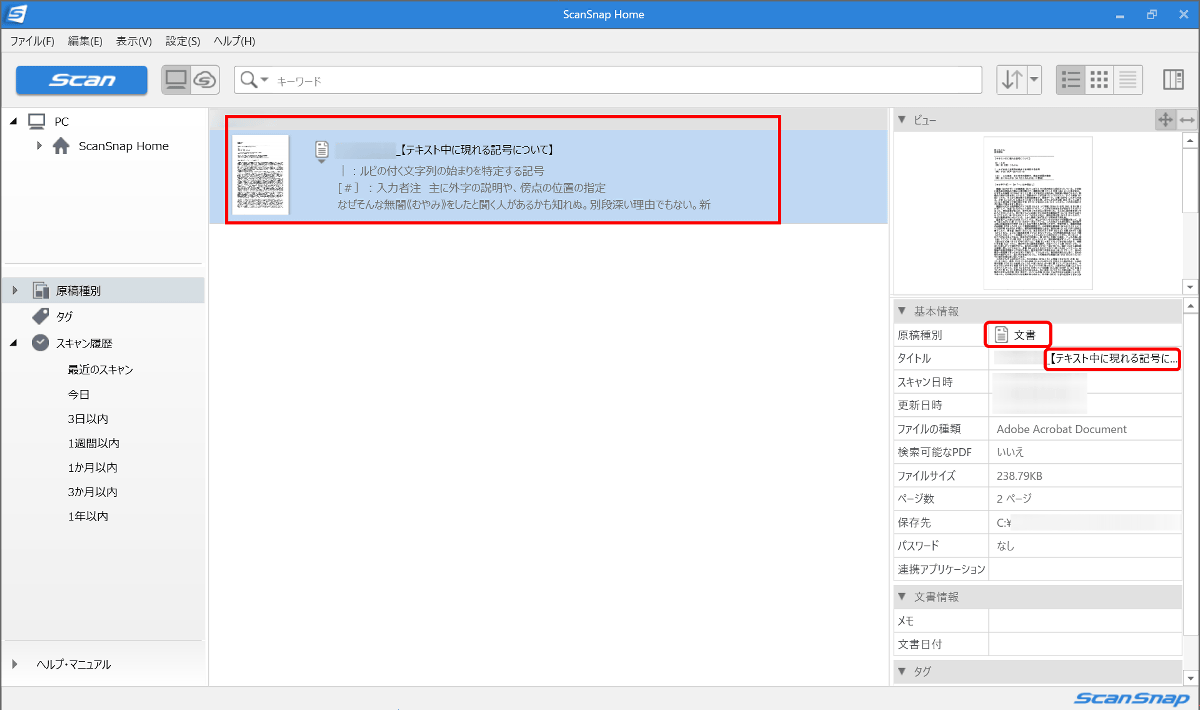
The viewer opens and you can view the scanned document. As you can see in the left column, both sides of the document are properly scanned.
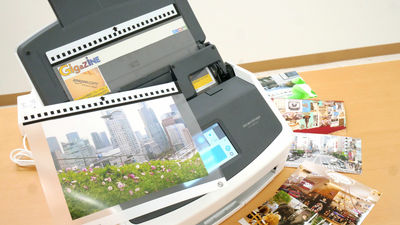
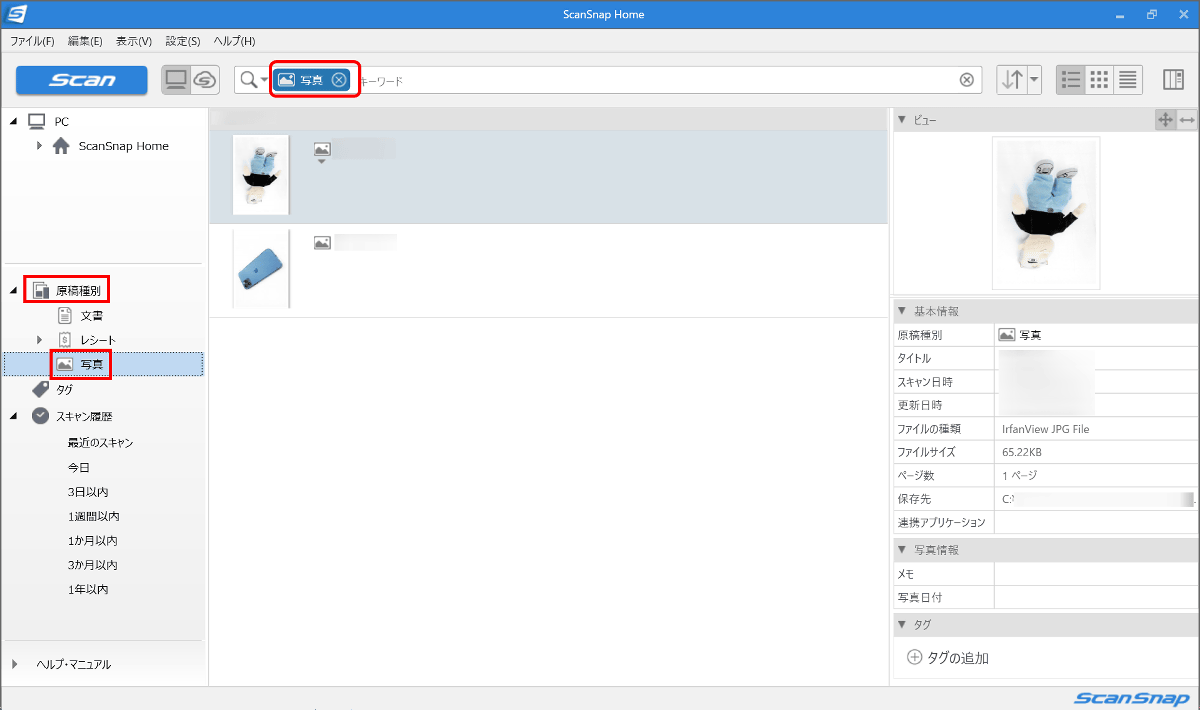
The ScanSnap iX1600 automatically determines the type of scanned document into four types: 'document', 'business card', 'receipt', and 'photograph'. Documents printed on A4 paper and photos printed on L-size paper. I prepared an ordinary business card and receipt and tried to see how accurate it was.
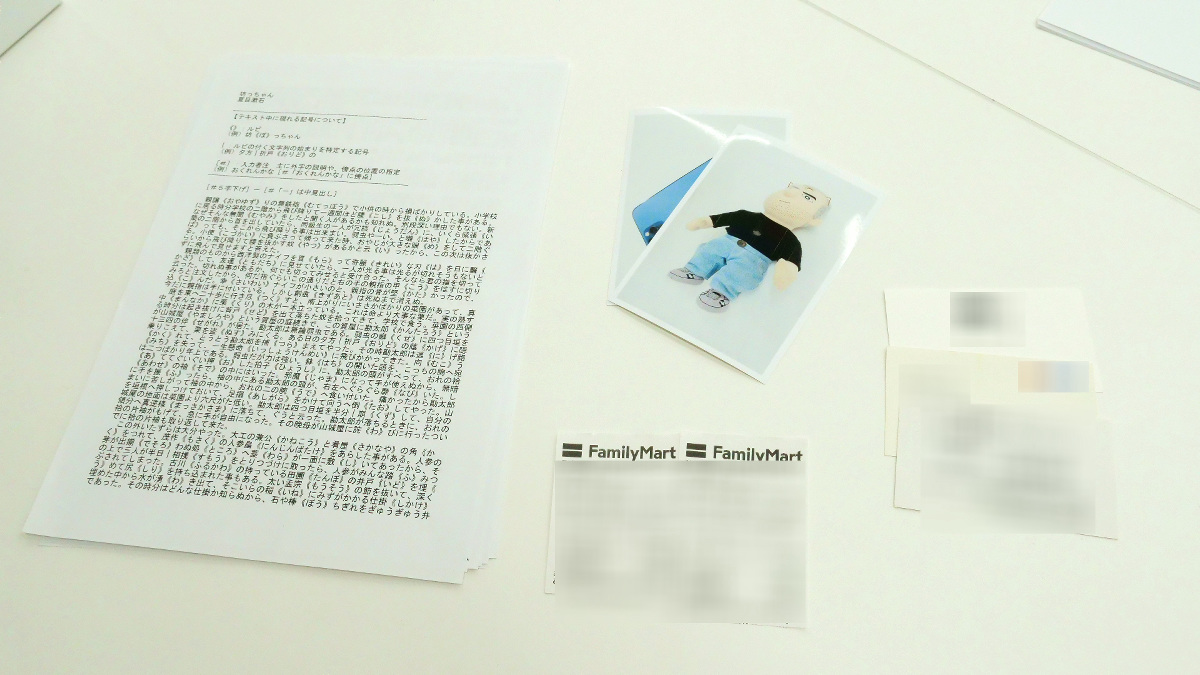
Set the copy paper and photo, and set the business card and receipt according to the guide.

◆ 3: A movie that I actually used
You can check how it is actually scanning from the following movie. A total of 20 sheets of copy paper, L-size paper, business cards, and receipts are scanned in about 30 seconds. Approximately, it is as per the specification that 40 sheets can be scanned in 1 minute.
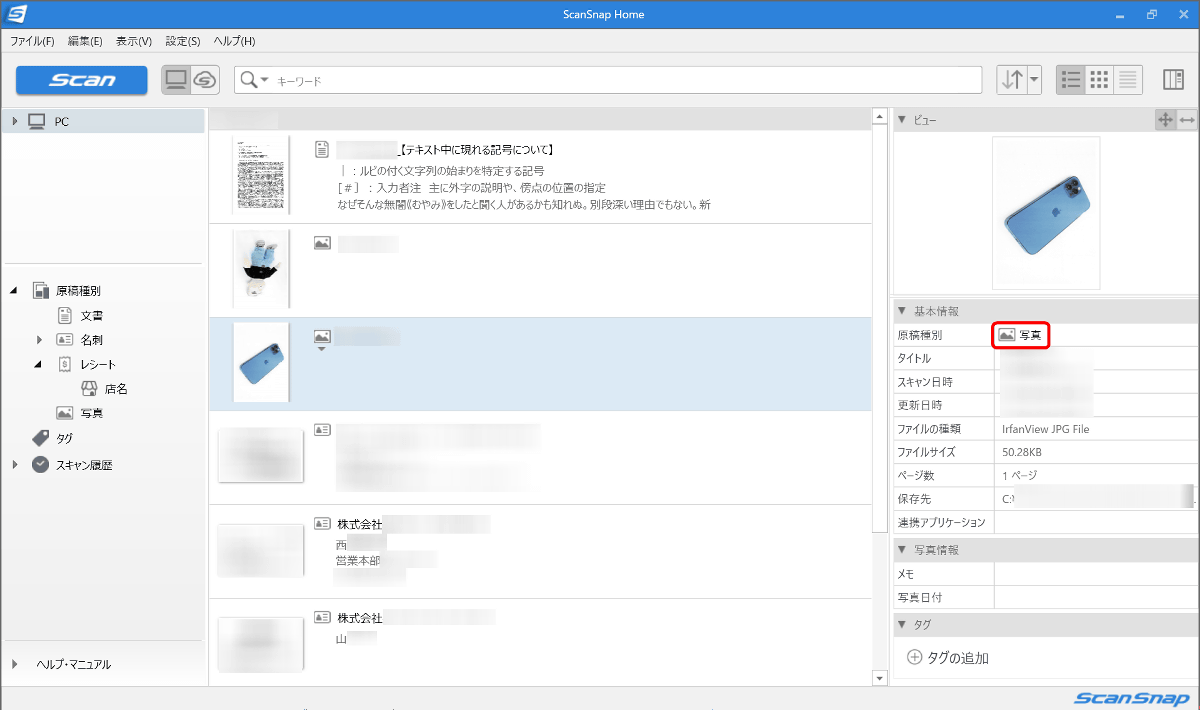
If you look at the ScanSnap Home screen, you will see a list of documents scanned in this way. Looking at the column on the right, the original type is correctly displayed as 'Photo'.
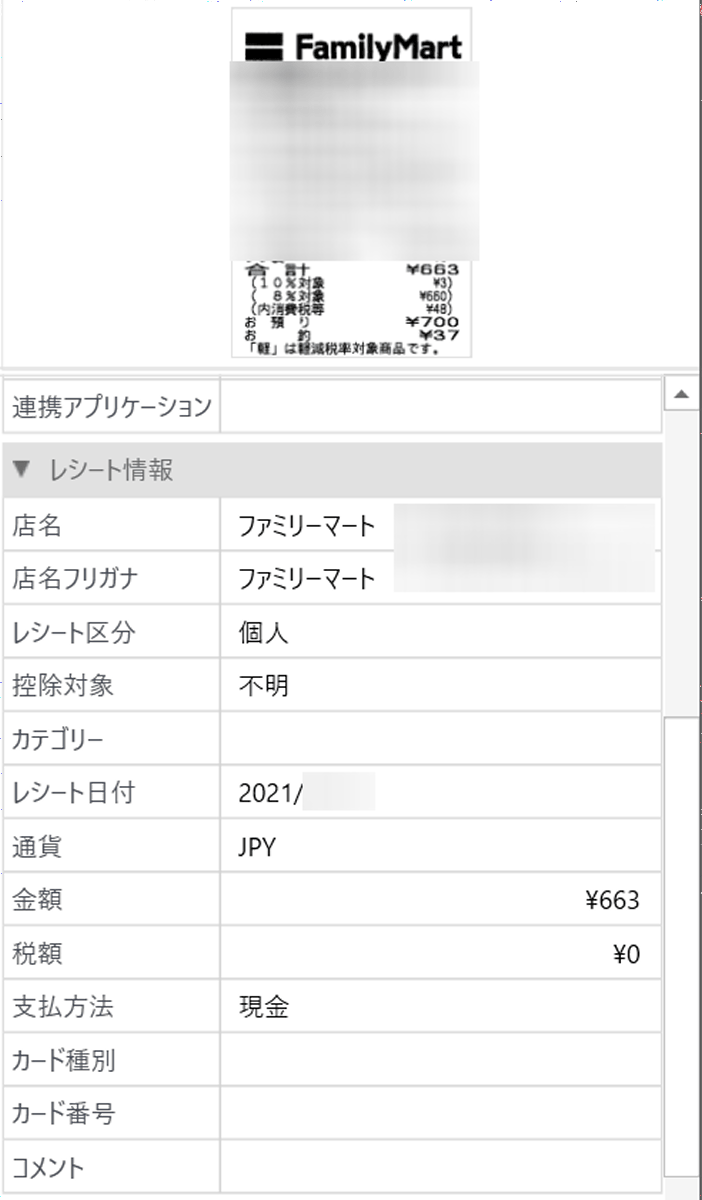
The receipt is displayed up to the store name and amount ...
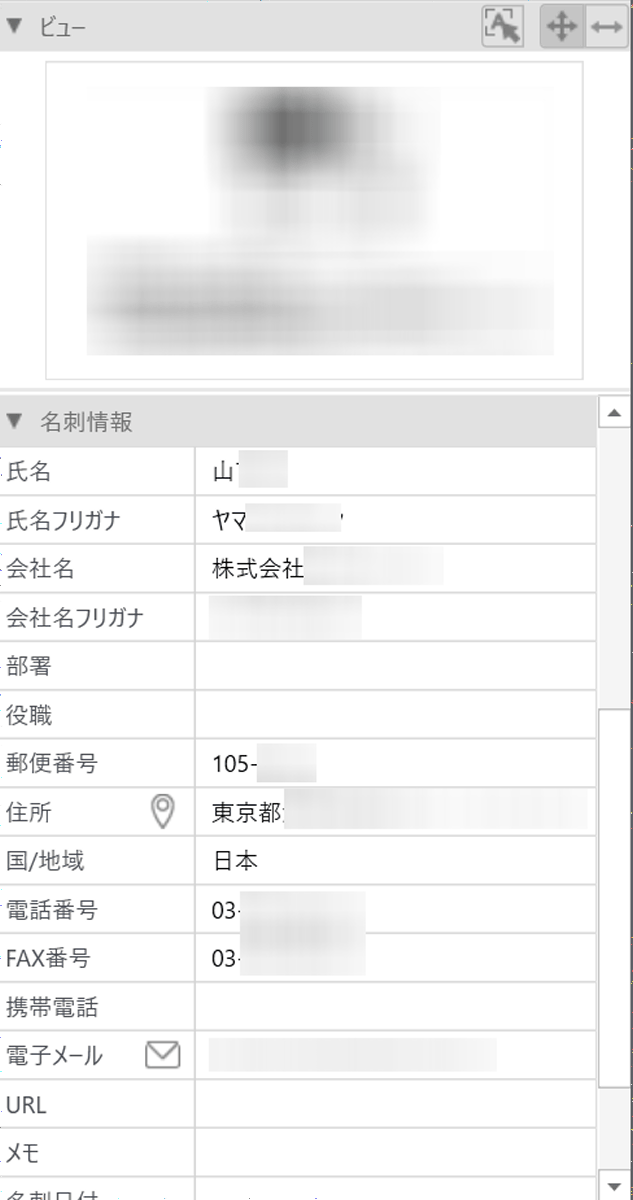
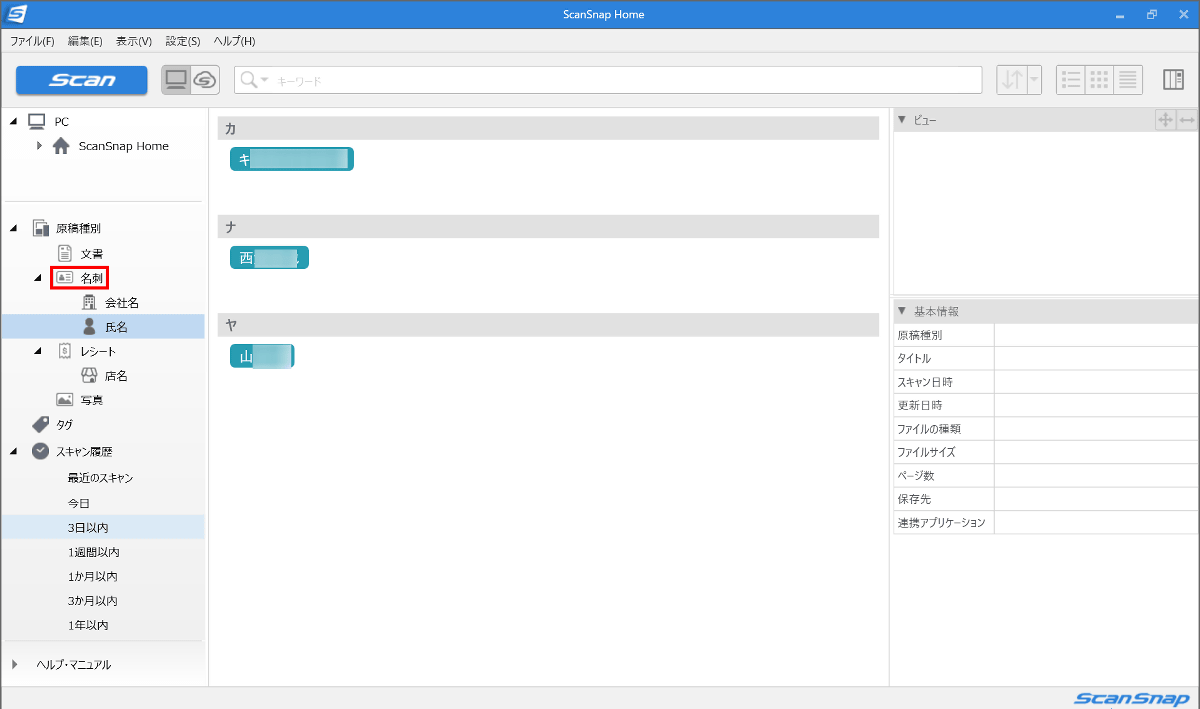
Business cards were recognized in detail such as company name, name, frigana, and address.
Also, if you click 'Photo' from 'Original type' in the left column, you can display only the photo ...
From the 'business card', it was also possible to check by the recognized 'company name' and 'name'.
◆ 4: Comparison of scan speed with the previous model
I put the 'ScanSnap iX1600' on the left and the previous model 'ScanSnap iX1500' used in the editorial department on the right, set 20 sheets of copy paper in each, and compared the scanning speed. The ScanSnap iX1600 finishes scanning in about 30 seconds, while the ScanSnap iX1500 takes about 40 seconds to complete the scan.
I compared the scan speed of the personal document scanner 'ScanSnap iX1600' and the previous model 'ScanSnap iX1500' --YouTube
◆ 5: Summary
The ScanSnap iX1600 can set up to 50 originals and can be scanned with the push of a button, making it easy for anyone to use. With a speed of 40 scans in one minute, scanning work that tends to be stressful after waiting for a long time seems to be quite comfortable.
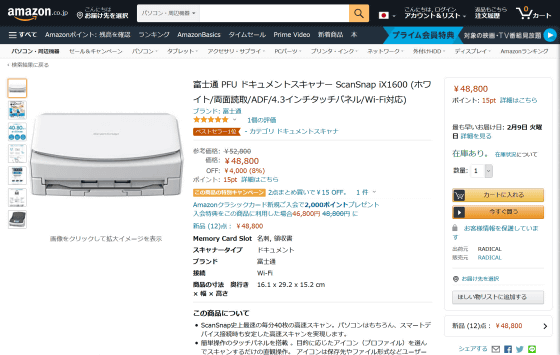
The ScanSnap iX1600 is available in two colors, white and black, and can be purchased from the official online shop PFU Direct or Amazon.co.jp. The selling price at PFU Direct is 52,800 yen including tax.
Amazon | Fujitsu PFU Document Scanner ScanSnap iX1600 (White / Double-sided Scan / ADF / 4.3 inch Touch Panel / Wi-Fi Compatible) | Fujitsu | Document Scanner Online Store
Related Posts: