Unboxing of Logitech's top-of-the-line webcam 'MX Brio' compatible with Ultra HD 4K resolution

The first webcam ' MX Brio ' in Logitech's flagship device brand 'MX series' for PC power users was released on March 22, 2024. I had a chance to touch the MX Brio, which Logitech describes as 'the highest-quality webcam in Logitech history,' so I took it out of the package, checked the appearance, and actually connected it to a PC.
MX Brio - Ultra HD 4K Webcam | Logitech
◆Check out the appearance of MX Brio
MX Brio has two models: MX Brio 700 for general use and MX Brio 705 for business use. This time I will be reviewing the MX Brio 700.
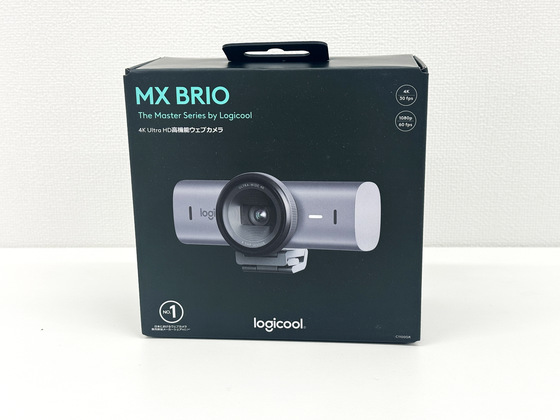
When I opened the package. There are two main body colors: graphite and pale gray, and this model is graphite.
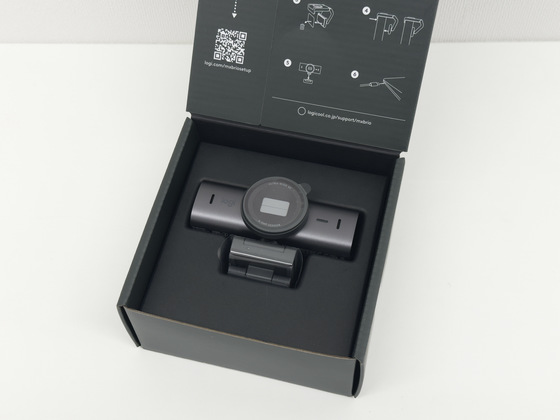
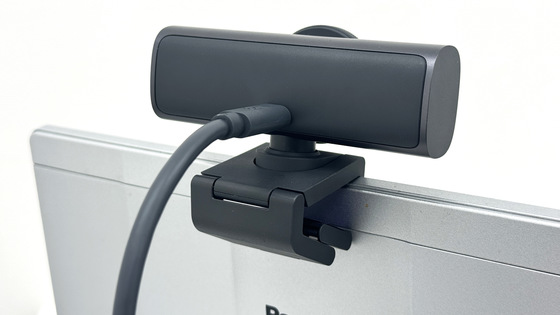
This is the MX Brio 700 main body. The body is made of metal and has a slightly rough and matte texture.
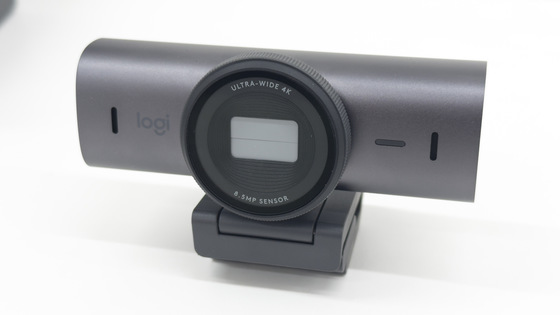
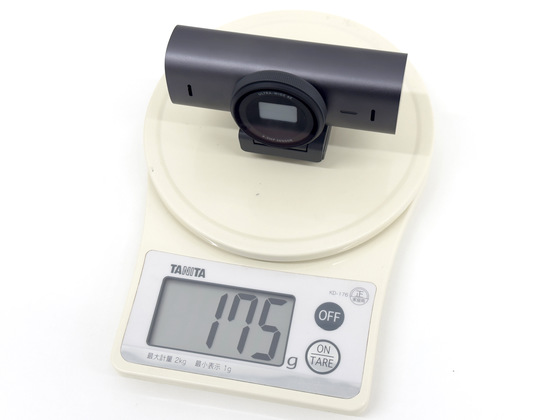
When I measured the weight of the main unit, it was 175g including the attachment clip that becomes the mount.
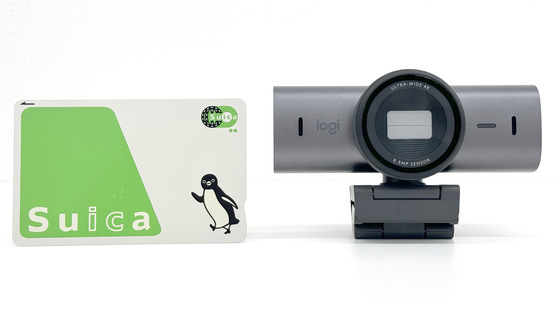
Comparing the size of the main body and transportation IC card side by side. The size is 62mm high x 98mm wide x 52mm deep including the mounting clip that becomes the mount.
There is a dial around the lens part, and when you turn the dial, the private shutter opens and closes.
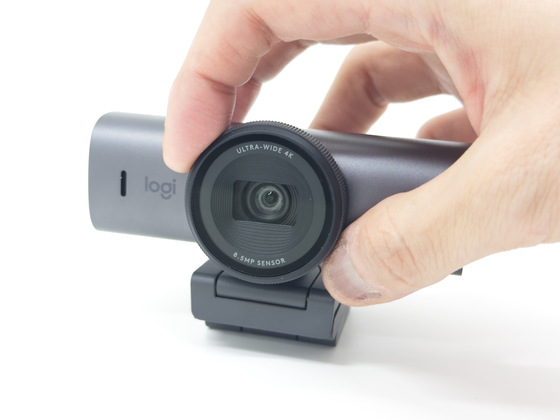
You can see the actual opening and closing of MX Brio's private shutter in the movie below.
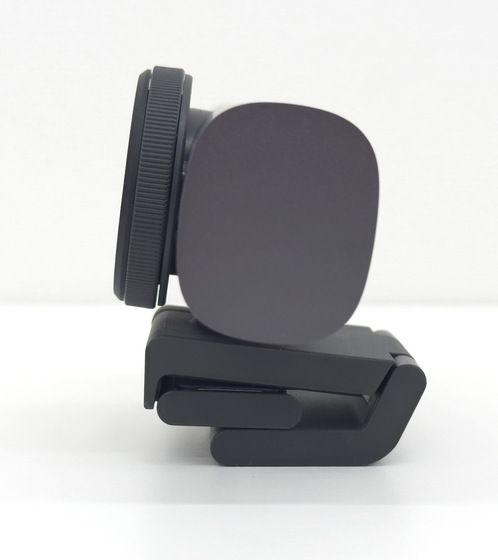
The right side of MX Brio looks like this.
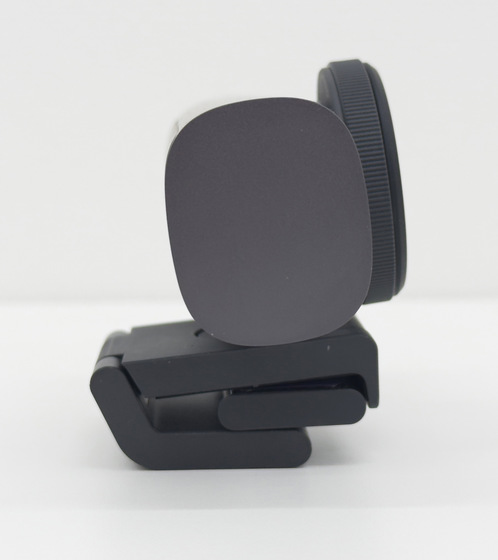
The left side
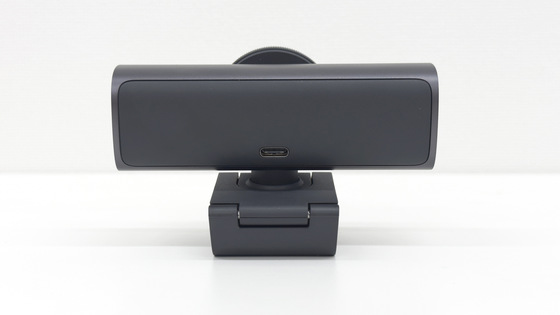
There is a USB-C port on the back.
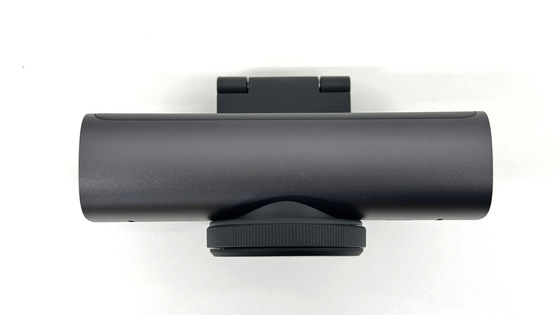
Top surface
The MX Brio's mounting clip is secured with a magnet built into the main unit. Therefore, the fixed part of the mounting clip can be rotated 360 degrees, allowing the camera body to be removed from the mounting clip. The magnetic force is quite strong and it won't come off unless you apply some force, so the camera won't come off by itself from the mounting clip.
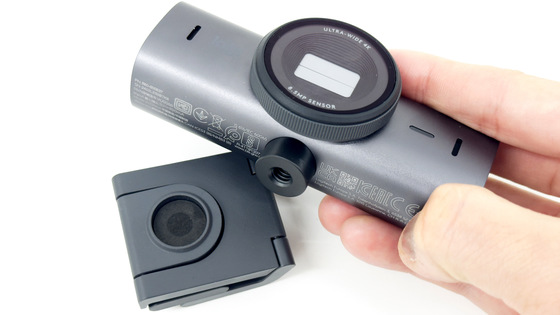
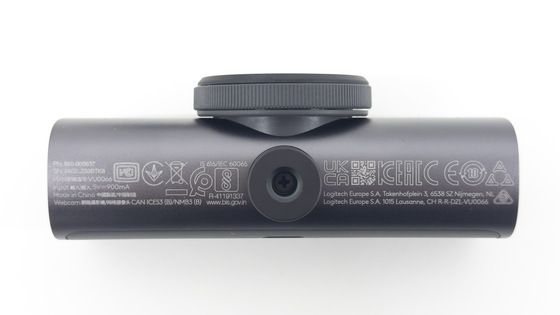
Various indications are printed on the bottom. The fixed part of the mounting clip, which has a built-in magnet, has a quarter-inch screw hole that can be fixed to a tripod. Therefore, you can also use it by attaching it to your own tripod.
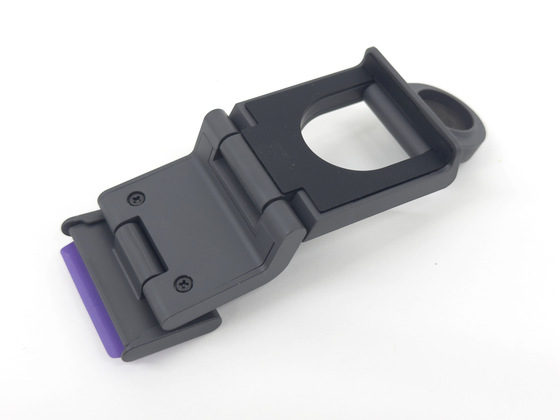
The mounting clip looks like this.
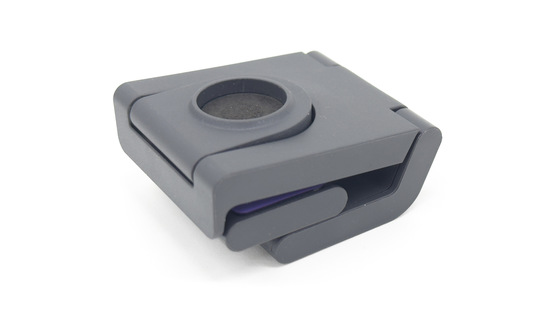
The fixed part of the mounting clip has 2 axes, and the mount part that changes the camera's tilt back and forth has 1 axis.
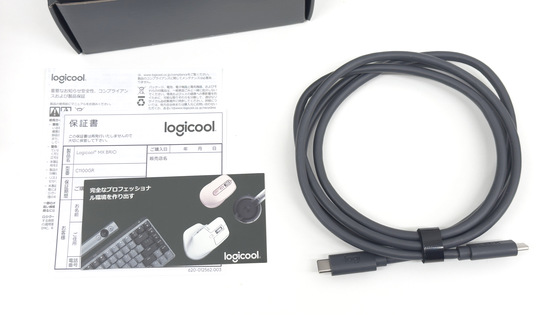
The package included a user guide, warranty card, and USB-C cable.
◆Set up MX Brio
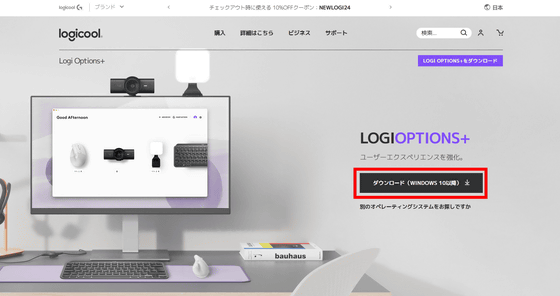
MX Brio can be configured with Logitech's device customization app, Logi Options+ . Logi Options+ can be downloaded from the following site.
Logi Options+Plus customization app for Logitech devices
You can download the Logi Options+ installer by accessing the above site and clicking 'Download (WINDOWS 10 or later)'. The installer was in EXE format and the file size was 29.0MB.
Launch the downloaded installer. Click 'Install OPTIONS+' to begin installation.
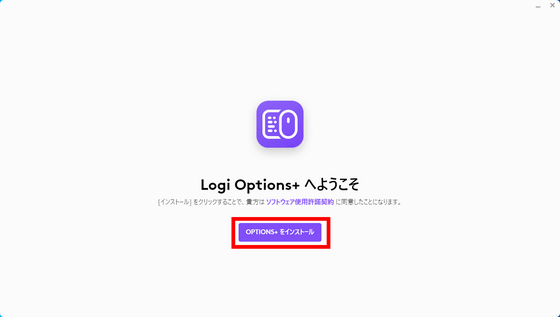
When the installation is complete, the following screen will be displayed.

Insert the included USB-C cable into MX Brio and connect it to your PC.
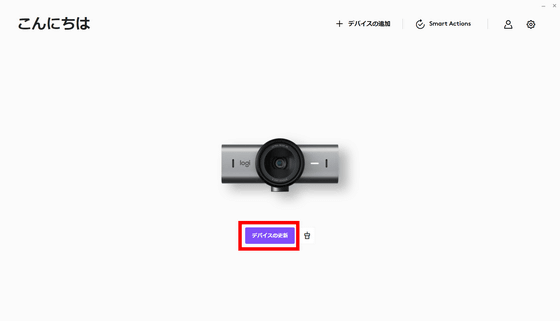
Then, MX Brio was displayed in Logi Options +. Click 'Update Device' to update the firmware.
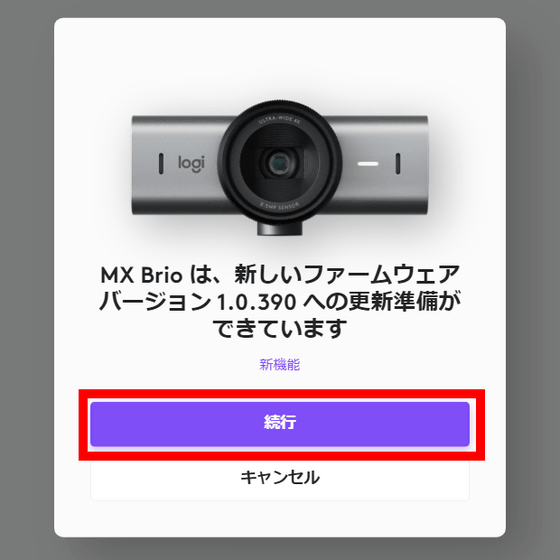
At the time of article creation, the latest firmware version was 1.0.390. Click 'Continue'.
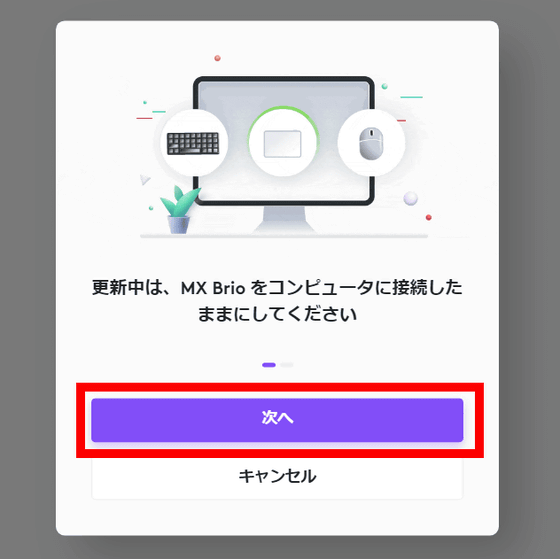
MX Brio must remain connected to the PC during the firmware update. Click 'Next'.
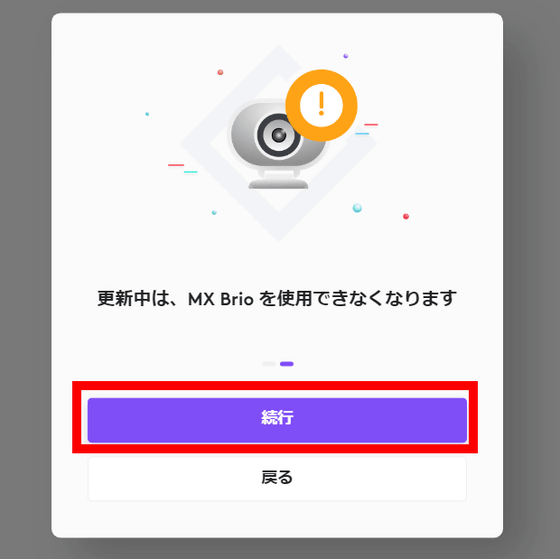
Click Continue.
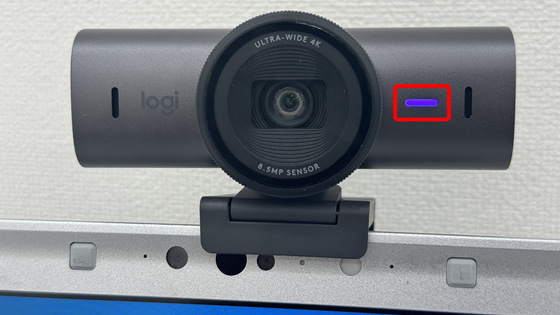
The update took 3-4 minutes. When I looked at the MX Brio body, the LED indicator next to the lens was glowing blue.
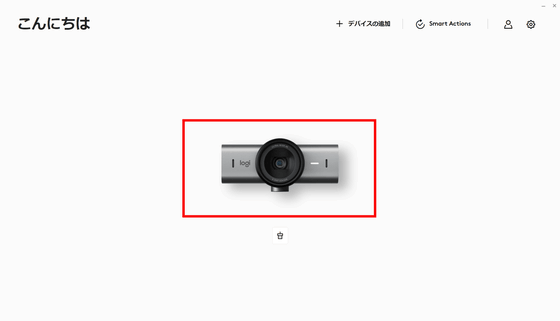
Once the update is complete, the MX Brio photo will be displayed in Logi Options+ as shown below. To configure MX Brio, click on the MX Brio photo.
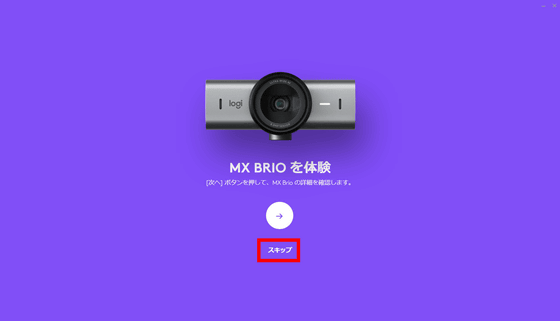
The first time you open the settings screen, a screen like the one below will be displayed, so click 'Skip'.
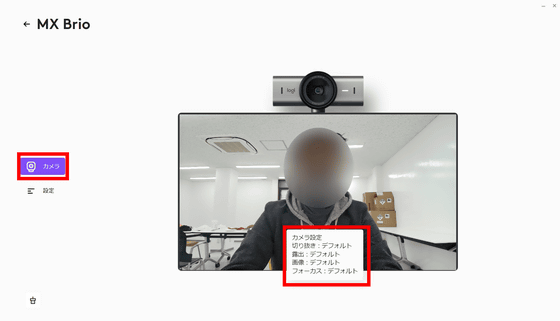
The settings screen looks like this. When you select 'Camera' in the left column, the image taken with MX Brio is displayed. Click on the 'Camera Settings' pop-up displayed on this video to display the setting items.
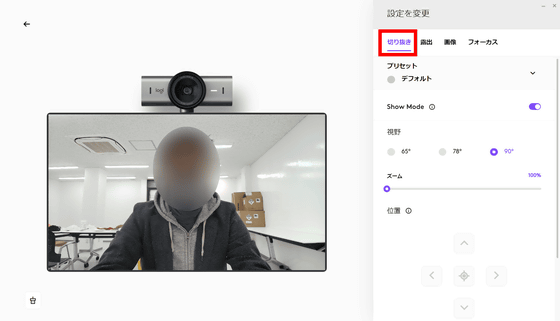
You can set 'crop', 'exposure', 'image', and 'focus' from Logi Options+. In 'Cropping', you can turn on/off 'Show Mode' which automatically flips the image upside down when you tilt the camera to show your hand, and you can also adjust the viewing angle, zoom, and the cropping position when zooming. The viewing angle can be selected from 65 degrees, 78 degrees, and 90 degrees, and the zoom can be adjusted from 100% to 400% with a slide bar.
In 'Exposure', you can set automatic exposure, low light compensation on/off, and HDR on/off.
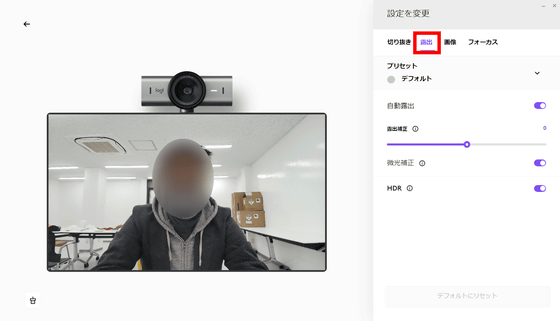
In 'Image', you can turn automatic white balance on or off, and use slide bars to adjust color temperature, brightness, contrast, saturation, natural saturation, and sharpness.
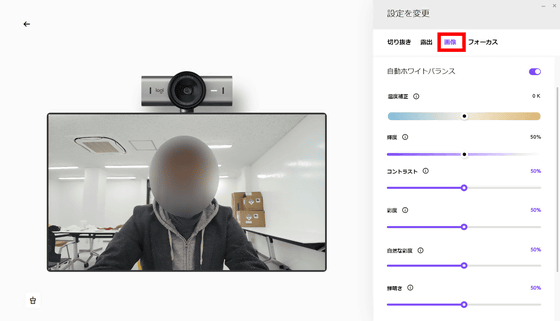
'Focus' allows you to turn autofocus on and off.
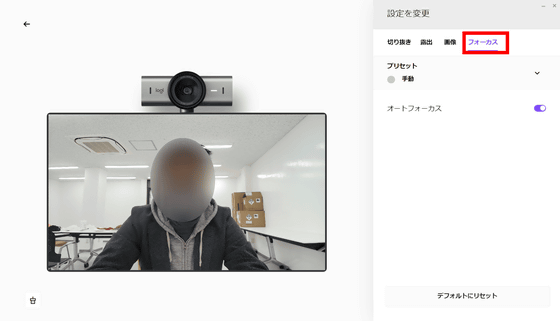
By clicking 'Settings' in the left column, you could check the firmware version, serial number, etc.
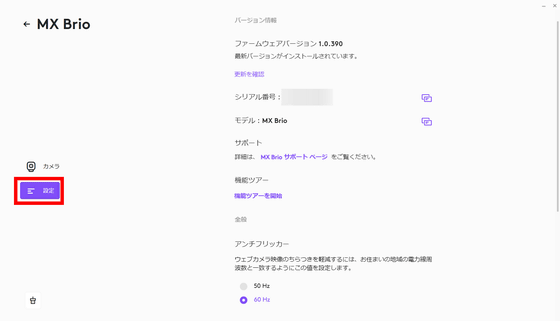
Next time, we plan to take a closer look at the performance and features of the MX Brio while comparing it to Logitech's Brio C1000s, a 4K compatible webcam, so stay tuned.
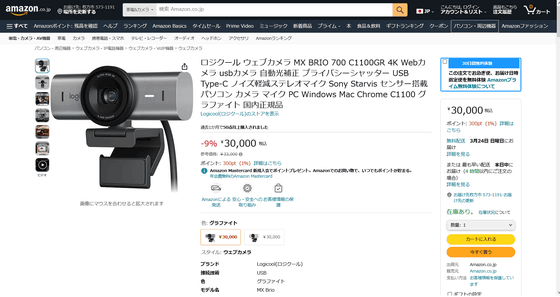
MX Brio 700 is available at Amazon.co.jp and can be purchased for 30,000 yen including tax at the time of article creation.
Amazon.co.jp: Logitech Webcam MX BRIO 700 C1100GR 4K Webcam USB Camera Automatic Light Correction Privacy Shutter USB Type-C Noise Reduction Stereo Microphone Equipped with Sony Starvis Sensor Computer Camera Microphone PC Windows Mac Chrome C1100 Graphite Domestic Genuine Product: Computers & Accessories Peripheral equipment
◆Forum now open
A forum related to this article has been set up on the GIGAZINE official Discord server . Anyone can write freely, so please feel free to comment! If you do not have a Discord account, please create one by referring to the article explaining how to create an account!
• Discord | “Have you ever wondered about the image quality of your webcam? What is the resolution of the webcam you are currently using? ' | GIGAZINE
https://discord.com/channels/1037961069903216680/1221749483193241680
Related Posts:


