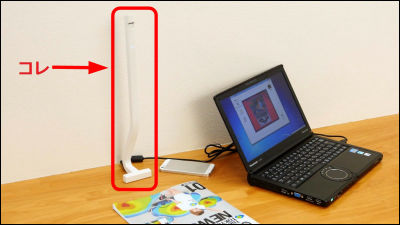
I tried using the non-destructive scanner `` Aura '' that can capture up to A3 without cutting the book

There should be many people who are digitizing because there are too many books to store in the bookshelf. There are various ways to purchase an e-book, or to digitize the book by yourself using a cutting machine (self-cooked), but in the case of `` a rare book on which an e-book is not published '' Non-destructive self-catering that can be digitized without using it is convenient
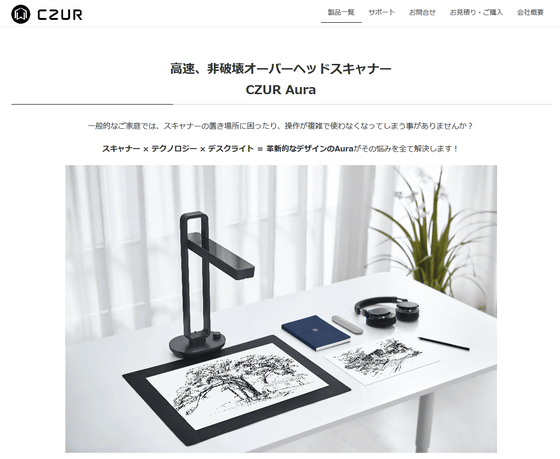
CZUR's non-destructive scanner 'Aura' supports up to A3 size, and by installing sidelights, it can scan neatly even in cases where illumination is reflected in conventional non-destructive scanners Can. In addition, the main body is folded so that it does not get in the way when not in use.
Since I was able to rent a real machine this time, I tried to see how easy it was to scan.
Aura | CZUR Japan
◆ Appearance & preparation for use
The outer box of “Aura” looks like this.
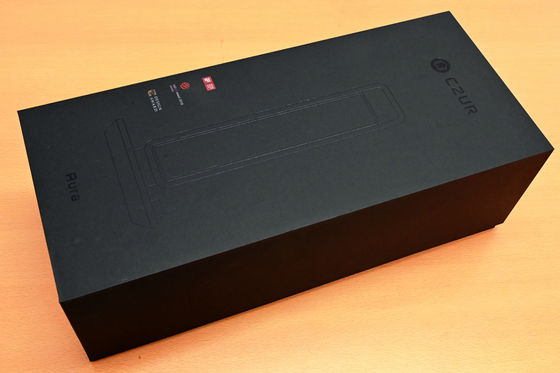
When opened, there are several small boxes and documents ...
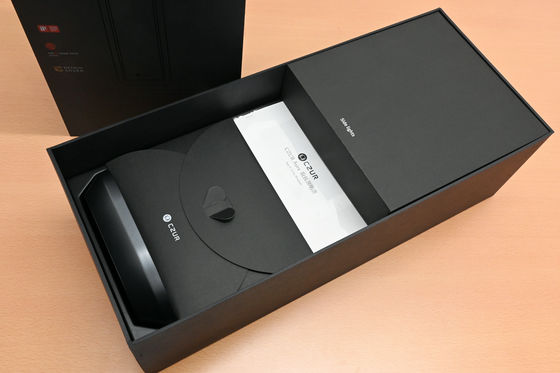
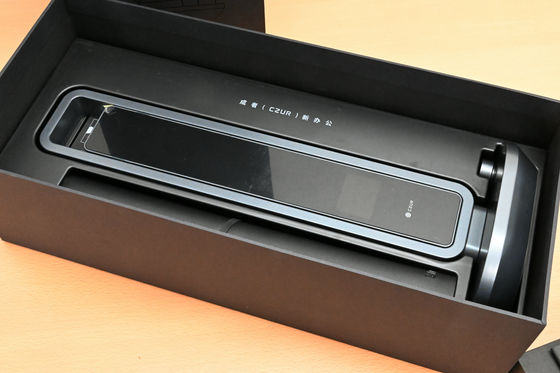
The body lay underneath.
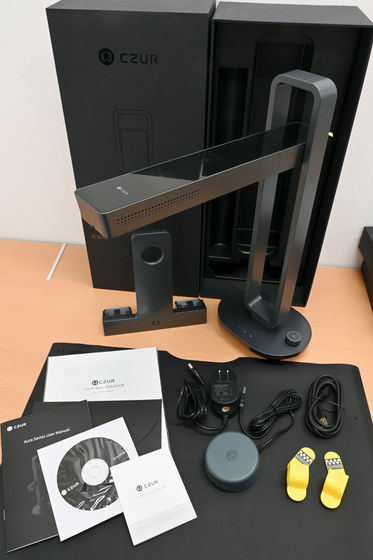
The set was taken out of the box. Includes side light, main body, explanatory documents, AC adapter, foot pedal, USB cable, finger sack, black mat.
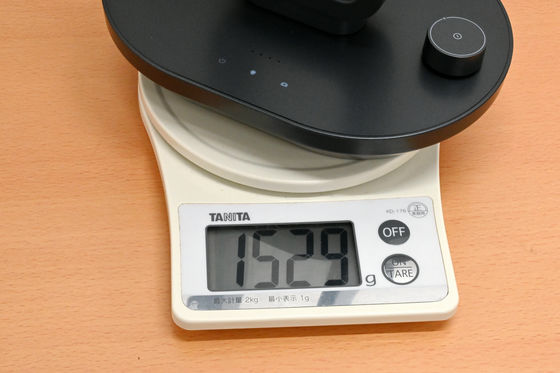
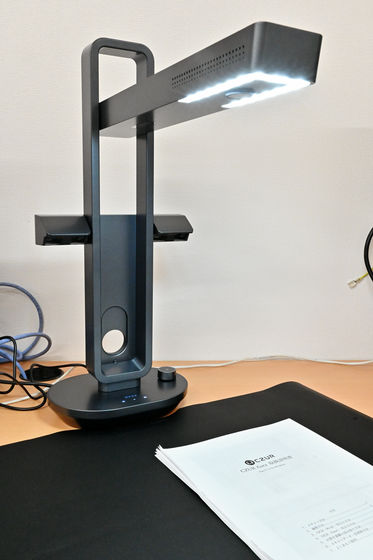
One of the features is that the main body is folded in this way. The height is less than 50cm.
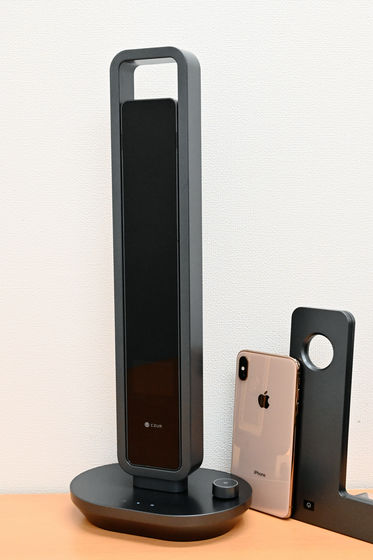
Weight is 1529g.
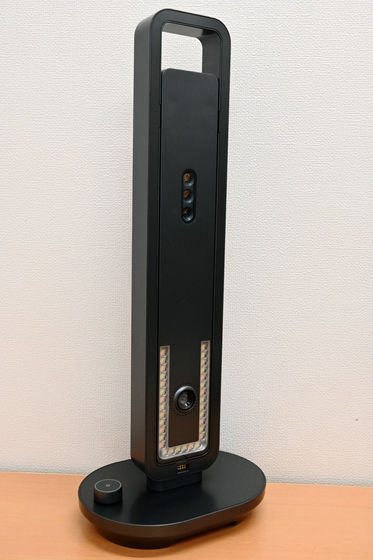
This is the back side. You can see that there are lenses and lights.
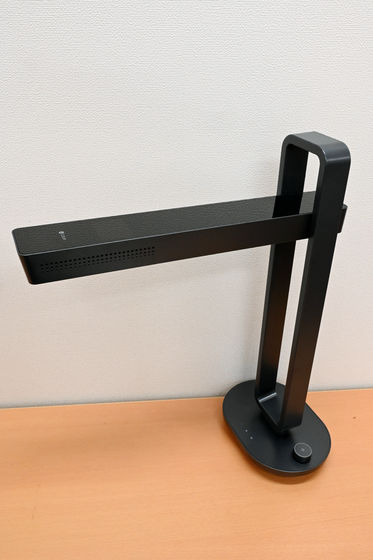
When using, expand the main body part at an angle of 90 degrees.
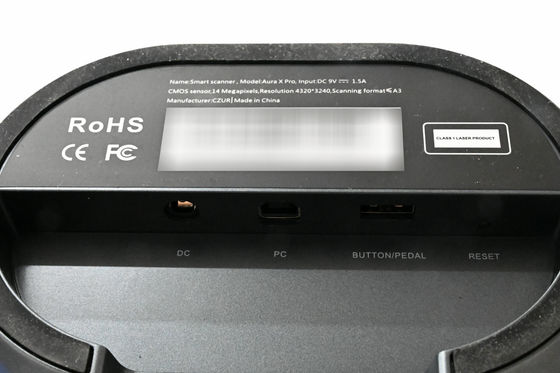
There is a serial number in the center of the bottom, and below that there are a DC connection port, a USB Type-B port for PC connection, a USB Type-A port for foot pedal connection, and a reset button.
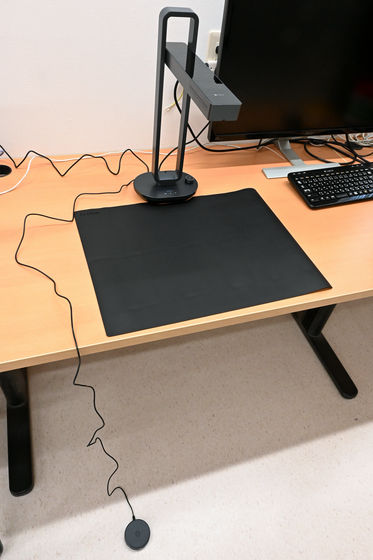
Connecting the AC adapter, USB cable to the PC, foot pedal, etc., the style for actual use was completed. The round thing at the end of the cable that extends under the desk is the foot pedal.
Press and hold the large knob on the main unit for 1 second to turn on the power and start up in “Desktop Light” mode. Turn the knob to change the amount of light, and lightly press the knob again to enter “scanner” mode. The desktop light can be turned on and off and the light intensity can be finely adjusted using the
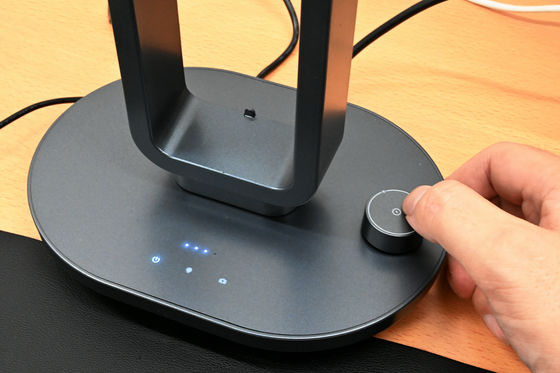
The light at the bottom of the main unit lights in both desktop light mode and scanner mode.
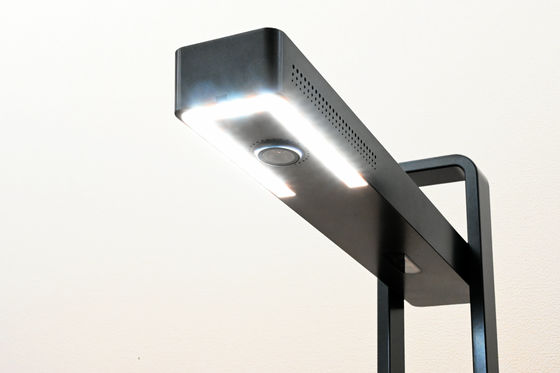
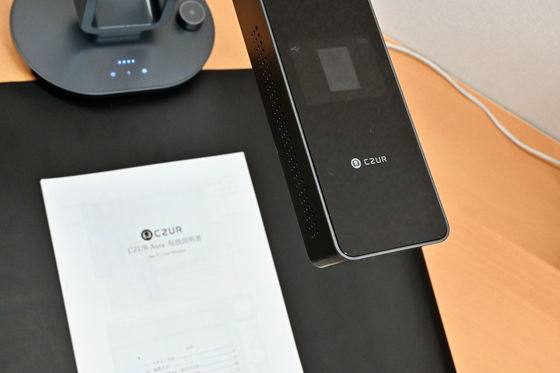
A 2-inch preview screen is built in the upper part of the main unit, and the scan position can be adjusted only by the main unit.
◆ Install “Czur Aura” for Windows
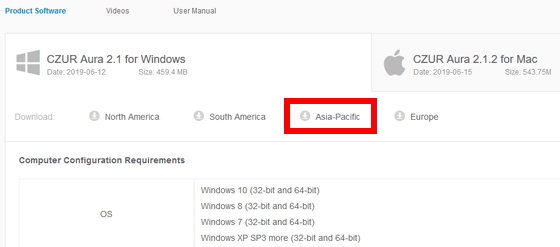
Windows version software is required for scanning. It can be installed from the included CD-ROM, but since the version of the software distributed on the official website was newer at the time of article creation, click `` Asia-Pacific '' on the following page to download the file The
Download Scanner Software for Aura-CZUR
Expand the downloaded ZIP file with Explorer or

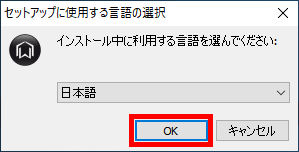
Launch the installer and click 'OK'.
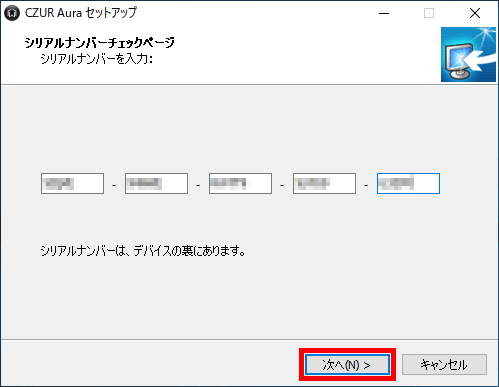
Enter the serial number written on the main unit and click “Next”.
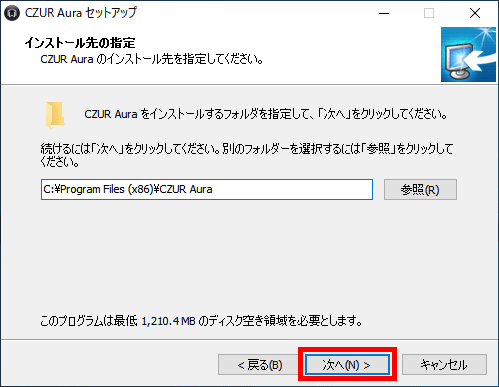
Click “Next”, and it will continue three times.
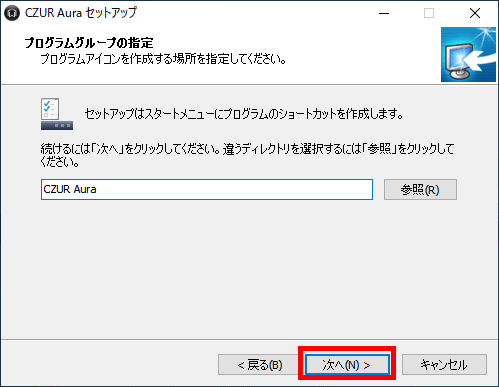
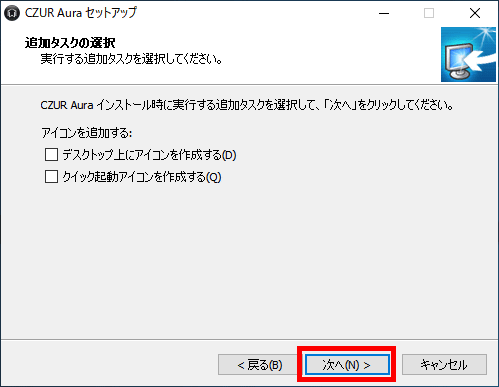
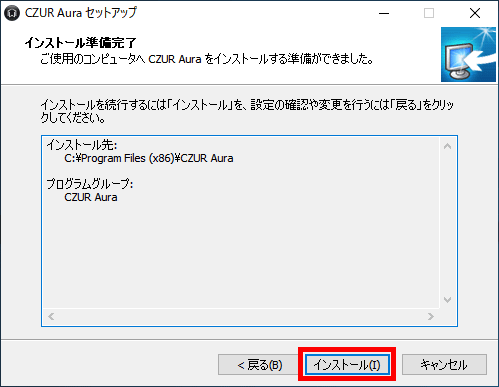
Click 'Install'
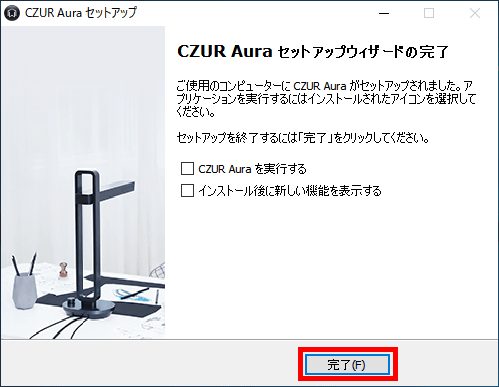
Click Done
◆ Scan using “Czur Aura” for Windows
When performing a scan, first start the Aura and set it to 'Scanner' mode.
Next, start the software. After such a splash screen is displayed ...
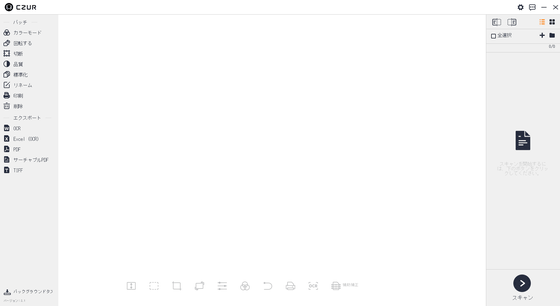
The main screen is displayed. Since nothing has been scanned yet, the center is white.
Click 'Scan' in the lower right corner ...
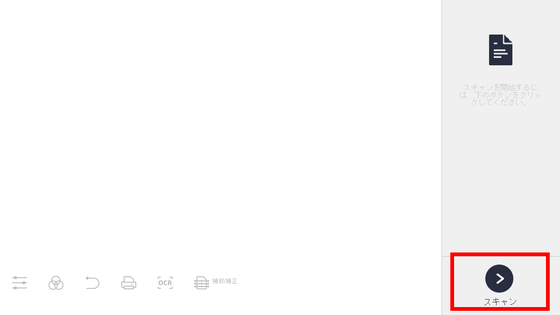
The video captured by Aura's camera was displayed in real time on the software. In this example, I scanned the included “CZUR Aura Instruction Manual”. A simple booklet with 9 staples of A4 paper.
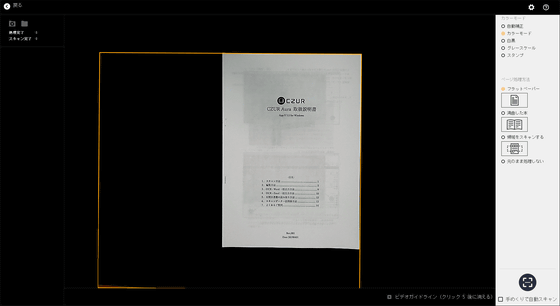
First, click the geared folder icon in the upper left, and specify the location to save the scanned file. By default, it is set to be saved in the 'Documents \ AuraDoc \ sources' folder, so it is better to select a location that is easy to understand and 'Create a new folder'.
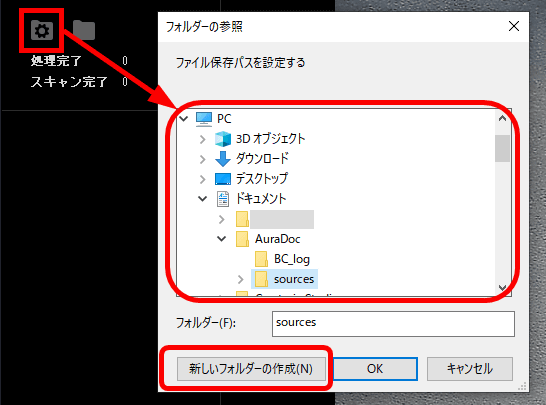
Next, select “Color Mode” and “Page Processing Method” on the right. If you want to save the color as it is as it is, select “Color Mode”, and if you want to adjust the color to the optimum color, select “Automatic Correction”. It may be better to confirm and decide which way to proceed.
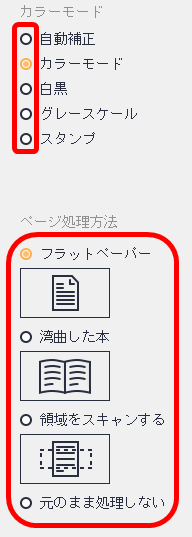
To scan, click the icon on the bottom right or press the foot pedal. After scanning one page, we will turn the page and scan the next spread, and then proceed to the next ... So basically, both hands are used to fix the scan target at the same position and turn the page, scan is It is efficient to use the foot pedal. If you check `` Automatically turn by turning pages '', the page turning operation will be detected and automatically scanned when the page is turned, but when the page is not still static There were cases where they were scanned, so it is better to scan one by one until you get used to it.
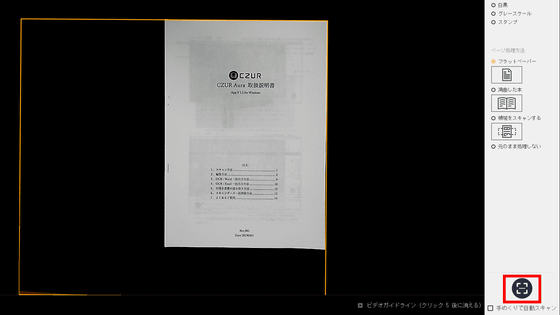
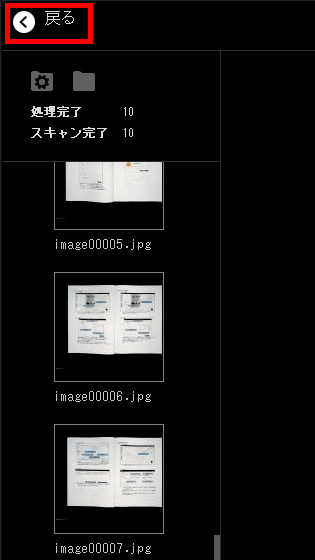
The thumbnails of the scanned images are arranged on the left side of the screen. When you have finished scanning, click “Back” in the upper left to return to the main screen.
From the main screen, edit the scanned image.
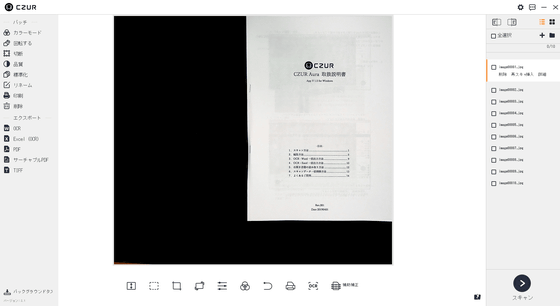
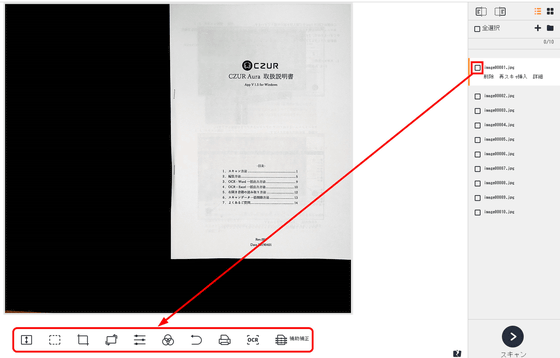
If you want to perform different processing for each image, select the image you want to process from the list on the right, and select the content you want to edit from the icons at the bottom of the image.
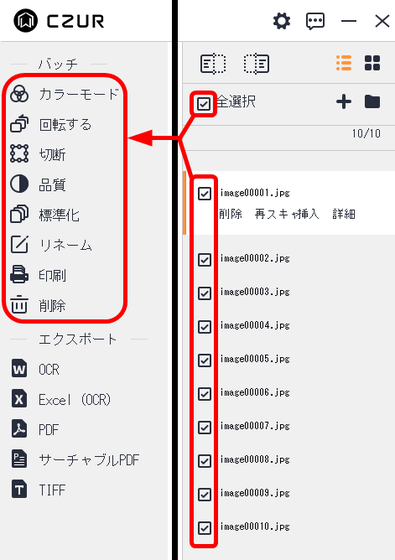
However, if you shoot at the same position, the unnecessary margins are almost the same, so it is easier to process them together. In such a case, you can process multiple images at once by selecting “Select all” in the list on the right or checking multiple files you want to process, and selecting the edit contents from “Batch” on the left.
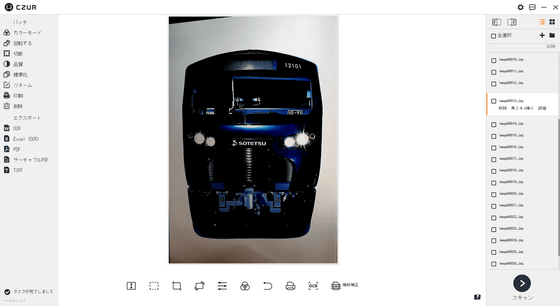
As an example, “cutting” that is often used is like this. If you cut the orange selection area to the required part, you can remove unnecessary parts at once.
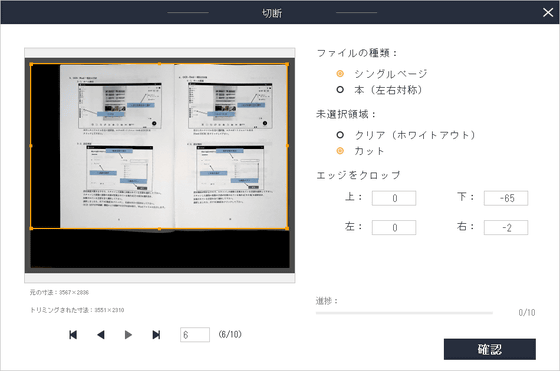
The actual cut is like this. The file has been saved in JPEG format since the time of scanning. The cover image resolution is 1612px x 2298px (250dpi) and the file size is 792KB. It became 13.3MB when all pages were combined.
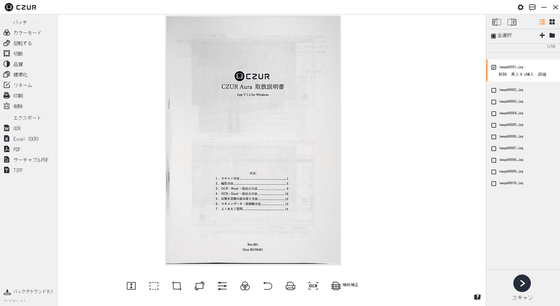
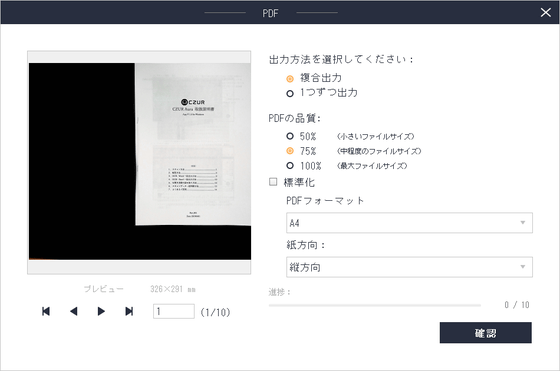
Files can also be exported in Word, Excel, PDF, Searchable PDF, and TIFF formats. In Word and Excel, the content read by OCR is written in each format.
Example of a screen for exporting to PDF. If it is “Composite output”, the selected files will be written together into one file. If “Output one by one”, one file will be generated for each scanned image.
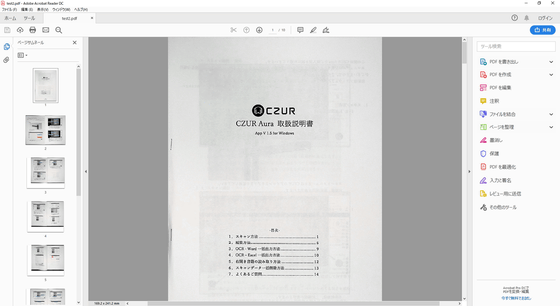
When you open a PDF file created with 'Composite Output' with Adobe Reader, it looks like this.
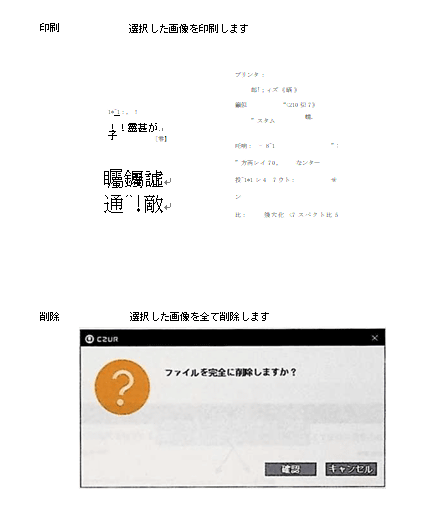
This is what I wrote in Word format. In the manual, only the character part was converted to text, and the other part was left as an image.
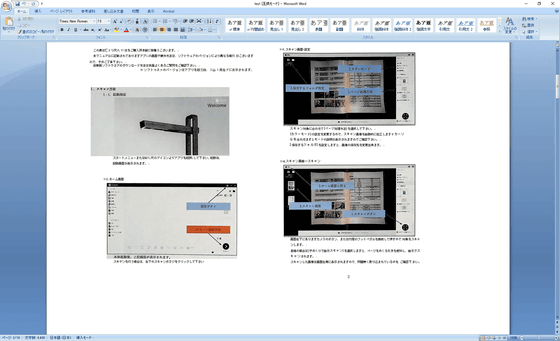
However, some parts of the image were read as forced characters and the results were unclear.
Next, I will scan the A4-sized pamphlet that I received when I
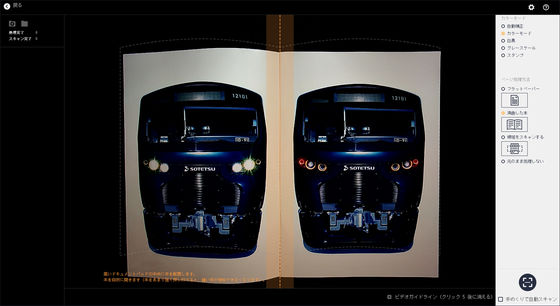
Then, it automatically detected that the page was spread, and scanned the left and right pages as separate files.
◆ Scan with side light to reduce the reflection of lighting
A scanner like Aura has a structure where the light comes right above the book, so if the target is glossy paper, the light will be reflected. To overcome that weakness, Aura can be equipped with a “side light”.
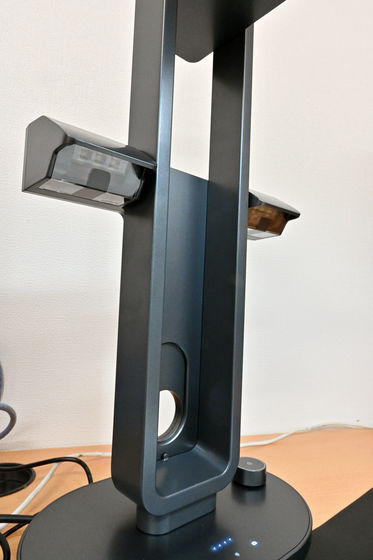
From the back side of the main unit, attach it like this in a T-shape and press the power button on the sidelight parts ...
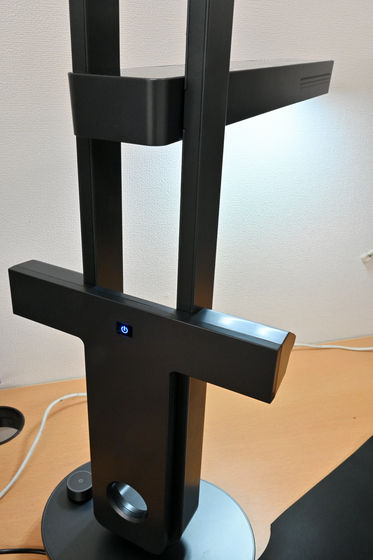
The main unit light was turned off and the side lights were turned on.
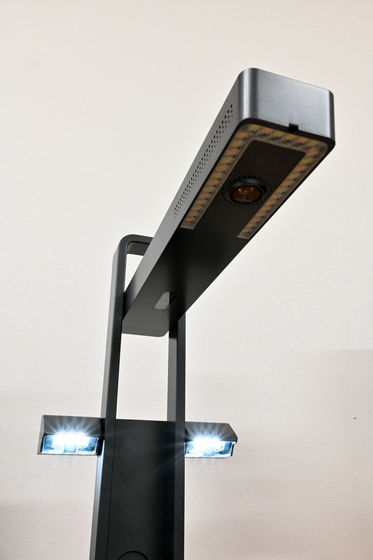
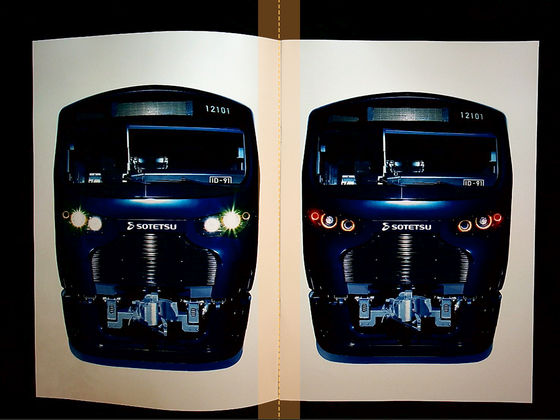
The Sagami Railway “12000 series” pamphlet is quite glossy, and the U-shaped reflection is conspicuous with normal lighting.
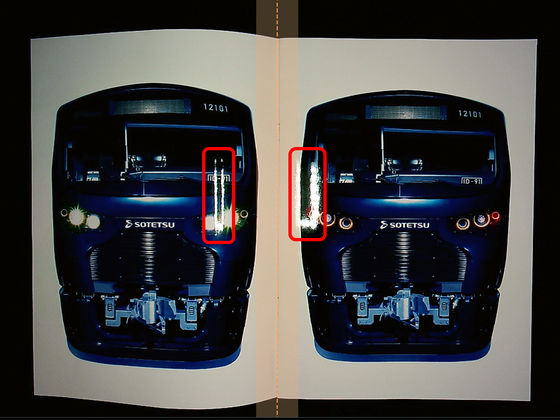
In such cases, you can use the sidelight to eliminate the reflection.
◆ Thimble disappears automatically after scanning
When scanning a thick book, the page may come back. However, if you hold it with your finger, your finger will be reflected during scanning.
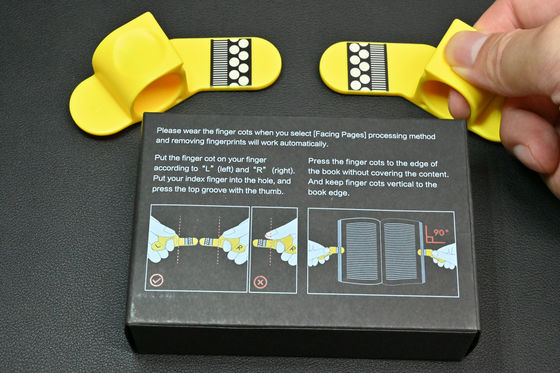
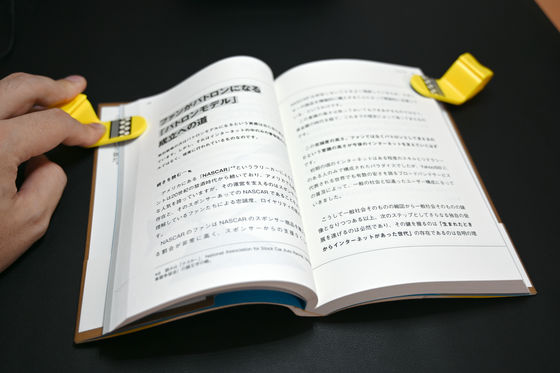
Aura recognizes this thimble and erases the trace by AI processing during scanning. In fact, with a soft cover book with 264 pages, I scanned '
Then the result is this. There is no yellow thimble on the left side of the heading. Looking at the black line on the edge of the page from above, you can see that the part that AI would have processed is slightly faintly colored, but it is not enough to read.
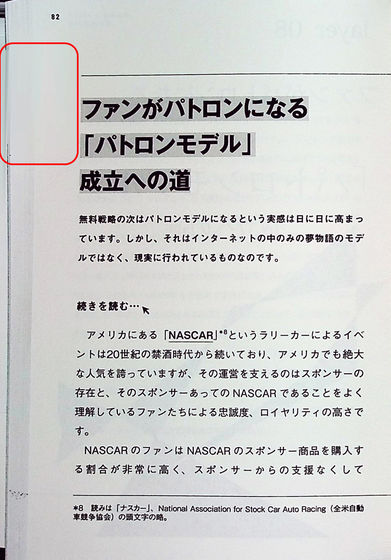
The white background isn't strange even if it can be processed naturally. As expected, I can't say 'I don't know the trace of processing', but it's an impression that it's pretty well hidden. However, I want to scan well so that it does not overlap with pictures and characters.
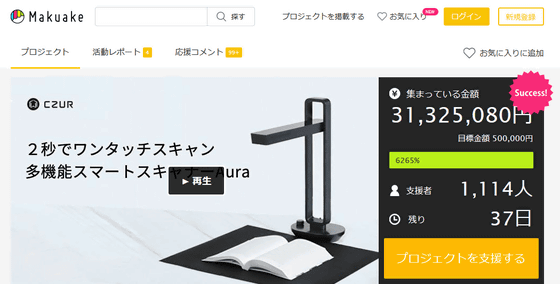
This “Aura” version was released in crowdfunding in 2018, and this time, a Japanese version crowdfunding campaign that matches Japanese domestic standards is being conducted at Makuake. Over the target amount of 500,000 yen, as of June 23, 2019 (Sunday), more than 6000%, more than 30 million yen has been gathered.
At a later date, it will be released to the general public at 47,250 yen including tax, but Makuake can get one with support of 33,800 yen including tax, equivalent to 28% off. In addition, there is a plan of 65,600 yen including tax, which is 30% off the general release price if two sets are set, and three types of sets, 3 units, 5 units and 10 units, with even higher discount rates are prepared. In addition to investing in the main body, you can upgrade to a model with a built-in battery with support of 3980 yen including tax. When using the battery, it is said that it can be used for up to 100 minutes with 3 hours of charging, so it seems that you can not incorporate the battery later.
Makuake | Anyone digitizes with one touch! Desk Light / Ultra High Speed Smart Scanner Aura | McAKE-Crowdfunding
Related Posts:


