Slim and stylish stand scanner "desk shot" which does not get in the way of desk
Although I want to digitize paper-based documents such as a large number of printed documents and business cards to cleanly organize them, it is very troublesome to put them on a scanner every time. Stand scanner "Desk shot"Is compact, space-saving and easy to digitize paper media as much as you can always put on the desk. I tried it at once.
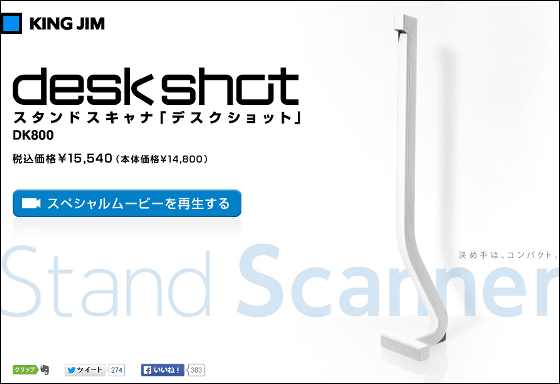
Stand scanner "desk shot" | KINGJIM
http://www.kingjim.co.jp/sp/dk800/
◆Opening · Appearance check
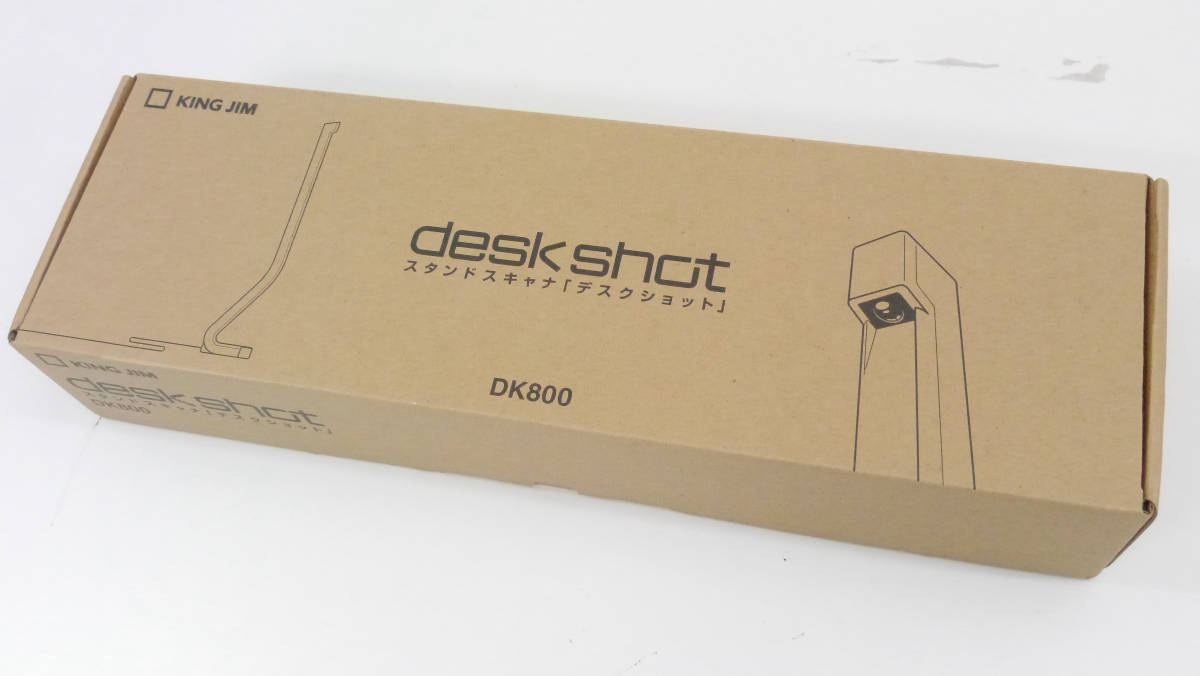
This is the "desk shot" box. The size is about 45 centimeters wide, about 14 centimeters in length, about 7.5 centimeters in height.
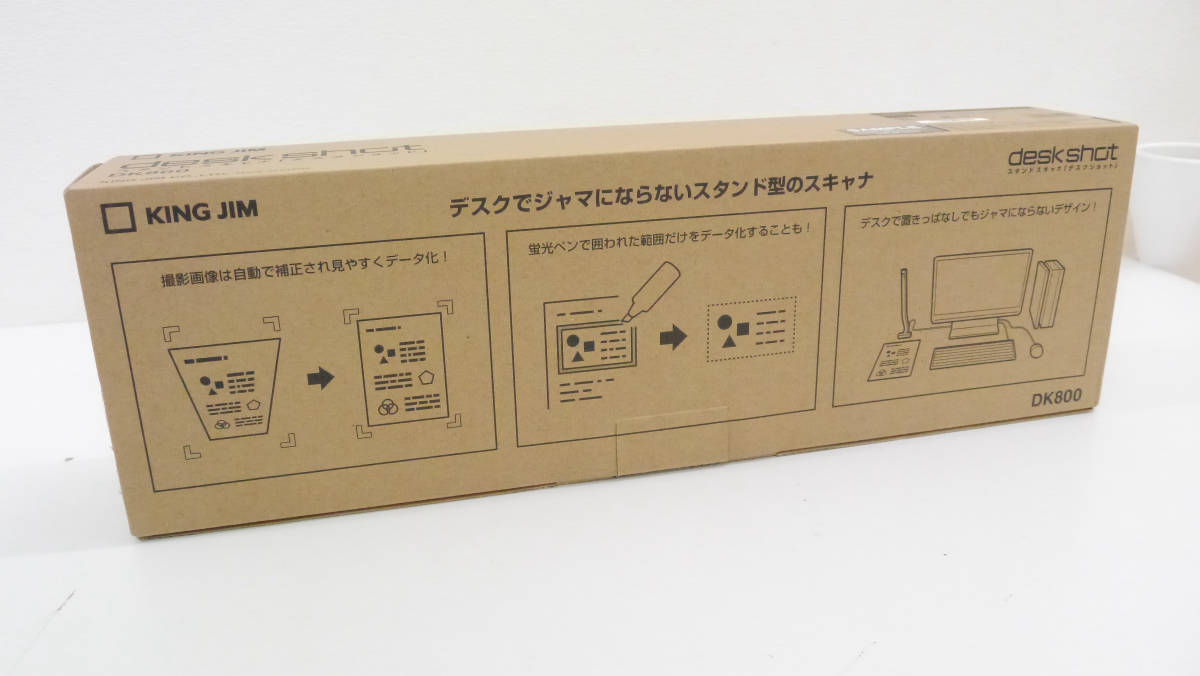
On the back is a simple usage of desk shot written.
Instant opening. Under the accessories ......
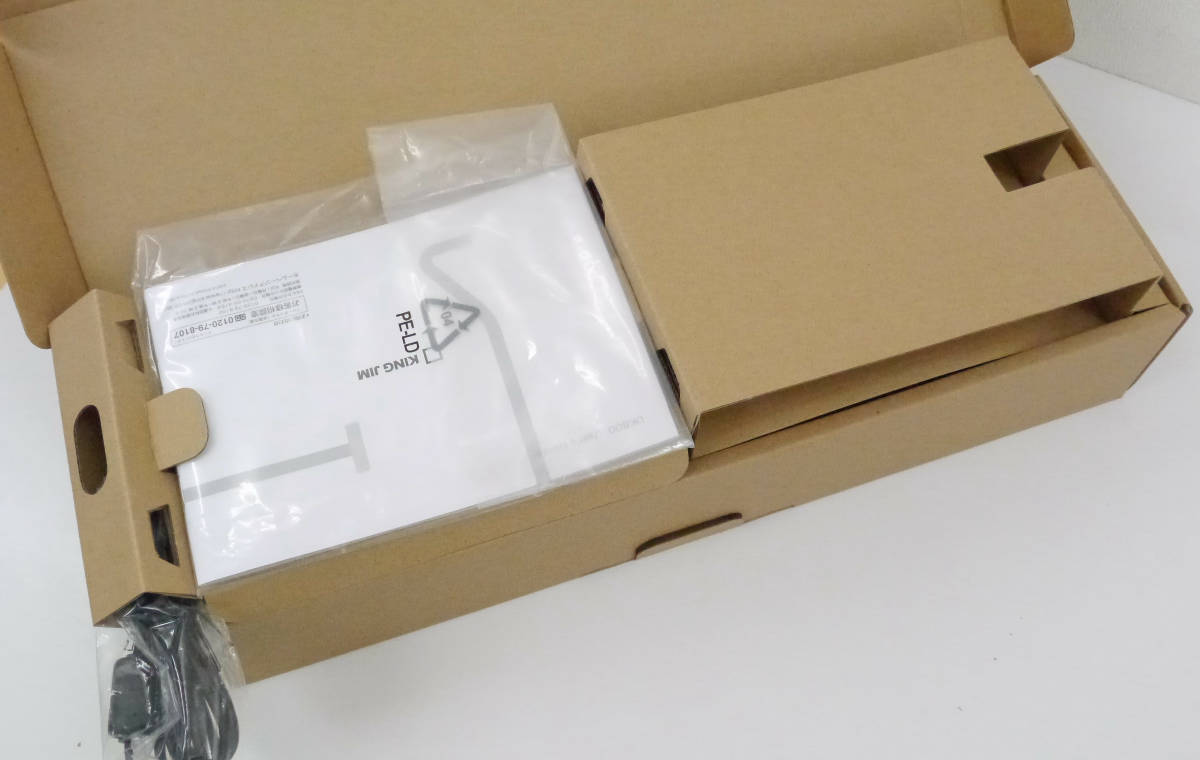
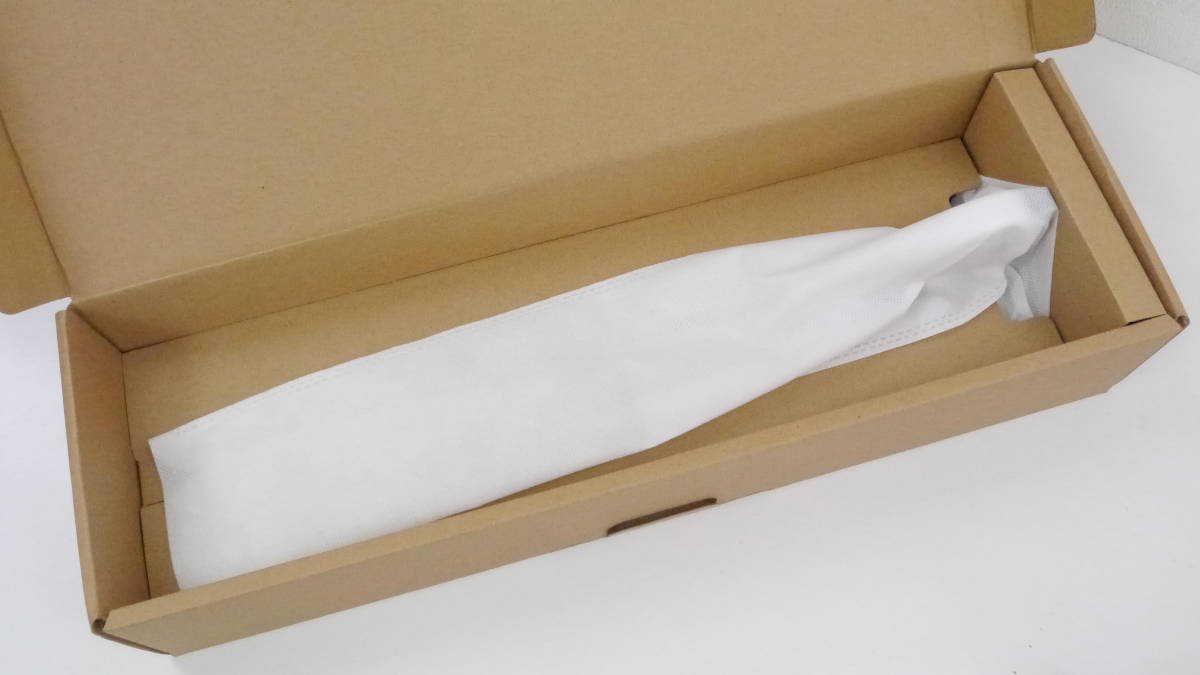
The desk shot body contained in the cover of the nonwoven fabric was contained.
Contents are desk shot main body · USB cable · Warranty · instructions · rubber-like fixed seal · dedicated software CD-ROM.

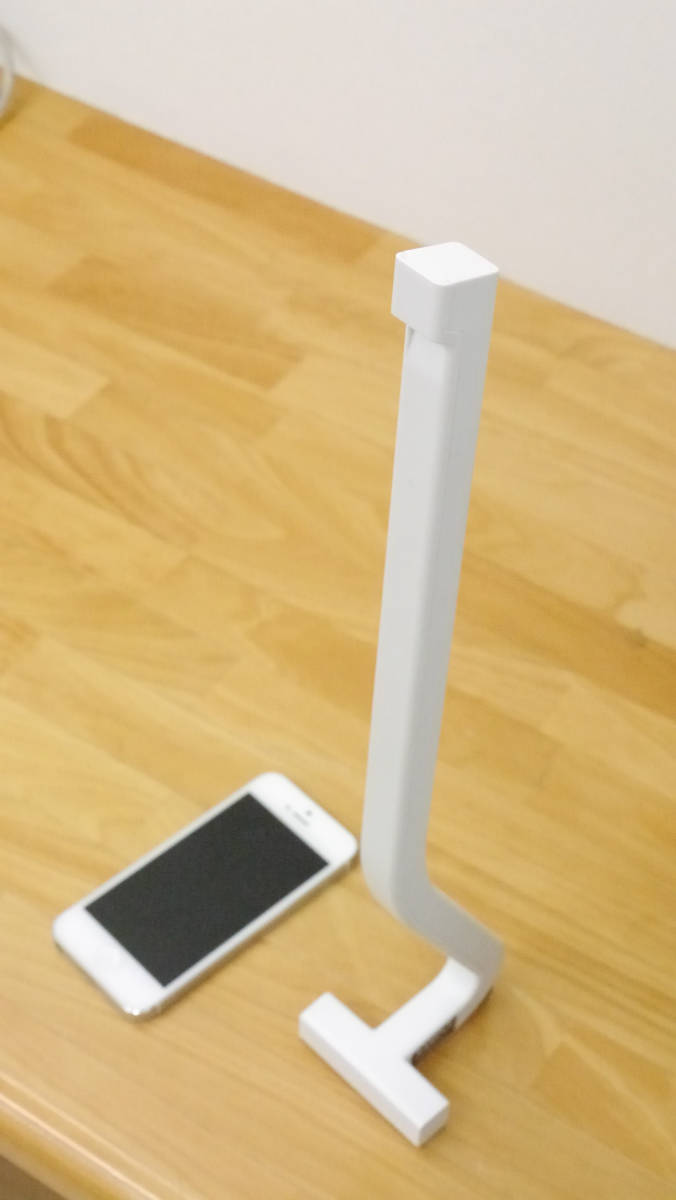
The desk shot body is very light, about 185 grams, compact even more than expected even if it stands up.
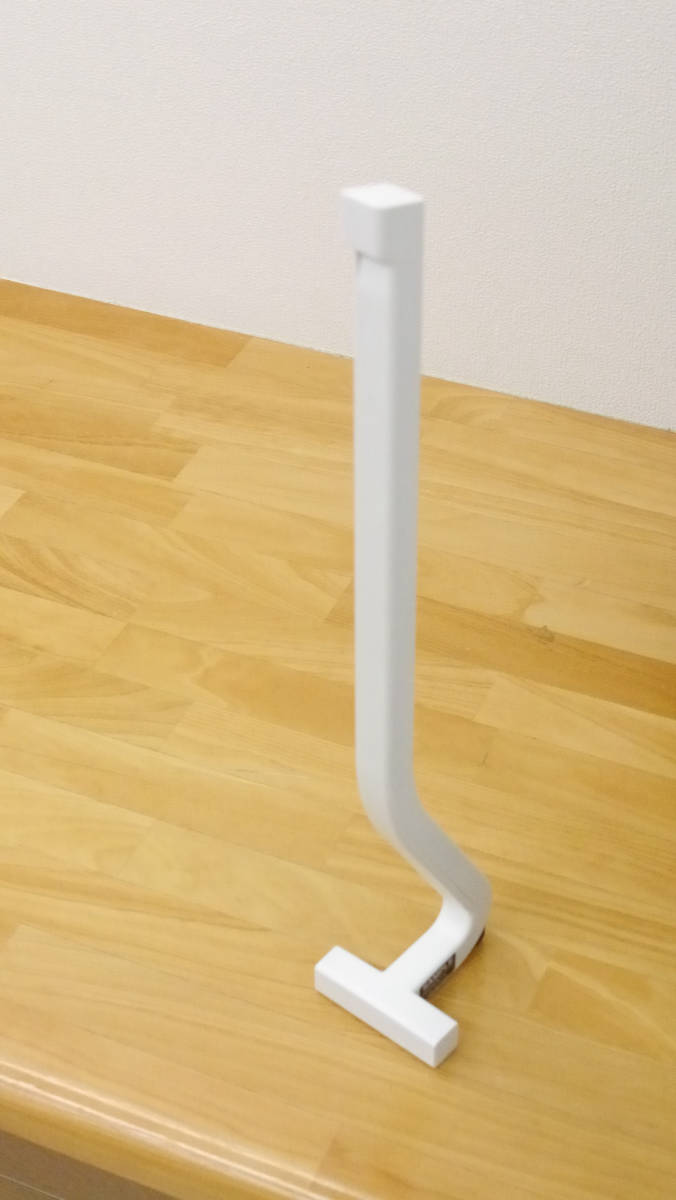
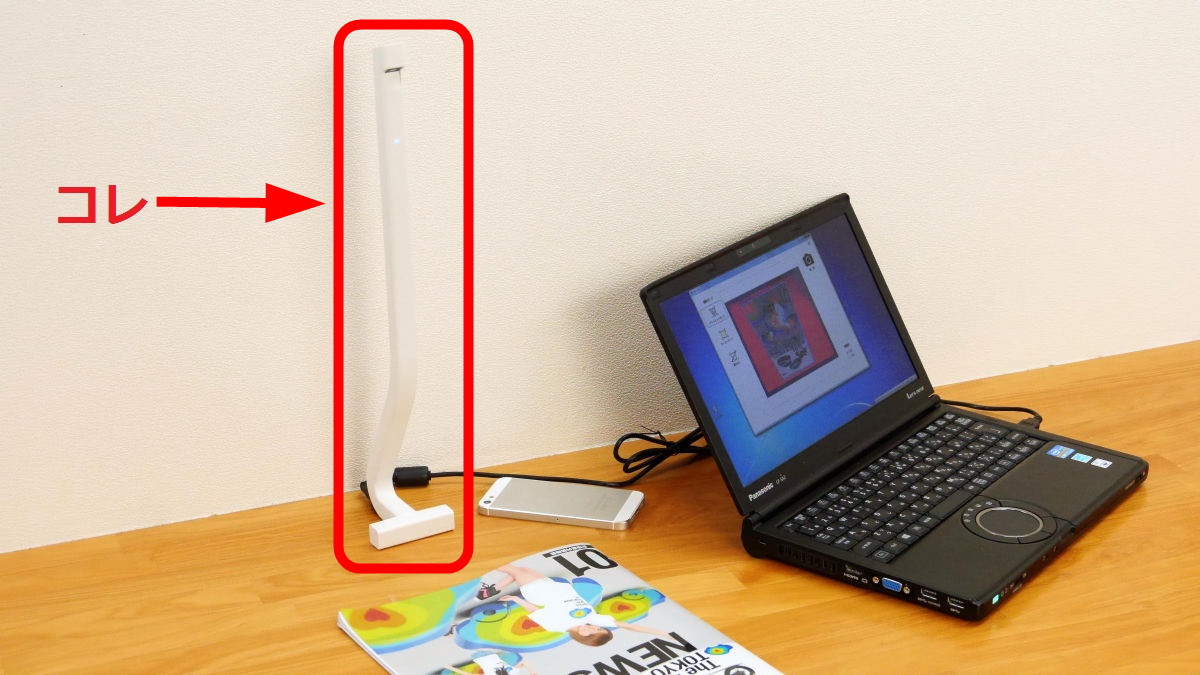
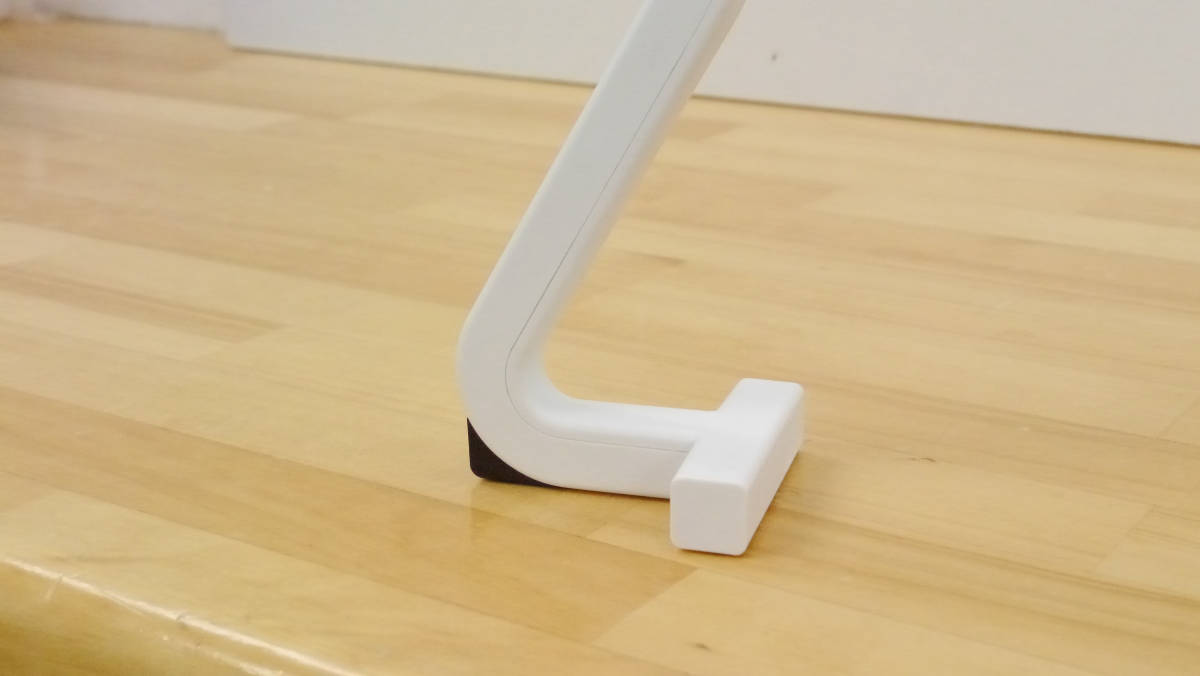
The stand part looks something like this, it does not take up space.
Even when iPhone 5 is arranged side by side, it is understood that the occupied area is much smaller.
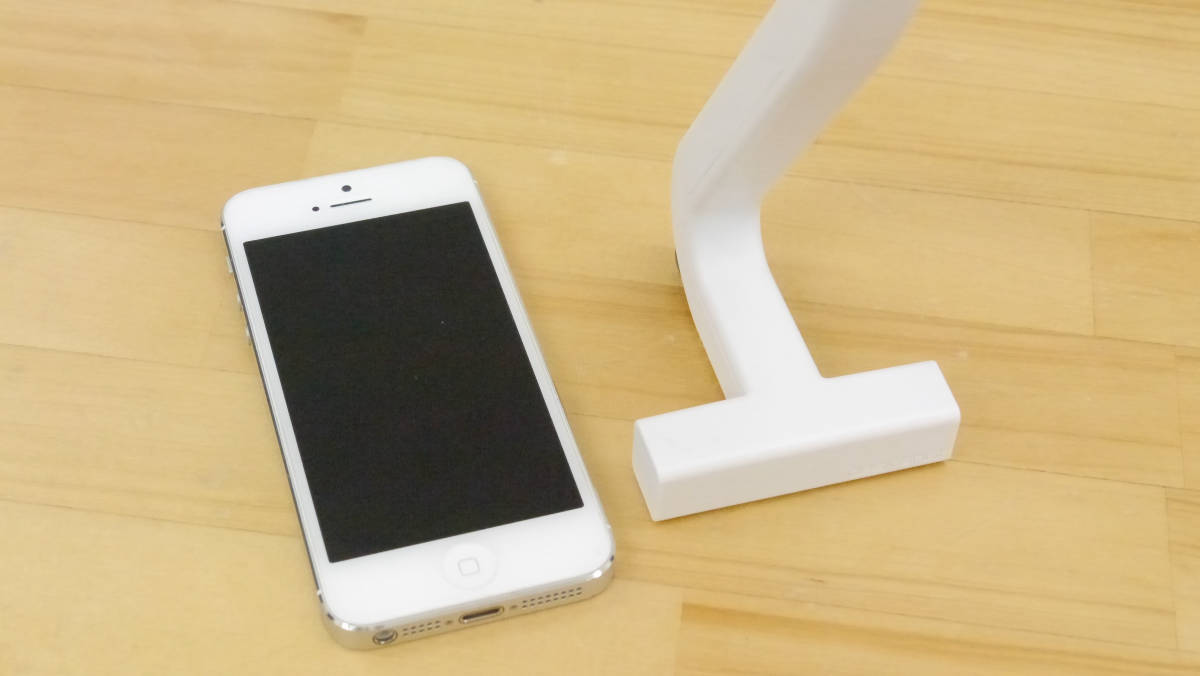
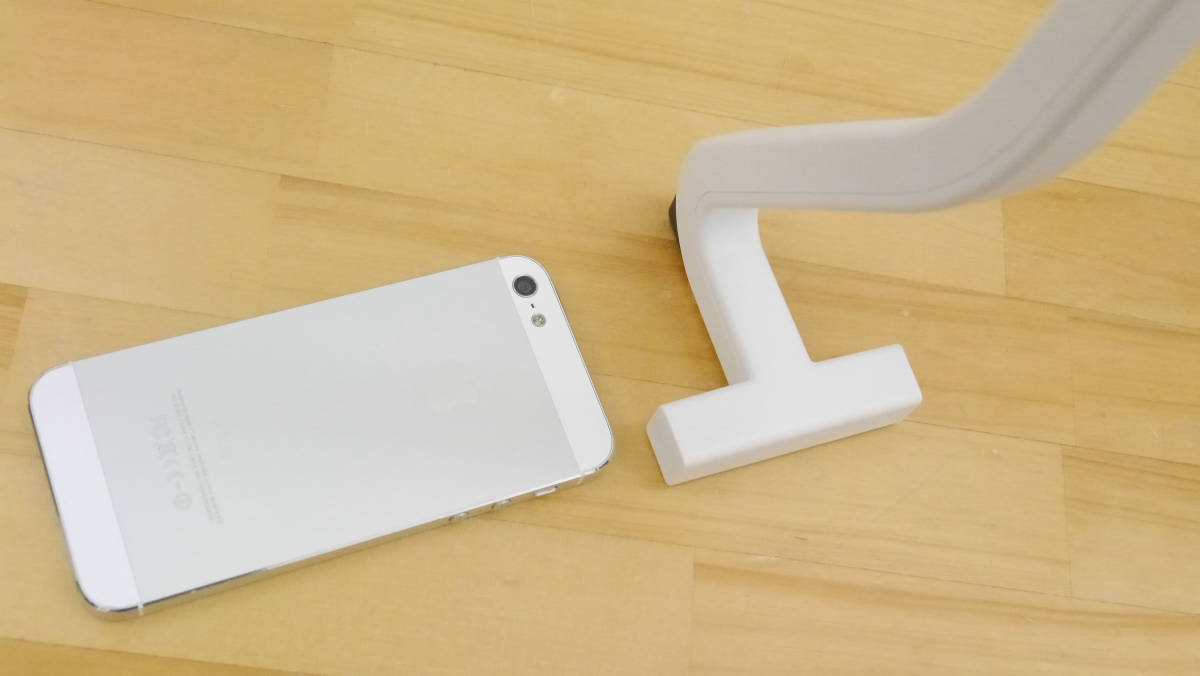
The body of matt white is also good with the touch, because it is white-most color than anything, it is stylish and designed to be easily combined with other interiors. It seems to fit well with Apple products such as Mac and iPhone.
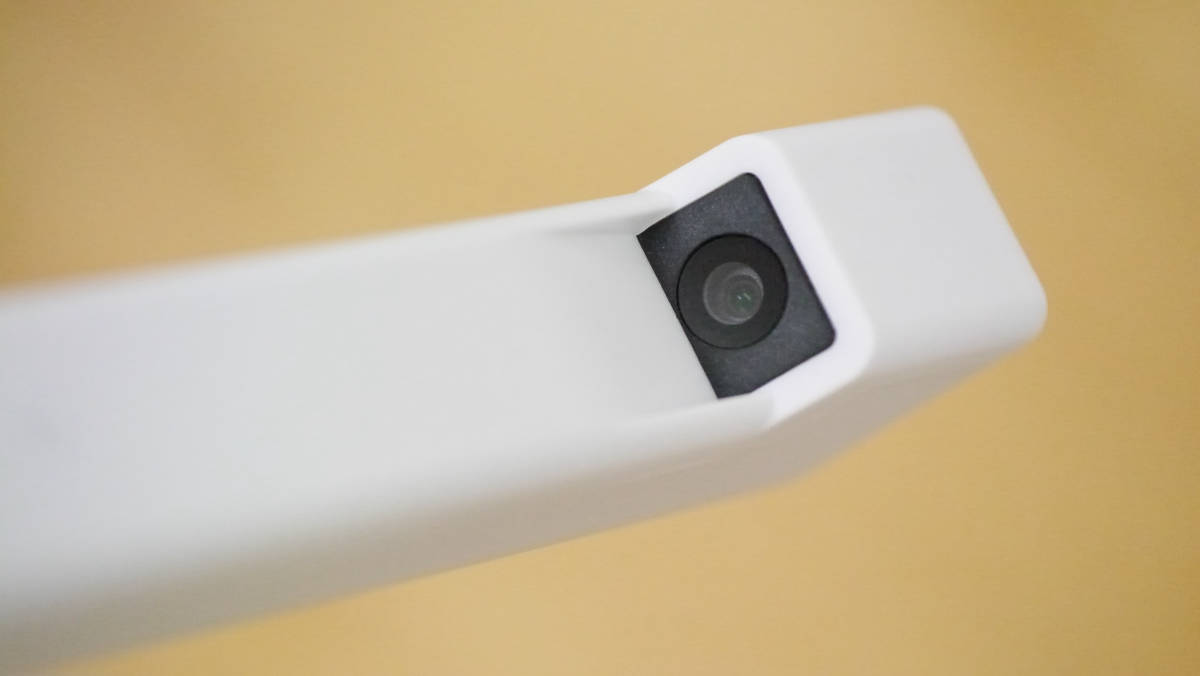
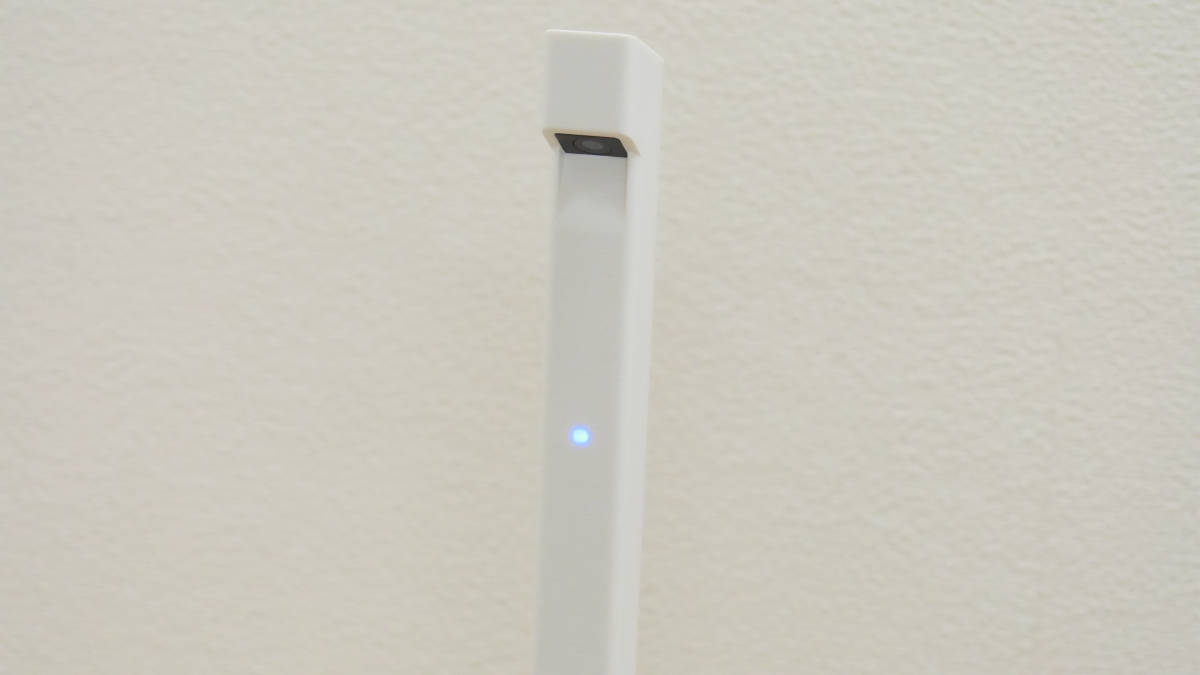
This is a scanning camera attached to the tip part. It is equipped with a CMOS sensor with 8 million pixels on a bright lens with an F value of 2.8.
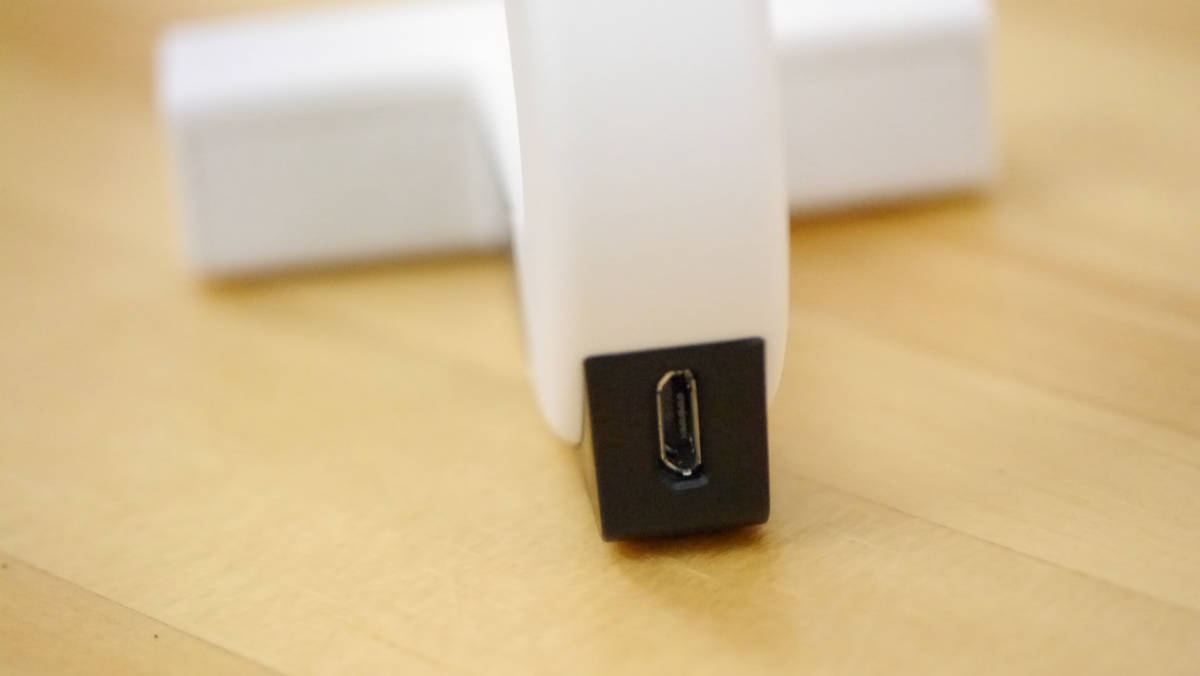
Micro USB terminal on the back of the stand part. Desk shot is a simple design that enables power feeding and data transfer with a single USB cable.
◆Installation of dedicated software
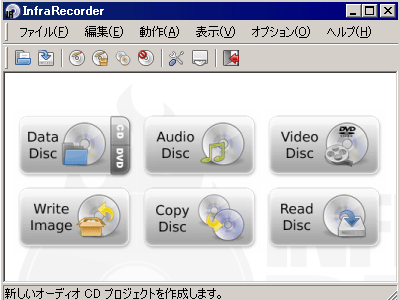
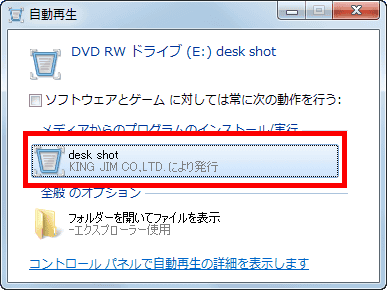
First install special software. Set the supplied CD-ROM in the optical drive and click "deskshot.exe file".
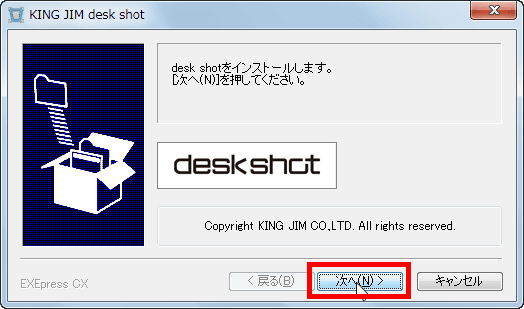
Click "Next".
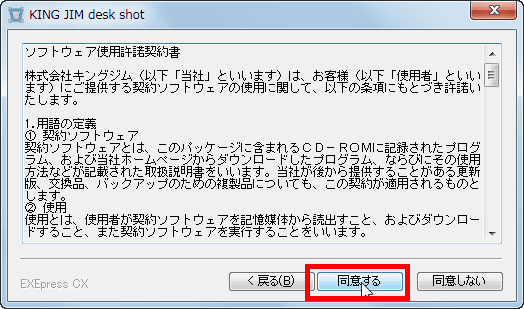
Click "I agree".
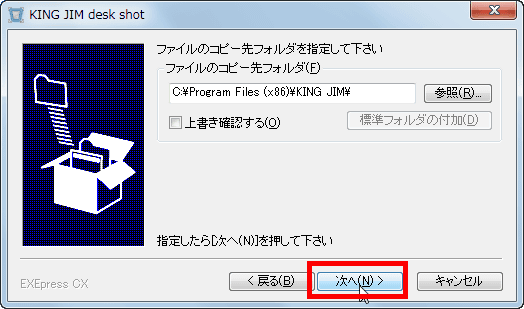
Click "Next".
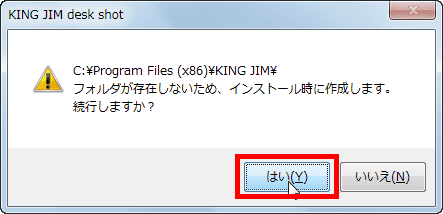
Click "Yes".
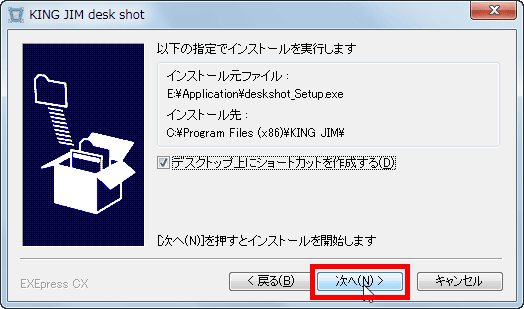
Click "Next". Installation is complete.
◆Try scanning
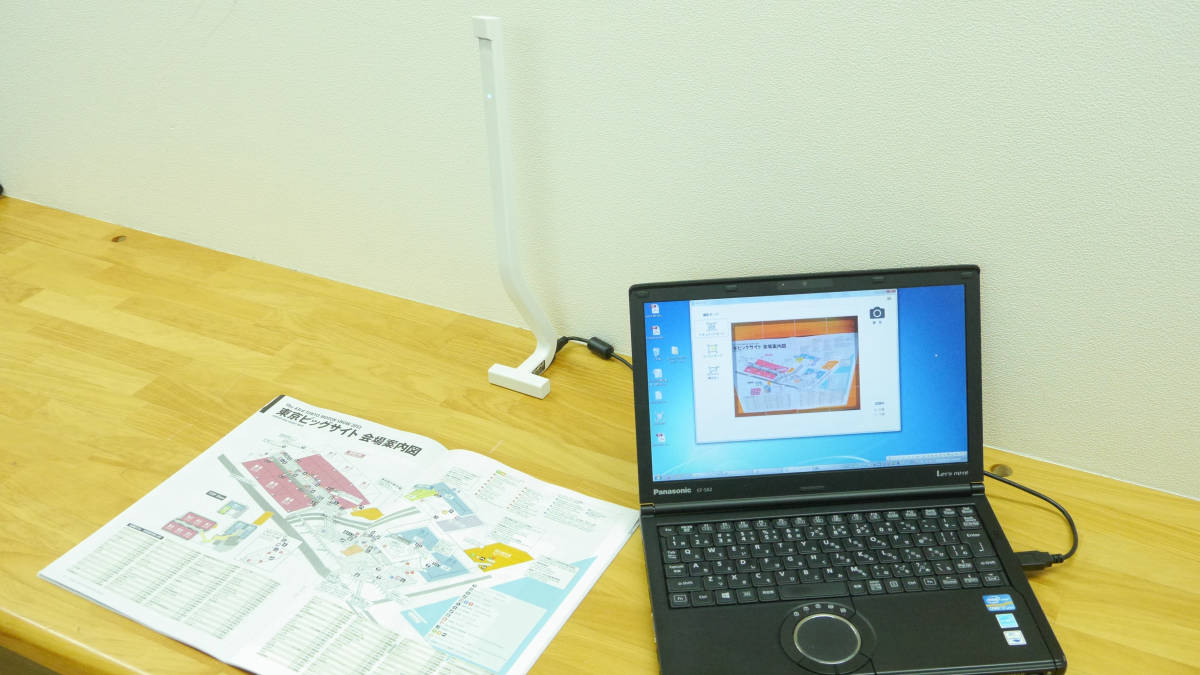
To scan it quickly. Since it is said that desk shot corresponds to A4 size, first try with the cover of A4 size brochure. Connect desk shot and PC with the included USB cable ......
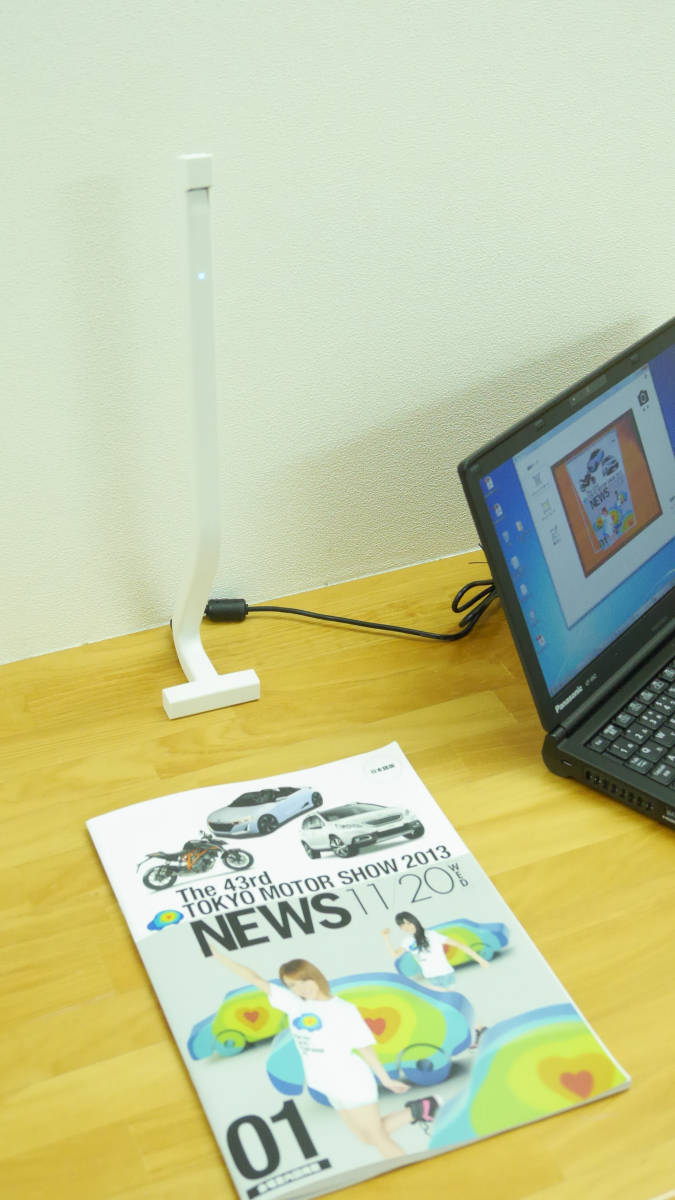
When the special software is started, the LED lamp of the desk shot main body lights up in blue. Preparation for scanning is OK with this.
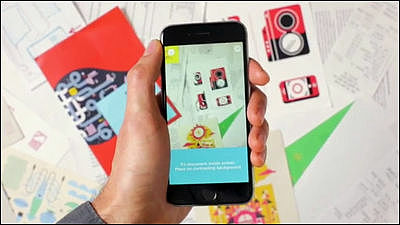
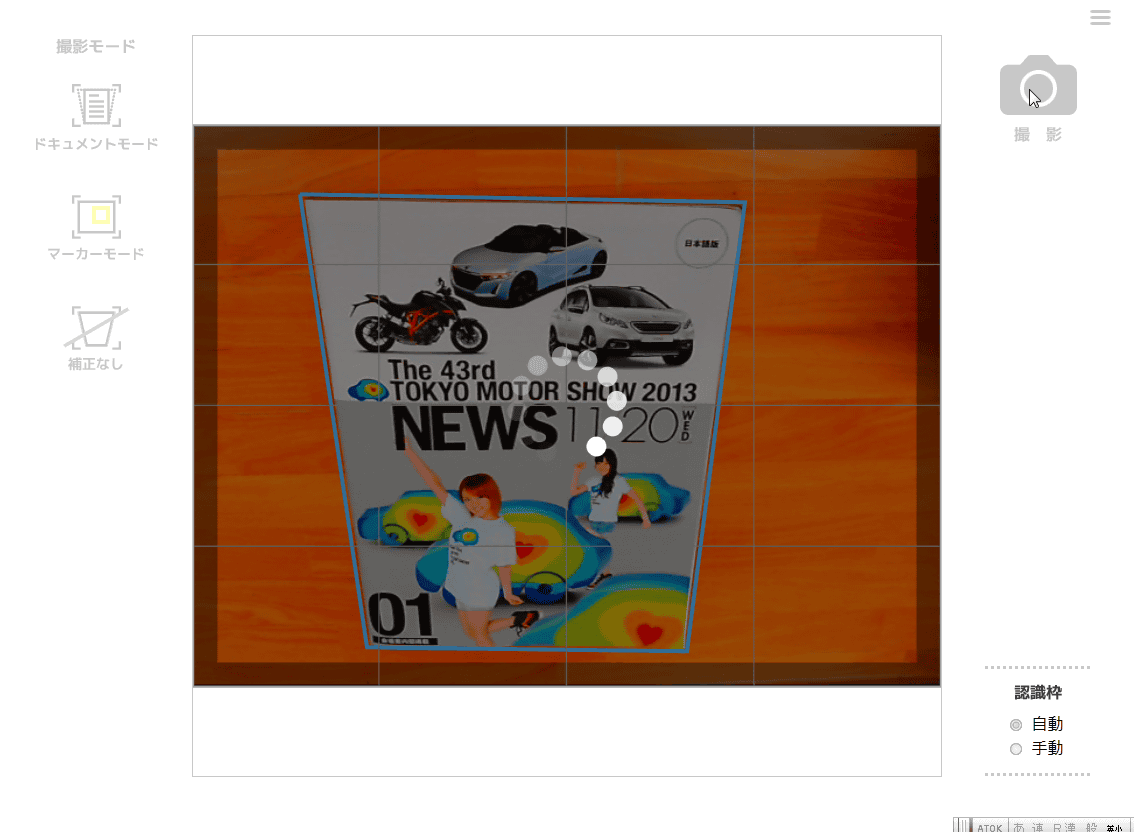
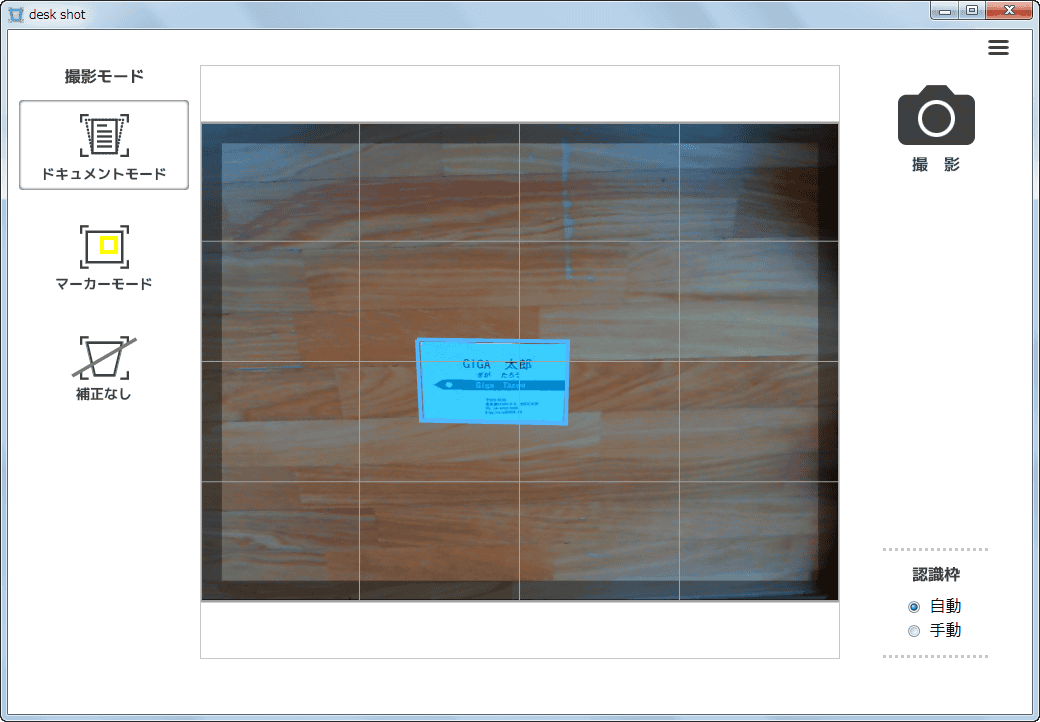
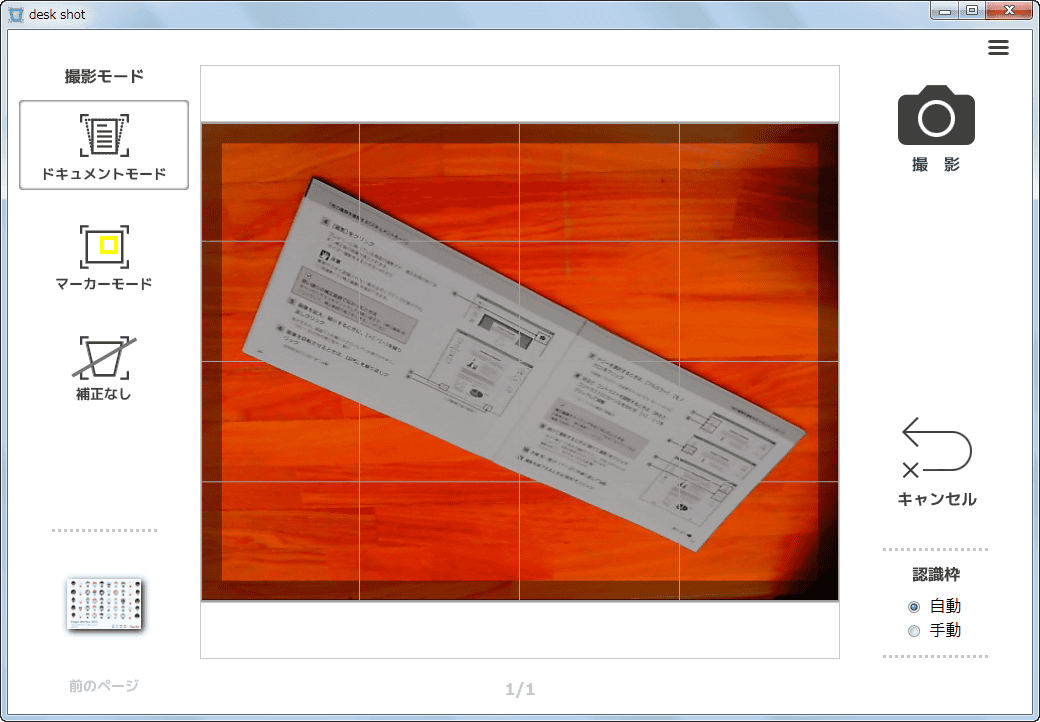
On the screen of the special software, the image of the pamphlet placed before desk shot is displayed. At this time, the point is to adjust the position of the stand so that the edge of the desk does not appear, so that the entire document fits within the frame of the camera.
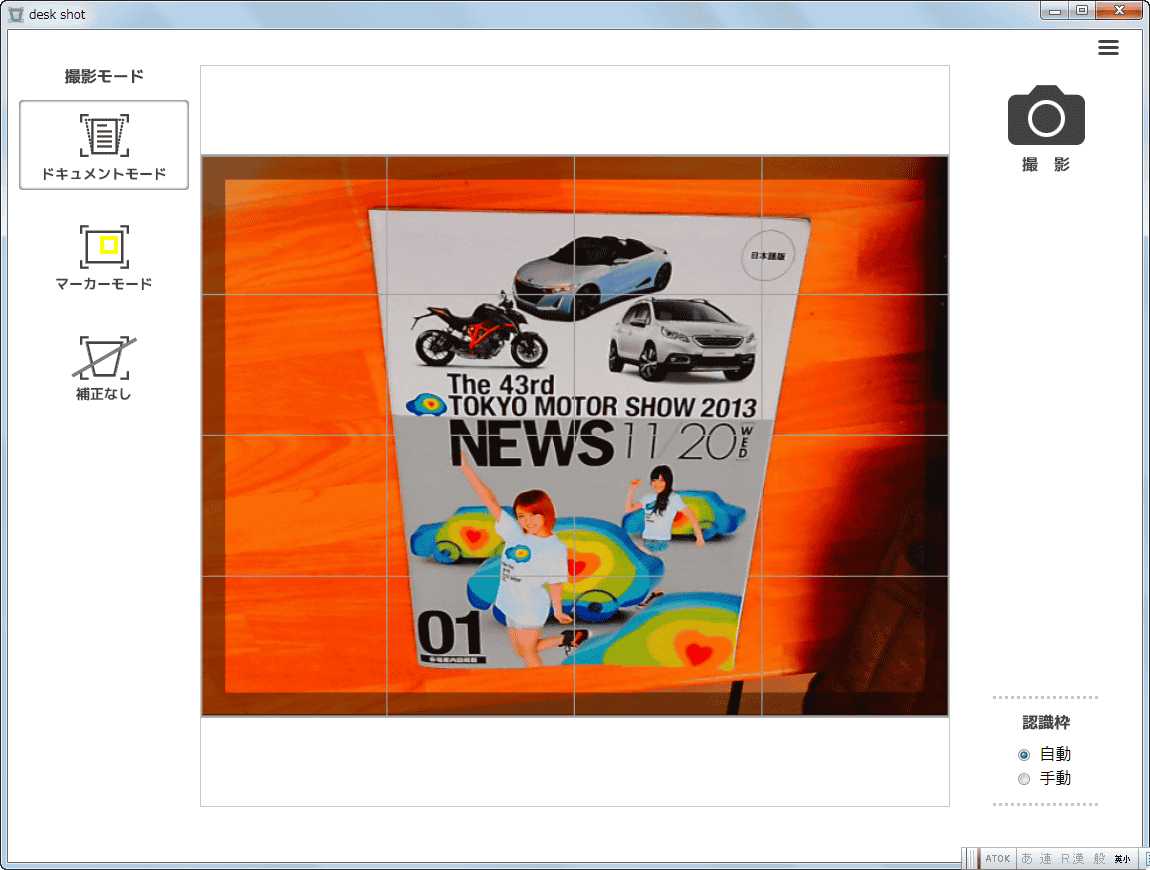
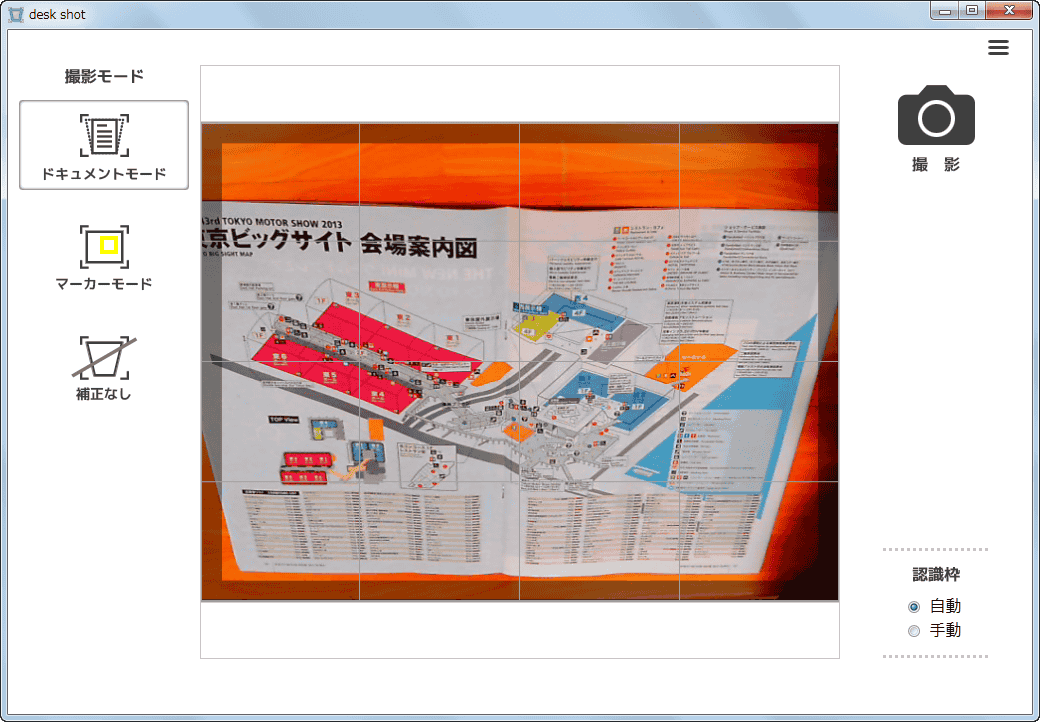
Click "Document Mode".

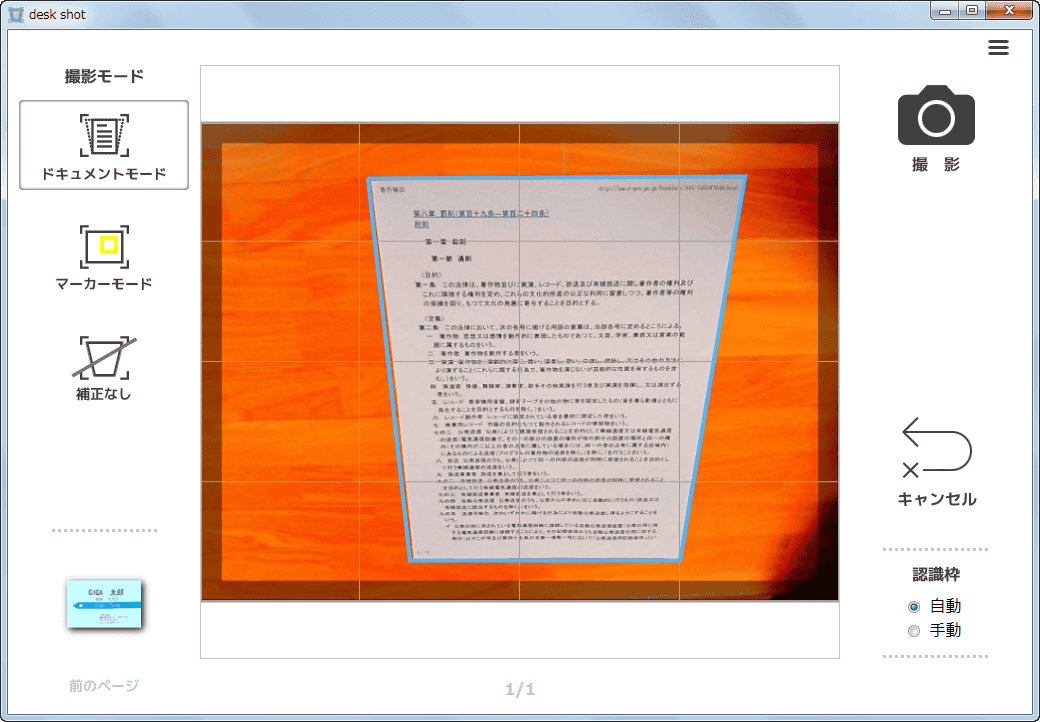
Then the pamphlet automatically got a light blue frame. Here, if the frame does not fit well, you can adjust by clicking on the center part of the document.
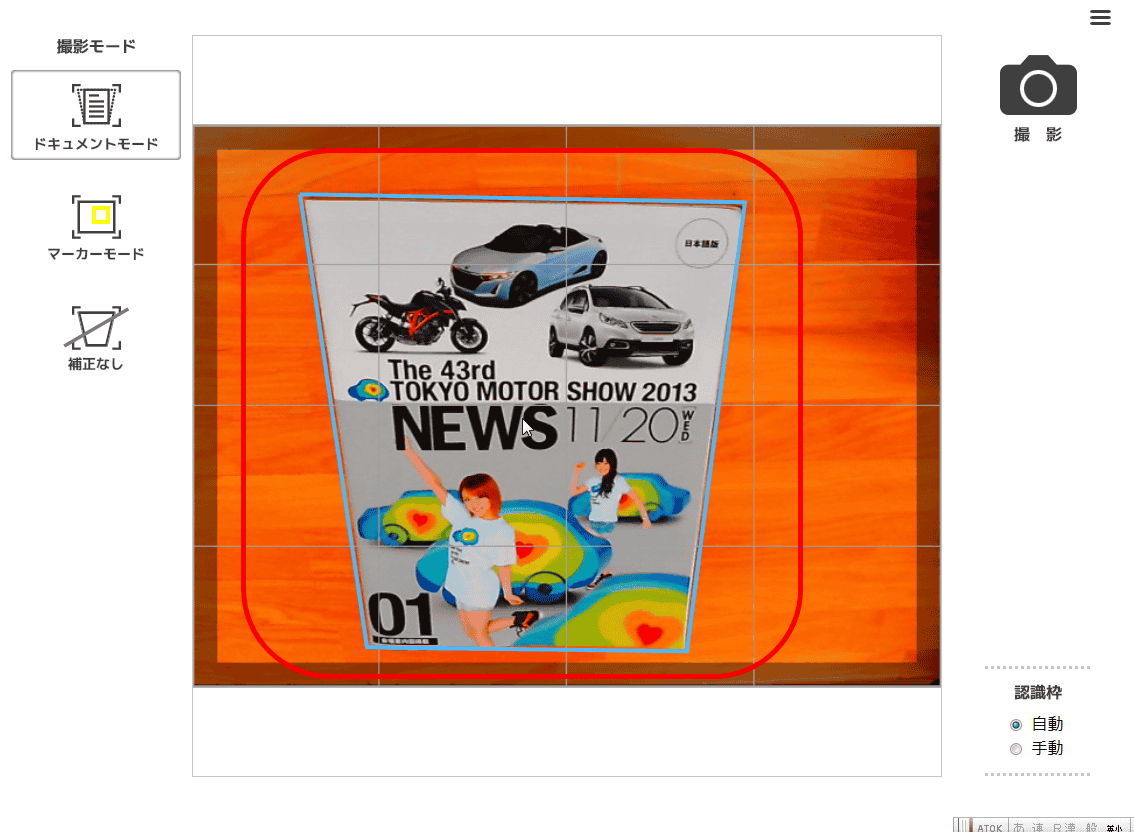
Click "Shoot (camera icon)".
Image is loaded ......
With this kind of feeling, it was very easy to scan. Photos that were trapezoidal are automatically corrected rectangularly automatically with special software.
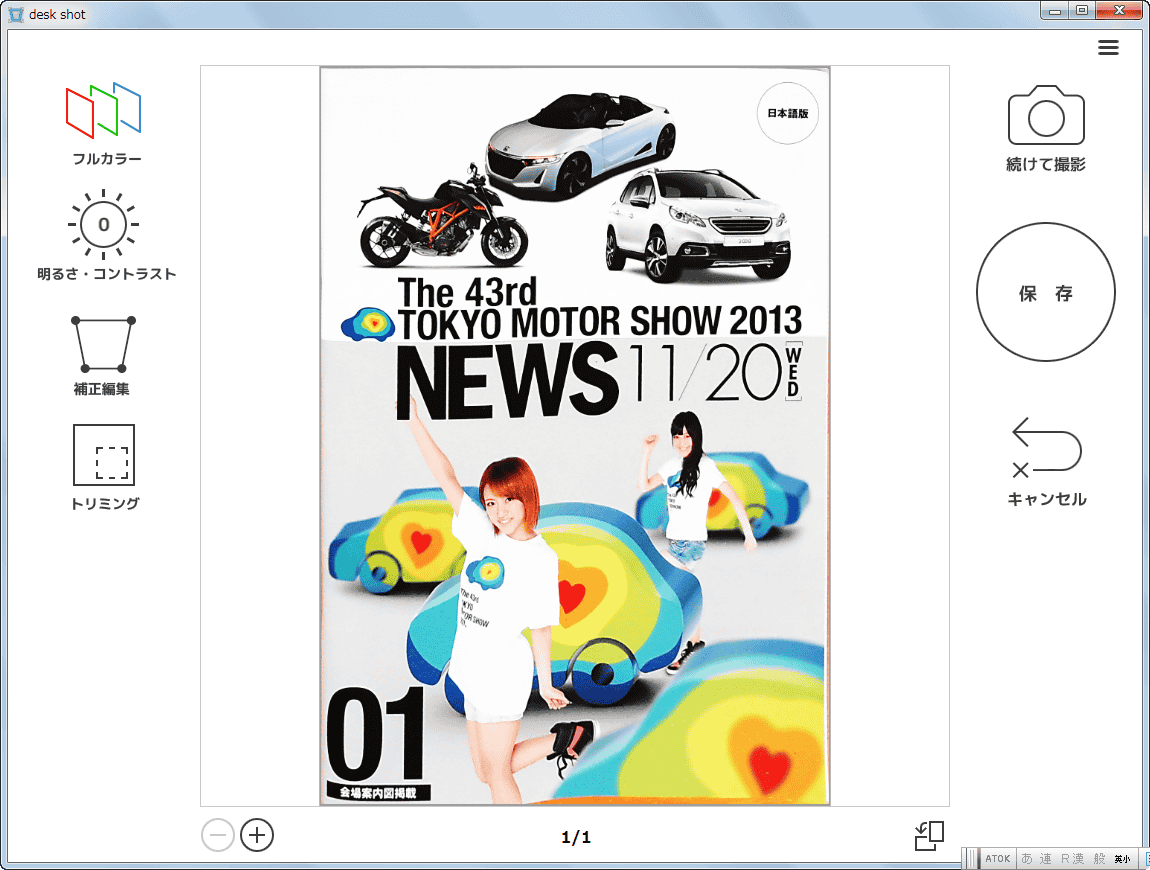
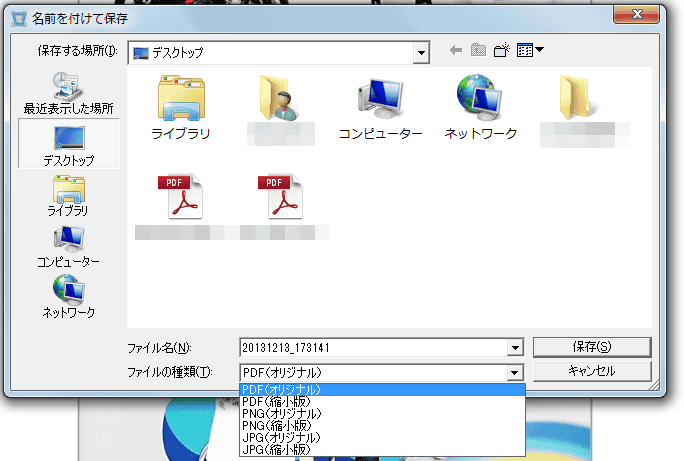
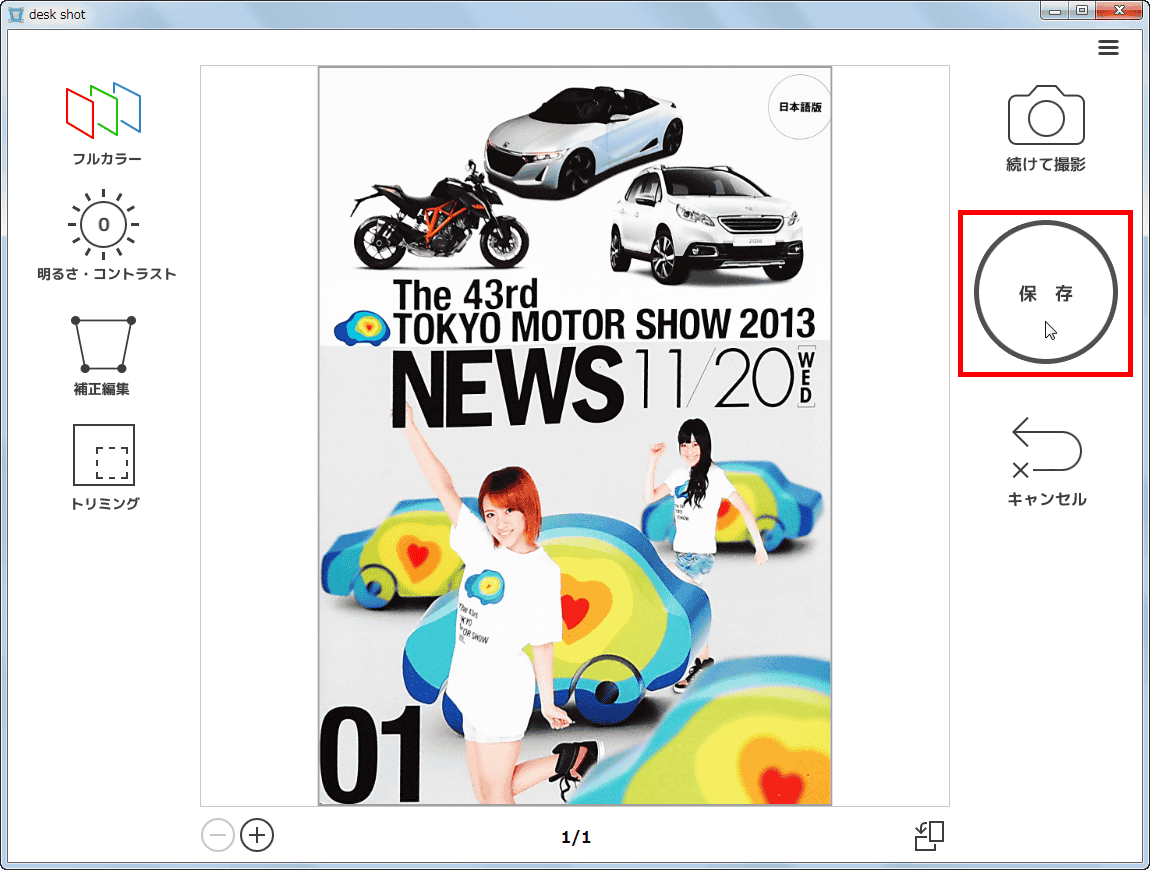
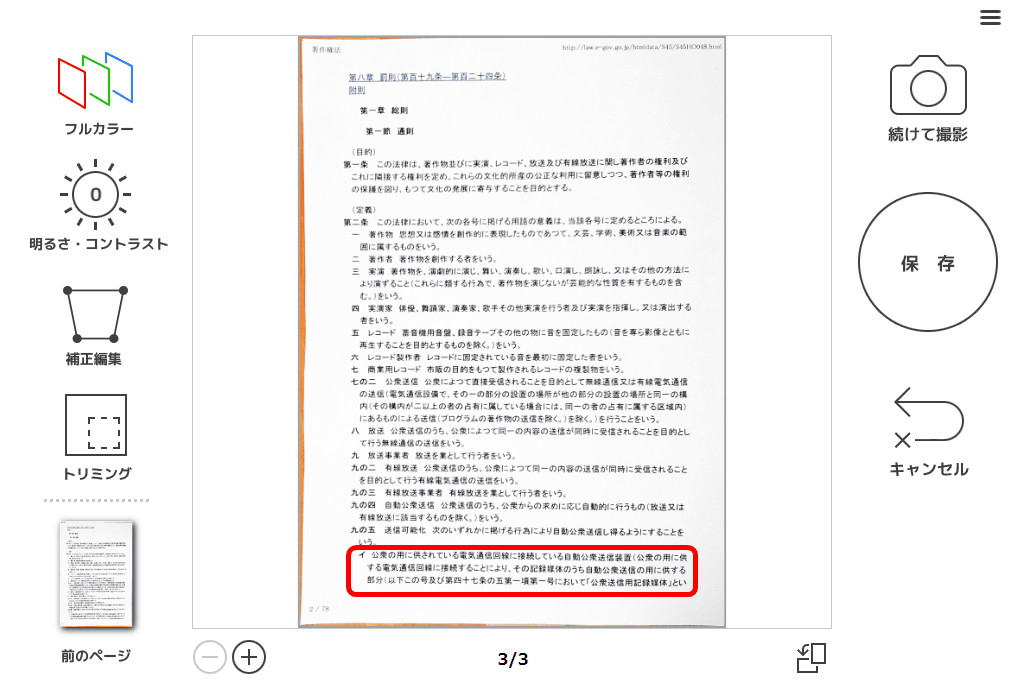
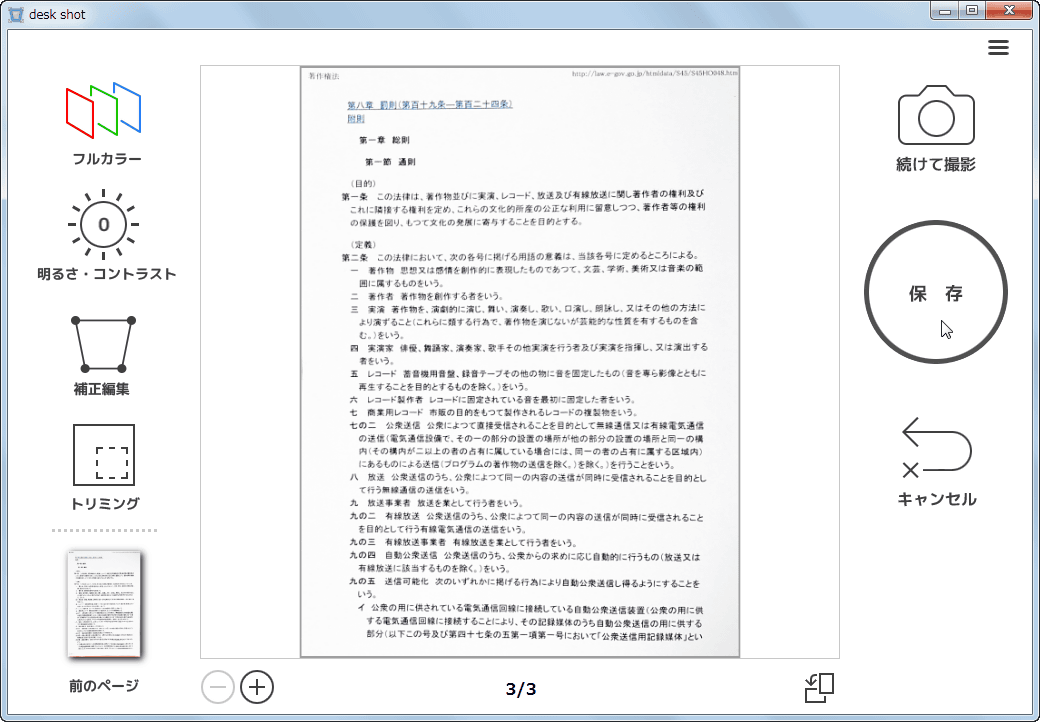
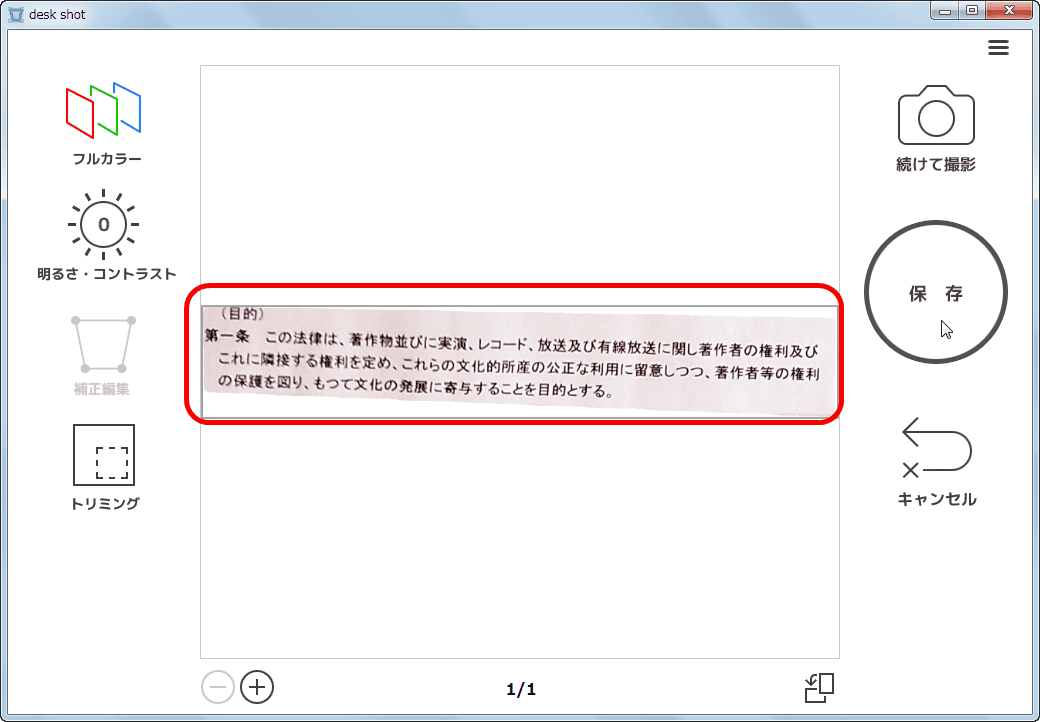
Click "Save" to save the data.
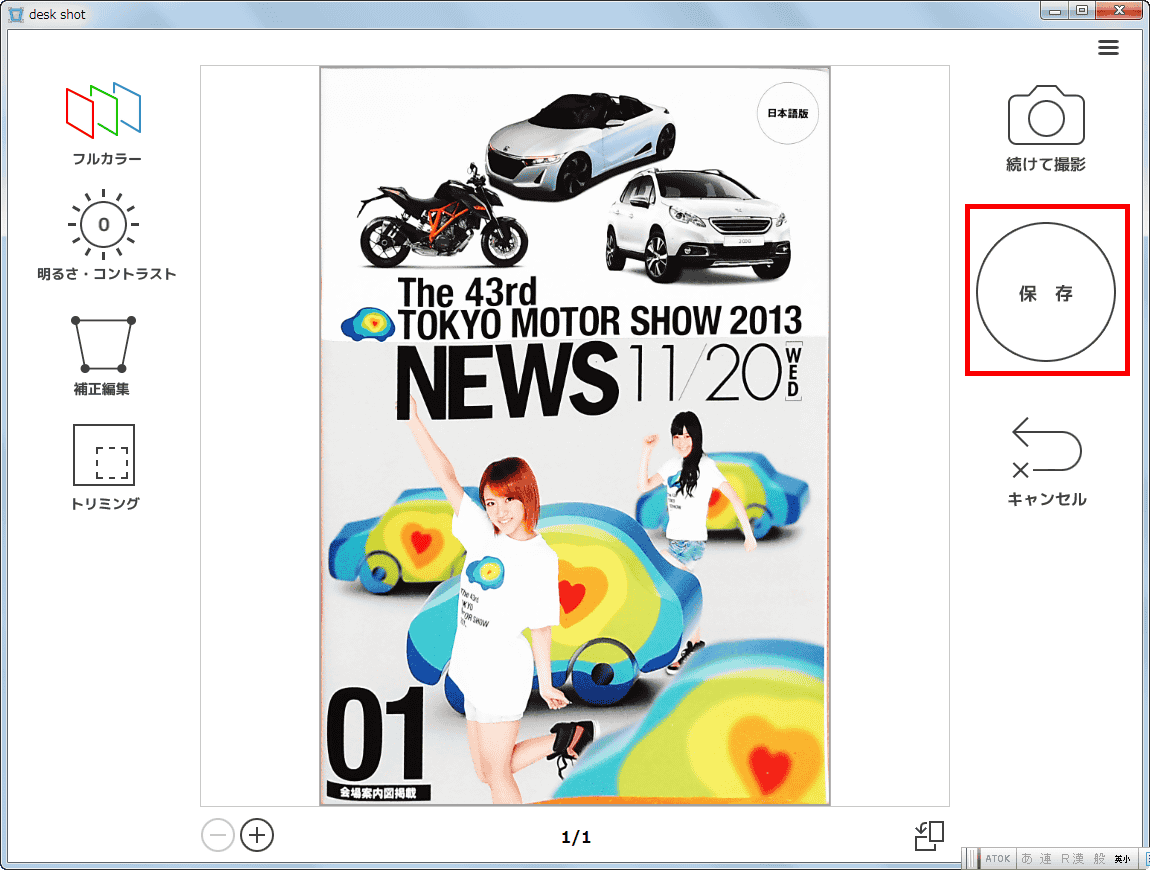
Click "Save" to save the scanned file.
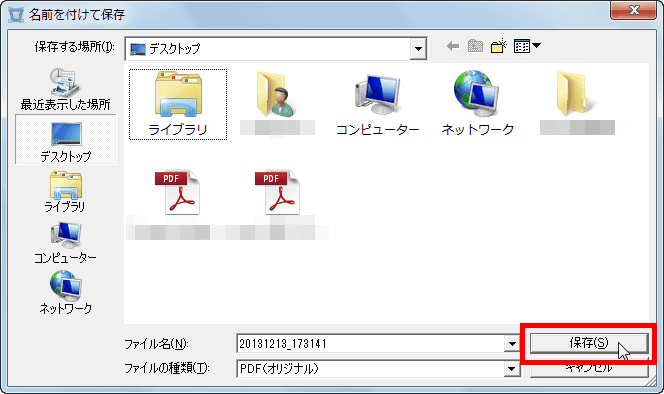
Note that desk shot can save scanned data as PDF · PNG · JPG, and "reduced version" which can compress file size in either format is prepared.
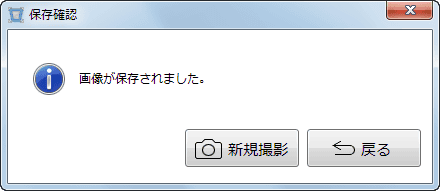
When saving is completed, a saving confirmation window like the one shown in the picture will be launched. If you click "New shoot" here, it is possible to scan the document continuously.
◆Process scan data
Desk shot can also handle simple image processing.
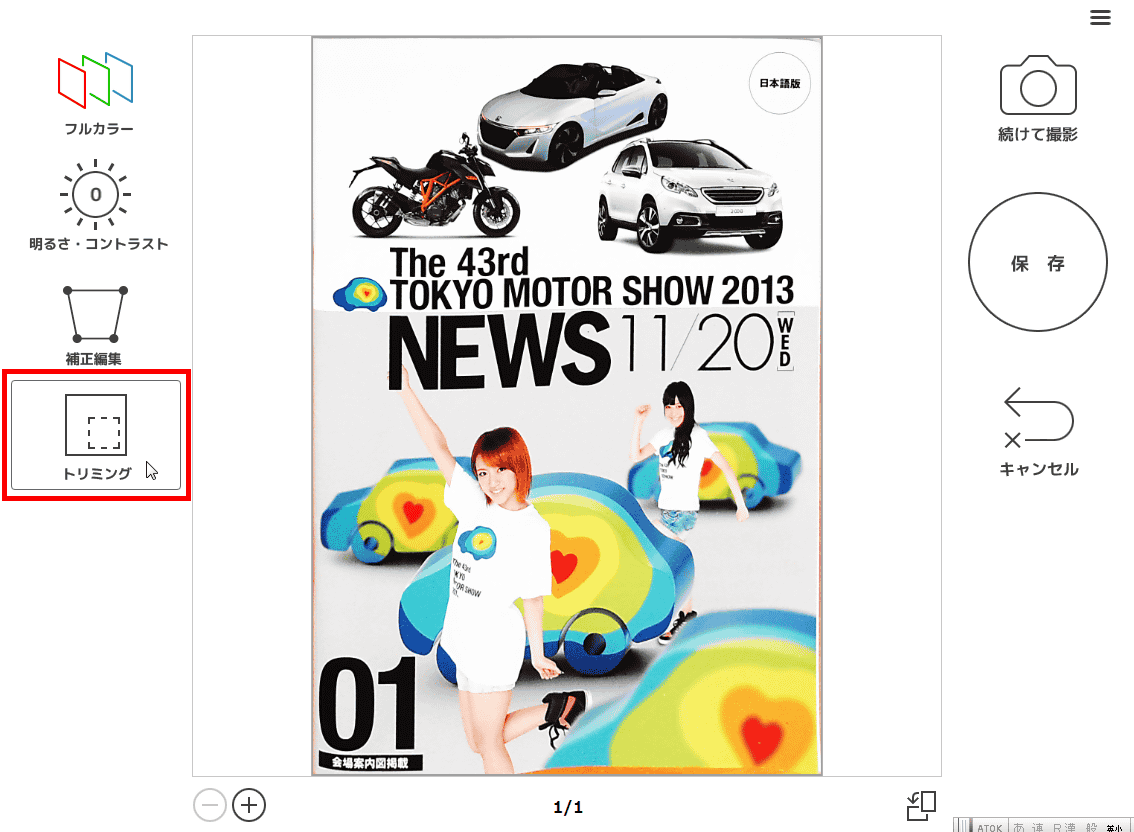
·trimming
Since the desk is reflected in the lower end portion of the scanned image, try trimming this. Click "Trimming".
Click "square" to trim the edge of the document.
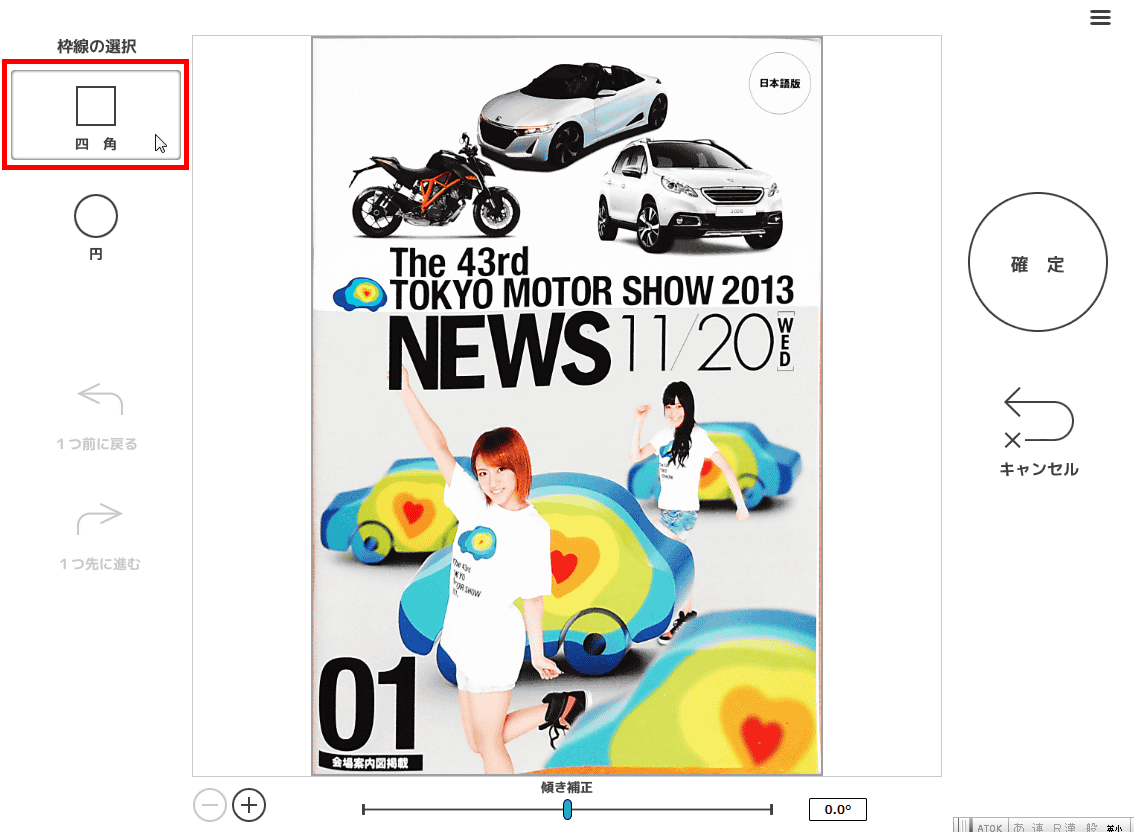
Drag the mouse cursor and move the orange trimming line to where you want to trim ......

The part you want to trim will gray out. After that, if you click "confirm" ...
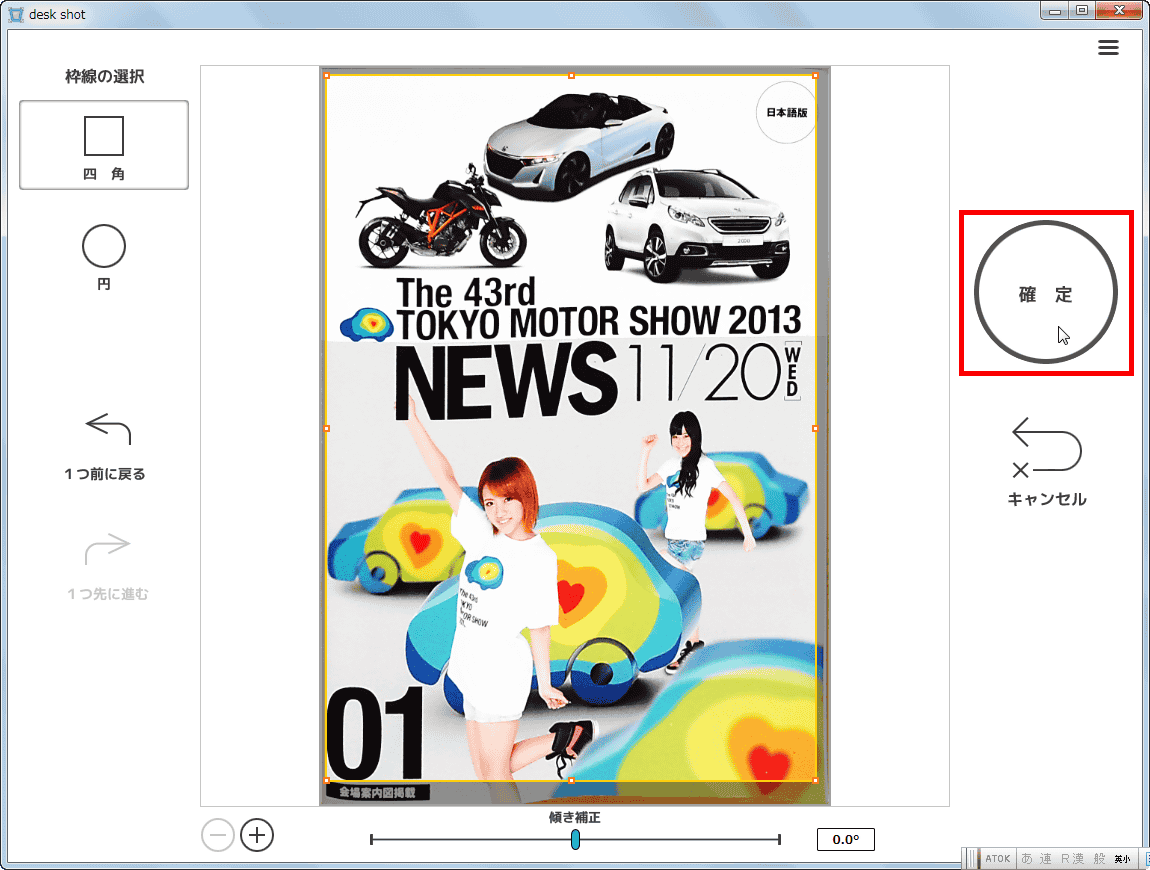
I could trim it. Click "Save" to save the trimmed image.
· Monochrome
If you want to make a black and white image, click "Full color".
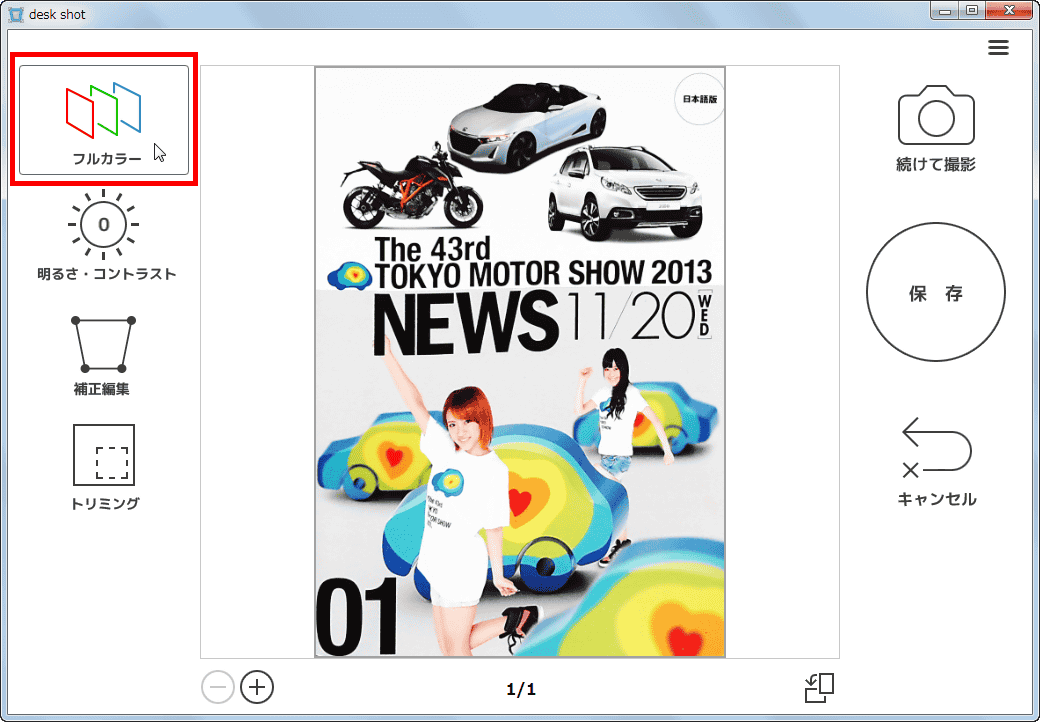
Scanned images can be monochromeized with just one button.

· Brightness · Contrast
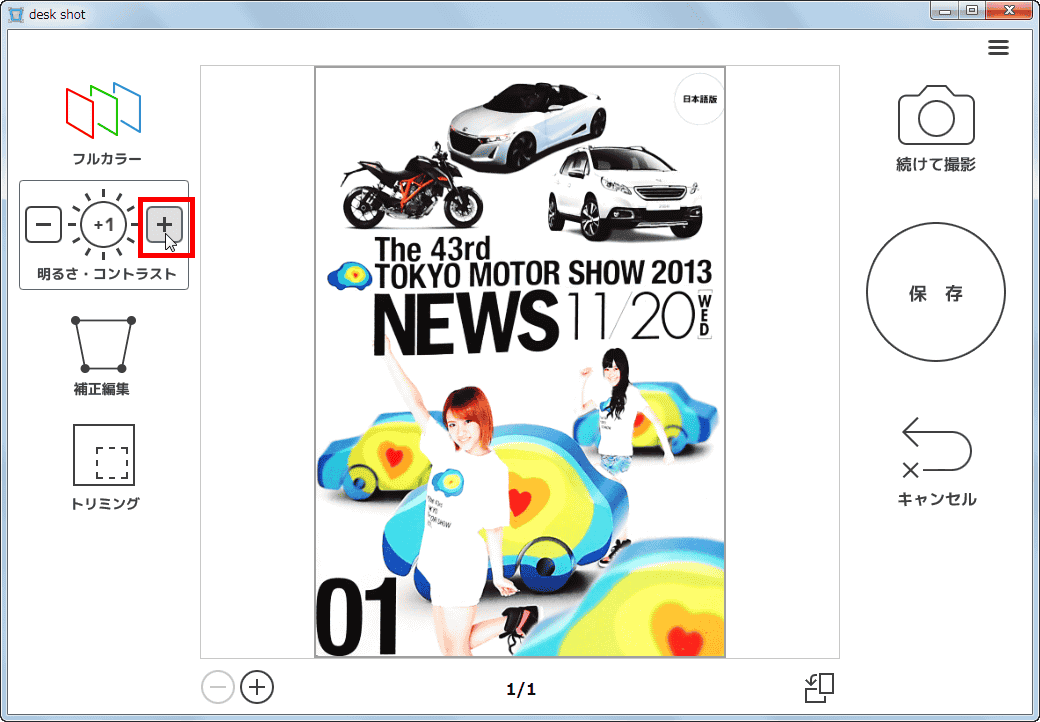
You can change the brightness and contrast of the scanned image. Click "Brightness / Contrast". Adjust with the "+" and "-" buttons on the left and right.
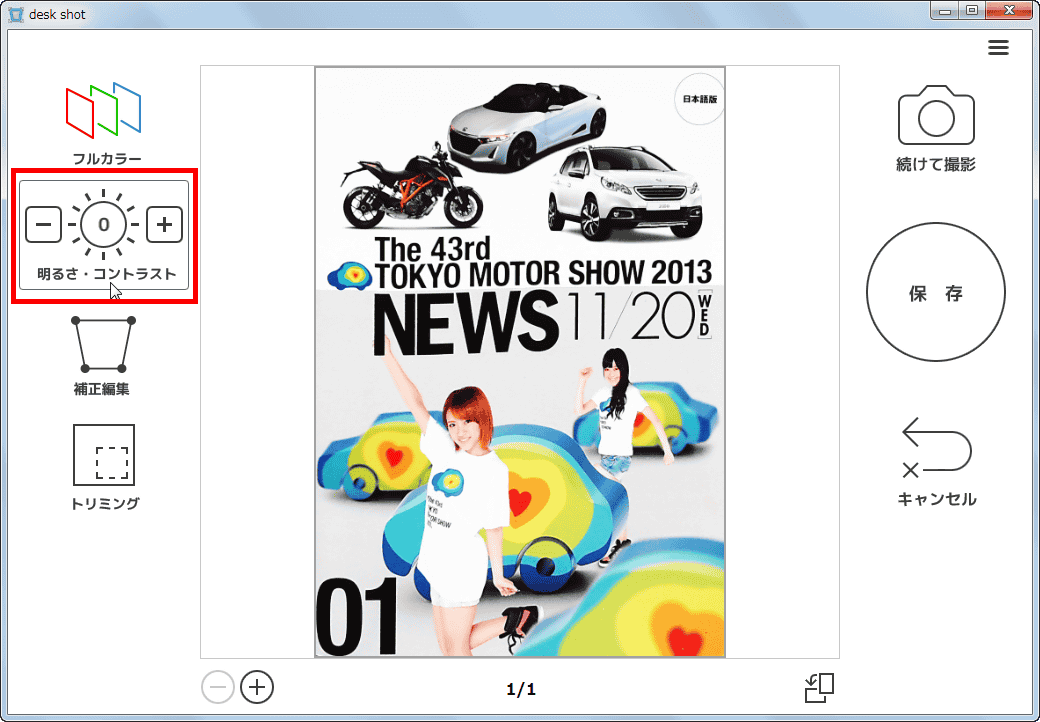
Click "+" to make it bright like this.
Clicking "-" will make it darker.

◆Scan another size
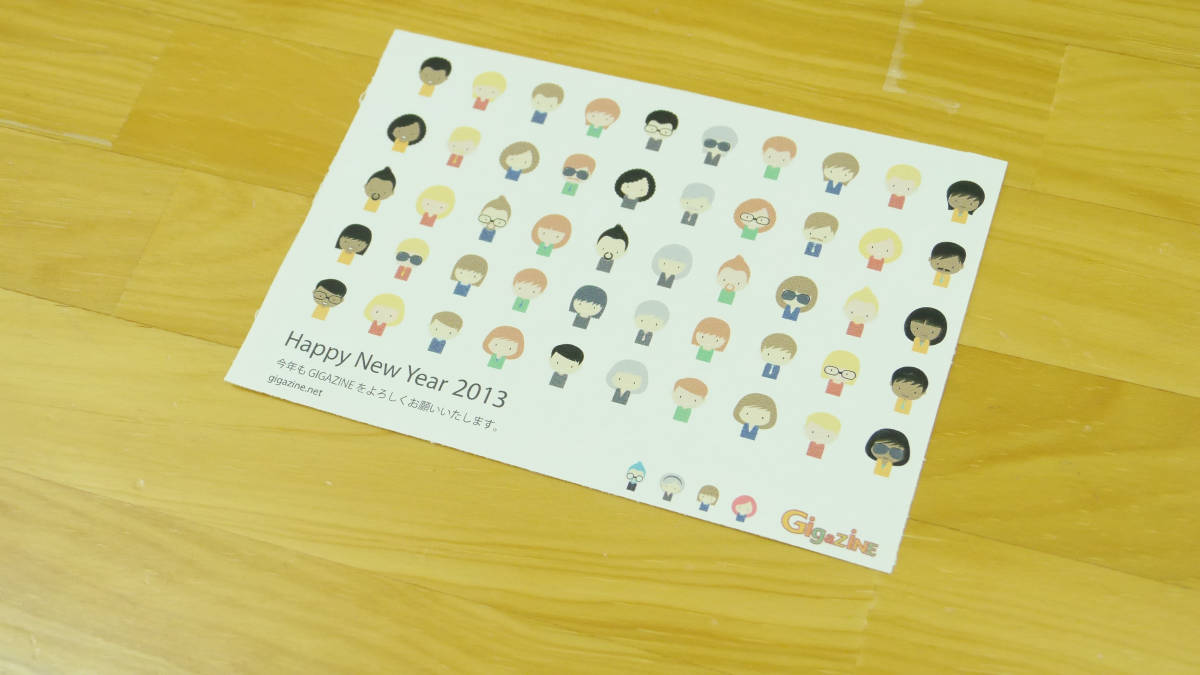
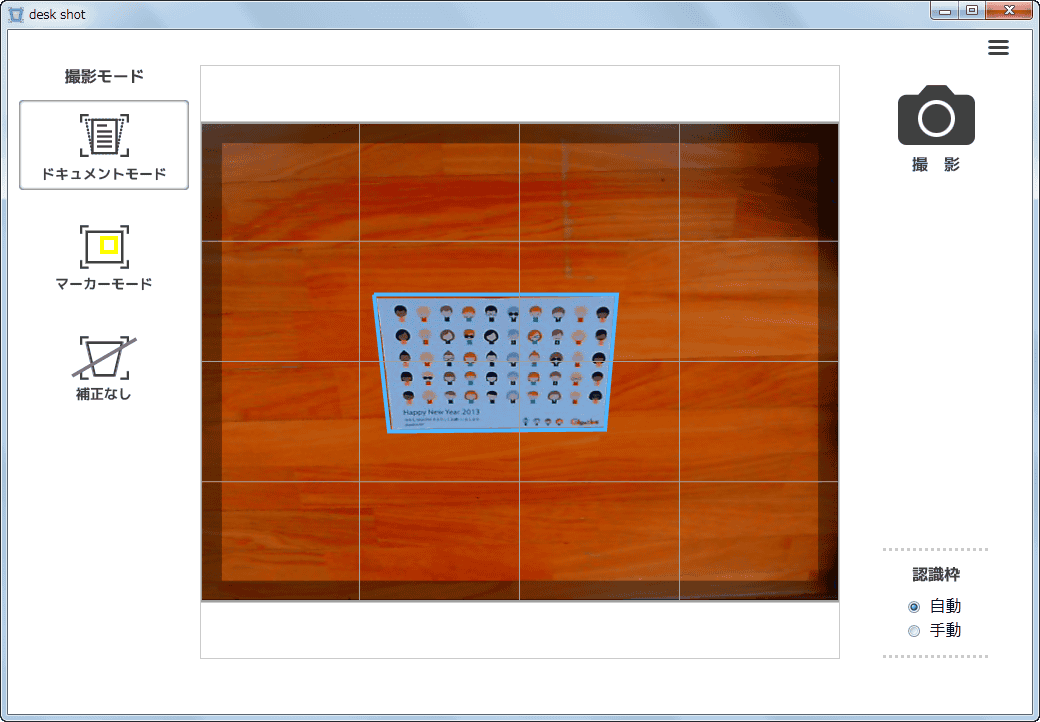
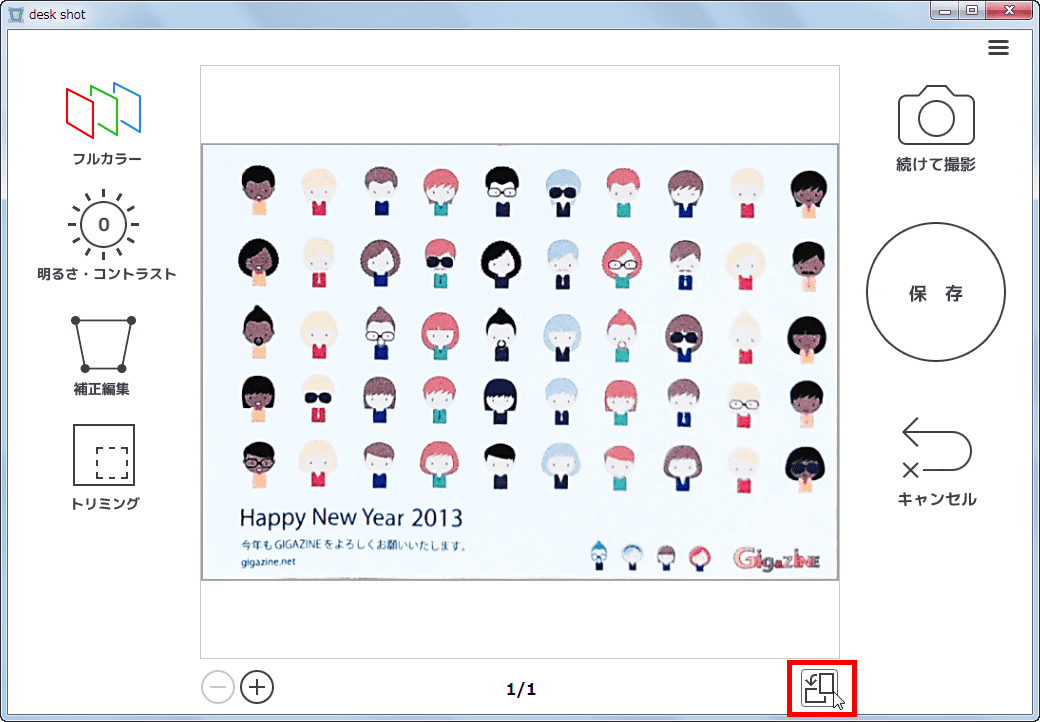
Try the scan even for sizes other than A4 documents. First of all, postcard size.
Automatically recognized the document correctly, a light blue frame appeared.
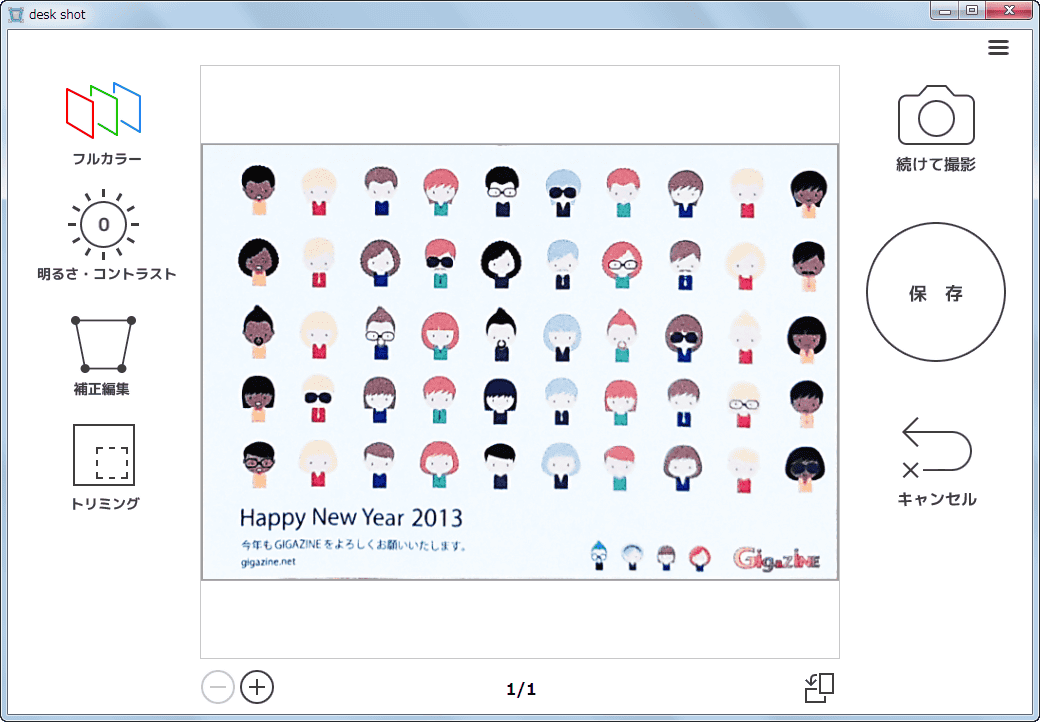
It is like this when scanning. It became a slightly bluish color than the actual document, but it can scan accurately including small letters.
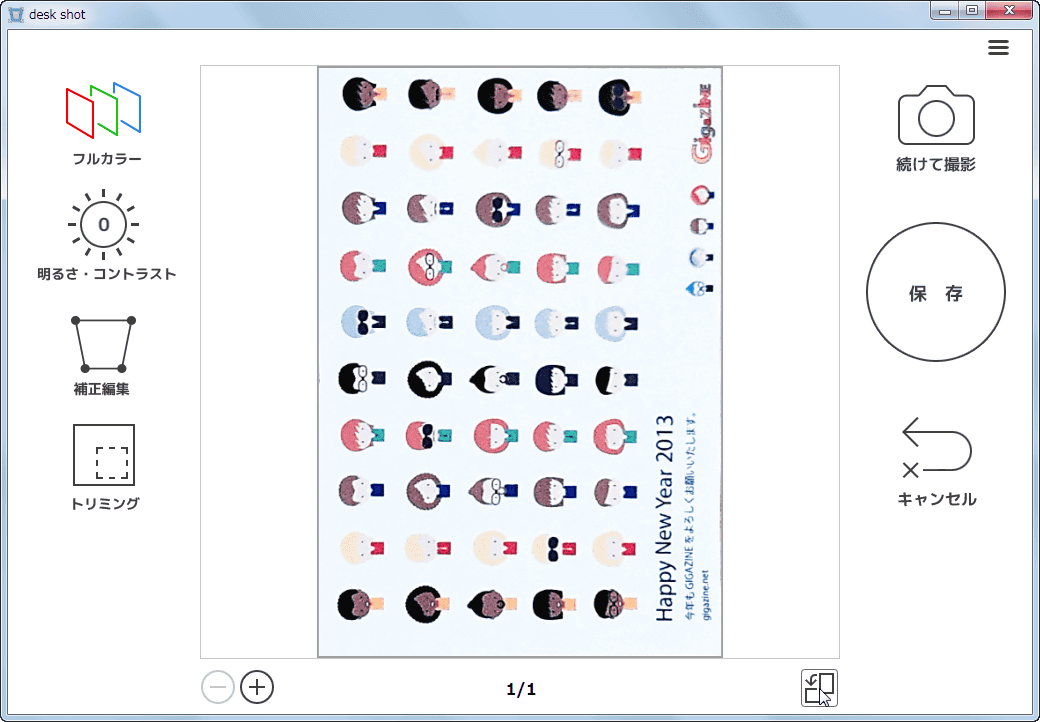
Click the "Rotation icon" in the lower right ... ...
The scanned image rotates 90 degrees. The rotation function is convenient when you want to save in portrait orientation or when saving upside down.
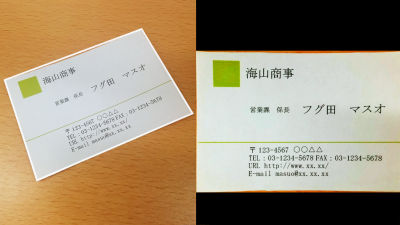
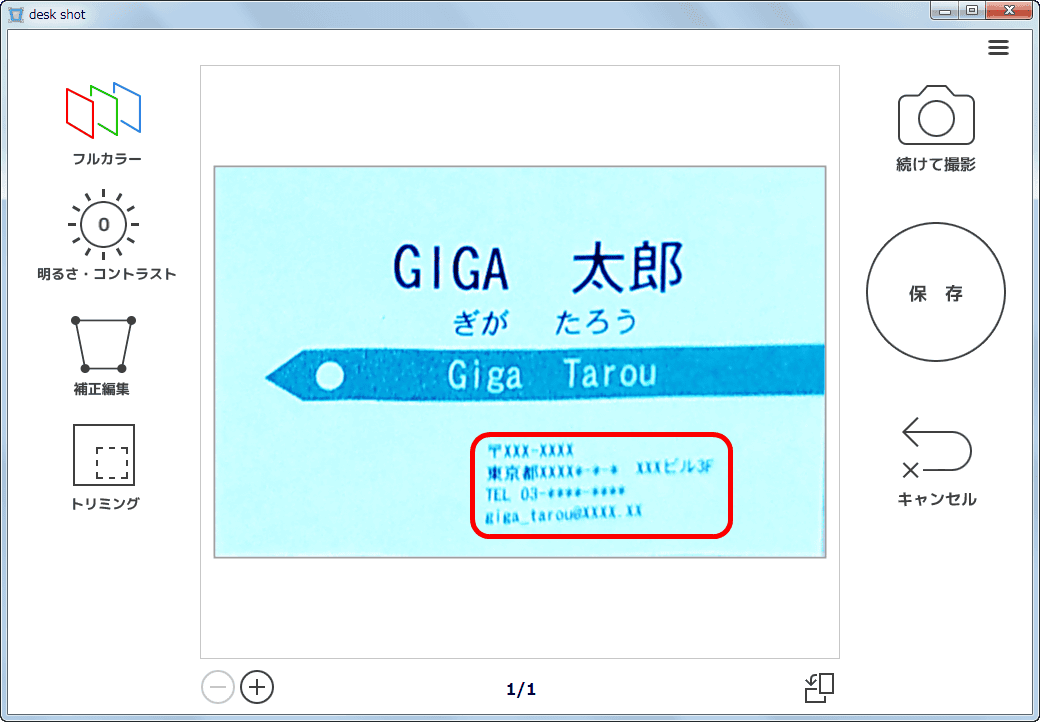
Next is the business card size.
Although distortion has appeared in the character of the lower address and telephone number, it is not enough distortion that characters can not be read. The thing I tried this time is that the copy paper is cut to the business card size, so if there is a cardboard business card, the unevenness is less, the more distortion should be small.
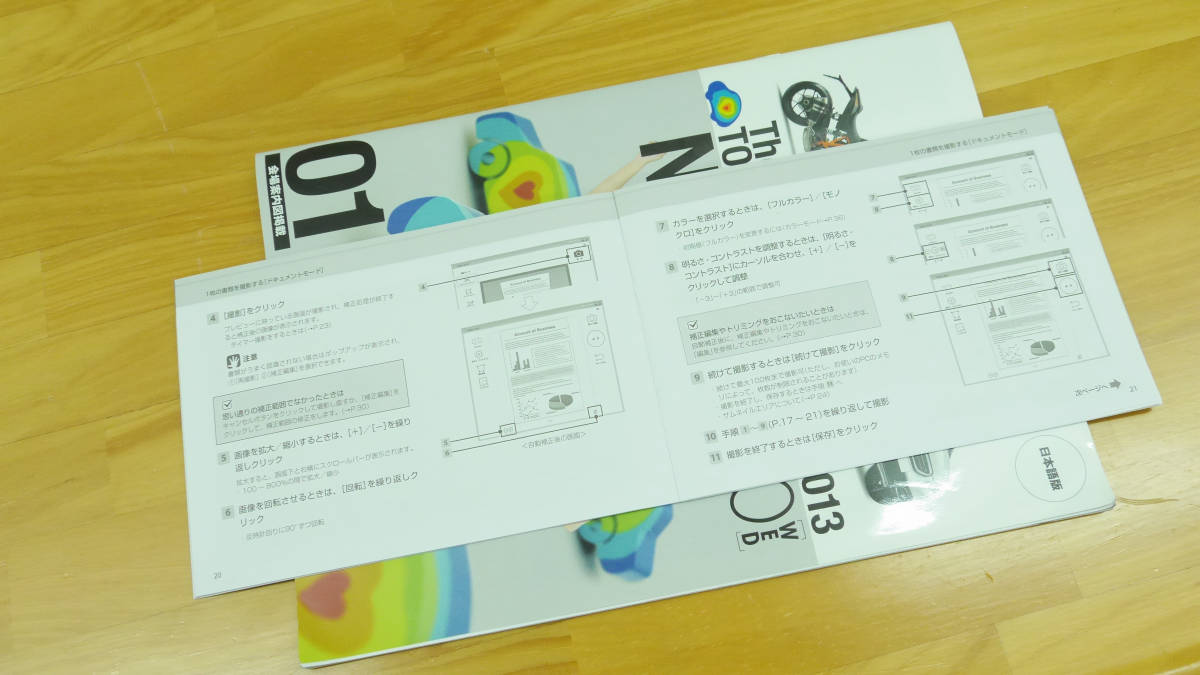
Desk shot says that you can save documents of A4 size or smaller, but I will scan a larger size document as a trial. Make the A4 size brochure in the two-page spread state to A3 size.
However, no matter how you change the position of the brochure, you can not fit within the shooting range, it was impossible to scan because it did not have a light blue frame.
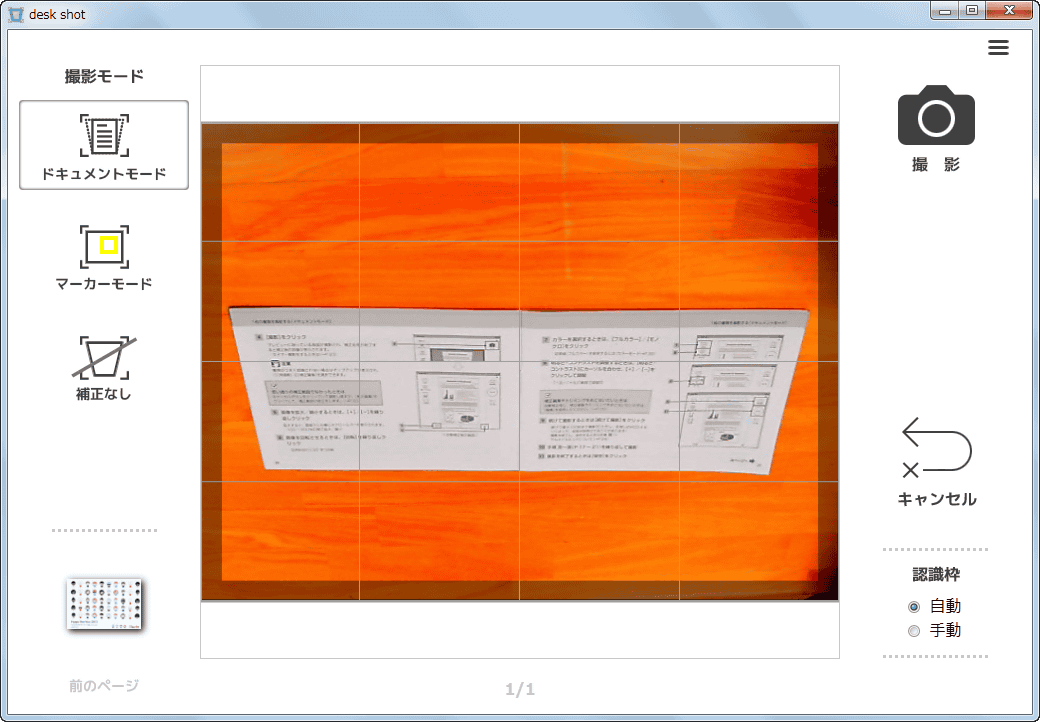
If that is the case, prepare a document whose vertical size is slightly larger than A4 and try it.
Although it fell within the shooting range this time, it was still impossible to put a light blue frame.
Even if you make it oblique, it is not good. Again, it seems that documents of A4 size or larger can not be scanned in document mode.
◆Scan documents
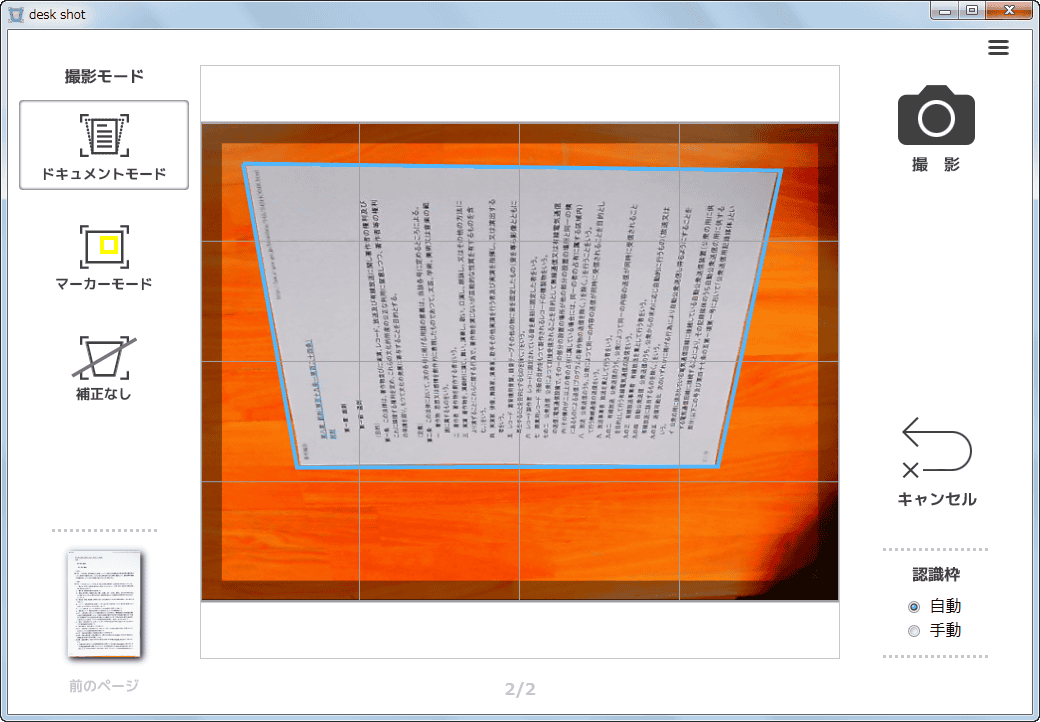
Since it was confirmed that the image can be corrected correctly, I will scan the document of A4 size where the next letter is written carefully.
It is like this when scanning. If you look closely, you can see a slight distortion at the bottom of the document. After all, it seems that it is more difficult to correct characters in the back.

So change to landscape orientation and scan the document as far as possible in the shooting range ...
Perfectly, it succeeded in minimizing the distortion other than the margin.
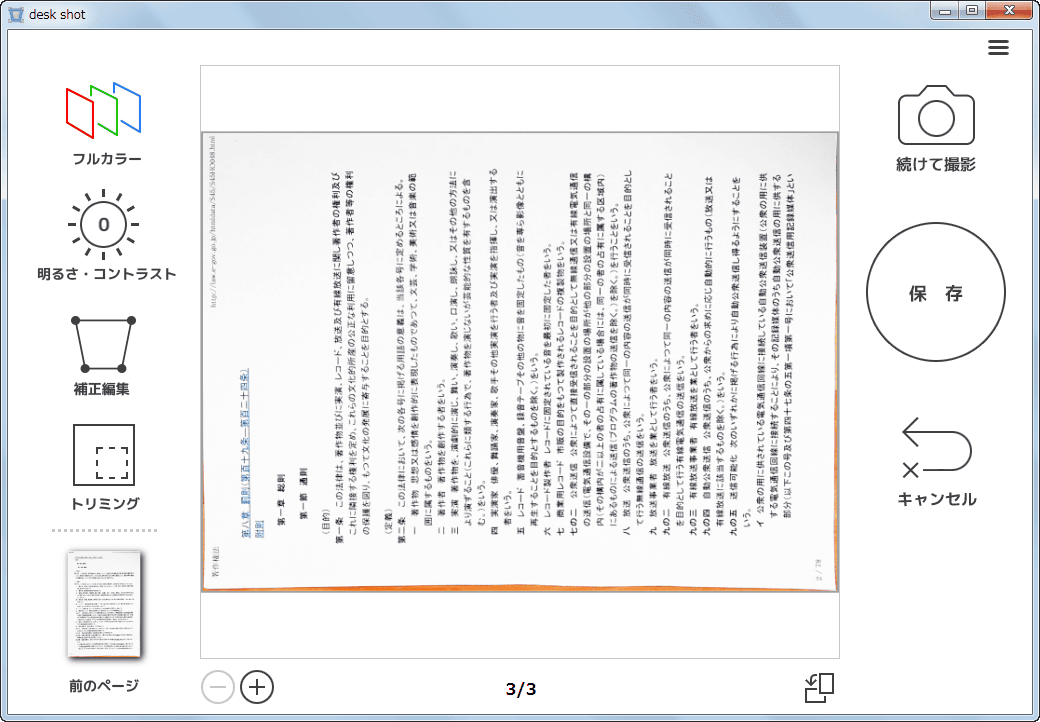
Afterwards rotate it and save it if it saves. This time, there is little distortion at the bottom of the document.
By trimming the outer part of the document a little, we could save a document image without distortion of letters.
◆Marker mode
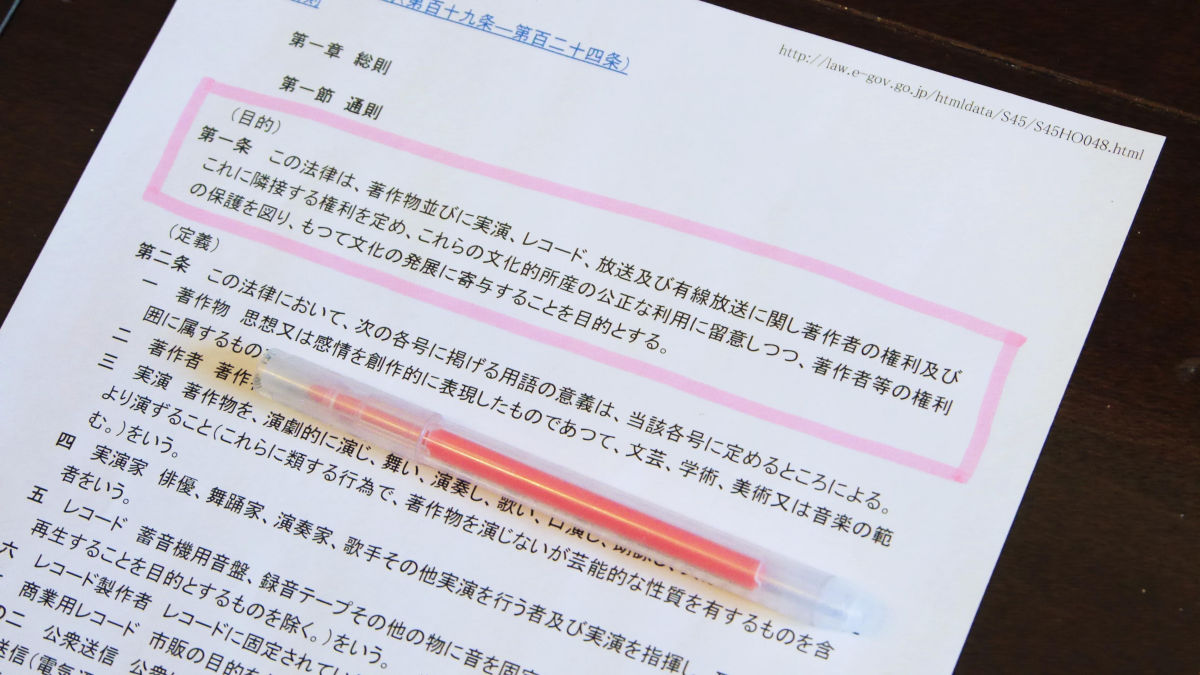
In desk shot, we can use "marker mode" which can convert only the part surrounded by the highlighter pen data, so I tried it. Please note that you need to use pink, yellow and blue for the highlighter pen.
I enclose the A4 size document in rectangle with a pink highlighter pen only a part.
When marker mode was selected on the special software screen, a pink rectangle was recognized and a light blue frame was automatically attached. Clicking on the shooting ... ....
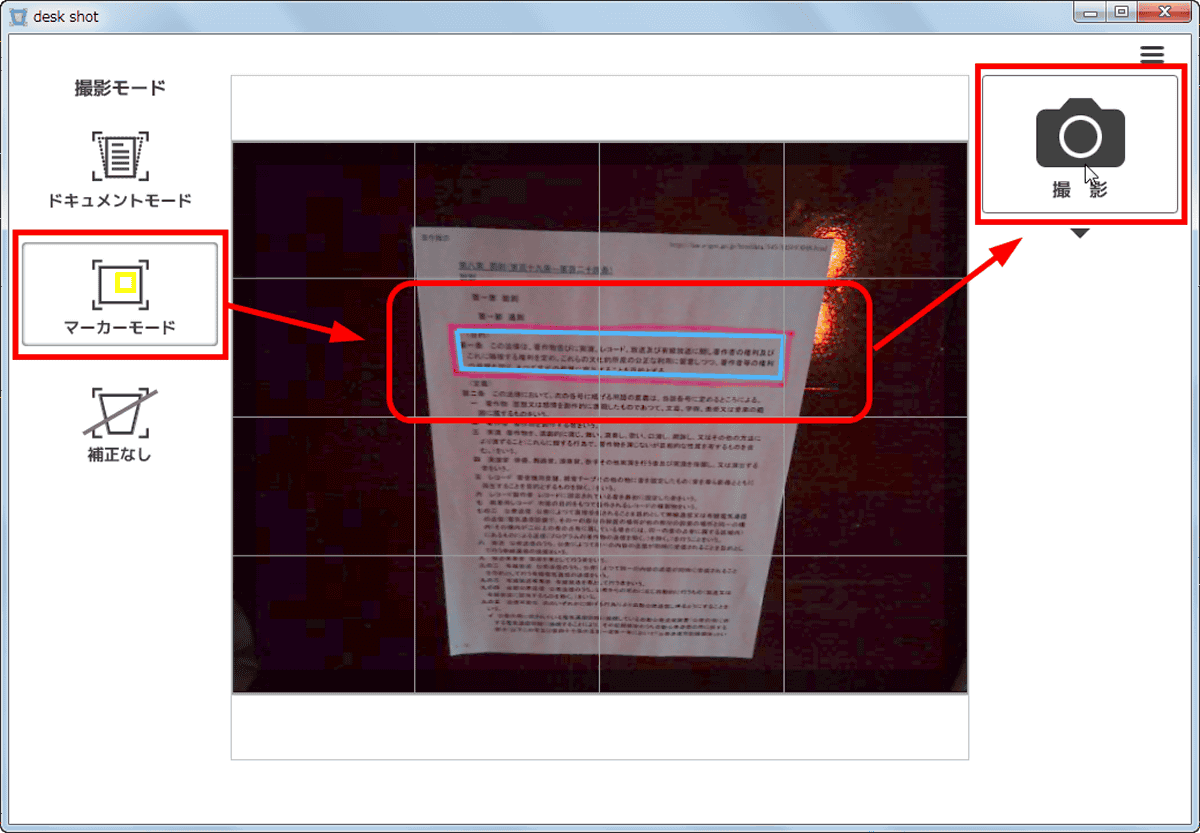
Although it became a little diagonal, I could select and scan the marker part properly.
◆No correction mode
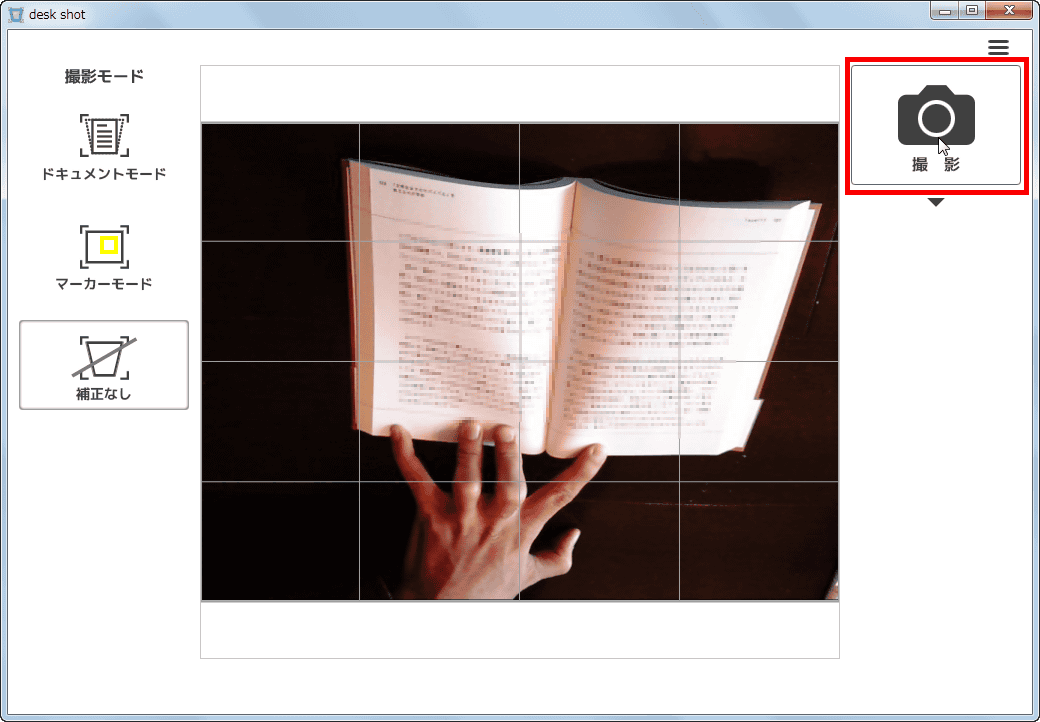
Finally, instead of selecting the scanned part, try "no correction mode" to scan the entire photographed part. Click "No correction".
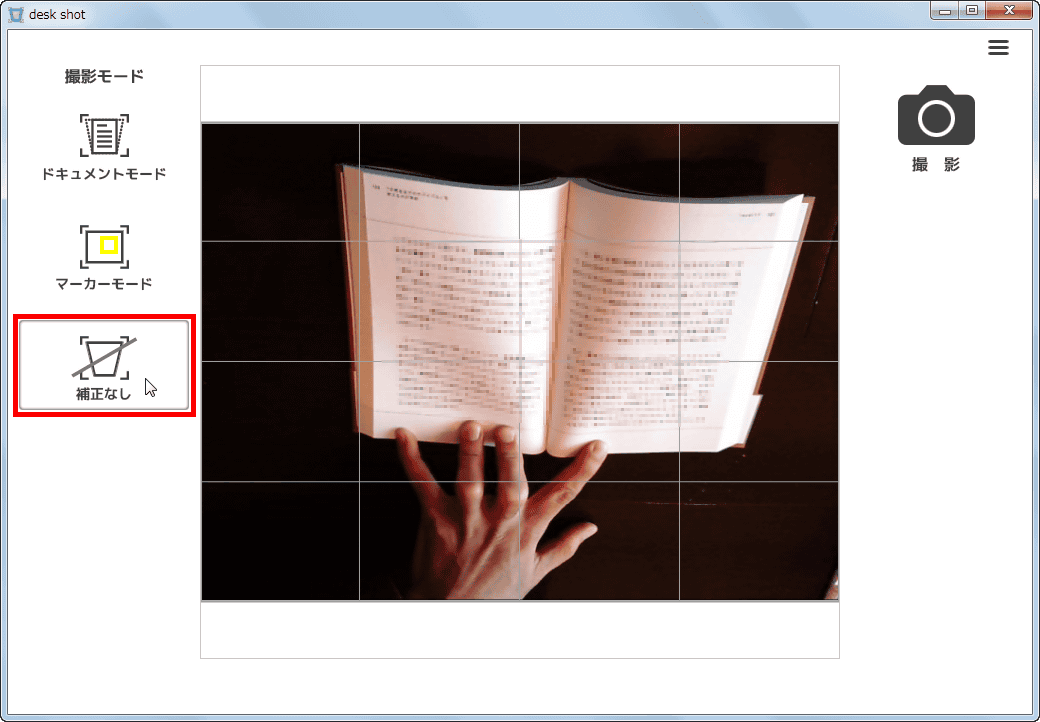
When you click "Shoot" ... ....
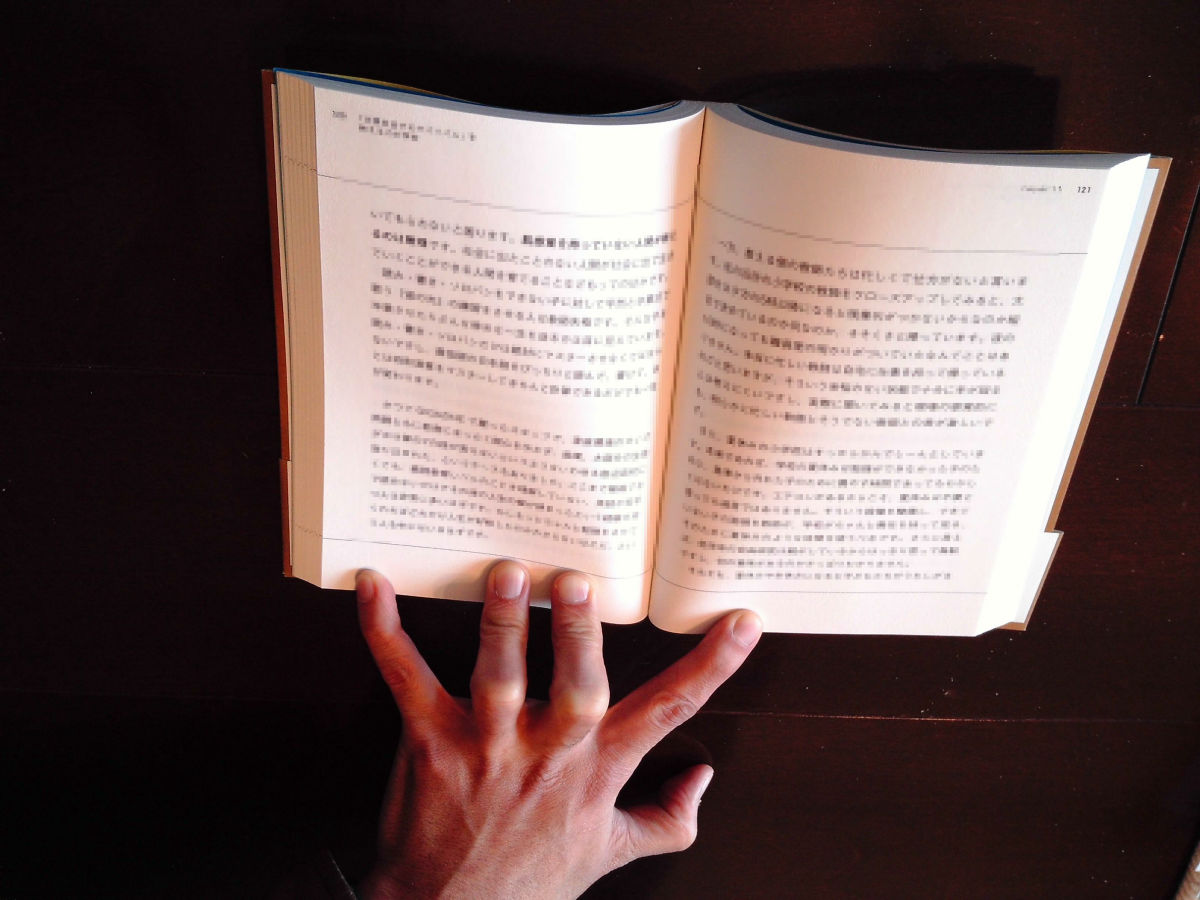
I was able to shoot image files like photos. In this uncorrected mode, obviously there is no correction at all, so an oblique image file is generated. Even in captured images it is sufficiently possible to read letters, which is convenient instead of a little memo.
Desk shot is a compact desk scanner that can be set up even in a small space, if it keeps on the desk, it can scan instantly when you think of a small document or business card, so it is a tool that can be used very effectively in the business scene. The trapezoidal correction of the special software is also sufficiently practical for practical use, and it has the performance that it can recognize fine letters equivalent to 160 dpi at A4 shooting. However, the corresponding OS is Windows 8.1 / 8/7 (32 bit version, 64 bit version)Mac OS is not supportedSo it is caution. Desk shot is a design that looks good on a Mac, so I would like it to be compatible with Mac OS.
Related Posts: