I tried using the smartphone application 'magicplan' that creates my own ideal room by creating cherished furniture drawings that can be displayed in 3D view
"Magicplan" is a smartphone application that makes it easy to create a sketch. Not only to create a drawing, but also arrange the furniture in the drawing you created, display it in 3D and say "When I put this furniture, the room looks like this" can be easily seen, so actually used I tried.
magicplan - Create plans and plan homes. With # 1 floor plan app.
https://www.magicplan.app/
"Magicplan" iOS version · Android version is released.
"Magicplan" on the App Store
https://itunes.apple.com/en/app/magicplan/id427424432?mt=8
magicplan - Apps on Google Play
https://play.google.com/store/apps/details?id=com.sensopia.magicplan&hl=en
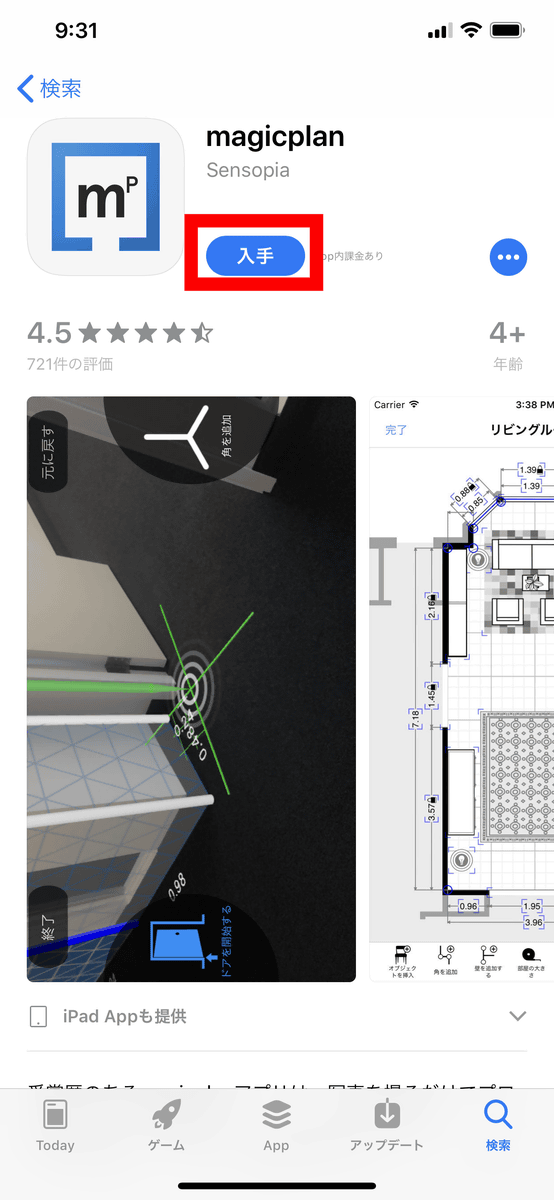
Since iOS version will be used this time, access the page in the App Store and tap "Get".
Tap "Install".

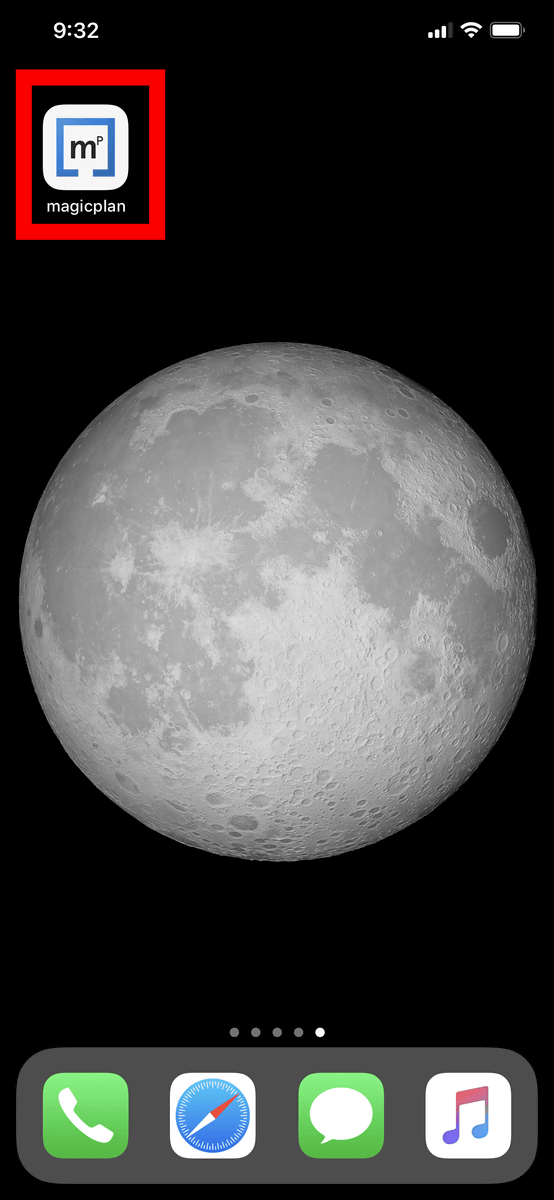
After installation, tap the generated magicplan icon and start magicplan.
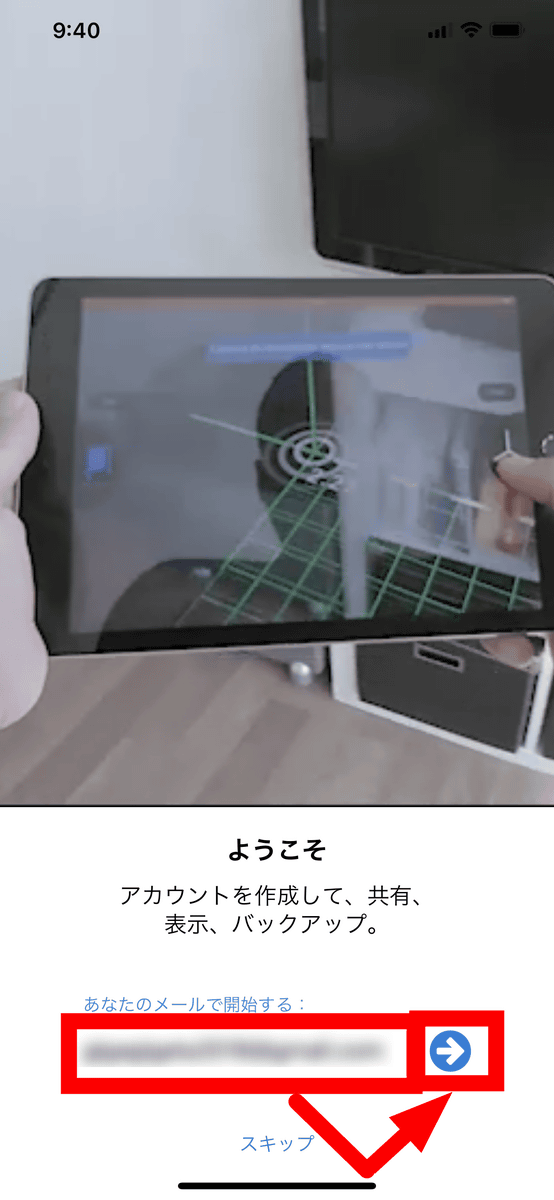
When you start up, your account registration will start with this kind of feeling. Although you can use magicplan without tapping "Skip" to register your account, you need to register an account to use the created drawing on another device such as PC. I will use it after registering an account this time. Enter your email address and tap the right arrow icon.
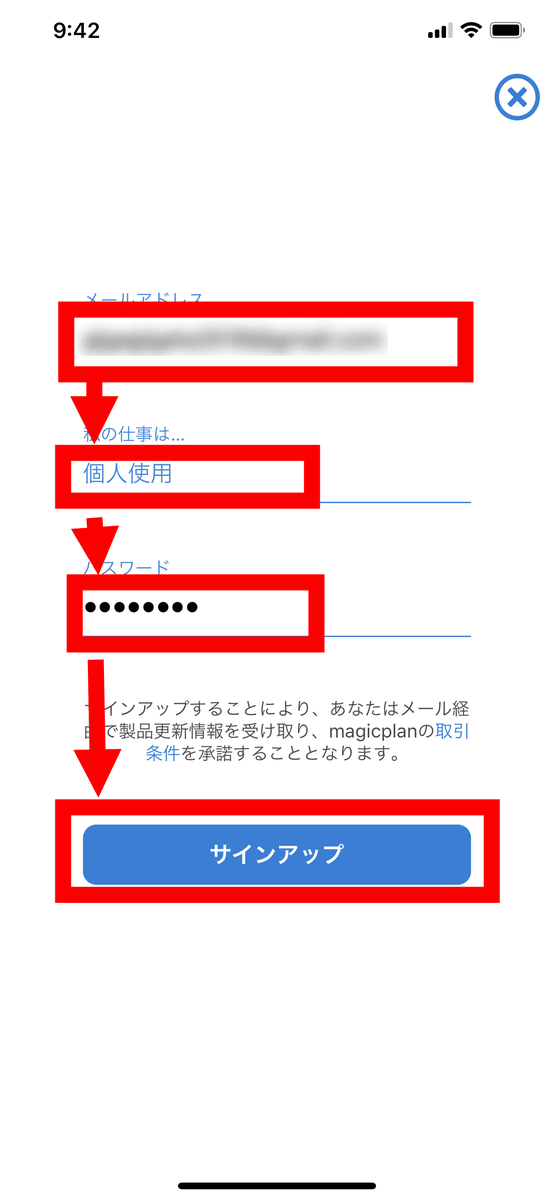
Determine and enter "E-mail address", "Usage purpose", "Password" and tap "Sign up". "Purpose of use" can be selected from personal use, real estate, remodeling / construction / assessment / survey / crime / fire / others, and this time we selected "personal use".
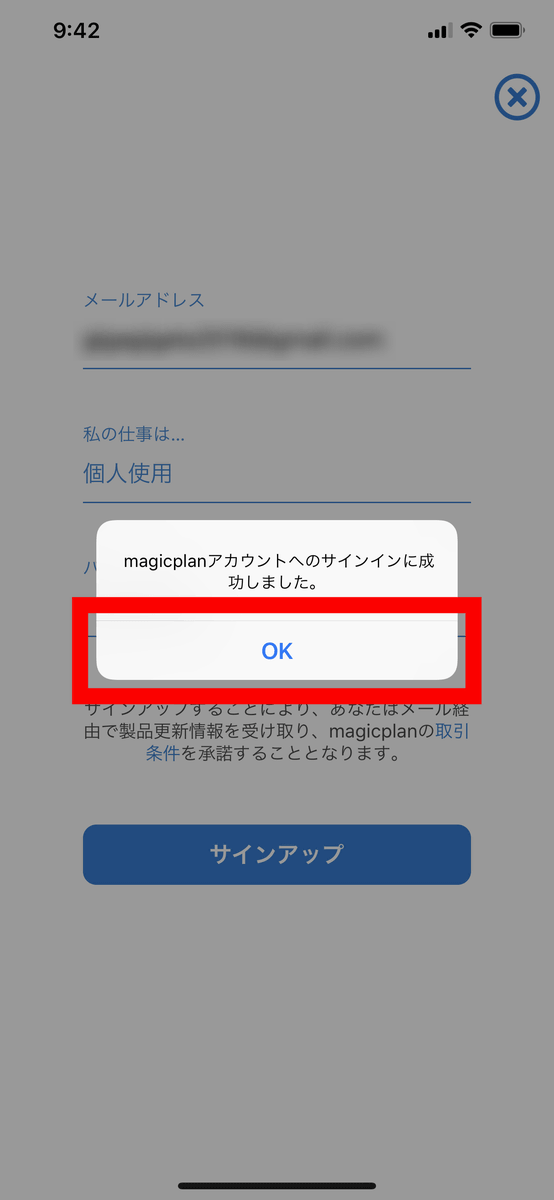
The message "You successfully signed in to the magicplan account" is displayed, so tap "OK".
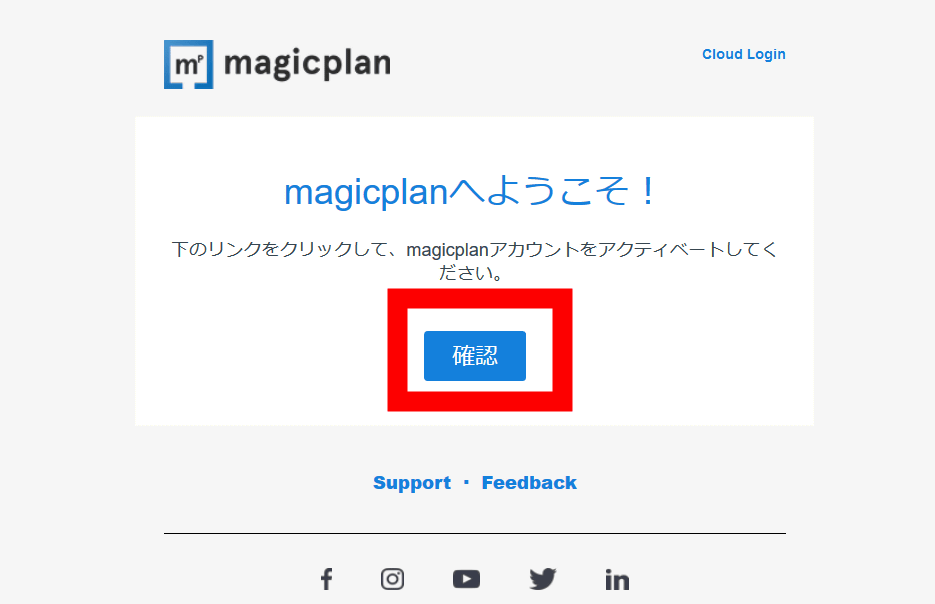
Since an email for activating will be delivered to the registered email address, click "Confirm" and register your account.
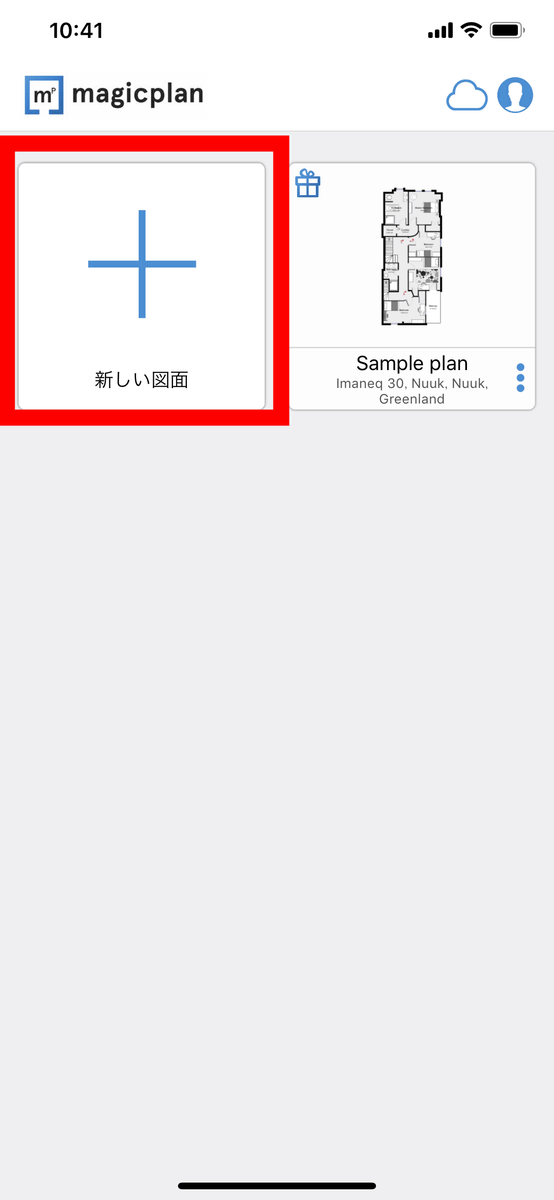
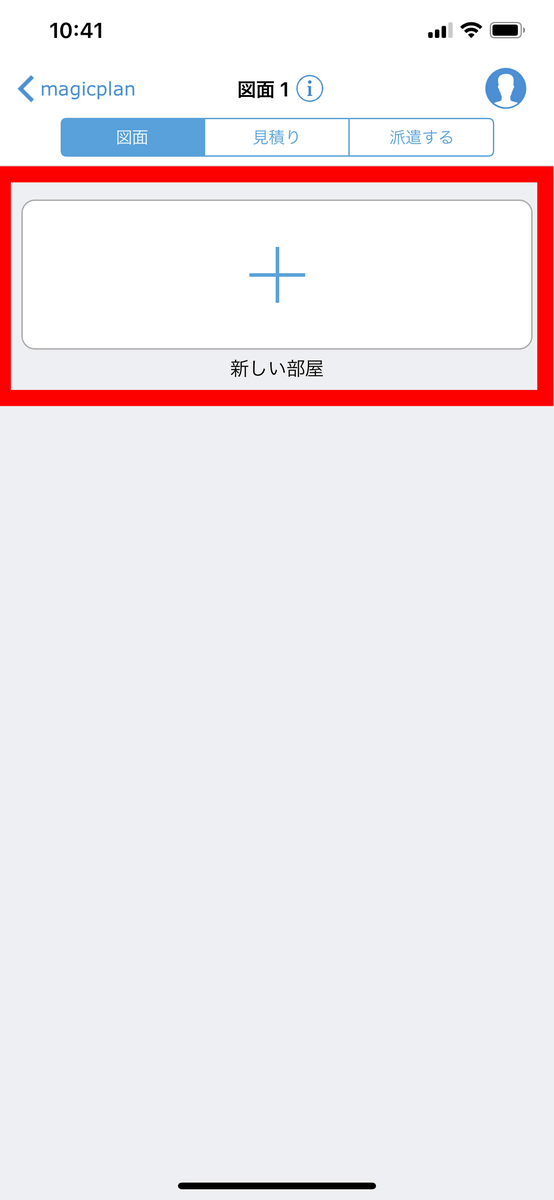
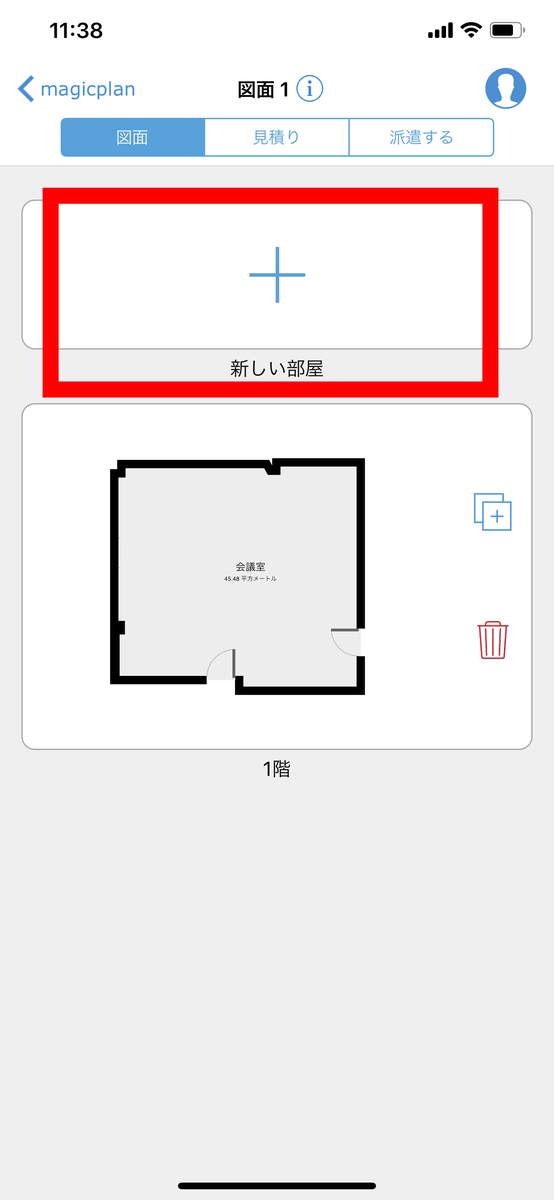
The magicplan's home screen looks like this. Tap "New drawing".
Tap 'New room'.
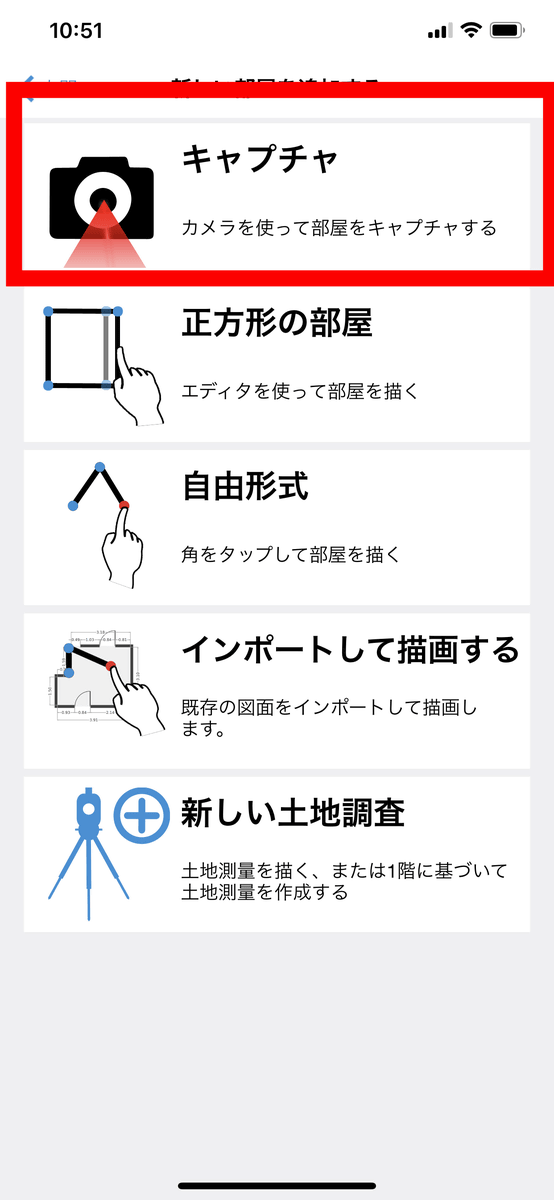
Tap "Capture".
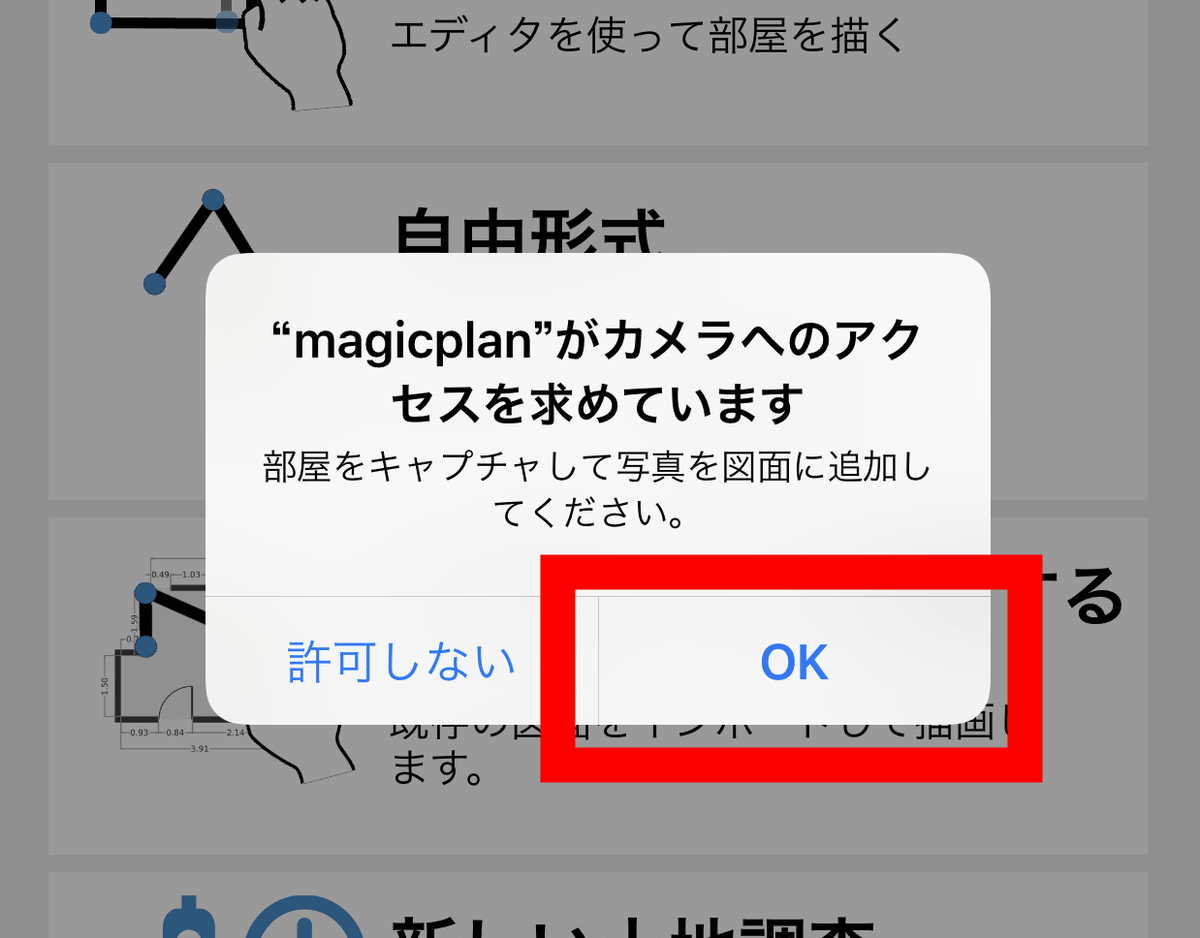
"" Magicplan "is asking for access to the camera" is displayed, so tap "OK".
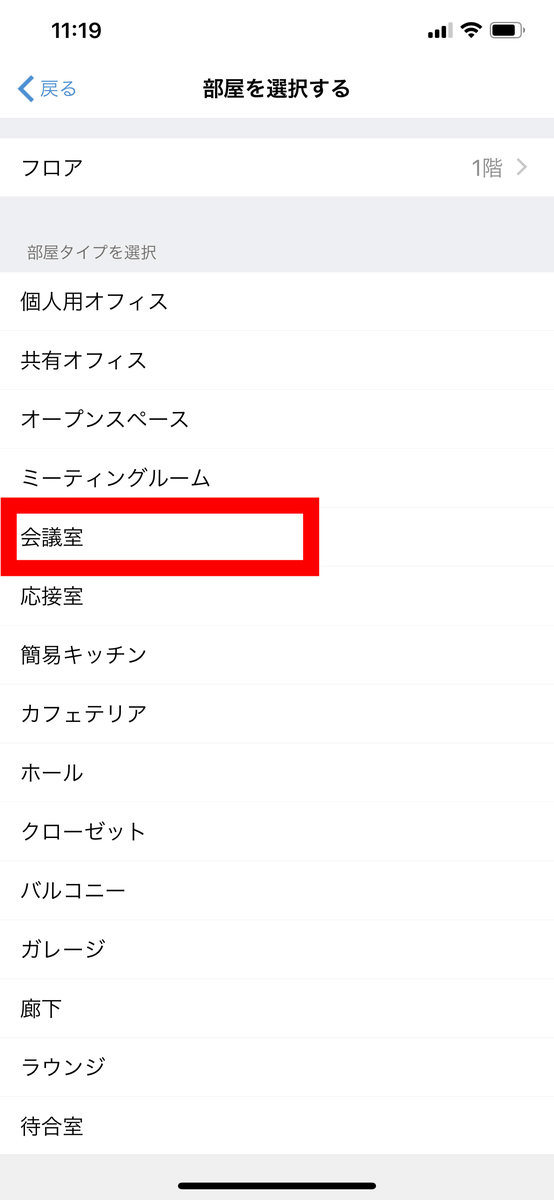
Select the type of room to create. This time, we select "meeting room".
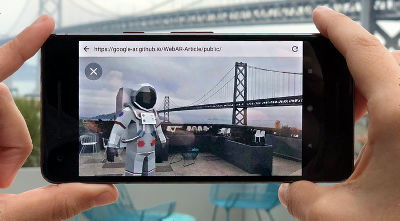
The screen switches to camera mode. First of all, if you aim at your feet, green poles are displayed in AR from the center of the screen in the direction perpendicular to the ground.
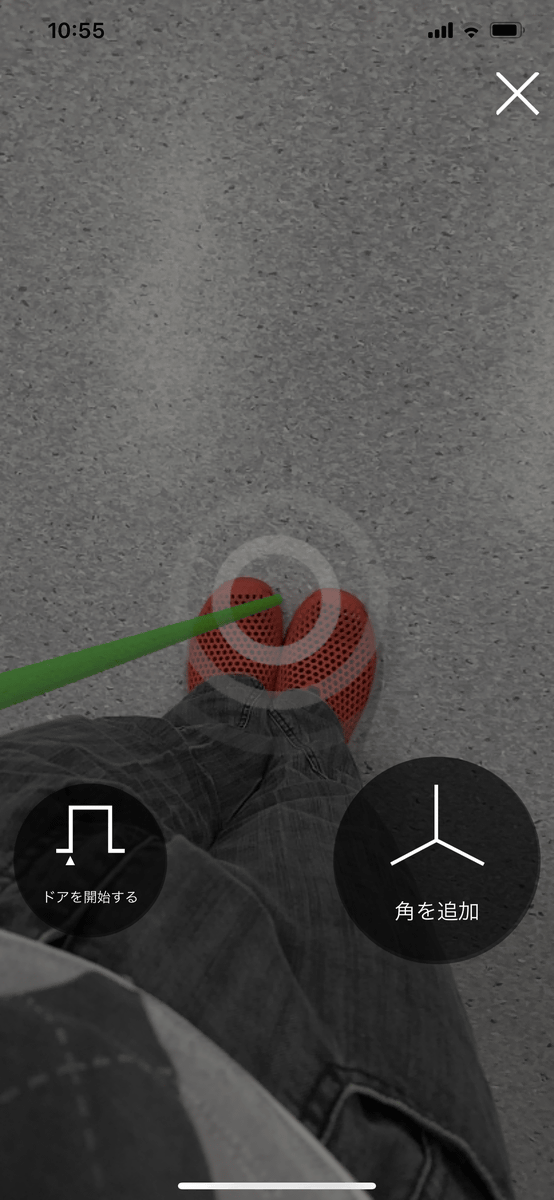
Target the camera to the corner of the room ......
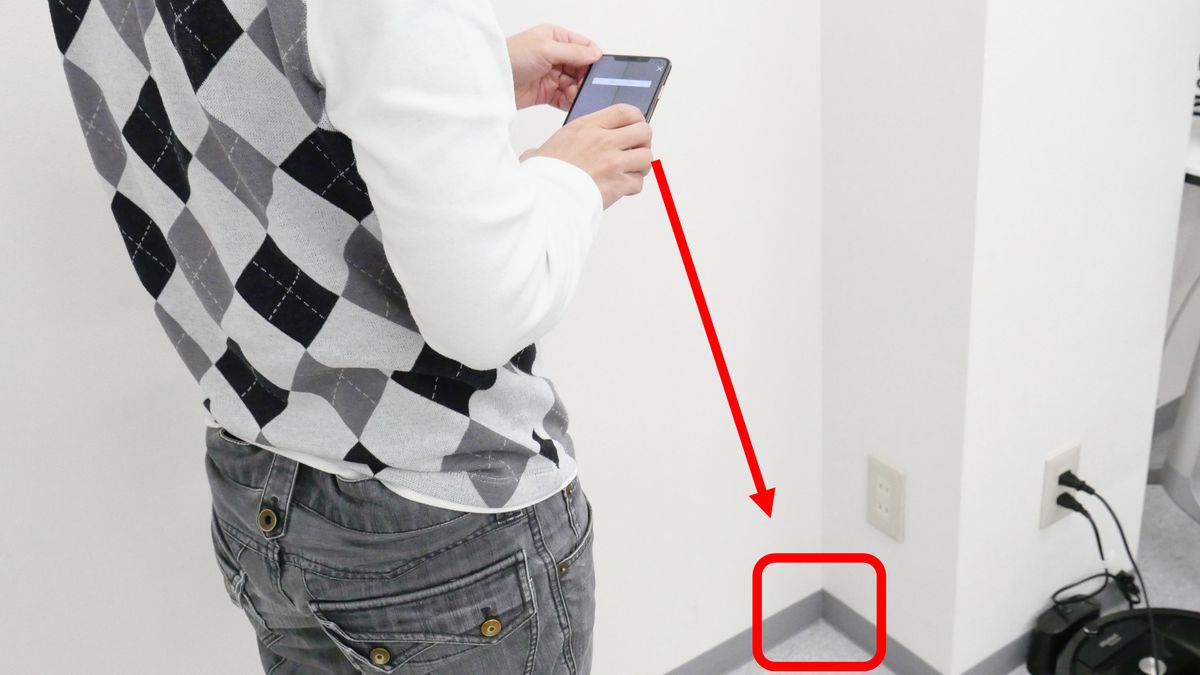
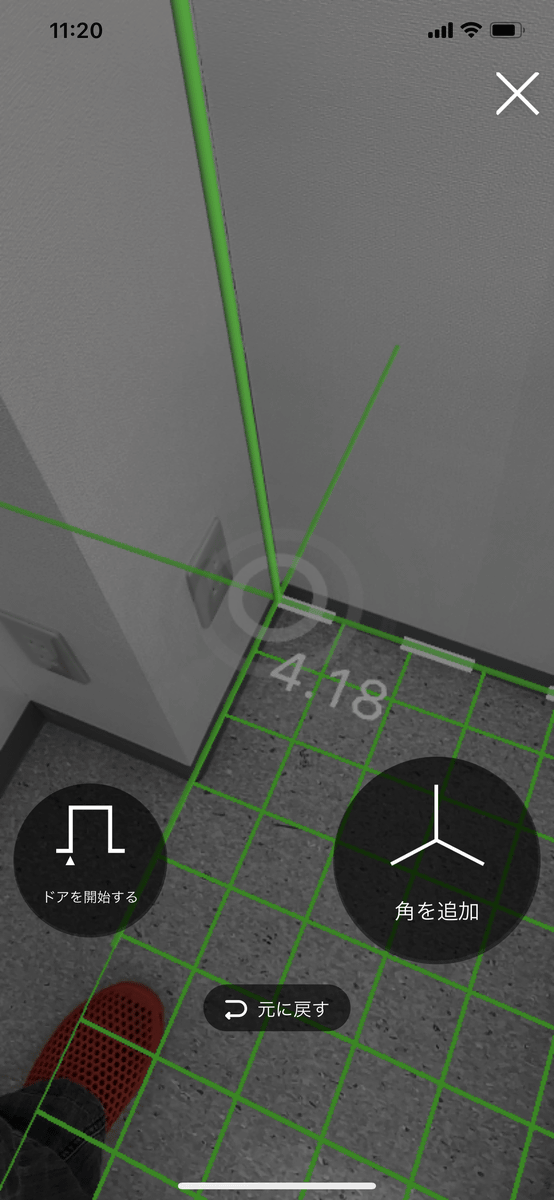
Target the green poles to match the corners of the room on the screen of the smartphone and tap "Add horn"

Then the corner position of the room was recorded on the AR on the white pole.

In the same way, we will add "corners" so that each corner of the room will turn around clockwise or counterclockwise one by one.
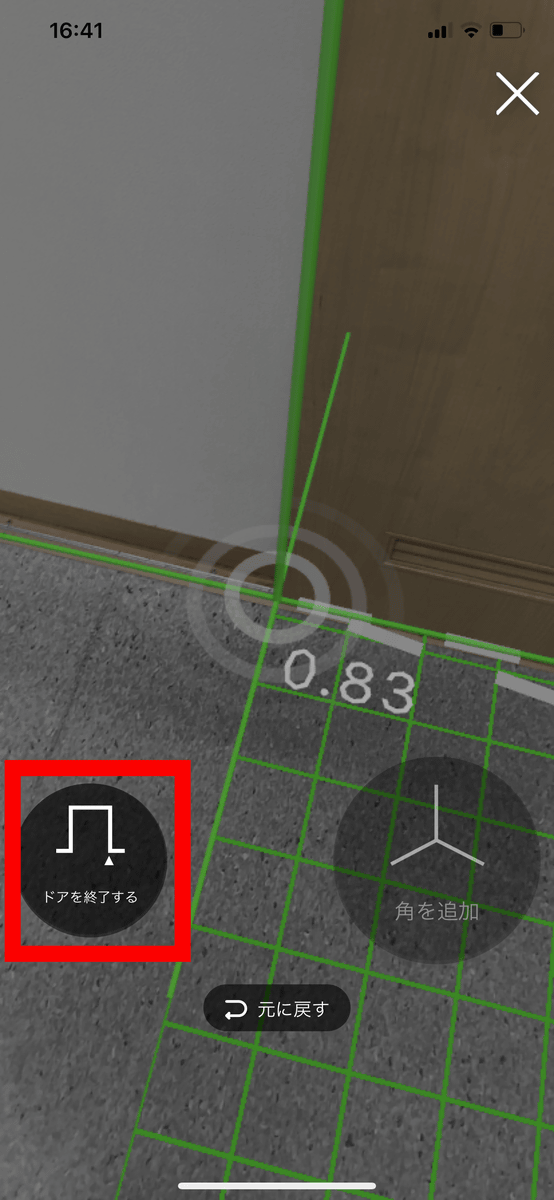
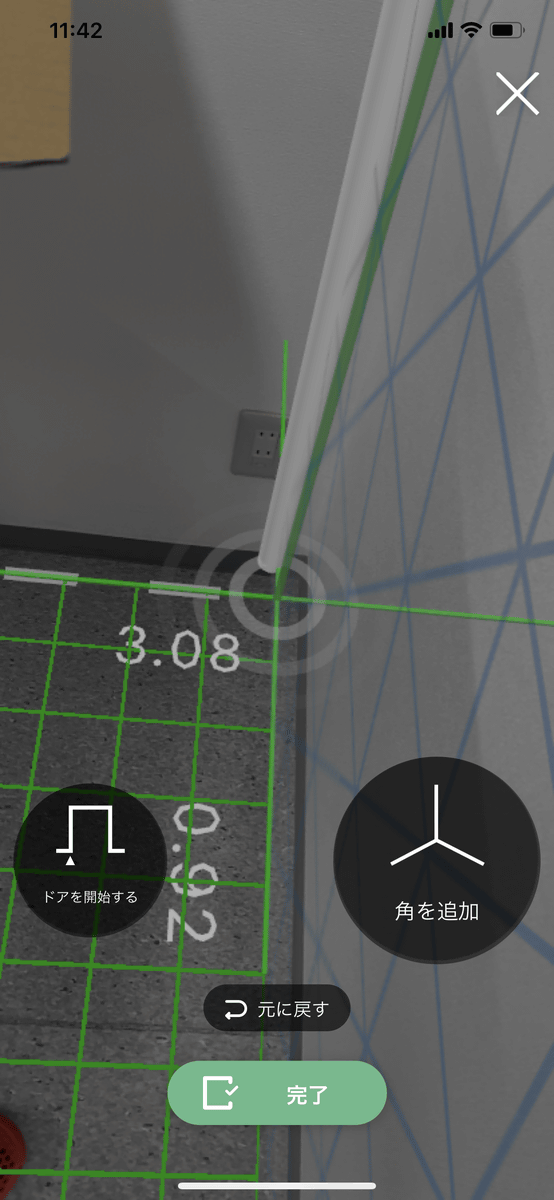
When you come to the border of the door, tap 'Start Door' ......

When you tap "End Door" at the position past the door boundary, magicplan will recognize the position of the door.
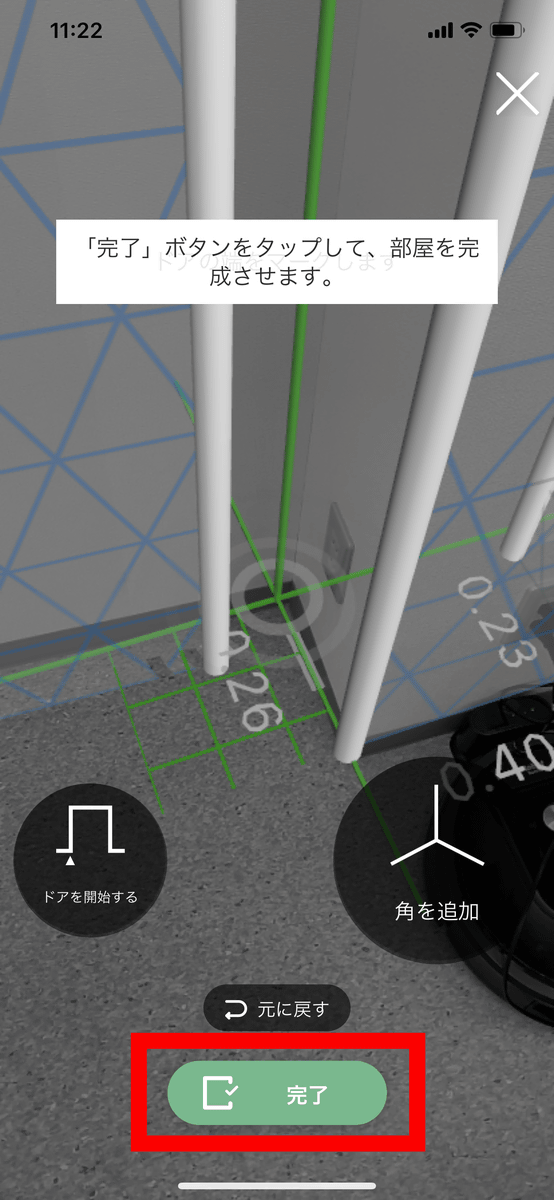
After completing a round around the corner of the room, tap "Done".
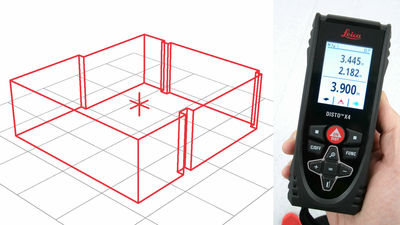
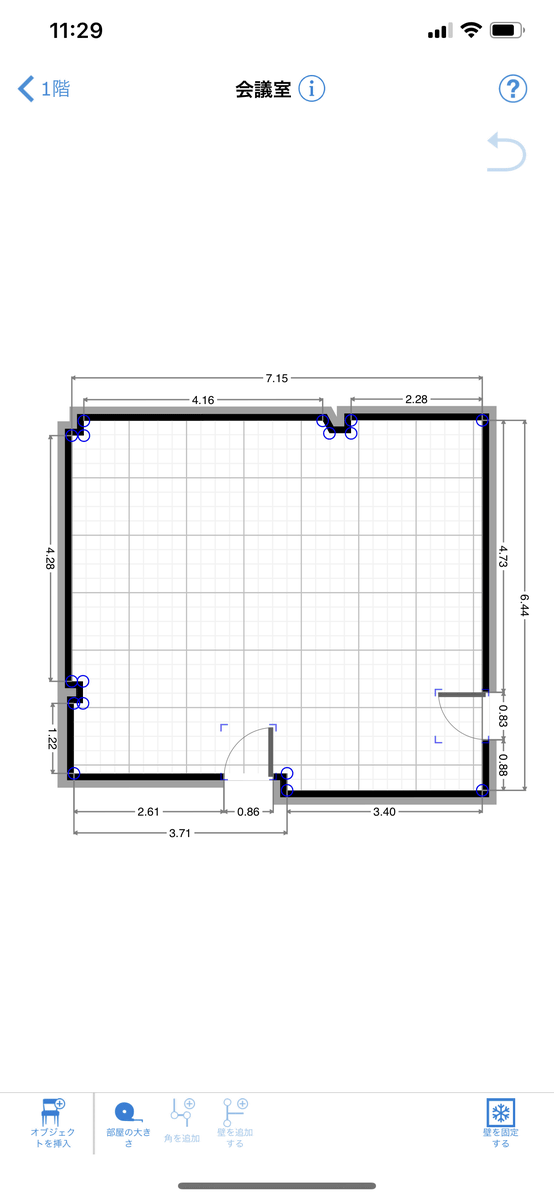
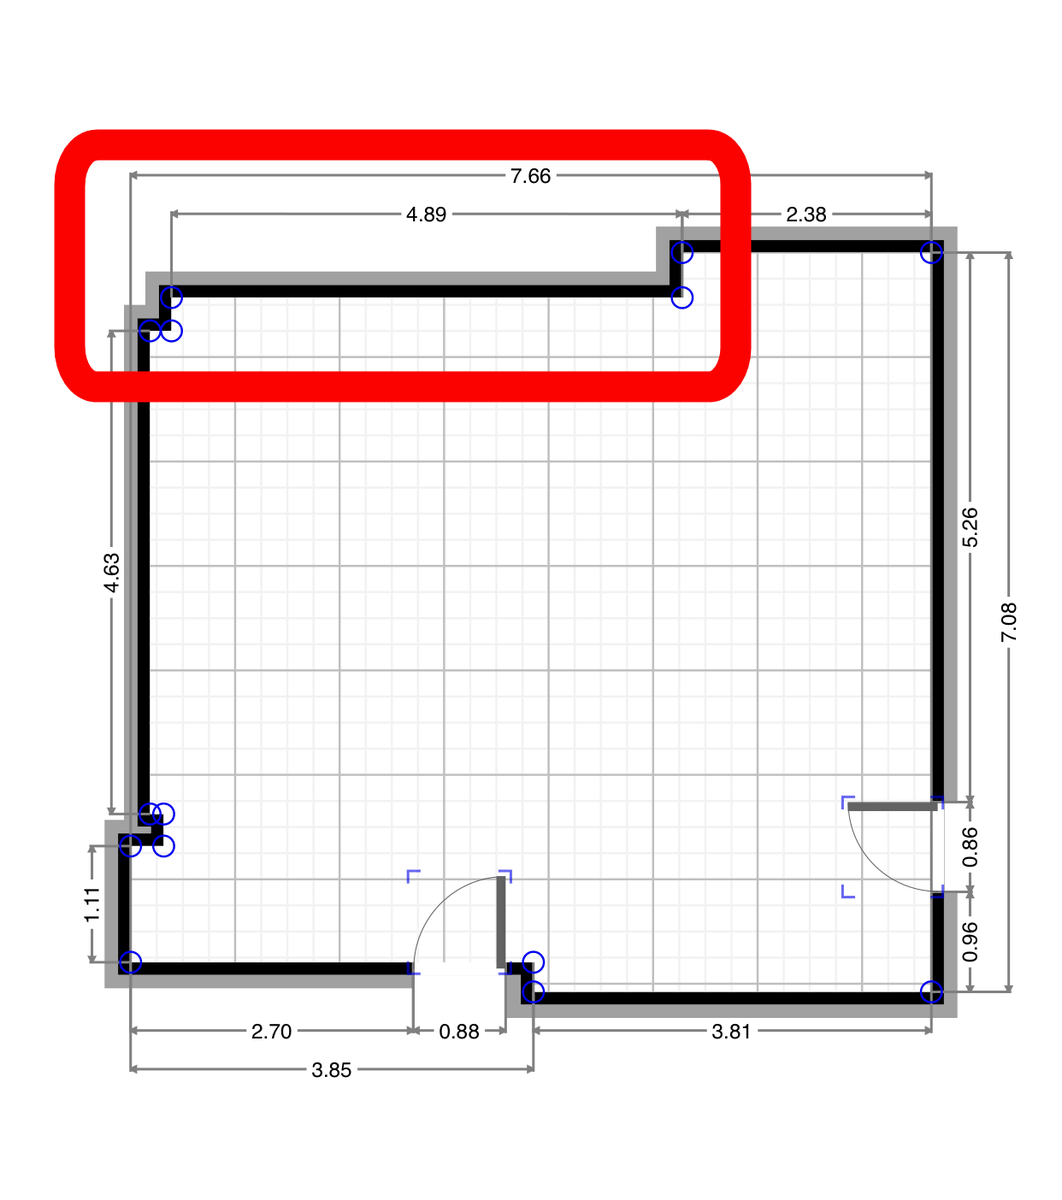
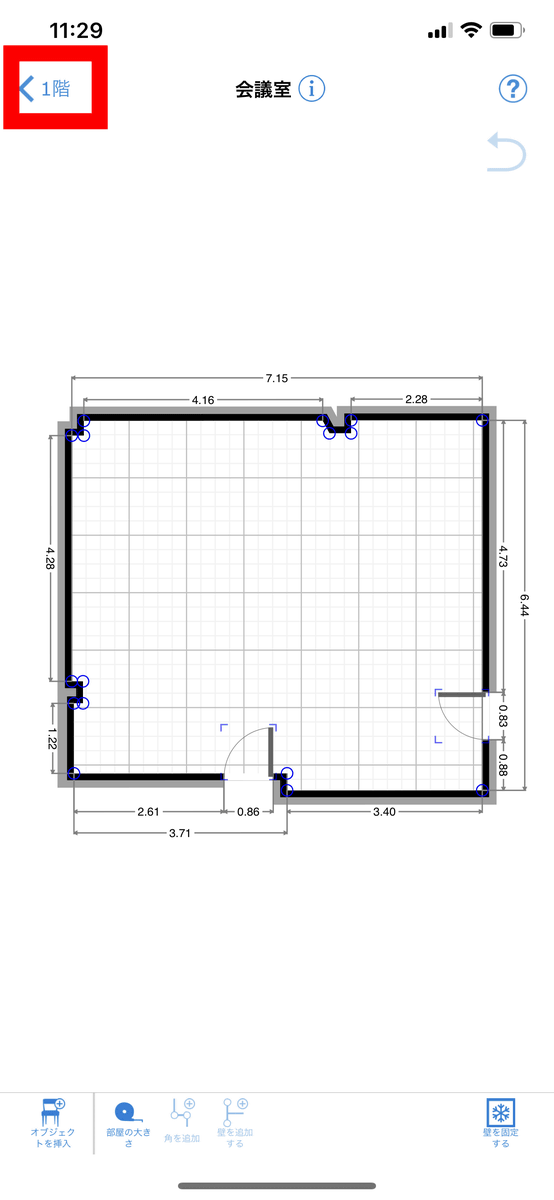
Then the drawing of the room was automatically generated. However, the length of the wall measured was about 5 cm to 15 cm as compared with the length measured with " Leica DISTO X 4 ".
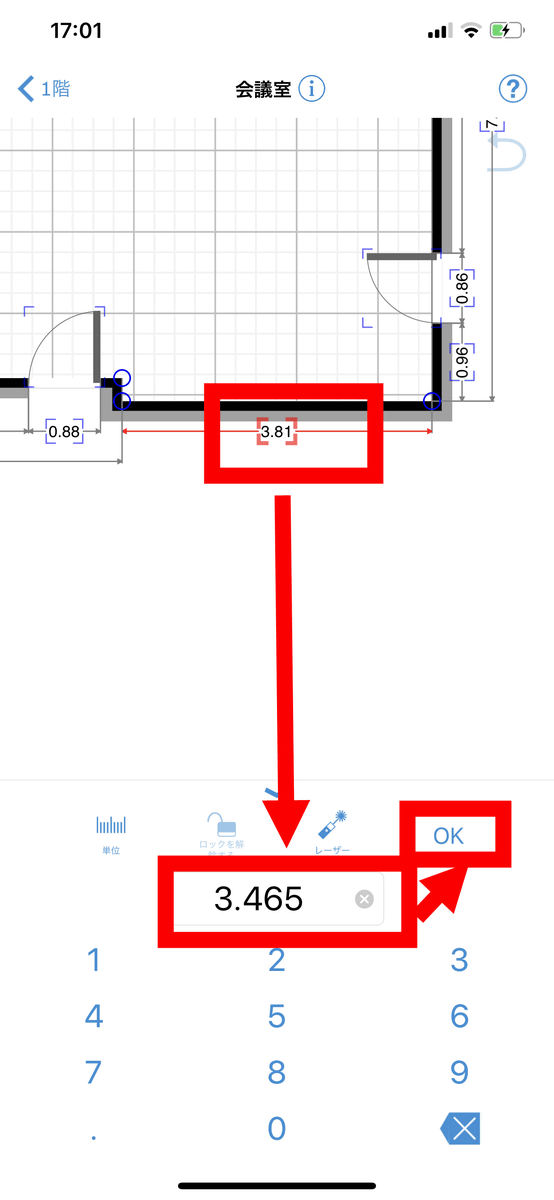
In magicplan it is also possible to modify the length and shape of the wall later. When you tap the length you want to change, the input field is displayed below, enter the numerical value and tap "OK", the length of the wall changes.
If you want to change the shape of the wall, hold down the wall you want to change with your fingers ...
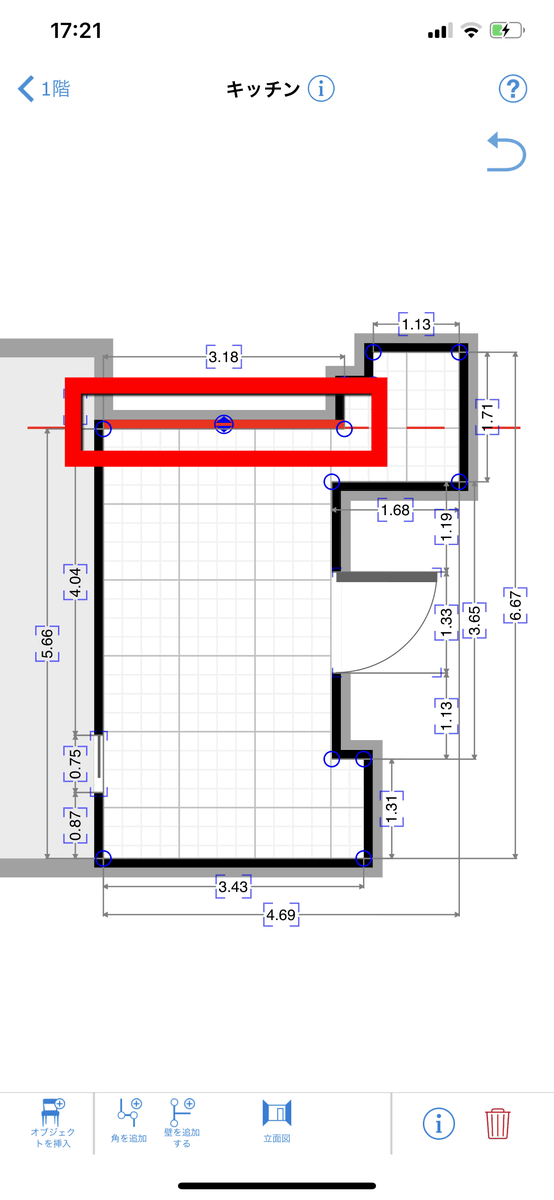
Drag to the correct position.
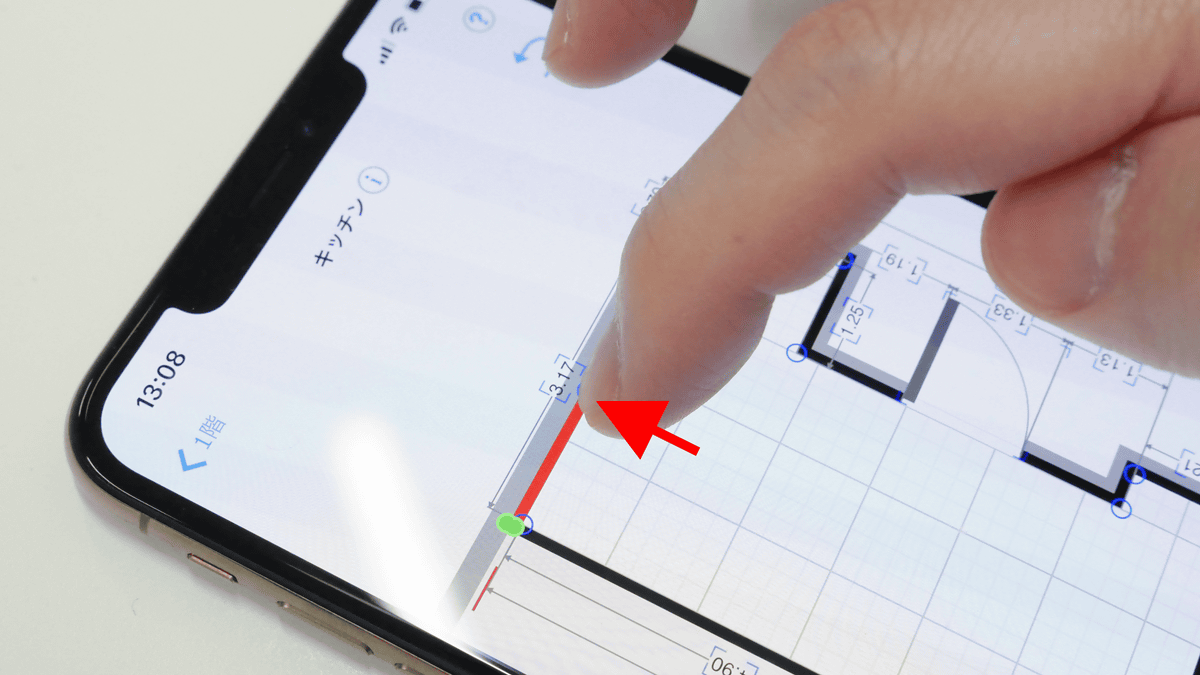
Then the position of the wall was changed.
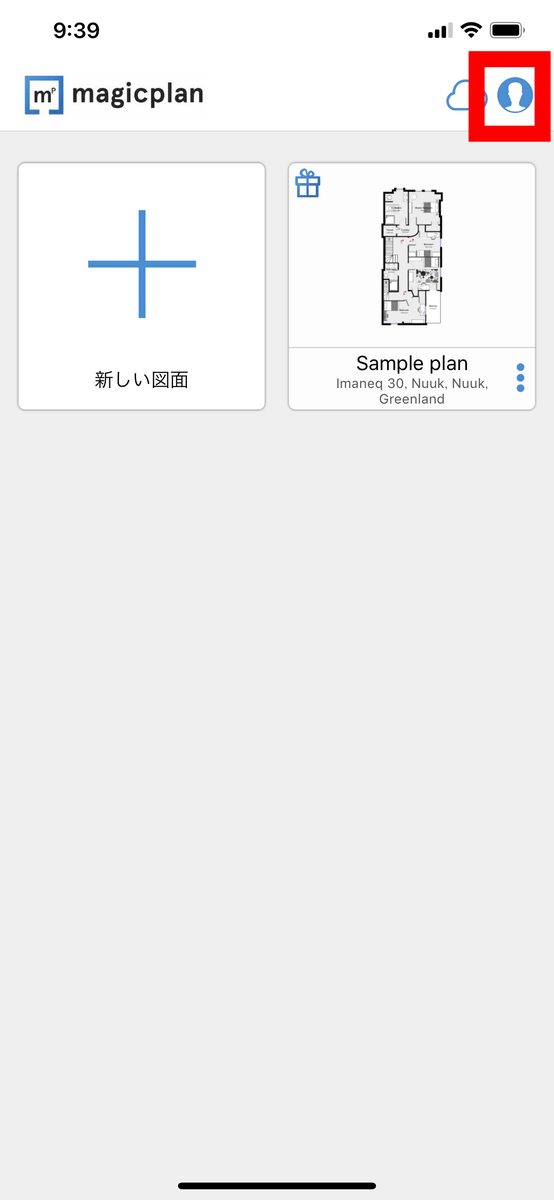
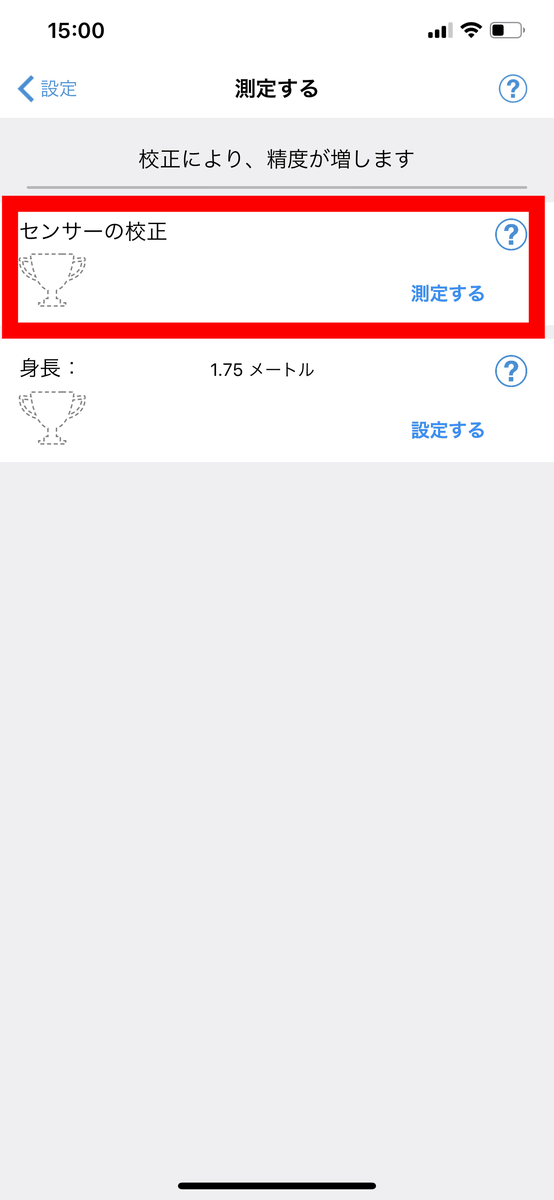
Also, calibration of measurement deviation by smartphones can be calibrated to make accurate drawings. From the magicplan home screen, tap the icon in the upper right.
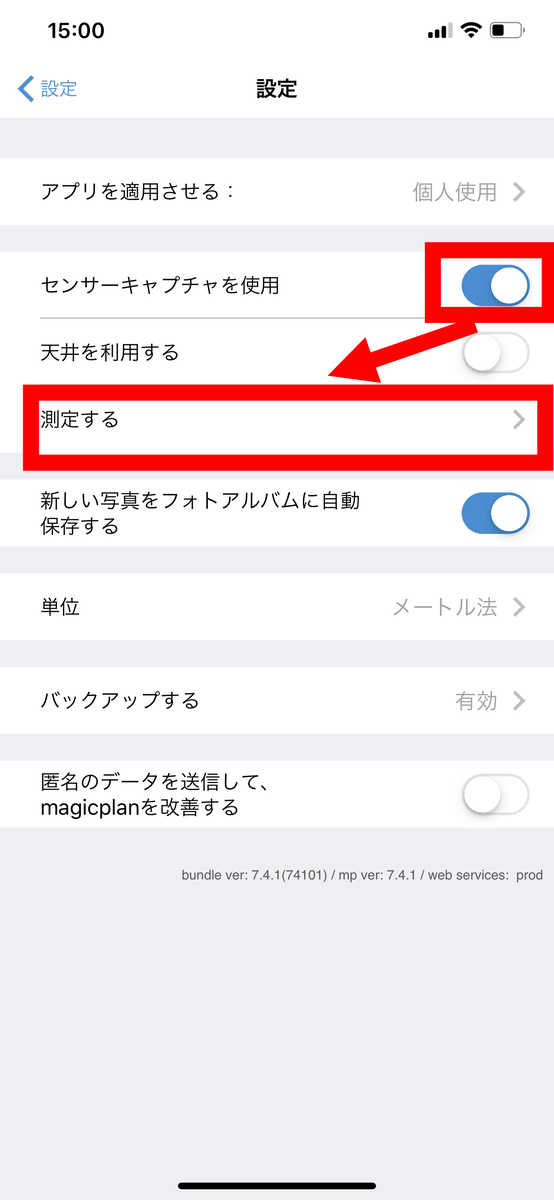
Tap "Use sensor capture" to activate it and tap "Measure".
Select "calibrate sensor".
Tap the screen on the horizontal plane, such as on the desk on the smartphone.

Turn the smartphone 180 degrees and tap the screen to calibrate the sensor.

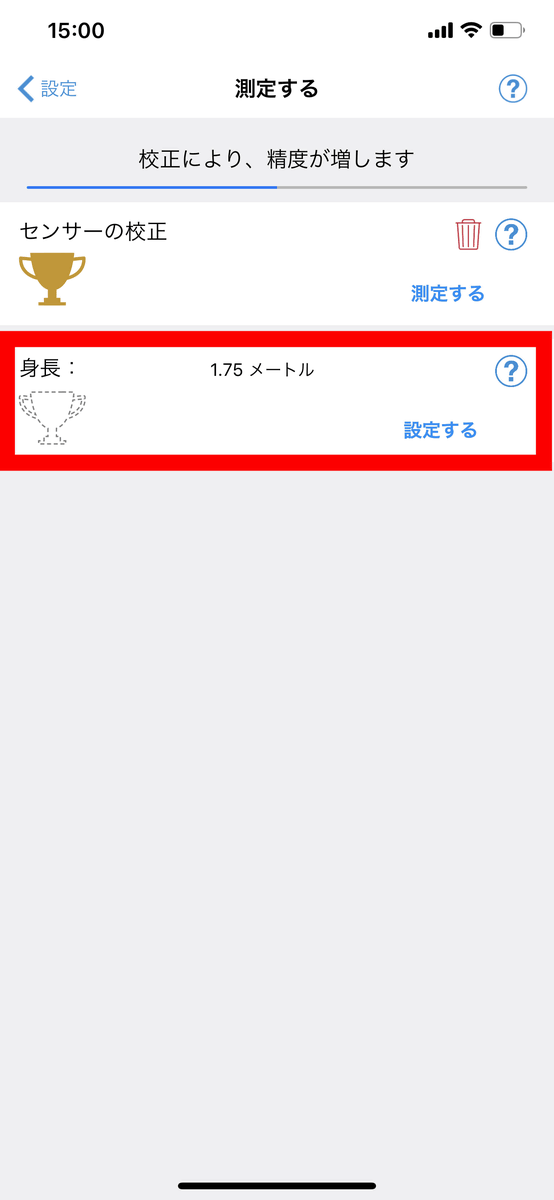
Tap your height.
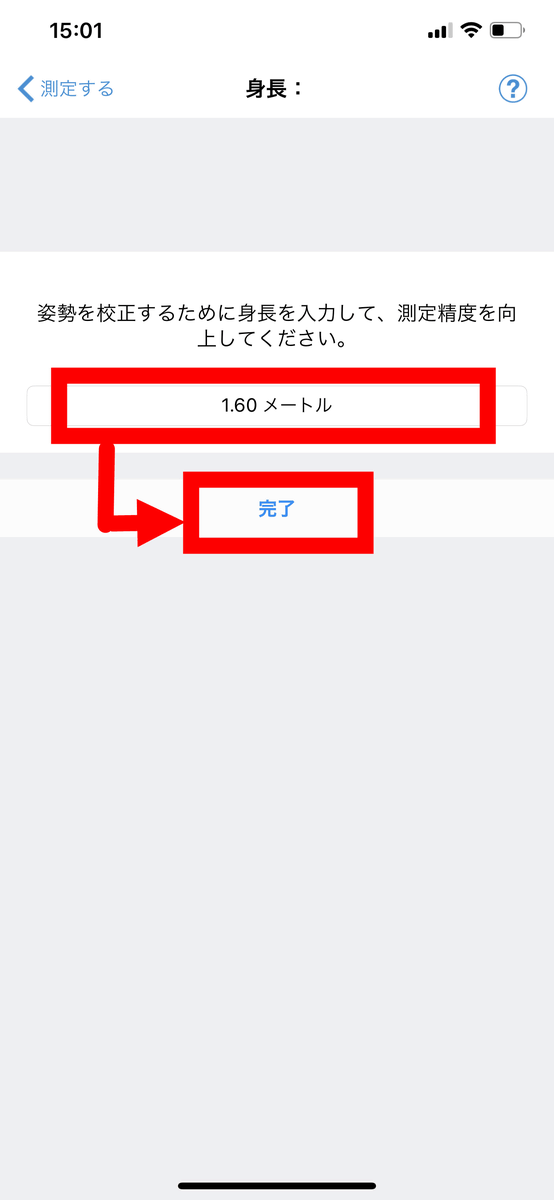
Enter your height and tap "Complete".
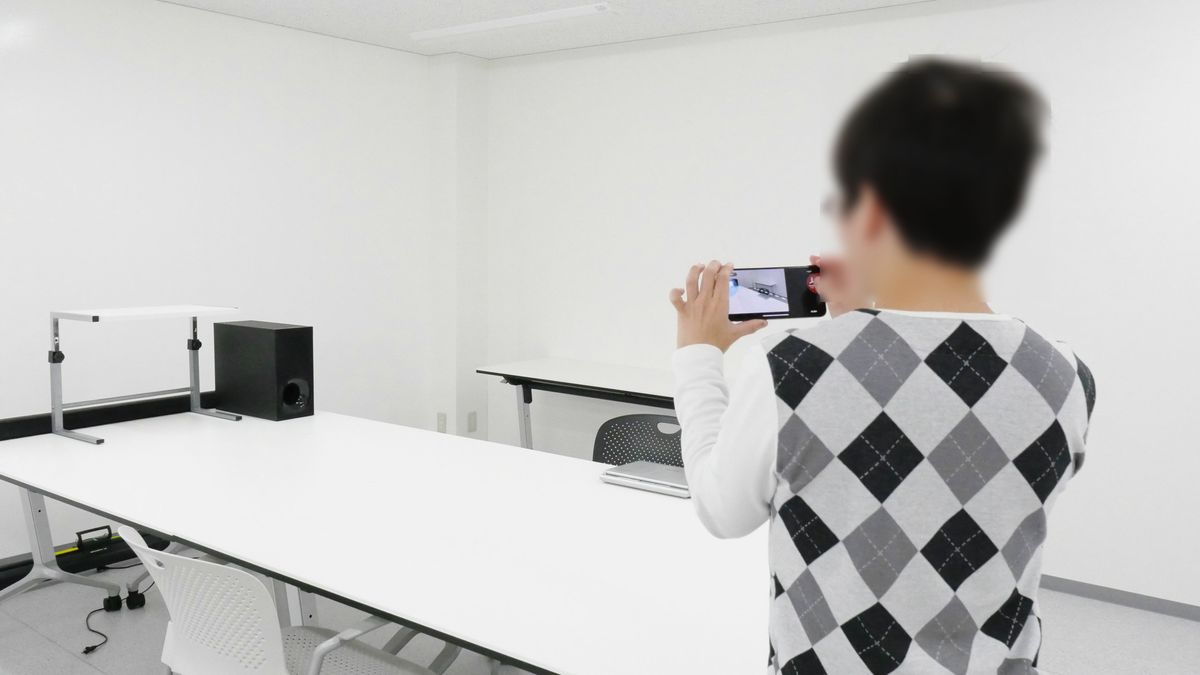
Likewise, we will add corners of the room, but this time we will add the corners of all the rooms, "Do not move from the first measured position".

I do not move, I rotate on the spot and add corners of the room one by one.
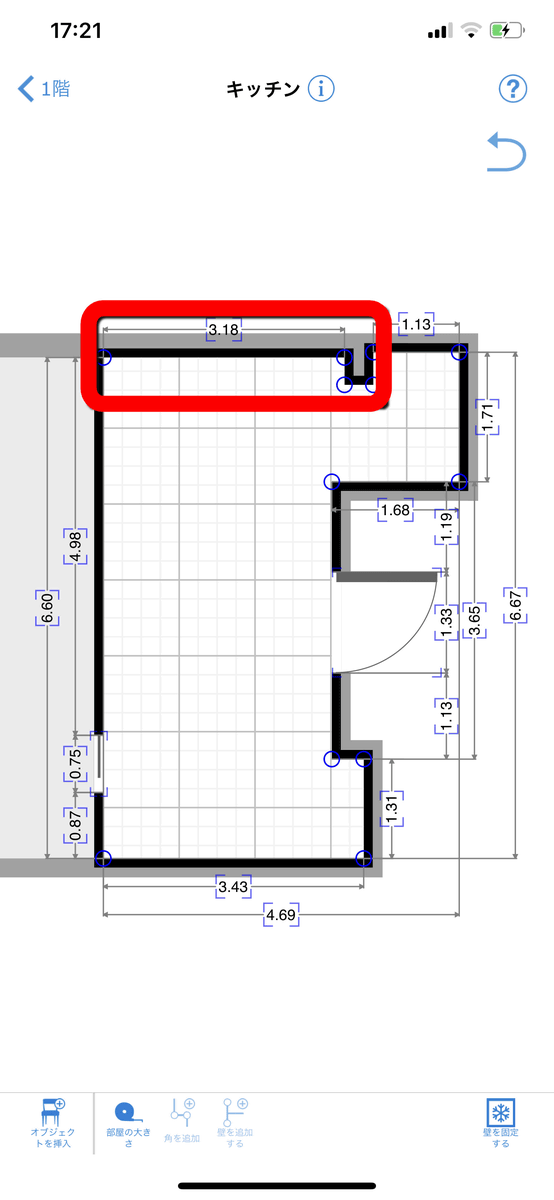
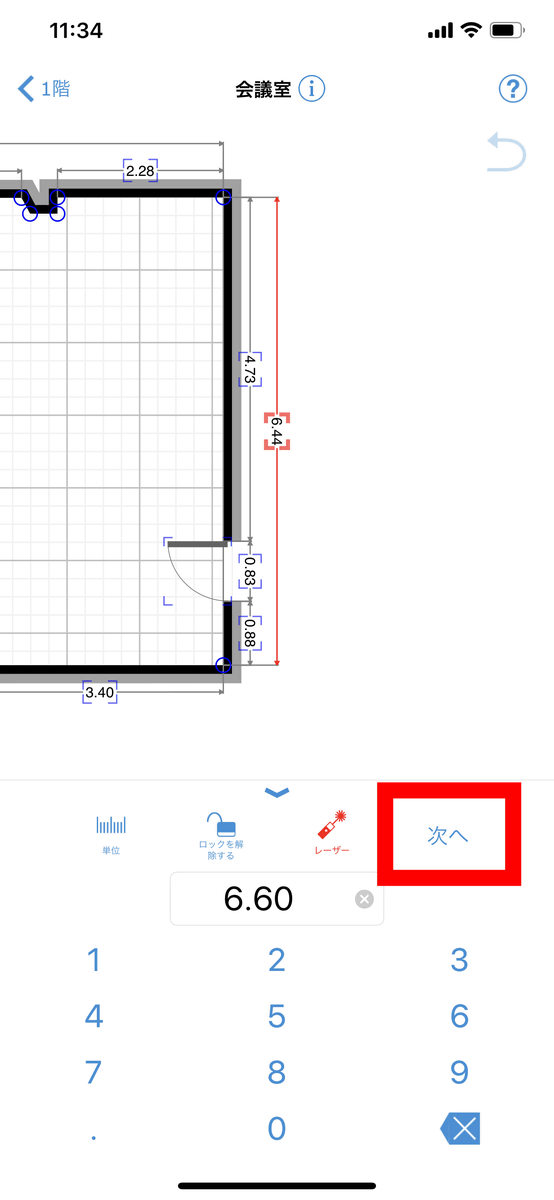
Completed drawing generated is like this. Although it is said that accurate length can be measured when calibrated, the wall with a length of 6.60 m measured by DISTO X 4 is 6.44 m before calibration and 7.08 m after calibration. The difference from DISTO X4 is 0.16 m before calibration and 0.48 m after calibration is increasing rather. The shape of the room was not displayed correctly from. It is an idea whether to turn on "use sensor capture".
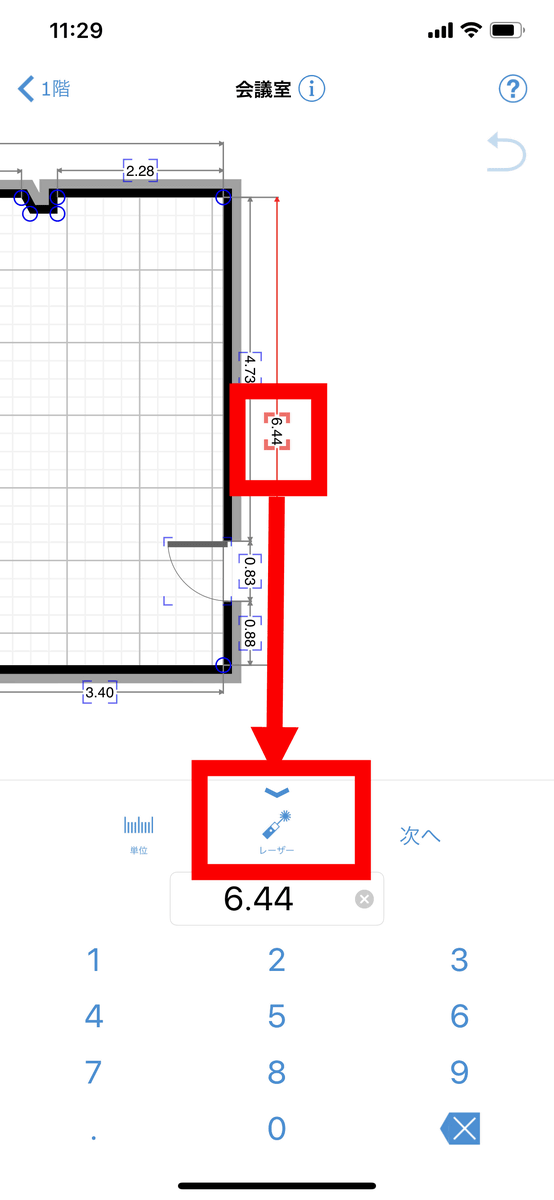
You can also input accurate wall length in conjunction with a laser rangefinder such as "Leica DISTO X4". Tap the length of the wall you want to modify and tap "Laser".
When the laser rangefinder is connected to the smartphone via Bluetooth, the laser rangefinder is displayed on the magicplan, so tap to select the laser range finder.

When measuring the length of the selected wall ... ...
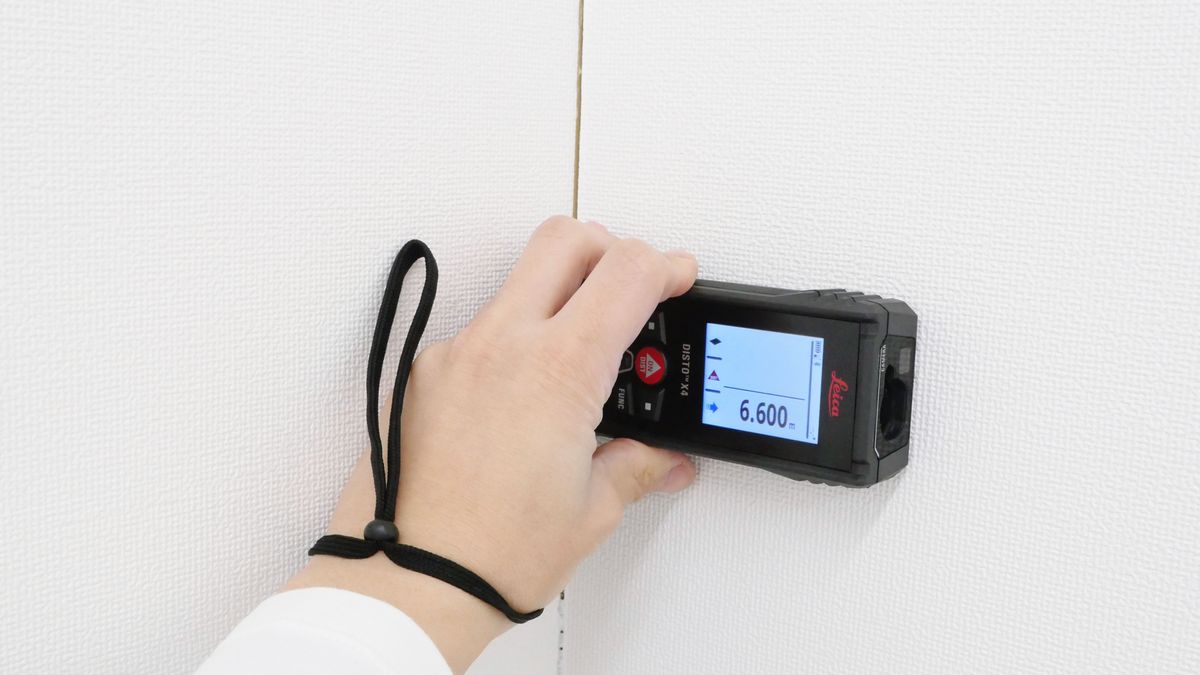
The length is automatically entered in magicplan.
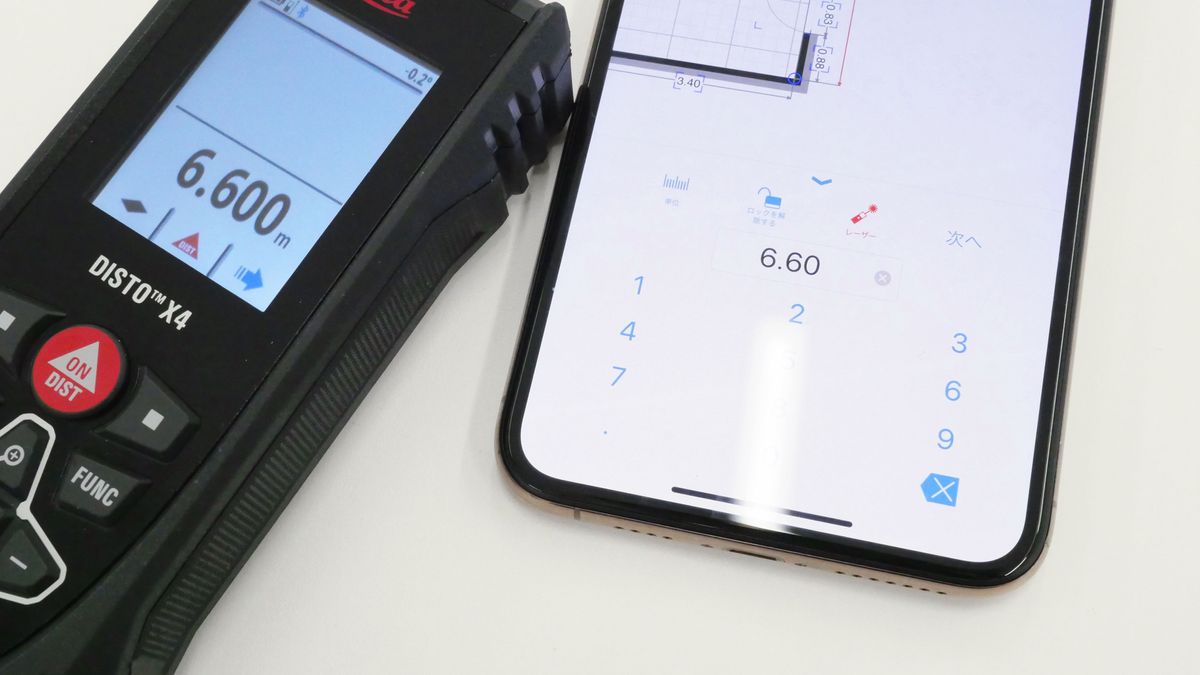
Tap "Next" to change the length of the wall.
With magicplan you can create not only drawings of one room, but also drawings of several adjacent rooms. From the drawing of the completed room, tap "1st floor".
Tap "New room".
I will make the drawing of the next room in the same way.
When the drawing of the room was completed it was displayed like this. ......, but the two rooms are not facing each other, and the rooms are not connected.

Single tap on the room, you can rotate and move the drawing of the room. Hold down the arrow on the right with your fingers ...

Drag and rotate to draw a circle.
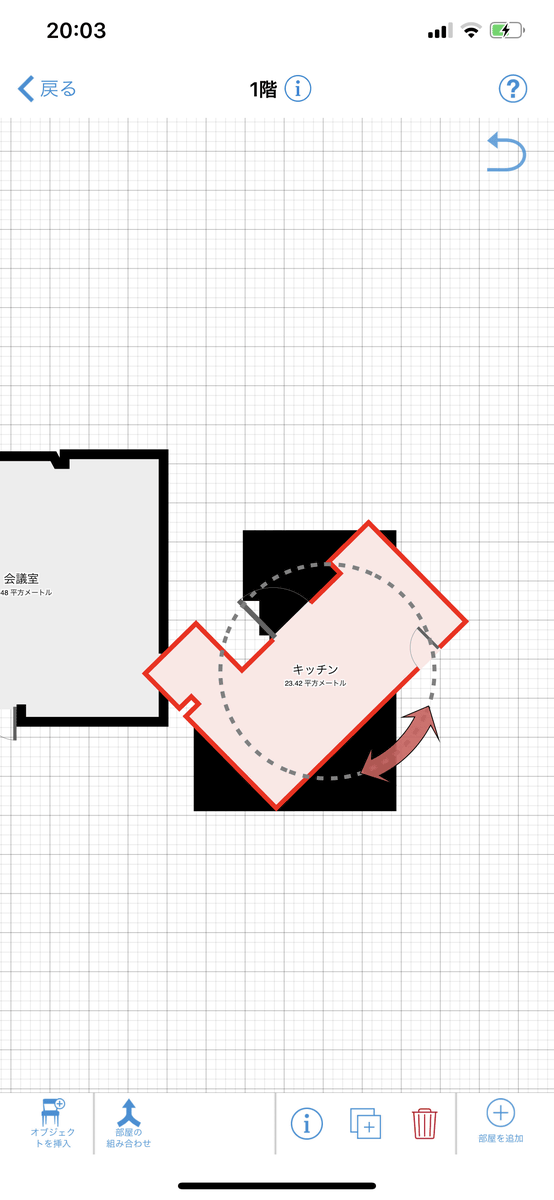
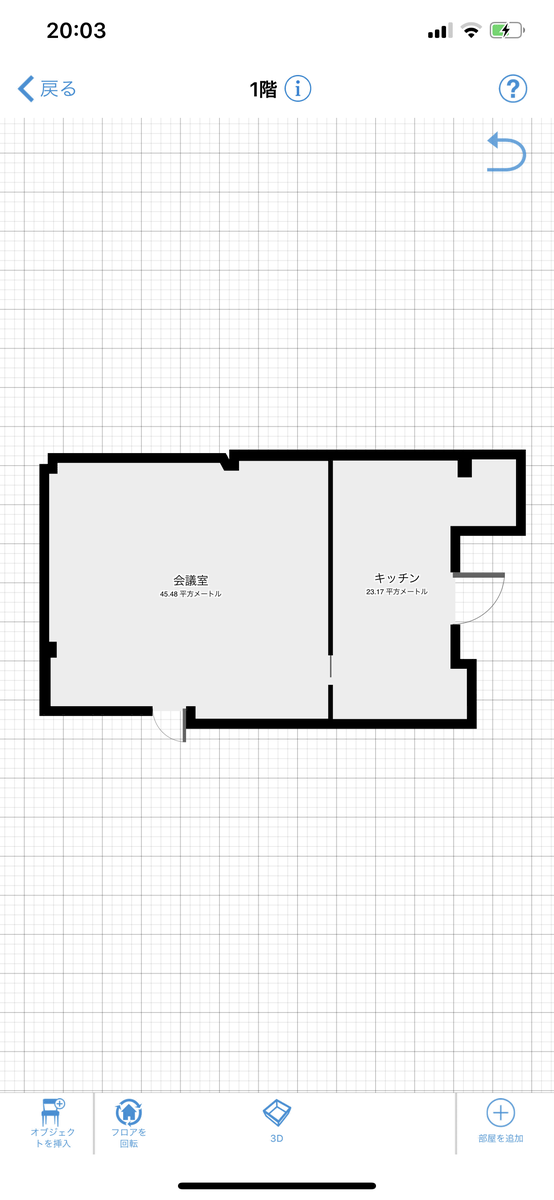
Connect the two rooms so that the door positions match. In this way, even if there are multiple rooms, it can be handled as one drawing.
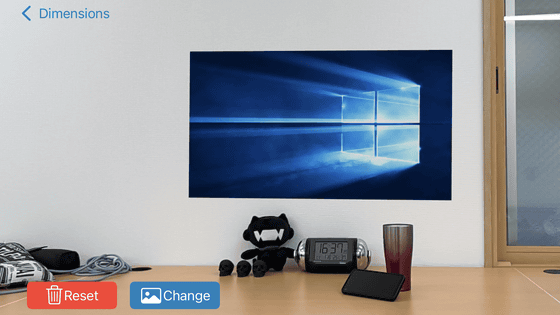
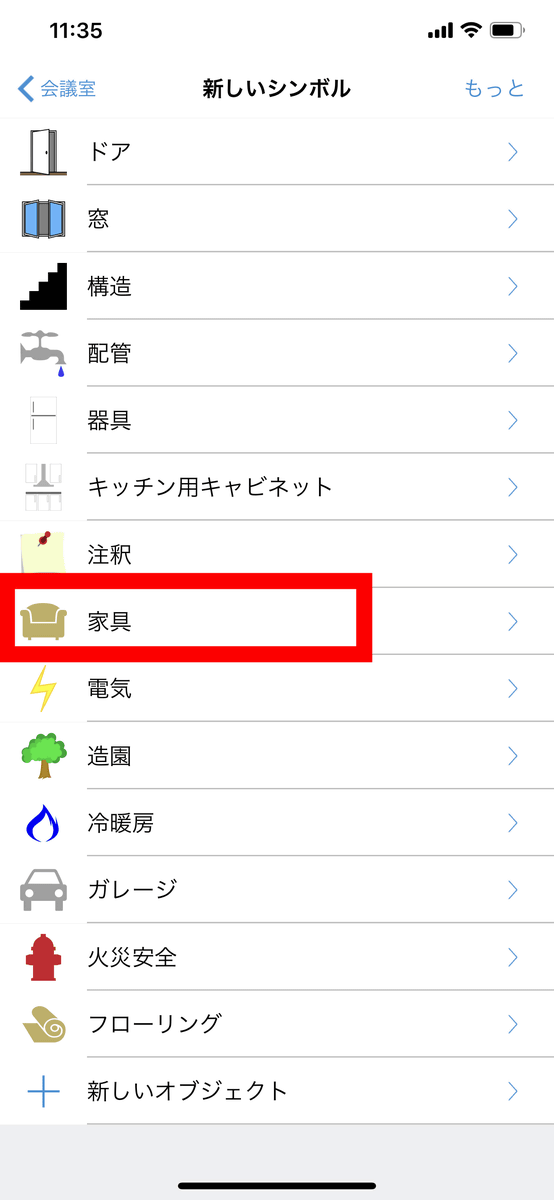
You can also add windows, piping, furniture etc. to the completed drawing. With the drawing displayed, tap the "Insert object" icon in the lower left.

The object that can be added is like this. Tap "Furniture" in order to write the table on the drawing this time.
Various kinds of beds and tables can be selected. Select "Rectangular table with chair".
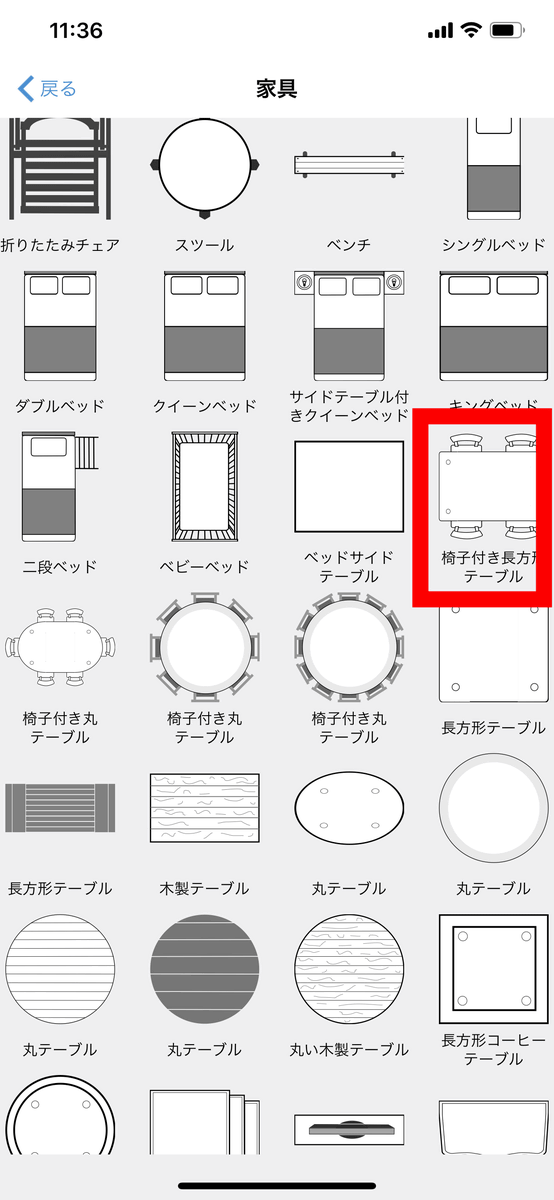
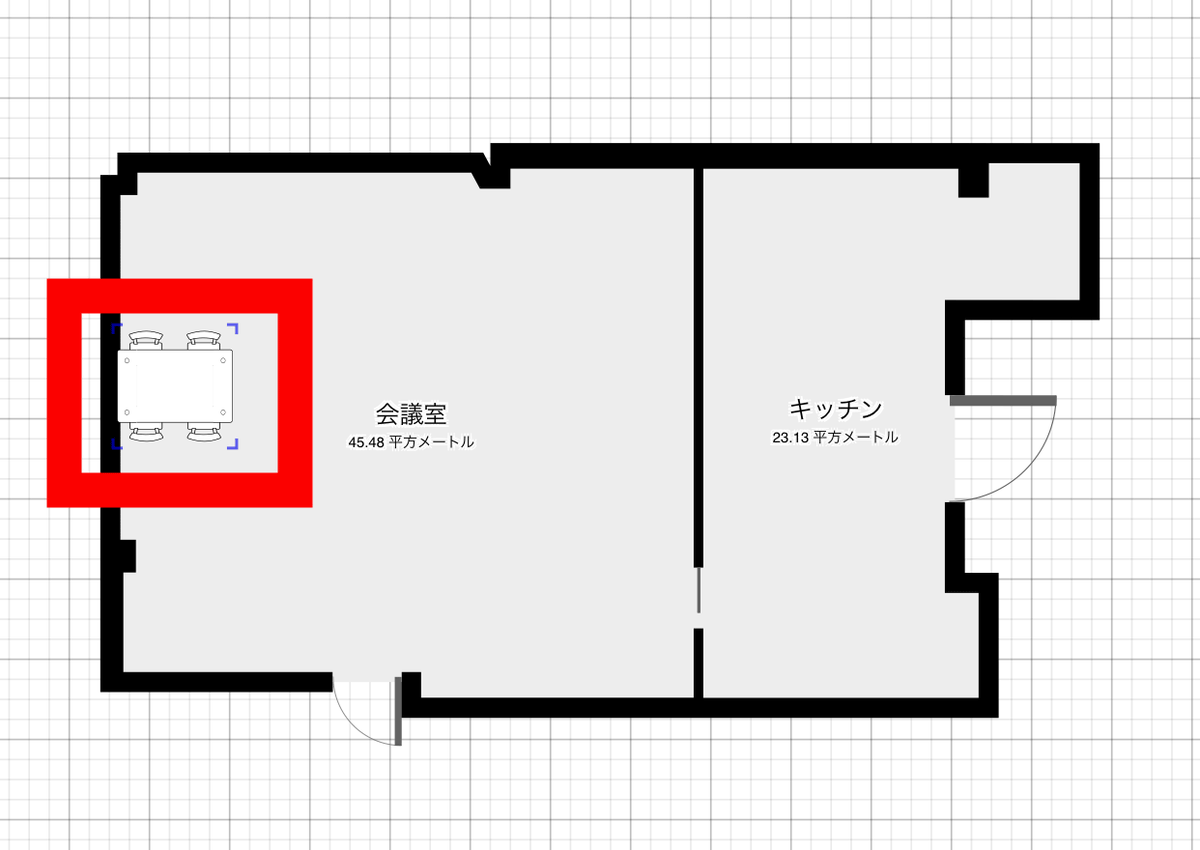
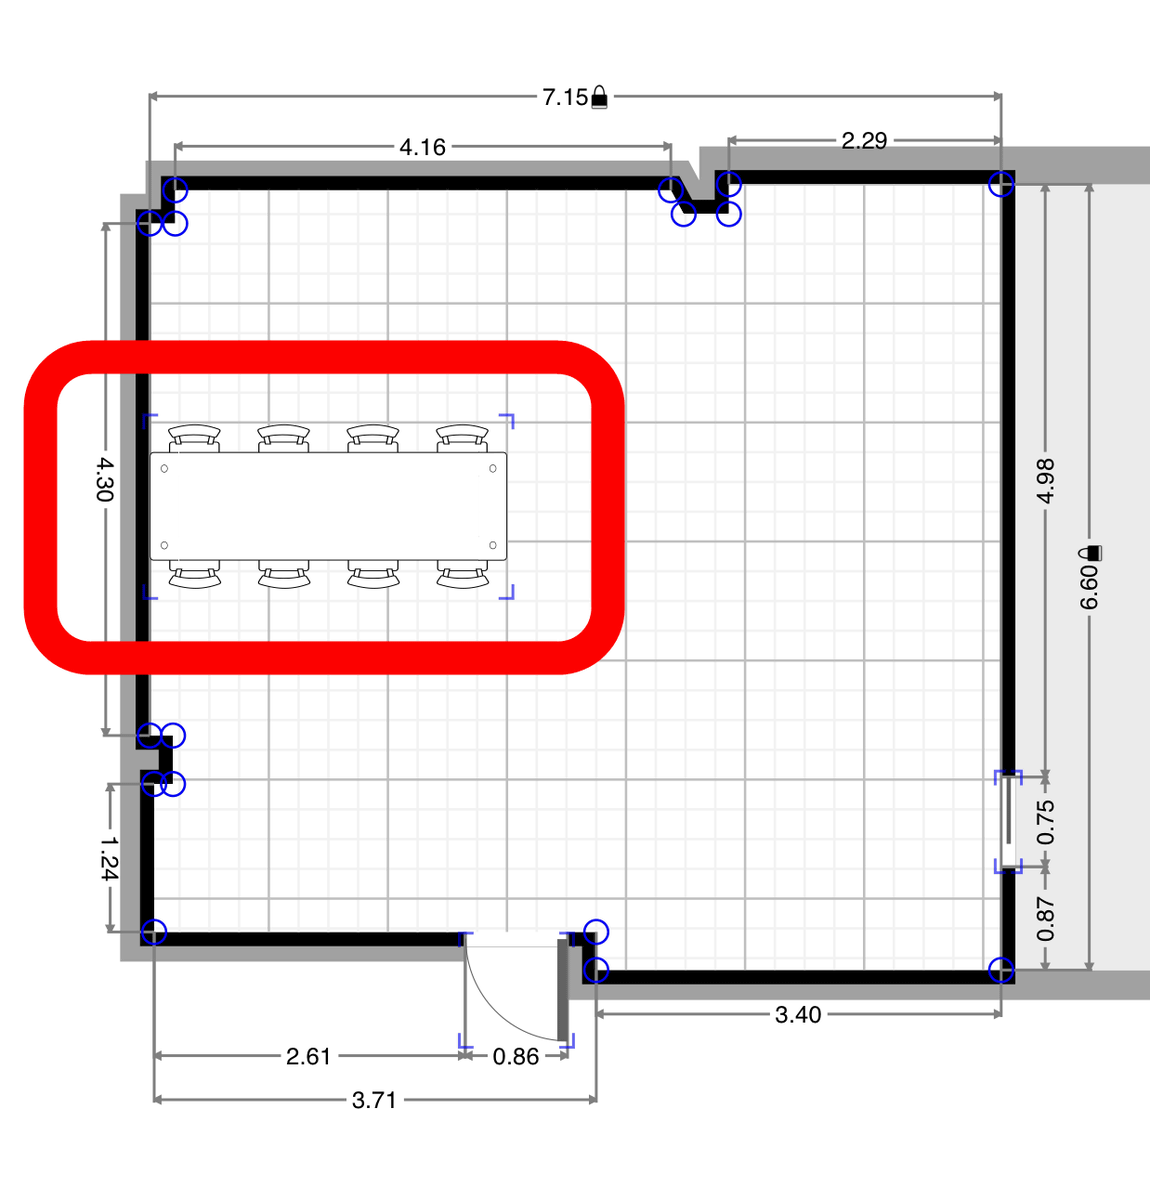
Since objects are displayed on the drawing, hold down the icon and drag to determine the position. This time we will place a rectangular table with a chair on the left side of the conference room.
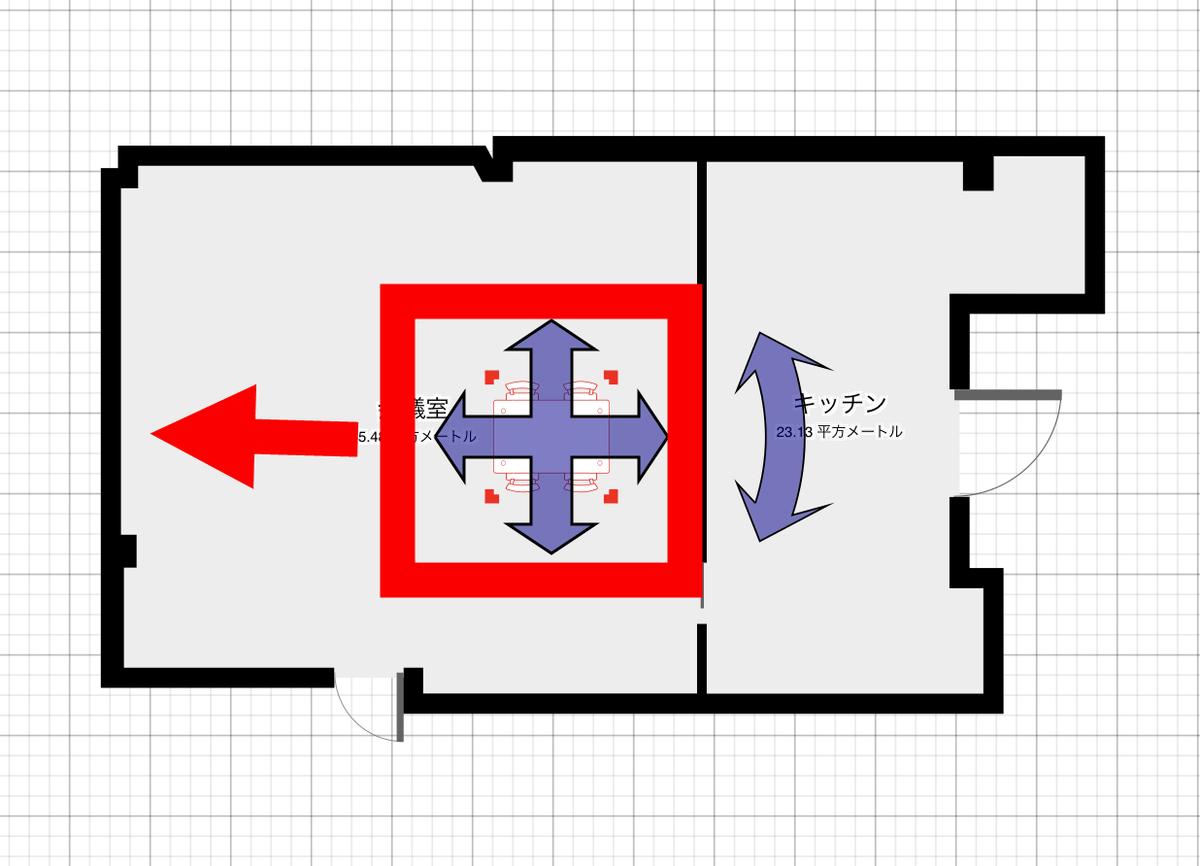
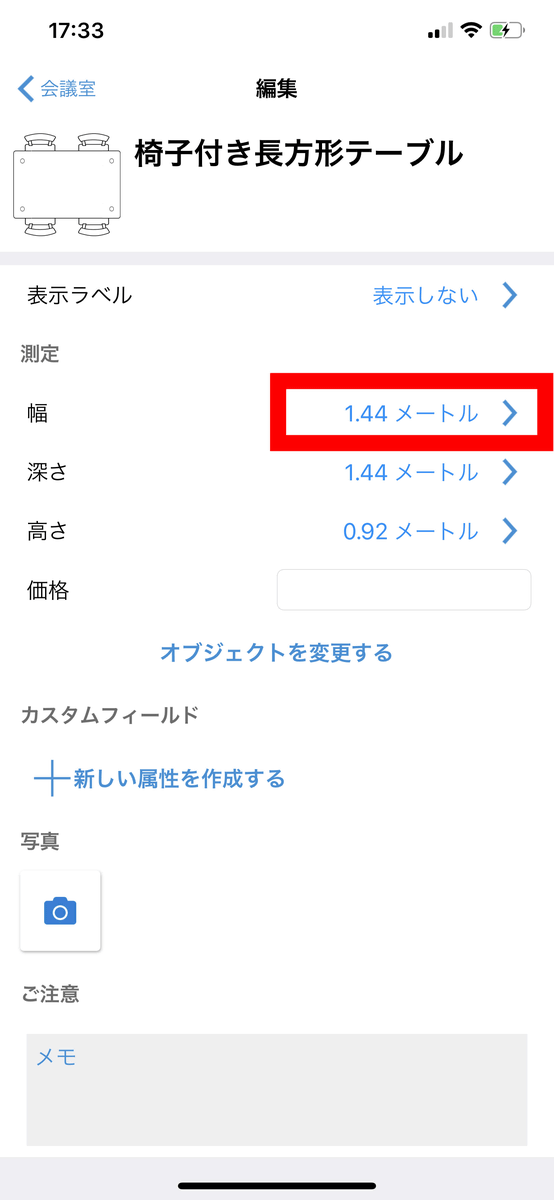
It is like this when placed. It is also possible to change the size of the placed object. Double tap an object ......
"Width (horizontal length)" "depth (vertical length)" "height" etc can be changed. I will change the "width". Tap the length part ......
Enter the new length. Change the width of the rectangular table with chair from 1.44 meters to 3 meters.
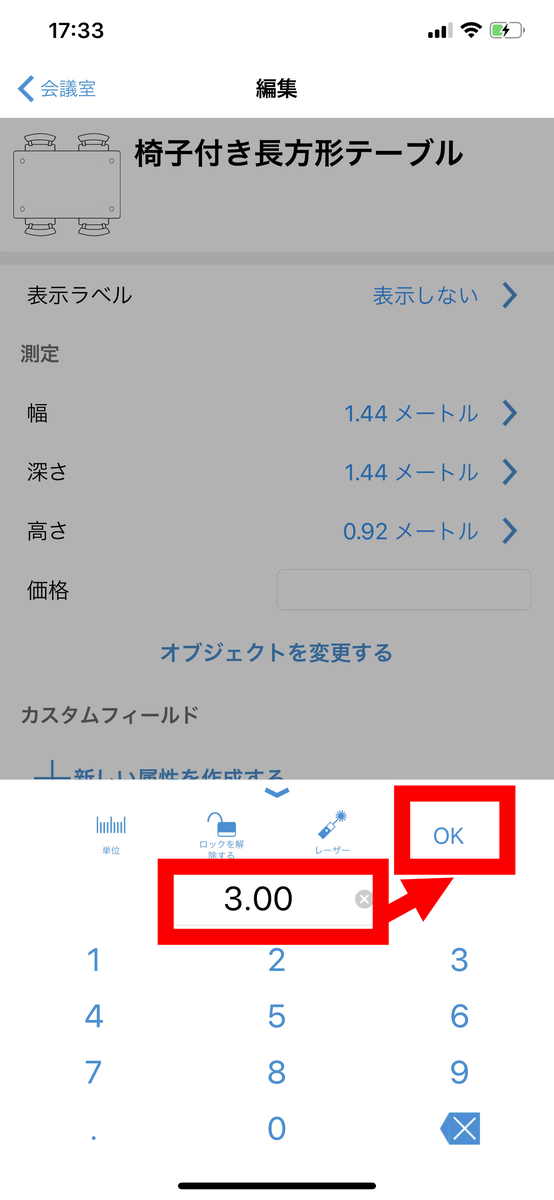
Then, like this, the width of the rectangular table with the chair doubled.
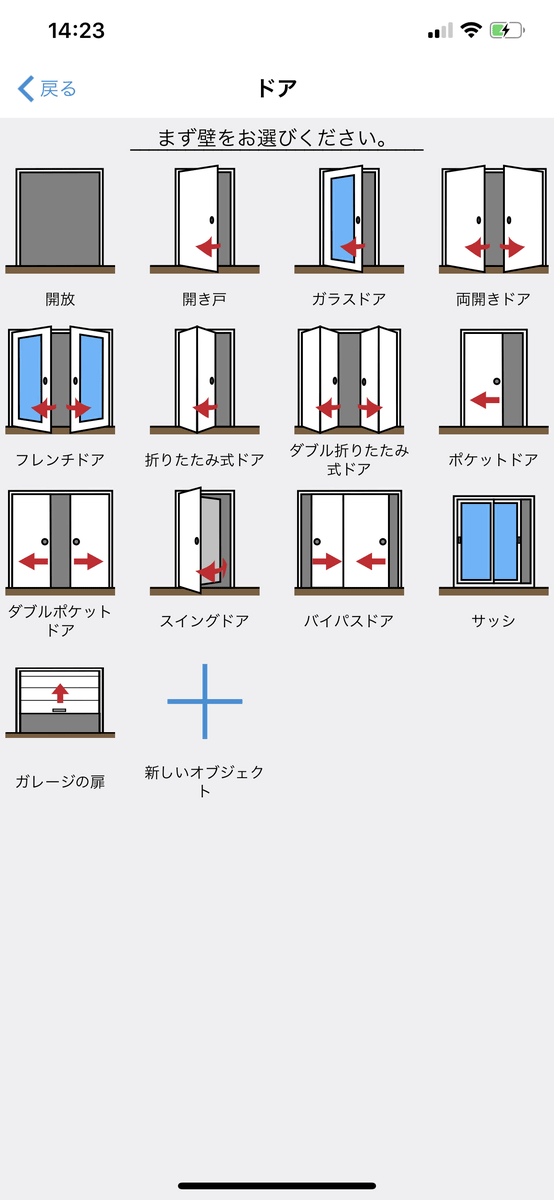
The objects that can be added are doors and ...
You can select bus dubs and sinks of various shapes with "piping".

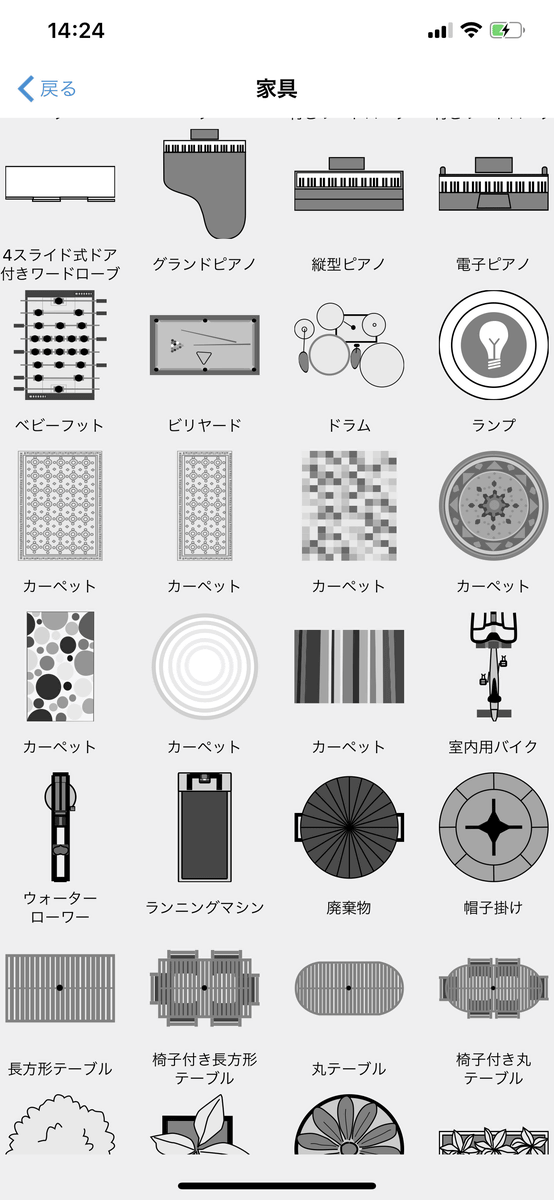
In "Furniture" you can install pianos, indoor bikes, drums and billiard tables on the drawing.
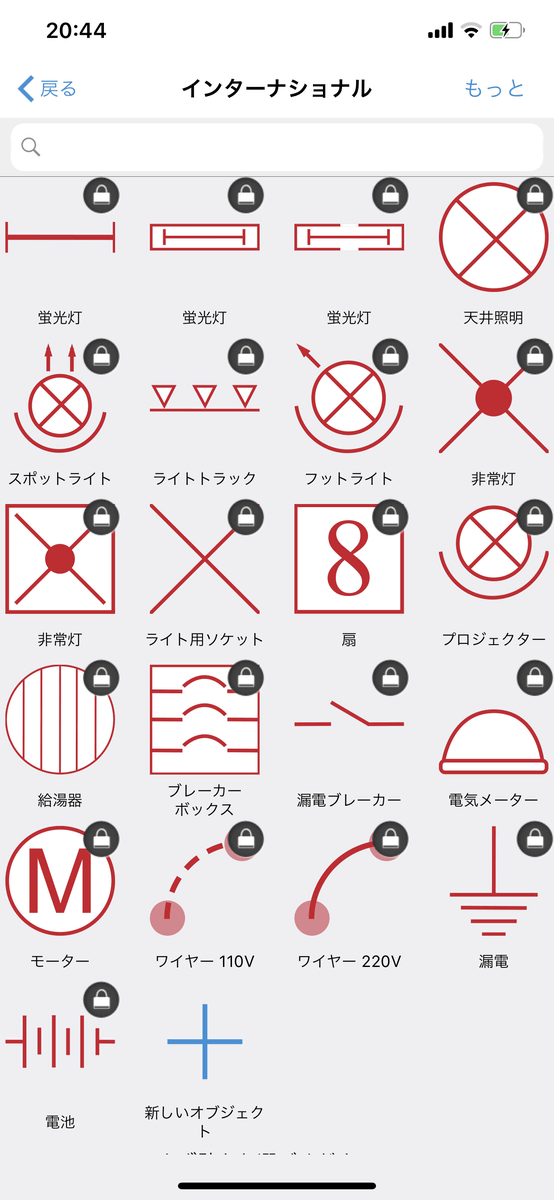
Objects that can only be used with paid version such as "Electric".
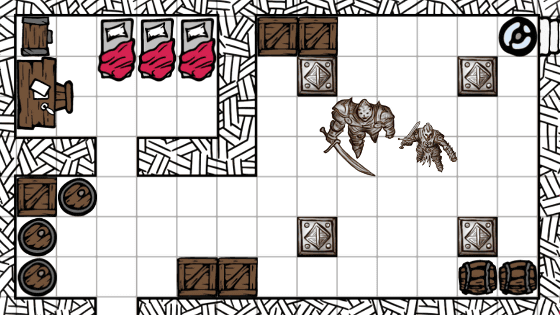
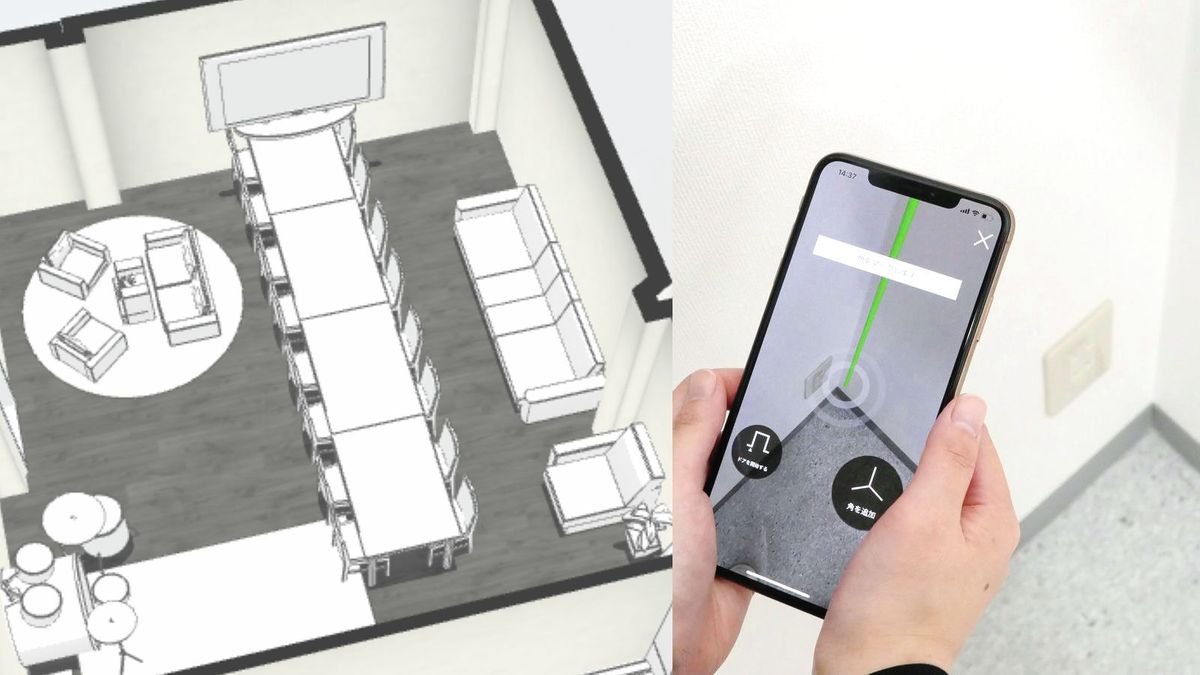
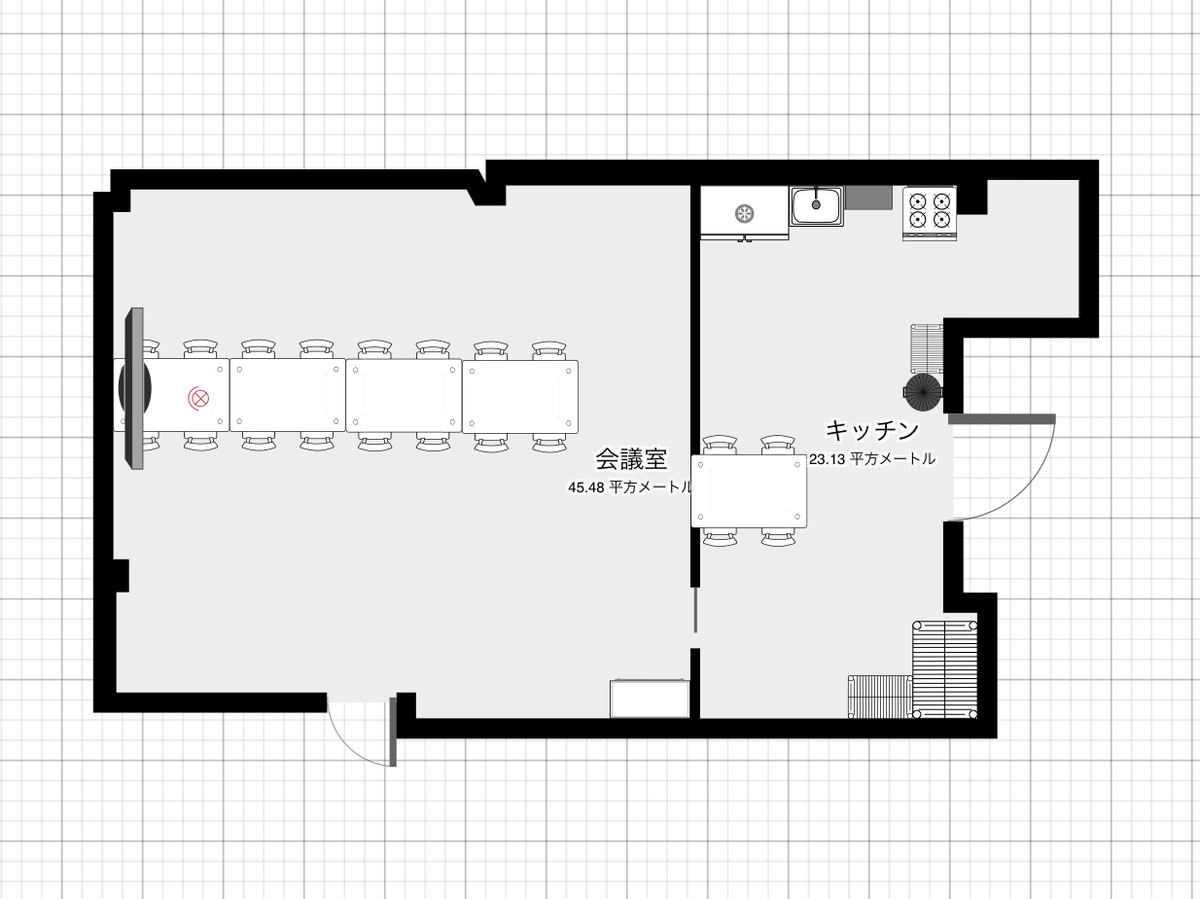
It is actually like this when I made furniture drawings of the editorial department. It is not completely reproduced, but it is quite good.
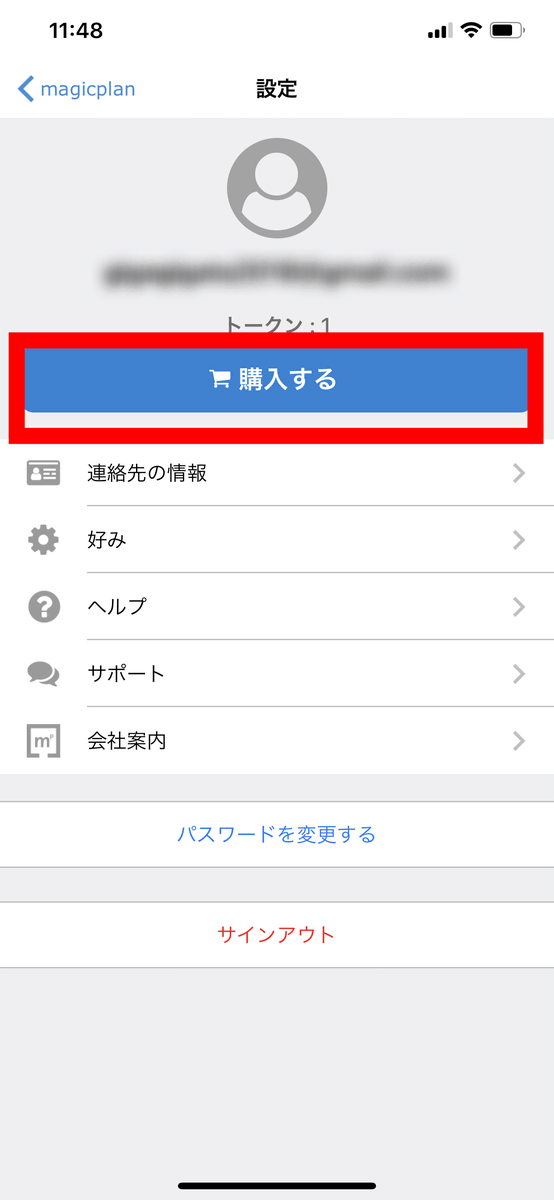
In magicplan, it is a paid version function to retrieve the created drawing in PDF format. However, if you register your account, you can use the same function as the paid version (Standard version) only once. To switch to the paid version, tap the icon in the upper right.

Tap "Buy".
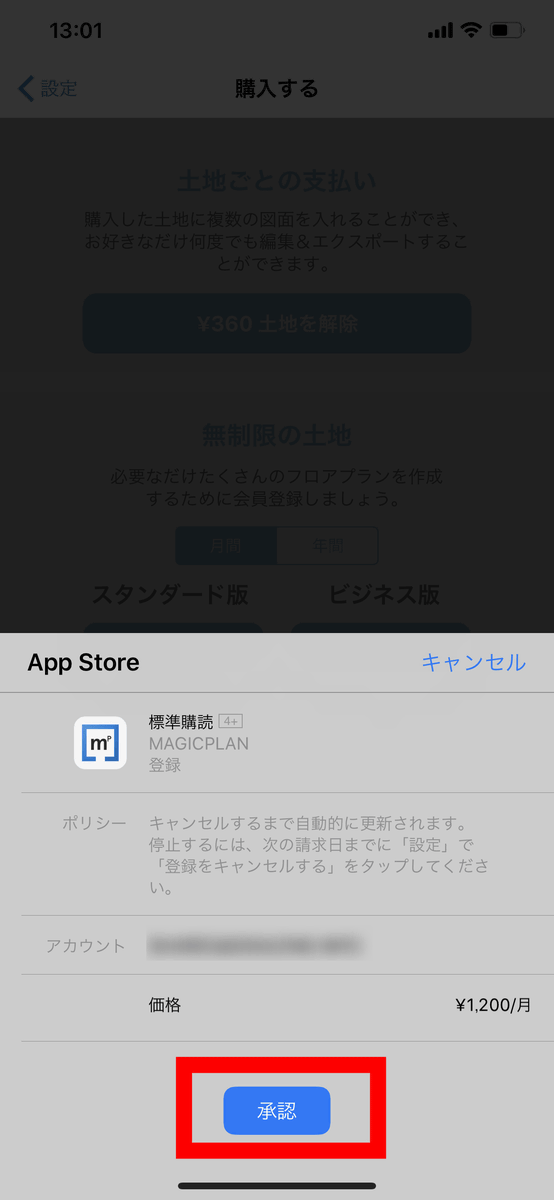
There are two types of paid version. In the standard version (1200 yen per month, 11,800 yen per year), releasing restrictions on placeable objects, generating 3D views, and converting the generated drawings to PDF · JPG · DXF · PNG · SVG · It can be generated with CSV. In the business version (2400 yen per month, 23,800 yen per year), it is possible to customize fee lists, create fee estimates, manage multiple users, etc. with the functions of the standard version. Tap the standard version this time.

Tap "Approve".
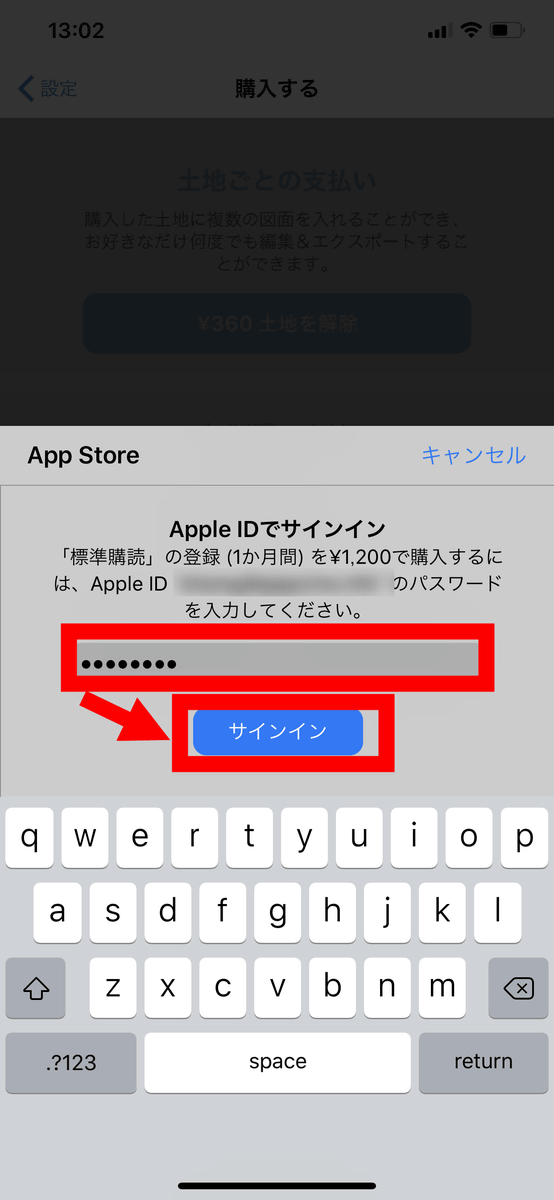
Enter your Apple ID password and tap Sign in.
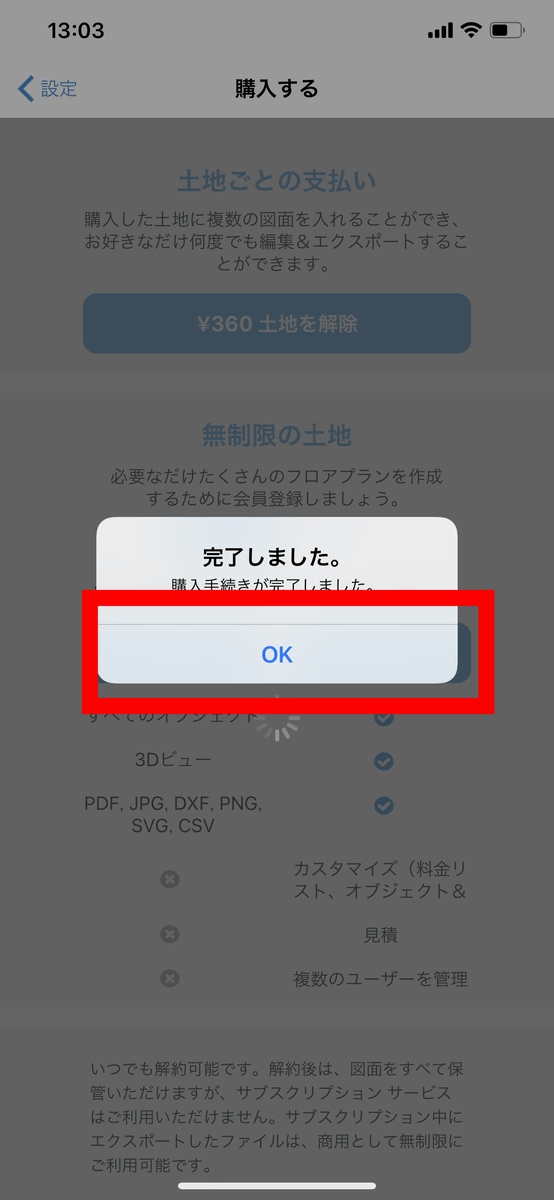
As the subscription procedure is completed, tap "OK".
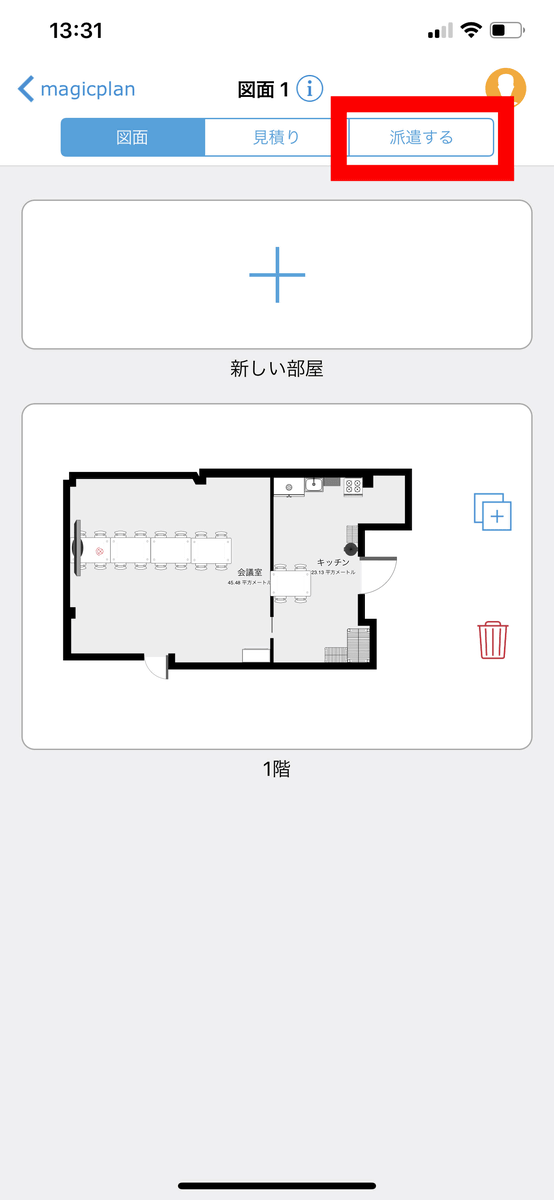
I actually attach the drawing to the PC in a PDF file format and send it to the PC. From the Home screen, tap the drawing you want to convert to PDF format and tap "Dispatch".
Select "Get files".

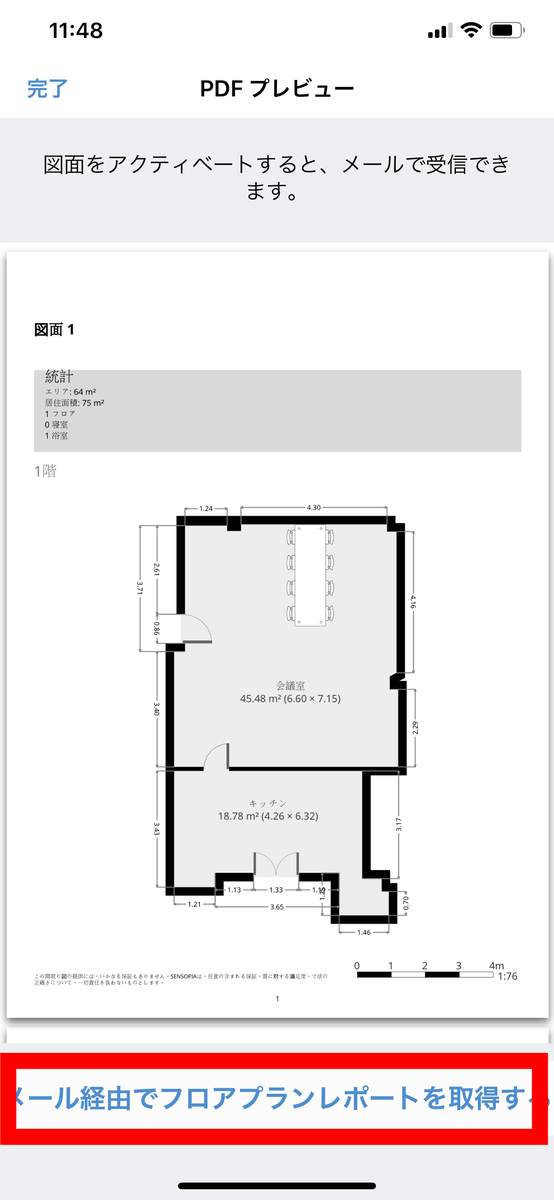
Since a preview is displayed, when you tap "Get Floor Plan Report via mail" at the bottom ... ...
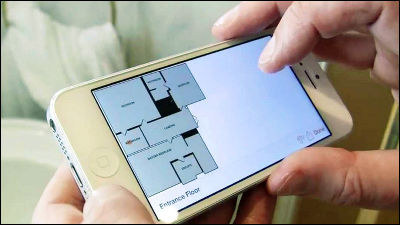
The file was sent to the e-mail address registered when creating the account. When you actually click on the attached PDF file ......
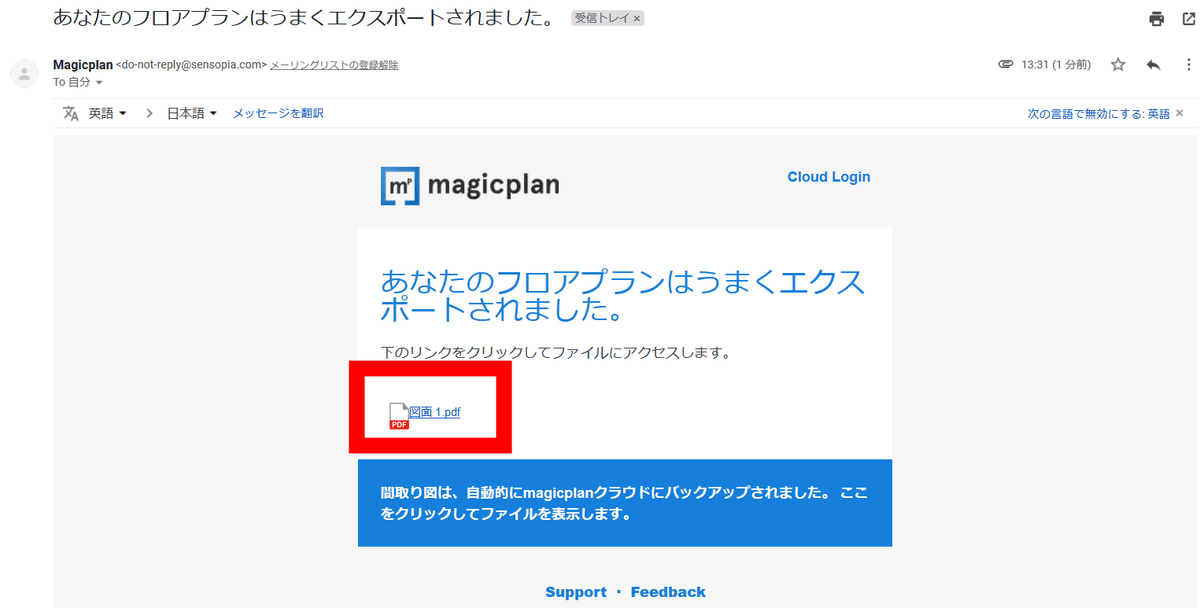
In the PDF file, the created drawing was described as follows.
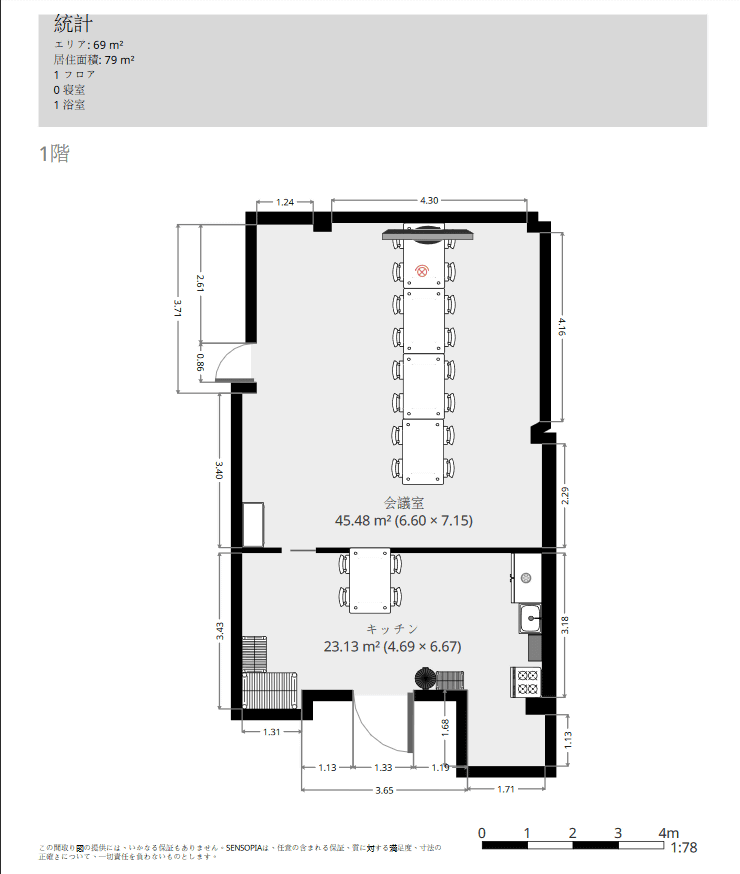
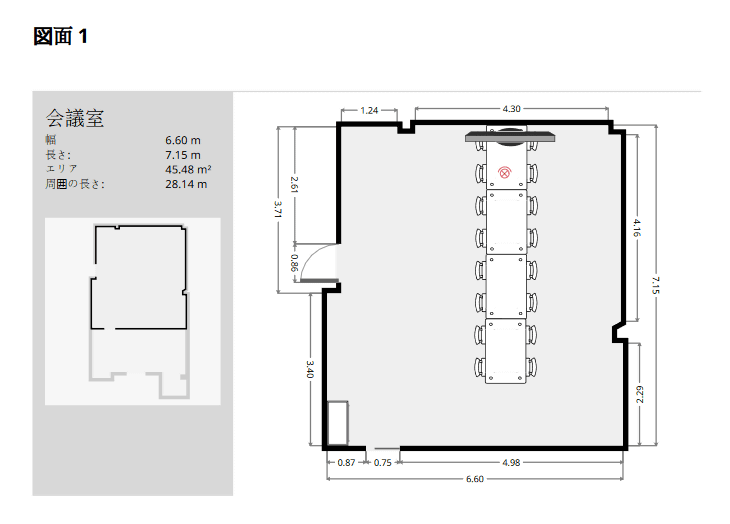
The drawing of each room and the information such as the area of the room and the surrounding length are also listed.
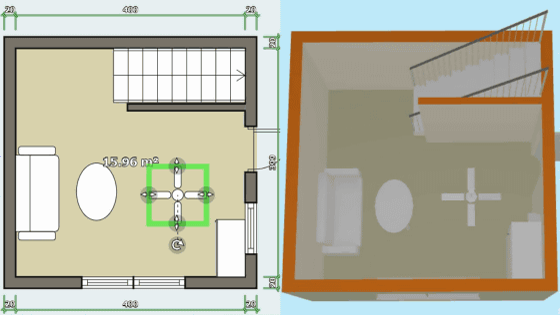
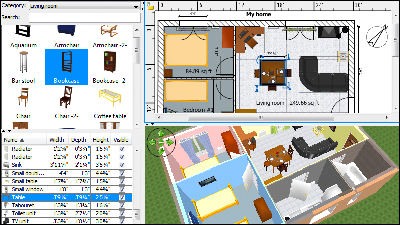
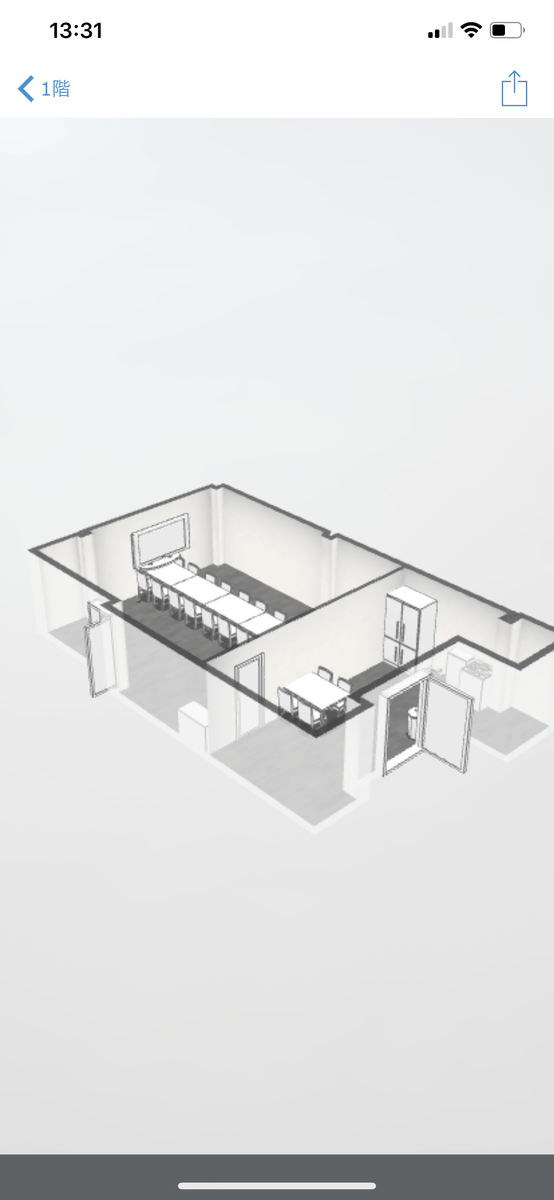
3D view display is also possible. Select the drawing you want to display 3D view and tap "3D".

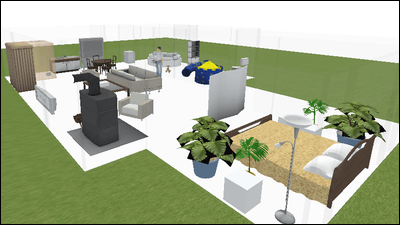
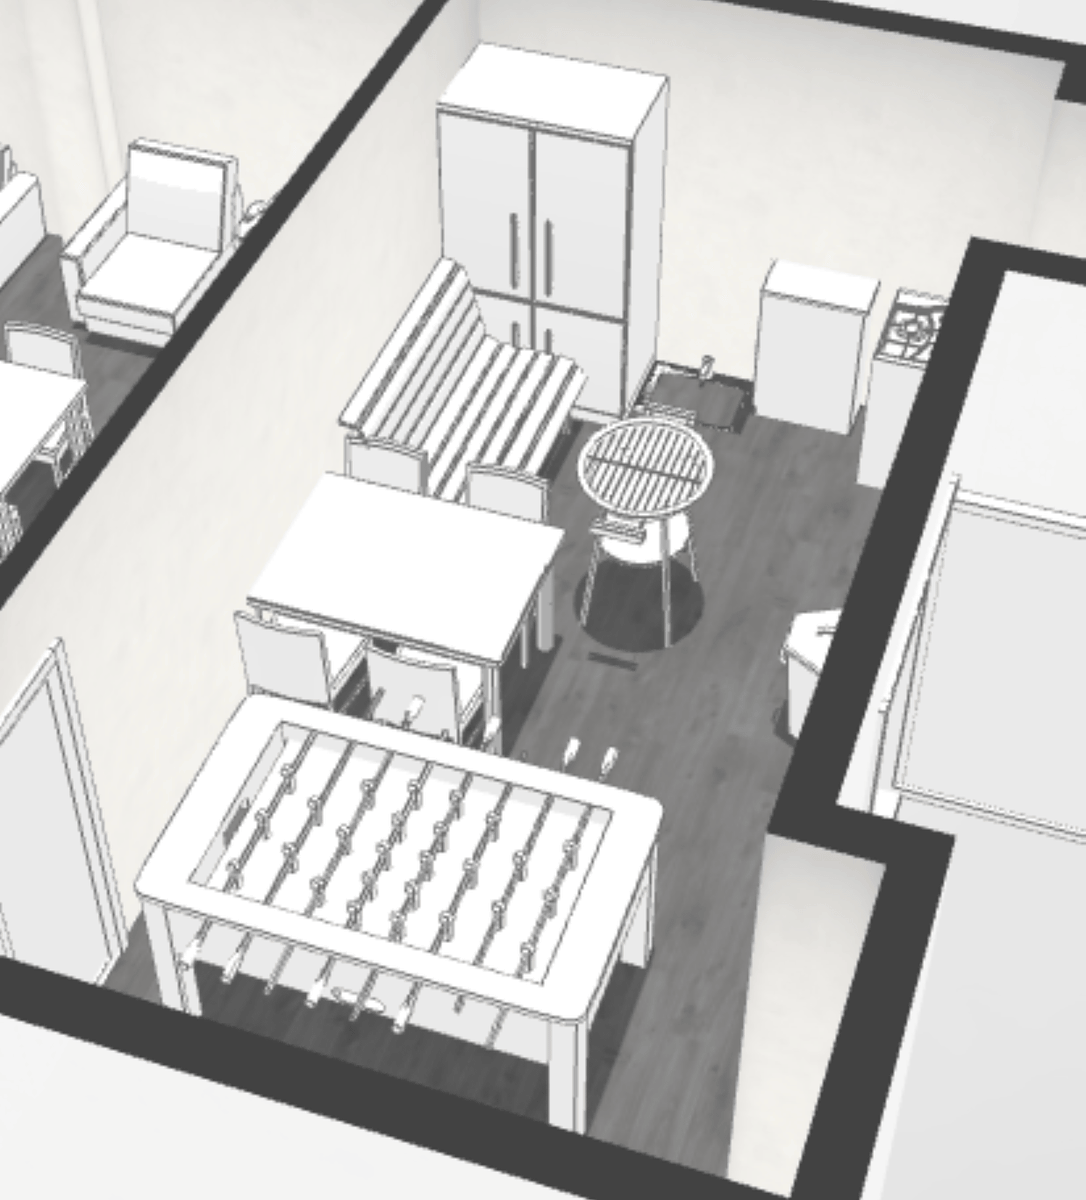
The drawing of the editing department displayed in 3D looks like this.
By making full use of various objects, we can also simulate ideal reworking.
Related Posts: