I tried using 'Leica DISTO X4' which can make plan and 3D drawings in cooperation with a smartphone application with a high-precision & high-durability laser rangefinder.

The laser rangefinder ' Leica DISTO X4
Leica DISTO X4 --Measurement range 150m --Point finder
https://shop.leica-geosystems.com/jp/ja-JP/buy/package/x4-0
table of contents
◆ Product appearance & I set up DISTO X4 and tried to link it with a smartphone
・Initial setting of DISTO X4
◆ I tried to make a floor plan crisply with the 'Smart Room' function.
-Add an opening to the drawing
-Save the created drawing as PDF Pro
◆ Zoom function of digital point finder
◆ I tried to enter the length in the drawing I made with the 'Sketch Plan' function.
◆ Enter the exact length of the image with the 'Sketch on Photo' function
◆ Opening ceremony & DISTO X4 was set up and linked with a smartphone
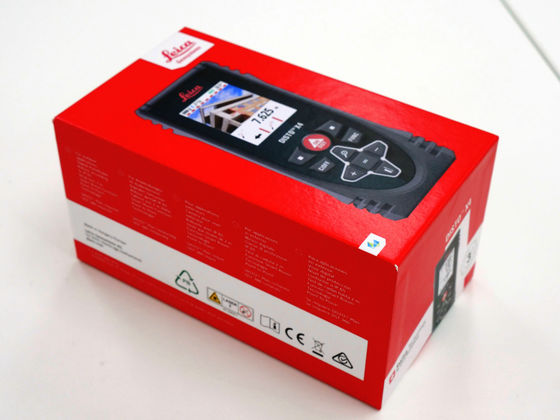
The outer box of 'Leica DISTO X4' looks like this.
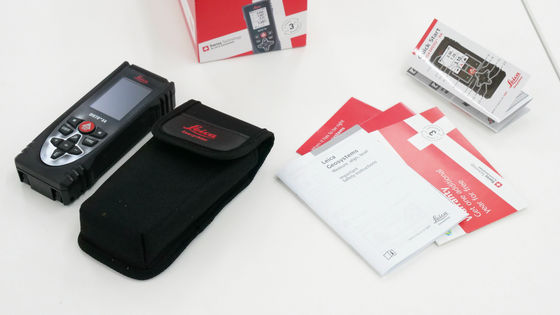
Inside is the DISTO X4 body, holster case, warranty card, instruction manual ...
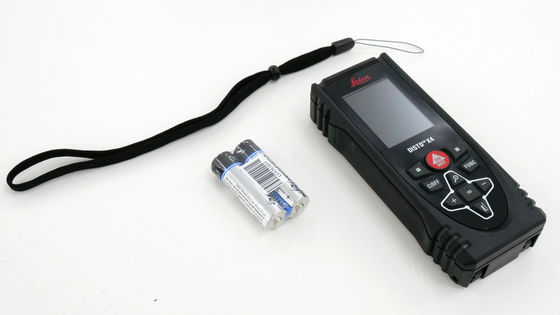
Two AA batteries and a strap were included.
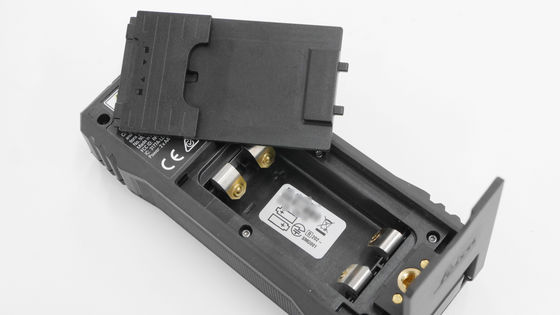
Insert the battery into the slot on the back side where the lid is opened. The lid was quite stiff because it was an IP65 compliant dustproof and waterproof terminal.
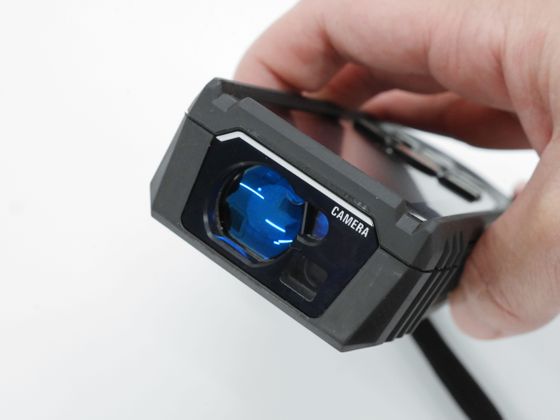
There was a lens for laser irradiation on the top of the main body.
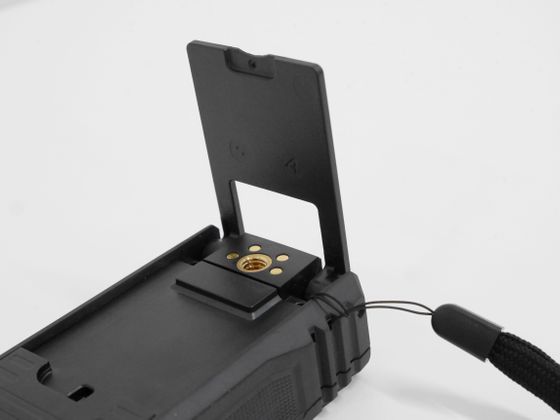
At the bottom of the back is a multifunctional end piece and a strap slot.
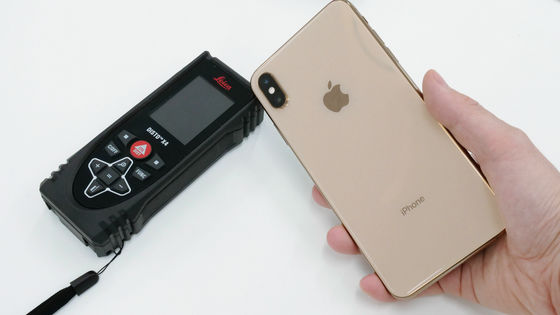
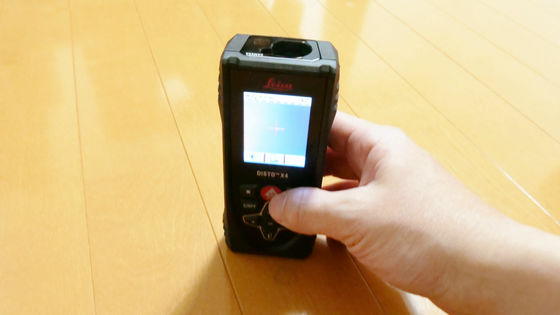
The DISTO X4 weighs 191g including the battery and strap, which is a little lighter than the iPhone XS Max. It fits comfortably in your hand and is quite easy to hold.
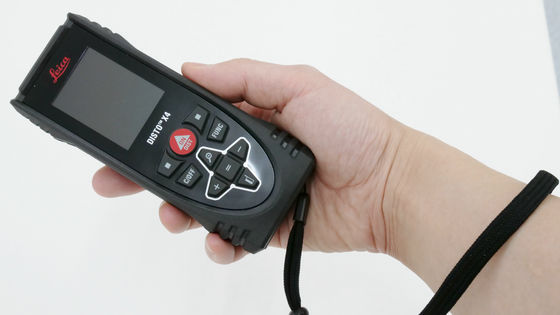
DISTO X4 is said to be able to create drawings etc. in conjunction with the smartphone application 'Leica DISTO Plan', so I will actually use it.
'Lieca DISTO Plan' is available for iOS and Android.
'Leica DISTO Plan' on the App Store
Leica DISTO ™ Plan-Google Play app
https://play.google.com/store/apps/details?id=com.leica.distoplan&hl=ja
・Initial setting of DISTO X4
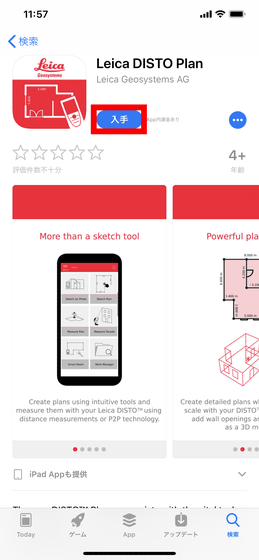
This time we will use the iOS version. First, tap 'Get' ...
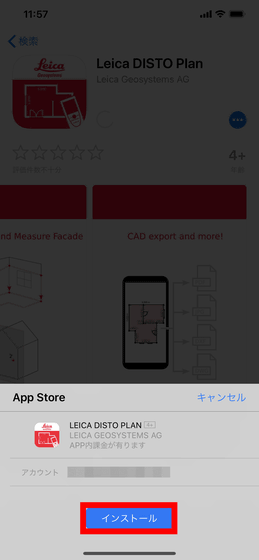
Tap 'Install' to install.
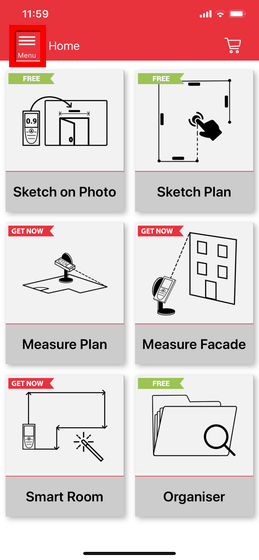
When you start 'LEICA DISTO PLAN', the home screen looks like this. First, select 'Menu' on the upper left ...
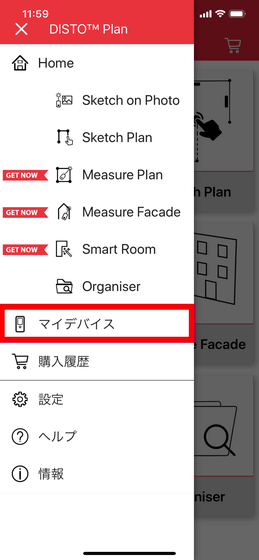
Select 'My Devices' from the sidebar that appears.
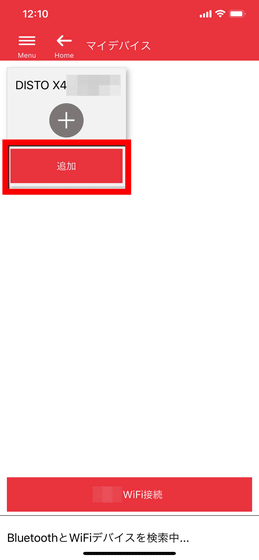
If you turn on DISTO X4 and turn on Bluetooth on your smartphone, your 'DISTO X4' will appear in My Device, so tap 'Add'.
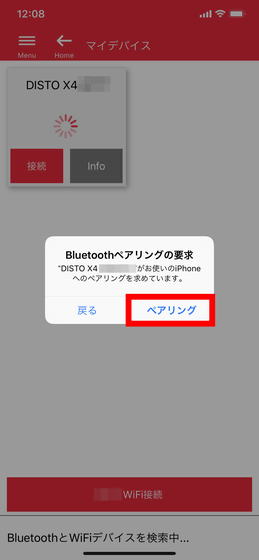
A 'Bluetooth pairing request' pop-up will appear. Select 'Pairing' and connect your smartphone to DISTO X4 via Bluetooth.
Then, you will be asked to update the DISTO X4 main unit, so tap 'Update'.
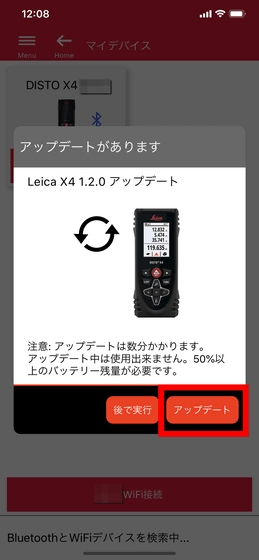
The update takes about 5 minutes, but no operation or input is required, just wait and it will be completed. When the update is complete, click 'Finish' to complete the initial setup of DISTO X4.
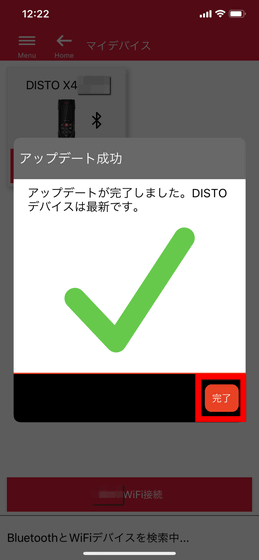
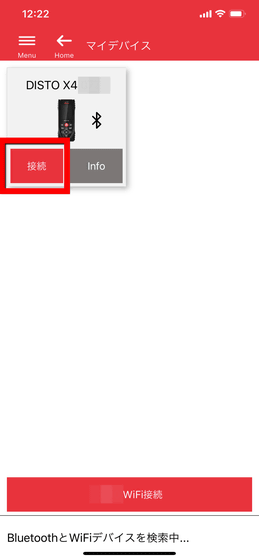
When you press Finish, you will automatically return to My Device, so tap 'Connect' on DISTO X4 to connect DISTO X4 to your smartphone again.
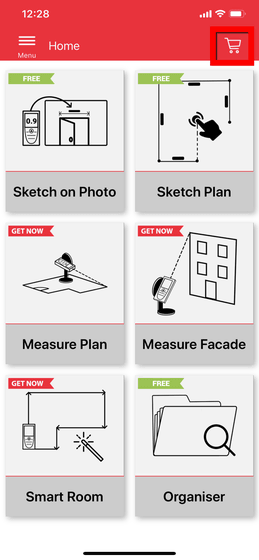
The home screen shows a list of functions available in the 'Leica DISTO Plan'. The green mark 'FREE' on the upper left is a function that can be used for free, and the red mark 'GET NOW' is a paid function. The billing is monthly, but there is a one-month trial period, so I'll try various things now. Tap the cart icon in the upper right to open the store.
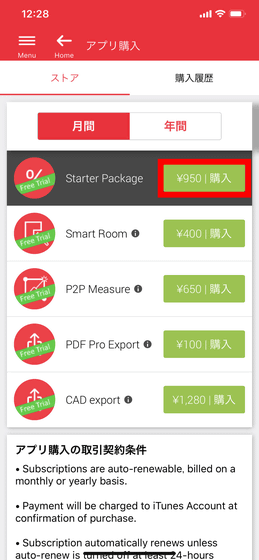
This time, I decided to use 'Starter Package' which is a set of 'Smart Room', 'P2P Measure' and 'PDF Pro Export'. Tap '¥ 950 | Purchase'.
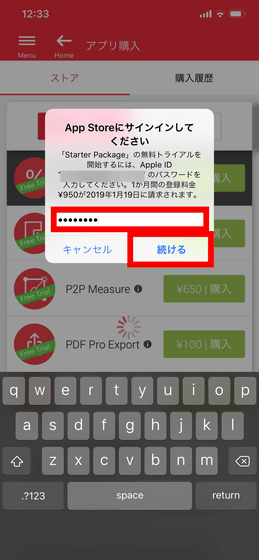
You must be signed in to the App Store to make a purchase, so enter your Apple ID password and tap 'Continue'.
Select 'OK' to complete the purchase.
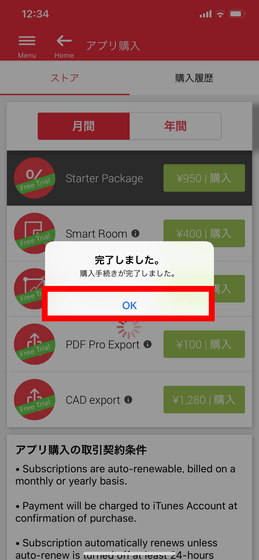
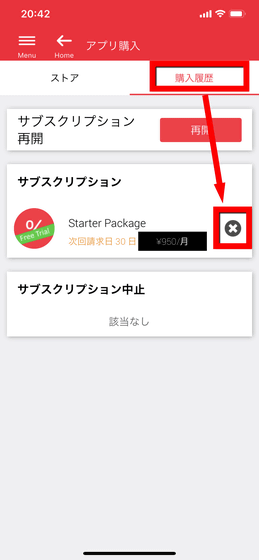
If you want to continue using it after the trial period ends, you can leave it as it is, but if you want to stop using it, you need to stop the subscription from the 'purchase history' of the store before the trial period ends.
◆ I tried to make a floor plan crisply with the 'Smart Room' function.
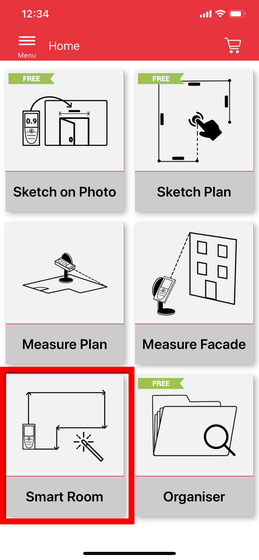
I will try using the 'smart room function ' (400 yen per month), which is the selling point of DISTO X4. First, tap 'Smart Room' on the home screen of the 'Leica Disto Plan'.
Then, on the smartphone side, the message 'Measuring ...' will be displayed, so we will measure the room with DISTO X4.
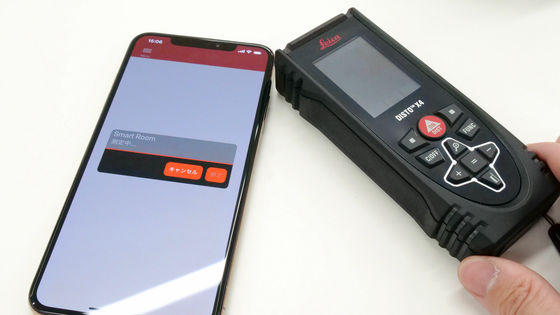
When measuring, hold the DISTO X4 display so that you can see it, point the laser irradiation port on the top surface in the direction you want to measure the length, and place it on the corner of the wall or pillar so that it is parallel to the floor. ..
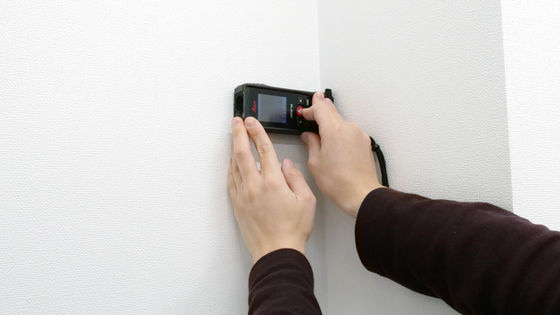
After confirming that the laser dots emitted from DISTO X4 cross the wall you want to measure and are attached to the wall on the other side, press the 'ON' button of DISTO X4.

If it is difficult to see the laser dots, you can also check the laser dots on the display side of the main unit.
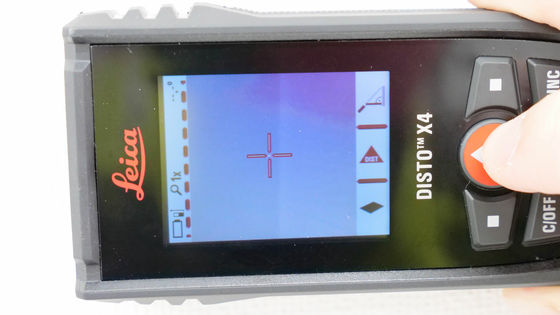
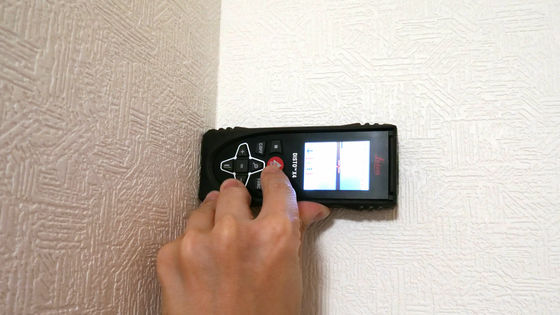
When measuring, measure the wall surface clockwise or counterclockwise in order.
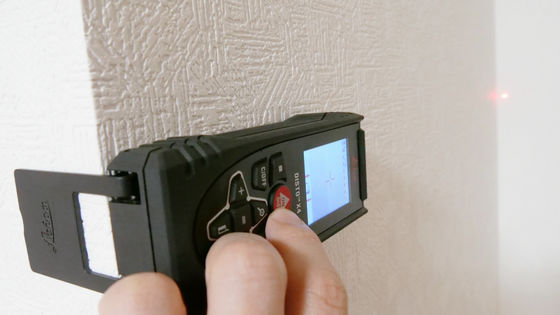
Sometimes it is necessary to measure the length of the protruding pillar, but by opening the multifunctional end piece on the back, it is possible to aim the DISTO X4 at the corner of the pillar.
If the laser is blocked by a curtain or furniture ...
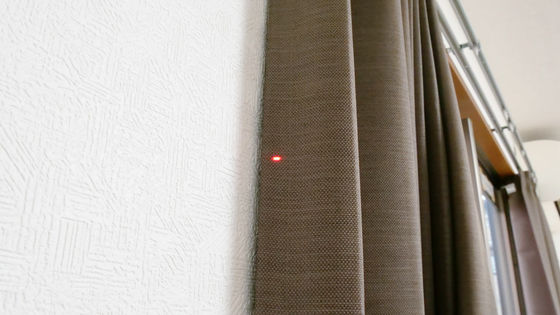
Move the DISTO X4 to a position where you can pass the laser while avoiding obstacles and measure.
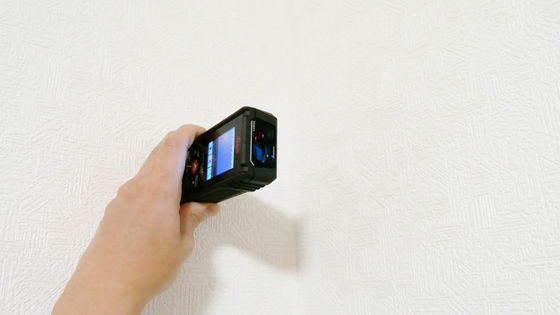
The width of the pillar protruding in the middle of the wall cannot be measured as it is, no matter how the DISTO X4 is applied.
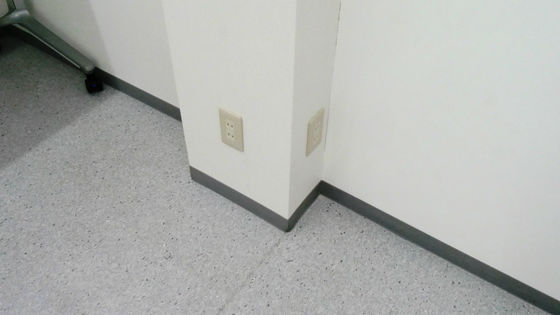
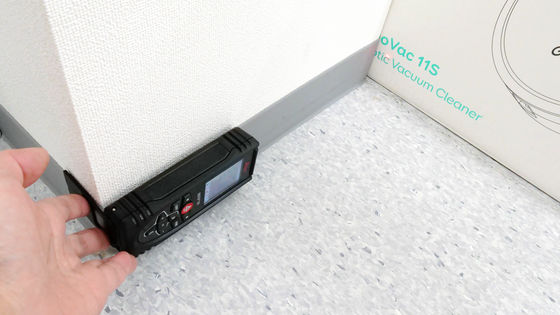
This can be solved by placing a plate or box at the end of the pillar to receive the laser.
A value is added for each wall measured, and if all the walls have not been measured, the app will tell you that the measurement has not been completed, so 'Which wall did you start measuring from?' Even a forgetful person is okay. In this case, the wall surface measurement was completed in 9 measurements, so tap 'Finish'. The number of measurable walls is 20.
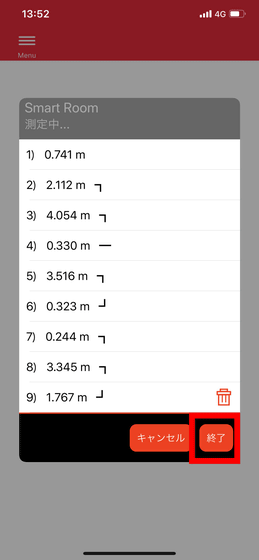
This completes the 2D drawing, but you can also make a 3D drawing by measuring the height once more. After creating the drawing, tap '3D'.
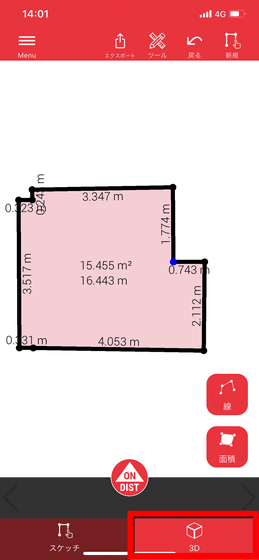
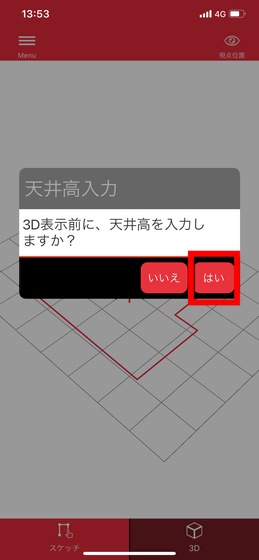
A dialog will be displayed, so tap 'Yes'.
You will be asked if you want to enter a laser or a numerical value, but of course I want to know the exact one, so I chose a laser.
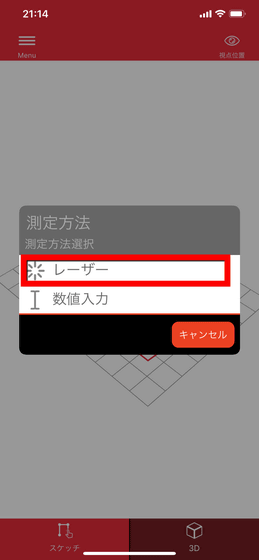
Stand DISTO X4 perpendicular to the floor and press 'ON' to measure the height.
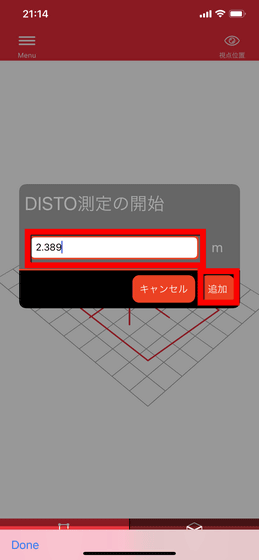
Then, the numerical value is automatically entered, so when you press 'Add', the height registration is completed.
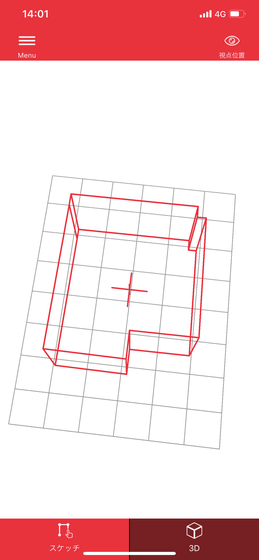
This completes the 3D drawing.
-Add an opening to the drawing
We will add doors and windows to another drawing. Tap the wall on the left side of the drawing where the actual entrance is, and select 'Opening' at the bottom right.
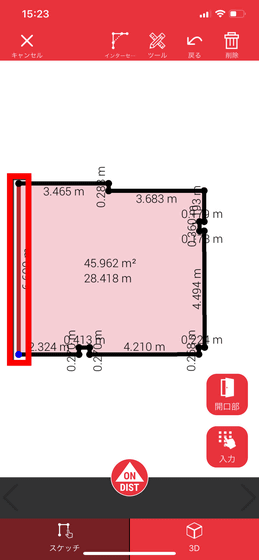
The opening can be selected from wall openings, windows, and doors, and the Width and Height are entered. I want to measure the length with DISTO X4 and input it, so tap 'DISTO' ...
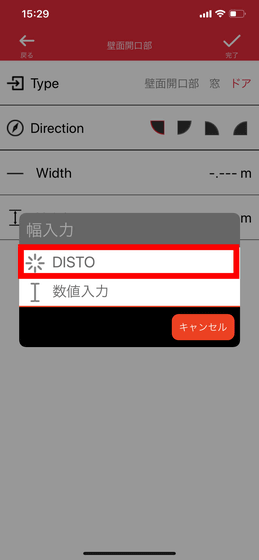
Actually measure the width of the door and enter it.
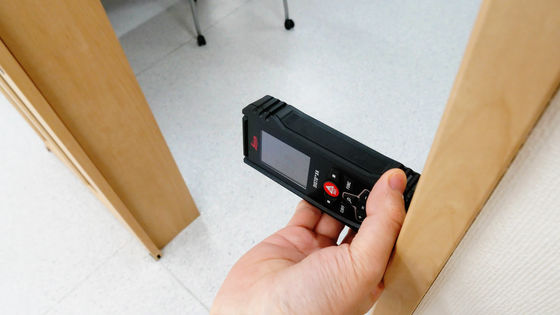
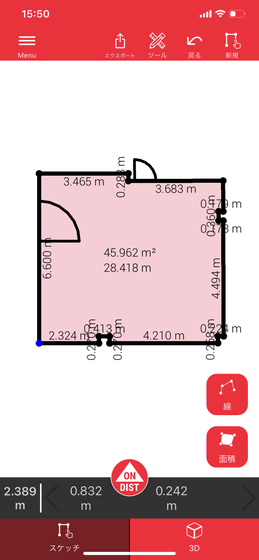
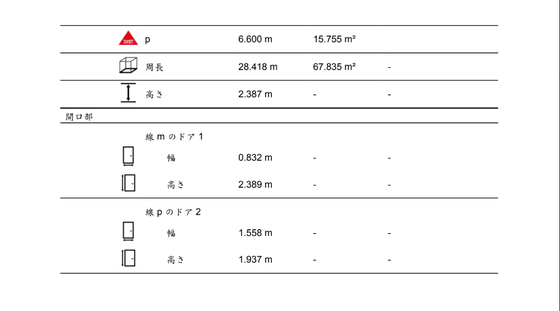
The door I created looks like this. The left door on the drawing is a sliding door, but since there is no 'sliding door' item in the Leica DISTO Plan, the width of the normal door is doubled for writing.
-Save the created drawing as PDF Pro
To save the finished drawing, tap Export on the top tab and select a save format. This time, I chose 'PDF Pro'. Save formats compatible with CAD editors such as 'DXF' and 'DWG' can be used with 'CAD export' for 1280 yen per month.
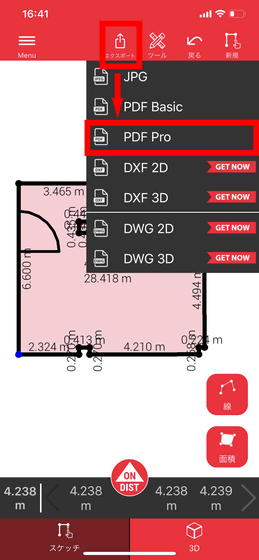
You can also check the completed drawing from your smartphone. Click the icon in the upper right ...
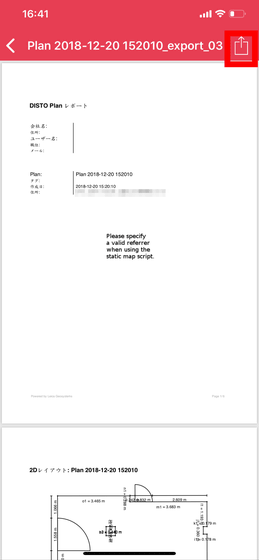
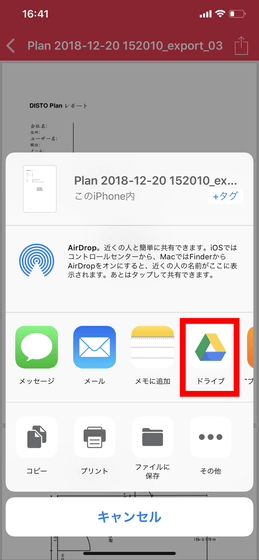
It was also possible to attach it to an email or print it out. This time, select 'Drive' so that it can be retrieved from the PC side via Google Drive.
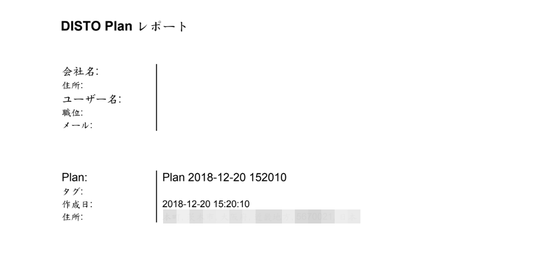
The extracted PDF file looks like this. If you enter the registration information first, you can enter the 'company name', 'address', 'user name', 'position', 'email address', etc. in the PDF file. In addition, the time and place where the file was created were automatically entered, and the address was automatically entered up to the level of the town name.
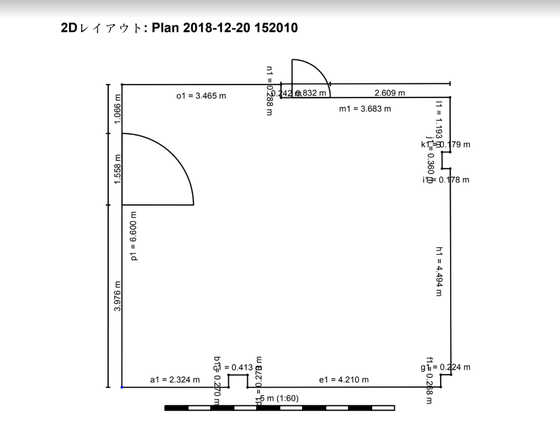
Naturally, the completed drawing is also written in the PDF file. If you use PDF Basic instead of PDF Pro, only this drawing part will be output.
In the PDF Pro version, the floor area, wall area, opening area, wall area (net), volume, and the length and area of each wall ...
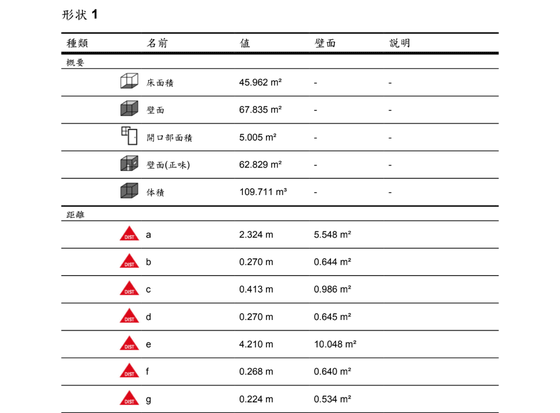
All the data was described in detail up to the size of each opening.
◆ I tried to enter the length in the drawing I made with the 'Sketch Plan' function.
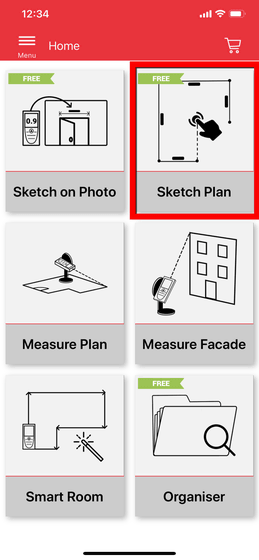
In 'Smart Room', I was able to make a drawing just by measuring with DISTO X4. On the other hand, with the 'Sketch Plan' function, which is a free function, you can insert the measured values of DISTO X4 into a rough drawing you drew to create an accurate drawing. First, tap 'Sketch Plan' on the home screen.
Then a screen like a whiteboard will be displayed, so you can draft the outline of the room yourself.
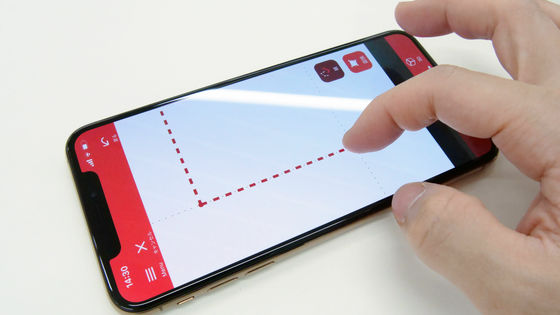
There are two input methods, 'Line' and 'Area'. With 'Line', you can input a line to the part you swipe. In 'Area', the vertices of the figure are set in the tapped part, and a polygon can be easily created.
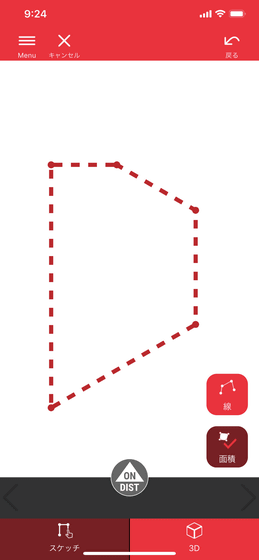
The completed draft looks like this.
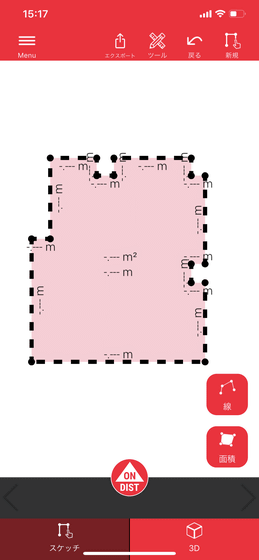
When you measure the wall length with DISTO X4, the measured length is displayed at the bottom left of the screen.
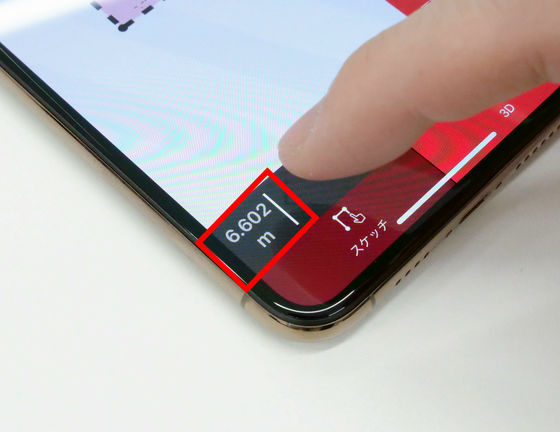
You can hold down the number, drag it, and drop it on the wall on the drawing to enter the number.
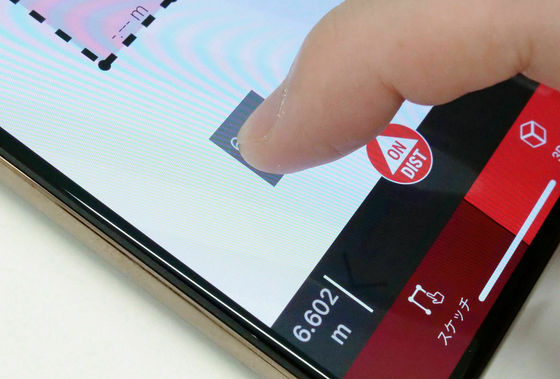
I thought, 'Oh, I think I can make it crispy with the free function!', But if there is a big discrepancy between the draft drawing and the actual room, the drawing will change when you enter the numerical value. In the image, the wall in the dotted line was supposed to bend upwards instead of downwards.
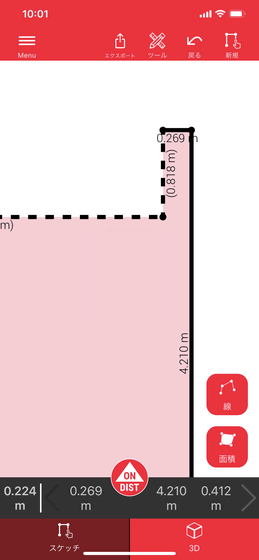
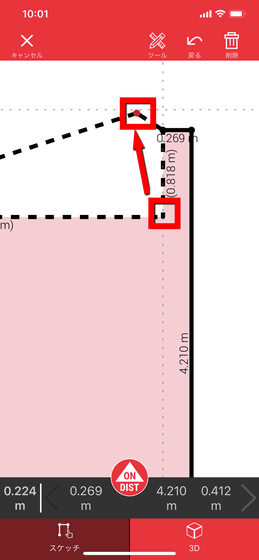
In that case, you can move the vertices by dragging and dropping them.
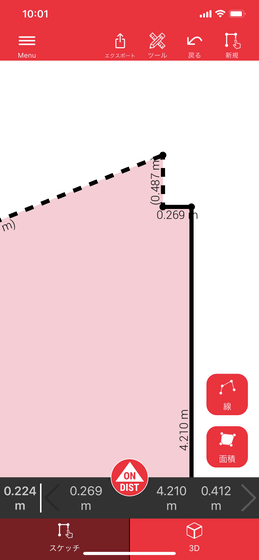
The moved wall looks like this.
The drawing that I managed to complete by repeating the same work looks like this. …… Somehow, it is slightly distorted.
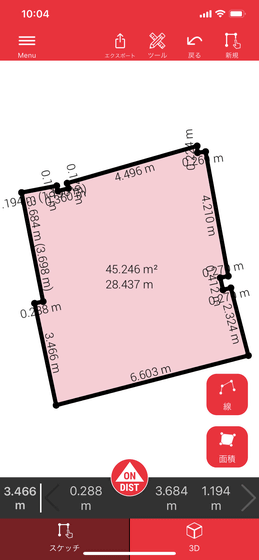
After repeating the work several times, a decent drawing was finally completed. If the wall length ratios you drew at the draft stage are significantly wrong, it seems difficult to get close to the exact one.
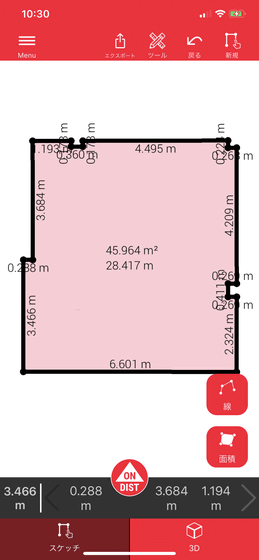
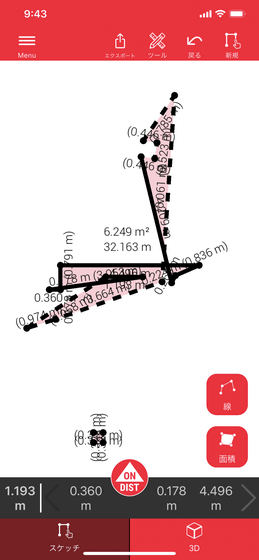
Some of the failed drawings are like this ...
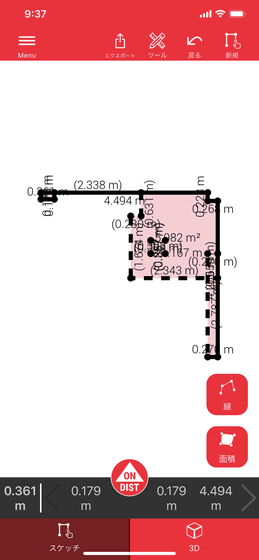
Some things are no longer established as rooms. It seems that there is no problem if the room has a simple shape and the number of measurements is small, but it seems a little difficult to make a drawing of a room with a complicated shape with 'Sketch Plan'.
◆ Enter the exact length of the image with the 'Sketch on Photo' function
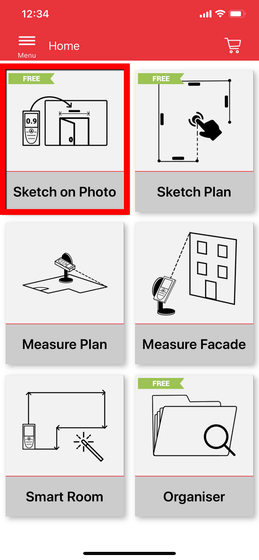
The 'Sketch on Photo' feature allows you to enter and save lengths and text in your photos using DISTO X4. First, select 'Sketch on Photo' from the home screen of the Leica DISTO Plan app.
If you select 'Camera', the images taken with your smartphone will be edited, and 'Gallery' will use the images saved in your smartphone. This time I decided to select 'Camera'.
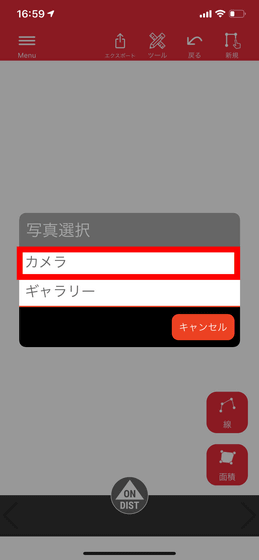
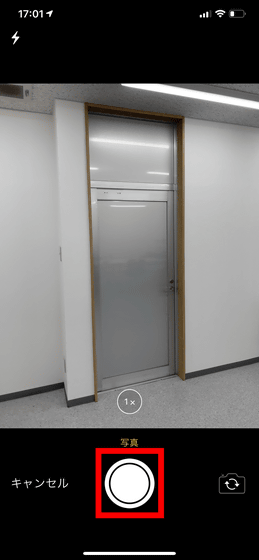
This time, I will measure the height and width of the door of the editorial department and save the image. First, tap the button below to shoot.
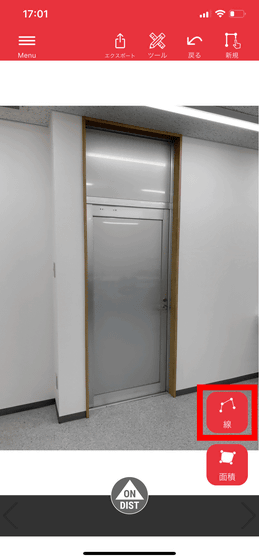
Since the image is saved, use the 'Line' command at the bottom right to fill in the part you want to enter the length in the image first.
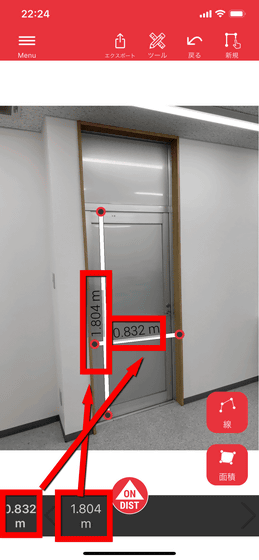
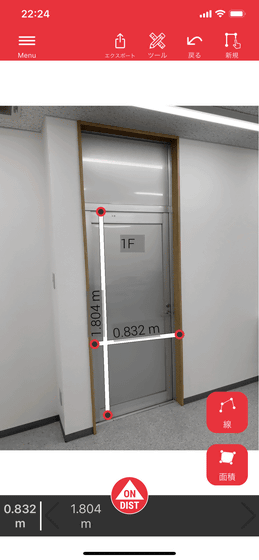
This time enter the height and width of the door.
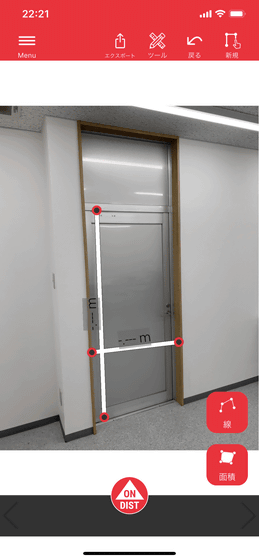
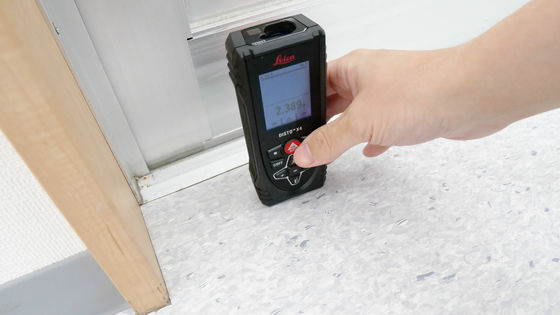
Actually measure the height and width of the door using DISTO X4 ...
Drag and drop the measured length to enter the height and width respectively.
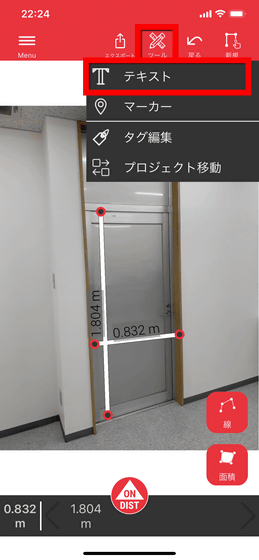
You can also enter text. If you select 'Text' from 'Tools' on the top tab ...
You can enter the text to display on the image. Enter '1F kitchen' and tap Save ...
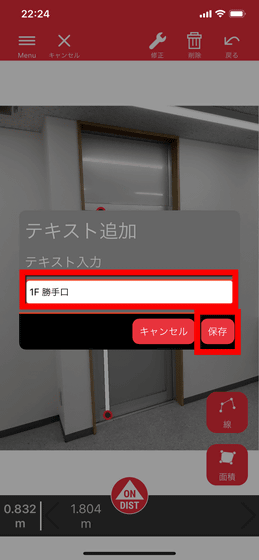
Only '1F' was displayed on the image. Apparently I can't use Japanese.
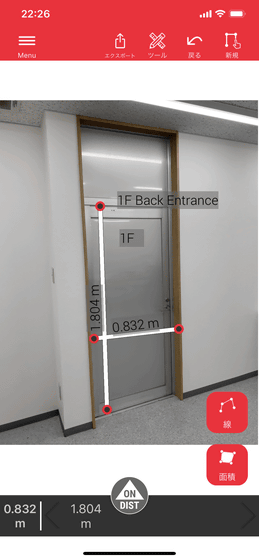
When I entered '1F Back Entrance', it was displayed properly.
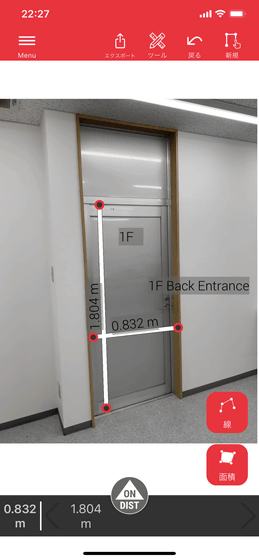
In addition, the display position can be freely changed by dragging and dropping.
◆ Zoom function of digital point finder
It is said that the maximum measurement distance of DISTO X4 is 140m, and in some cases it may not be possible to visually confirm whether the laser dot is shining on the target wall.
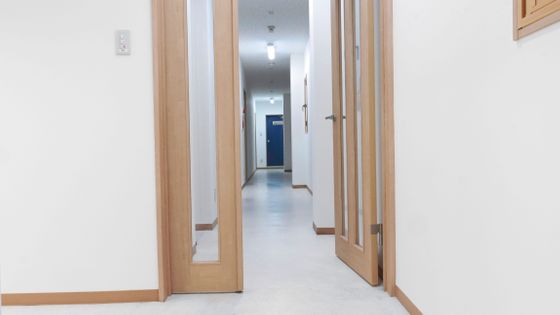
At such times, you can see where the aim is set on the main unit display.
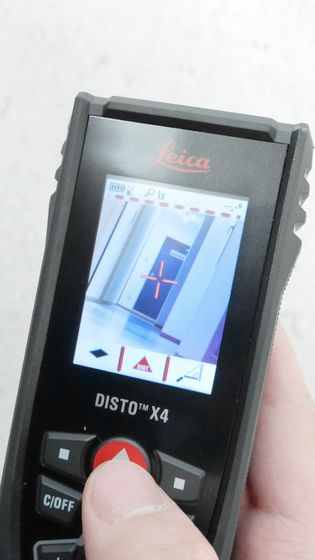
If you press the zoom button on the main unit, ...
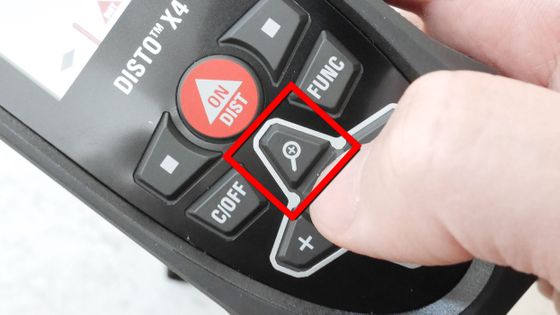
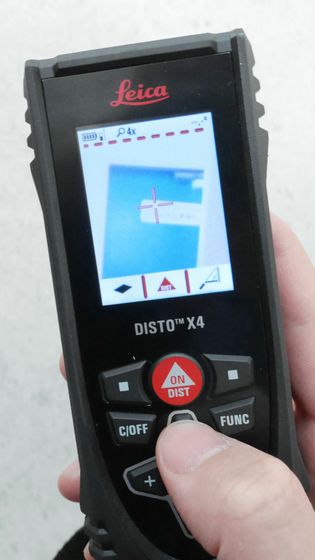
It can be magnified to 2x or 4x. It may come in handy when you want to match that place that is slightly protruding.
The Leica DISTO X4 can be purchased from the official online shop for 54,972 yen.
Related Posts:


