Free software 'PureSync' that can perform folder synchronization and backup with a high degree of freedom

You can set the timing of synchronization / backup to be performed at startup / logon / logoff / shutdown or periodically, and you can add a filter to synchronize / backup only specific files in the folder, corresponding to various situations Free software that can be used is ' PureSync '. The installation, synchronization and backup settings are as follows.
PureSync-Backup and synchronize files for Windows-PureSync
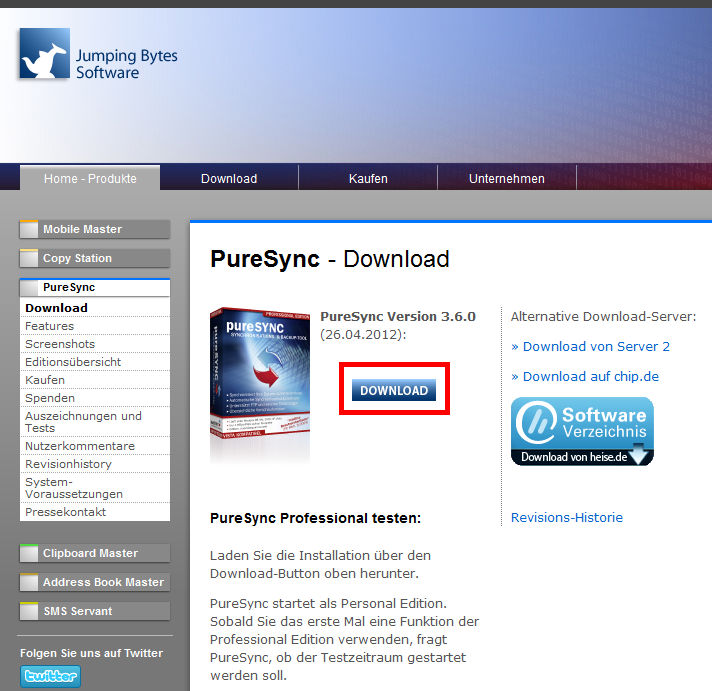
◆ Installation
Click 'DOWNLOAD' on the above site.
Start 'PureSyncInst.exe'.
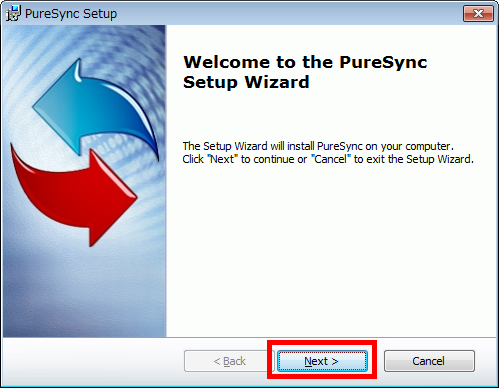
Click 'Next'.
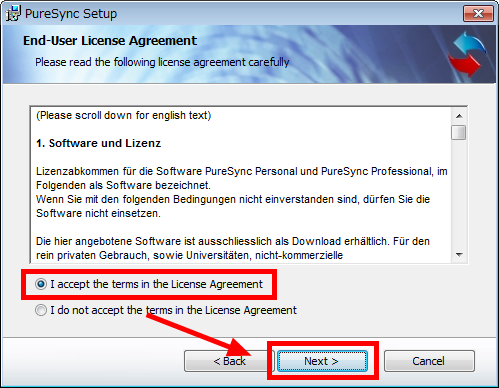
Check 'I accept the terms in the License Agreement' and click 'Next'.
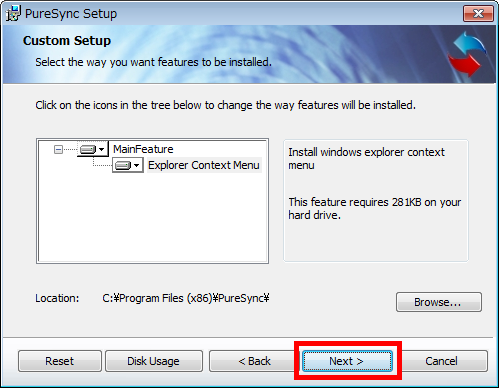
Click 'Next'.
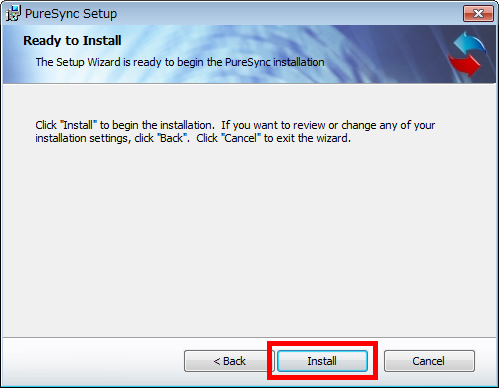
Click 'Install'.
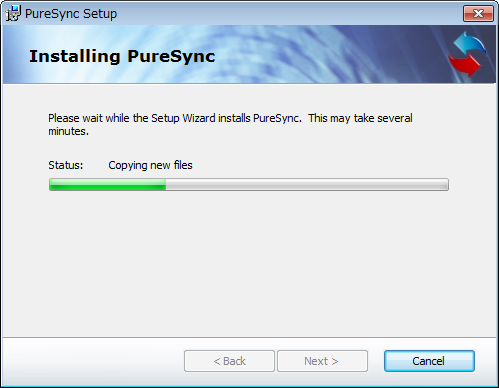
Wait about 1 minute for installation.
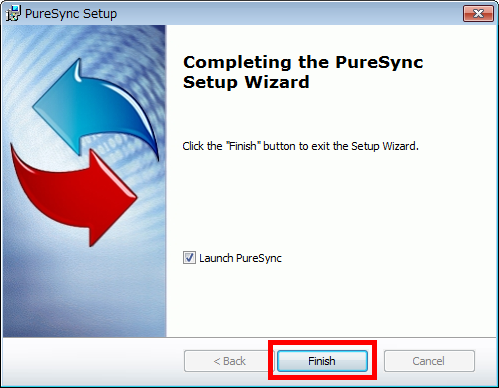
Click “Finish”.
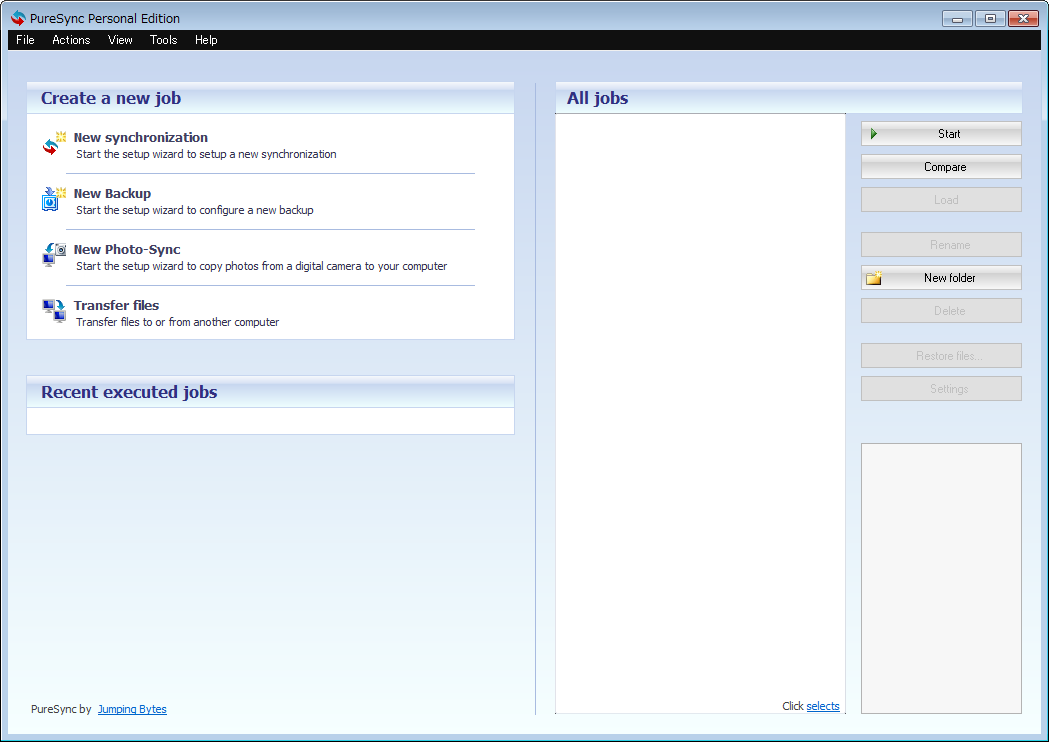
When the installation is completed, the operation screen will be displayed.
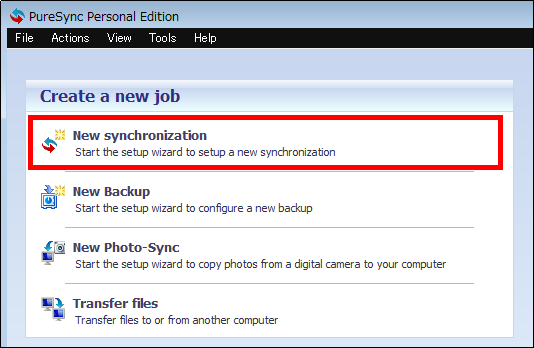
◆ Sync settings
Click 'New synchronization' to synchronize the specified folders.
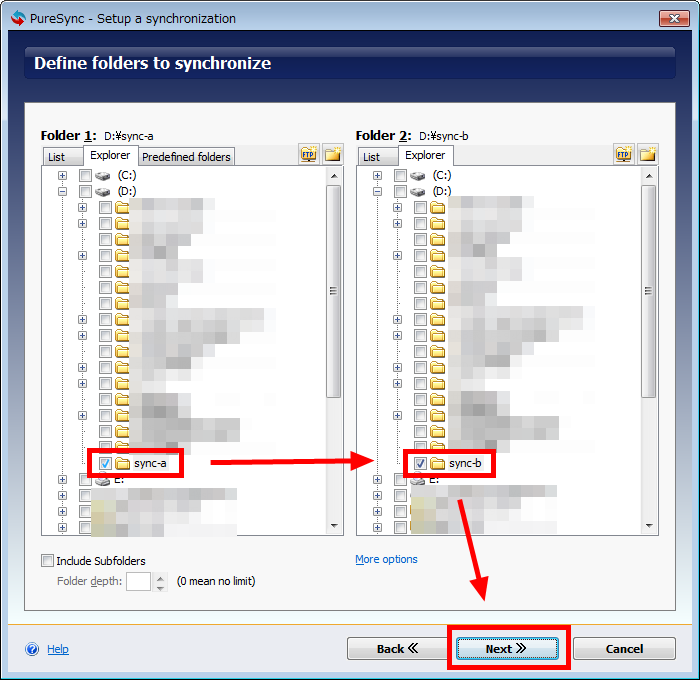
Select the folder to synchronize from the list on the left and right and click 'Next'.
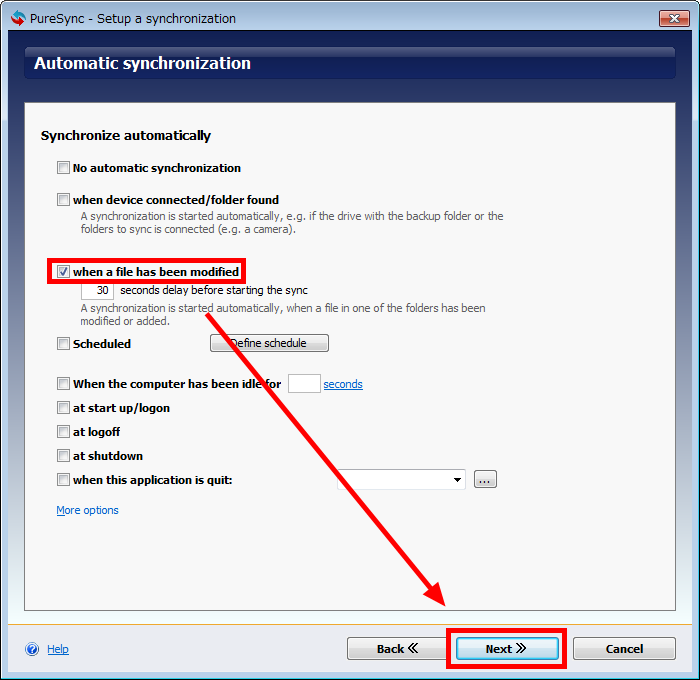
If you want to synchronize folders after creating and saving files, check 'when a file has been modified' and click 'Next'. By default, it is set to synchronize in 30 seconds after creating / saving.
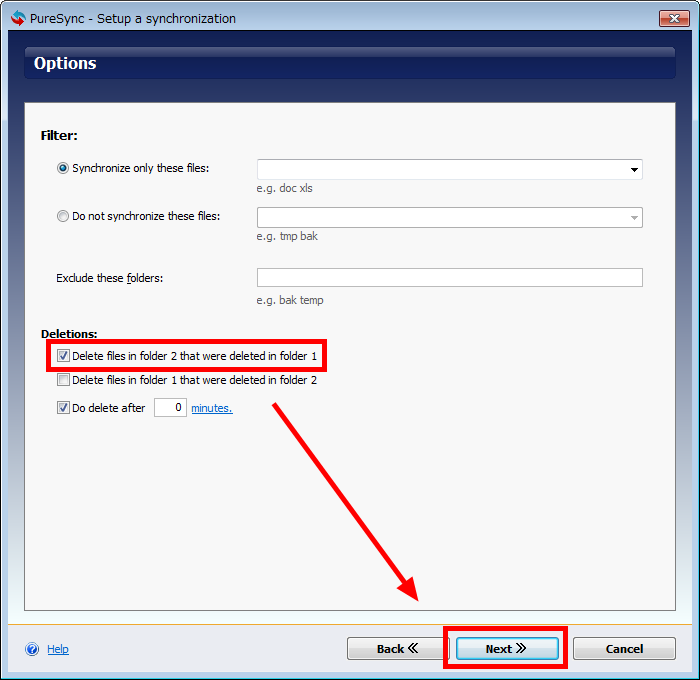
Normally, even if you delete the contents of a folder, the deleted contents are restored in sync, but you can also delete them. For example, if you want to delete the contents of the folder selected from the right side when you delete the contents of the folder selected from the left side of the list, check 'Delete files in folder 2 that were deleted in folder 1', Click 'Next'.
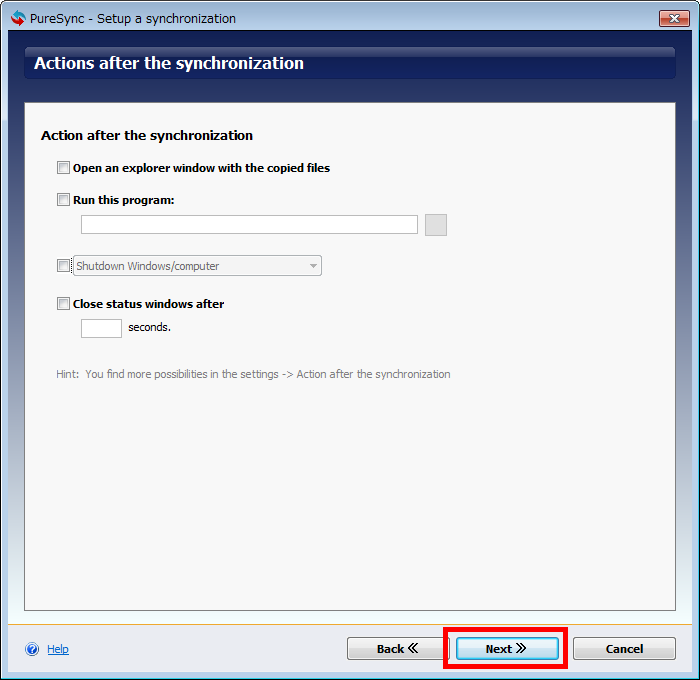
Click 'Next'.
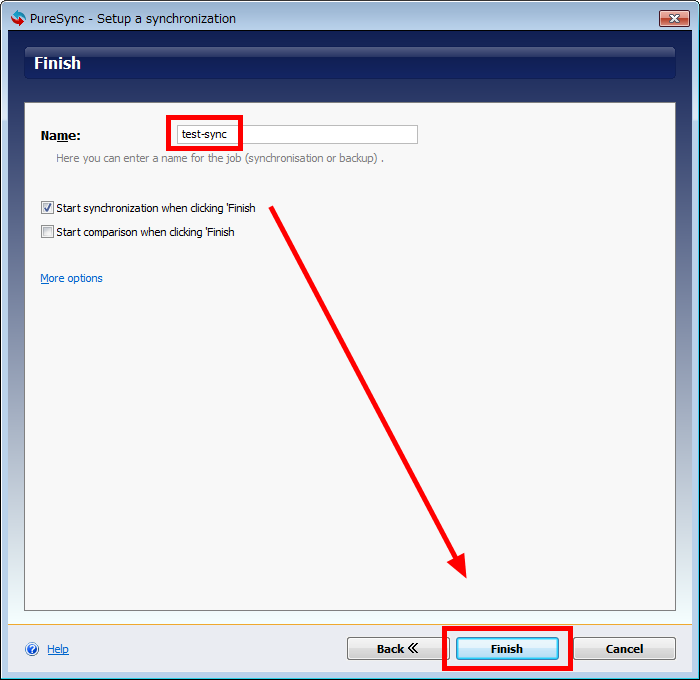
Enter the name of the synchronization you have set up so far and click 'Finish' to complete the setting.
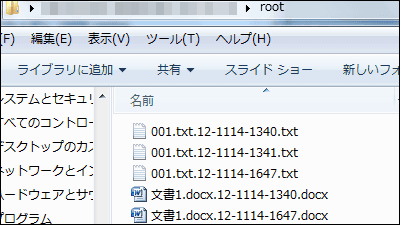
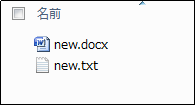
If you create a folder, word, or text file in the folder for which synchronization has been set ...
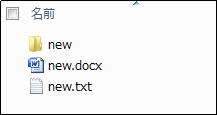
A word text file will be created in the other folder for which synchronization has been set. Folders are not synced.
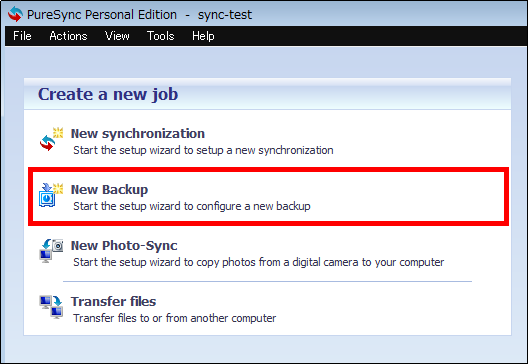
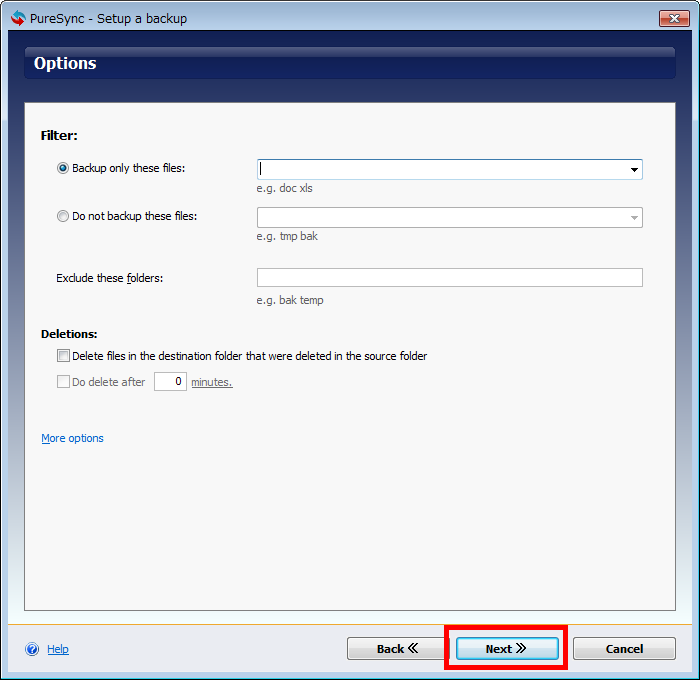
◆ Backup settings
To set up backup, click 'Now Backup'.
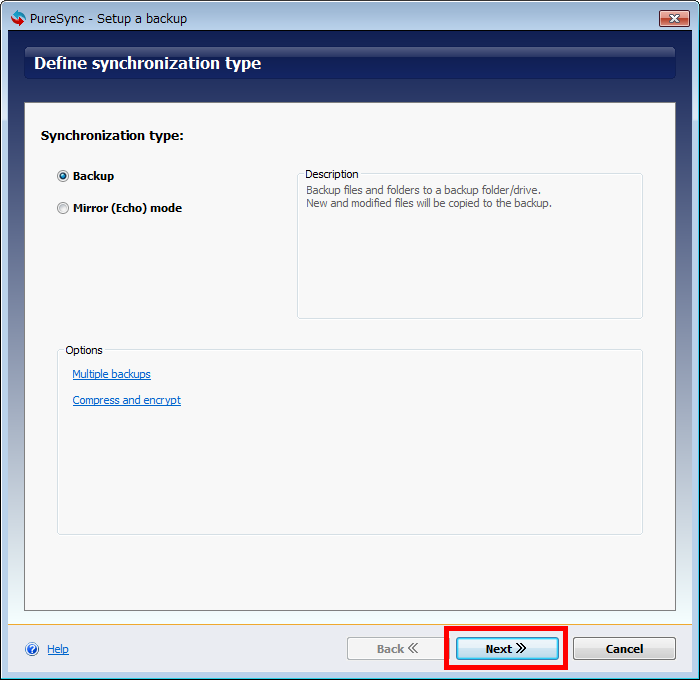
Click 'Next'.
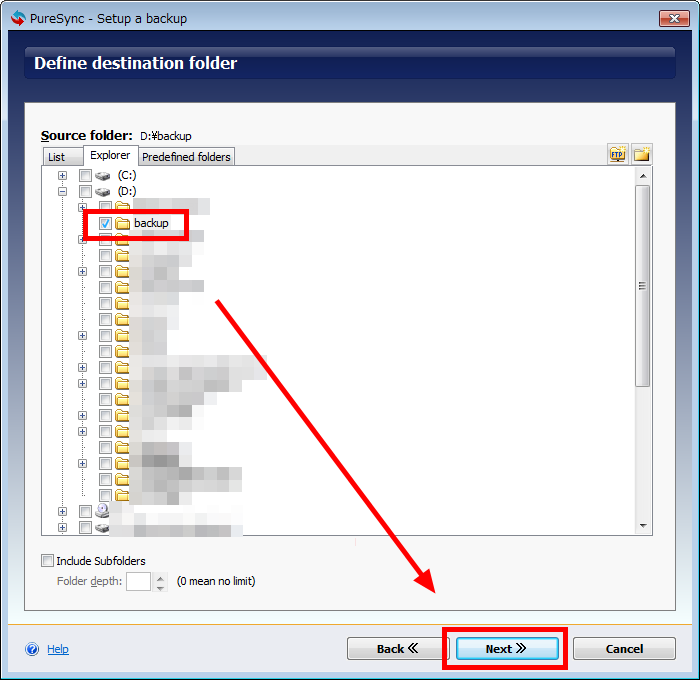
Select the folder you want to back up and click 'Next'.
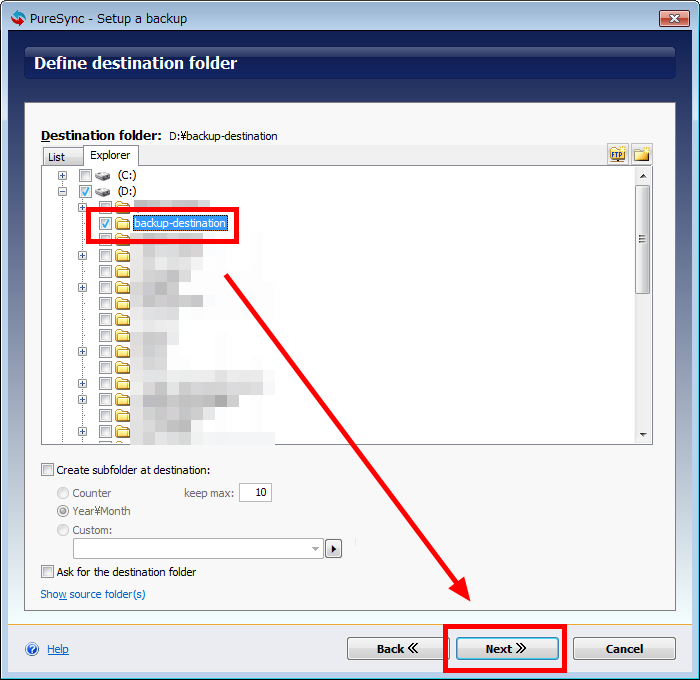
Next, select the backup destination folder and click 'Next'.
Click 'Next'.
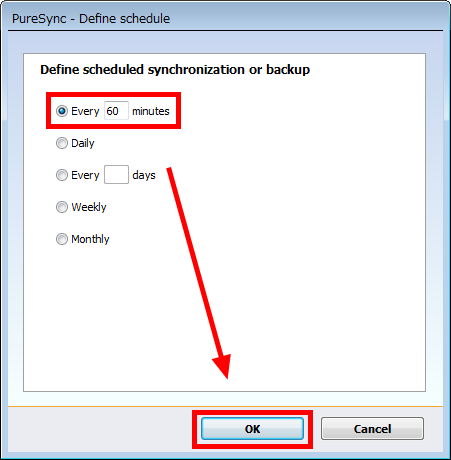
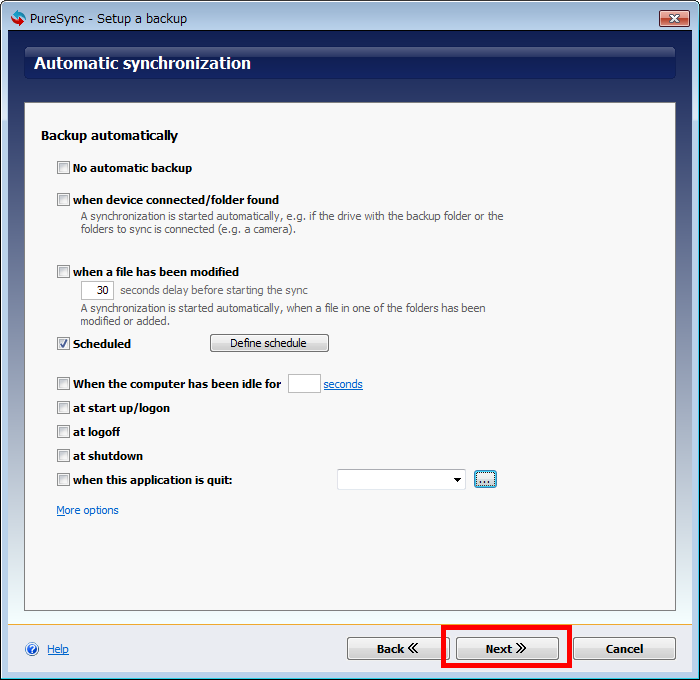
Click 'Scheduled' to set the backup schedule.
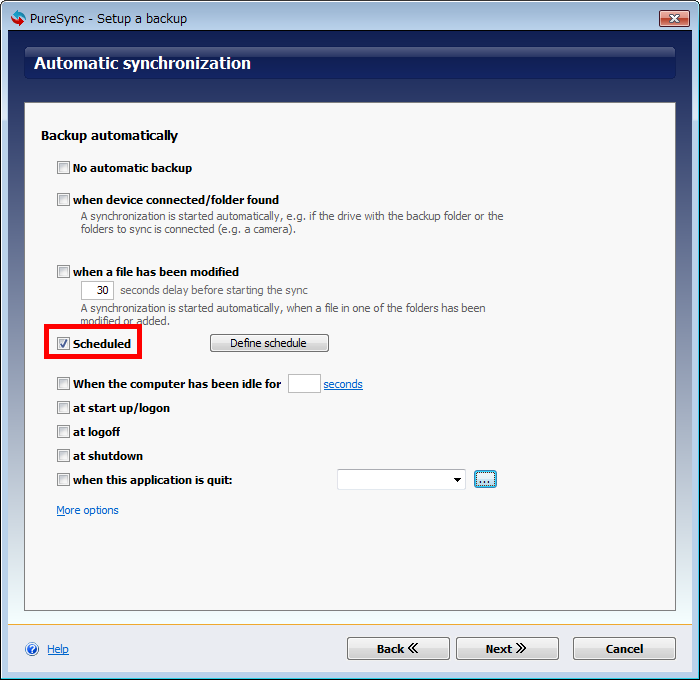
Since the settings here will be backed up every 60 minutes, check the option at the top and enter Every '60' minutes and click 'OK'.
Click 'Next'.
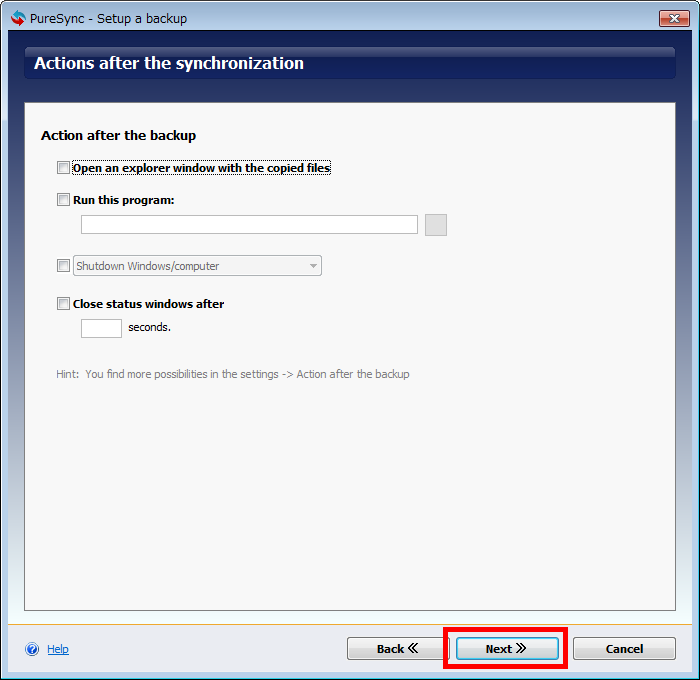
Click 'Next'.
Enter the name of the backup set up to this point and click 'Finish' to complete the setting.

In addition, there are 'New Photo-Sync' and 'Transfer files' options, but they use the functions of sync and backup and are not special functions.
Related Posts: