"VisiPics" free software that can search for duplicate images and compare them while comparing
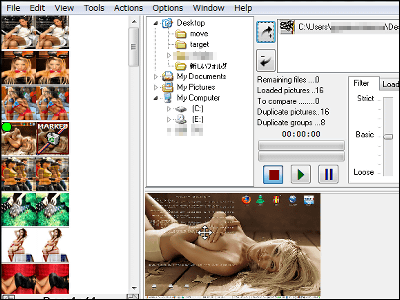
When getting or giving a photograph when I went on a trip, it seems that there are several overlapping images unexpectedly and it is convenient when you want to organize but it is troublesome,"VisiPics"is.
VisiPics searches folders and drives, finds duplicate images, and sorts them out by comparing them side by side on the preview screen. Even if the format and size of the image are different, you can extract close-looking images, and you can also select images while watching the preview screen and choose whether to discard or move to any folder.
The installation method and usage of "VisiPics" is as follows.Download - VisiPics
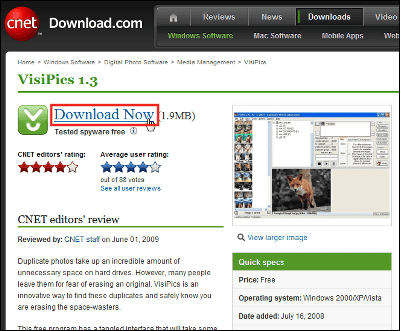
Click "VisiPics - Version 1.3" on the above page
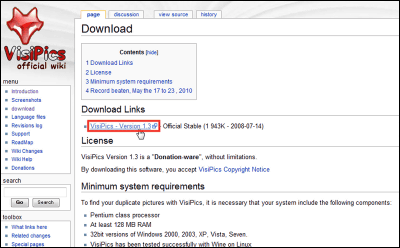
As the page moves, click "Download Now"
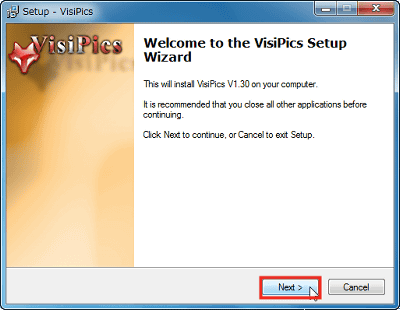
Launch the downloaded installer

Click "Next"
Check "I accept the agreement" and click "Next"

If there is no problem in the installation folder, click "Next"

Click "Next"

Click "Install" to start installation

Click "Finish"

This is the main screen

For this time, I prepared images of numbers from 1 to 20 by changing only the file name and two kinds

Select the target folder and click on the arrow icon marked with "+"

When the target folder is added to the upper right box, click the center play button

Then, duplicate images are displayed side by side in the left box. Since "3" and "8" are recognized as similar images, they are lined up side by side. To delete or move duplicate images, click on the image you do not need to select.

The trashcan mark is displayed in the image you click. I will mark marks that do not need this.

When the number of images is large, you can mark unnecessary images automatically. When marking automatically, click "Auto-select" on the right side

Click "OK"

In this way, only one image to be left is selected from the overlapping images, and the other images are marked with a trash can.

Since it is recognized that the image of "3" is overlapped with the image of "8", select the one to be left from the image of "3", and remove the mark.

The automatic selection can be changed from the "Auto-Select" tab in the center.

To move the folder of the marked image, click "Move" on the right side

Select the destination folder and click "OK"

When you click "OK", the image with the trash box mark moves to the selected folder

To delete the marked image, click "Delete" on the right side

Clicking "OK" moves the marked image to the trash can

In order to test whether it is recognized properly even if the image format or resolution is different, I converted the format to PNG and prepared an image with reduced resolution.

As before, overlapping images are displayed side by side. PNG on the left side and JPG format on the right side. If you look carefully, the image on the left contains noises, but overlapping images are successfully extracted.

Related Posts:
