


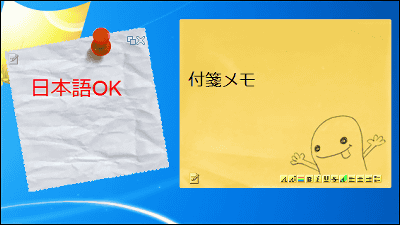
ネットワーク経由で相手のデスクトップにメモを書いた付箋が貼れる「PNotes」
デスクトップ上に付箋を貼り付けることができ、その付箋をネットワーク経由で簡単に相手のデスクトップにも貼り付けることが可能なオープンソースソフトが「PNotes」です。バックアップ、FTPサーバとの同期、パスワード追加、、スキン変更、リマシンダー、タブ、グループ管理などの機能がついています。Windows上で起動可能です。
ダウンロード、インストール、日本語化、付箋の送信、スキン変更などについては以下から。
PNotes
http://pnotes.sourceforge.net/index.php?page=5
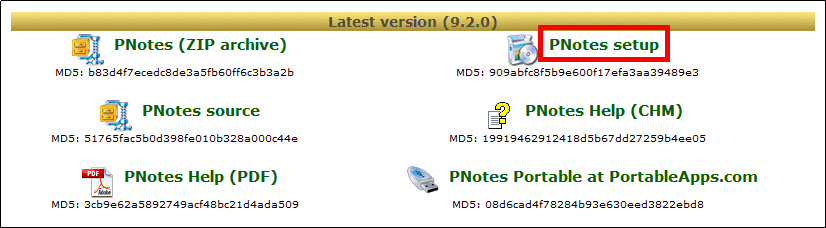
今回はインストーラーをダウンロードするので、上記サイトの「PNotes setup」をクリック。
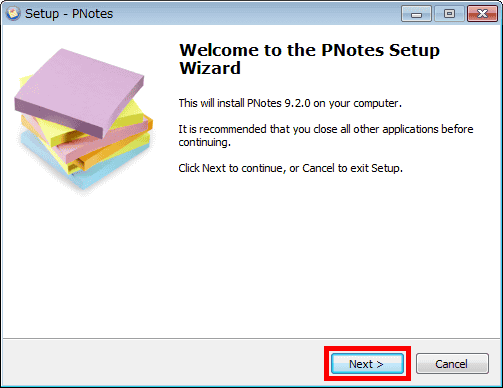
ダウンロードしたインストーラーを実行。

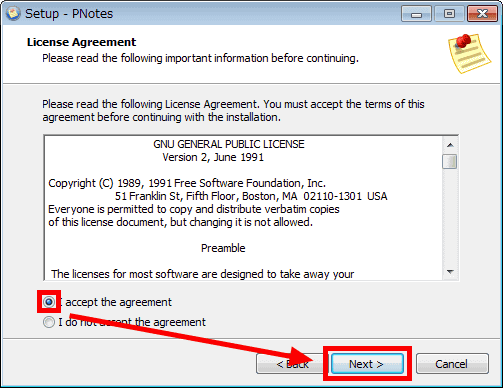
「Next」をクリック
上にチェックを入れて「Next」をクリック
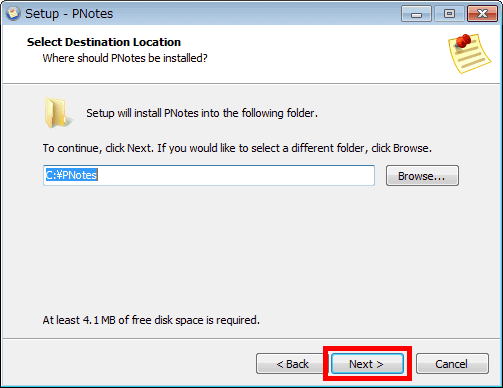
「Next」をクリック
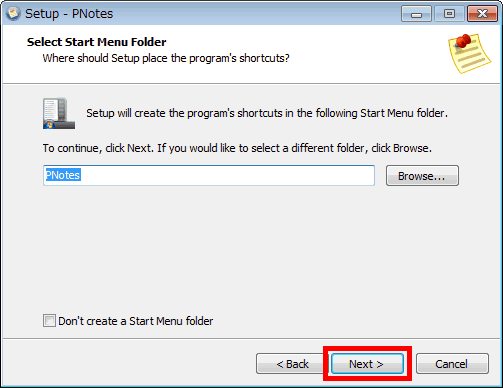
「Next」をクリック
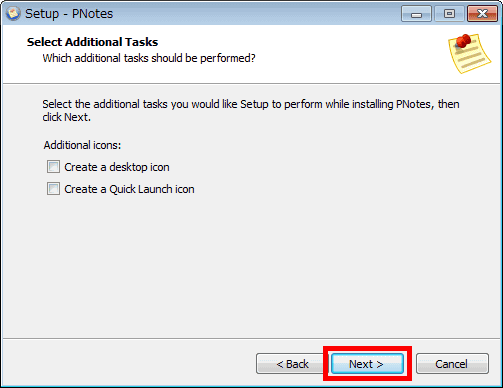
「Next」をクリック
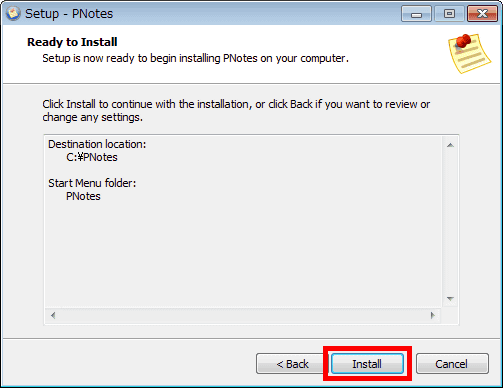
「Install」をクリック
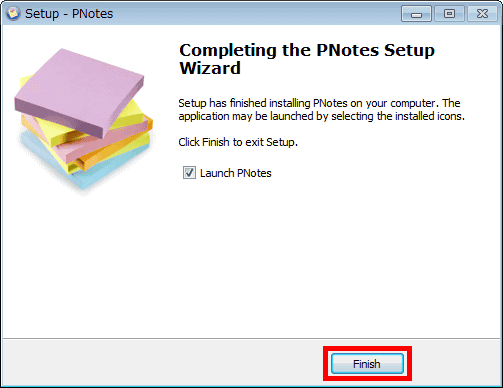
「Finish」をクリック
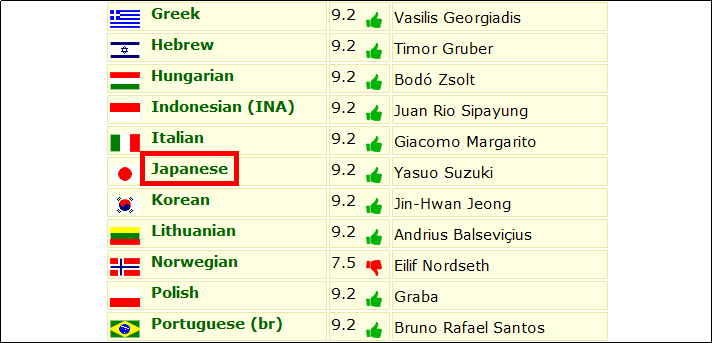
次に日本語を設定するため、言語パックが用意されているページ中段にある「Japanese」をクリック。
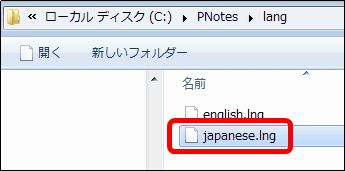
ダウンロードしたZIPファイルをExplzhなどで解凍して、「japanese.lng」をC:\PNotes\langに置きます。
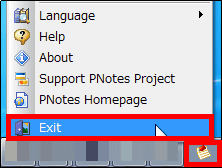
PNotesを再起動させる必要があるため、タスクトレイにあるアイコンを右クリックして「Exit」をクリック。
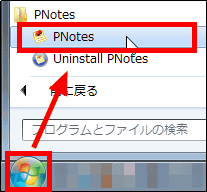
スタートボタンから「PNotes」をクリック。
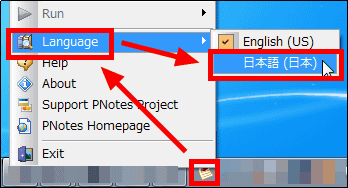
タスクトレイに表示されたアイコンを右クリックして、「Language」から「日本語(日本)」を選択すれば日本語設定完了です。
◆ノート(付箋)の作成
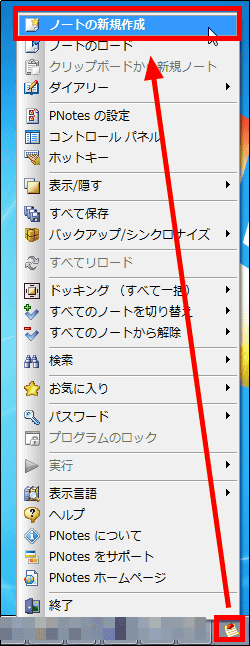
ノートを新規作成する場合は、タスクトレイにあるアイコンを右クリックして、「ノートの新規作成」をクリック。
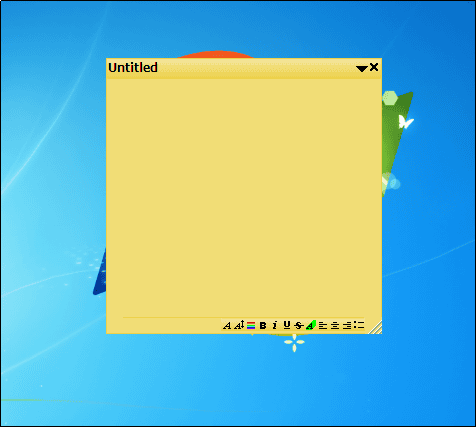
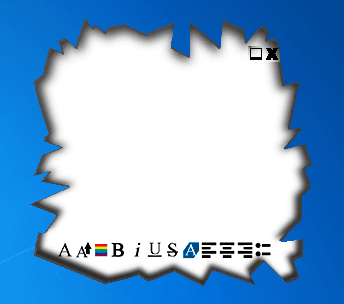
ノートが表示されます。
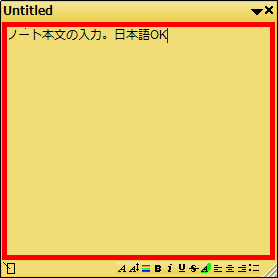
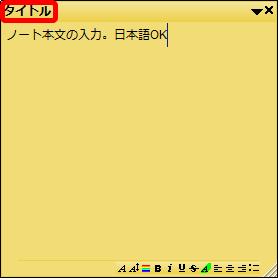
ノートの本文を入力する場合は、赤枠内をクリックして本文を入力します。
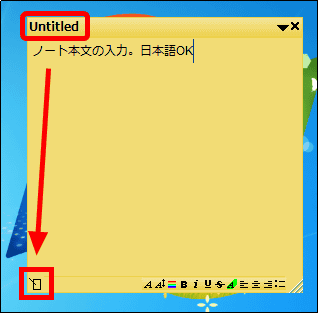
上部にあるタイトル(ここではUntitled)を変更する場合は、左下にあるアイコンをクリック。
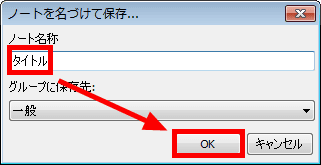
タイトル名を入力して、「OK」をクリック。
タイトルが変更されます。
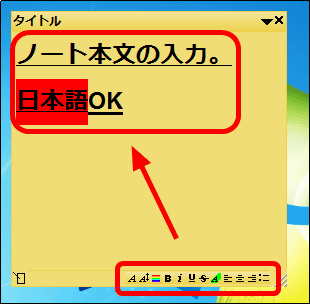
右下にある文字設定で、このように文字を変更することが可能。
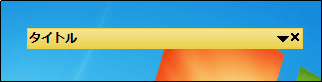
上部にあるタイトル部分をクリックすると……
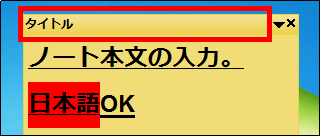
このように本文をたたむことができます。
右下にあるアイコンをドラッグ&ドロップすることで、ノートの大きさの変更が可能です。

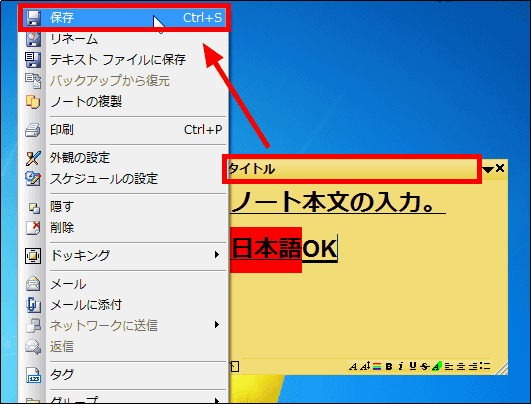
作成したノートを保存する場合は、タイトル部分を右クリックして、「保存」をクリックすればOK。
◆ネットワーク経由でノートの送信
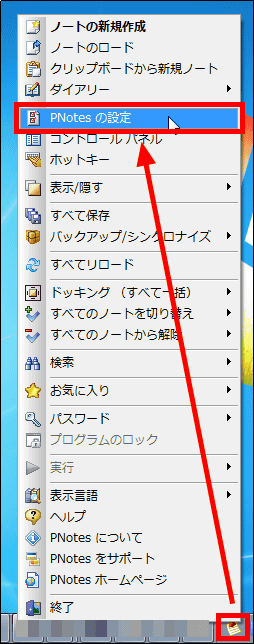
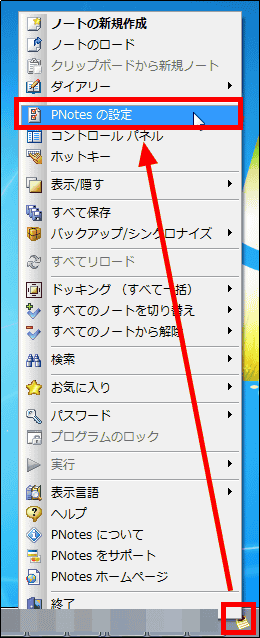
PNotesをインストールしているPCにネットワーク経由でノートを送信する場合は、タスクトレイにあるアイコンを右クリックして、「PNotesの設定」をクリック。
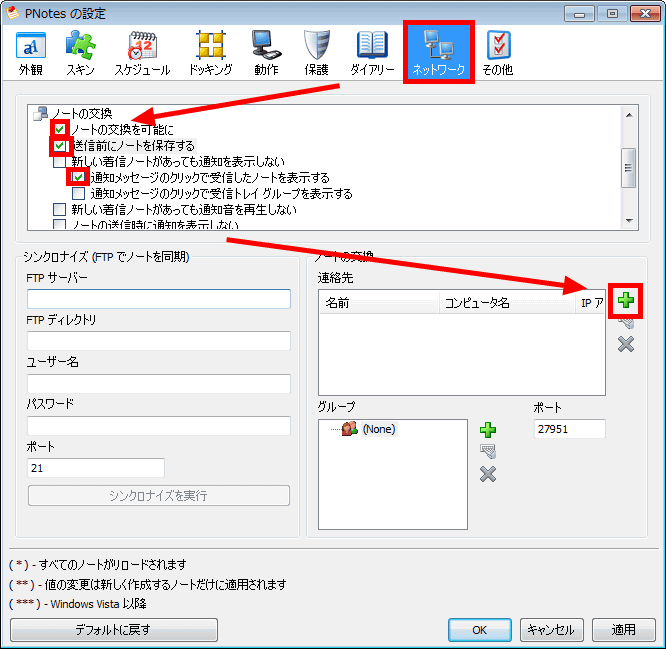
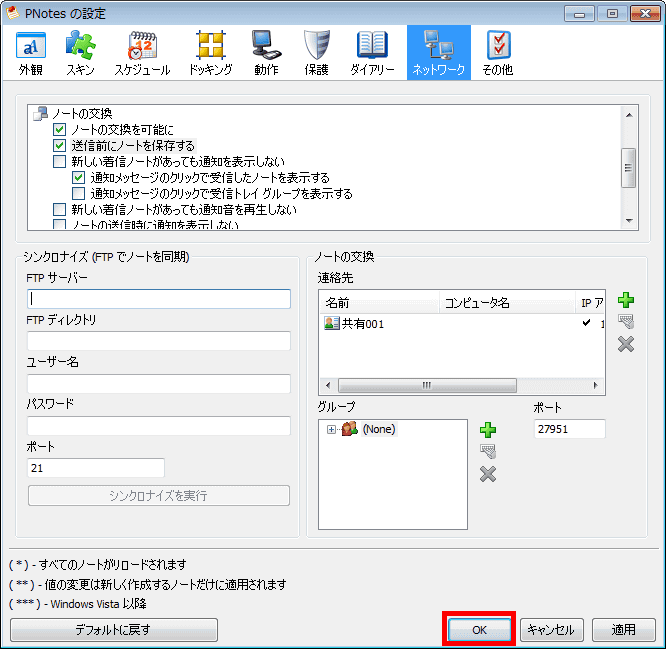
「ネットワーク」をクリックして、「ノートの交換を可能にする」にチェックを入れ、「+」をクリック。また、ここでは追加で「送信前にノートを保存する」と「通知メッセージのクリックで受信したノート表示する」にチェックを入れました。
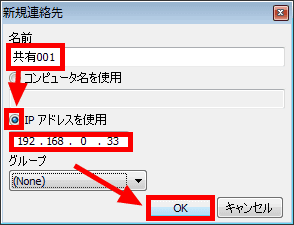
名前を入力し、今回は「IPアドレスを使用」にチェックを入れ、IPアドレスを入力して「OK」をクリック。
「OK」をクリックすれば設定完了です。なお、ノートのやり取りをする相手側のPCも同様の設定が必要となります。
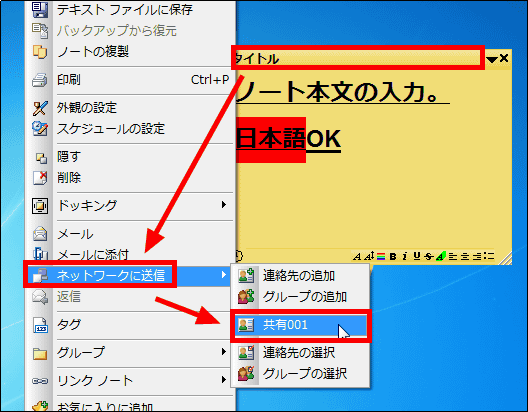
ノートを送信する場合は、タイトル部分を右クリックして、「ネットワークに送信」から送信する相手を選択。
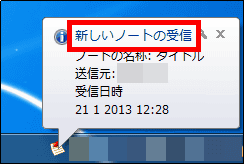
相手側にノートが届くとポップアップが表示されるので、「新しいノートの受信」をクリック。
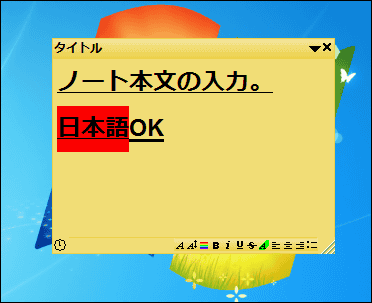
このようにノートがデスクトップに貼られます。
◆リマインダー機能
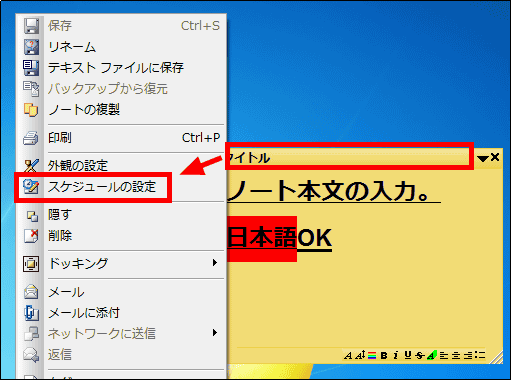
リマインダー機能を利用する場合は、タイトルを右クリックして、「スケジュールの設定」をクリック。
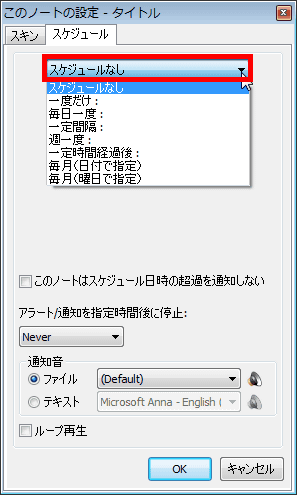
設定画面が表示されるので、「スケジュールなし」をクリックして、通知するスケジュールを設定します。
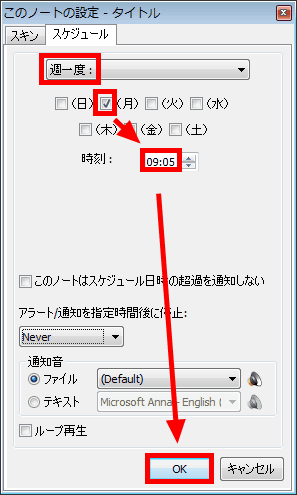
「週一度」のスケジュールを設定する場合は、週一度の曜日と時間を設定して、「OK」をクリック。また、スケジュール日時の超過通知、アラート設定の追加も可能。
◆まとめて管理
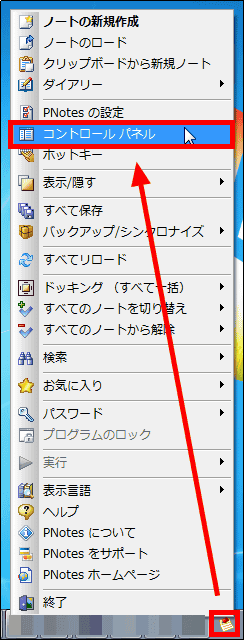
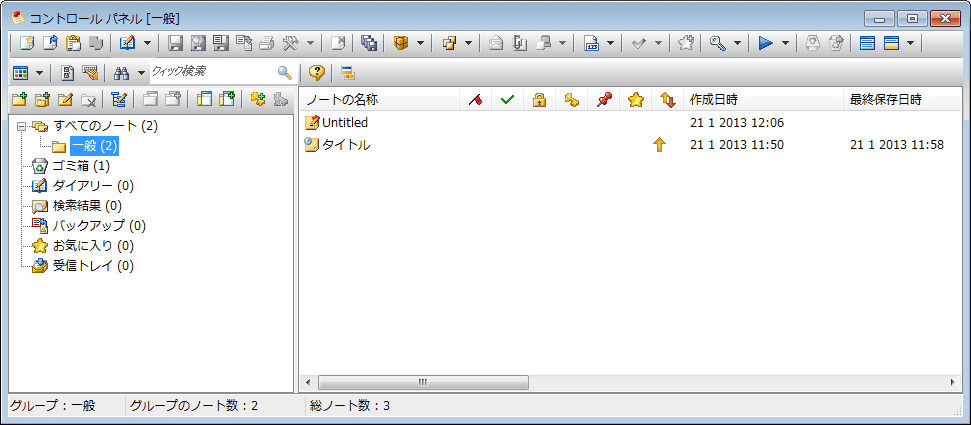
ノートをまとめて管理したい場合は、タスクトレイにあるアイコンを右クリックして、「コントロールパネル」をクリック。
以下のような管理画面が表示され、管理が簡単にできます。
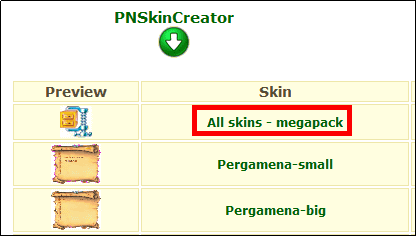
◆スキンの変更
スキンを変更する場合は、スキンのパックが用意されているページにある「All skins - megapack」をクリック。
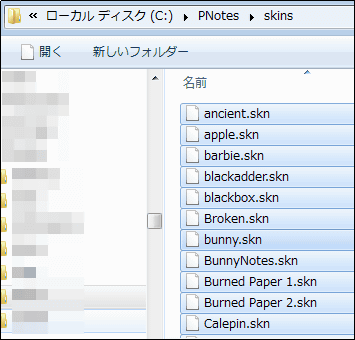
ダウンロードしたZIPファイルをExplzhなどで解凍して、スキンのファイルを全てC:\PNotes\skinsに置きます。
PNotesを再起動させた後に、タスクトレイにあるアイコンのをクリックして「PNotesの設定」をクリック。
「スキン」をクリックして、表示させるスキンを選択し「OK」をクリック。

スキンが変更されます。
・関連記事
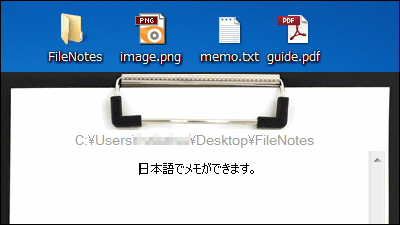
ファイルやフォルダーに簡単にメモが追加できるフリーソフト「FileNotes」 - GIGAZINE
思いついたことをさくさくメモすることに特化したフリーソフト「CintaNotes」 - GIGAZINE
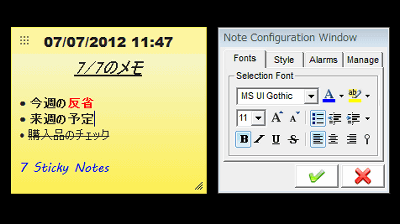
デスクトップにメモを貼ったりアラームを鳴らしたりできる多機能な付箋紙ソフト「7 Sticky Notes」 - GIGAZINE
思いついたアイディアを逃さないクラウドのメモ帳サービス「Catch」 - GIGAZINE
Simplenoteと同期するメモ帳をWindowsで使えるフリーソフト「ResophNotes」 - GIGAZINE
メモ帳を使うようにGoogleドキュメントの編集・保存ができるフリーソフト「Nocs」 - GIGAZINE
気になるページを保存してあとで別のスマホなどからオフライン時にも読めるようにできる「Pocket」の使い方 - GIGAZINE
・関連コンテンツ
in ソフトウェア, レビュー, Posted by darkhorse_log
You can read the machine translated English article "PNotes" that you can paste a sticky not….