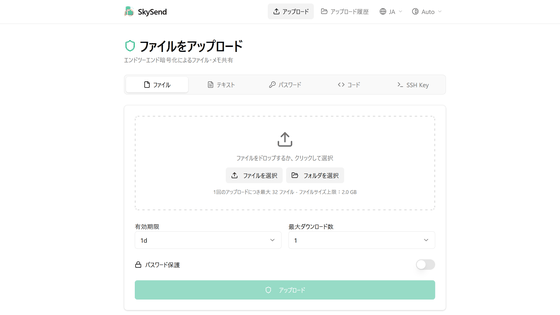
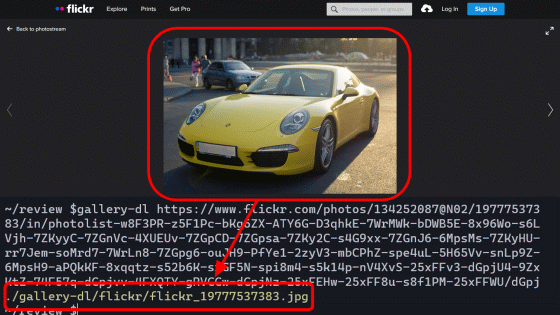
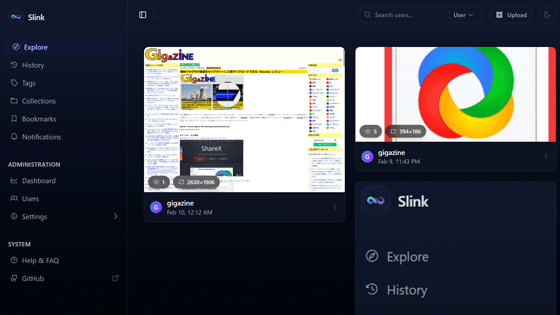
Zipline is a free, open-source, self-hostable application that allows you to instantly upload and share files from your browser, ShareX, iOS shortcuts, and more.
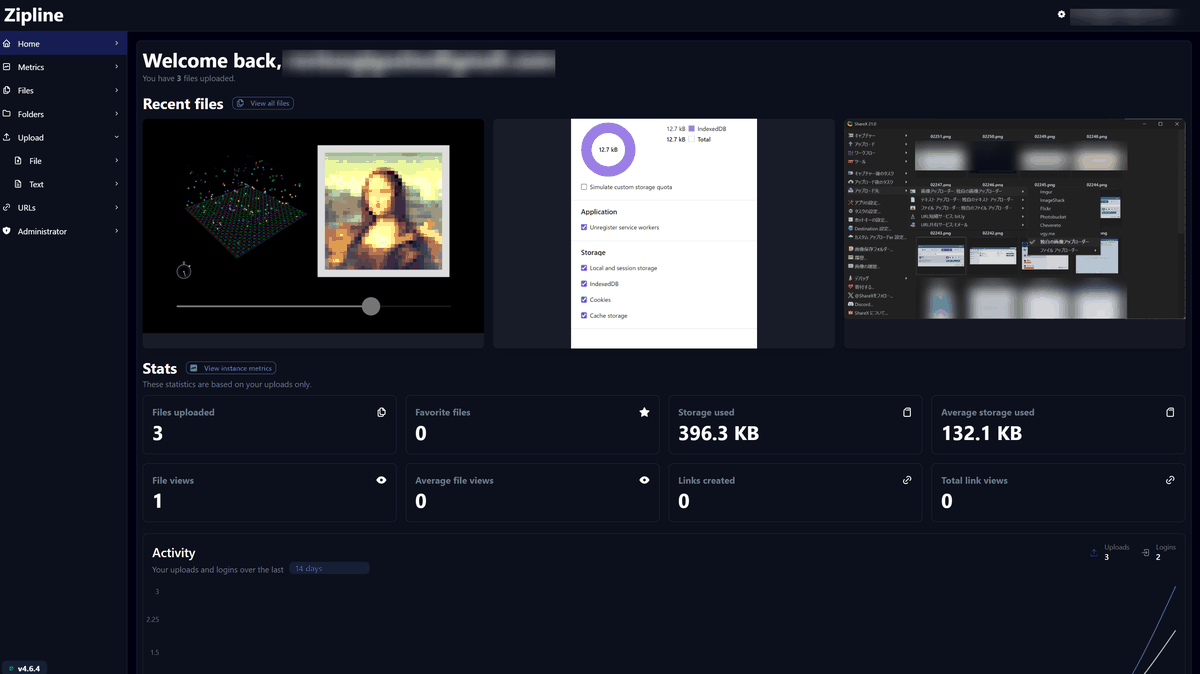
Sharing files typically involves accessing a shared server, uploading the files, and then copying the sharing URL. However, when sharing multiple files created in a short period, this process becomes cumbersome as the same steps are repeated over and over. Zipline , which allows you to immediately use the generated sharing URL, drastically reduces the effort required by allowing you to send files directly from
Zipline · Zipline
https://zipline.diced.sh/
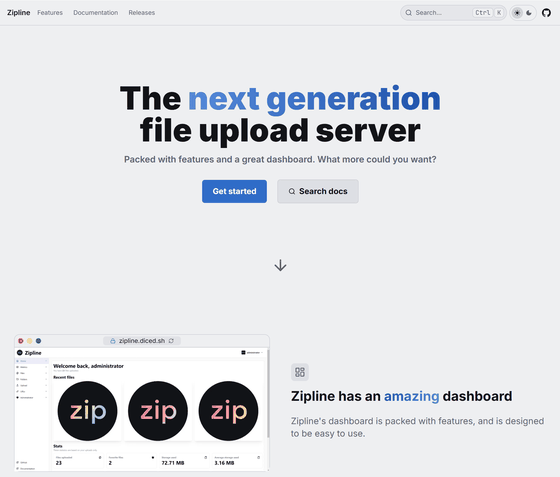
diced/zipline: A ShareX/file upload server that is easy to use, packed with features, and with an easy setup!
◆Main features of Zipline
- File uploader that relies on a shared URL
This is a self-hosted file uploader that issues a sharing URL for each uploaded file, which is then used to share the file. When you access the server and manually upload a file, the sharing URL is displayed immediately.

- Automate uploads and automatically obtain sharing URLs.
When you upload files to Zipline using ShareX,
◆How to set up and use automatic uploads from ShareX
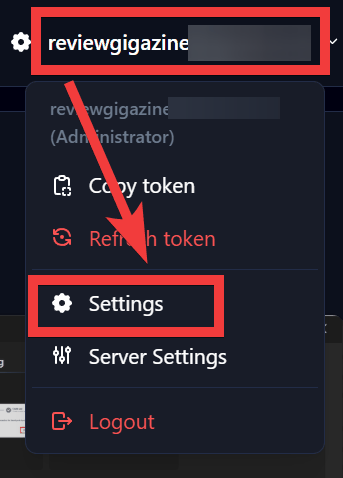
Log in to the Zipline server prepared using the setup method described later, click 'Account' in the upper right corner of the screen, and then click 'Settings' from the menu.
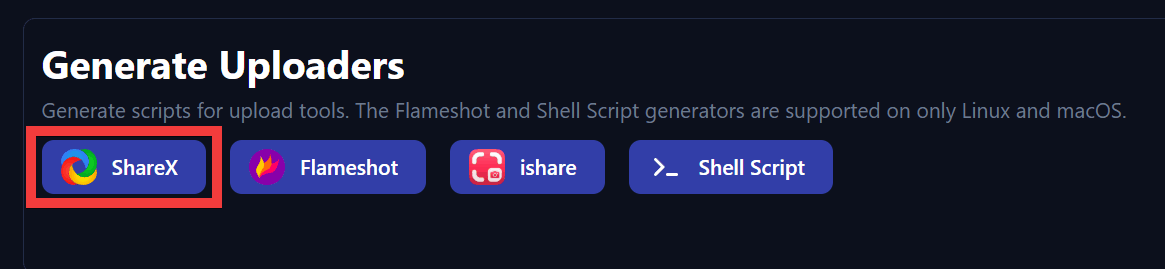
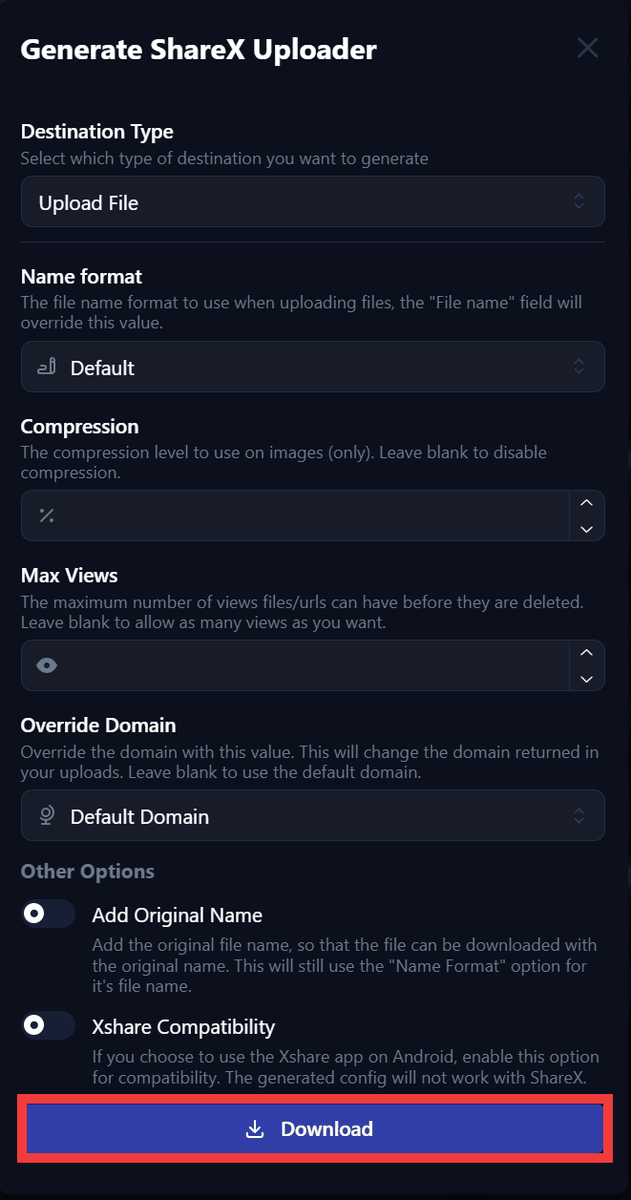
Click 'ShareX' under 'Generate Uploaders' in the lower right corner of the Settings screen.
Just click 'Download'.
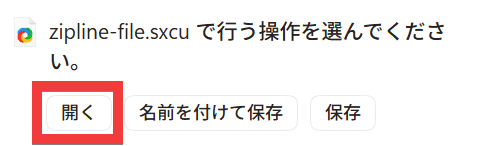
Clicking 'Open' will...
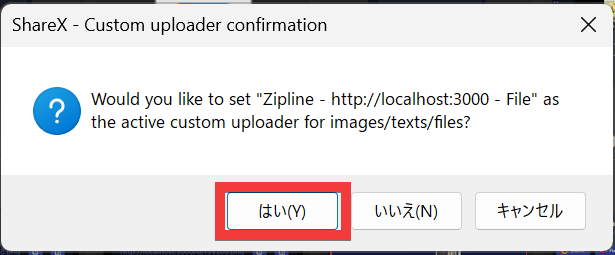
ShareX will launch and a dialog box will appear asking if you want to register Zipline as a custom uploader, so click 'Yes'.
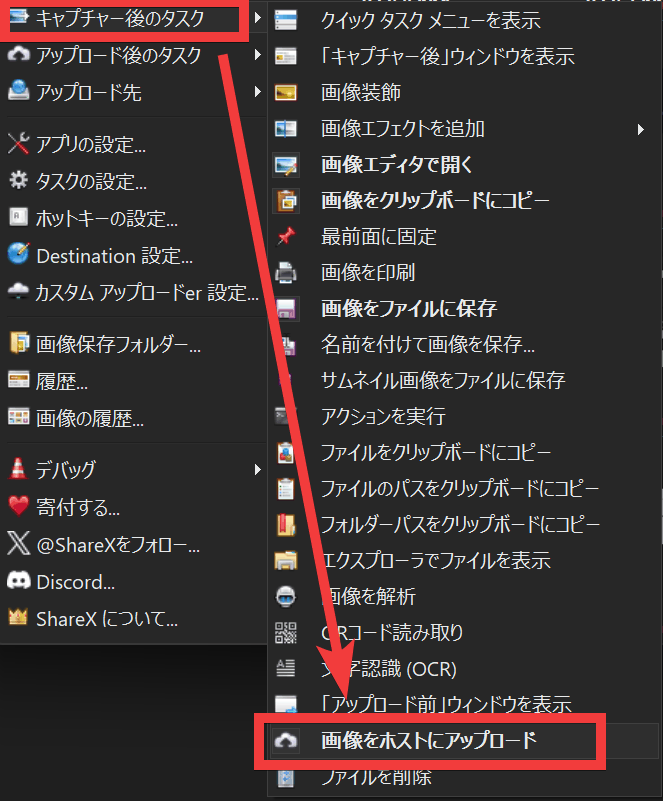
In ShareX, you can automatically upload images during capture by clicking 'Upload to Image Host' under 'Post-Capture Tasks' in the menu.
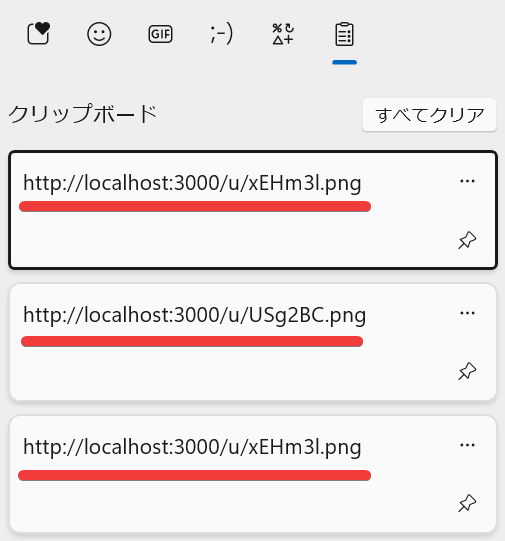
When I took a screenshot and checked the clipboard, the URL had been automatically copied.
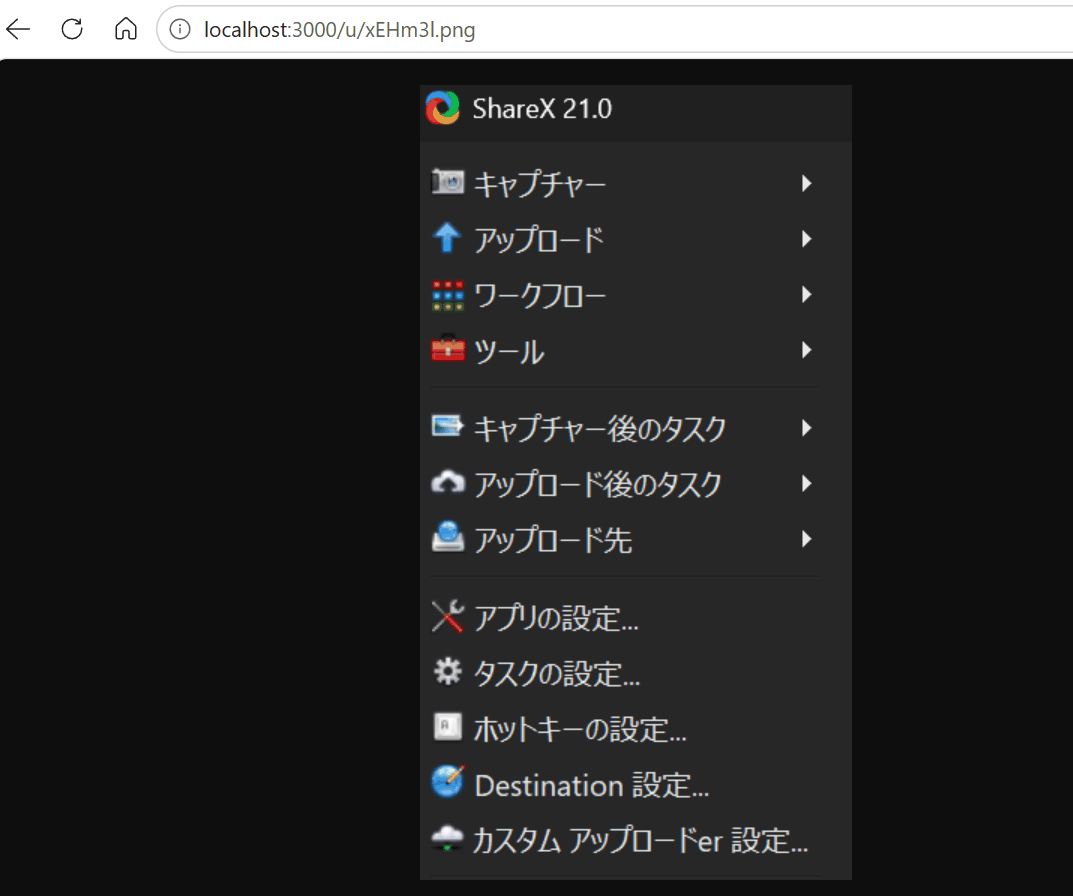
When you open the URL in your browser, the captured image will be displayed.
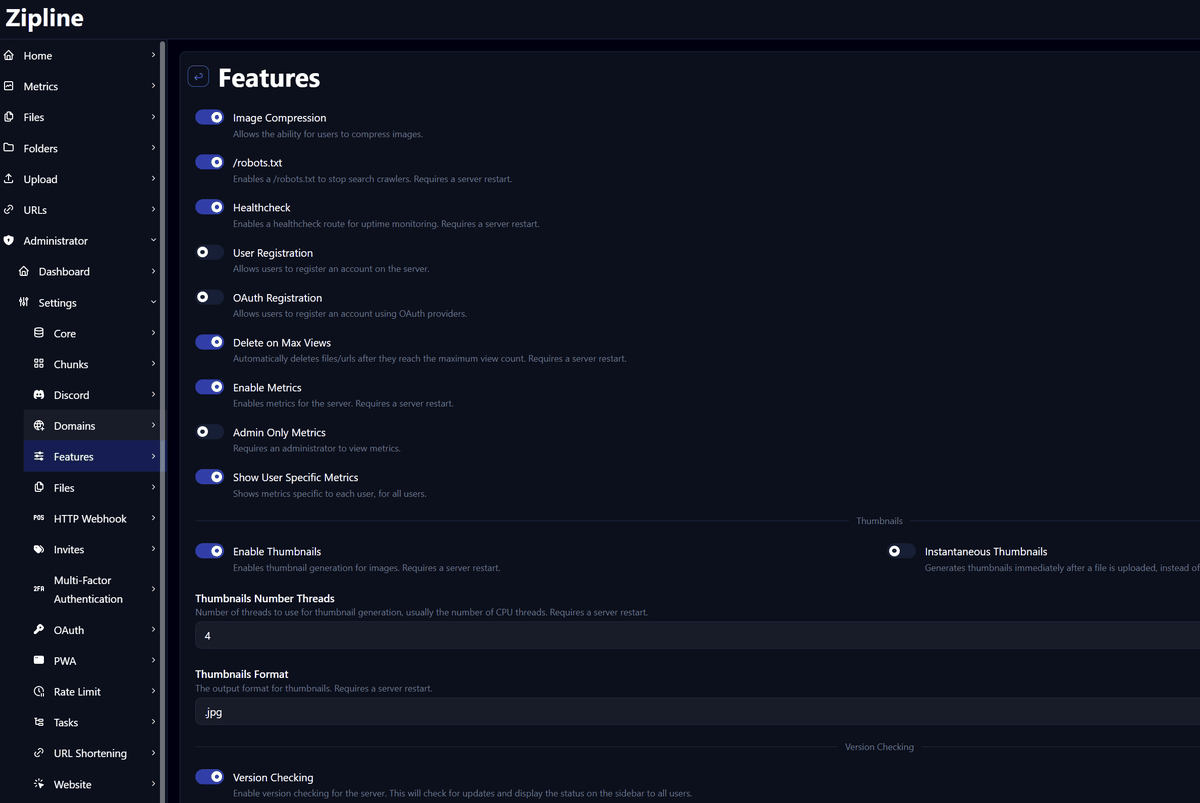
• Modern UI design
An intuitive and easy-to-understand UI design.
• Multi-user support
It can be used by multiple users, and you can set limits for storage capacity, the number of files that can be uploaded, and the number of shortened URLs that can be created for each user.
Security
◆ How to set up a Zipline server
This time, we will set it up in an environment where Docker Desktop and Git Bash for Windows are installed on Windows. Clone the repository in the working folder and move it to the zipline folder.
 git clone https://github.com/diced/zipline.git

 cd zipline
Create a .env file and set 'POSTGRESQL_PASSWORD'.
 vi .env

 # Add the following to your .env file
 # Use the value generated by openssl rand -hex 32
 POSTGRESQL_PASSWORD=【Your desired password】
 CORE_SECRET=【any string】
Start the container.
docker compose up -d
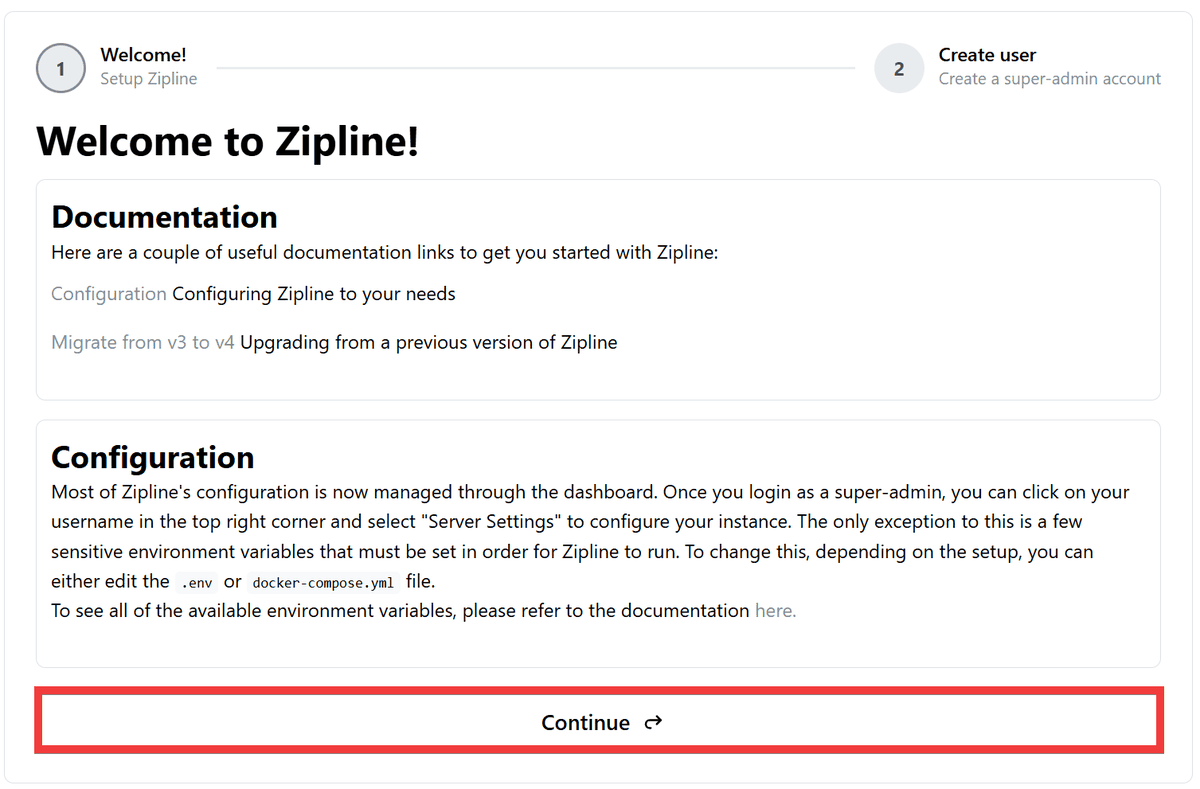
Access port 3000 of the server's IP address or hostname in your browser, and the setup wizard will appear. Click 'Continue'.
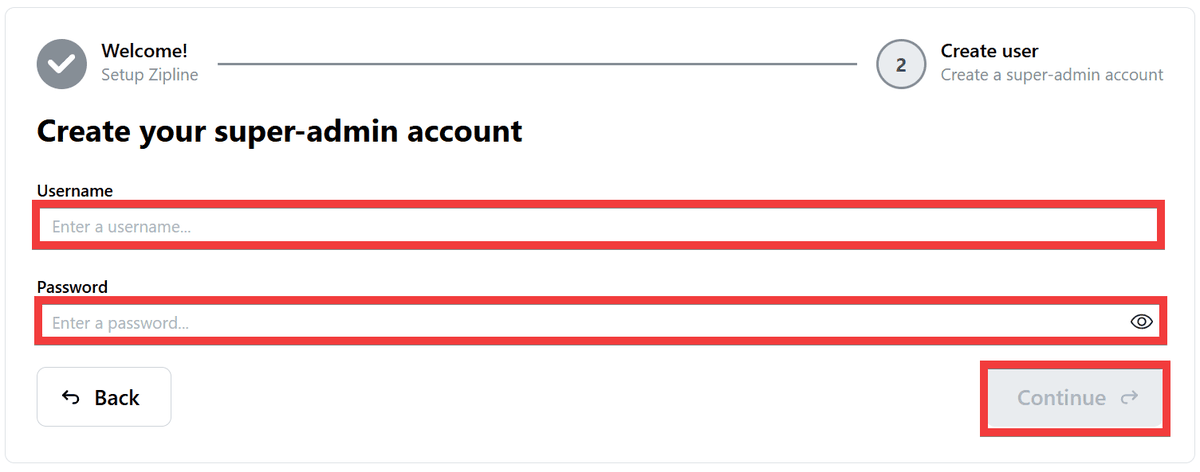
Enter your desired username in the 'Username' field and your desired password in the 'Password' field on the administrator registration form, then click 'Continue'.
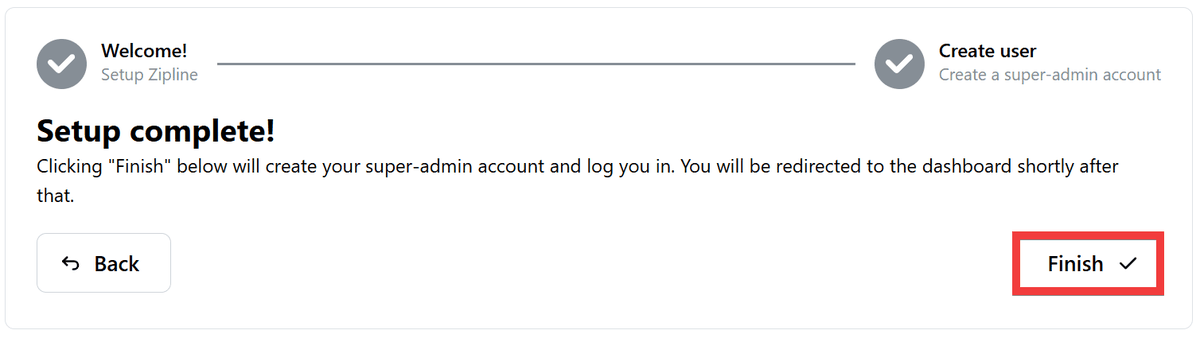
A registration completion screen will appear, so click 'Finish'.
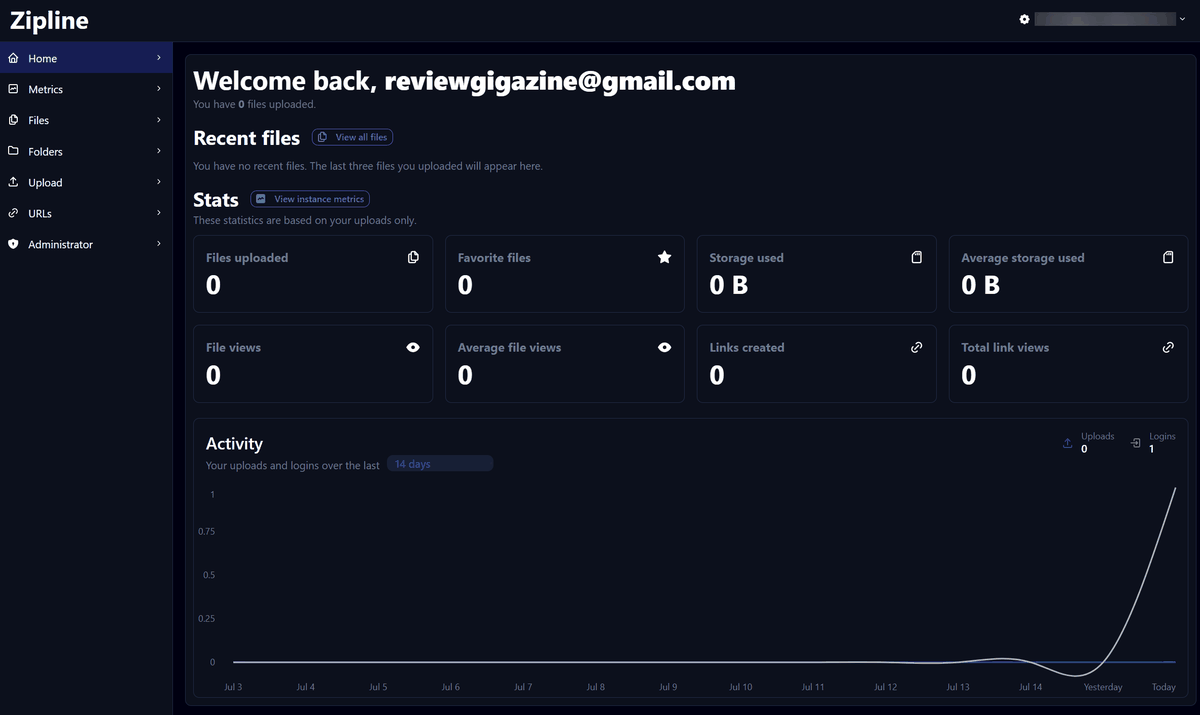
The setup is complete when the home screen is displayed.
Related Posts: