Using Logitech's first left-hand device 'MX Creative Console' to run non-compatible CLIP STUDIO PAINT, create an app launch button, and try out some advanced settings such as using the action ring
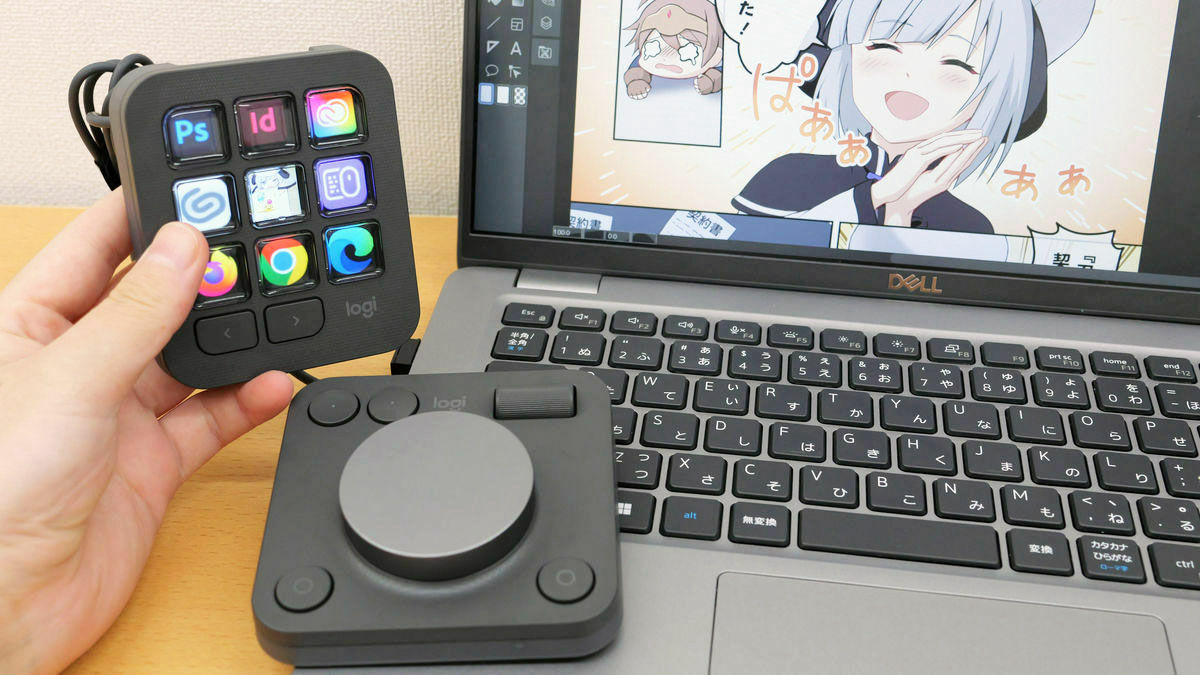
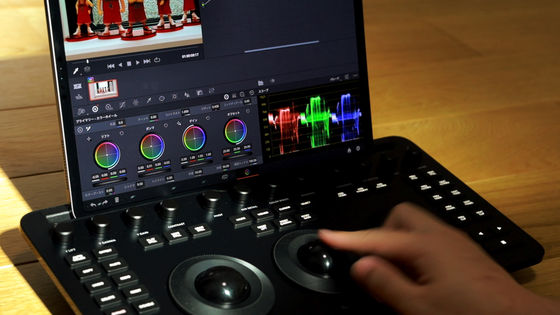
Logitech's first left-hand device, the MX Creative Console , is a combination of a keypad with up to 135 customizable buttons and a dial pad with two wheels and four buttons for fine operation, supporting creative activities. When the MX Creative Console is released on October 24, 2024, it will be compatible with 17 applications including
MX Creative Console - Customizable Dialpad and Keypad | Logitech
https://www.logicool.co.jp/ja-jp/products/keyboards/mx-creative-console.html
◆ A list of launch icons to quickly open applications
◆ 'Action Ring' function settings and operation
◆How to turn keyboard shortcuts into buttons
◆ I tried running MX Creative Console with the non-compatible application 'CLIP STUDIO PAINT'
You can get a better idea of what kind of device the MX Creative Console is by looking at the following article.
Photo review of the first left-handed device in the Logitech MX series, 'MX Creative Console', the real thing looks like this - GIGAZINE
In addition, the Logitech device customization app ' Logi Options+Plus ' is required to operate the MX Creative Console. For instructions on installing and setting up Logi Options+Plus and how to connect the MX Creative Console, please refer to the following article.
Logitech's first left-hand device 'MX Creative Console' that can customize up to 135 buttons and help with creative activities was connected to a PC and actually tried running it in Photoshop - GIGAZINE

◆ A list of launch icons to quickly open applications
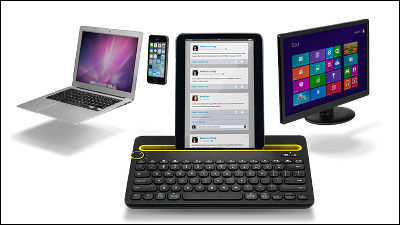
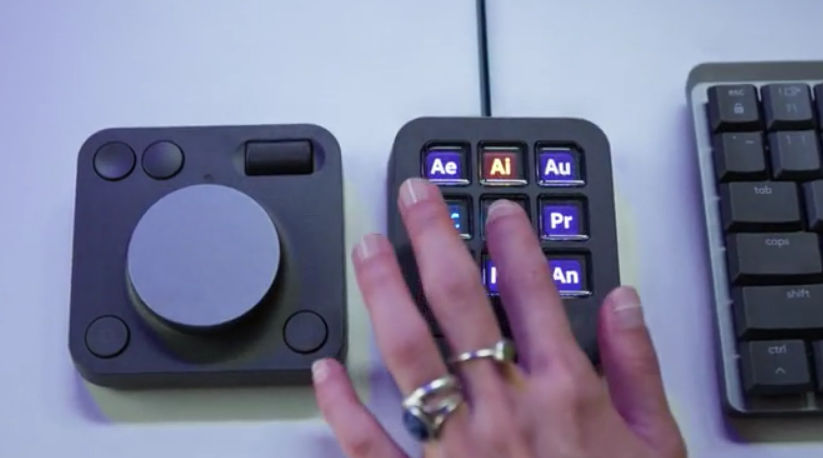
The MX Creative Console announcement page shows a dial pad with four buttons on a dial and wheel (left image below), and a keypad with nine display keys (center image below), with app icons displayed on the keypad. It seems that you can quickly launch the application you want to use, but the default setting of the MX Creative Console does not include such a button, so I set it up myself.
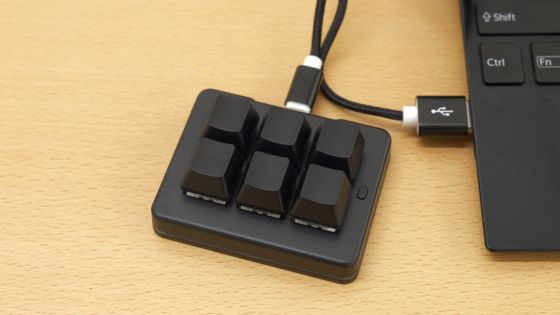
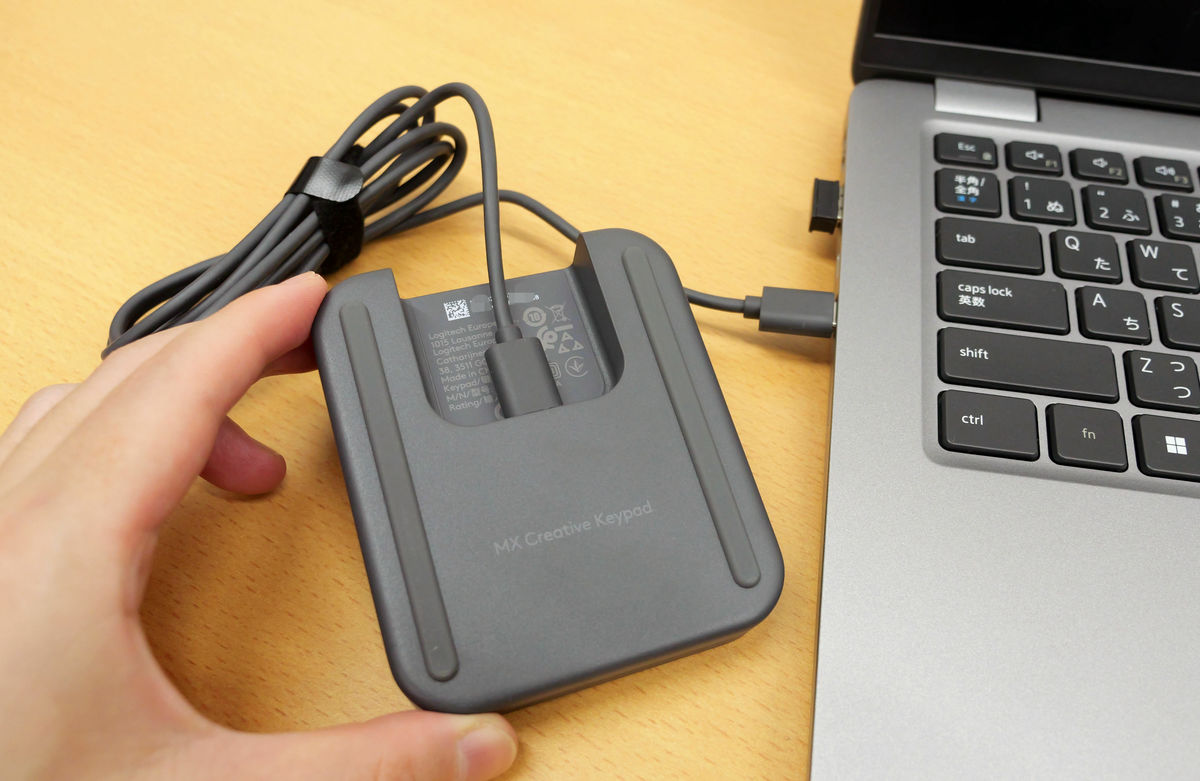
First, connect the keypad to the working device with a USB cable. In this case, I used a laptop.
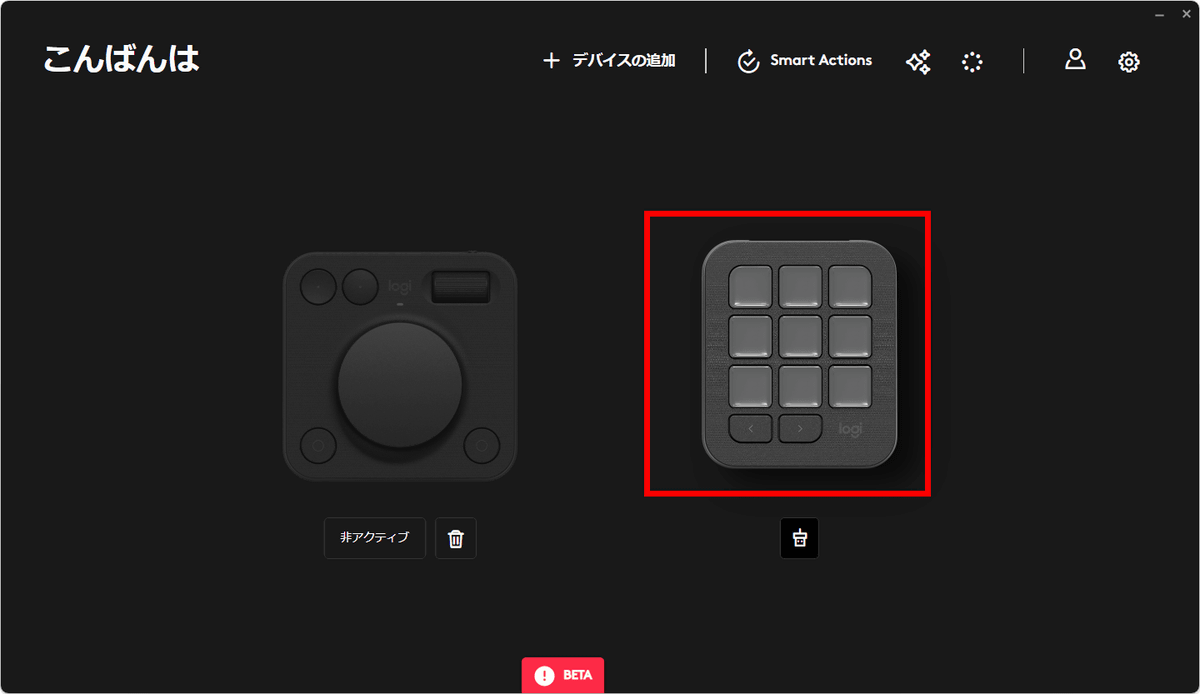
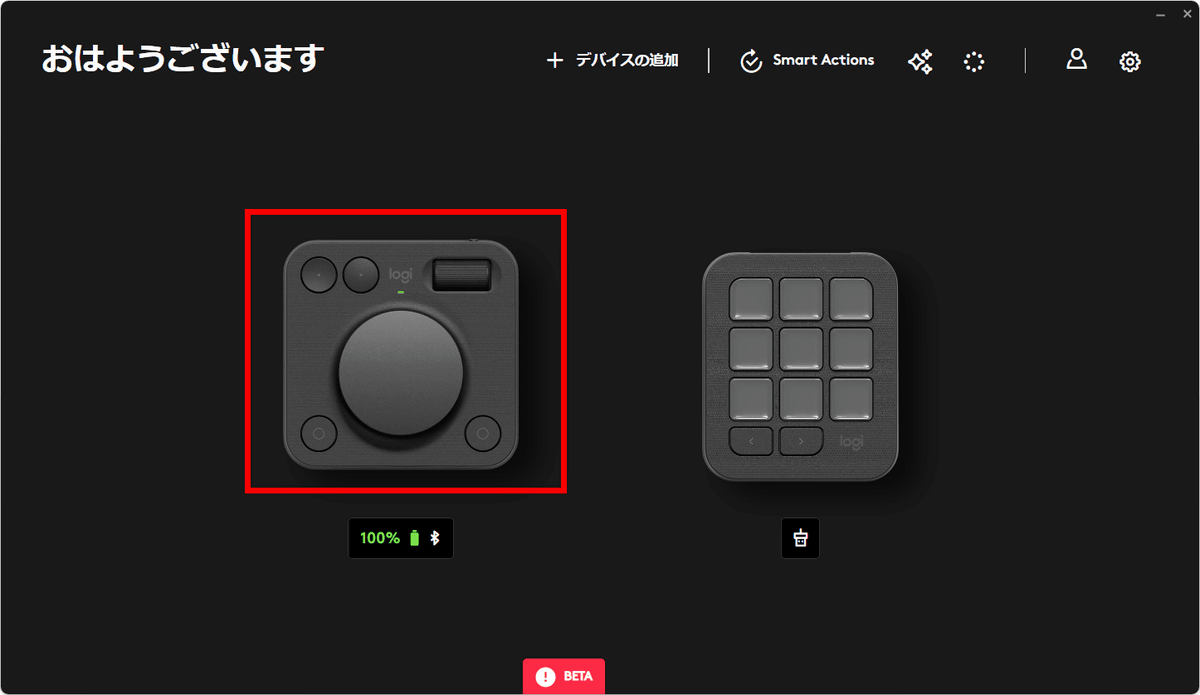
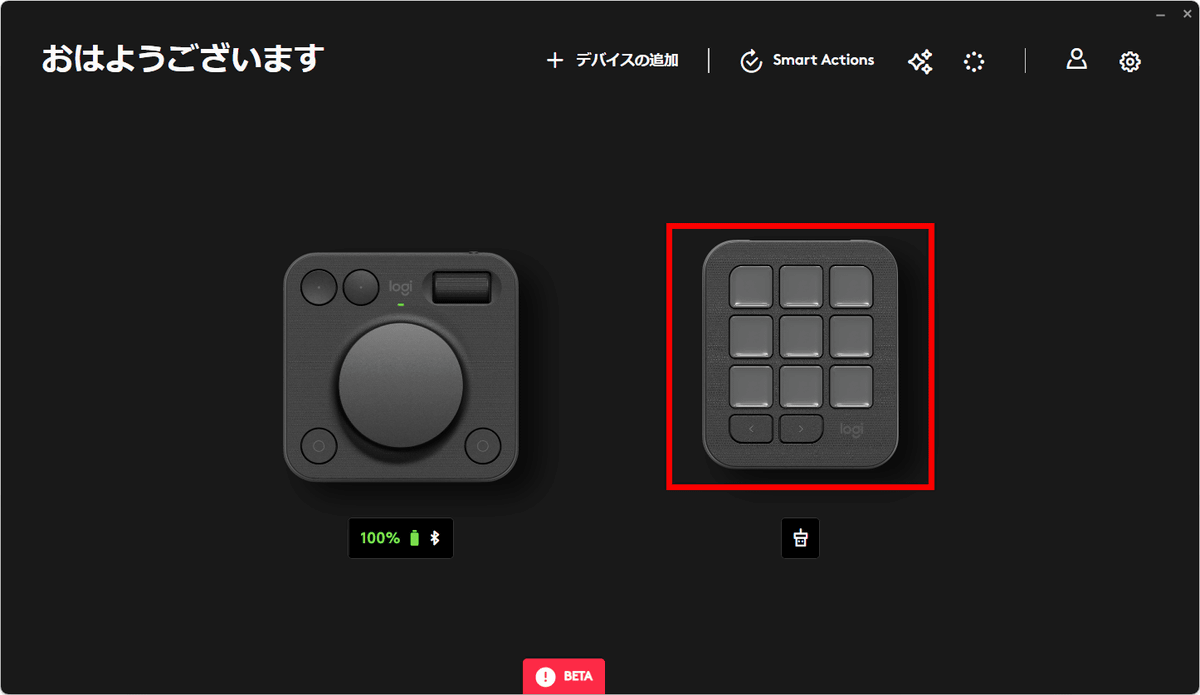
When you start Logi Options+Plus on the PC to which the keypad is connected, the keypad is loaded and can be configured. Click on the keypad.
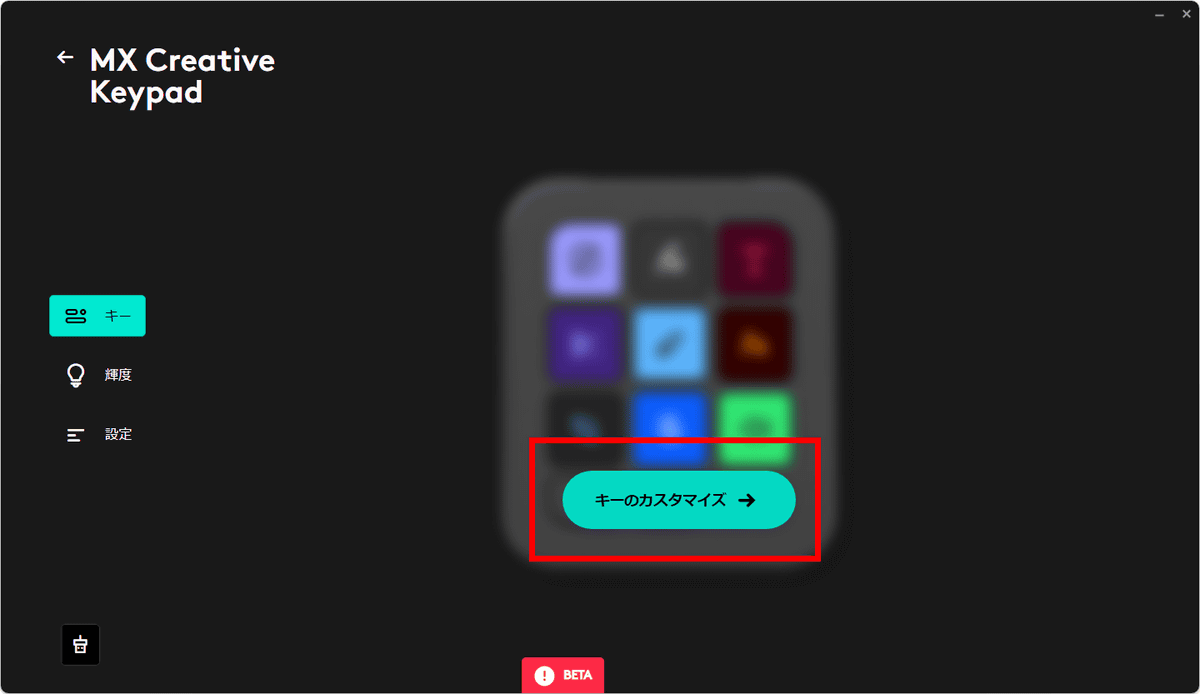
Click 'Customize Keys'.
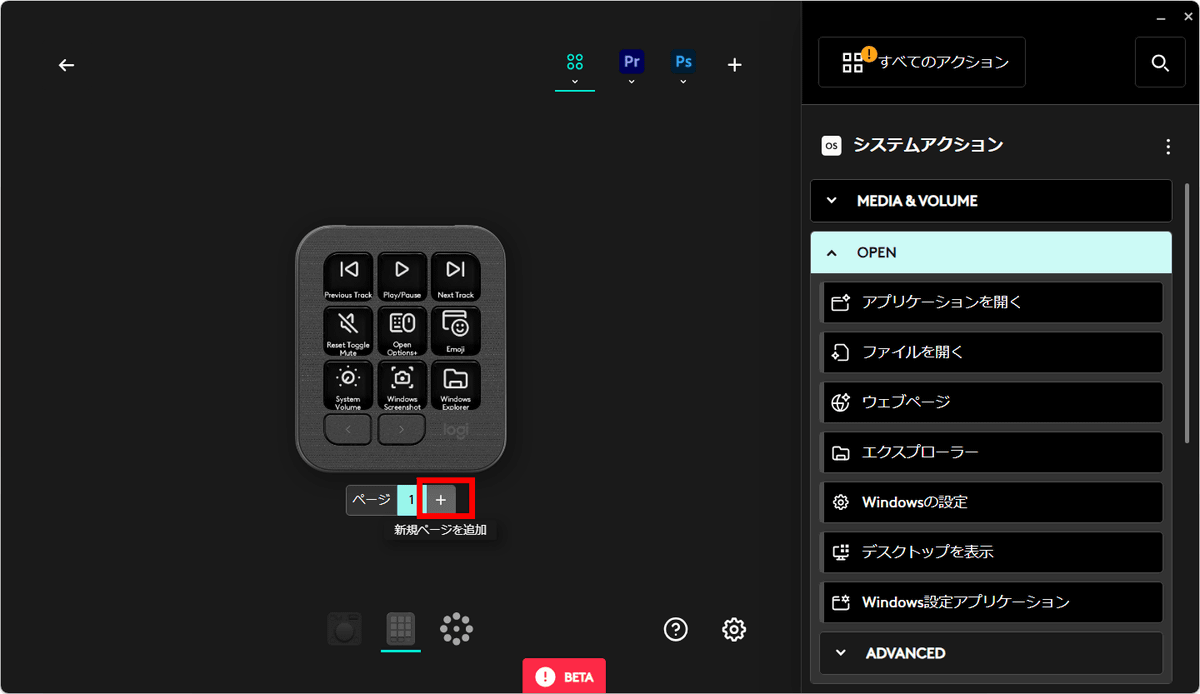
By default, the keypad has common functions such as 'Play/Stop Video', 'System Volume', and 'Launch Explorer' assigned to the buttons. You can add up to 15 pages to the keypad by pressing the left and right arrow buttons, so click '+' to add a new page.
A new blank page has been added:
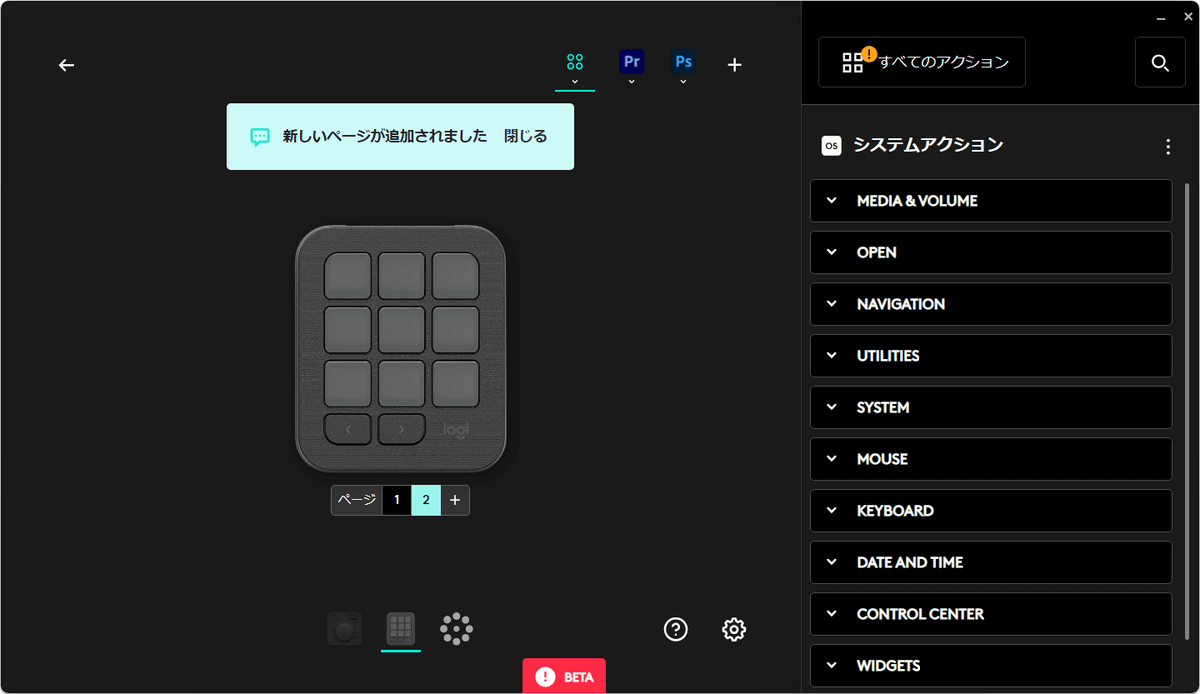
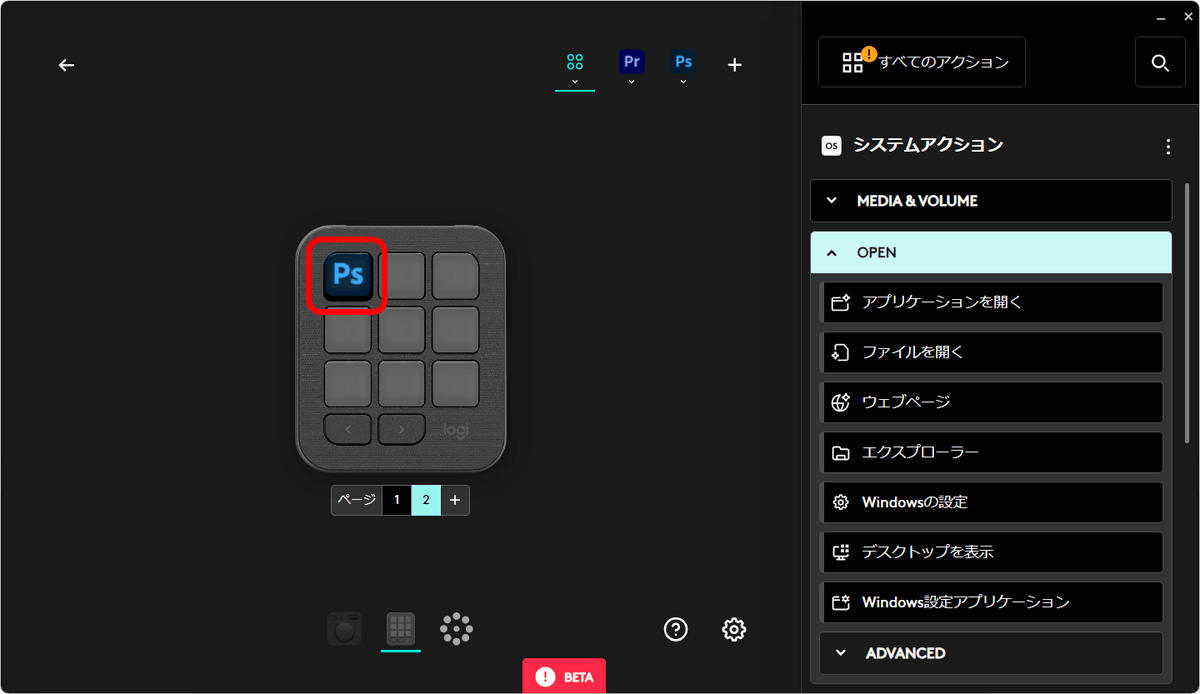
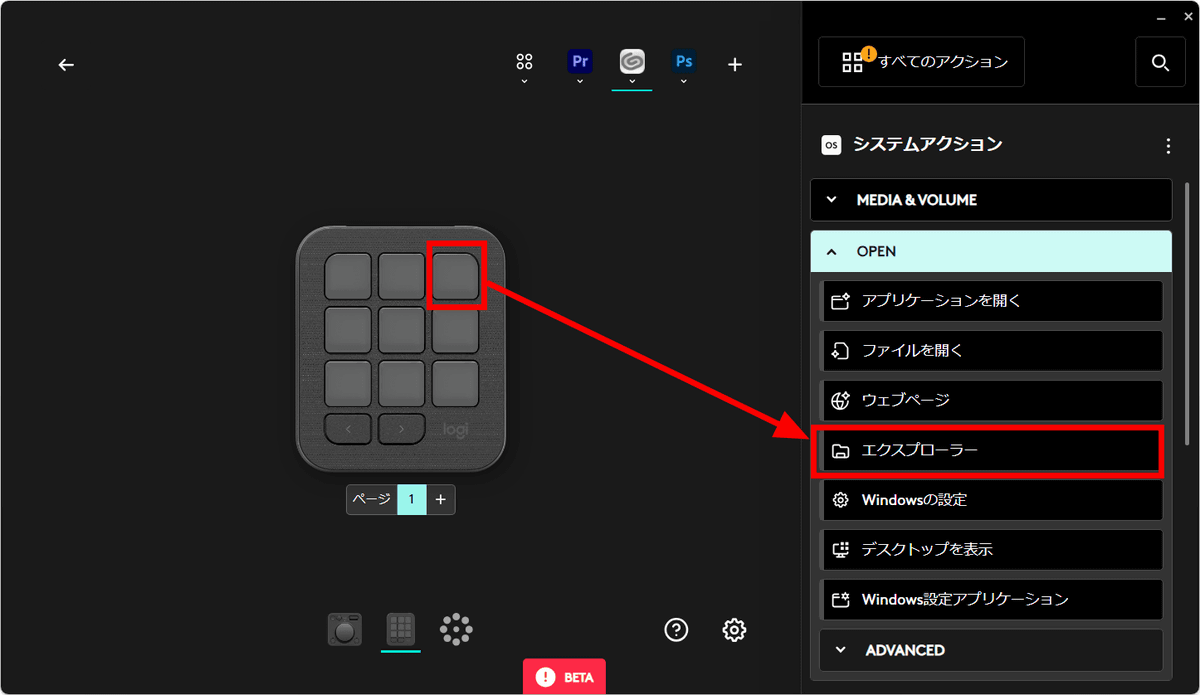
To make a button that launches an application, select the button you want to assign and then select 'Open Application' under 'OPEN' in the menu on the right.

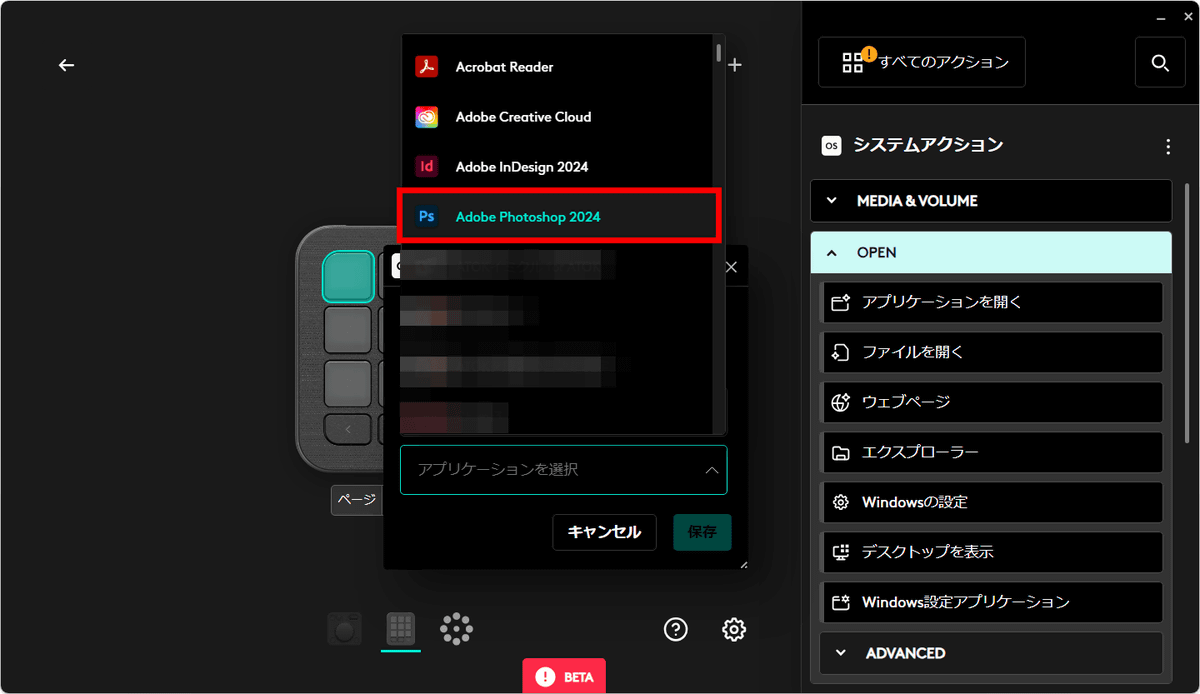
The applications installed on your PC are displayed. Click on '
Click Save.
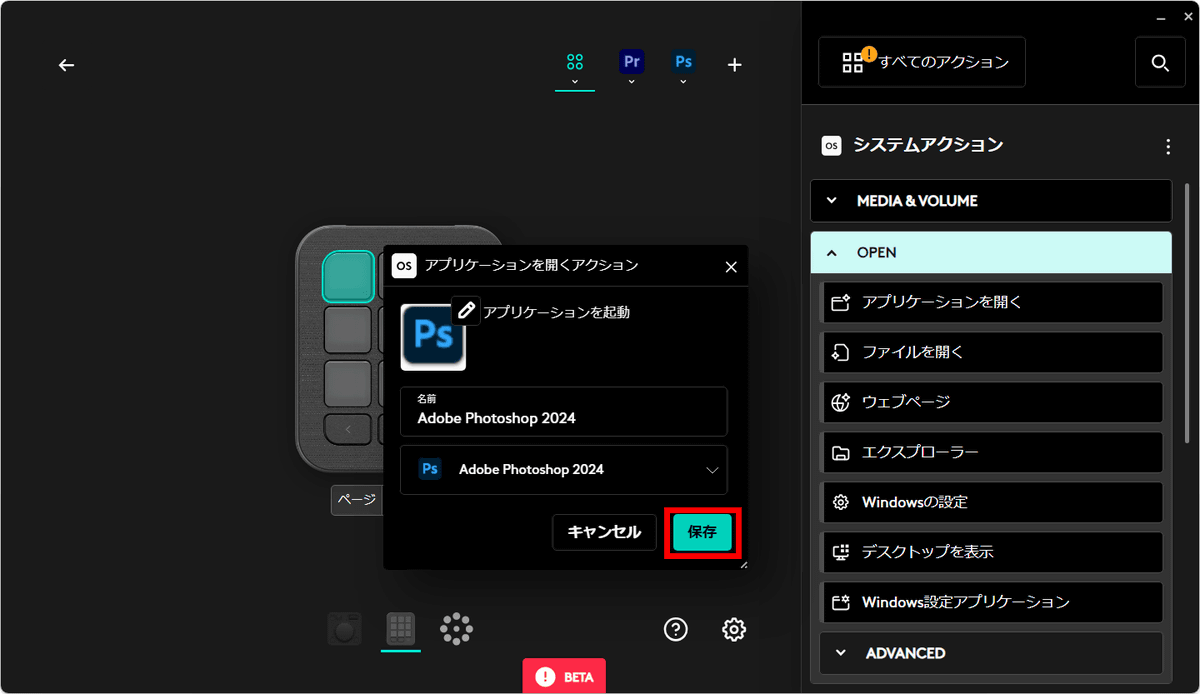
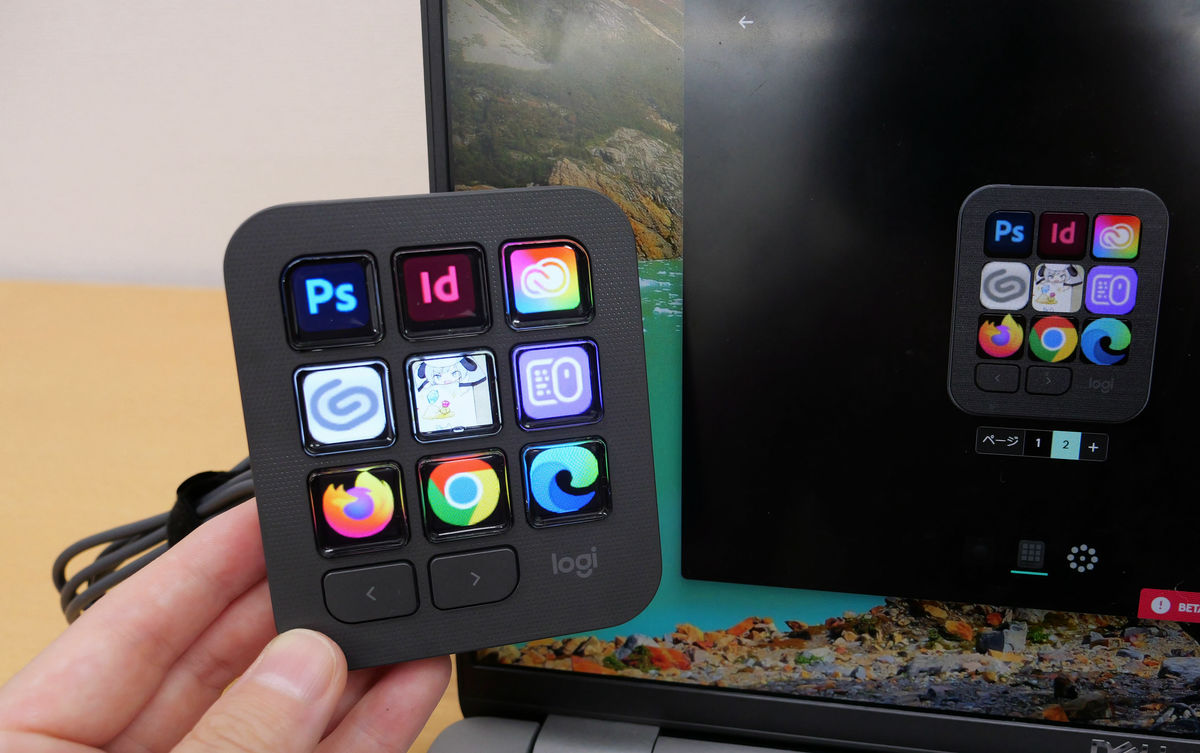
The app icon has been added as a button, as shown below.
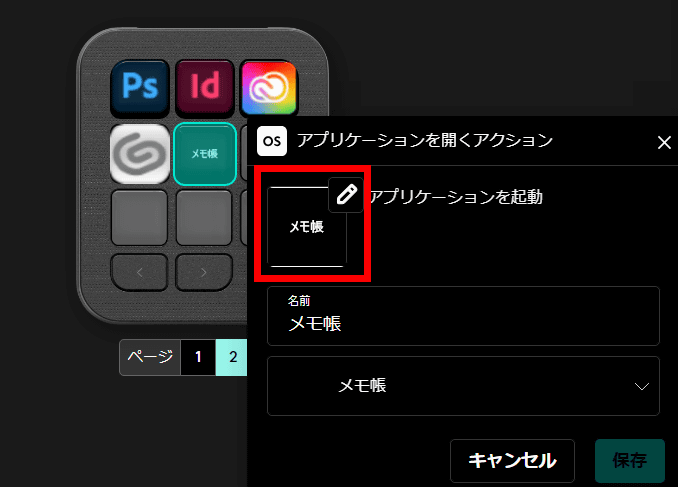
Similarly, by assigning frequently used applications to each button, you can quickly launch them using MX Creative Console. Although MX Creative Console only supports a limited number of applications, you can easily assign app launch buttons to non-compatible applications already installed on your device. However, icons for some applications, such as 'Notepad,' do not appear automatically. In such cases, you can click on the icon to assign your own icon.
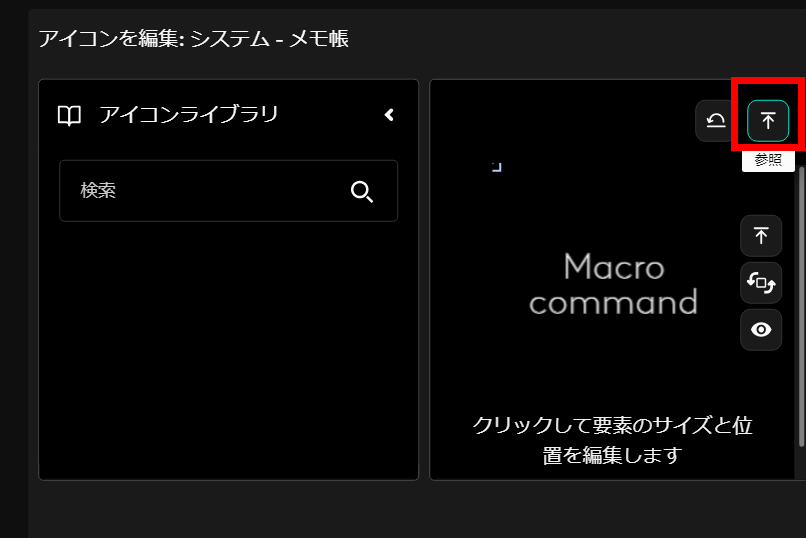
Click 'Browse'.
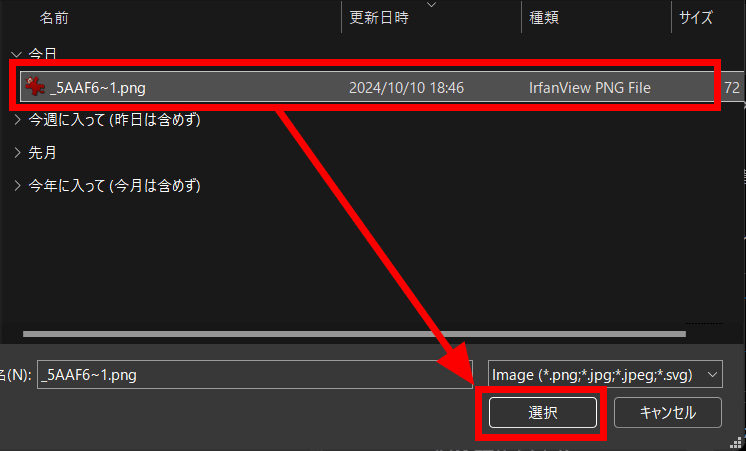
Upload an image for the icon. Select an image and click 'Select'.
Once you have confirmed that the image has been added, click 'Save.'
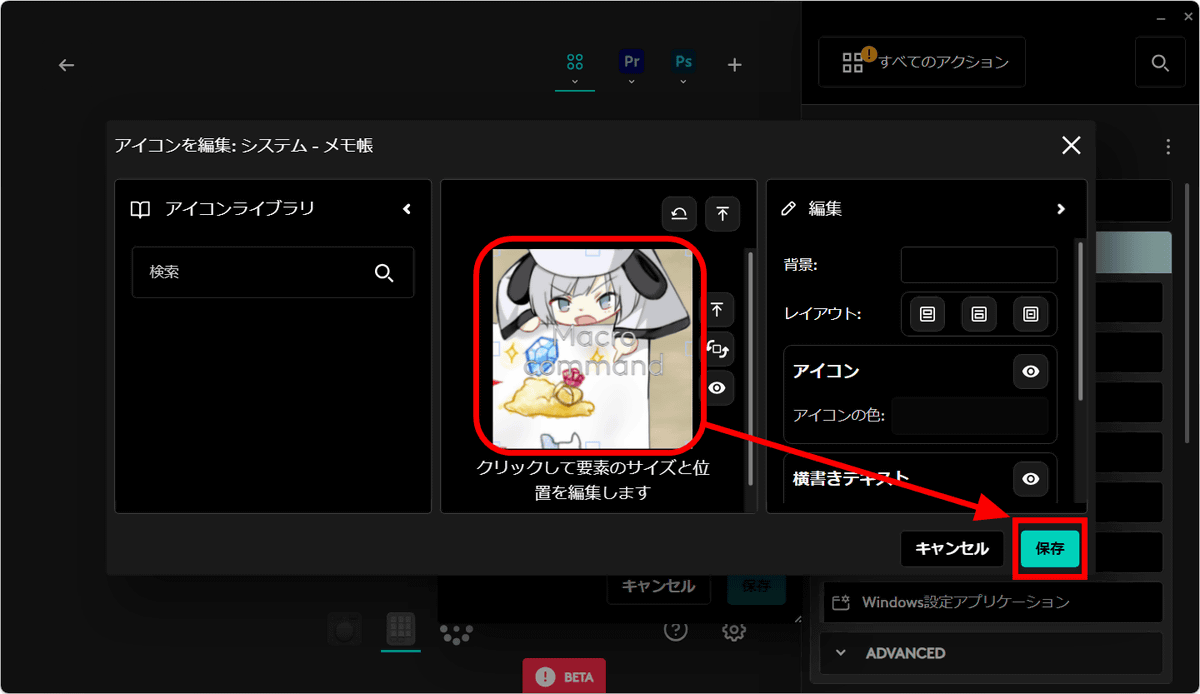
It will be added as an app icon, so click 'Save.'
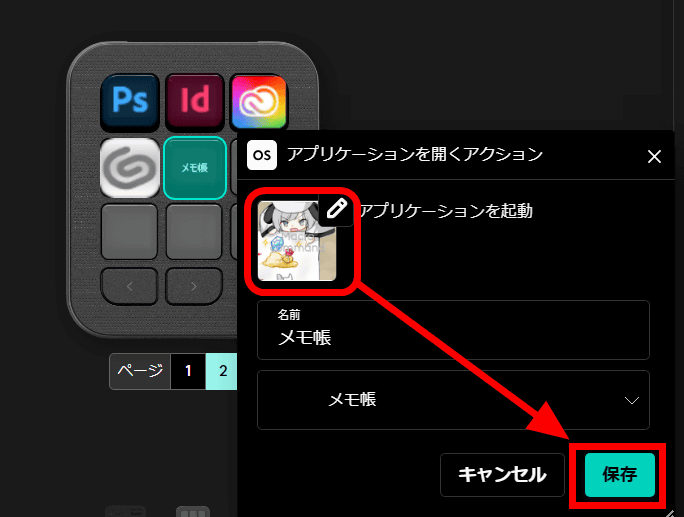
The icon has been changed to an image of your choice on Logi Options+Plus.
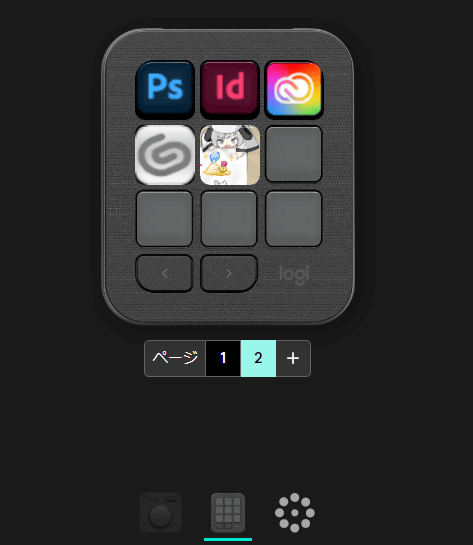
The MX Creative Console display has also changed to the image you set, as shown below.
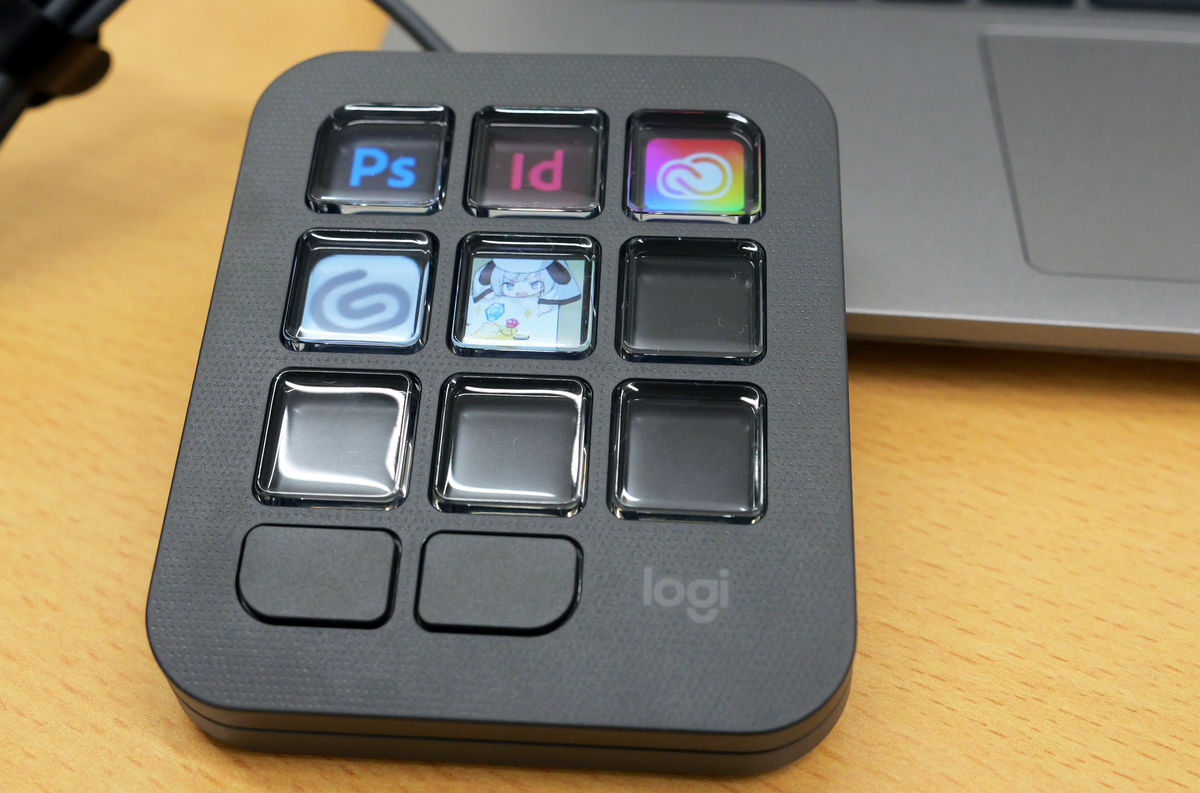
By setting up the applications you want to launch or switch to quickly, you can work more smoothly and the display looks more colorful and attractive.
You can see whether the application launch button you created actually works by watching the movie below.
◆ 'Action Ring' function settings and operation
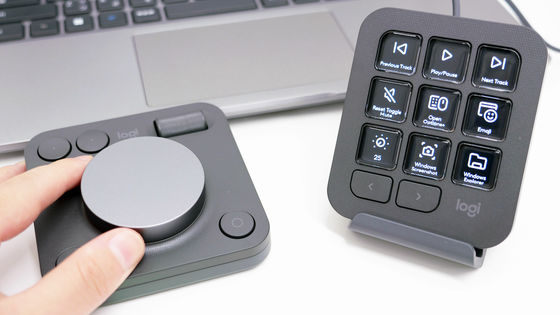
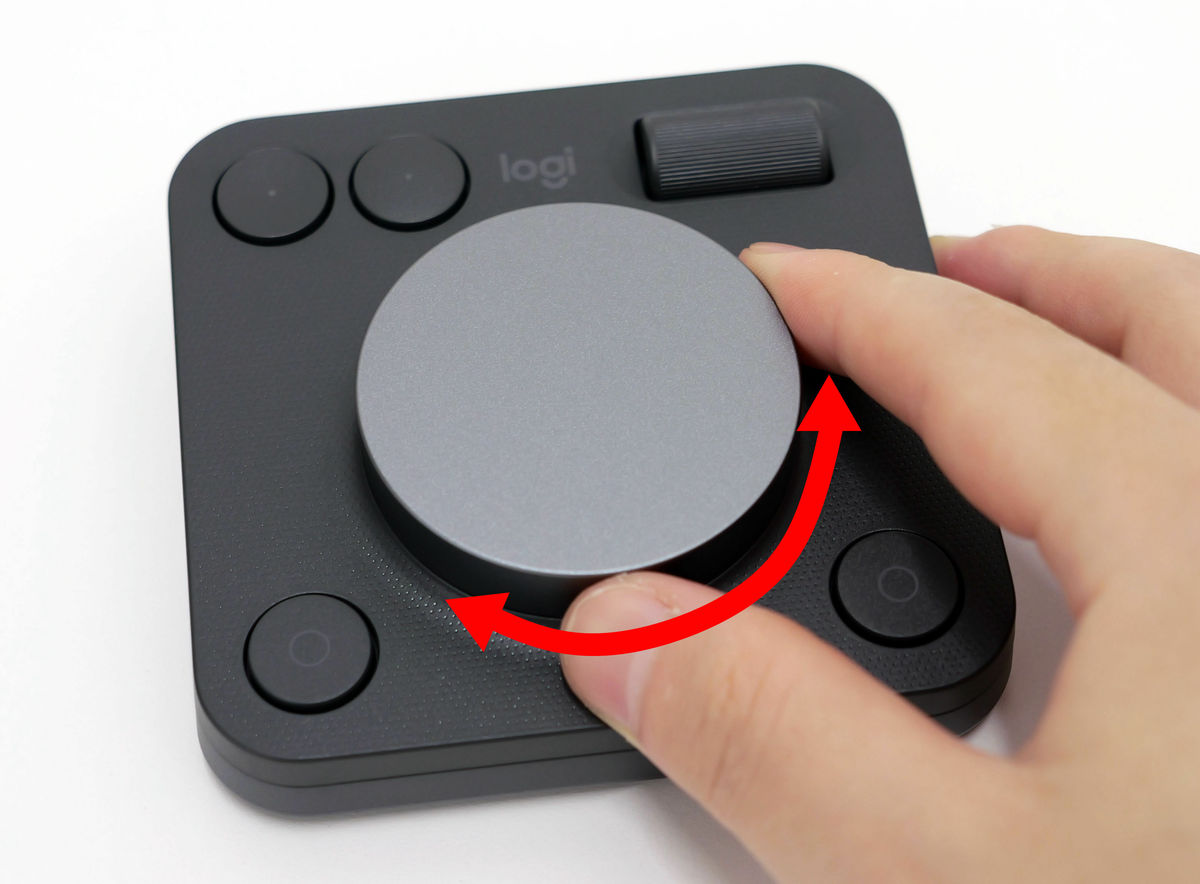
The dial pad of Logi Options + Plus allows you to 'undo/redo' with the button at the top left, 'zoom in/out' by turning the wheel at the top right, and make fine adjustments and change values by turning the dial in the center. You can also assign a function called 'action ring' to quickly perform an action.
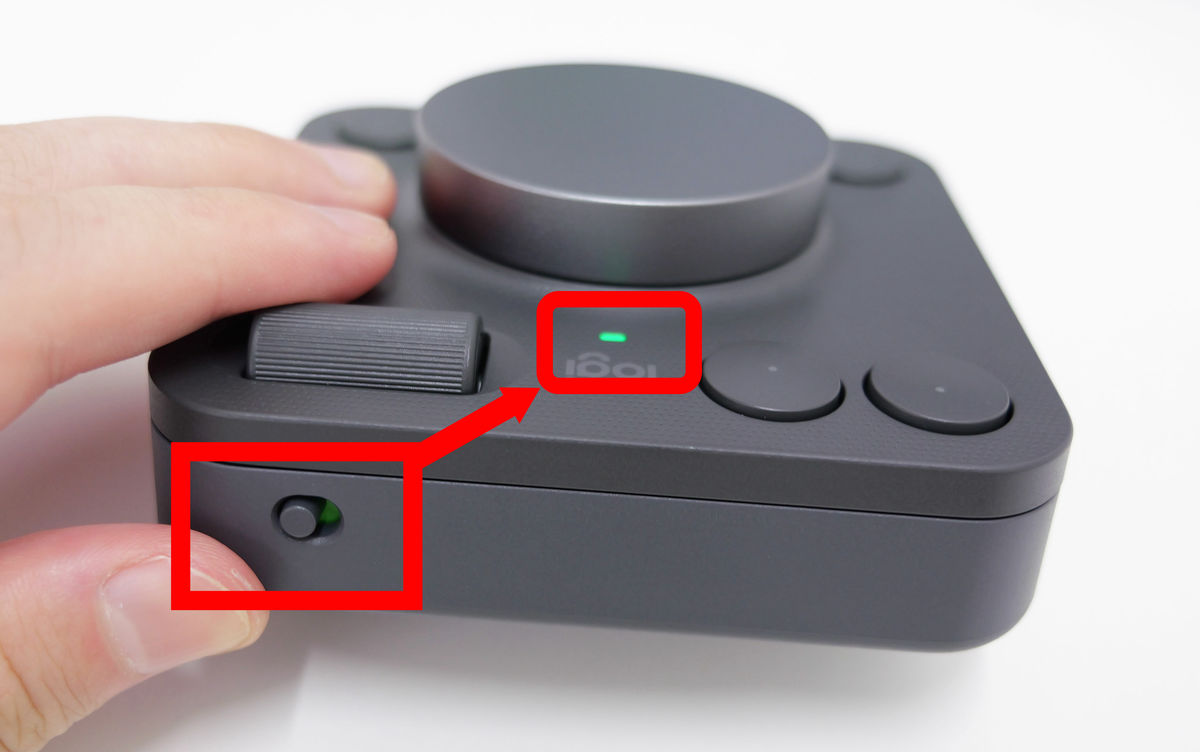
The dial pad is powered by two AAA batteries and connects to your device via Bluetooth. Flip the switch on top of the dial pad to green and a green light will come on.
With Bluetooth connected, press the button on the bottom right of the dial pad.
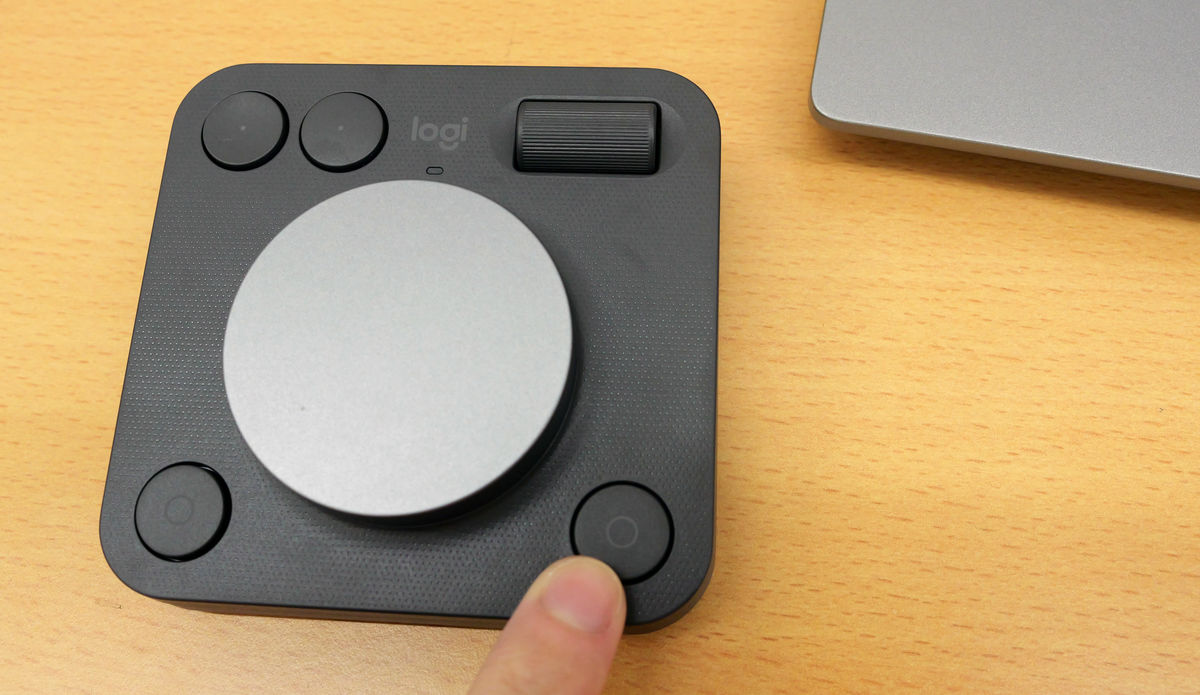
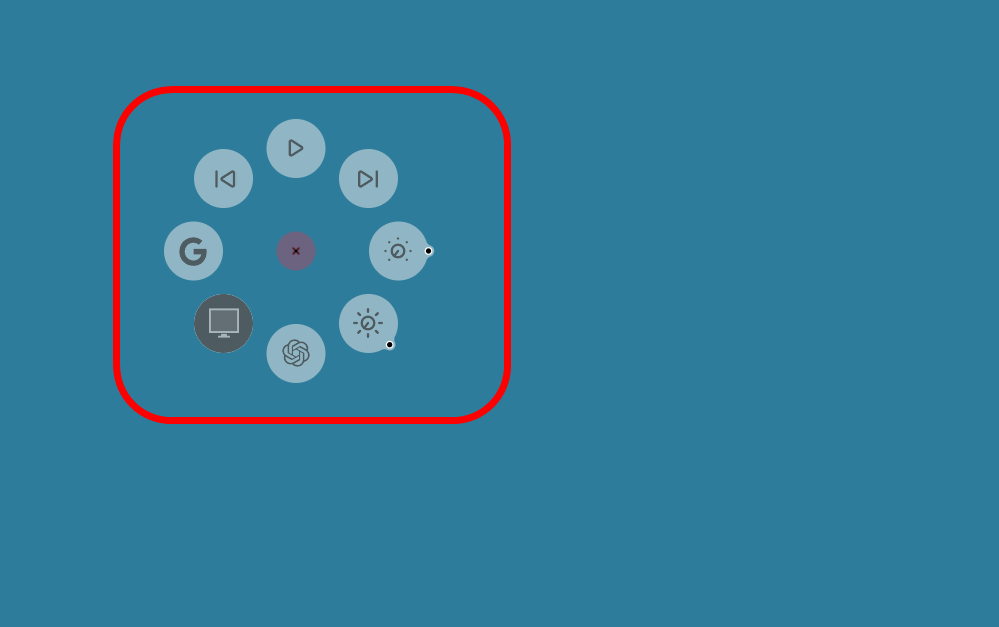
Then, a ring-shaped icon will appear on the PC screen. This is the Action Ring. In addition to setting apps and actions to the buttons on the keypad, you can also set them to the Action Ring, allowing you to access useful functions more smoothly. The Action Ring differs from a keypad in that while the keypad only allows you to shortcut actions with buttons, the Action Ring allows you to fine-tune values such as 'volume' and 'brightness' by hovering the mouse over the icon and scrolling or turning the dial.
You can also fine-tune the contents of the Action Ring. Open Logi Options + Plus and click on the dial pad.
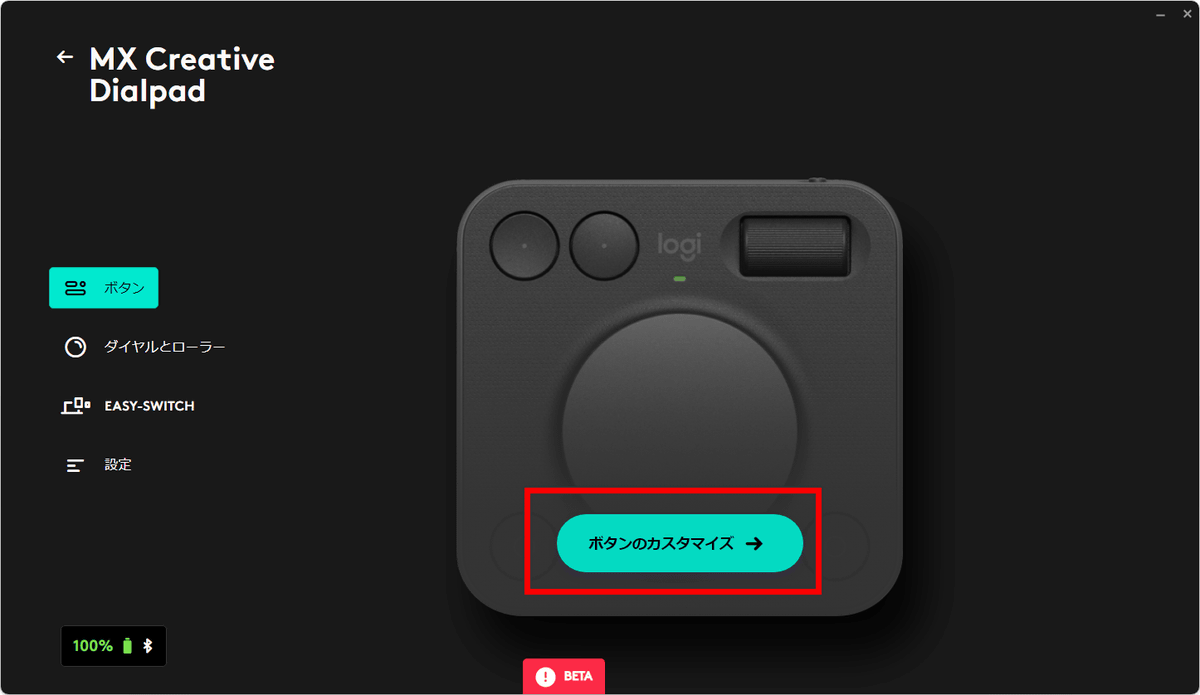
Click 'Customize Buttons.'
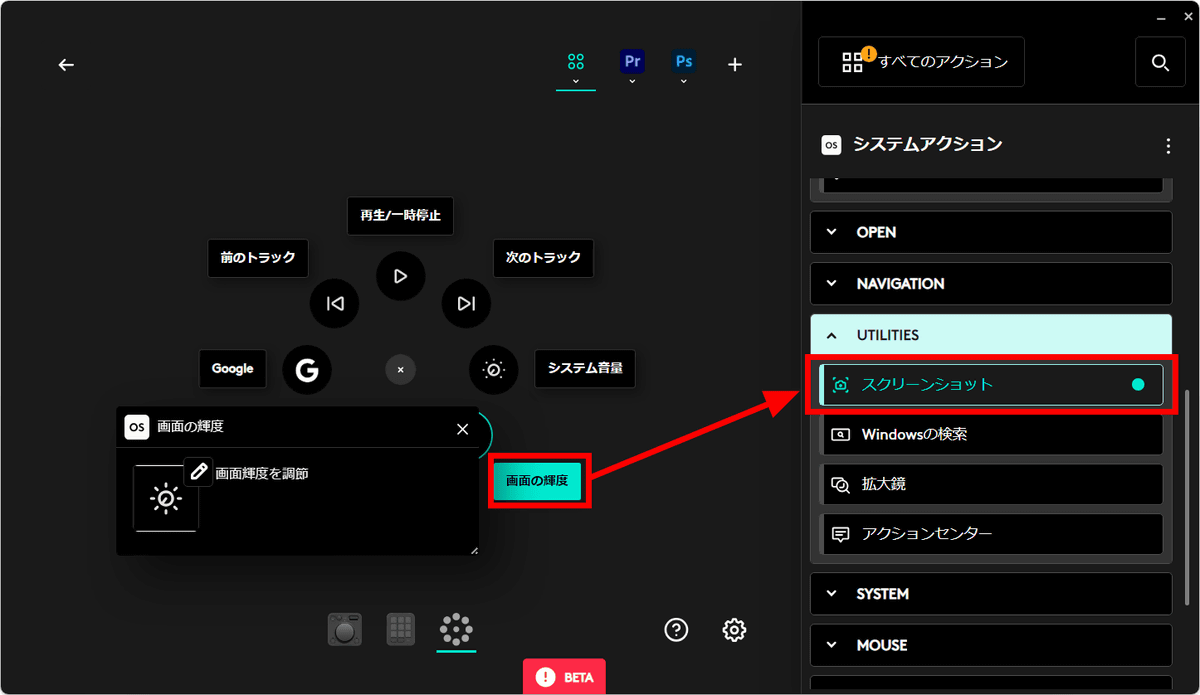
Click 'Actions Ring' at the bottom.
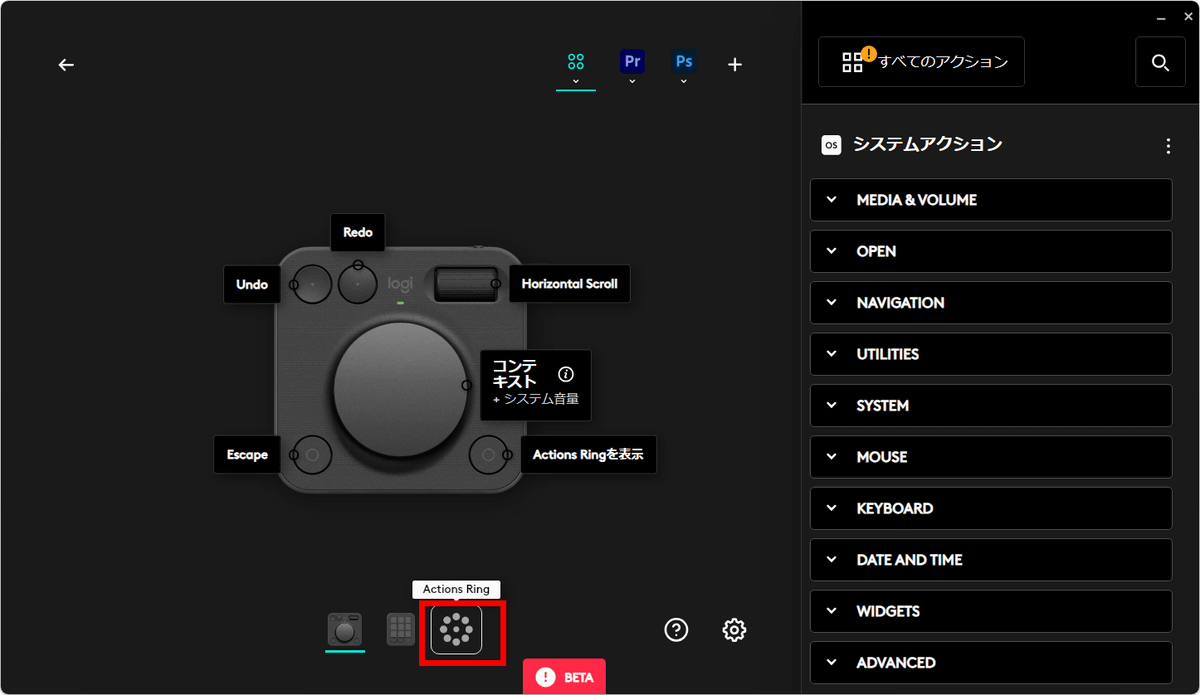
The functions currently set for the Action Ring are displayed, so select 'Screen Brightness' and click 'Screenshot' from the menu on the right. Now you can take a screenshot by 'activating the Action Ring → clicking the icon on the bottom right.'
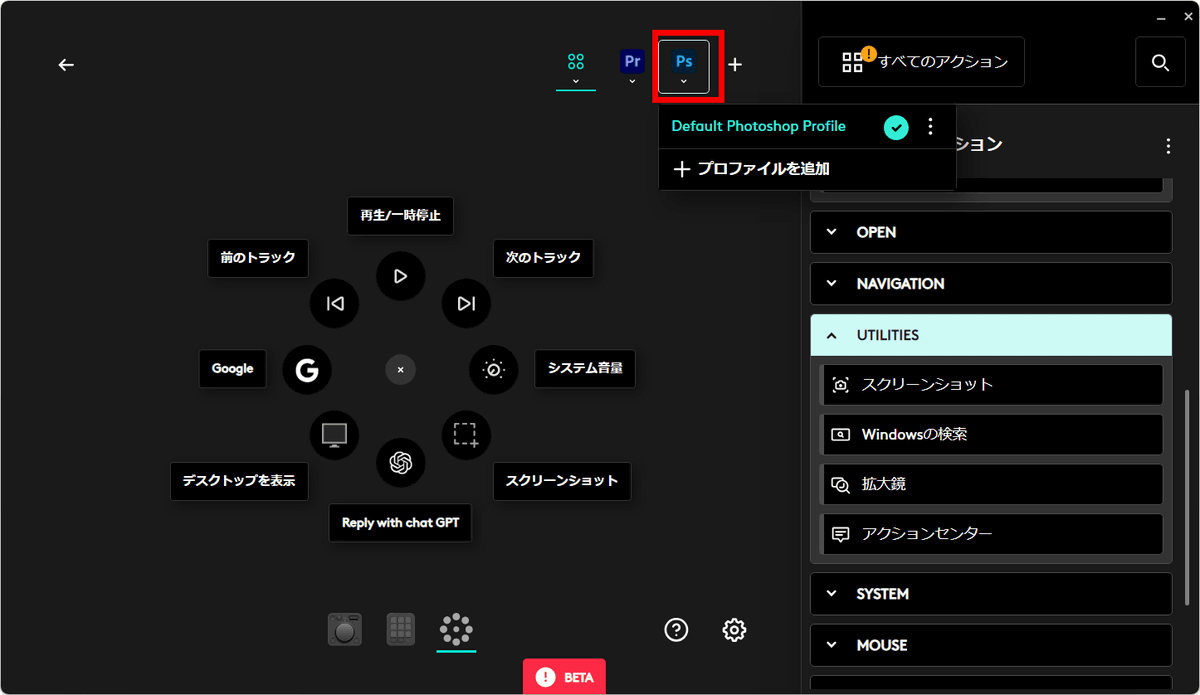
The contents of the Action Ring will automatically change depending on the application you are currently using. Click on the Photoshop icon at the top that you have loaded. You can find out how to load the application you are using with Logi Options + Plus and add a profile by looking at
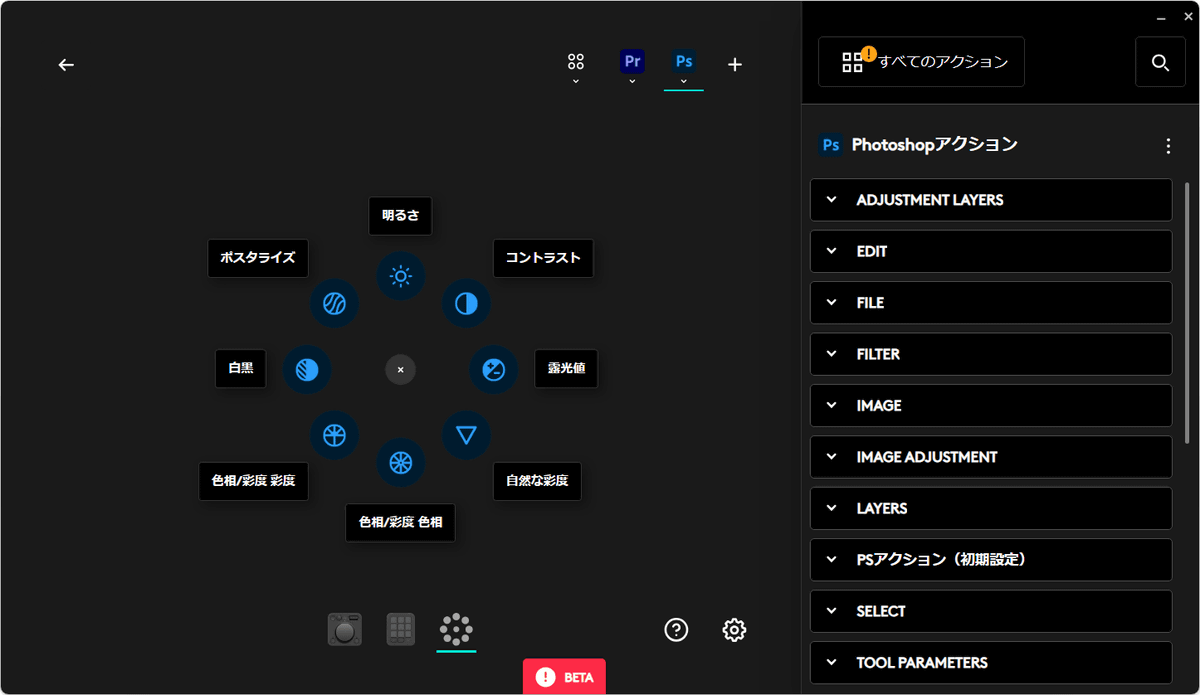
In the case of Photoshop, an action ring was displayed to adjust 'brightness,' 'contrast,' 'hue/saturation,' etc. The list of actions on the right side is also customized for Photoshop.
Below is what the action ring looks like when opened in Photoshop.
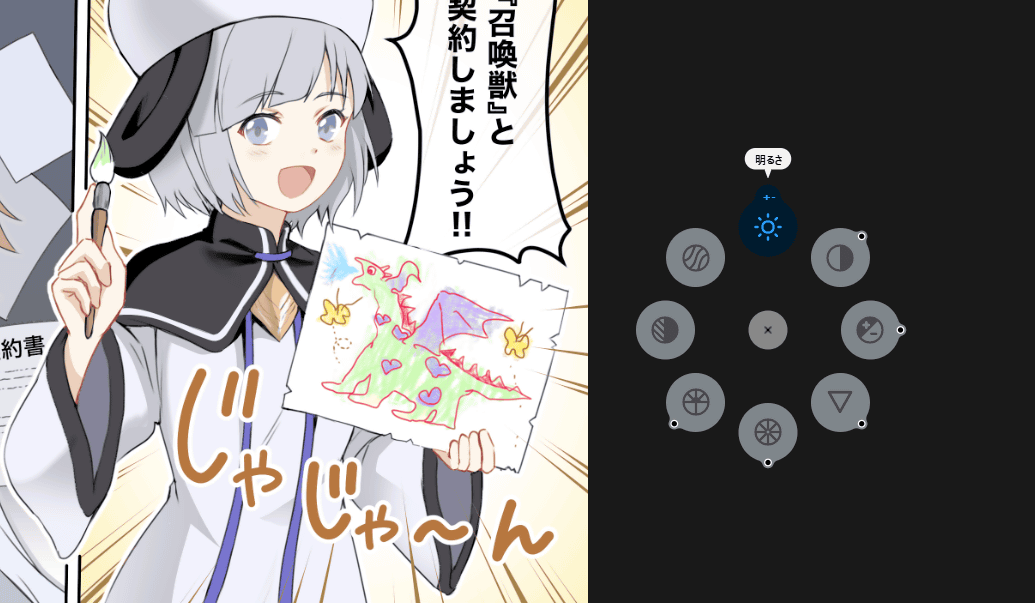
You can see how the action ring works by watching the movie below.
◆How to turn keyboard shortcuts into buttons
In MX Creative Console, you can assign various functions to buttons and action rings to make your work more efficient, but sometimes you want to set a certain operation, but you can't find it in the Logi Options + Plus action list. In such cases, 'Keyboard Shortcut Button' is useful. Open Logi Options + Plus and click on the keypad.
Click 'Customize Keys'.

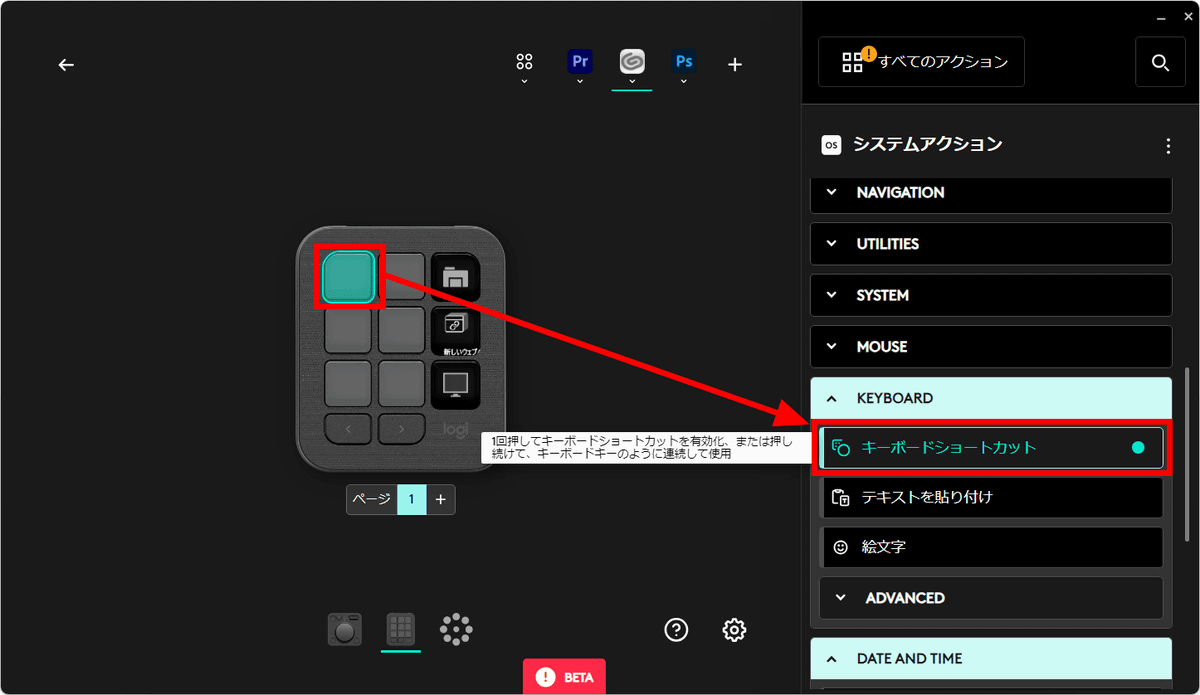
Select the button you want to change and click 'Keyboard Shortcut' from the action list on the right.
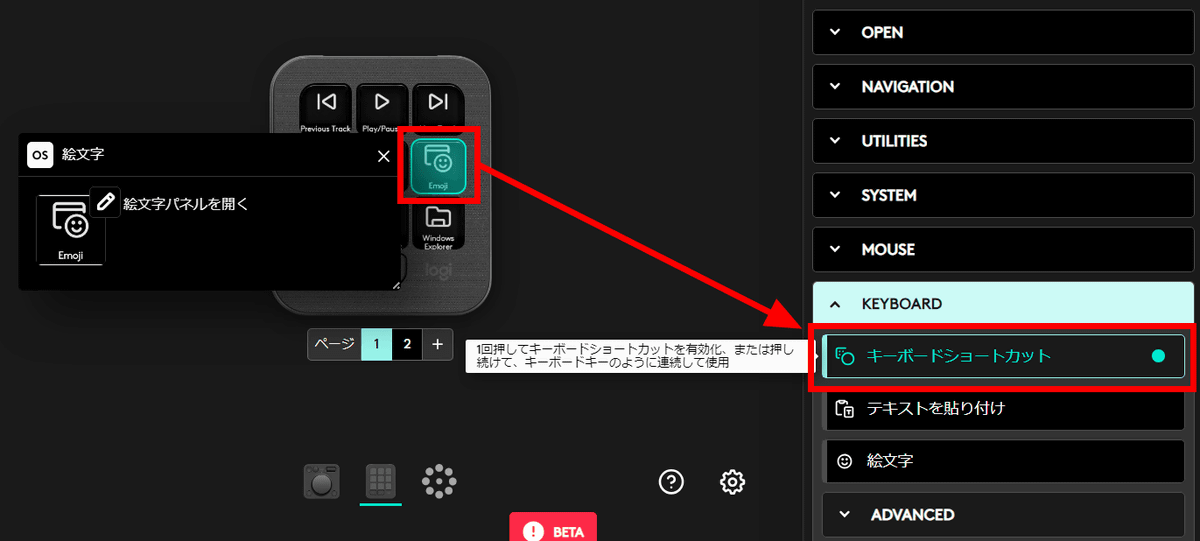
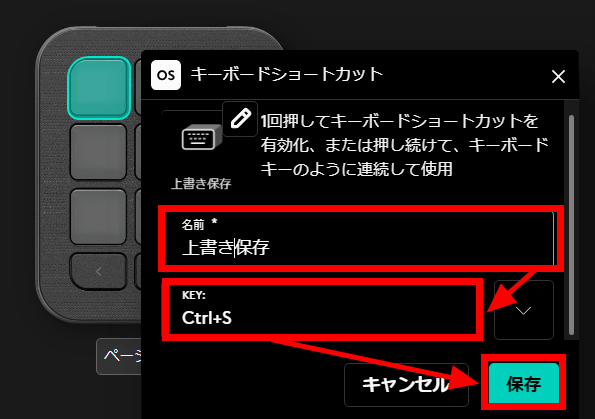
Enter 'Save' in the name field, select 'KEY', and press the 'Ctrl' and 'S' keys simultaneously. When you see 'Ctrl + S' displayed, click 'Save'.

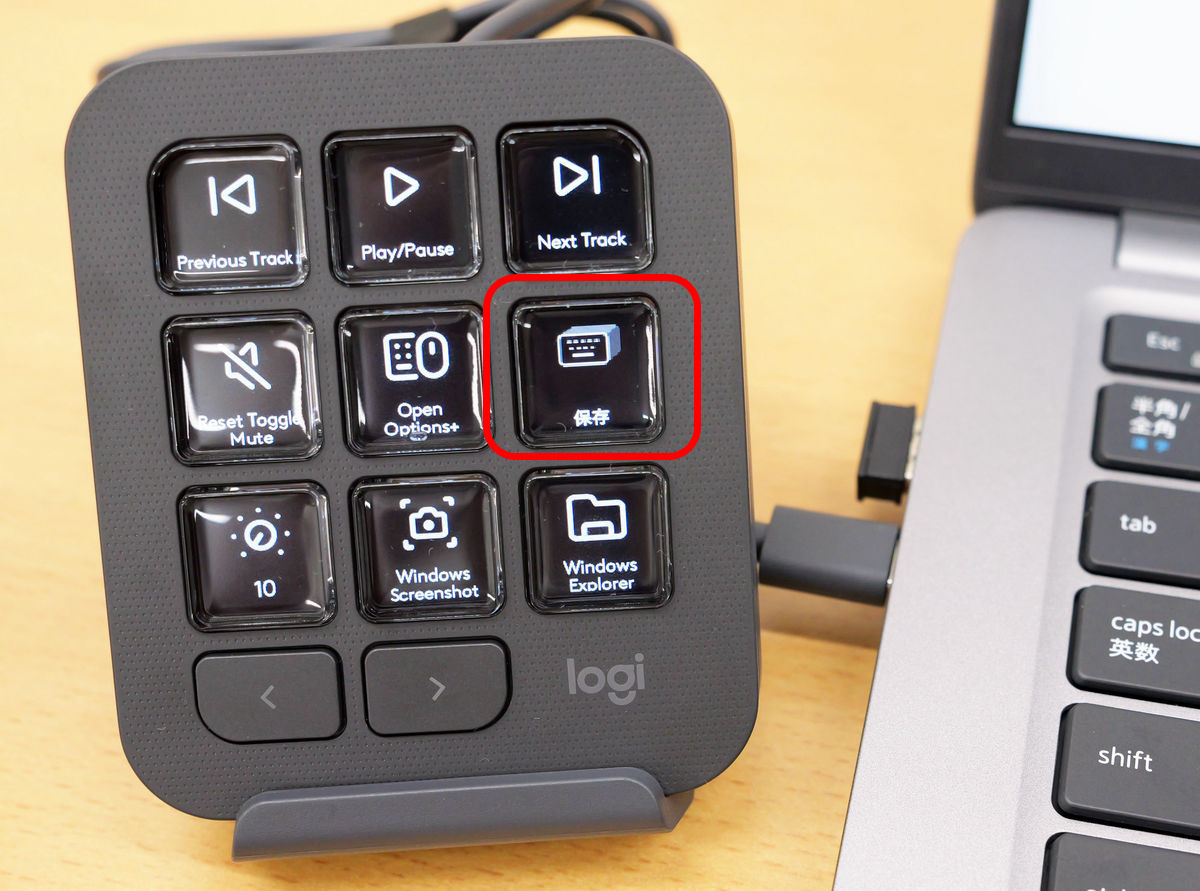
The shortcut key 'Save' has been set to the button as shown below. By setting a shortcut key that you can press frequently and get tired of, or that is difficult to remember, to a button, you can perform the same action as the shortcut just by tapping it.
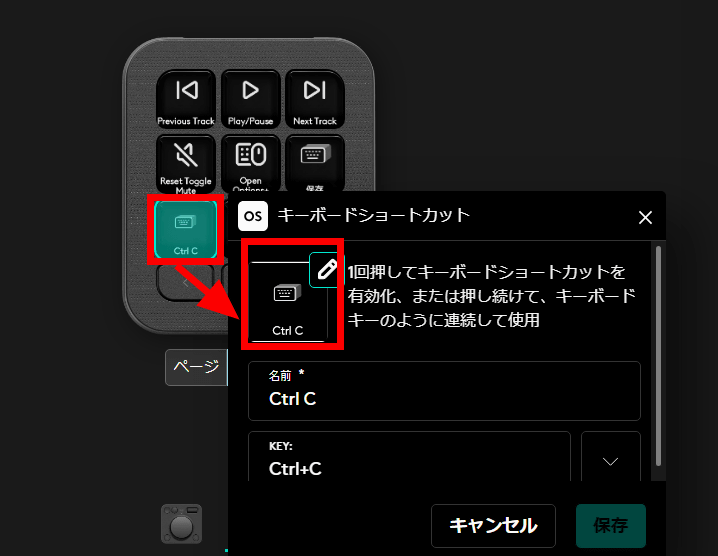
The problem with assigning shortcut keys to buttons is that the icons displayed on the screen will be the same, so if you assign multiple shortcut keys, you will need to distinguish between them by looking at the small letters.
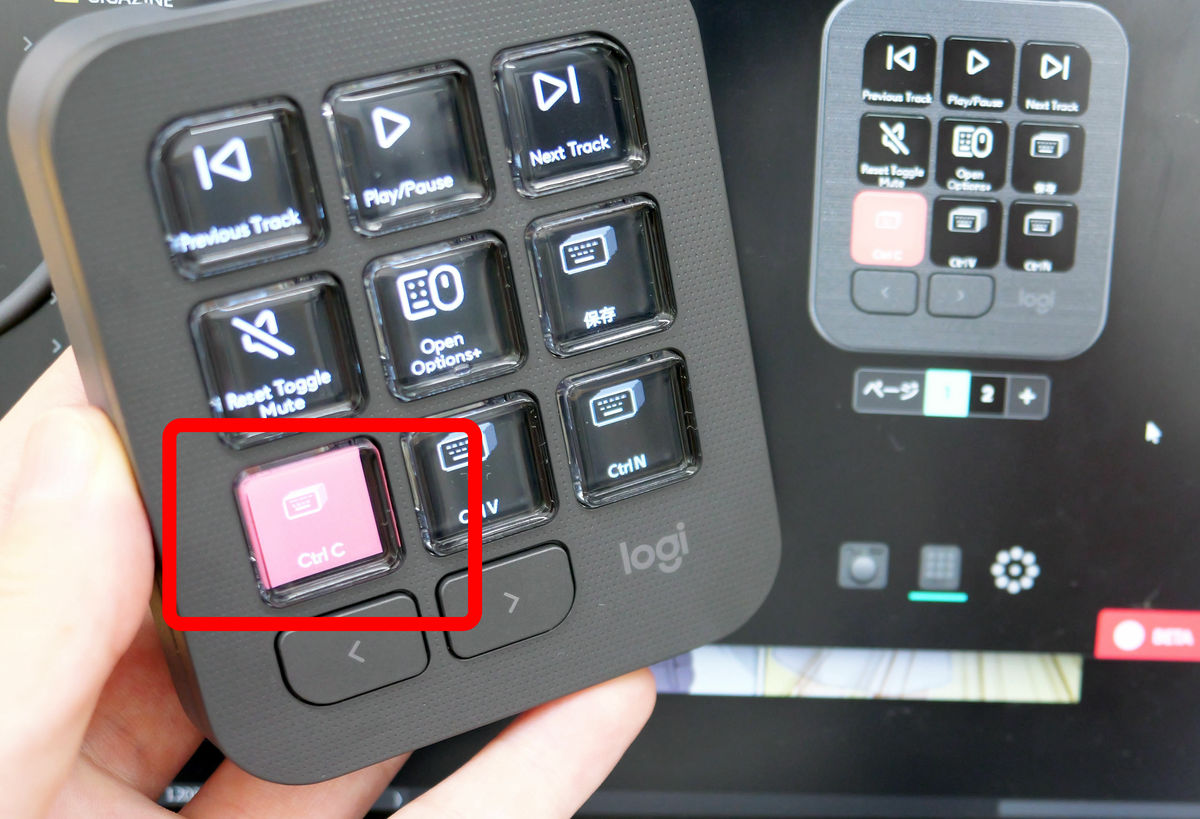
So, let's change the icon to make it easier to understand. Select the 'Keyboard Shortcut' button set with 'Ctrl + C (Copy)' and click the icon.
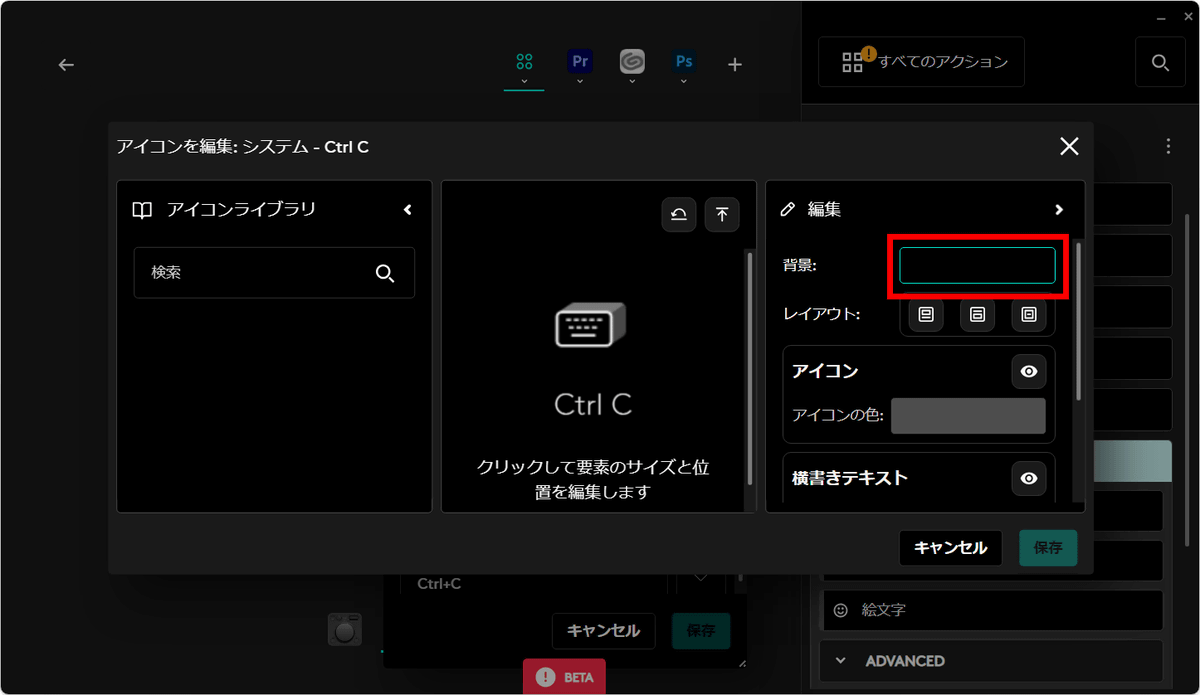
You can upload any image, and also change the background, icon, and text color. Click the black strip to the right of 'Background.'
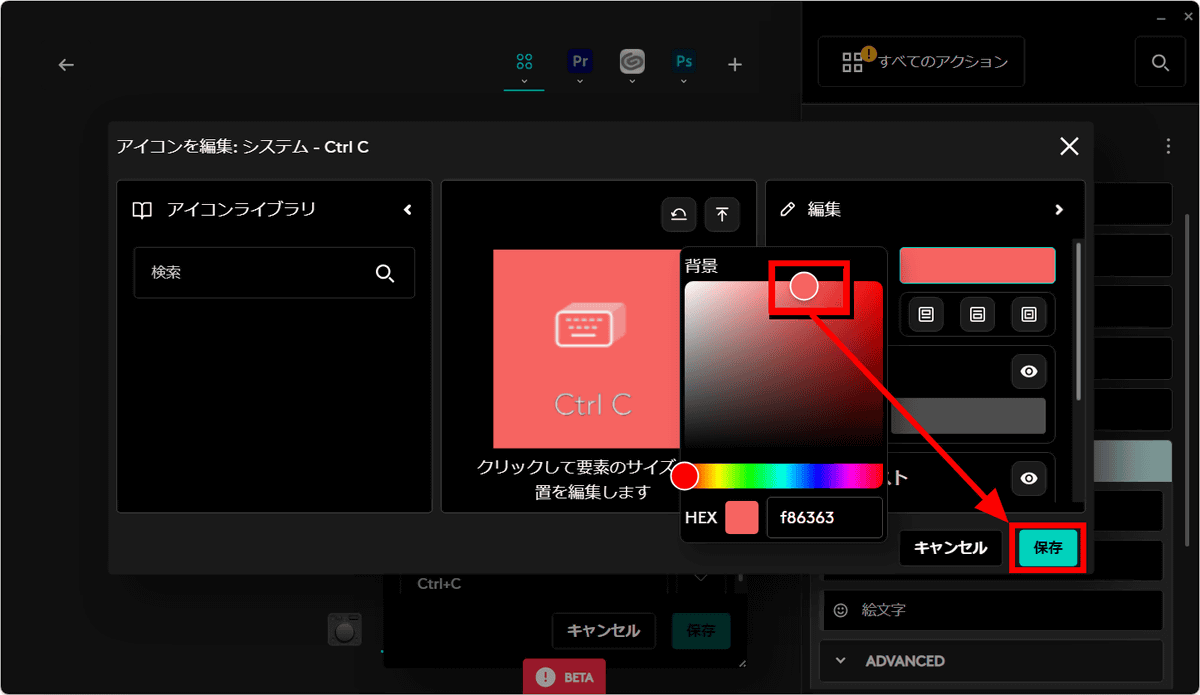
Select your favorite color from the color bar and click 'Save.'
Check that the icon color has changed and click 'Save'.
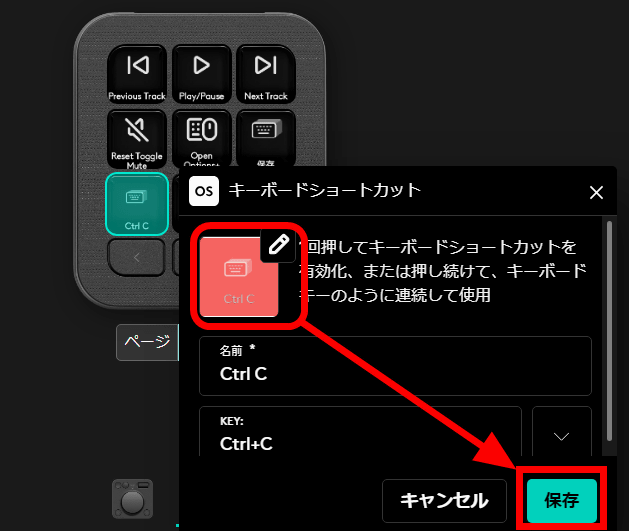
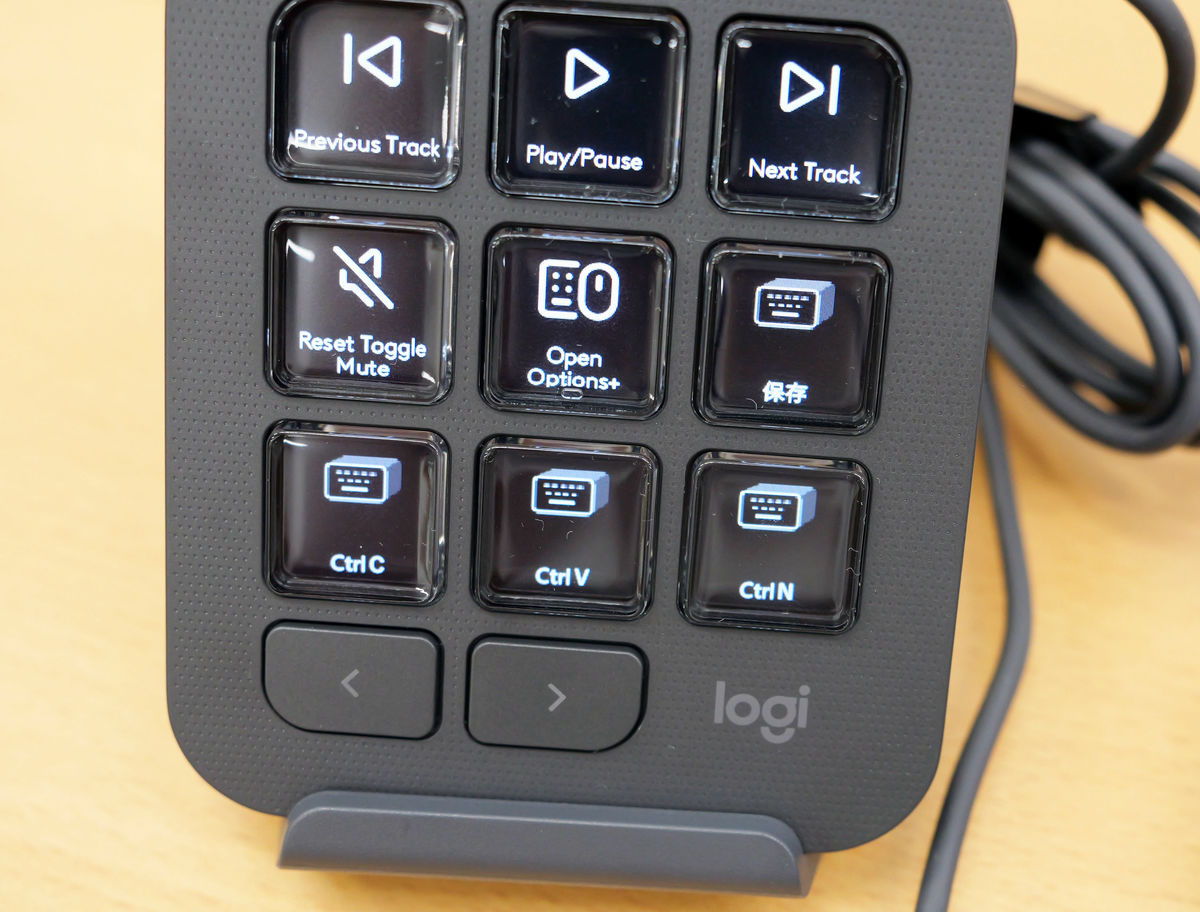
The icon colors have been changed. Just by changing the color to one that is easy for you to understand, you should be able to use the app more easily without pressing the wrong button.
◆ I tried running MX Creative Console with the non-compatible application 'CLIP STUDIO PAINT'
At the time of writing, MX Creative Console supports 17 applications, including Adobe Photoshop, Adobe Lightroom Classic, Adobe Premiere Pro, Adobe Audition, Adobe After Effects, Adobe Illustrator, Ableton Live, Zoom, Capture One, MS Teams, Philips Hue, Spotify, Apple Music, Discord, Streamlabs Desktop, OBS Studio, and Twitch, and new plug-in releases and support for applications are planned after the release. However, since it can be used without a dedicated profile or plug-in, as a further application, we will try setting up MX Creative Console with
First, open Logi Options + Plus and click on keypad.

Click 'Customize Keys'.

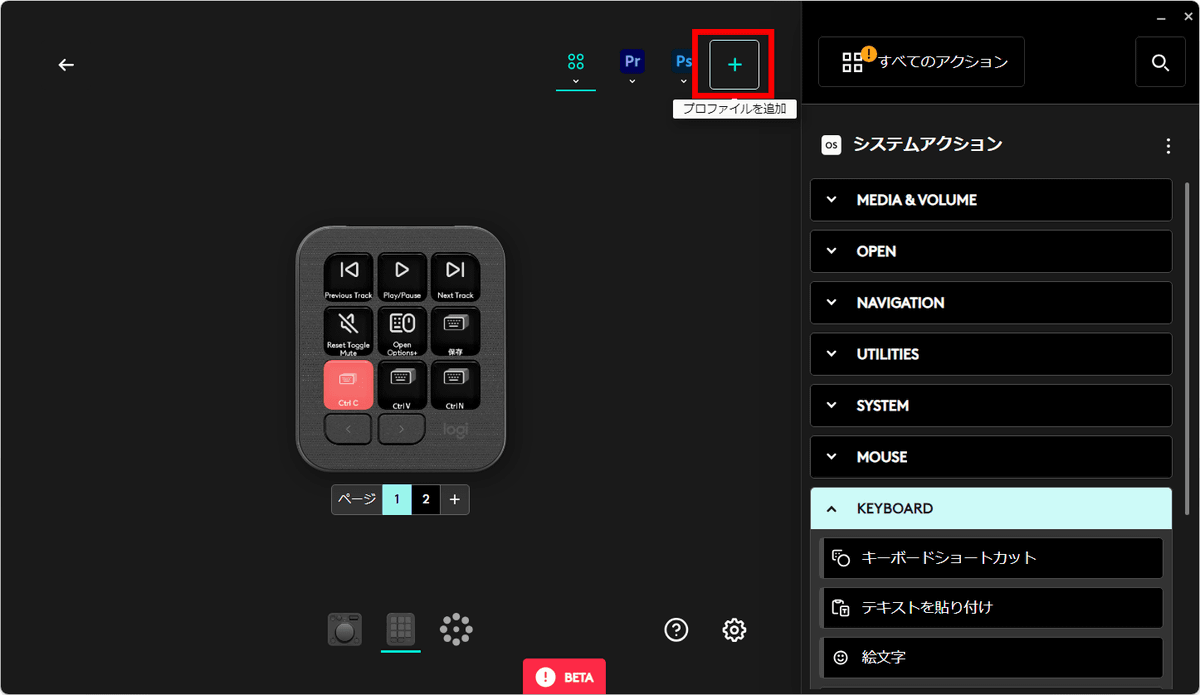
Installed profiles are displayed at the top, so press '+' to add a profile.
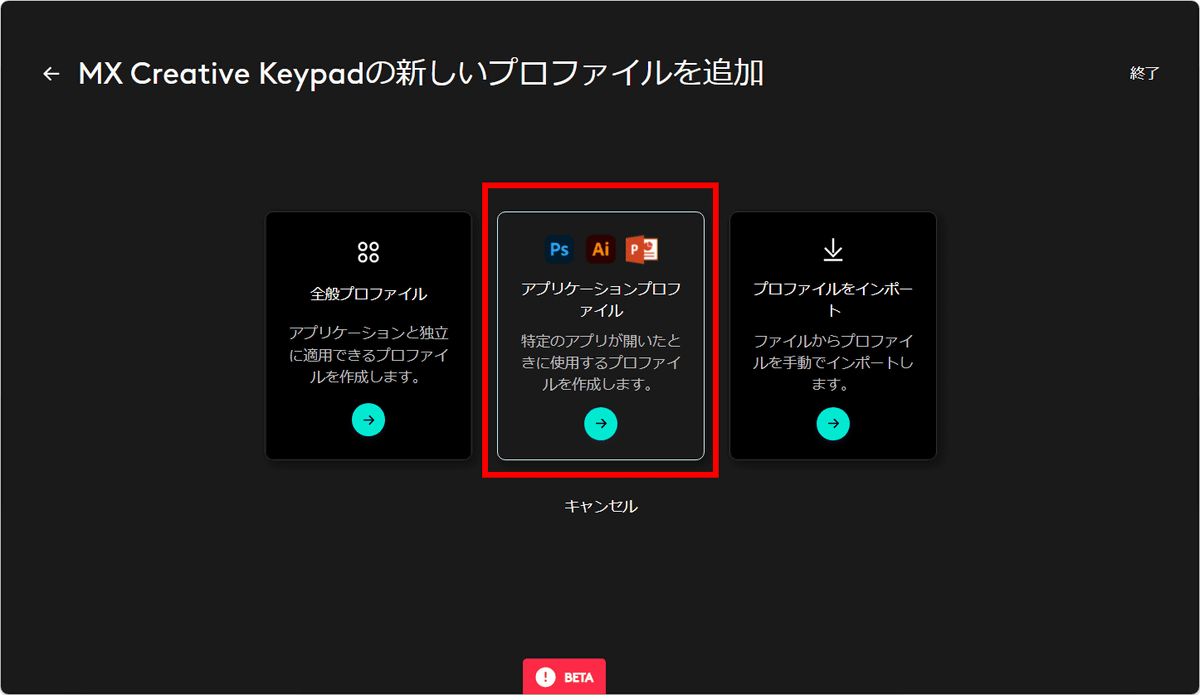
Select 'Application Profile'.
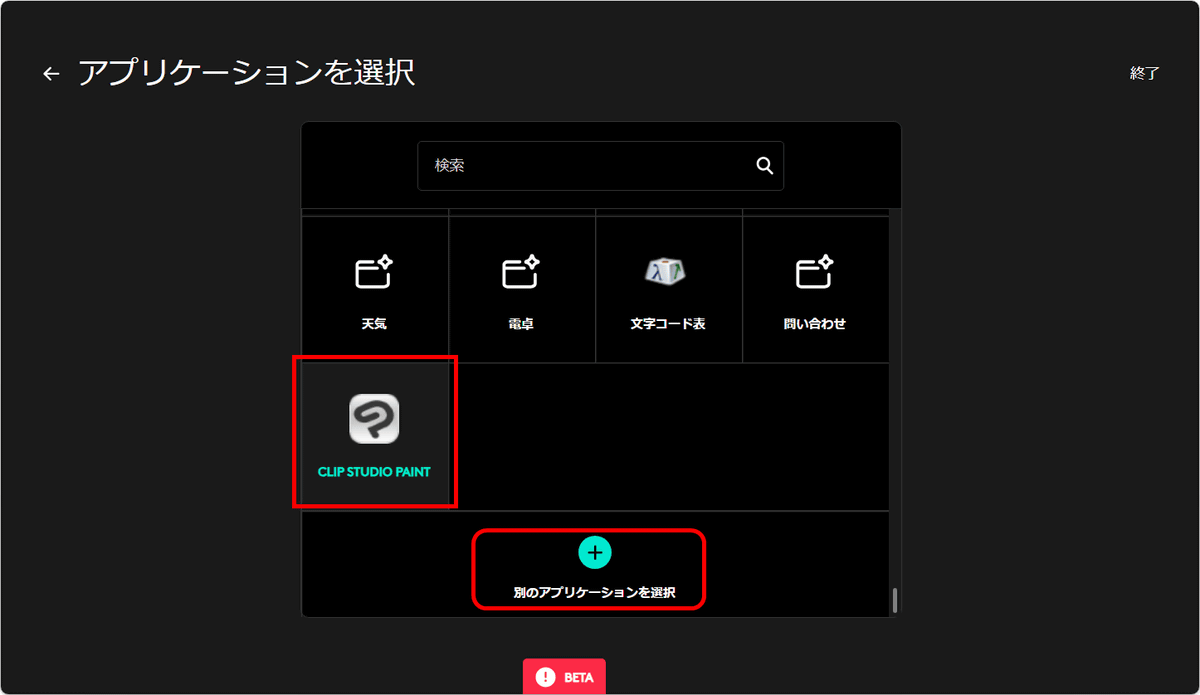
On the 'Select Application' screen, 'Compatible Applications' and 'Other Applications' that are installed on the device you are using are displayed separately. Compatible applications have dedicated profiles, so you can set the corresponding behavior for each application simply by installing them. On the other hand, for other applications, you will need to create a new profile and create settings from scratch.
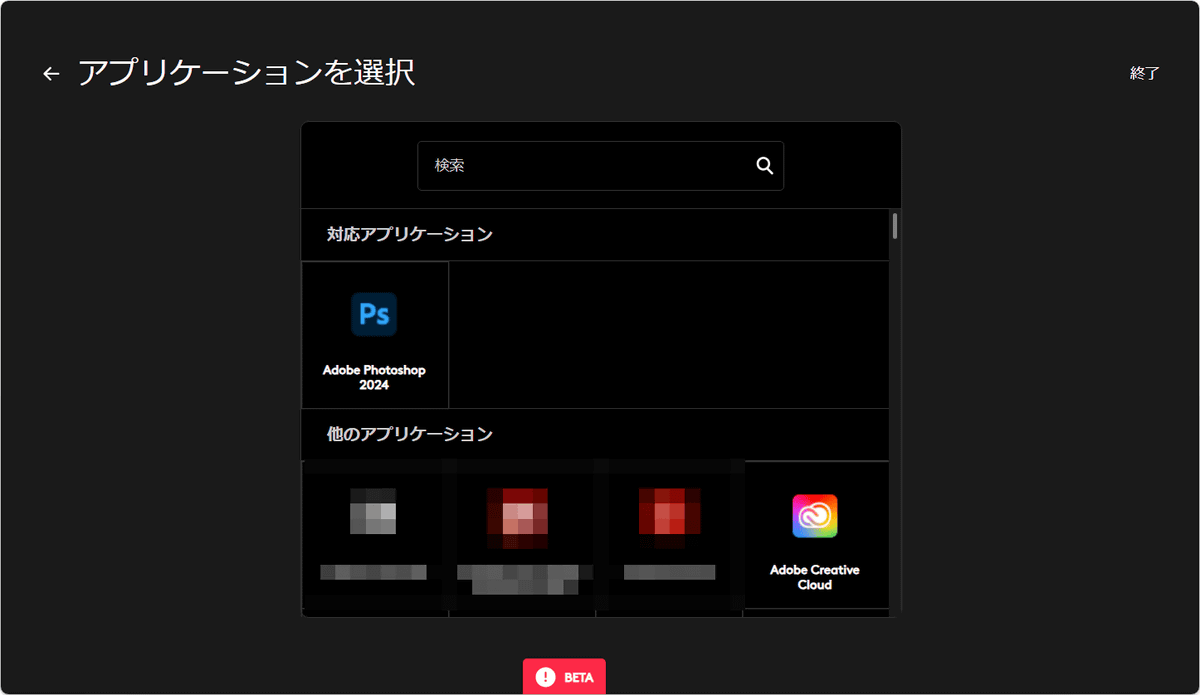
Find and click 'CLIP STUDIO PAINT' from the list of applications. If you cannot find it in the list, you can click 'Select another application' and specify the file to load.
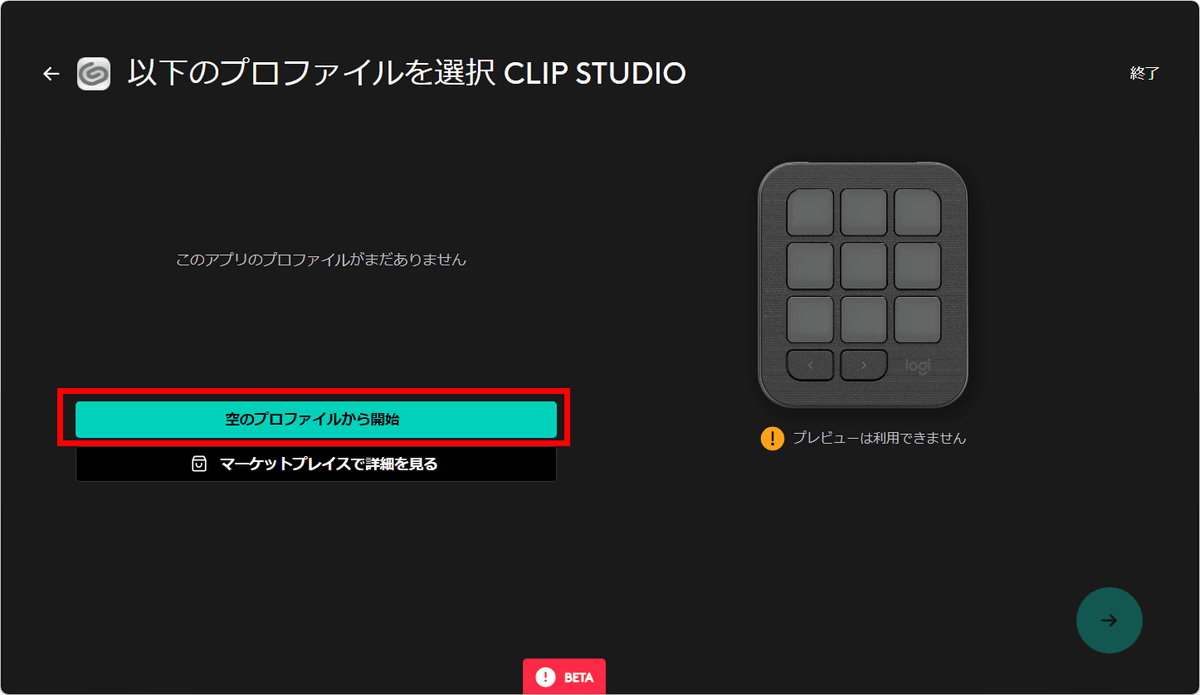
CLIP STUDIO PAINT will display 'You don't have a profile for this app yet,' so click 'Start with an empty profile.'
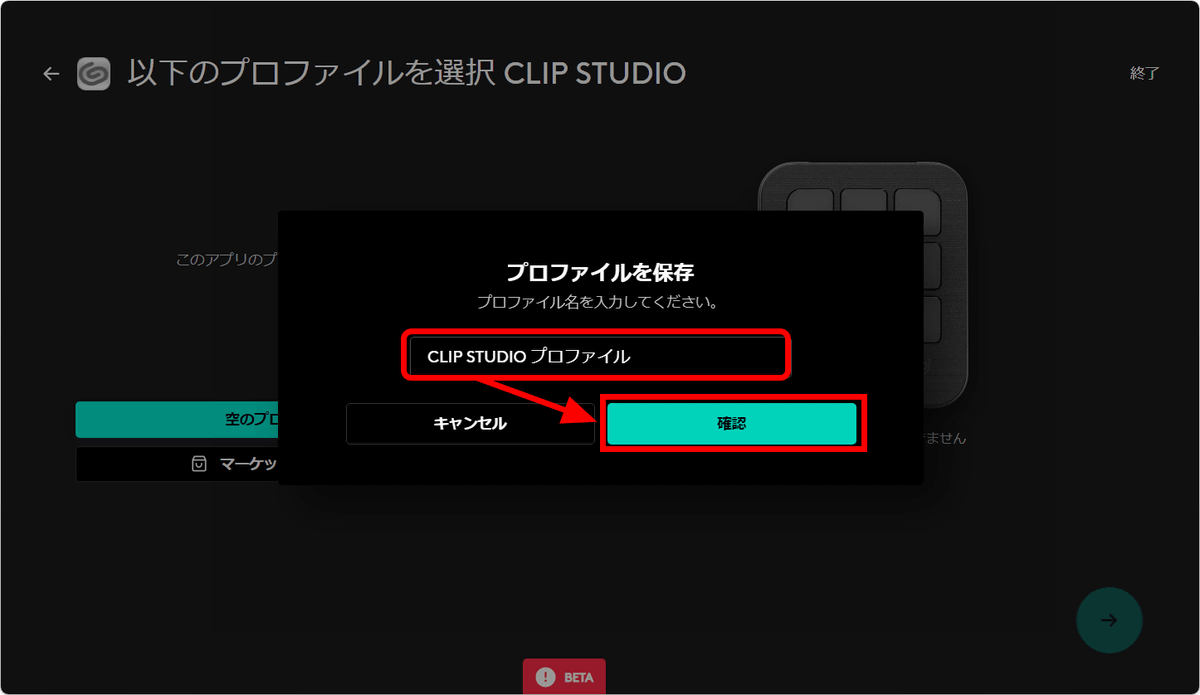
Once you have confirmed the app name, click 'Confirm'.
A blank profile has been created:

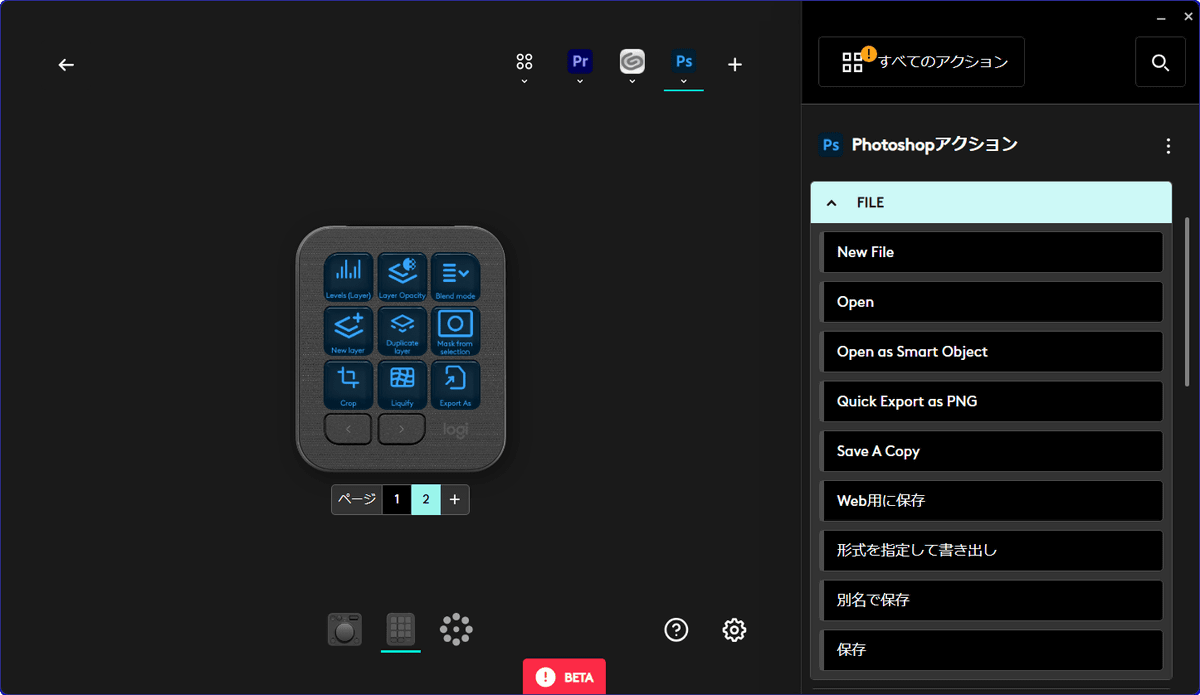
Below is the settings screen for Photoshop with a profile. If a profile is available, the action list on the right will be 'Photoshop Actions,' and you can assign actions that can be performed in Photoshop to the buttons.
On the other hand, in the case of CLIP STUDIO PAINT, which does not have a profile, only general actions such as 'Open web page,' 'Launch Explorer,' and 'Show desktop' are displayed. For now, set 'Explorer,' which is also necessary while working in CLIP STUDIO PAINT.
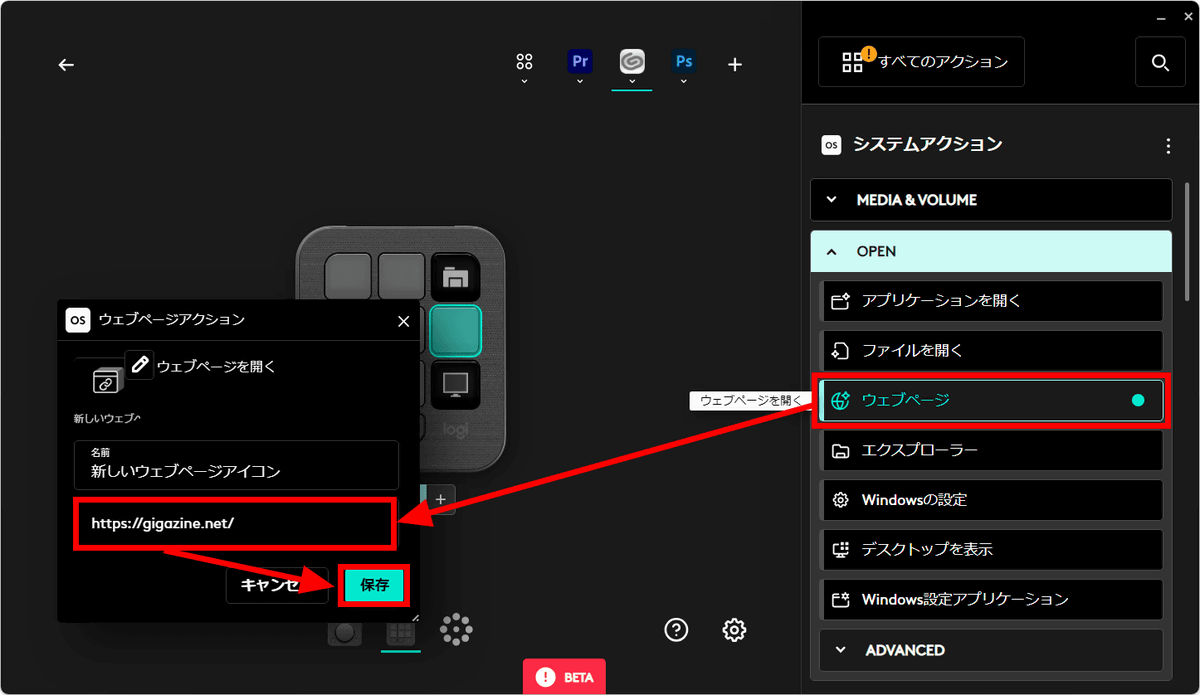
In addition, by setting up a frequently accessed URL in the 'Open Web Page' menu, you can open that page immediately by pressing a button.
If you want to set an application-specific action for an application that does not have a profile, 'Keyboard Shortcuts' is useful. Select the button you want to assign and click 'Keyboard Shortcuts'.
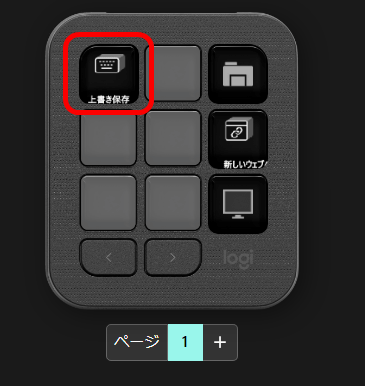
In CLIP STUDIO PAINT, you can use the shortcut key 'Ctrl + S' to 'Save over,' so we'll load that action into the button. After selecting the name and shortcut, click 'Save.'
I was able to create an overwrite save button for CLIP STUDIO PAINT.
In addition, by checking the menu in CLIP STUDIO PAINT, you can see which actions can be executed with which shortcut keys. It is difficult to remember many shortcut keys, so if you have a shortcut for an action that you use often but cannot remember, you should be able to use it conveniently by setting it in MX Creative Console.
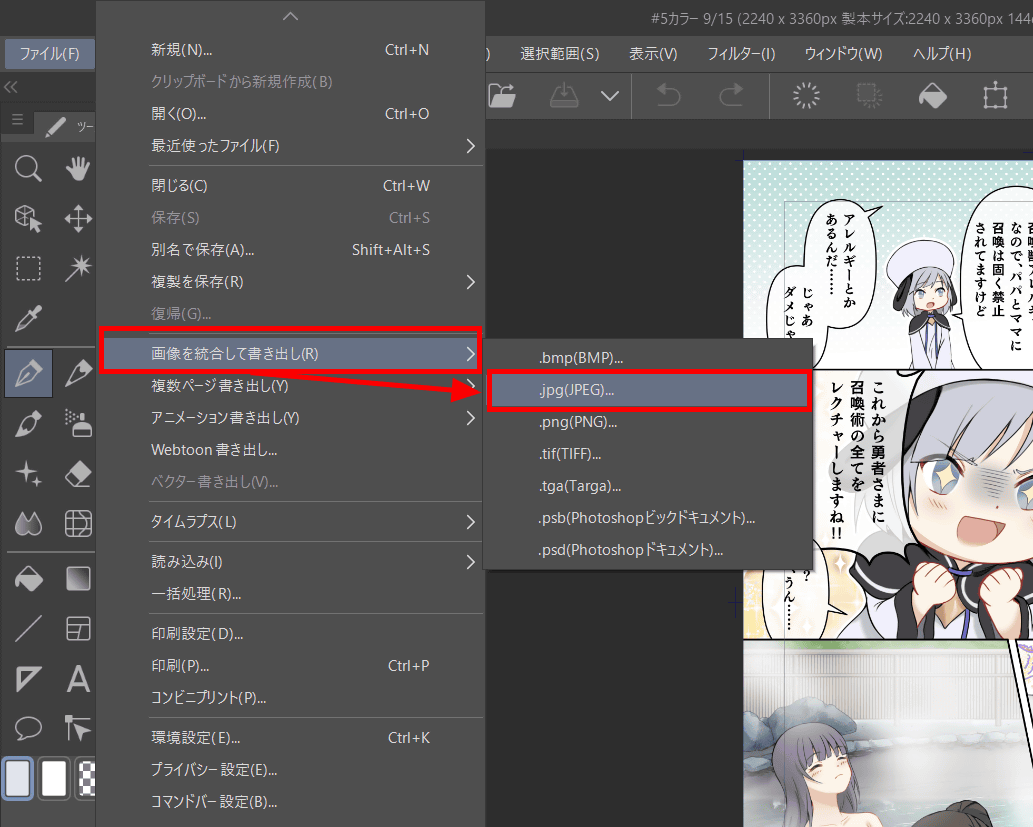
In addition, there is a way to perform actions that do not have shortcut keys set in MX Creative Console. For example, in CLIP STUDIO PAINT, the action 'Merge images and export as JPEG file' cannot be processed with a shortcut key because there is no shortcut key listed in the selection screen below.
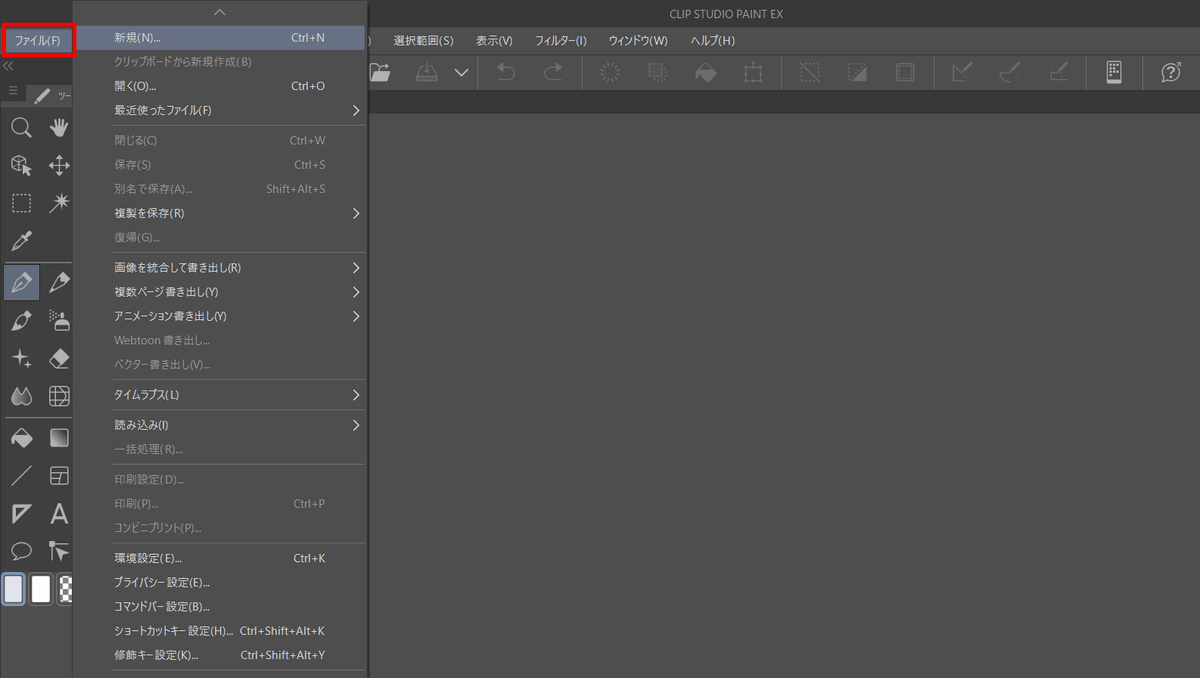
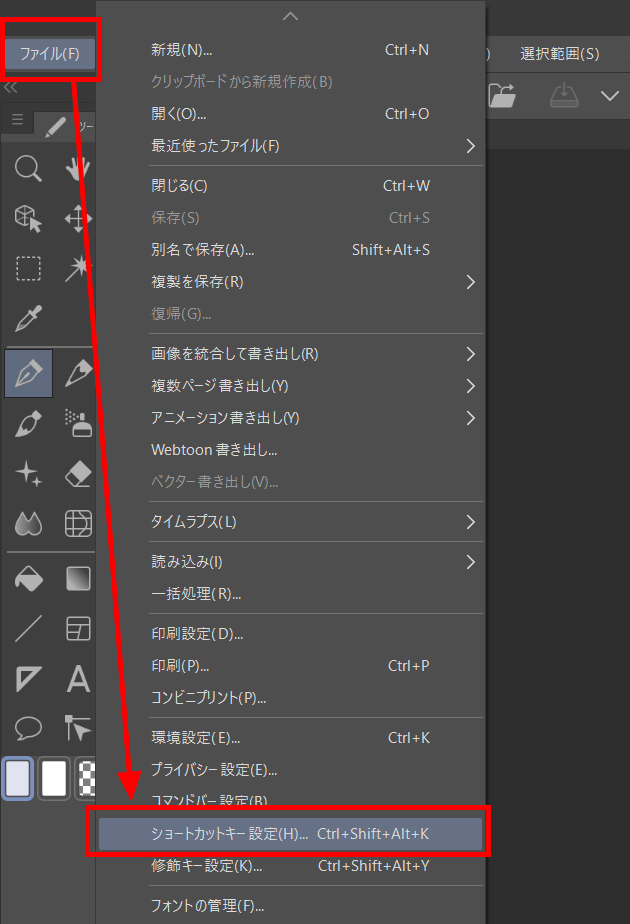
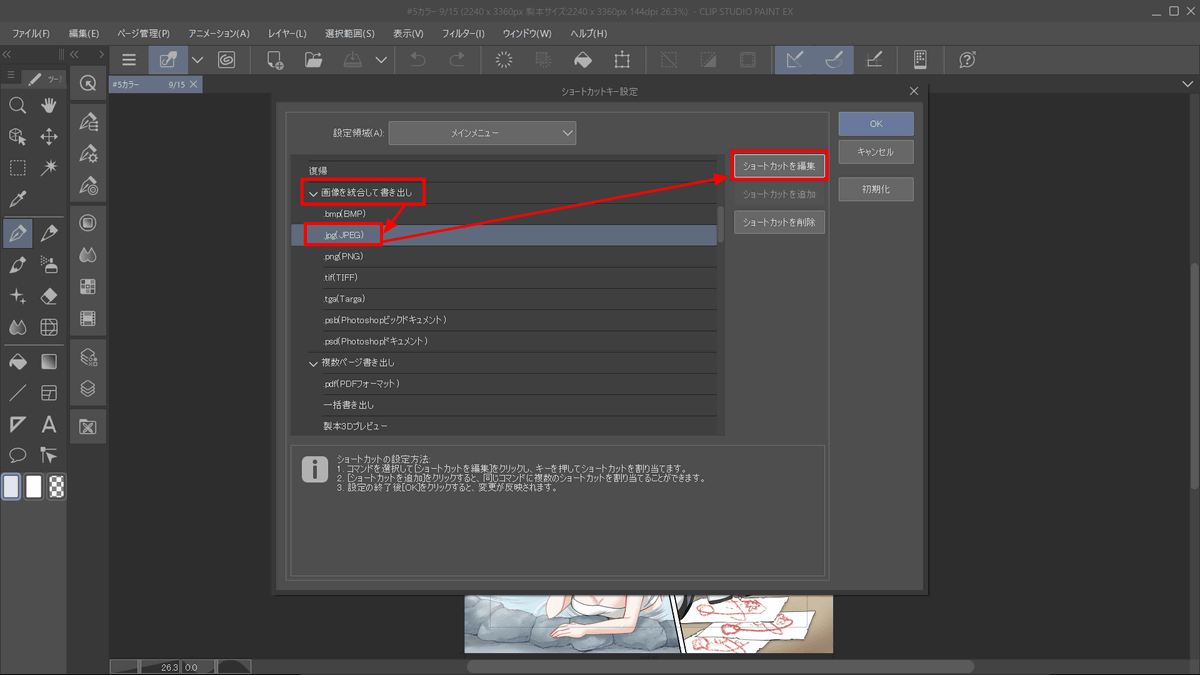
Therefore, first set a shortcut key in CLIP STUDIO PAINT for the action you want to load in MX Creative Console, then set that shortcut key to a button. Click 'Shortcut Key Settings' from 'File' in CLIP STUDIO PAINT.
When you find the menu 'Merge and export images', select '.jpg (JPEG)' and click 'Edit shortcuts'.
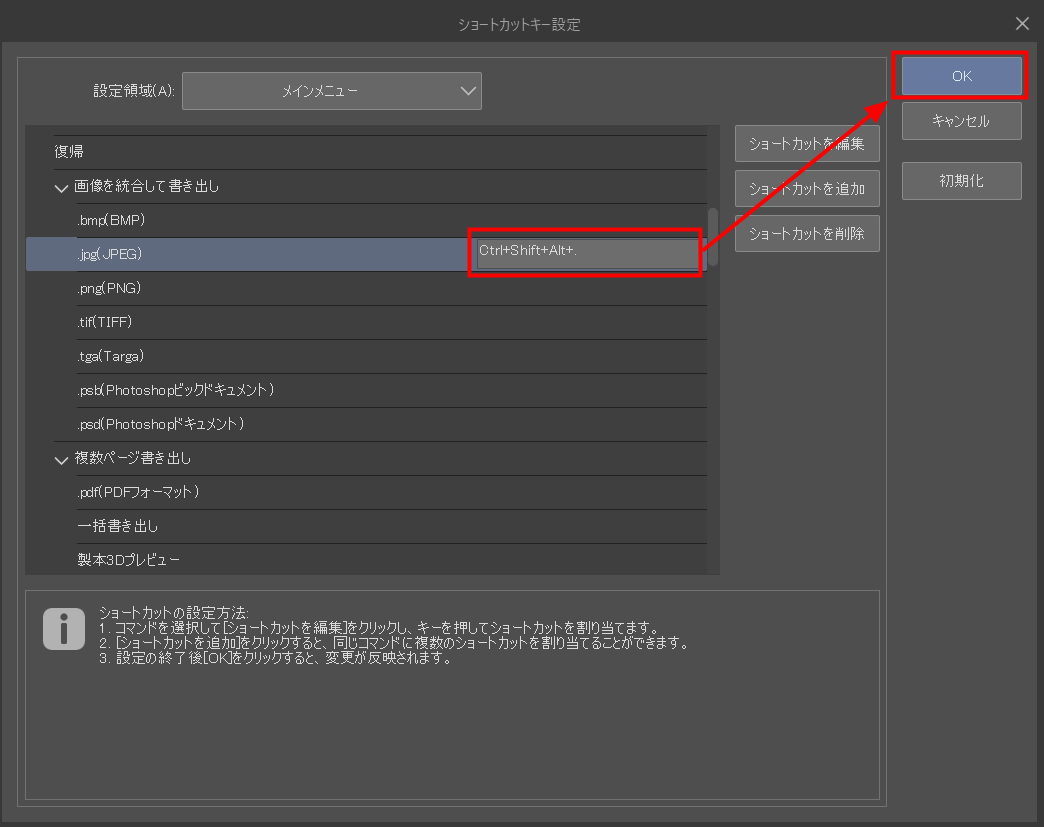
Once you have set the shortcut you want, click 'OK.' Normally, it's better to make the shortcut easy to remember or type, but when setting it for MX Creative Console, this is not necessary, so it's fine to make it complicated so that it doesn't overlap with other shortcut keys.
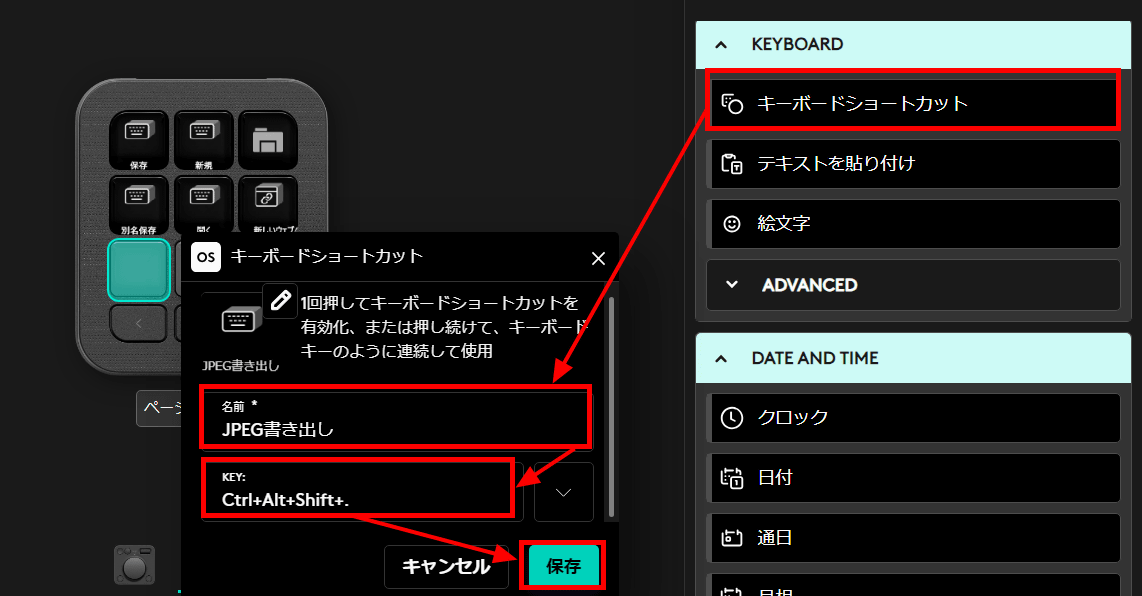
Once you've completed the settings on the CLIP STUDIO PAINT side, assign the 'Keyboard Shortcut' to a button in Logi Options + Plus, set the name to 'JPEG Export', enter the shortcut key you just set in 'KEY', and click 'Save'. By setting it up in this way, you can set the operation in MX Creative Console even in any application that is not compatible.
Can MX Creative Console actually function with CLIP STUDIO PAINT, which is a non-compatible application? You can see the results in the following movie.
If you set up the non-compatible app 'CLIP STUDIO PAINT' on Logitech's first left-handed device 'MX Creative Console', will it actually work? - YouTube
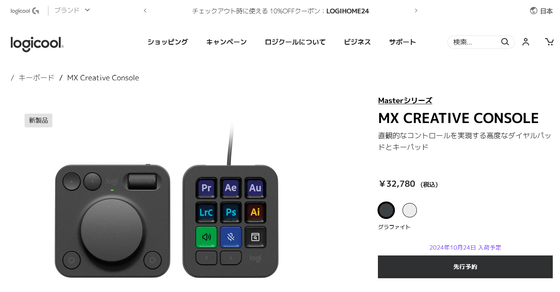
The MX Creative Console is scheduled to be released on October 24, 2024, with an open price of 32,780 yen on the Logitech online store. The colors available are black 'graphite' and white 'pale gray.'
Buy MX Creative Console | Logitech
Related Posts: