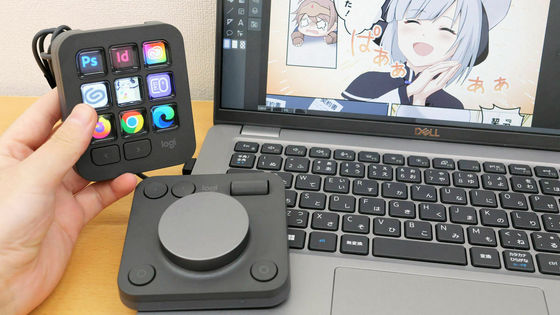
Logitech's first left-hand device 'MX Creative Console' that can customize up to 135 buttons and help with creative activities was connected to a PC and actually tried running it in Photoshop
MX Creative Console - Customizable Dialpad and Keypad | Logitech
https://www.logicool.co.jp/ja-jp/products/keyboards/mx-creative-console.html
You can find out more about what the MX Creative Console is by reading the following article.
Logitech MX Series' first left-handed device 'MX Creative Console' photo review, the real thing looks like this - GIGAZINE
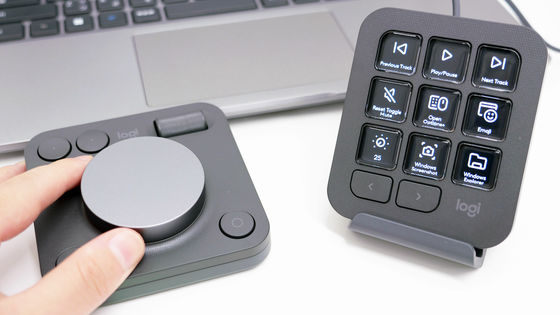
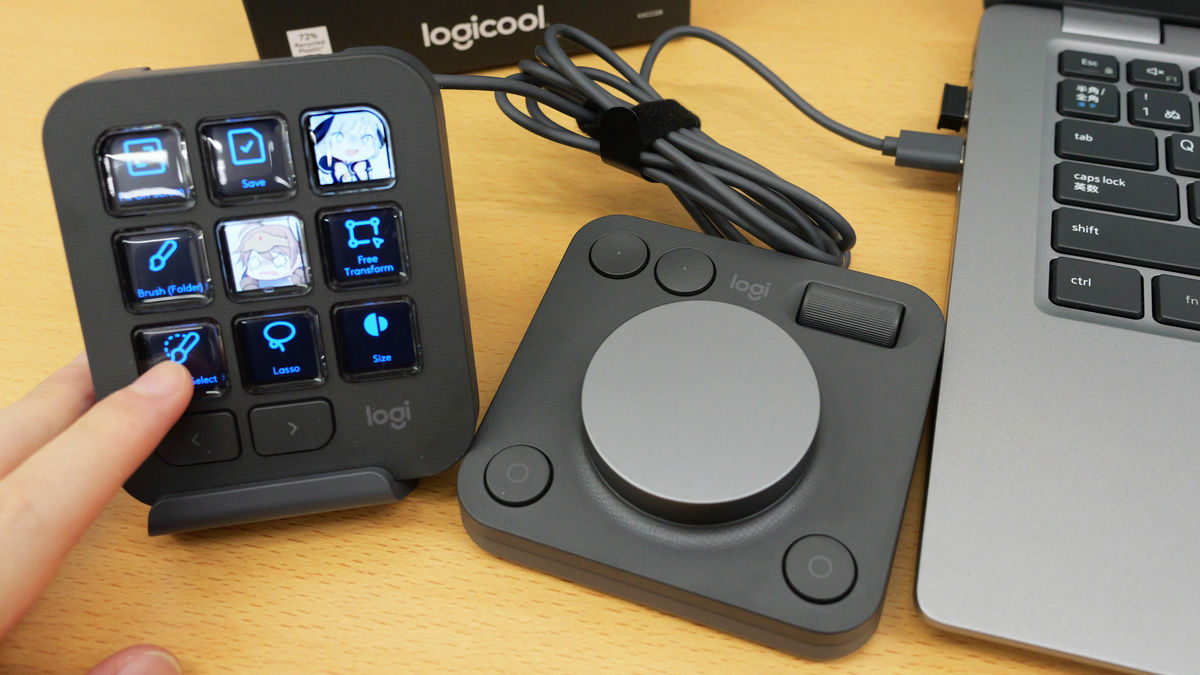
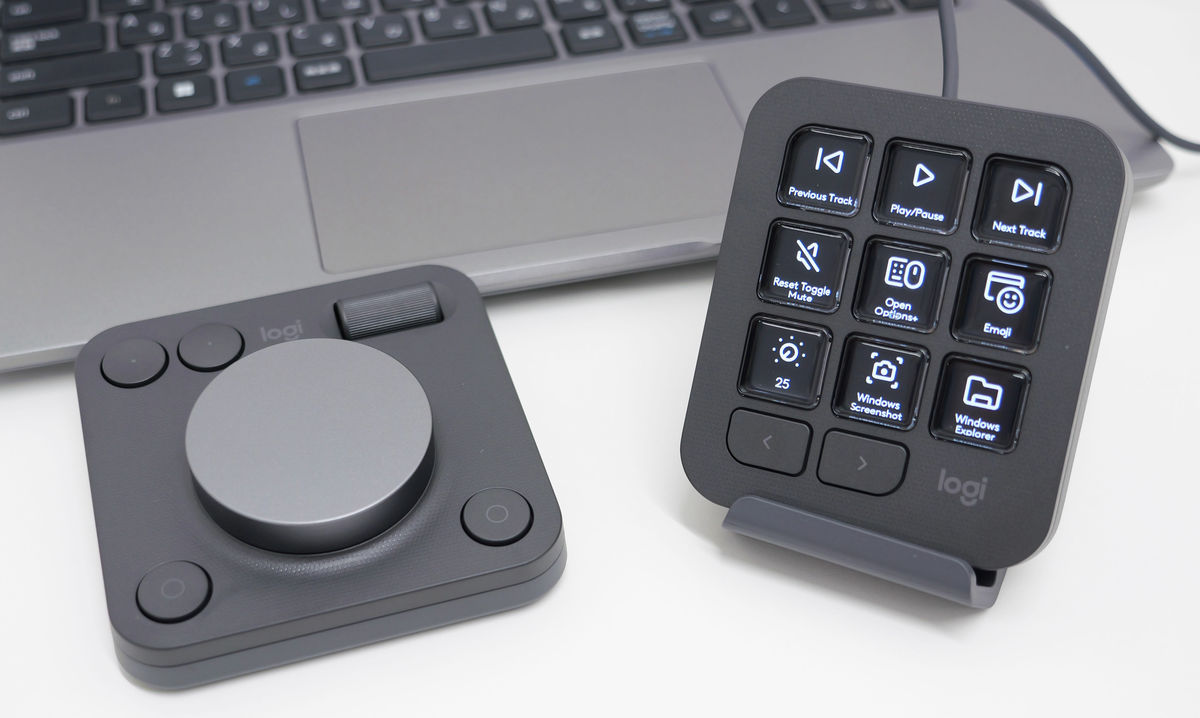
The MX Creative Console uses a combination of two types of pads: a wheel pad (left image below) and a keypad (right image below).
First, connect the wheel pad. The wheel pad requires a set of two AAA batteries.
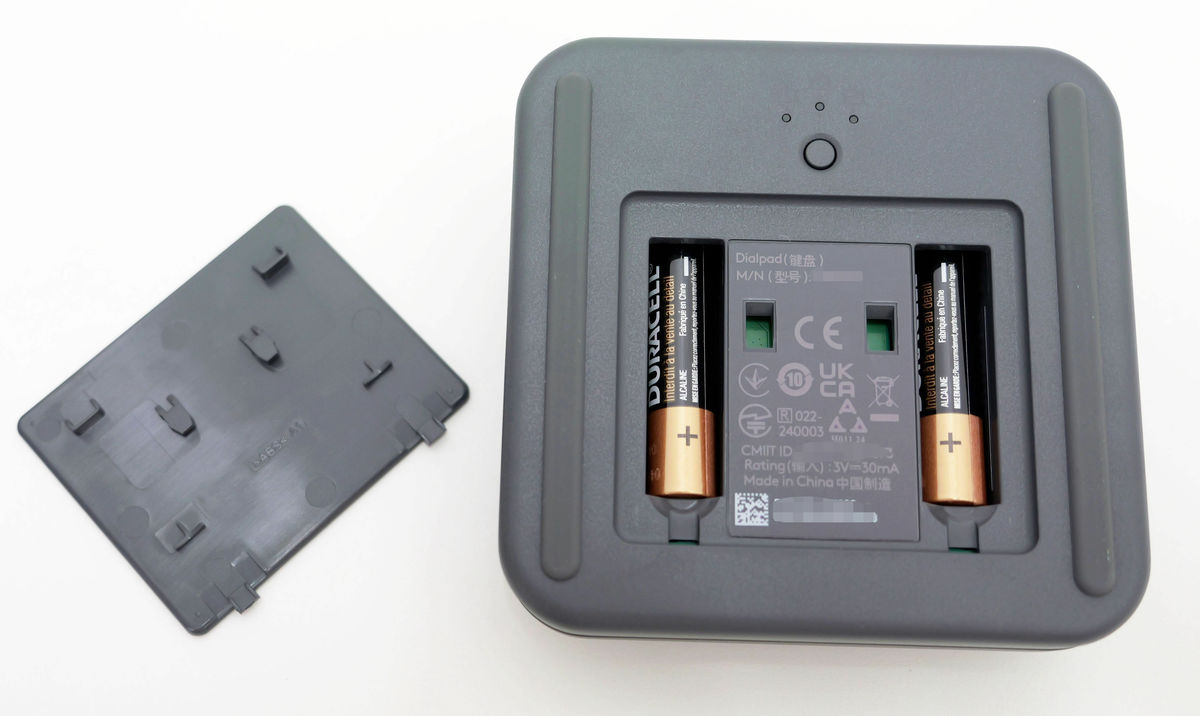
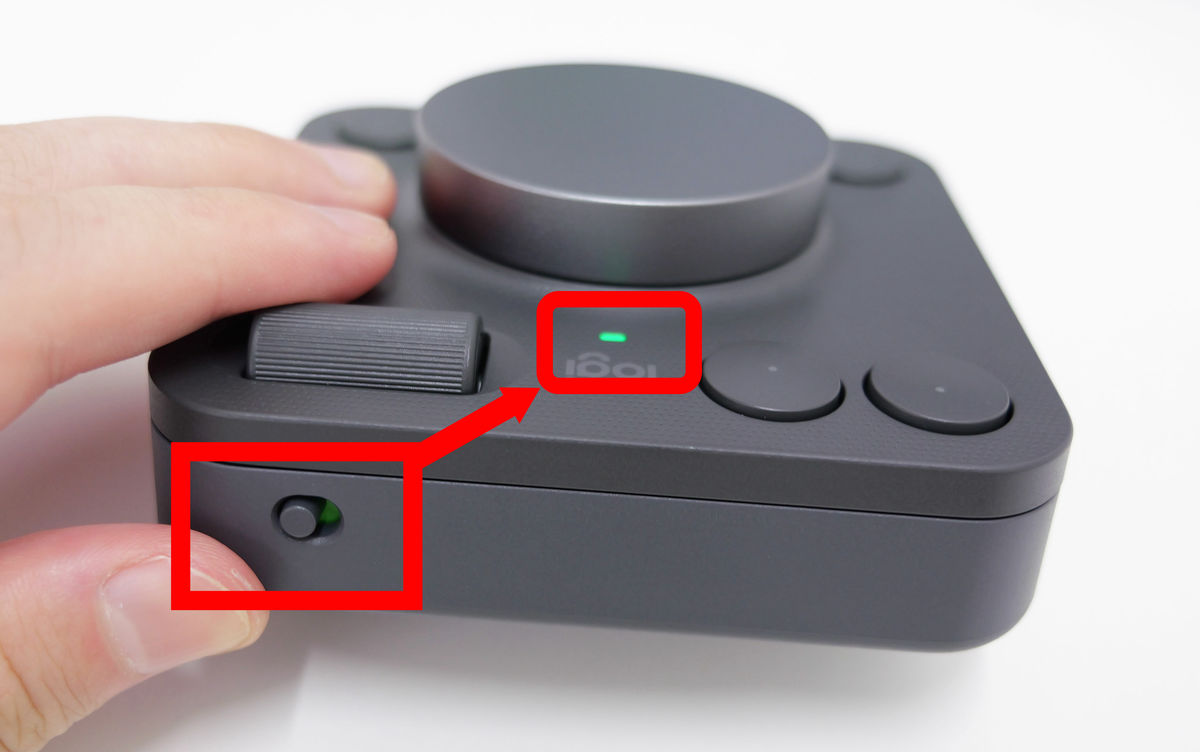
Once the batteries are set, turn the switch on the top to ON and the display will turn green. When the power light on the wheel pad turns green, it's ready to connect.
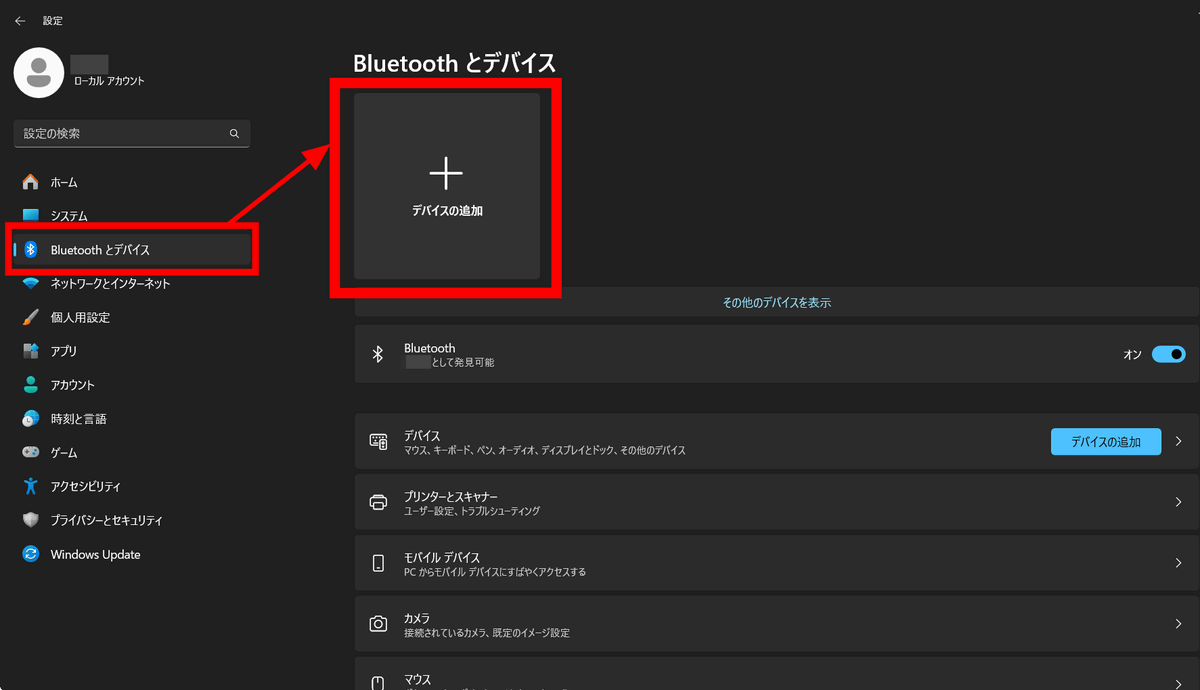
The wheel pad connects to the main device via Bluetooth. Since I'm using it on a Windows 11 PC this time, I open 'Bluetooth and Devices' from the 'Settings' app and click 'Add a device'.
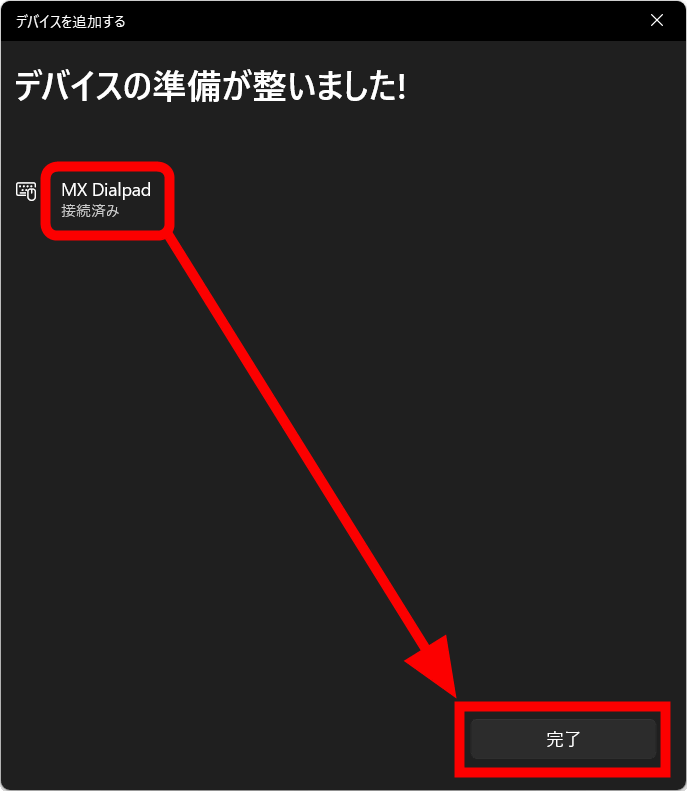
'MX Dialpad' appeared under 'Add Device' so click on it.

When it says 'Connected,' click 'Done.'
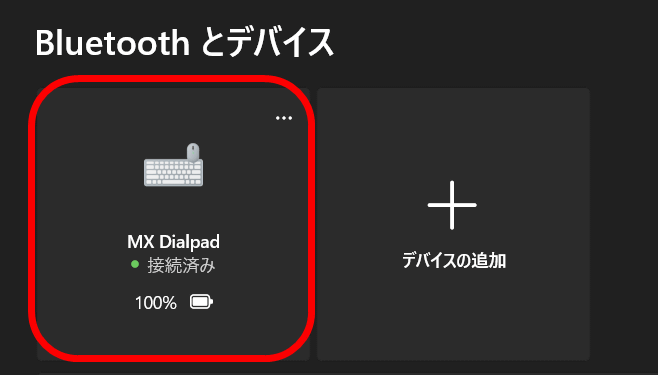
If the following is displayed, the dial pad is ready.
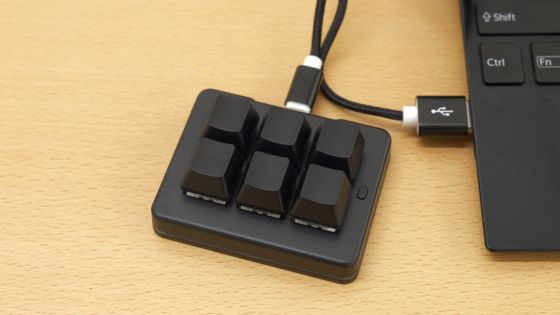
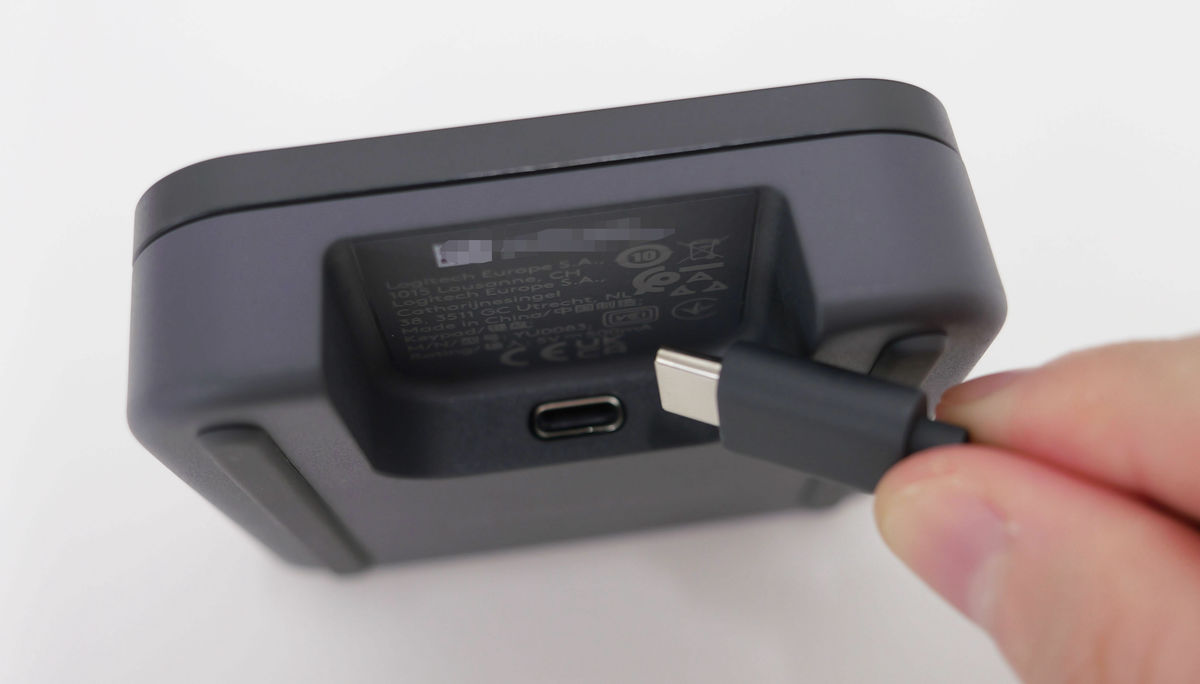
Next, connect the keypad. The keypad connects to the main device with a USB cable. Insert the included USB Type-C To C cable into the USB-C port on the keypad.
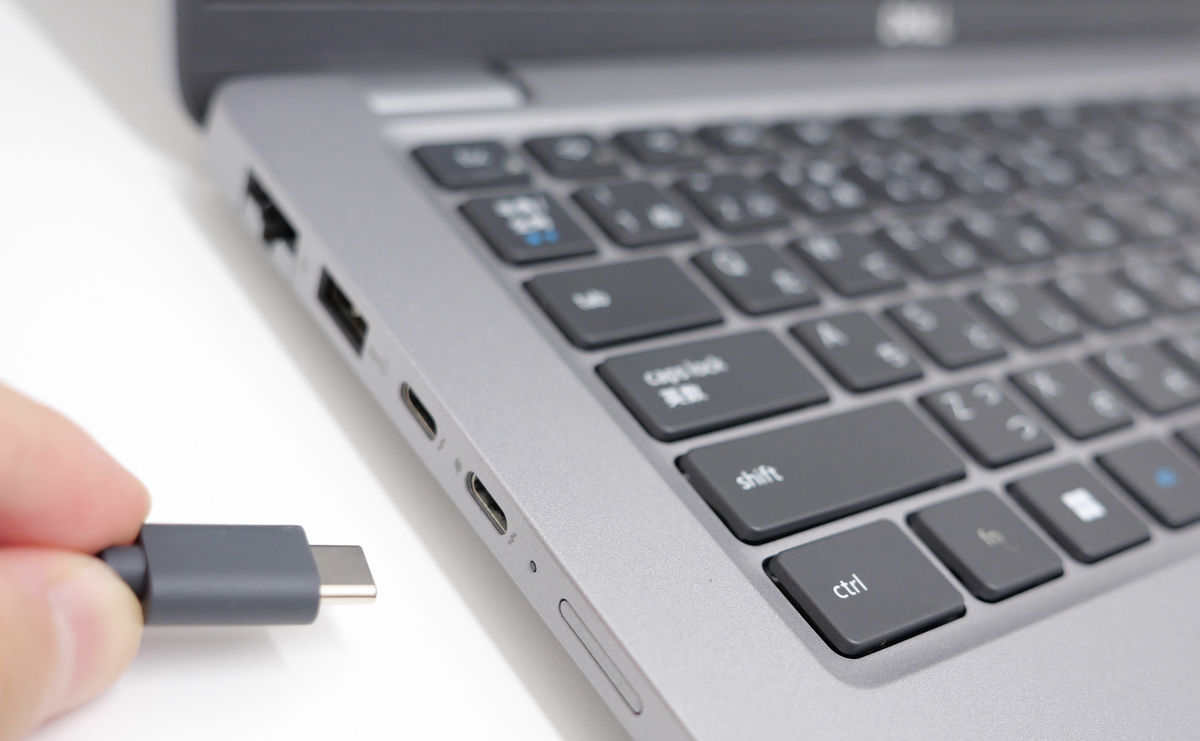
Insert the other end of the cable into the port on your PC. The included cable is USB Type-C to C, so you will need a USB-C port on the device you want to connect to.
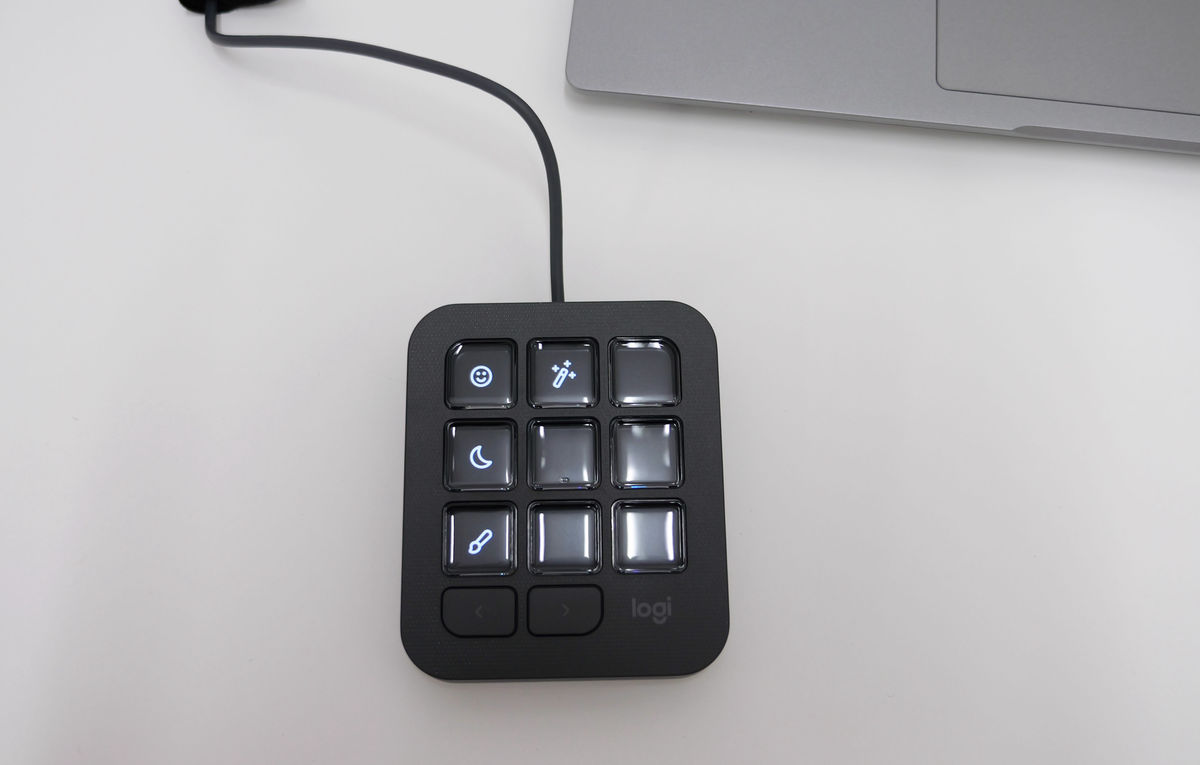
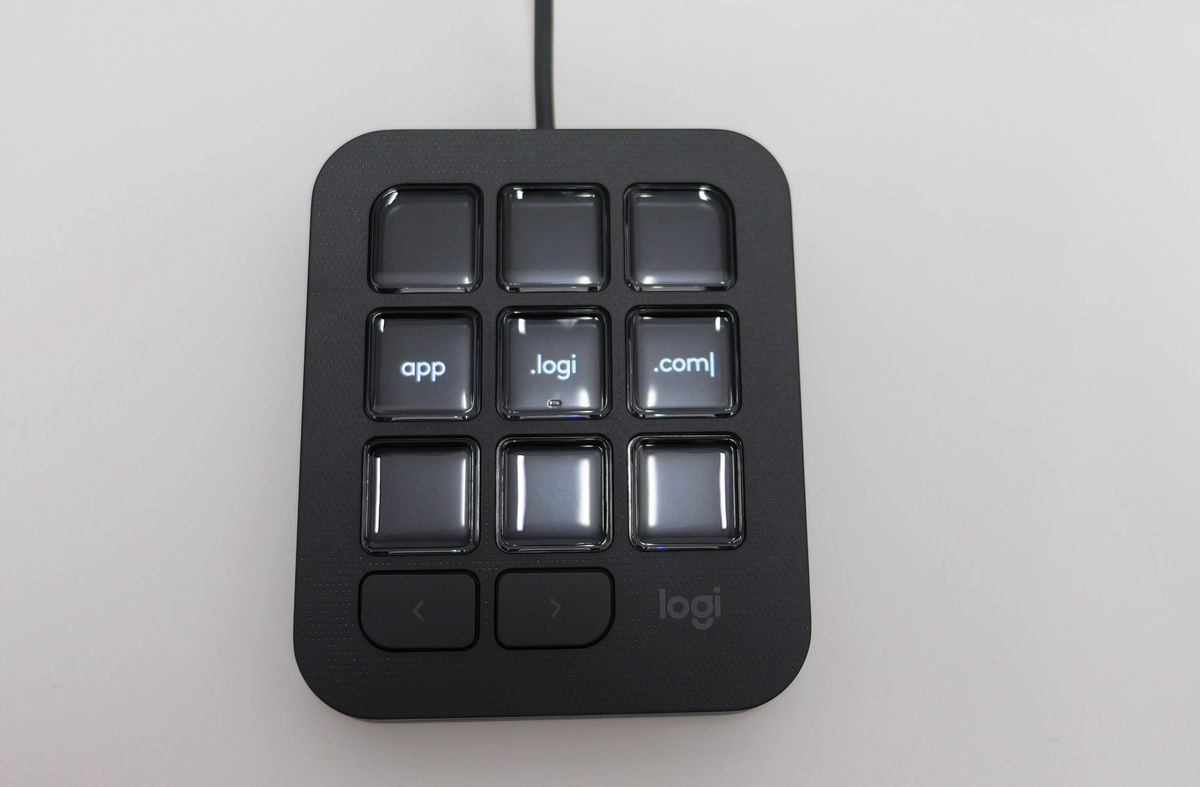
When I connected the device with a USB cable, the keypad automatically turned on and an icon appeared on the button.
After that, the keypad will display 'Download from app.logi.com.'
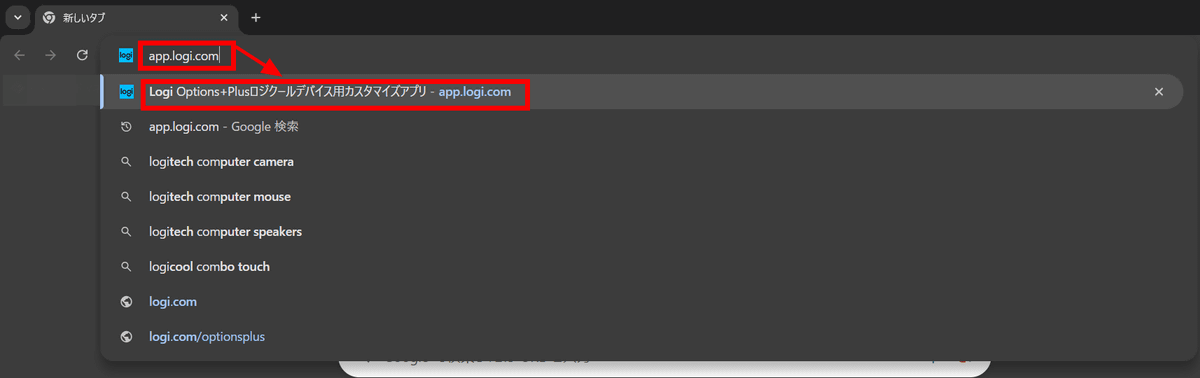
Follow the instructions and enter 'app.logi.com' in your browser. You will then see a page for the Logitech device customization app '
Download Logi Options+. Click 'Download (WINDOWS 10 or later)'.
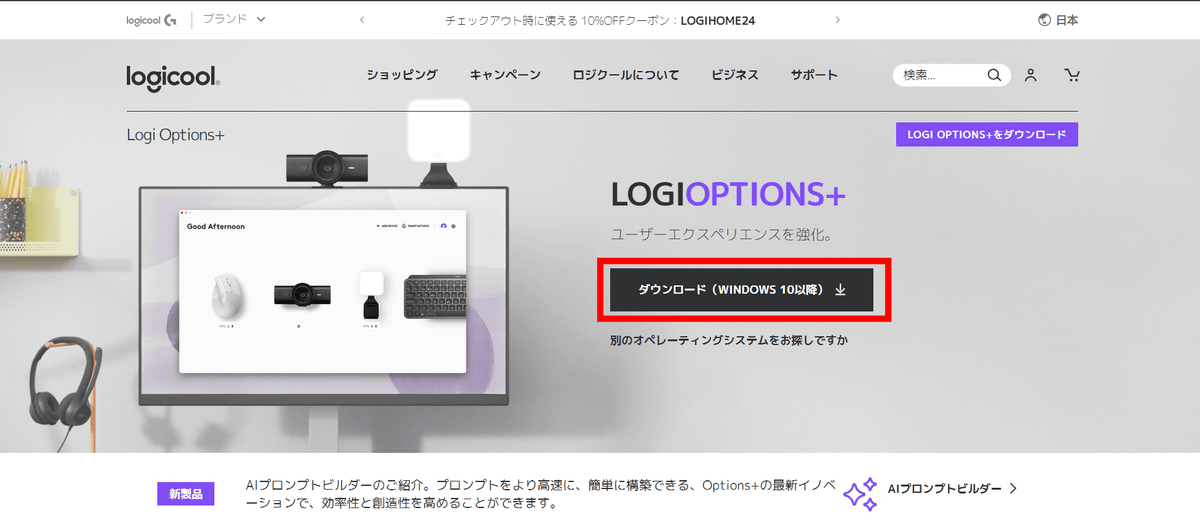
For Windows, it is compatible with Windows 10 and later, and for MAC, it is compatible with macOS 12 and later. Since I am using Windows 11 this time, click 'Download (for WINDOWS)'.

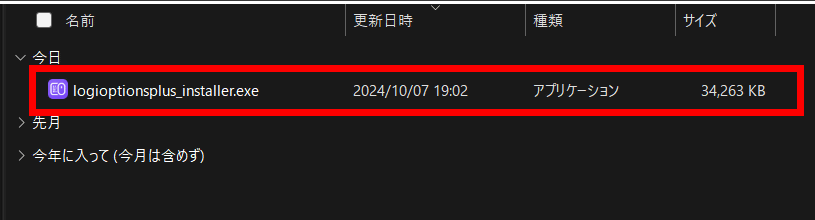
Double-click the downloaded installer to open it.
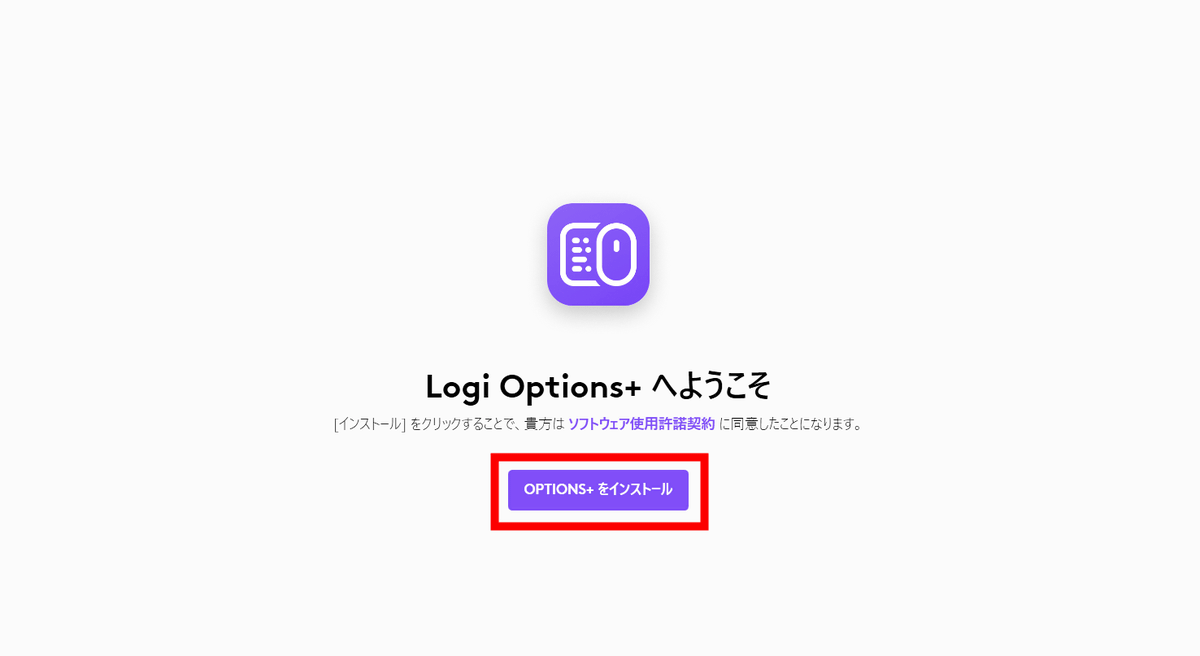
Click 'Install OPTIONS+'.
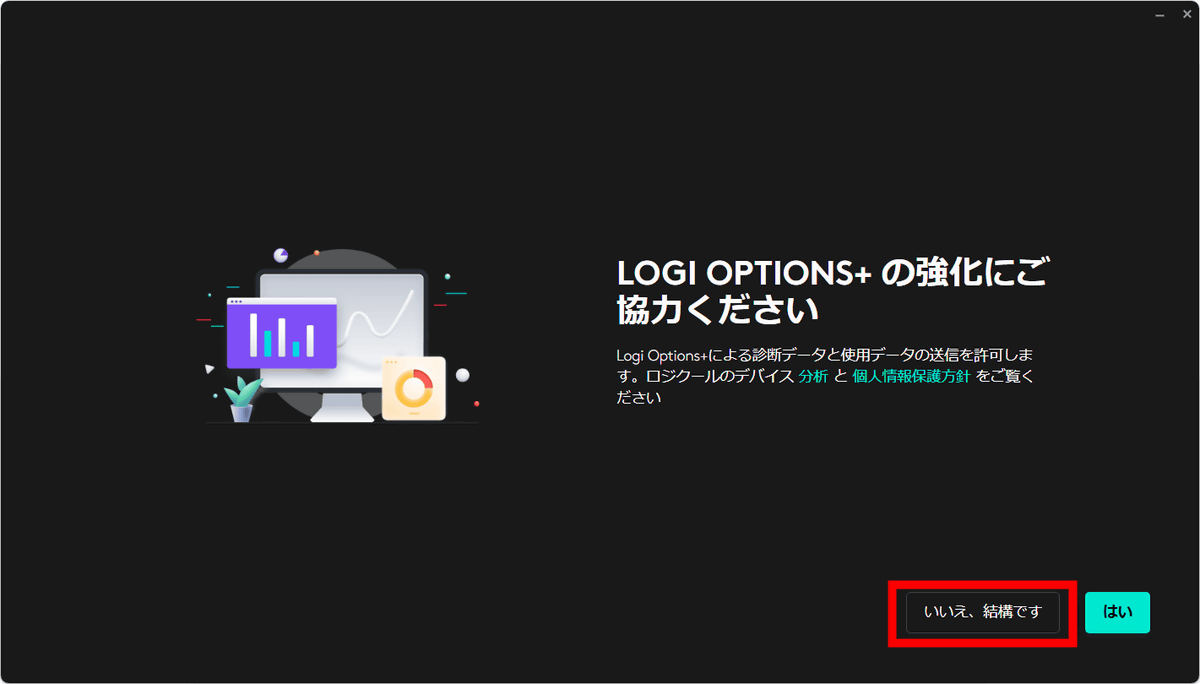
The download will start, so wait. The download will be completed in about 2 minutes.

Click 'No, thank you.'
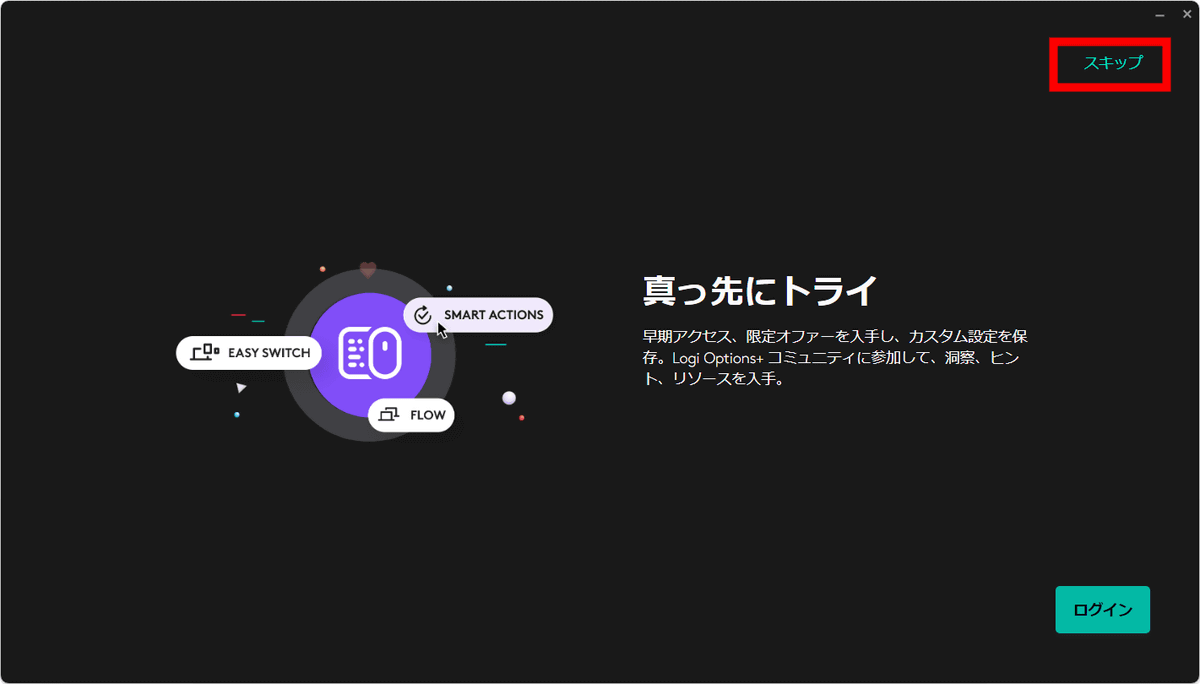
Click 'Skip'.
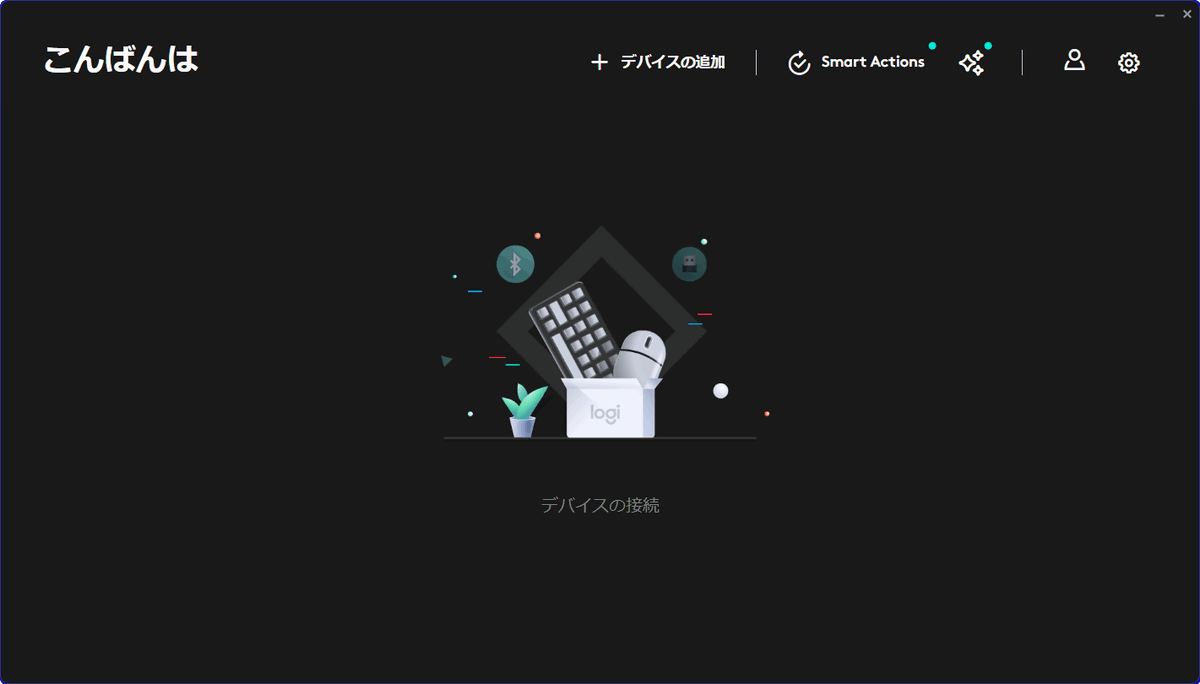
When you see the screen below, you are ready to connect.
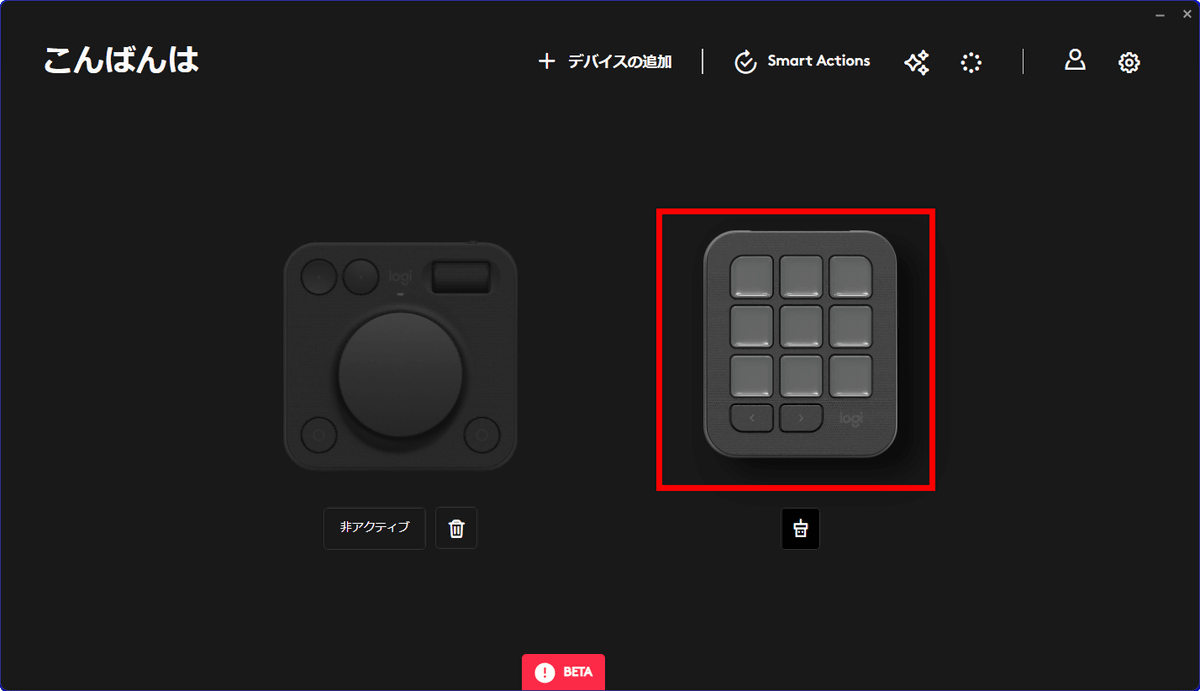
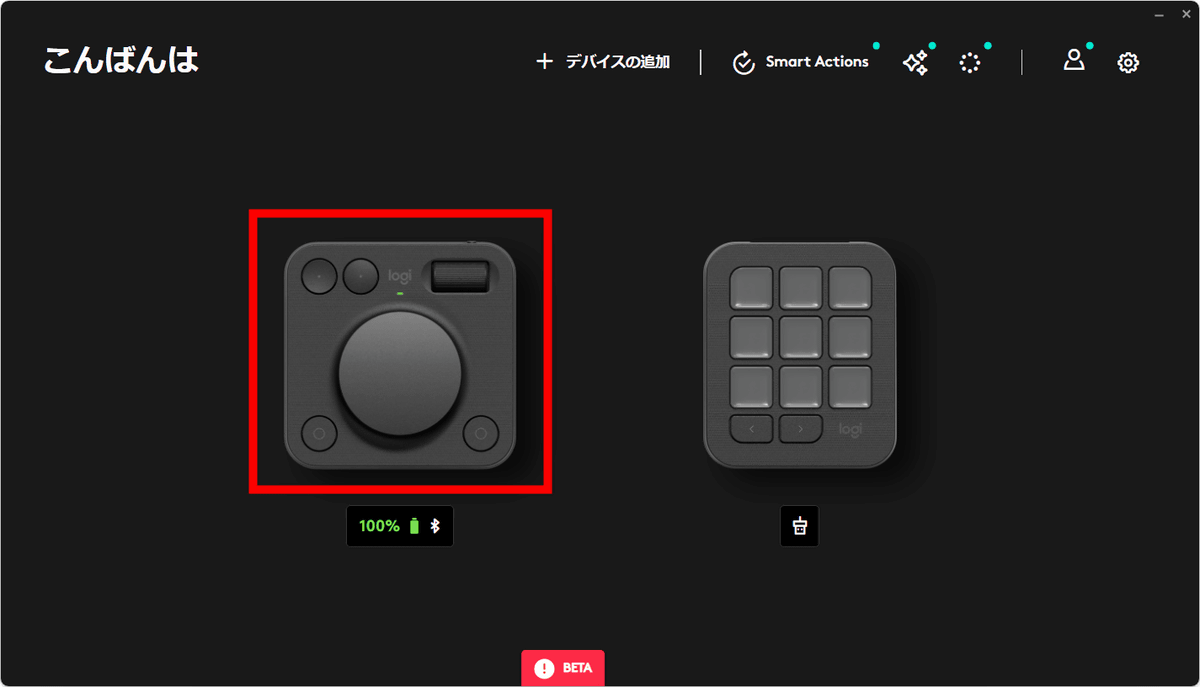
When the dial pad's Bluetooth connection and the keypad's USB connection were ready, the two devices were also displayed in Logi Options +. In order to recognize the MX Creative Console in Logi Options +, the latest version after the release date must be installed, and since the software used this time is a beta version, 'BETA' is displayed at the bottom.
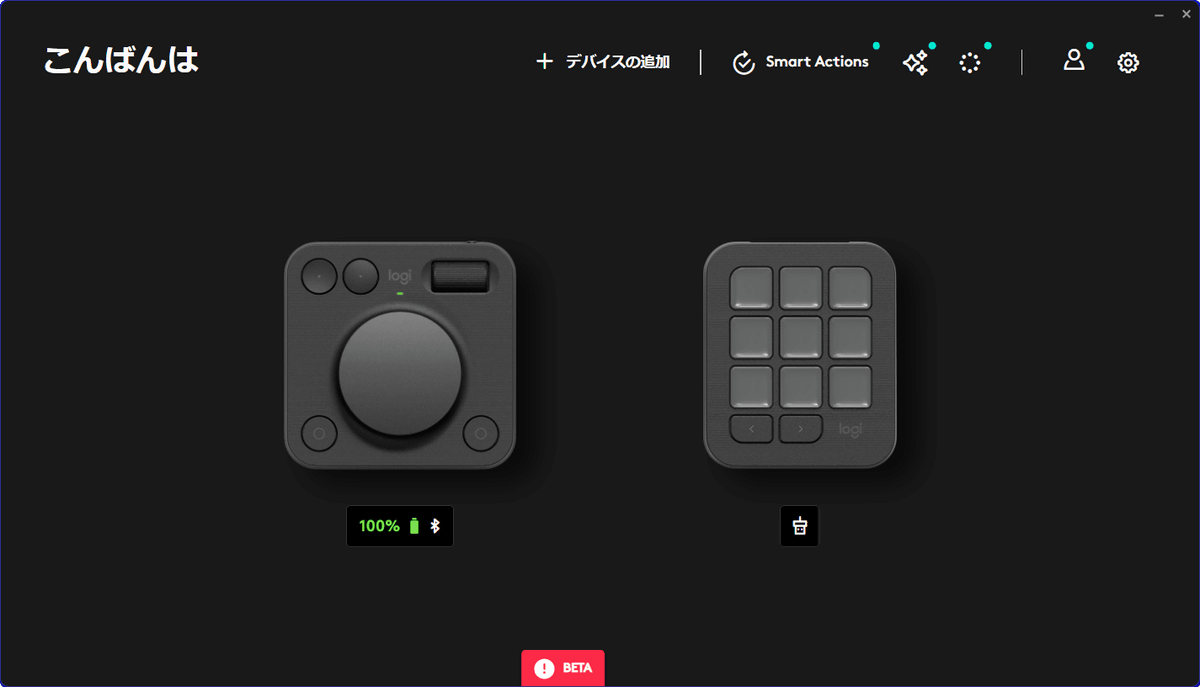
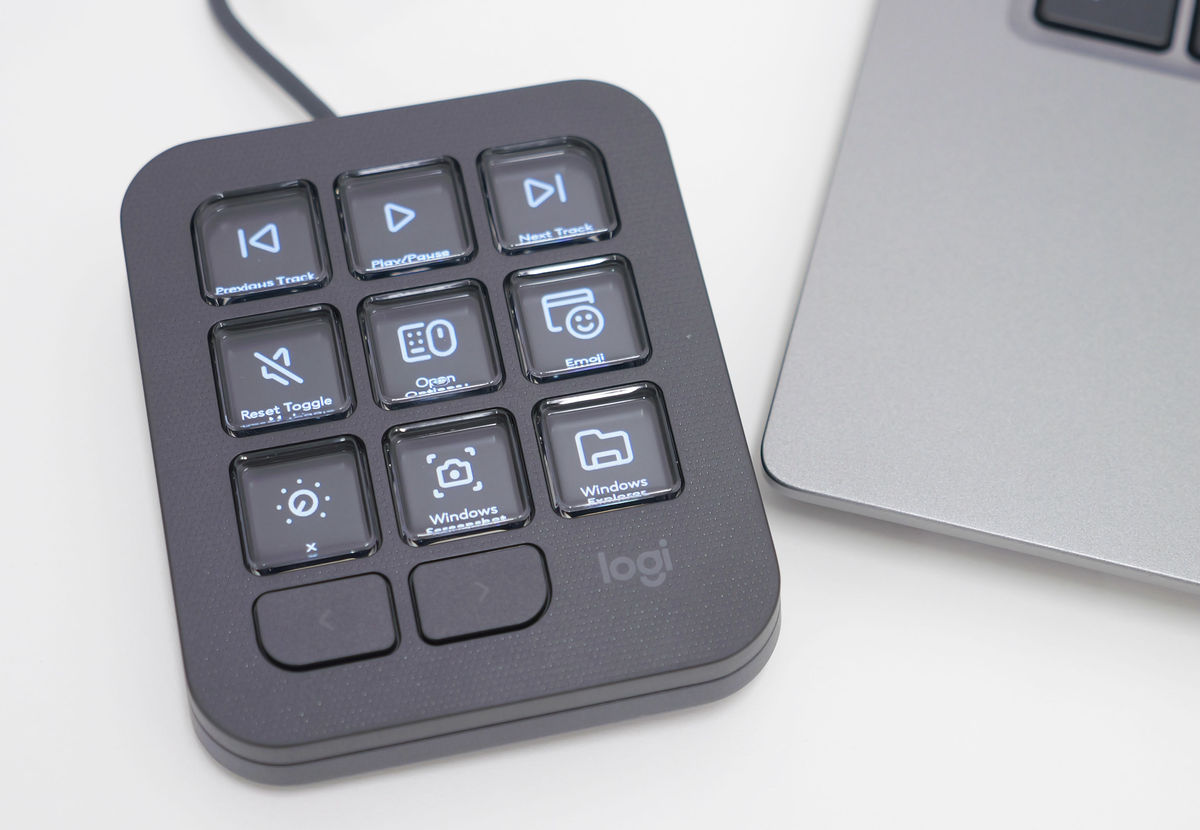
Once the connection to Logi Options+ was complete, basic menus such as 'screenshot' and 'open folder' were displayed on the keypad's display button.
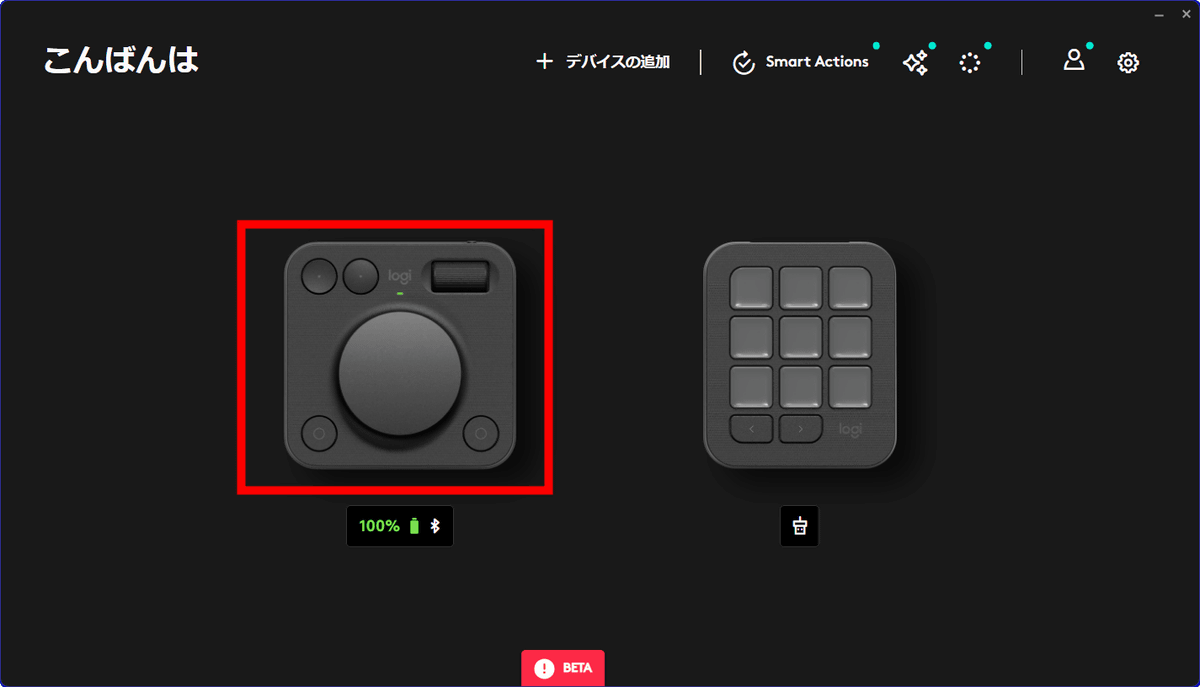
MX Creative Console automatically recognizes compatible applications installed on the connected device and displays functions appropriate for each application. Click on the connected dial pad in Logi Options+.
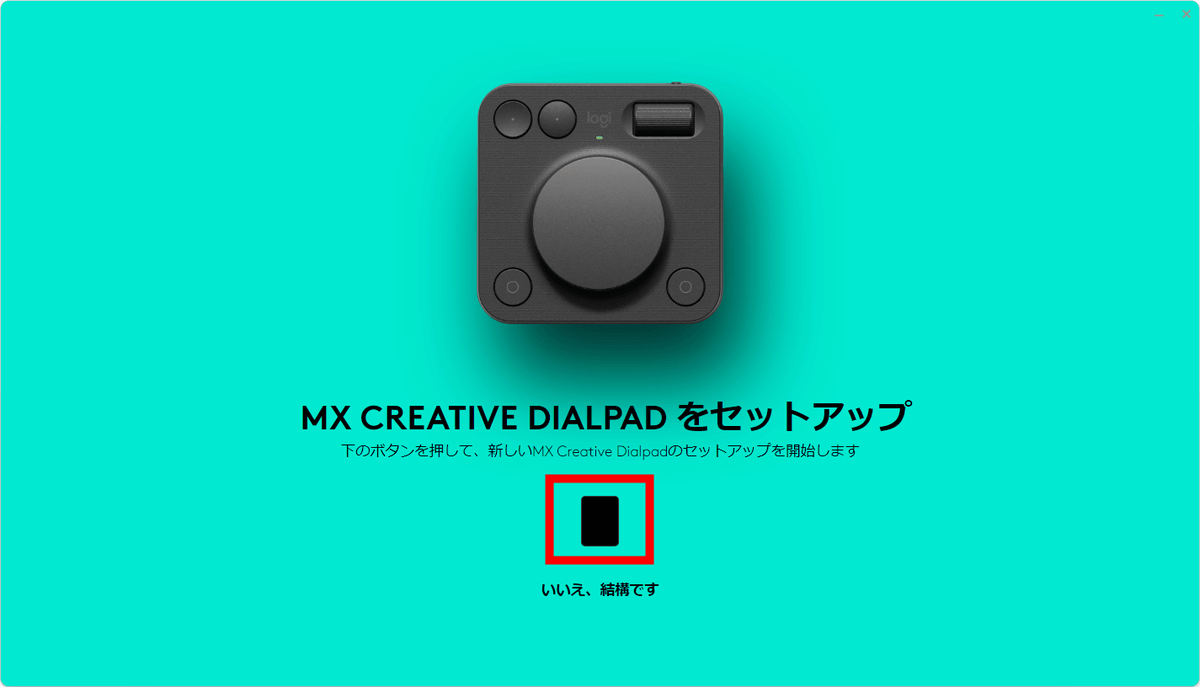
Click the black button to begin setup.
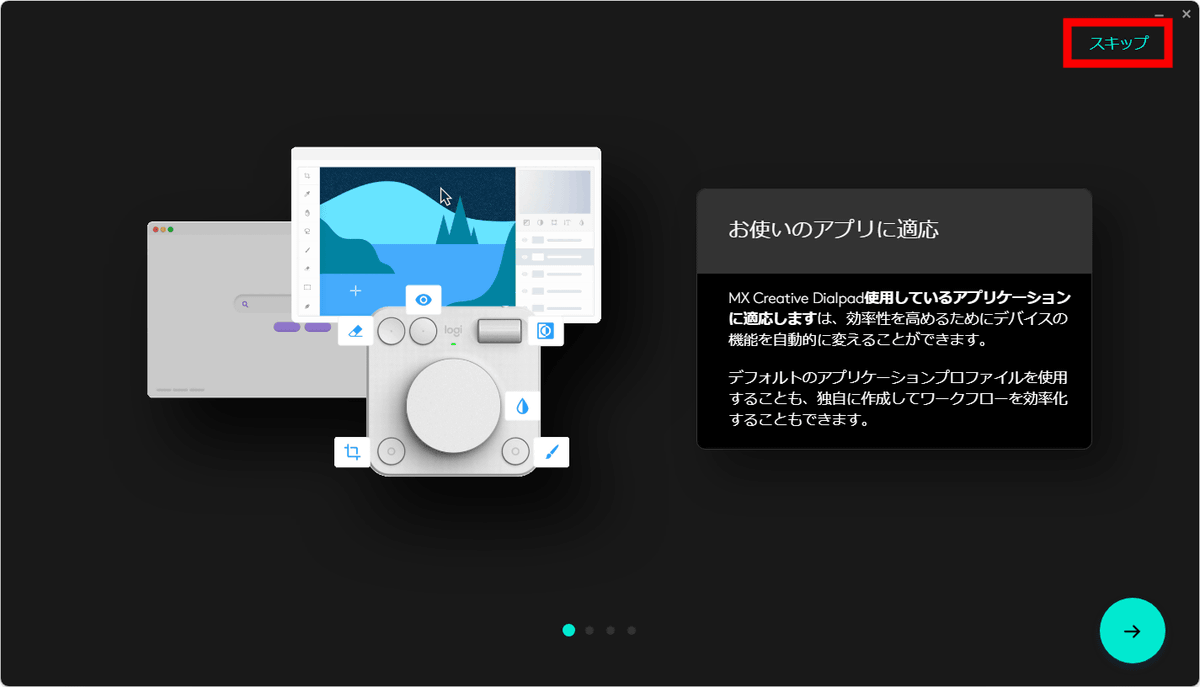
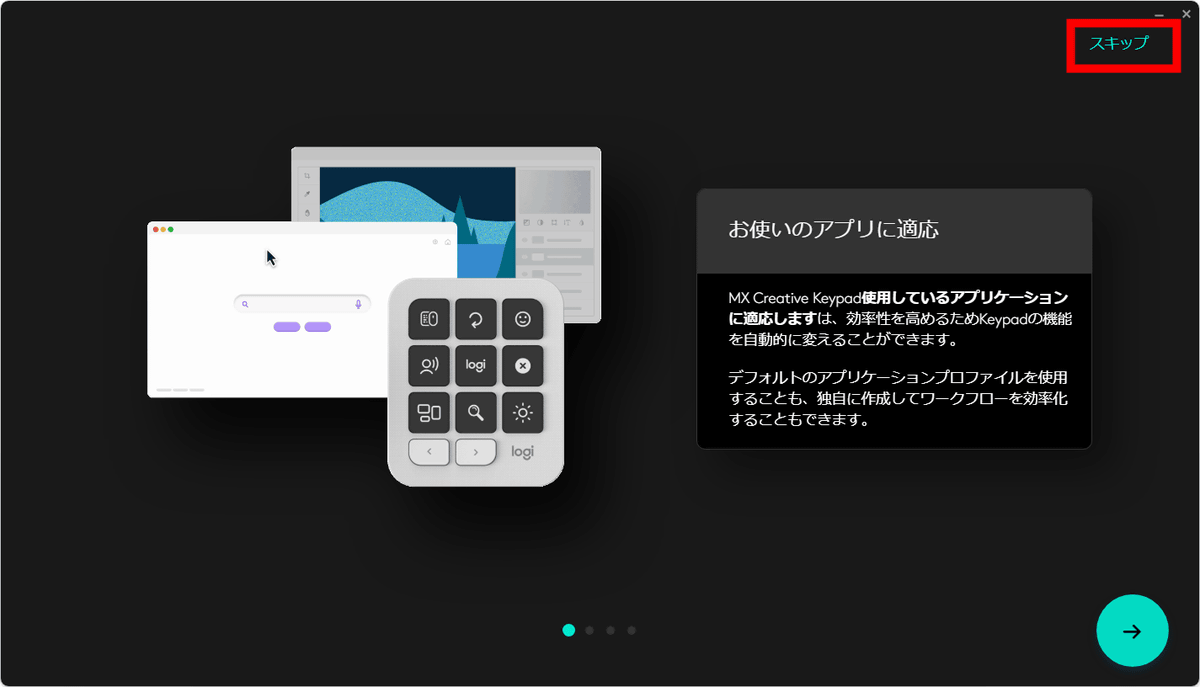
A dial pad explanation will be displayed, so click 'Skip'.
The apps installed on your device will start loading.


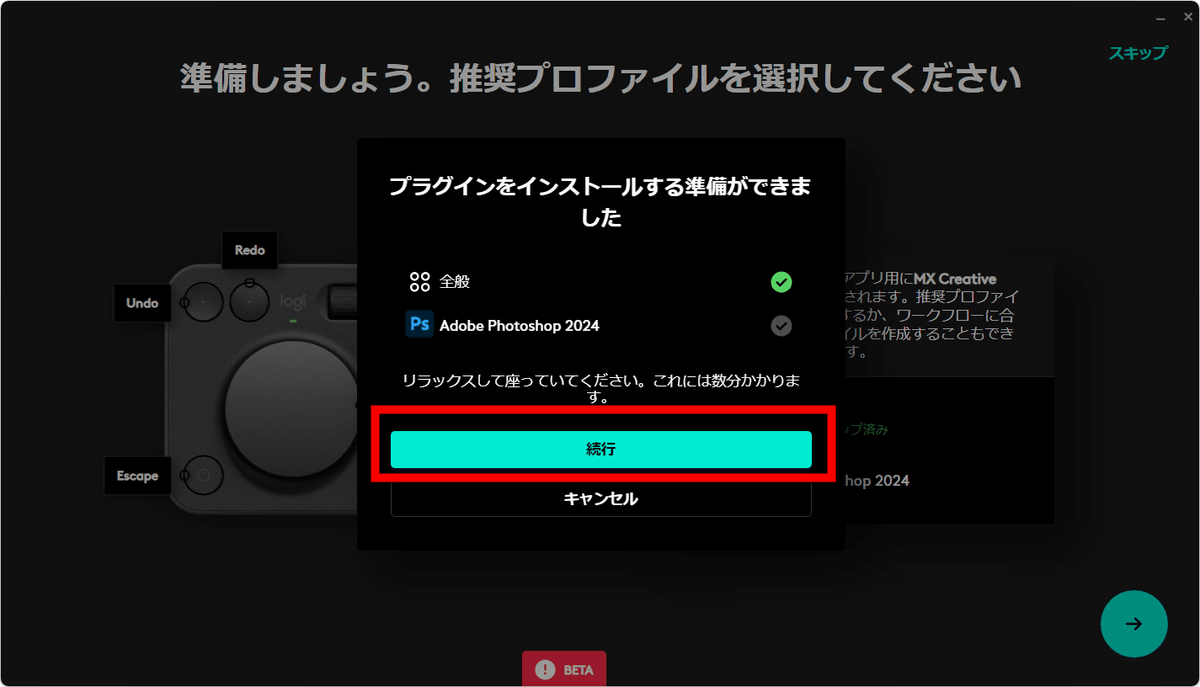
Click Continue to install the plugins for each application.
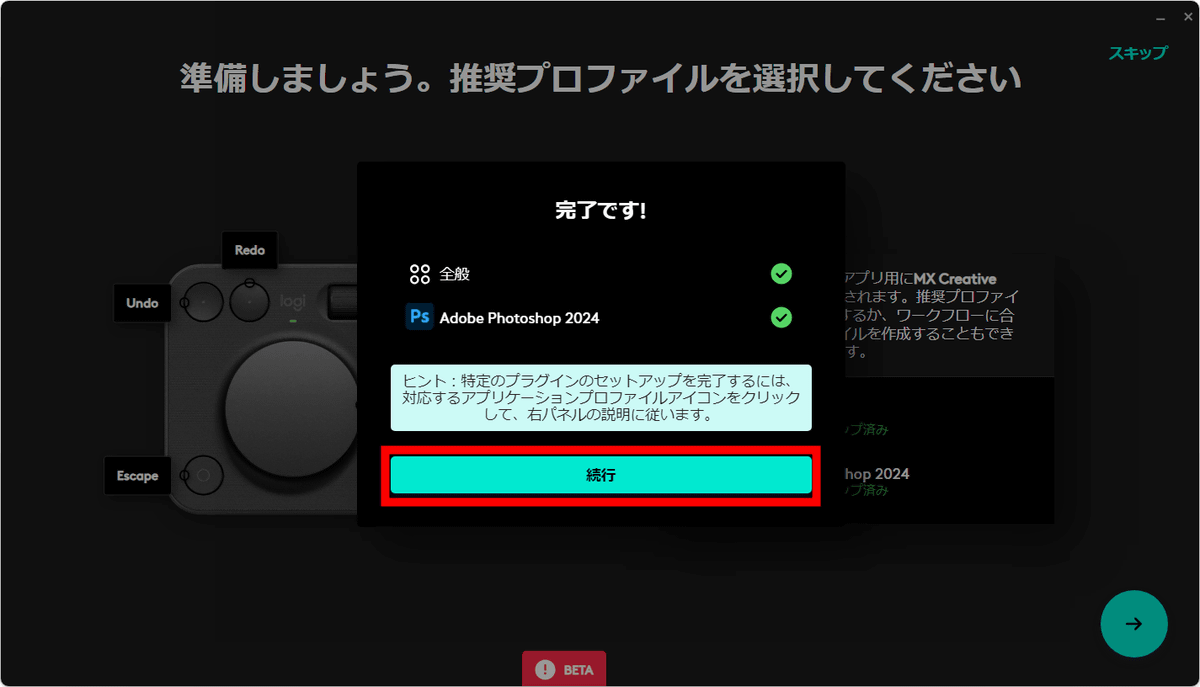
When you see 'Done!', click 'Continue'.
Click 'Start working.'

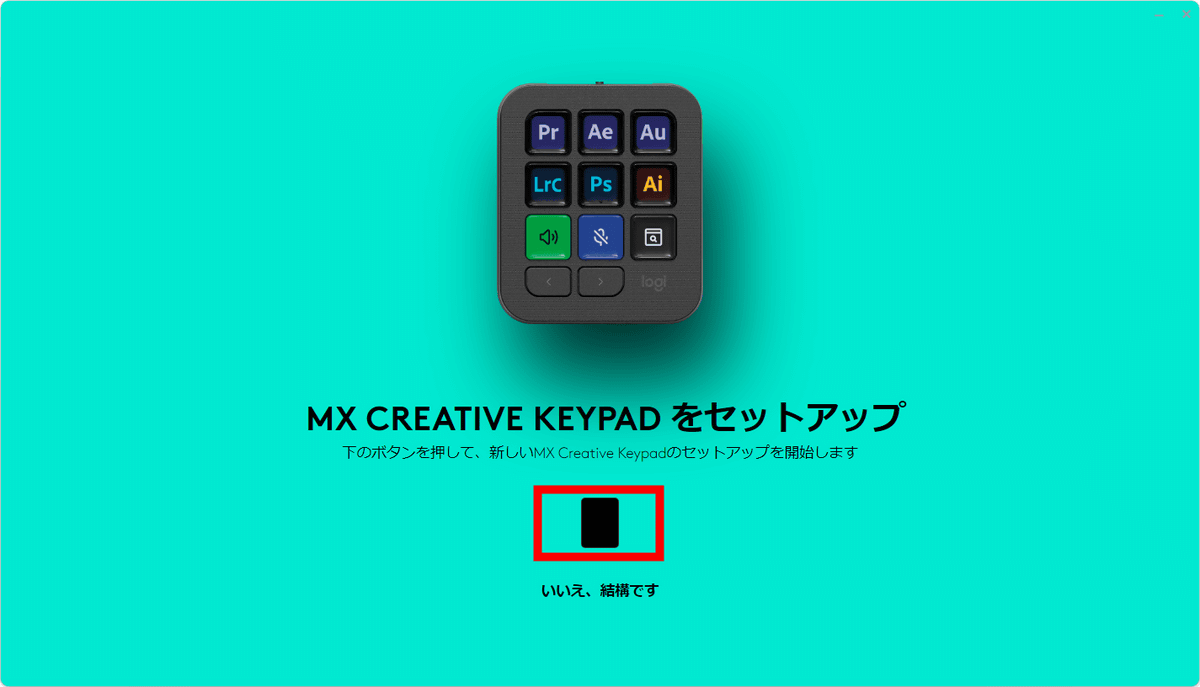
Similarly, set up the keypad as well. Click Keypad in Logi Options+.

Click the black button.
A description of the keypad will be displayed, so click 'Skip'.
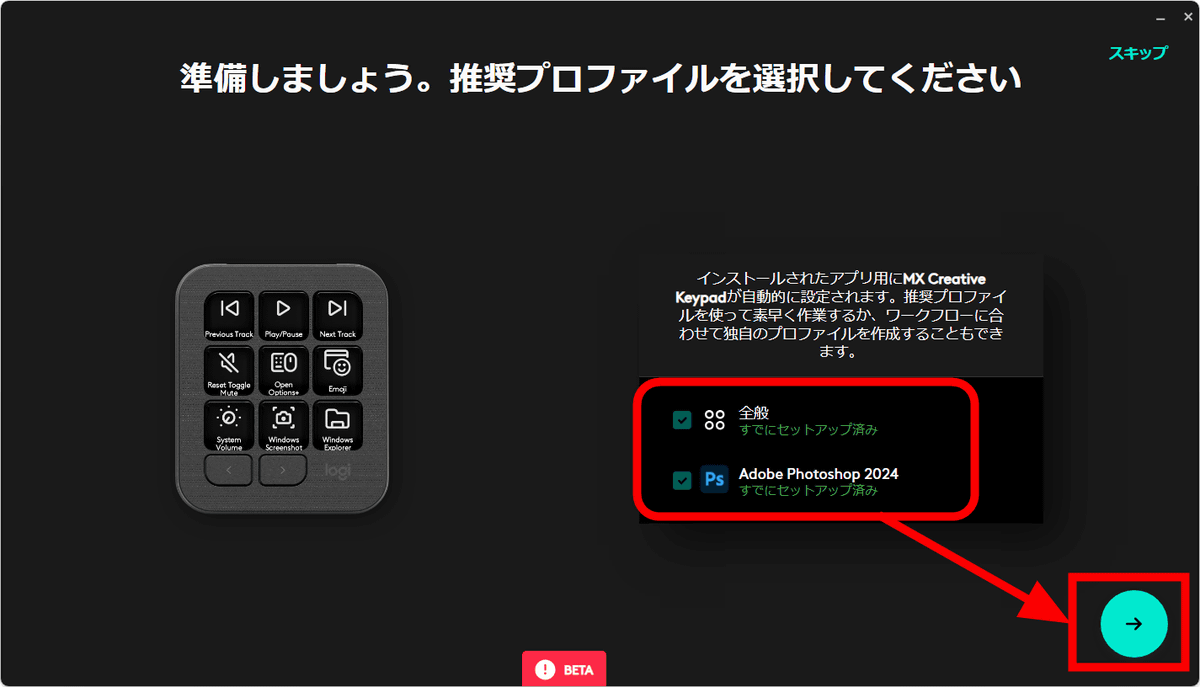
Since the application recognition and plug-in installation had been completed on the dial pad earlier, it displayed 'Already set up'. Click the arrow button and you're ready to go.
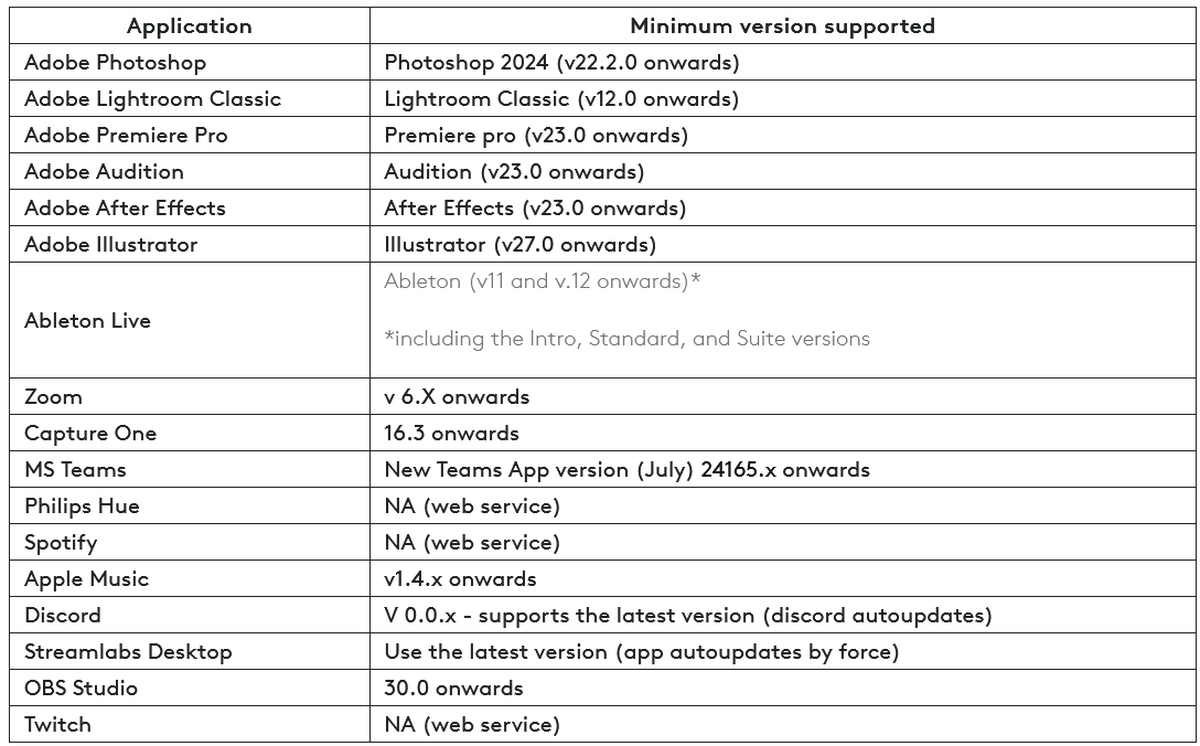
At the time of writing, MX Creative Console is compatible with 17 applications, including Adobe Photoshop, Adobe Lightroom Classic, Adobe Premiere Pro, Adobe Audition, Adobe After Effects, Adobe Illustrator, Ableton Live, Zoom, Capture One, MS Teams, Philips Hue, Spotify, Apple Music, Discord, Streamlabs Desktop, OBS Studio, and Twitch, and new plug-in releases and application support are planned after the release. The version compatibility table for each application listed on
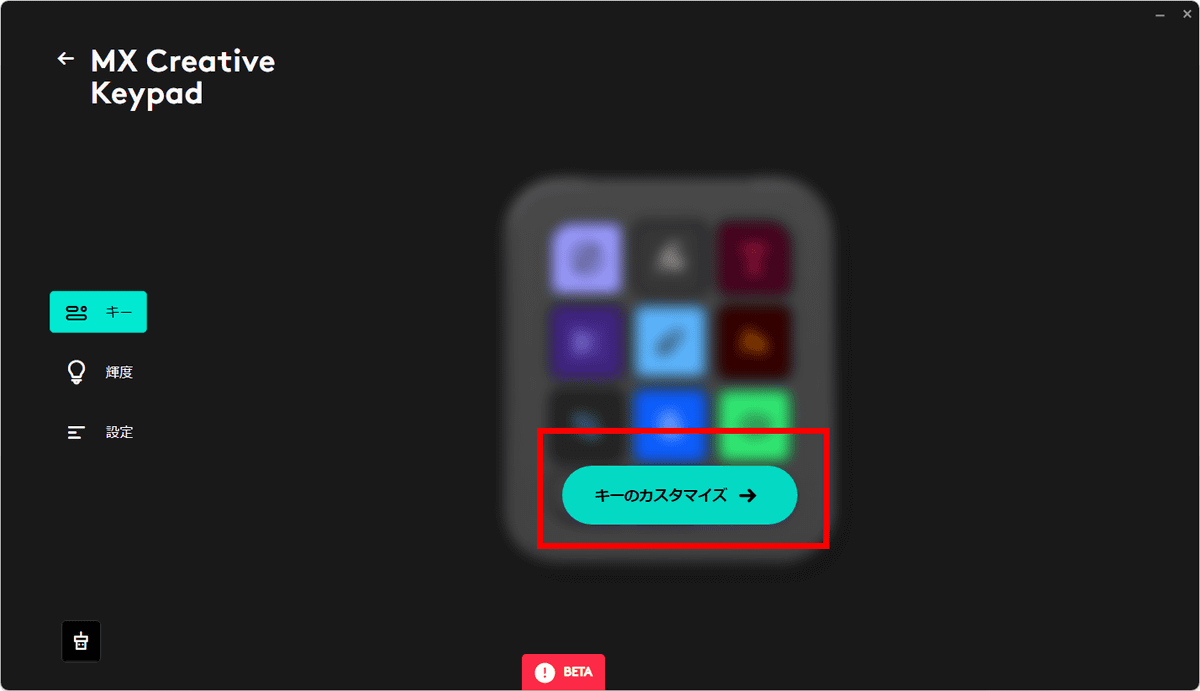
Compatible applications installed on the device can be automatically recognized and profiles can be installed, but applications that are not installed on the device can also be installed from the Marketplace. Click Keypad in Logi Options +.
Click 'Customize Keys'.
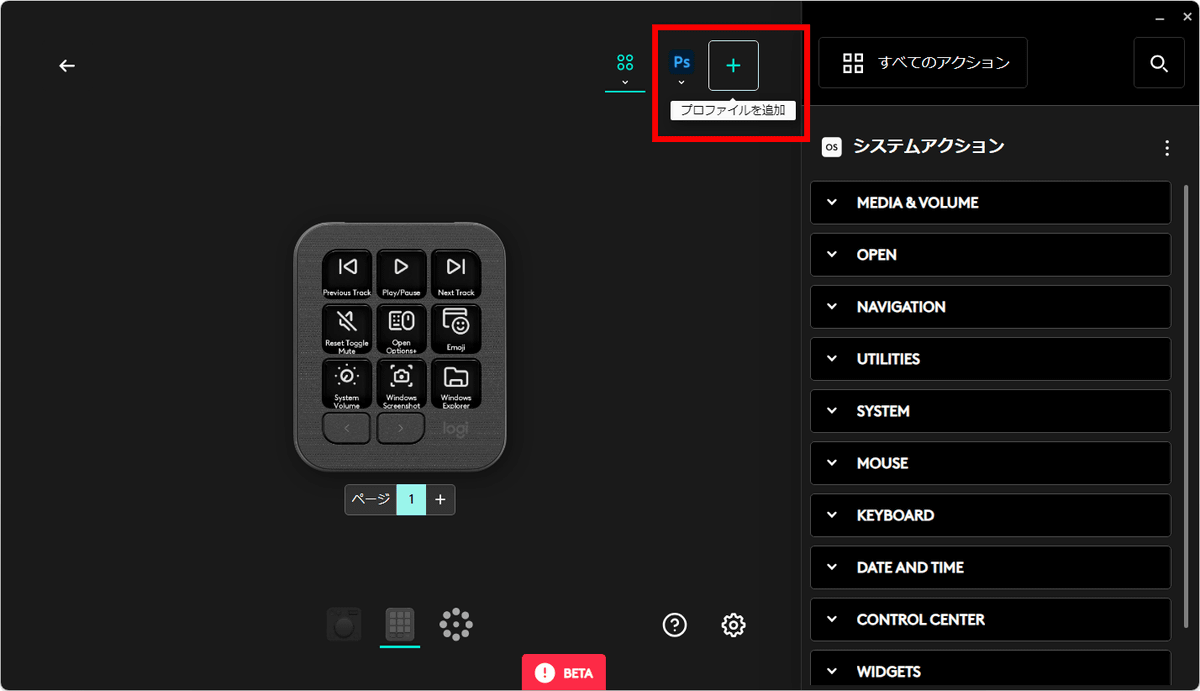
Click the '+' button to 'Add Profile'.
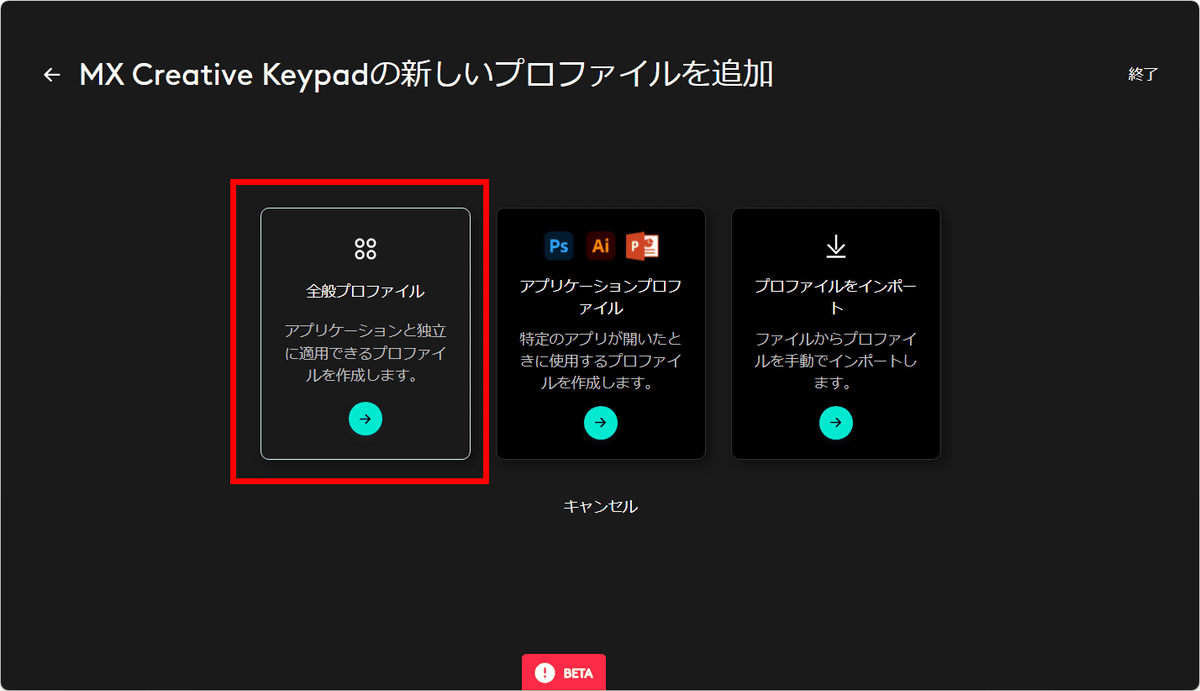
Select 'General Profile'.
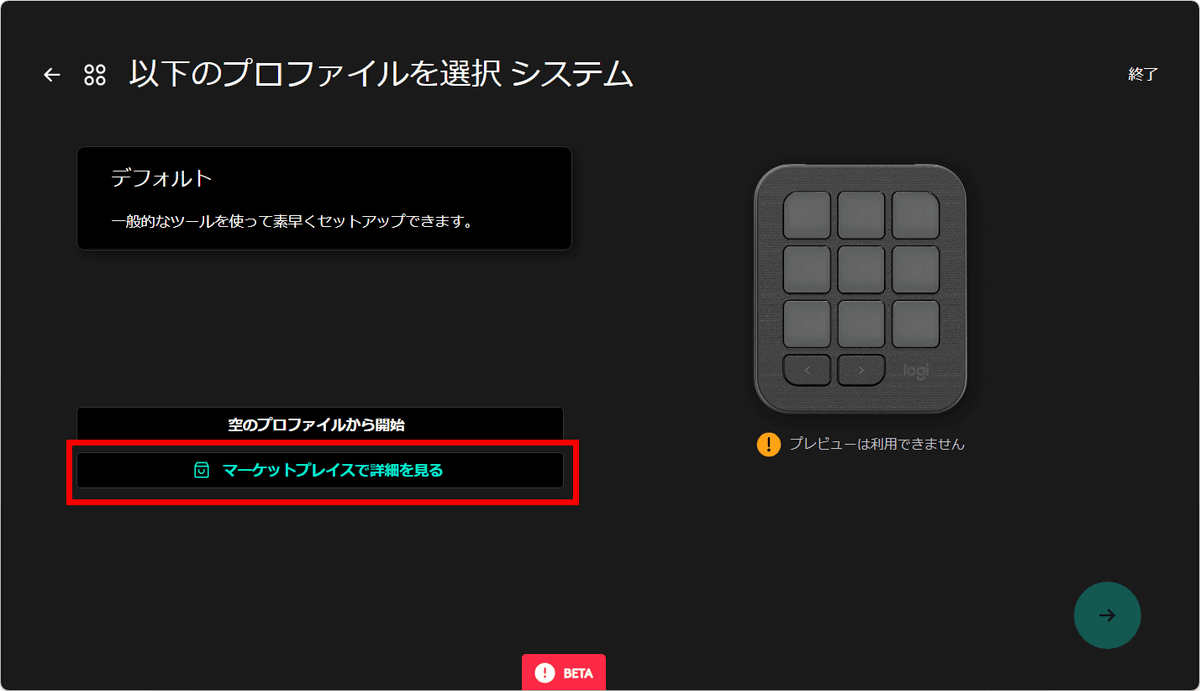
Clicking 'View Marketplace Details' will take you to the Logitech Marketplace.
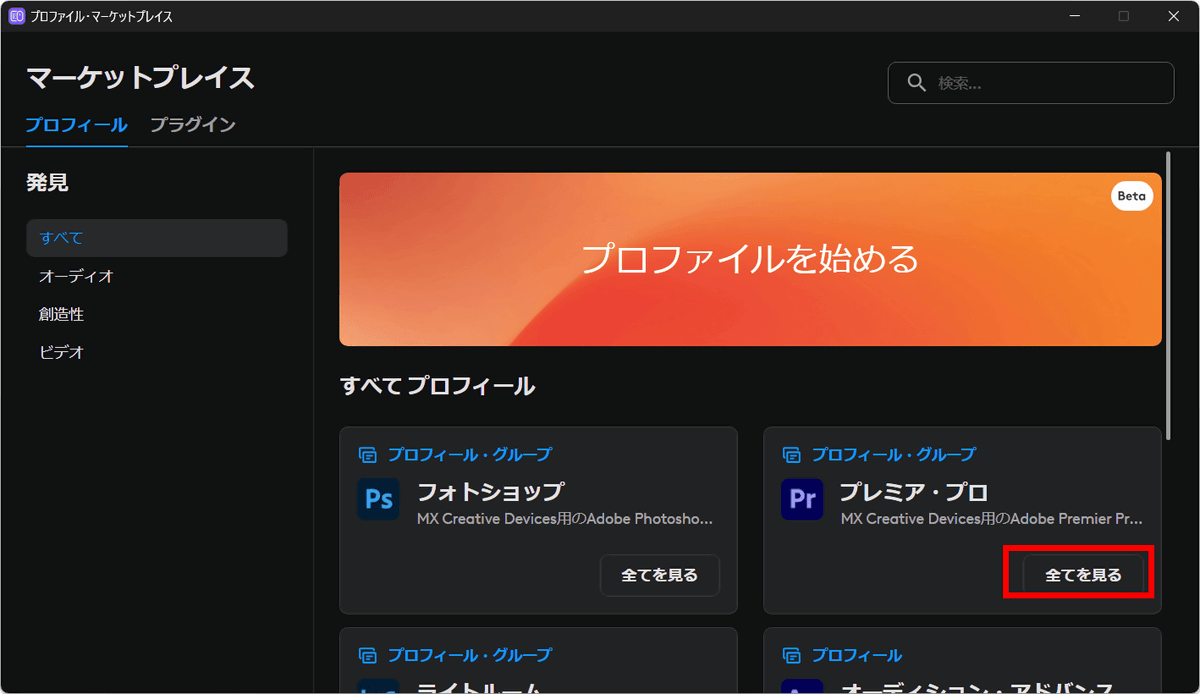
From the list of compatible apps in the Marketplace, try installing the 'Premiere Pro' profile. Click 'See all.'
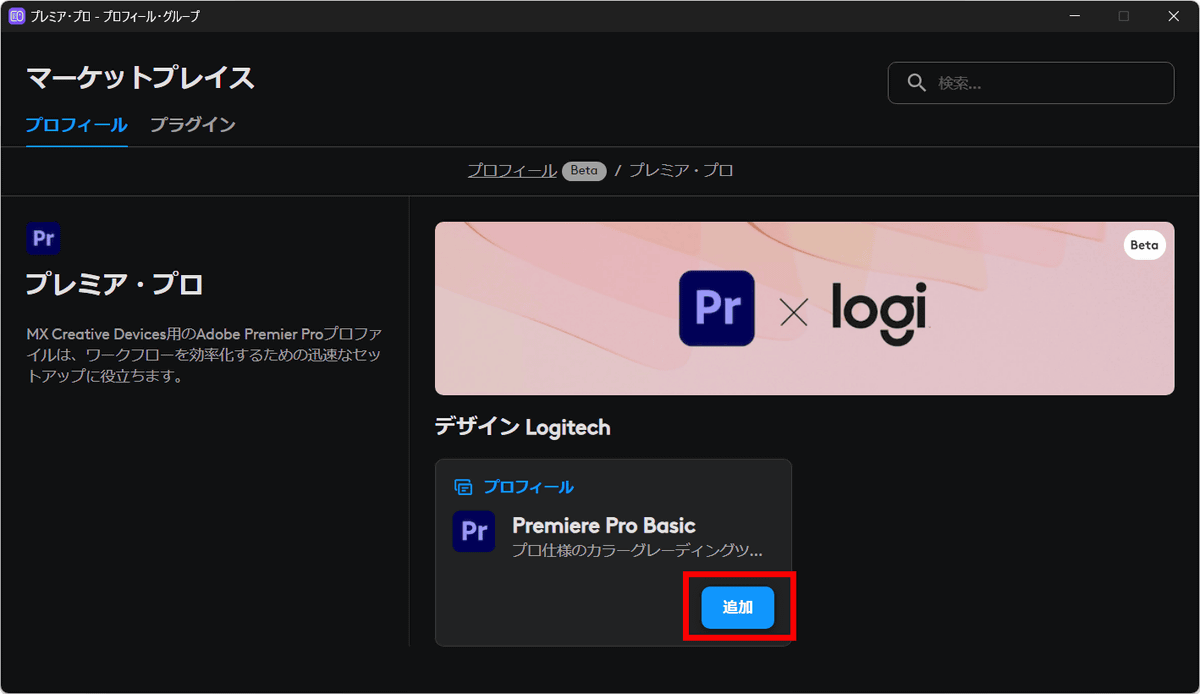
Click 'Add'.
Check 'MX Creative Keypad' and 'MX Creative Dial' and click 'Add.'

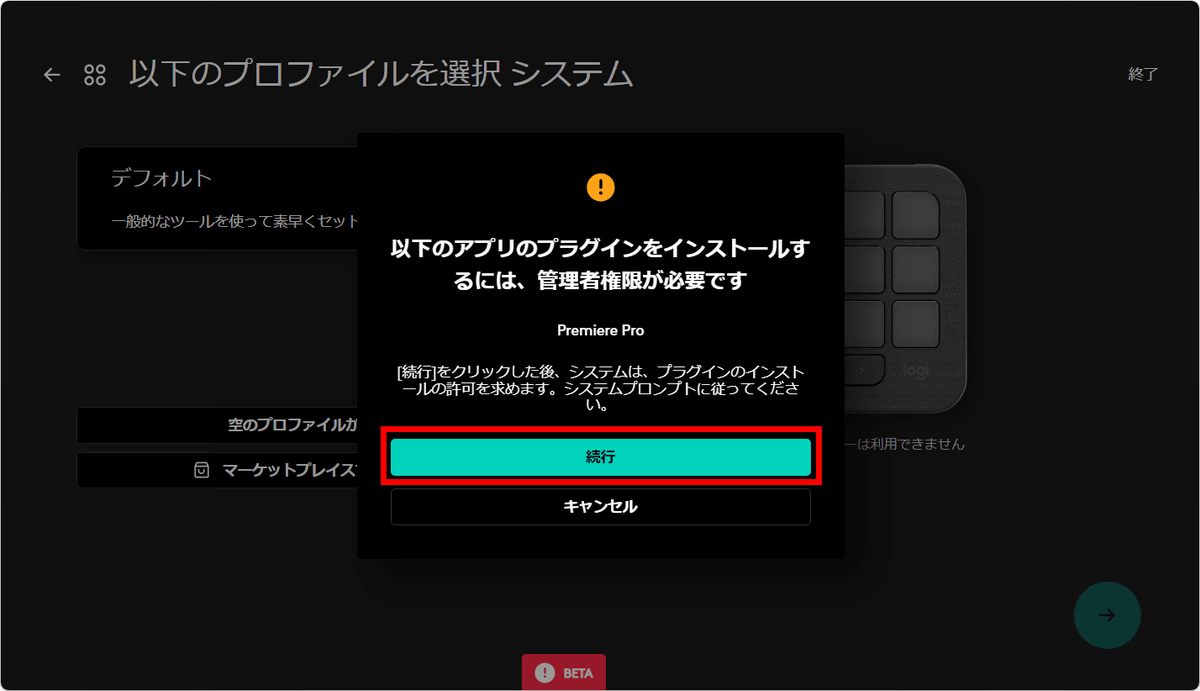
Click “Continue”.
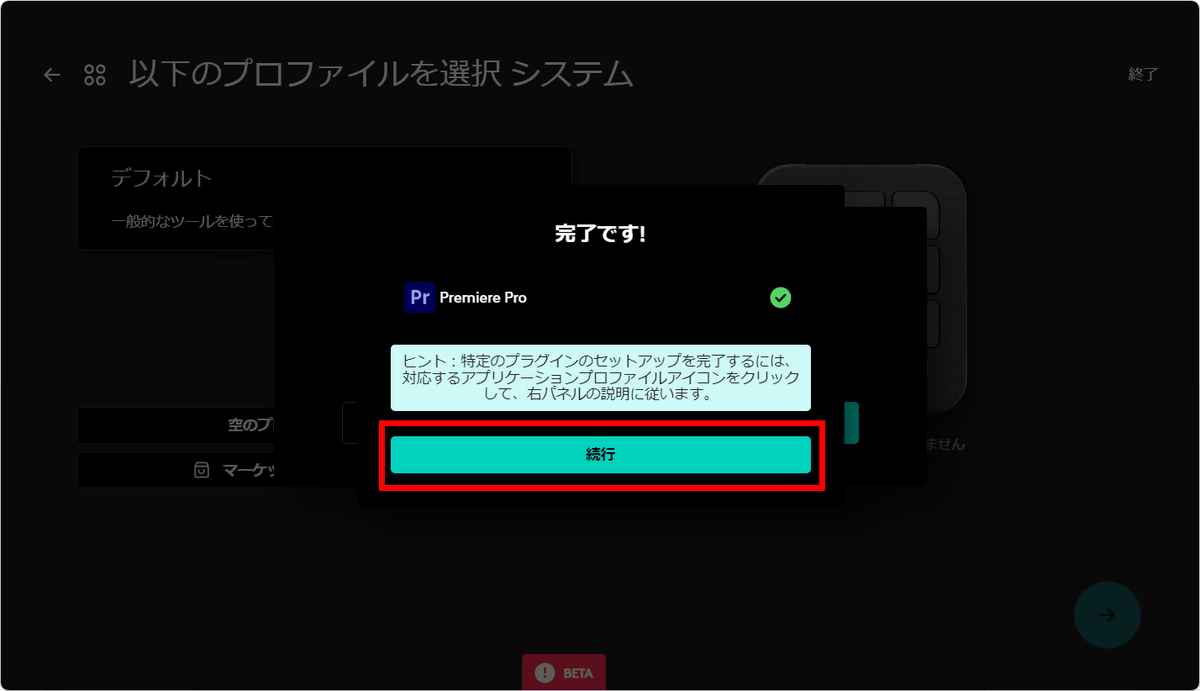
Once the installation is complete, click 'Continue'.
Click 'Confirm' and the settings are OK.
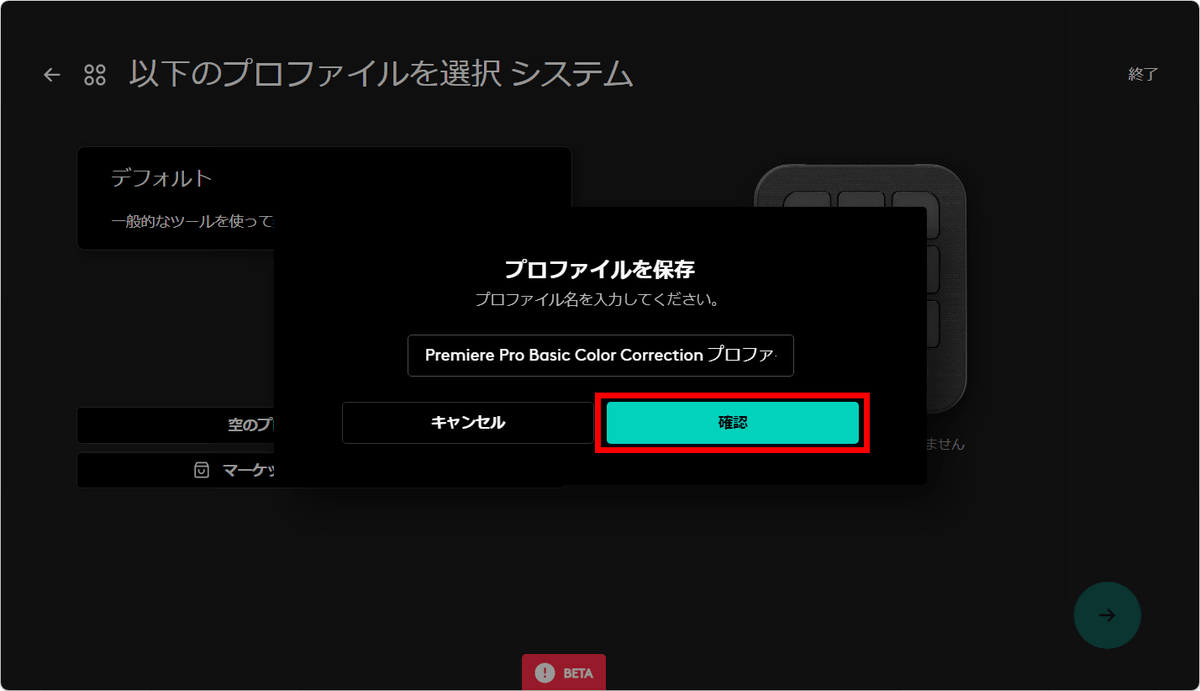
The plug-in was installed and the button layout for Premiere Pro was displayed. In this way, even for applications that are not currently installed on the device, you can make detailed settings on Logi Options+.
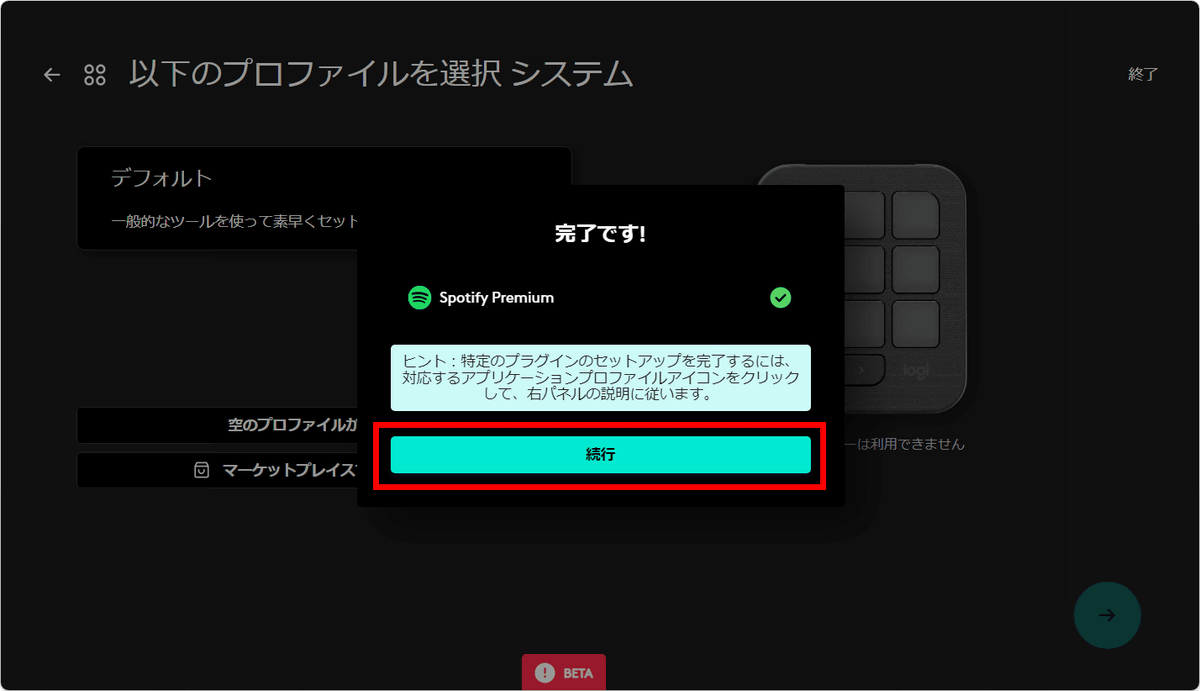
You can also install plugins for compatible apps other than Adobe products from the 'Plugins' section of the Marketplace. Select 'Spotify Premium' from 'Music' and click 'Install.'

When you see 'Complete!' the installation is OK.
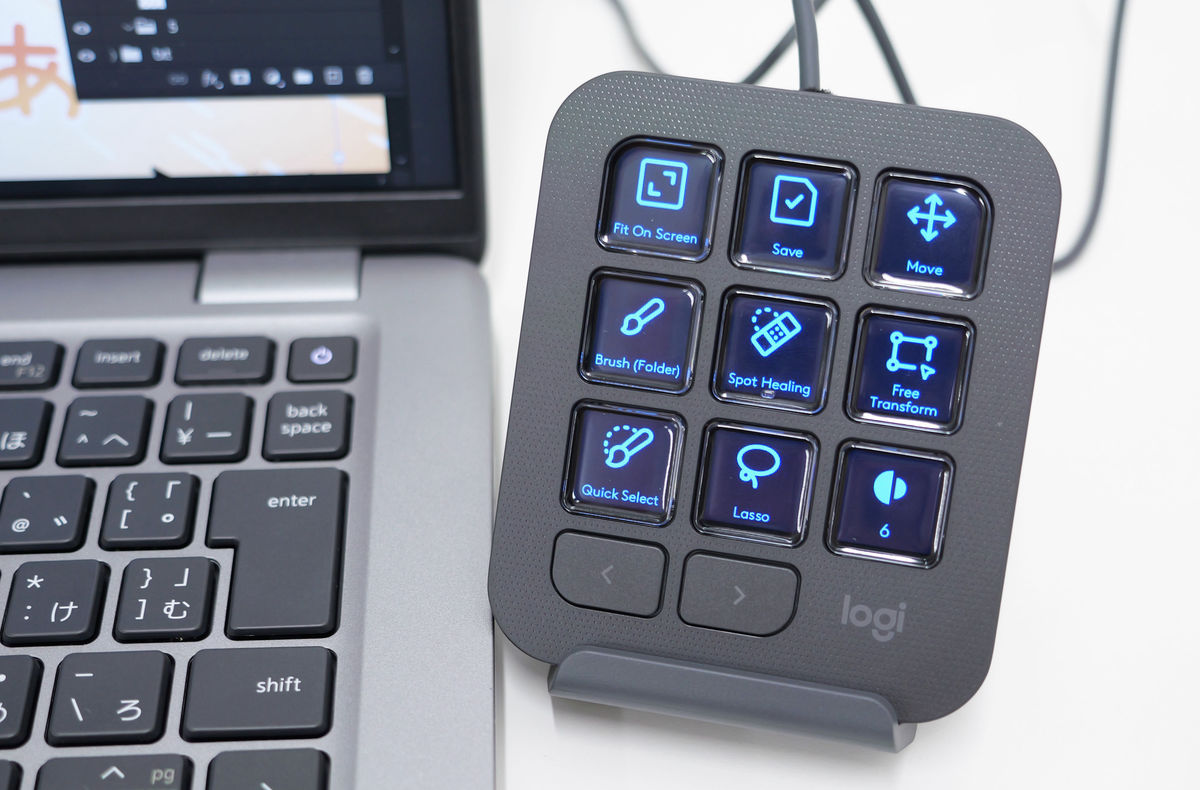
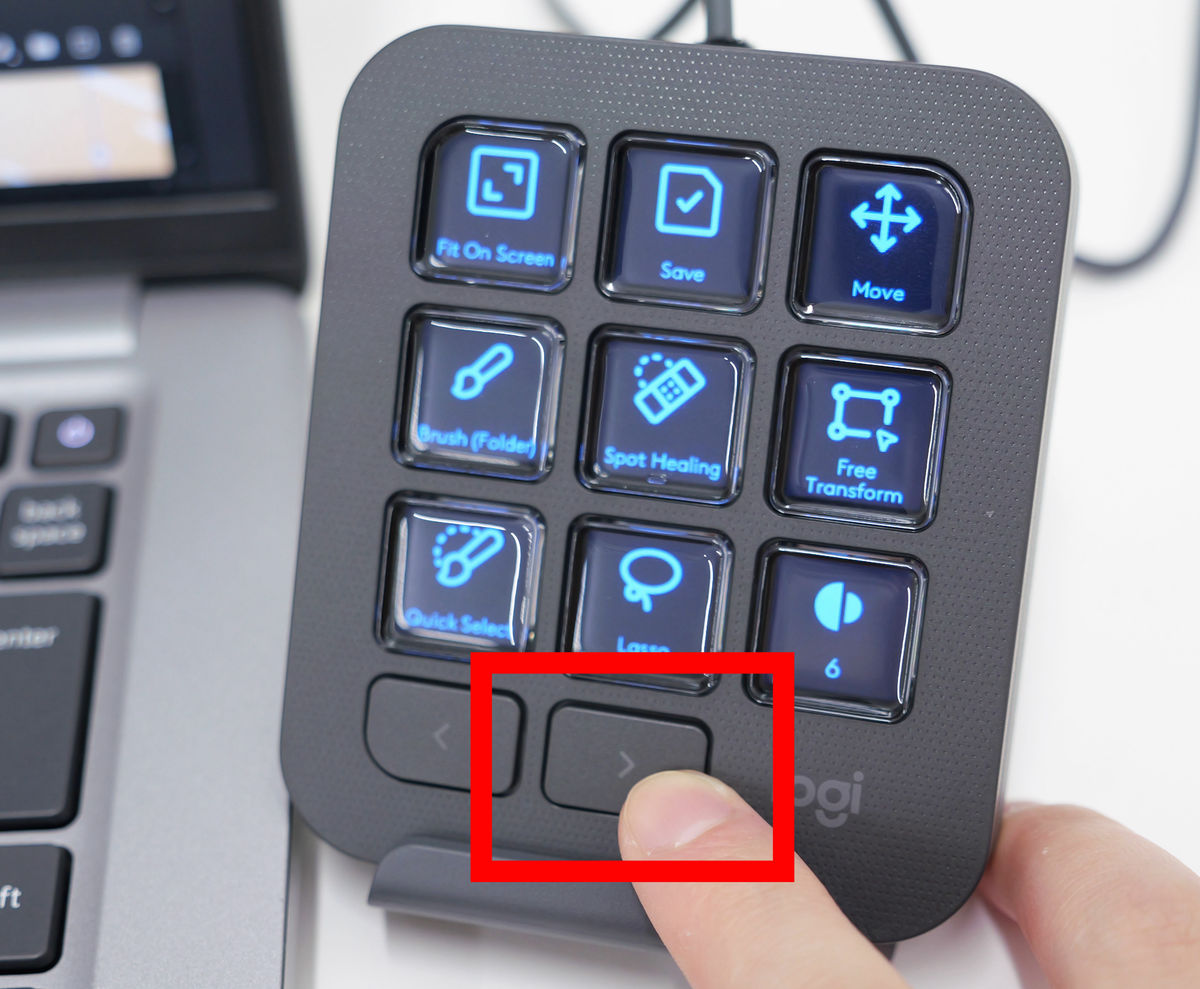
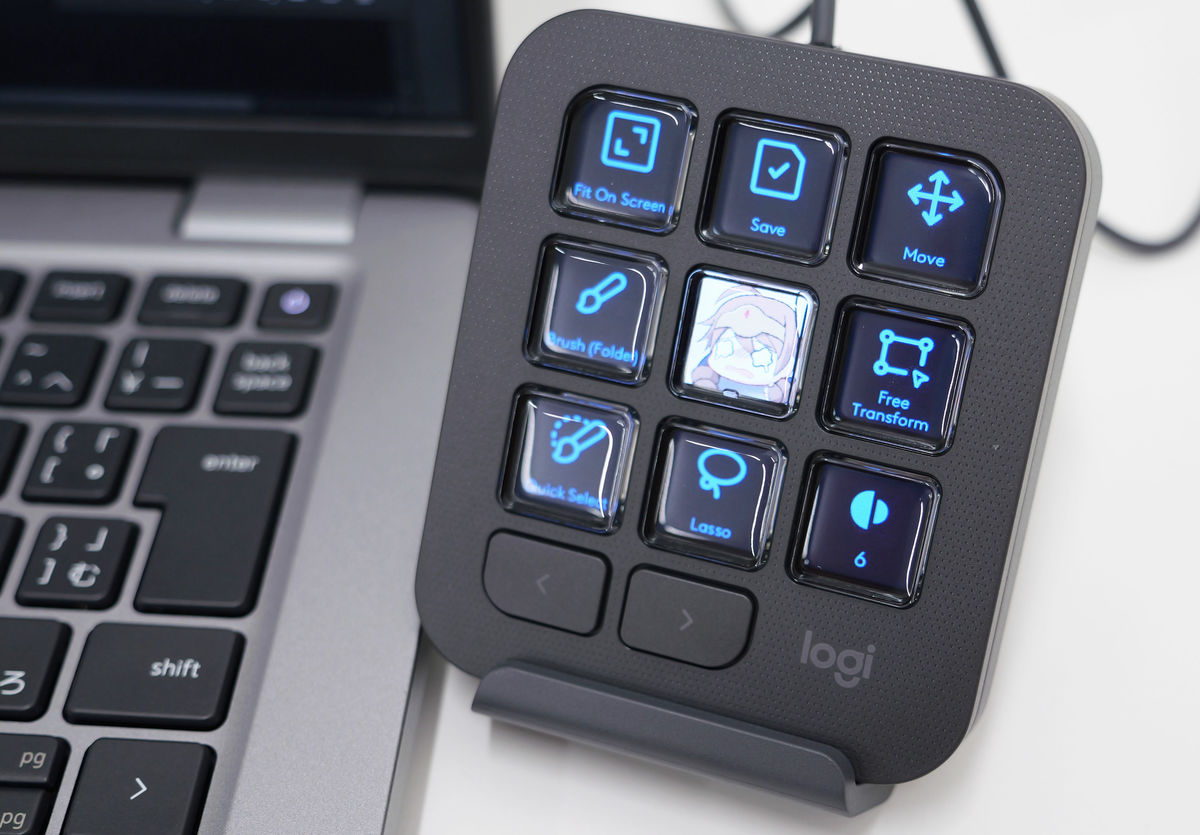
After the application was recognized, when I launched Photoshop, the clear button on the keypad changed to the Photoshop color blue and the button display changed. In this way, the keypad automatically and quickly switches to the convenient buttons for each application depending on the work situation.
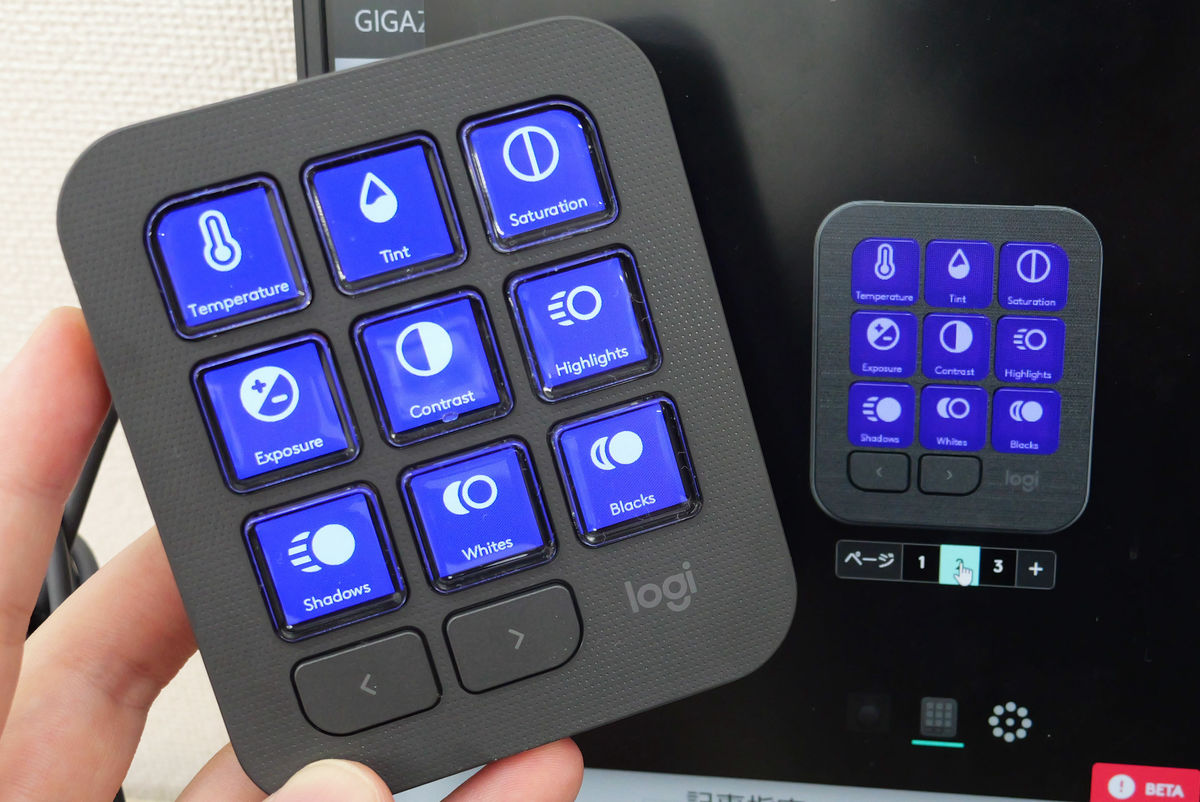
The keypad has nine display buttons, and you can cycle through their actions by pressing the left and right arrow buttons underneath them.
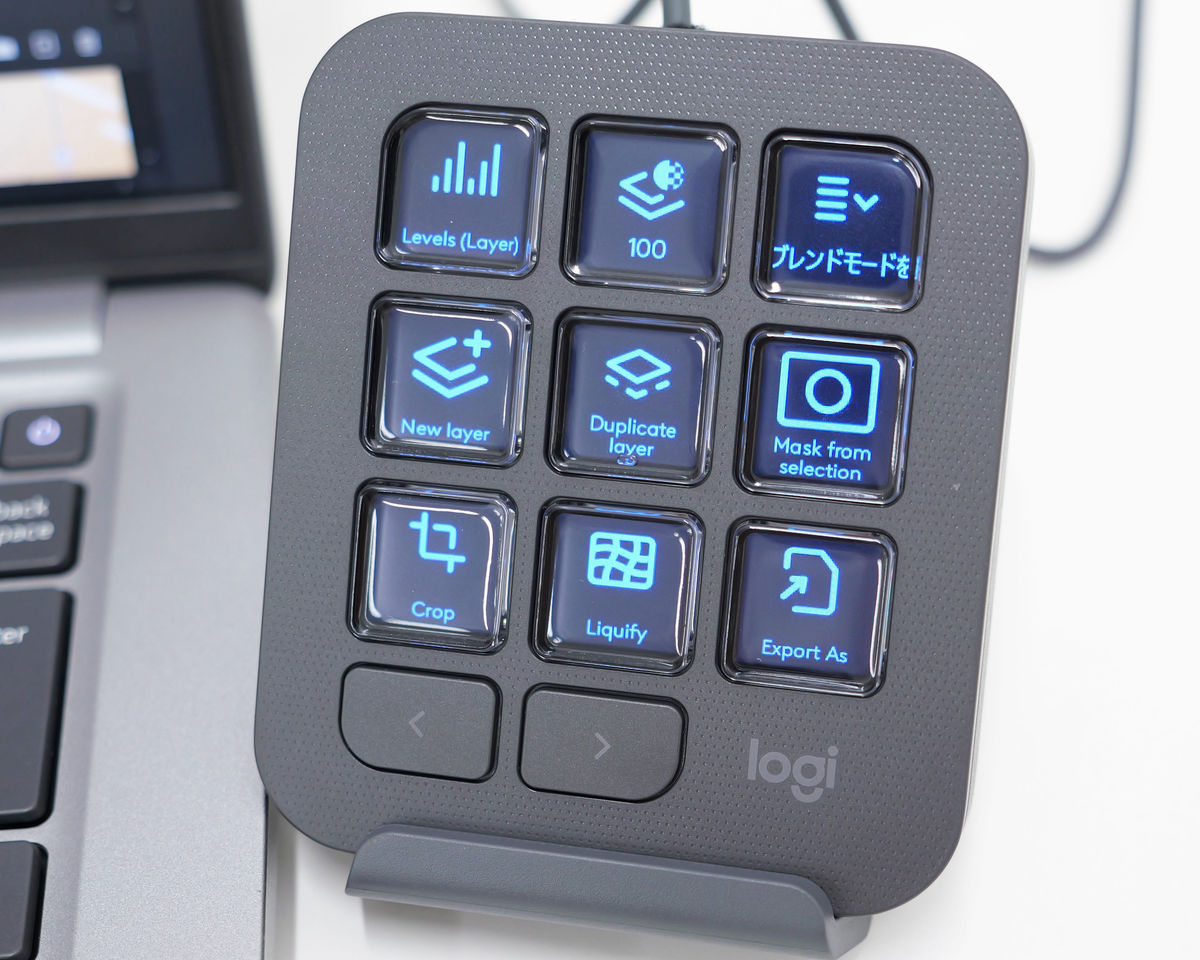
The pages that can be switched between left and right can be customized and added in Logi Options+. The actions that can be set are quite large, with a total of 135 functions across 15 pages.
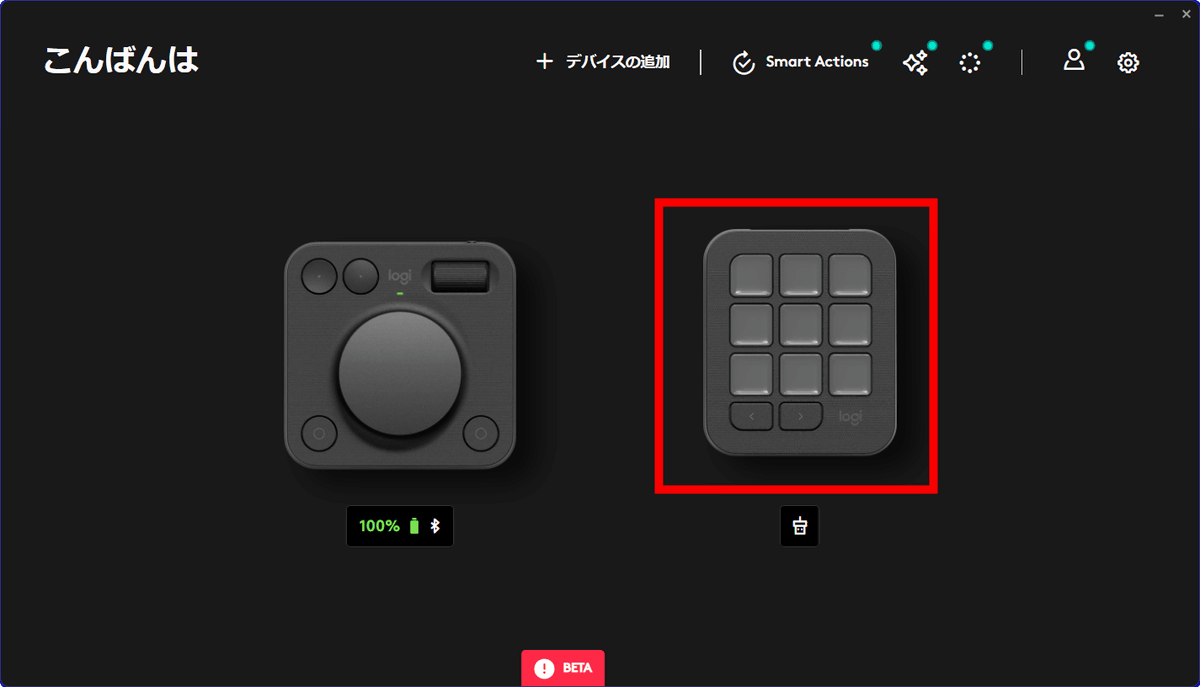
To customize the keypad, click Keypad again in Logi Options+.
Click 'Customize Keys'.
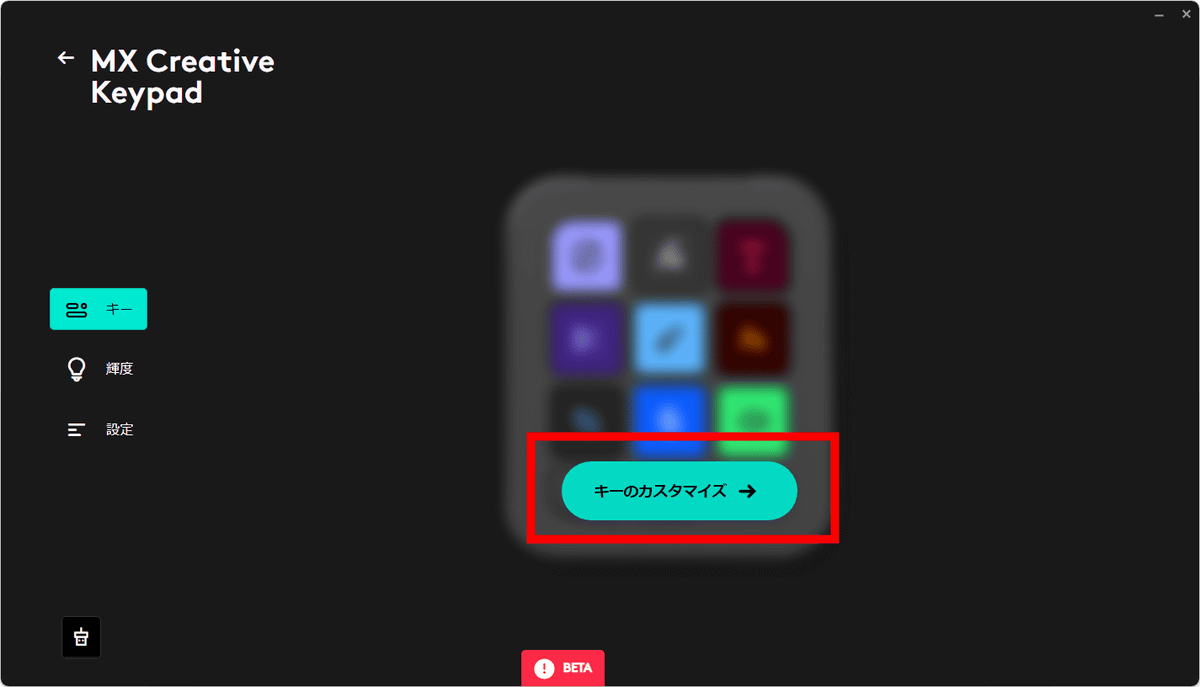
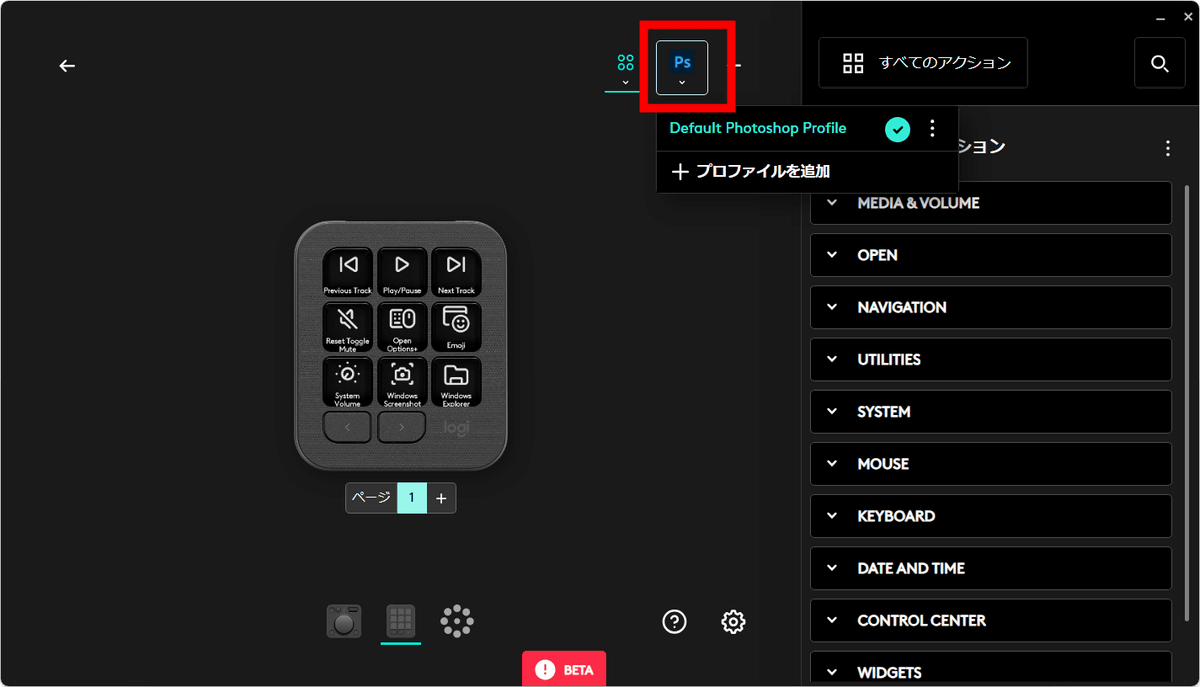
The basic functions are displayed. Since I want to customize it for Photoshop, I click the Photoshop icon at the top.
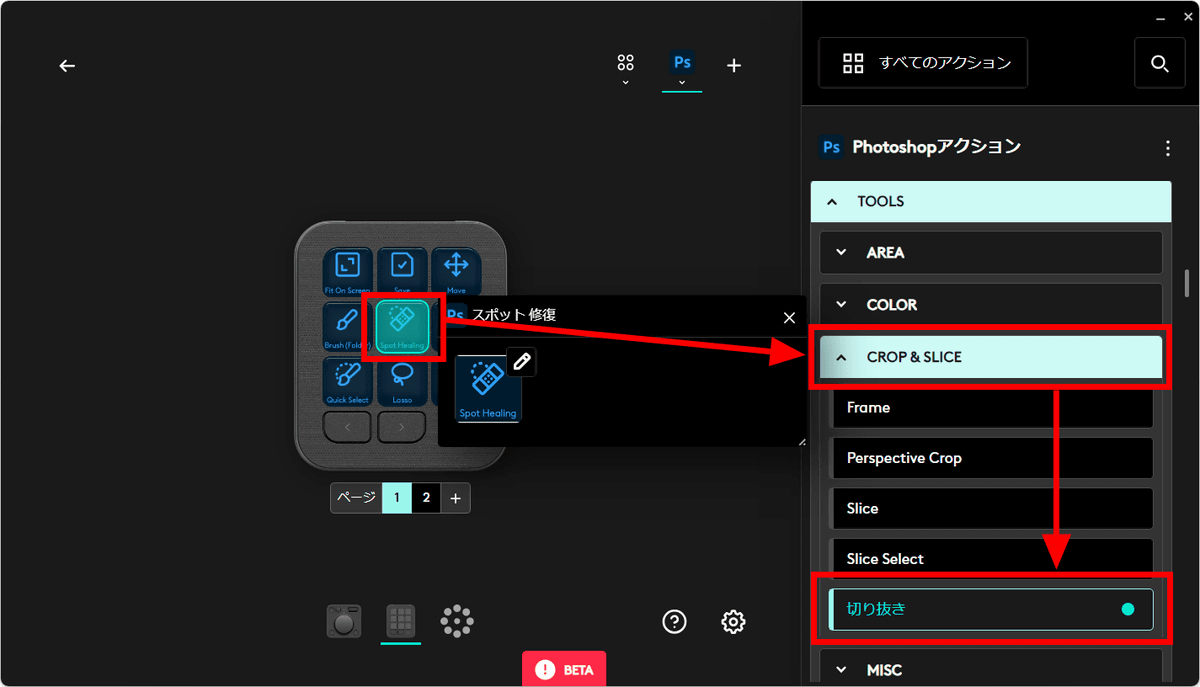
The current settings are displayed, so click the display button you want to change and find the action you want to change from the list of actions on the right. This time, change the 'Spot Heal' in the center to 'Crop' in 'CROP & SLICE'. After selecting the keypad button, click 'Crop' on the right.
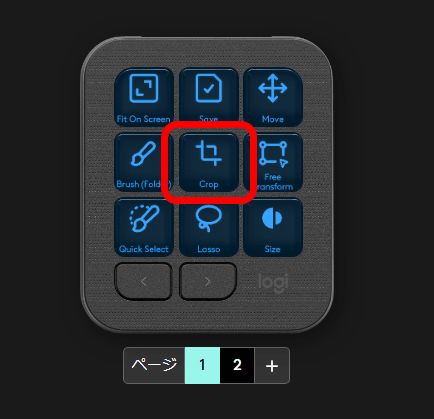
The center button has been changed to 'Crop'.
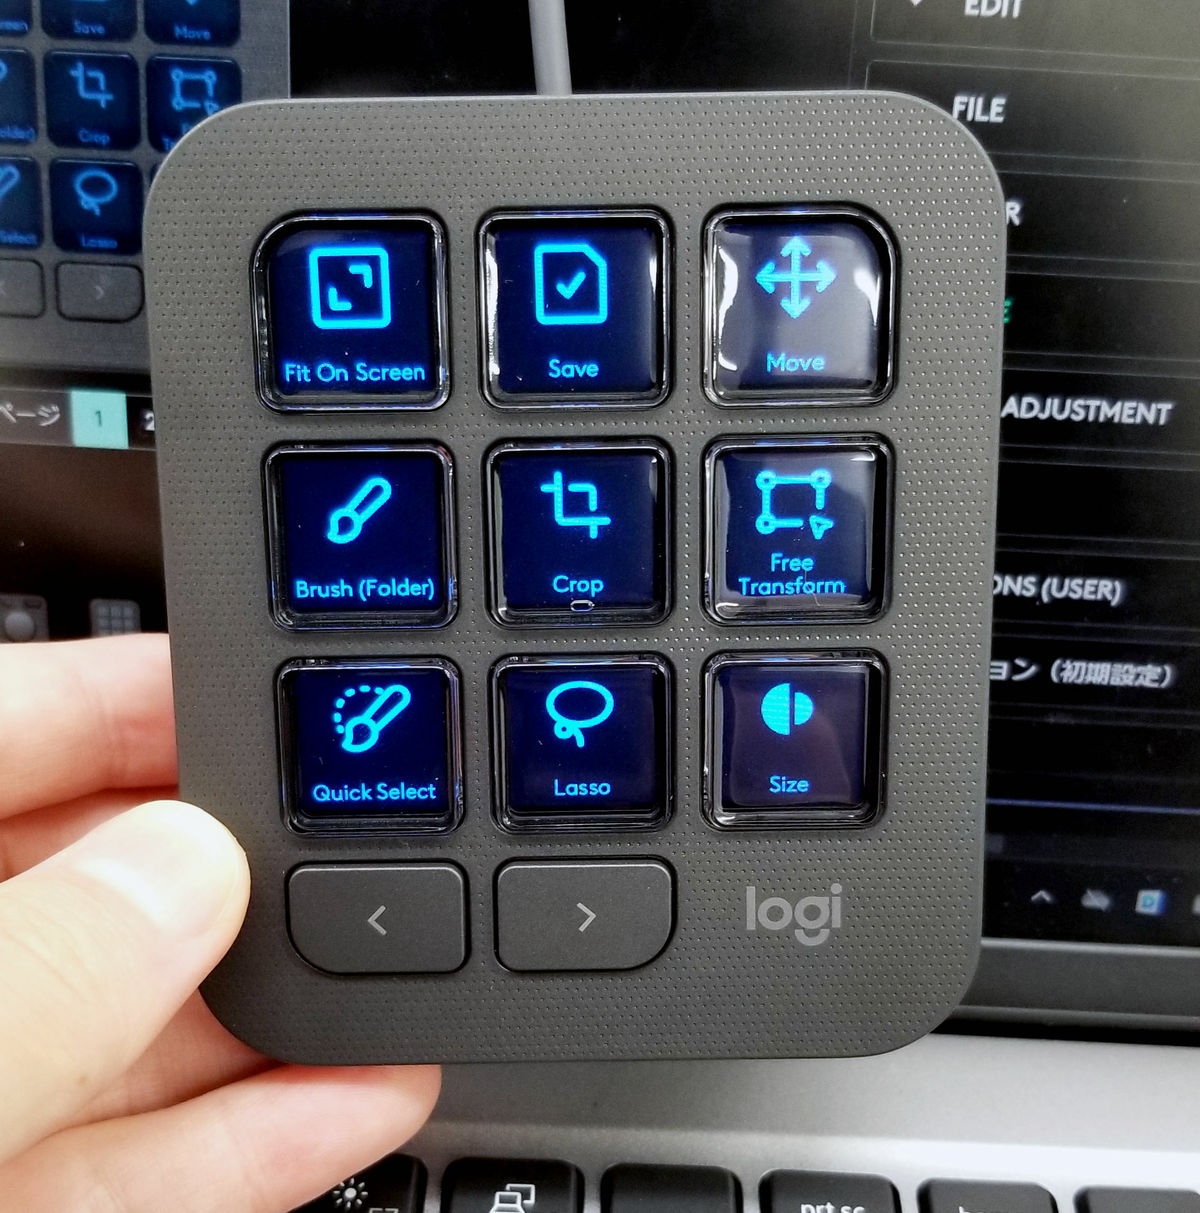
As you can see below, the actions you change in Logi Options+ are also reflected on the keypad.
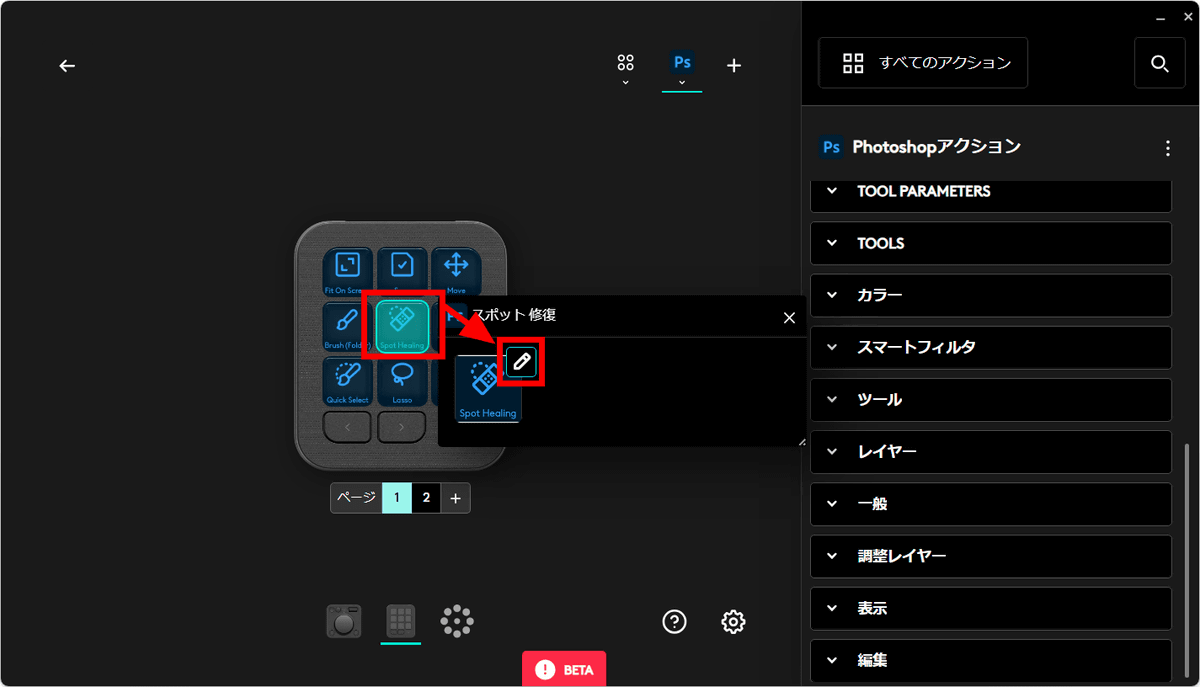
You can also change not only the action content but also the appearance of the display on the keypad. Select the icon you want to change and click the Edit button.
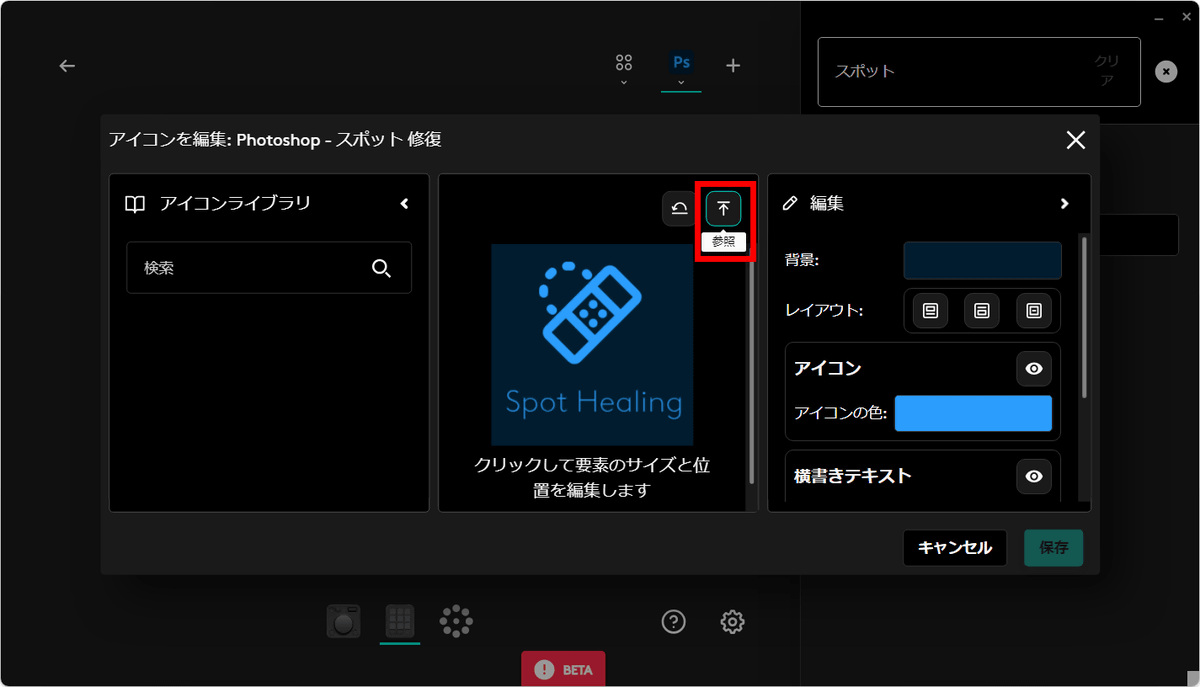
You can upload any image by clicking 'Browse'.
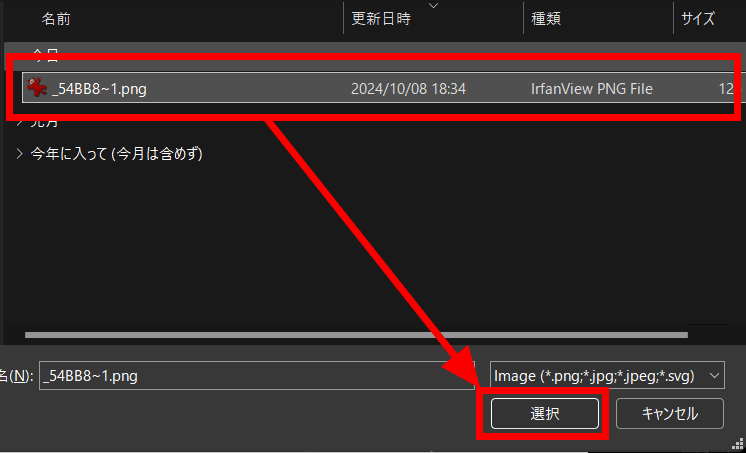
Prepare an image with a 1:1 ratio and click 'Select'.
The uploaded image will be displayed as shown below, so click 'Save'.
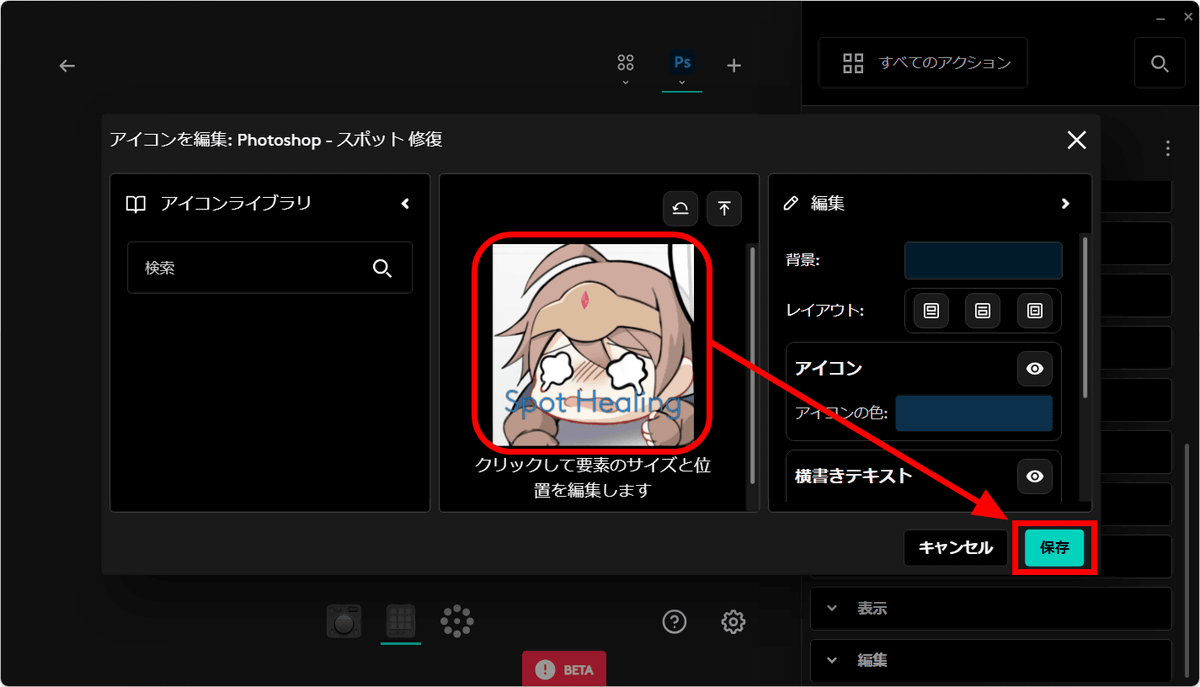
The display button for the area where you changed the icon will change to the image you uploaded. You can create a stylish look with your own icons, or use cute characters to soothe you while you work.
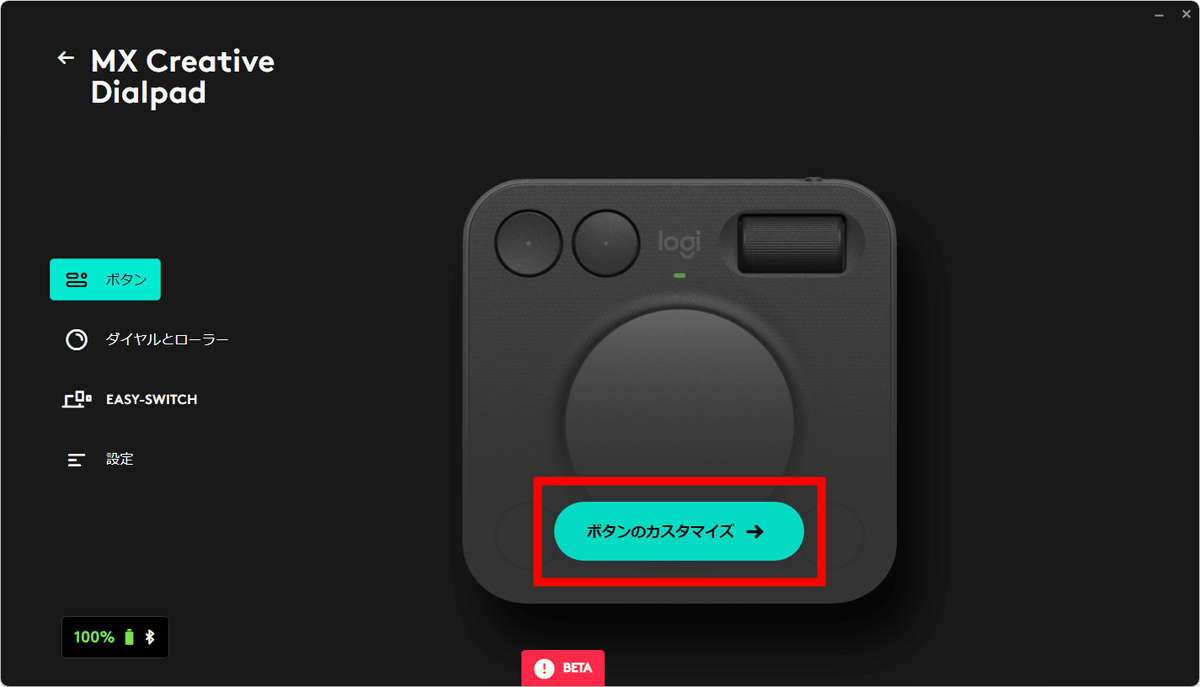
You can also customize the features on the dial pad. Click Dial Pad in Logi Options+.
Click 'Customize Buttons.'
Select the Photoshop icon and click on the dial part of the dial pad. The function of the dial is displayed as 'Move Layer List'. With 'Move Layer List', you can change the layer selection up and down with the dial, but since the dial rotates smoothly, it was difficult to switch layers well. Therefore, I will change the dial rotation to a function I often use.
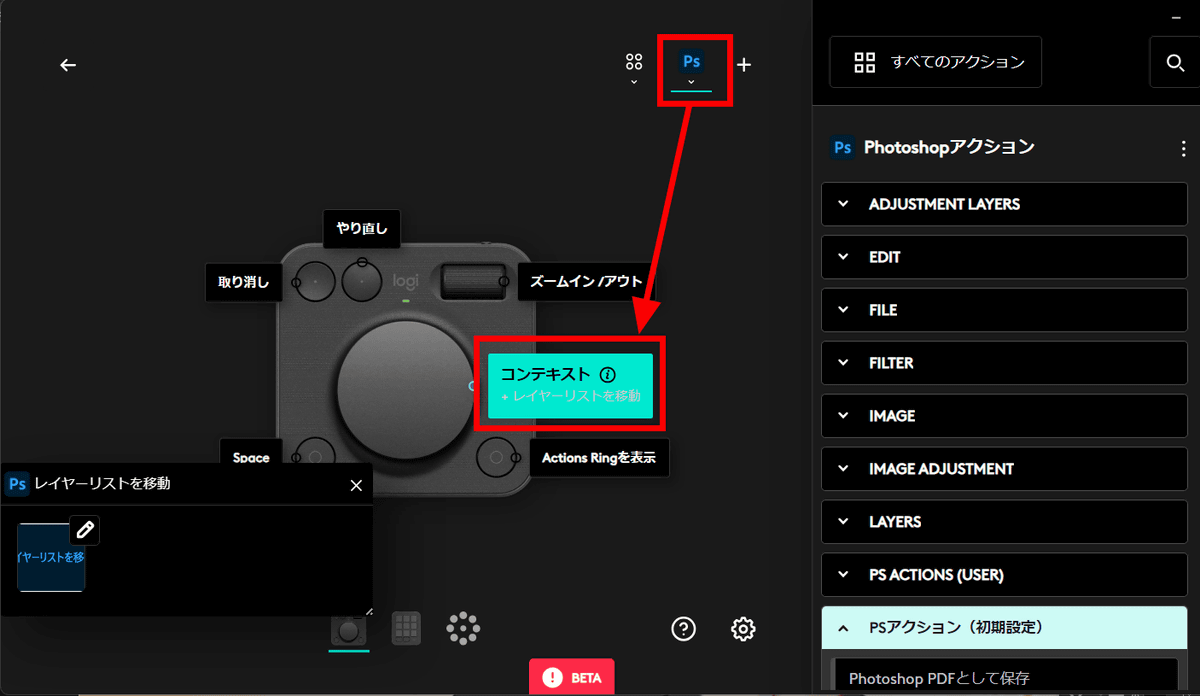
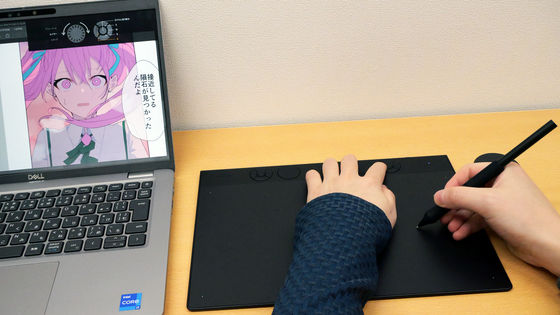
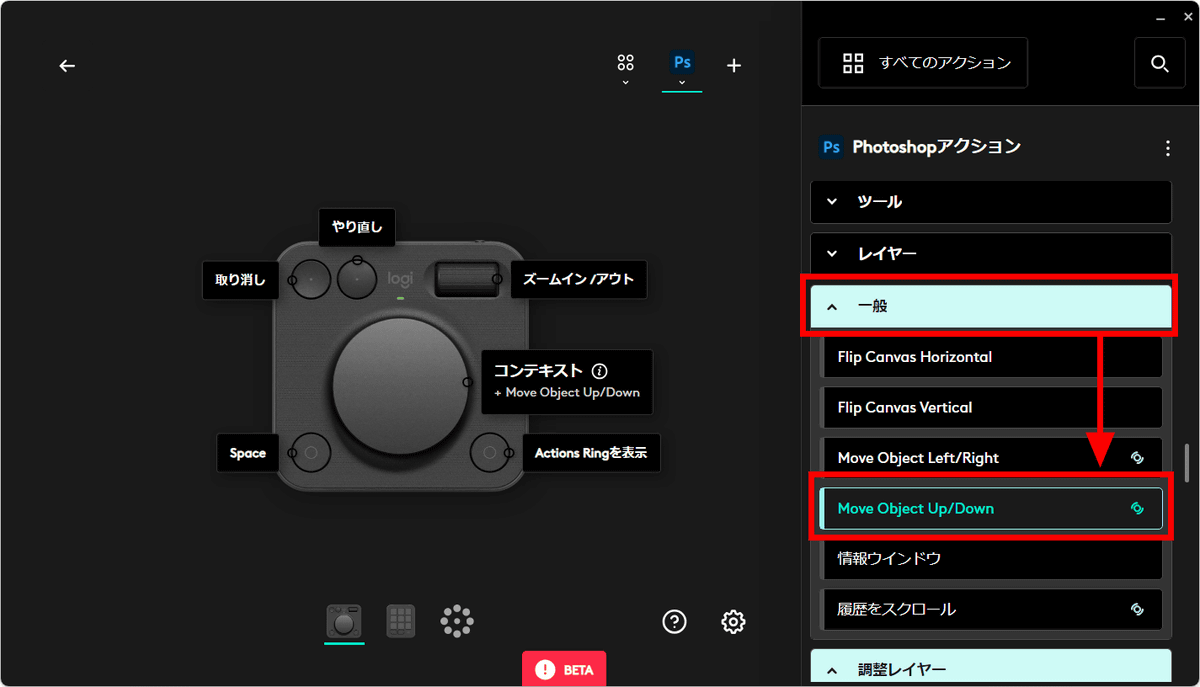
When you want to move and adjust a selected layer in detail, it can be difficult to do so with a mouse or a laptop trackpad because your hand may shake, so it should be convenient to be able to adjust it by turning a dial. So select 'Move Object Up/Down' from 'General'. This allows you to move the selected layer up and down by turning the dial.
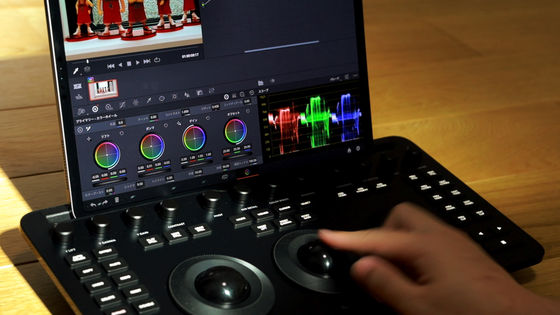
You can see how to actually use Photoshop with the MX Creative Console by watching the movie below.
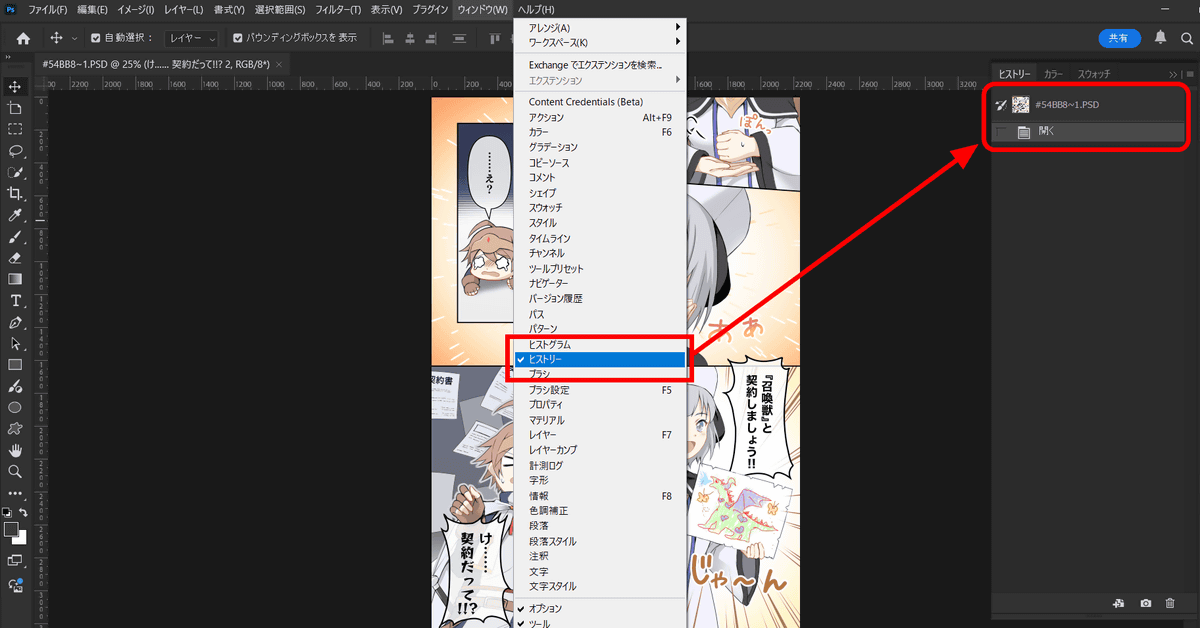
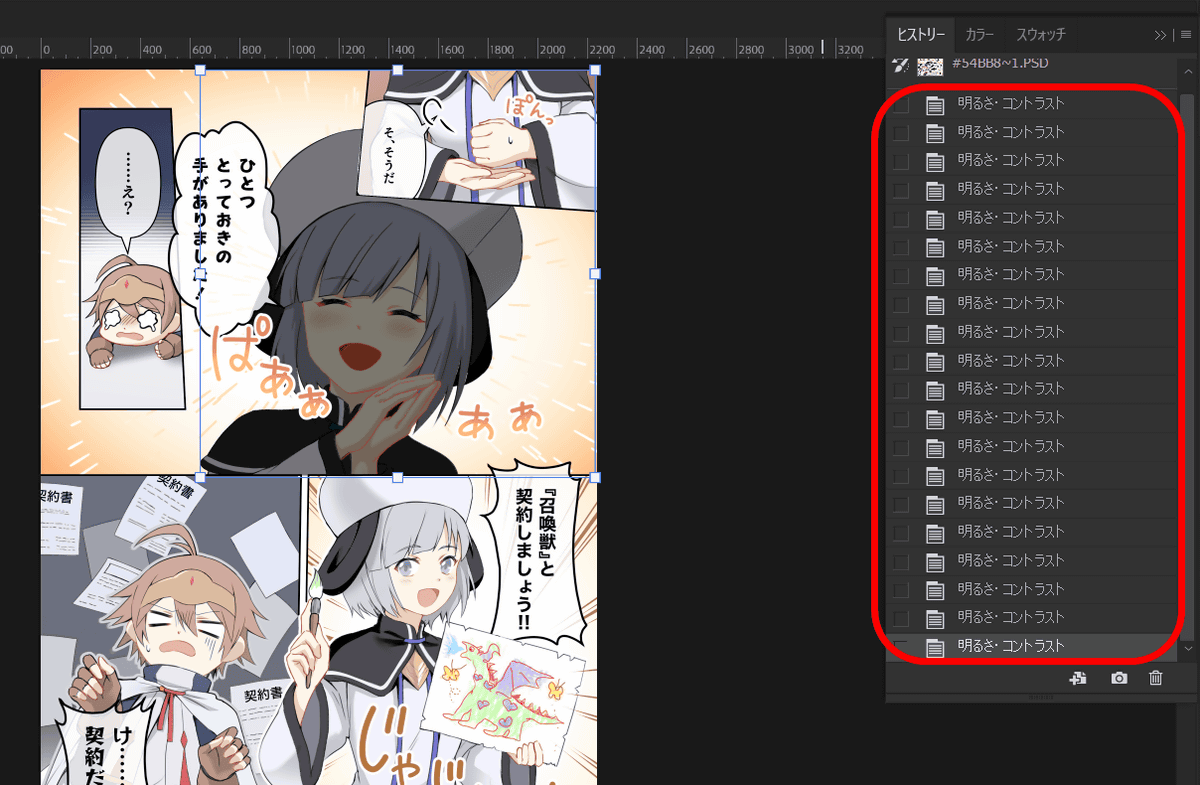
There is one thing to note when using the dial pad in Photoshop. In Photoshop, click 'History' from the 'Window' menu to display the History panel. The History panel displays the actions you have performed up to the set number, so you can say, 'I tried working on it but didn't like the results, so I want to go back to the state before 10 operations.'
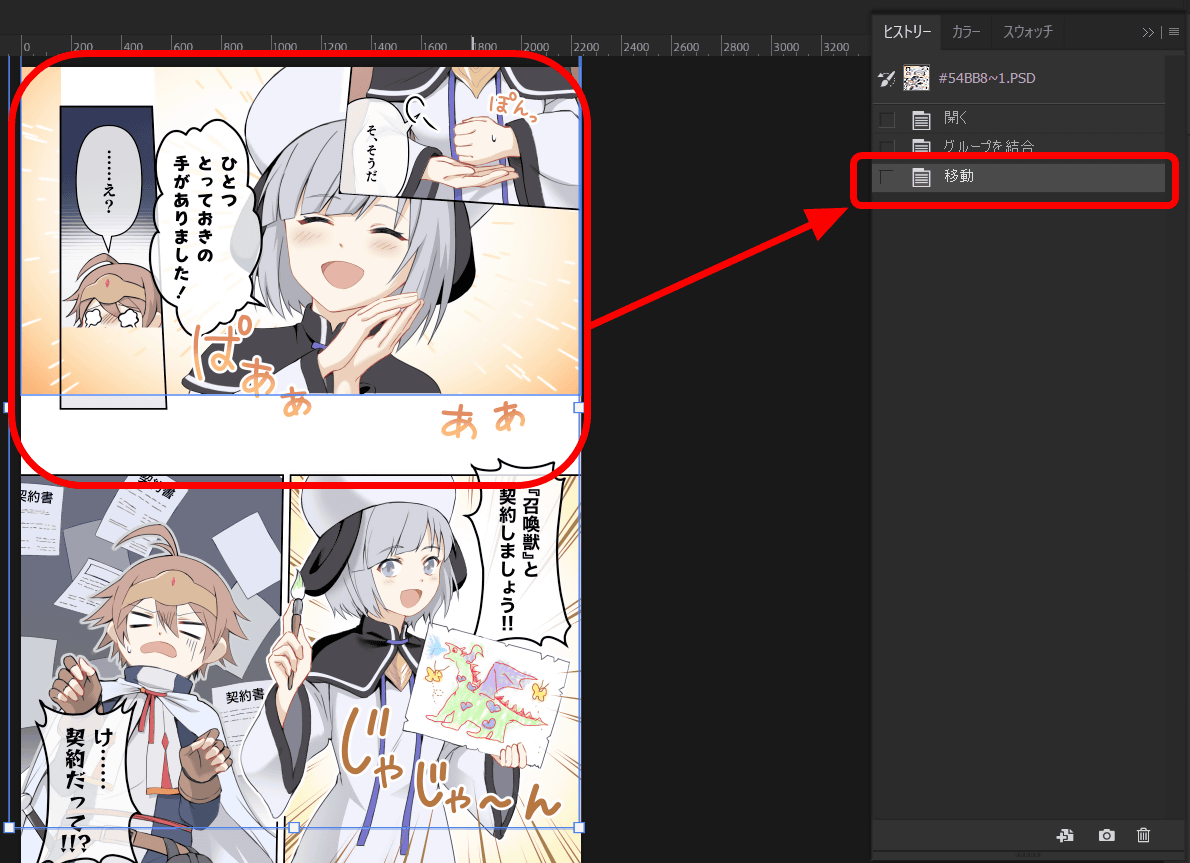
For example, if the dial pad is set to 'Move selected layers,' and you move a layer by moving the dial pad, the history panel will show 'Move.' In this state, you can undo or click a previous operation in the history panel to return to the state of your work.
However, there may be a problem with this history. Try selecting 'Brightness' from the dial pad settings in Logi Options+. In this case, you should be able to fine-tune the brightness of a layer by selecting it and turning the dial pad.
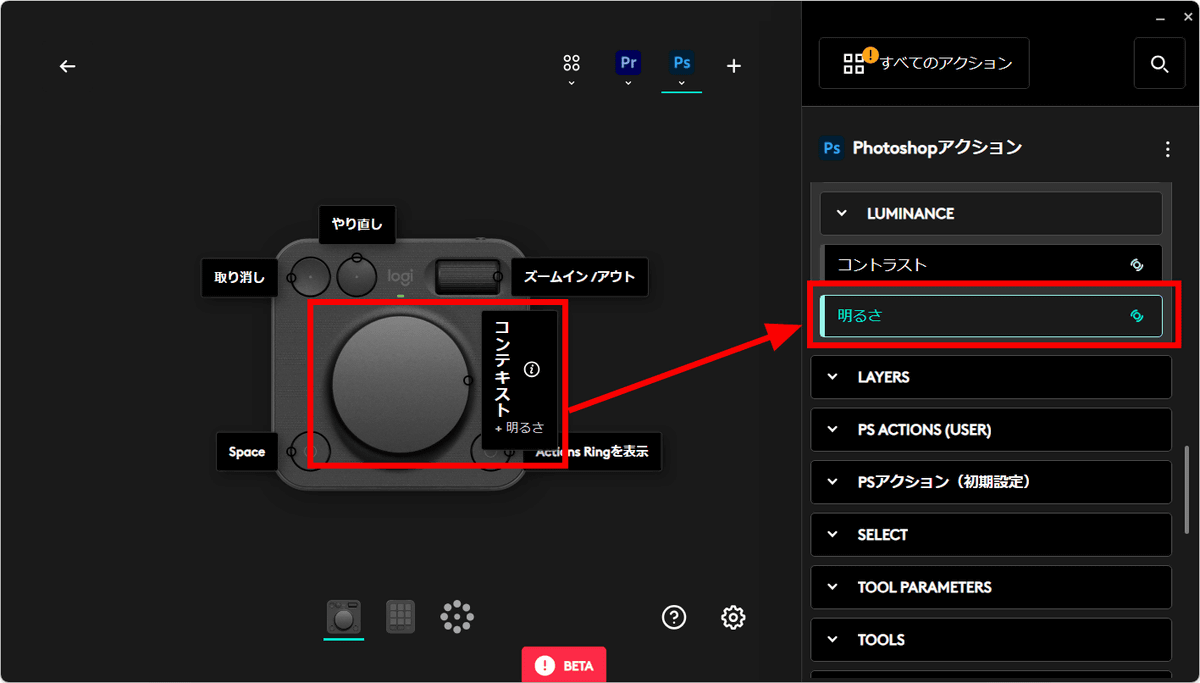
However, when changing the brightness with the dial pad, a slight turn added a 'brightness/contrast change' to the history. If you make fine adjustments, the history will fill up immediately, so you can no longer 'undo and go back to the previous state.' At the time of writing, depending on the dial pad settings, there were 'series of actions that are combined into one' like moving, and 'history fills up' like changing the brightness, so you need to be careful when setting it up.
My impression after actually using the MX Creative Console is that while it can do a lot of different things, it's also hard to understand what functions are displayed on the display by default, so it seems like you'll need to get used to it to use it well. However, because it's intuitive to use, you can learn by touching it rather than memorizing the manual, and the more you customize the keypad as you use it, the faster and easier your work will become. It's interesting that you can freely set the keypad display to be stylish or gorgeous, so I recommend it as a left-hand device that will support and color your work.
The MX Creative Console is scheduled to be released on October 24, 2024, with an open price of 32,780 yen on the Logitech online store. The colors available are black 'graphite' and white 'pale gray.'
Buy MX Creative Console | Logitech

In the next article, we will review the 'Action Ring function,' 'Steps to make it compatible with apps that do not support plugins, such as CLIP STUDIO,' and 'Adding keyboard shortcut keys.'
Continued
Logitech's first left-hand device 'MX Creative Console' runs unsupported CLIP STUDIO PAINT & creates application launch buttons & uses action rings - GIGAZINE
Related Posts: