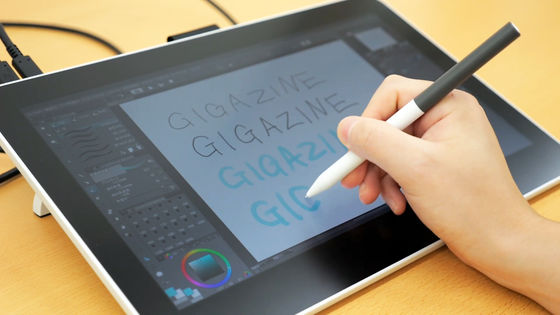
Anyway, I tried setting up customization functions to make the Wacom tablet 'Intuos Pro (2025)' even more convenient
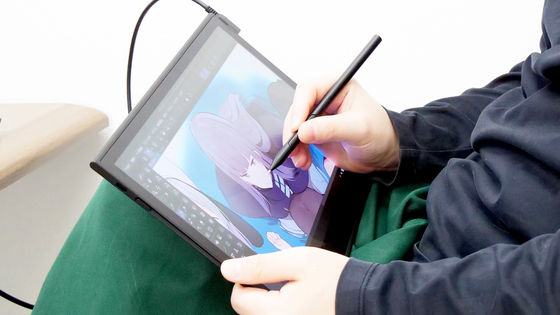
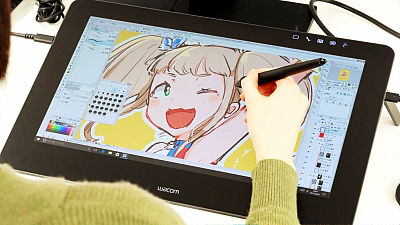
Wacom will release a new model of its professional pen tablet ' Intuos Pro ' on March 26, 2025. The new Intuos Pro has evolved to be much lighter and more compact, and is designed to make the physical buttons easier to access while using the pen tablet. In addition, the physical buttons can be customized using a dedicated driver. Using the Intuos Pro and dedicated driver that I was able to borrow prior to the release, I tried out some customizations that could further improve the efficiency of my work.
Wacom Intuos Pro (2025) - Professional Creative Pen Tablet
The appearance of the new Intuos Pro can be seen in the following article.
Wacom's board tab 'Intuos Pro (2025)' evolved appearance review, the drawing area is larger, the weight and thickness are compact, and the convenience is increasing - GIGAZINE
You can read about how to connect your Intuos Pro and how it feels to use it in the following article.
Wacom's tablet 'Intuos Pro (2025)' actual machine review, how does the drawing feel of the pen tablet with improved convenience go? - GIGAZINE

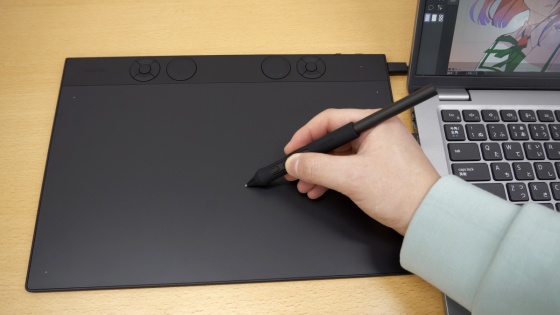
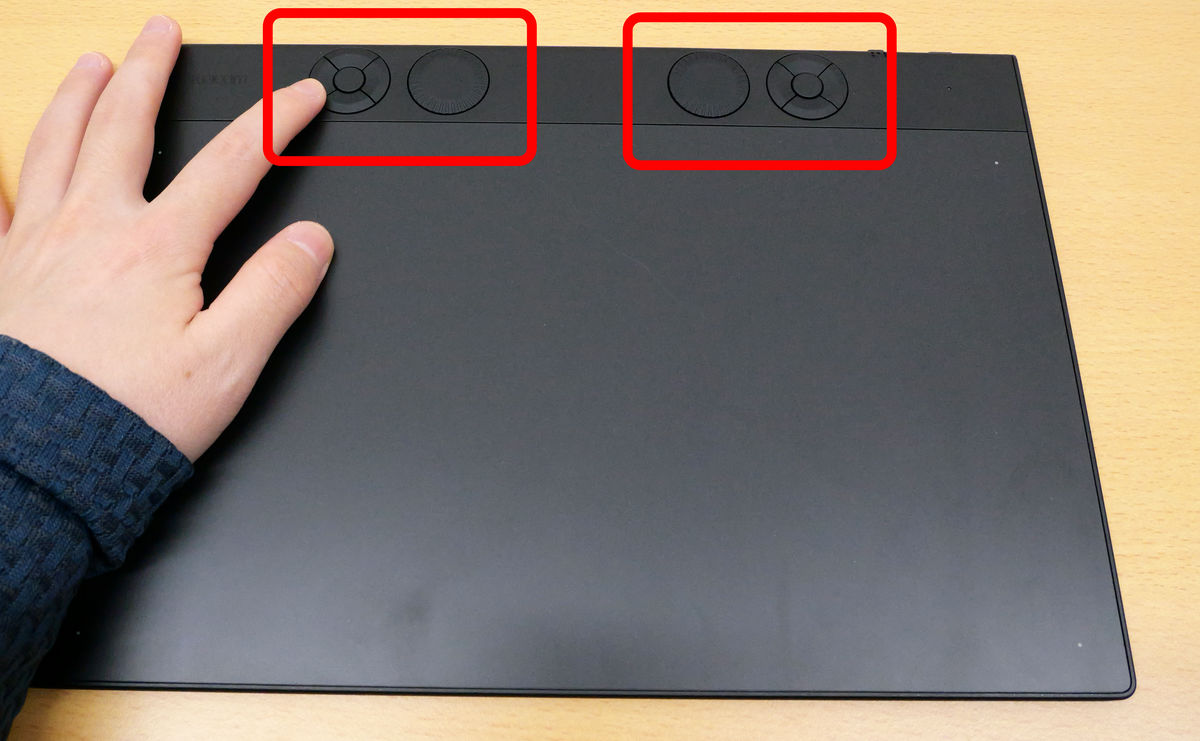
The new Intuos Pro, announced in February 2025, has two ExpressKeys and two dials on the top of the device to assist with operation.
The actions when you operate the ExpressKey and dial can be customized from a dedicated driver. First, access the '
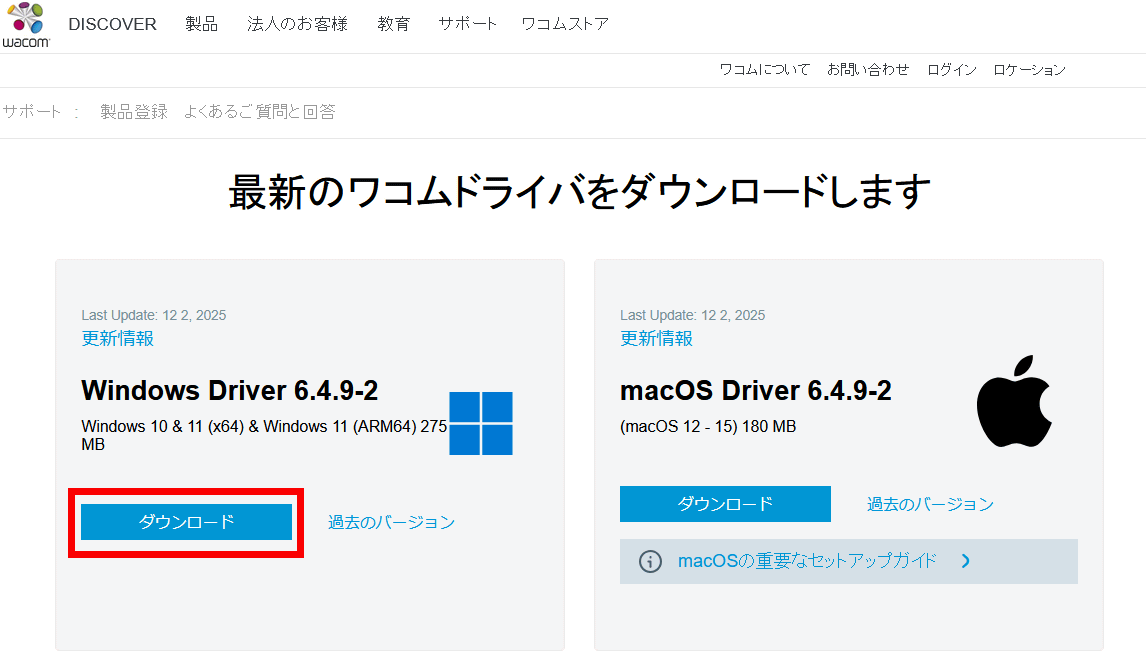
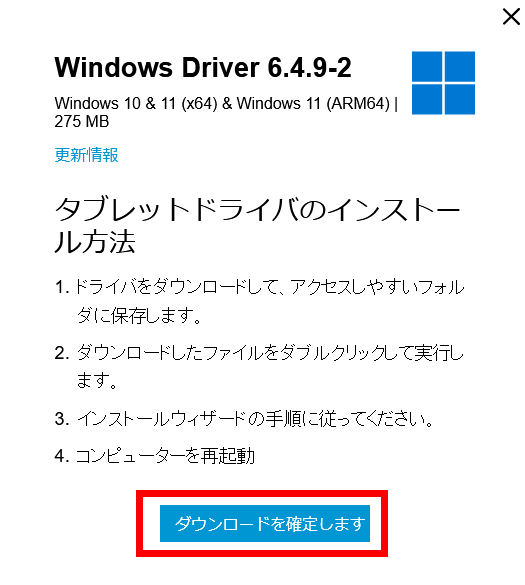
The installation instructions will be displayed, so click 'Confirm download'.
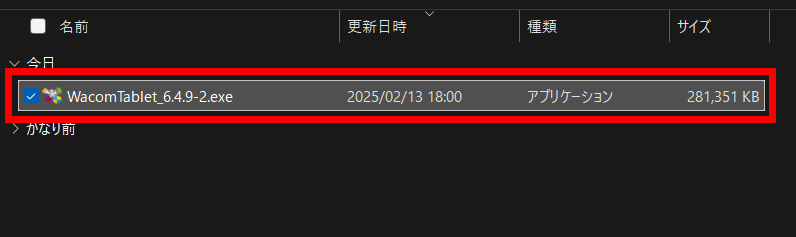
Double-click the downloaded installer to launch it.
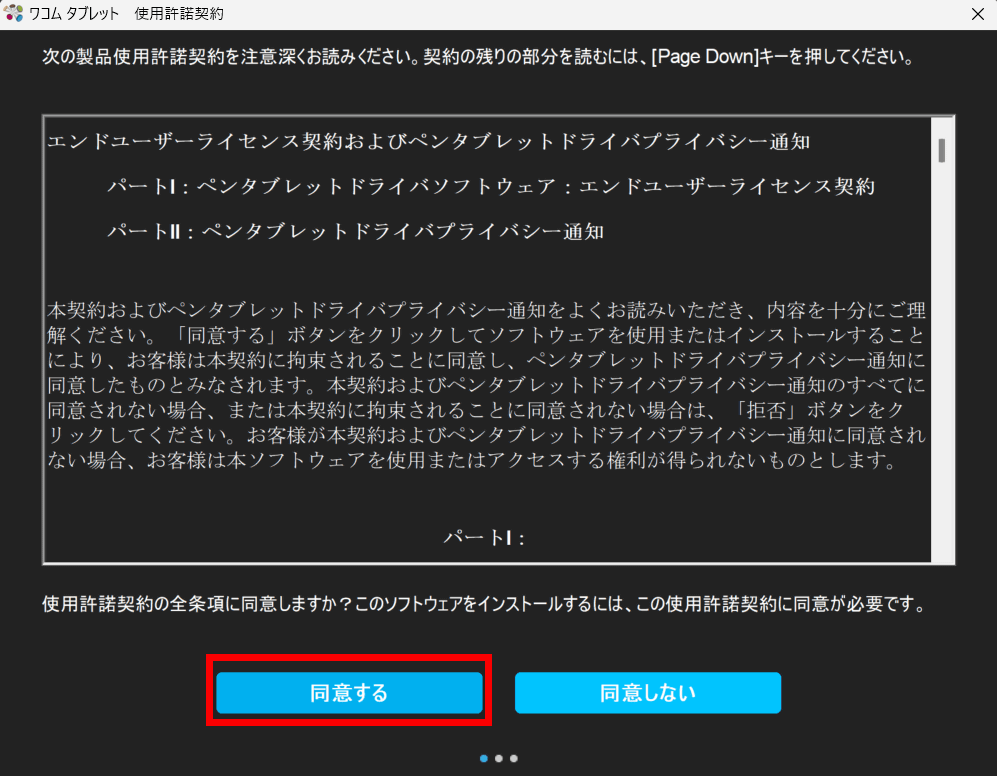
Tap 'Agree'.
Once the installation begins, please wait a while.
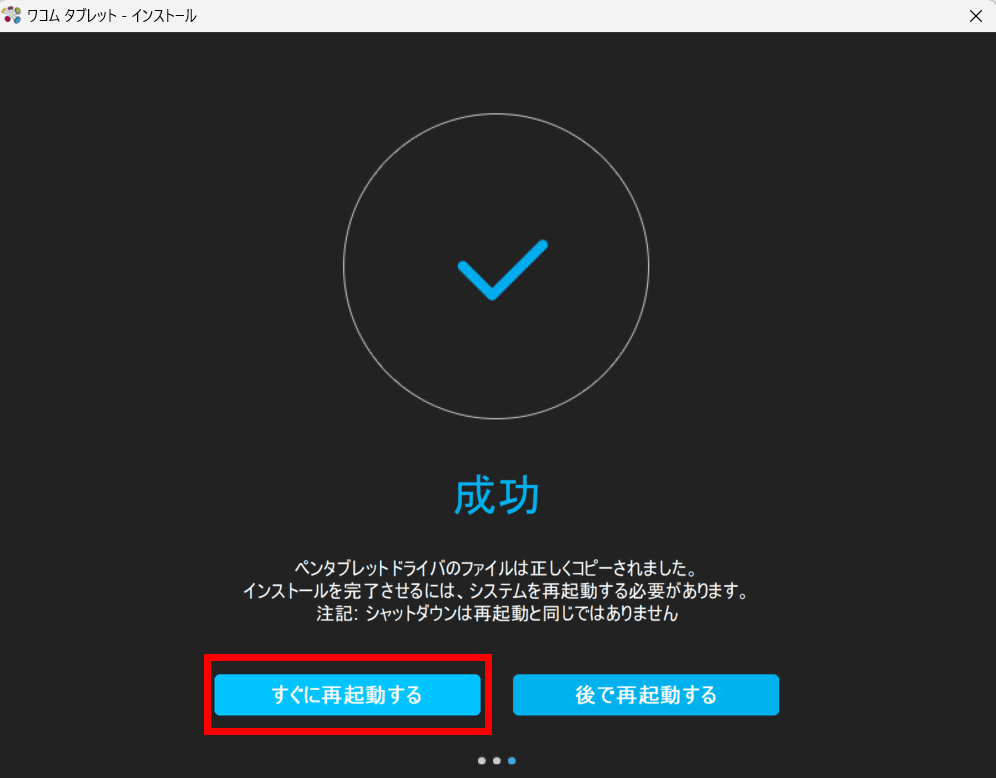
Once the installation is complete, you will need to restart your PC. Click 'Restart now.'
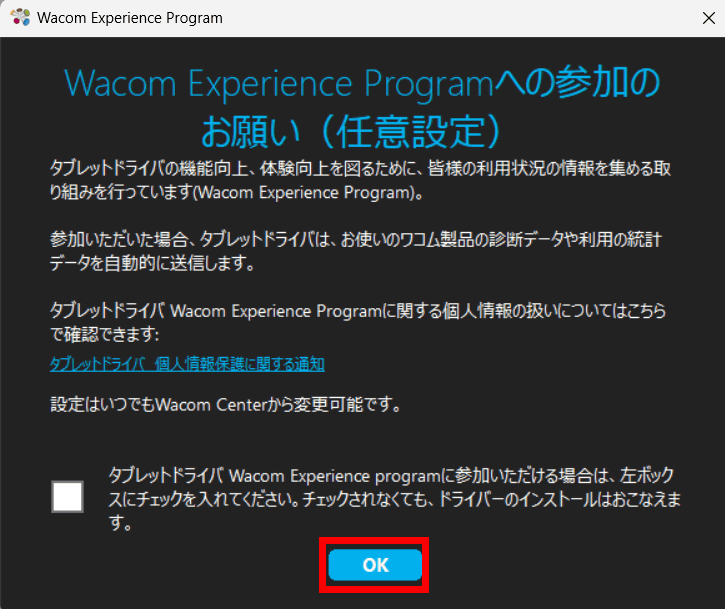
After restarting your PC, the tablet driver will start, so click 'OK' to proceed.
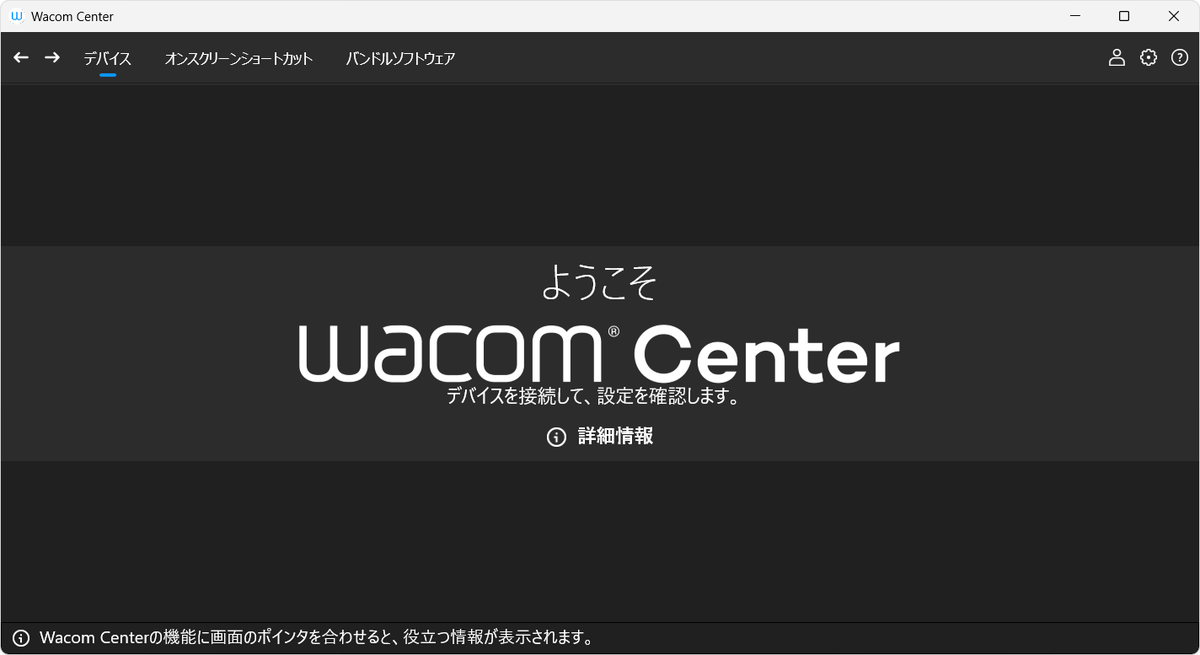
When the Wacom Center home page appears, the installation is complete.
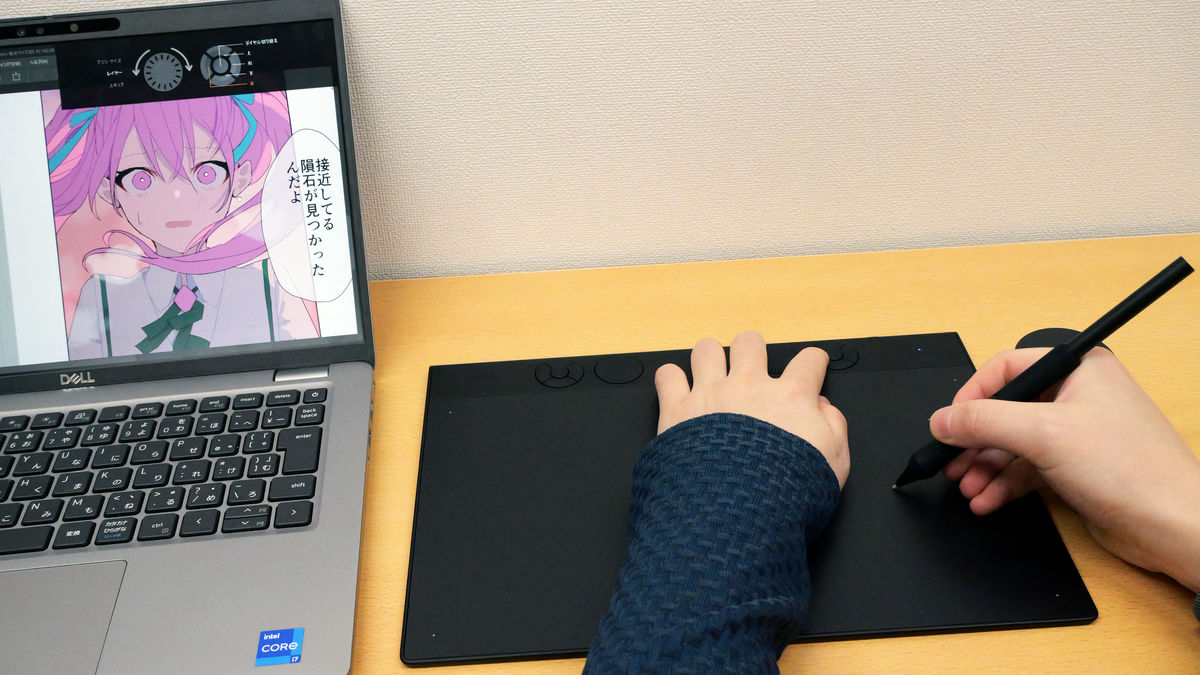
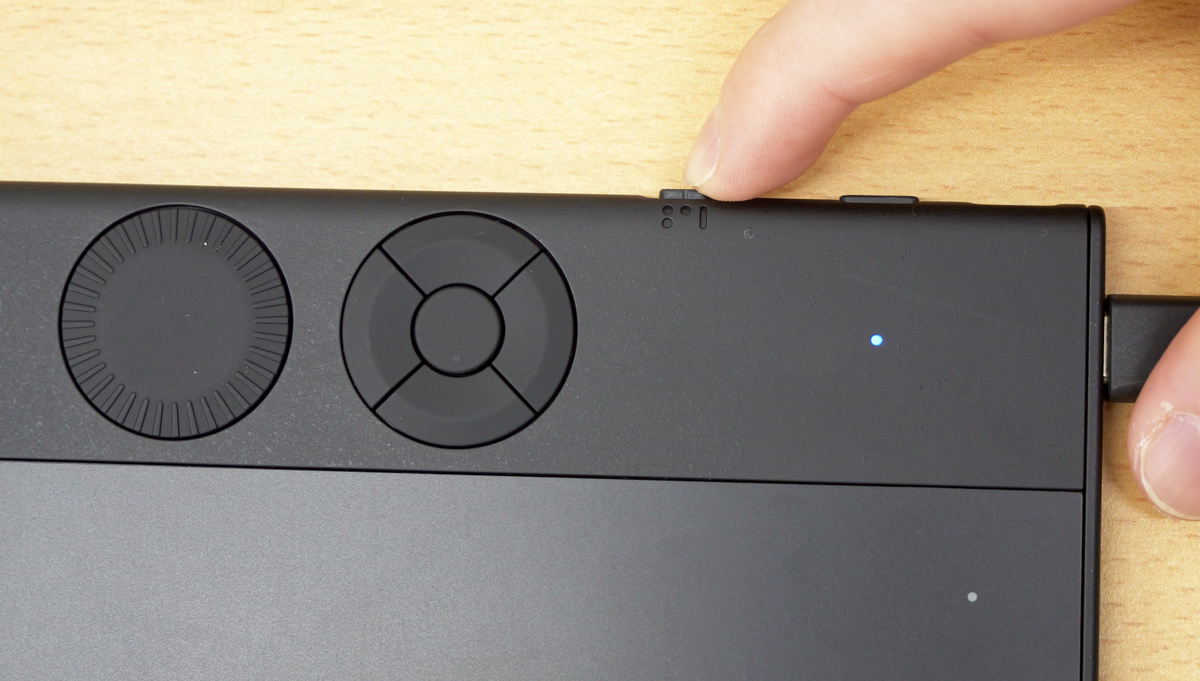
Connect the Intuos Pro to your PC via USB cable or Bluetooth. In this example, I slid the USB/Bluetooth selector to 'Bluetooth 1' to connect to the PC via Bluetooth.
Once the Intuos Pro and PC are connected, the Intuos Pro will also be displayed on the Wacom Center screen.
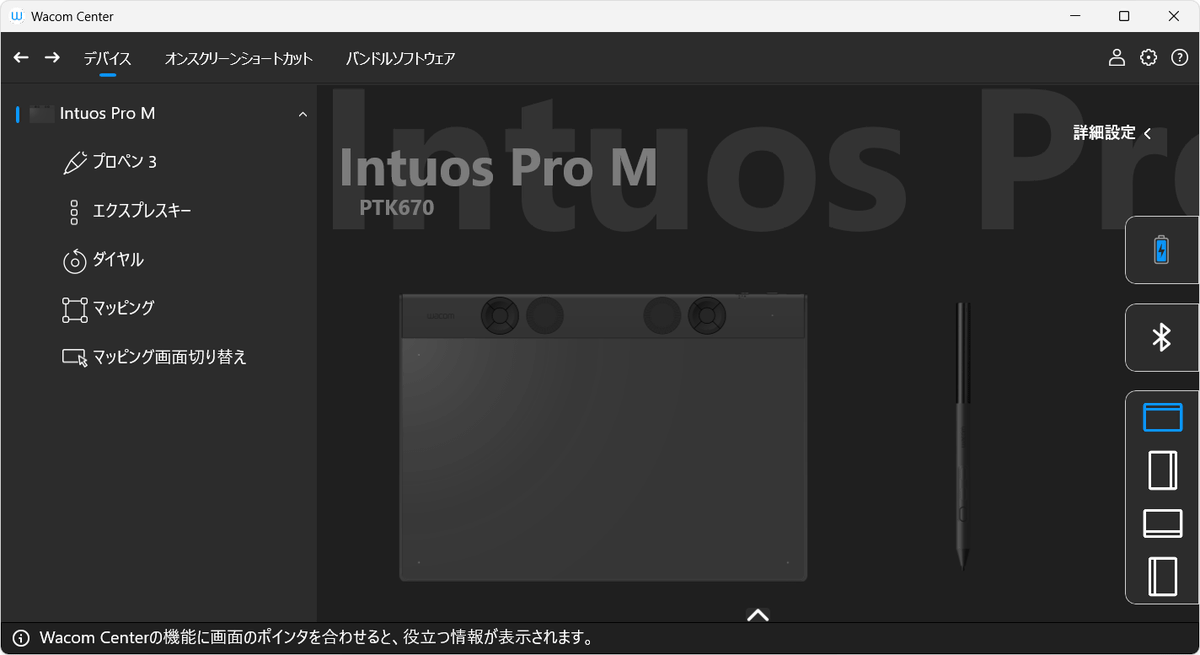
Click 'Express Keys' in the side menu to display the actions currently assigned to the ExpressKeys.
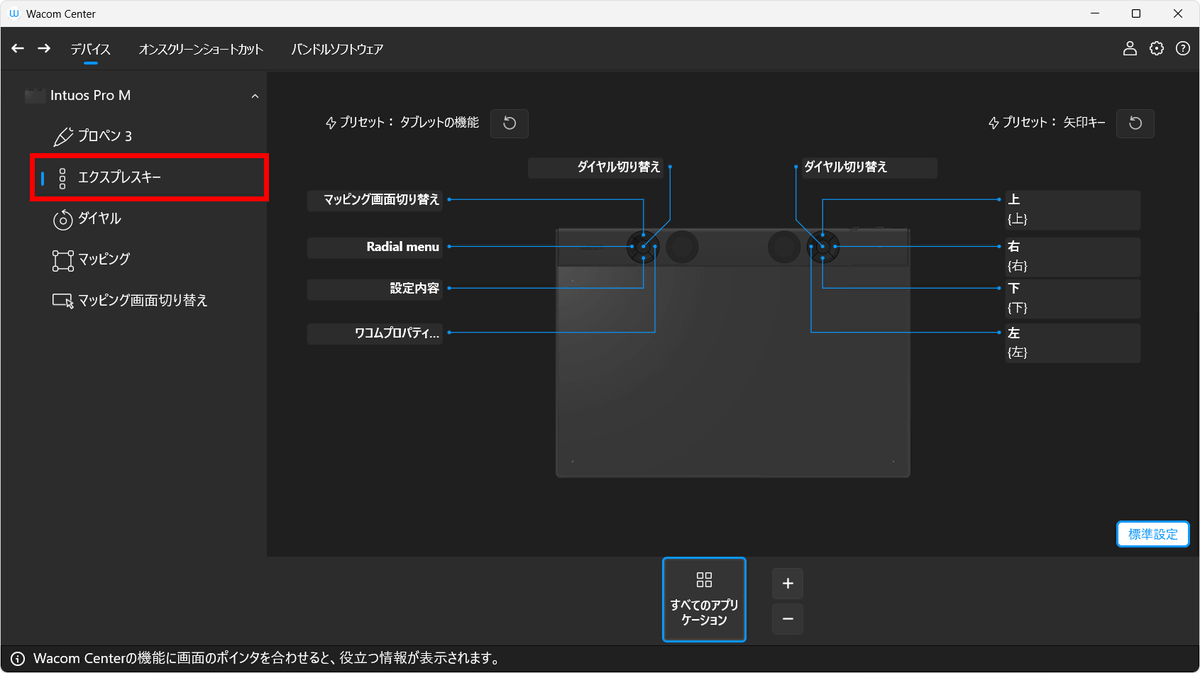
If you want to change the action that occurs when you press an ExpressKey, click the menu for the key you want to change and select the action you want to assign from the list of actions on the left.
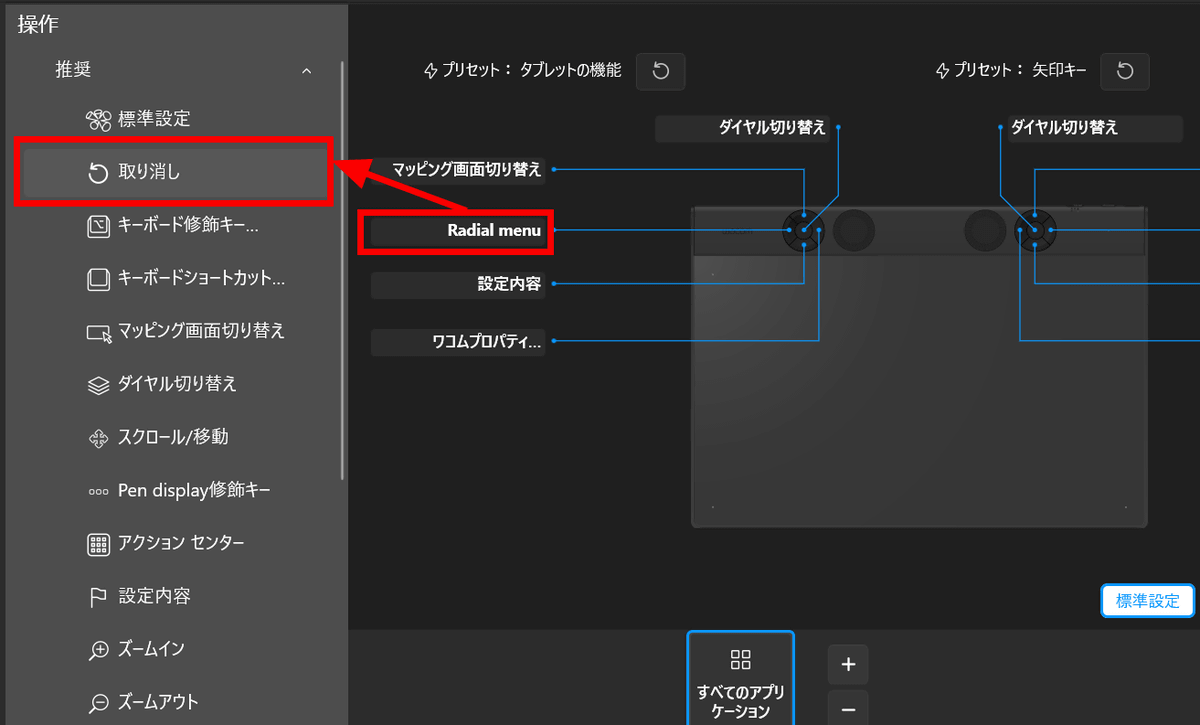
The ExpressKey action has been changed.
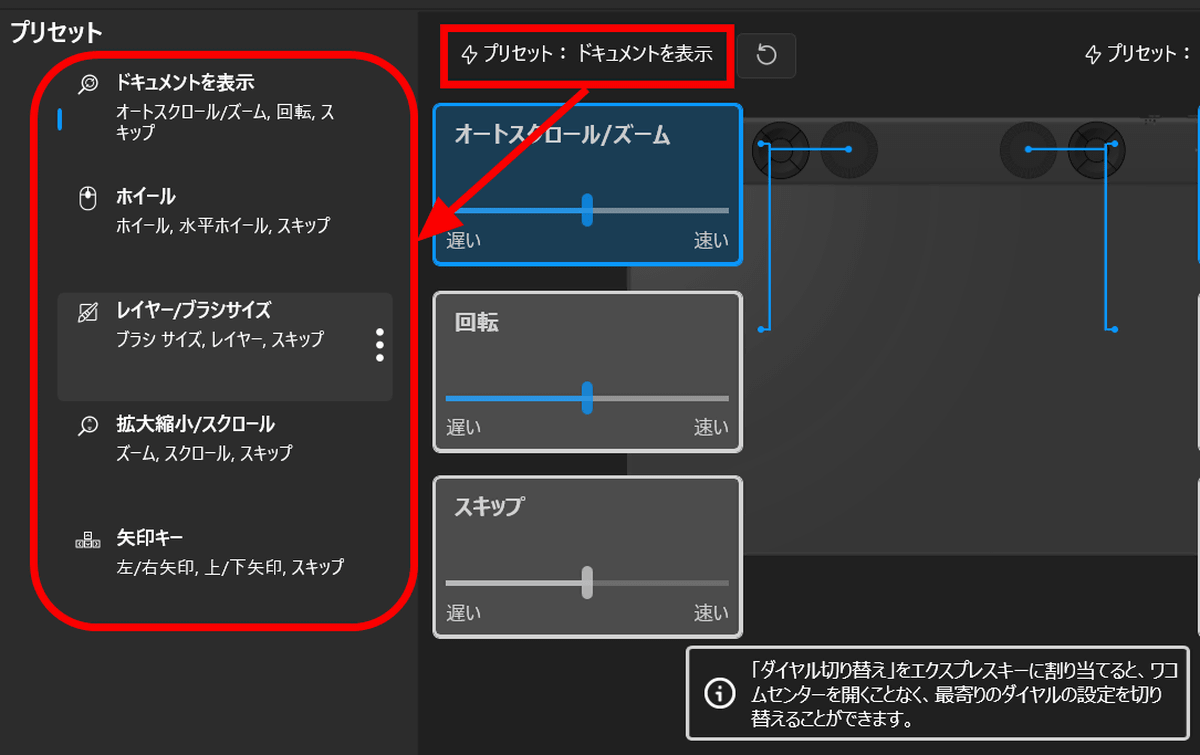
The ability to customize ExpressKey actions is familiar from Wacom's pen tablets and LCD tablets, but with the Intuos Pro and the new driver, they seem to be focusing on 'presets.' When you click 'Presets,' a set of actions for different purposes, such as 'On-Screen Shortcuts' and 'Canvas Controls,' is displayed in the menu on the left.
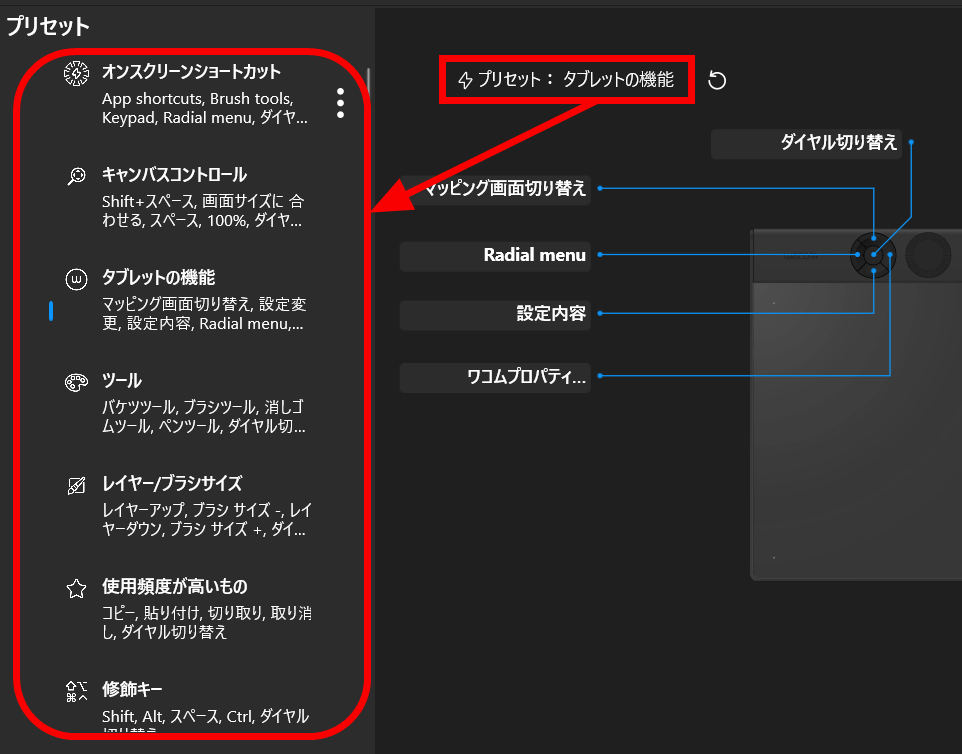
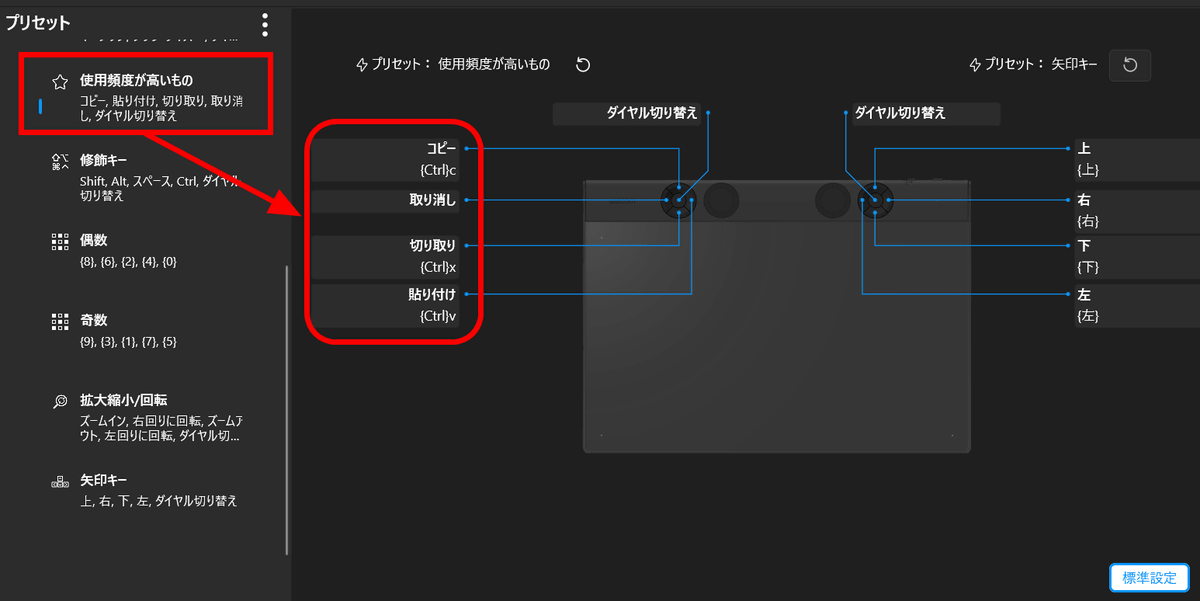
When I selected 'Frequently Used' from the presets, all the buttons on the top, bottom, left and right of the ExpressKey were changed. The longer you use the ExpressKey, the more convenient it becomes, but at first, it's easy to get lost in what to set, so it's nice to start by selecting a preset for each software and intended use, and then adjust it as you go.
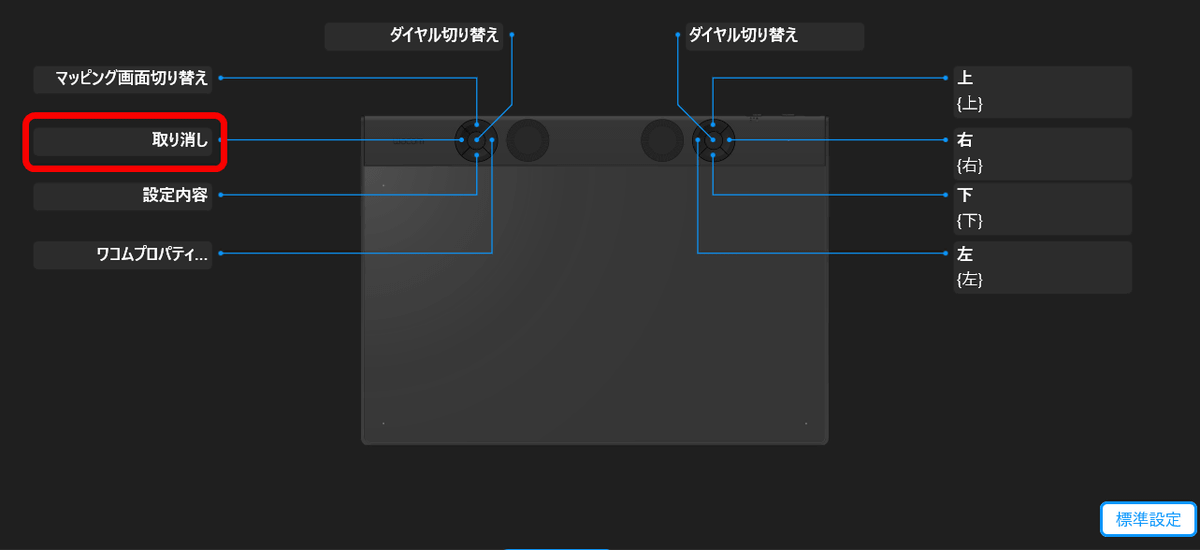
In addition to the up, down, left and right buttons, the ExpressKey also has a center button. The center button is set to 'dial switching' by default, and when you press the button, the dial function is displayed on the screen. The dial on the left is assigned to 'auto scroll / zoom' and 'rotation', and you can switch between these two by pressing the center button of the ExpressKey.
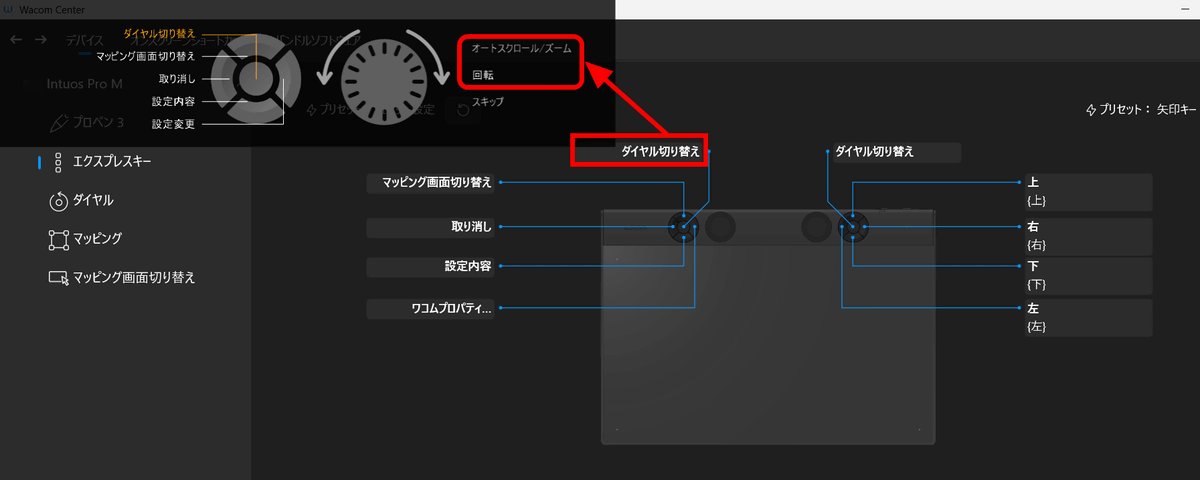
You can also customize the dial action. Select 'Dial' from the Wacom Center menu. If you have assigned something other than 'Dial Switch' to the center button of the ExpressKey, you can also switch the dial action by clicking 'Auto Scroll/Zoom' or 'Rotation' on the 'Dial' settings page below.
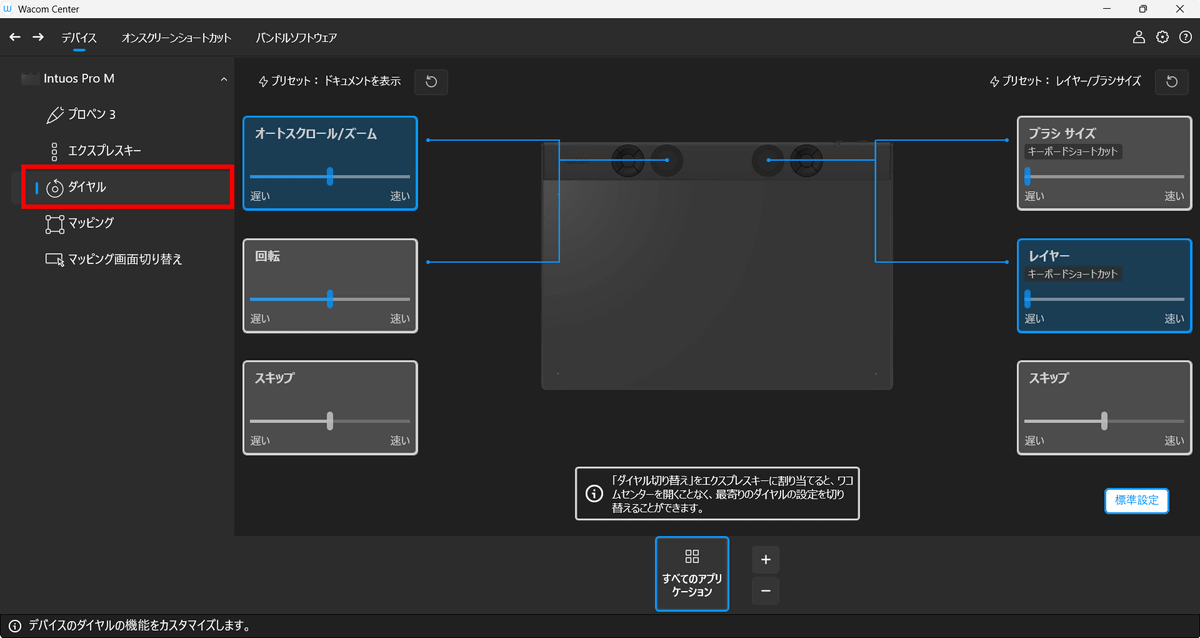
You can customize the dial actions by clicking on the action name and a menu will appear on the left.
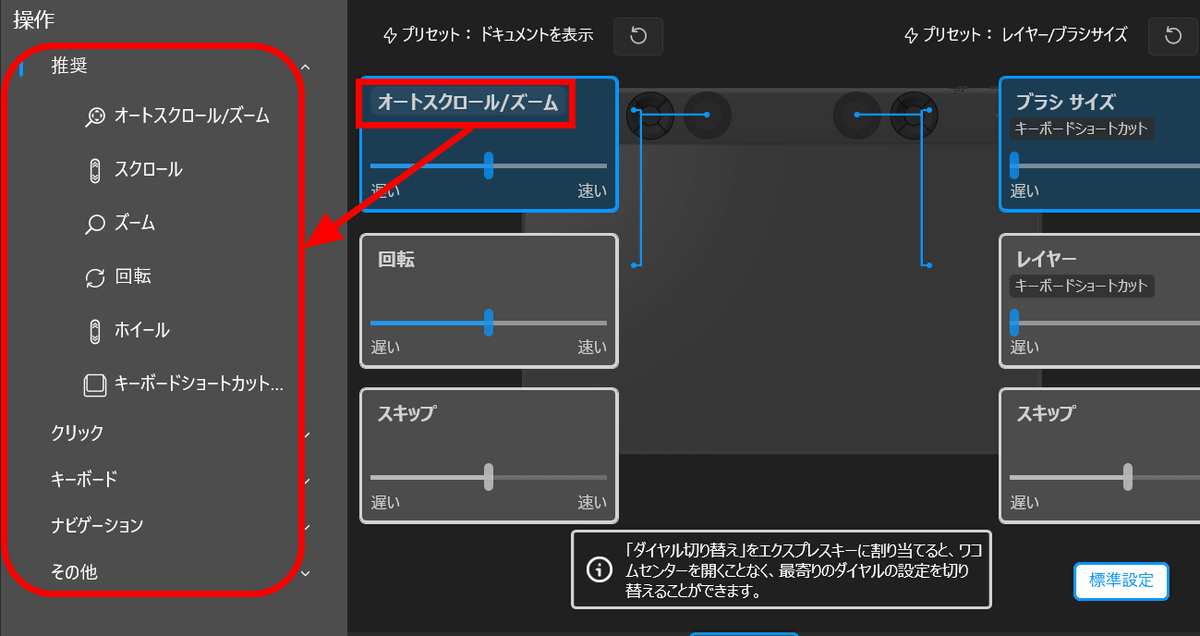
Also, if you click 'Presets', you can select the dial action from the presets in the dial menu just like with ExpressKey, so it's recommended to check it out when you're unsure.
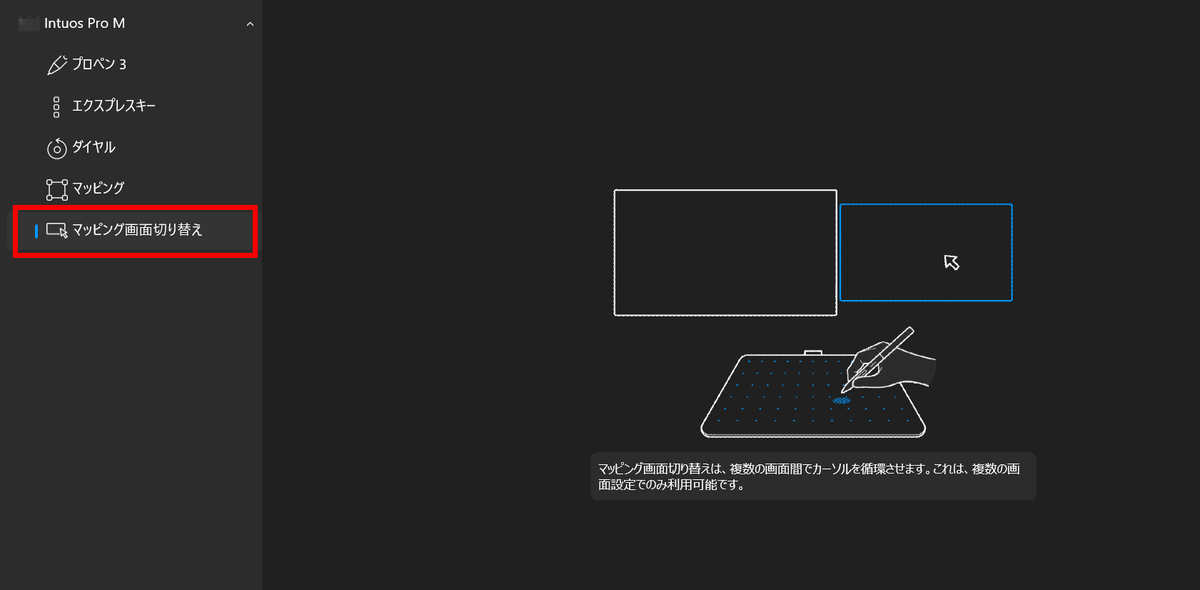
There is also a more advanced setting called 'Mapping.' The previous model of the Intuos Pro had a drawing area of 16:10, but the new Intuos Pro has a drawing area of 16:9 to match the ratio of major PCs and monitors, and the basic setting is to make the full size of the screen correspond to the drawing area. However, if the ratio differs depending on the monitor, or if you use a reduced-size drawing software depending on your work environment, the default drawing area may not be suitable. In that case, you can make fine adjustments from 'Mapping' in Wacom Center.
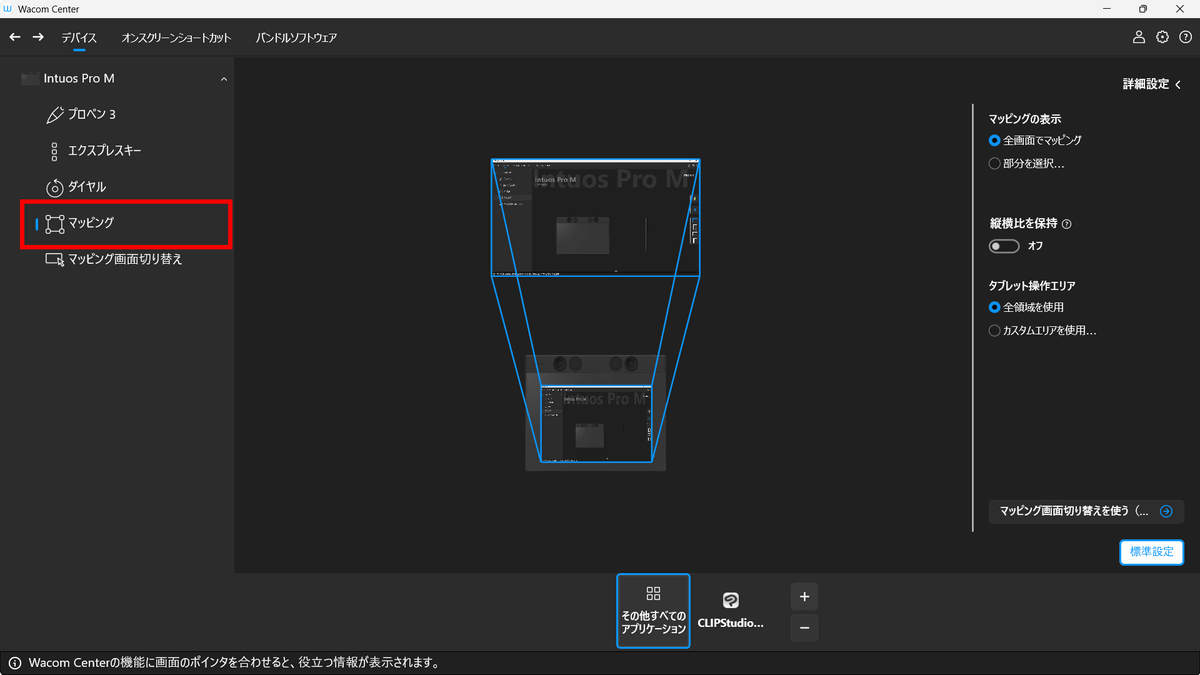
You can change the screen you want to map by changing from 'Map full screen' to 'Select part.'
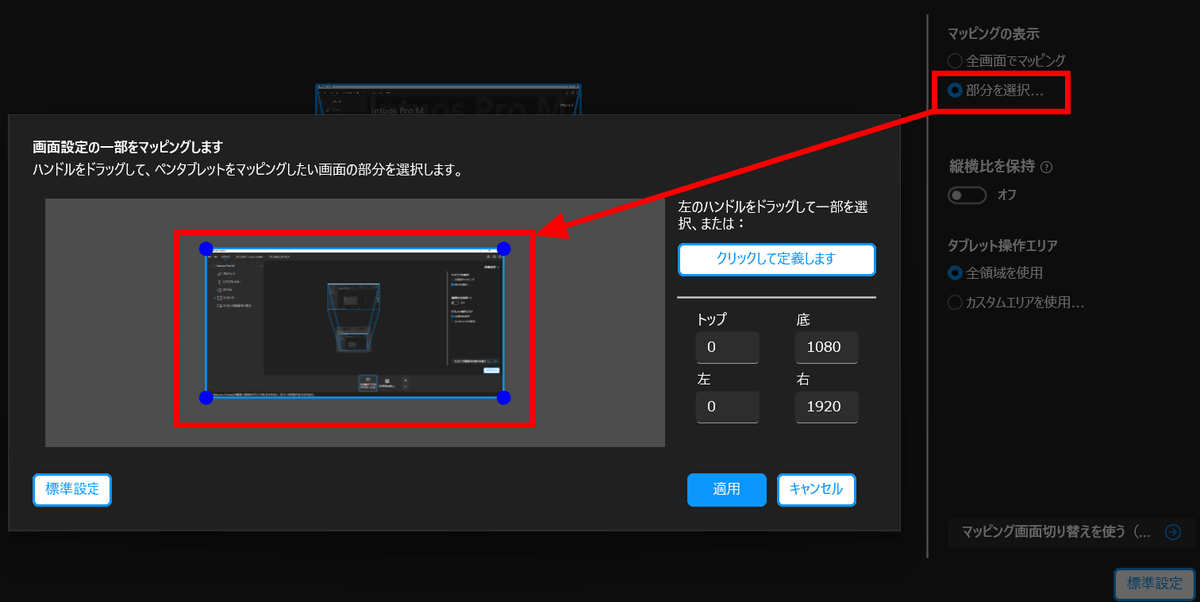
As a test, leave the space on the left and click 'Apply'.
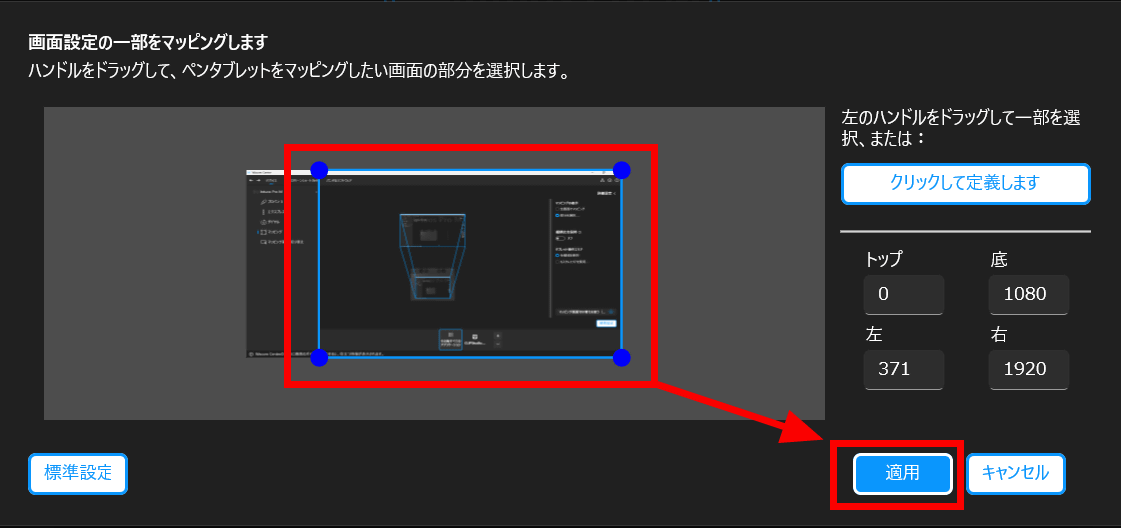
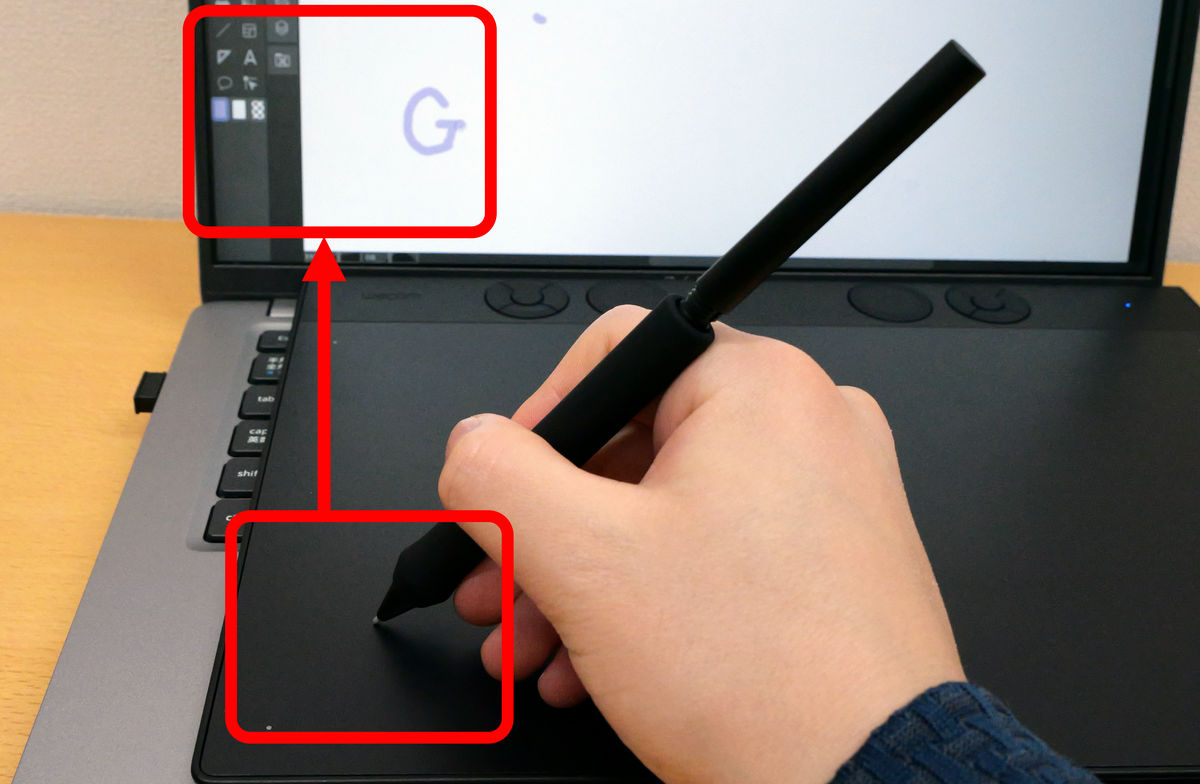
When I tried using the Intuos Pro with the mapping area changed, I found that when I used the pen at the very left edge of the Intuos Pro's drawing area, the edge of the screen should be selected, but instead, the drawing was done in a position with a little space to the left, as shown below. In this way, by adjusting the mapping position, you can set areas on your PC that you cannot touch, or work in the range where it is easiest for you to move your pen.
Also, if the PC to which the Intuos Pro is connected has multiple monitors, you can expand the mapping of the Intuos Pro to two screens by setting it from 'Screen Mapping Switch'.
In addition,
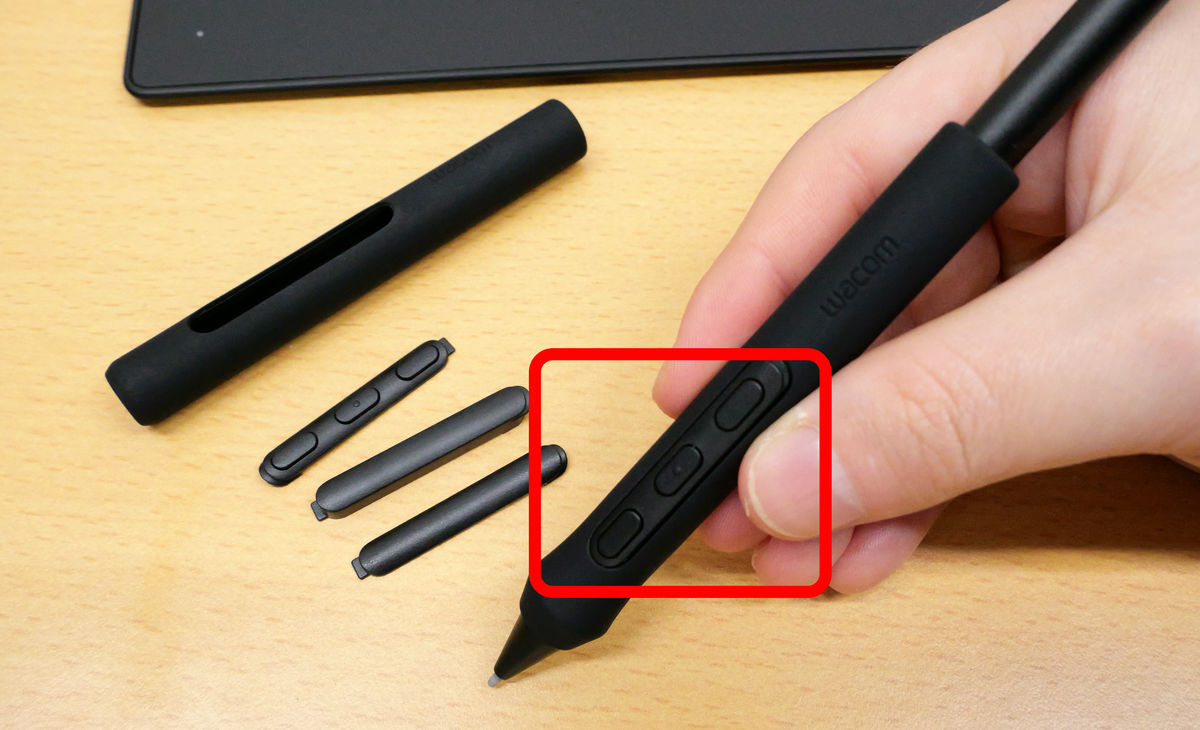
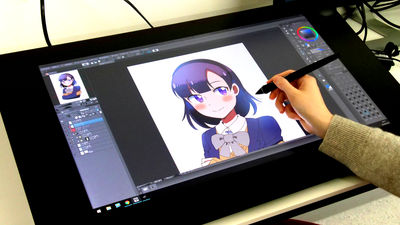
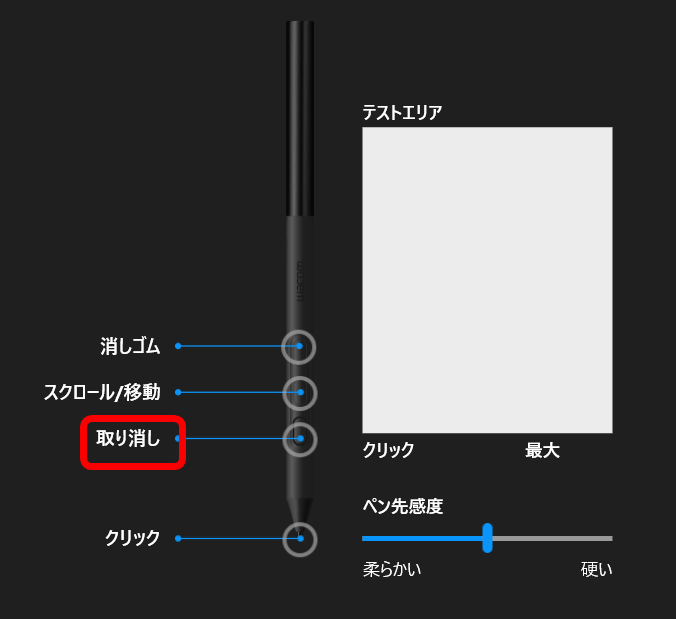
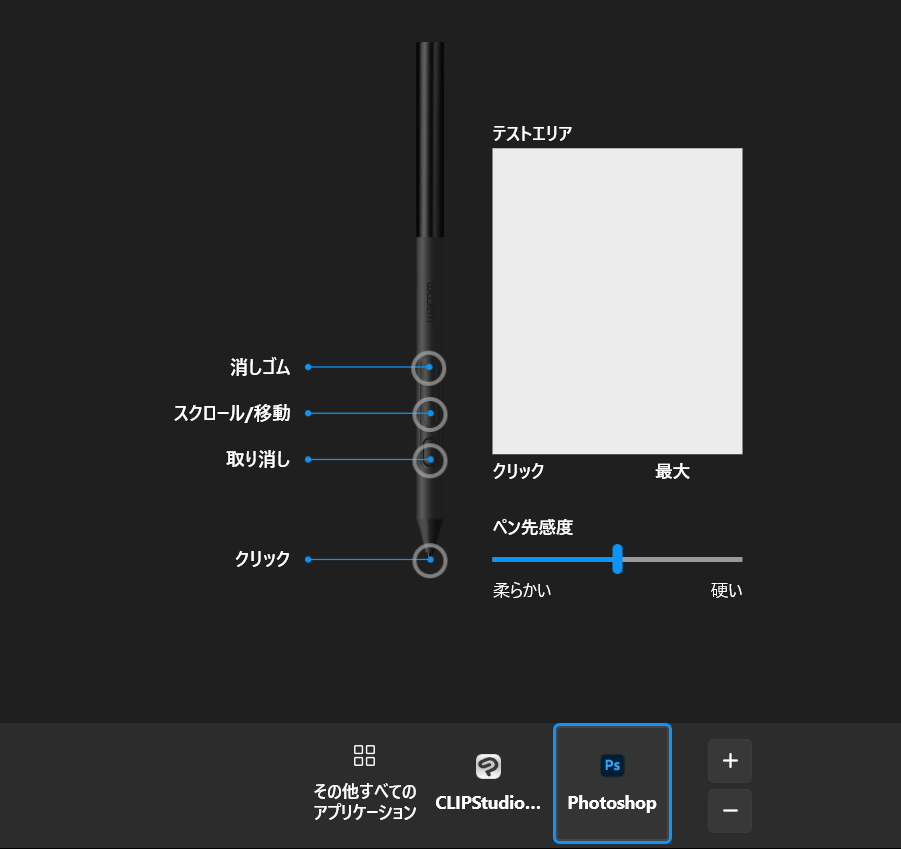
The physical buttons and actions when you press the pen tip of the Wacom Pro Pen 3 can also be customized from Wacom Center. Click 'Pro Pen 3' from the Wacom Center menu.
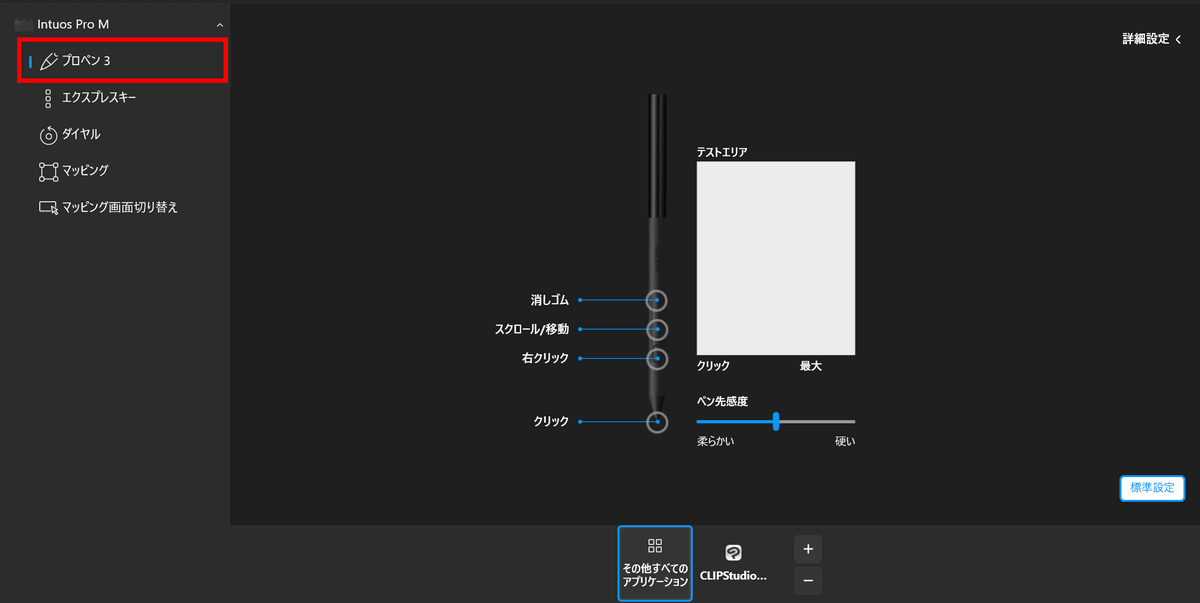
Click the button you want to change, then select the action you want to assign from the list on the left.
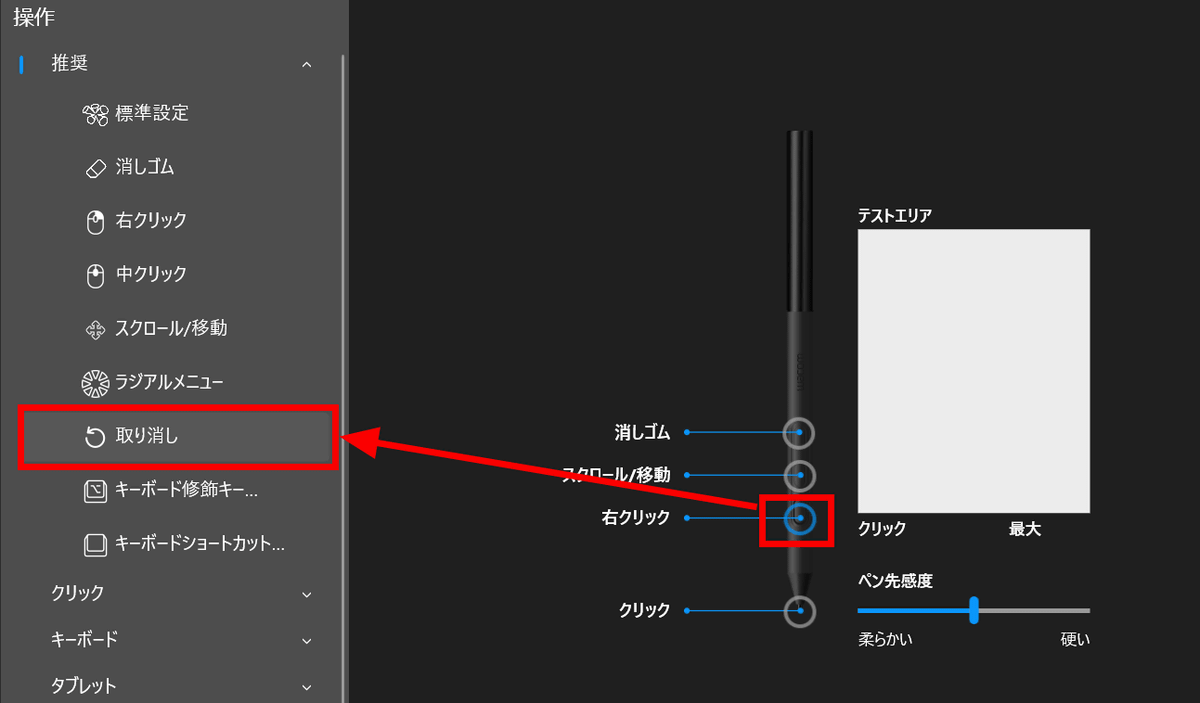
You can change the action of the button.
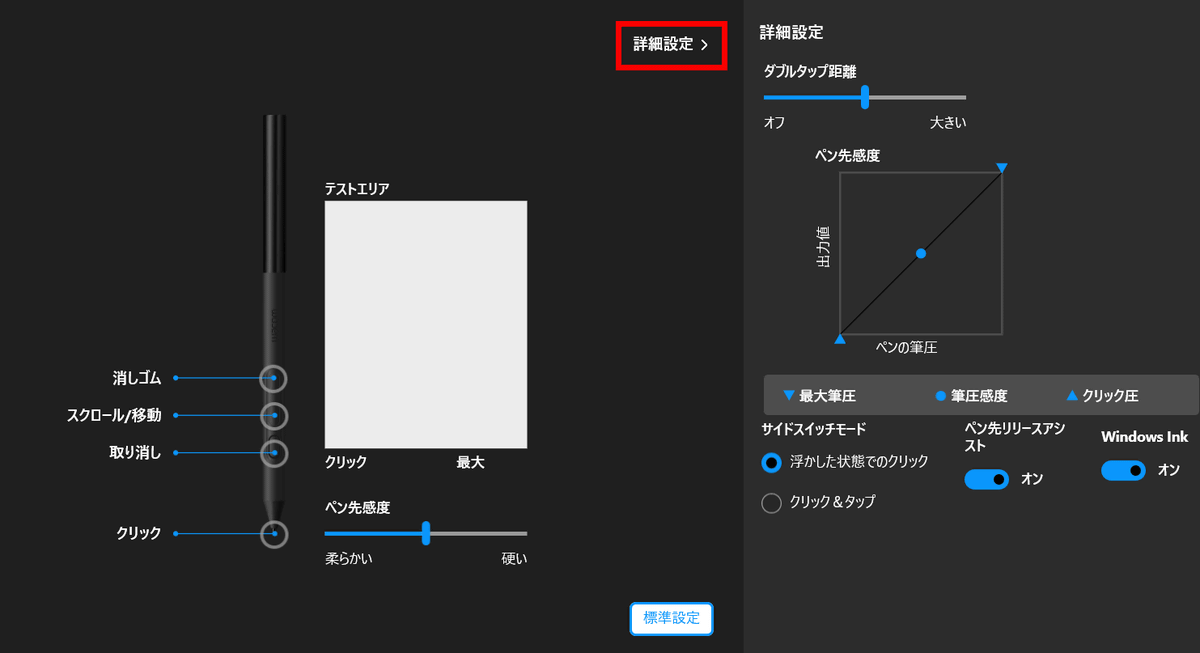
In addition, when customizing the Wacom Pro Pen 3, you can make more detailed adjustments to things like the distance at which a double tap is recognized and the sensitivity of the pen tip from the 'Advanced Settings' menu, so if you're particular about things, it should be even more convenient to use it in conjunction with customizing the pen itself.
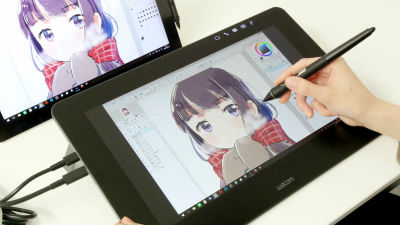
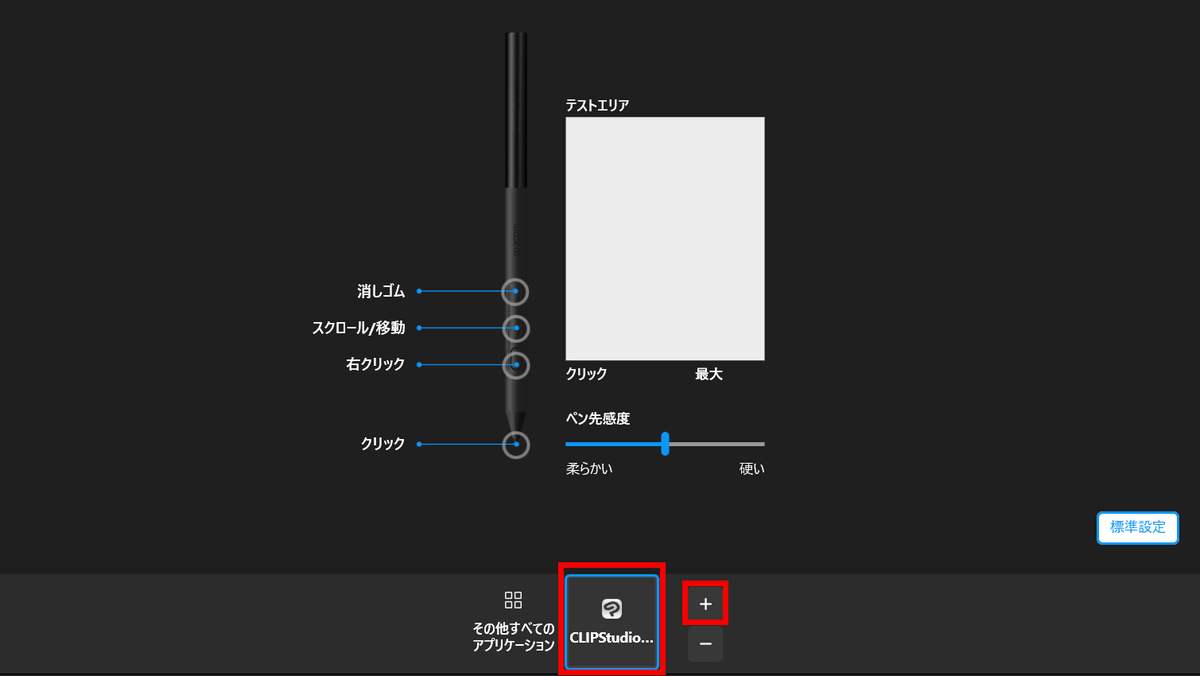
You can set the ExpressKey, dial, mapping, and Wacom Pro Pen 3 settings for each application. When you click on the 'CLIP STUDIO PAINT' icon, the settings are switched to those set for CLIP STUDIO PAINT. Click '+' to add a new application for which you want to set dedicated settings.
This time I'll try it with Photoshop, so select 'Photoshop' from the application list and click 'OK.'
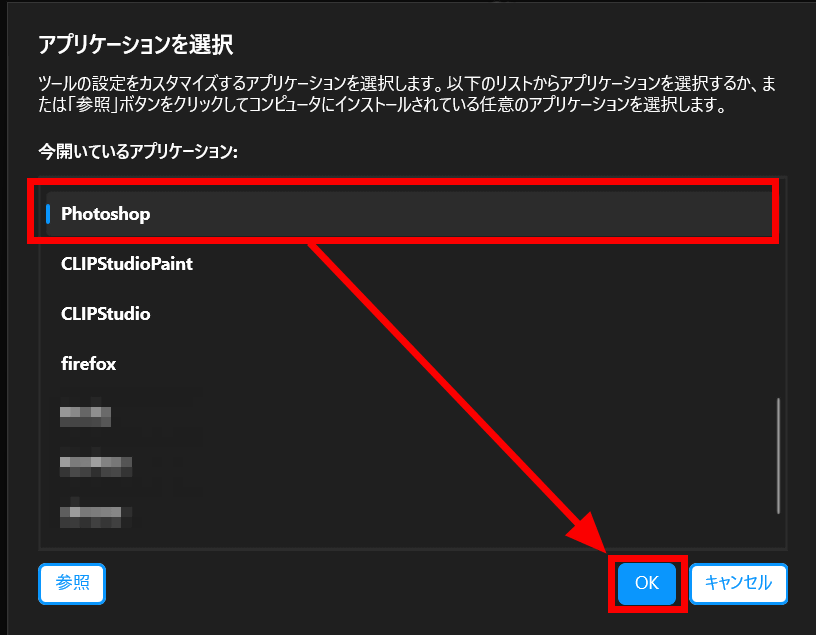
'Photoshop' has been added. Even if you want to prioritize completely different actions in multiple apps, you can work smoothly by setting it for each app.
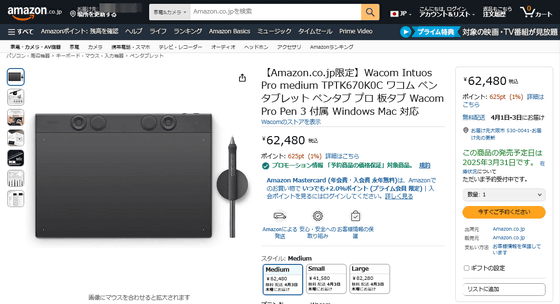
Wacom Intuos Pro is scheduled to be released in three sizes, Intuos Pro small is priced at 41,580 yen including tax at the Wacom store, Intuos Pro medium is priced at 62,480 yen, and Intuos Pro large is priced at 82,280 yen. The release date for small and medium is March 26, 2025, and the release date for large is yet to be decided.
Pre-orders are also available on Amazon, and at the time of writing the article, small and medium sizes were available for order. The price on Amazon is the same as the Wacom Store.
Amazon.co.jp: [Amazon.co.jp exclusive] Wacom Intuos Pro medium TPTK670K0C Wacom pen tablet pen tablet pro pen tablet Wacom Pro Pen 3 included Windows Mac compatible: Computers and peripherals
Related Posts: