How to add 'ECOVACS' robot vacuum cleaner to 'Home Assistant' that can centrally manage robot vacuum cleaners and smart home appliances
I added ECOVACS robot vacuum cleaners 'DEBOT X1 OMNI' and 'DEEBOT X1 TURBO', which are not officially supported, to '
Home Assistant
https://www.home-assistant.io/
Welcome to documentation for Deebot Universe projects - DeebotUniverse
https://deebot.readthedocs.io/
As a procedure, first introduce ' HACS (Home Assistant Community Store) ' that allows you to use third-party plug-ins with Home Assistant, then introduce an unofficial project ' DeebotUniverse ' that allows you to use DEEBOT products with various services ” will be introduced.
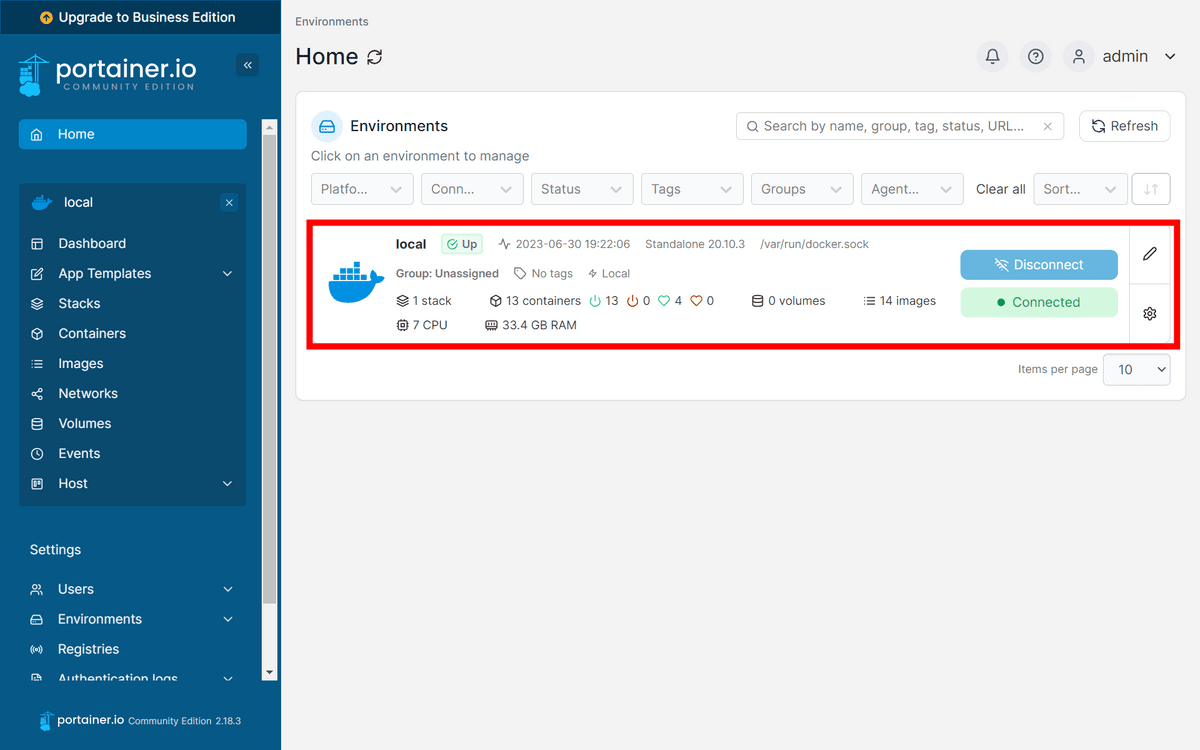
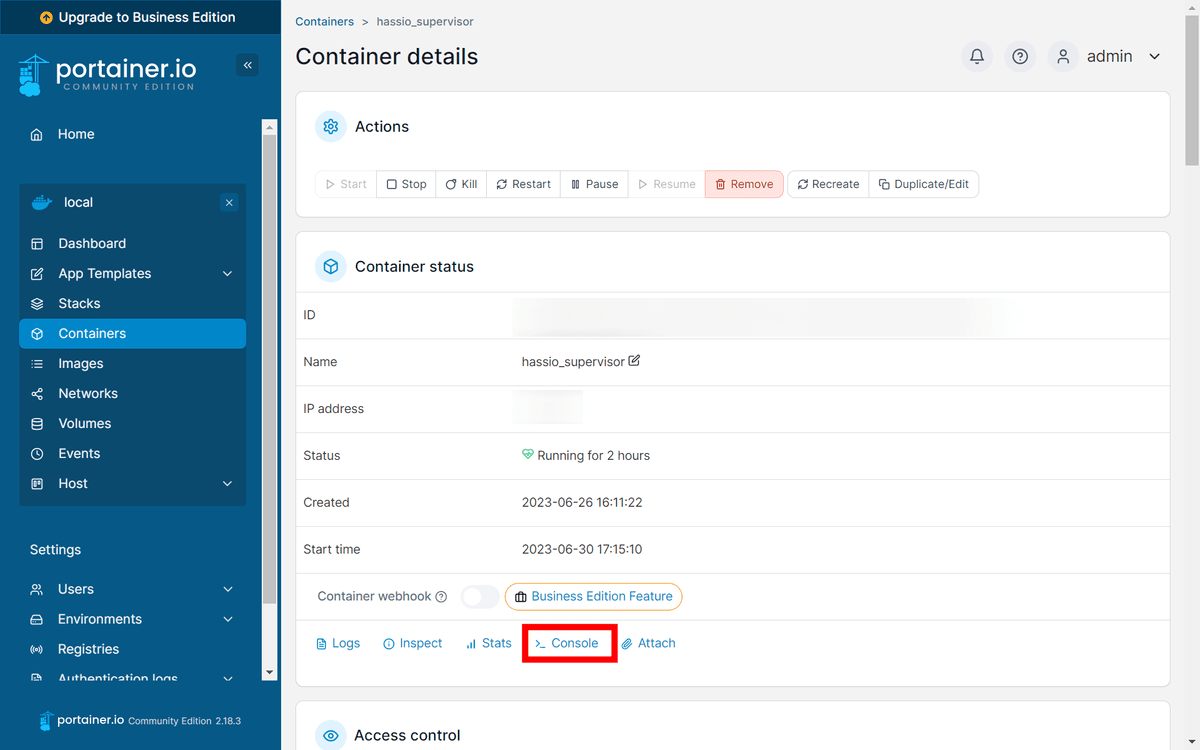
This time, access Docker with Portainer . Click 'local' on the container where Home Assistant is running.
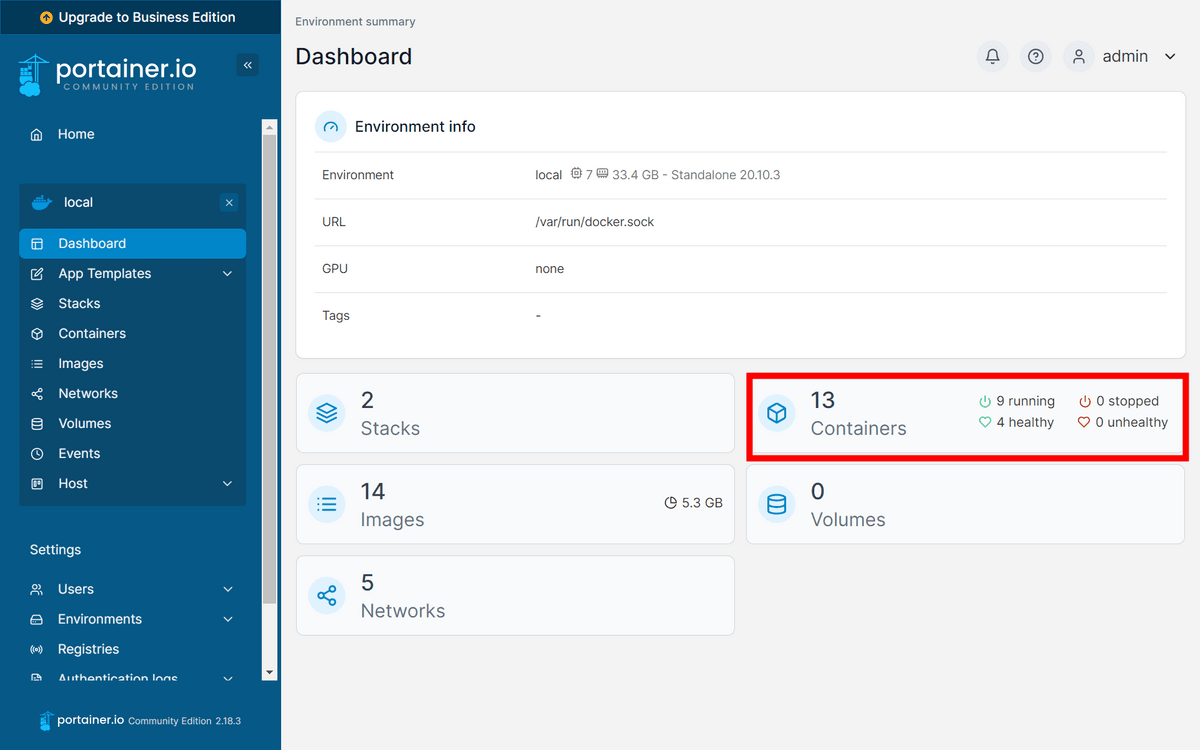
Click 'Containers'.
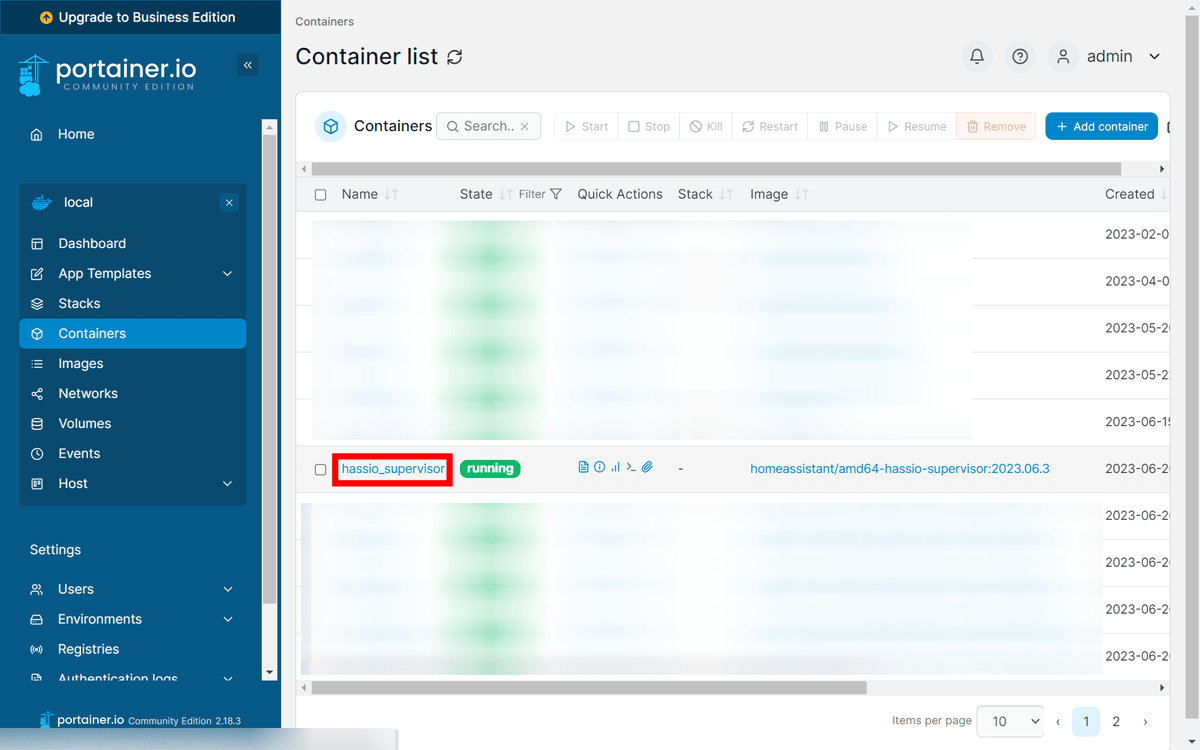
Click 'hassio_supervisor'.
Click 'Console'.
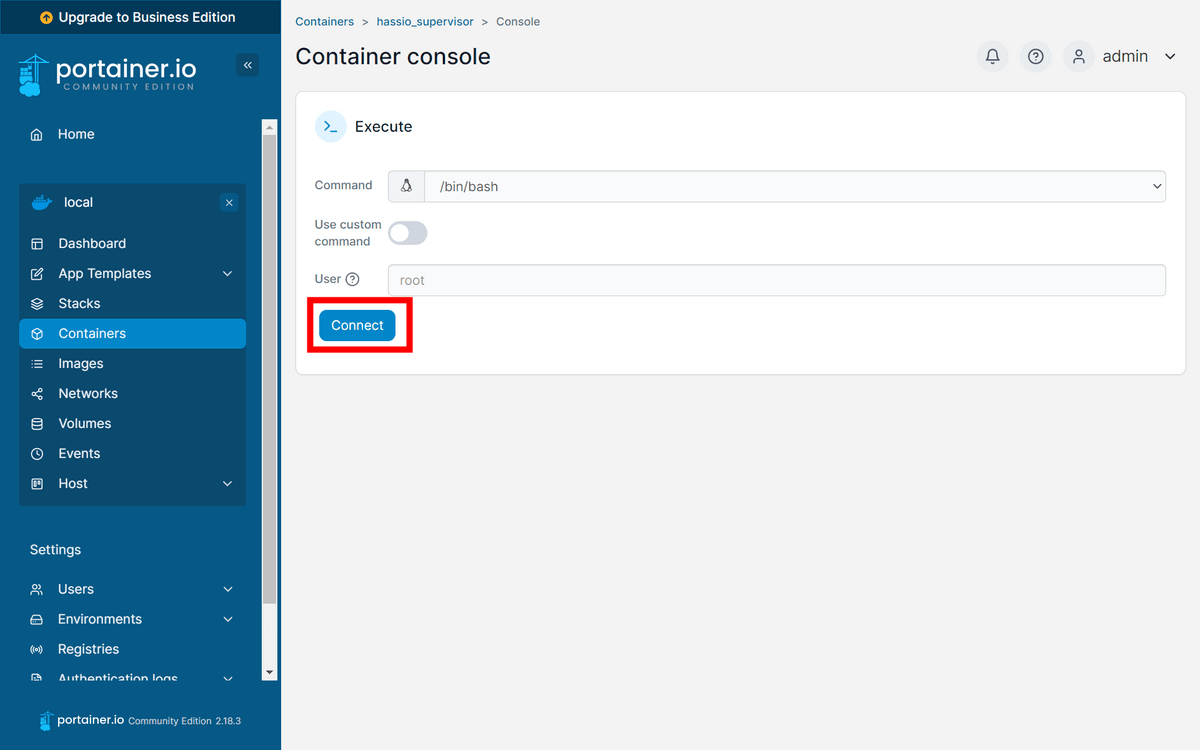
Click 'Connect'.
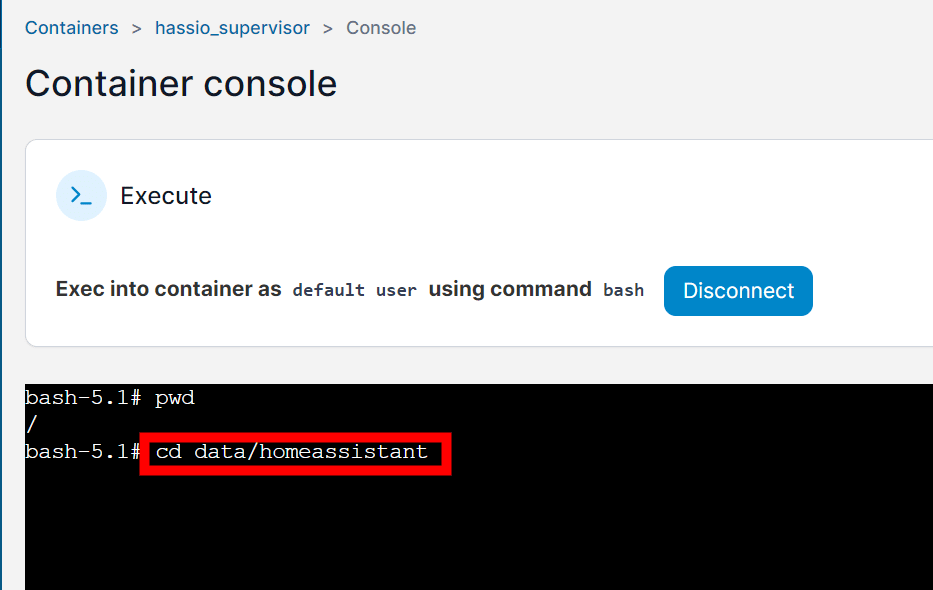
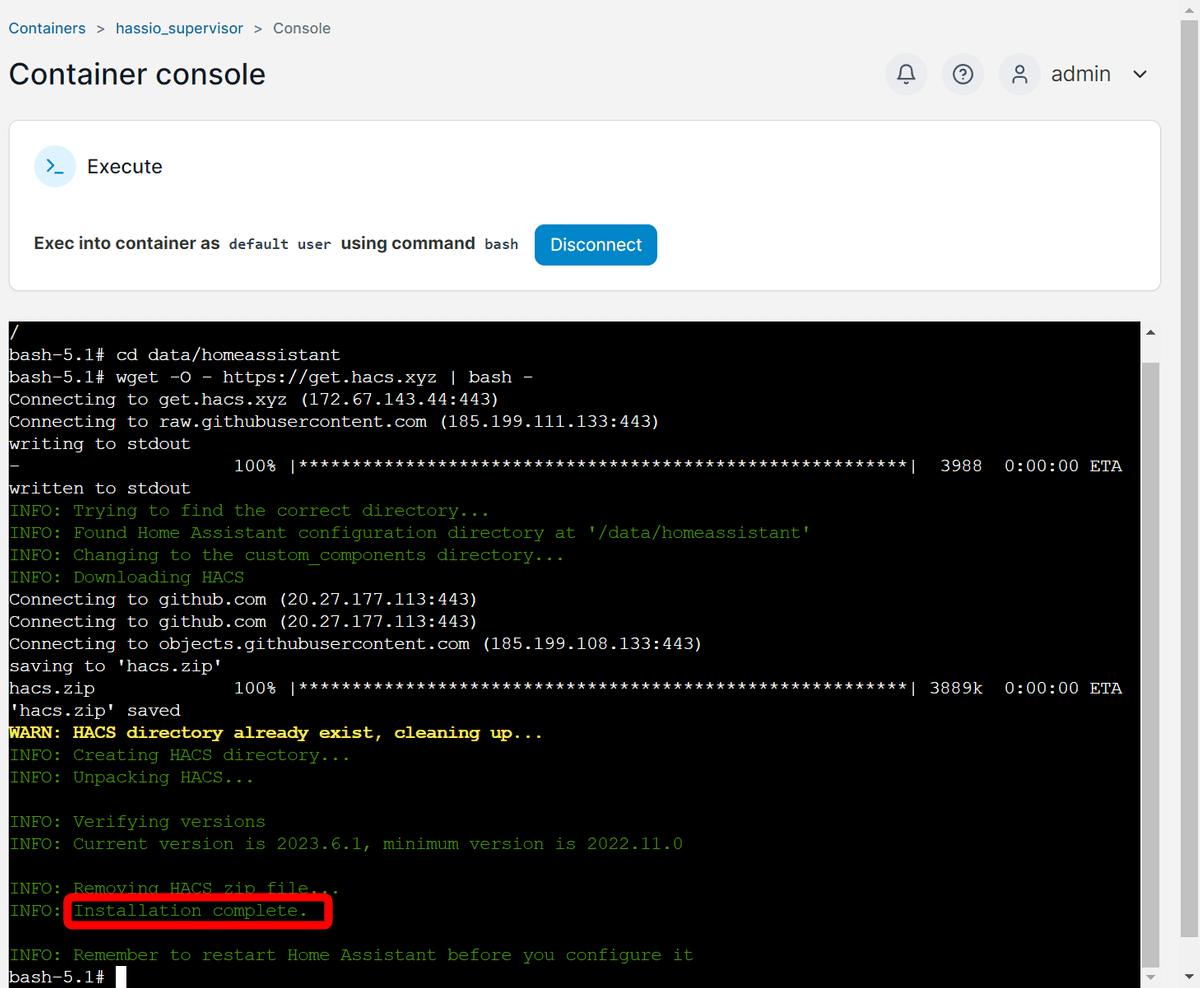
Enter the following command to move the directory from the root to under Home Assistant.
[code]cd data/homeassistant[/code]
Enter and execute
[code]wget -O - https://get.hacs.xyz | bash -[/code]
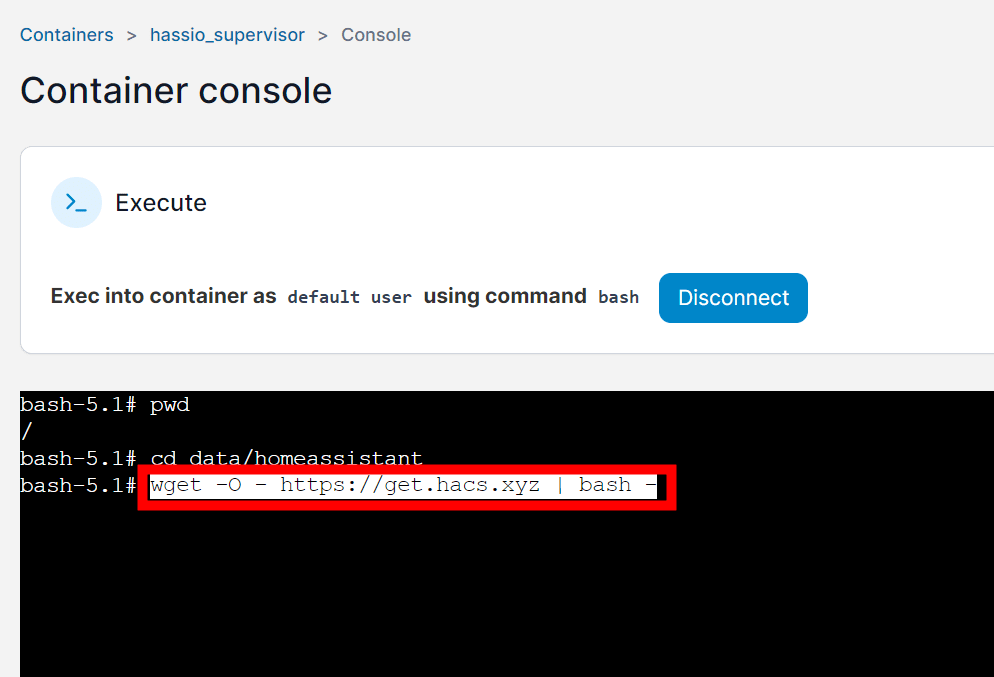
It was successful if various things were displayed and 'Installation complete.'
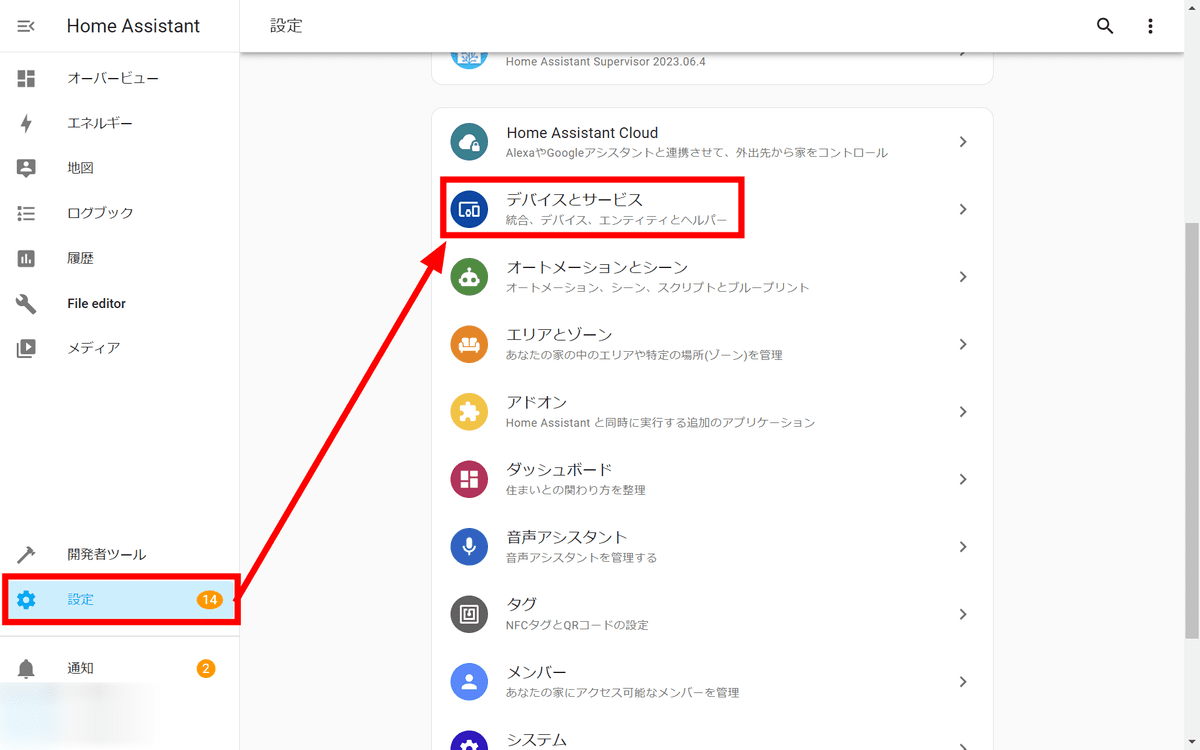
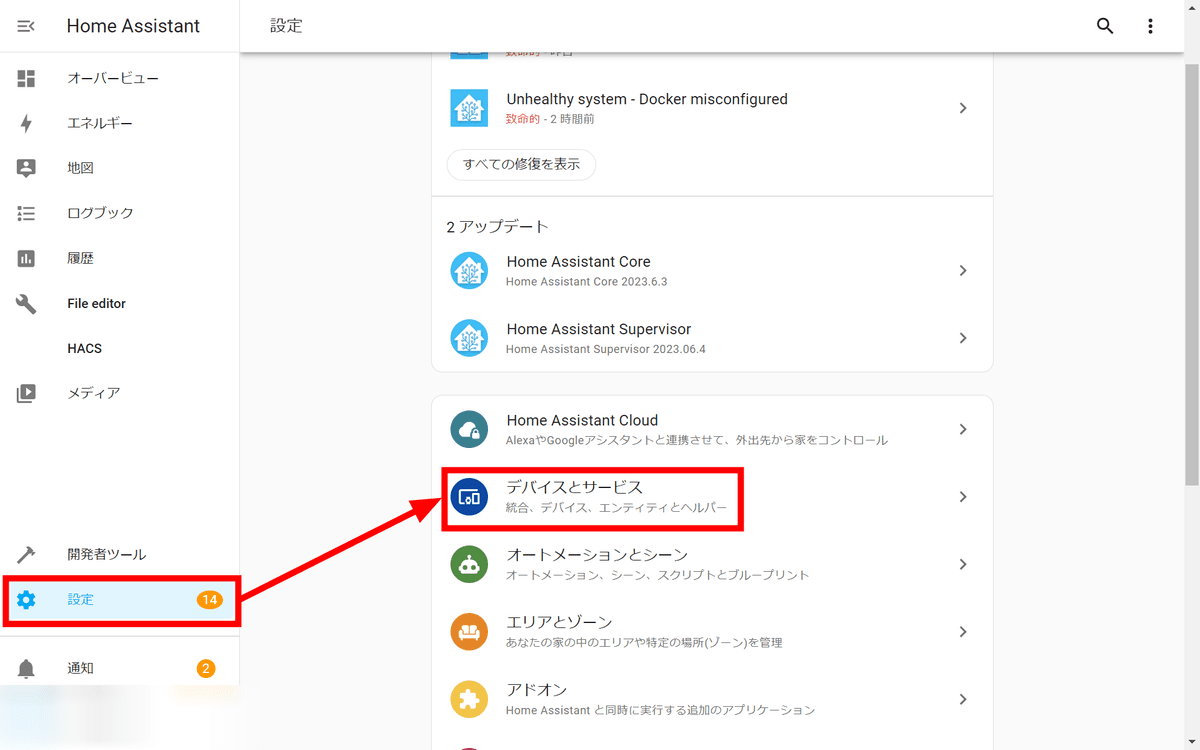
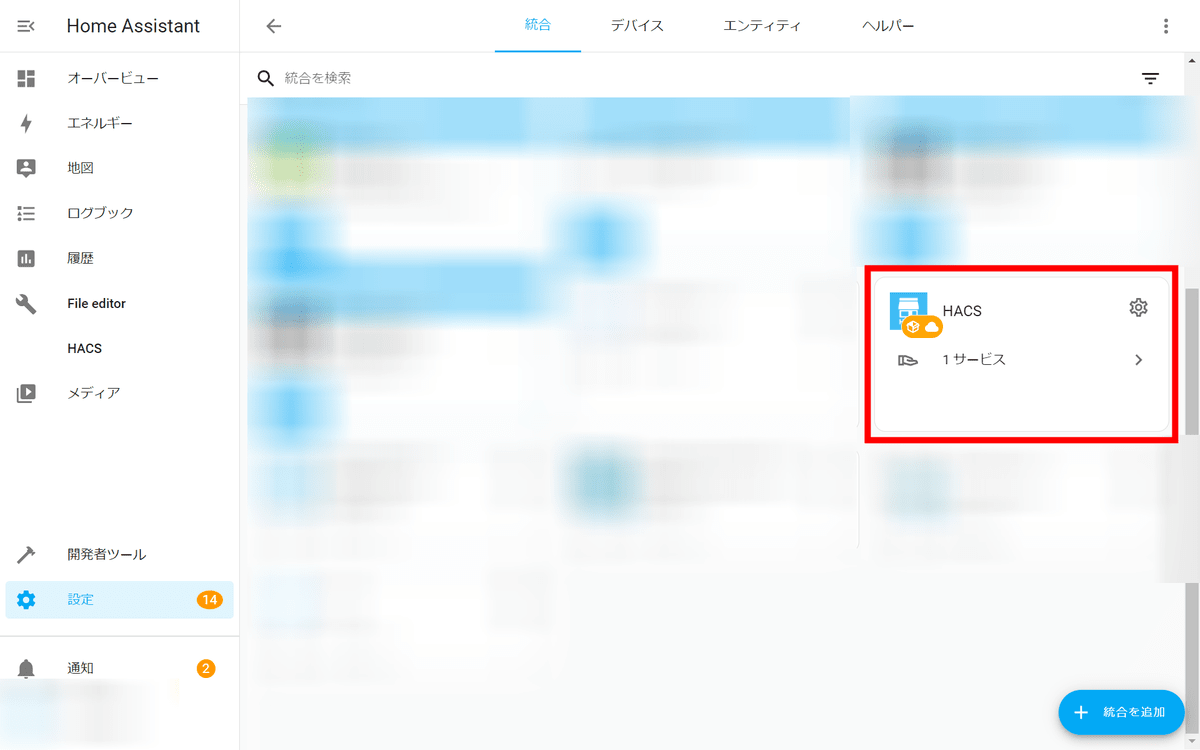
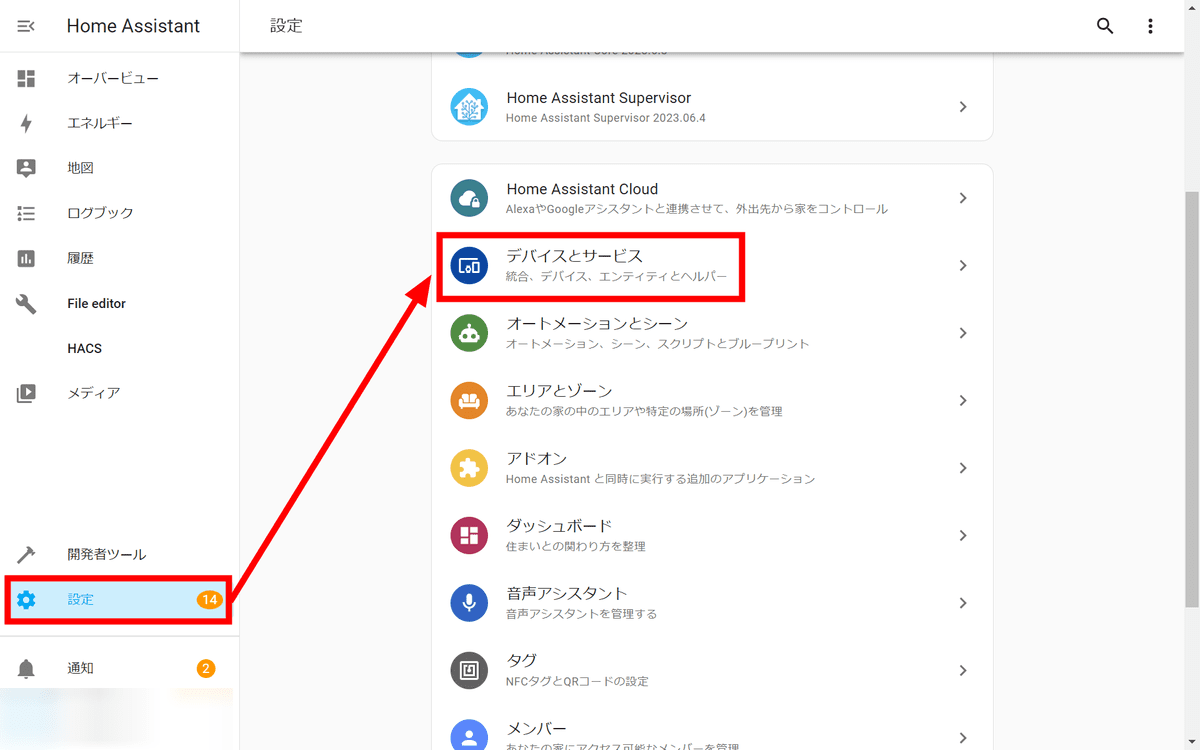
Next, click 'Settings' of Home Assistant and click 'Devices and Services'.
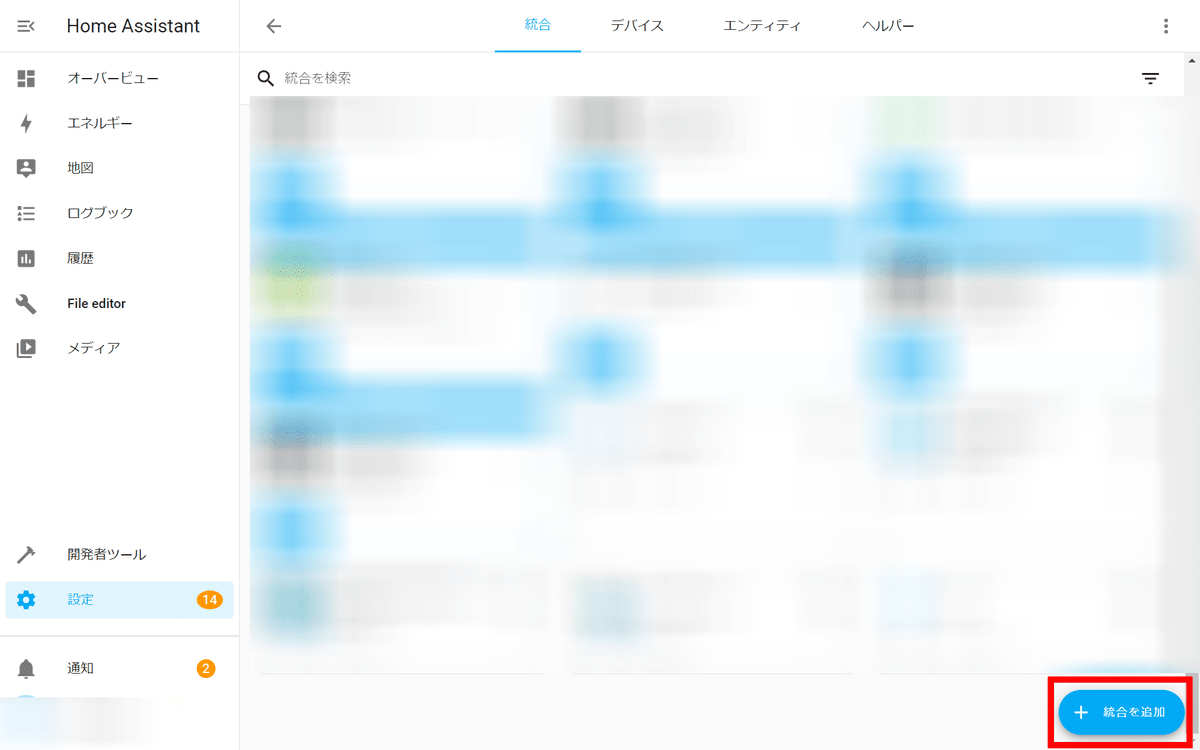
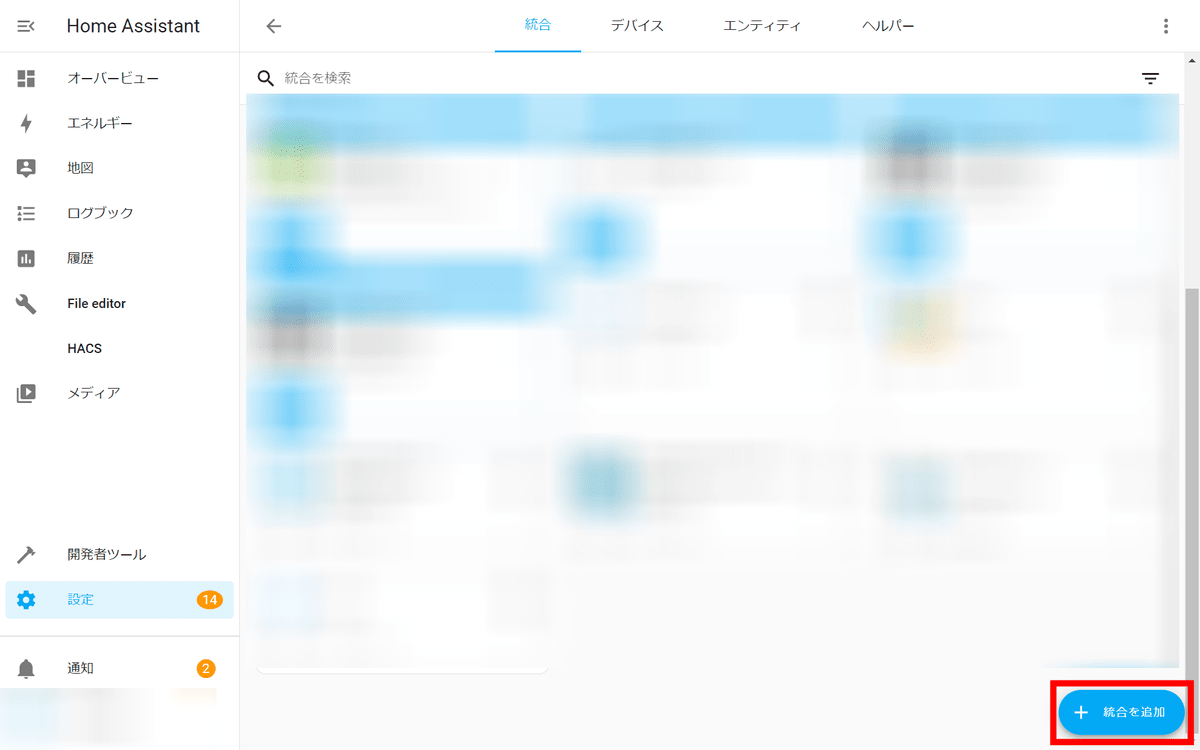
Click 'Add Integration'.
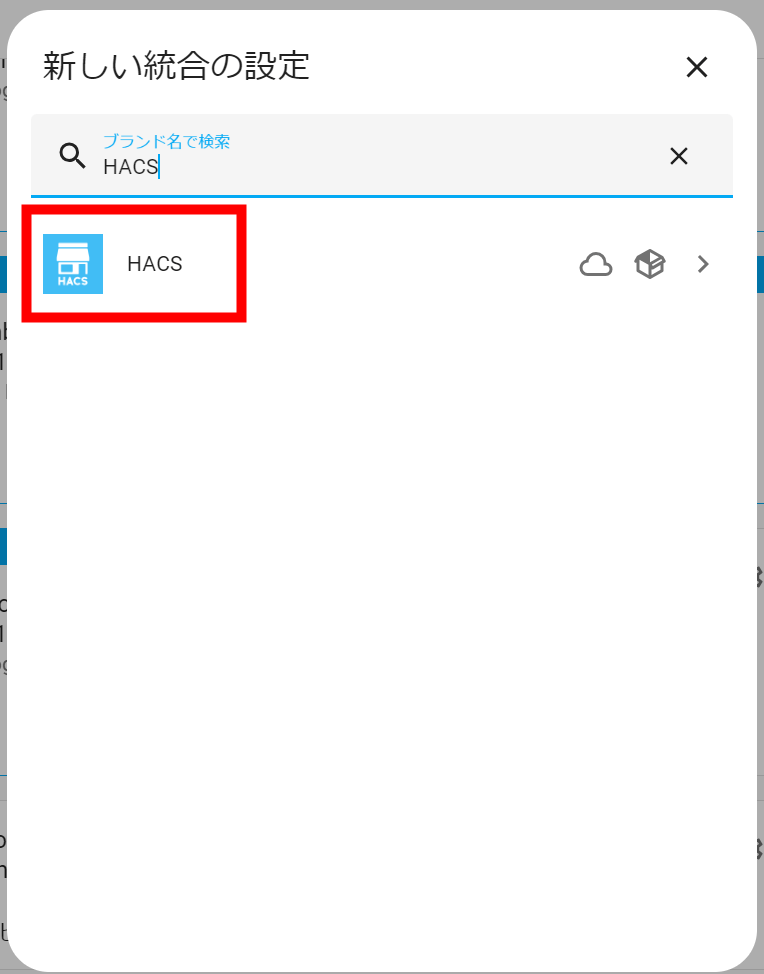
Click 'HACS'.
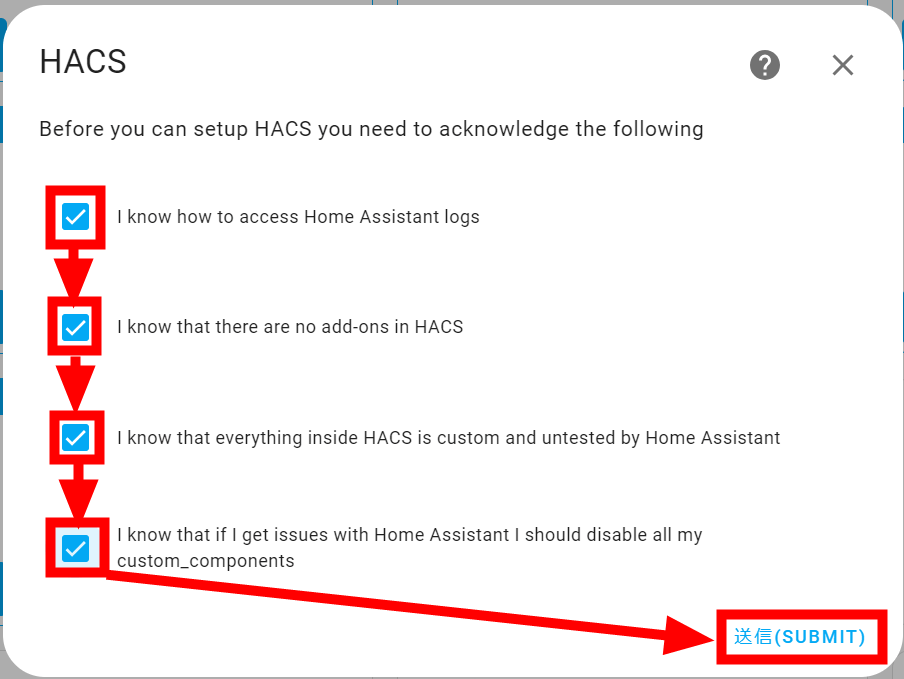
Check all and click 'SUBMIT'.
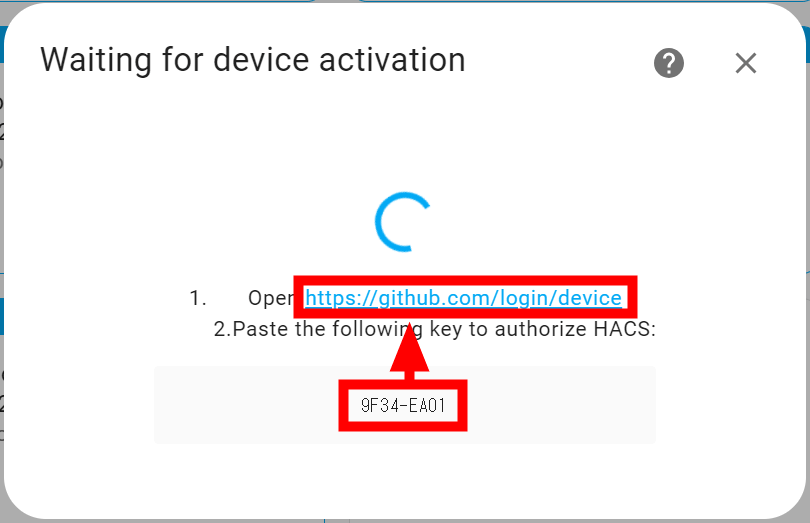
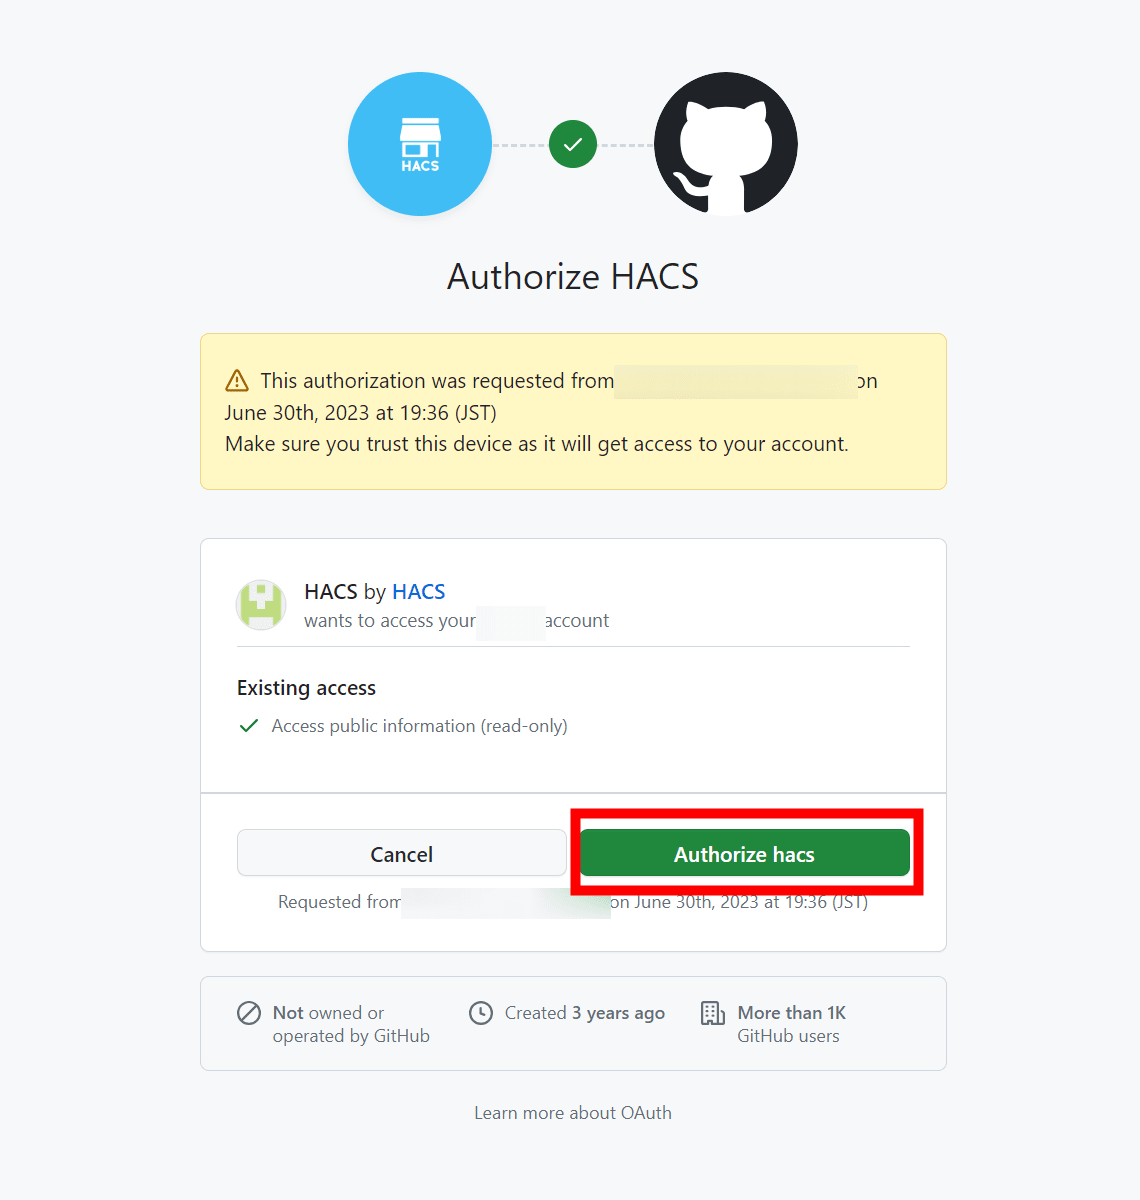
Copy the authentication key and click 'Open https://github.com/login/device'.
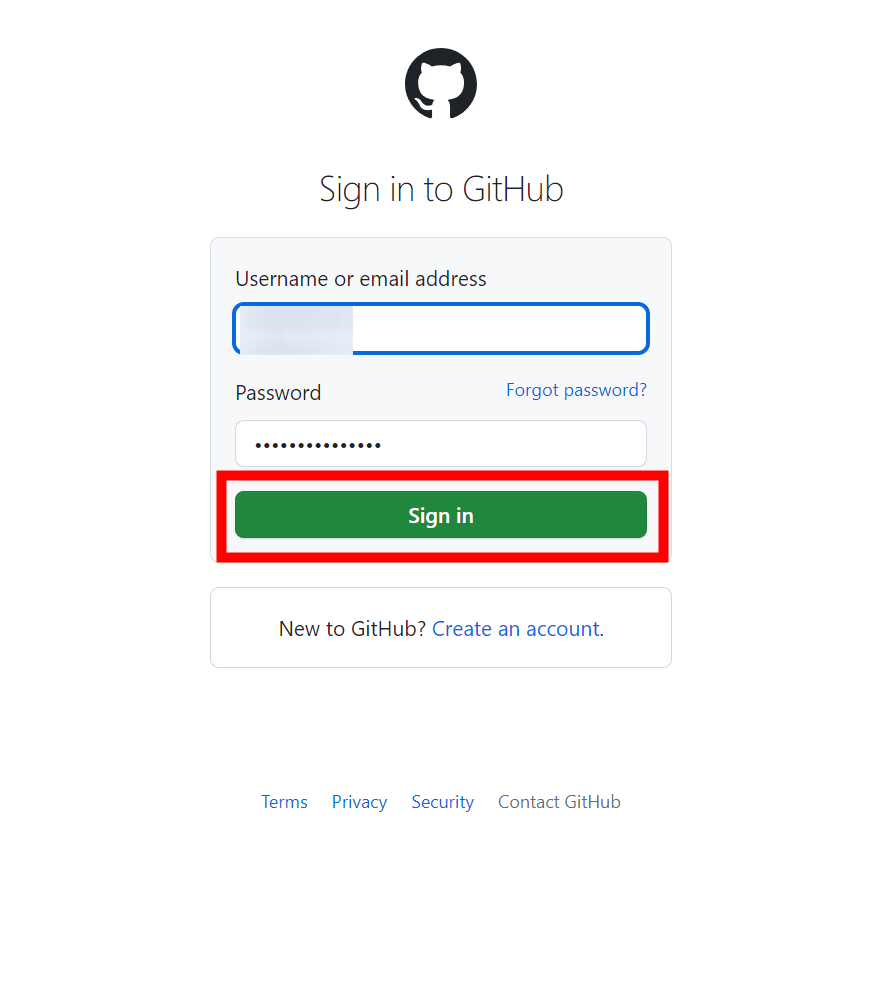
Sign in to GitHub.
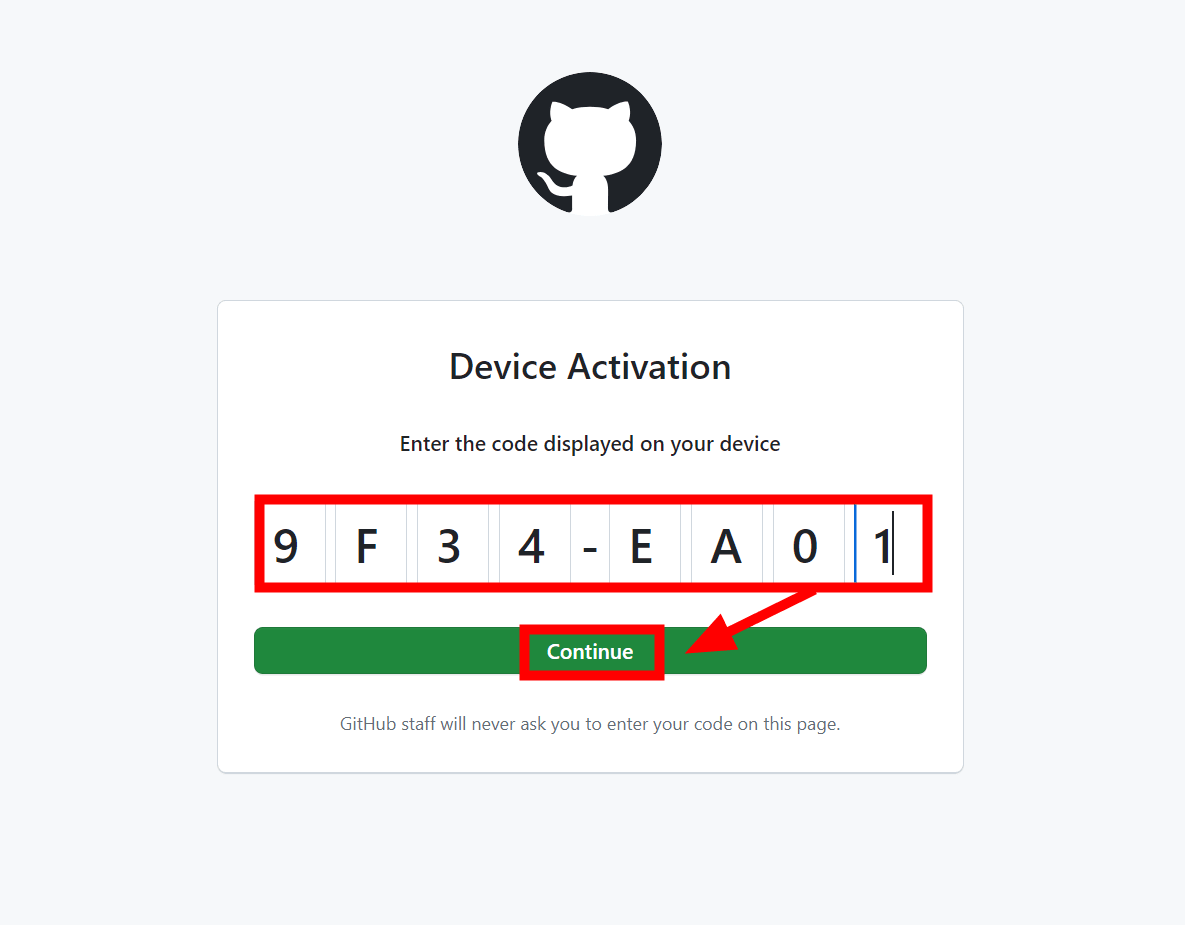
Paste the authentication key you copied earlier and click 'Continue'.
Click 'Authorize hacks'.
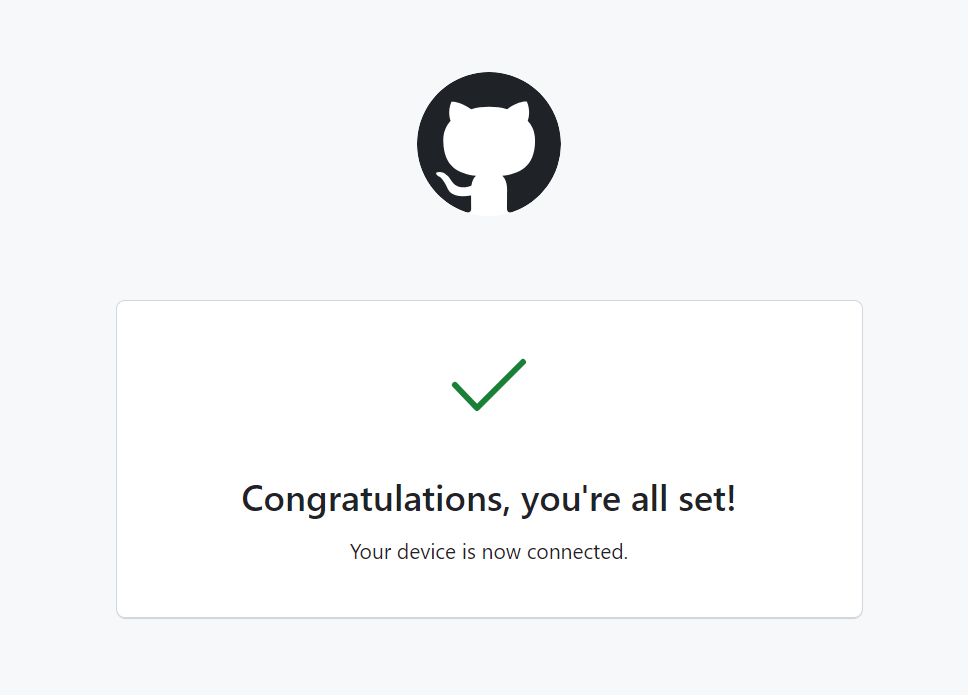
'Congratulations' will be displayed, so return to Home Assistant.
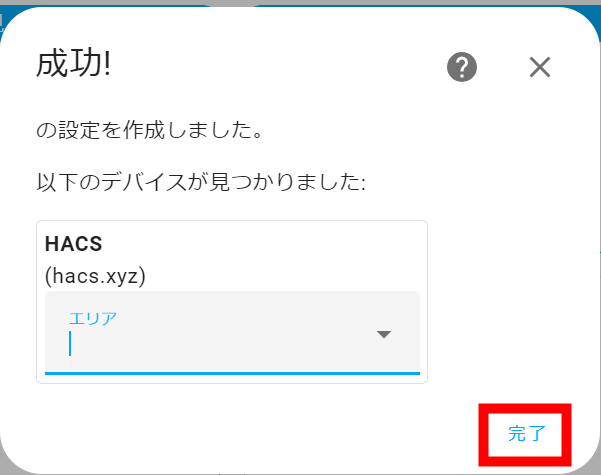
For Home Assistant, 'Success!' Is displayed, so click 'Finish'.
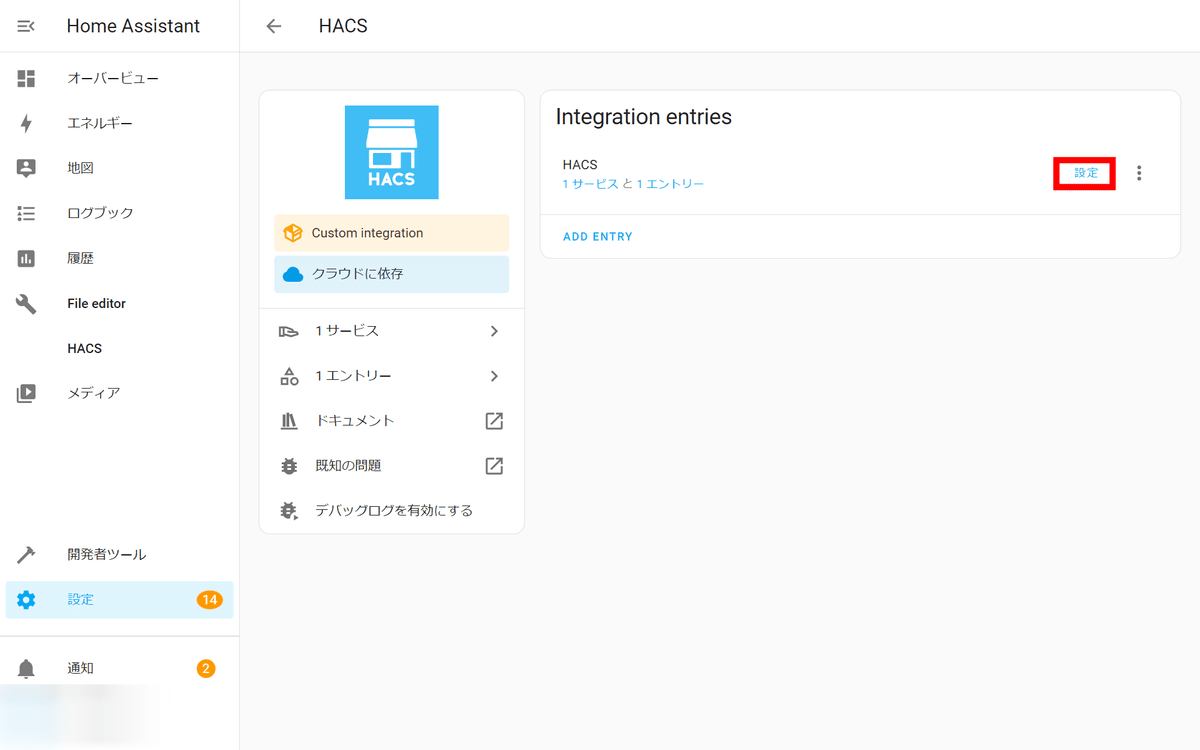
Go to 'Settings' and then 'Devices and Services'.
Click 'HACS'.
Click 'Settings'.
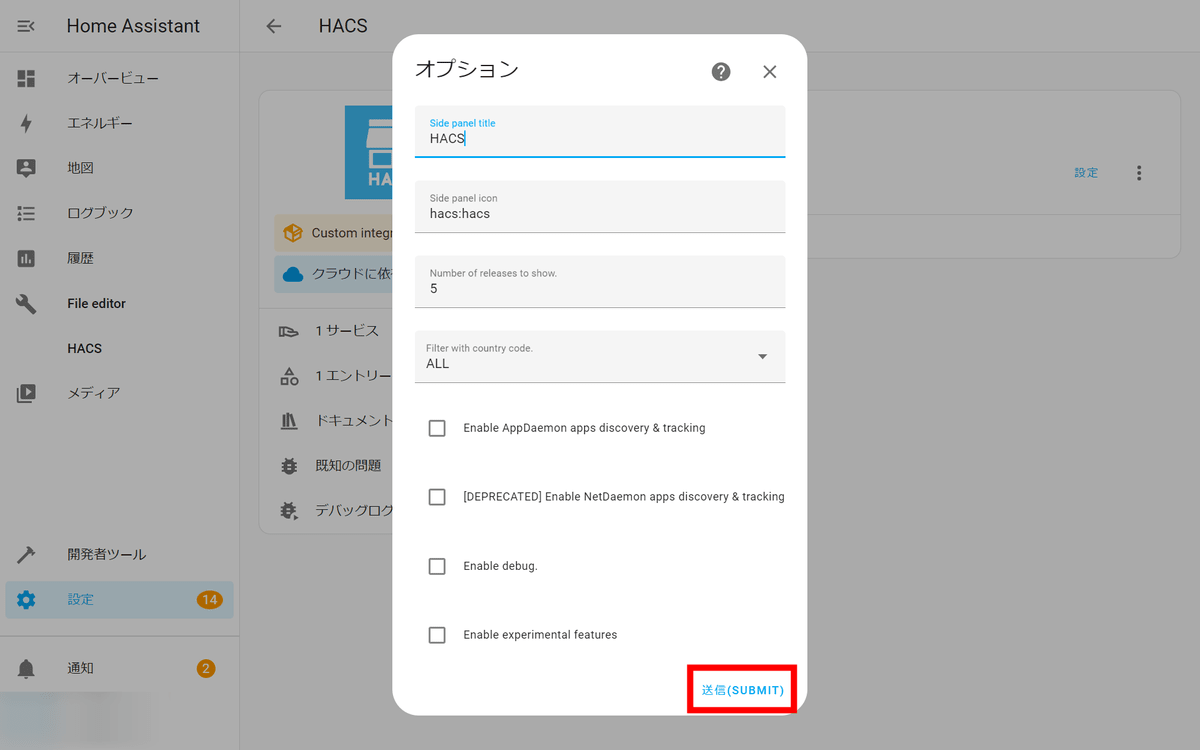
Click 'SUBMIT' without touching anything.
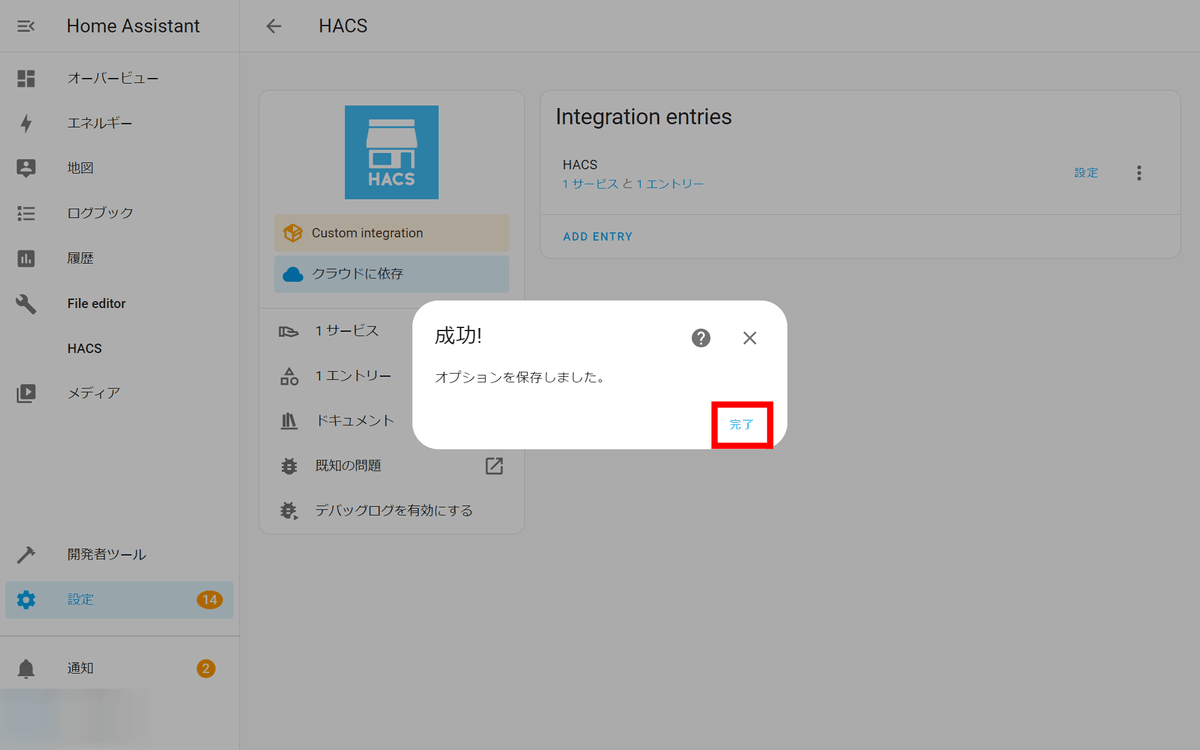
Click Done.
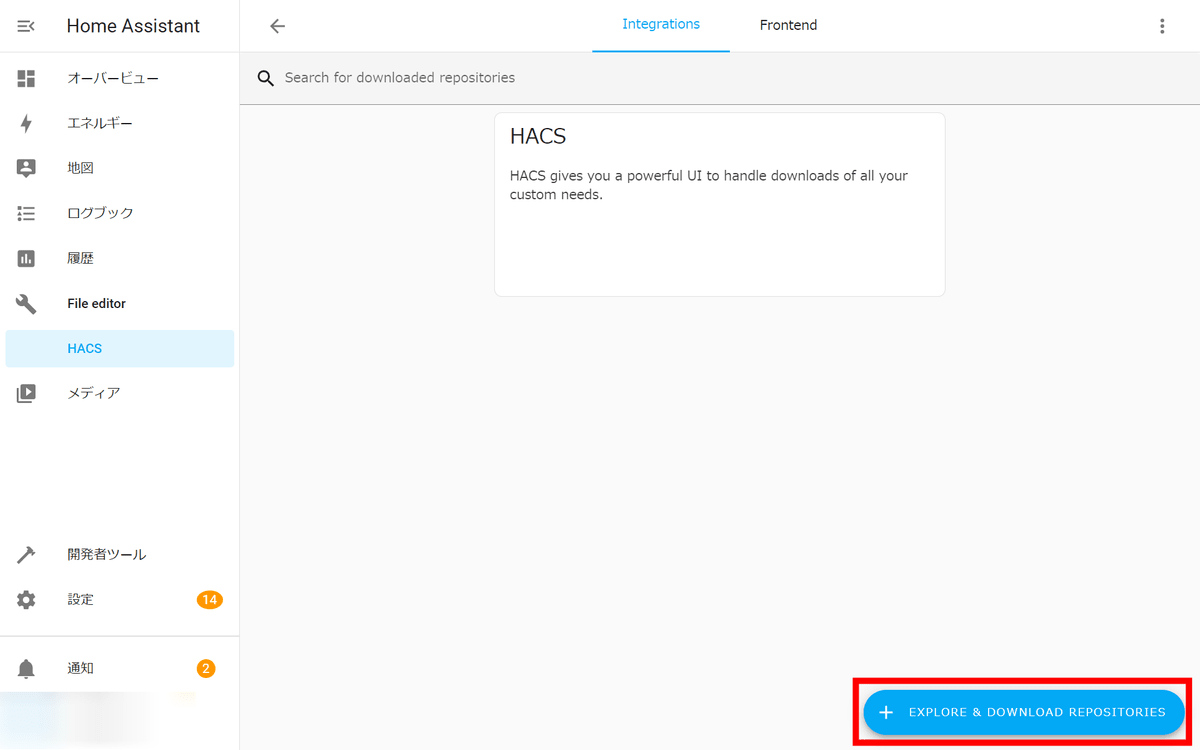
Next, click 'Integration' from 'HACS'.
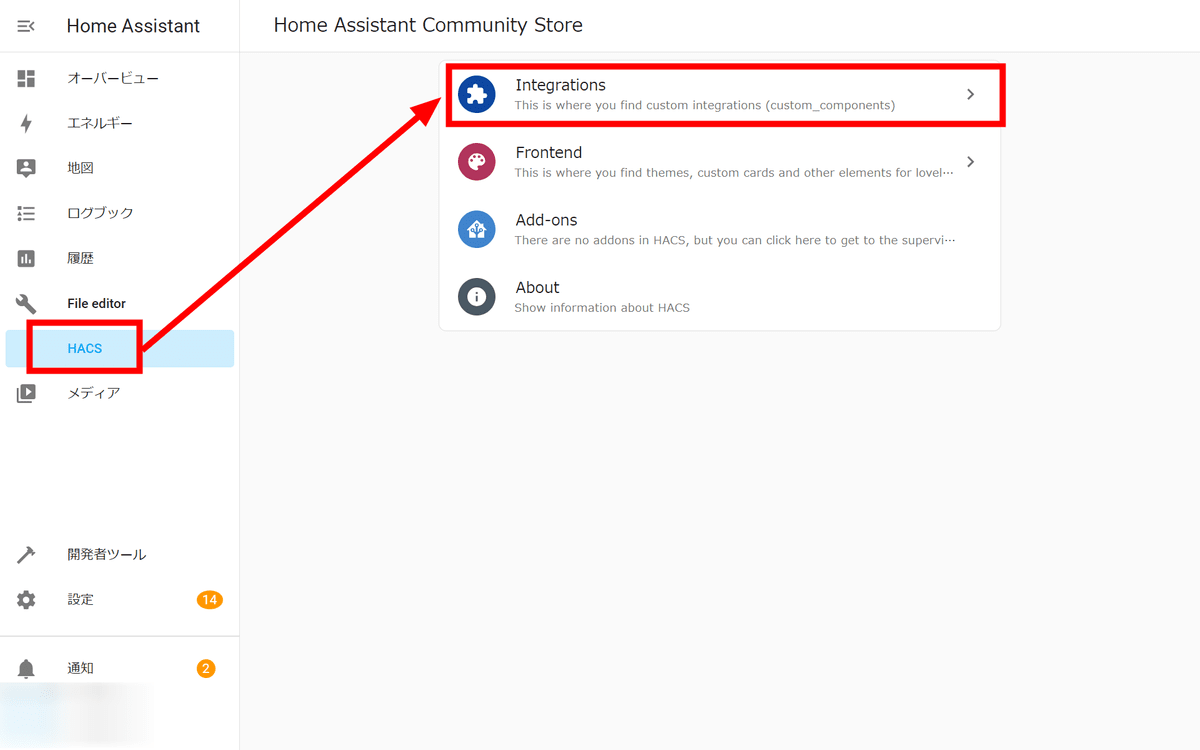
Click 'EXPLORE & DOWNLOAD REPOSITORIES'.
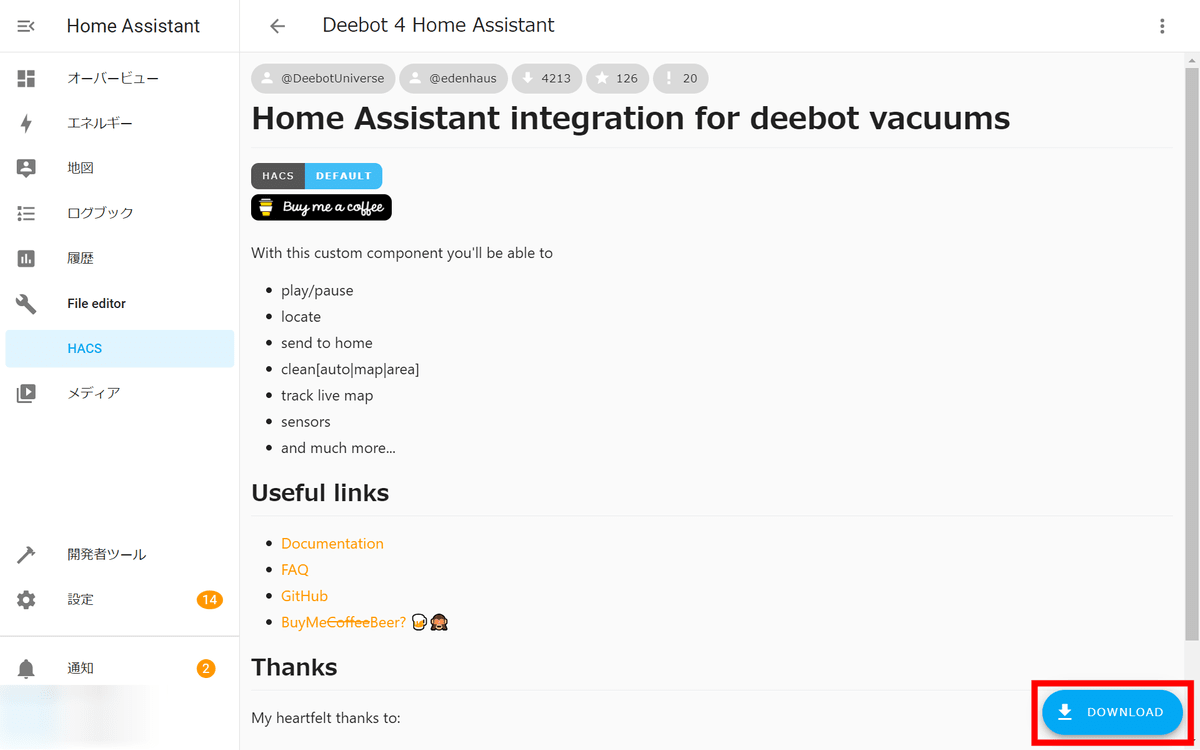
Click 'Deebot 4 Home Assistant'.

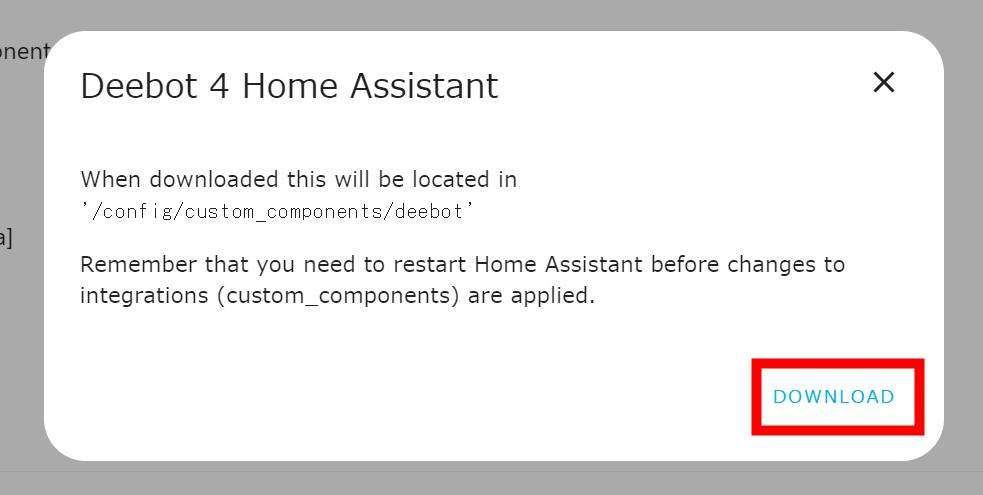
Click 'DOWNLOAD'.
Click 'DOWNLOAD' again to start downloading. After this restart Home Assistant.
After restarting, click 'Devices and Services' from 'Settings' again.
Click 'Add Integration'.
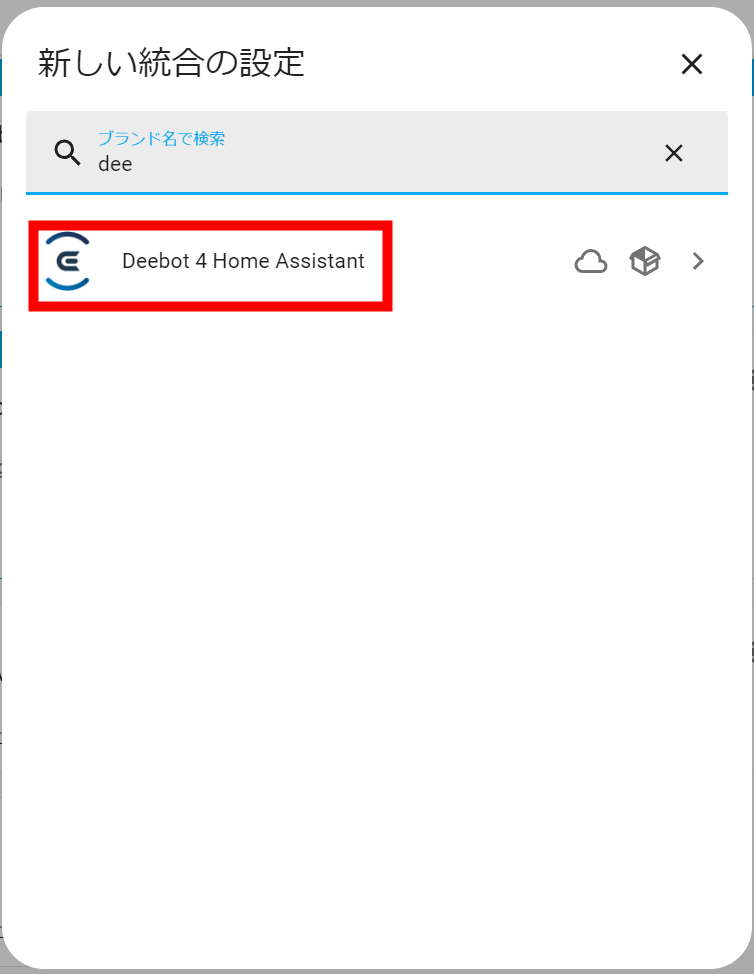
Click 'Deebot 4 Home Assistant'.
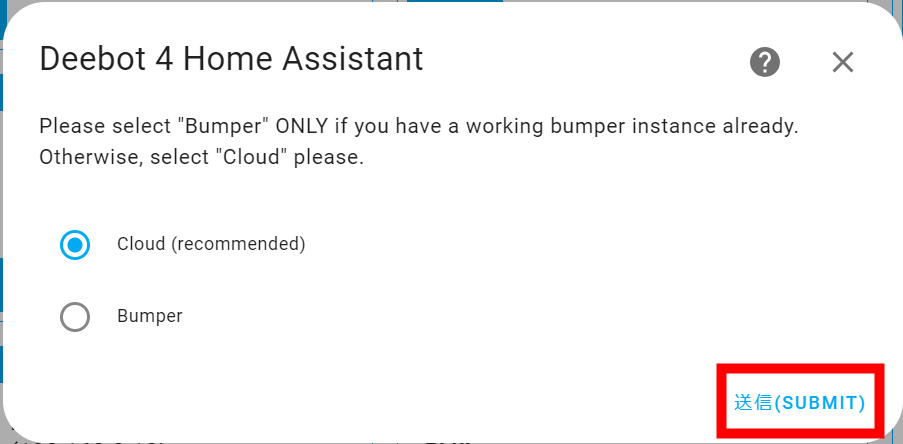
Since 'Cloud (recommended)' is selected, click 'SUBMIT' as it is.
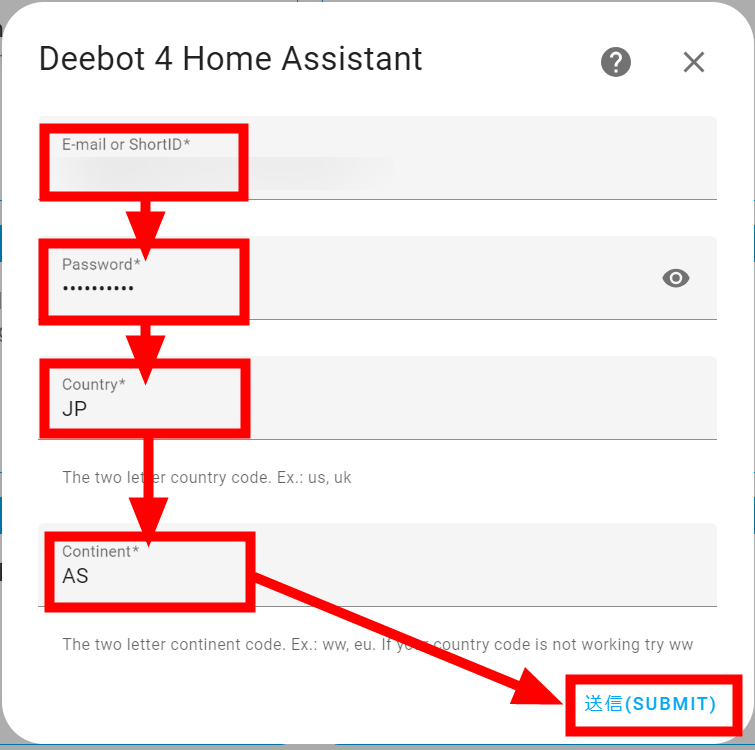
Enter 'ECOVACS account sign-in email address', 'ECOVACS account sign-in password', 'JP' and 'AS' in order from the top in the four input fields. Then click 'SUBMIT'.
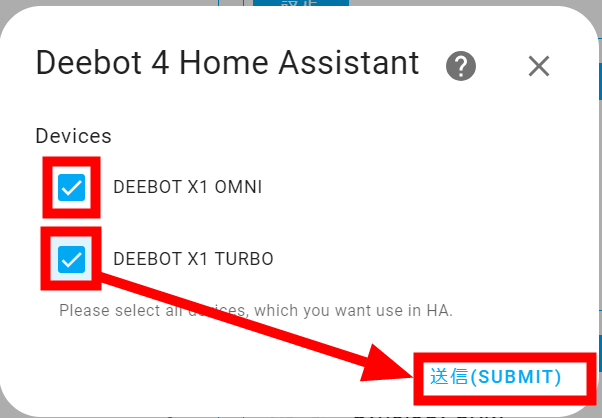
Since the ECOVACS robot vacuum cleaner in the same network is detected, check all and click 'SUBMIT'.
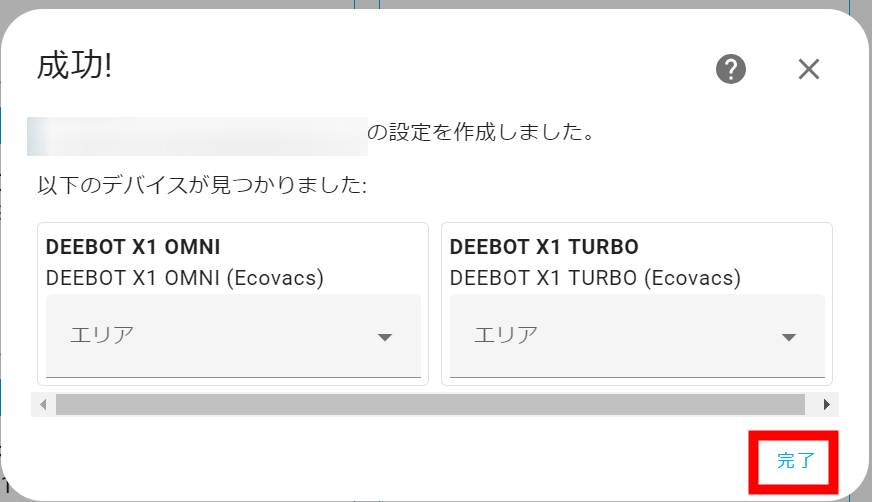
Click 'Finish'. With the above method, you can add ECOVACS products to Home Assistant, albeit unofficially.
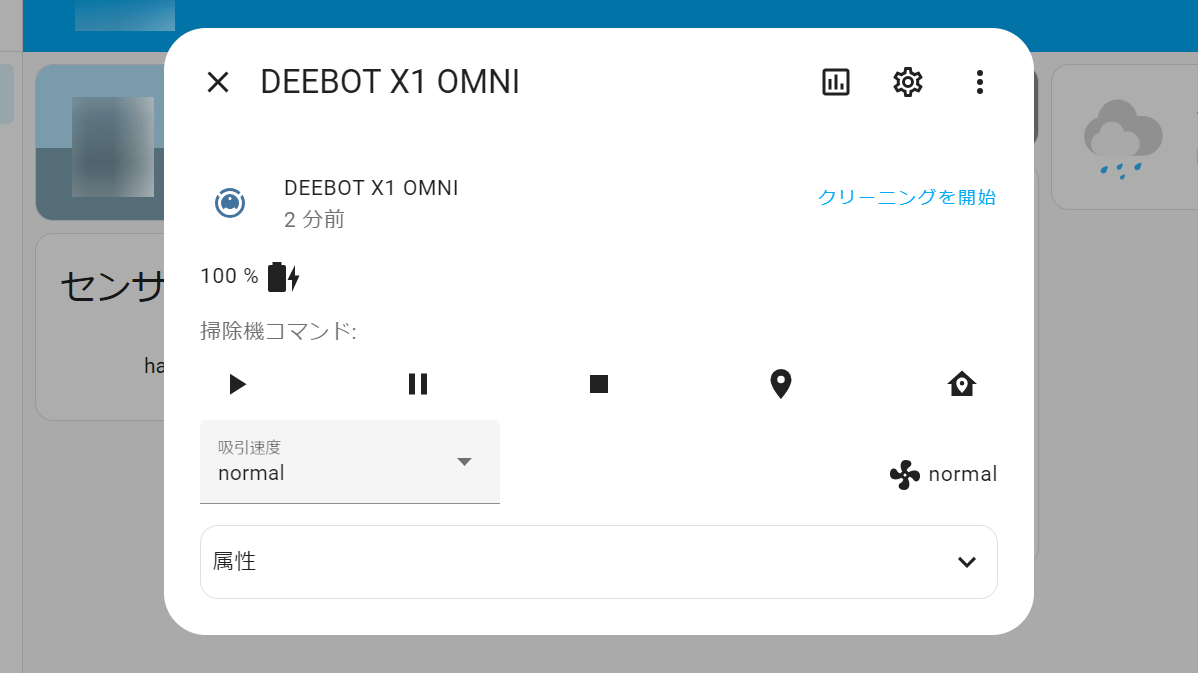
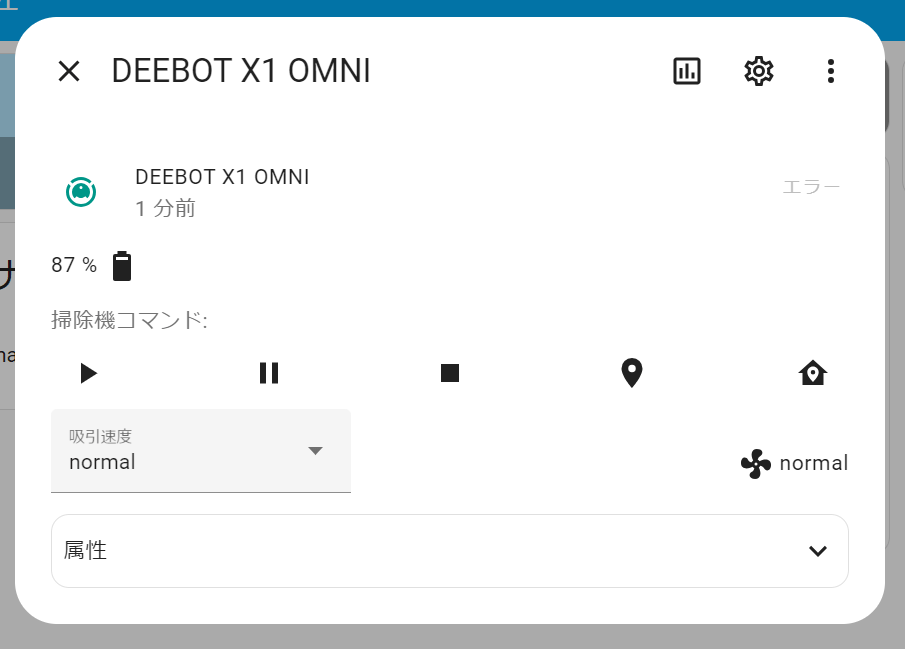
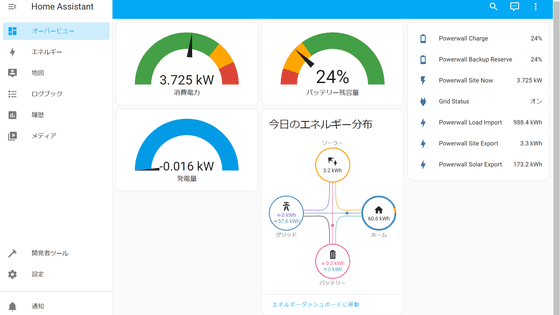
Looking at 'Overview', 'DEEBOT X1 TURBO' and 'DEEBOT X1 OMNI' are displayed in the item 'Vacuum'. Click the model to check the settings.
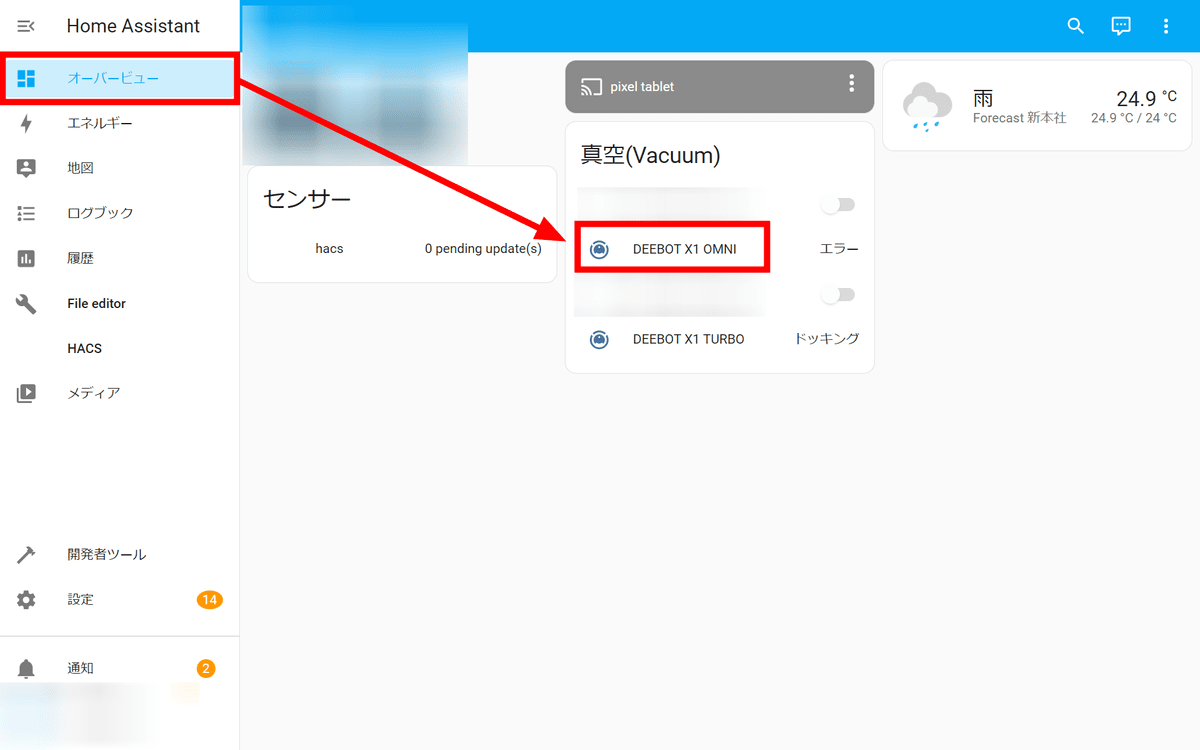
From here you can view the charging status of the robot vacuum and click commands to operate the robot vacuum.
I made a video of actually operating the robot vacuum cleaner from Home Assistant.
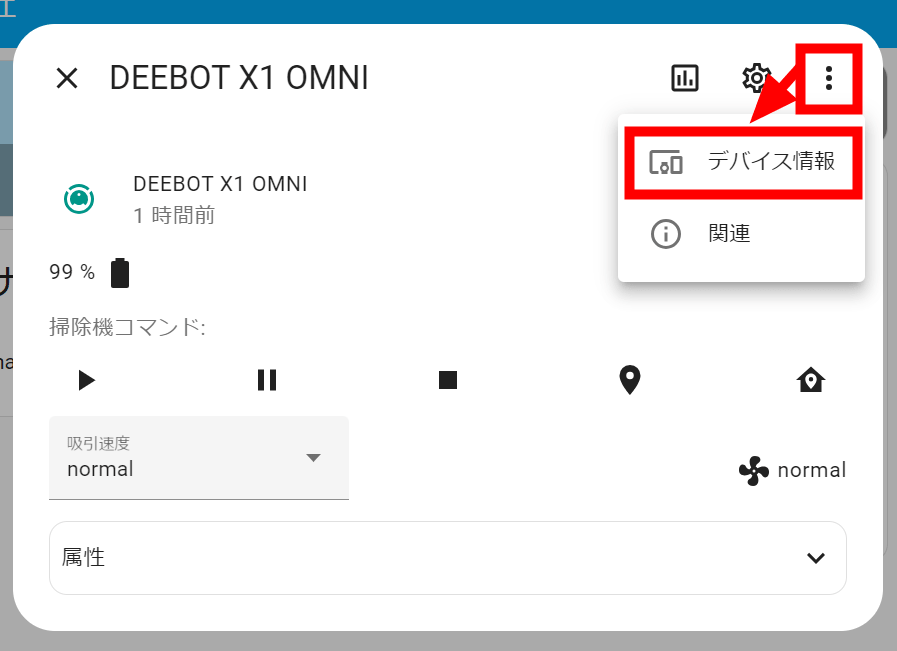
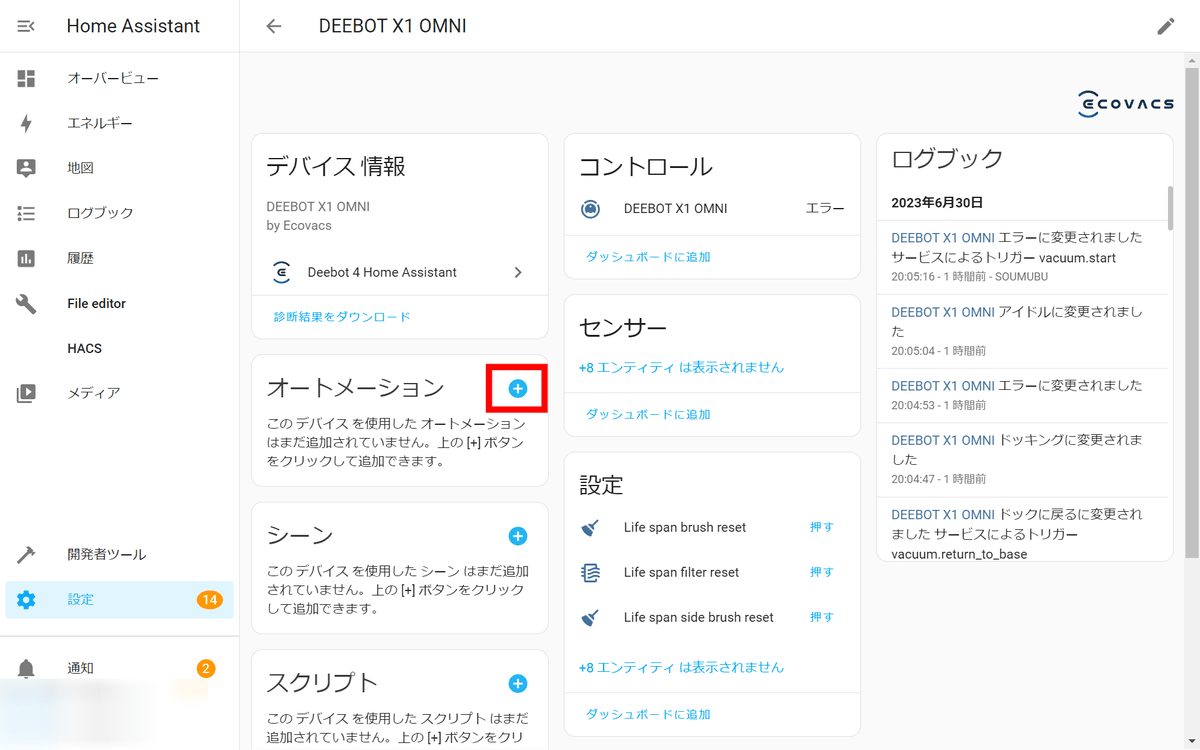
To create automation, click 'Device information' from the menu icon.
Click the + icon of 'Automation'.
Click 'DEEBOT X1 OMNI docked' in 'When to do something ...'. This will turn on the trigger 'when DEEBOT X1 OMNI is docked to the station'.
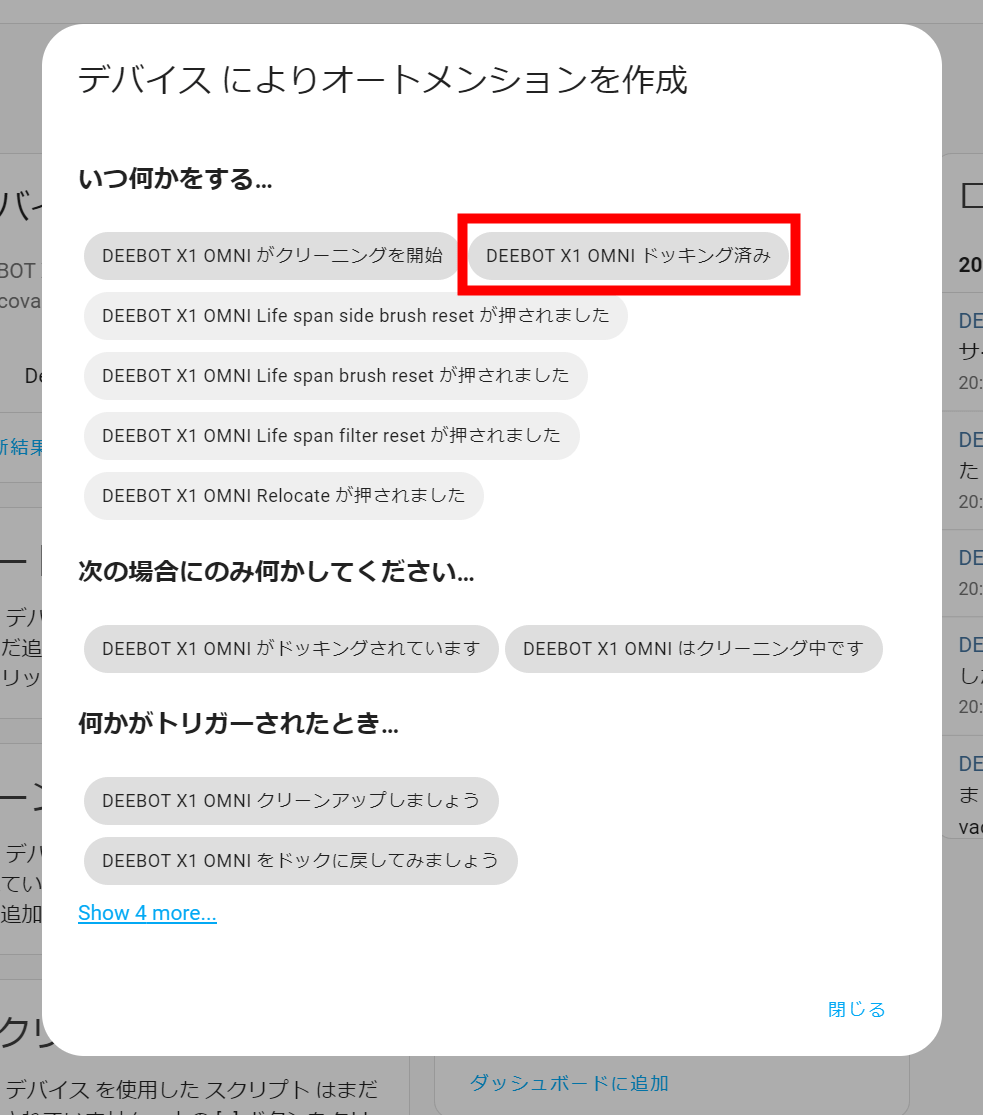
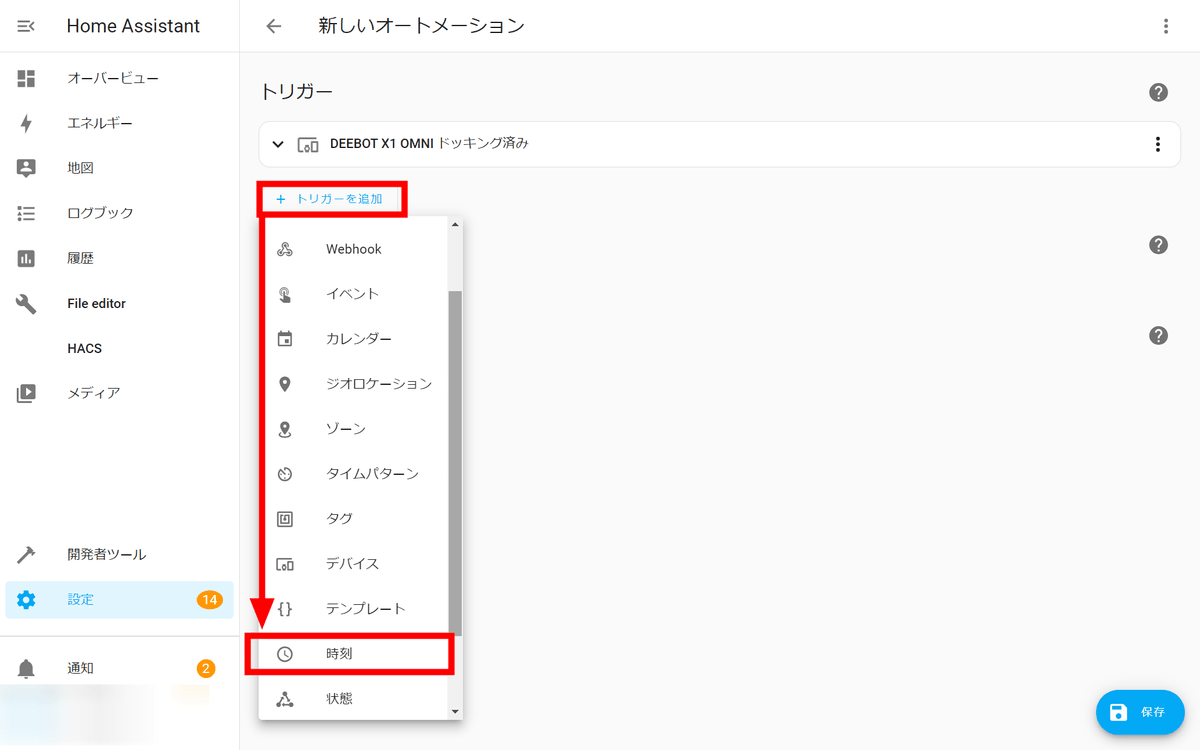
In addition, you can select various triggers such as webhooks and calendars from 'Add trigger'. Click 'Time' this time.
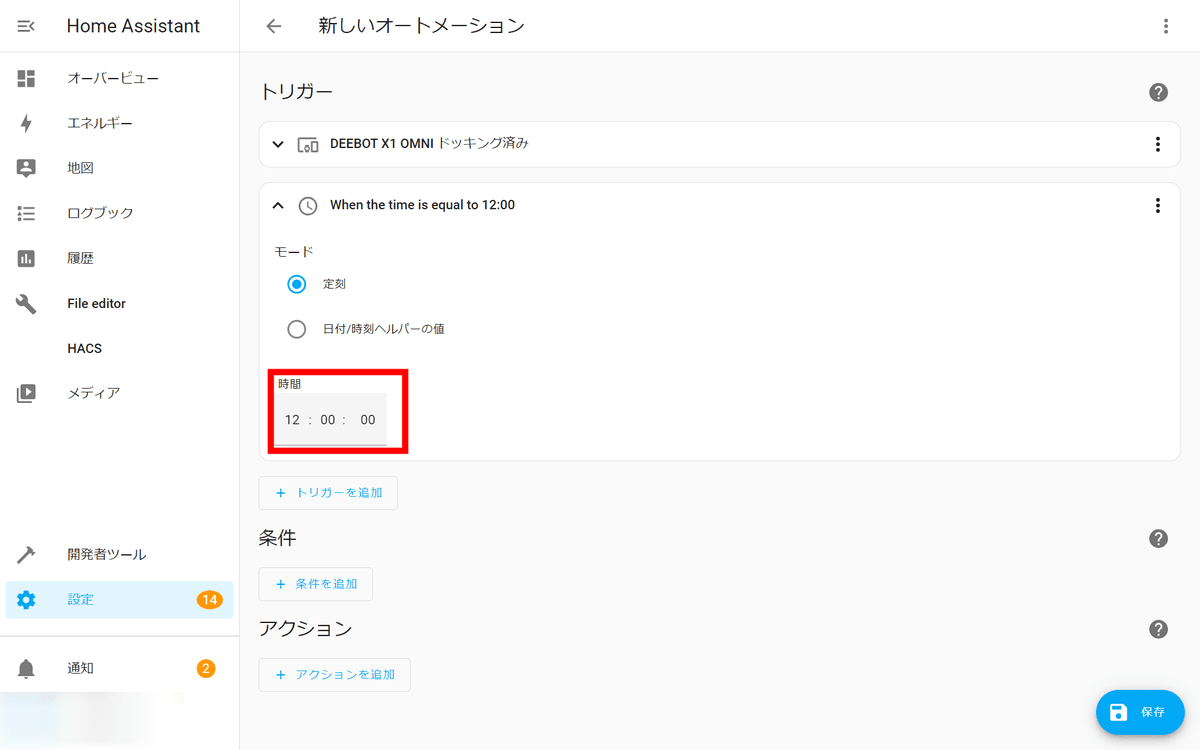
Set at 12 o'clock.
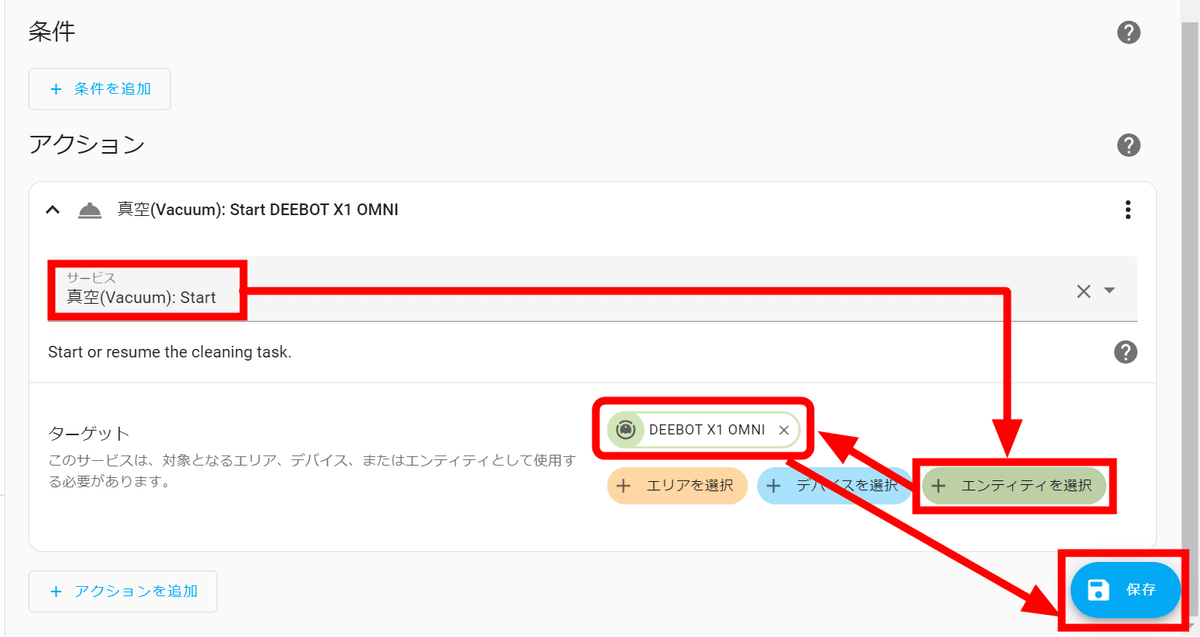
The action is 'Vacuum: Start'. Select 'DEEBOT X1 OMNI' from the entities and click 'Save'.
Give your automation a name and click Save. You have now finished creating your automation.

Related Posts:
in Video, Hardware, Review, Web Application, Posted by log1p_kr