I tried using 'Home Assistant' which can connect various IoT devices such as robot vacuum cleaners, smart home appliances, routers, etc. together and can manage and automate

The Internet of Things (IoT) is gaining momentum, and we are entering an era in which everything from televisions, lights, air conditioners, entrance keys, and vacuum cleaners can be managed via the Internet. However, each of these things often builds its own network with separate applications for each manufacturer, and it is quite difficult to centrally manage everything. I actually tried using '
Home Assistant
https://www.home-assistant.io/
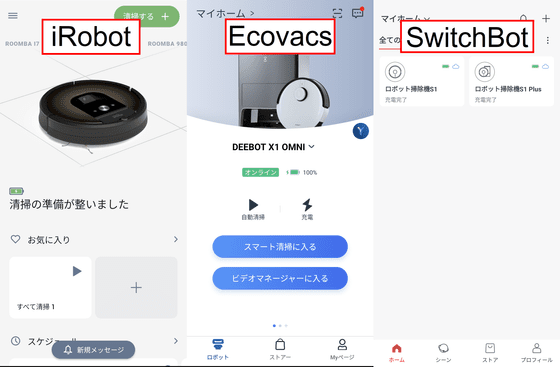
The GIGAZINE editorial department has installed a total of 5 robot vacuum cleaners on all floors up to the 3rd floor and set them to automatically clean every day. In the past, all five were iRobot's 'Rumba', but at the end of the generational change, at the time of writing the article, one Rumba, two ECOVACS 'DEEBOT', and two SwitchBot 'S1 series' were splendidly disjointed. It has become
Then what happens is that you end up using three apps to manage the robot vacuum cleaner. You have to use iRobot, ECOVACS, and SwitchBot apps separately and check them individually when something goes wrong. It is 'Home Assistant' that can centrally manage this troublesome work with one service.
When connecting to port number 8123 of the IP address of the device where Home Assistant is installed, the management account creation screen is displayed for the first time. Choose your name, username and password and click Create Account.

Name the place where you installed Home Assistant, click 'Detect' to automatically acquire and reflect your current location, enter the altitude, then click 'Next'. In addition, since the current location can be corrected later, it is OK roughly. For the altitude, you can find it by searching Google with the place name, so use that value.

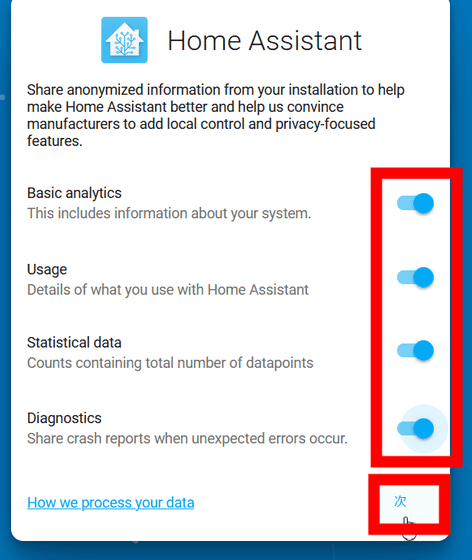
It is said that sending analysis data to the developer of Home Assistant will increase the number of compatible devices and make it easier to persuade the developer, so turn on all options and click 'Next'.
Since the device is automatically detected, click 'Finish' for the time being.

Home Assistant's home screen looks something like this.

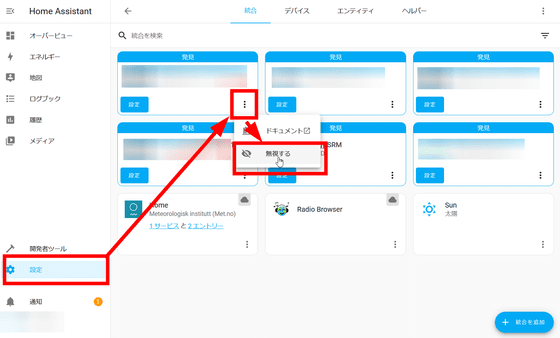
In order not to display the device detected earlier in the list, select the device from 'Settings' and click 'Ignore'.
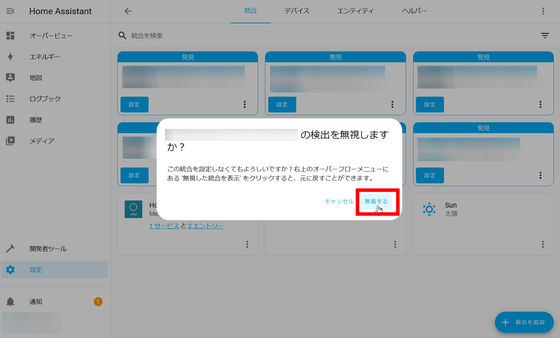
Then click 'Ignore' OK.
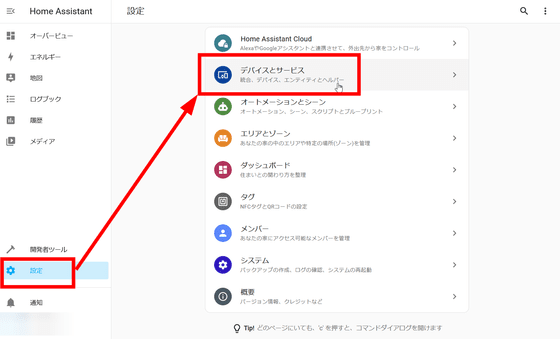
Next, manually register the device that was not detected. First, click 'Settings' and then click 'Devices and Services'.
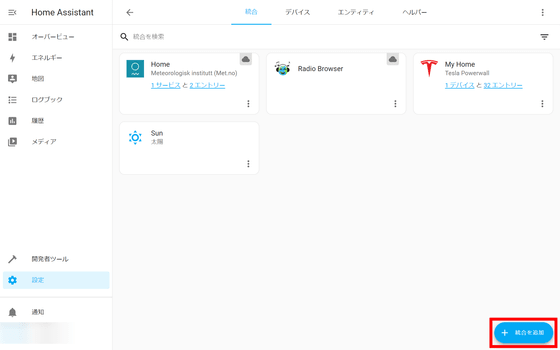
Click 'Add Integration'.
Since I want to register a roomba this time, search for 'irobot'. Click 'iRobot Roomba and Braava' displayed in the search results.

'IRobot Roomba and Braava are being set up. Please wait for a while' is displayed, so wait for a while.

When the device is displayed, click it and click 'SUBMIT'.

Press Rumba's home button for about 2 seconds and click 'SUBMIT' when you hear a sound.

Click “Finish” when you have completed the registration.

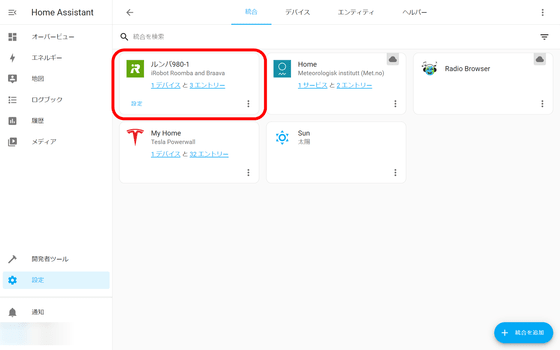
'Rumba' is now listed
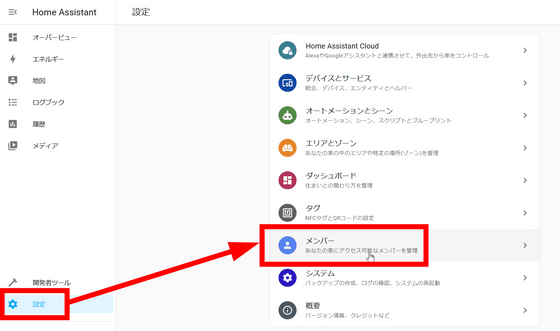
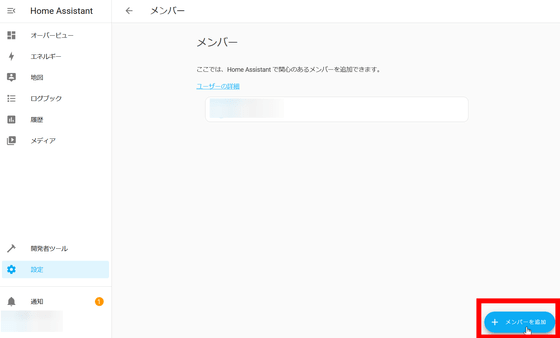
You can also add other members to Home Assistant. To add, click 'Members' from 'Settings'.
Click 'Add member'.
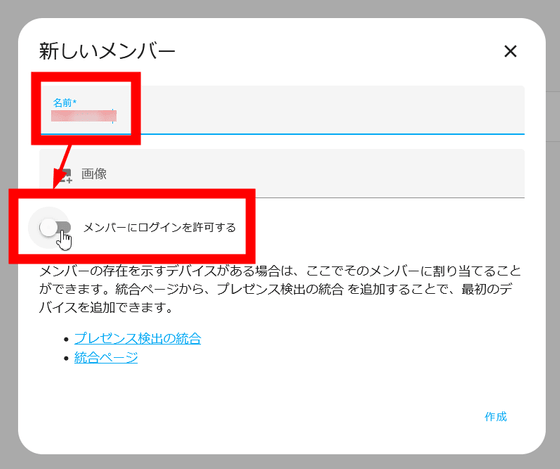
Enter your name and click 'Allow members to log in'.
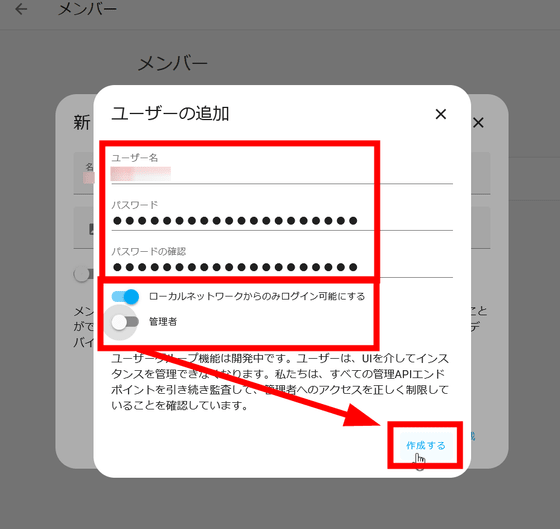
Enter the user name and password, select whether to log in only from the local network or set as an administrator, then click 'Create'.
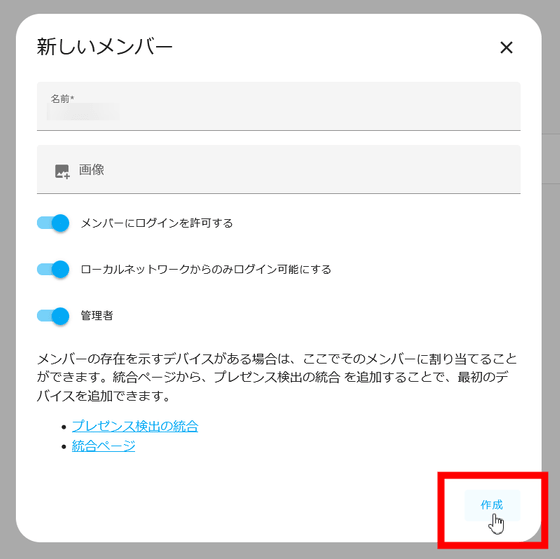
Click 'Create' and you're done.
In addition to iRobot, Home Assistant can work with
With this Home Assistant, iRobot etc. could be registered, but other extended functions could not be registered. , I will also review the automation. stay tuned.
Related Posts:
in Review, Web Application, Hardware, Posted by log1p_kr


