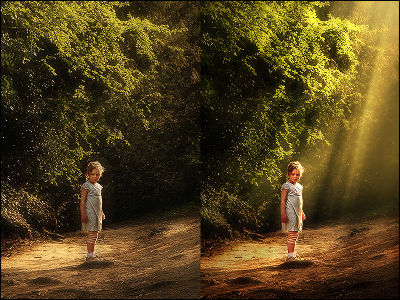
How to use `` smart candidate '' that fulfills the fluffy desire of `` I want to make the photo somehow good '' with just one tap with Google Photos

Google's photo management tool 'Google Photos' is equipped with many useful tools such as '
Edit your photos - Google Photos Help
https://support.google.com/photos/answer/6128850
First of all, let's edit the following dark photo.

Open the photo in Google Photos and tap 'Edit'.

Then, tools such as 'Bokeh correction', 'Dynamic' and 'Correction' were displayed on the 'Candidate' tab.

When I tapped 'Dynamic', the photo became brighter overall.
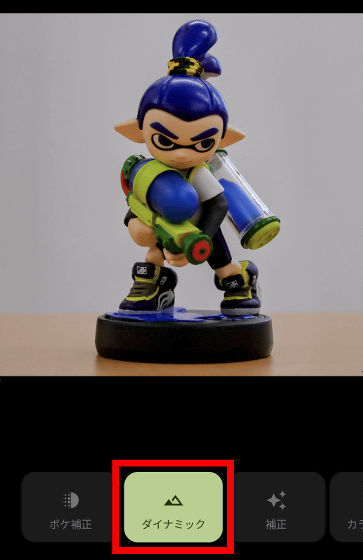
'Correction' also brightens the photo, but the result is less saturated than 'Dynamic'.

In 'Color Pop', parts other than the main subject became black and white.

In 'Monochrome Portrait' the whole thing became black and white.
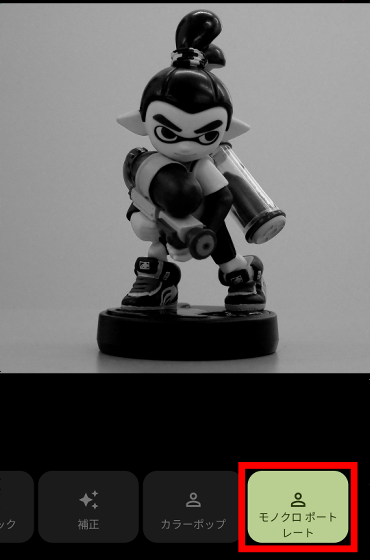
As a result of trying the suggested tools, 'Dynamic' was the most preferred finish, so tap 'Dynamic' again and then tap 'Save a copy'.
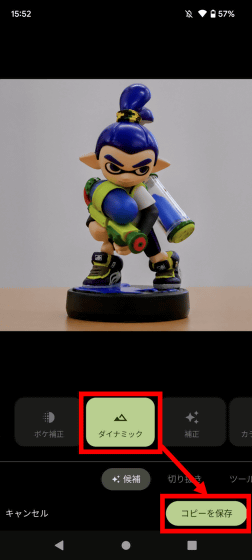
You have finished editing your photo.

Move the bar left and right on the image below to compare before editing (left) and after editing (right). With Google Photos, all you have to do is select your favorite tool from the suggested tools, and editing is completed, so even beginners can easily create photos that look great on social media.
The suggested tools in the Suggestions tab vary by photo. For example, in the photo of rice below, three types of 'bokeh correction', 'dynamic', and 'correction' were proposed.

'Dynamic' was the most delicious correction, so I chose dynamic.

Comparing before editing (left) and after editing (right), it looks like this. Other photo management apps also have automatic editing functions, but Google Photos suggests multiple tools for each photo, so it's easy to finish the photo to your liking.
In the case of photos with people, 'portrait' was proposed to blur the background.

In addition, 'color pop' and 'monochrome portrait' were also proposed.

This time, I selected 'Portrait' and saved it.

The result of editing is as follows. Google Photos has a lot of editing tools, so the function that suggests tools according to the purpose is very convenient.
For the landscape photo below, a function to change the color of the sky was proposed.
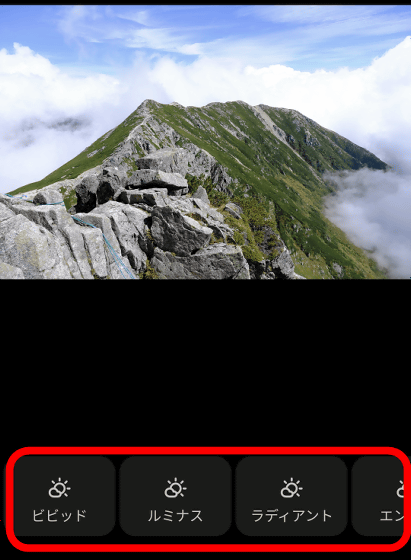
I liked the 'Luminous' effect the best of the suggestions, so I chose 'Luminous' and saved it.
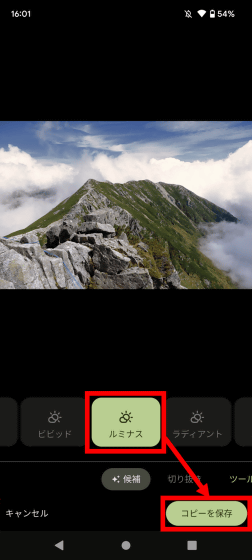
Below is a comparison of before editing (left) and after editing (right). After editing, the shapes of the clouds are clearly visible, and the shapes of the sky and clouds are now more prominent. By using the editing tool auto-suggestion function, you can create good-looking photos even in vague situations such as 'I don't have a concrete image, but I want to make a more impressive photo.'
Related Posts:


