Summary of how to live stream videos being shot with 'Osmo Action 3' on YouTube
The action camera '
Osmo Action 3 - Push Your Own Limits - DJI
https://www.dji.com/jp/osmo-action-3
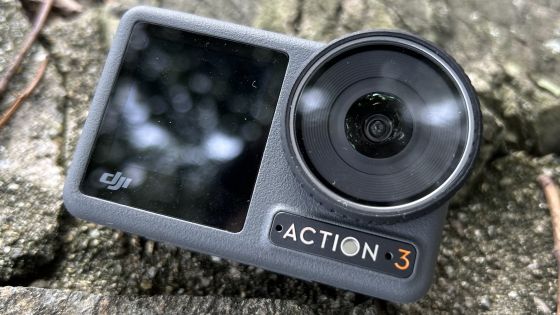
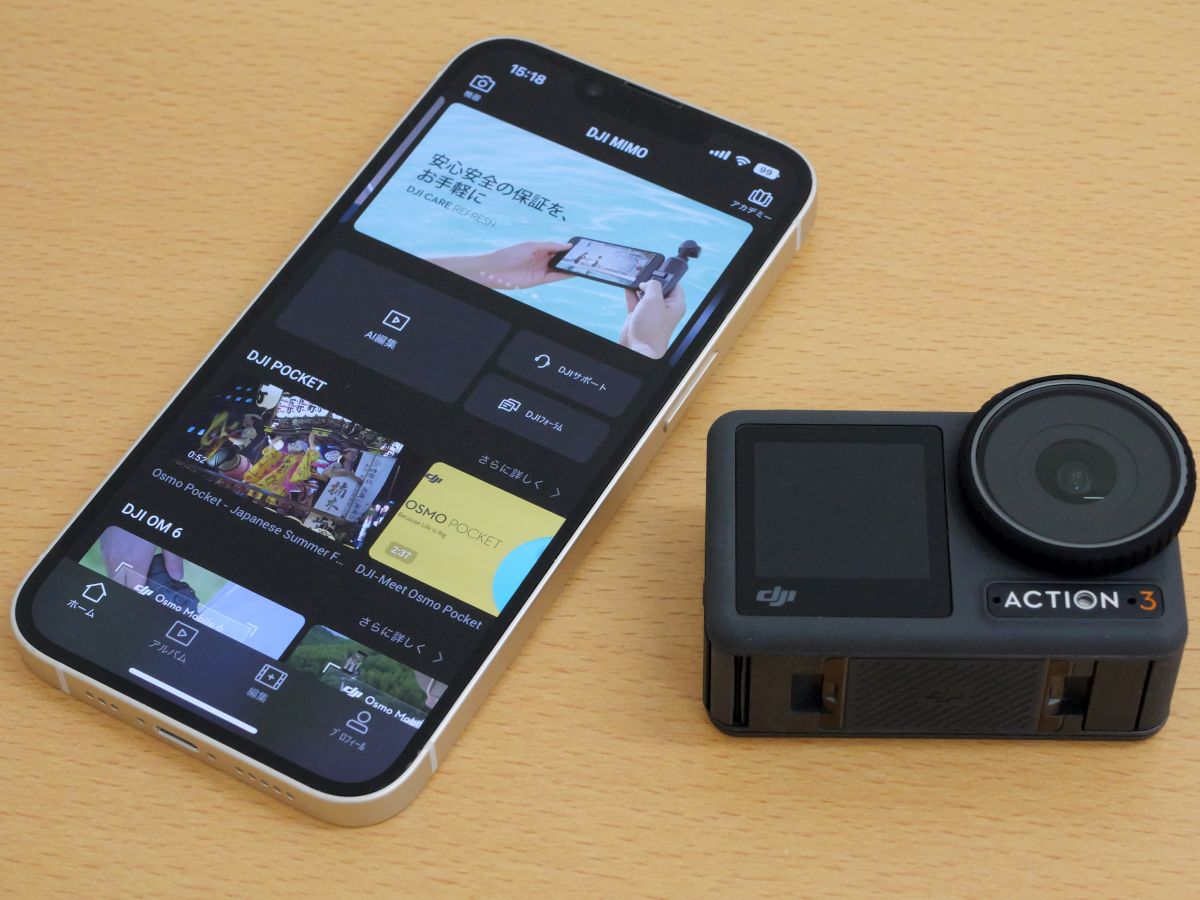
Osmo Action 3 has perfect performance as an action camera, such as securing waterproof performance up to a depth of 16 m and equipped with an image stabilization function. The image stabilization performance of Osmo Action 3 is examined in detail in the following article. This time, I will connect Osmo Action 3 to the Wi-Fi network and try to live stream the video on YouTube.
Thorough verification of the blur correction performance of 'Osmo Action 3', is a cheap action camera practical? -GIGAZINE
◆ Contents
◆1: Installation and initial setting of DJI Mimo
◆2: Osmo Action 3 and DJI Mimo connection & firmware update
◆3: Procedure for live streaming with Osmo Action 3
◆ 1: Installing and initial setting of DJI Mimo
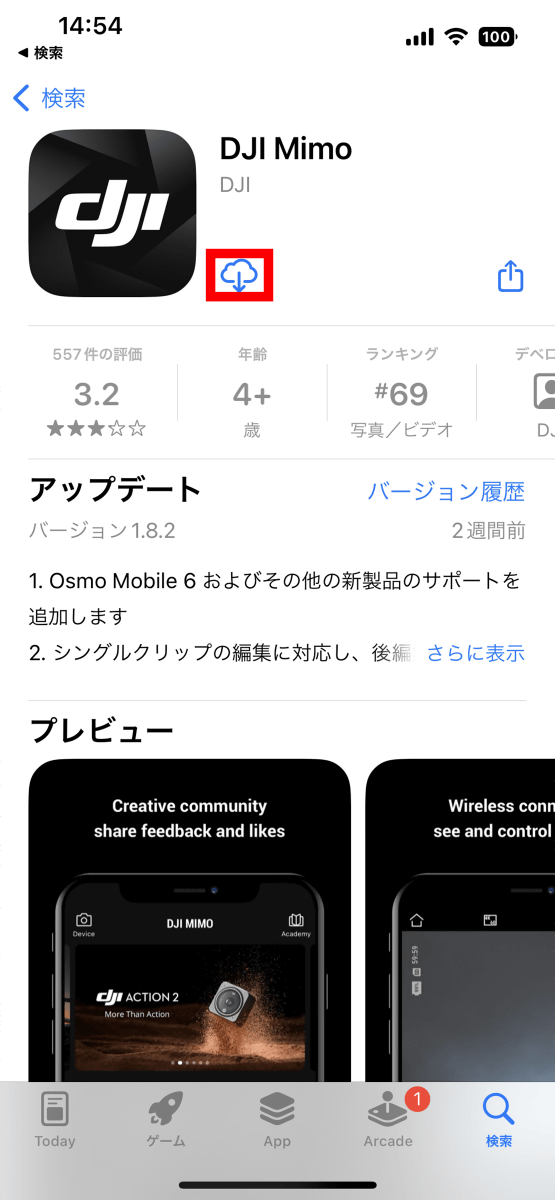
To live stream with Osmo Action 3, you need to install the management app ' DJI Mimo ' on your smartphone. DJI Mimo has Android version and iOS version , but this time I will use the iOS version.
First, search for DJI Mimo on the App Store and install it. Since I had installed DJI Mimo in the past, this time I tapped the cloud-shaped button to proceed with the installation.
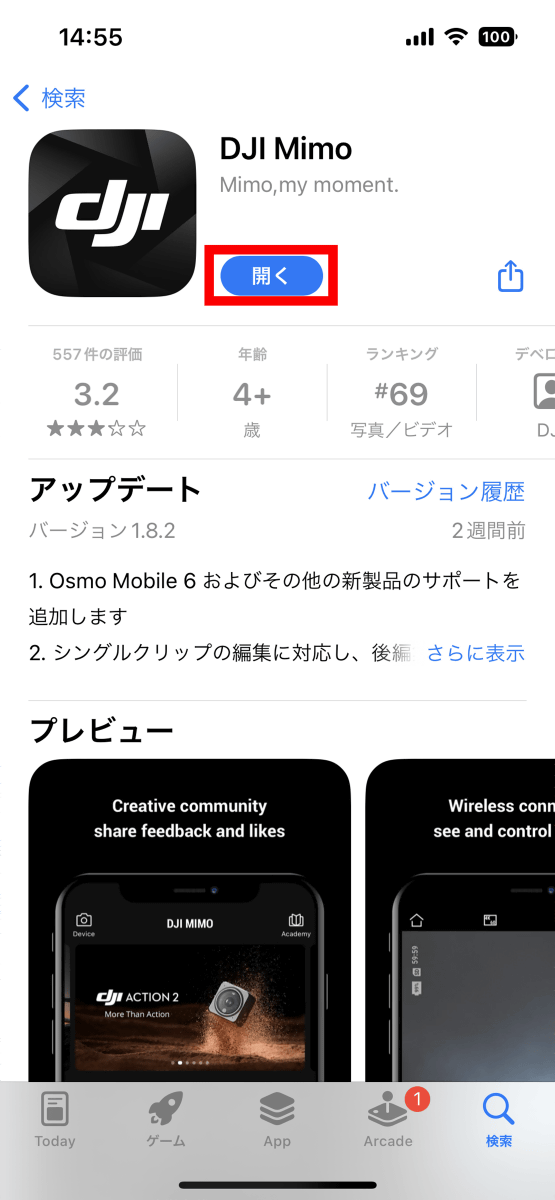
Tap 'Open' when installation is completed.
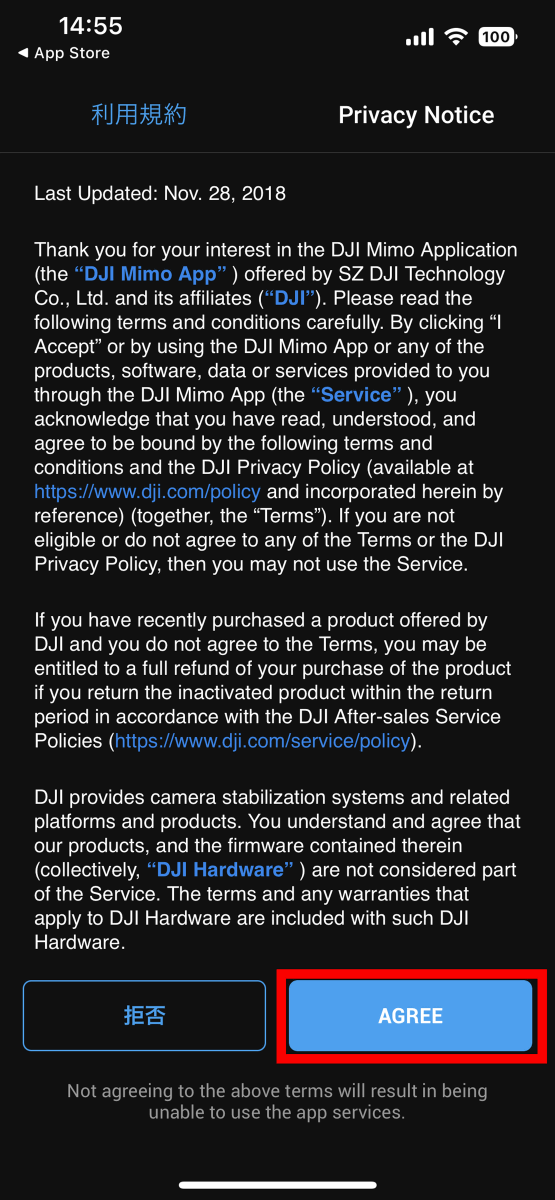
Since the terms of use and privacy policy are displayed at the first startup, read carefully and tap 'AGREE'.
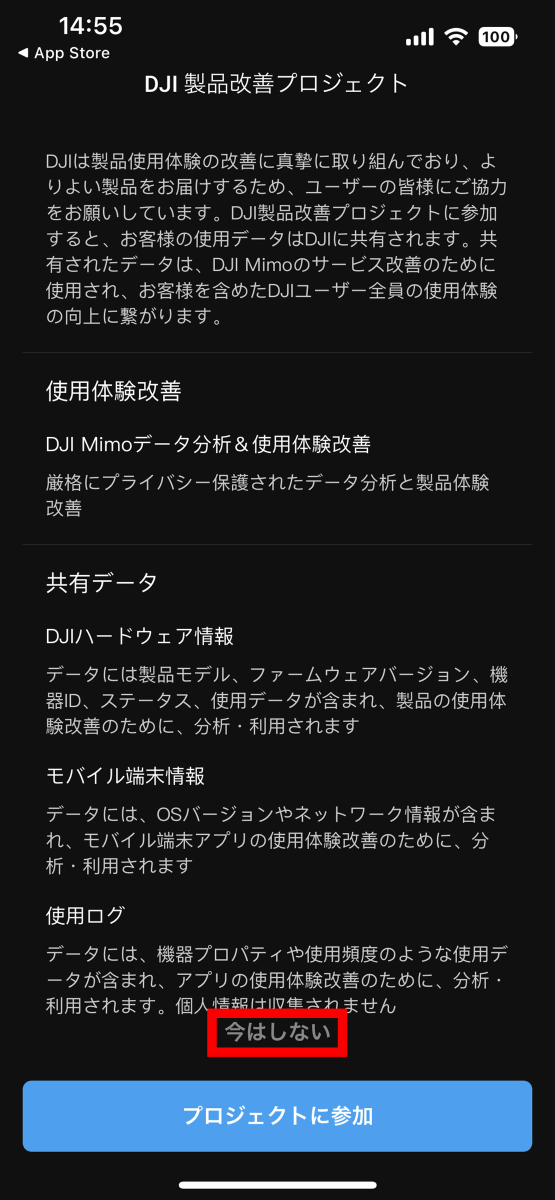
Next, you will be asked to participate in a product improvement project. This time I chose 'Not now'.
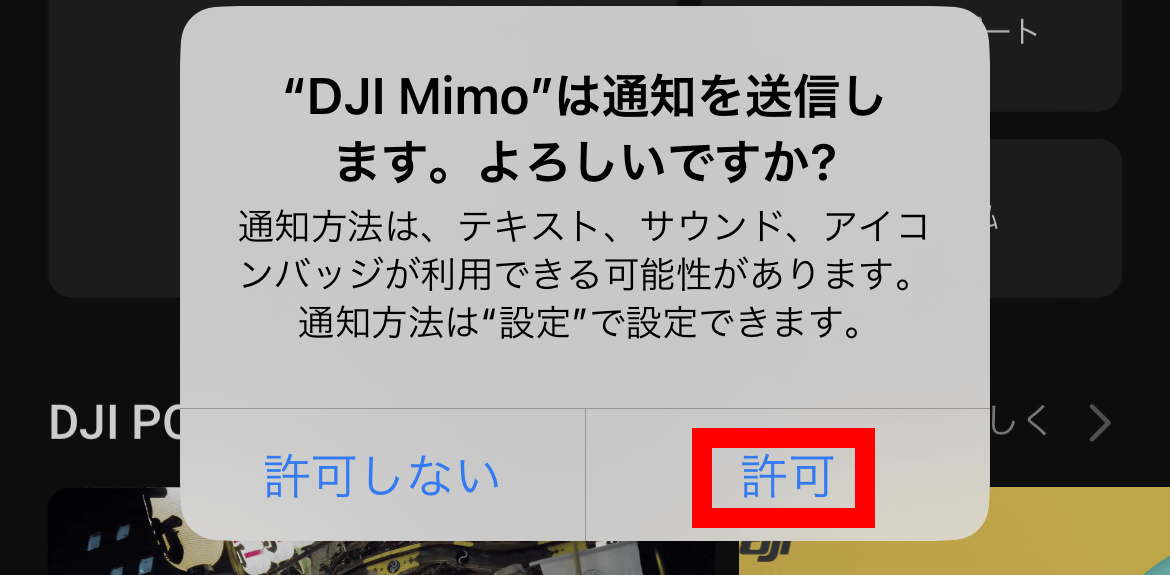
When asked for permission to send notifications, tap 'Permit'.
Tap 'Allow' when asked for permission to search the local network.

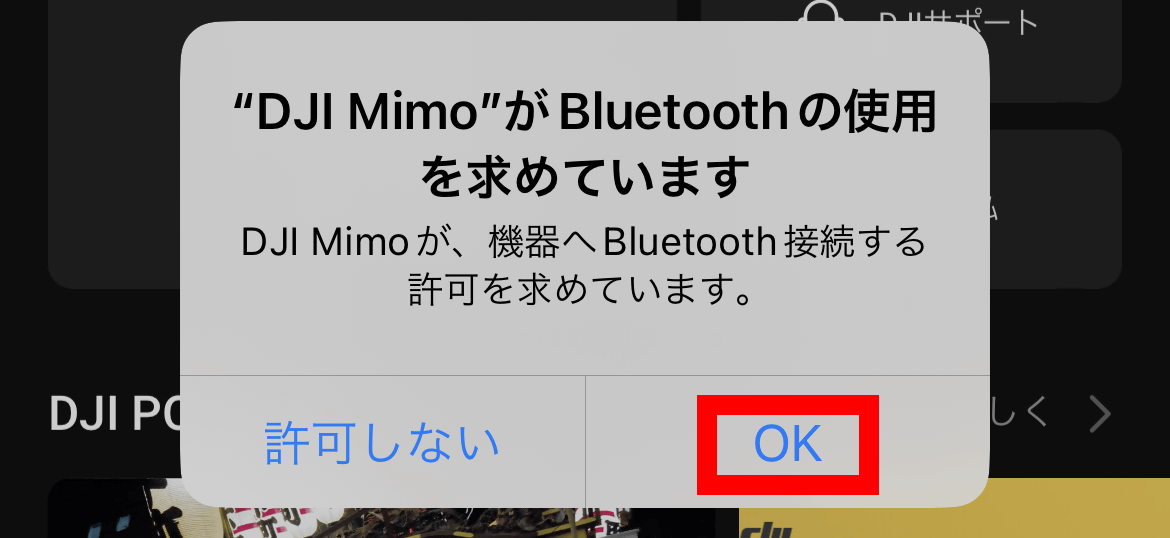
Tap 'OK' when asked for permission to use Bluetooth.
Next, I was asked for tracking permission, so this time I tapped 'Request App to Not Track'.

The initial setup of DJI Mimo is now complete.

◆ 2: Osmo Action 3 and DJI Mimo connection & firmware update
Power on Osmo Action 3 before connecting with DJI Mimo.
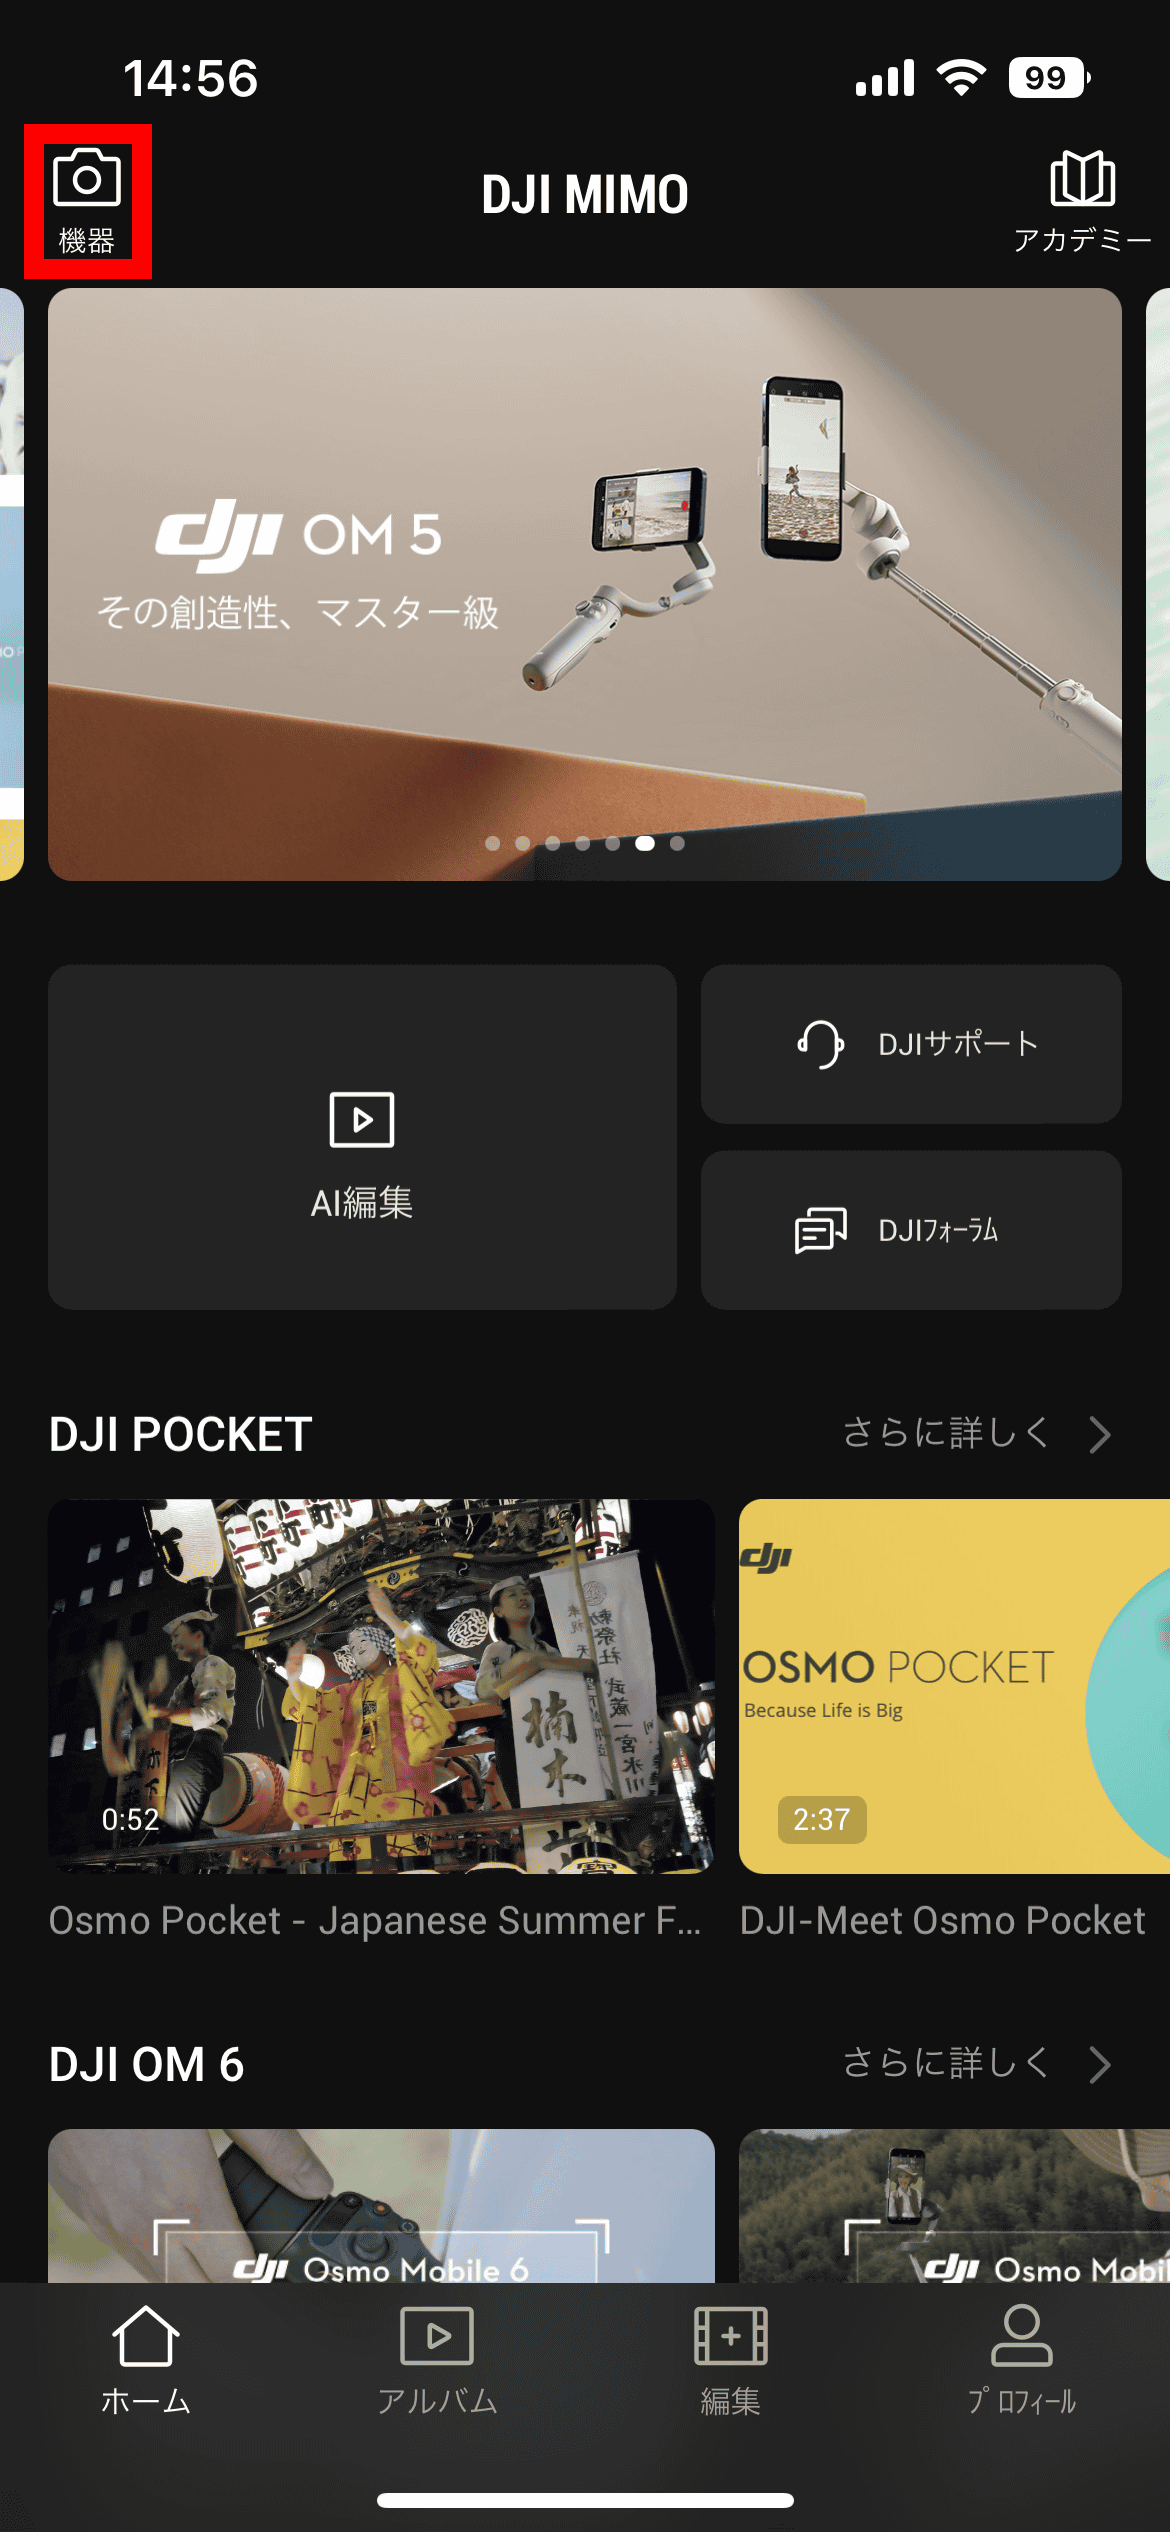
Next, tap 'Connect' located at the top left of the DJI Mimo screen.
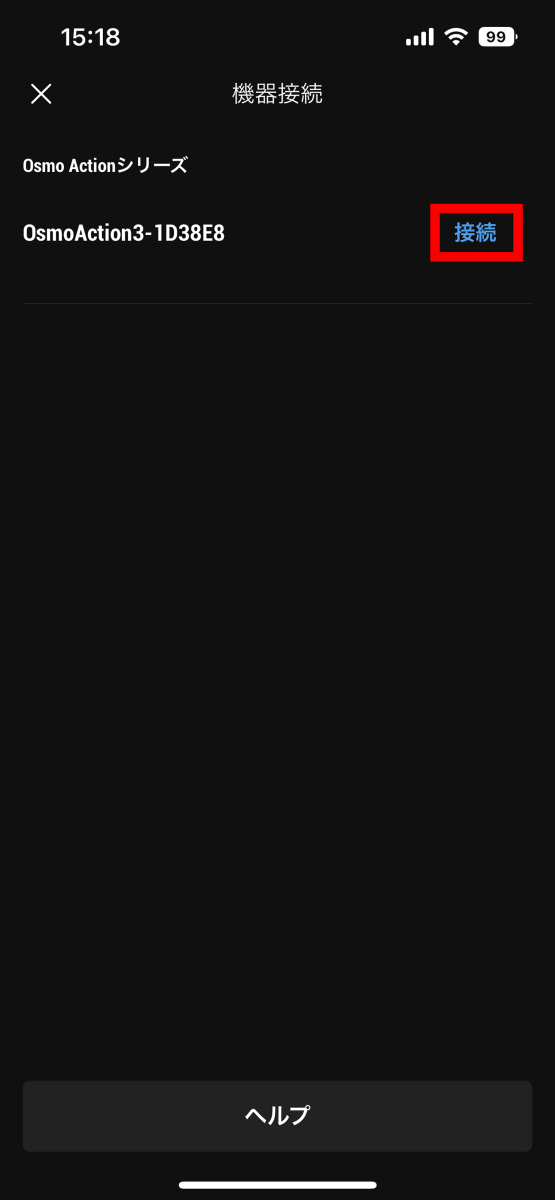
Tap 'Connect' when Osmo Action 3 appears on the screen.
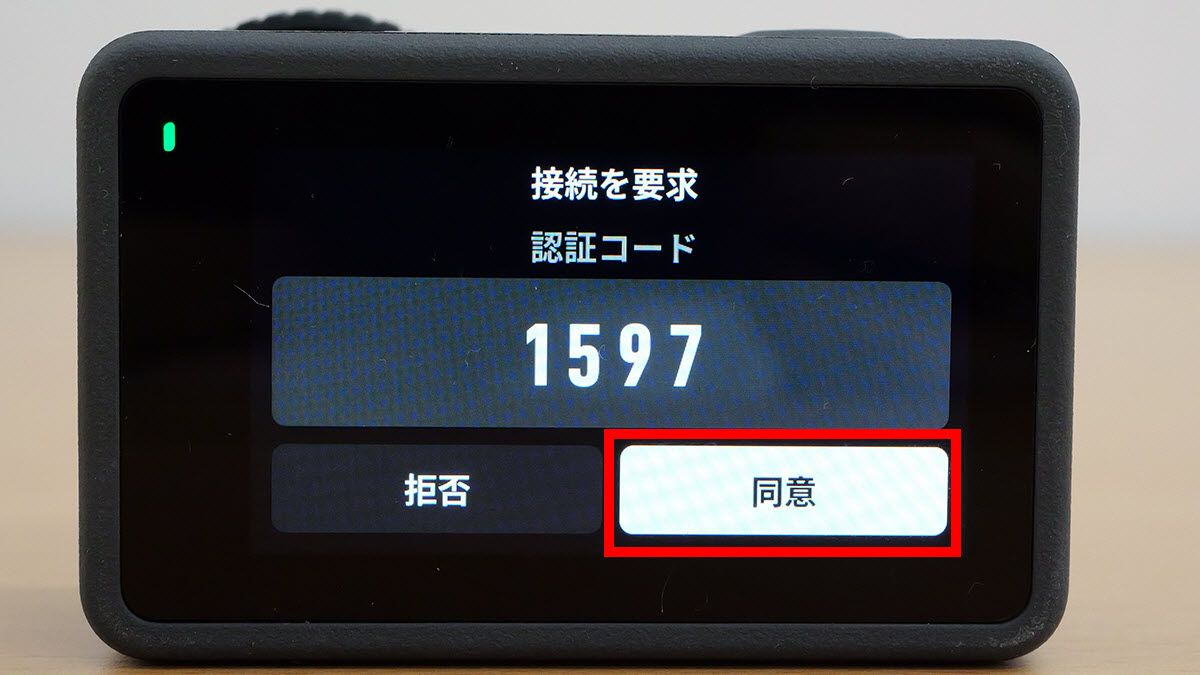
When a 4-digit authentication code is displayed on the DJI Mimo screen ......
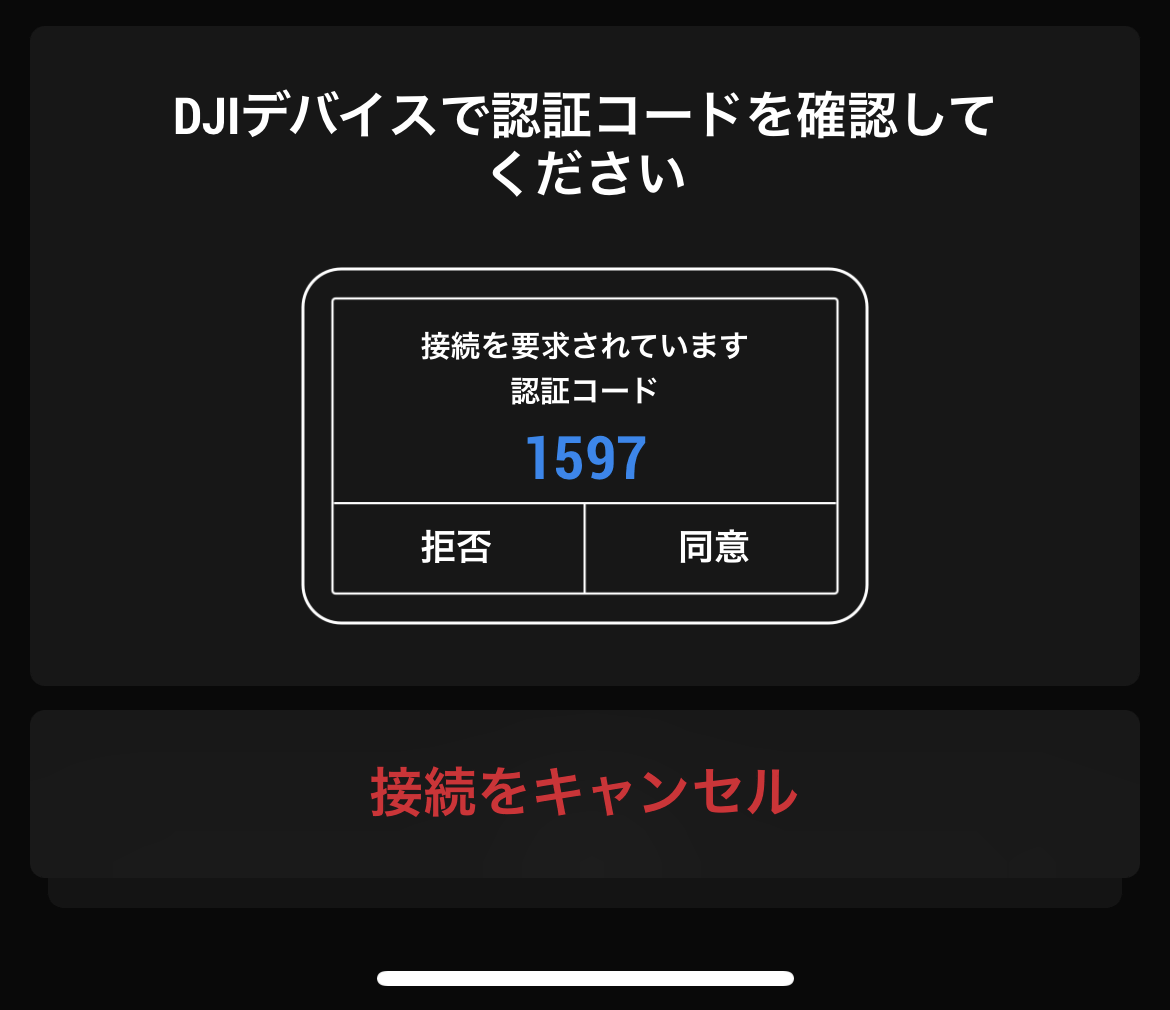
The same authentication code will be displayed on the back display of Osmo Action 3, so tap 'Agree'.
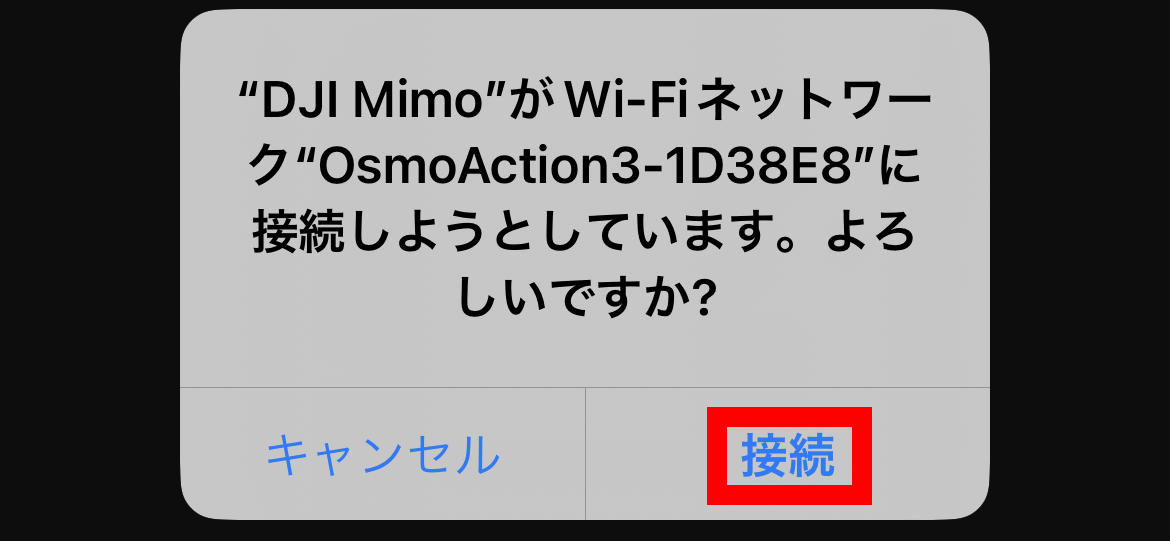
When the connection dialog appears on the screen of DJI Mimo, tap 'Connect'.
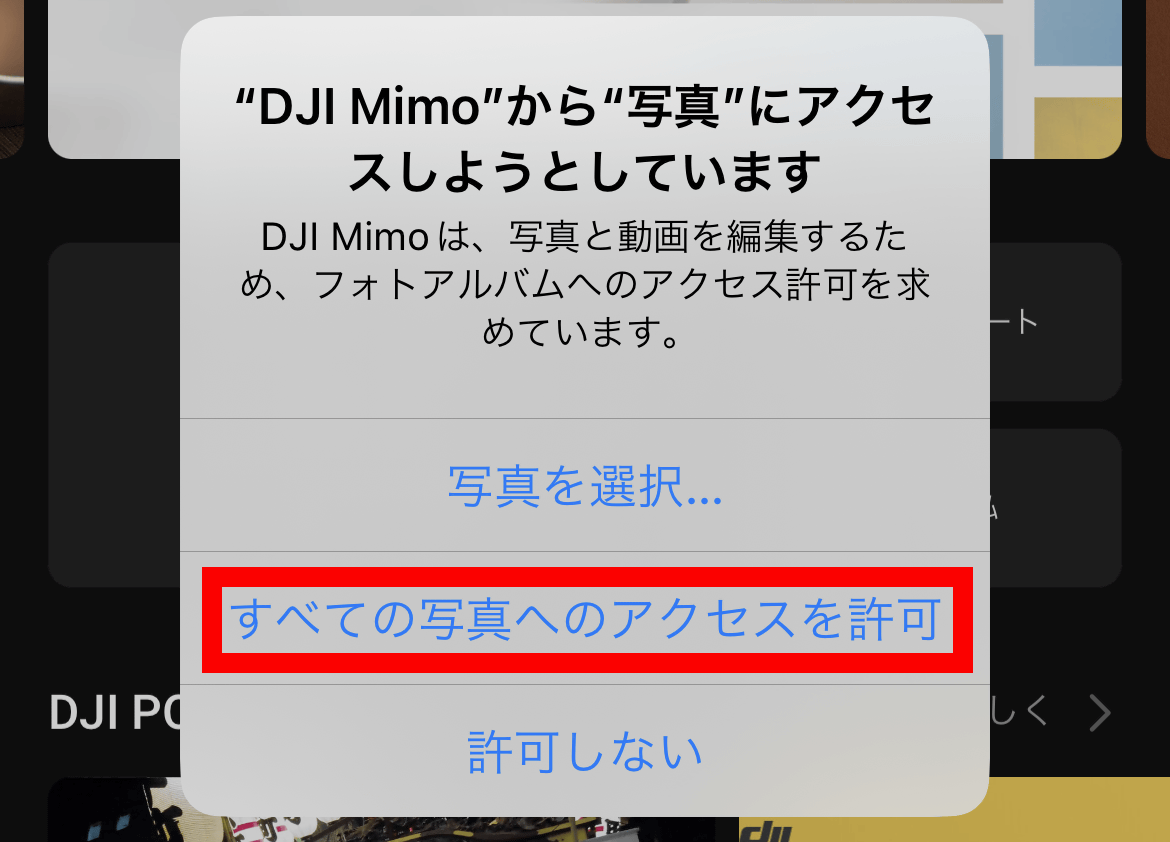
When asked for permission to access photos, tap 'Allow access to all photos'.
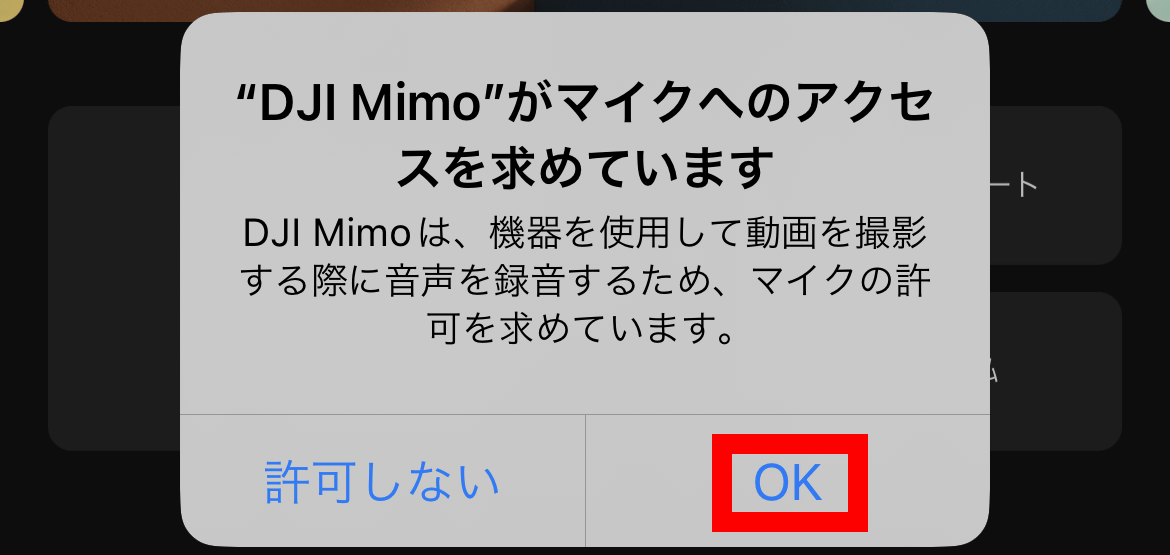
Tap 'OK' when asked for permission to use the microphone. The connection between Osmo Action 3 and DJI Mimo is now complete.
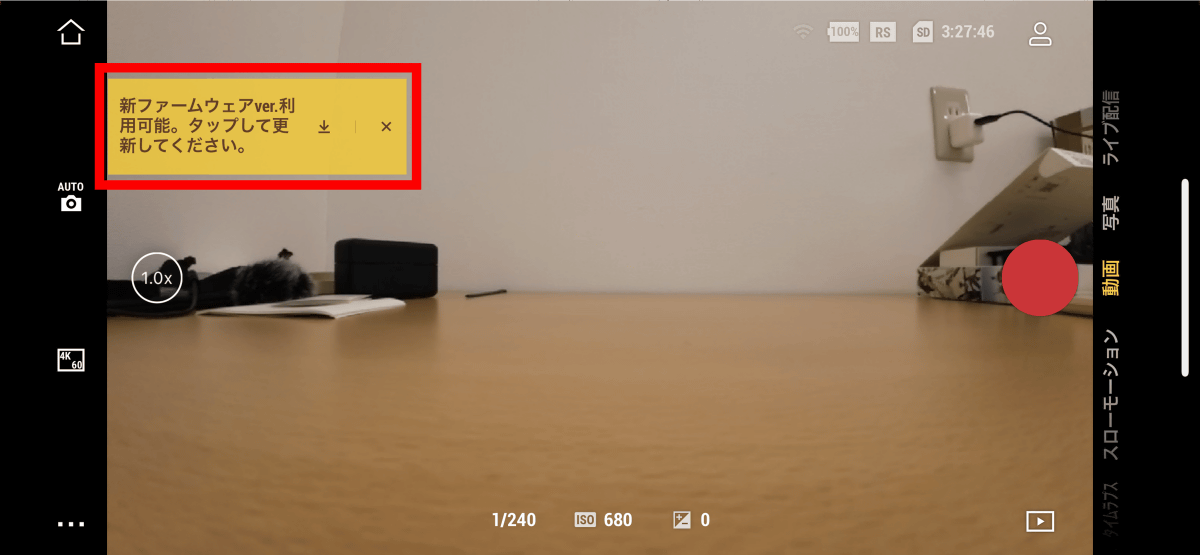
Once connected, DJI Mimo will display a screen where you can remotely control Osmo Action 3. This time, a firmware update notification was displayed on the upper left of the screen, so I decided to tap it to update.
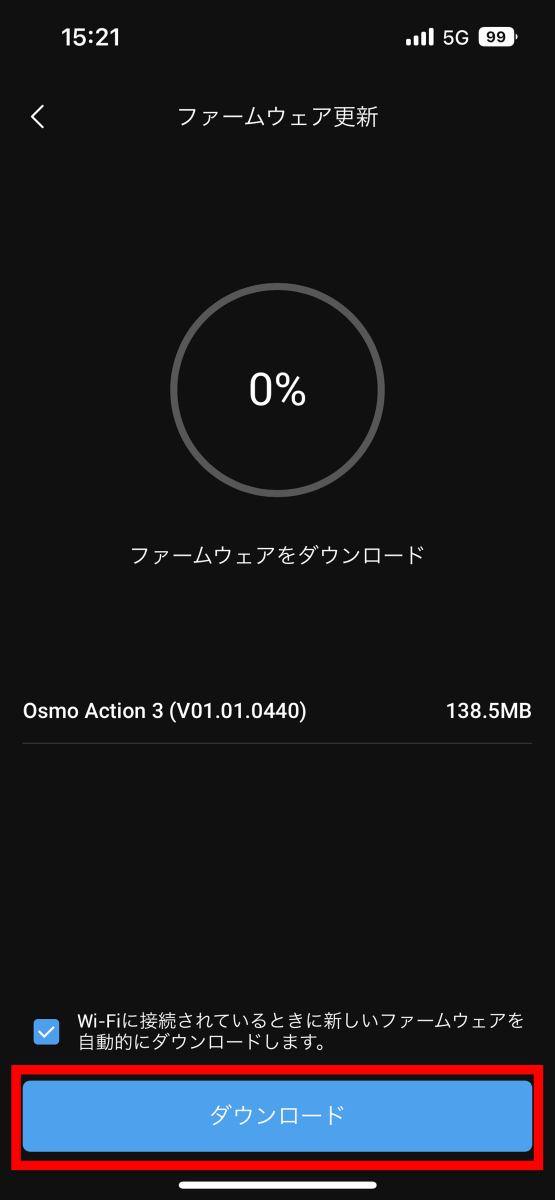
When the following screen is displayed, tap 'Download'.
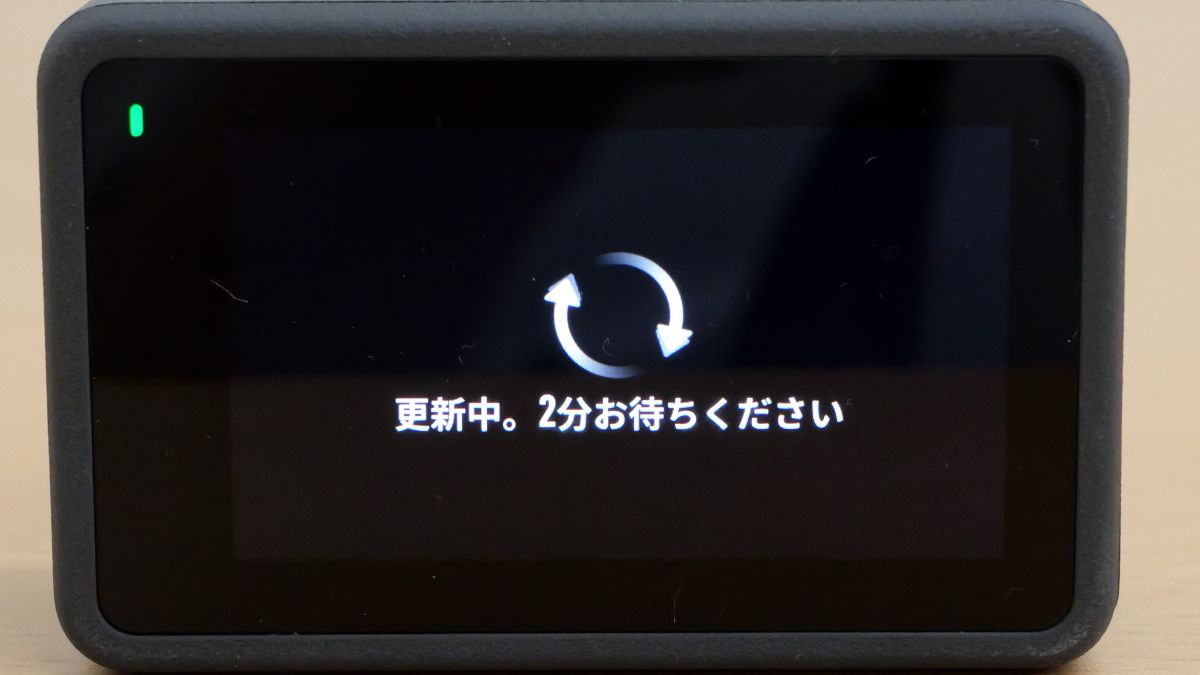
'Updating' is displayed on the Osmo Action 3 screen, so wait for a while until the update is completed.
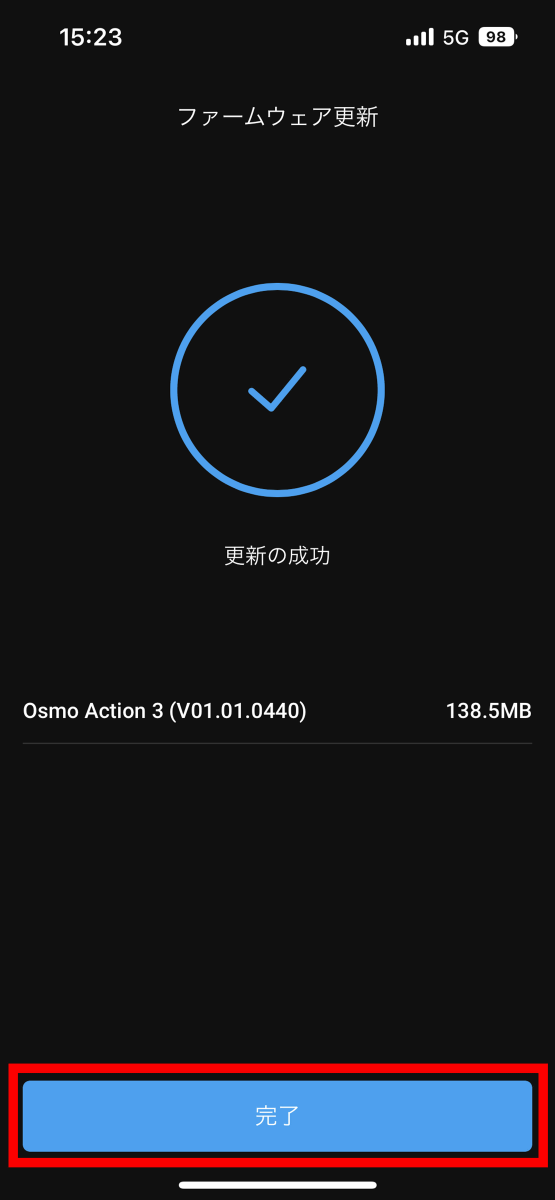
When the update is completed, tap 'Done'. Connection and firmware update are now complete.
◆ 3: Procedure for live distribution with Osmo Action 3
To perform live distribution, tap 'Live distribution' on the right side (lower side) of the control screen.
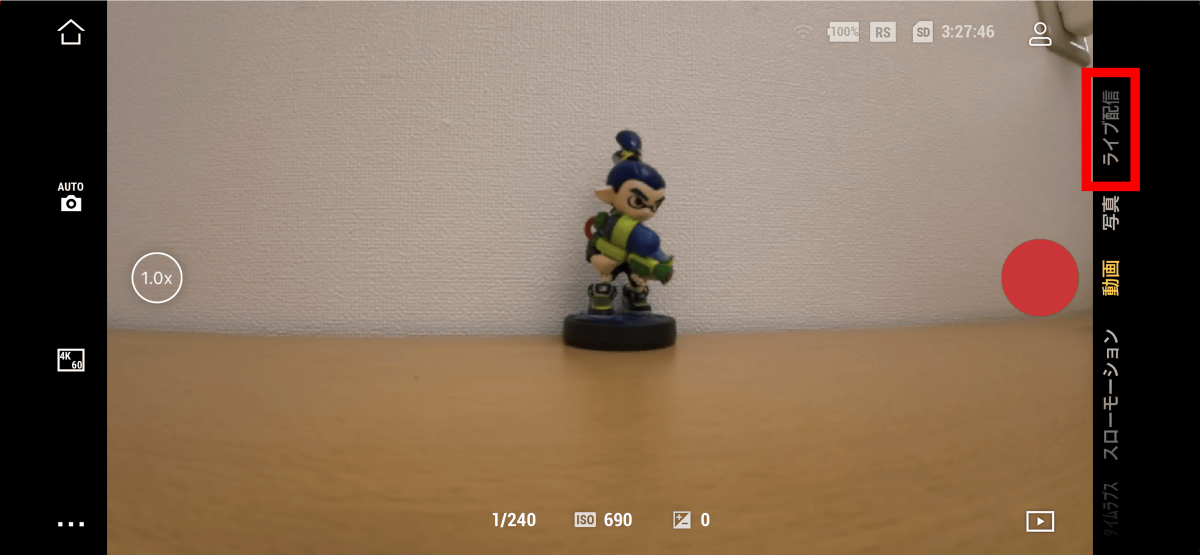
Then, the live distribution platform selection screen will be displayed. This time, I selected 'YouTube' and tapped 'Live distribution settings'.

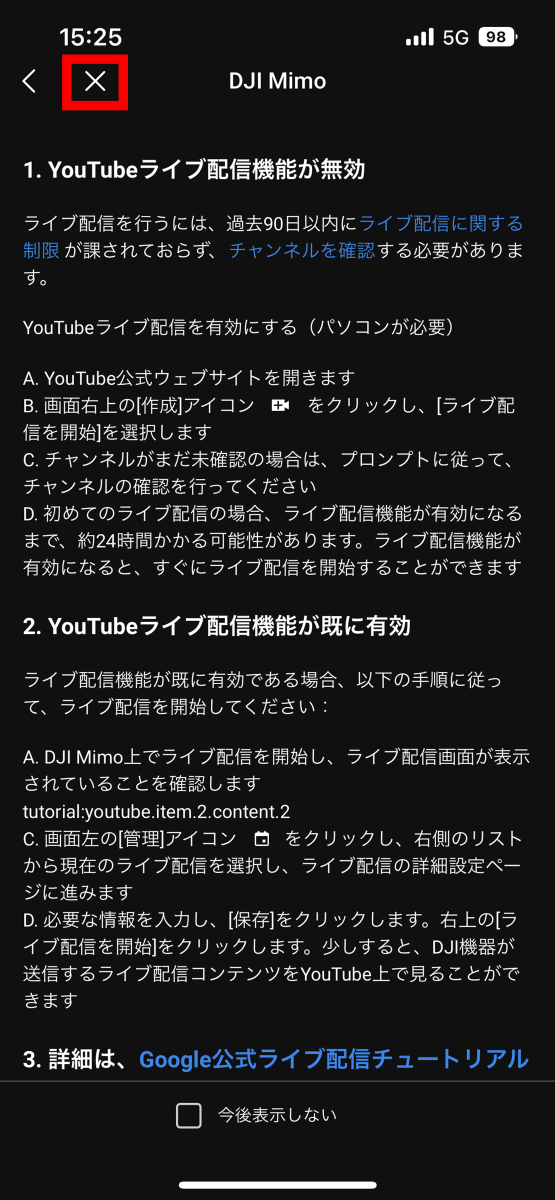
When the YouTube setting method is displayed, read it carefully and tap the 'x' in the upper left.
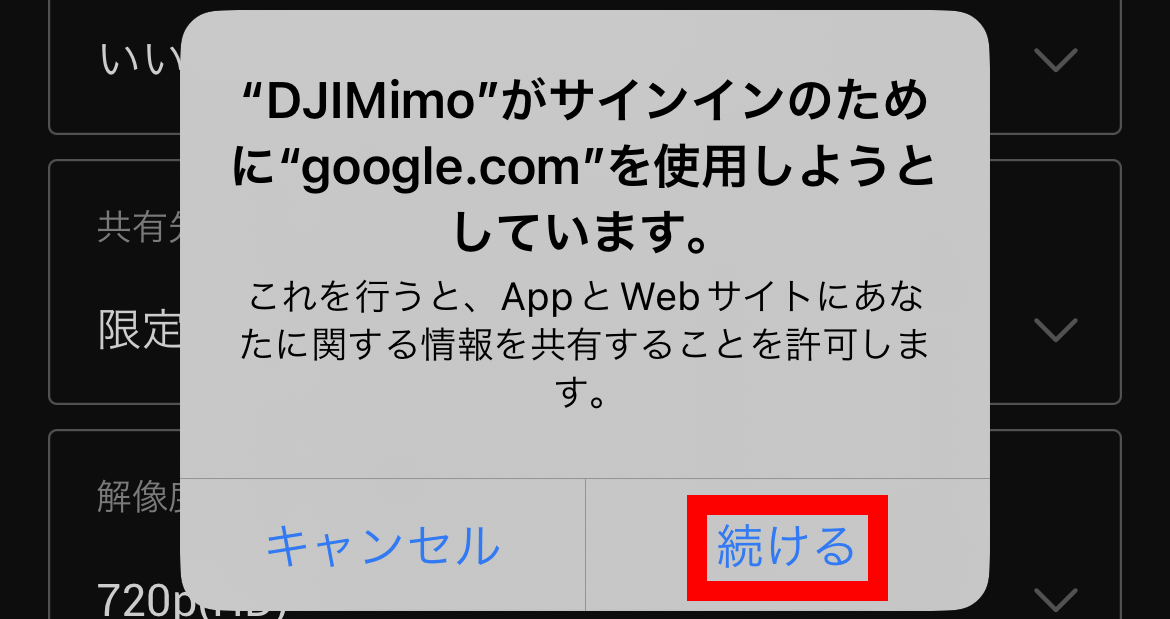
When the following dialog is displayed, tap 'Continue'.
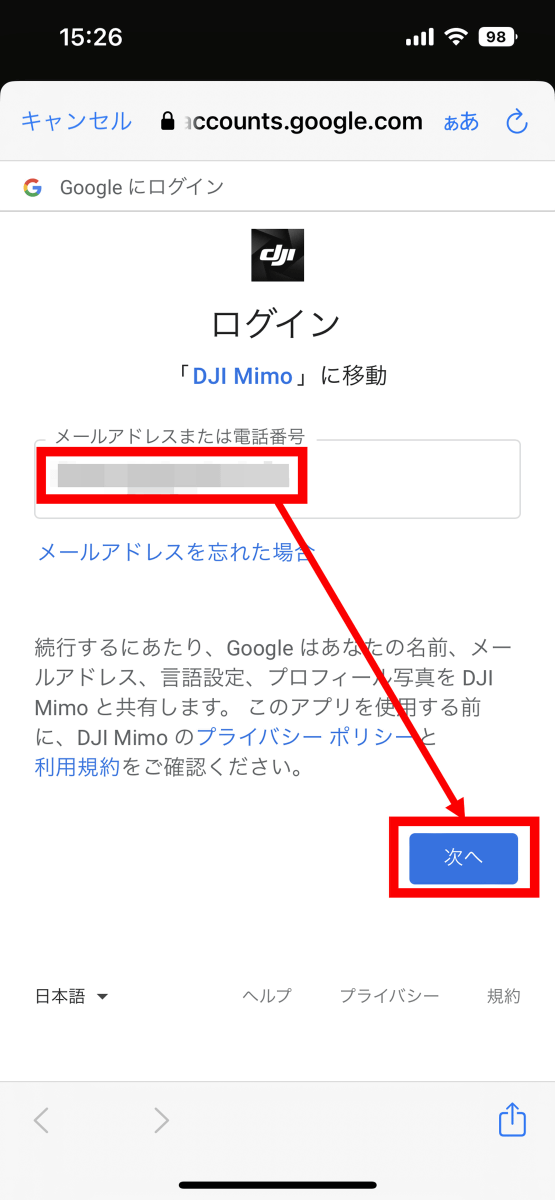
When the Google login screen is displayed, enter your email address and tap 'Next'.
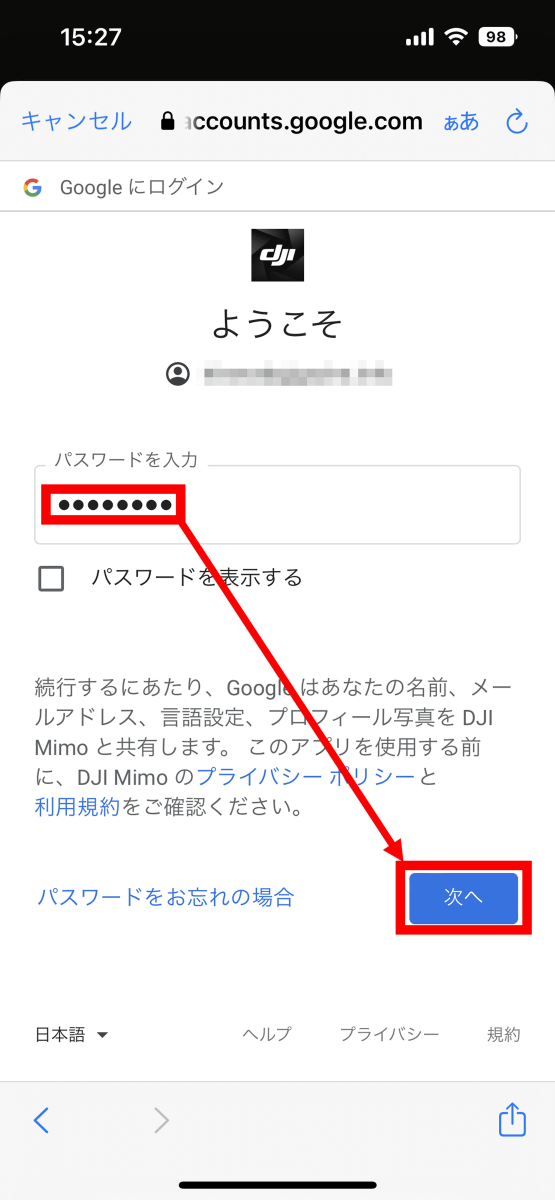
Next, enter the password and tap 'Next'.
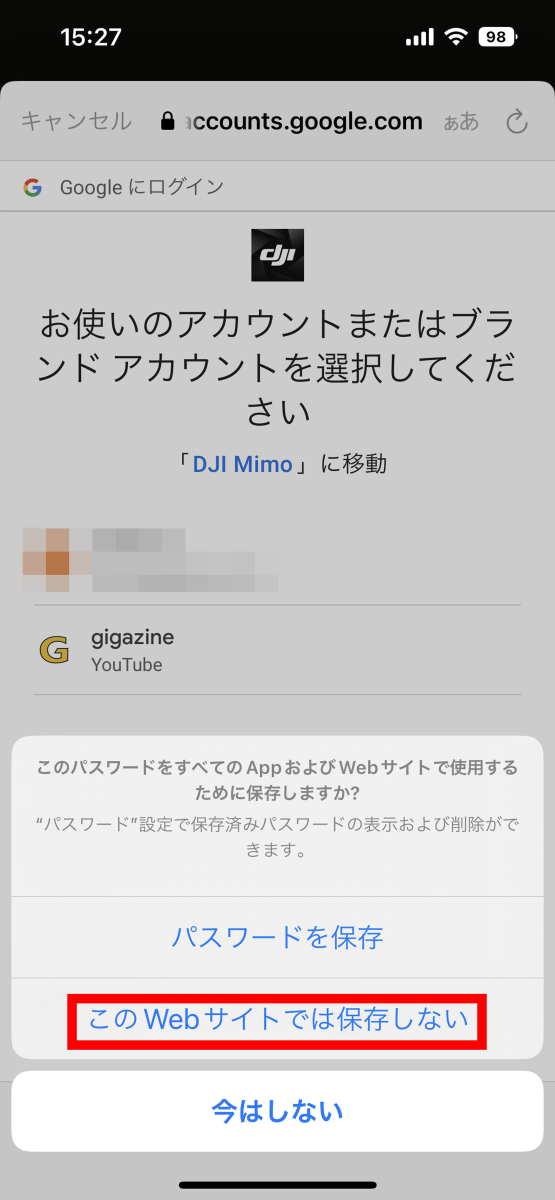
I was asked if I wanted to save my password, but this time I chose 'Don't save for this website'.
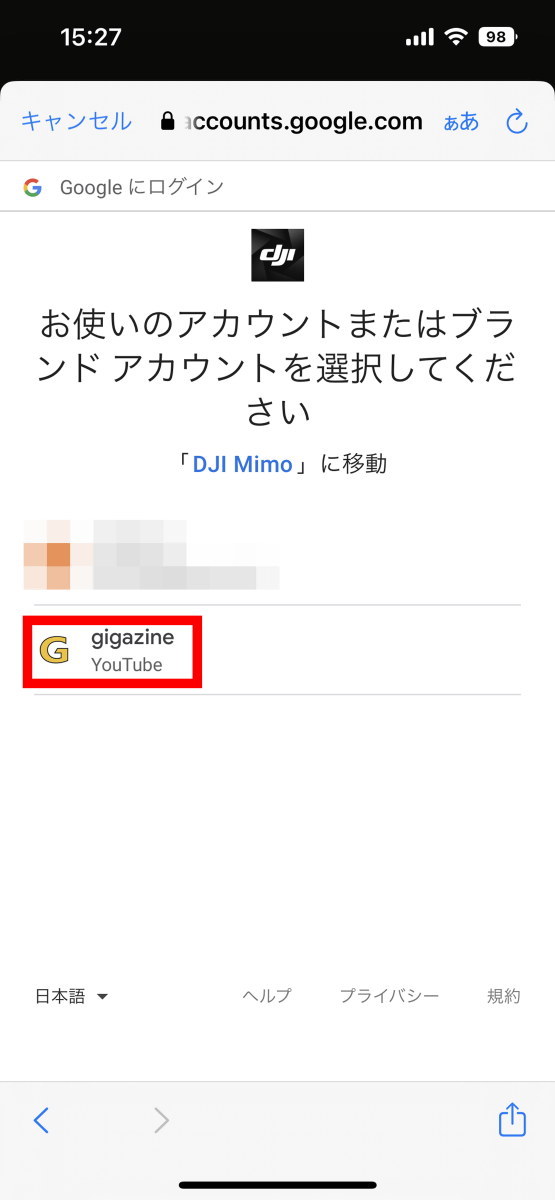
Then select the account you want to use.
When the access request screen is displayed, tap 'Allow'.

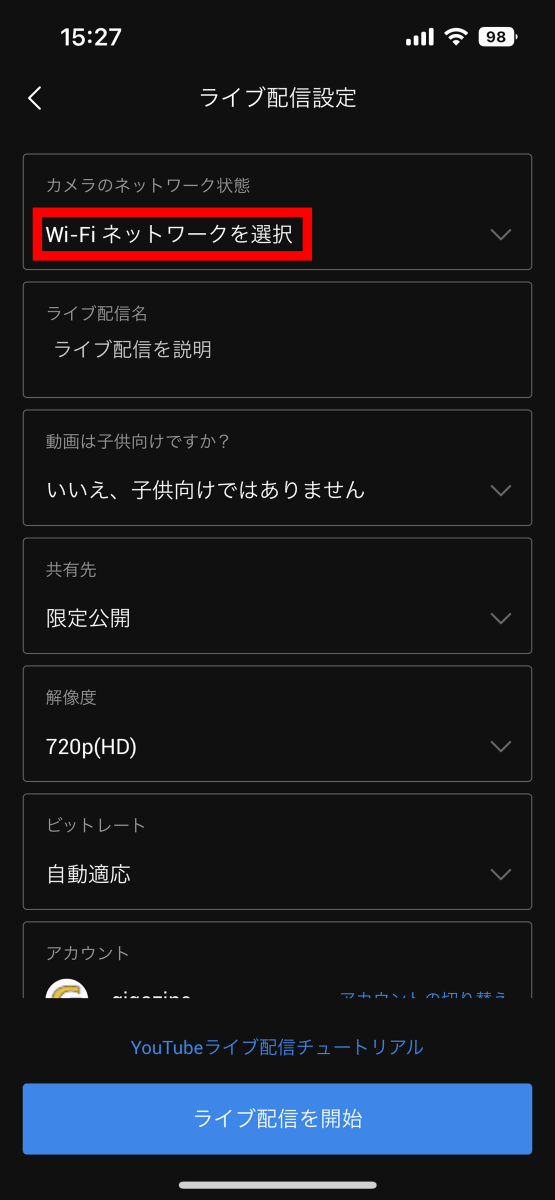
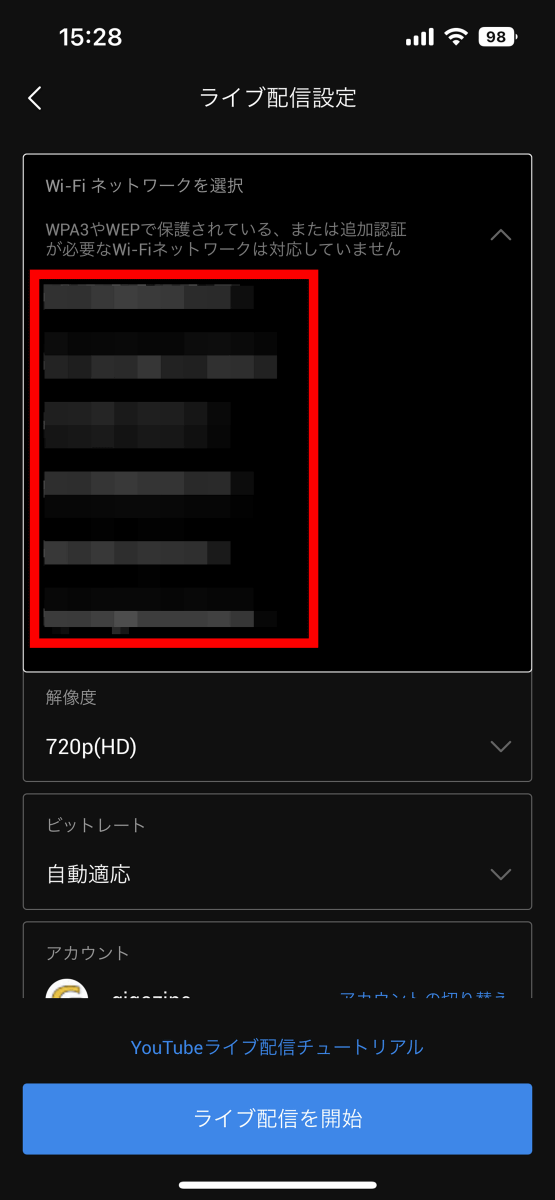
When the live distribution setting screen is displayed, tap 'Select Wi-Fi network' at the top.
When the access point list is displayed, select the access point you want to connect to.
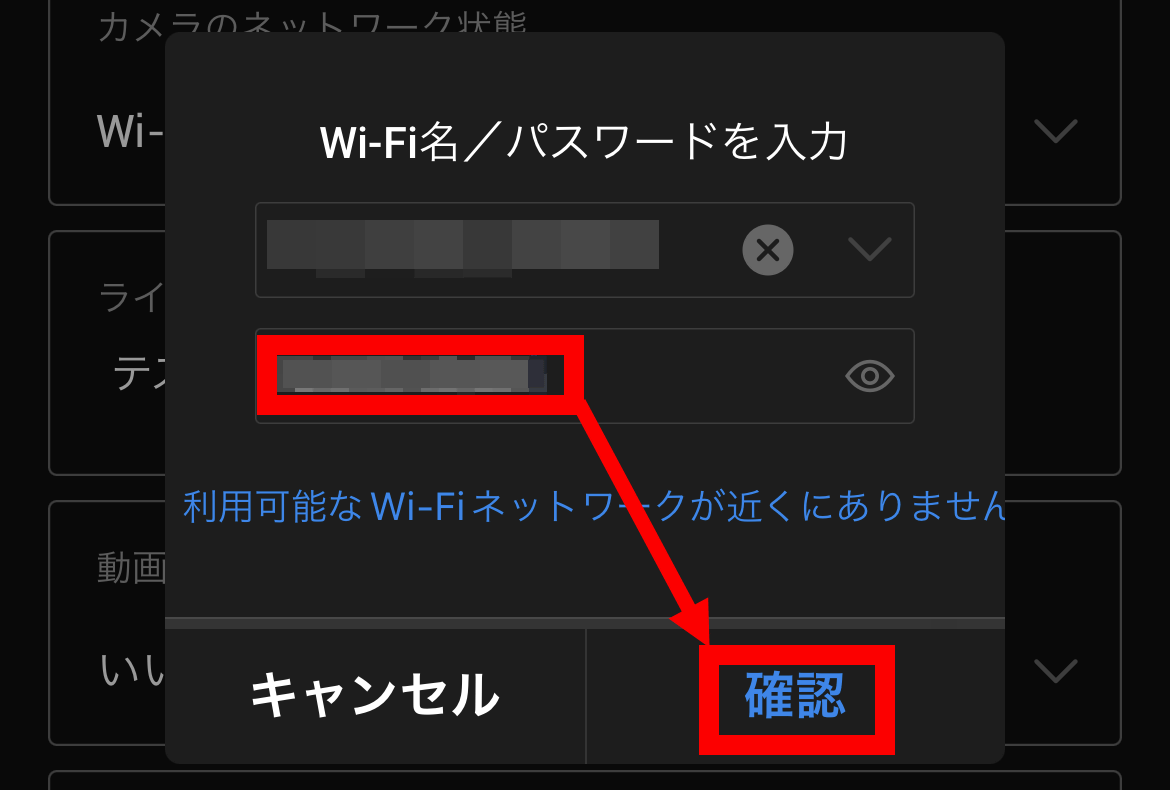
Then enter your password and tap Confirm.
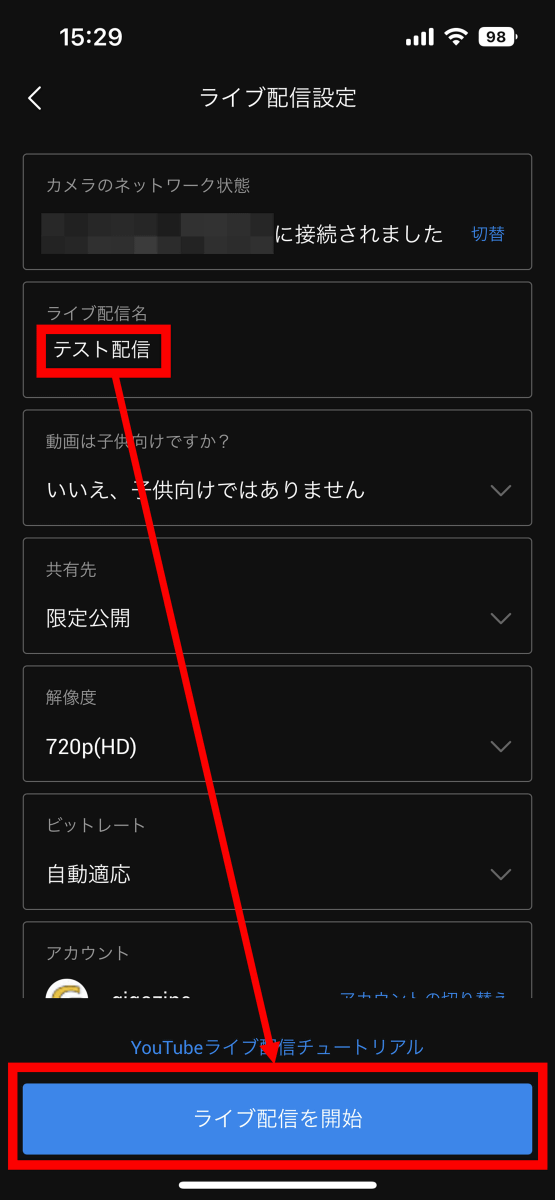
After that, enter your favorite name in the 'Live distribution name' field and tap 'Start live distribution' OK.
This completes the setting with DJI Mimo. After that, access the YouTube management screen from your PC and make settings.
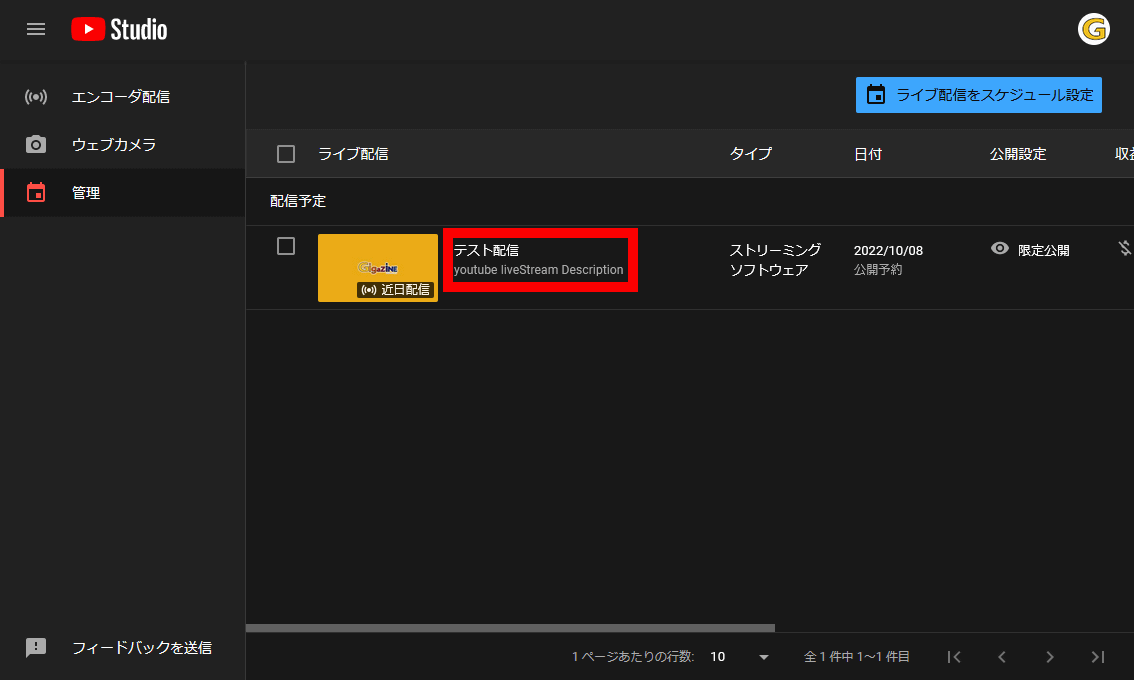
When you access the live distribution management screen, click the distribution name set in DJI Mimo.
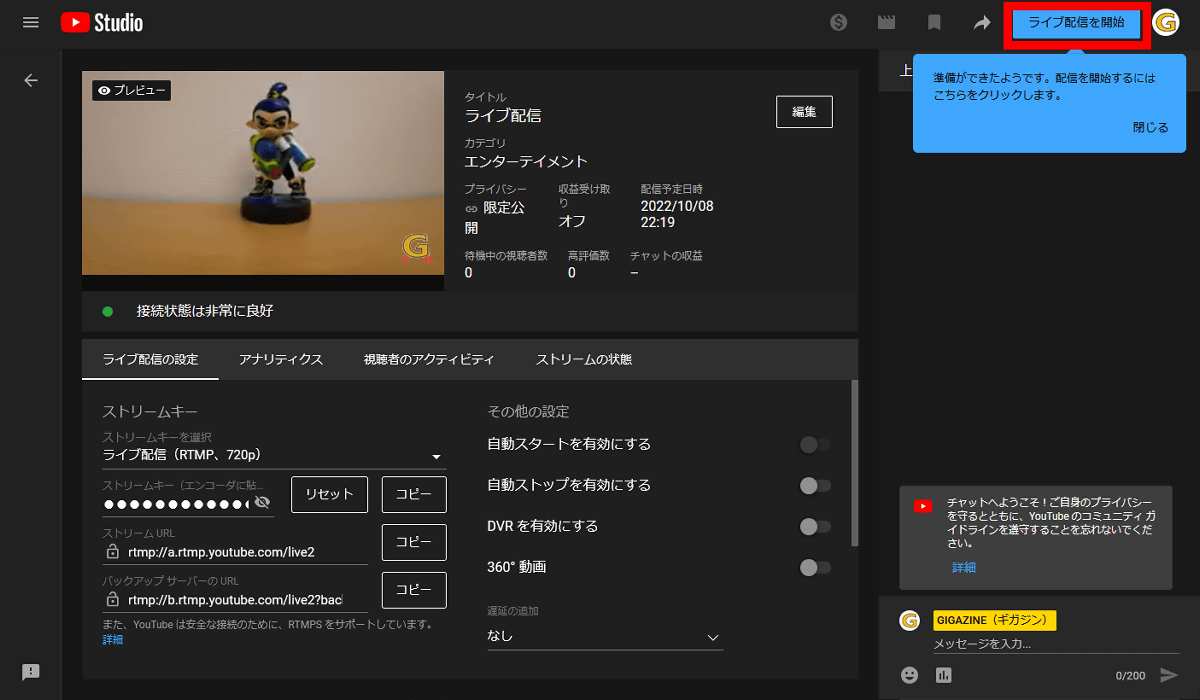
After waiting for a while, 'Start live connection' is displayed on the upper right of the screen, so click it.
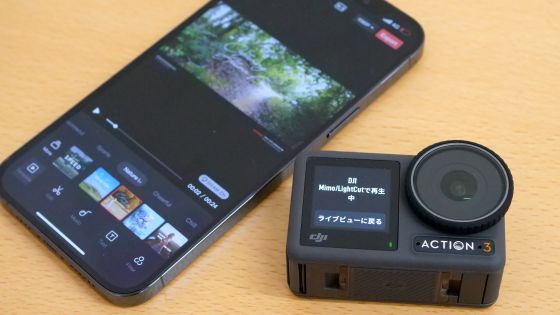
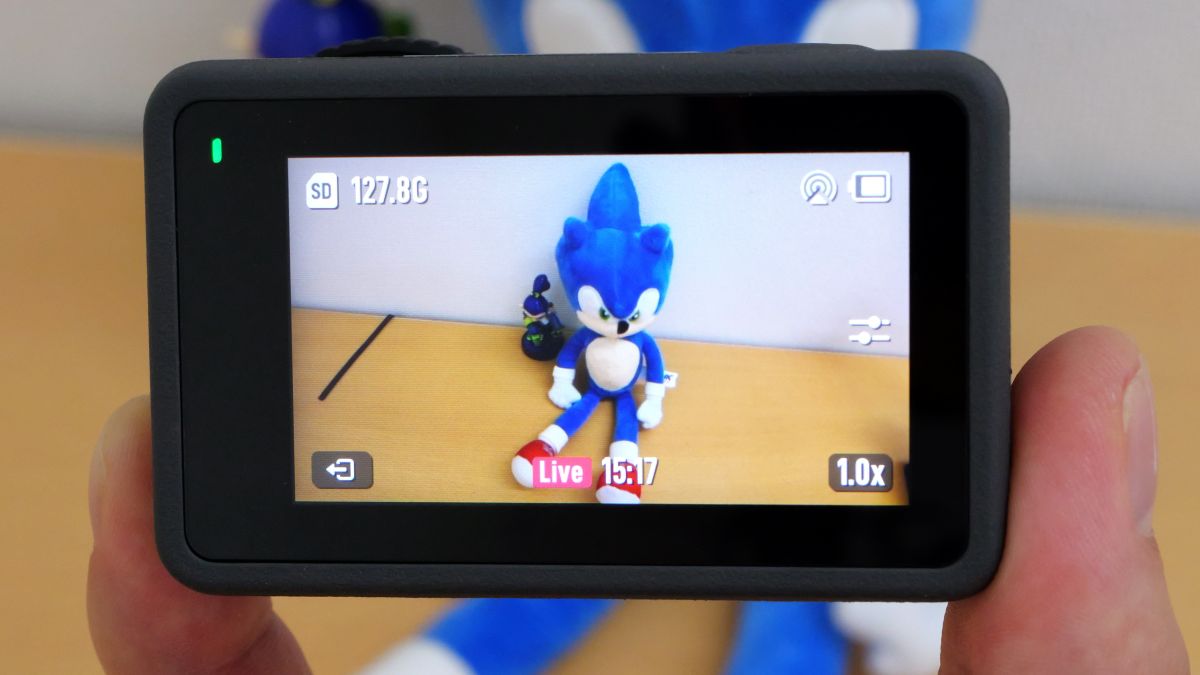
Your live stream will now begin.
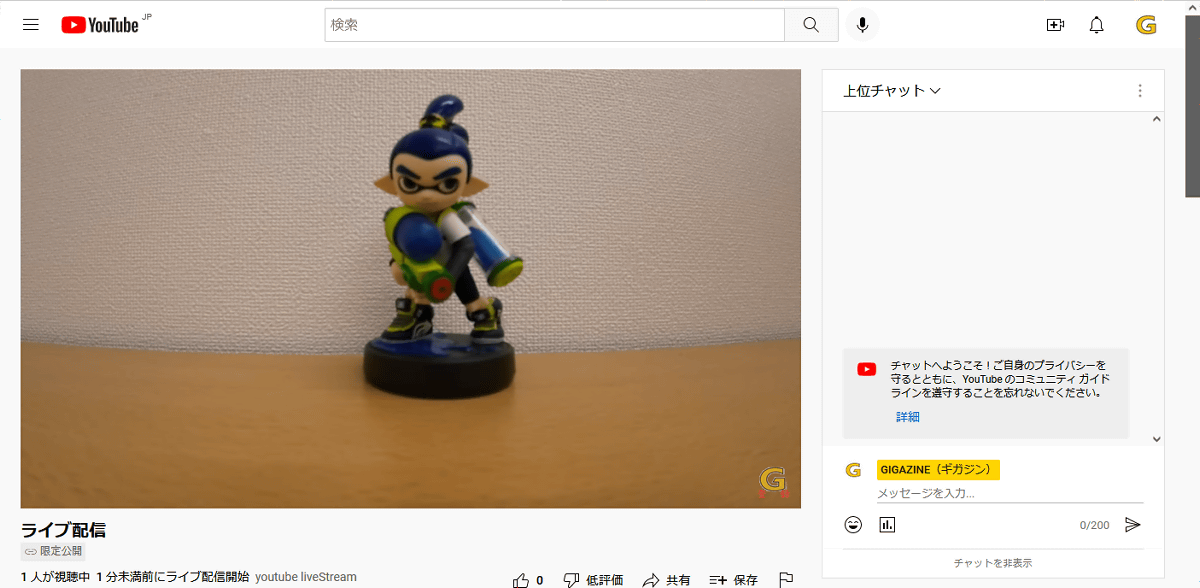
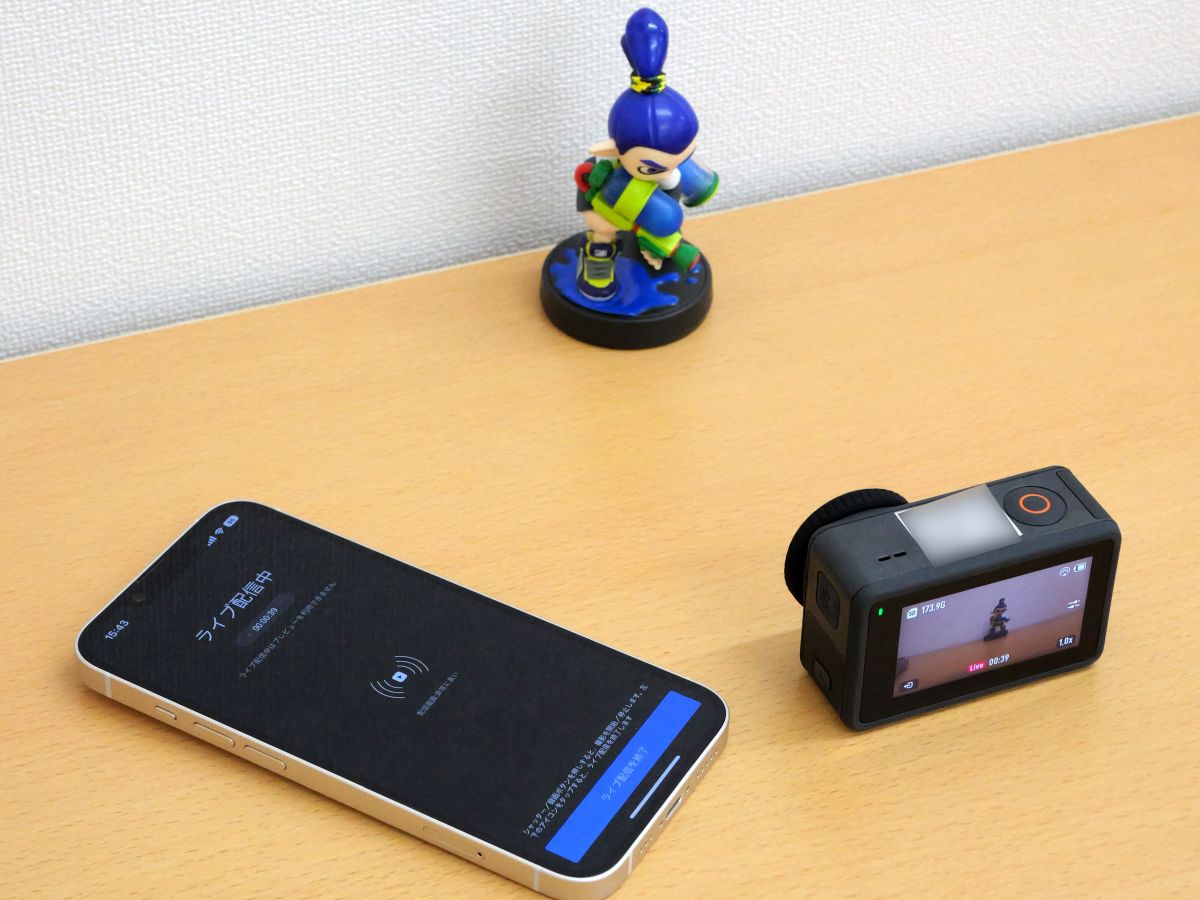
Osmo Action 3 When live distribution on YouTube, a PC is required for setting, but once you start live distribution, you can continue distribution with Osmo Action 3 alone.
Related Posts: