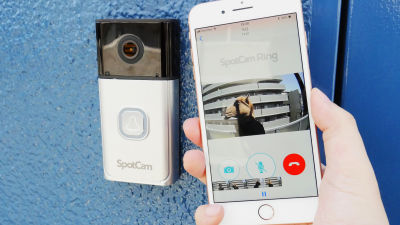
Here's how to set up Amazon's indoor security camera 'Ring Indoor Cam Plus'

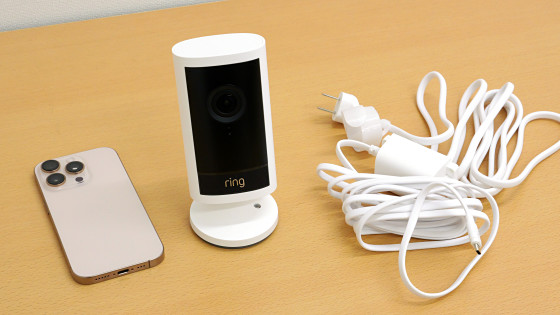
The ' Ring Indoor Cam Plus ' is an Amazon brand indoor security camera that allows you to check the indoor situation from anywhere using a dedicated app. Since the Ring Indoor Cam Plus arrived at the GIGAZINE editorial department, we checked
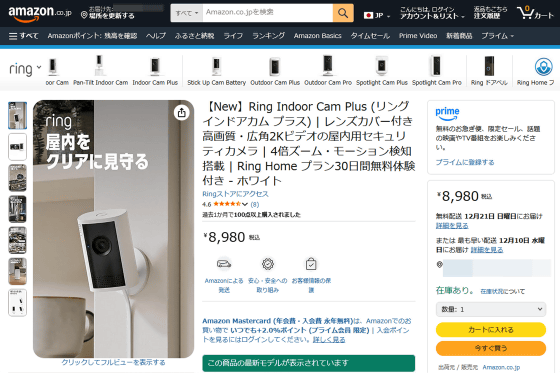
Amazon.co.jp: [New] Ring Indoor Cam Plus | High-Quality, Wide-Angle 2K Video Indoor Security Camera with Lens Cover | 4x Zoom and Motion Detection | Ring Home Plan with 30-Day Free Trial - White
You can check the appearance of the Ring Indoor Cam Plus in detail in the article below. This time, I will try to set it up so that it can actually be used.
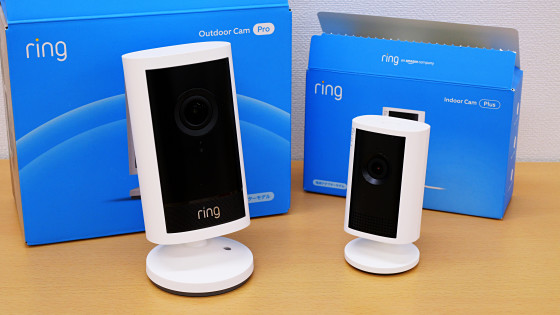
A detailed look at the appearance of Amazon's 4K security camera 'Ring Outdoor Cam Pro' and indoor camera 'Ring Indoor Cam Plus' - Review - GIGAZINE
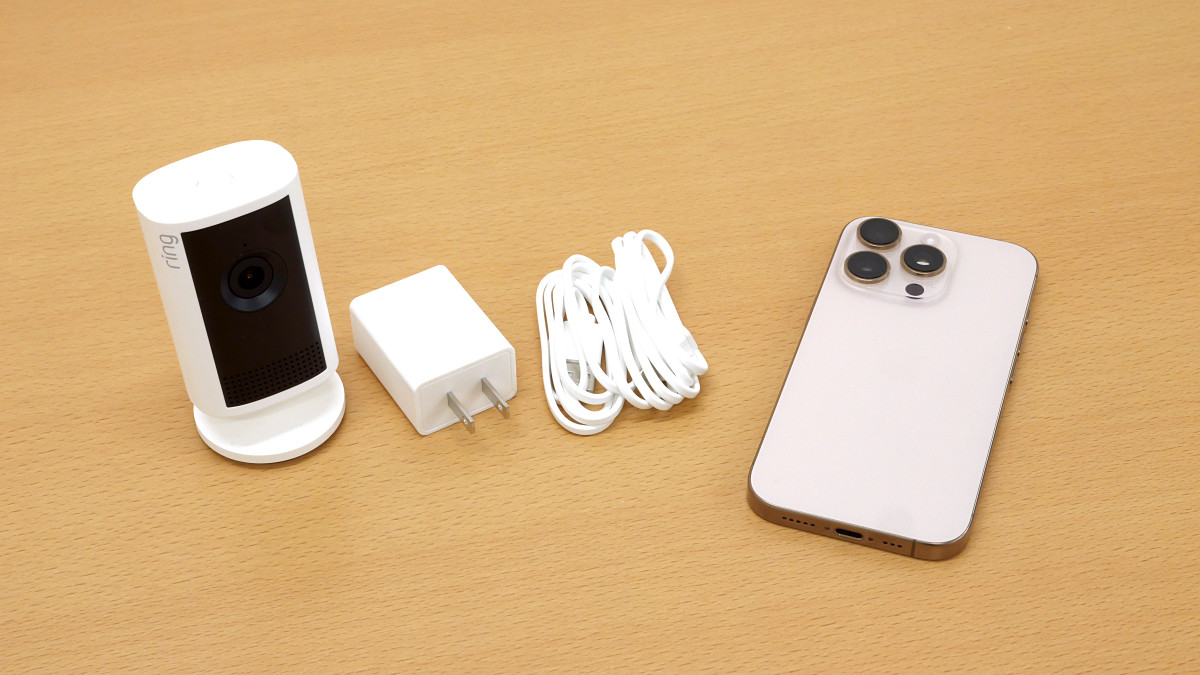
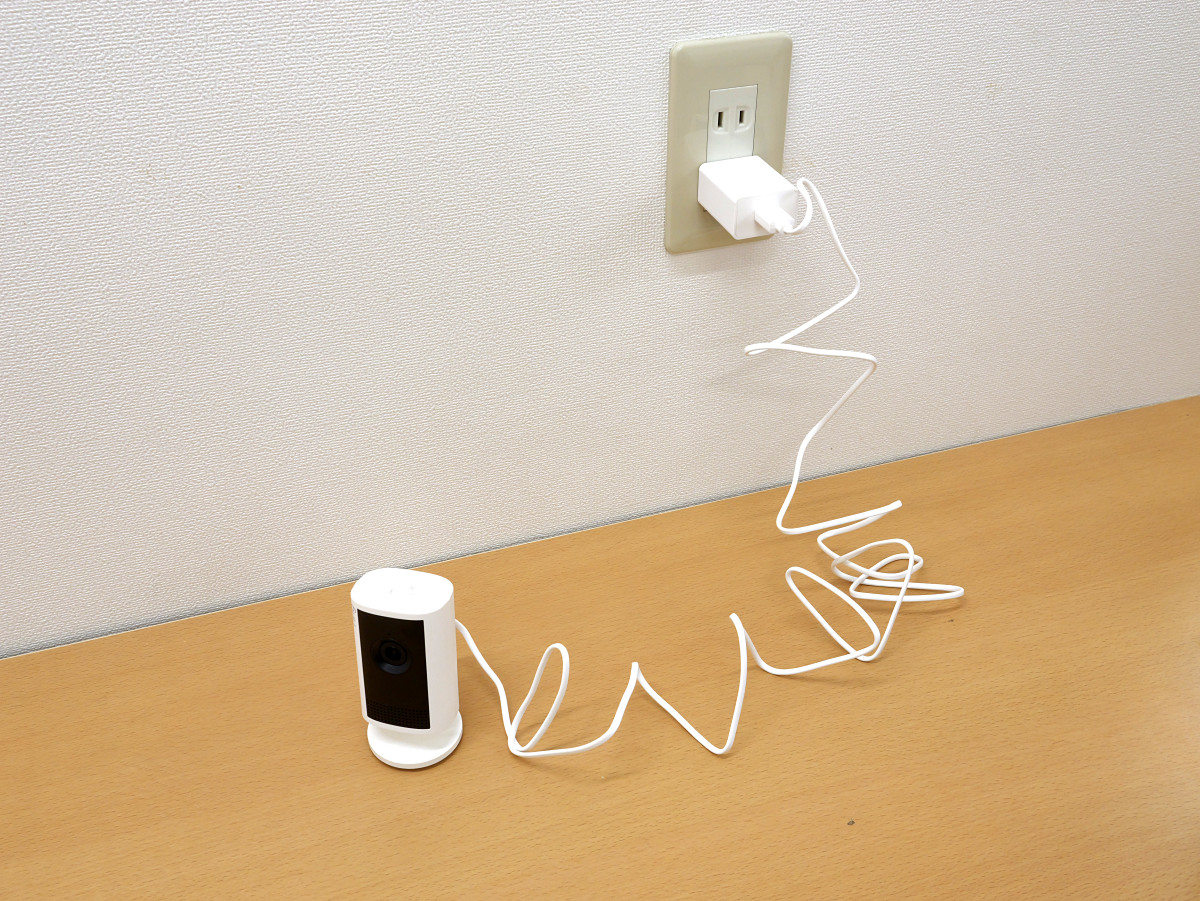
The Ring Indoor Cam Plus works in conjunction with the dedicated Ring app. To set it up, you'll need the Ring Indoor Cam Plus itself, as well as a power adapter, power cord, and a smartphone.
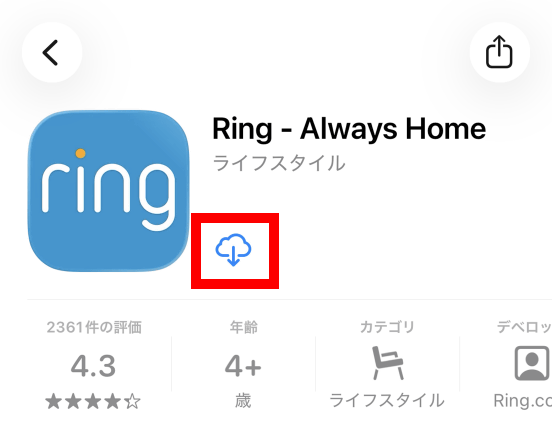
The Ring app is available for both iOS and Android . Since I'll be setting it up using an iPhone, I search for the Ring app in the App Store and install it. I'd previously installed the Ring app on my iPhone, so I tapped the cloud-shaped button to reinstall it.
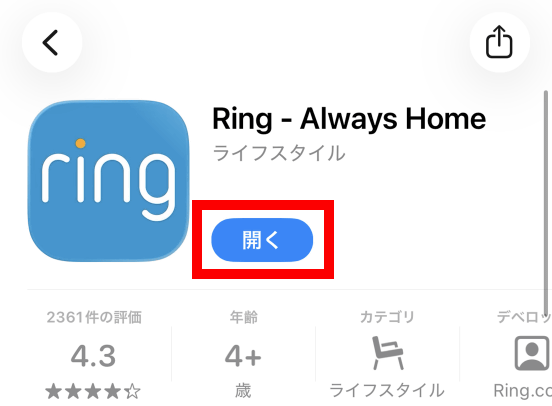
Once the installation is complete, tap 'Open.'
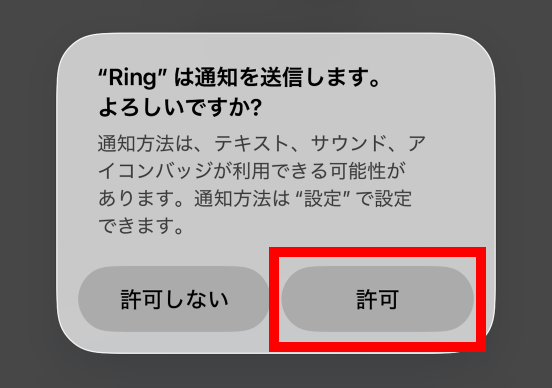
If you are asked to allow notifications, tap 'Allow.'
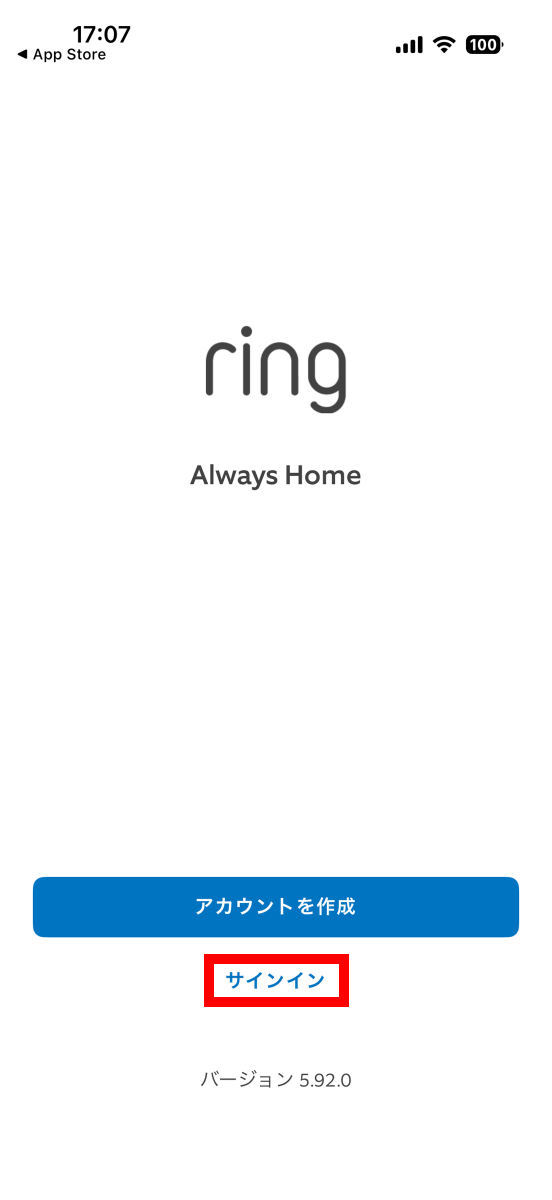
To use the Ring Indoor Cam Plus, you need a Ring account. In this case, I already had an account, so I tapped 'Sign in.' If you don't have an account, please create one by referring to our previous article .
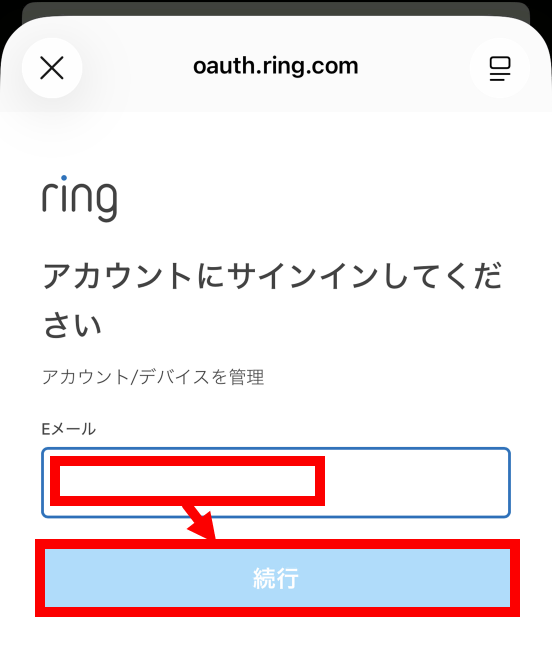
Enter your email address and tap 'Continue.'
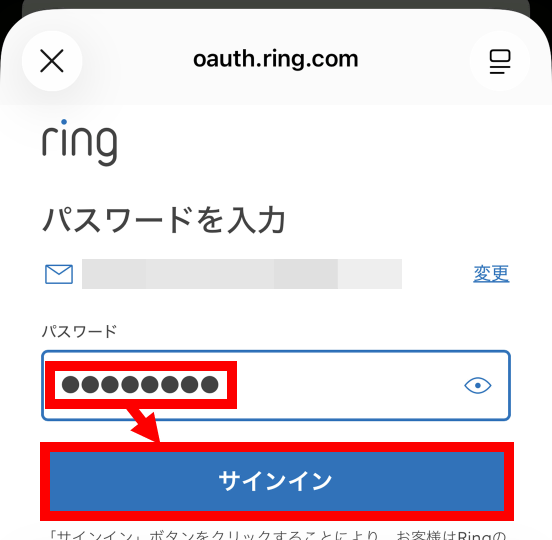
Enter your password and tap 'Sign in.'
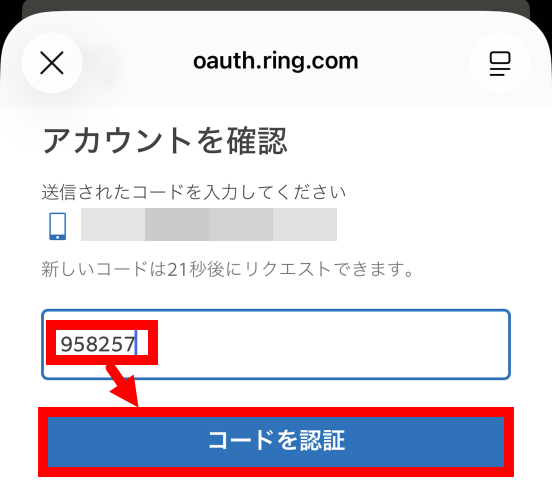
Enter the two-factor authentication code and tap 'Authenticate Code.'
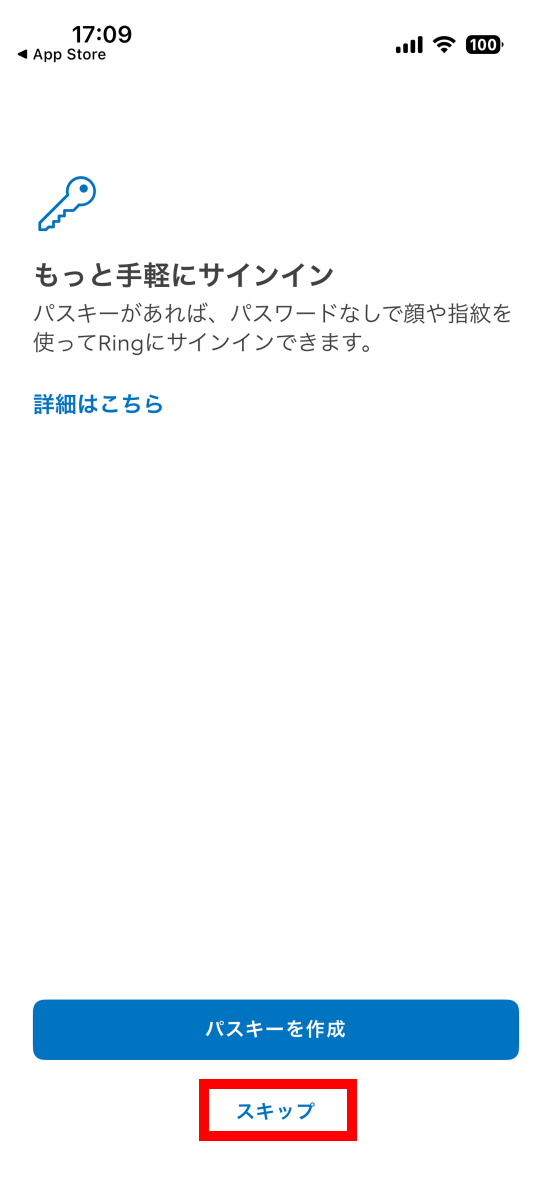
Once you've successfully signed in, you'll be prompted to create a passkey. Tap 'Skip' this time.
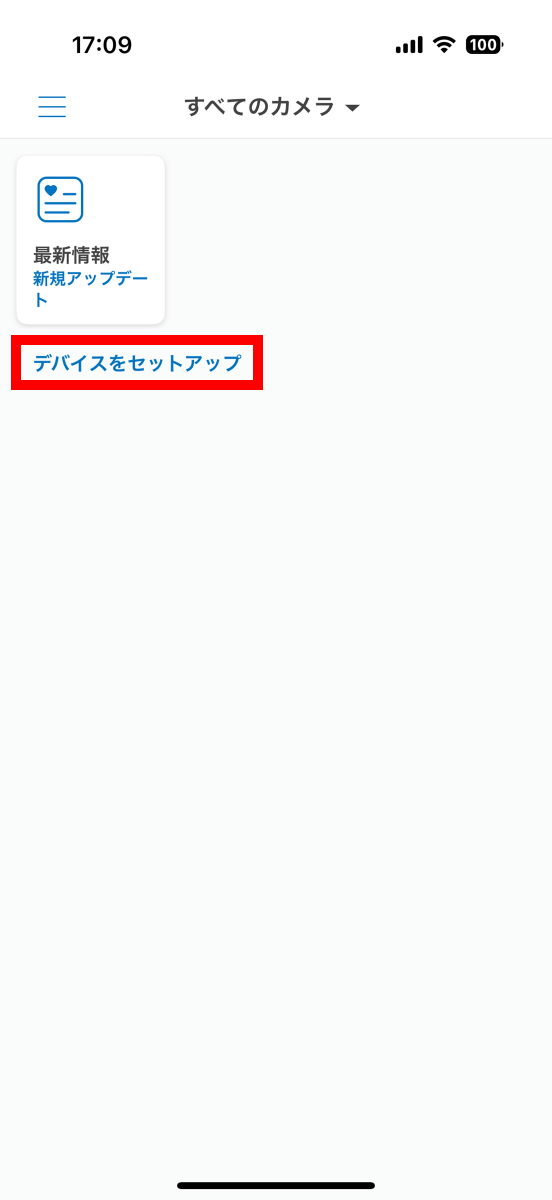
Tap 'Set up device.'
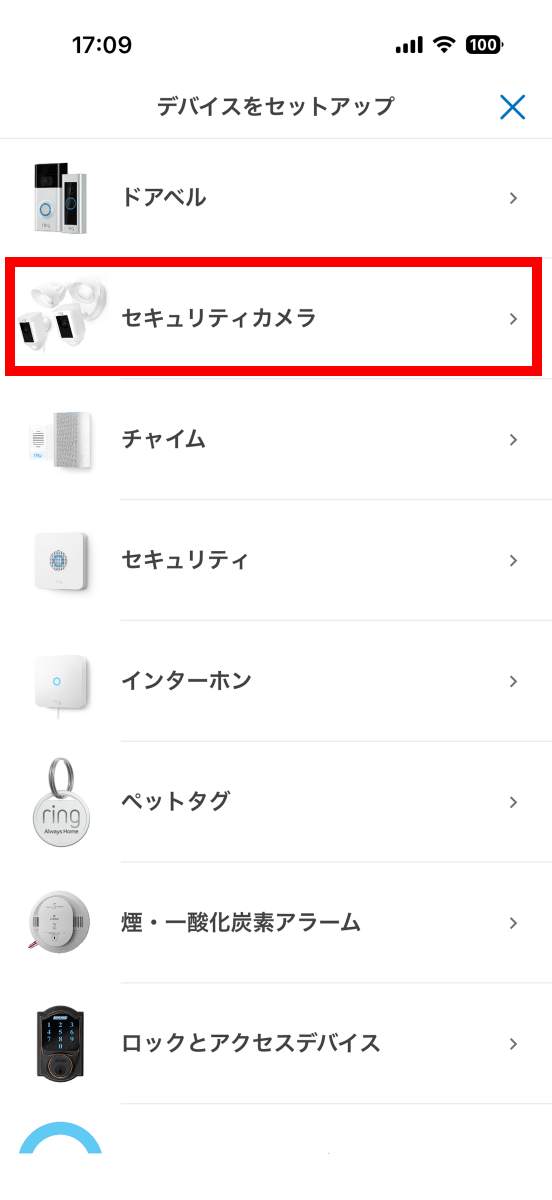
When the connection device selection screen appears, tap 'Security Camera.'
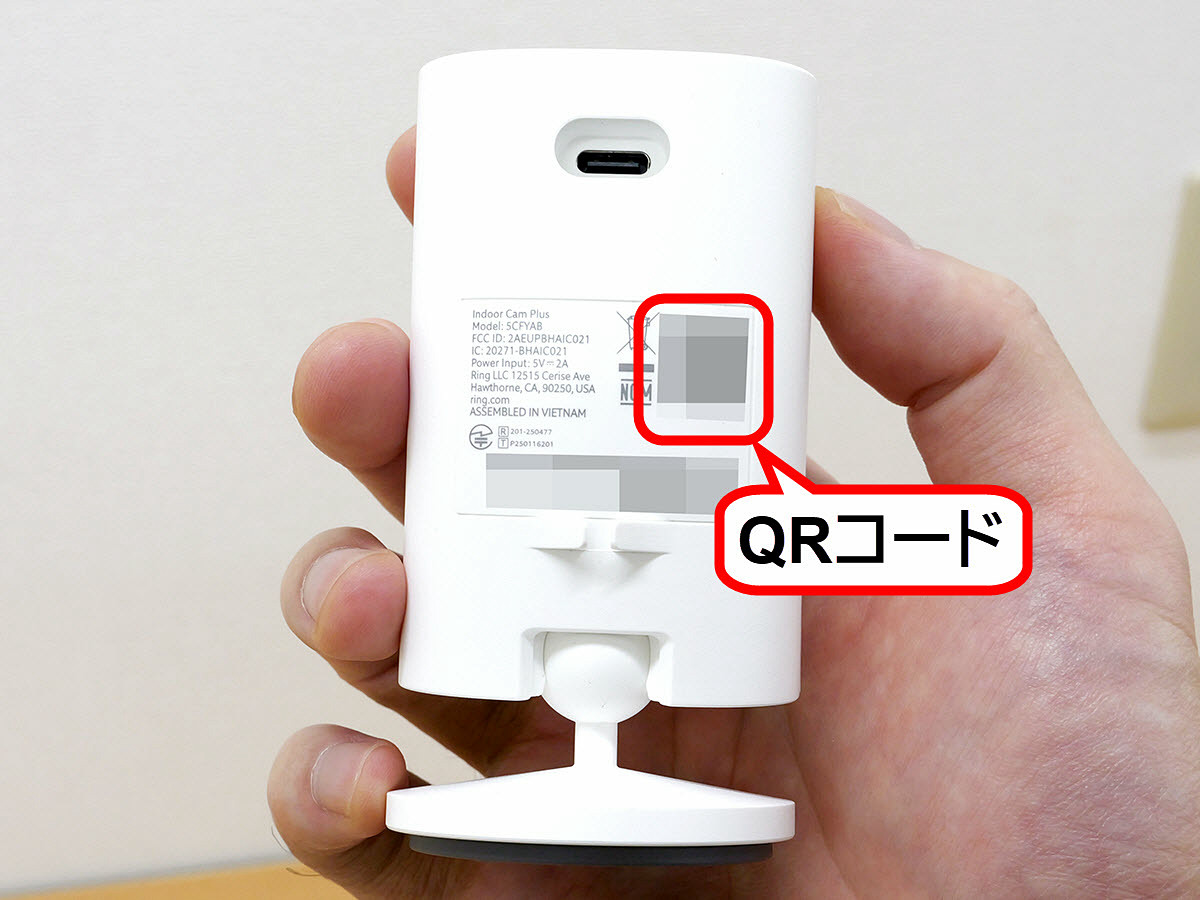
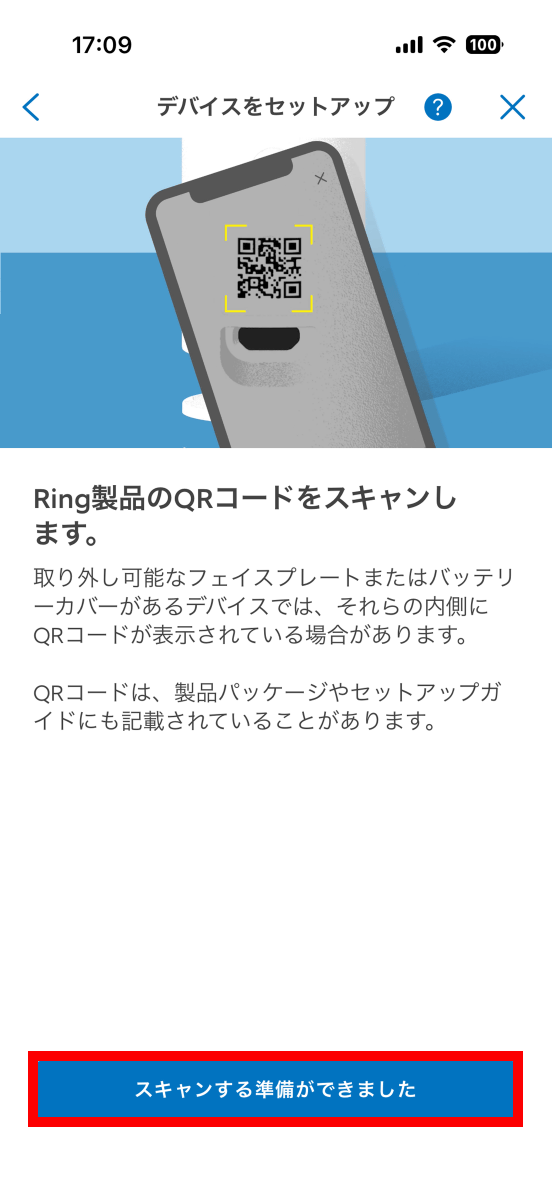
You will then be asked to scan the QR code on your Ring Indoor Cam Plus.

The QR code is printed on the back of your Ring Indoor Cam Plus.
Once you have your Ring Indoor Cam Plus ready, tap 'Ready to scan.'
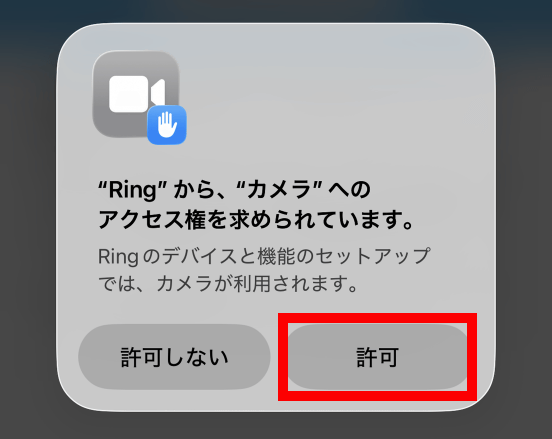
If you are asked for permission to use the camera, tap 'Allow.'
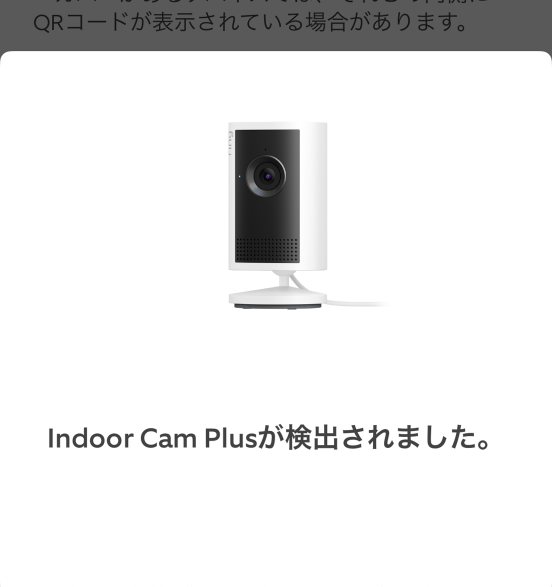
Place the QR code within the camera frame to scan it.
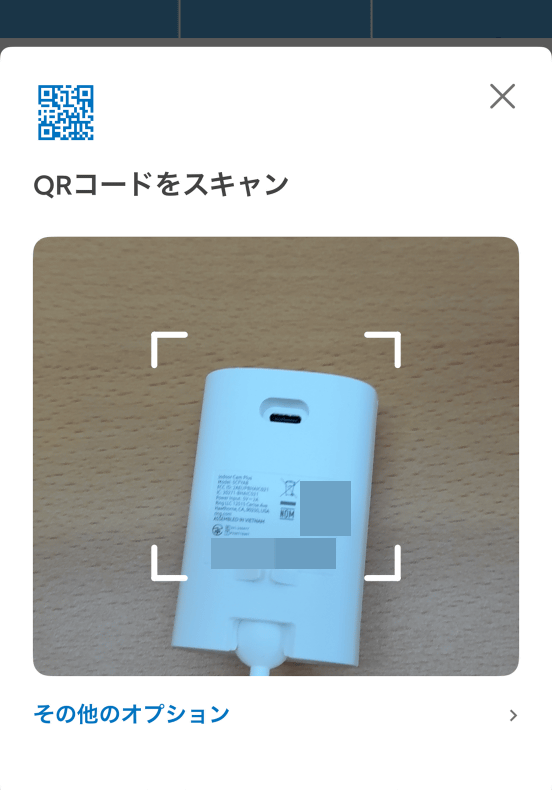
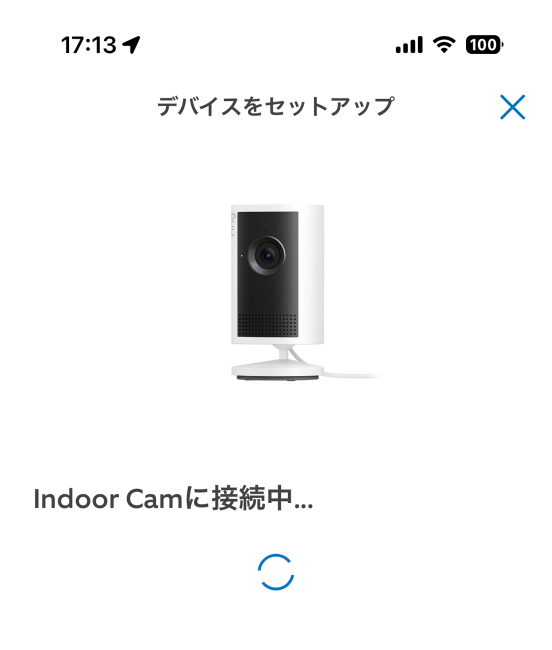
The message 'Indoor Cam Plus detected' will be displayed and the setup screen will automatically open.
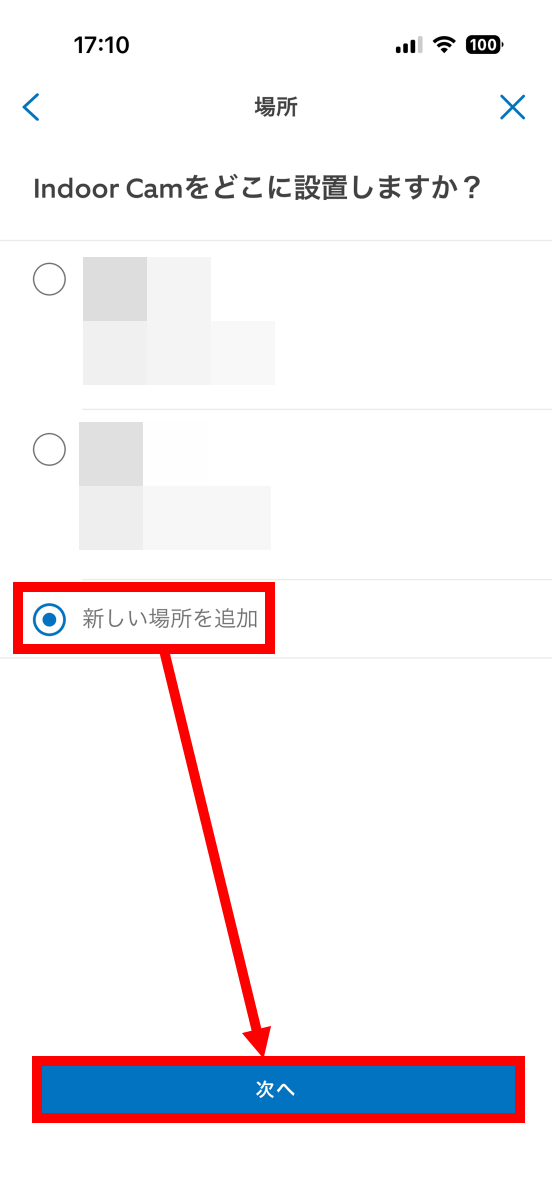
When the location setting screen appears, tap 'Add new location' and then tap 'Next.'
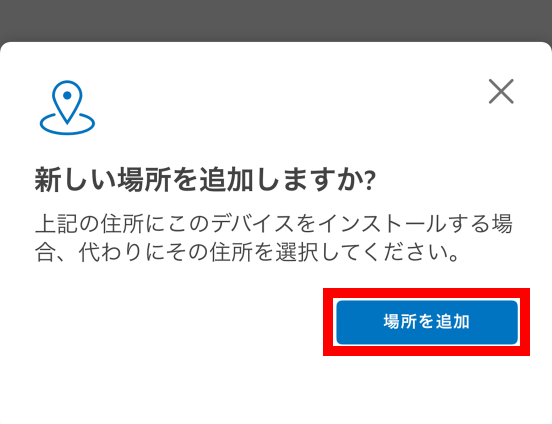
Tap 'Add location.'
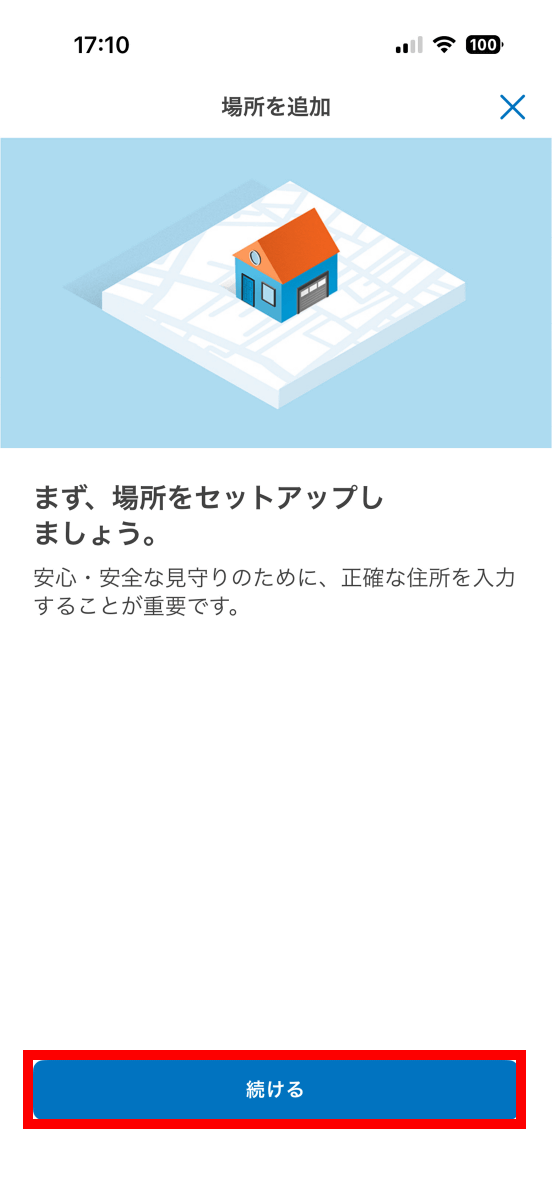
Tap 'Continue.'
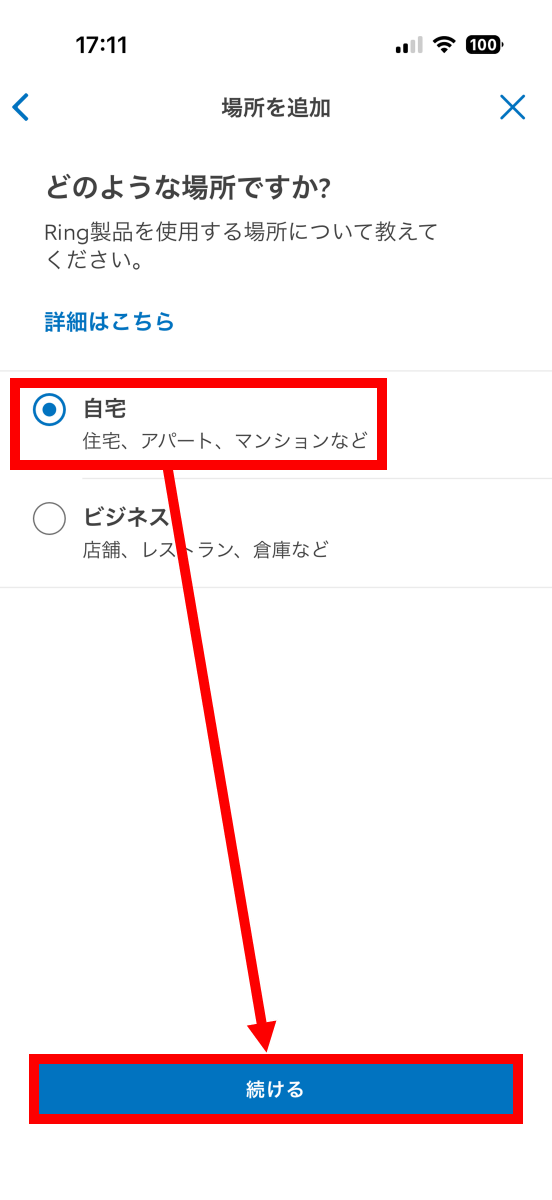
Select either 'Home' or 'Business' and tap 'Continue.'
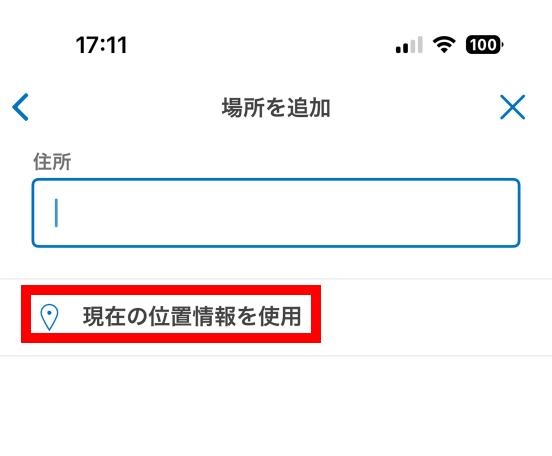
This will take you to the address entry screen. It's easier to set it based on your location, so this time tap 'Use current location.'
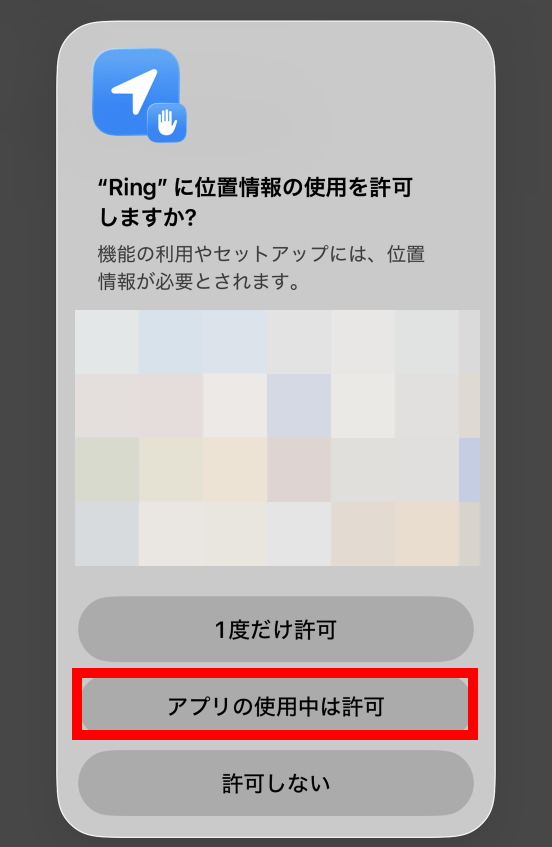
If you are asked for permission to use your location, tap 'Allow while using the app.'
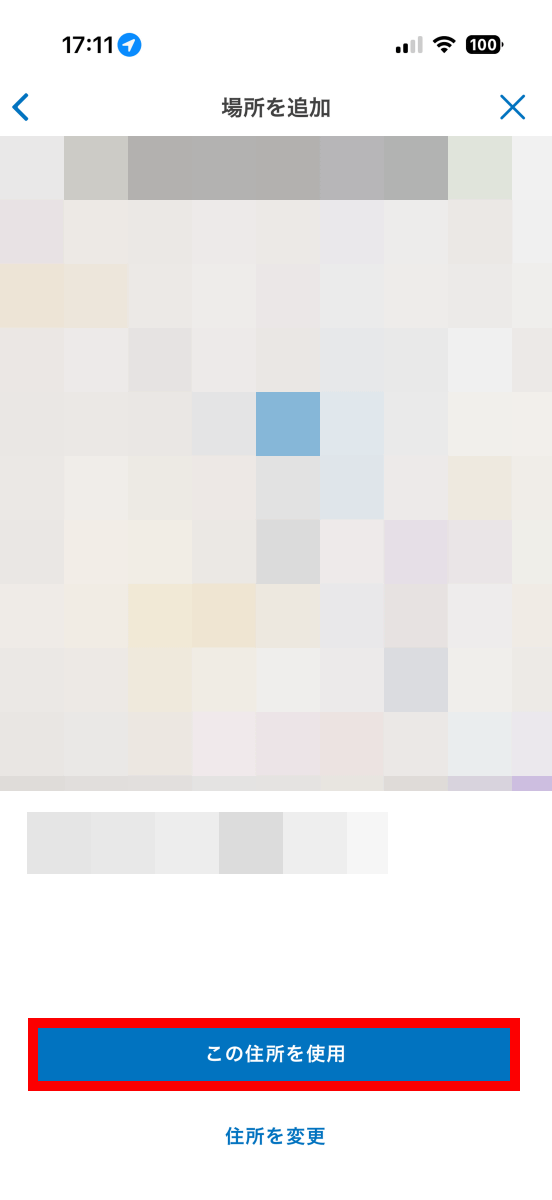
Tap 'Use this address.'
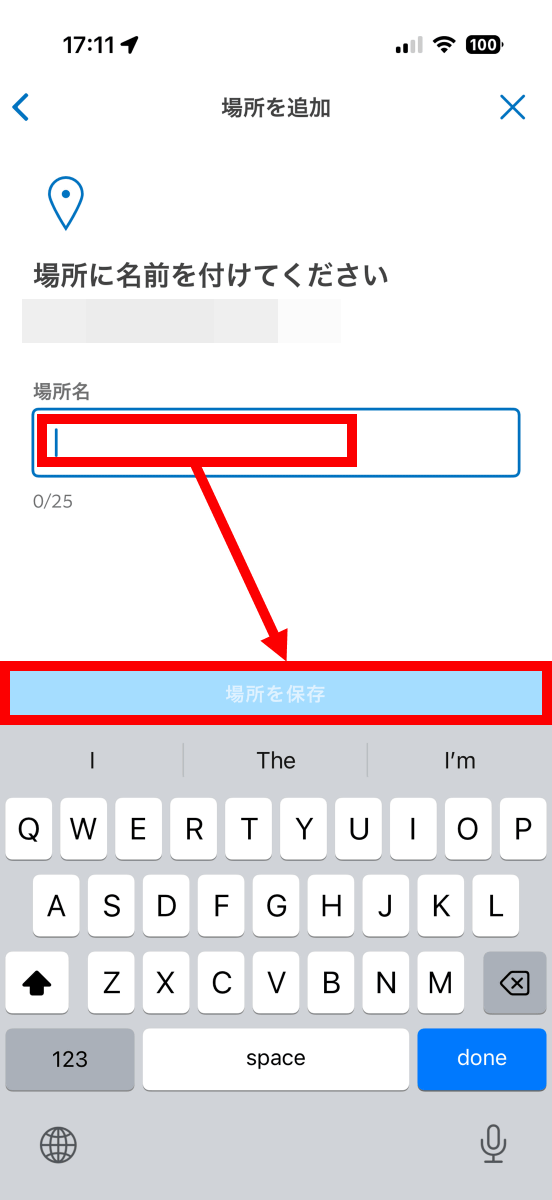
Name the place and tap 'Save Place.'
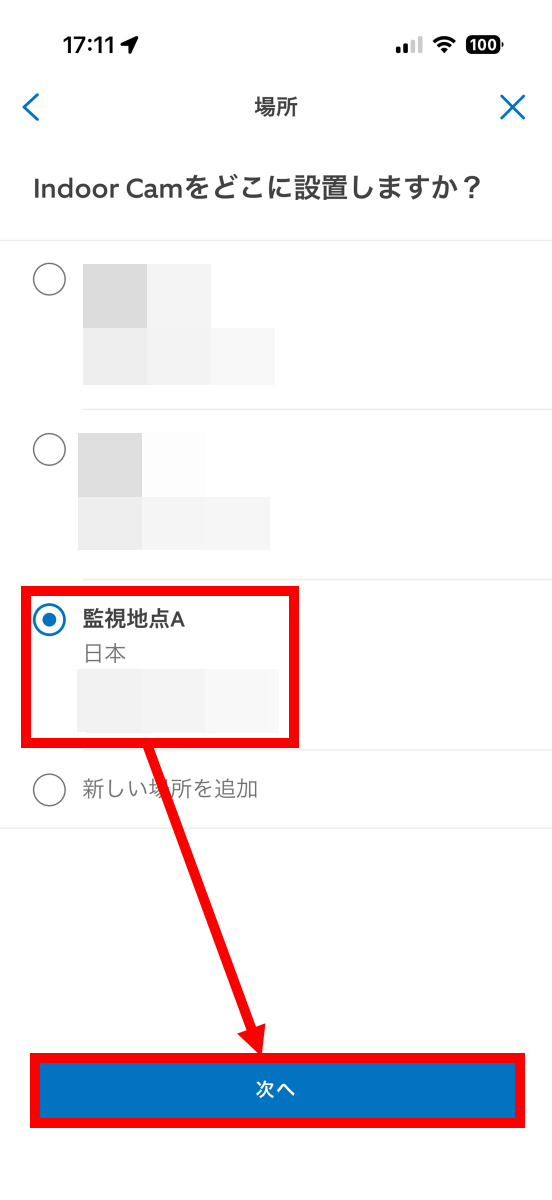
Select the location you added and tap 'Next'.
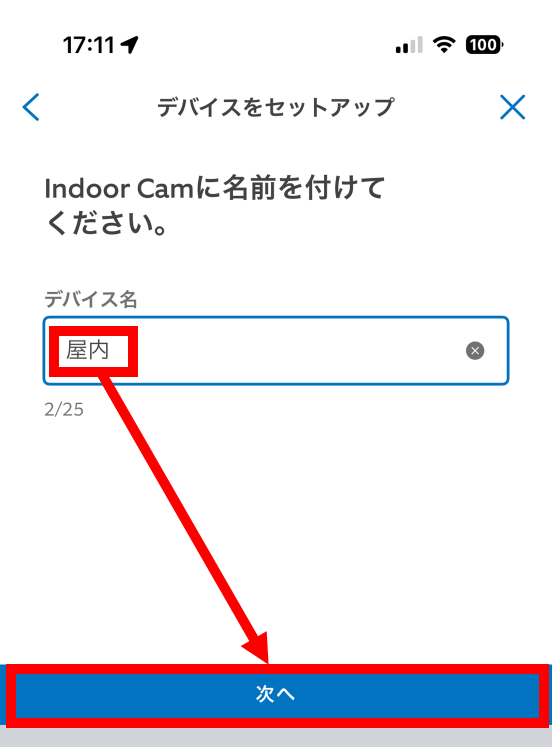
When the screen for naming your device appears, tap 'Custom.'

Give it a name of your choice and tap 'Next.'
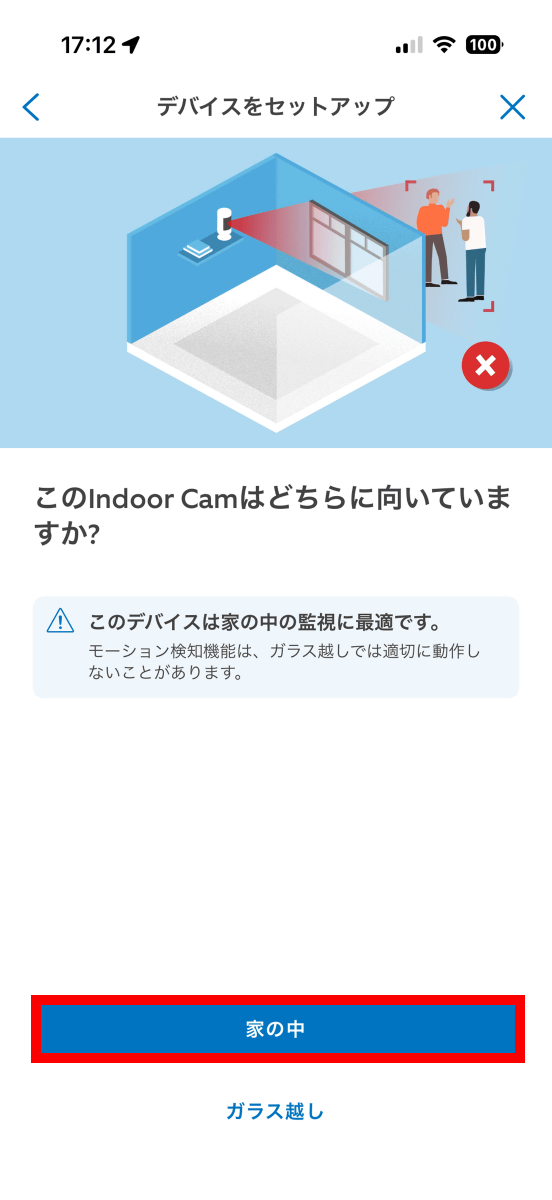
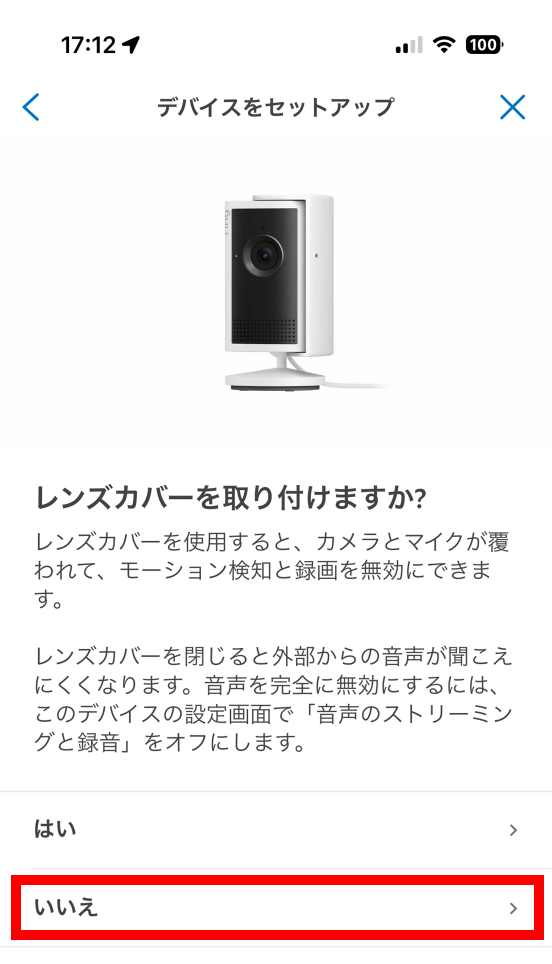
Select whether you want to install the Ring Indoor Cam Plus 'inside the house' or 'behind glass.'
Specify whether or not to use a lens cover. Since I won't be using a lens cover this time, I tapped 'No.'
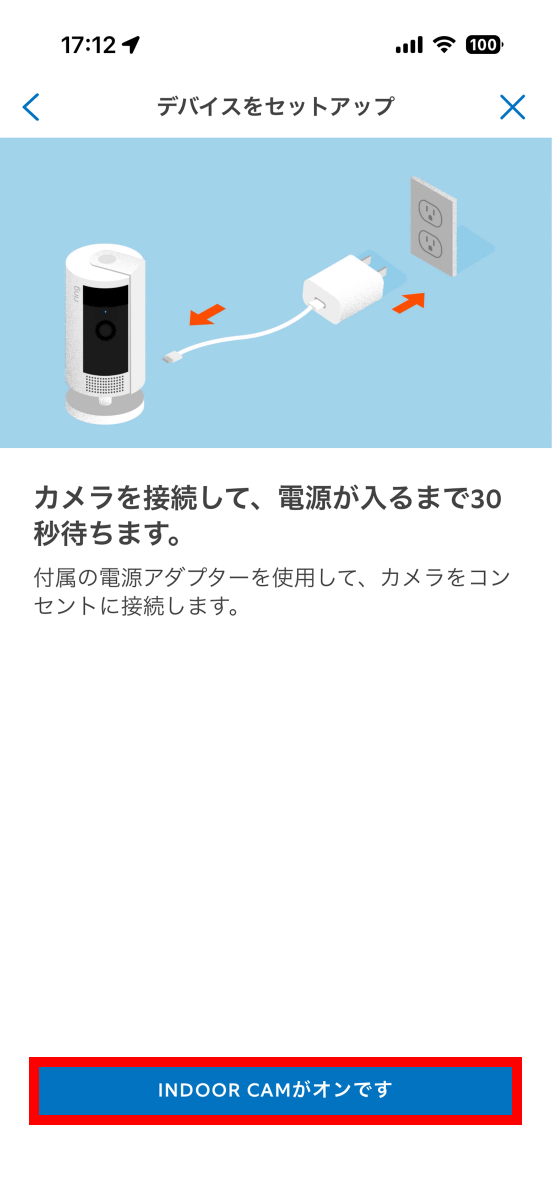
Once you've completed the steps, you'll be prompted to turn on the Ring Indoor Cam Plus.
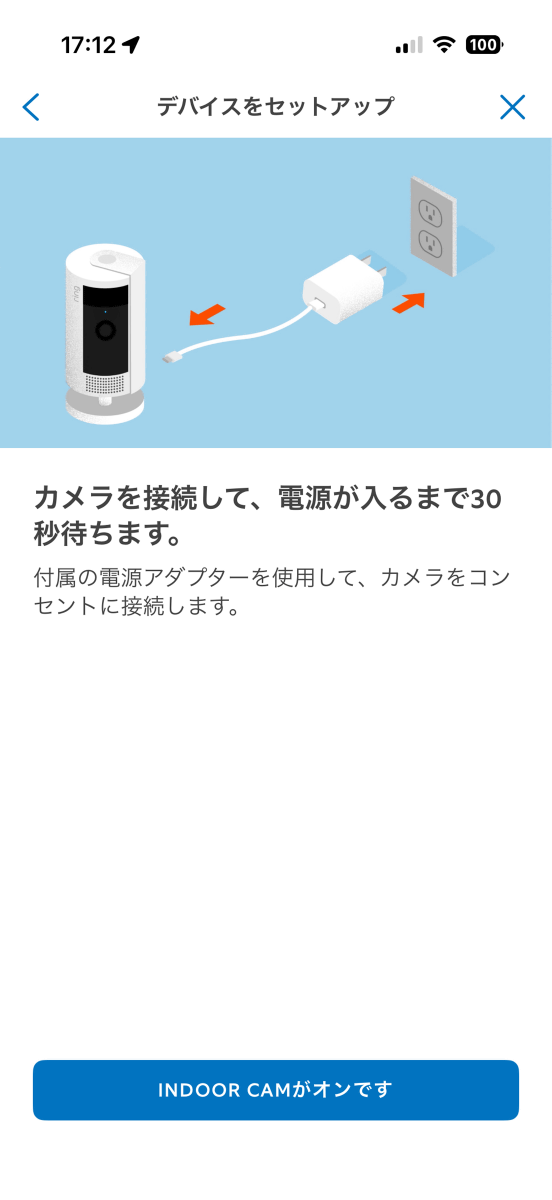
When you plug your Ring Indoor Cam Plus into a power source, it will beep after a few seconds.
When you hear a beep, tap 'INDOOR CAM is on.'
Next, the Wi-Fi network connection setup will begin. Have your Wi-Fi router password ready and tap 'I have a passcode.'
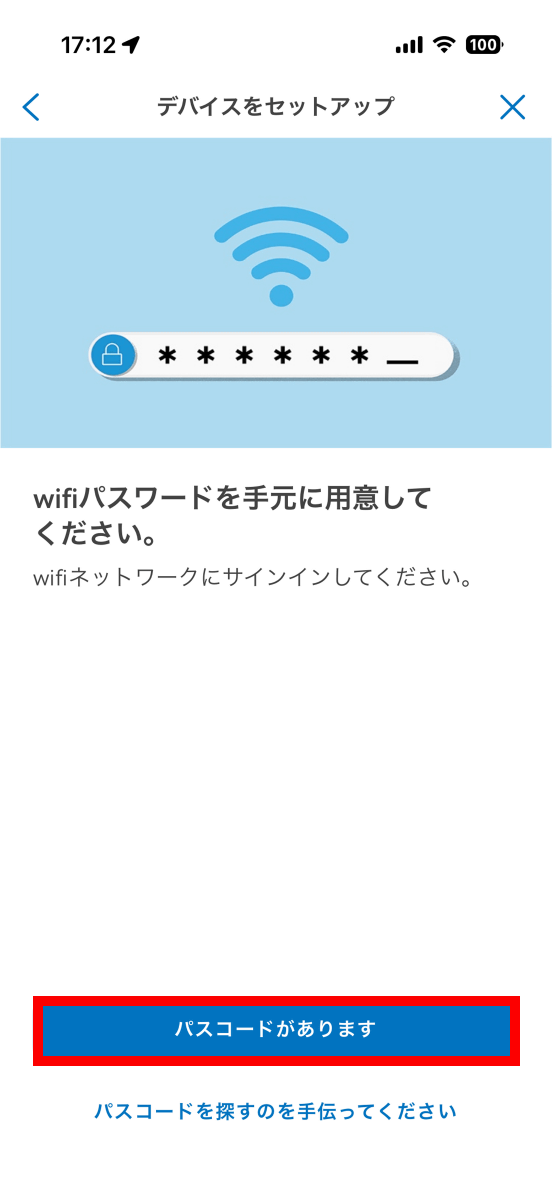
Tap 'OK'.
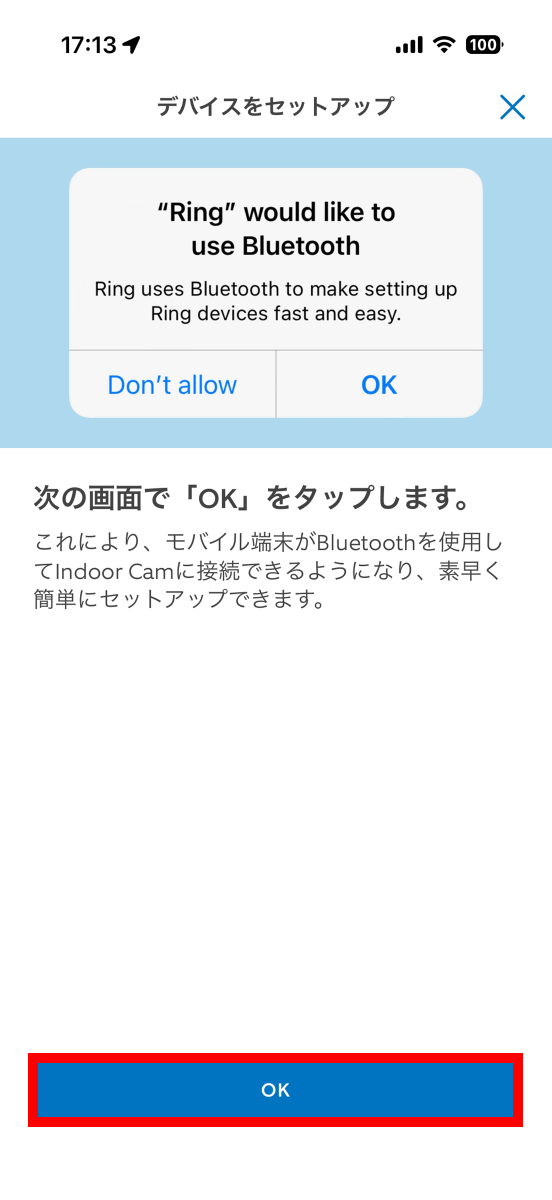
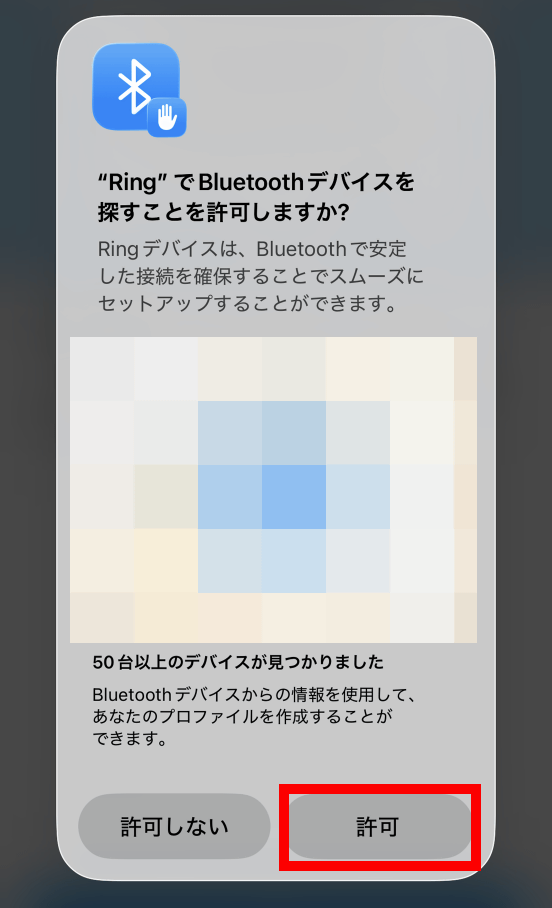
If you are asked for permission to search for Bluetooth devices, tap 'Allow.'
Tap 'Nearby device.'
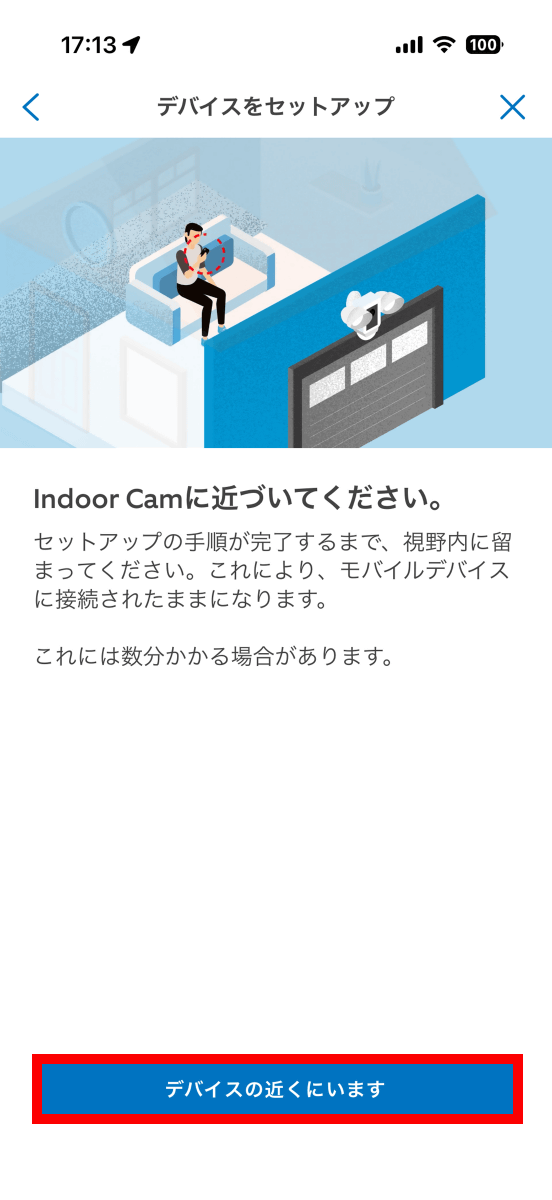
Wait for the connection.
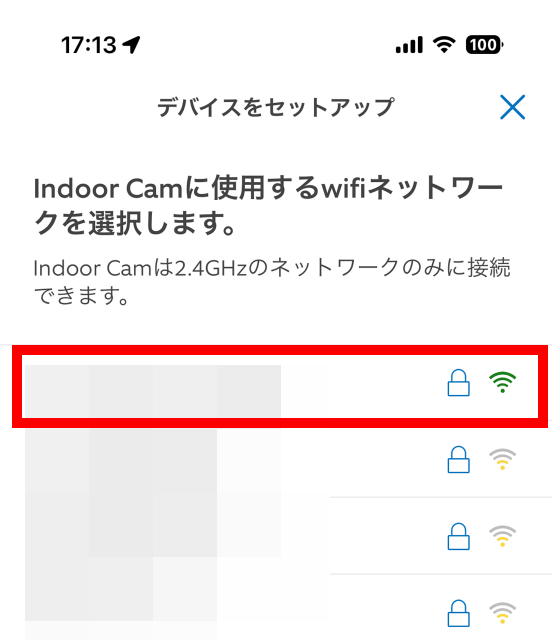
When the list of networks appears, select the network you want to connect to.
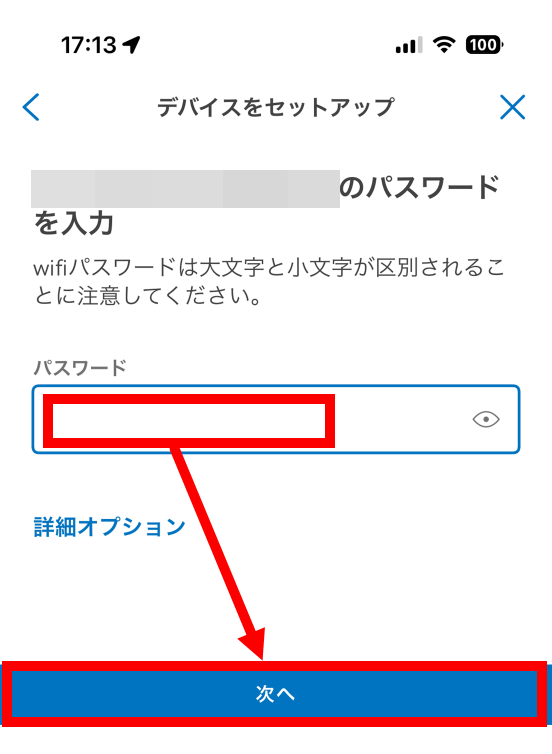
Enter your Wi-Fi password and tap 'Next.'
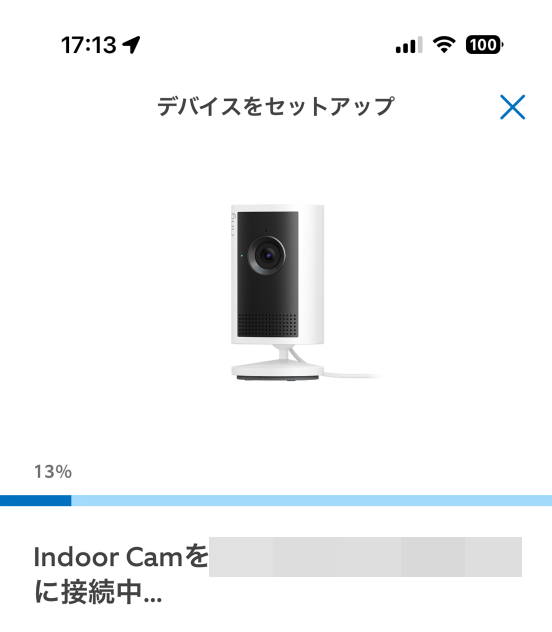
Wait a while until the connection is complete.
Wait about 10 seconds for the setup to complete, then tap 'Next'.
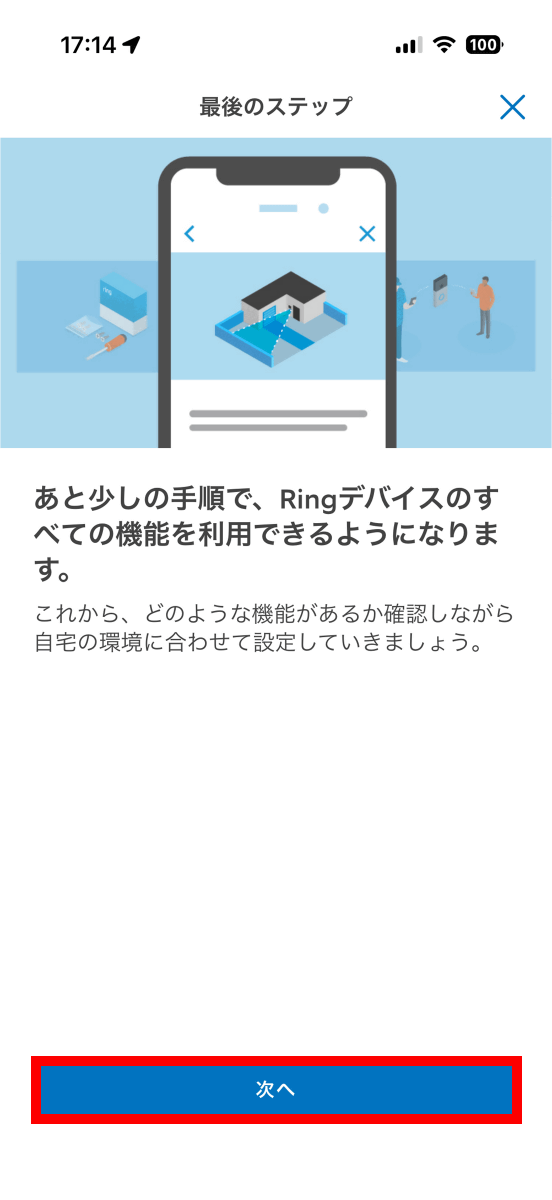
This will take you to a screen where you can configure additional settings such as Alexa. You can configure these settings later, but since you want to see what settings are available, tap 'Next.'
The Ring Indoor Cam Plus can be voice-controlled with Alexa. Since we won't be setting it up this time, tap 'Skip.'

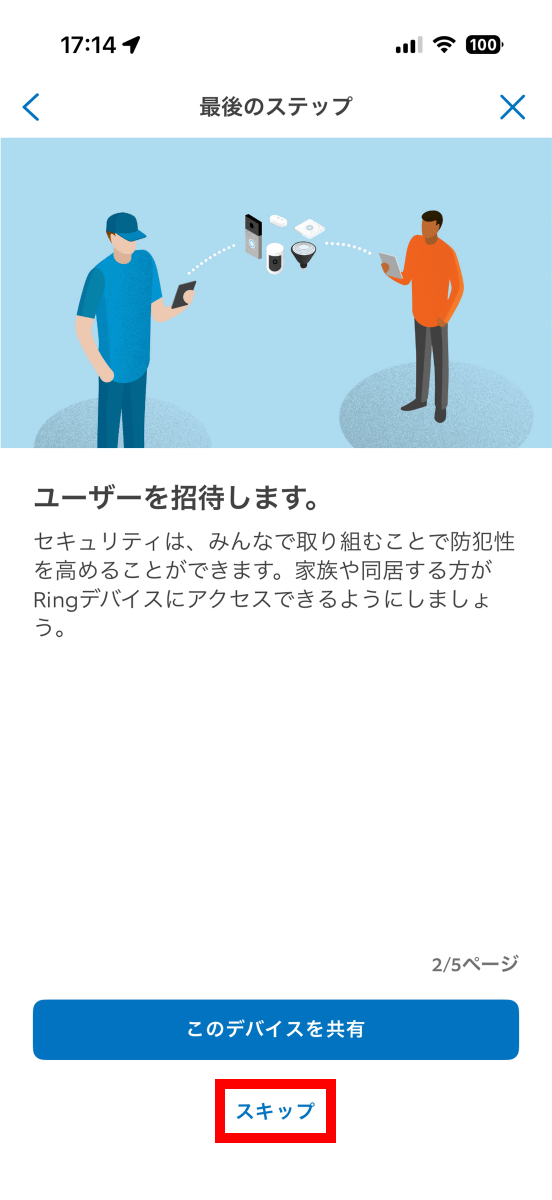
You can also invite users. Tap 'Skip.'
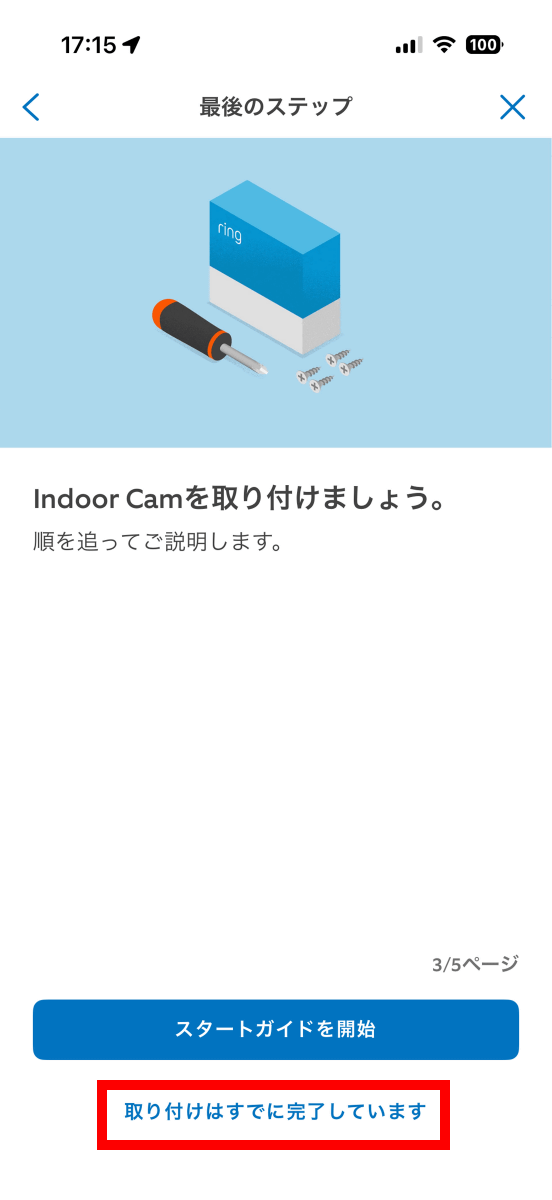
You can also check the installation method. This time, tap 'Installation has already been completed.'
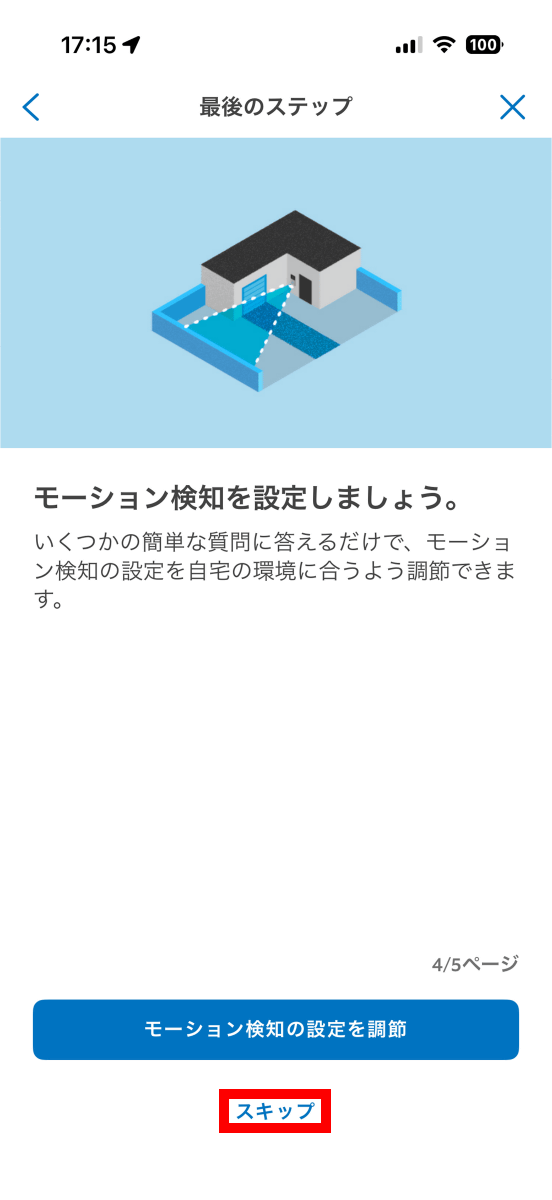
You can also customize motion detection. Tap 'Skip.'
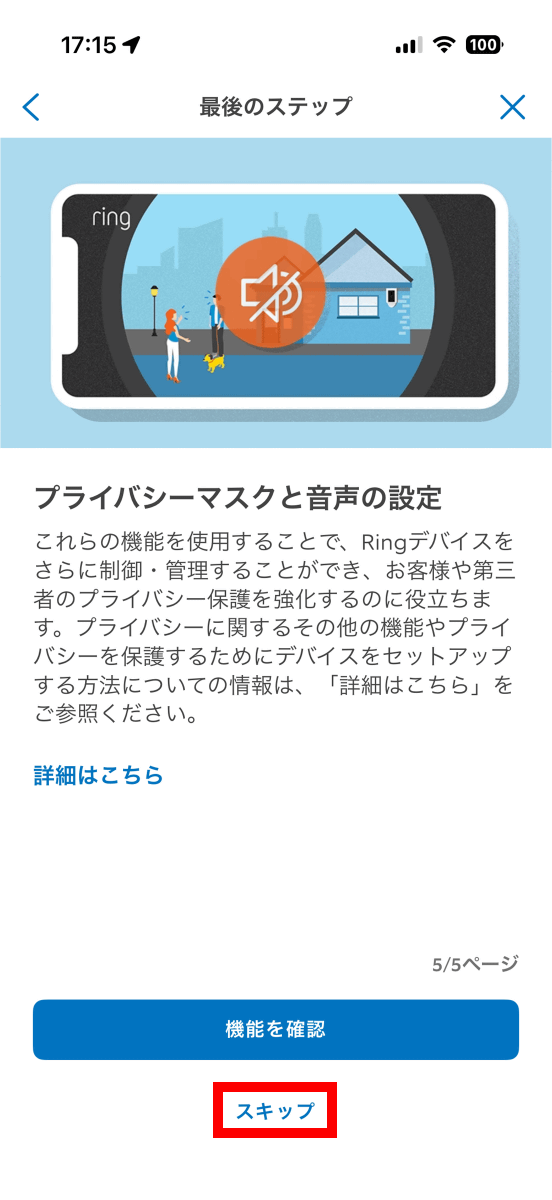
The Ring Indoor Cam Plus has a feature called 'Privacy Mask' that allows you to set areas you don't want the camera to record. Since we won't be setting this this time, tap 'Skip.'
Tap 'Done'.
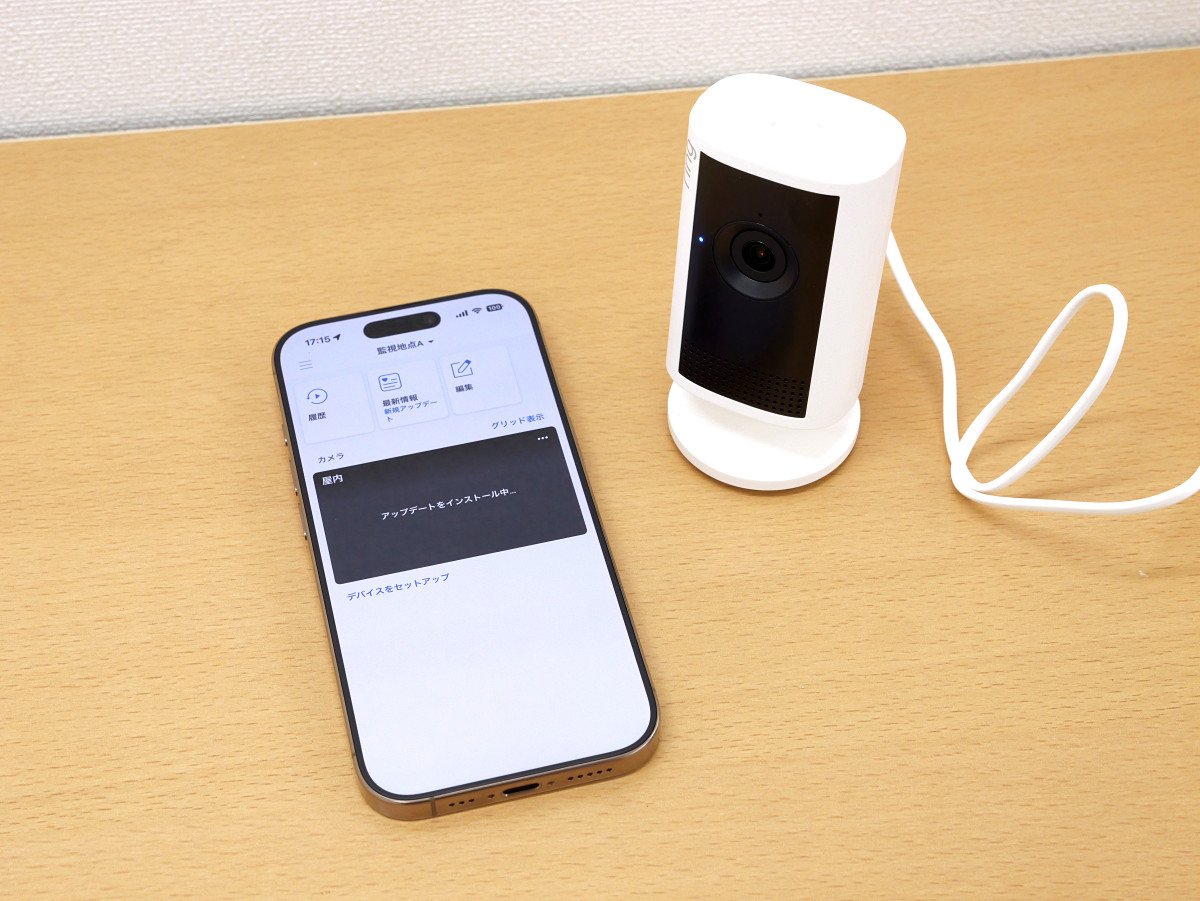
Next, the camera update will begin.
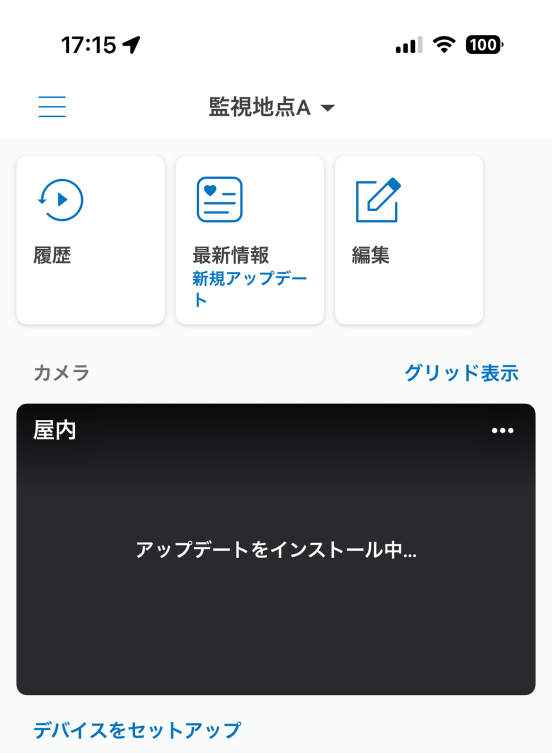
You cannot operate the device while it is updating, so please wait a while.
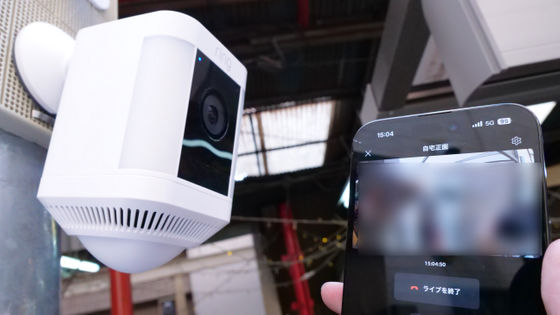
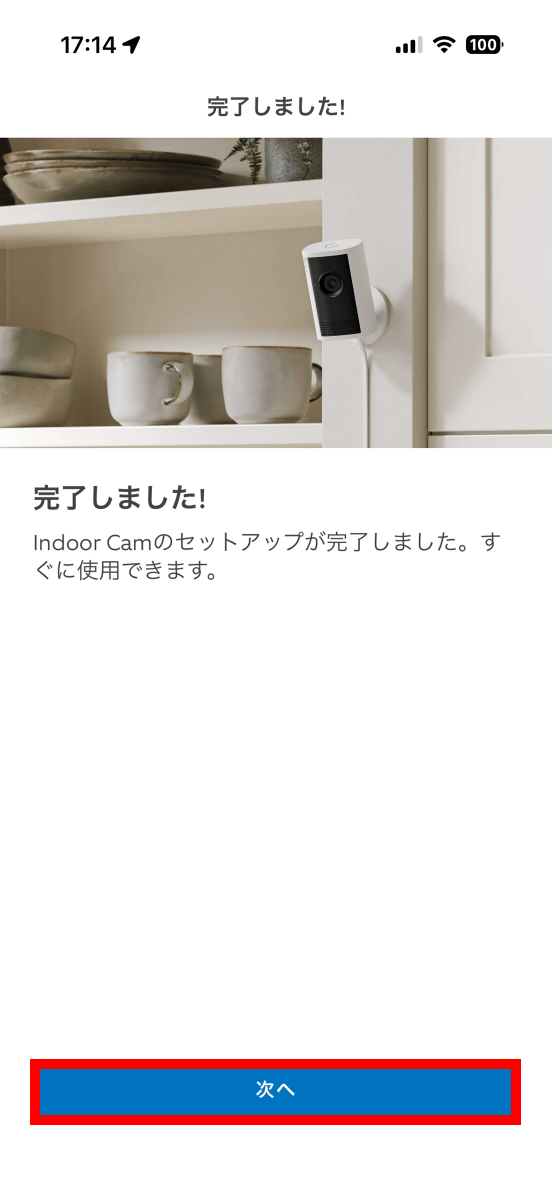
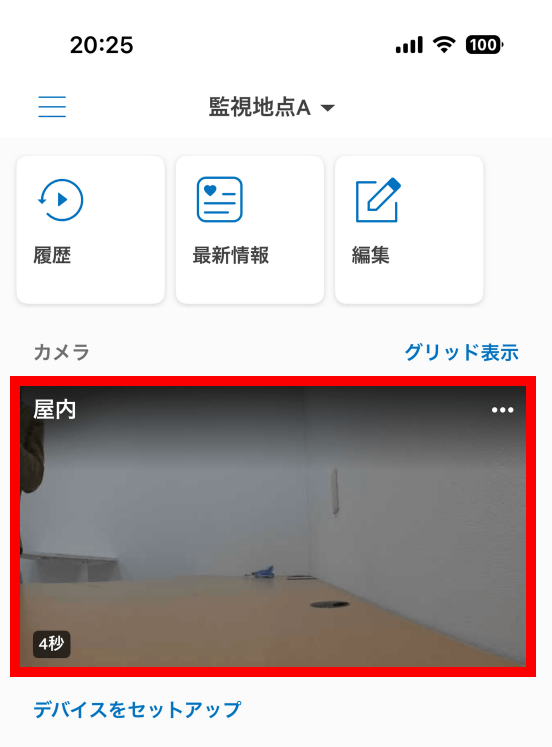
Once the update is complete, the Ring Indoor Cam Plus video will be displayed on the Ring app's home screen. However, the image displayed here is not the most up-to-date. To see the current live video, tap the image.
Tap 'Tap to start live video.'
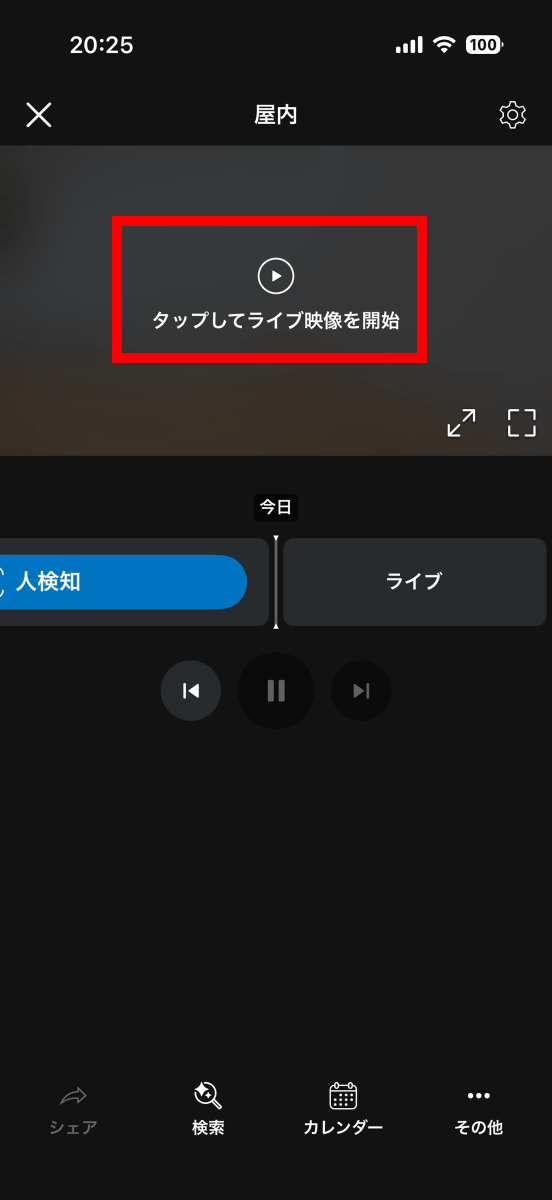
Now you can check the live video. In the setup we used, the time lag was about 3 seconds.
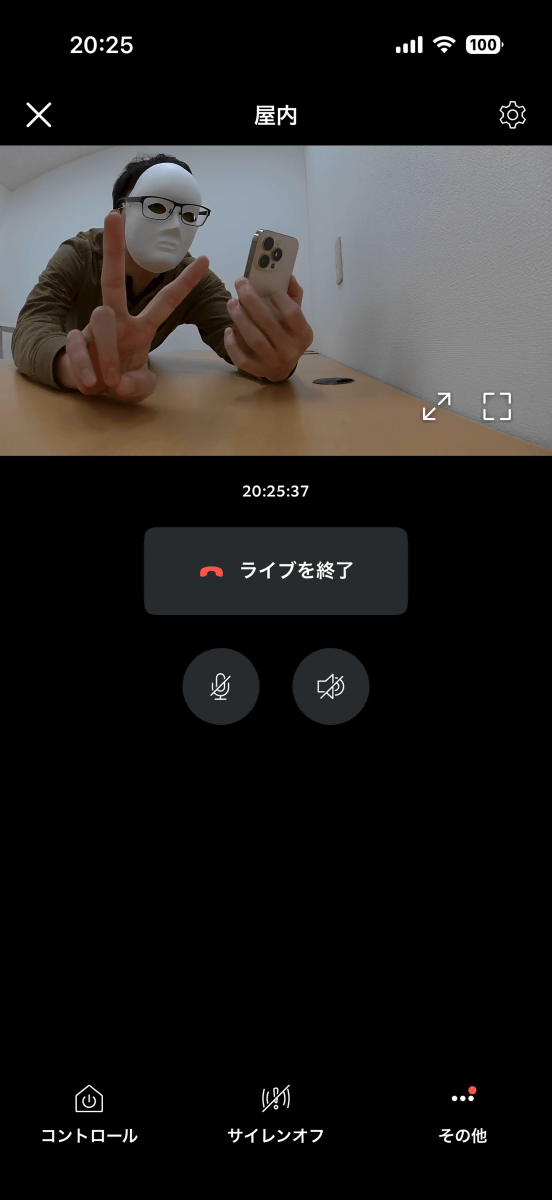
You can view it on a larger screen by turning your smartphone sideways.
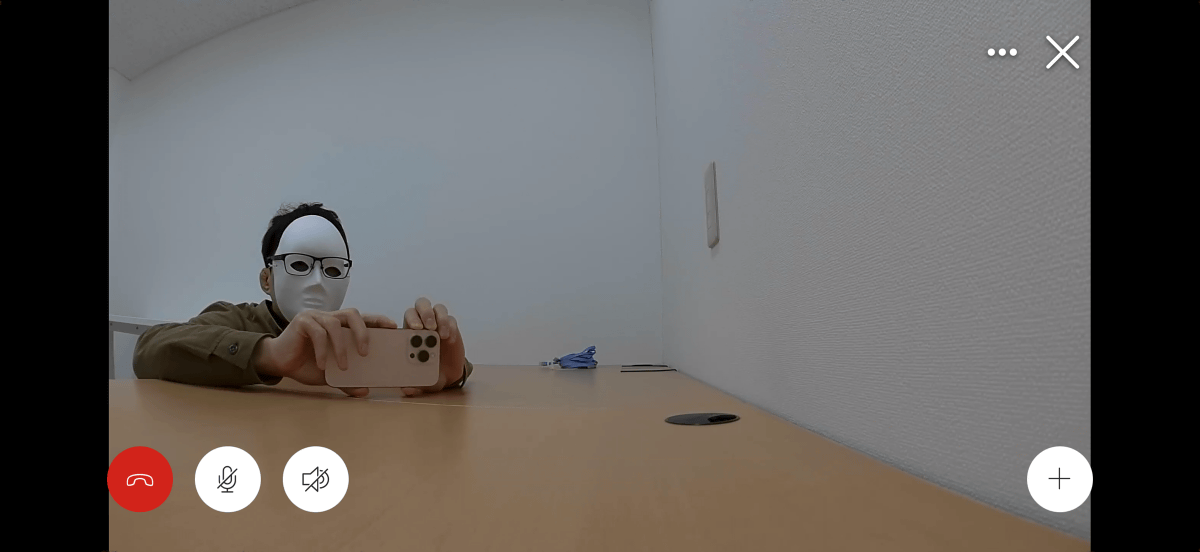
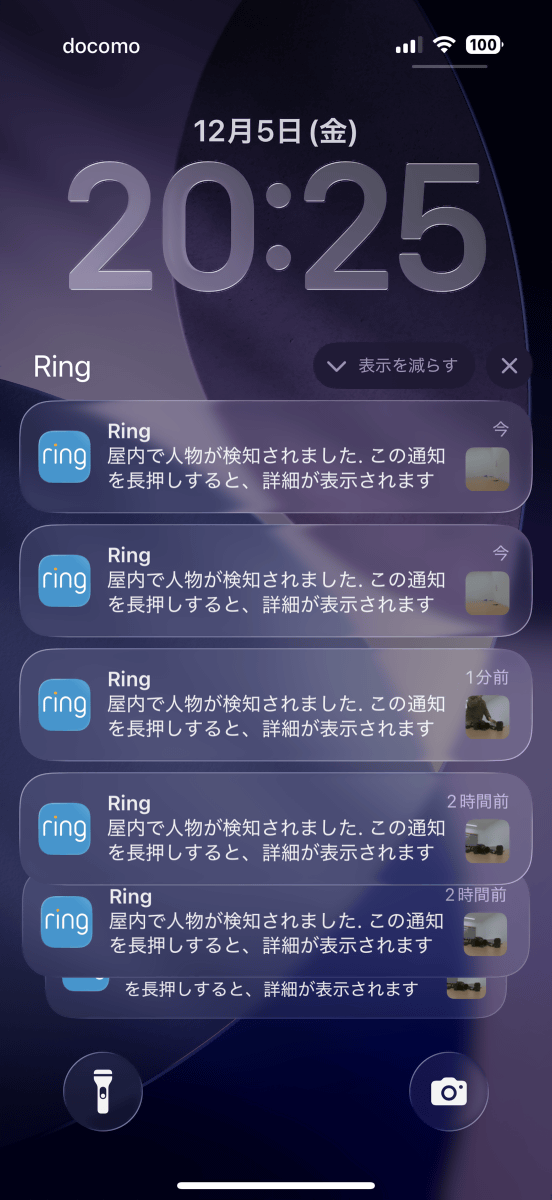
The motion detection feature is enabled by default, and you will receive a notification on your smartphone if something moves within the camera's frame.
We will review the Ring Indoor Cam Plus's voice communication and privacy masking features in more detail at a later date.
[to be continued]
Related Posts: