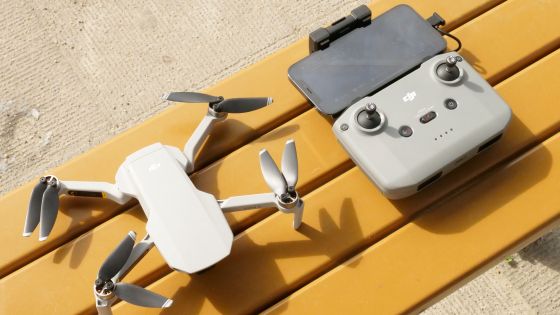
I checked the initial setting procedure and flight performance of DJI's flagship drone 'DJI Mavic 3'

The flagship machine ' DJI Mavic 3 ', which supports movie shooting at 5.1K / 50fps and has a cruising time of 46 minutes, was released by the drone maker DJI in November 2021. Since I had the opportunity to touch such 'DJI Mavic 3', I checked the
DJI Mavic 3 ――The video surpasses everything ―― DJI
https://www.dji.com/jp/mavic-3
·table of contents
◆ 1: Installation of the dedicated application 'DJI Fly'
◆ 2: Preparation before flying DJI Mavic 3
◆ 3: I checked the flight performance of DJI Mavic 3
◆ 1: Installation of the dedicated application 'DJI Fly'
To fly 'DJI Mavic 3', you need to install ' DJI Fly ', a drone management app made by DJI, on your smartphone. There are iOS version and Android version of 'DJI Fly', but this time I will use the Android version.
The iOS version of 'DJI Fly' is distributed on Apple's official app store, but the Android version is not distributed on Google Play and must be downloaded from the DJI download page. First, tap the link below to access the download page.
Mavic 3 --Download --DJI
https://www.dji.com/jp/mavic-3/downloads
After accessing the download page, scroll down and tap the button labeled 'Download for Android'.

When the following dialog is displayed, tap 'Continue Download' ...

Tap 'Open' when the download is complete.

Then, you will be asked to change the settings, so tap 'Settings'.

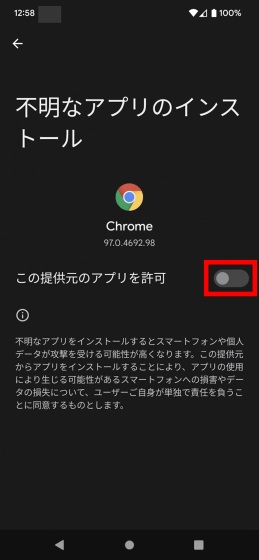
When the setting screen opens, turn on the toggle switch in the part marked 'Allow this provider's app'.
Finally, you will be asked if you want to install it, so tap 'Install'.

When the installation is complete, tap 'Open' to launch 'DJI Fly'.

When you launch 'DJI Fly' for the first time, you will be asked to agree to the terms of use and privacy policy, so read it carefully and then tap 'Agree'.

Next, you will be asked for permission for various access, so tap 'Set All'.

You will be asked to access the location information to check the no-fly zone and control the location, so tap 'Only when using the app'.

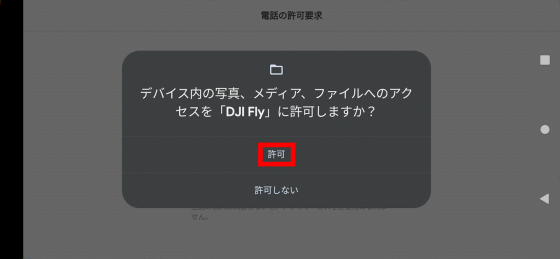
Tap 'Allow' when prompted to access the files on your device.
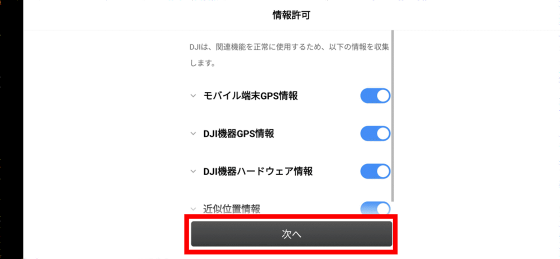
Next, you will be asked for permission to collect GPS information and hardware information, so tap 'Next' without making any changes.
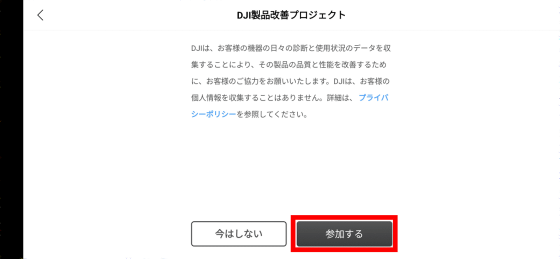
In addition, I was asked to participate in a product improvement project, so I chose 'participate' this time.
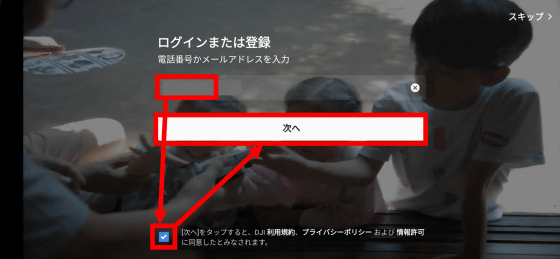
You will then be asked to log in with your DJI account. I used to create an account when I reviewed the small drone '
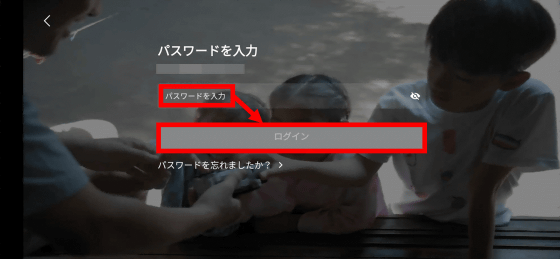
After that, enter the password and tap 'Login' ...
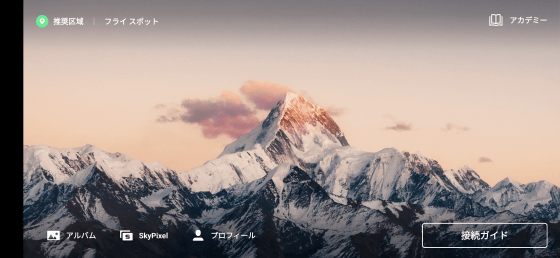
The top screen of 'DJI Fly' is displayed.
◆ 2: Preparation before flying DJI Mavic 3
Now that the installation of 'DJI Fly' is complete, connect 'DJI Mavic 3' and 'DJI Fly'. Before making the connection, first charge the battery and transmitter.

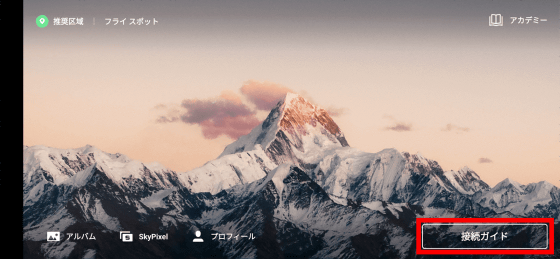
You can check the connection procedure between 'DJI Mavic 3' and 'DJI Fly' by tapping 'Connection Guide' on the top screen of 'DJI Fly'.
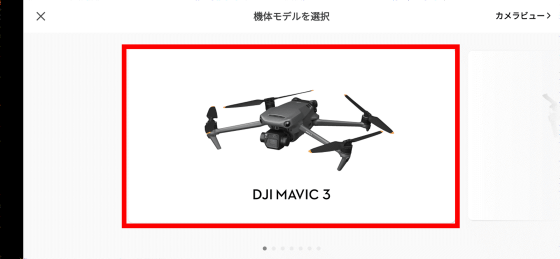
When the model list is displayed, find and tap 'DJI Mavic 3'.
You will then be asked to turn on the transmitter and connect it to your smartphone.
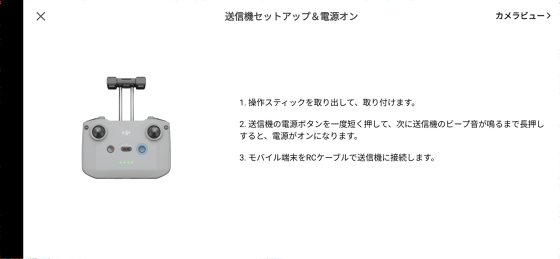
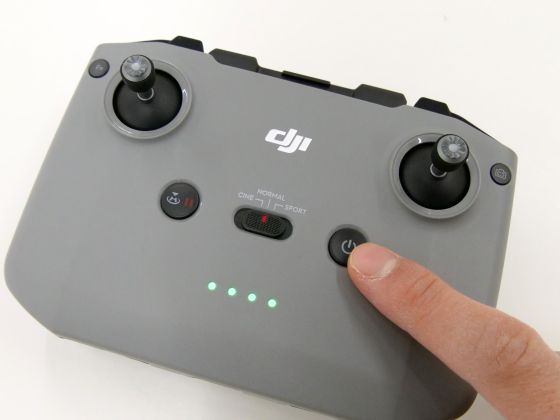
Follow the instructions to turn on the transmitter. To power the transmitter, press the power button once briefly and then press and hold it for a few seconds.
When the power is turned on, connect the smartphone running 'DJI Fly' with the attached cable ...
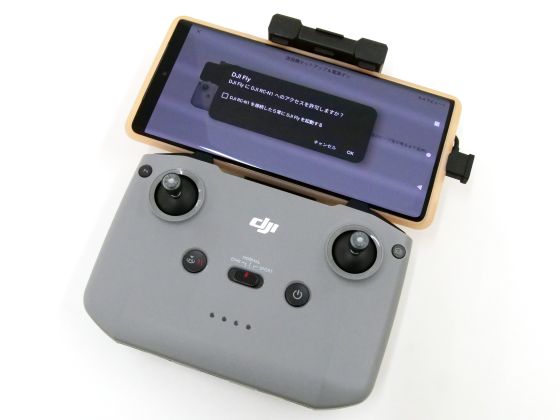
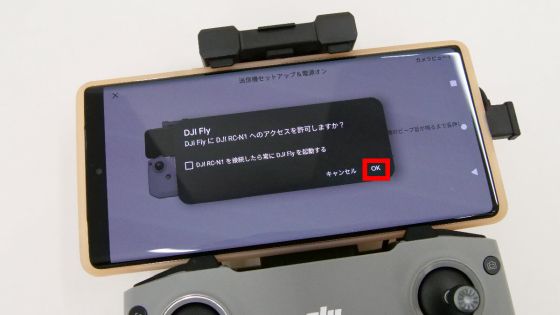
When the dialog asking for permission is displayed, tap 'OK'.
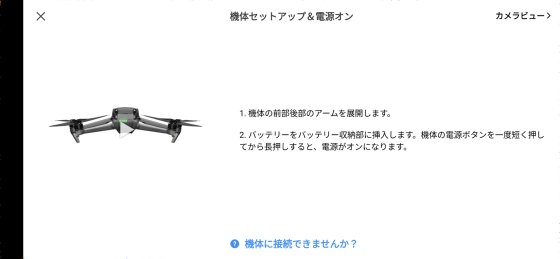
Once the transmitter and smartphone are ready, you will be asked to turn on the DJI Mavic 3 itself ...
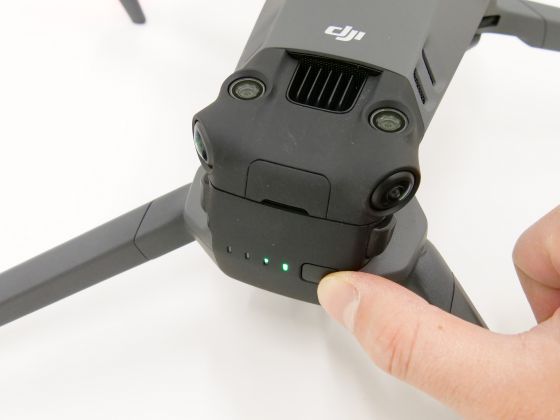
Attach the battery to the main unit ...
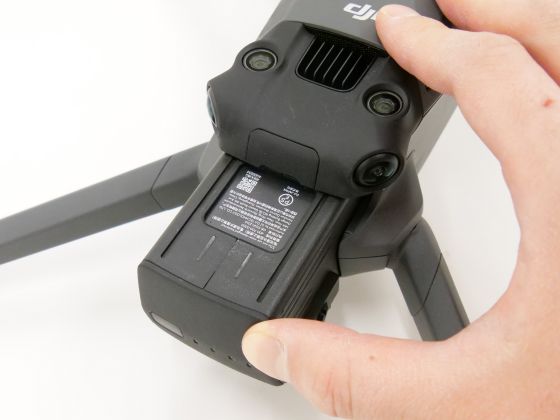
Press the power button twice, just like the transmitter, to turn it on.
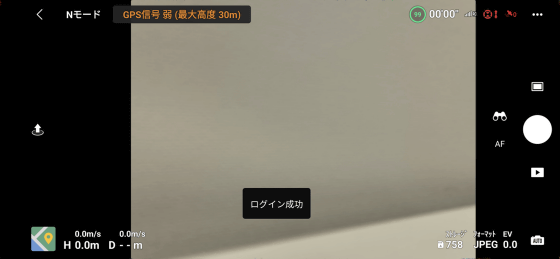
When the DJI Mavic 3 main unit, transmitter, and smartphone are all ready, the images taken by the main unit camera will be displayed on the smartphone in real time. You can basically operate the takeoff and landing of 'DJI Mavic 3' and shooting movies and photos from your smartphone.
◆ 3: I checked the flight performance of DJI Mavic 3
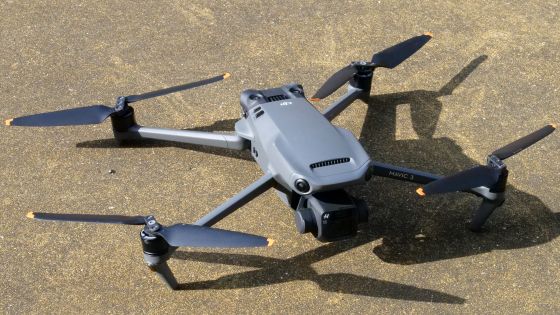
Now that I'm ready to fly the 'DJI Mavic 3', I took it outdoors and tried it out.
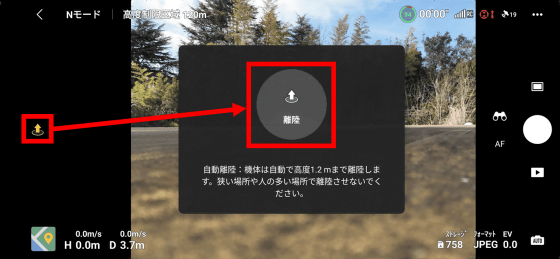
To take off 'DJI Mavic 3', tap the takeoff button displayed on the left side of the smartphone, and then press and hold the button displayed in the center.
When landing, just like when taking off, press the button twice to land slowly.
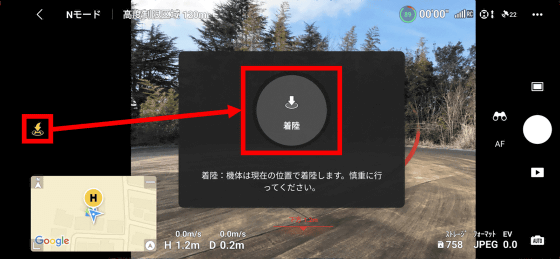
You can see how the 'DJI Mavic 3' actually takes off and landing in the following movie.
'DJI Mavic 3' has three types of flight modes such as normal sports cinema, and the mode can be switched with the switch in the center of the transmitter. Obstacle detection is effective in normal mode, enabling safe flight. In sport mode, obstacle detection is disabled, but flight speed is significantly increased.
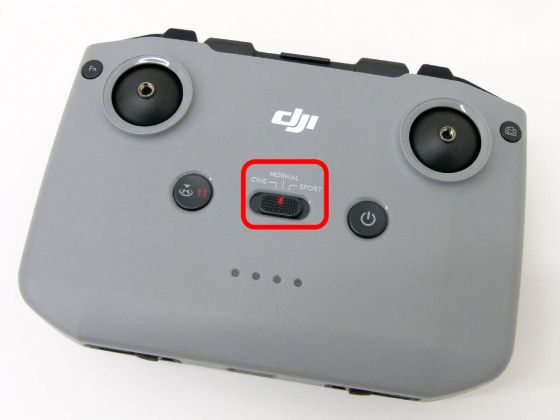
In the following movie, you can see the difference in movement between normal mode and sports mode.
Try the flight mode of DJI's flagship 'DJI Mavic 3'-YouTube
In addition, the 'DJI Mavic 3' is equipped with an RTH function that automatically returns to the home point and lands. You can see how the 'DJI Mavic 3' is actually landed at the exact same location as the takeoff point using the RTH function in the following movie.
The RTH feature of 'DJI Mavic 3' is extremely accurate-YouTube
As a result of actually maneuvering the 'DJI Mavic 3', it was possible to confirm that the takeoff and landing was OK with the tap of a button on the smartphone, and that the automatic return function was also excellent. I also flew the 'DJI Mavic 3' for a total of about 30 minutes for this review, but it consumed only about 70% of the battery. The 'DJI Mavic 3 Fly More Combo' used this time comes with 3 batteries, so it seems that it will be possible to fly for a long time if all are fully charged.
・ Continued
A review article that actually shoots a movie with 'DJI Mavic 3' that can shoot a movie at a maximum of 5.1K / 50fps is published at the following link.
5.1K / 50fps movie shooting review with the high-spec drone 'DJI Mavic 3' that has both amazing flight performance and high-quality camera --GIGAZINE

Related Posts:
