I tried using the drone 'DJI Mini 2' which is lighter than 200g and can shoot 4K
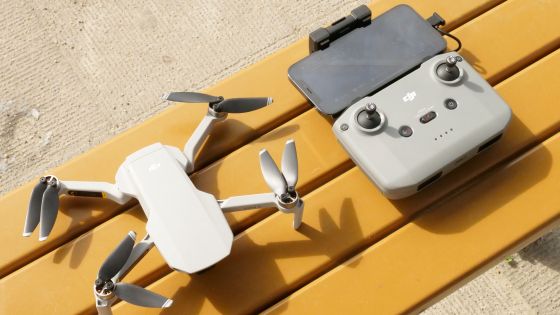
DJI Mini 2 --Let's jump out, into an exciting world-- DJI
https://www.dji.com/jp/mini-2
The outer box of the DJI Mini 2 looks like this. This time, I will use the 'DJI Mini 2 Fly More Combo' that comes with a shoulder bag and a charging hub.
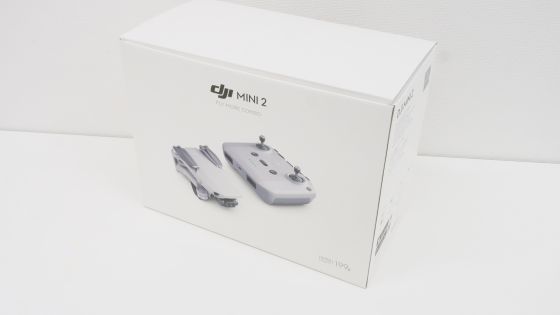
When you open the box, a shoulder bag will appear.
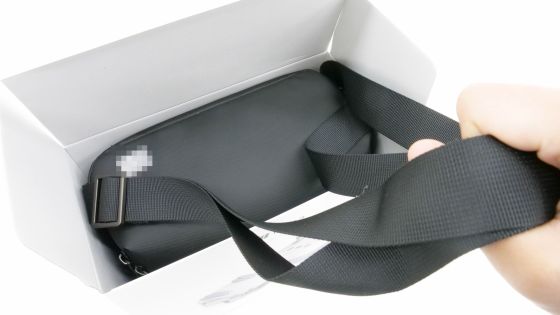
The shoulder bag is made of polyester and has cushioning properties, which seems to protect the DJI Mini 2 stored inside.
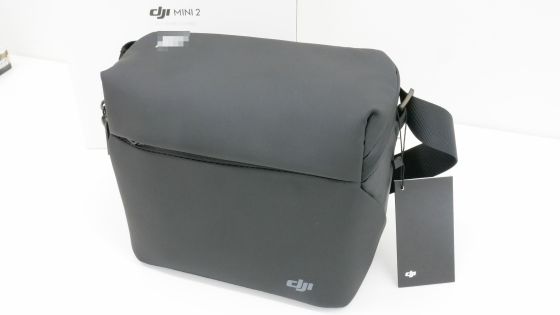
When I opened the shoulder bag, it was packed with the DJI Mini 2 body and accessories.

This is the DJI Mini 2 main unit and radio.

When you deploy the DJI Mini 2 main unit, it looks like this.

The letters '199g' are printed on the right side of the main body to emphasize its lightness.
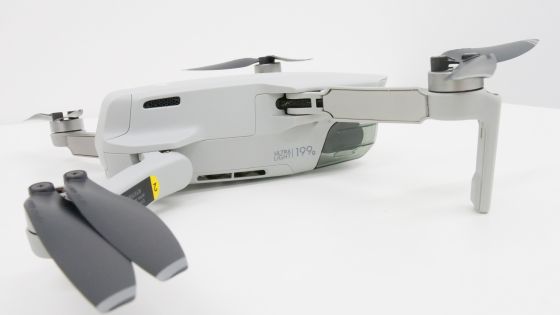
The left side looks like this.

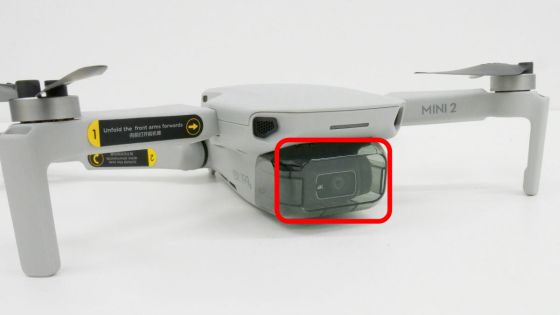
The front is equipped with a camera equipped with a 1 / 2.3 inch CMOS sensor with 12 million effective pixels. The camera can shoot stable images with a 3-axis gimbal.
The back looks like this. A USB Type-C connector for charging and a microSD card connector are lined up. Also, if you remove the battery cover on the top of the connector ...


The DJI Mini 2 has no built-in storage, so you'll need to insert a microSD card to store videos and photos.

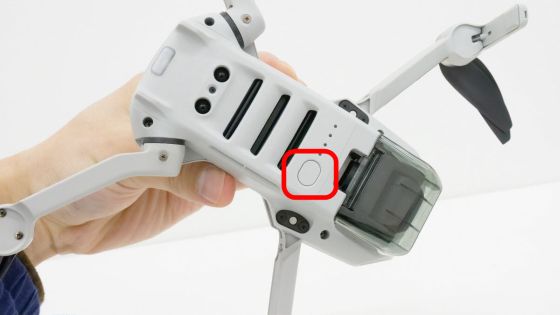
The back side looks like this. The part surrounded by the red frame is the power button.
When folded

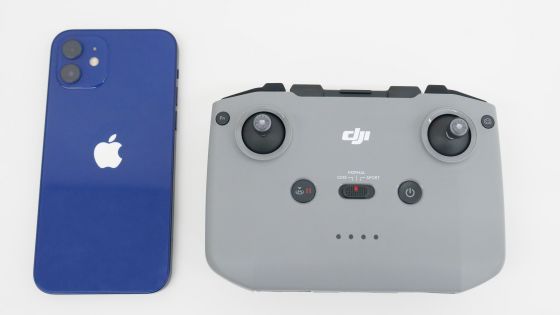
When unfolded and lined up with the iPhone 12, it looks like this. Even if it is deployed, it will not grow so large, so it seems that it can be flown in various places.
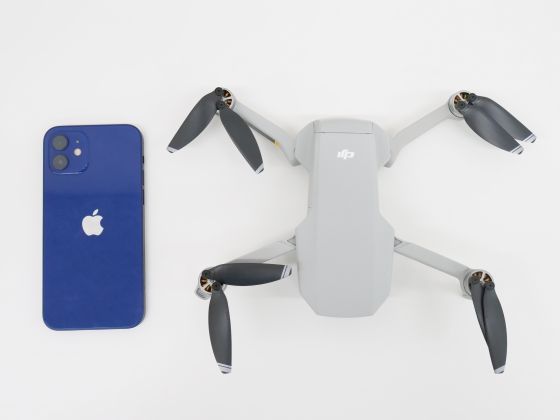
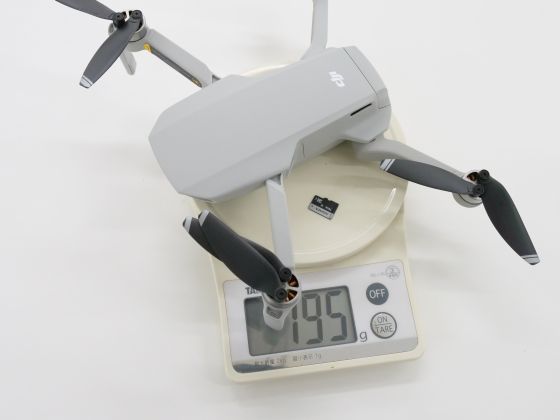
The weight including the battery and microSD card was 195g, which is below the nominal value.
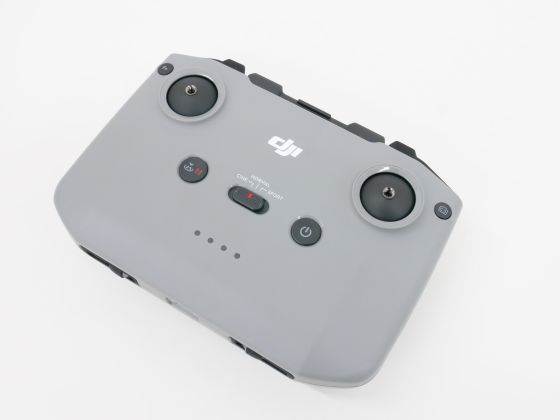
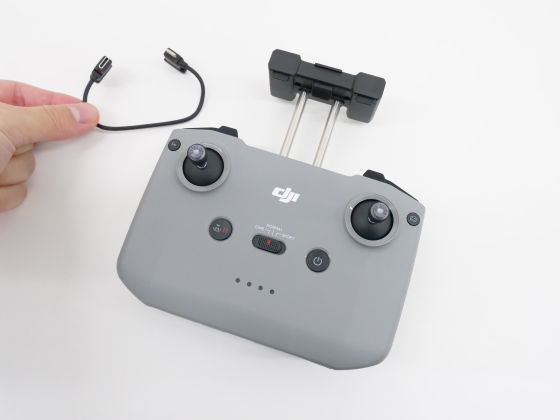
The radio looks like this. Since the operation lever is not attached when it is taken out of the shoulder bag ...
Attach the lever stored at the bottom of the radio.

No tools are required and it can be installed by turning it by hand.

When you attach the lever, it looks like this. The left lever controls altitude and direction of travel, and the right lever controls forward / backward / left / right movement. The buttons in the center are the takeoff / landing button, flight mode switching button, and power button in order from the left.

The right side of the radio. It comes with a non-slip rubber so you don't have to worry about slipping it off.

There is also a non-slip rubber on the left side.

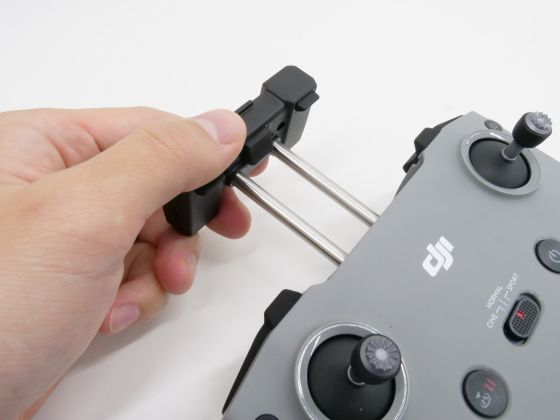
The upper part of the radio looks like this. There are control dials and recording / shooting buttons on both sides. The black part in the center is ...

You can pull it out to secure your smartphone.
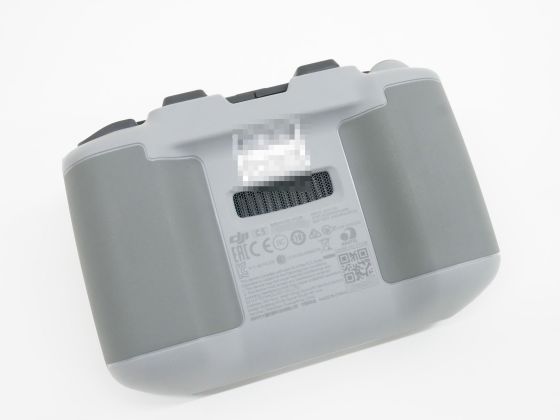
The model number,
Also, inside the radio, there was a Lightning cable for connecting and rubbing with the iPhone.
The radio is one size larger than the iPhone 12, and you can hold it with both hands.
The accessories look like this. From left to right, the back side is the battery, battery charger, and charging adapter. From left to right, the front side is a USB Type-C / micro-B cable for connecting to a smartphone, a USB Type-C / Type-C cable, and a USB Type-A / Type-C cable for charging.

The battery charger can charge up to 3 batteries at the same time. It also functions as a battery storage case, preventing the situation where the battery is missing in the bag!

Also, as replacement parts, a Phillips screwdriver for propeller replacement, 3 pairs of propellers, and 2 levers are included.

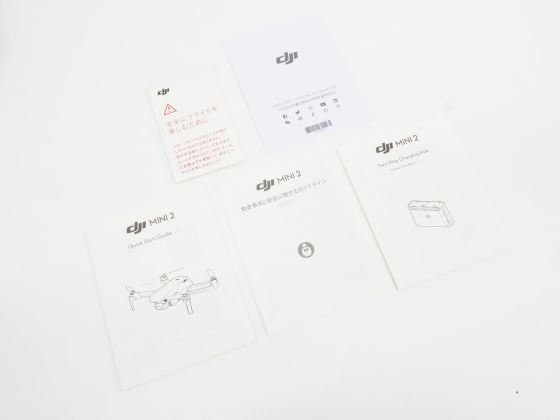
The attached documents are as follows. From left to right, notes on flight and contact information for DJI. From left to right, the front side is the quick start guide, safety guidelines, and battery charger instruction manual.
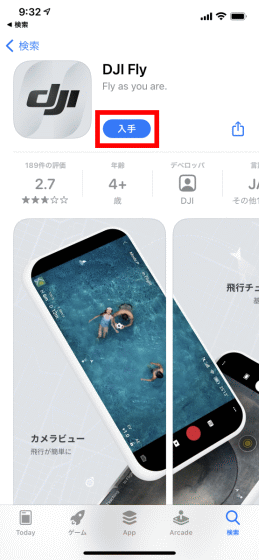
The smartphone app 'DJI Fly' is required to fly the DJI Mini 2. This time I will install it on iPhone 12. First, search for DJI Fly on the App Store and tap 'Get'.
Tap 'Install'.

Tap 'Open' when the installation is complete.

You will be asked to use location information, so tap 'Allow while using the app'.

You will be asked for permission to send notifications, so tap 'Allow'.
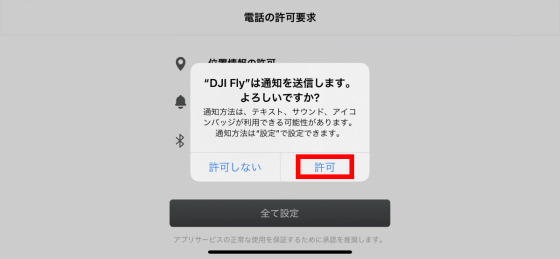
You will be asked to use Bluetooth to communicate with the device, so tap 'OK'.

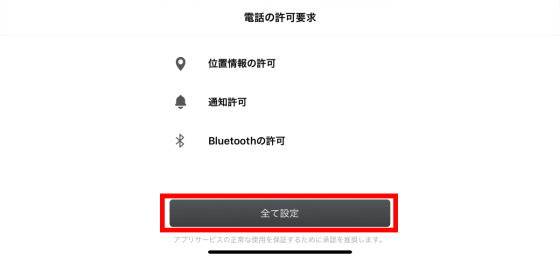
Tap 'Set All'.
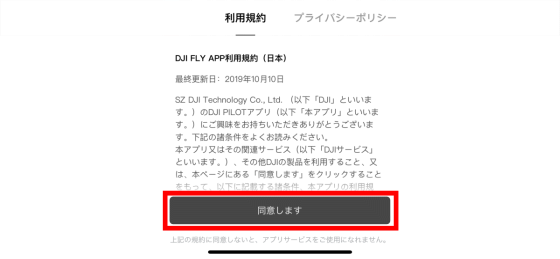
Read the Terms of Service and Privacy Policy and tap 'Agree'.
Check the information collected by DJI and tap 'Next'.

You will be asked to participate in the product improvement project, so tap 'Participate'.

You will then be prompted to log in with your DJI account to activate DJI Mini 2. I didn't have an account this time, so I decided to create a new DJI account. First, enter your email address and tap 'Next'.
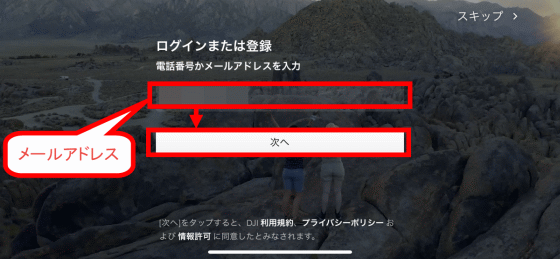
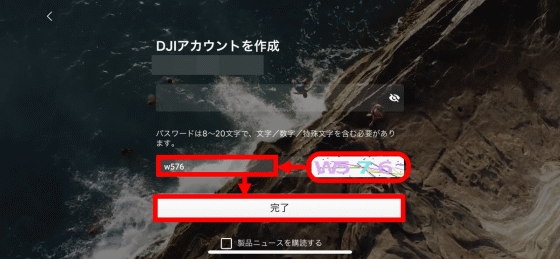
Enter the password to create and tap 'Done'.

You will be asked to prove that you are not a robot, so enter the characters displayed in the image and tap 'Done' again to complete the account creation. You will be logged in automatically.
After logging in, you can watch the tutorial video, so tap 'Start'.

Three tutorial videos of about 30 seconds in total will be played.

After watching the tutorial video, tap 'OK'.

Tap Connect Aircraft to connect the DJI Mini 2.

The screen for selecting the aircraft will appear, so find and tap DJI Mini 2.
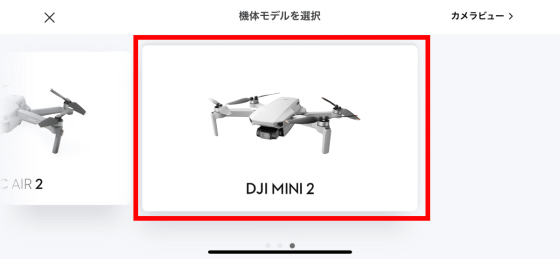
First of all, you will be asked to connect your smartphone and radio, so follow the instructions on the screen to connect.
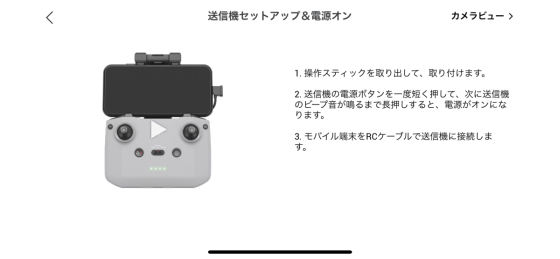
If you press the power button of the radio once briefly and then press and hold it immediately ...

The radio turns on and the lamp lights up.

Next, when you connect the radio and iPhone with a Lightning cable ...

The radio and iPhone are connected and you can proceed to the next screen.

Next, follow the on-screen instructions to connect your DJI Mini 2 console.

First, remove the camera protector.
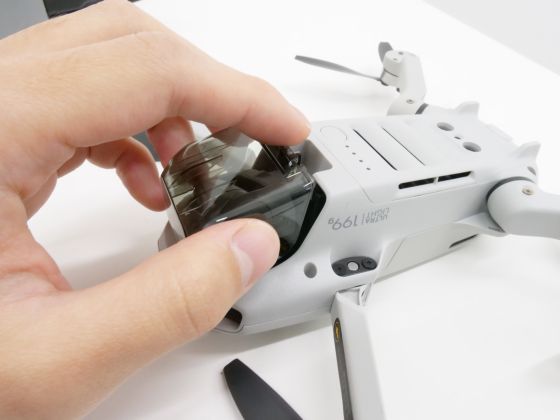
Next, remove the battery cover ...
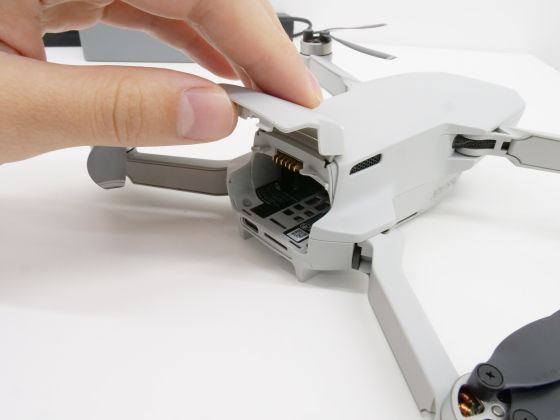
Push the battery in until it clicks ...

Close the battery cover.

After that, just press the power button like the radio ...

The power turns on and the lamp lights up. The rest is automatically connected wirelessly, so no complicated operations are required.

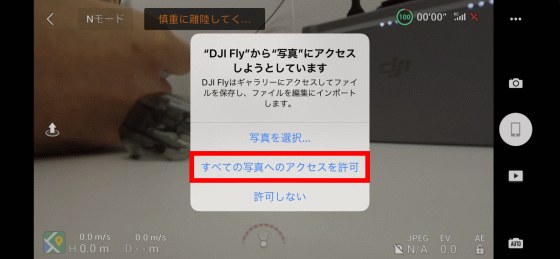
When the connection is complete, you will be asked to access the photos on your iPhone, so tap 'Allow access to all photos'.
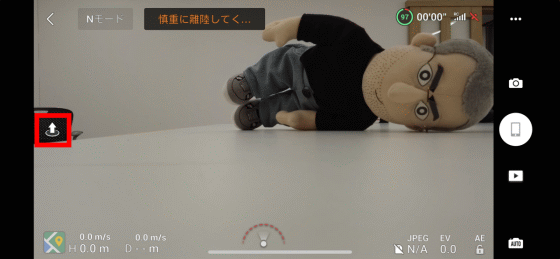
This is the DJI Mini 2 control screen. A takeoff button is placed on the left side of the screen, and the current flight mode, remaining battery level, signal strength, GPS strength are displayed at the top of the screen, and DJI Mini 2 altitude, speed, posture, and microSD card information are displayed at the bottom of the screen. I am. On the right side of the screen, buttons for changing DJI Mini 2 settings, shooting mode switching buttons, shooting start buttons, buttons for checking shot images, and camera auto / manual switching buttons are arranged in order from the top.

To take off, place the DJI Mini 2 on a level surface with no objects around it, and tap the takeoff button on the left side of the screen ...
You can take off by pressing and holding the large takeoff button that appears in the center of the screen.
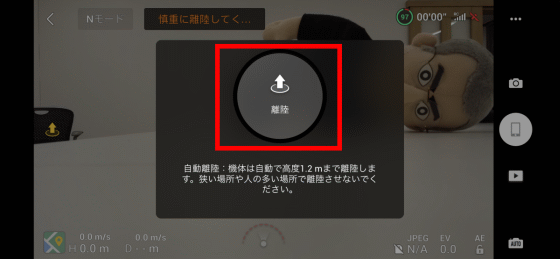
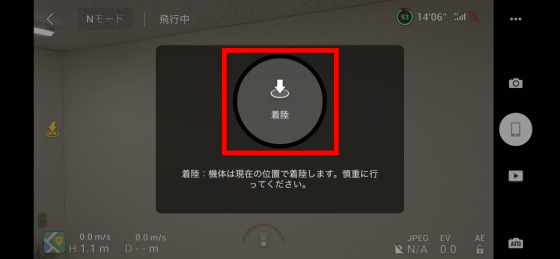
To land, tap the landing button that appears in the same place as the takeoff button ...
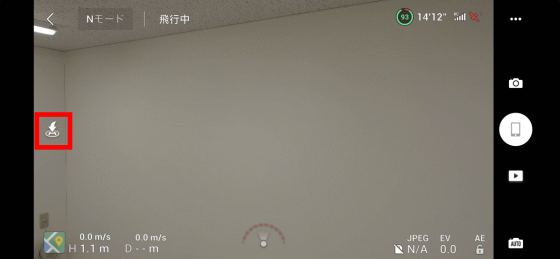
Press and hold the landing button that appears in the center of the screen to land slowly.
You can check the actual takeoff and landing in the following movie.
The DJI Mini 2 can hover fairly stably in a windless environment.
'DJI Mini 2' is capable of stable hovering-YouTube
What's more, the DJI Mini 2 in flight wasn't out of balance when blown by a fan.
I tried to blow the wind of a fan on 'DJI Mini 2' in flight --YouTube
The following movie was shot outdoors at full HD (1920 x 1080) and 60 fps settings. The wind was blowing a little, but thanks to the stable flight of the DJI Mini 2 and the 3-axis gimbal, I was able to shoot a movie with less blurring.
I took an aerial shot with 'DJI Mini 2'-YouTube
The following movie was shot at the maximum setting of 4K (3840 x 2160) / 30fps that can be taken with DJI Mini 2. The finer the video, the less blurring you need to shoot, but the DJI Mini 2's 3-axis gimbal allows you to shoot clear movies with less blurring.
I shot a 4K movie with 'DJI Mini 2'-YouTube
The DJI Mini 2 has a digital zoom function of up to 2x for 4K shooting and up to 4x for full HD shooting, allowing you to shoot large images without getting close to the subject. You can see how you actually used the digital zoom function in the following movie.
Try DJI Mini 2 Digital Zoom-YouTube
For those who want to shoot cool footage with a drone, but it's difficult to compose, anyone with DJI Mini 2 can shoot a movie 'in an instant, like an aerial professional.' It is equipped with a quick shot function that allows you to do this. This time, I decided to use a 'rocket' that can shoot a movie as seen from the launched rocket. First, tap the red frame to set the shooting mode to quick shot ...
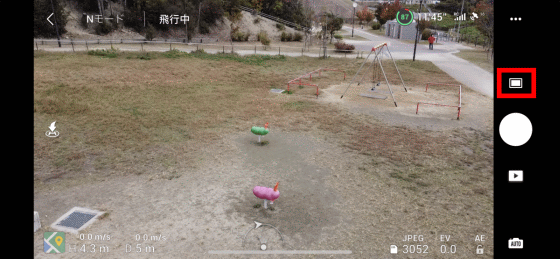
Tap 'Quick'.
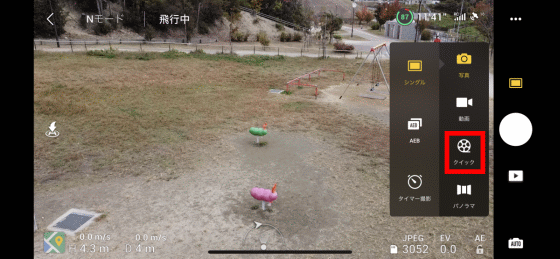
If you tap 'Rocket' ...

Select the altitude at which you want to raise the drone and drag the diagonal of the subject.

When the green frame is displayed as shown in the image below, you are ready to go. All you have to do is tap 'Start' and the DJI Mini 2 will rise while shooting the pink playset.

Below is a movie shot in rocket mode. DJI Mini 2 automatically shot a movie-like cut.
Automatically shoot cinematic movies with quick shots of 'DJI Mini 2'-YouTube
When I actually used the DJI Mini 2, it was possible to connect a radio or smartphone without complicated settings, flight operation was easy, and the quick shot function could automatically shoot a professional movie. Anyway, you can easily take aerial shots. Since it weighs less than 200g, it is also attractive that you can easily shoot without being regulated by the Aviation Law. The DJI Mini 2 is small and easy to carry, so it's a recommended model for drone beginners who want to start aerial photography easily.
DJI Mini 2 will be available from November 12, 2020. At Amazon.co.jp, the DJI Mini 2 single item will be sold for 59,400 yen, and the DJI Mini 2 Fly More combo will be sold for 79,200 yen.
Amazon.co.jp: [Domestic Genuine] DJI MINI 2 with Drone Camera Small: Camera

Related Posts:


