Appearance & initial setting review of the action camera 'DJI Action 2' that can strengthen the extremely small body that can be pinched with fingers with the 'module that sticks with a magnet'
On October 27, 2021,
DJI Action 2-Take, play, more freely-DJI
https://www.dji.com/jp/dji-action-2
·table of contents
◆ 1: I opened DJI Action 2
◆ 2: Appearance of DJI Action 2 main unit
◆ 3: Appearance of front touch screen module
◆ 4: Initial setting of DJI Action 2
◆ 5: How to use the attached accessories
◆ 1: I opened DJI Action 2
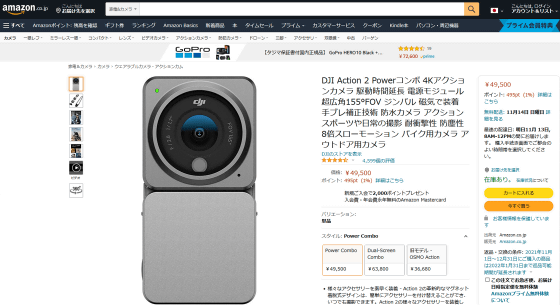
To DJI Action 2 was supplied with 'Power module' that can enhance the battery ' DJI Action 2 Power combo ' and used at the time of its own to take 'front touch screen module' was included ' DJI Action 2 Dual-Screen combo of' 2 The types are lined up.
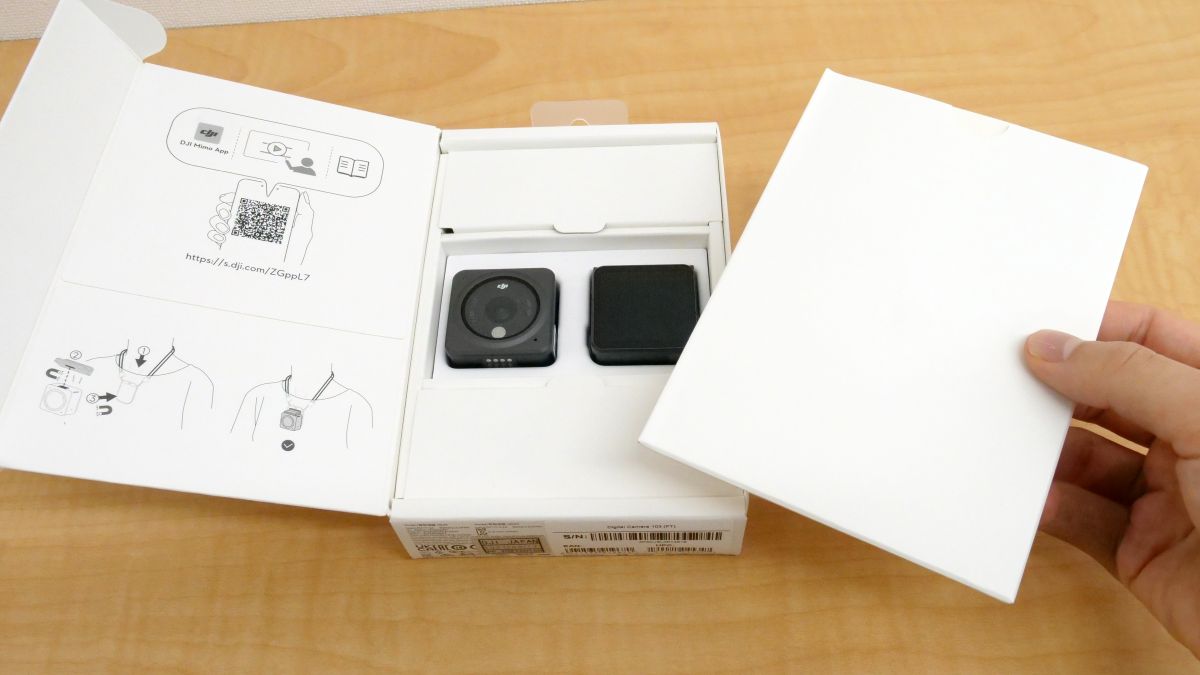
This time, we'll use the DJI Action 2 Dual-Screen combo. The package is printed with the appearance of the DJI Action 2 body and front touch screen module.

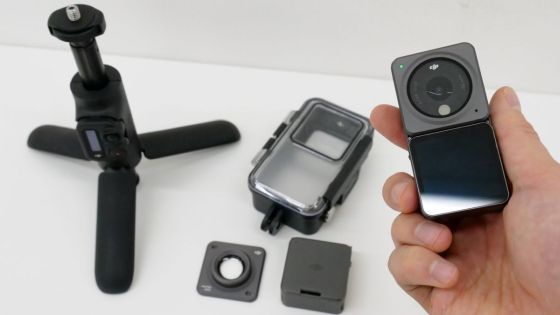
When I opened the lid and took out the thin box containing the instructions, the DJI Action 2 main unit and the front touch screen module appeared.
Accessories are stored in the upper and lower spaces.
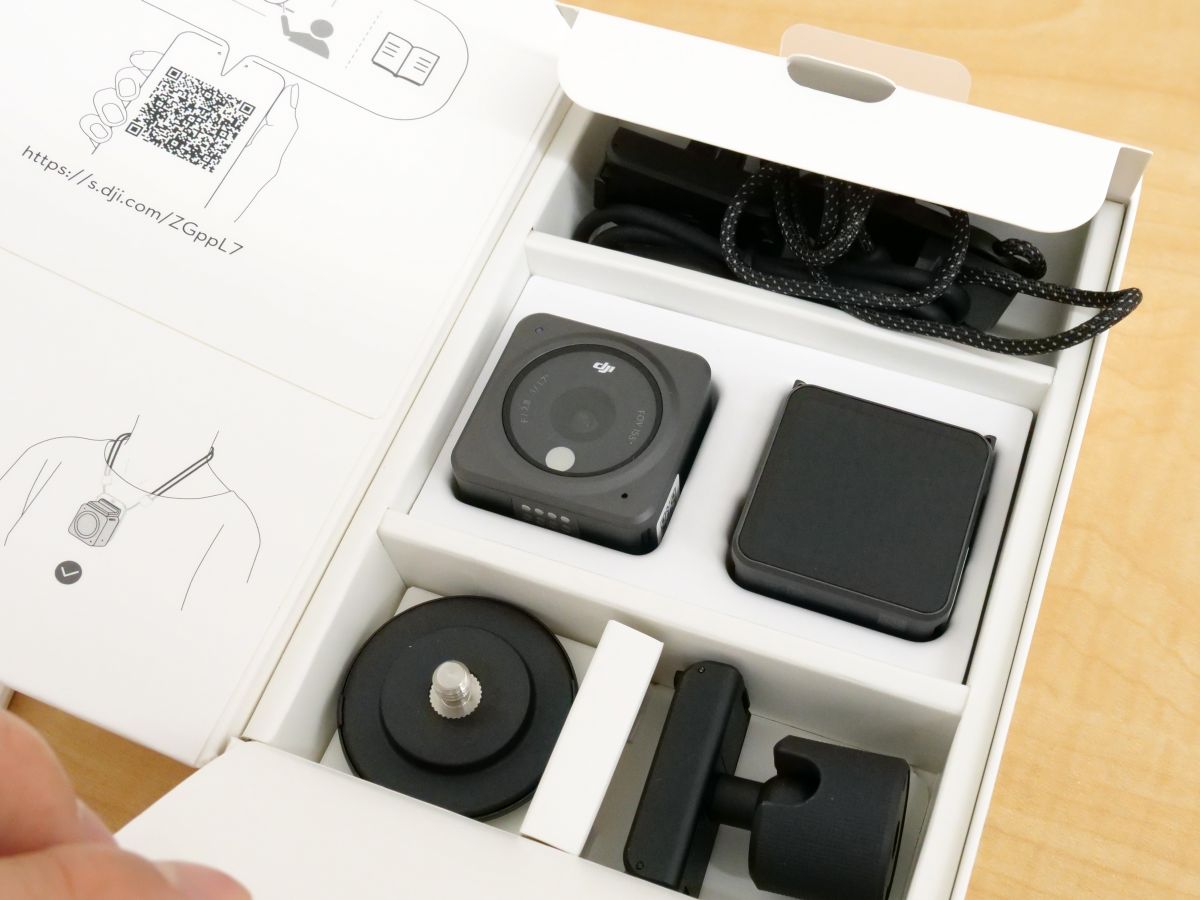
The contents of the box are DJI Action 2 main unit, front touch screen module, USB cable, magnetic strap, magnetic adapter mount, and magnetic ball joint adapter mount in order from the upper left. The USB cable was USB Type-A on one side and USB Type-C on the other side.

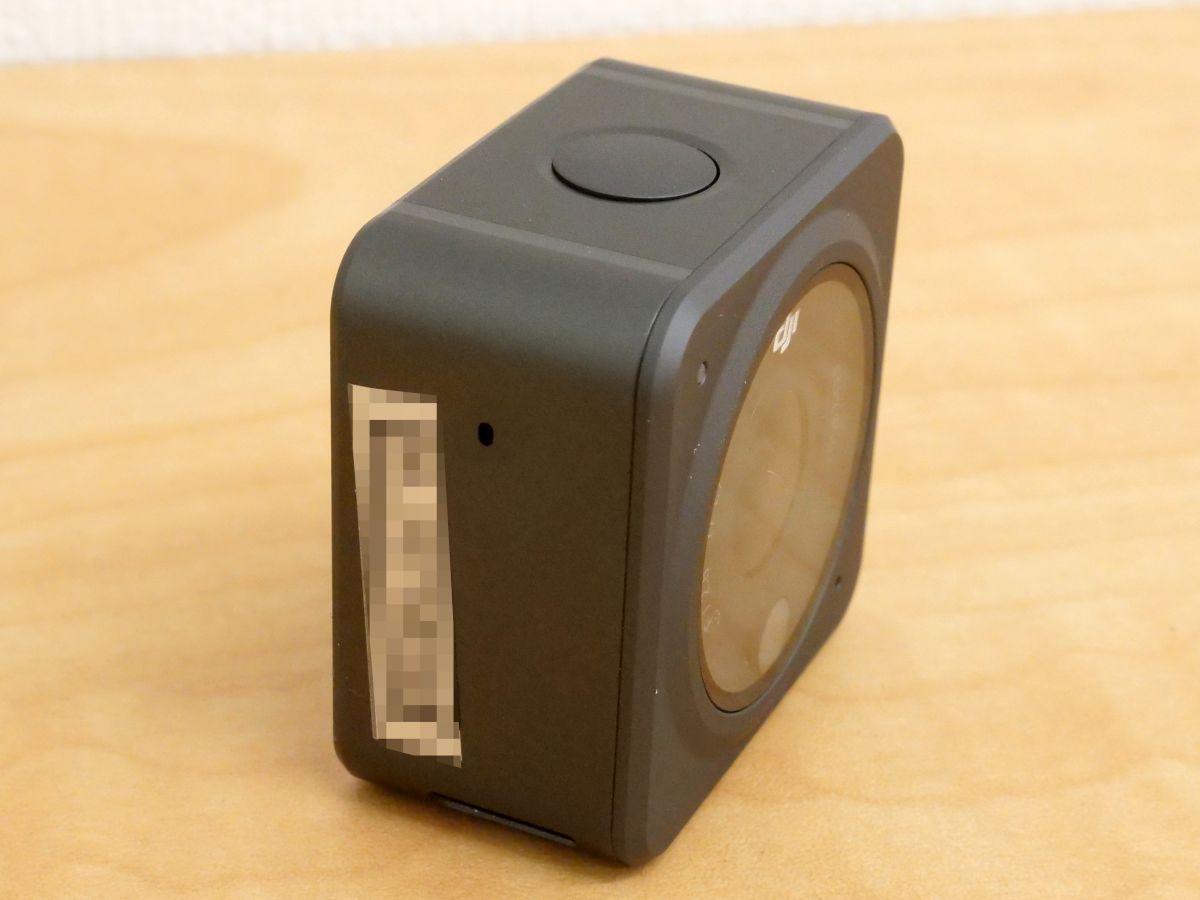
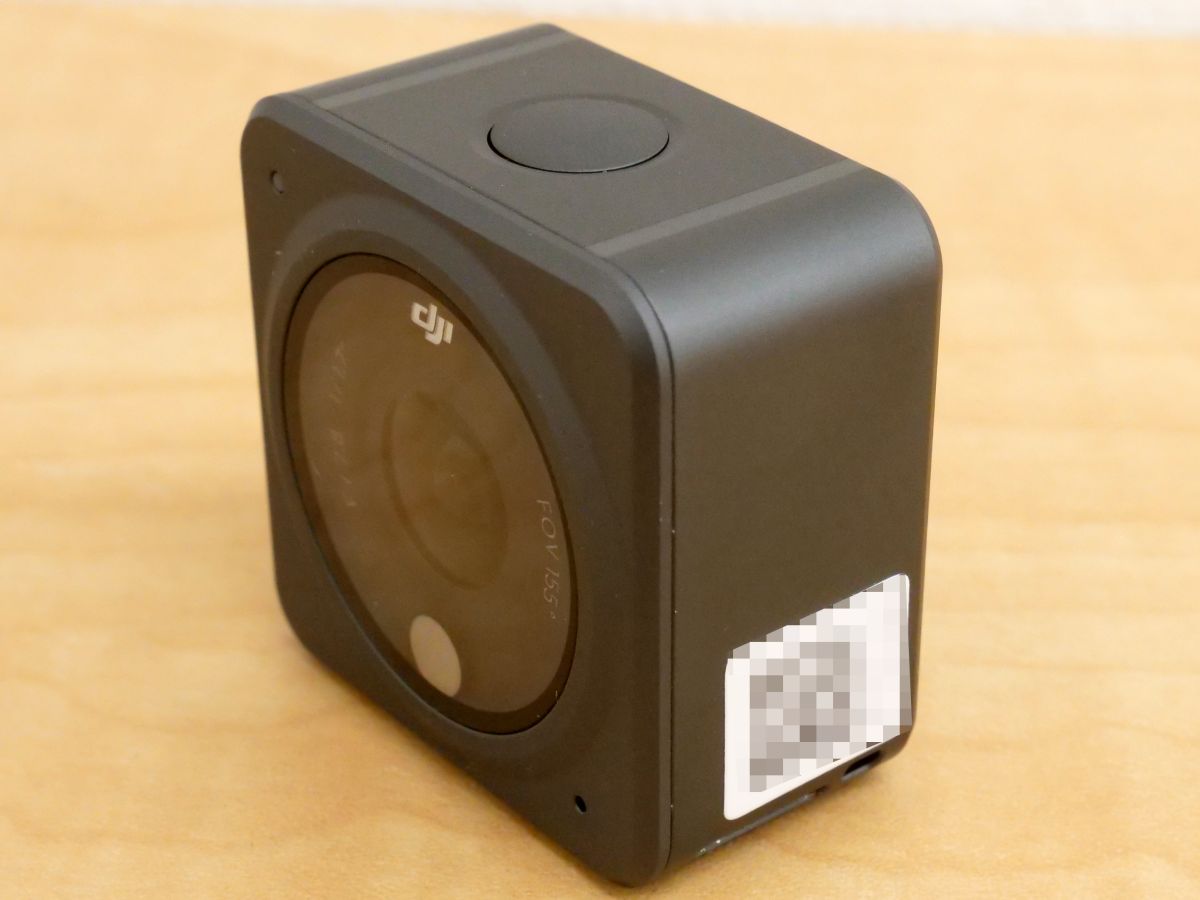
◆ 2: Appearance of DJI Action 2 main unit
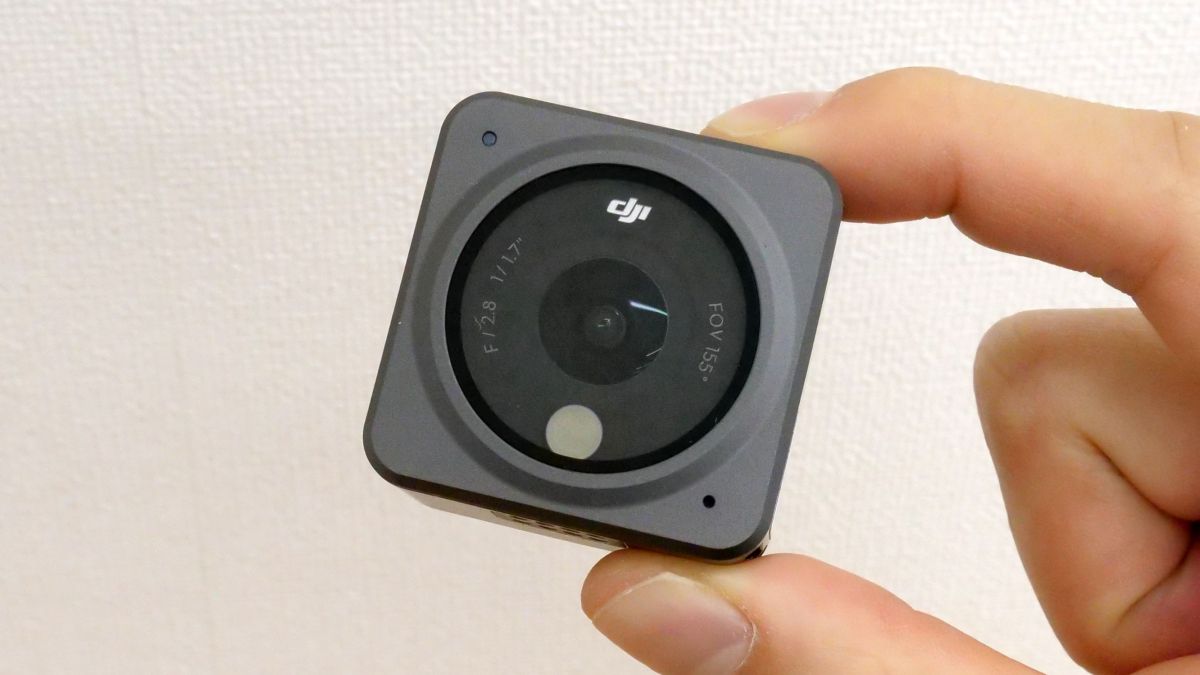
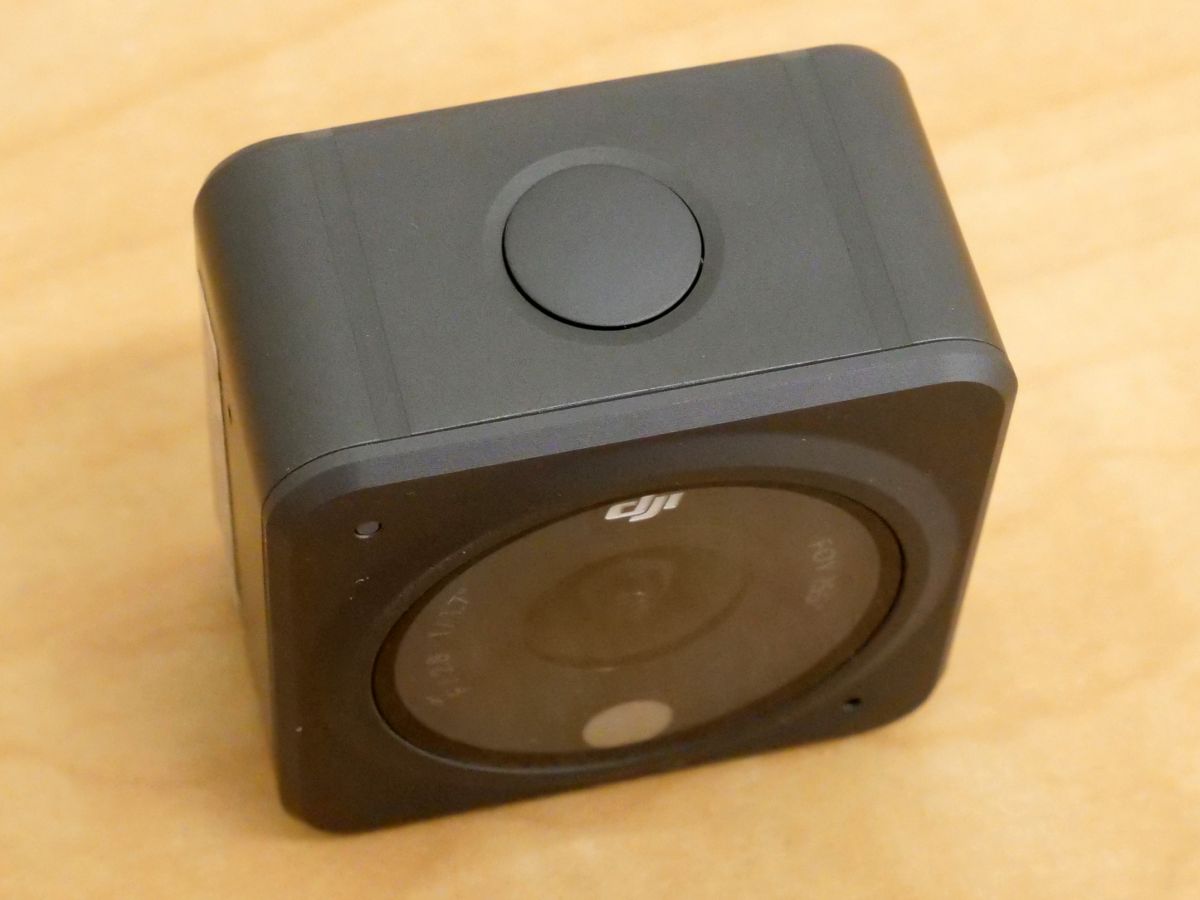
DJI Action 2 looks like this. The DJI Action 2 camera is equipped with a 1 / 1.7 inch CMOS sensor, which allows you to shoot movies up to 4K 120fps and 12MP photos.

There is an air control hole on the left side when viewed from the front.
Nothing is mounted on the right side.
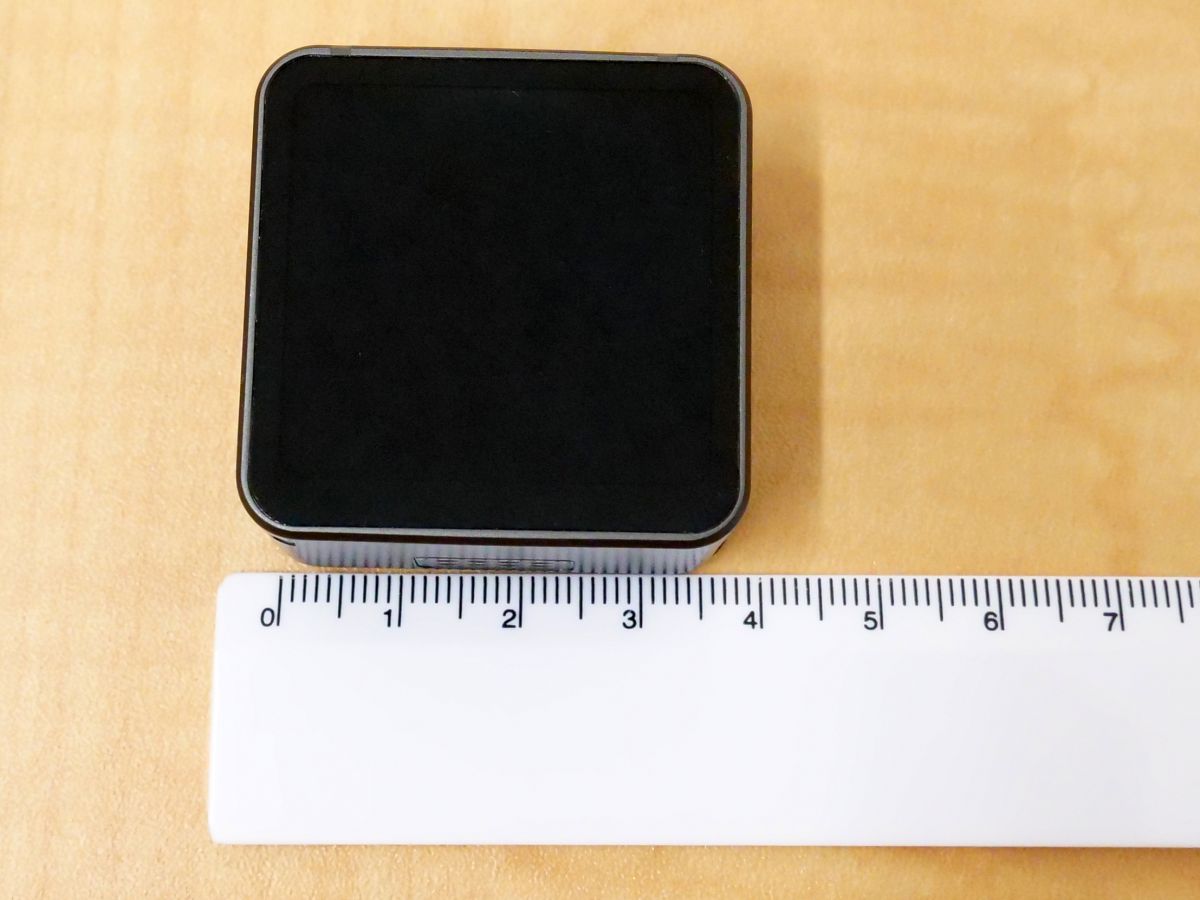
On the back is a 1.76-inch touch-enabled display.

The button on the top doubles as a power button and a recording start button.
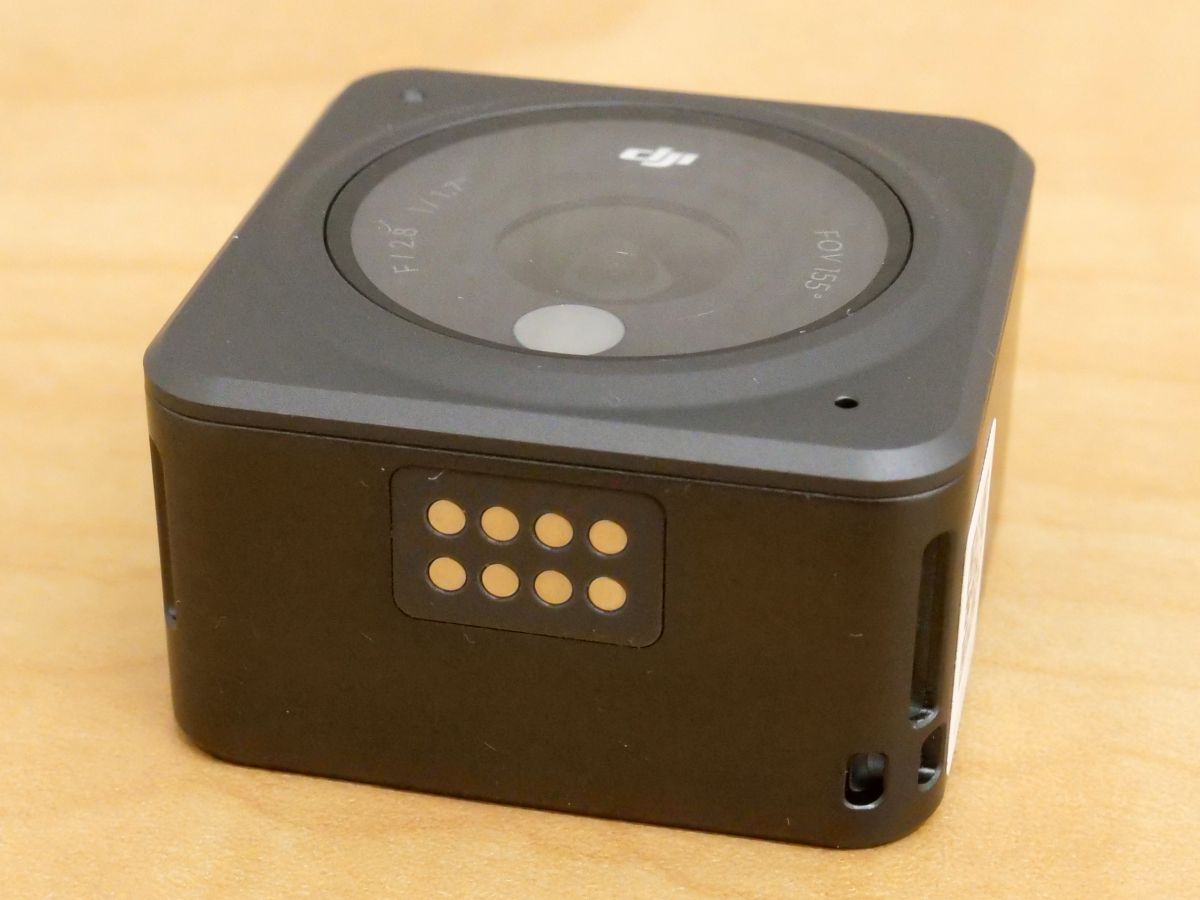
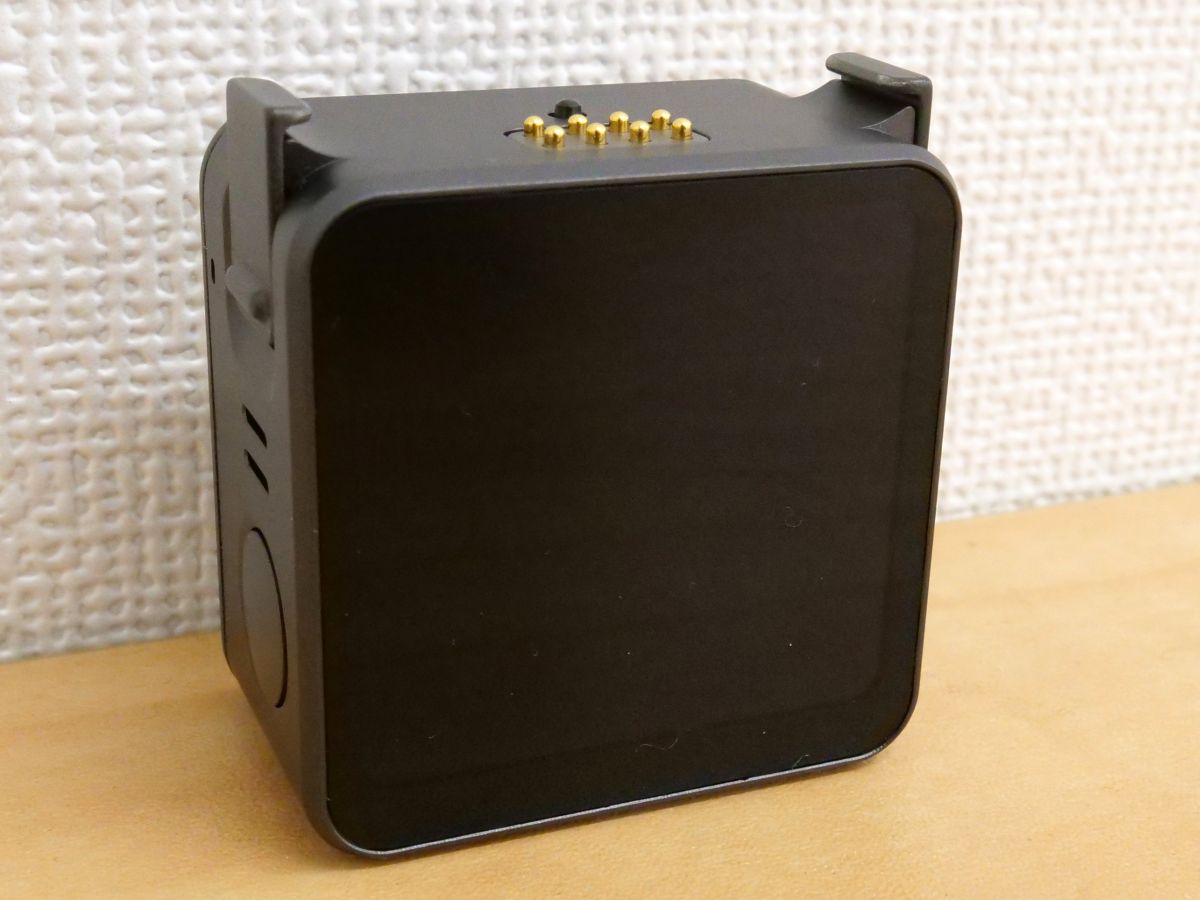
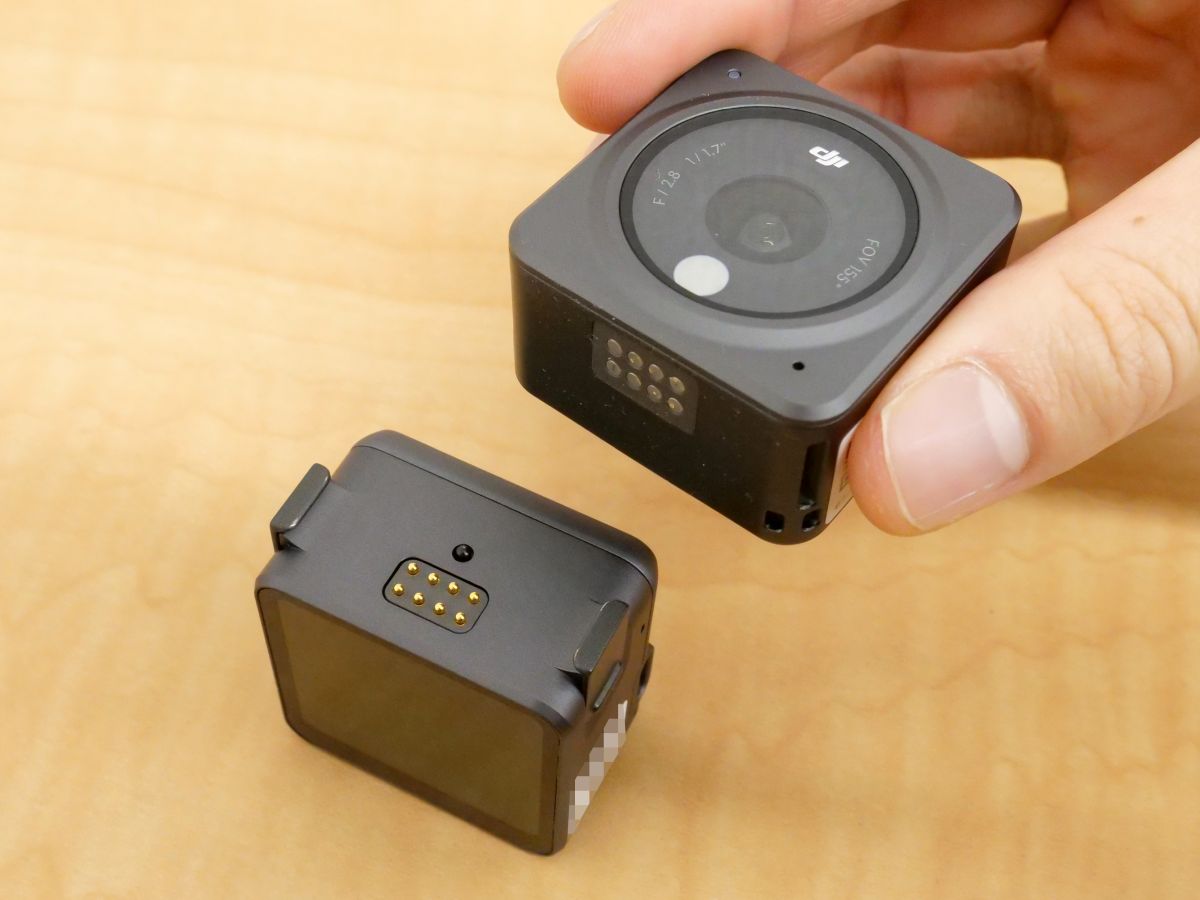
Terminals for connecting with accessories and modules are arranged on the bottom. You can also attach a strap to the hole visible on the right side.
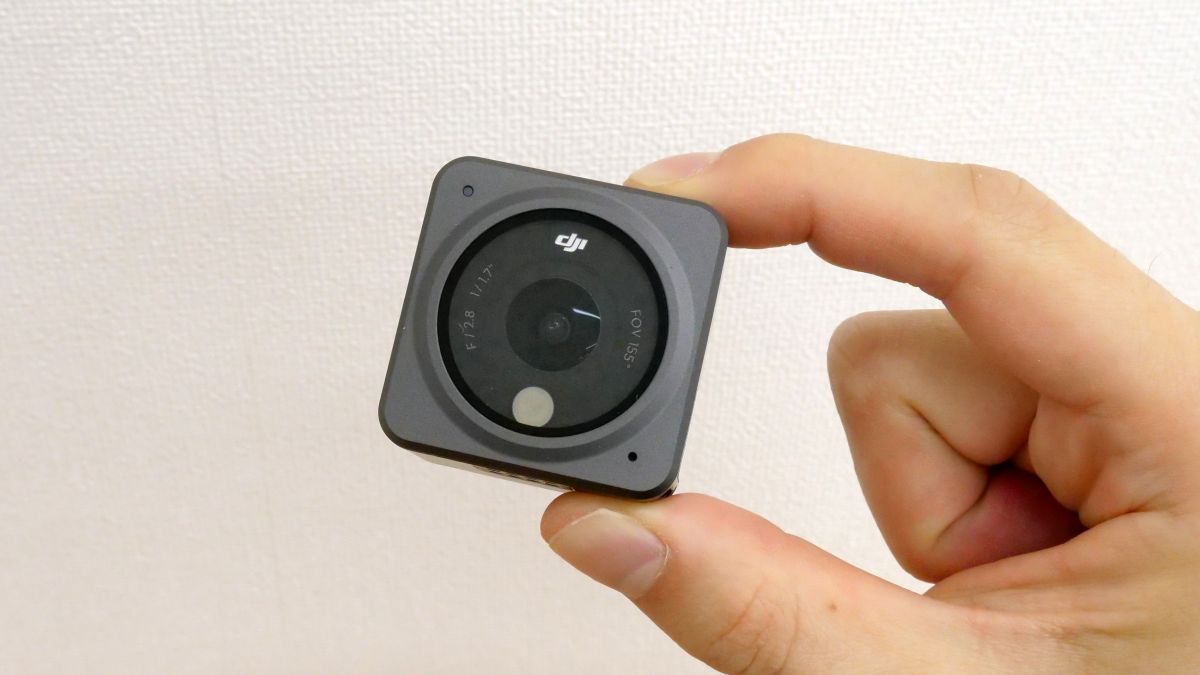
The dimensions of DJI Action 2 are 39mm long x 39mm wide x 22.3mm deep ...
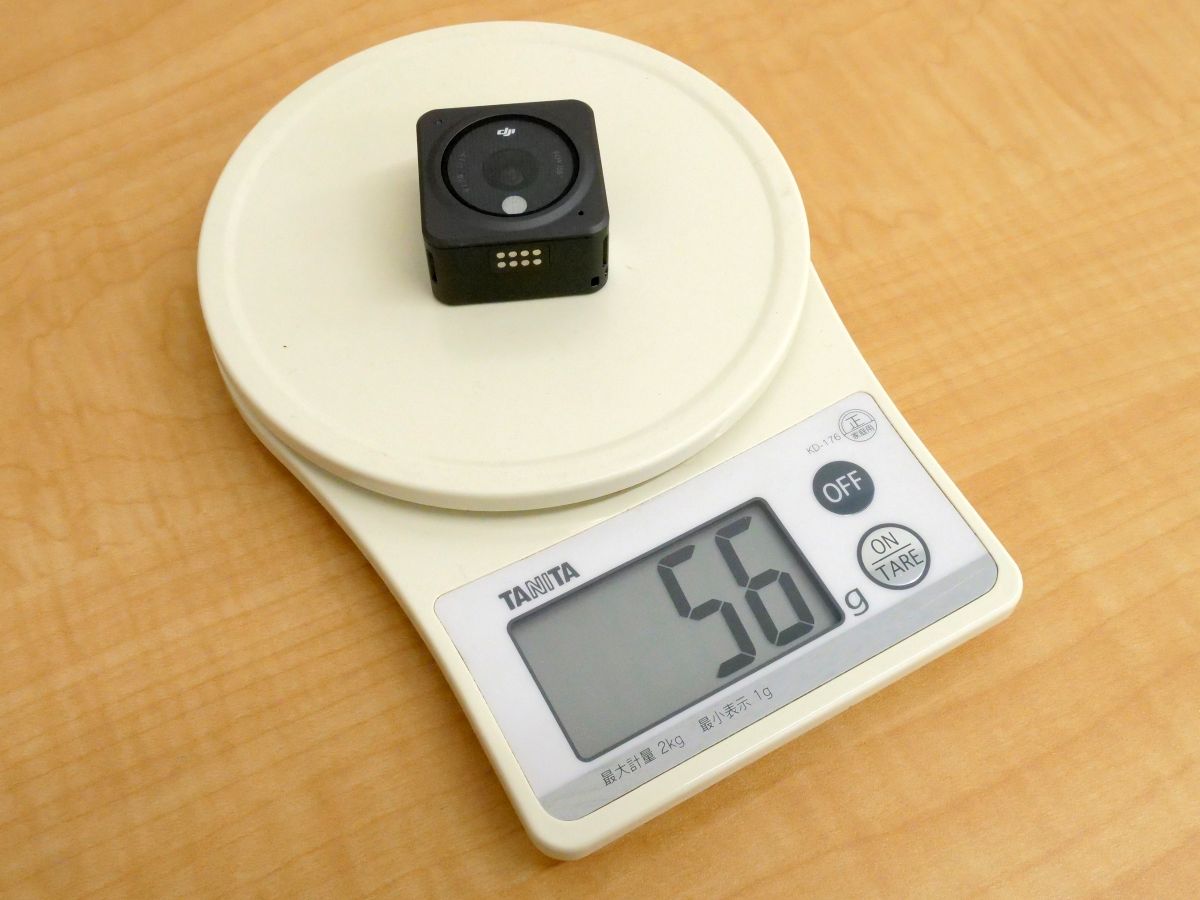
It weighs 56g.
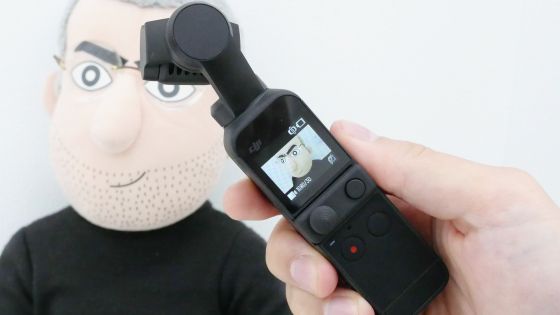
When you pinch it with your fingers, it looks like this. DJI Action 2 is small and lightweight, so you can easily handle it with one hand.
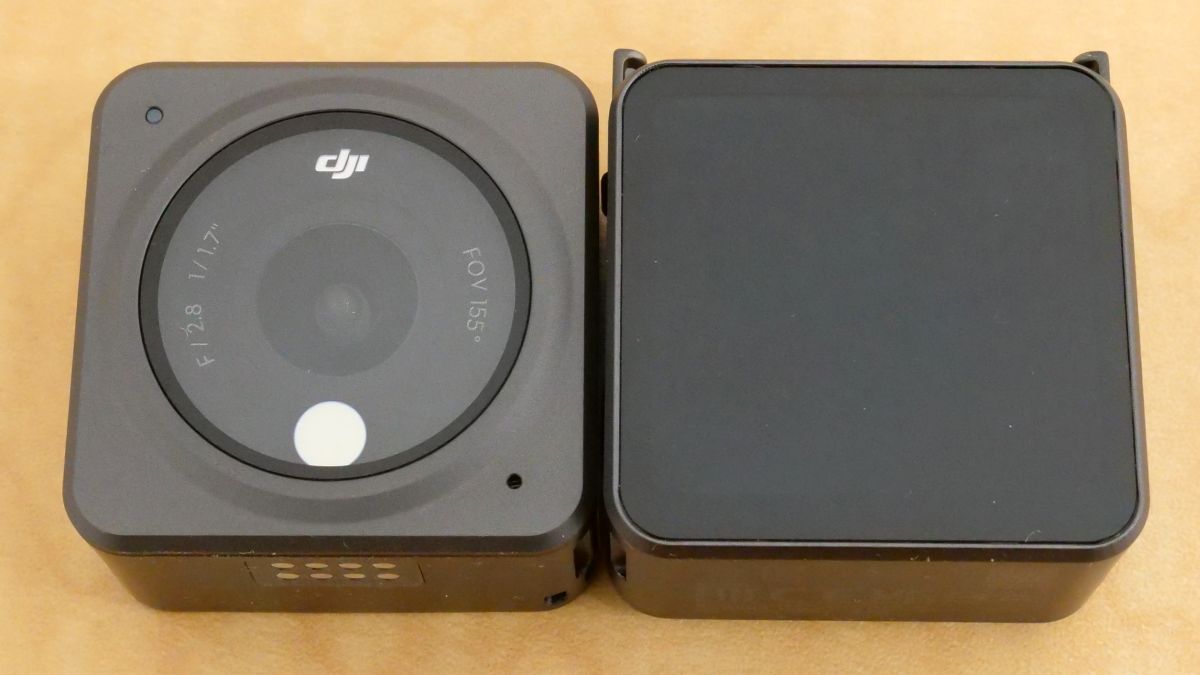
◆ 3: Appearance of front touch screen module
The DJI Action 2 Dual-Screen Combo comes with a front touch screen module that can be magnetically connected to the DJI Action 2 console. The front touch screen module has a 1.76-inch touch-enabled display that is the same size as the DJI Action 2 main unit.
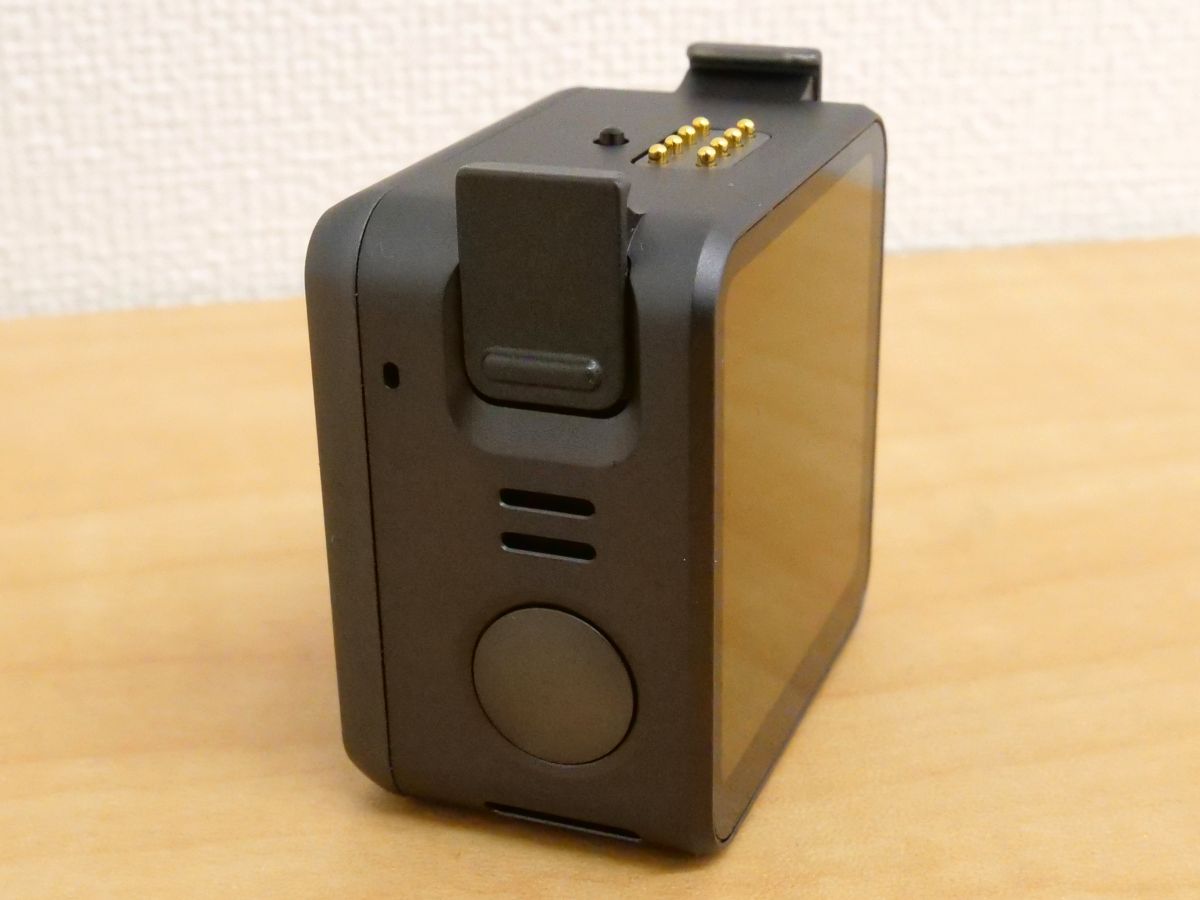
The power / recording start button and speaker are located on the left side of the display.
A USB terminal is mounted on the opposite side, from which power can be supplied and data can be transferred.
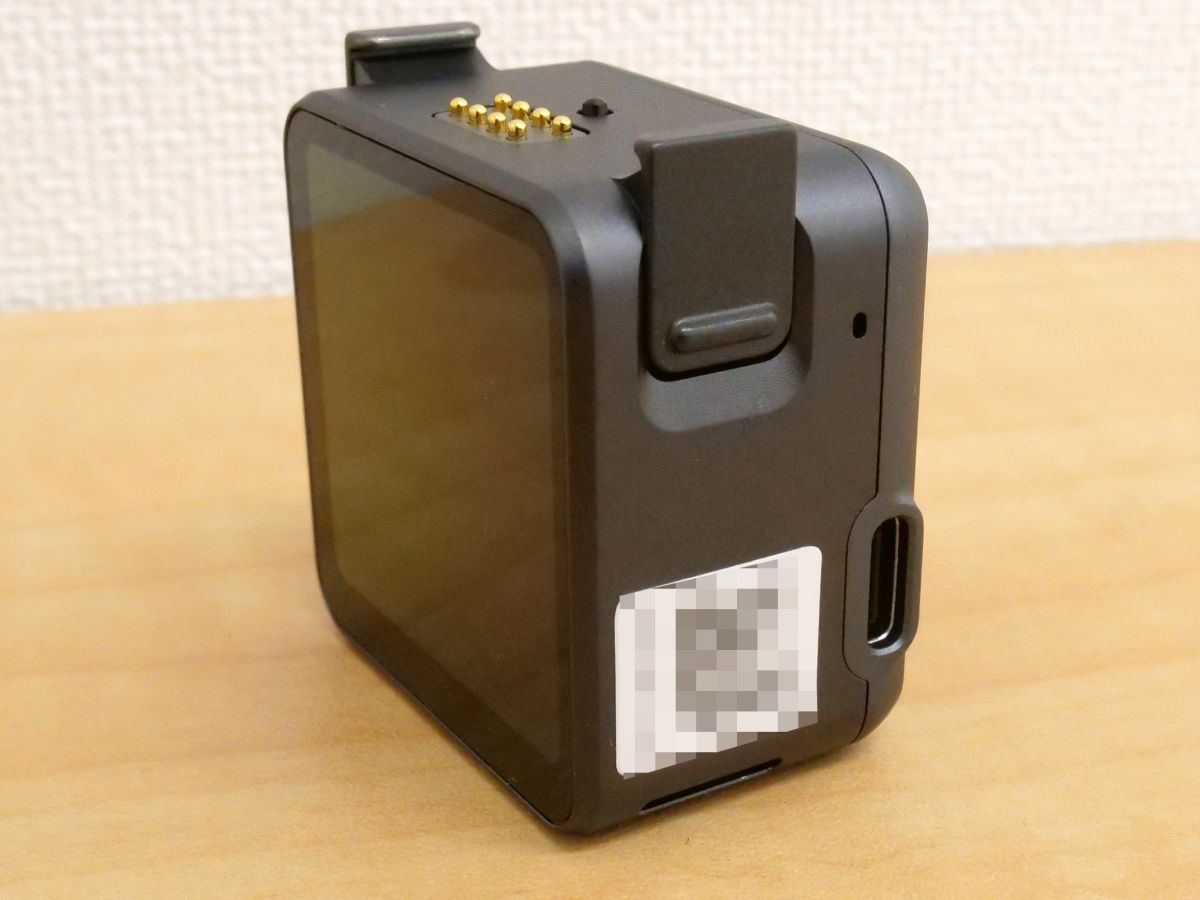
A microphone is mounted on the upper part of the back, and a microSD card slot is mounted on the lower part.
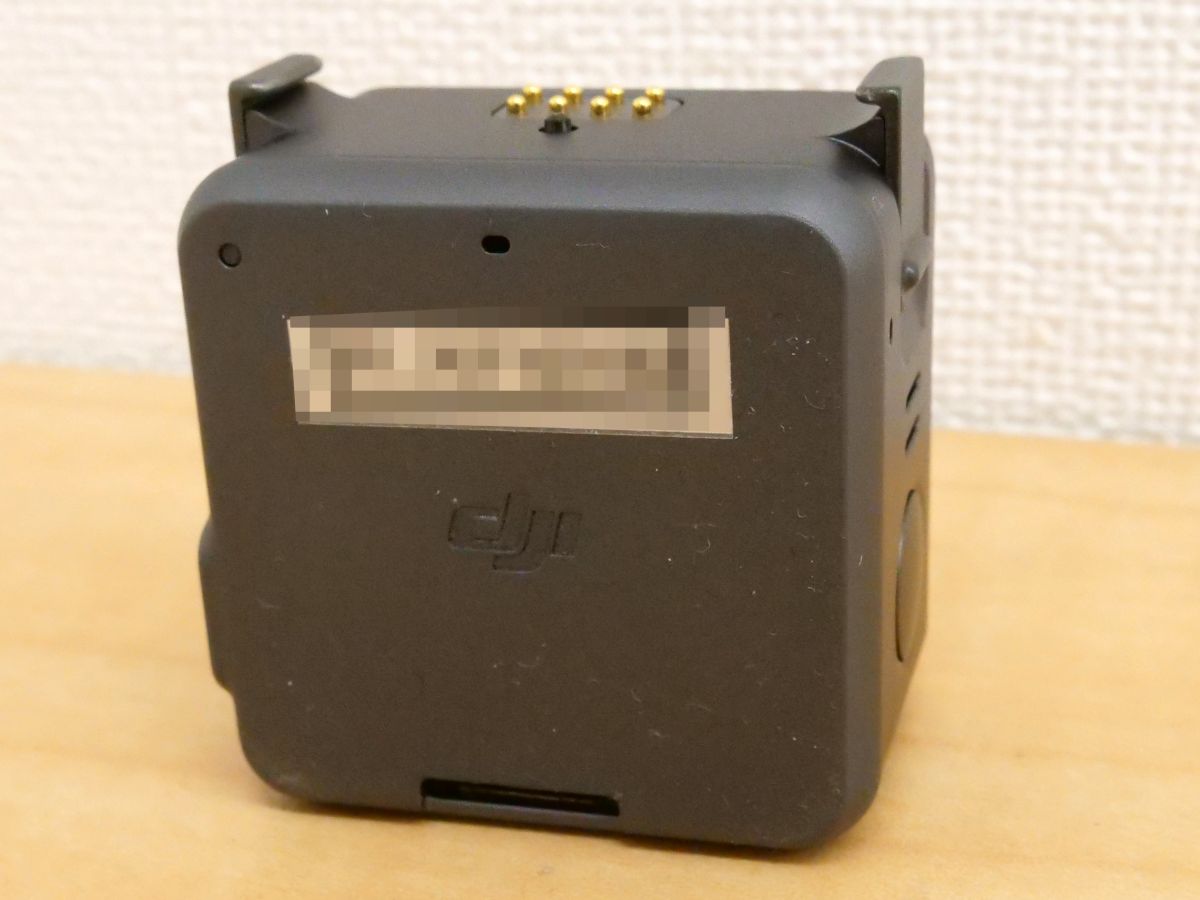
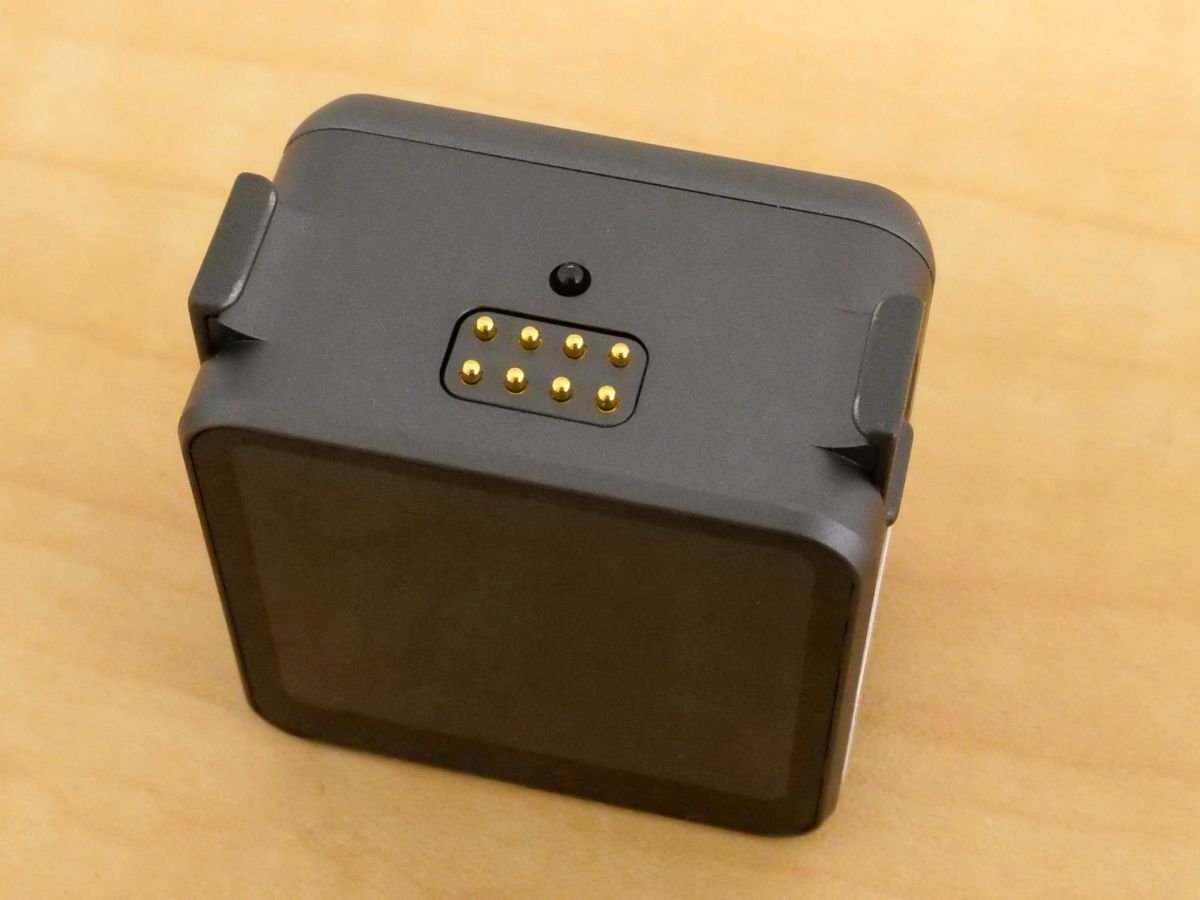
Connection terminals for other modules and claws for fixing are arranged on the top surface.
Various certification marks were printed on the bottom.
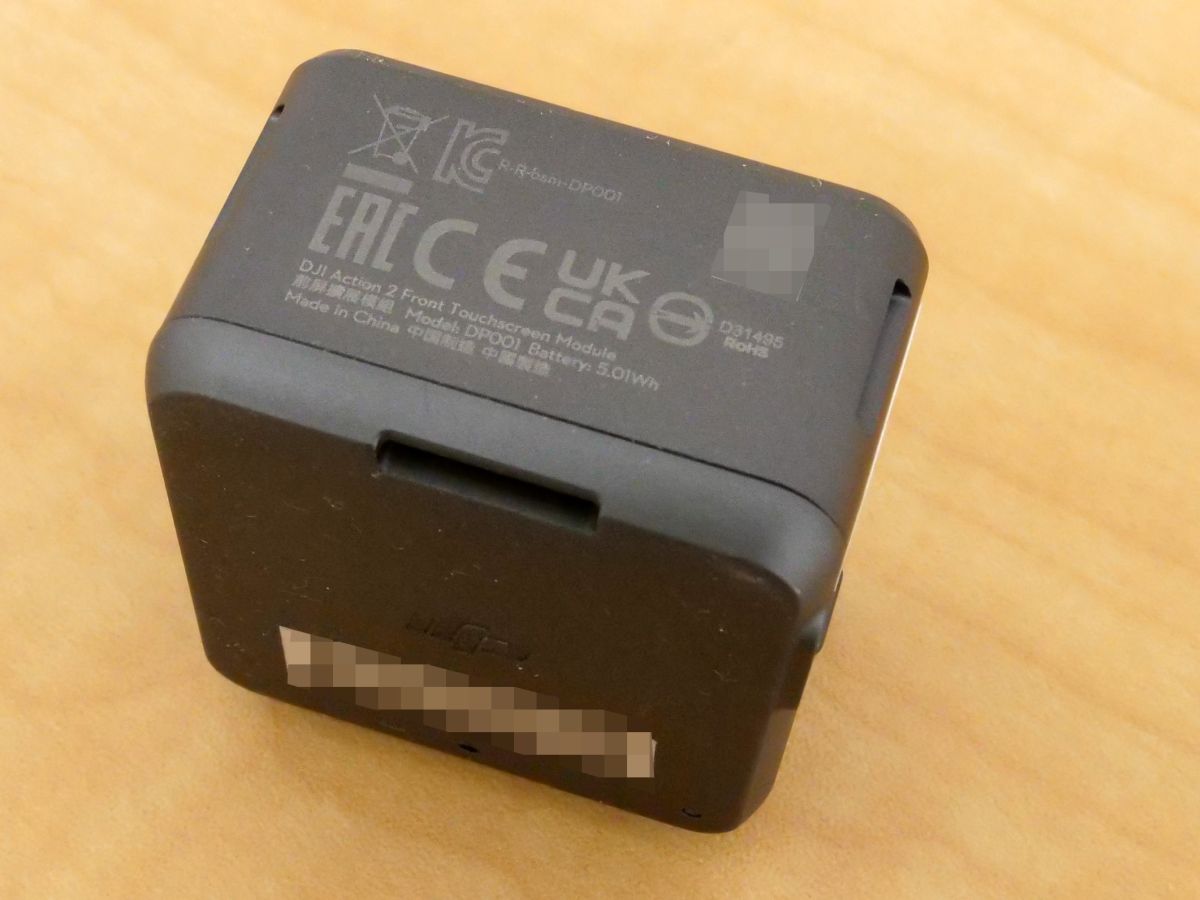
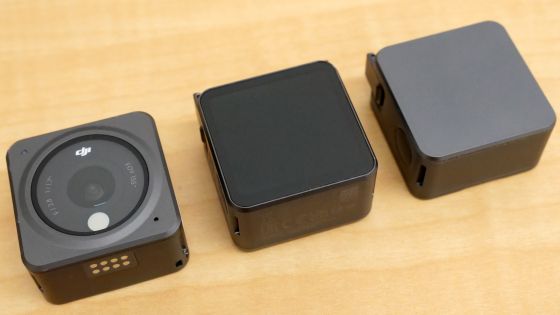
The dimensions of the front touch screen module are 41.6 mm long x 39 mm wide x 24.6 mm deep, which is longer than the DJI Action 2 main unit by the amount of the connection claws.
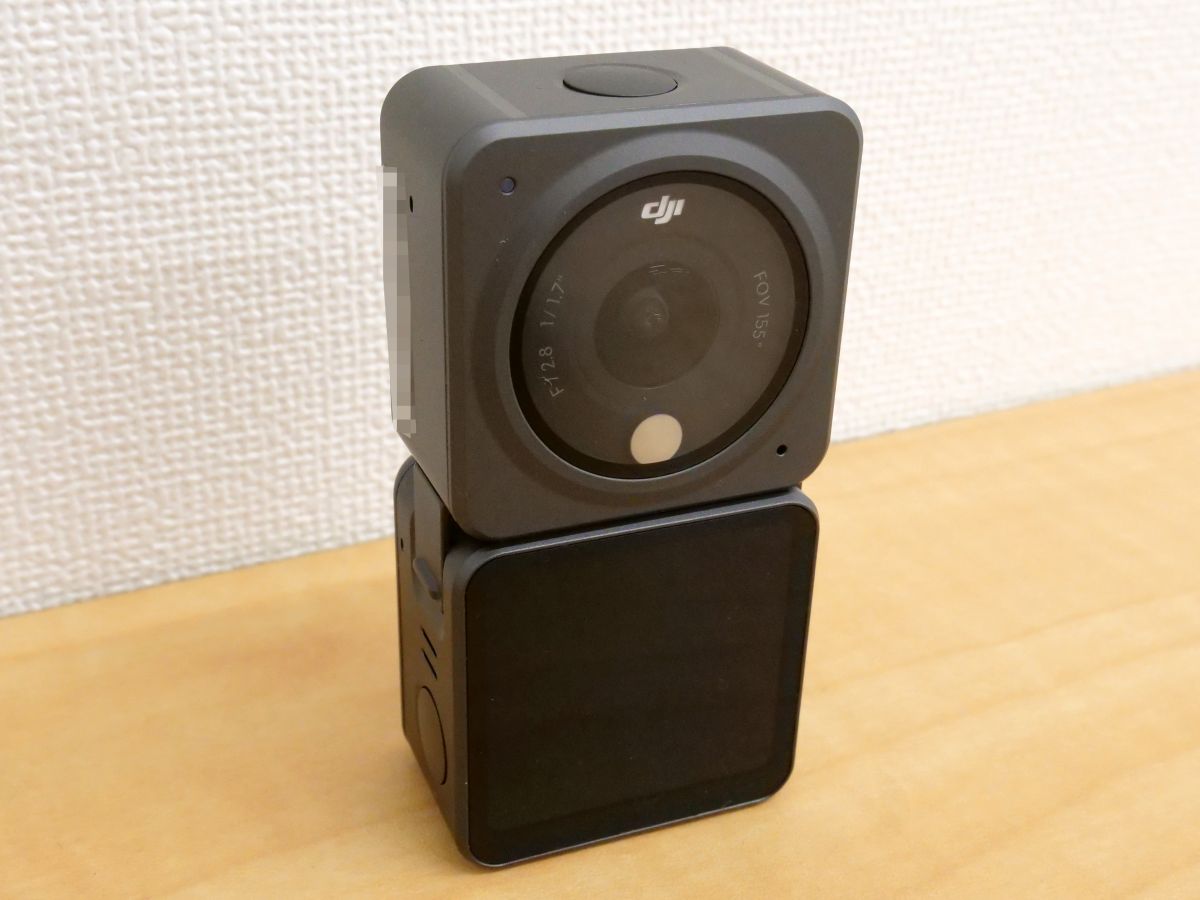
Connecting the DJI Action 2 main unit to the front touch screen module is very easy. Just bring them closer to each other and they will stick together with magnetic force.
It looks like this after connection.
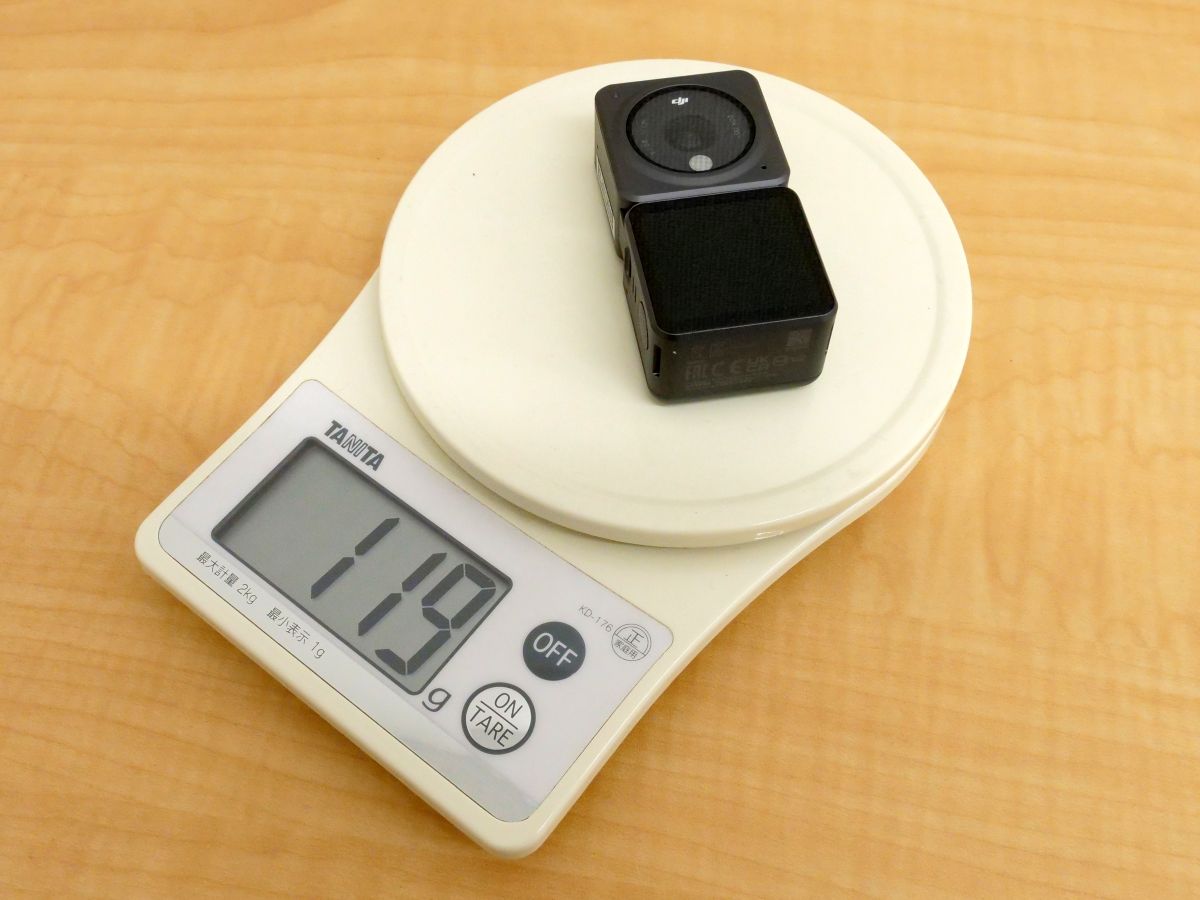
The actual weight in this state is 119g.
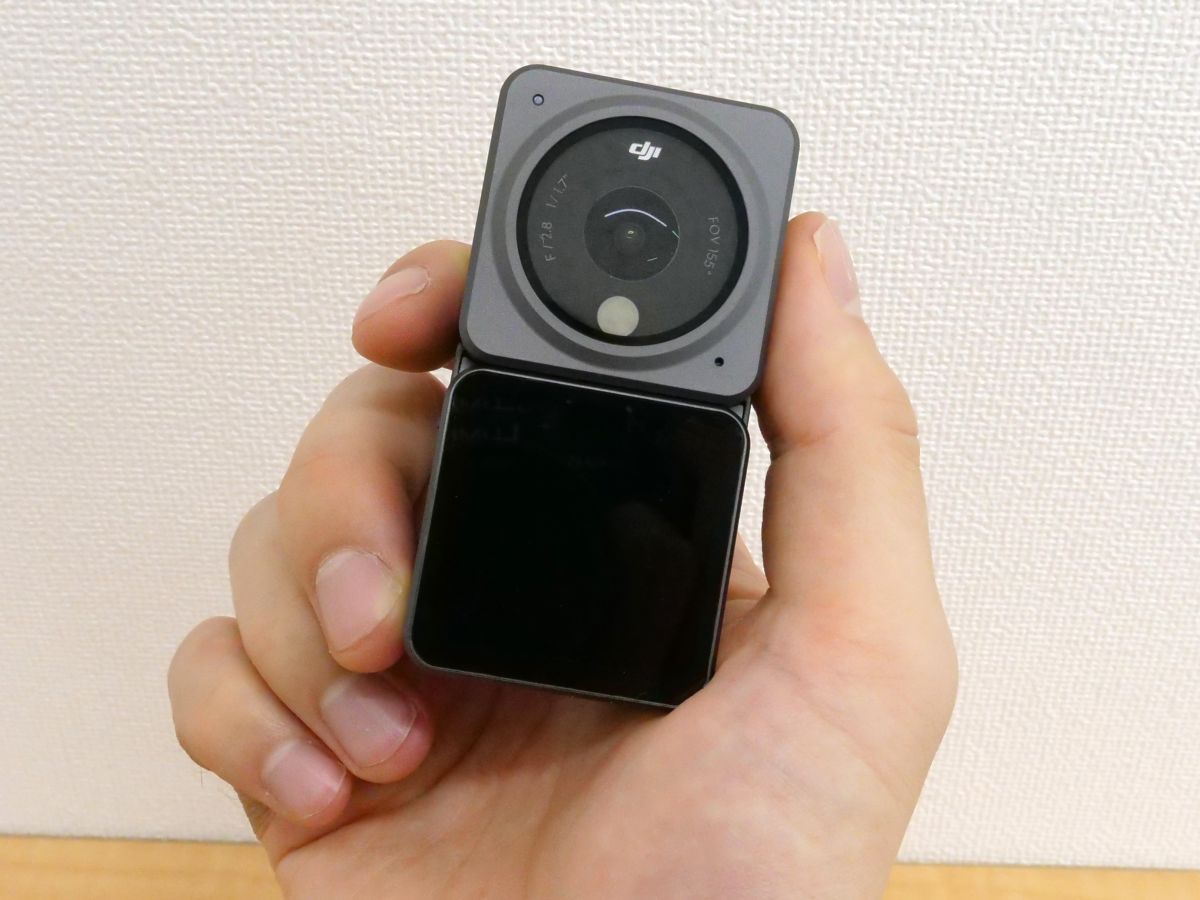
Even if you connect the front touch screen module, you can easily handle it with one hand.
An example of using the front touch screen module looks like this. By adding a screen to the camera side of DJI Action 2, you can take a selfie while checking the composition.

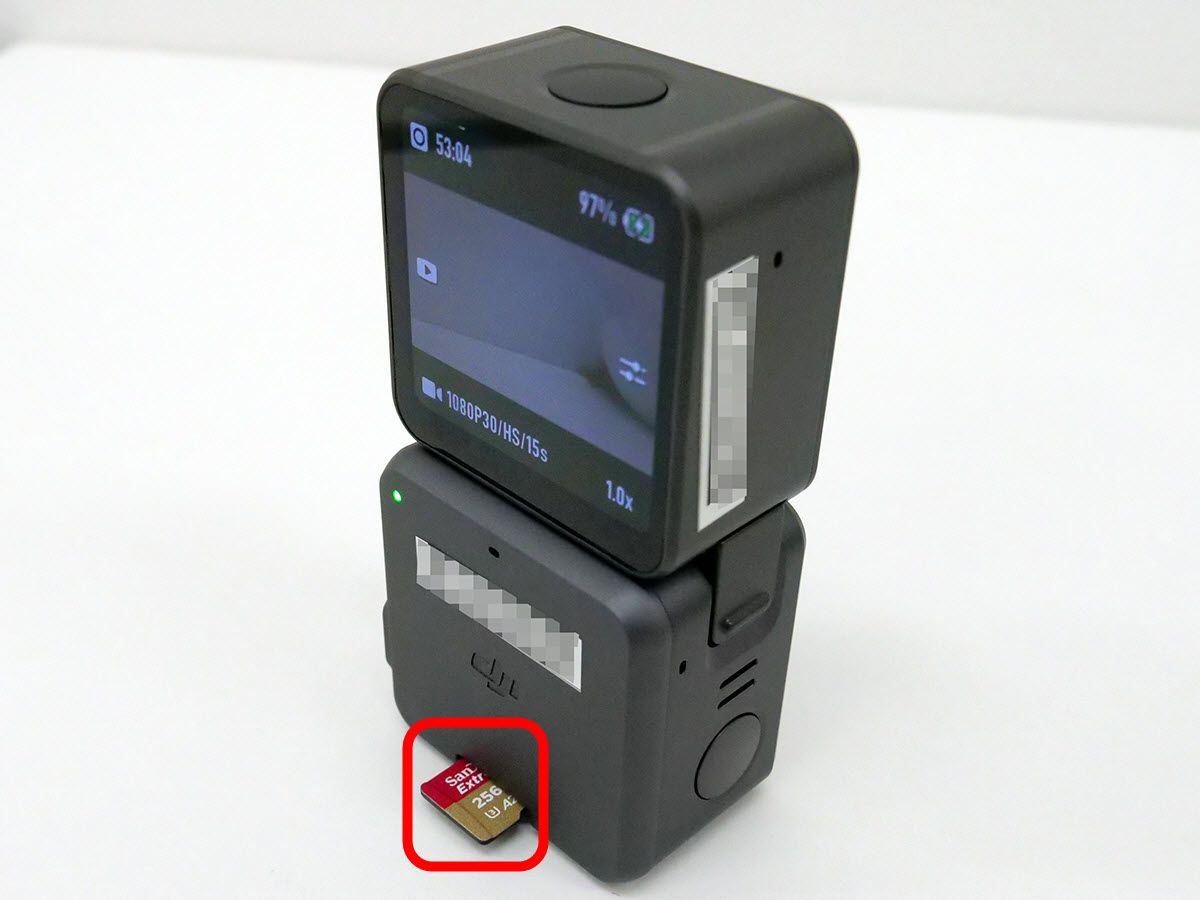
In addition, a microSD card up to 256GB can be inserted into the front touch screen module. The DJI Action 2 main unit has 32GB of internal storage, but it is recommended to prepare a large-capacity microSD card separately as it will be used up as soon as you are shooting a movie.
◆ 4: Initial setting of DJI Action 2
In DJI Action 2, it is necessary to activate using the smartphone application 'DJI Mimo ' at the time of initial setting, so check the procedure.
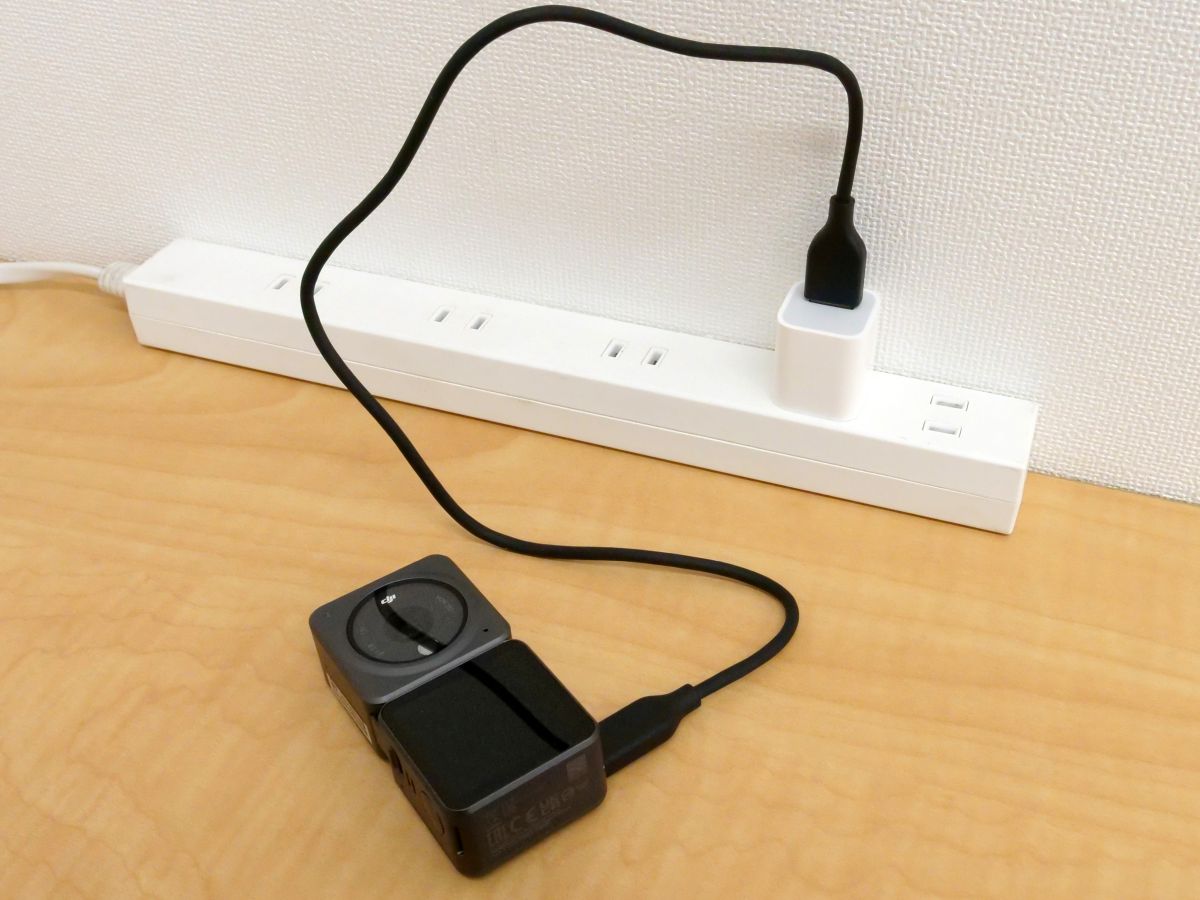
First, connect DJI Action 2 to the front touch screen module, and then connect it to the power supply from the USB terminal of the front touch screen module to charge it.
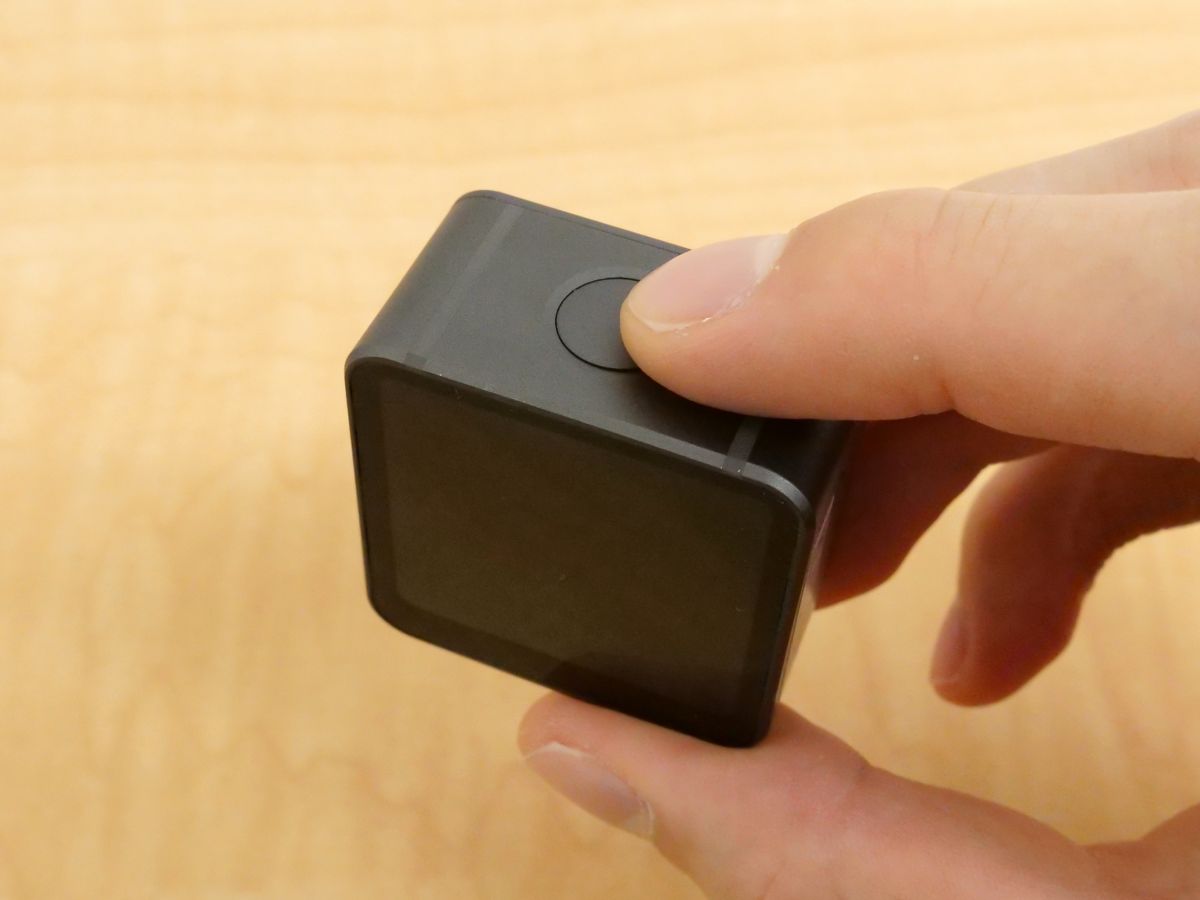
When charging is complete, press the power button to turn on the power.
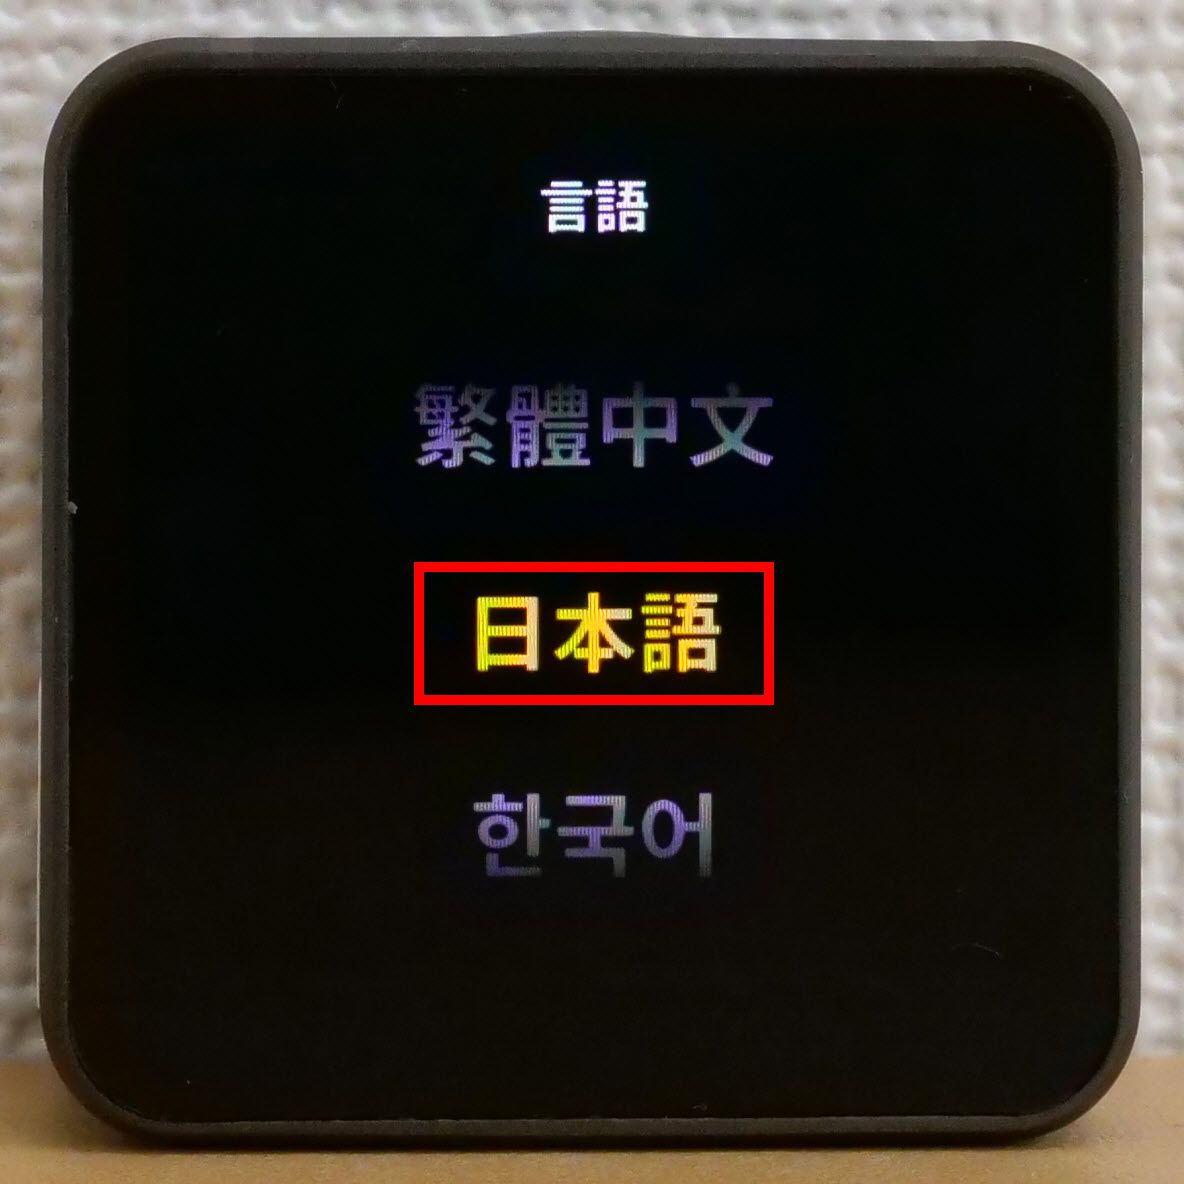
At the first startup, the language selection screen will be displayed, so select 'Japanese'.
Next, install DJI Mimo on your smartphone.
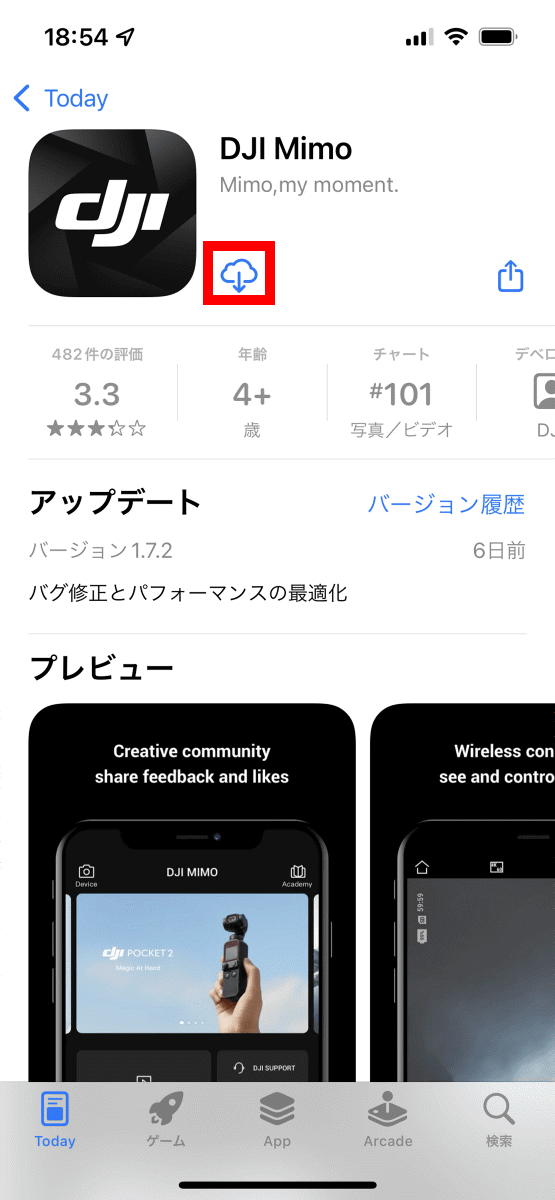
First, search for DJI Mimo in the App Store and tap Install. I had previously installed DJI Mimo with the Apple ID I used this time, so I tapped the cloud icon to install it.
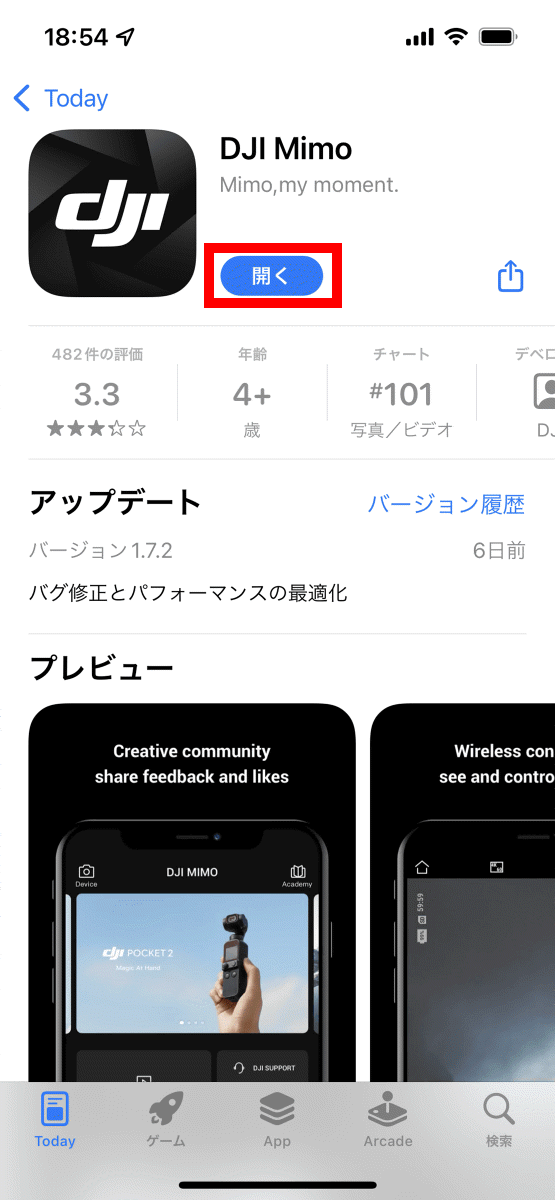
Tap 'Open' when the installation is complete.
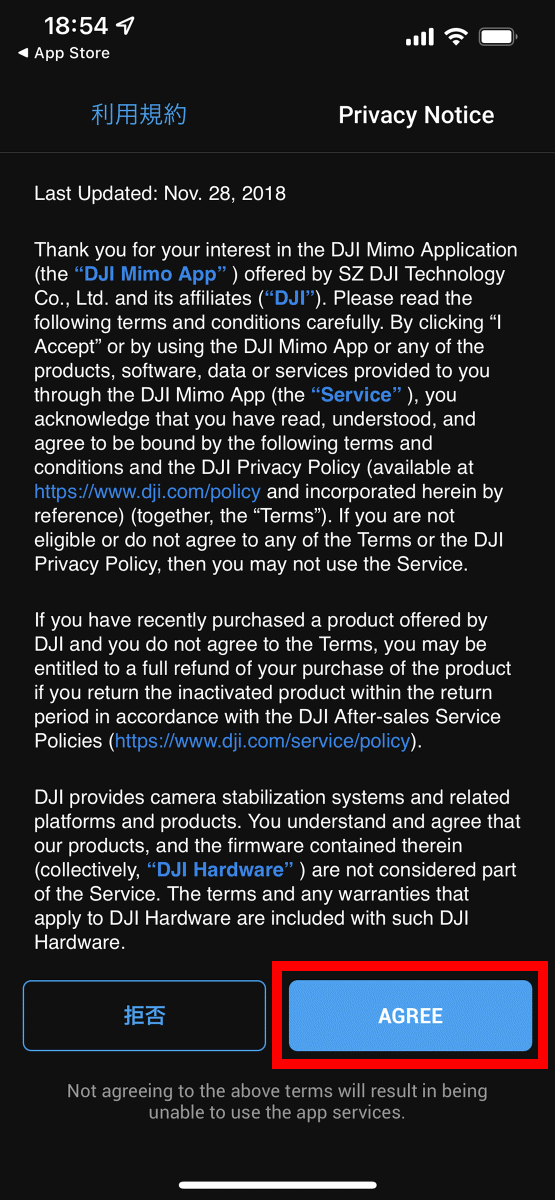
When DJI Mimo starts, read the terms of use carefully and tap 'A GREE'.
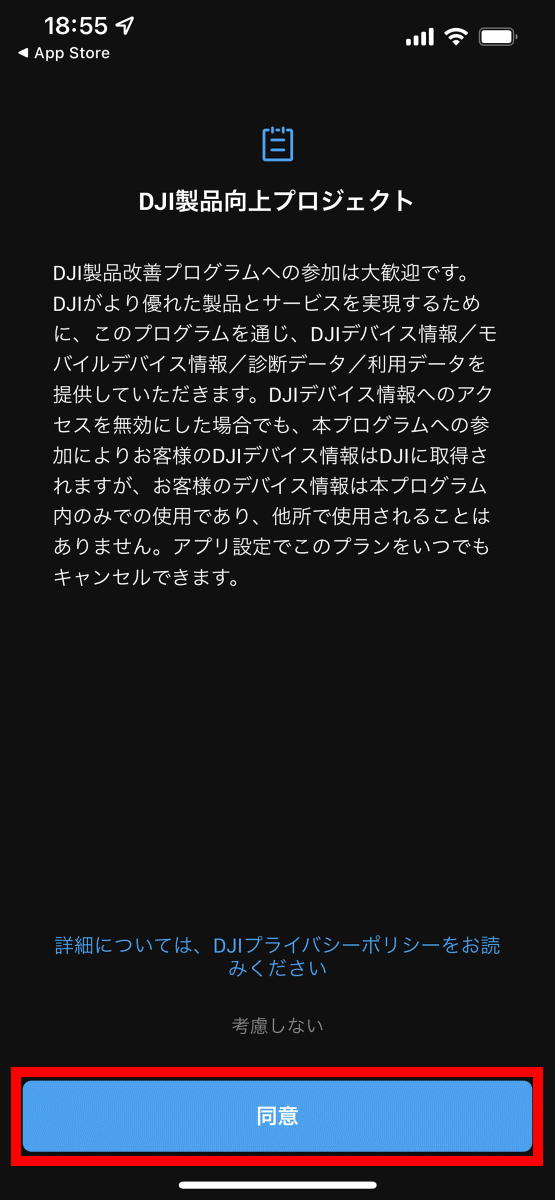
Next, you will be asked to participate in the product improvement project, so tap 'Agree'.
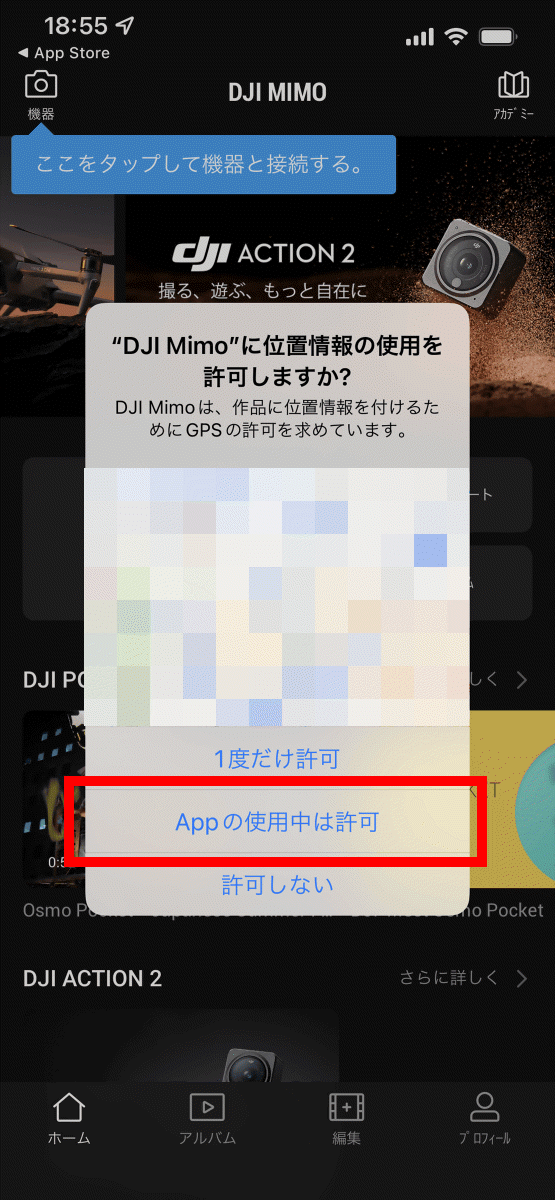
When asked for permission to use location information, tap 'Allow while using the app'.
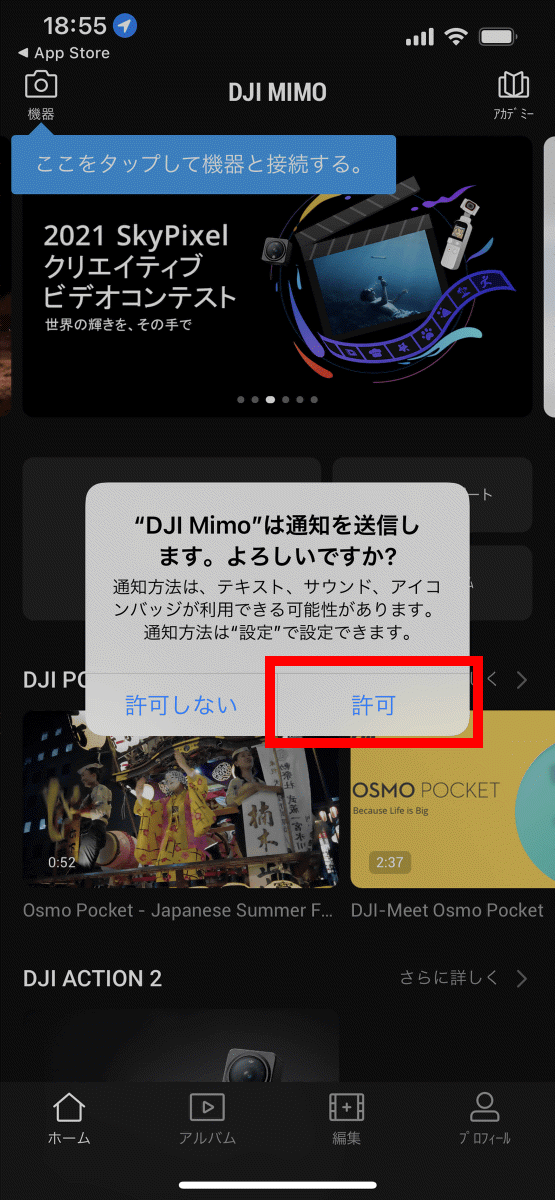
It also allows notifications to be sent.
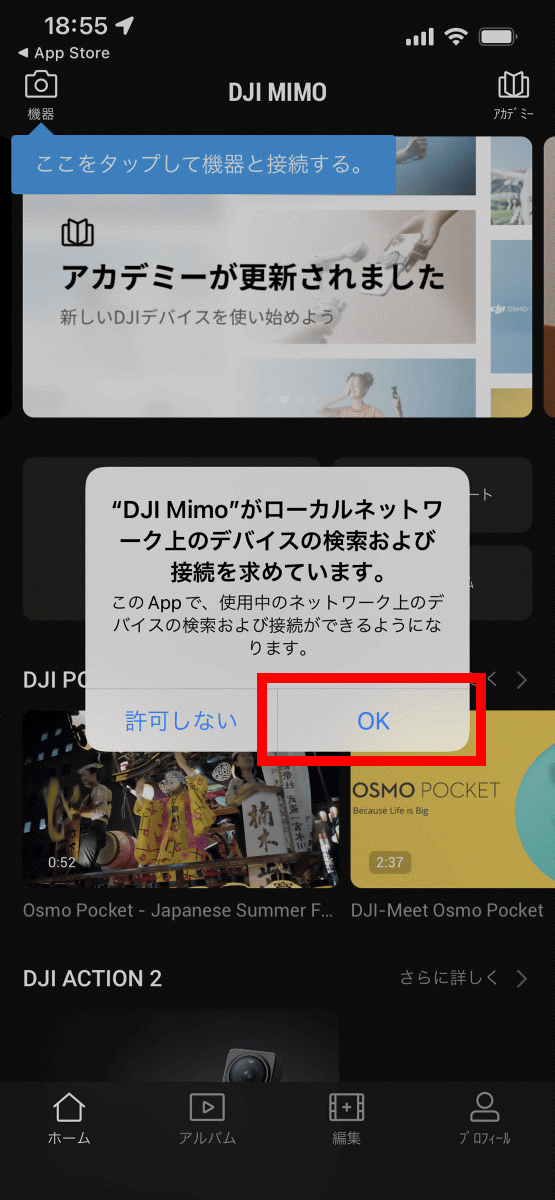
Tap 'OK' because it is necessary to search and connect to the local network to search for devices.
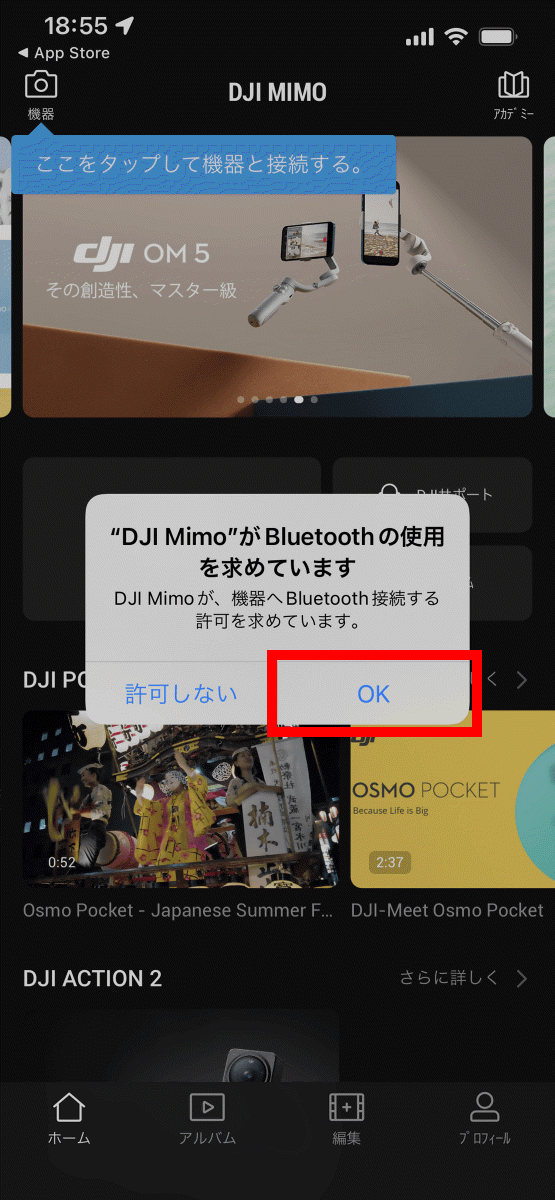
Furthermore, you will be asked for permission to use Bluetooth, so tap 'OK'.
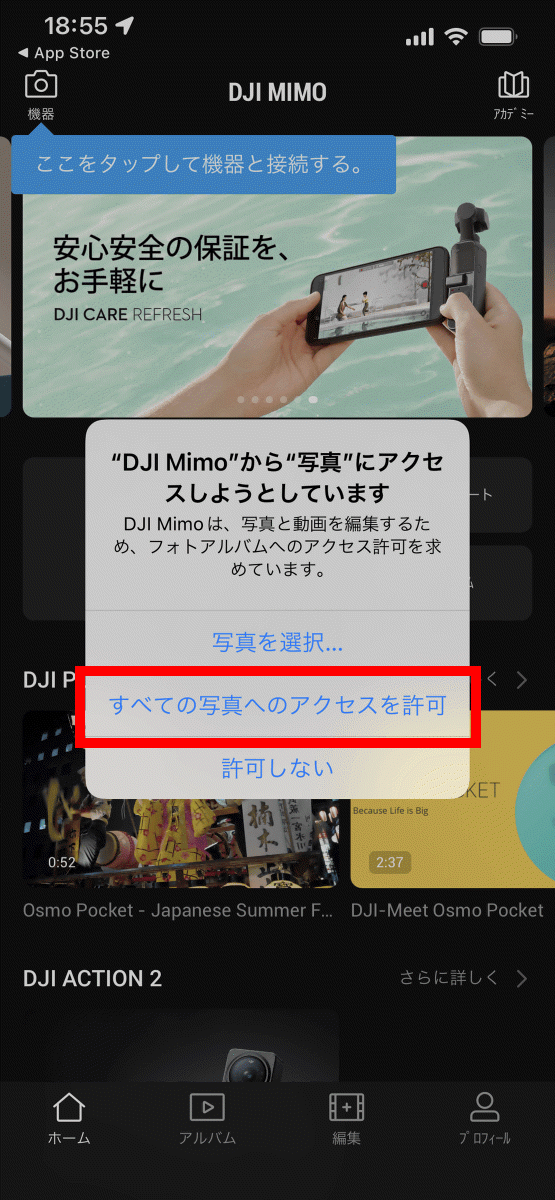
Next, you will be asked for permission to access the photos, so tap 'Allow access to all photos'.
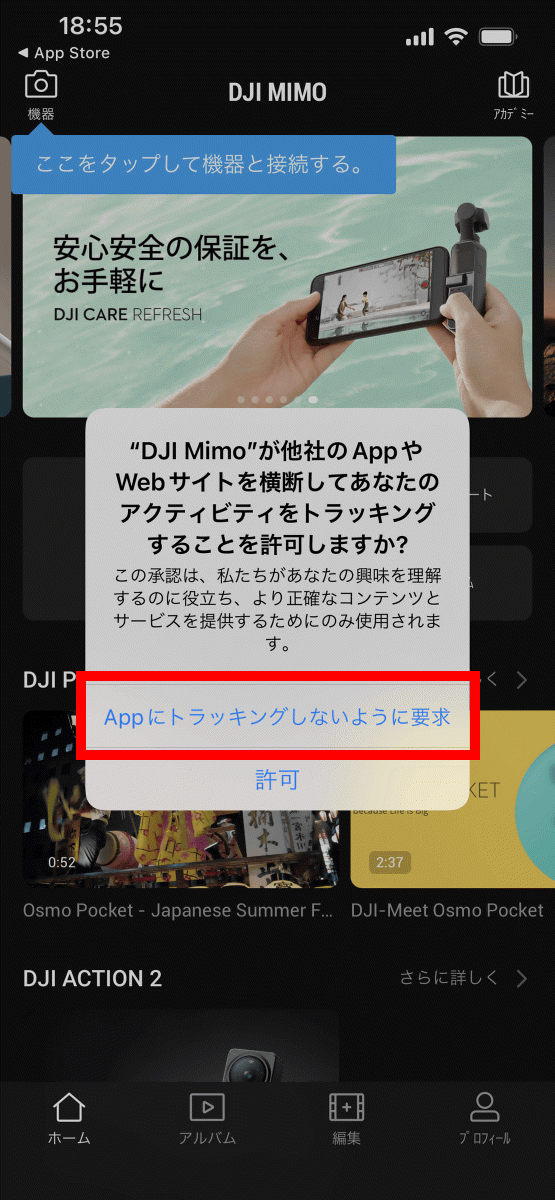
Finally, I was asked if tracking was possible, so this time I tapped 'Request App not to track'.
When all the permission settings are completed, the running DJI Action 2 will be detected and 'DJI device found' will be displayed at the top of the screen, so tap 'Connect'.

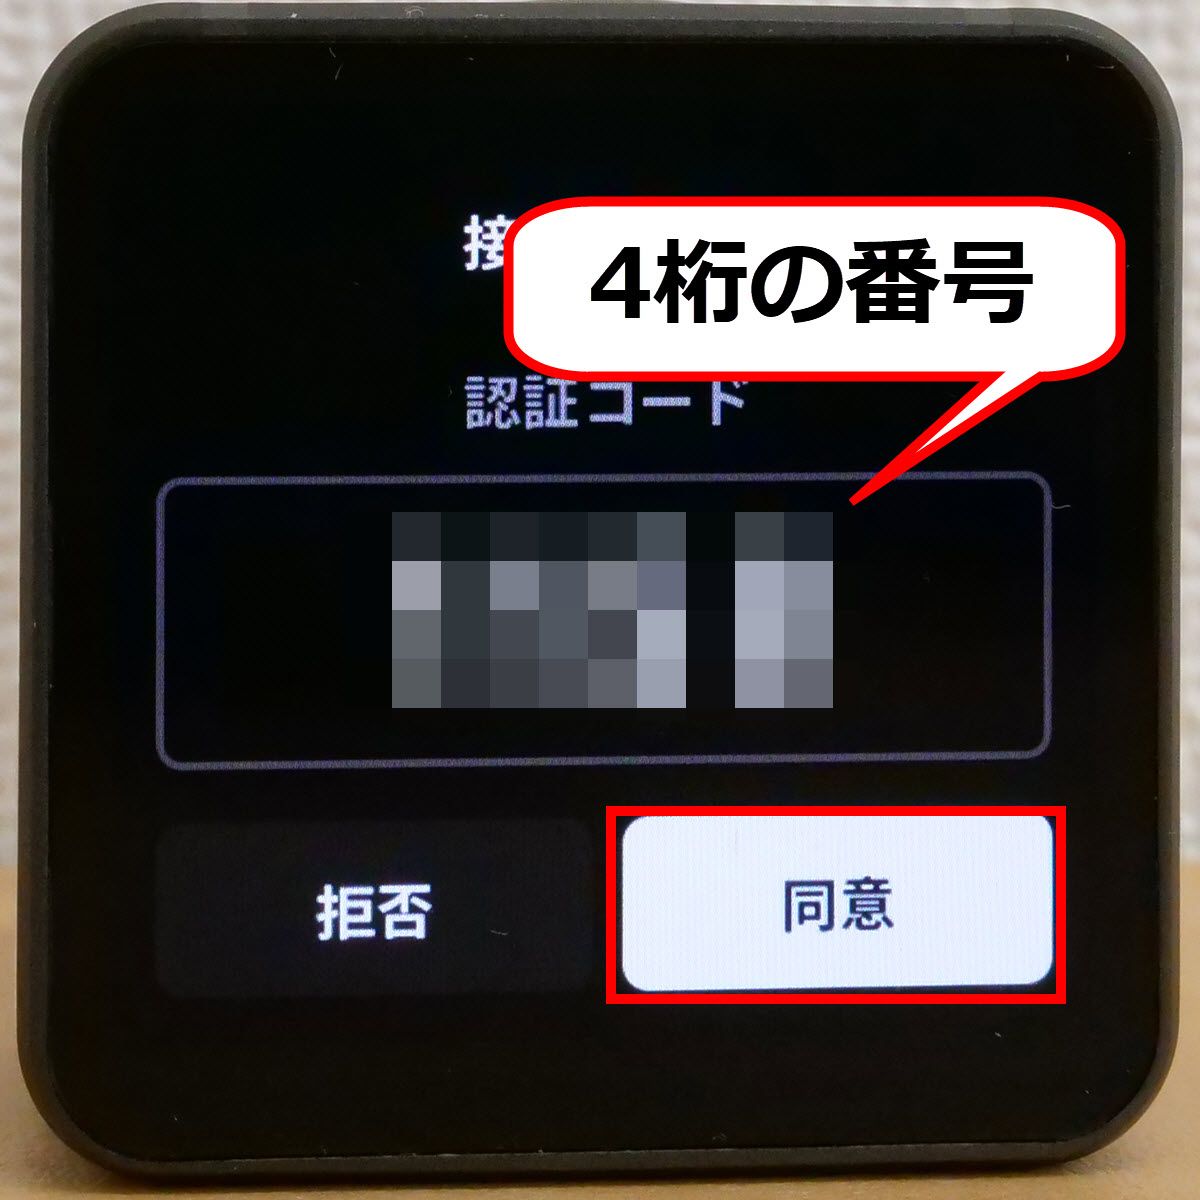
Then, a 4-digit number is displayed on the screen of the smartphone ...
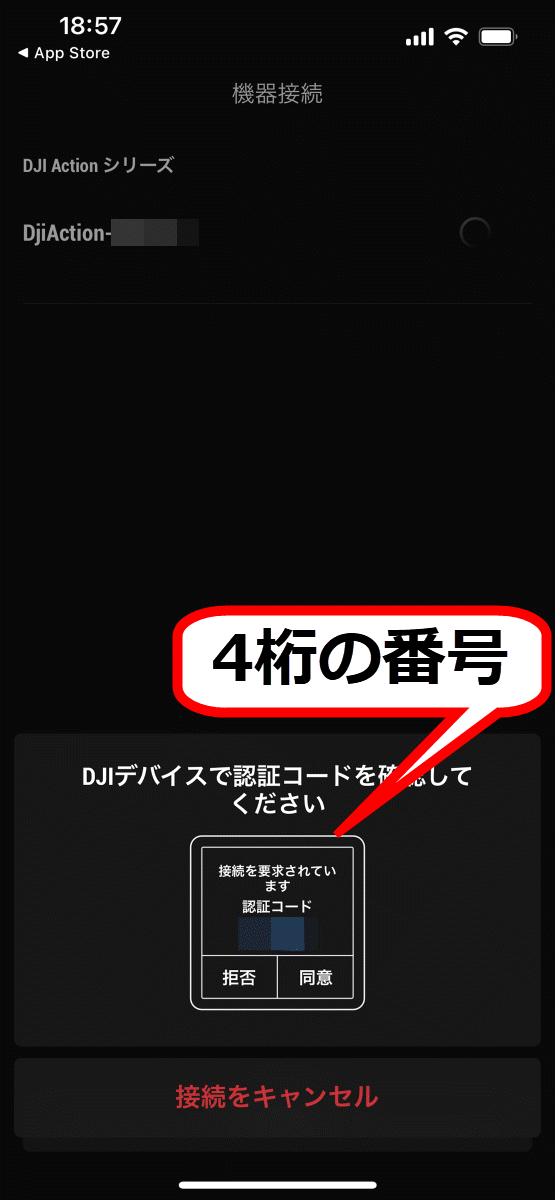
The DJI Action 2 screen also displays a 4-digit number. After confirming that both numbers are the same, tap 'Agree' displayed in DJI Action 2.
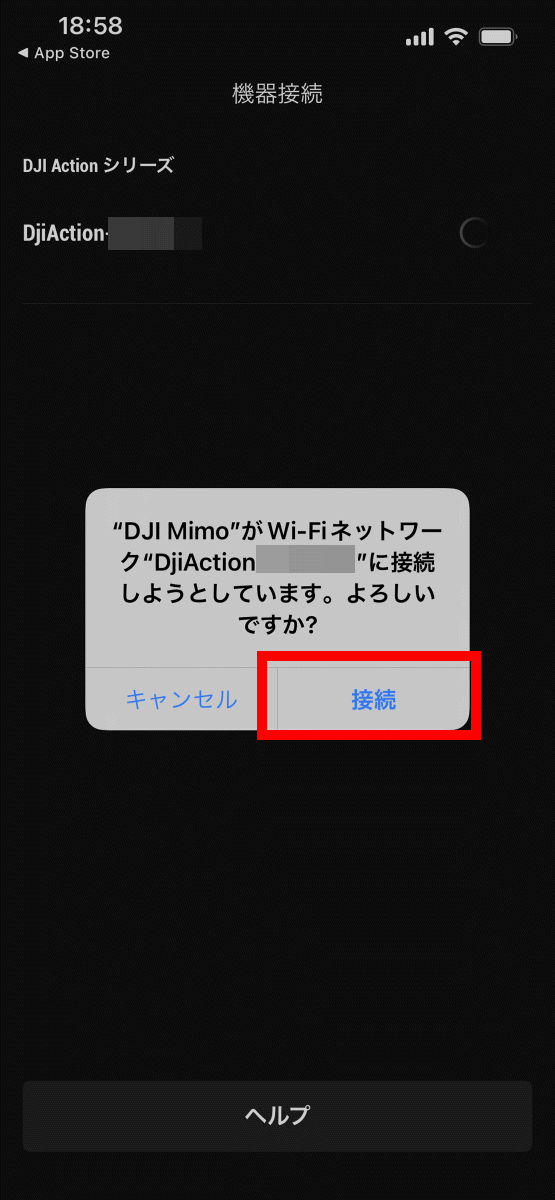
Then a pop-up will be displayed on your smartphone, so tap 'Connect'.
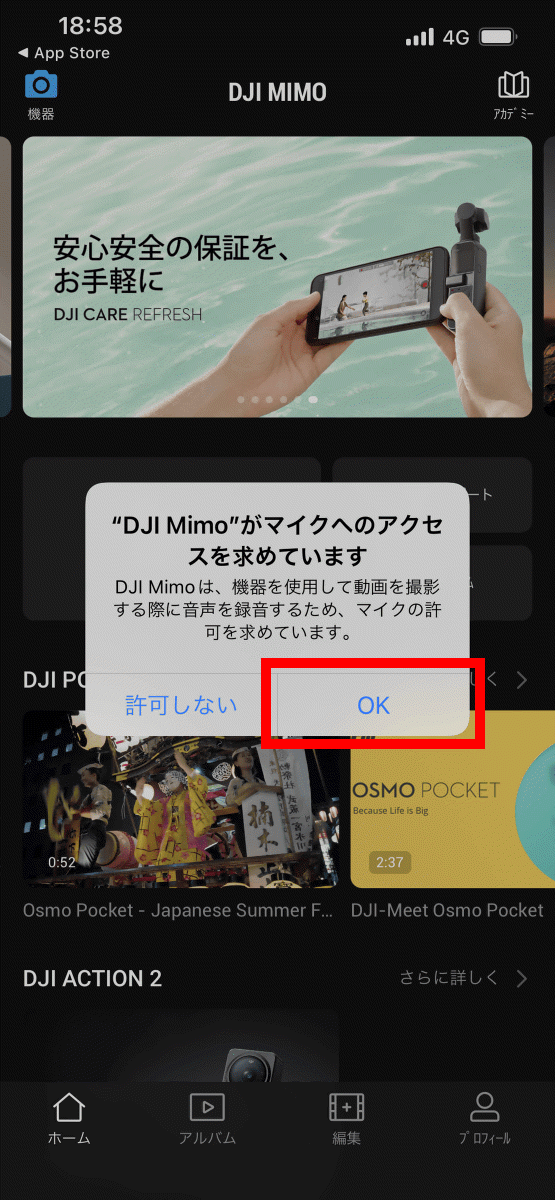
After waiting for a while, the connection between the smartphone and DJI Action 2 will be completed, and the smartphone will ask for permission to use the microphone, so tap 'OK'.
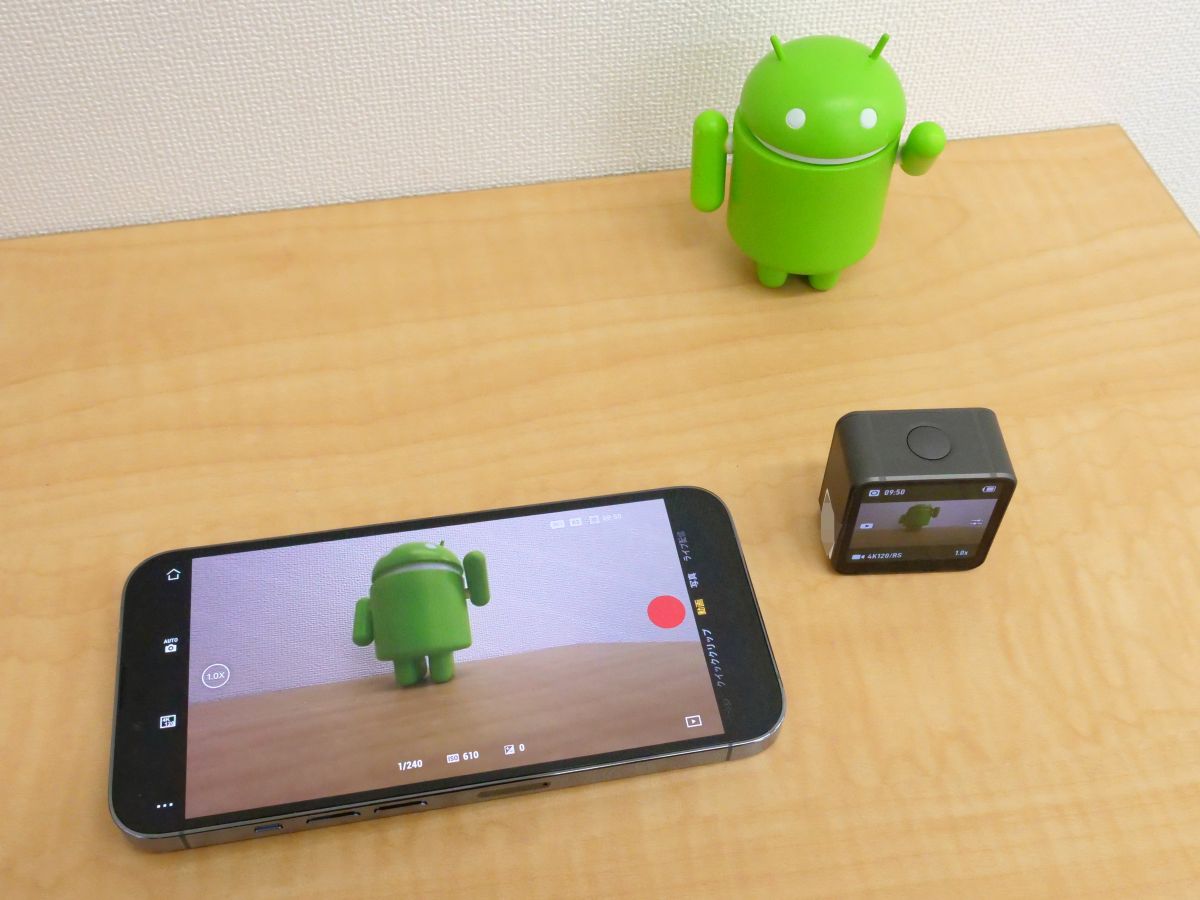
DJI Action 2 activation is now complete. From DJI Mimo, you will be able to remotely control DJI Action 2 and check the movies you have shot.
◆ 5: How to use the attached accessories
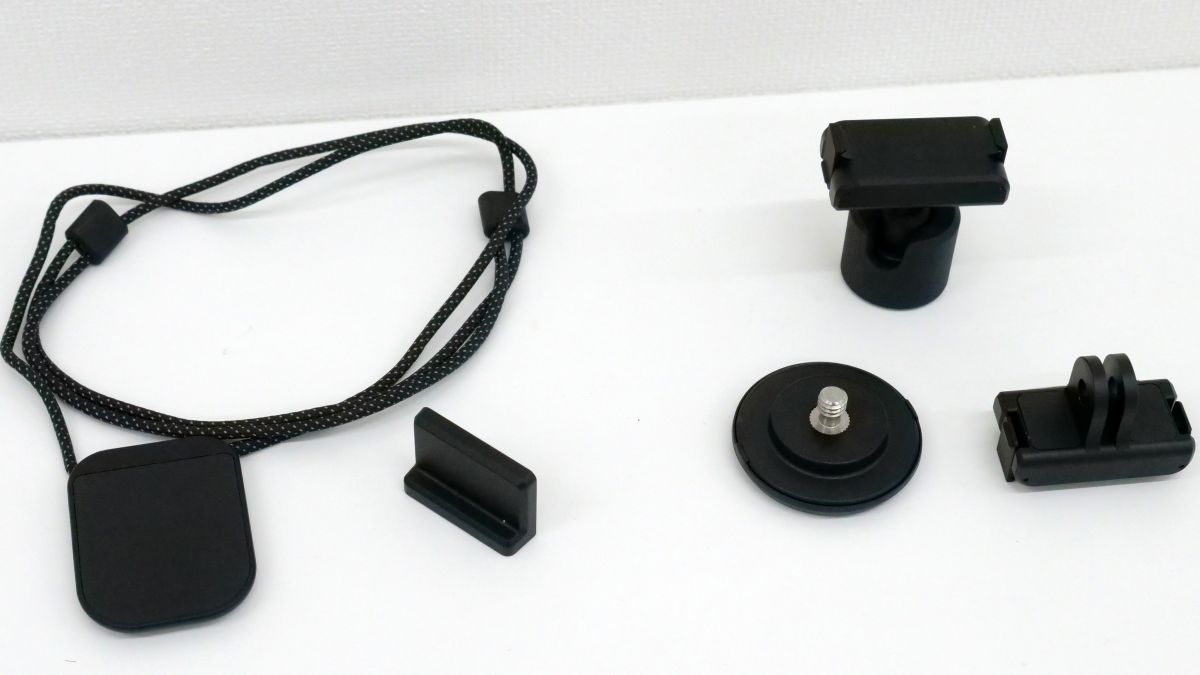
The DJI Action 2 Dual-Screen Combo comes with three types of accessories: a magnetic strap, a magnetic adapter mount, and a magnetic ball joint adapter mount, so let's check how to use each.
・ Magnetic strap
The magnetic strap is divided into a part that hangs around the neck and a part that attaches to DJI Action 2.
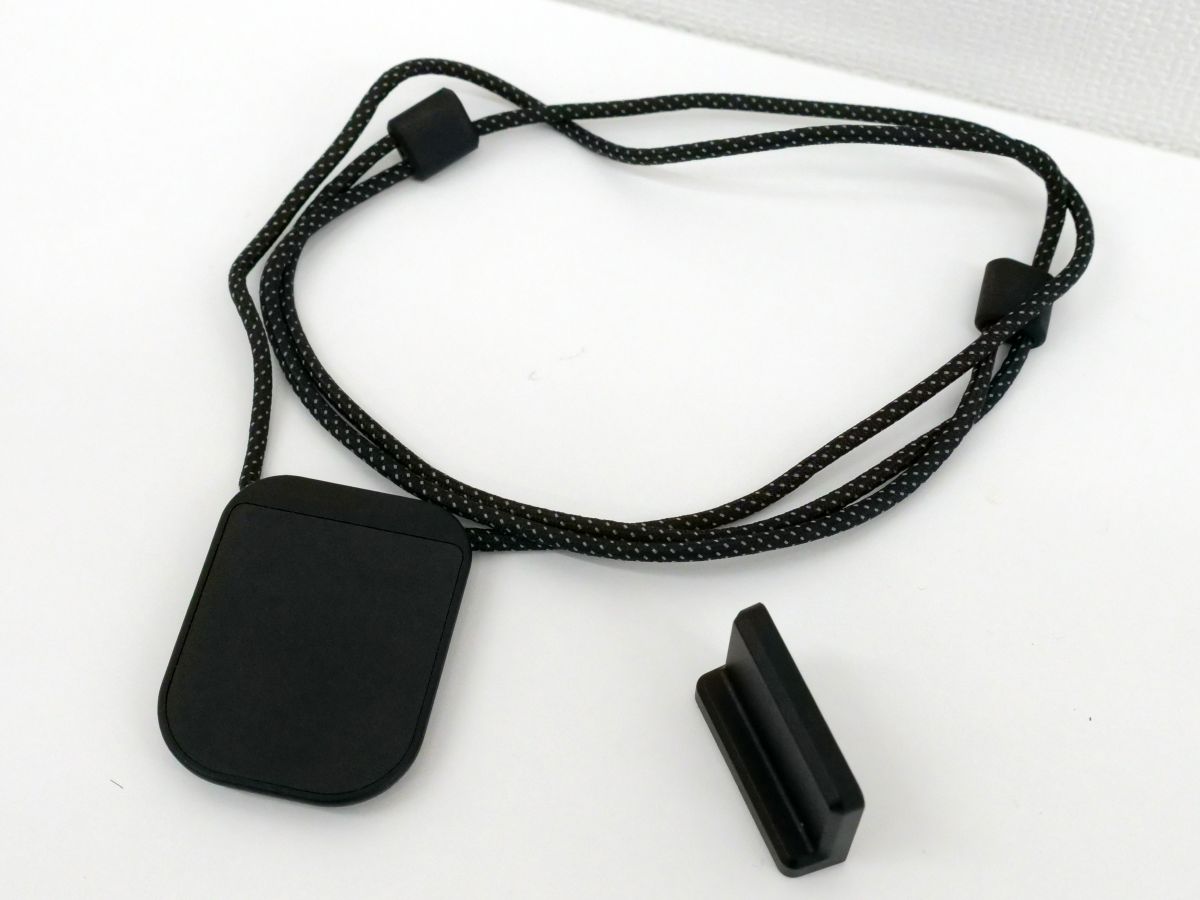
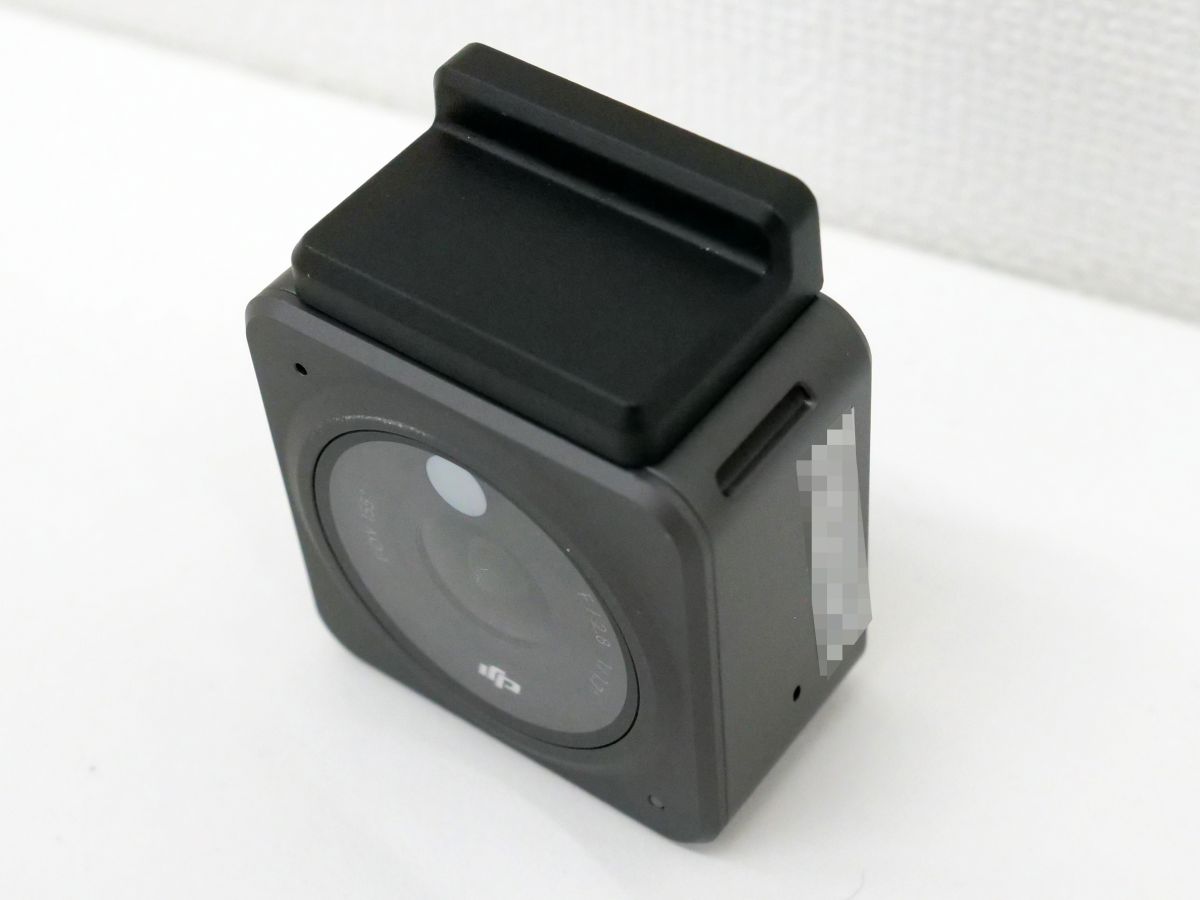
The mounting parts will stick to DJI Action 2 with magnetic force.
In addition, magnets are also mounted on the parts that hang around the neck ...
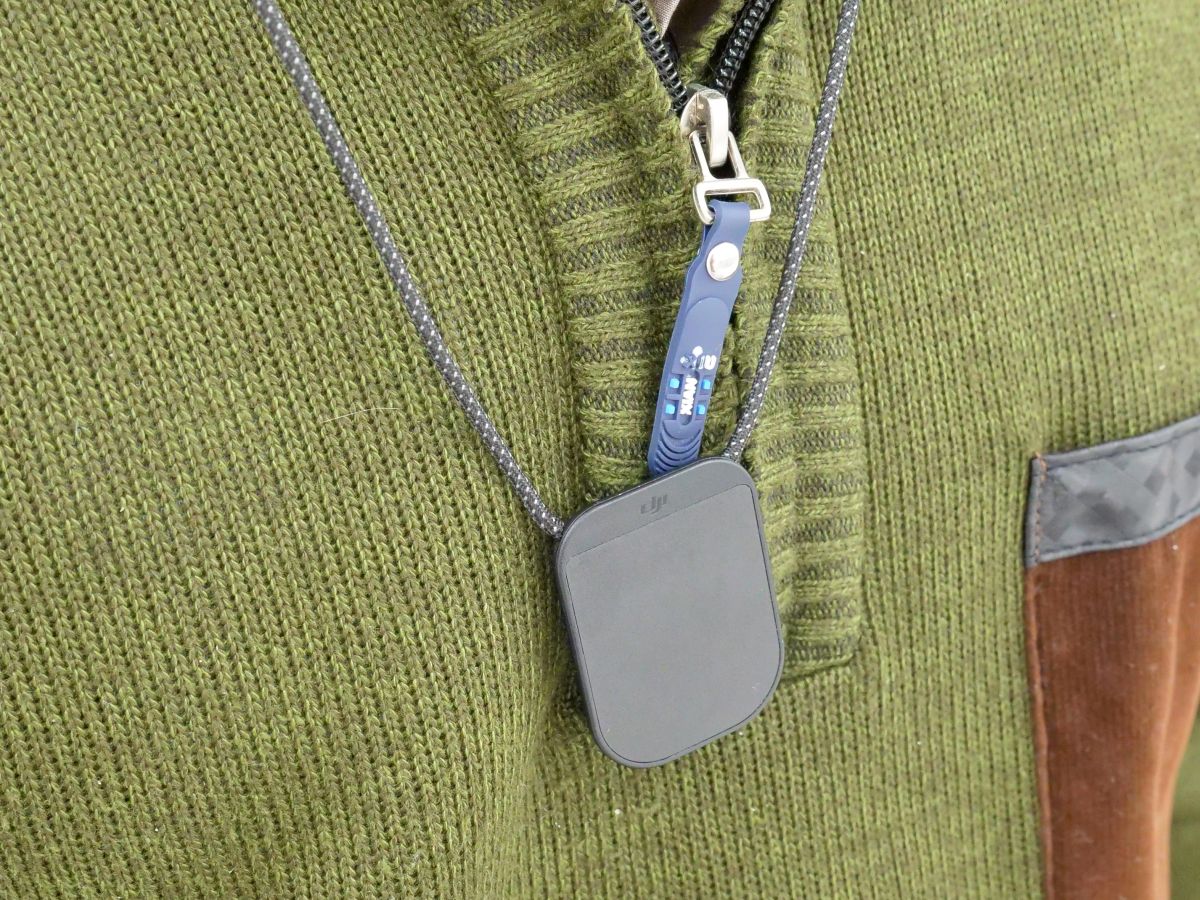
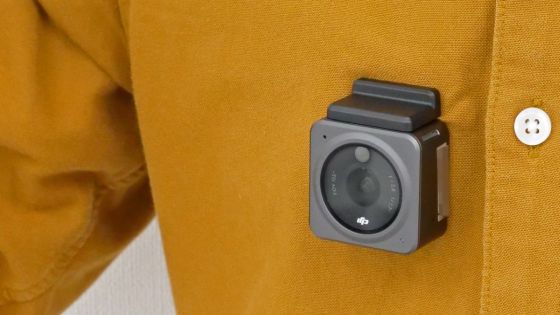
You can attach DJI Action 2 like this and hang it around your neck. However, this usage causes DJI Action 2 to sway, so ...

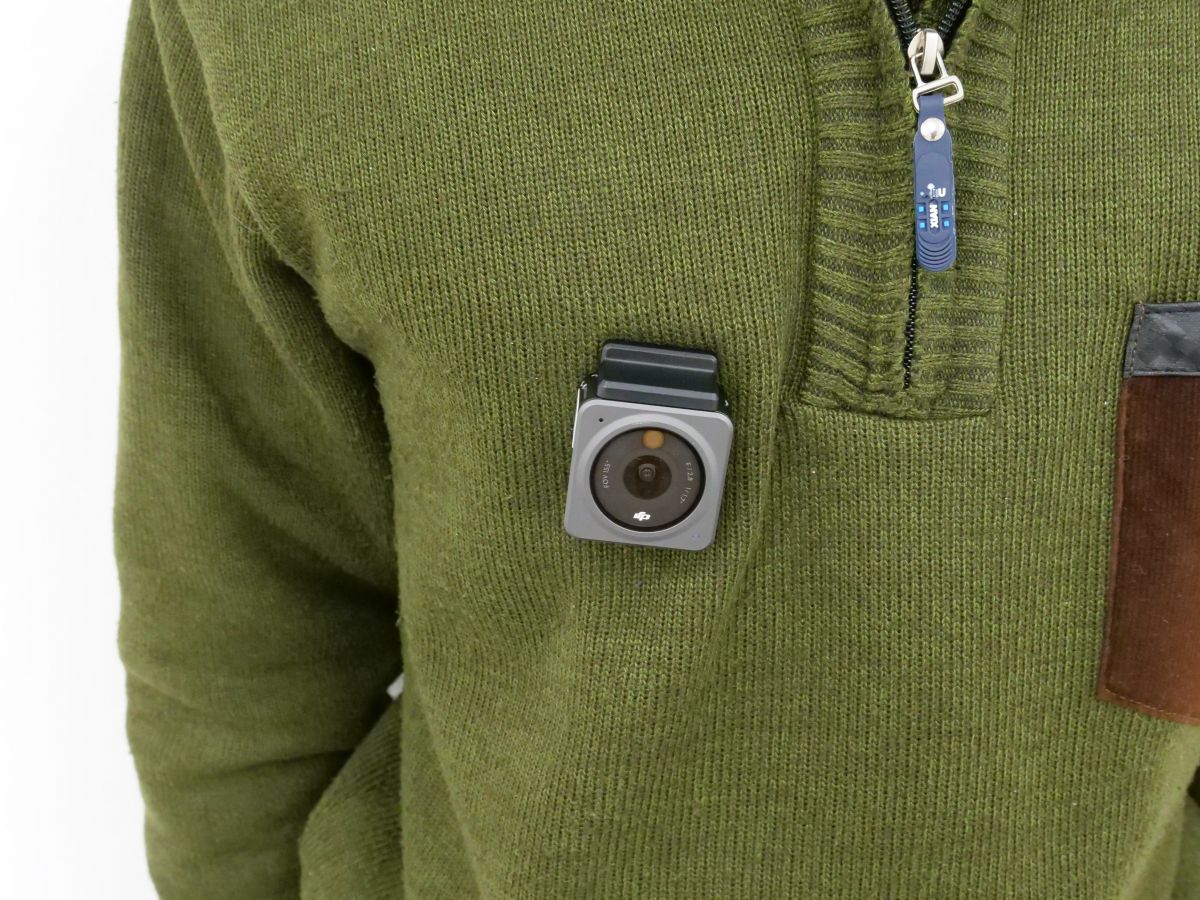
It is recommended to put the parts to be hung on the neck inside the clothes and attach them so that the clothes are sandwiched by magnetic force. With this mounting method, you can lock the DJI Action 2 in place.
・ Magnetic adapter mount
The Magnetic Adapter Mount is an adapter for connecting DJI Action 2 and a variety of accessories developed for action cameras.
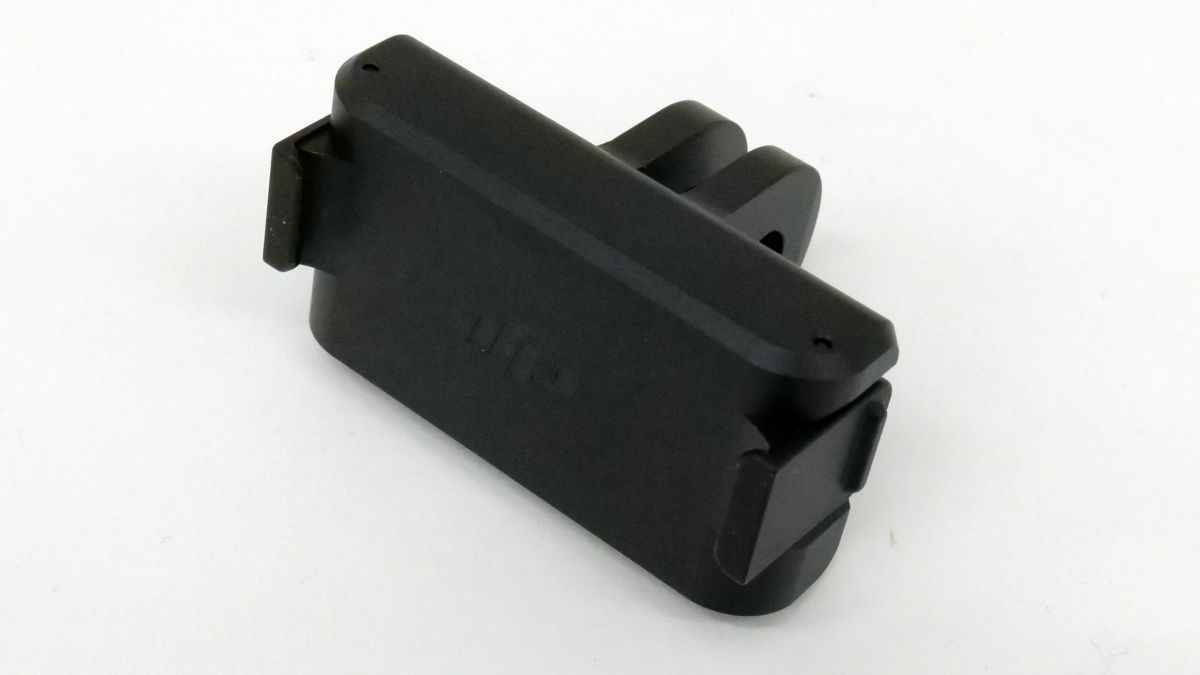
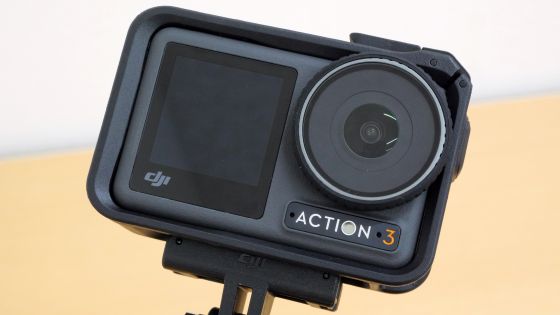
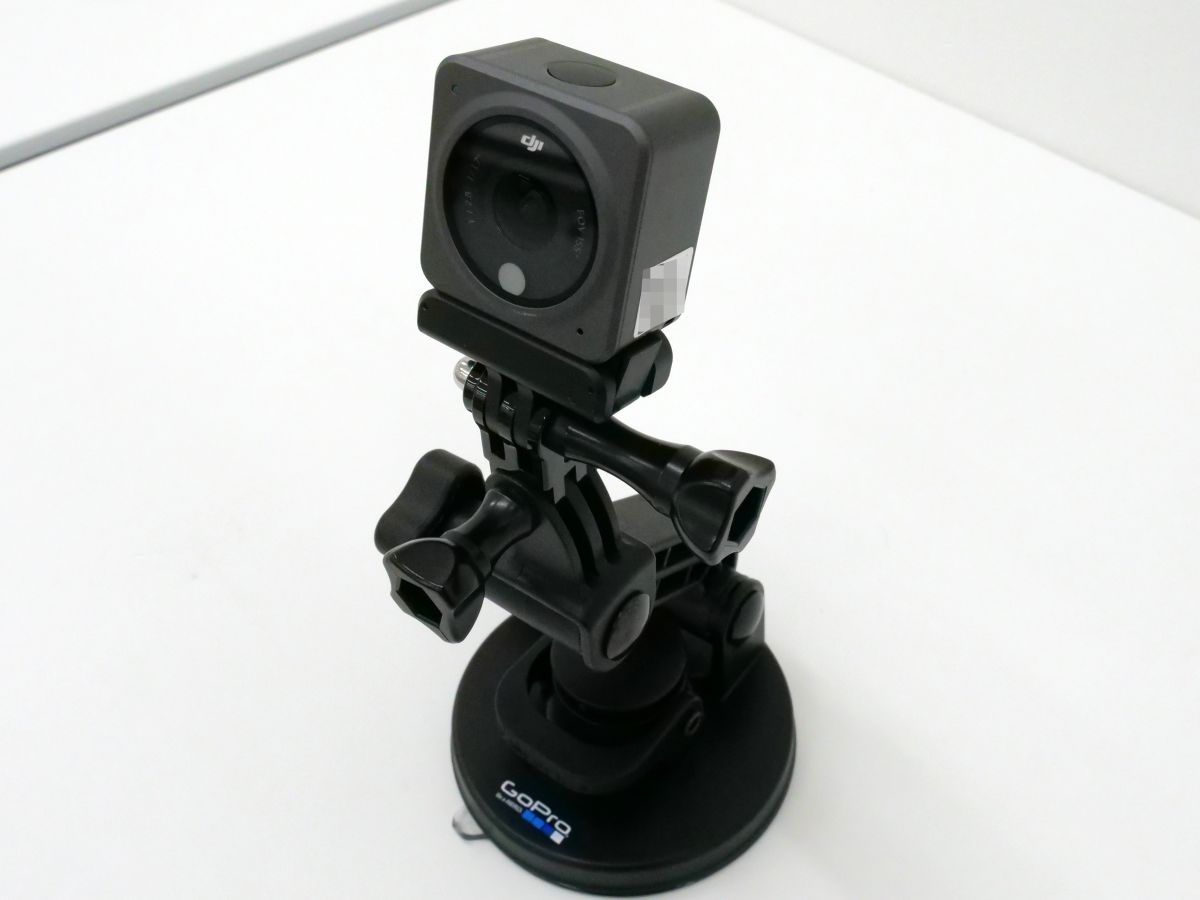
Because the lower part of the magnetic adapter mount is shaped for connecting accessories used in action cameras such as
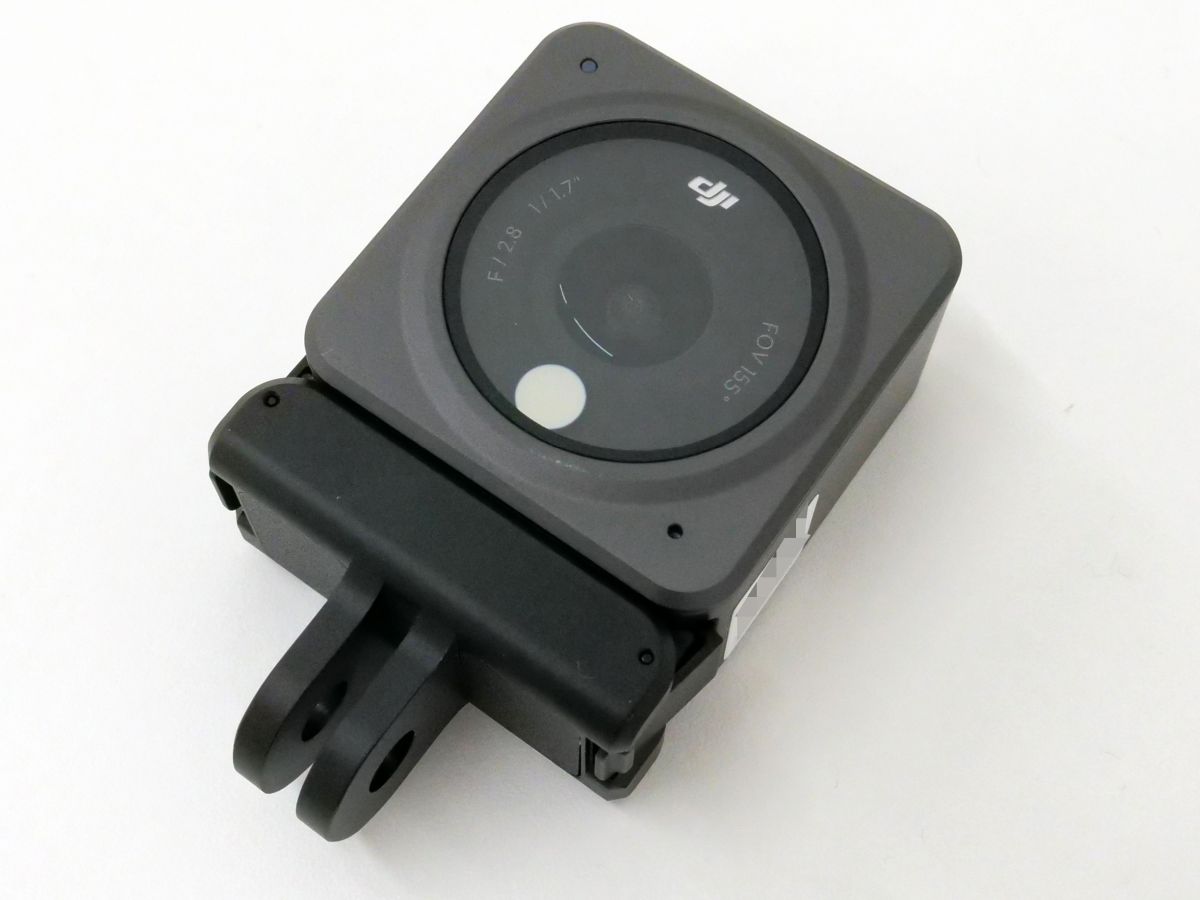
Like this, you can attach DJI Action 2 to
・ Magnetic ball joint adapter mount
The Magnetic Ball Joint Adapter Mount allows you to mount the DJI Action 2 on slippery walls and more.
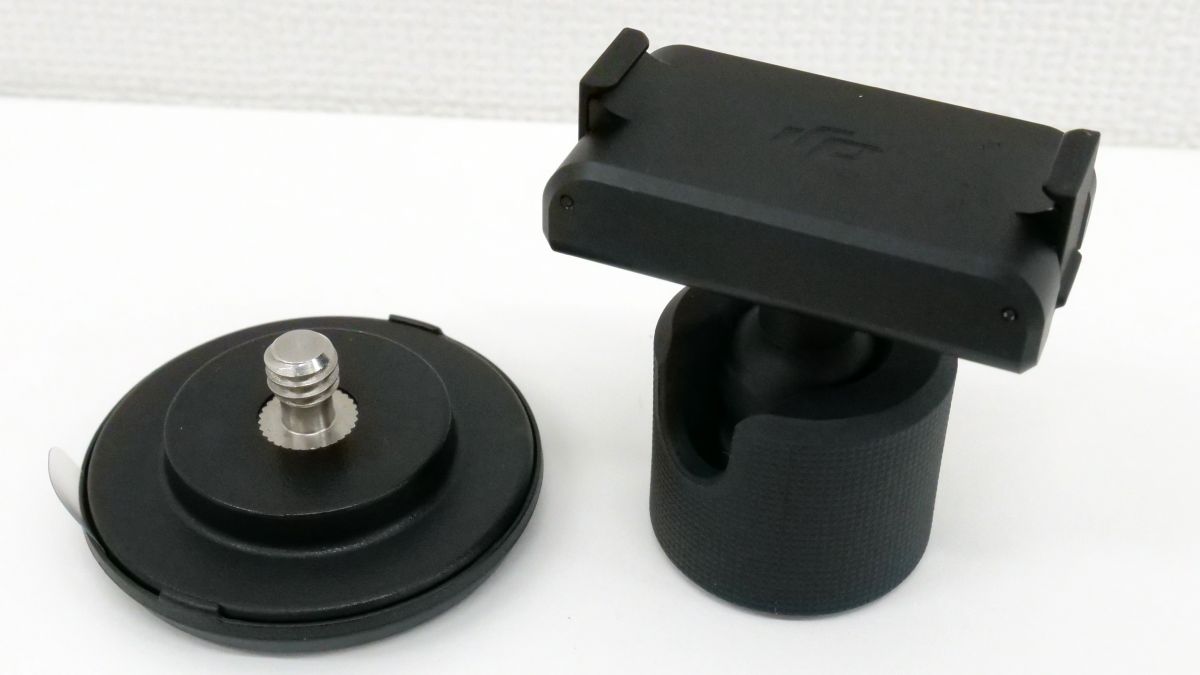
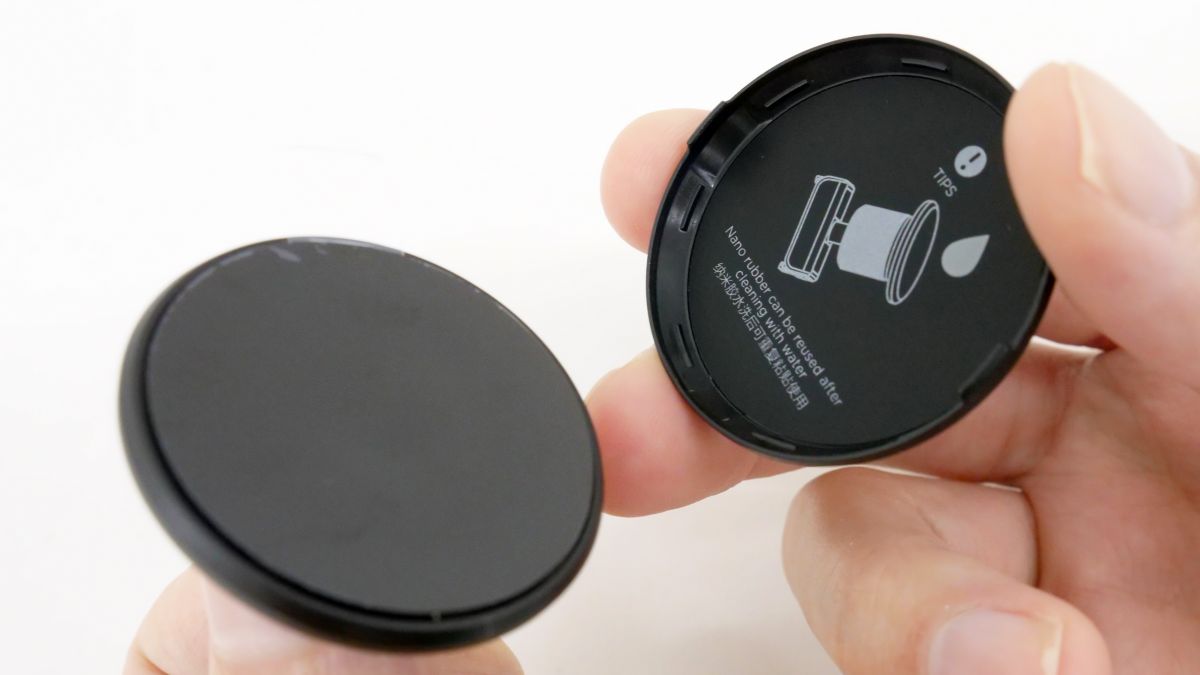
A cap is attached to the circular part, and an adhesive mat is mounted inside the cap.
Paste this circular part on a slippery surface ...
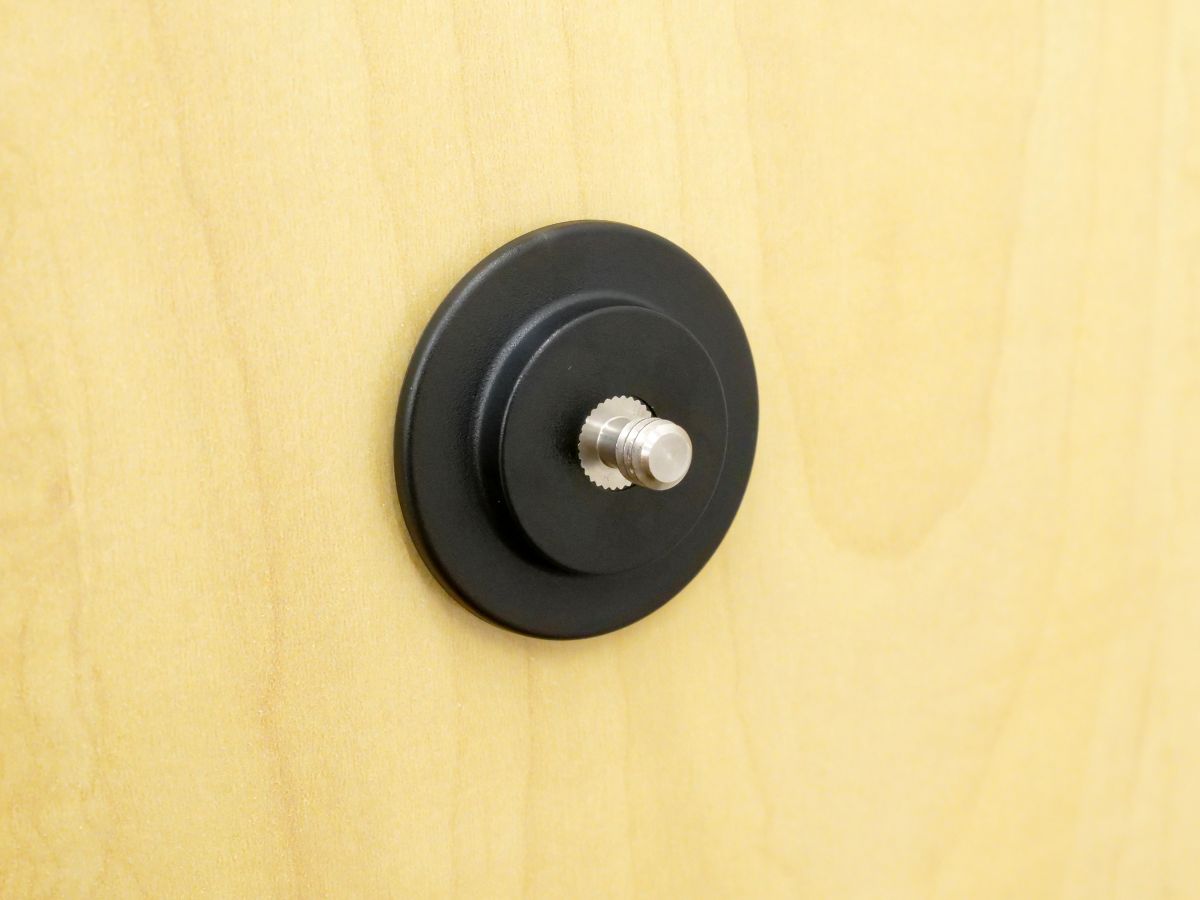
If you screw in the screw hole of the other part ...
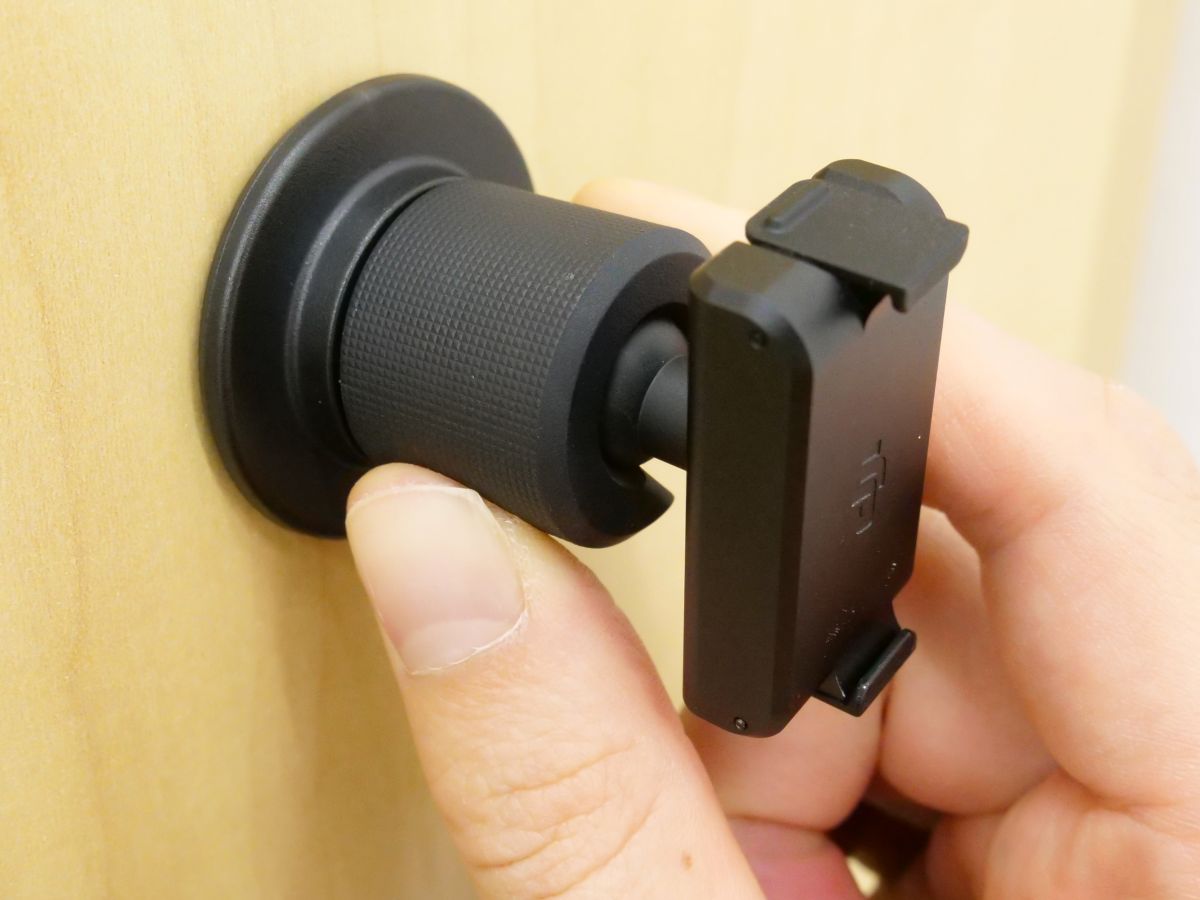
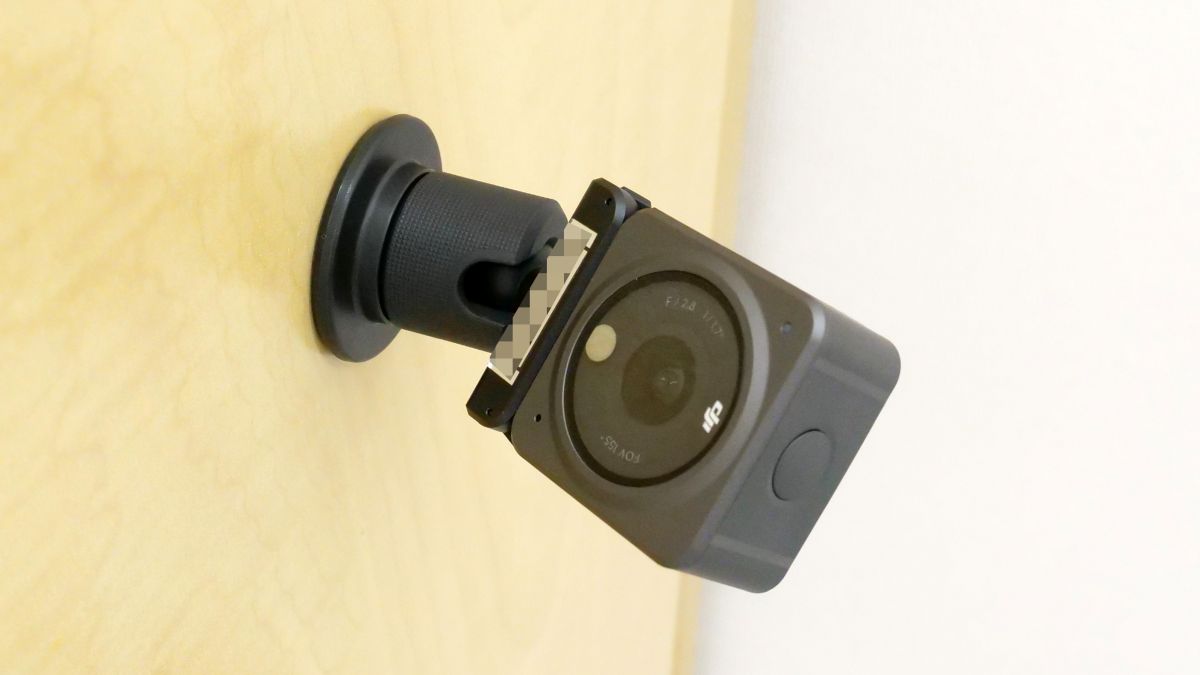
You can attach DJI Action 2 to a wall like this.
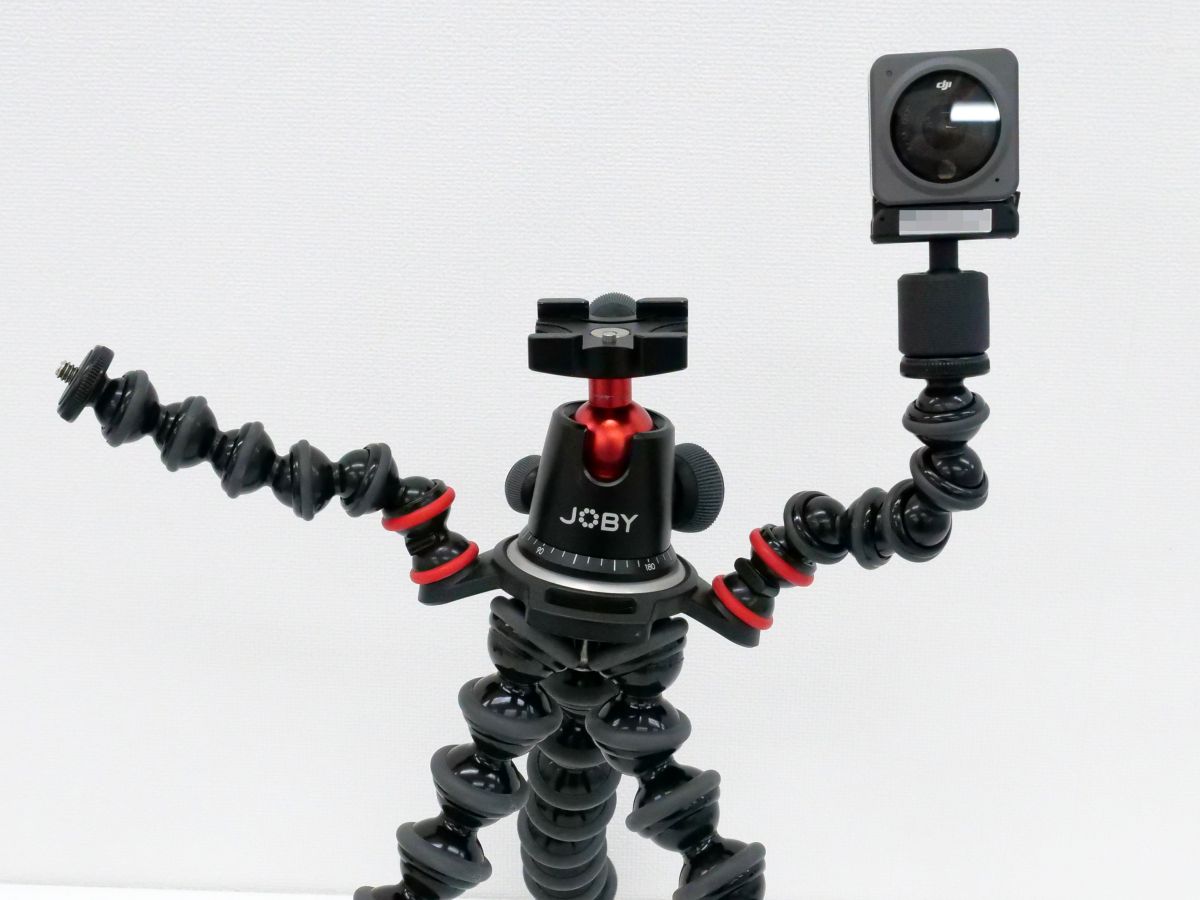
In addition, the screw mounted on the magnetic ball joint adapter mount is a 1/4 inch screw that is also used on tripods, so you can attach DJI Action 2 to your favorite tripod.
・ Continued
You can check the review article that actually shot the movie using DJI Action 2 from the link below.
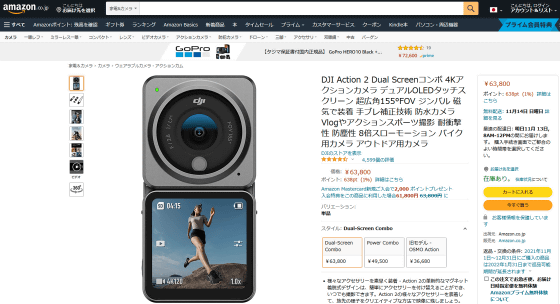
DJI Action 2 is available on the
Amazon.co.jp: DJI Action 2 Dual Screen Combo 4K Action Camera Dual OLED Touch Screen Super Wide Angle 155 ° FOV Gimbal Magnetically Mounted Camera Shake Correction Technology Waterproof Camera Vlog and Action Sports Shooting Impact Resistant Dustproof 8x Slow Motion For Bikes Camera Outdoor Camera: Home Appliances & Camera
Related Posts: