I tried using the file sharing service 'DocSend' which has its own viewer and can generate multiple links.
' DocSend ' is a file sharing link generation service equipped with a unique viewer that can display slides created with Microsoft PowerPoint and PDF files in a crisp manner. It was announced that DocSend was acquired by Dropbox, which develops cloud storage services, so I checked its usability.
Secure Document Sharing & Analytics, eSignature, Data Rooms | DocSend
A note from Russ, Tony, and Dave | DocSend
https://www.docsend.com/blog/docsend-joins-dropbox/
Welcome DocSend to Dropbox! | Dropbox Blog
https://blog.dropbox.com/topics/company/welcome-docsend-to-dropbox-
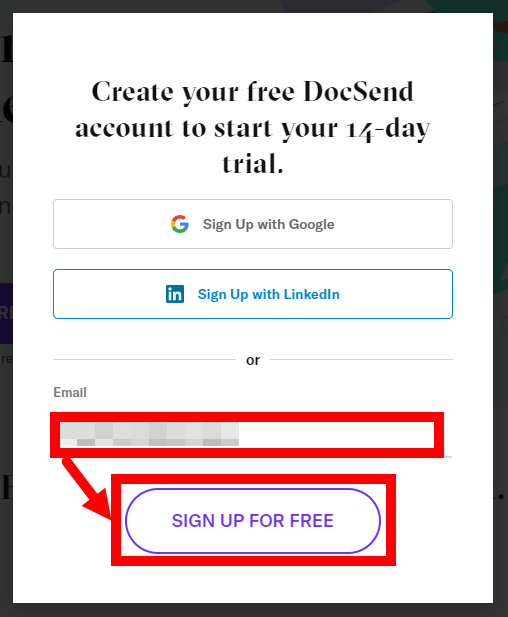
The top page of DocSend looks like this. At the bottom of the screen, it's appealing that you've joined the Dropbox ecosystem. DocSend is a paid service, but you can experience all the functions for free for 14 days, so click 'GET STARTED FREE'. You do not need to register a credit card for the free trial.

Enter your email address and click 'SIGN UP FOR FREE'.
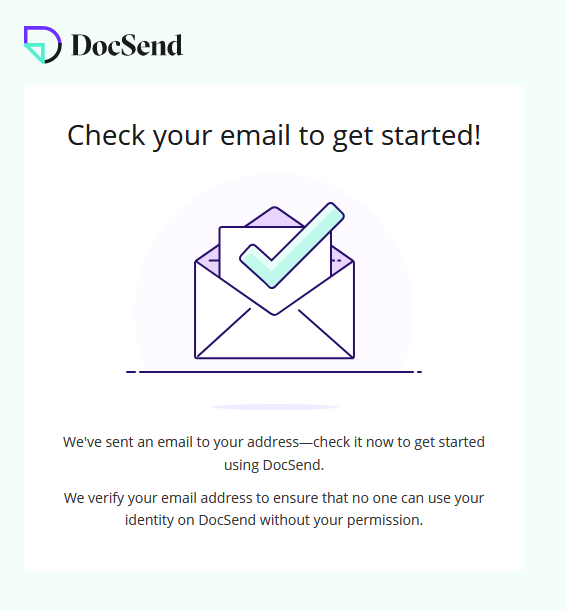
Then, a link to the registration site will be sent to the email address you entered.
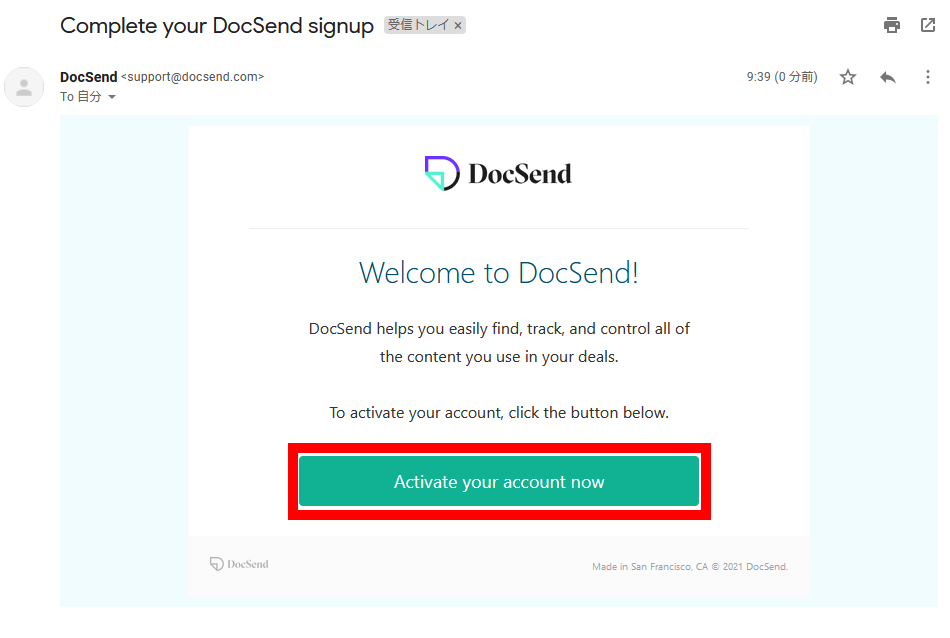
Click 'Activate your account now' in the email you received.
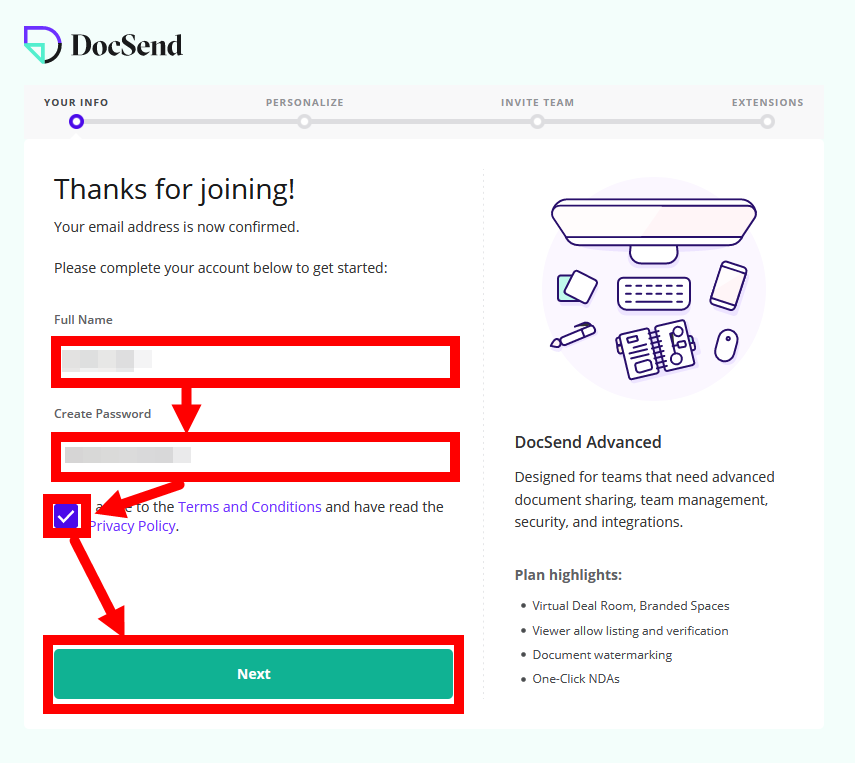
When you reach the registration page, enter your full name and password, check our Terms of Service and Privacy Policy, check Checkbox and click Next.
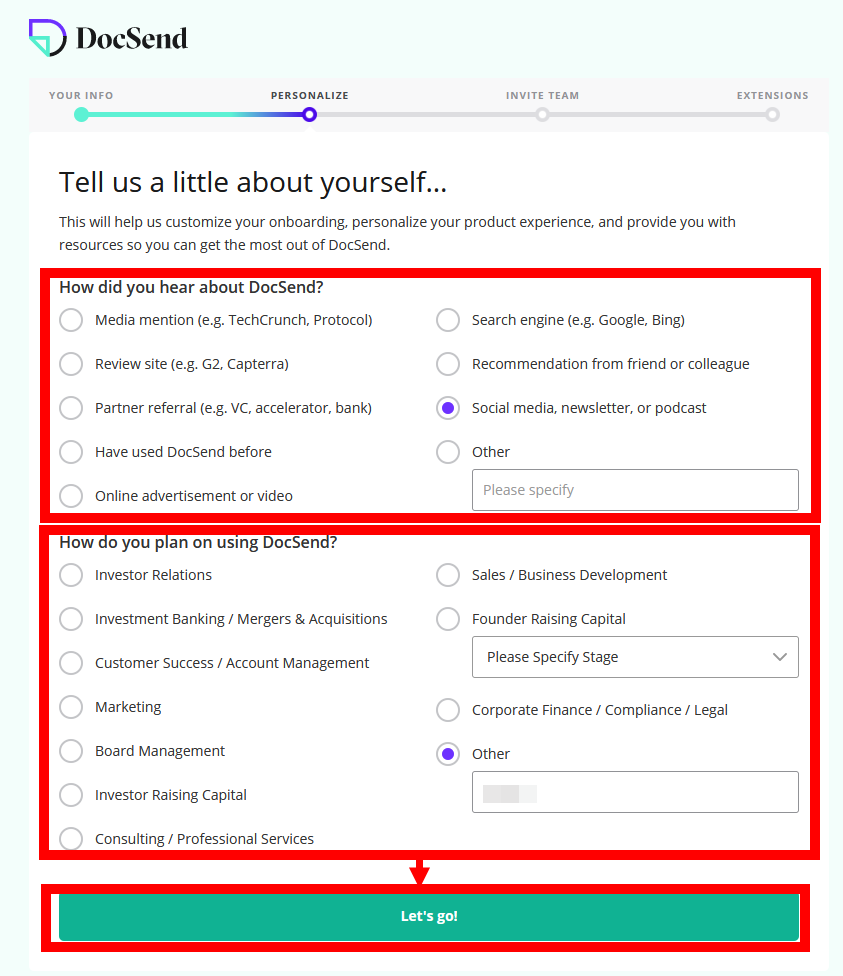
After selecting 'Where did you know DocSend' and 'Use of DocSend', click 'Let's go!'.
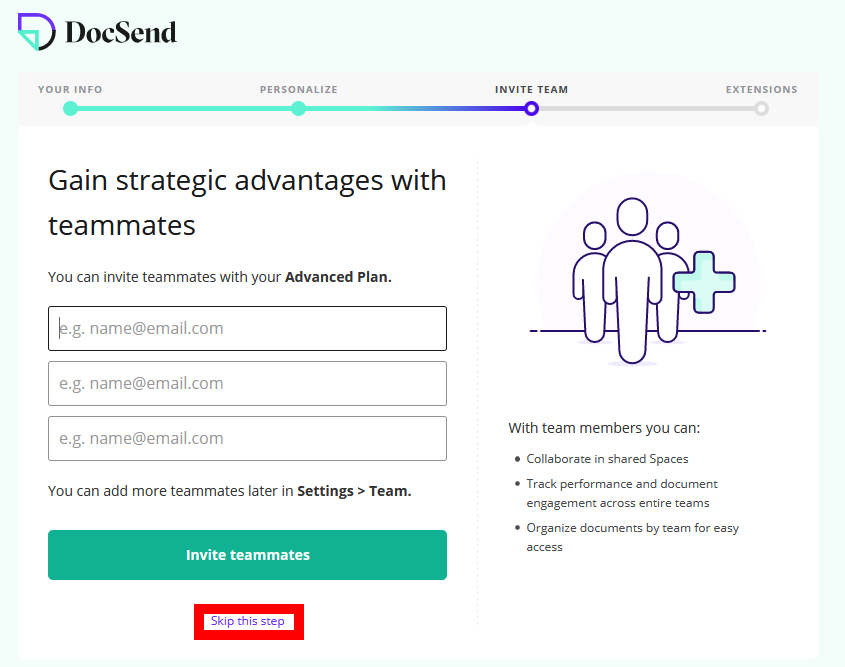
You will be asked if you want to send an invitation email to an acquaintance, but just click 'Skip this step' at the bottom of the screen.
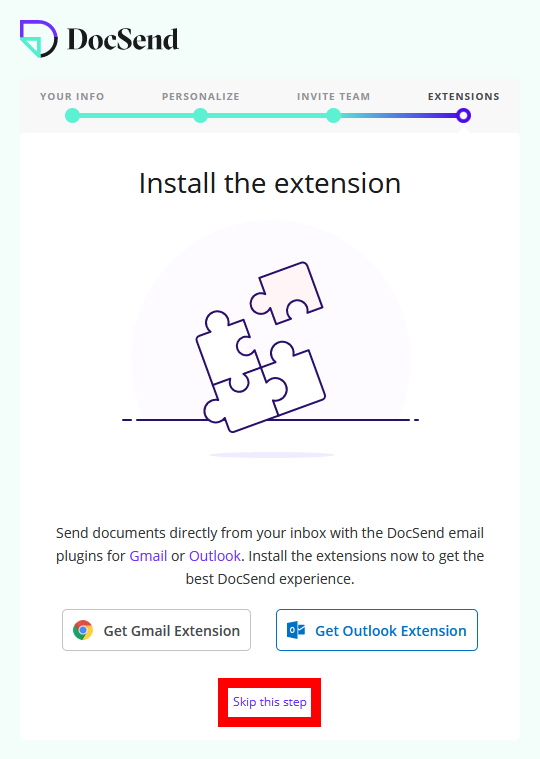
A browser extension to use DocSend conveniently will be introduced, but this time click 'Skip this step'.
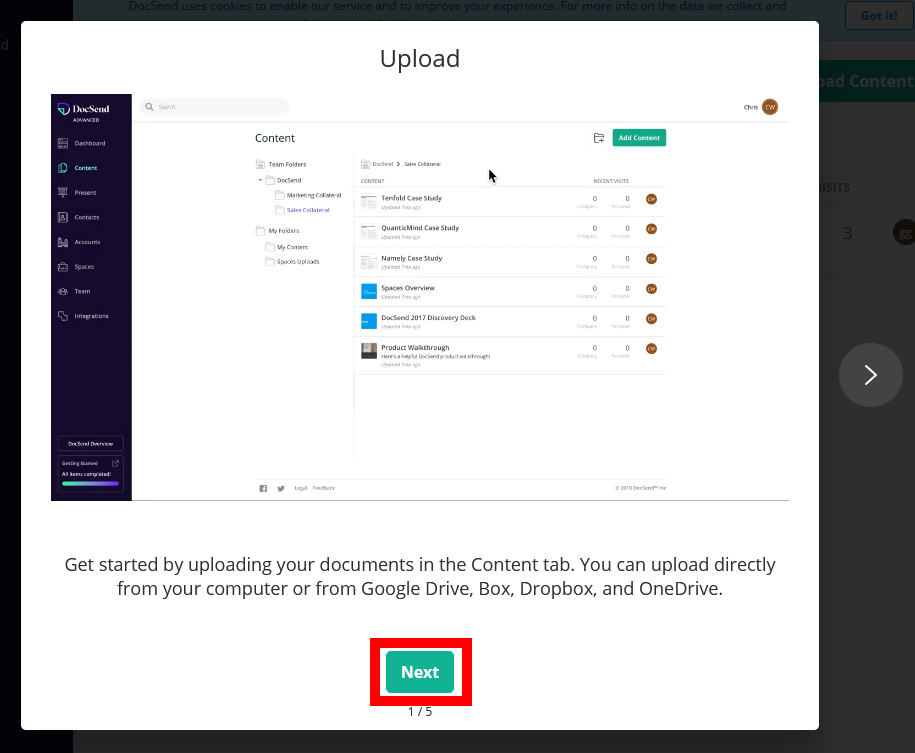
Then, the DocSend tutorial will be displayed. Click 'Next' to continue reading.
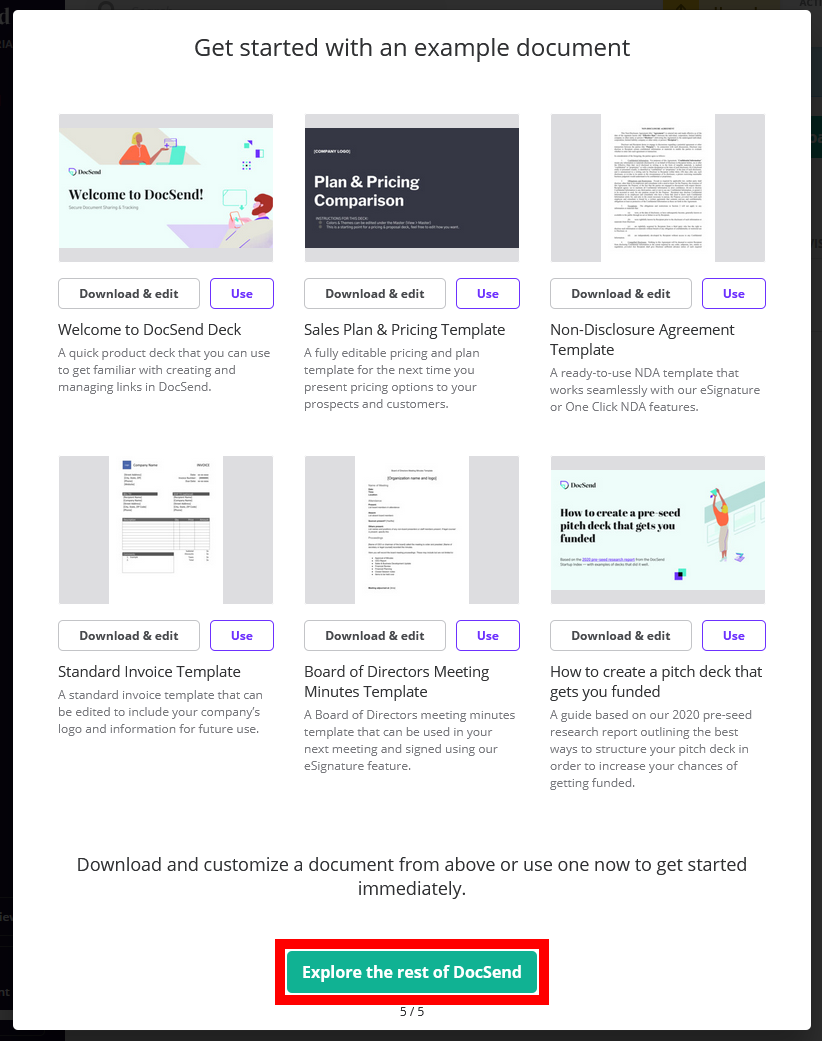
After reviewing the tutorial to the end, click 'Explore the rest of Doc Send'.
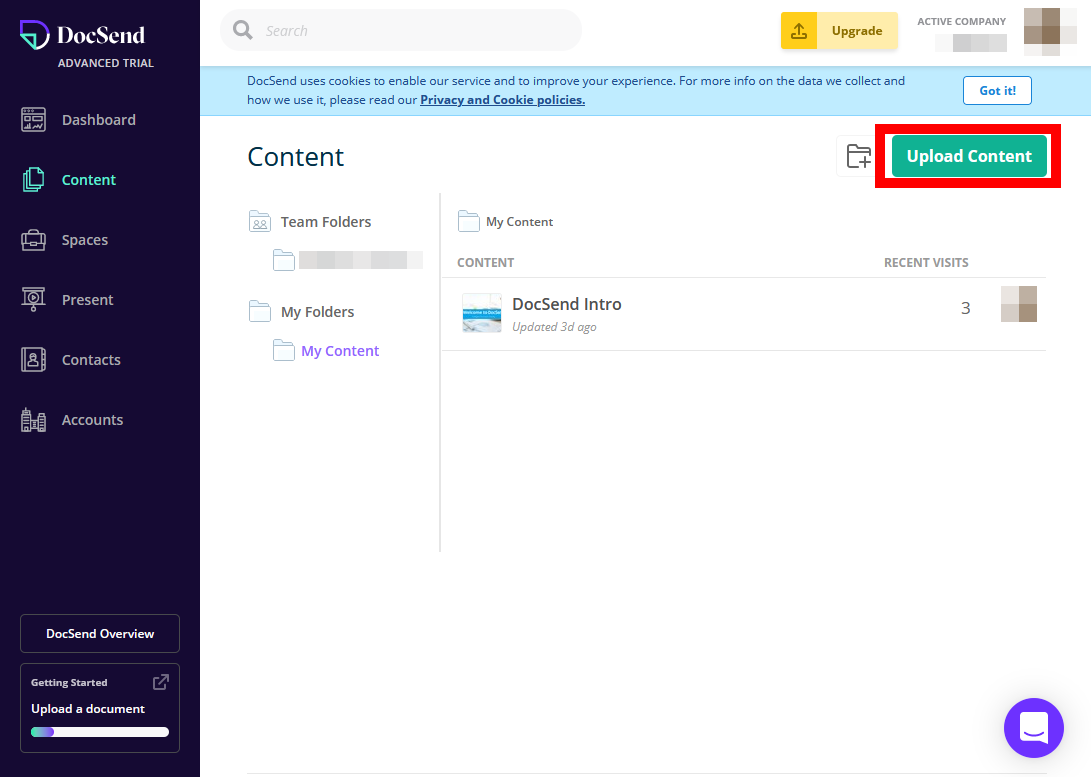
This is the main screen of DocSend. To share the file, you need to upload the file to DocSend, so click 'Upload Content'.
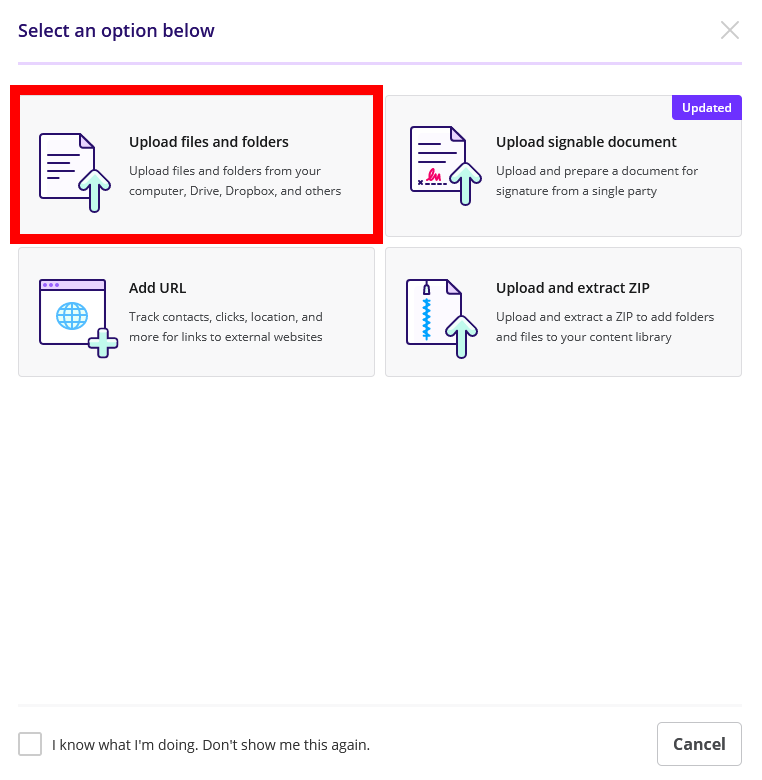
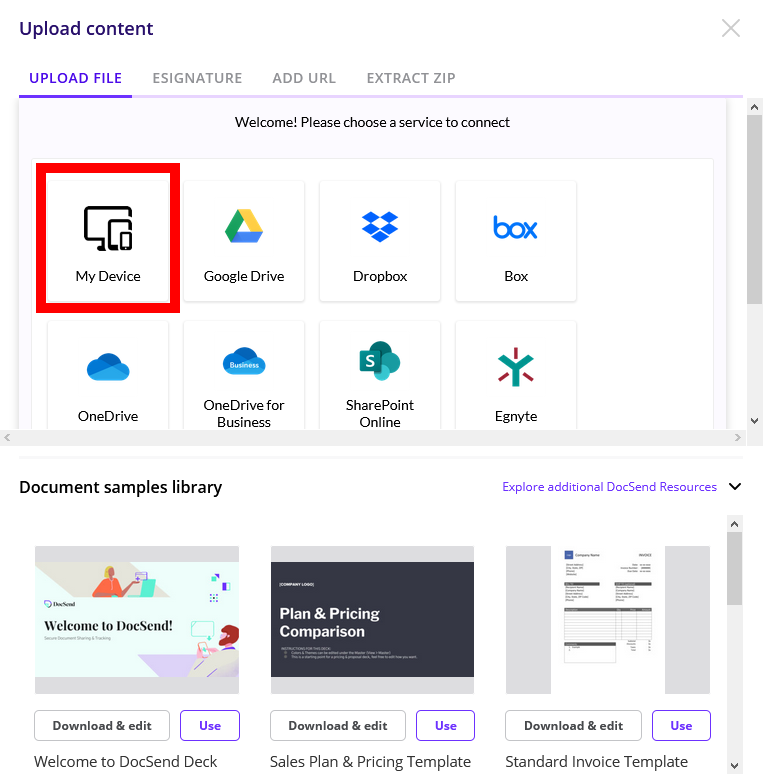
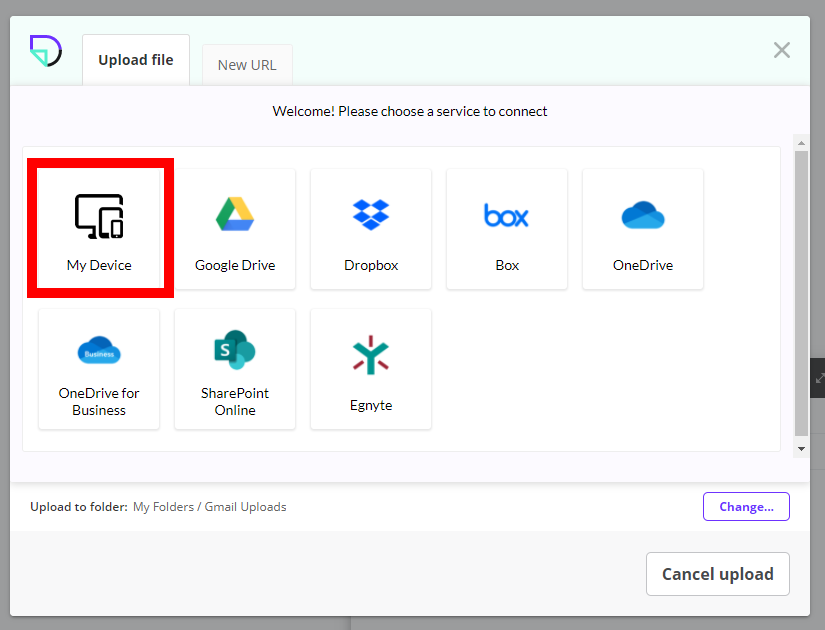
Then, a screen for selecting the type of file to upload is displayed, so click 'Upload files and folders'.
When the upload source selection screen is displayed, specify the location where the file you want to upload is saved. This time, I want to upload the file saved on my PC, so click 'My Device'.
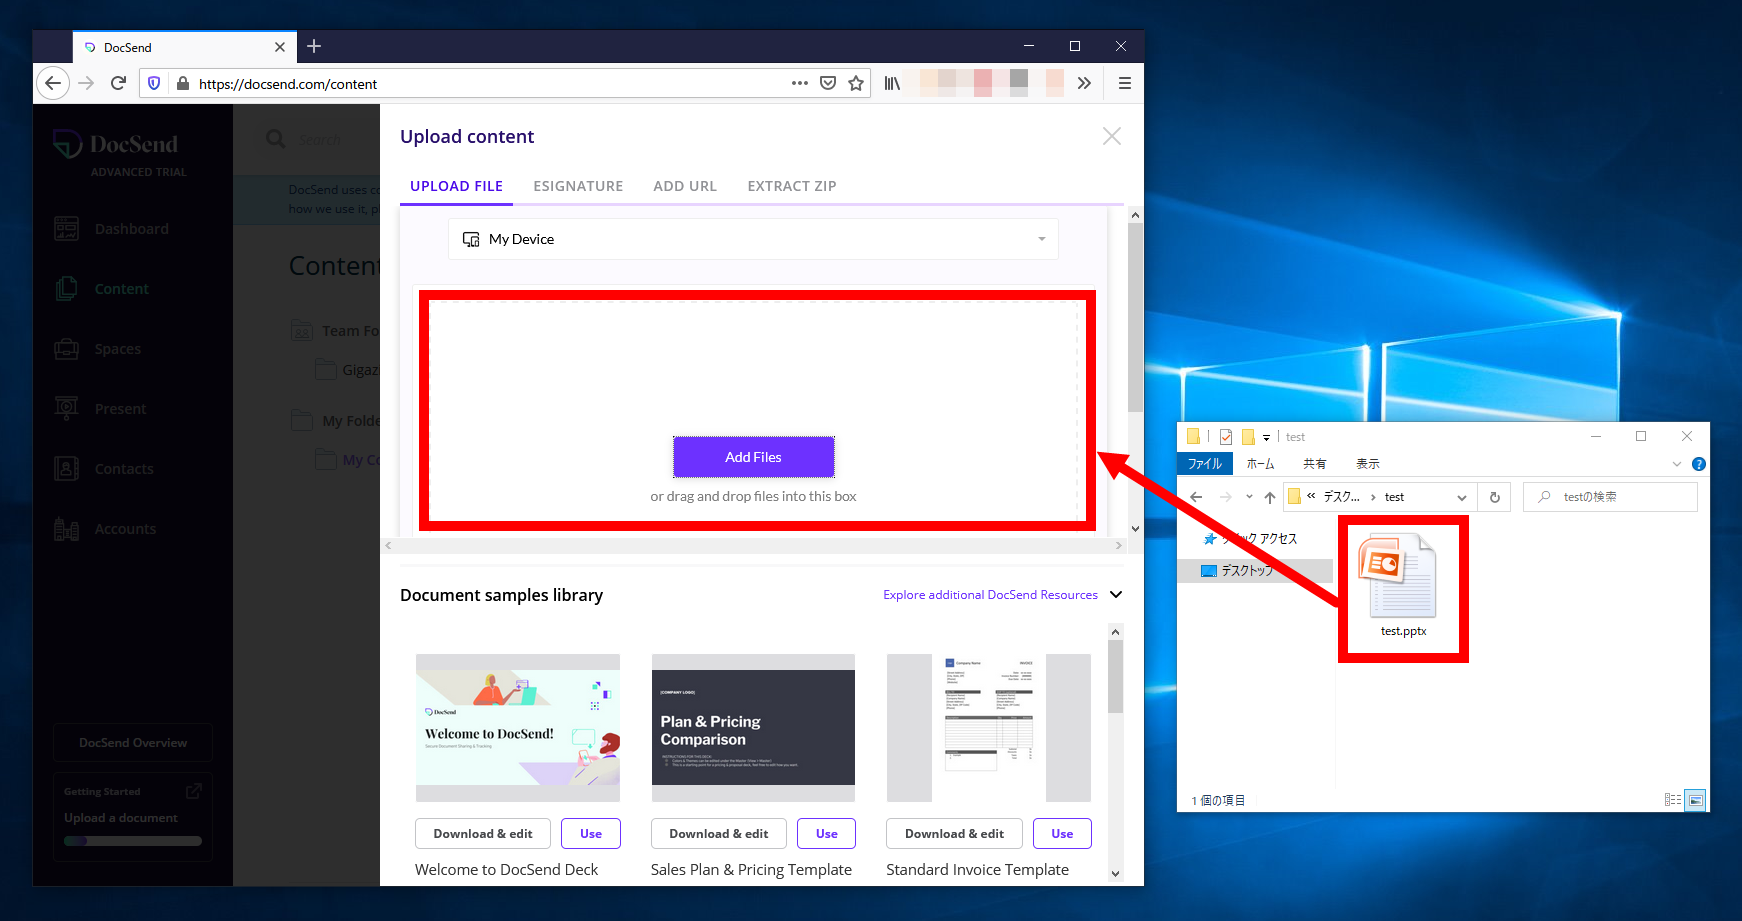
When the upload screen is displayed, drag and drop the file you want to upload in the red frame, or click 'Add Files' and select the file you want to upload. This time, I dragged and dropped 'test.pptx'.
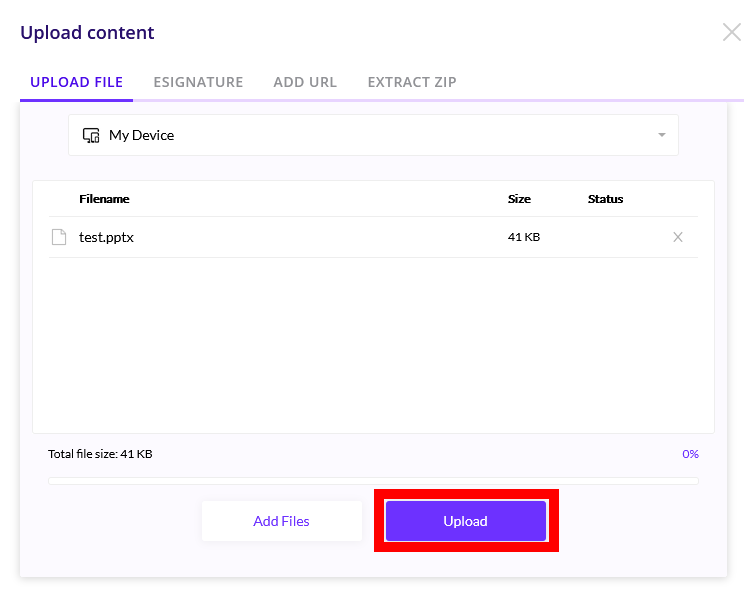
When the file you want to upload is displayed on the screen, click 'Upload' to upload the file to DocSend. It is also possible to upload multiple files at the same time.
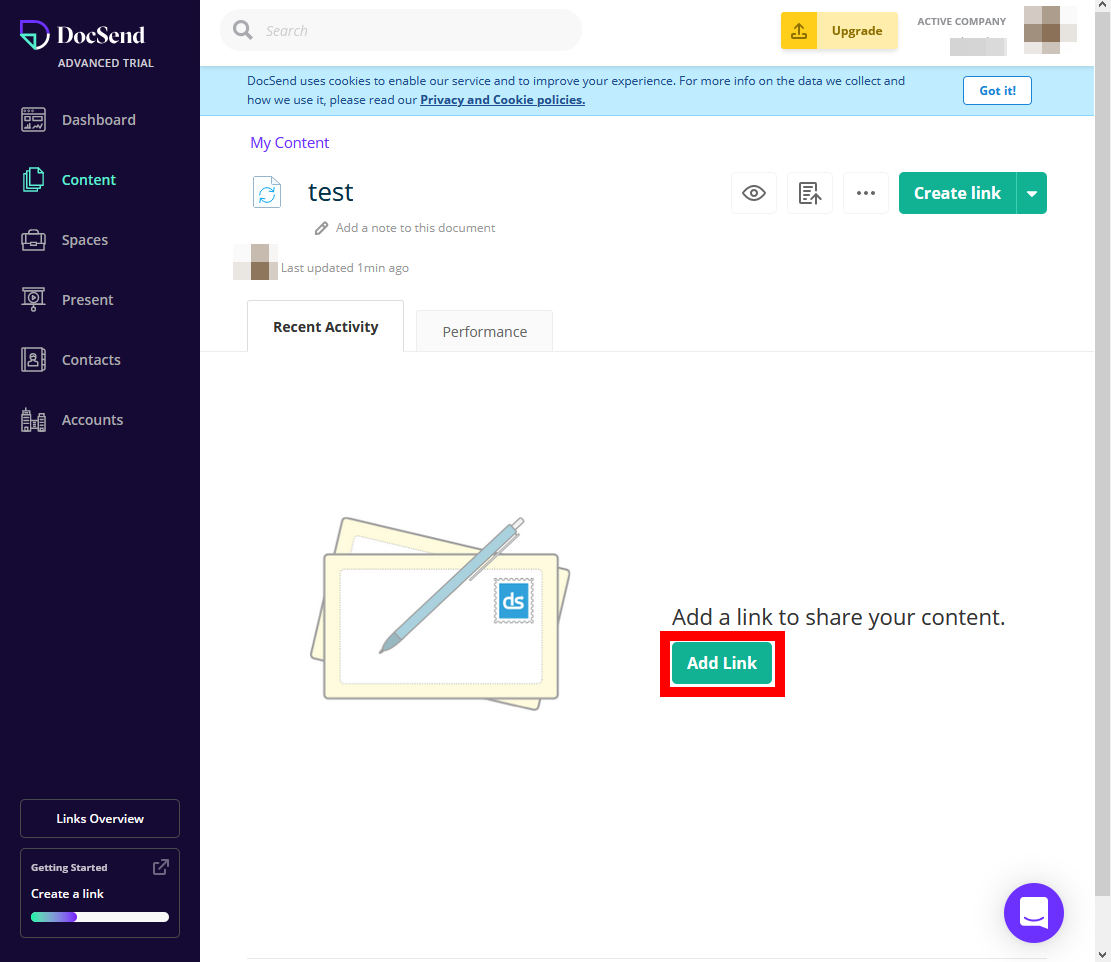
When the upload is completed, the file management screen will be displayed like this, so click 'Add Link' to create a link to the uploaded file.
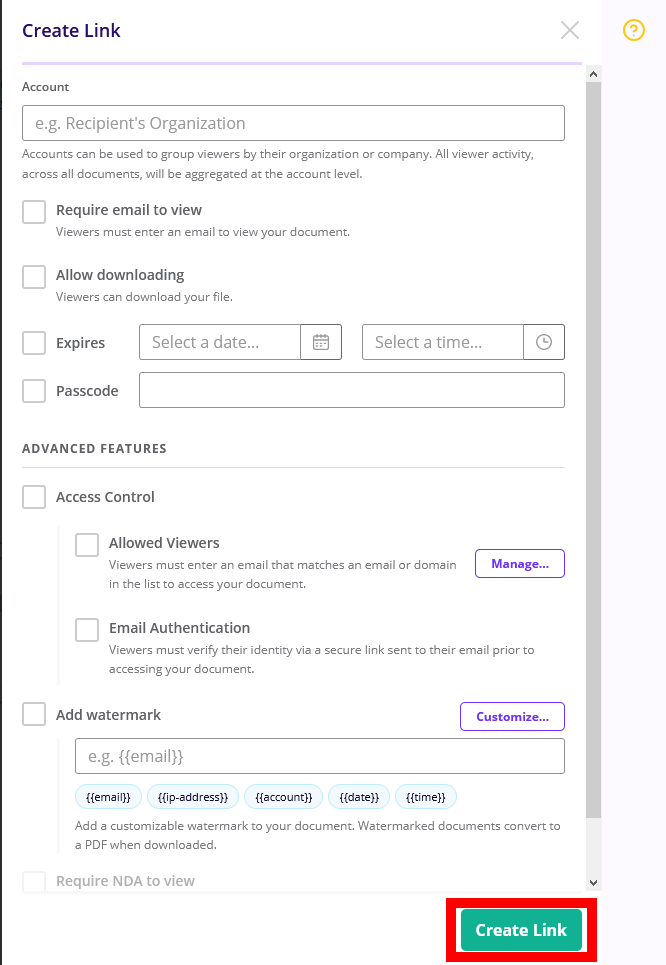
On the link creation screen, you can set the expiration date of the link, download availability, password, etc. Click 'Create Link' without setting anything this time.
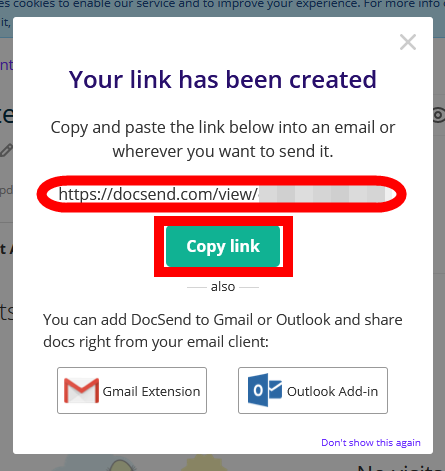
This will create a link to the file. After that, click 'Copy link' to copy the URL and send it to the person you want to share with an email or messaging app.
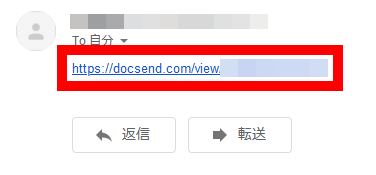
When the person who receives the link clicks on the link ...
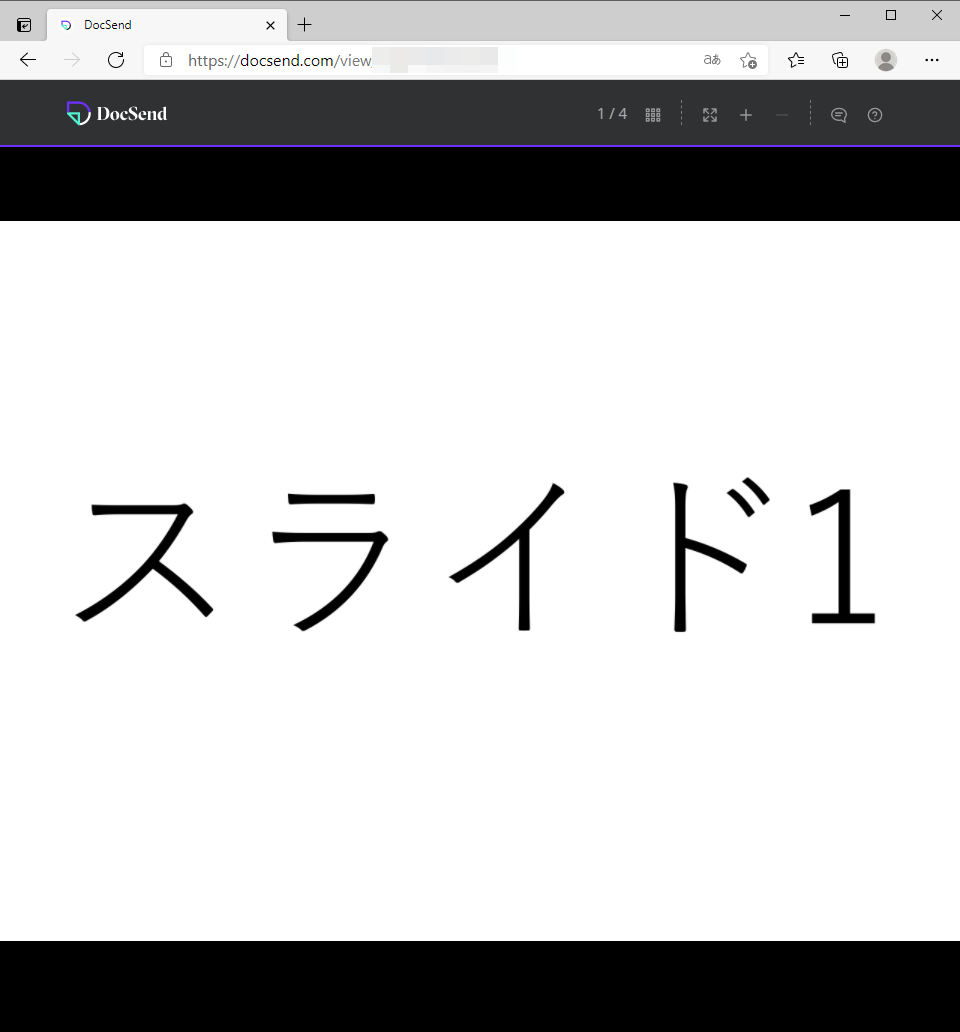
The contents of the file are displayed like this. This time, I shared the slide file created with Microsoft PowerPoint, but since the original viewer installed in DocSend also supports the display of the slide file, the contents of the slide can be viewed smoothly with the browser.
DocSend has an extension for Google Chrome for sharing simple links, so let's try it out. First,
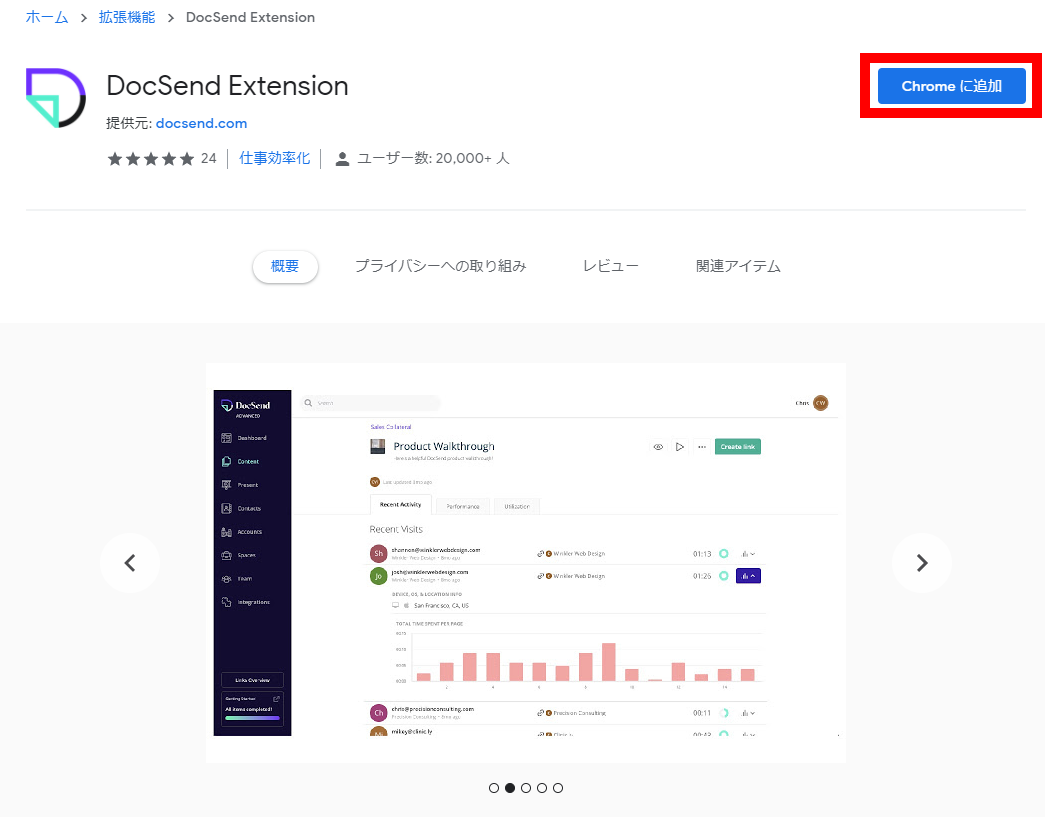
A pop-up will be displayed at the top of the screen, so click 'Add Extension'.
Then, the Gmail mail composition screen will open automatically, and a pop-up with the words 'Welcome to Doc send!' Will be displayed on the screen. Click 'Check it out'.
The DocSend icon has been added to the new mail composition screen. The explanation 'You can add a link to the email by clicking this icon' is displayed, so click 'Ok, got it!'.

Now, let's actually create a link. First, click the DocSend icon.

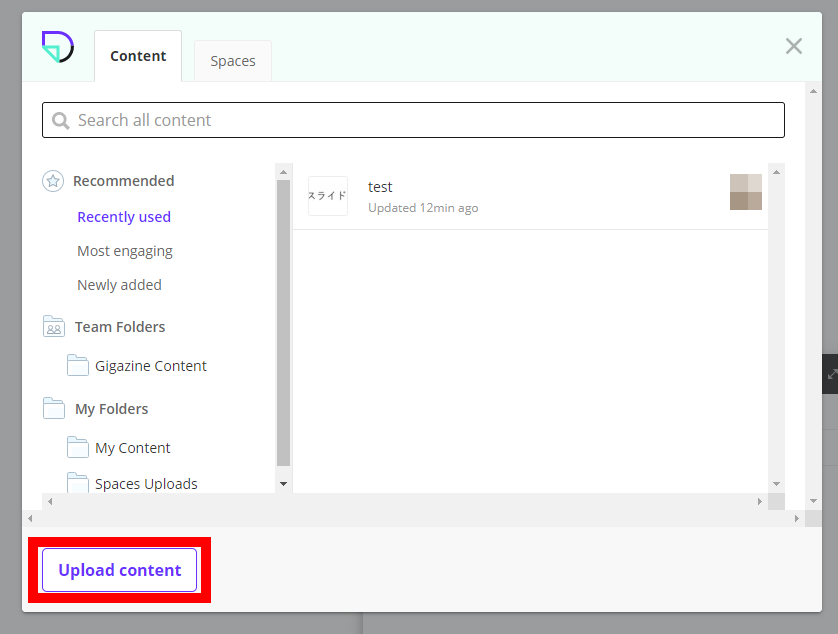
Then, the selection screen of the file uploaded to DocSend is displayed. You can also upload new files from this screen. This time, click 'Upload content' to upload the file.
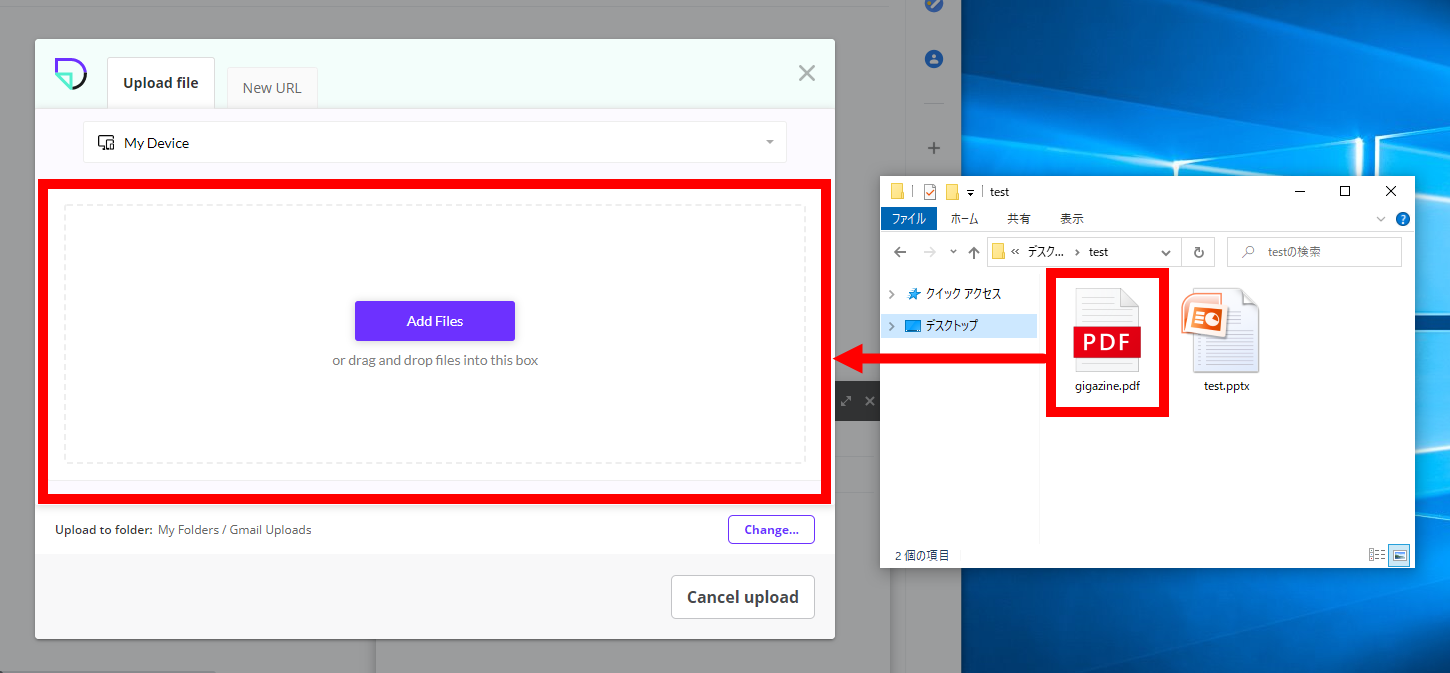
The file upload procedure is similar to the DocSend web app. First, click 'My Device'.
Then drag and drop the file you want to upload or click Add Files to select it. This time, I dragged and dropped the PDF file 'gigazine.pdf'.
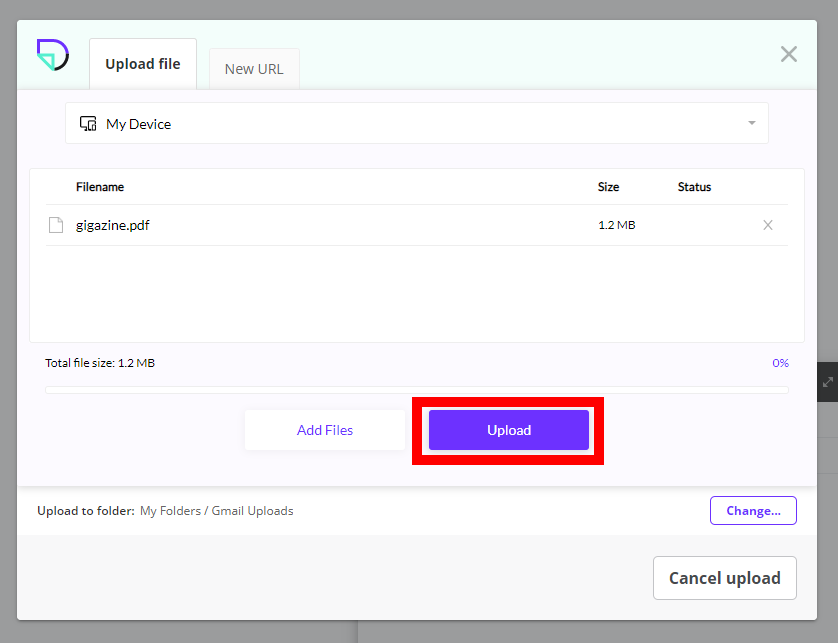
After that, click 'Upload' to complete the upload.
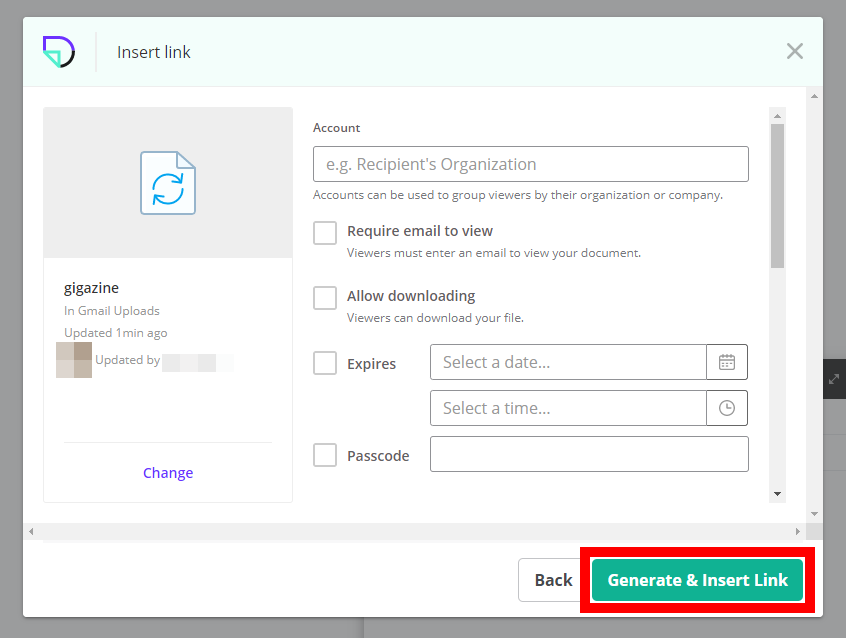
When the upload is complete, the link creation screen will be displayed. On the link creation screen of the extension version, you can set the expiration date of the link, download permission, and give a password in the same way as the web application version of DocSend. This time, click 'Generate & Insert Link' without setting anything.
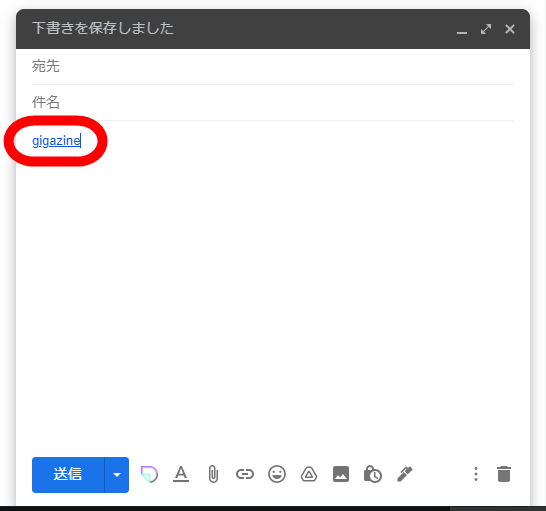
Then, the link will be inserted in the new mail composition screen. When you insert a link using the extension, the file name is automatically displayed. This time, I inserted the link of 'gigazine.pdf', so it is displayed as 'gigazine'. All you have to do is enter the address, subject, and text and send.
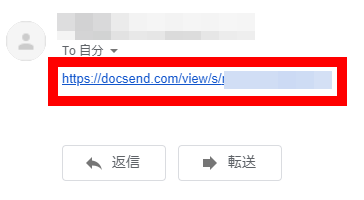
When the person who received the email clicks on the link ...
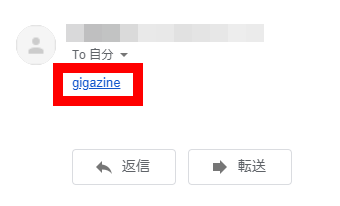
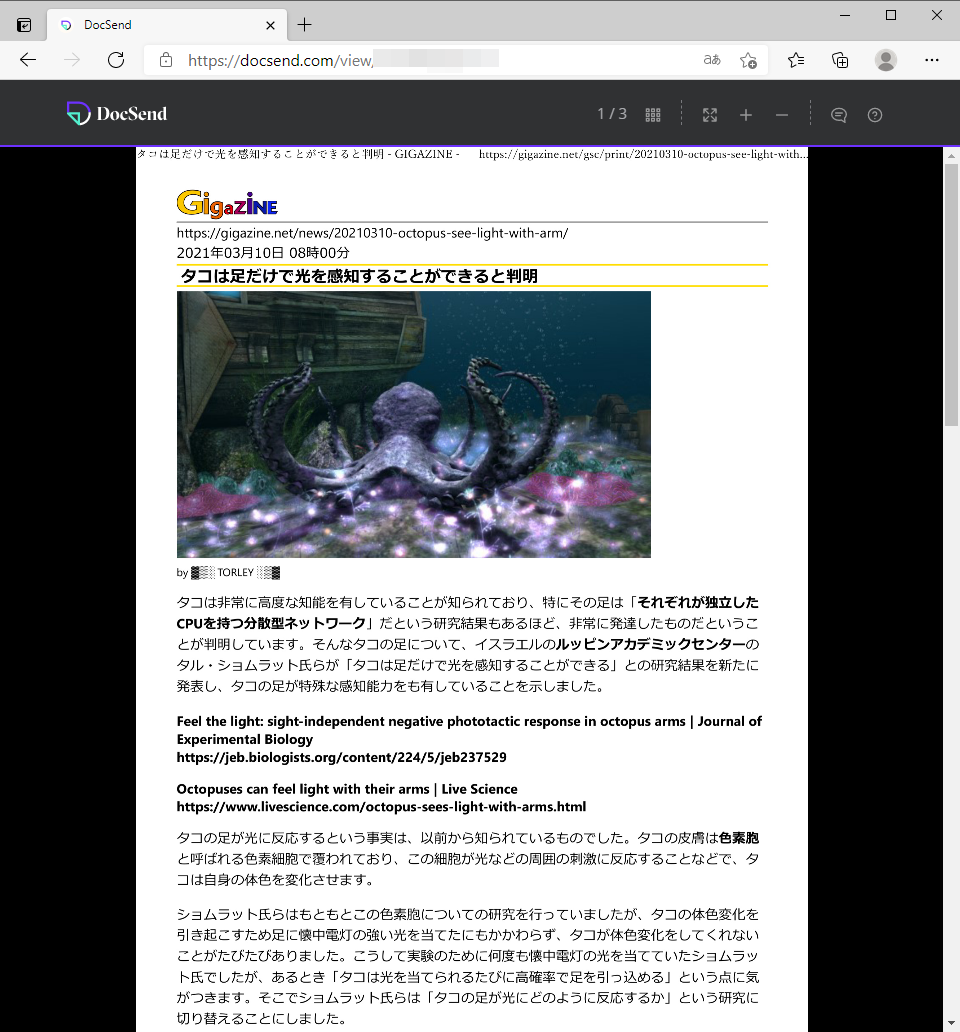
The contents of 'gigazine.pdf' are displayed like this. DocSend's own viewer can also display PDF files.
Furthermore, when you access the same link from Safari on iPhone, it looks like this. You can also browse the PDF crisply even if you access it from your iPhone.

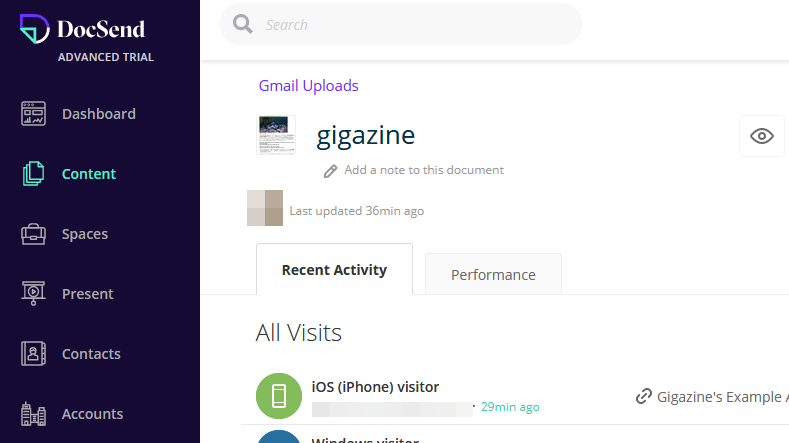
DocSend also allows you to see access records for shared files. Click the file for which you want to check the access record ...
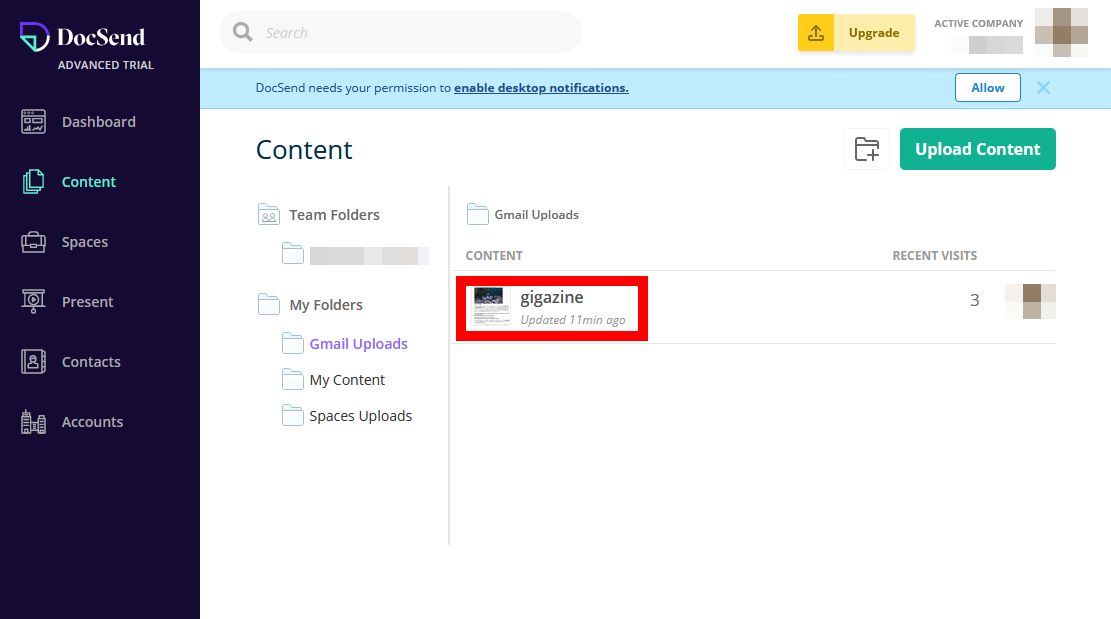
Like this, you can check the information of the person who accessed the file and the list of links that can access the file. In addition, you can enable / disable each link from this screen.

In addition, DocSend also has the ability to share a link to 'Space', which is a collection of multiple files. To actually share the Space, click 'Spaces' displayed on the left side of the main screen of DocSend, and click 'Create New Space'.
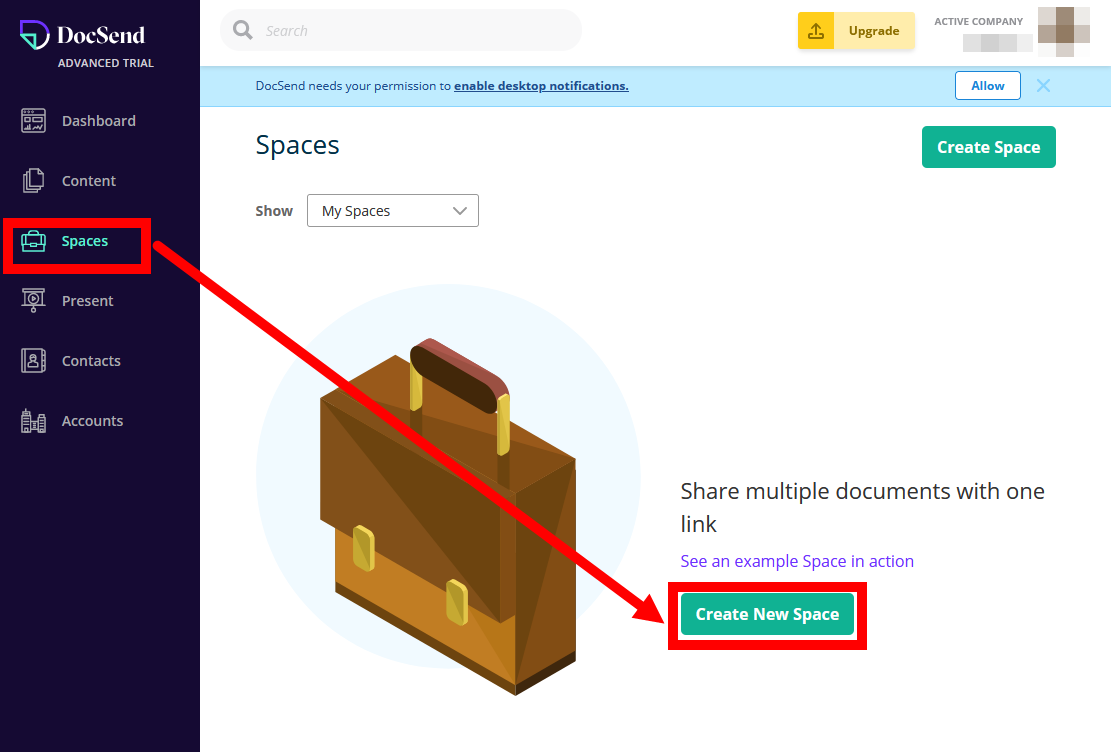
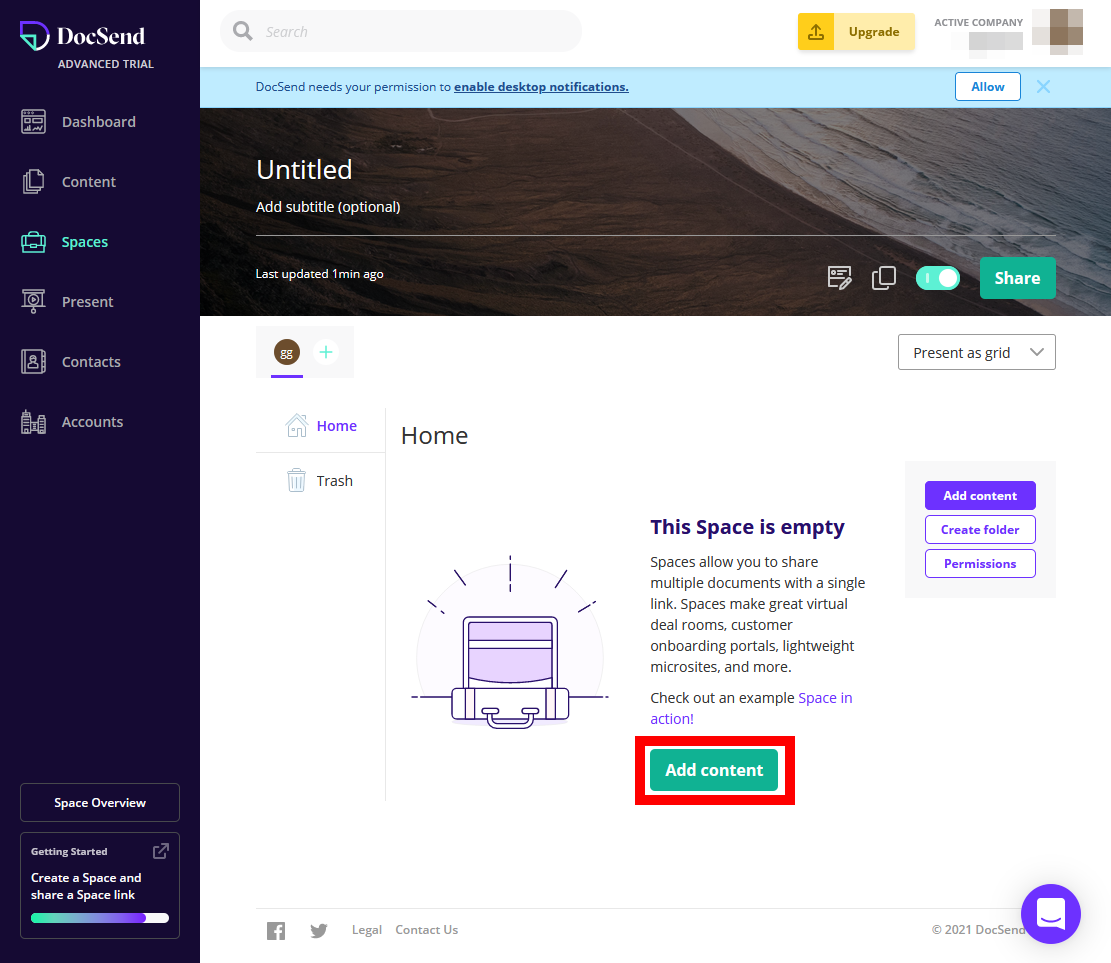
This will create an empty Space, so click 'Add content' to add the file to the Space.
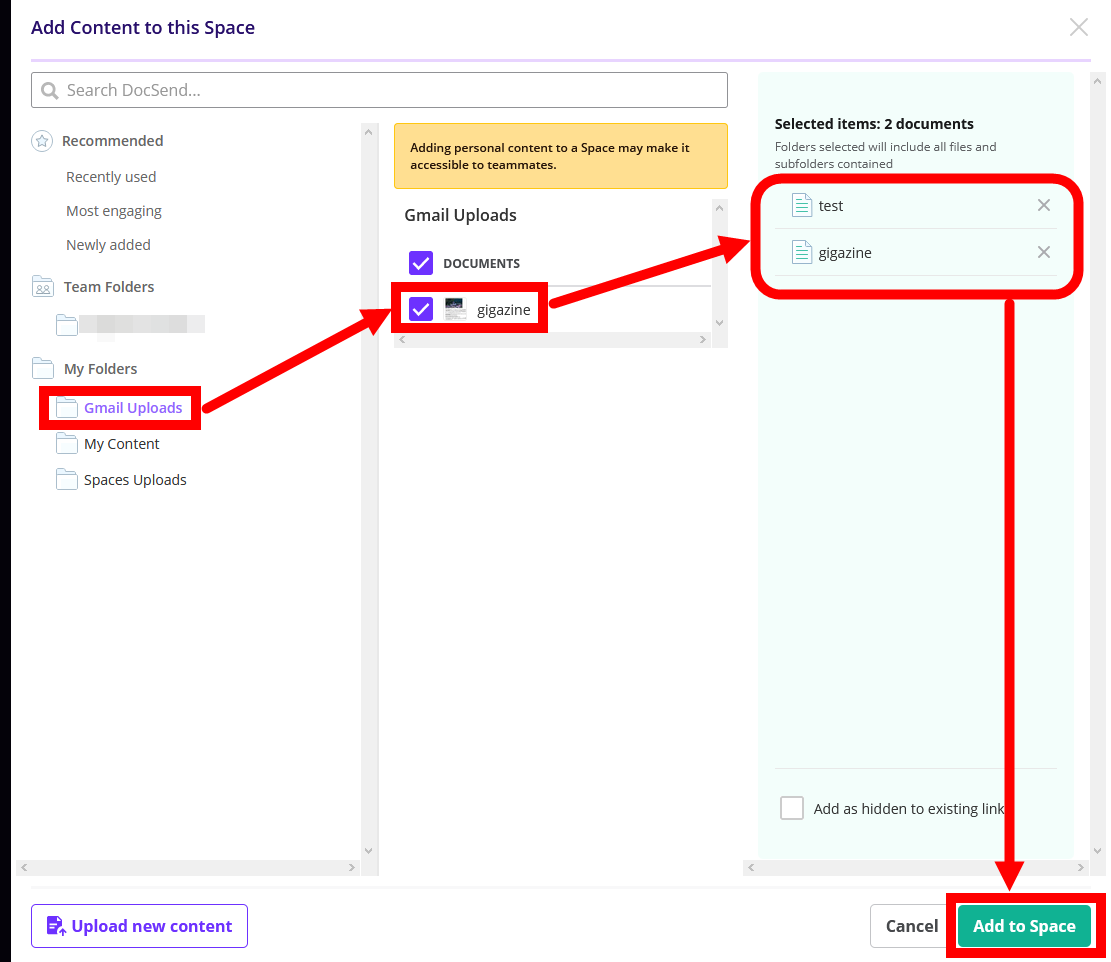
On the file selection screen, the folder list is displayed on the left side, the folder contents are displayed in the center, and the selected file list is displayed on the right side. After selecting all the files you want to add to Space, click 'Add to Space'.
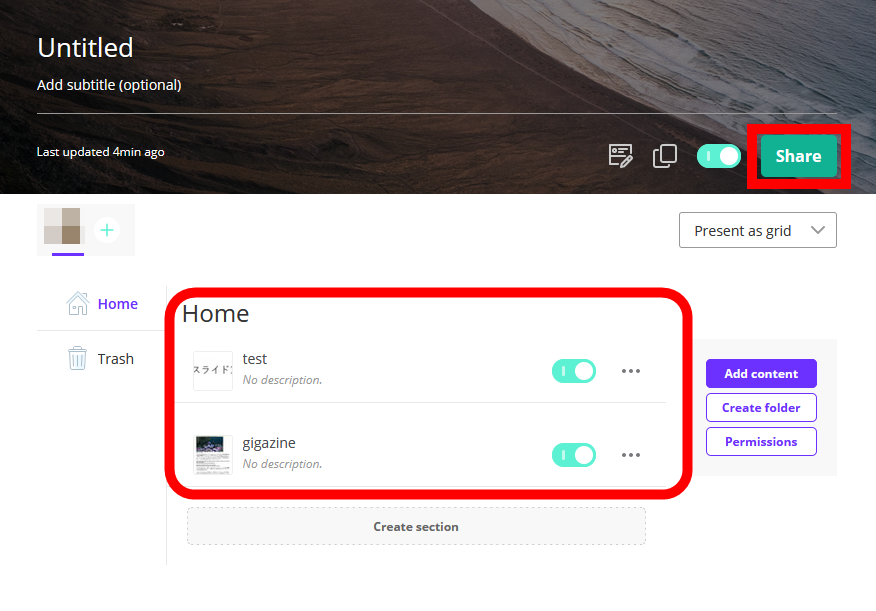
Then, the selected file will be added like this. Click Share to share the link to this Space.
Click 'Create Shareable Link' to open the link creation screen.
On the link creation screen, you can set the expiration date, download availability, password assignment, etc. as when sharing a single file. This time, click 'Create Link' without setting anything.

Then, a link will be created like this, so share the link with an email or messaging app.

When the person you share with clicks on the link ...
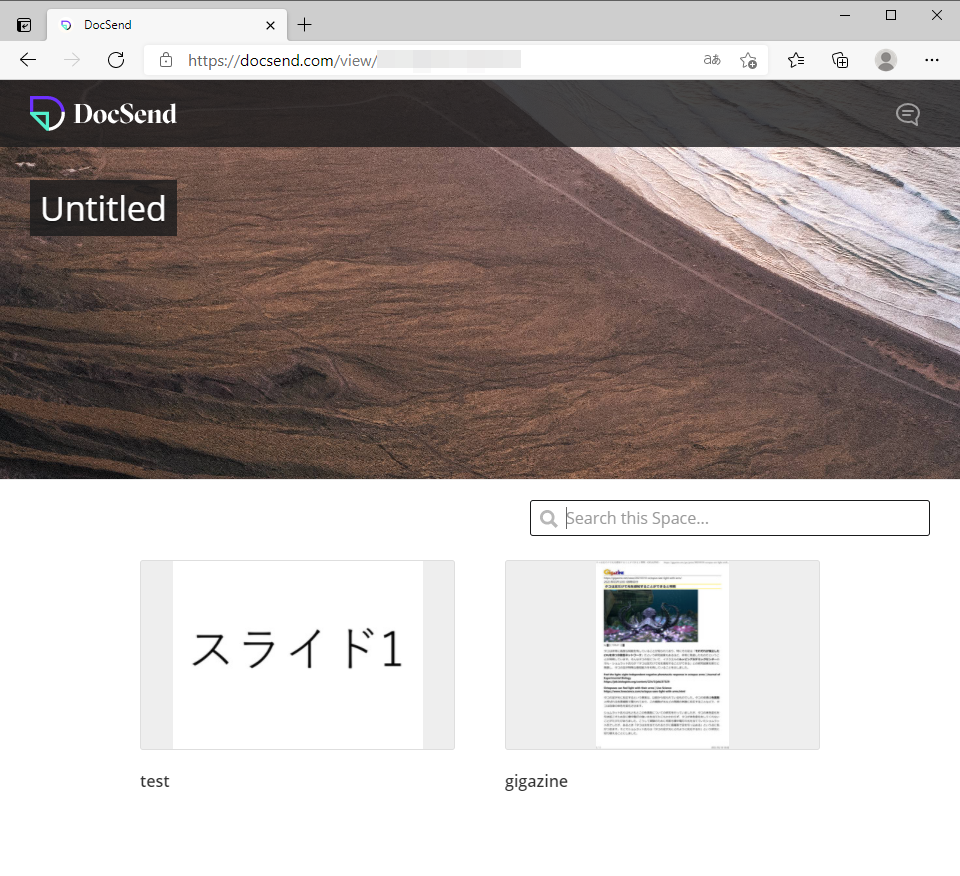
You can browse the files registered in Space like this.
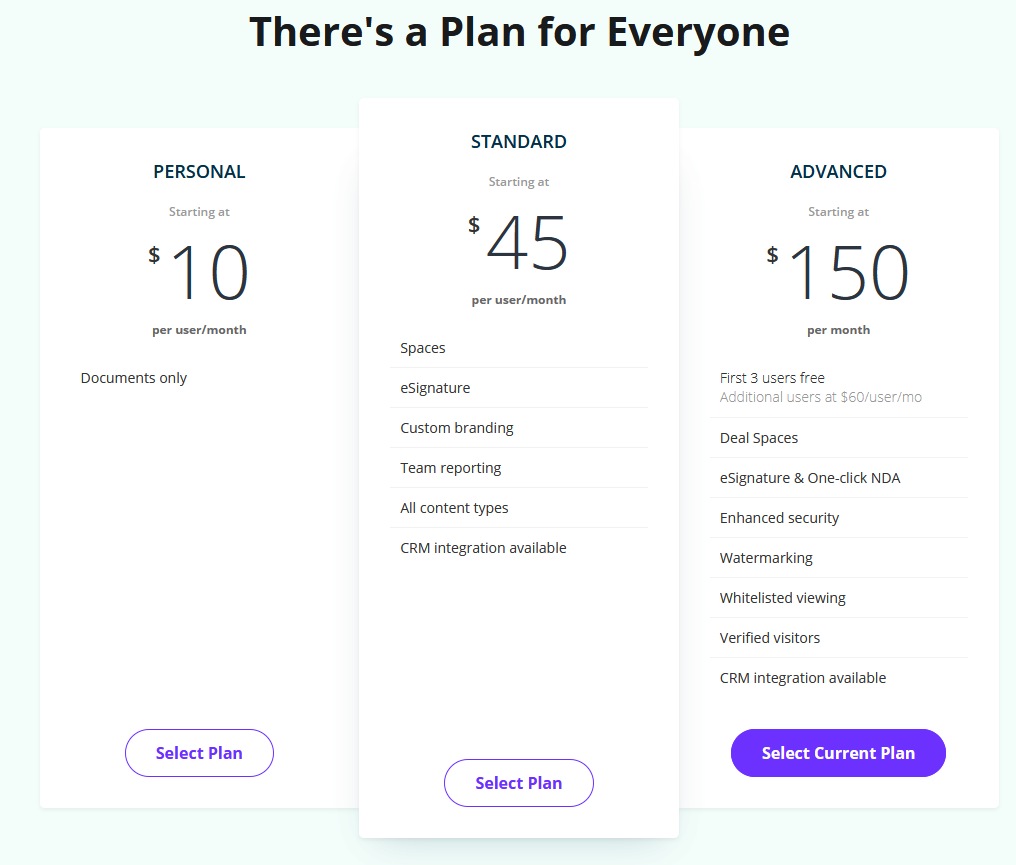
At the time of writing the article, DocSend is available for free for 14 days. After that, the 'PERSONAL' plan that supports sharing of only document files is $ 10 (about 1100 yen) a month, and the 'STANDARD' plan that allows uploading other than document files and can also use Space is $ 45 (about 4900 yen). The 'ADVANCED' plan, which allows you to use all functions such as strong security functions and white list functions, is available for $ 150 a month (about 16,000 yen).
Related Posts:


in Web Service, Review, Posted by log1o_hf