The free memo & ToDo management application 'Joplin' is a preeminent and easy-to-use open source application that allows previewing, data synchronization, and saving of sessions from the browser.
Joplin, an open source application for memo and to-do management that allows free data synchronization between PC and smartphone, can easily insert browser screenshots by adding preview functions such as HTML and extension functions. Despite the free app, it has various functions.
Joplin-an open source note taking and to-do application with synchronisation capabilities
GitHub-laurent22 / joplin
https://github.com/laurent22/joplin
table of contents:
◆ Installation (Windows)
◆ Installation (iPad OS)
◆ Sync settings
◆ Restore backup
◆ Extension 'Joplin Web Clipper'
◆ Installation (Windows)
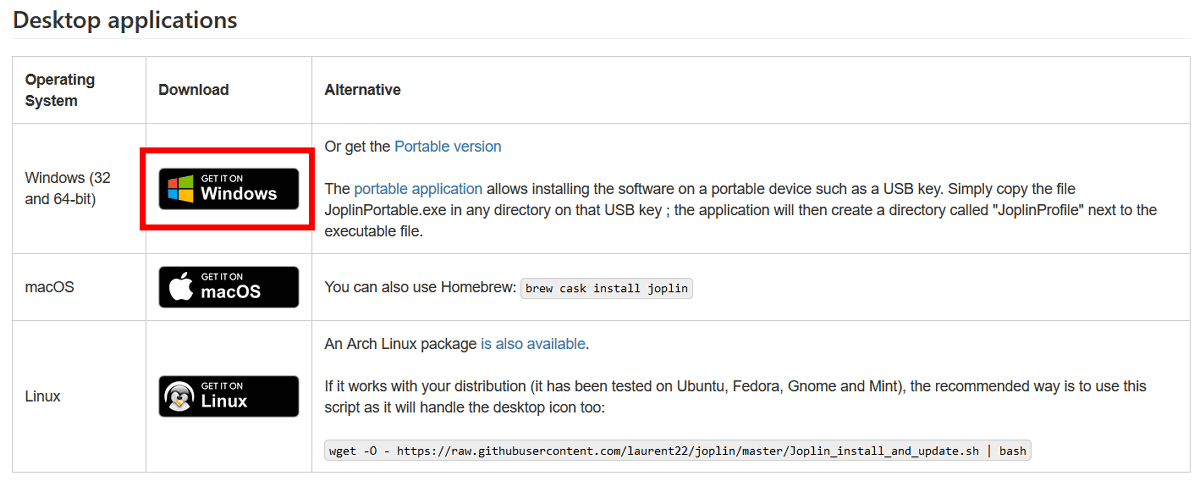
Access the official website and scroll down to see the download links for each OS. This time, download Joplin for Windows, so click the red frame.
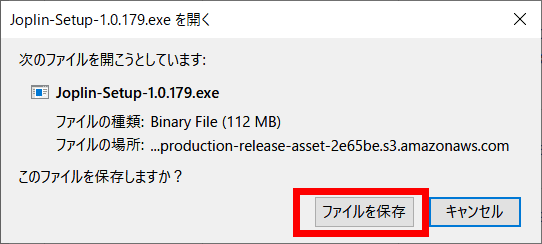
Click 'Save File'.
Click when the exe file is downloaded.
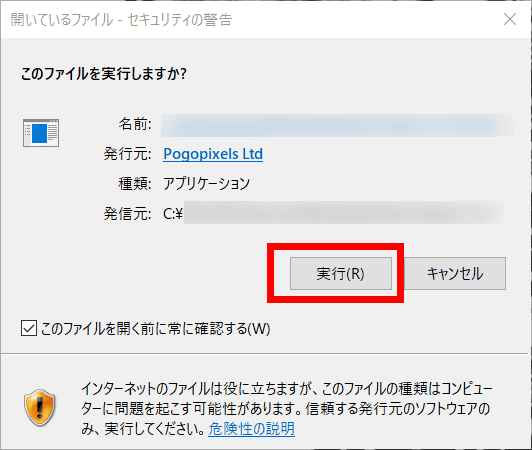
Click “Execute”.
Select your installation options. This time, select 'Install only for the current user' and click 'Next'.

Select the installation folder and click 'Install'.

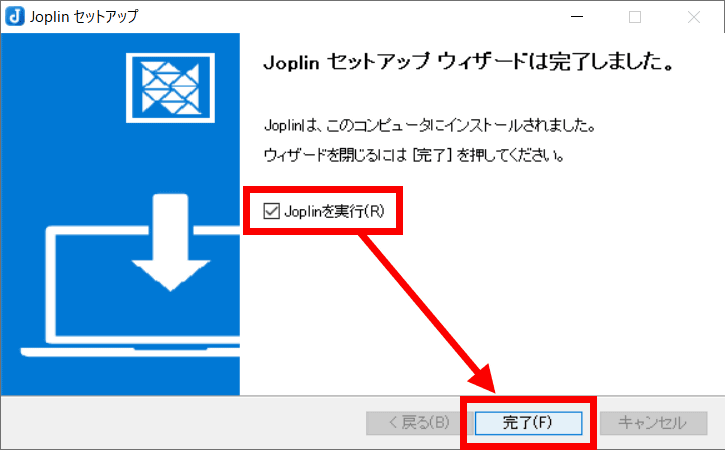
Check 'Run Joplin' and click 'Finish' to open the Joplin window.
When Joplin is first started, the language setting is English ...

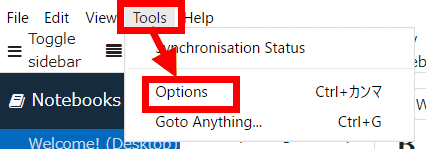
To change to Japanese, select Option from Tool.
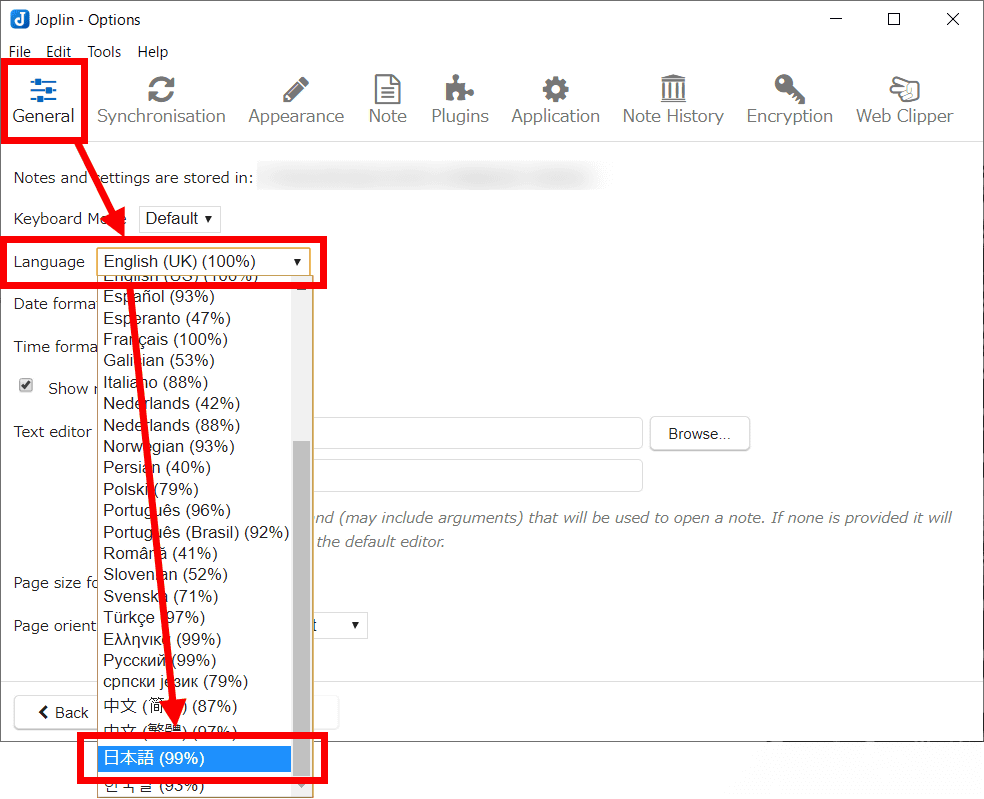
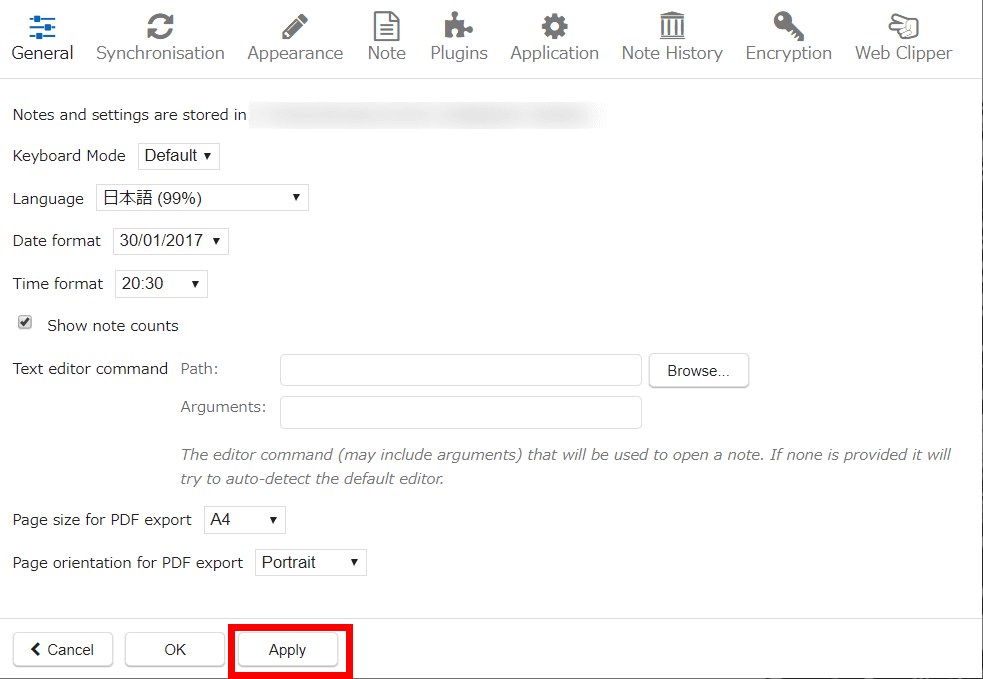
From the 'General' tab, click the 'Language' pull-down and select 'Japanese'.
Click “Apply”.
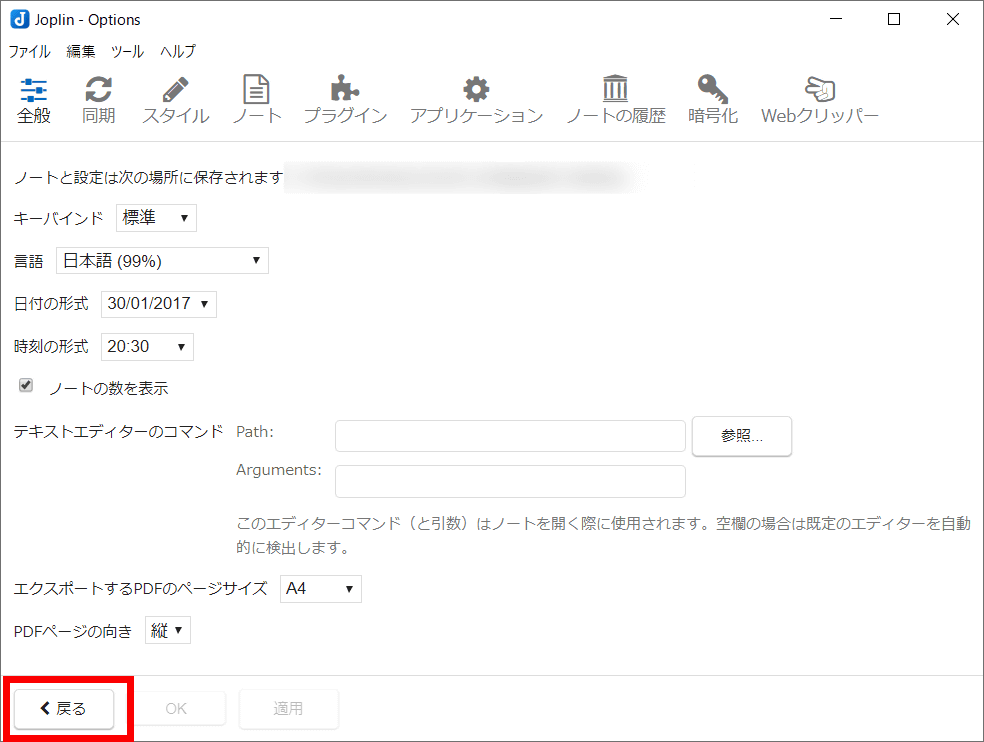
Click 'Back' to complete the language setting.
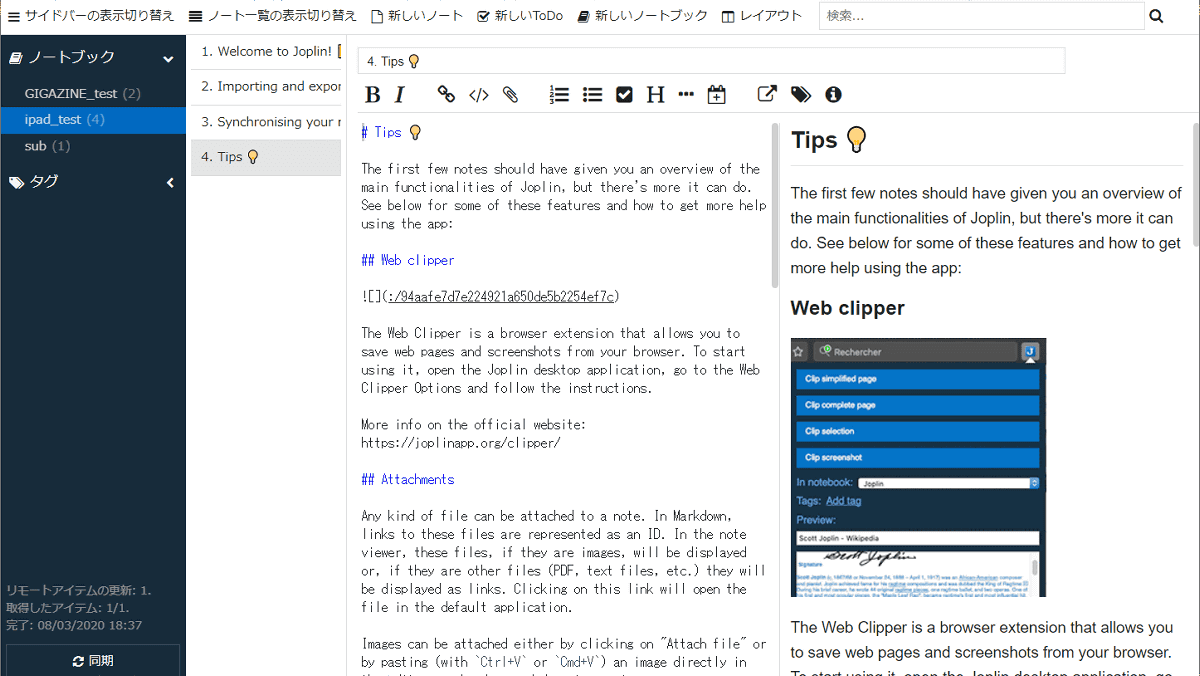
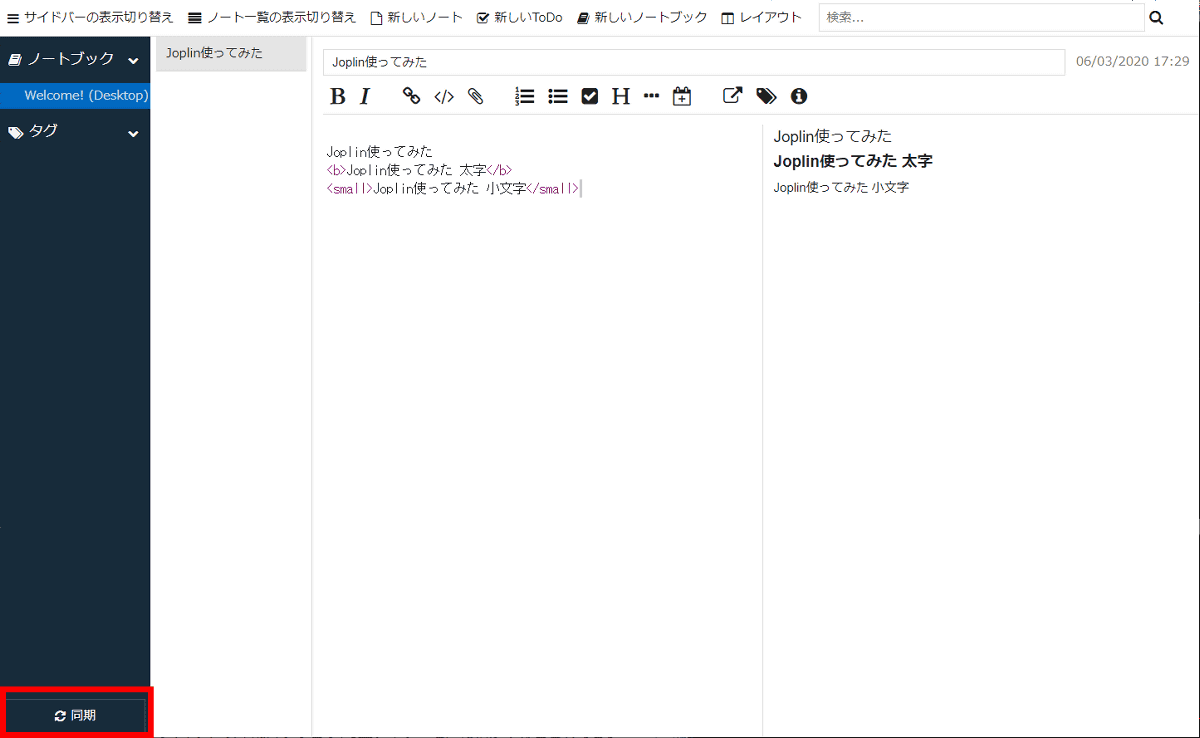
Click 'New Note' to generate an editable file.

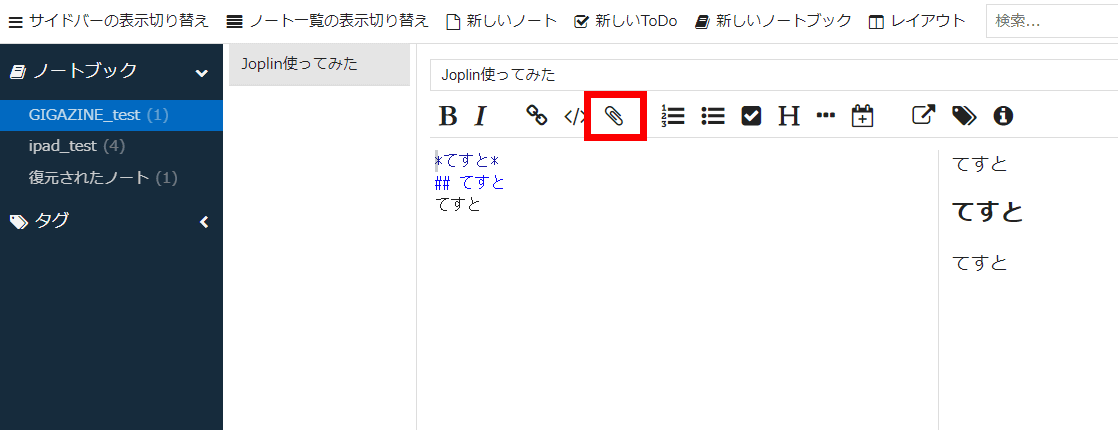
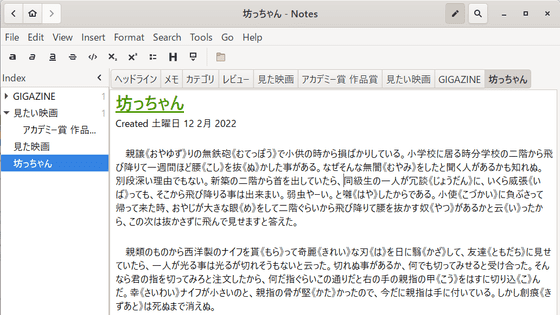
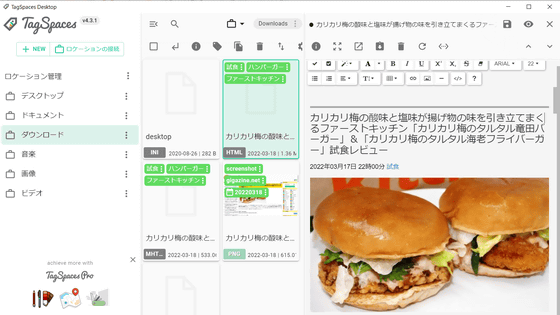
The left side of the note is the edit screen, the right side is the preview screen. If you enter an HTML tag, you can preview the output result.
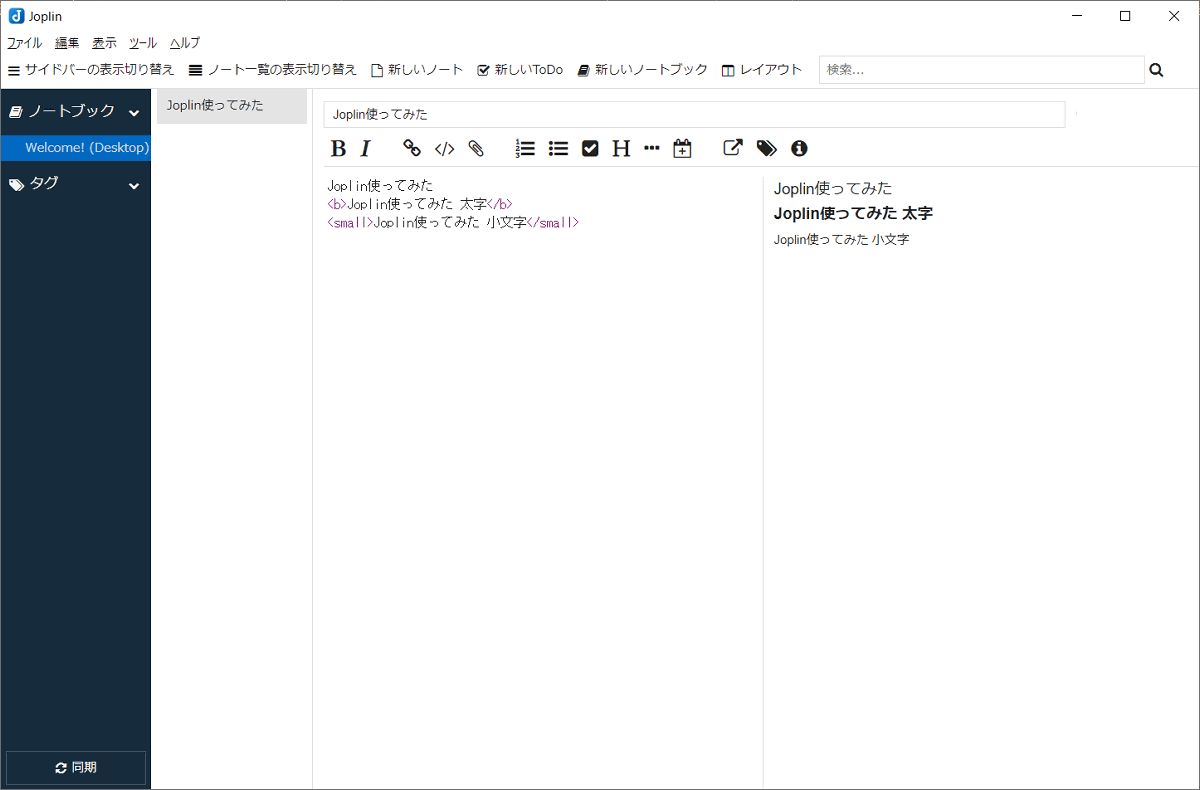
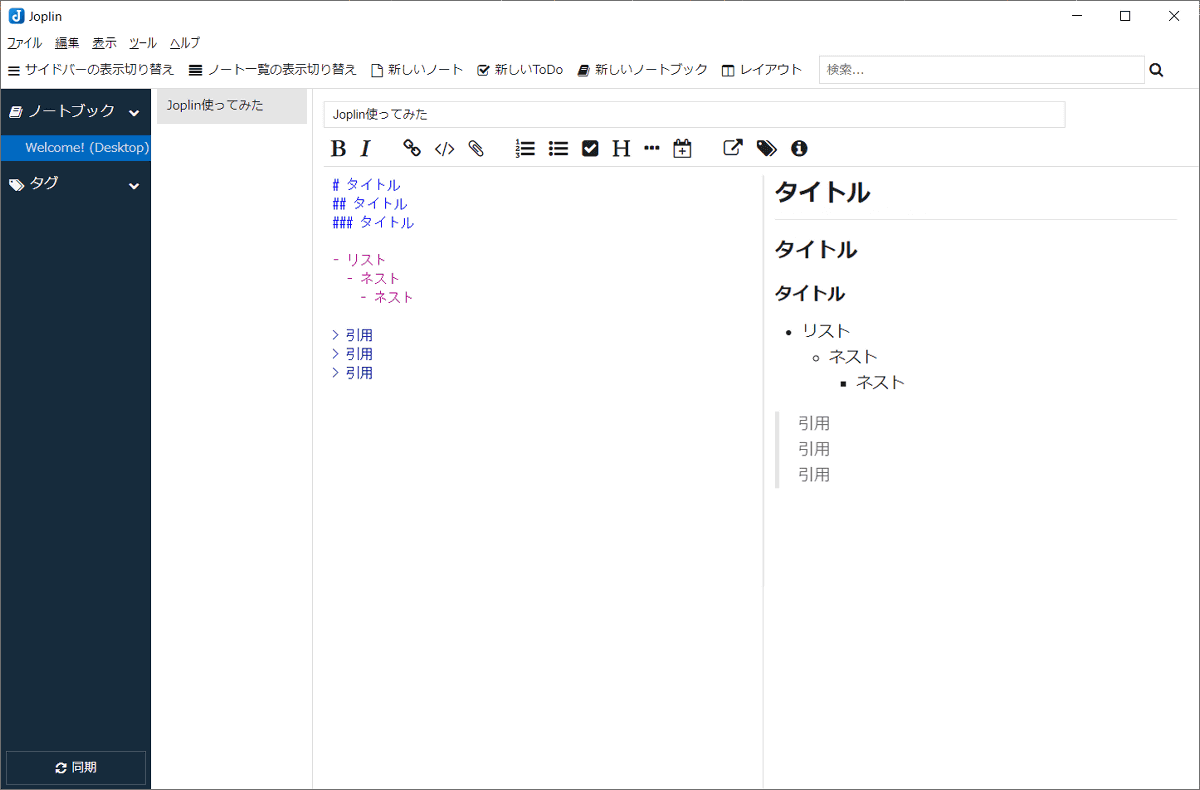
Not only HTML but also markdown notation is supported.
Select a file from the file attachment icon and attach it to the note ...
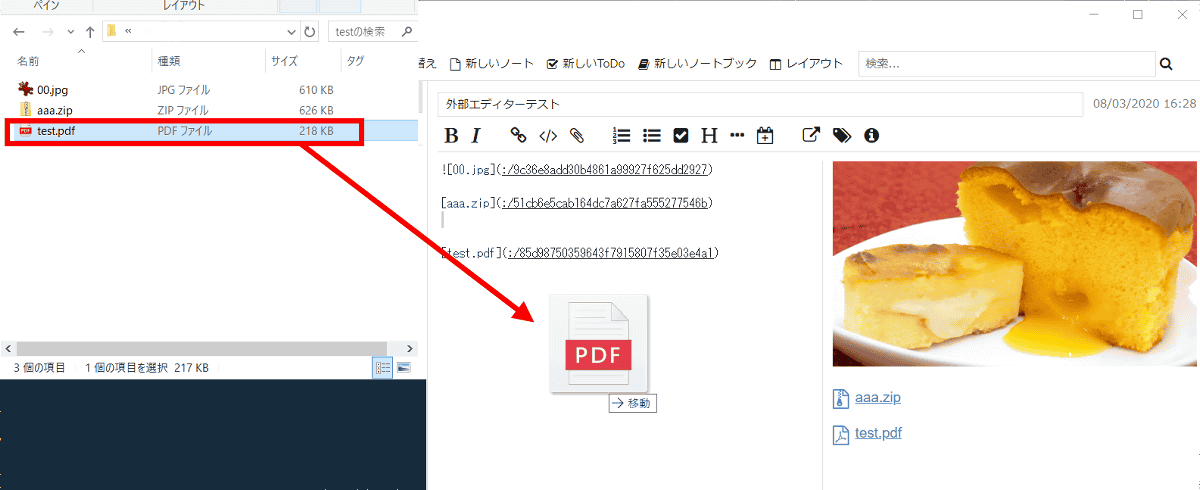
You can attach files by dragging and dropping them directly to the note.
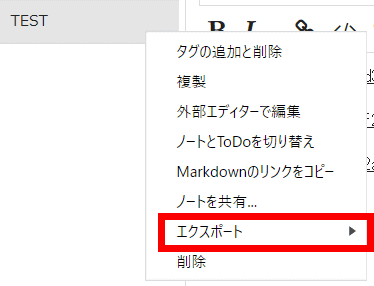
The created notes can be output as HTML files. Right-click the note and click 'Export'.
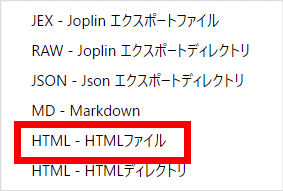
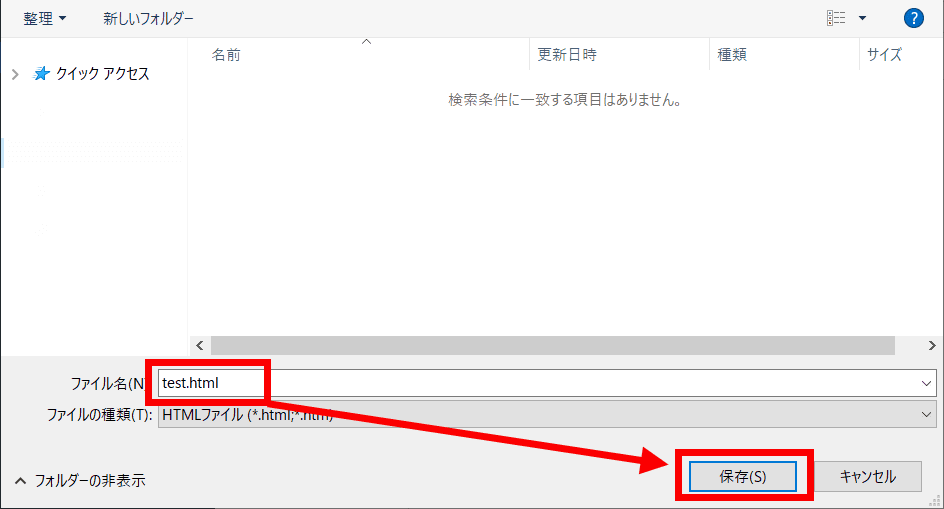
Click 'HTML-HTML file'.
Enter a title and click 'Save'.
If there is an attached file, '_resources' folder will be created at the same time.

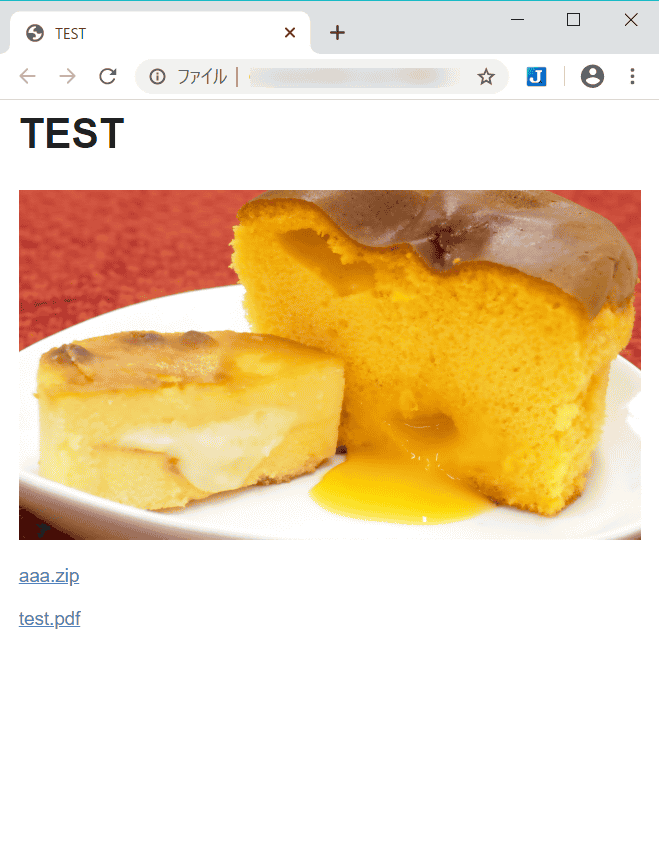
Opening test.html looks like this. The image will be displayed properly.
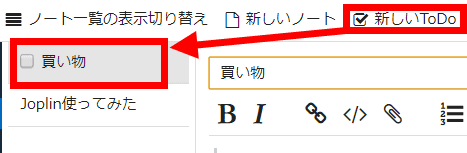
Click 'New ToDo' to create a note with a checkbox.
◆ Installation (iPad OS)
Joplin can sync data for free on both PC and mobile versions. This time, I will install it on iPad OS.
Joplin on the App Store
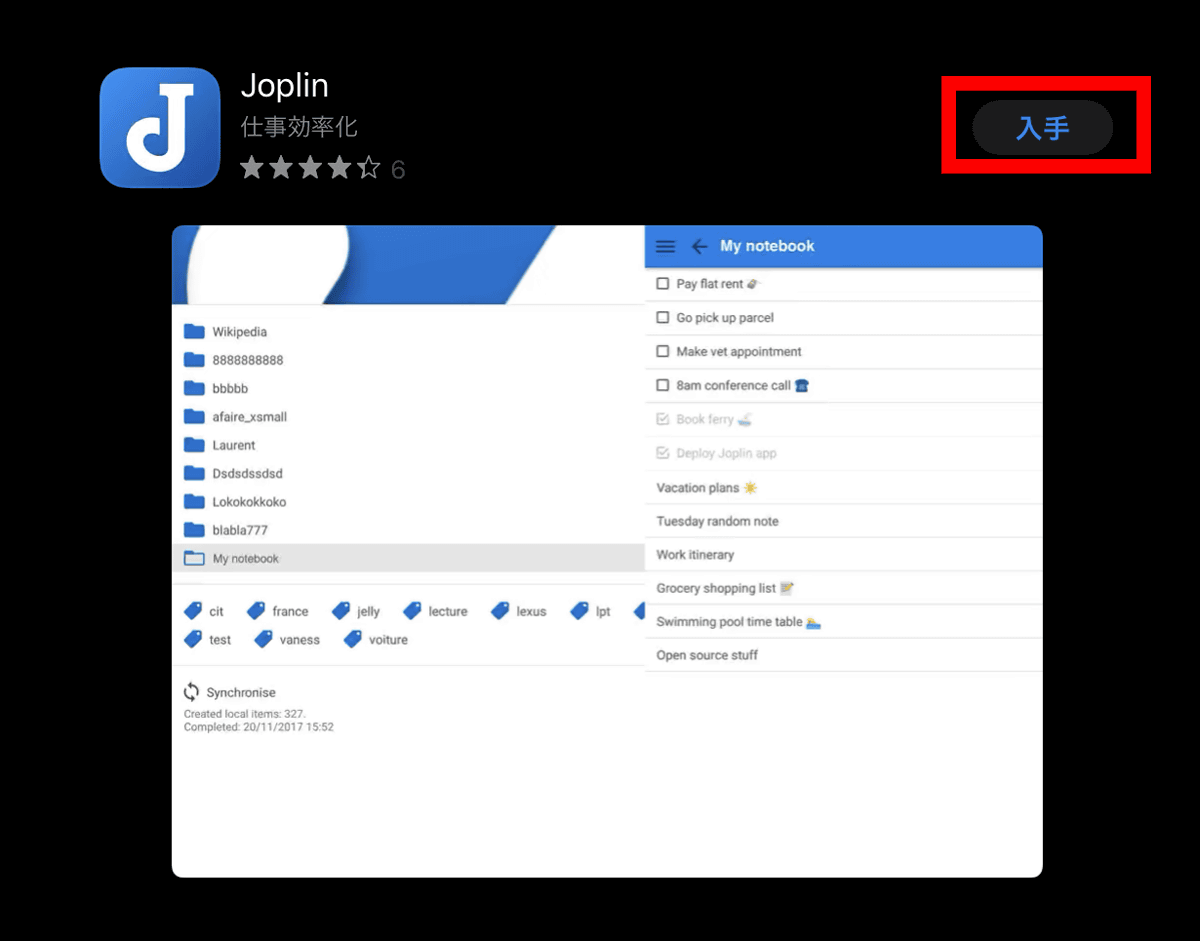
Open the Joplin page from the App Store and tap Get.
After installation is complete, tap the Joplin icon to launch the app.
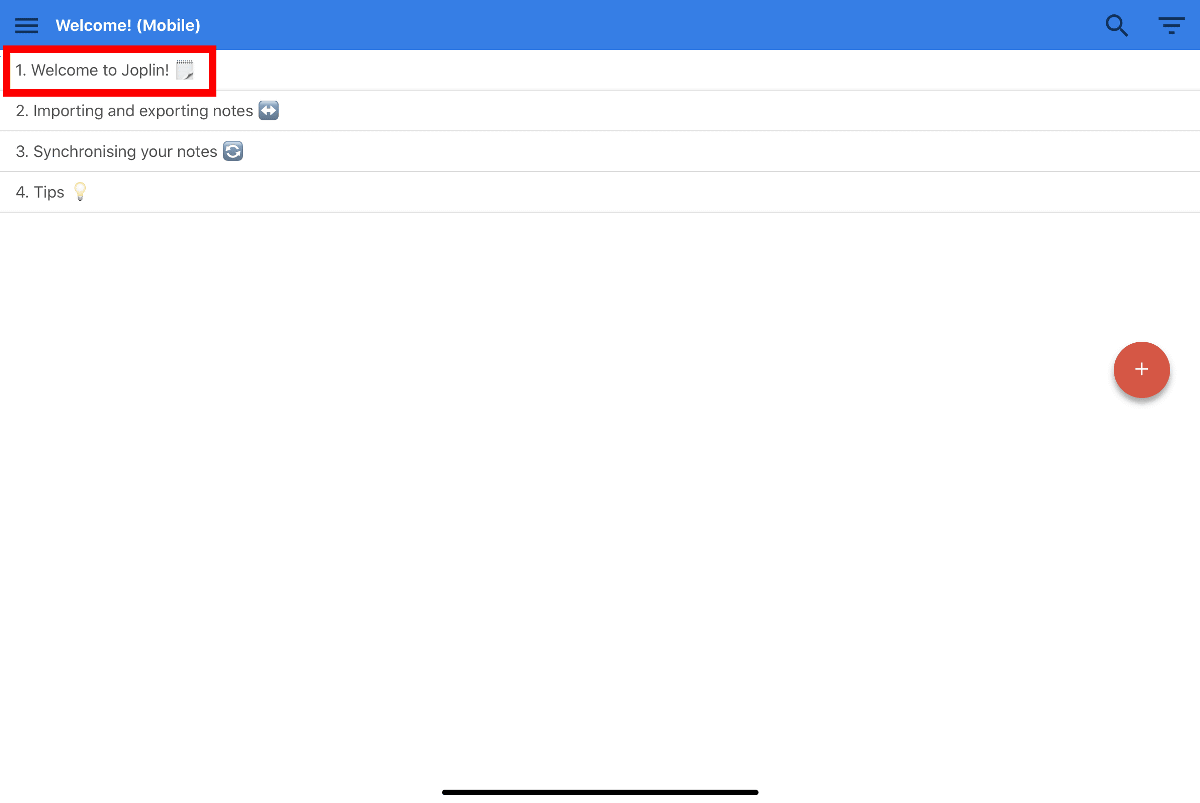
The top page looks like this. Unlike the PC version, the note editing screen and the preview screen are not displayed on the top page. Open the notebook 'Welcome to Joplin!'
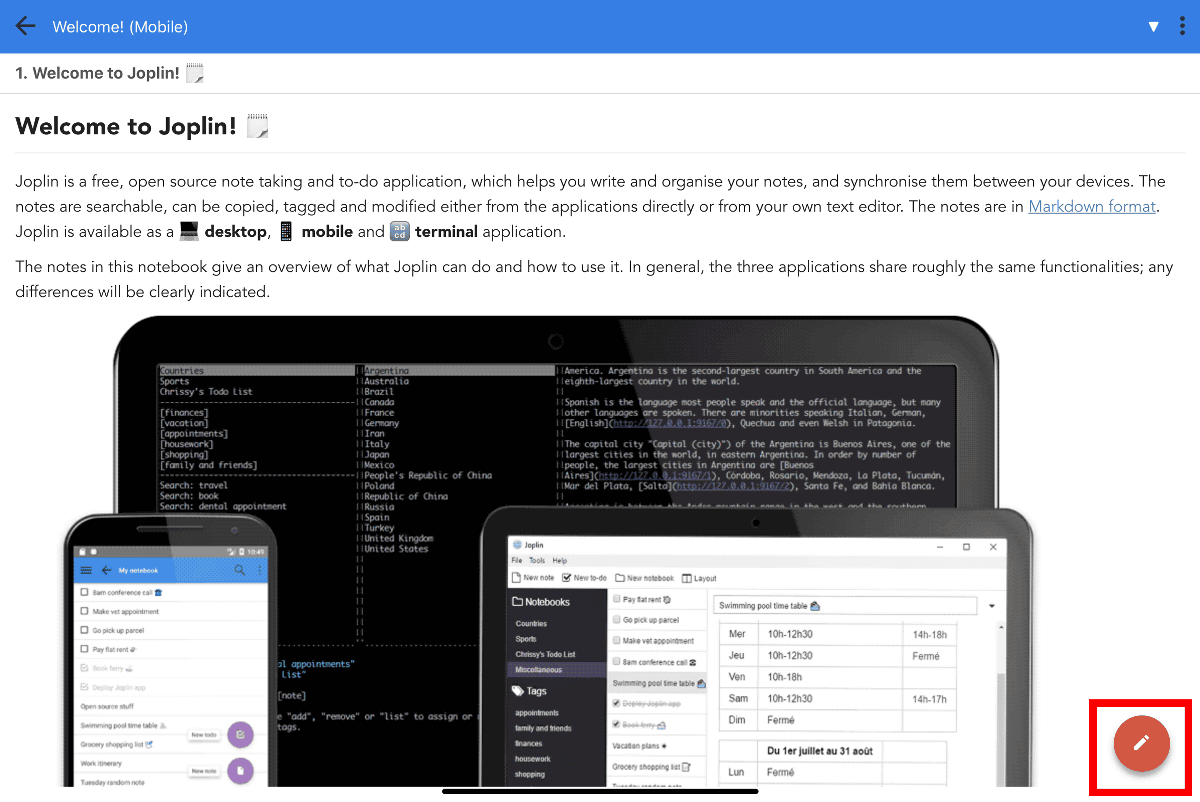
When you open a note, a preview screen is displayed first. Tap the pen icon at the bottom right to display the edit screen.
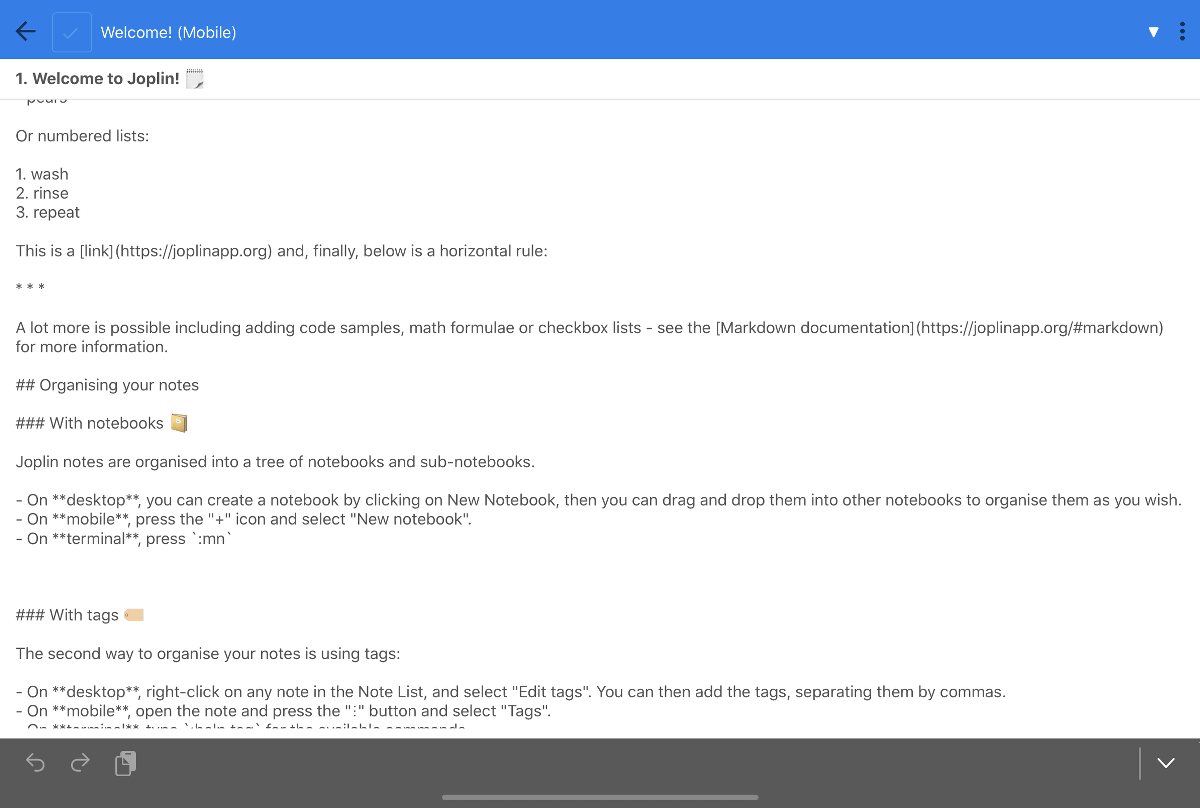
The editing screen looks like this.
◆ Sync settings
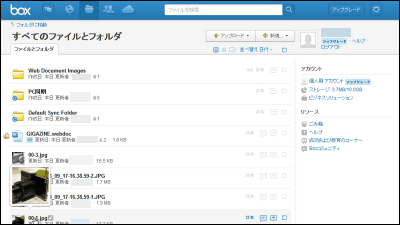
Joplin can synchronize data with Joplin installed on other devices via Dropbox, Nextcloud, OneDrive, WebDAV at the time of article creation. Click 'Sync' at the bottom left to configure the sync settings.
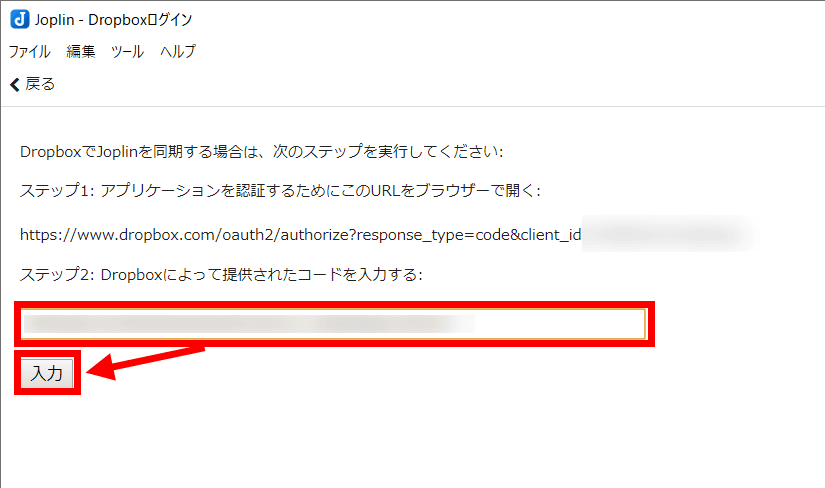
By default, it is set to sync with Dropbox. First, access the URL in the red frame.

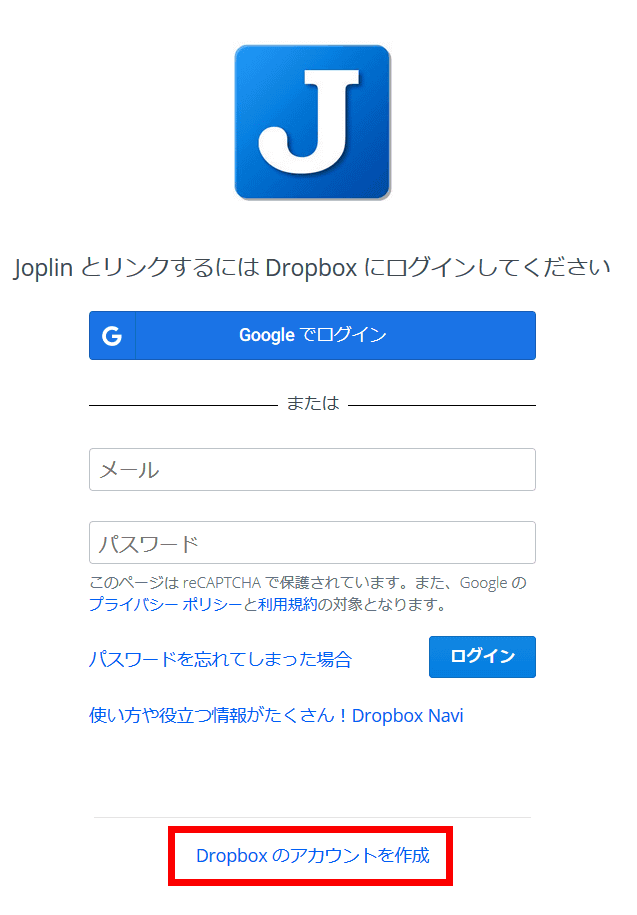
If you already have a Dropbox account, log in. If you do not have one, click 'Create a Dropbox account'.
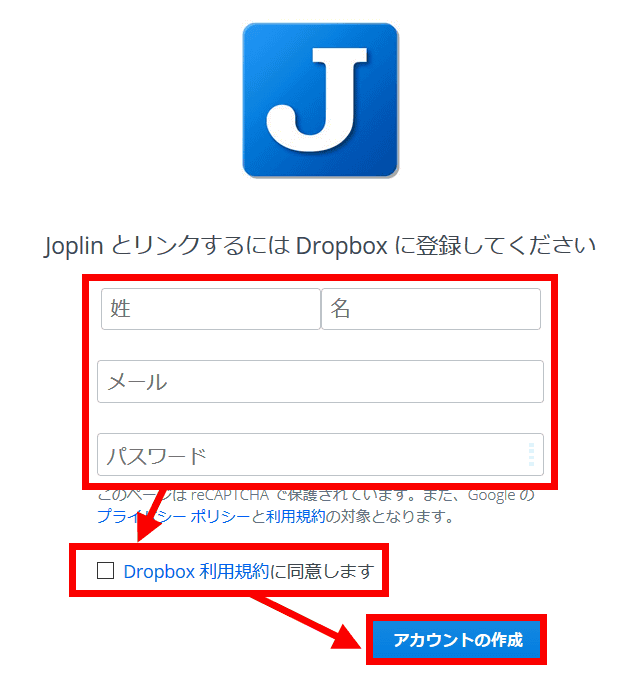
Enter your name, email address and password, read the Terms of Service, check 'I accept the Dropbox Terms of Service' and click 'Create Account'.
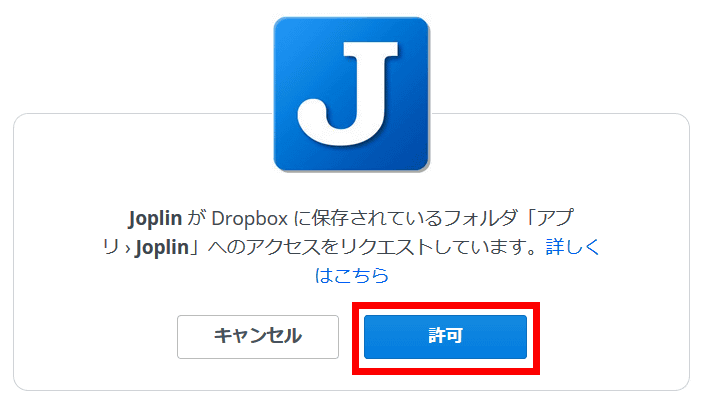
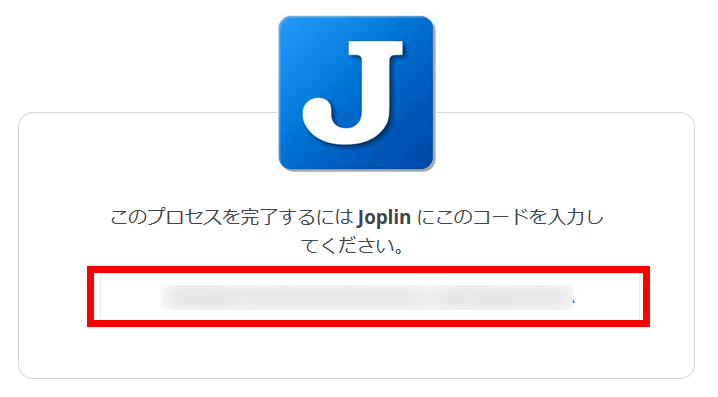
Click 'Allow'.
Copy the code that appears.
Enter the code in the red frame and click “Enter”.
The setting is completed when the message 'The application has been successfully authenticated!' Is displayed. Click 'OK' to close the dialog.
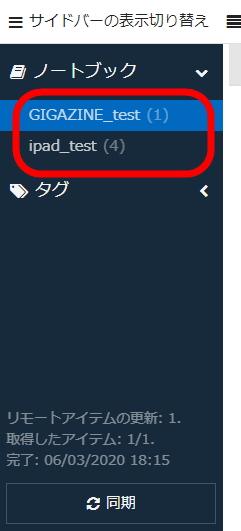
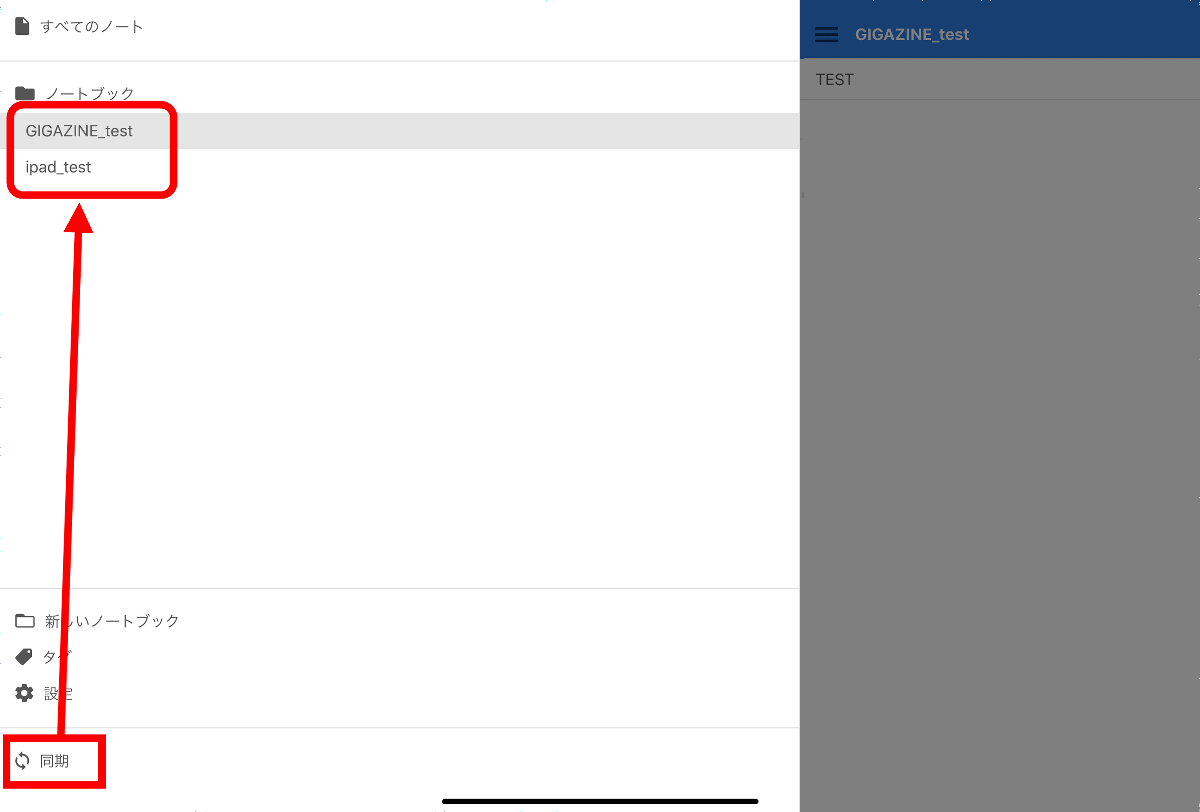
When synchronized, all notebooks shared with the notebook will be displayed.
When syncing on the iPad side, it looks like this. The PC version shows the number of notes per folder, but the mobile version does not.
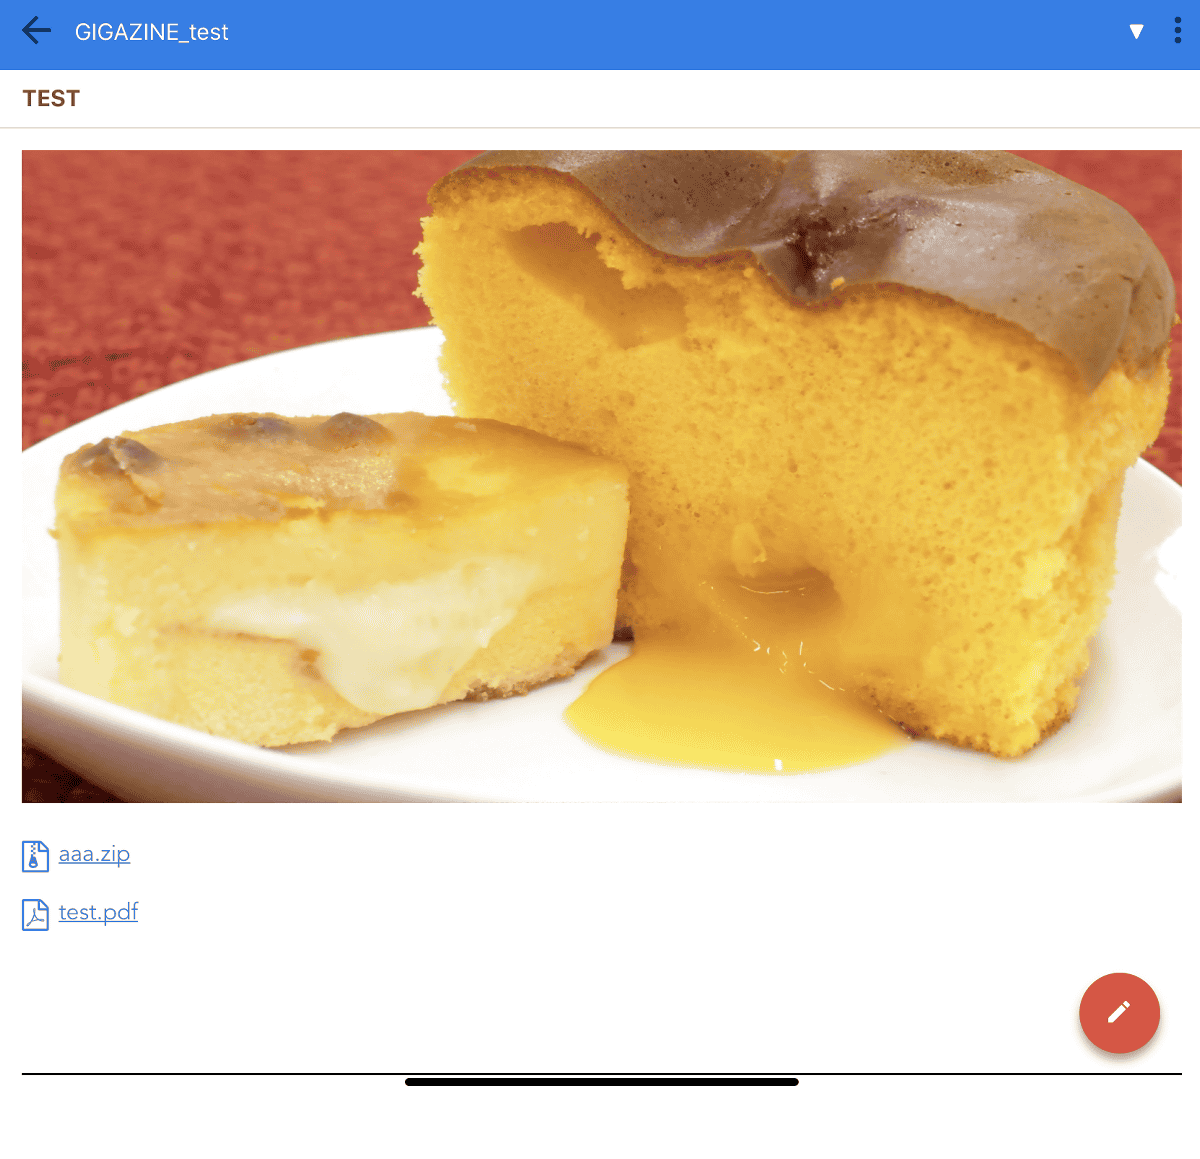
The image attached to the note will be displayed without any problem.
◆ Restore backup
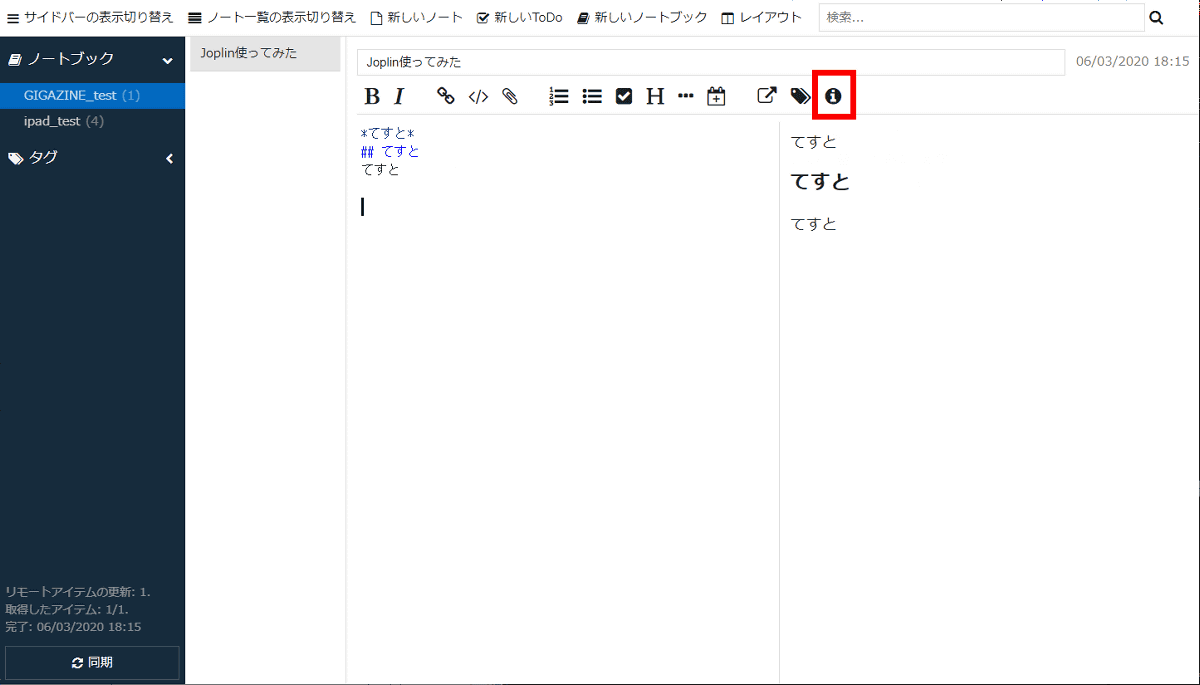
Joplin has the ability to save a backup of the data previously synchronized. Click the 'i' icon to restore backup data.
When the properties are displayed, click 'Previous version of this note'.
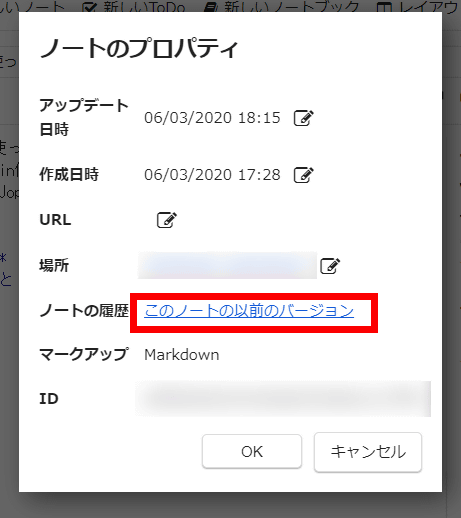
Click “OK”.
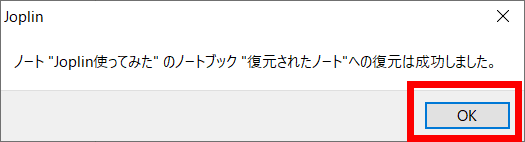
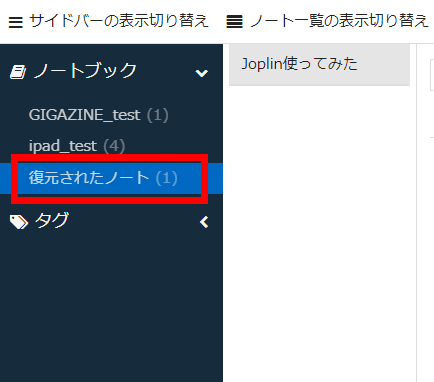
The backup data will be restored with the file name 'Restored Notes'.
◆ Extension 'Joplin Web Clipper'
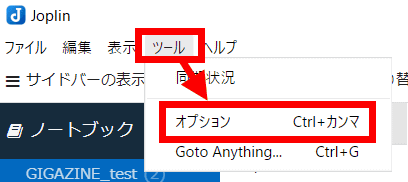
At the time of article creation, Joplin can be used in conjunction with the Google Chrome extension 'Joplin Web Clipper'. To install an extension, first select 'Options' from 'Tools'.
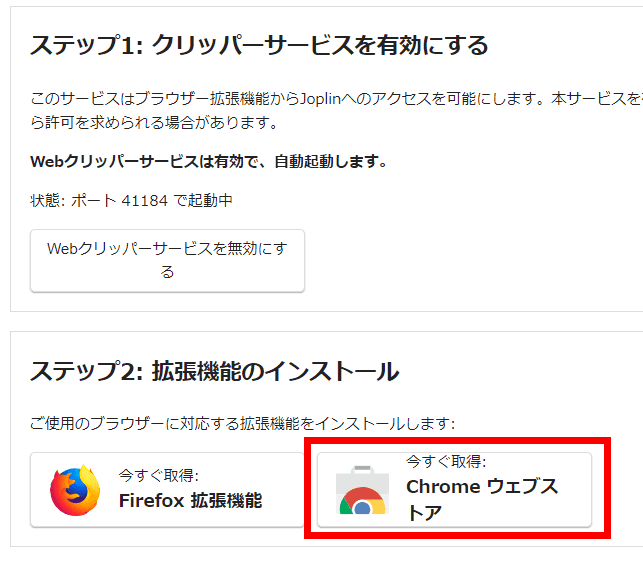
Click 'Enable Web Clipper Service'.

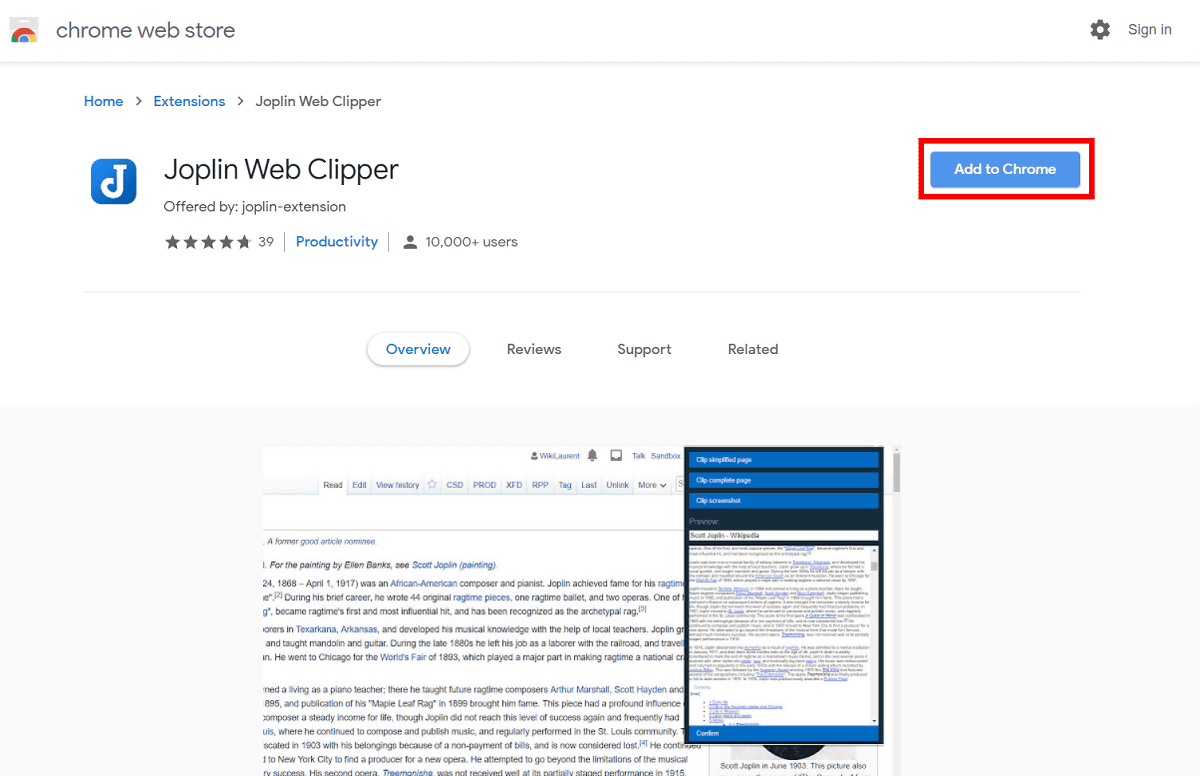
Click 'Chrome Web Store' to launch the Chrome browser. At the time of writing, the extension for Firefox was not implemented.
Click 'Add to Chrome'.
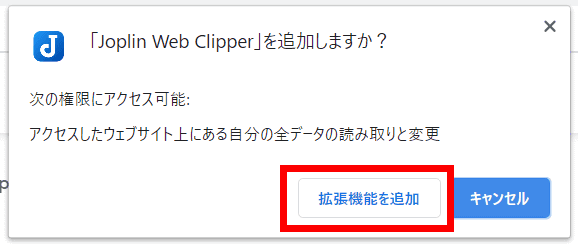
Click 'Add extension'.
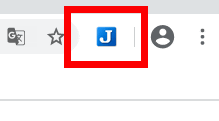
The Joplin Web Clipper icon is added to the browser toolbar.
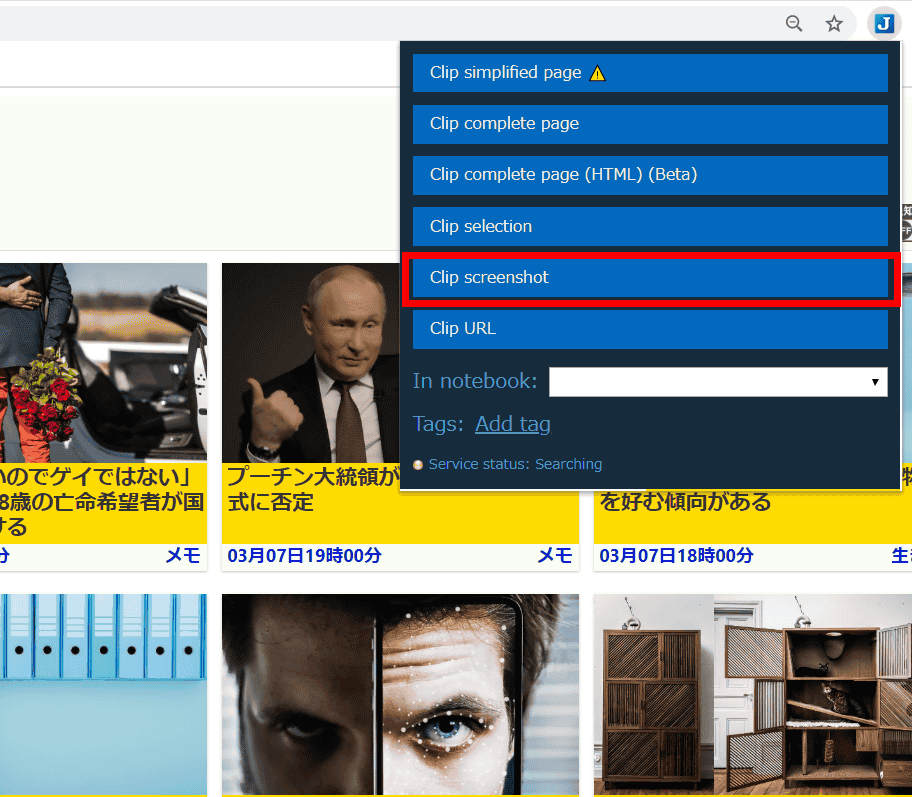
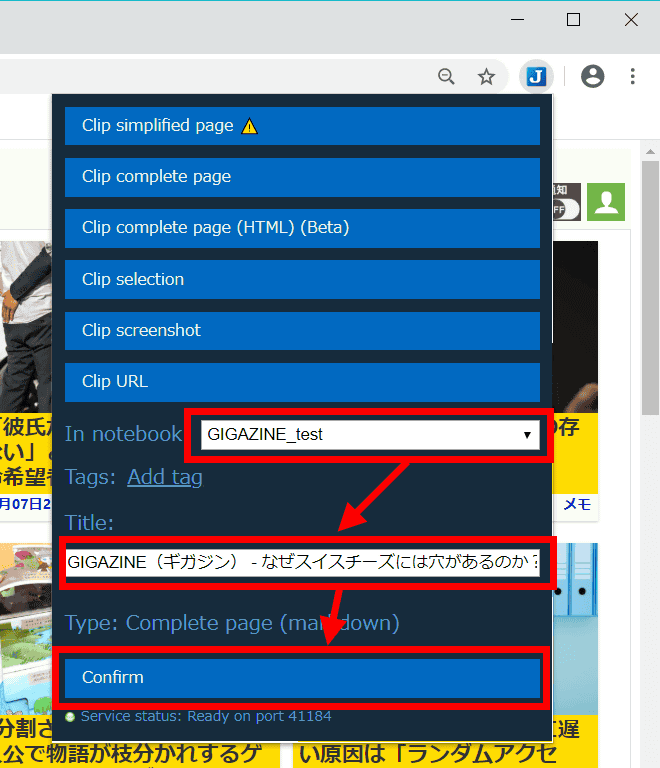
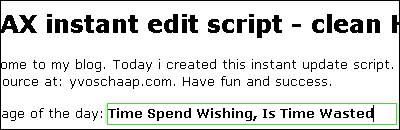
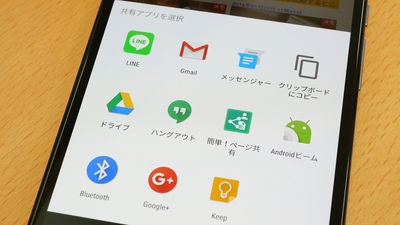
Click the icon to display a menu where you can save web pages and screenshots to Joplin. For example, click 'Clip screenshot' to get a screenshot.
Select the destination notebook, enter a title for the screenshot and click 'Confirm'.
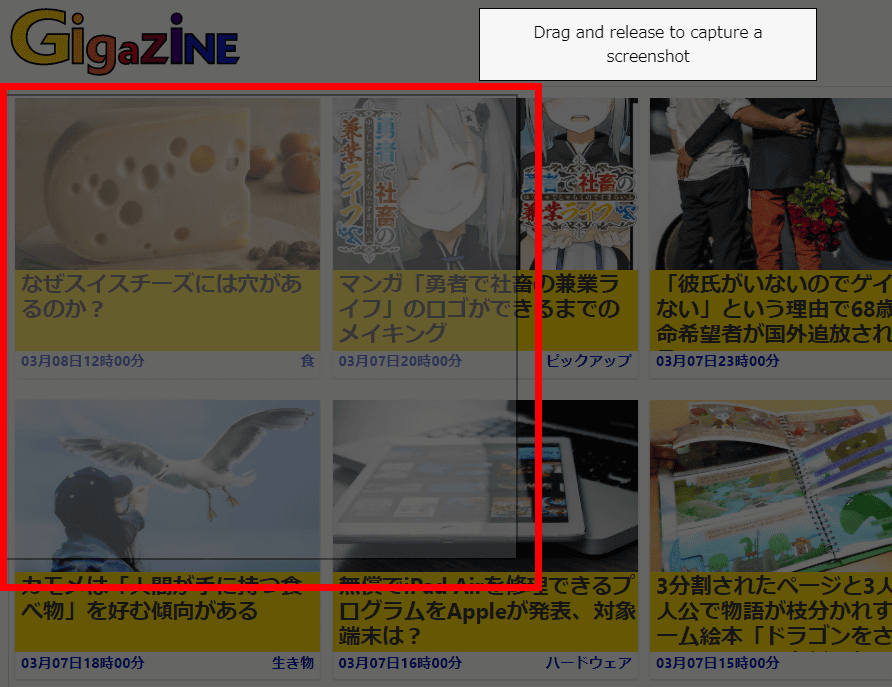
Drag to specify the range of the screenshot.
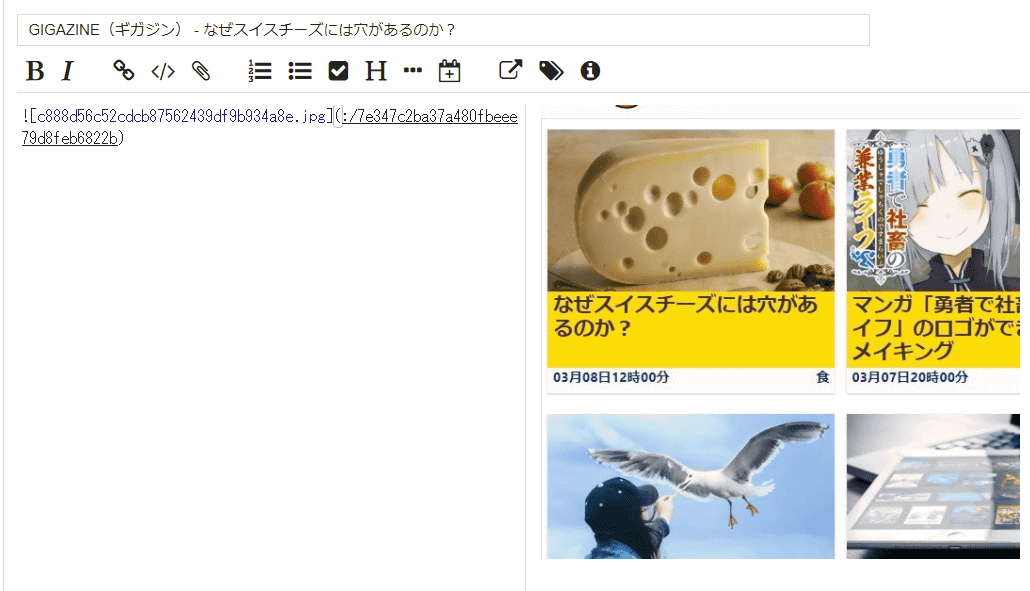
This will create a new note and save the screenshot in the note.
In addition to Windows, Joplin supports macOS, Linux, iOS, iPad OS and Android at the time of article creation, and it is possible to synchronize data with all OSes for free. Windows, macOS, and Linux are official websites , and iOS / iPad OS and Android versions can be downloaded from the following.
Joplin on the App Store
https://apps.apple.com/us/app/joplin/id1315599797
Joplin-apps on google play
https://play.google.com/store/apps/details?id=net.cozic.joplin
Related Posts:
in Web Service, Review, Web Application, Posted by darkhorse_log