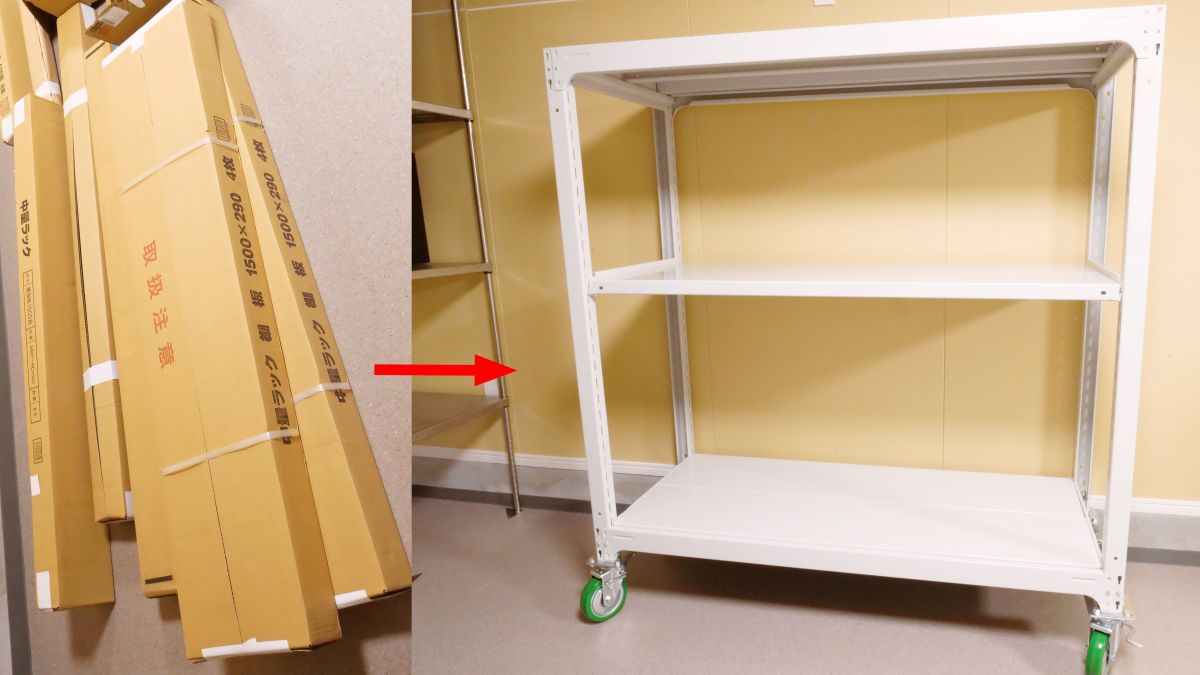
I tried to assemble a commercial medium weight rack and casters with a load capacity of 500 kg
The advantage of a general
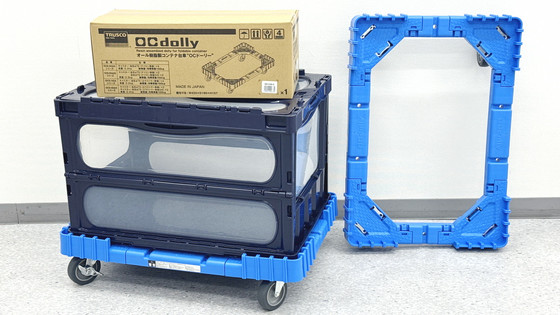
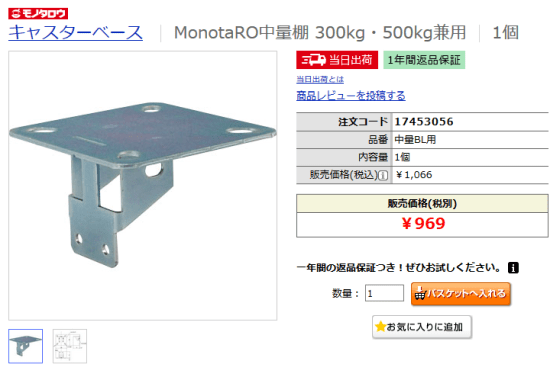
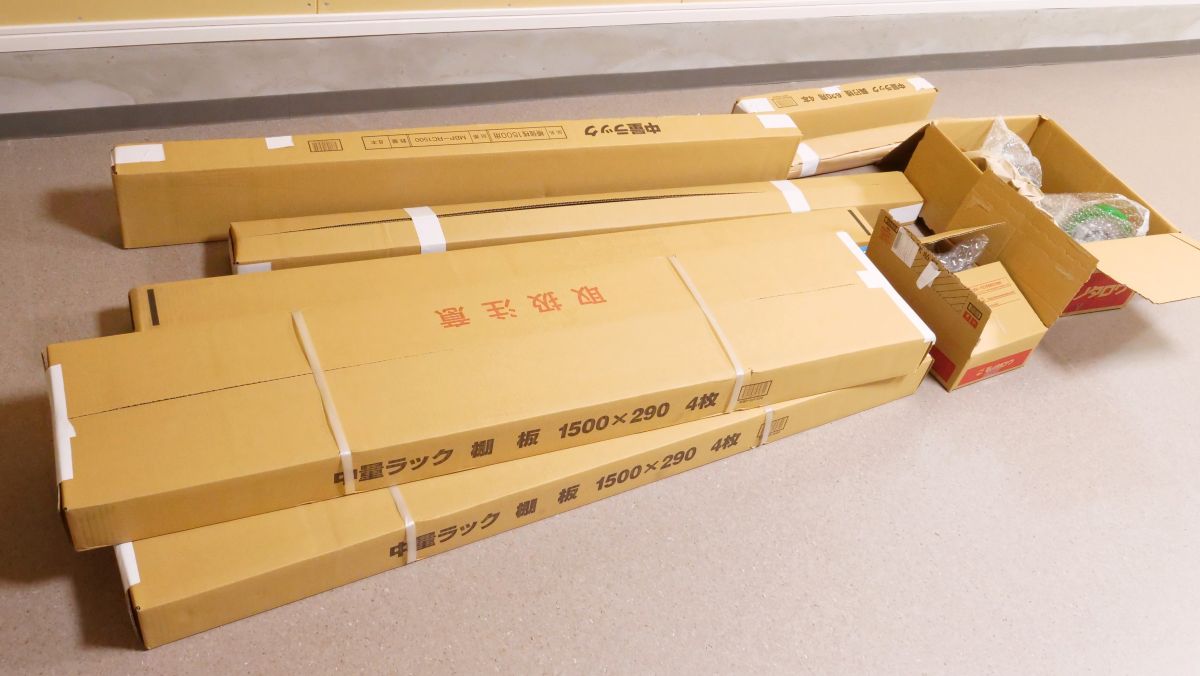
I bought the following 3 items this time. It is a caster base that connects the medium weight rack body and casters, and the medium weight rack and casters.
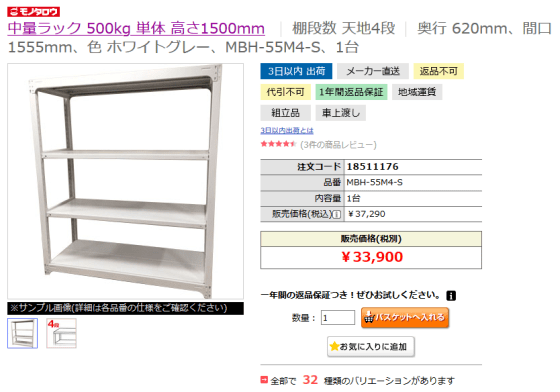
MBH-55M4-S Medium weight rack 500kg Single unit height 1500mm 1 unit Monotaro [Mail order Monotaro] 18511176
https://www.monotaro.com/p/1851/1176/
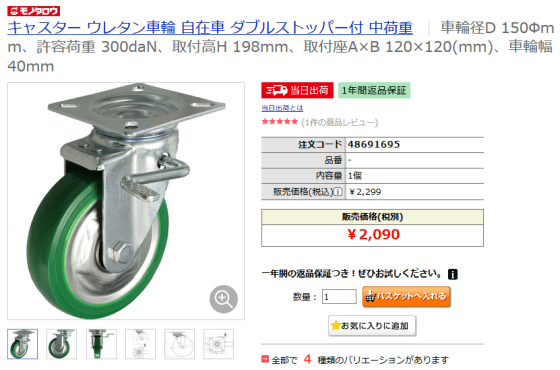
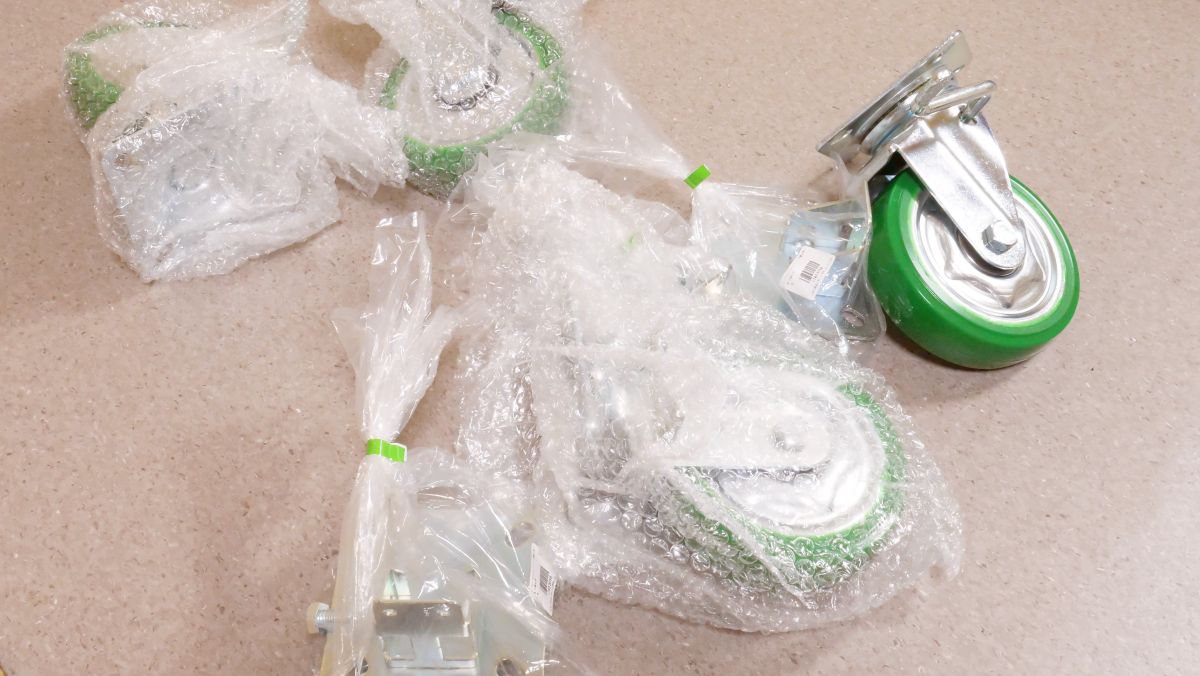
Caster Urethane wheels Swivel car with double stopper Medium load 1 piece Monotaro [Mail order Monotaro] 48691695
1 caster base for medium weight BL Monotaro [Mail order Monotaro] 17453056
This is the medium weight rack, casters, and caster base that arrived from Monotaro. The tools used for assembly this time are rubber hammers, wrenches, and pliers.
First of all, to assemble the casters and caster base.
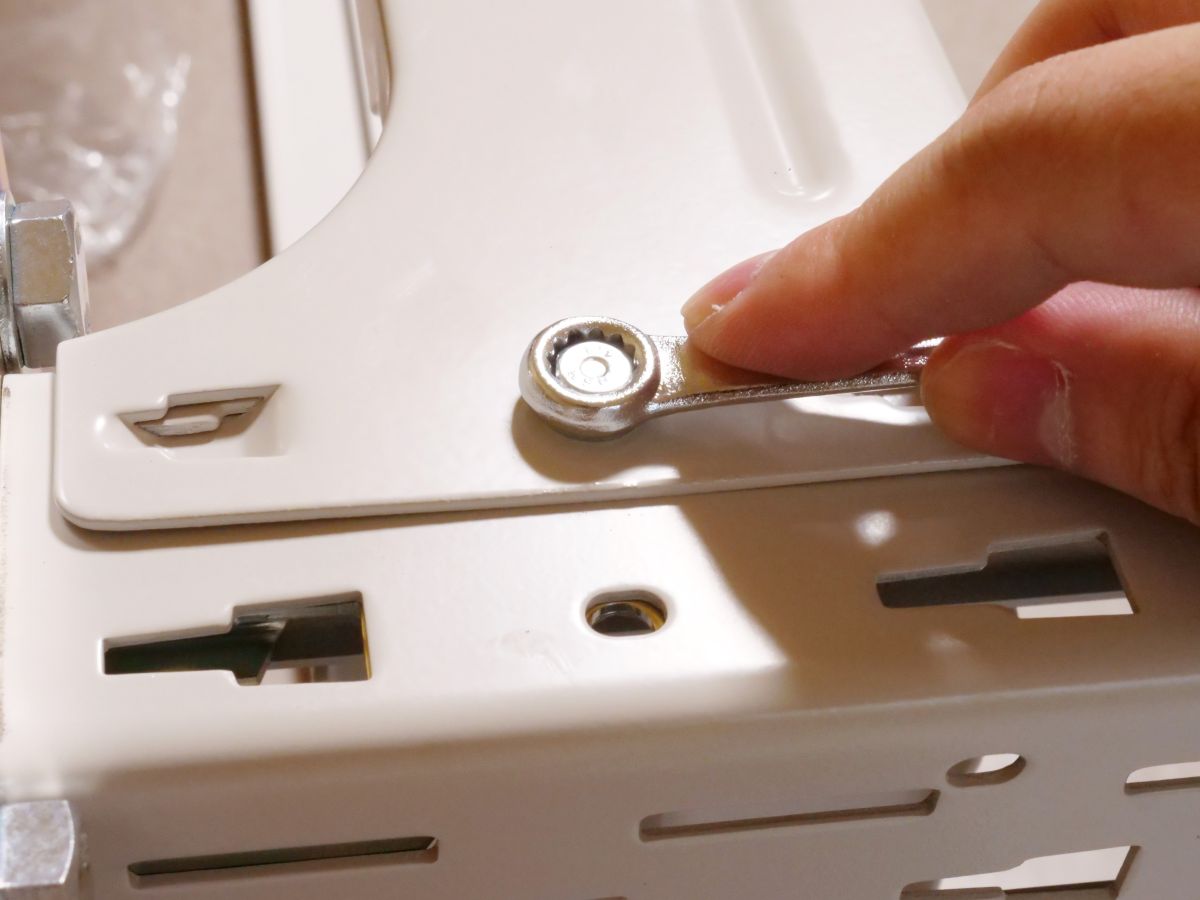
Secure the casters and caster base using the bolts, nuts, and washers that come with the caster base.
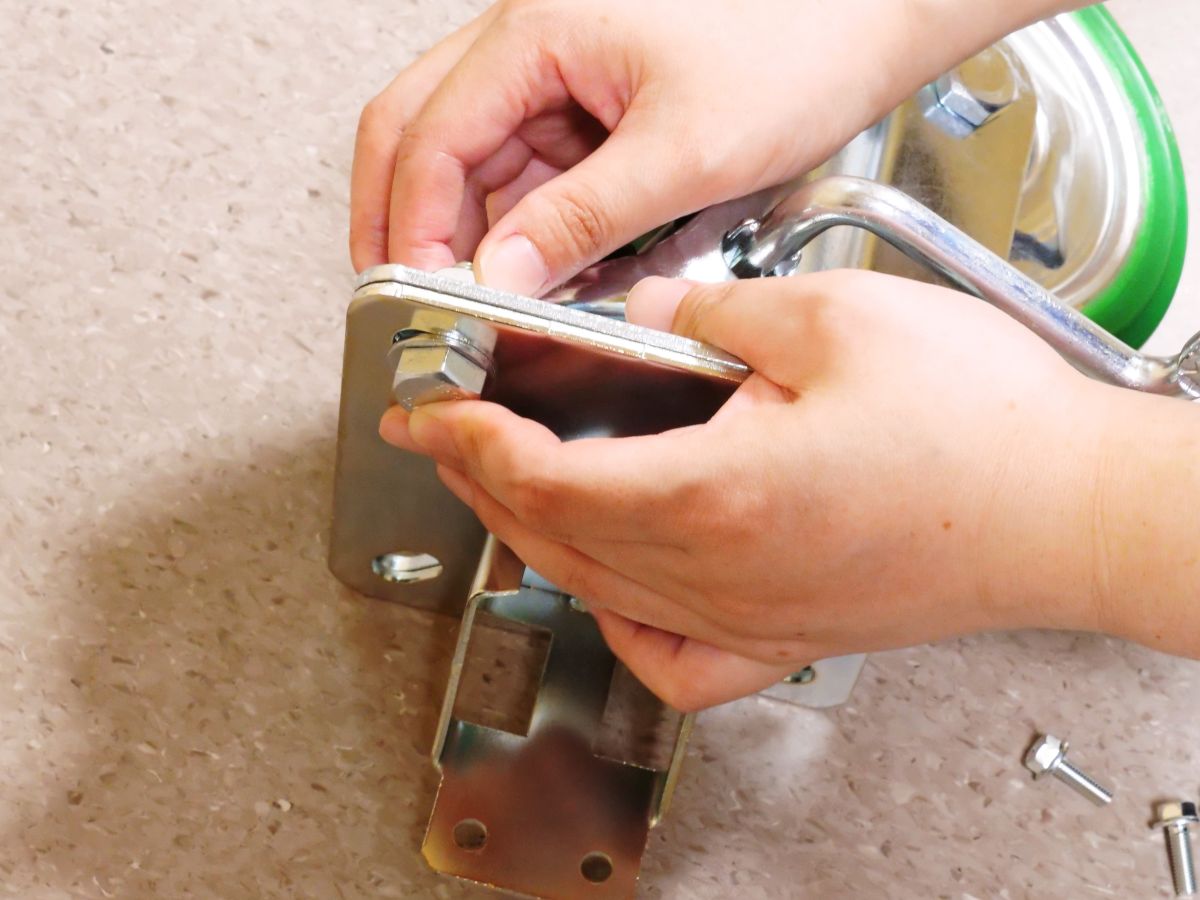
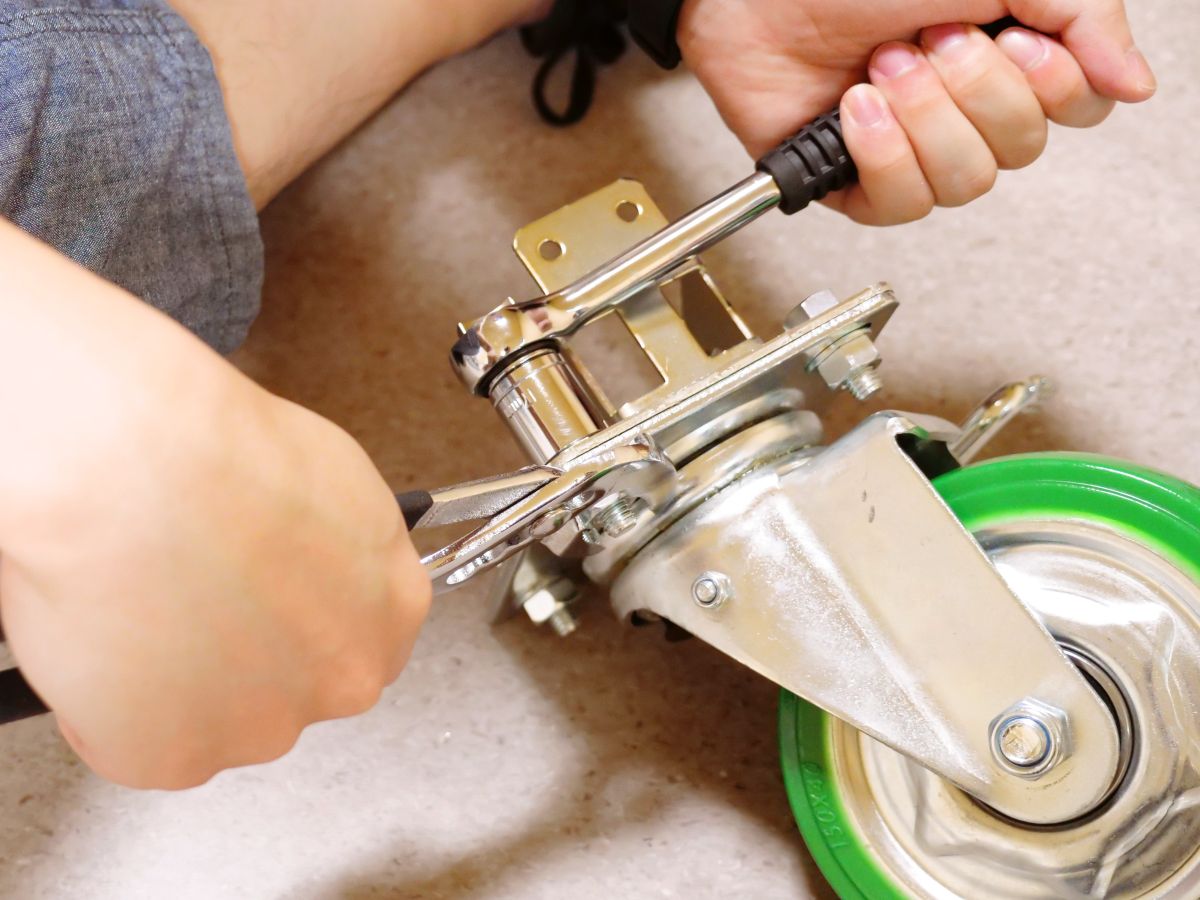
Fix the nut with pliers and tighten with a wrench. There are holes for bolts in 4 places, so if you fix all of them, the assembly of the casters and caster base is completed.
Next, we will assemble the rack body. The long side is the support and the short side is the depth crosspiece.
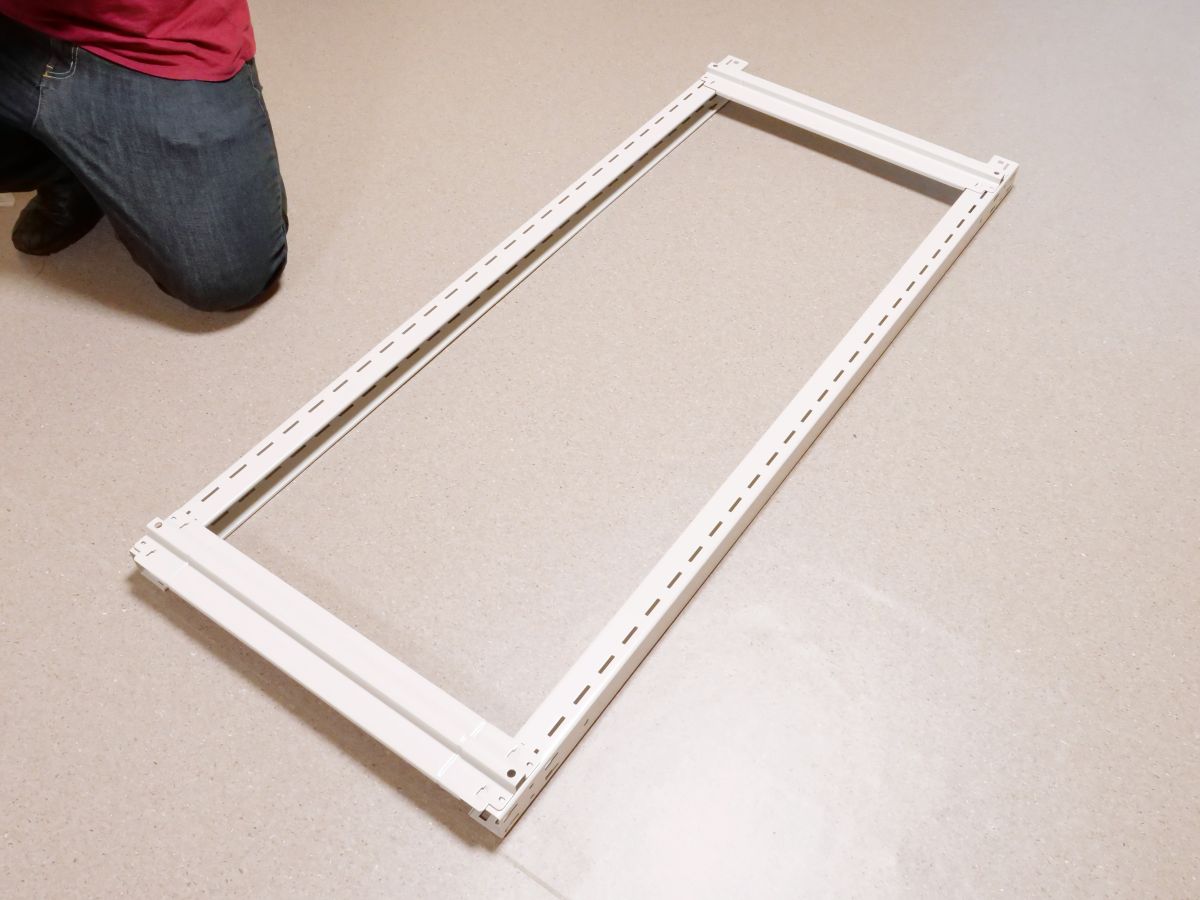
Arrange the columns so that the cross sections face each other.
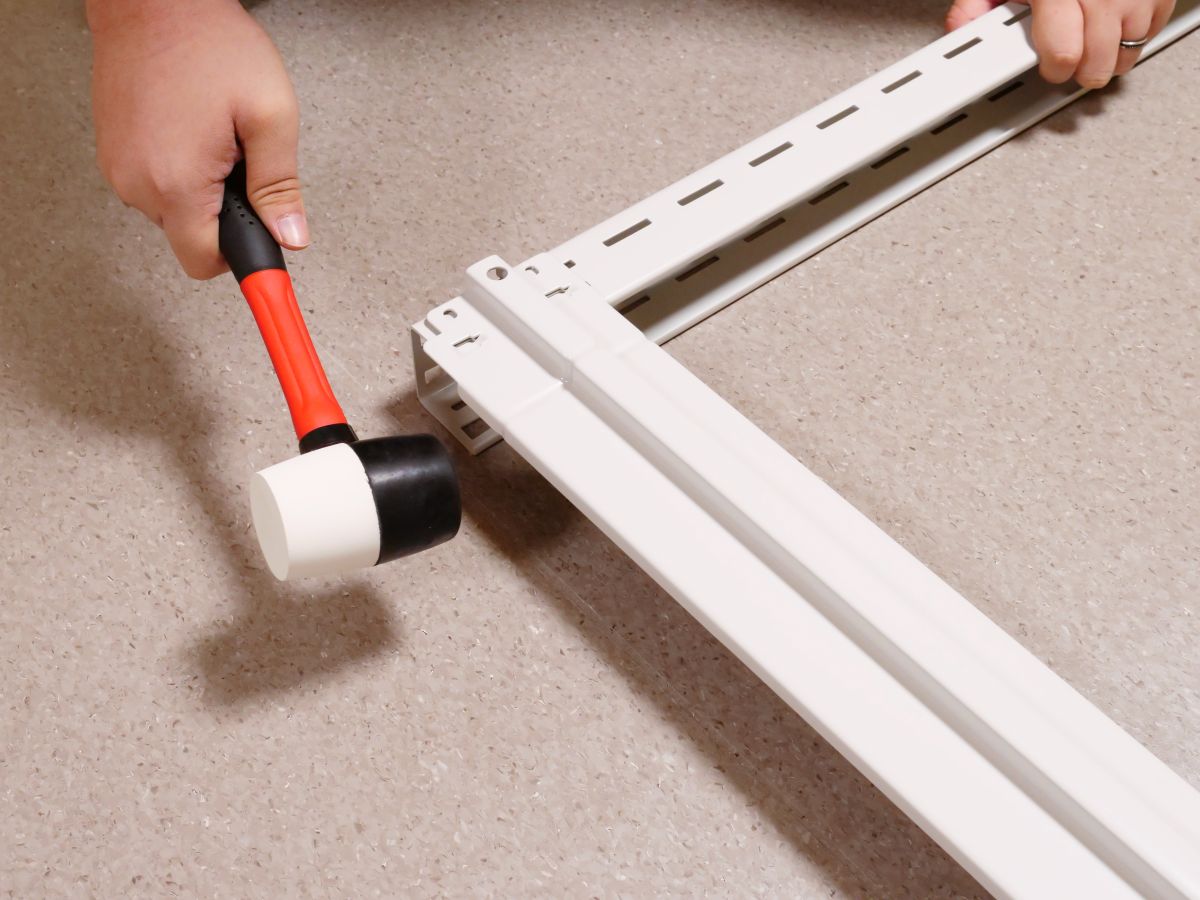
Use a hammer to drive the depth rail into the column.
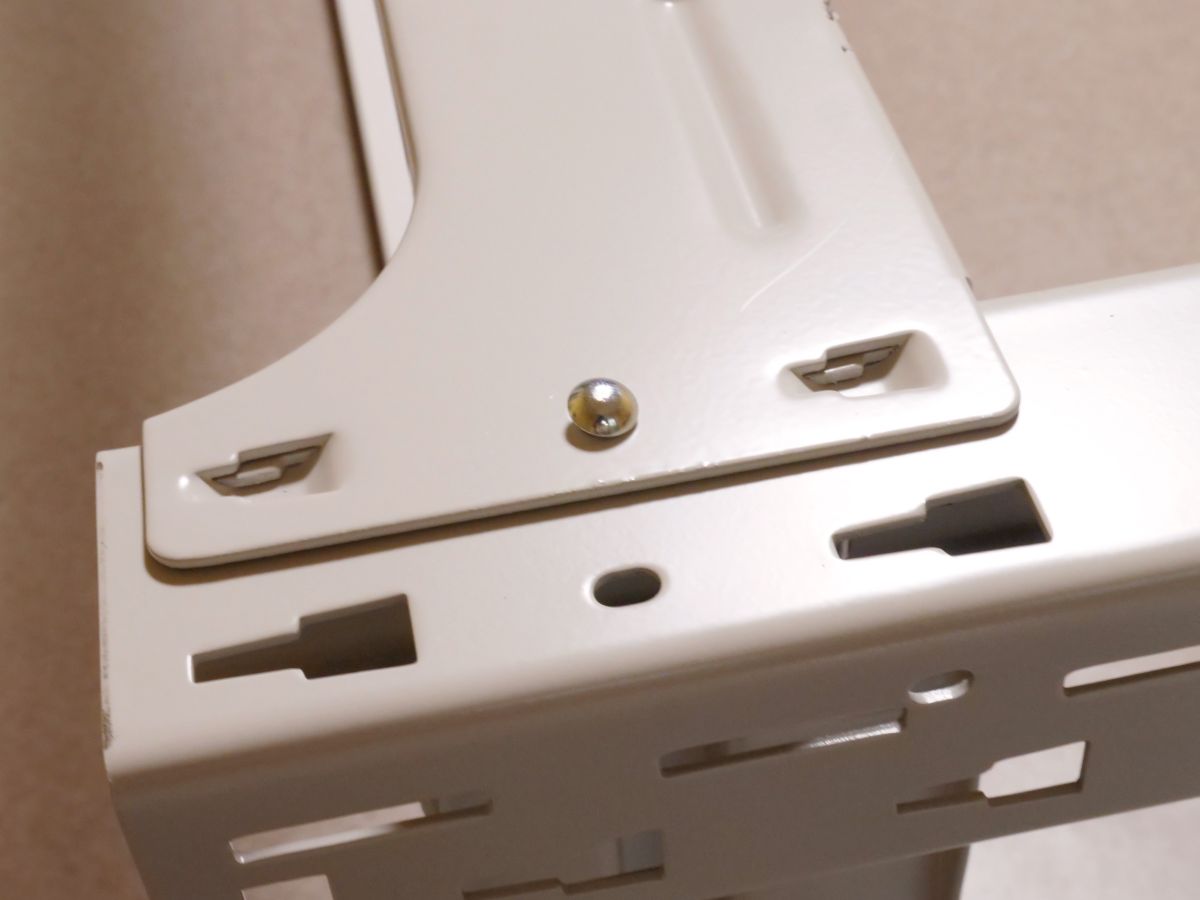
After driving the depth rail enough, fix the support and the depth rail with the attached pin.
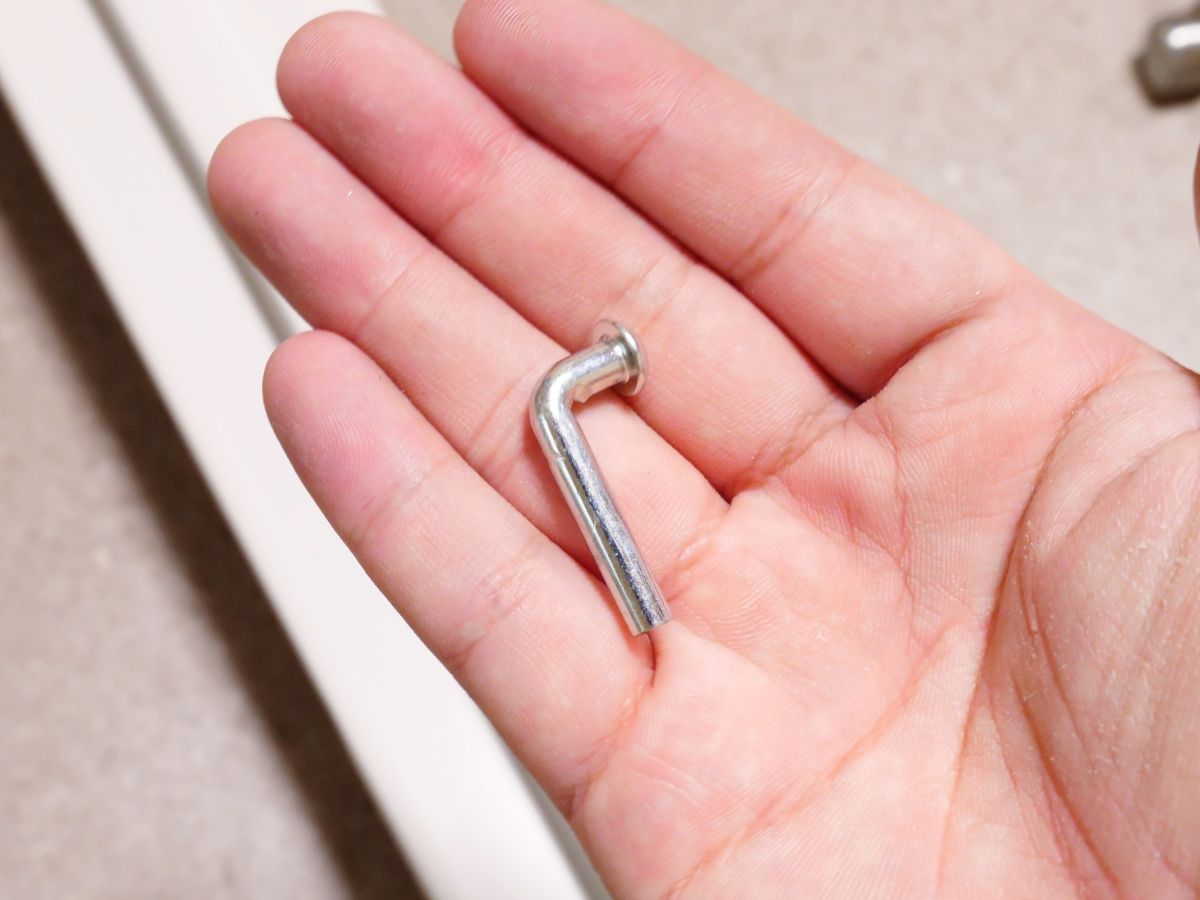
Pass the pin through the hole ...
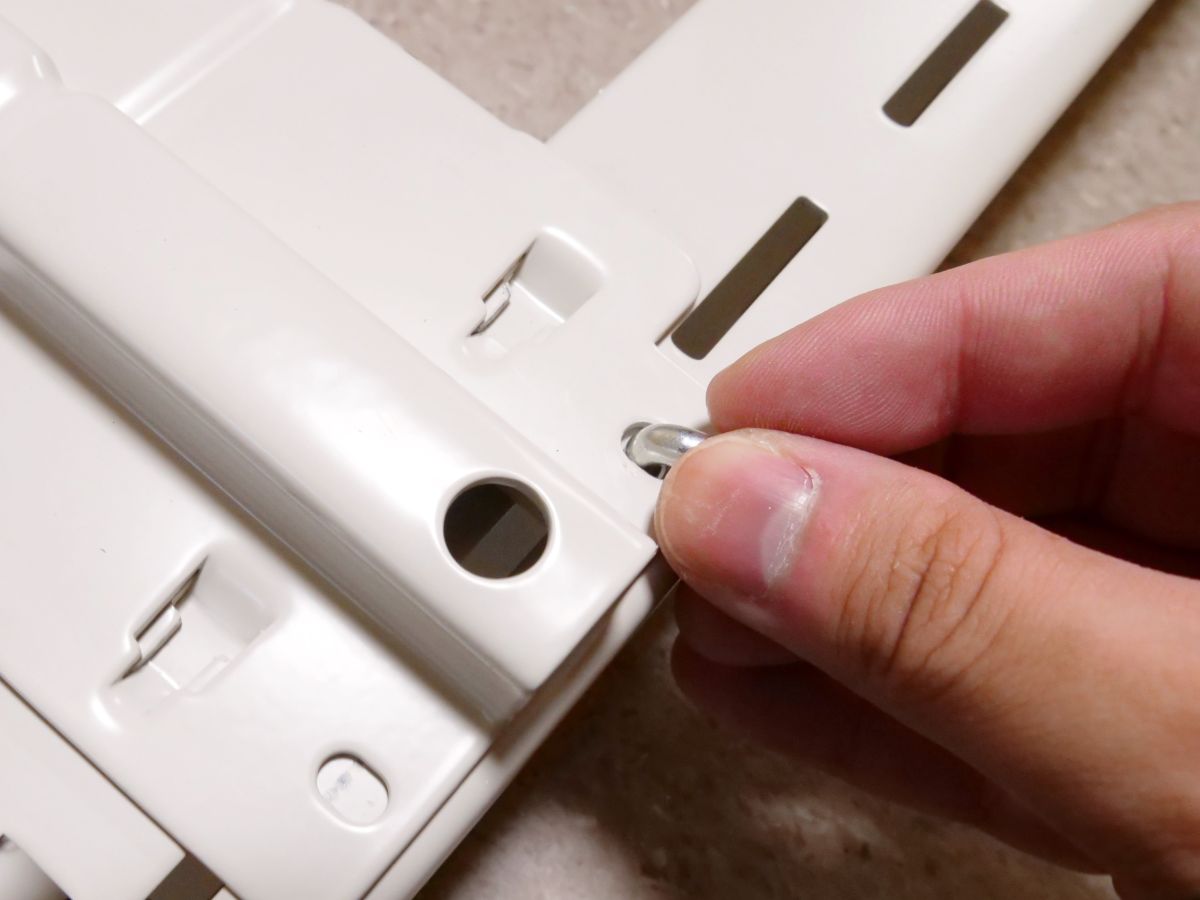
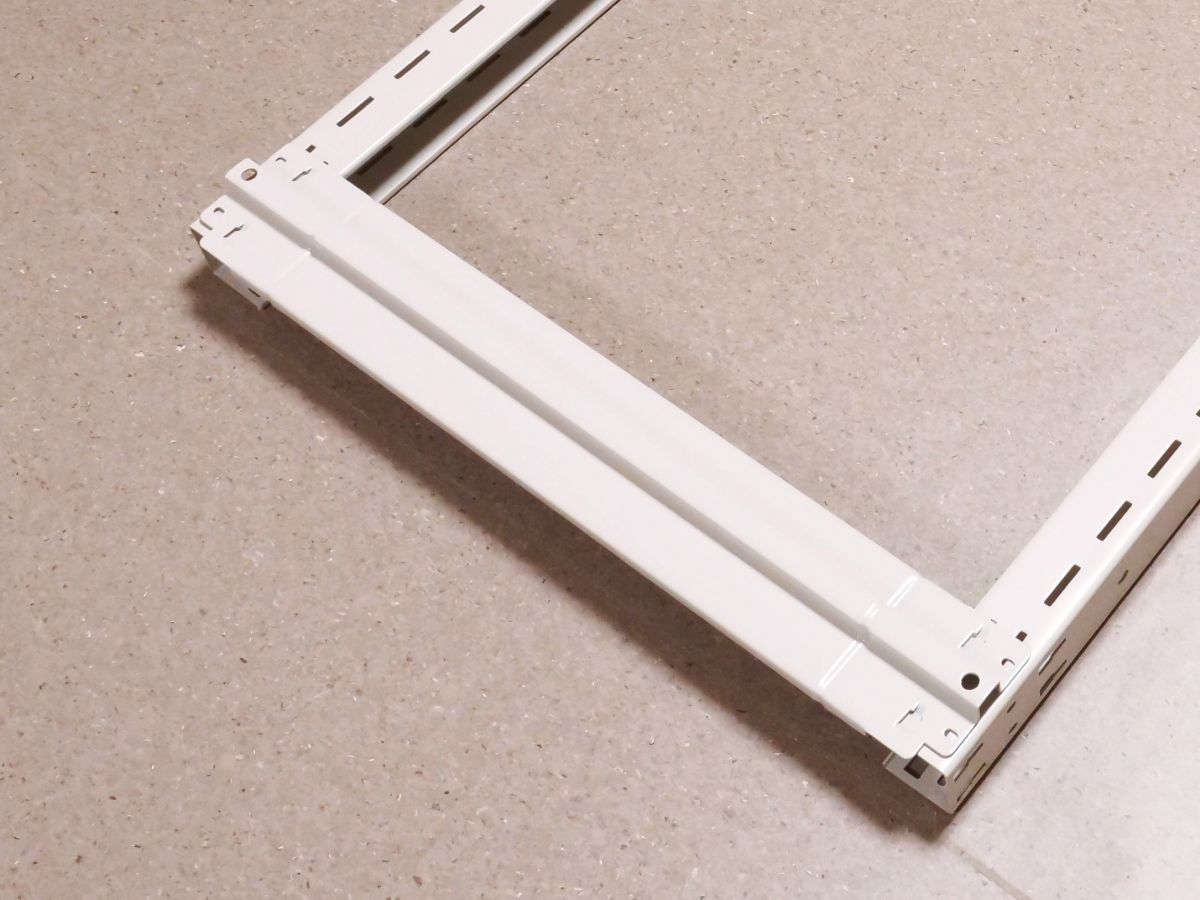
As shown in the image, it is OK if the pillars and the claws of the depth crossing are properly driven in and the pins are completely inserted.
In the same way, assemble two sets with two stanchions and two depth rails fixed.

Next, connect the set of the prop and the depth rail that you assembled earlier with the frontage rail.
The frontage rail is fixed by hammering the claws in the same way as the depth rail work.
It is the same as the work of the depth rail to fully drive the frontage rail and insert the pin.
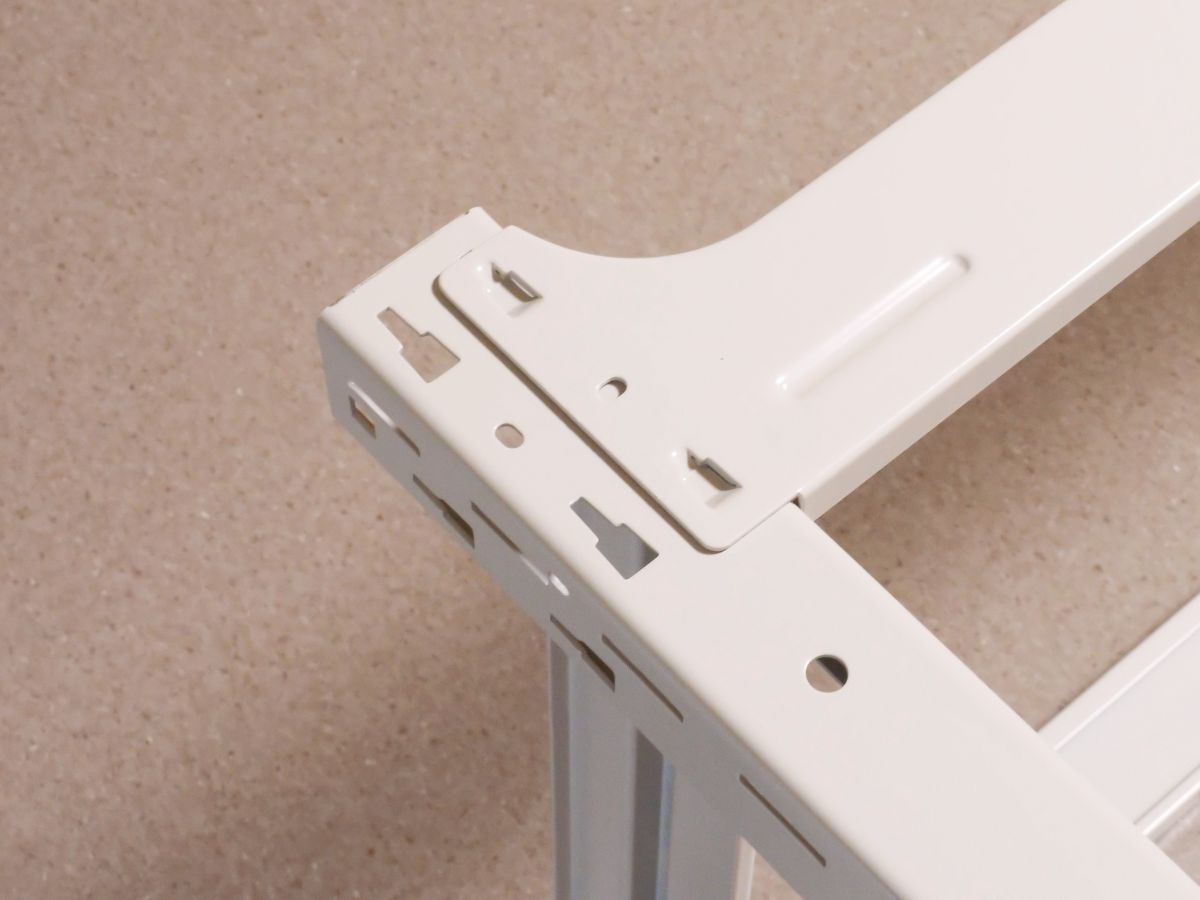
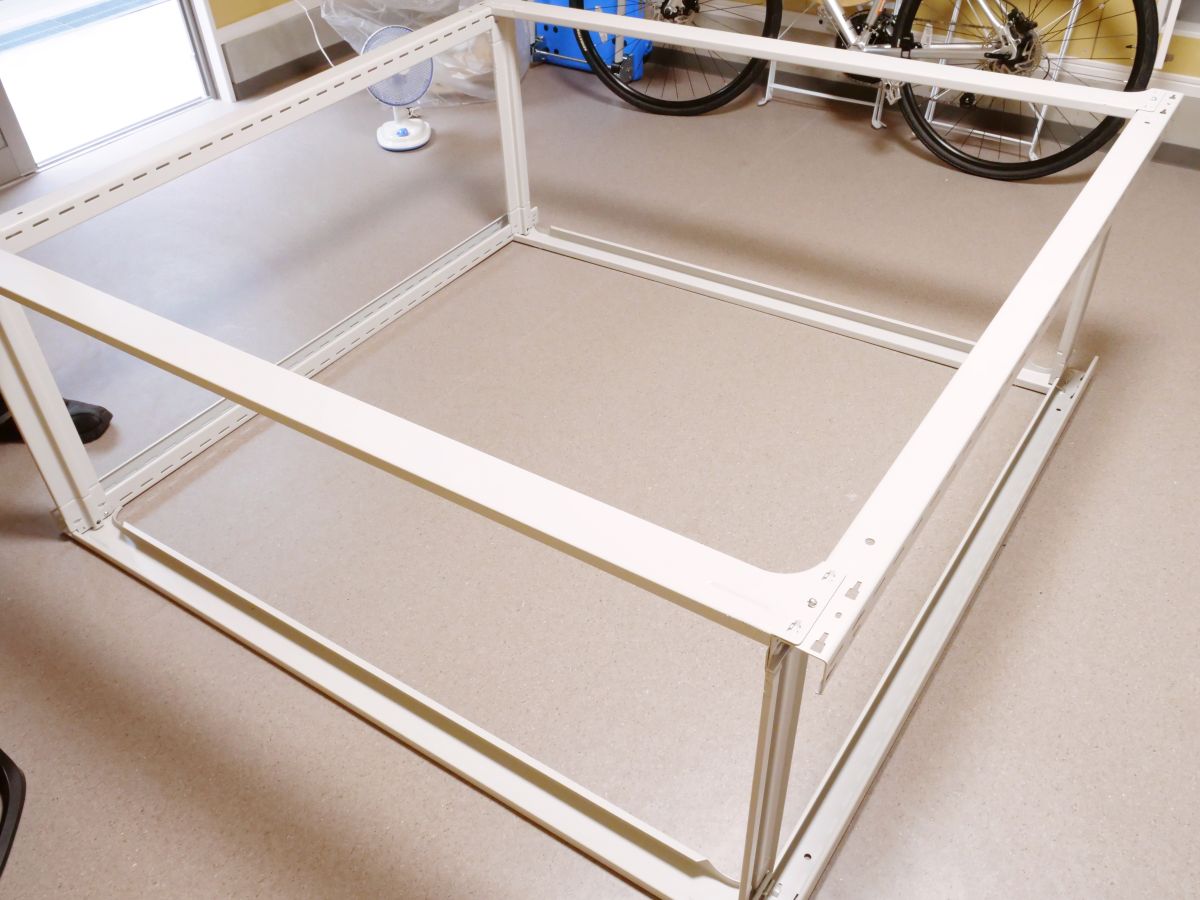
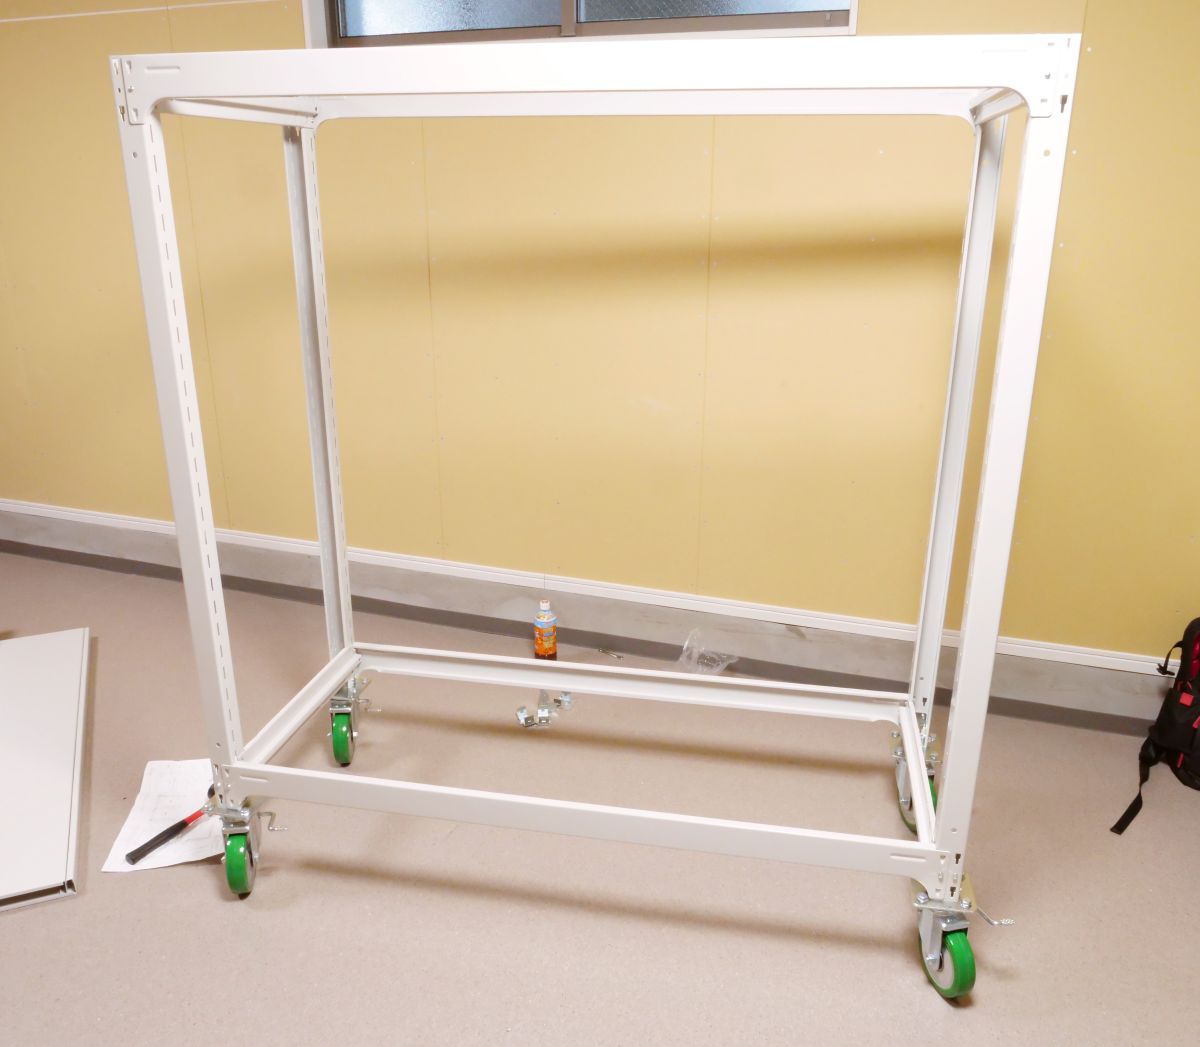
By fixing the four frontage rails, the skeleton of the medium weight rack is completed.
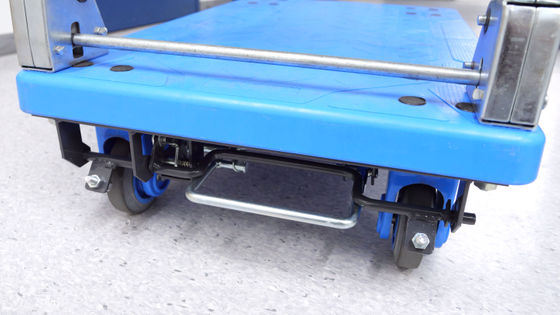
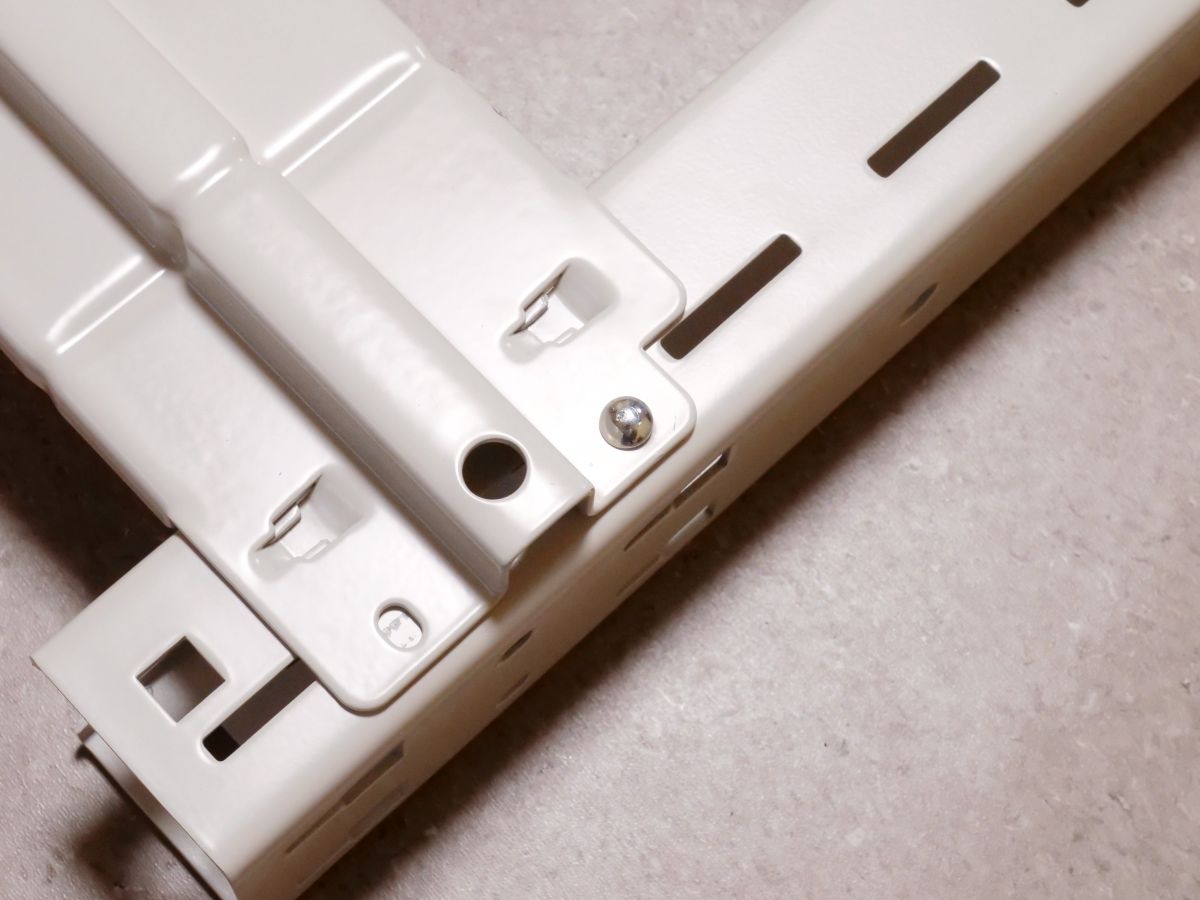
When I tried to fix the caster base that I assembled earlier, the pins interfered and I could not fix it. The caster base part must be fixed with the bolt attached to the caster base instead of the pin.
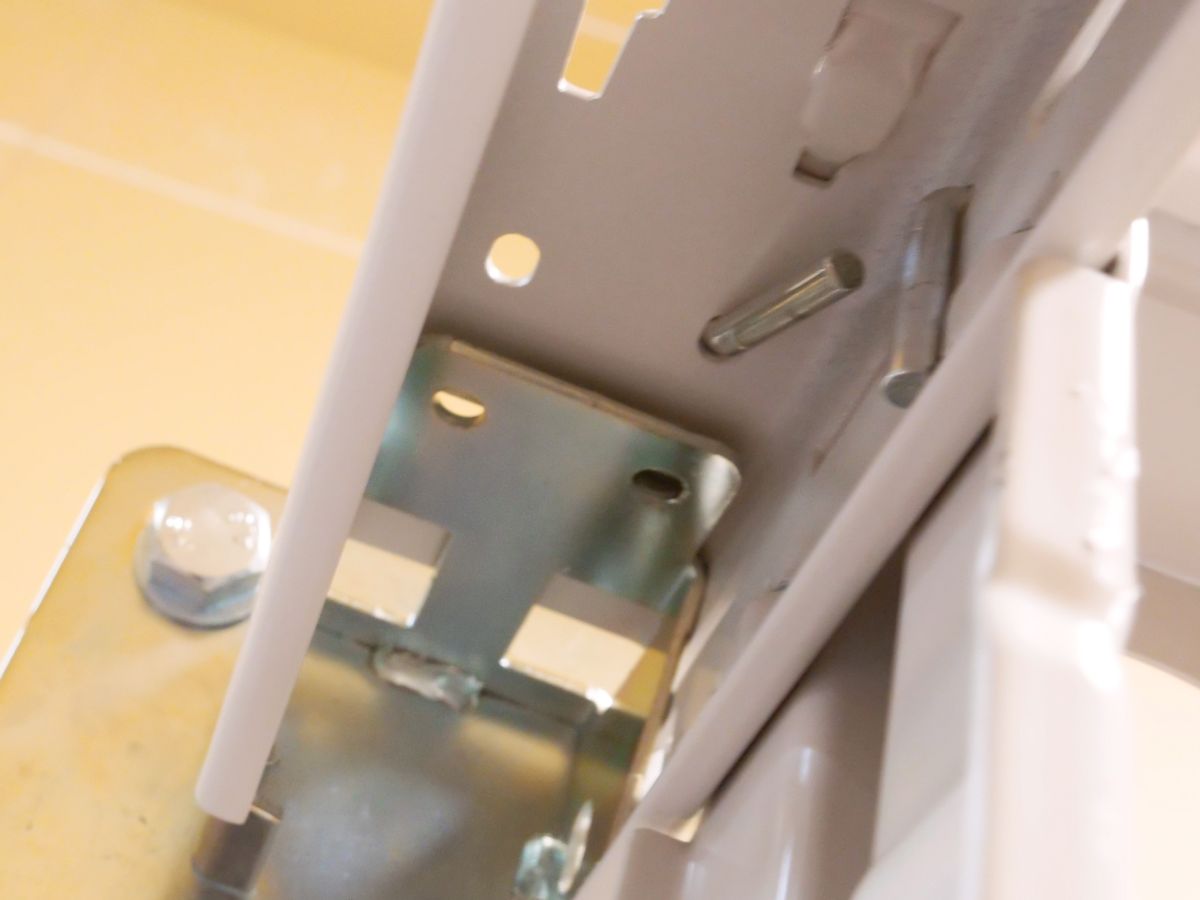
Insert the bolt into the hole from which the pin was removed, and turn the nut from the back side to fix it.
Use two bolts and nuts to fix the caster base and rack.
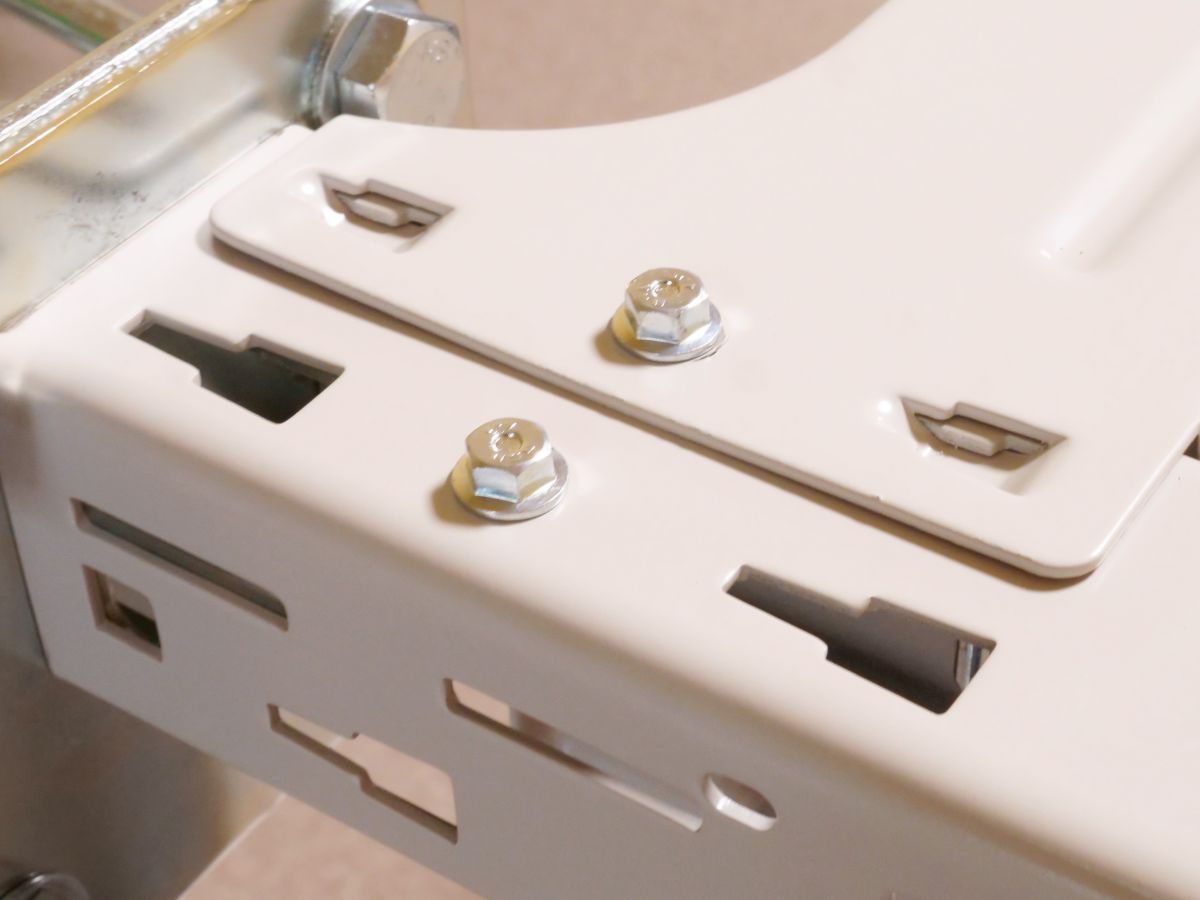
Since there are holes for fixing on the side, fix the rack and caster base using the bolts, nuts, and washers attached to the caster base.
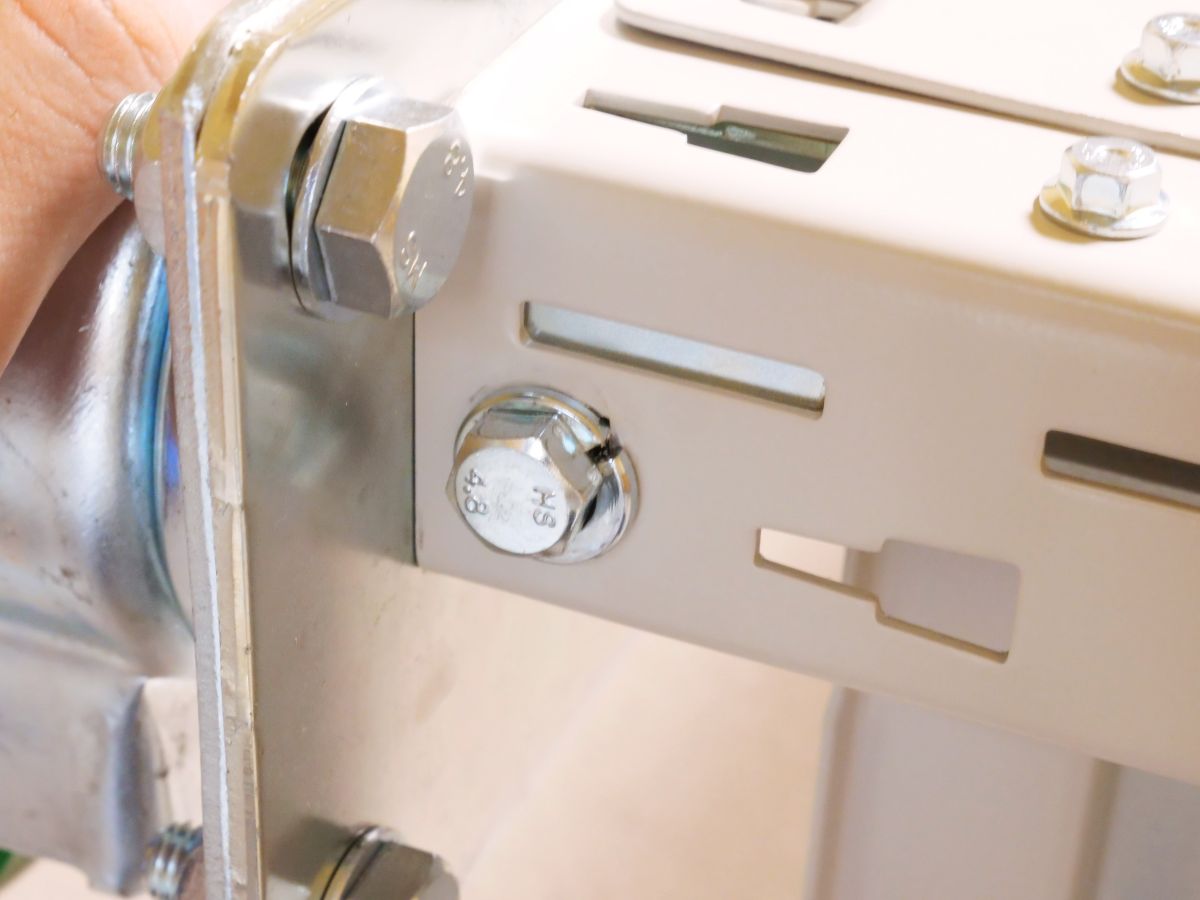
Also fix the other side.
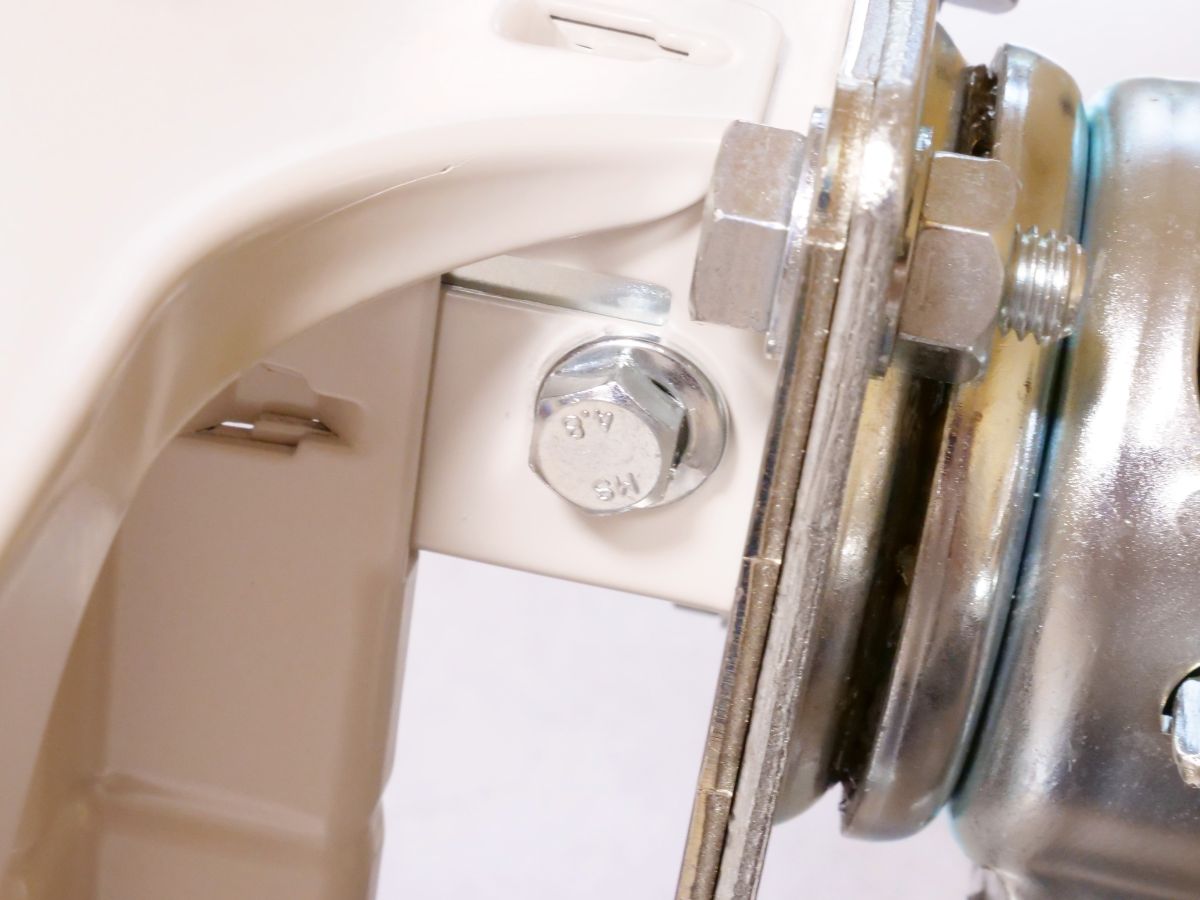
The casters are now fixed to the medium weight rack.
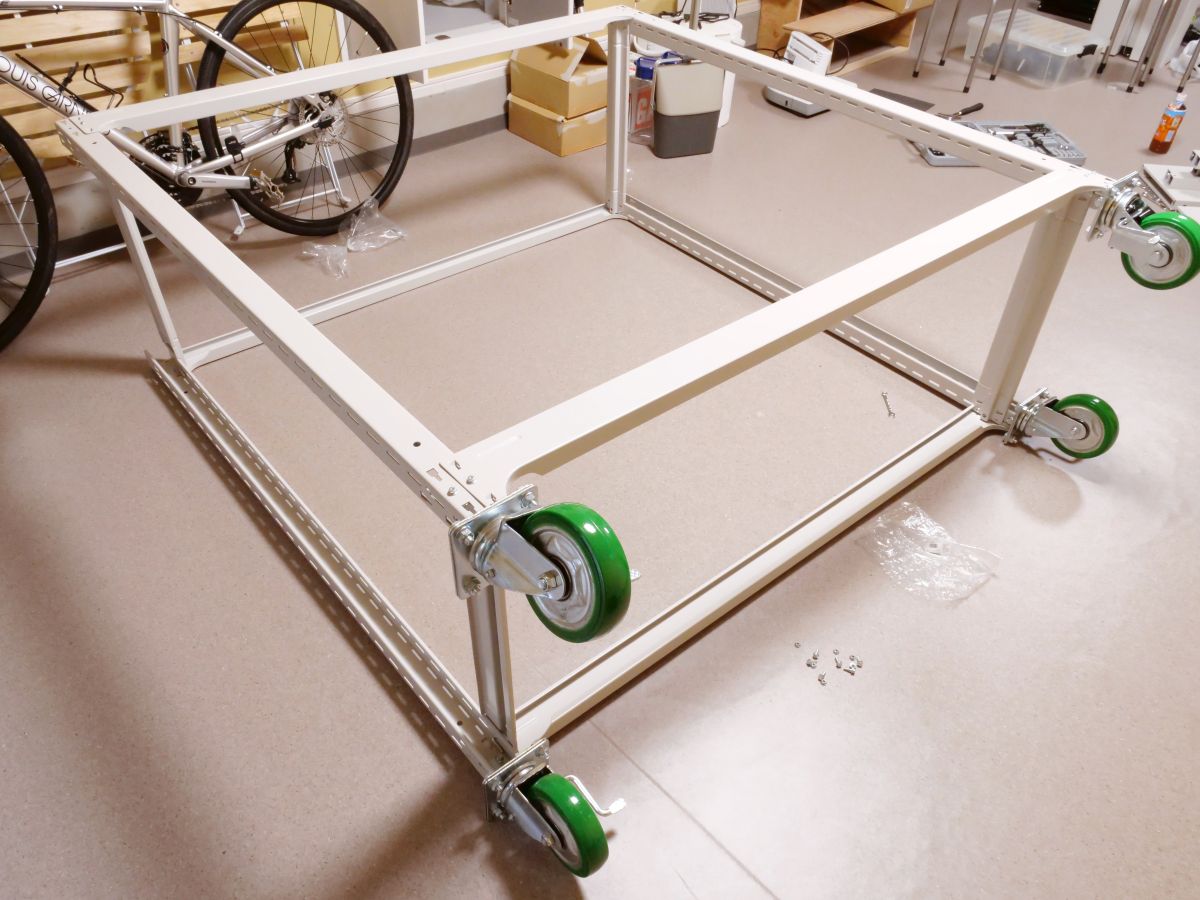
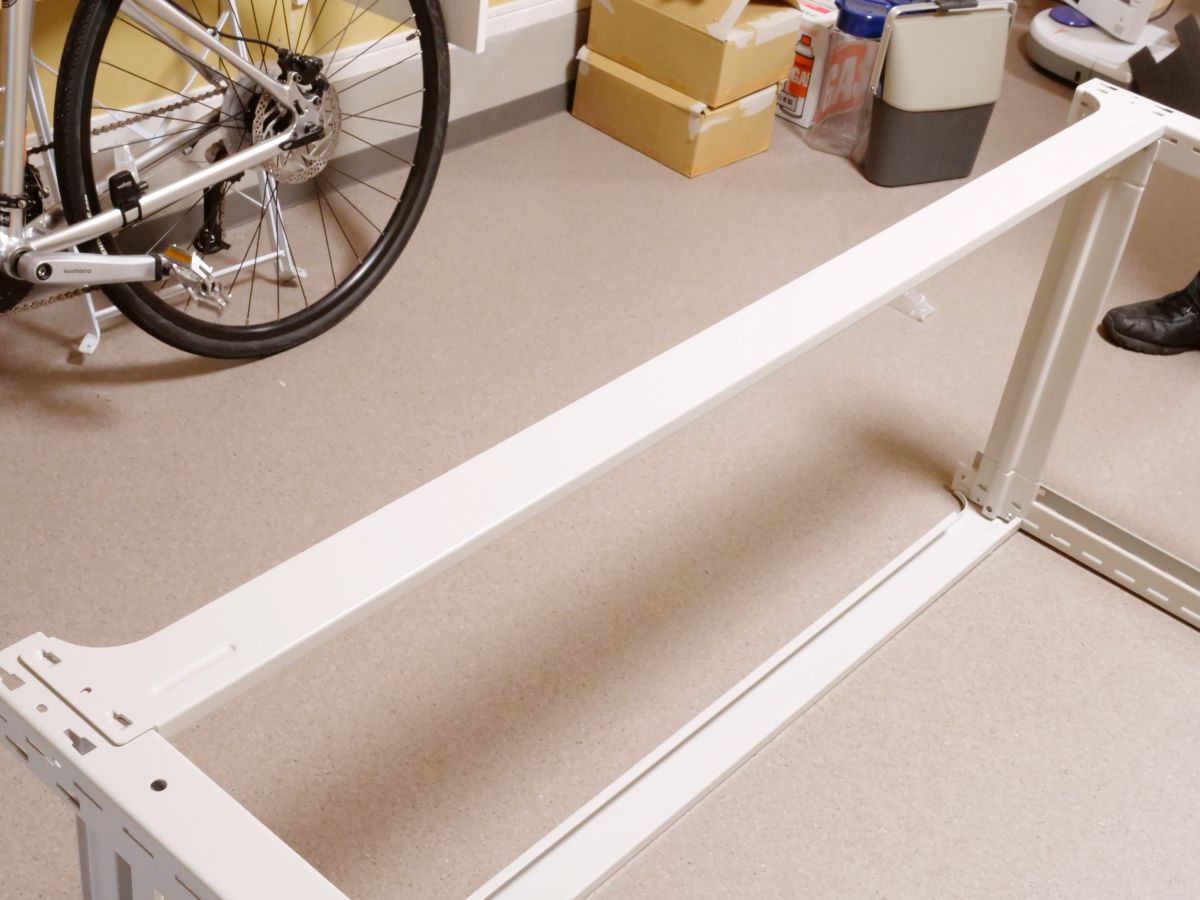
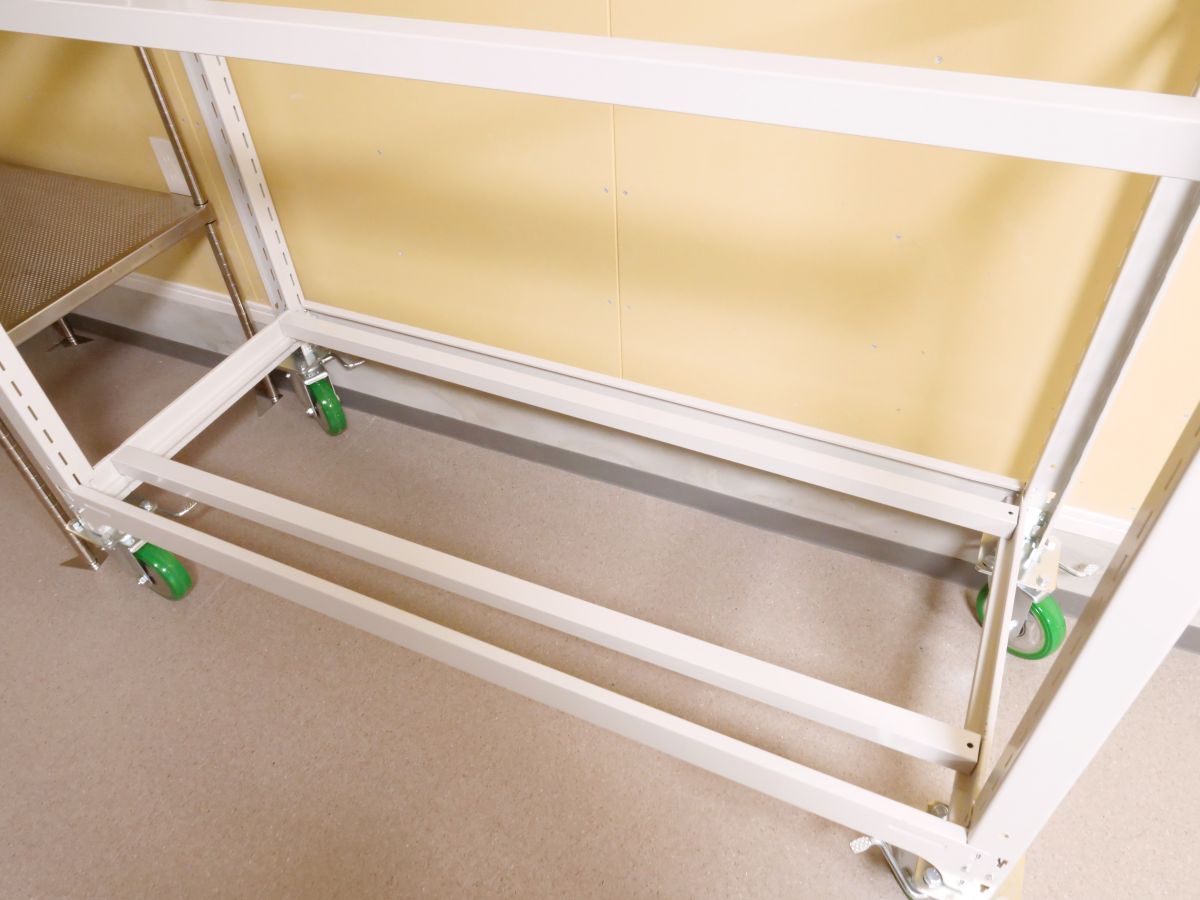
When you start the rack, it looks like this. Also attach to the opposite column.
Then attach the shelves according to the height of the object to be placed on the medium weight rack.
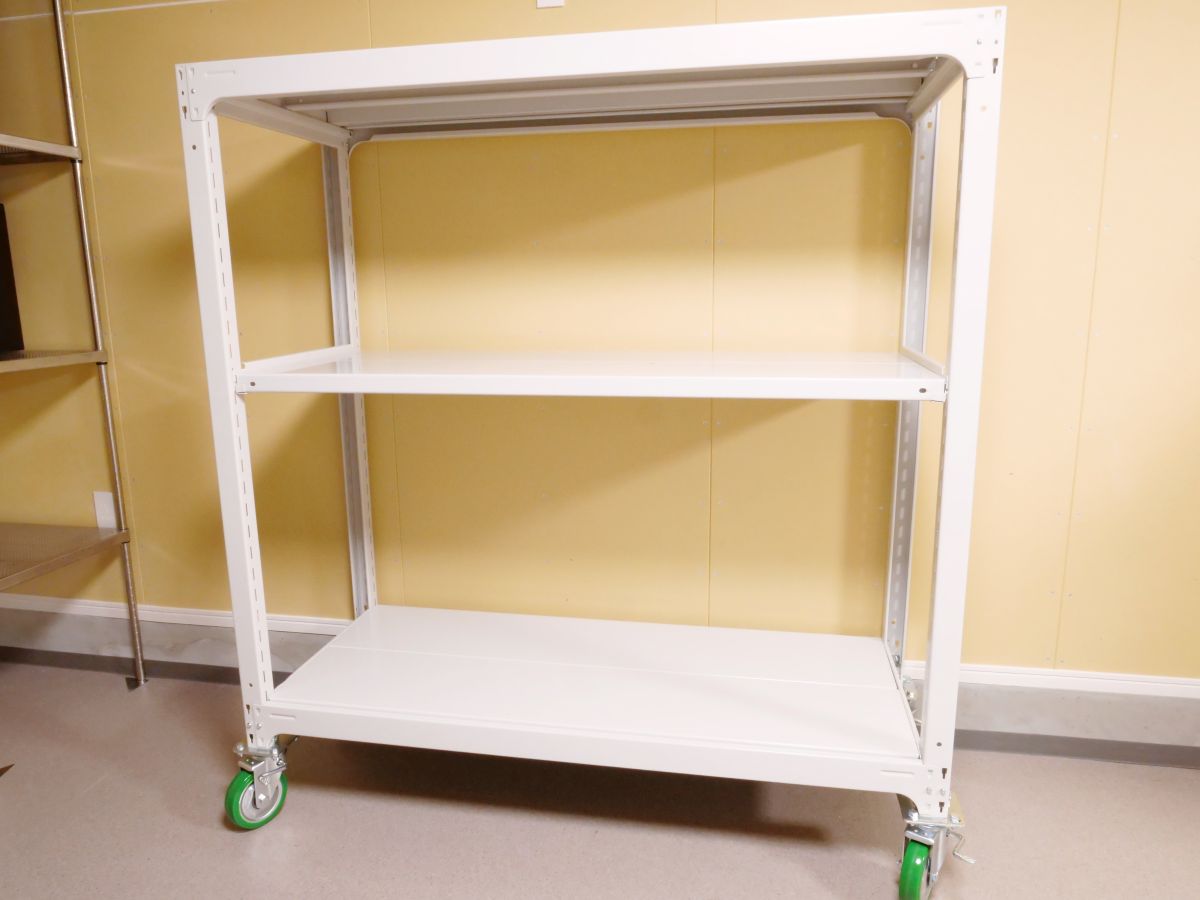
It looks like this when installed.
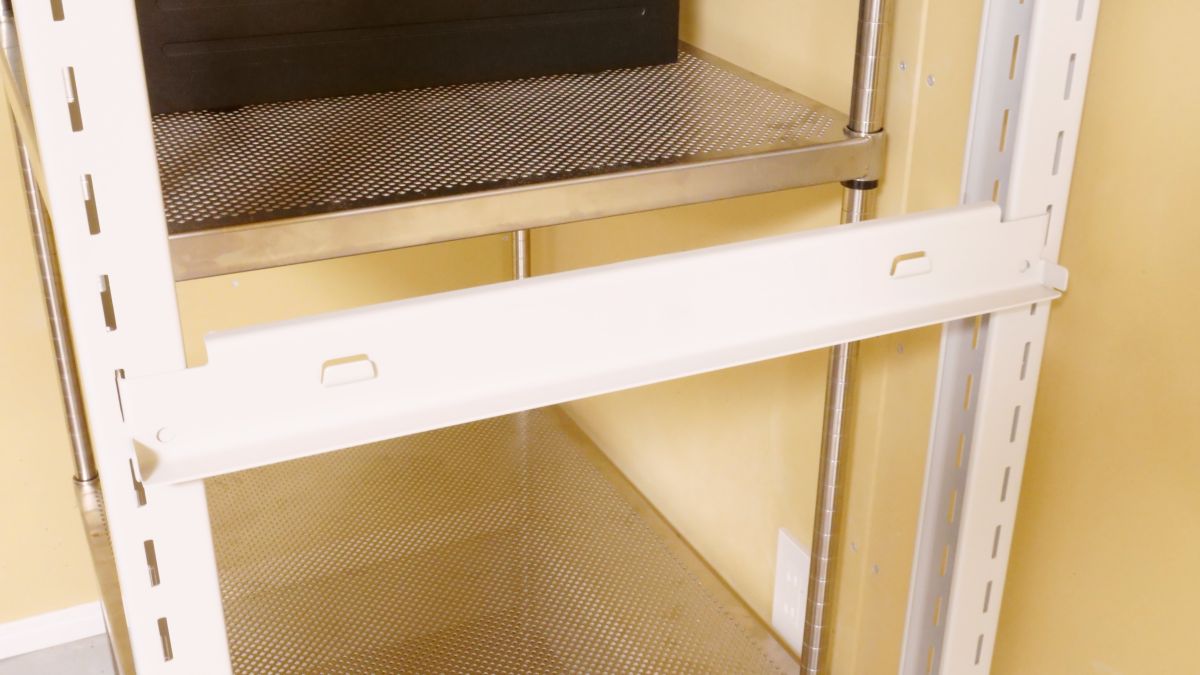
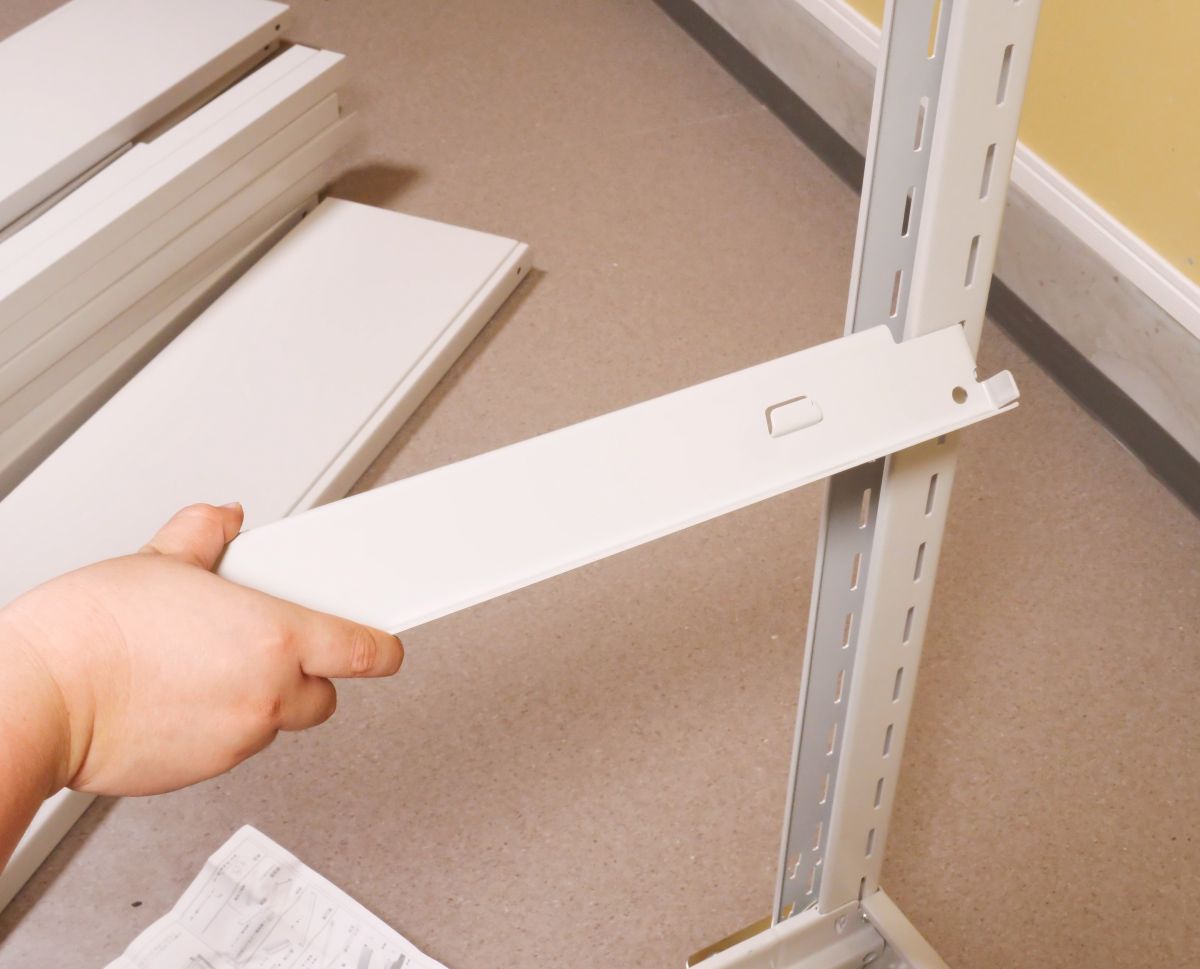
Place a reinforcing bar to increase the strength of the medium-duty rack on the attached shelf holder.
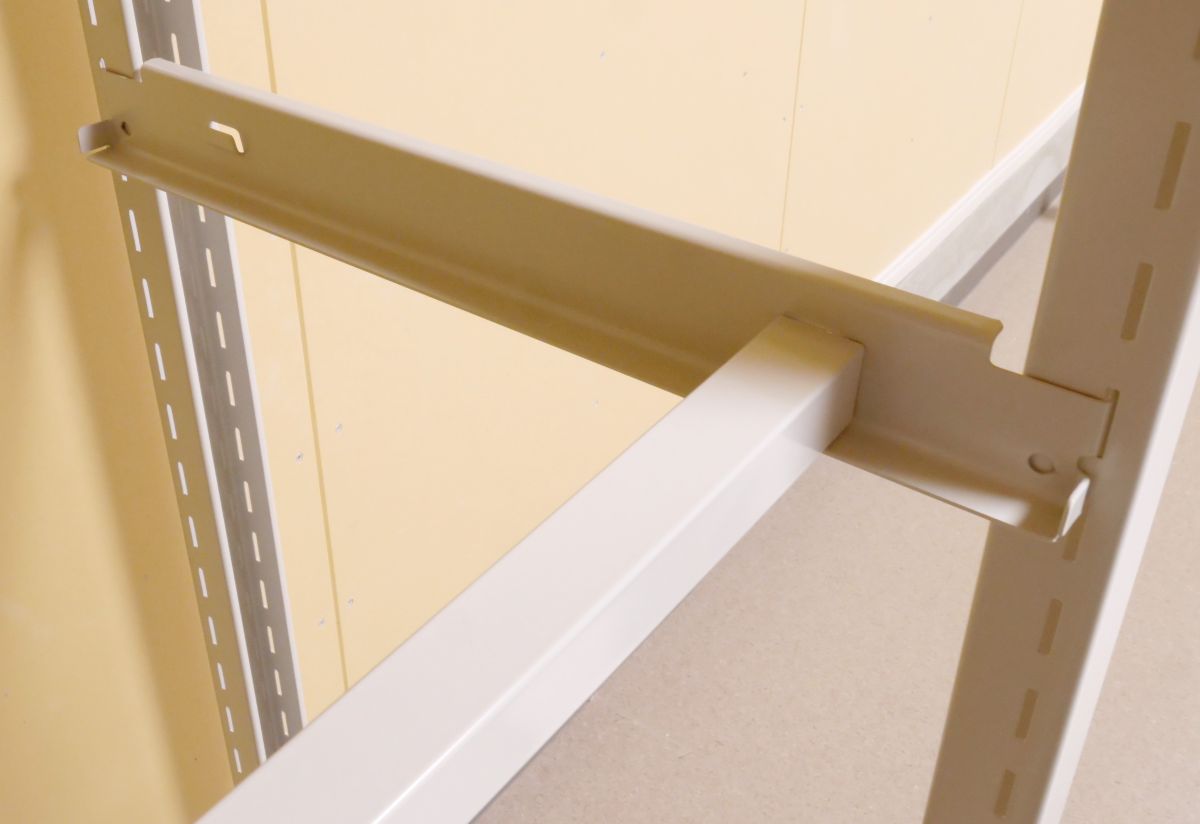
The number of reinforcing bars per stage was 2 for the medium-duty rack purchased this time.
Finally, if you install a shelf board on the reinforcing bar ...
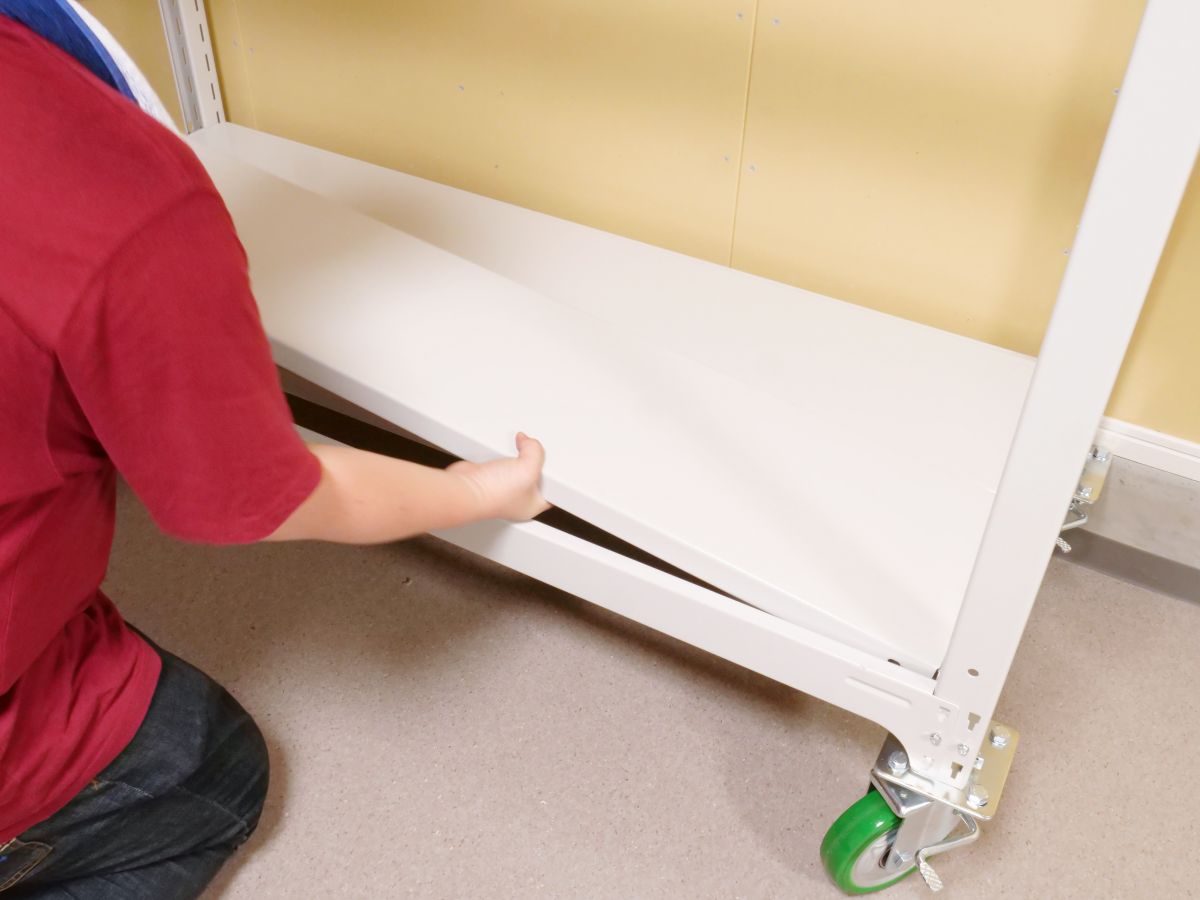
Completion of medium weight rack with casters.
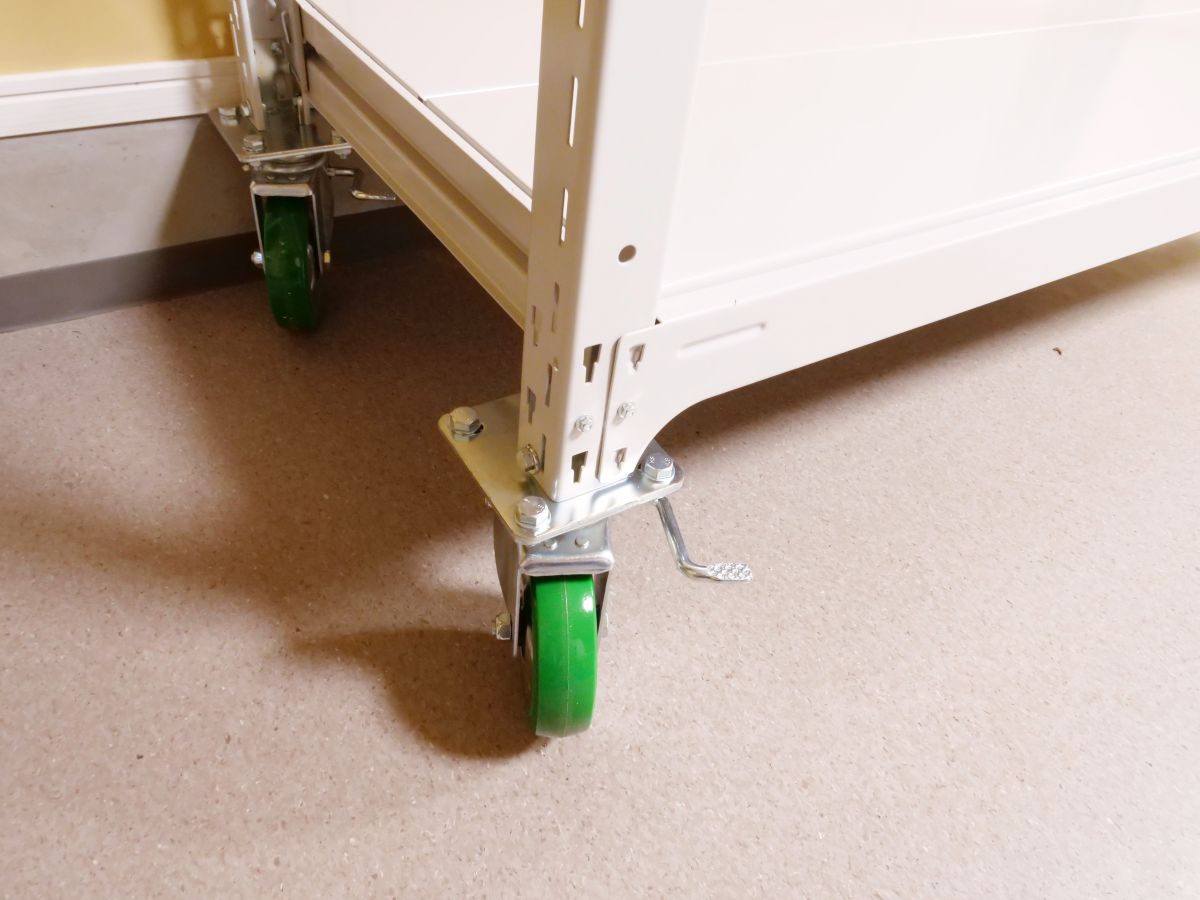
You can lock the wheels by depressing the lever on the caster.
This time, two people worked together, and it took about two hours to assemble. I didn't know how to install the casters and lost time, so if I get used to it, I can assemble it in about an hour.
Related Posts: