I tried using a video chat `` Remo '' that can remotely talk on stage and give a presentation or divide by table and talk

Remo, a video chat service that not only allows you to video chat, but also has a small group of people who can talk in groups and secretly exchange individual chats, is a service that allows you to create a chat room like an event site on the web.
Remo: Live Video Conversations Now Simplified-Remote collaboration has never been so simple.
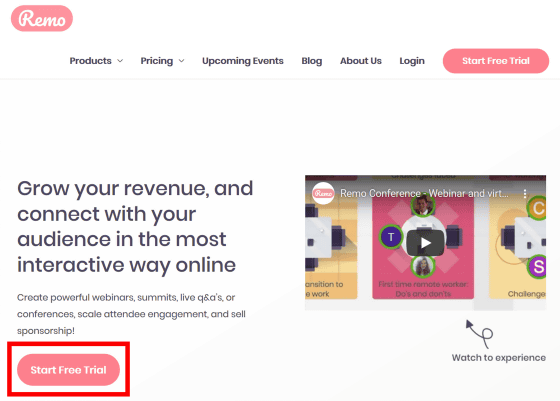
To start using Remo, first click 'Start Free Trial'. Remo is only compatible with Google Chrome, Microsoft Edge, and Safari at the time of article creation.
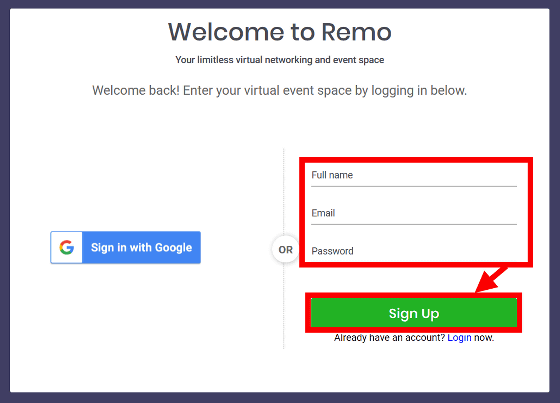
Since the account creation screen is displayed, enter the account name, email address, password and click 'Sign Up'. You can also create an account using your Google account.
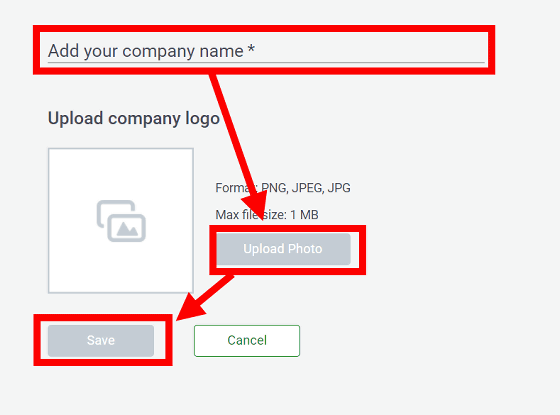
Upload the company name and logo image and click 'Save'. You can skip it by clicking 'Cancel' without entering anything.
Since Remo's top page is displayed, first click 'Create Event' to video chat with someone.

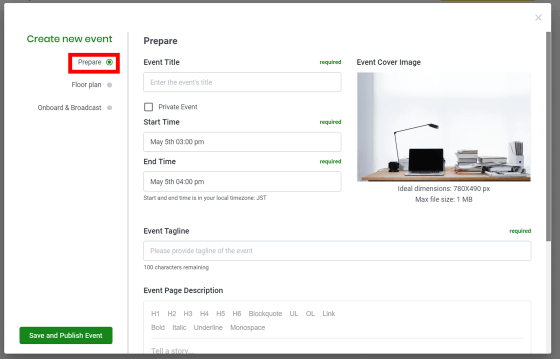
You can set the event from 3 categories, first of all you can enter the title of the event, the start time and end time, and a description of the event in 'Prepare'.
'Floor Plan' allows you to customize the layout and colors of seats at the venue where the event is held, and the position of advertisement display.
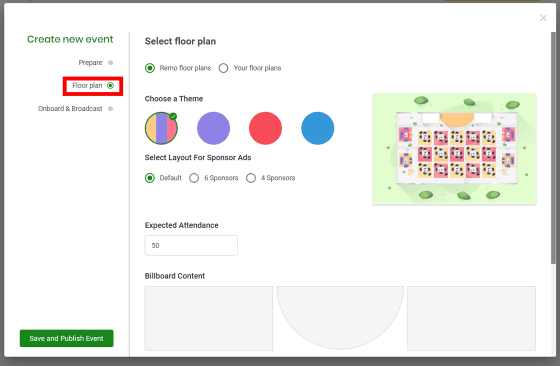
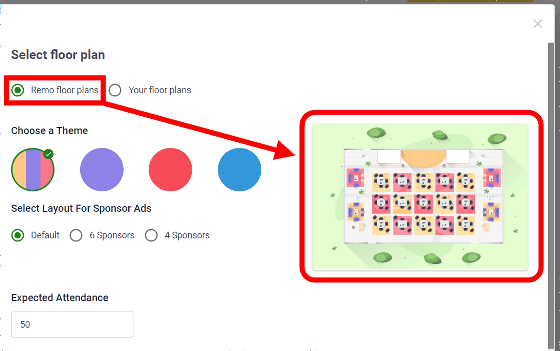
This time, the default 'Remo floor plans' is used. 'Your floor plans' can use images created with Adobe Illustrator or Google Sketch.
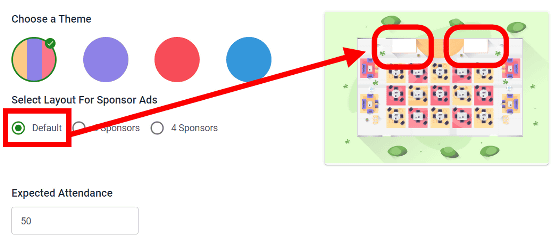
The advertisement display is displayed in the white frame on the right side of the screen. You can also set the number of ads to display, and you can select from Default (2 places), 6 Sponsors (6 places), and 4 Sponsors (4 places).
'Onboard & Broadcast' allows you to edit the message on the landing page that is displayed when participants join the event.
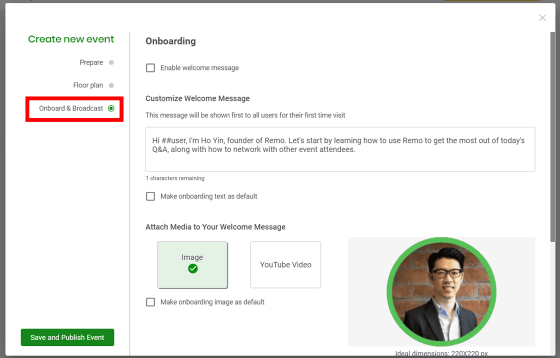
You can also insert images and YouTube movies on the landing page. To insert a movie, select 'YouTube Video' and enter the URL.
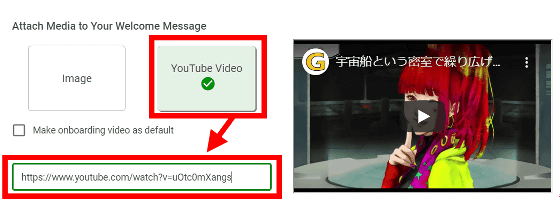
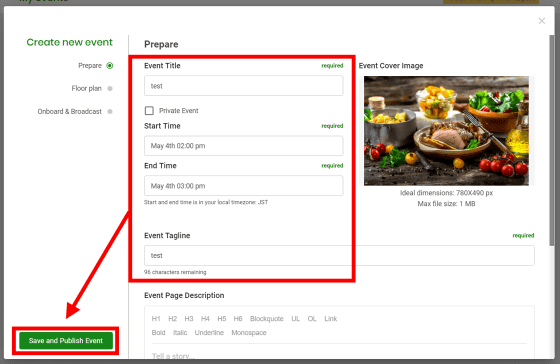
In addition, the minimum required for event creation is Prepare's Event Title (event name), Start Time (start time), End Time (end time), and Event Tagline (description of the event within 100 characters). Enter 4 items and click 'Save and Publish Event' to create an event.
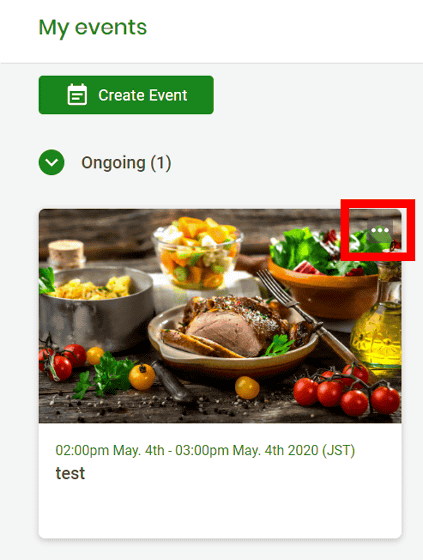
As you move to the event list screen, click '...' in the upper right corner to invite participants ...
Click 'Copy invite URL'.
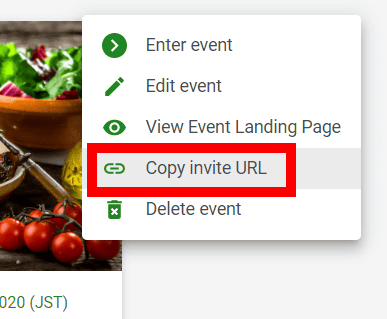
You can participate in the event by telling the participant the URL of the event via e-mail and having them access it. In addition, the invited participants must create a Remo account to participate in the Remo event.

The event is divided into multiple tables as shown below.
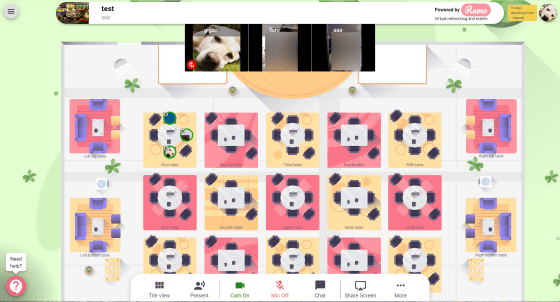
For example, First table video chat cannot be seen or heard from Second table.
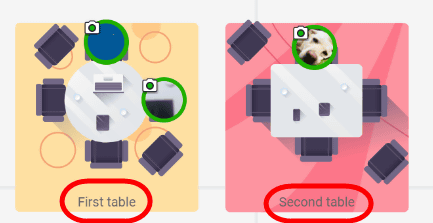
The video chat for each table is shown below.
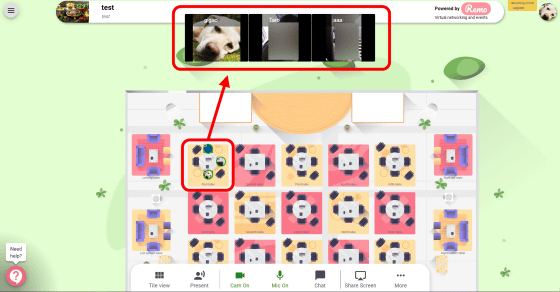
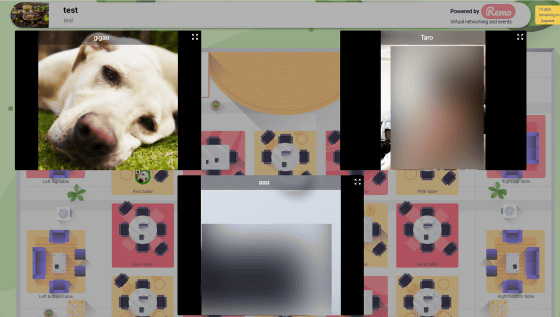
By clicking 'Tile view' from the menu at the bottom of the screen, you can enlarge the video of each participant.
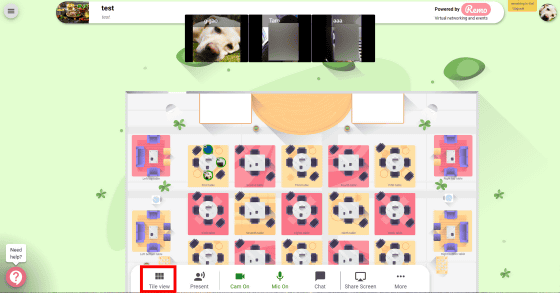
In the Tile view, the camera image of each table is displayed in a large size.
Participants on stage, not at the table, can use 'Present,' which allows them to speak to all participants, regardless of the table. To use Present, do you double-click on the stage to move to the stage?
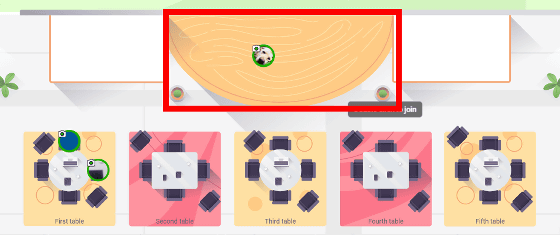
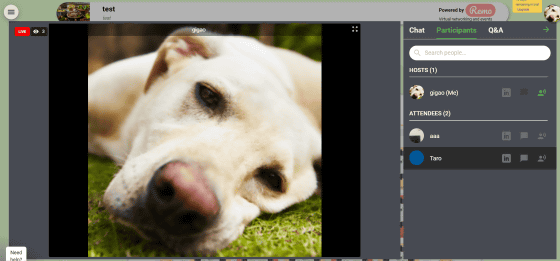
You can use Present mode by clicking 'Present' at the bottom of the screen.

With Present, only participants present on the stage can speak. Other participants can talk only by chat.
Chat is possible in 'Chat'. 'General Chat' allows you to chat with all participants, and 'Table Chat' allows you to chat only with the people at the table you are in. 'PRIVATE CHAT' allows you to chat with each participant individually, one-on-one, and you can have a private conversation with other participants.
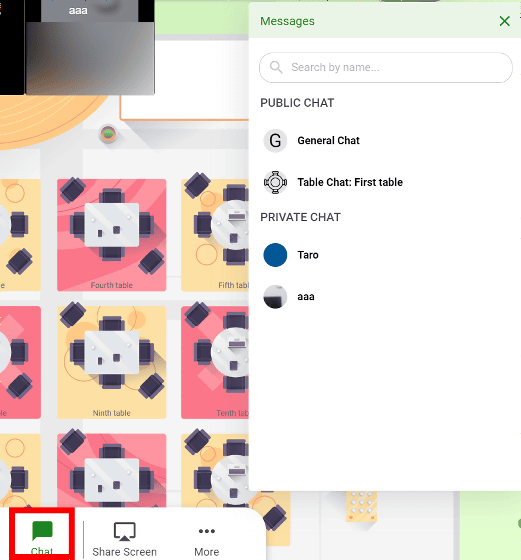
The chat screen is displayed in a window separate from the camera image.
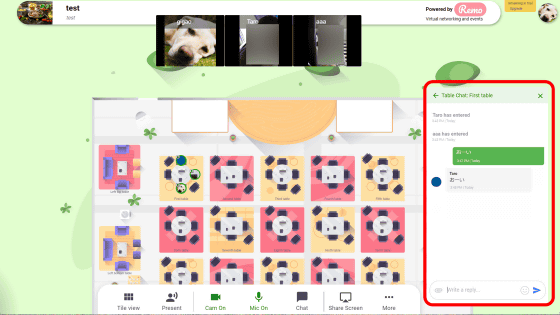
'Share Screen' allows you to share your browser view with participants. For example, if you want to share Google Chrome tab, click 'Share Screen' and select 'Chrome tab'.
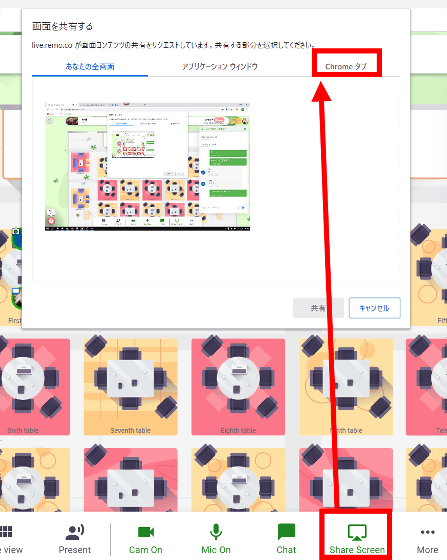
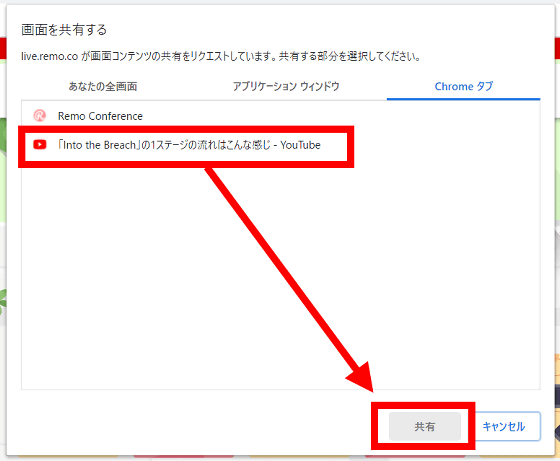
Select the tab you want to share and click 'Share'.
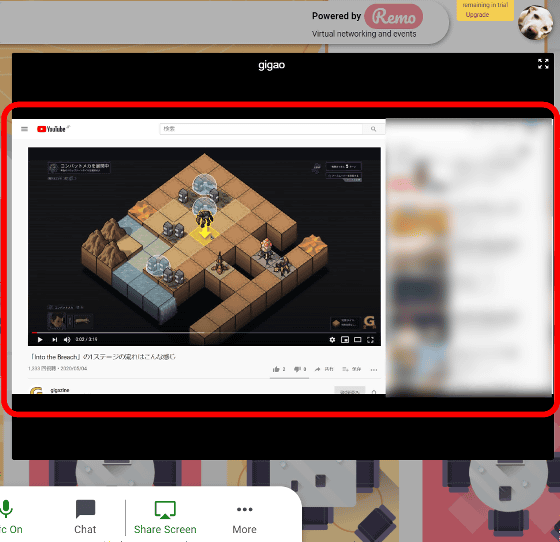
The shared screen will be displayed as follows. Movies can also be played.
The Announcement, available only to the organizer, can send a message to everyone, regardless of table. Select 'Announcement' from 'More' to use.
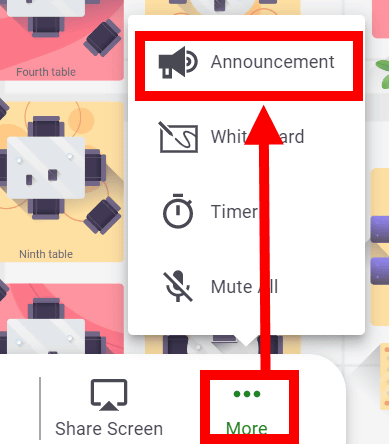
For example, if you enter 'Tetsuto' and click 'Annouonce Now' ...
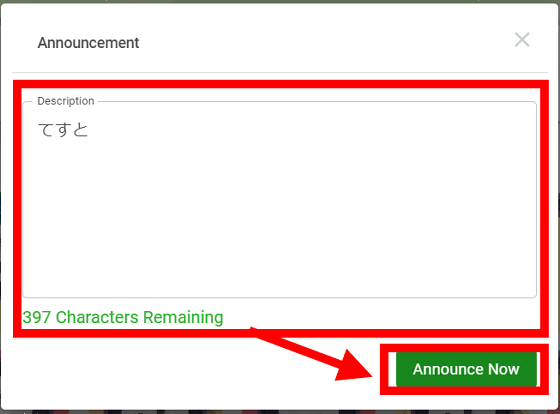
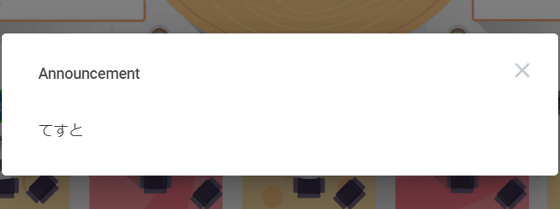
A dialog similar to the one below will be displayed to all participants. It can be used to inform that the end time of the event is near, or to promote the replacement of members at each table.
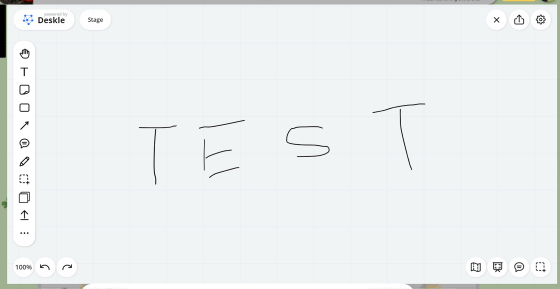
Select 'Whiteboard' from 'More' to use a whiteboard that can be shared for each table.
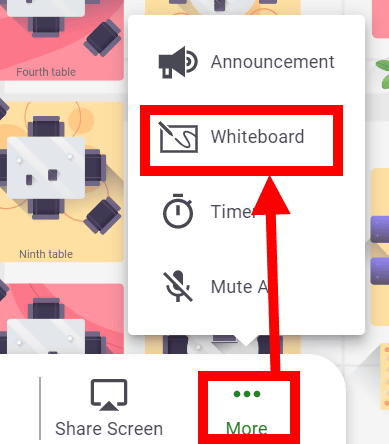
The content drawn on the whiteboard is not deleted even if all the participants leave the table, and the content is saved until the event end time.
'Timer' is a function that can be used only by the organizer. 'Number of networking session' can set the number of times to repeat the countdown, 'Each networking duration' can set the time limit, and 'Buffer between each session' can set the interval. With the following contents, you can set a 10-minute countdown that repeats a total of 6 times, and you can set a 1-minute interval between the end of the countdown and the start of the countdown.
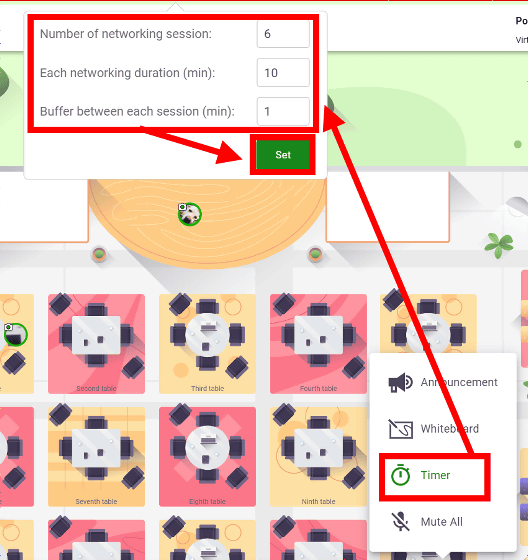
The timer is displayed at the top of the organizer's screen, and the countdown starts by pressing the play button.

Three minutes before the end time set when the event was created, a dialog box asking whether to extend the event for 30 minutes will be displayed in the browser of the host that created the event. You can extend the event for an additional 30 minutes by clicking 'Extend Event'.

At the time of writing the article, it worked smoothly from desktop PCs and laptops, but when I participated in the event from a smartphone or tablet, the operation might be a little heavy, such as audio and movie delays. With a chat feature, it's easy to attend an event with or without a camera or microphone.
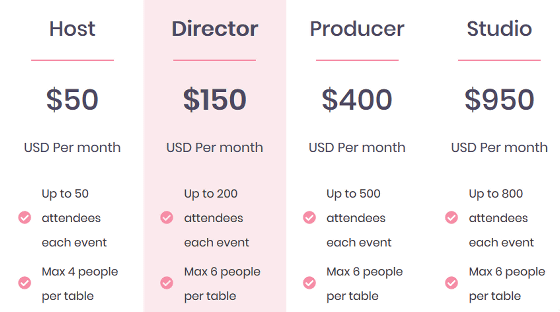
Since Remo is a paid service, it is free for 14 days from account registration, and after that it is available from $ 50 per month (about 5300 yen).
Remo Conference Pricing-Remo.co Virtual Events and Office space
Related Posts:
in Web Service, Review, Posted by darkhorse_log


