Free presentation creation · Live distribution · Smaho operation etc. I tried using "Slides" which was overwhelmingly multi-functional so as to eliminate power
In addition to being able to create presentation materials for free, you can not only create a presentation material as a slideshow live on a browser, use a smartphone as a remote control for slide operation, embed slide material in a web page, and share it as a presentation tool Unexpected multifunctionality is "Slides"is.
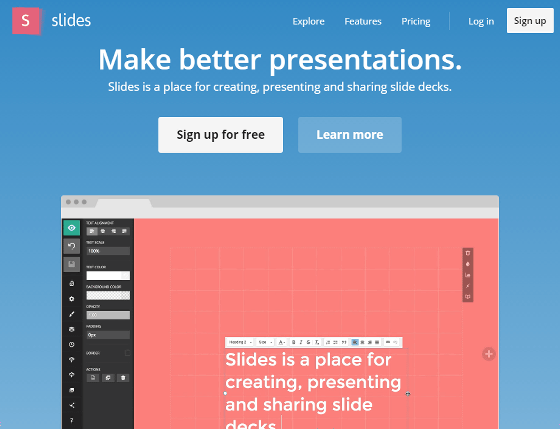
Slides - Create and share presentations online
https://slides.com/
◆ Account Registration
To use Slides you first need to register your account. Click "Sign up for free" on the above site.

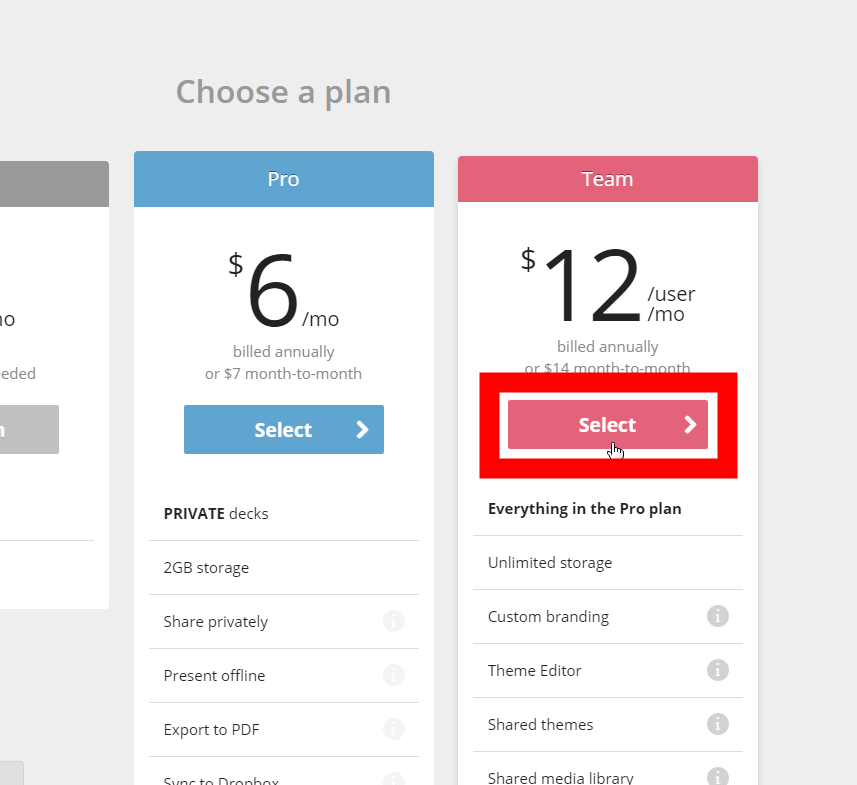
The difference between the free version and the paid version will be explained. In the free version, the storage capacity of the presentation material called "deck" is limited to 250 MB,The deck you created will be made public. On the other hand, in a paid version of $ 6 per month (about 680 yen) or $ 12 (about 1400 yen), decks can be created in private private mode, and PDF output is supported.
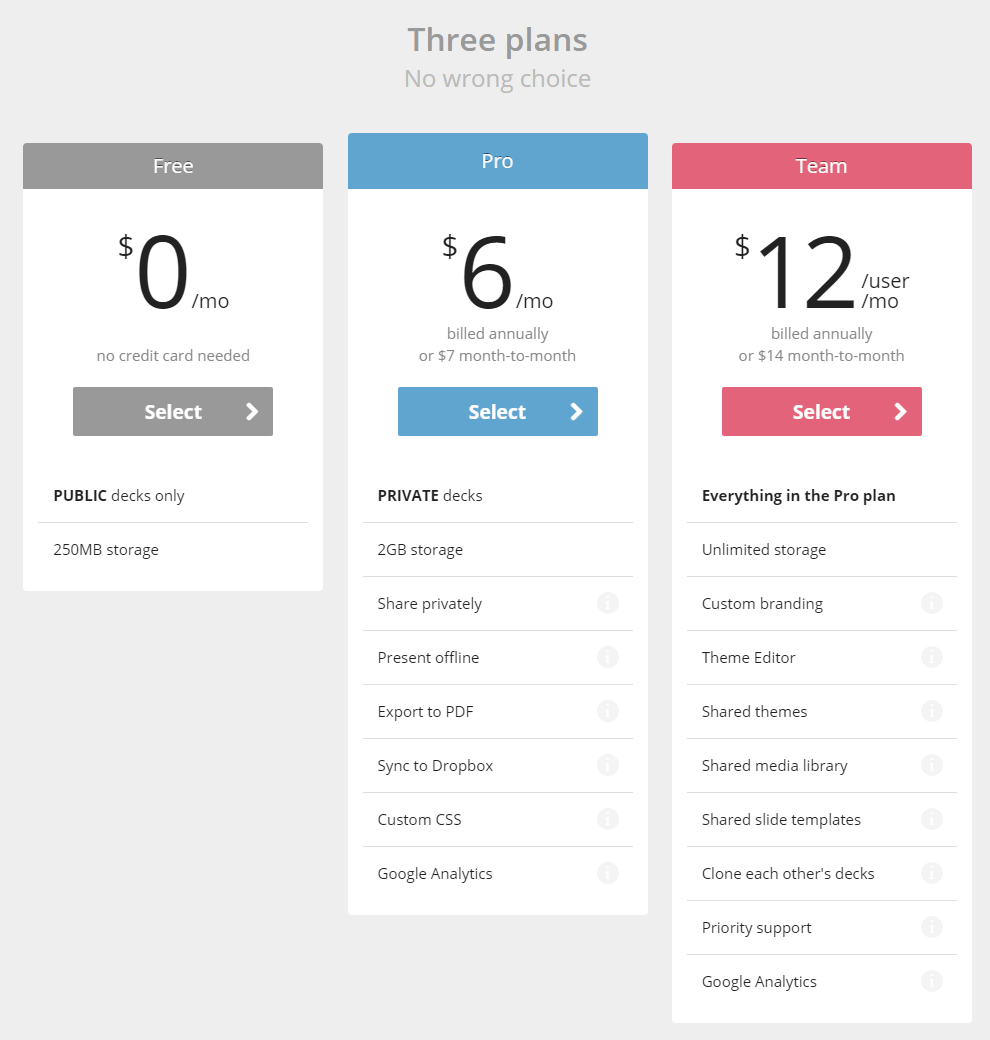
To use the free version, click "Select" of "Free".

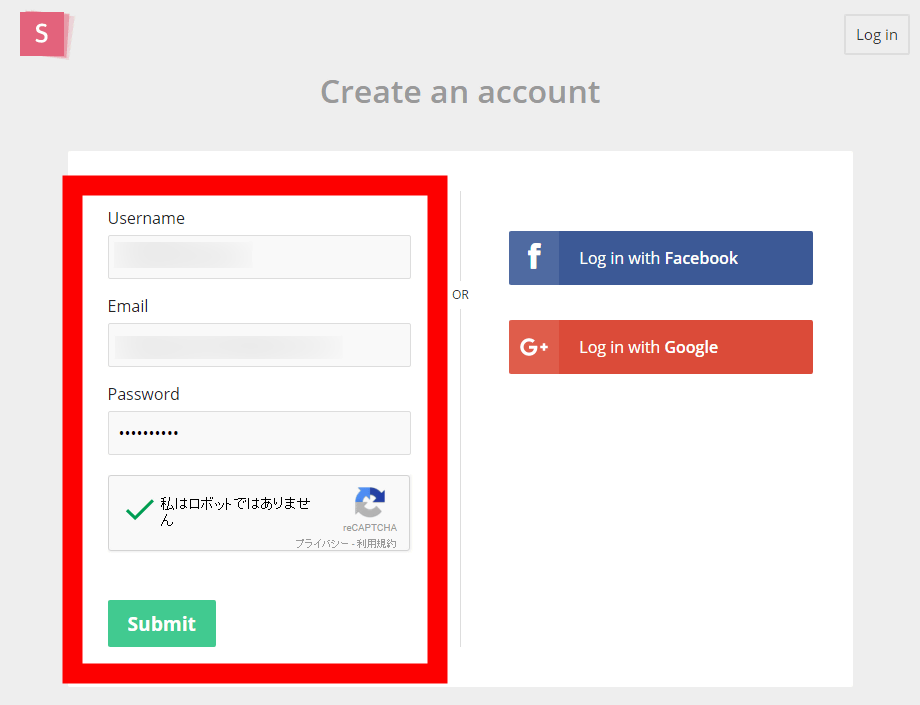
Enter the account information to register and click "Submit". You can also authenticate with your Facebook account or Google Account.
◆ Creation of "deck" for presentation
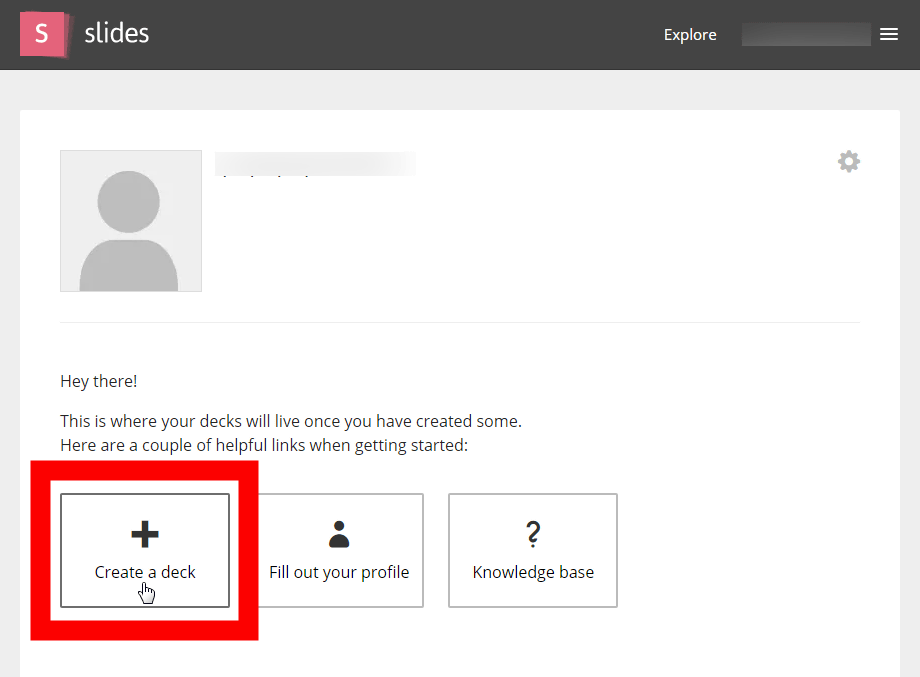
Once you have created your account, click "Create a deck" to create a presentation material.
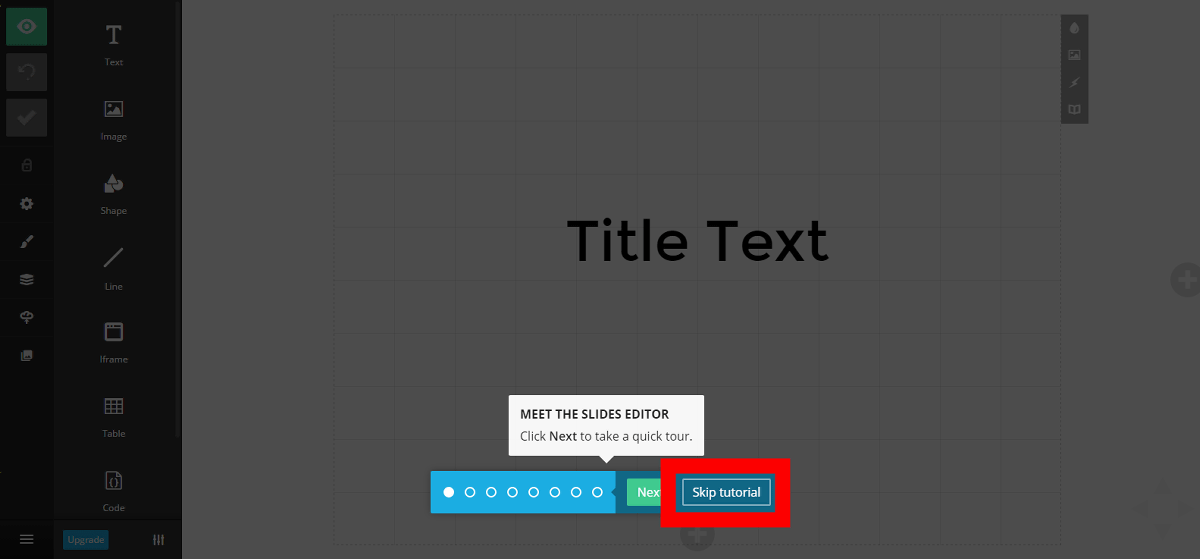
The tutorial starts at the first start. If you want to skip the tutorial, click "Skip tutorial" OK.
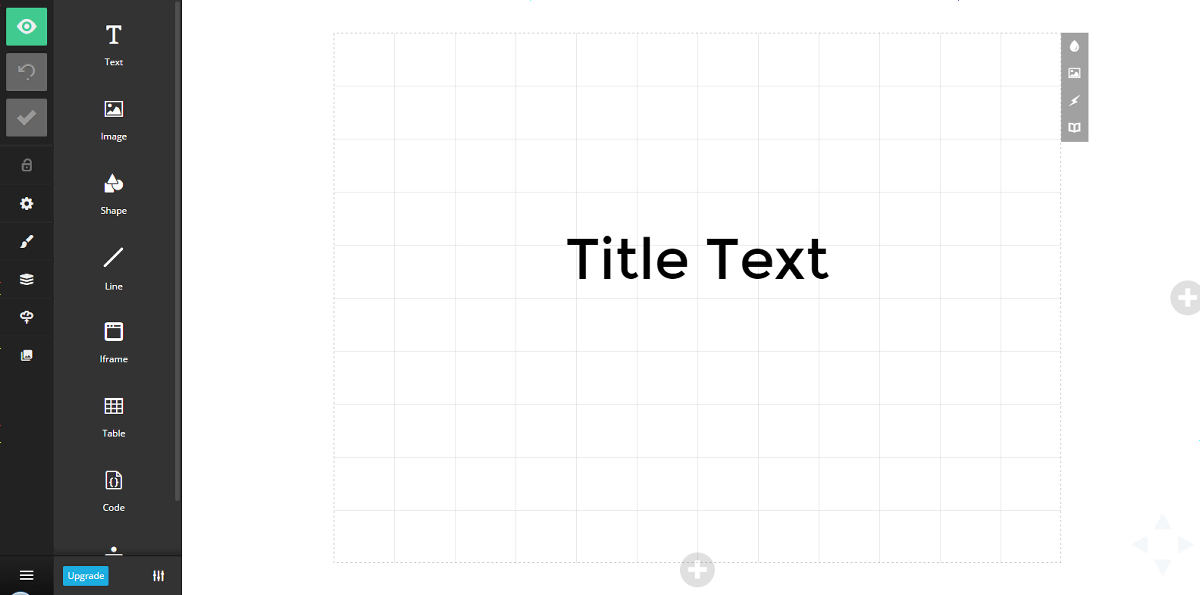
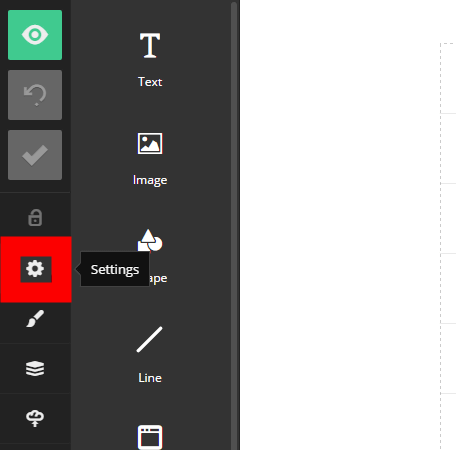
The deck creating screen looks something like this. Choose the work from the buttons in the left pane and make a concrete presentation slide in the right pane.
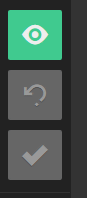
The left pane, in order from the top, "Preview slide" "Redo" "Save" button.
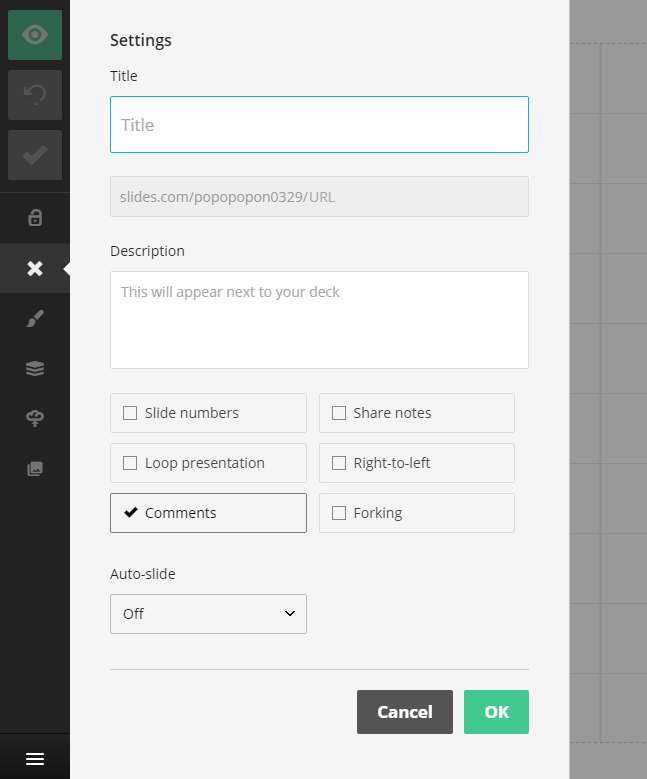
Click "Setting" icon ......
You can record the title, description, etc. of the presentation material.
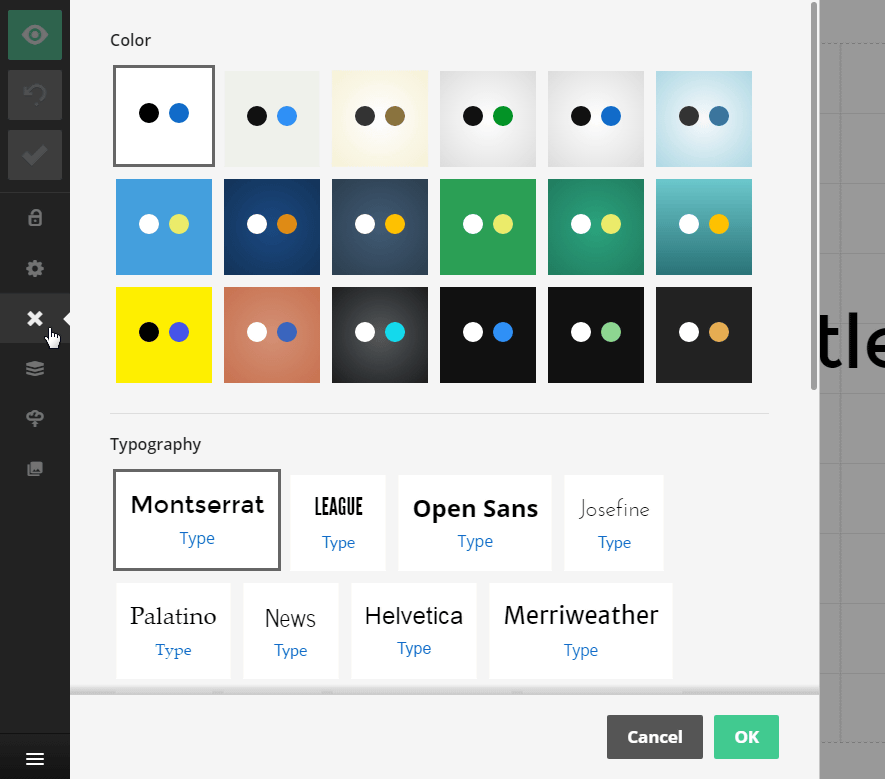
It is also possible to change the color and font of the whole page of the slide all at once.
·Character input
Operation buttons for entering text and images are arranged in the second row from the left.
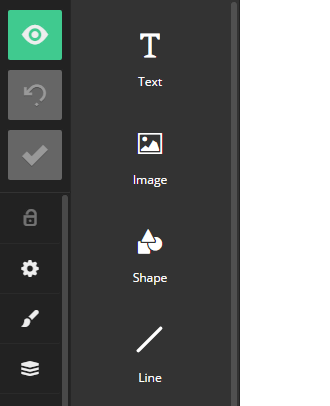
If you want to input text, if you throw the "Text" button by dragging and dropping it into the slide ......
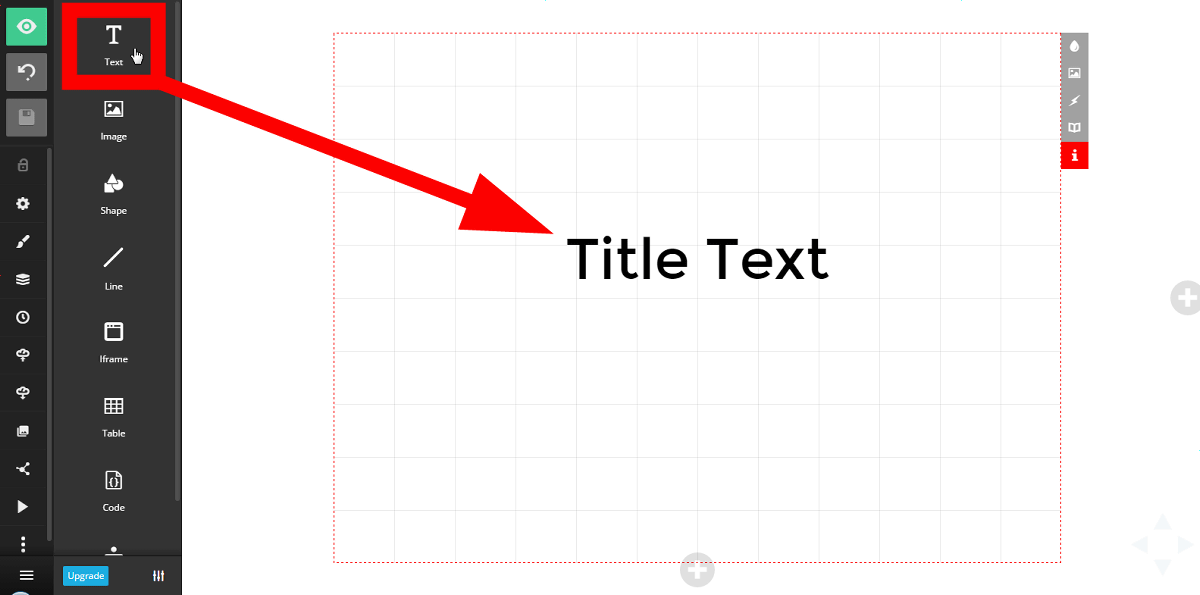
A text box appears and you can enter letters.
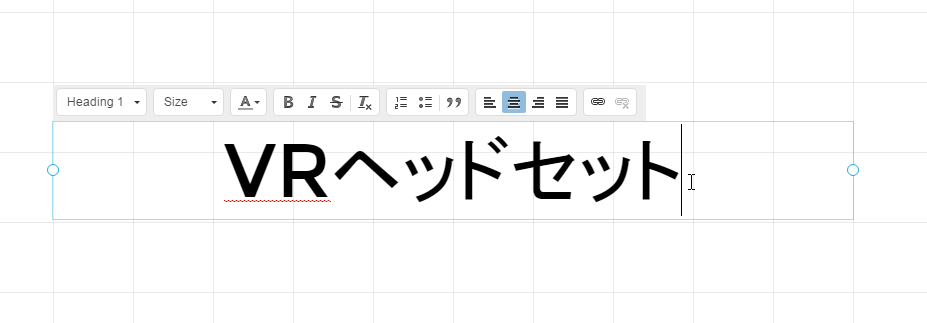
In the text entry state, detailed setting tools related to character input are displayed in the left pane, so you can change the alignment, character spacing, background color and so on.
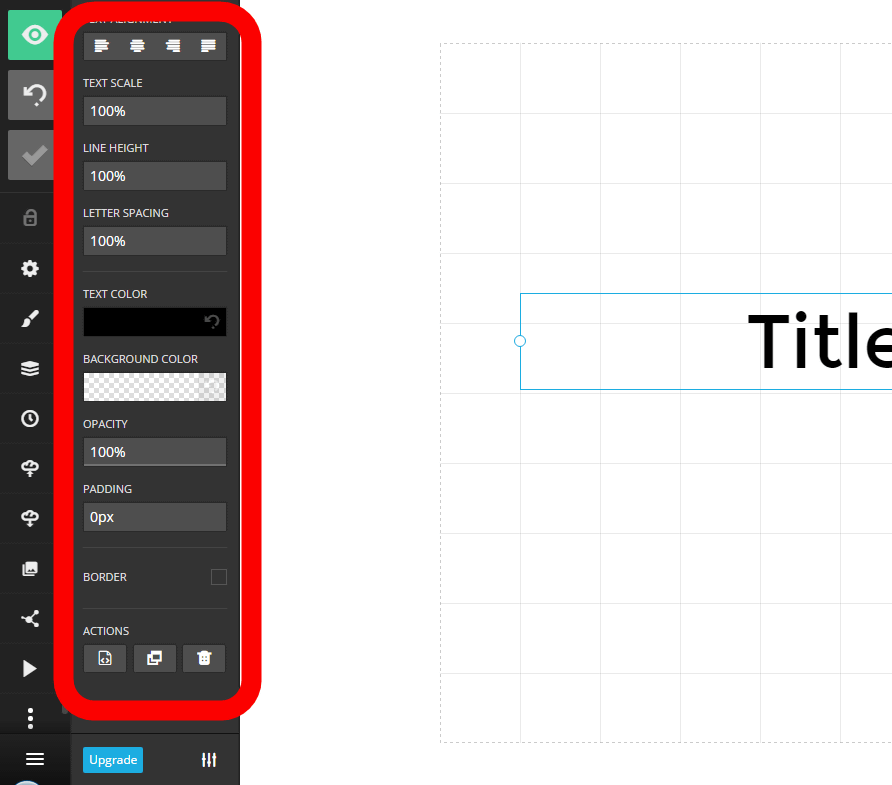
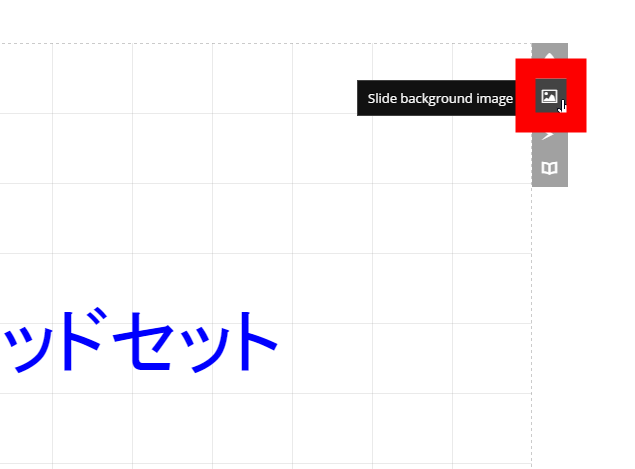
You can also change the color of letters with the icon on the upper right of the screen.

· Background setting
You can also attach a background to the slide.
· Media library function
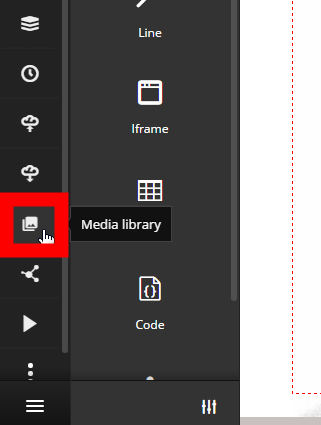
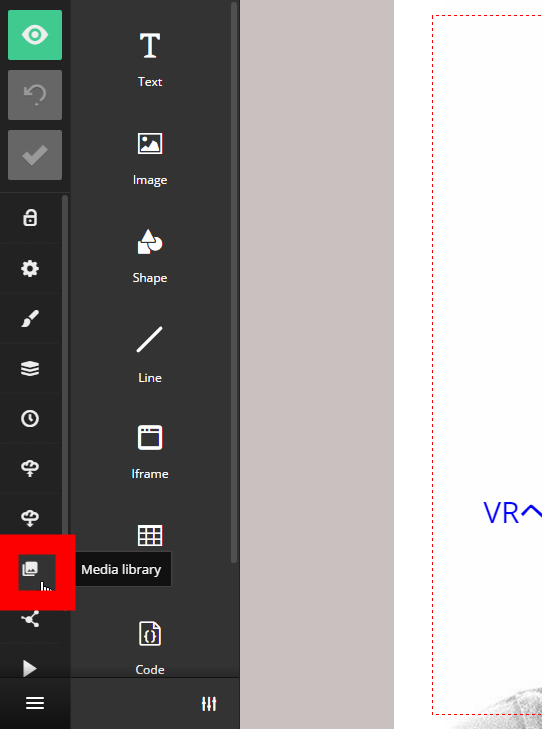
Slides allows you to store images in the library. Click the "Media library" icon.
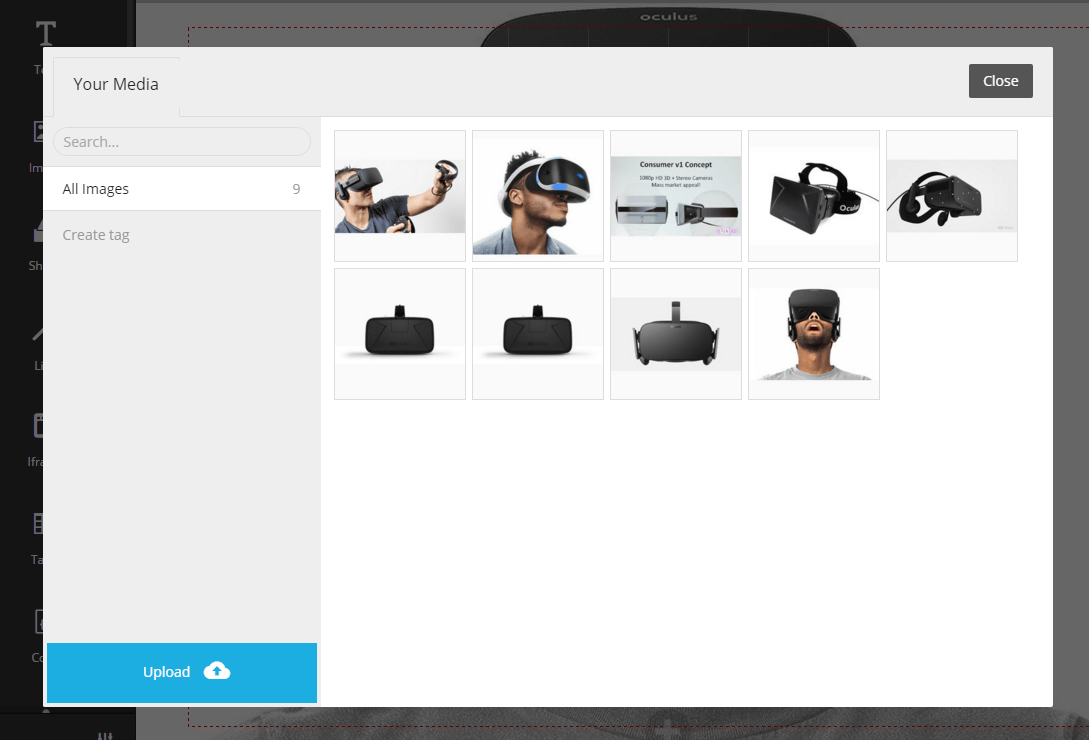
Click "Upload" button and upload the image you want to save OK. Images saved in the media library are displayed in a grid with thumbnails.
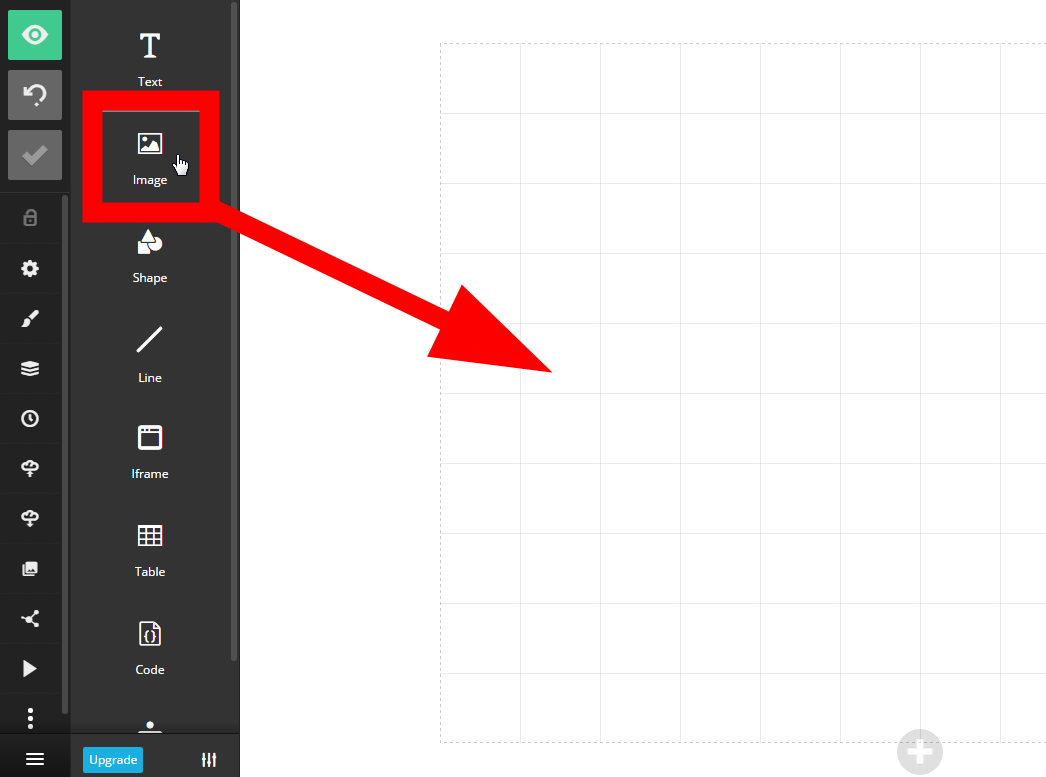
· Add images
To create images, tables, etc., just drag and drop the control button in the second row from the left into the slide OK. If you want to add an image, drag and drop "Image".
Since image icon appears, double click and designate image of media library ......

The image is placed on the page.
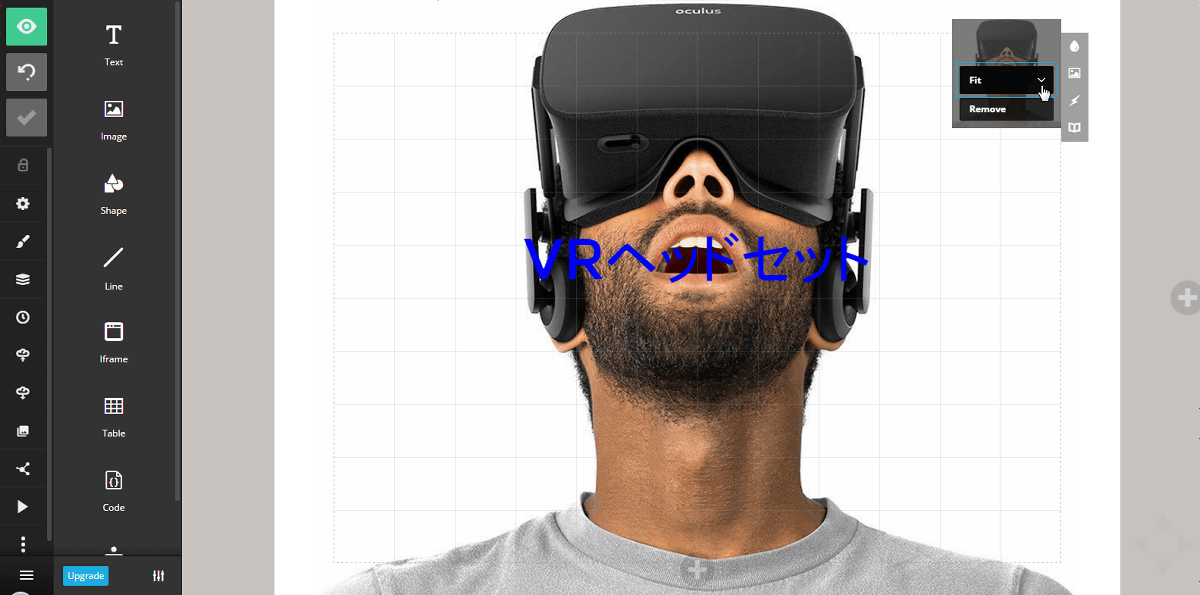
Of course you can change the position freely by dragging and dropping text and images.

You can freely change the size by selecting the text box and dragging the edges.

· Add slide
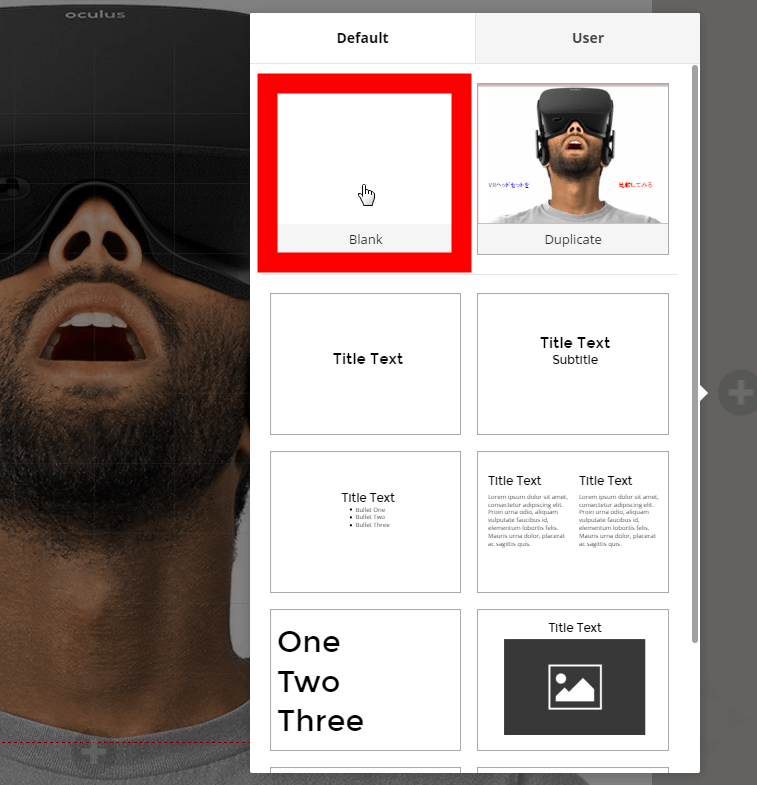
To add a slide, click the "+" button outside the page ... ...

The template is displayed. If you want to add a blank slide, click "Blank" and it is OK.
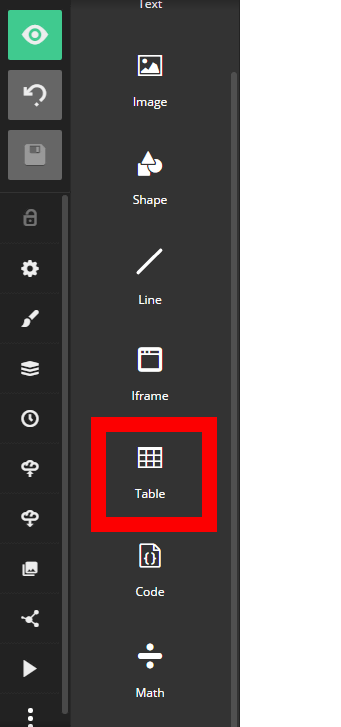
· Add table
It is also possible to add a table in "Table".
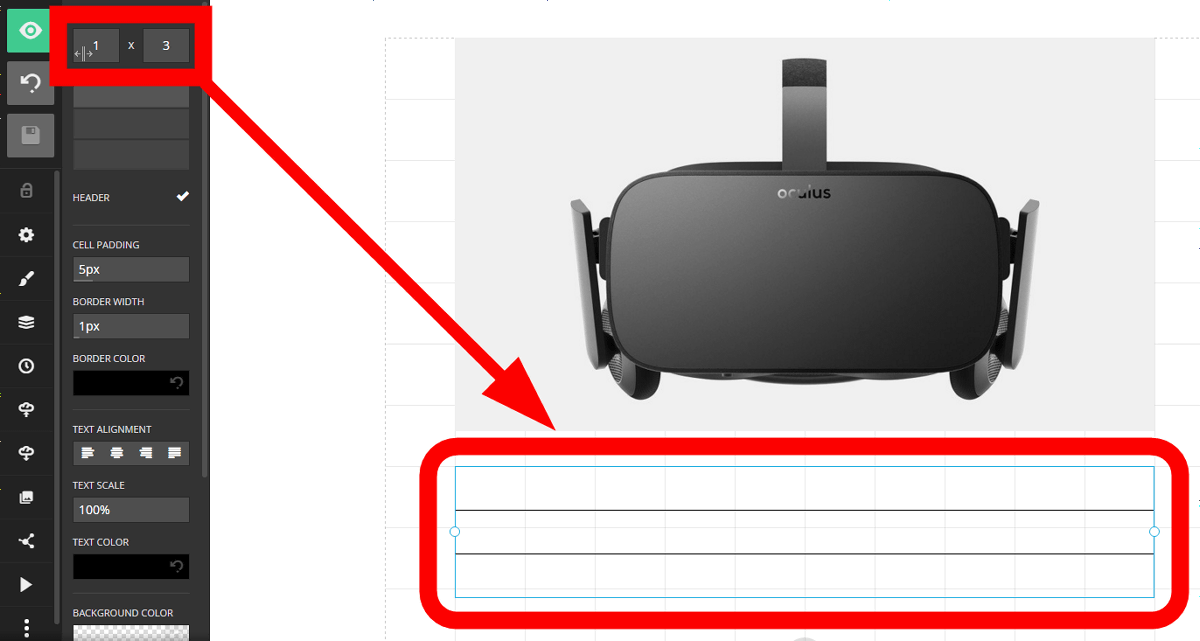
By moving the numerical part of "COLUMNS (column)" and "ROWS (line)" left and right, it is possible to change the number of columns and rows of the table.
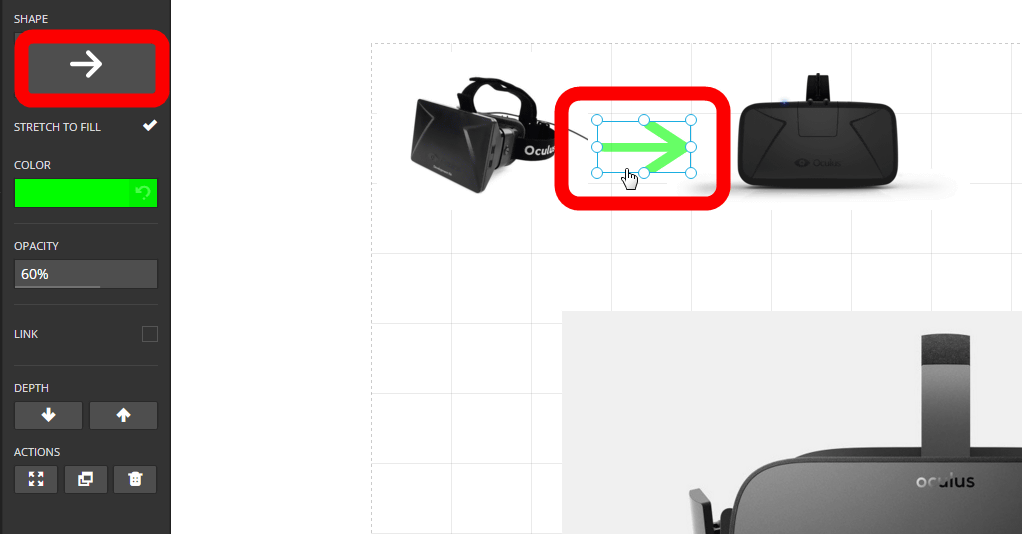
· Add figure
In "Shape" ...
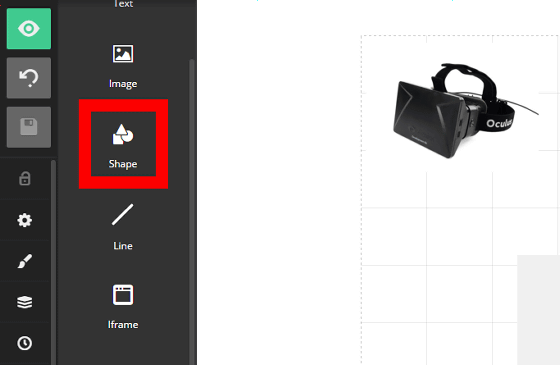
You can insert various shapes.
· Add a slide in the vertical direction
The difference between Slides and other presentation creation software is that you can place the slide up, down, left, and right. If you click "+" at the bottom of the page ... ...
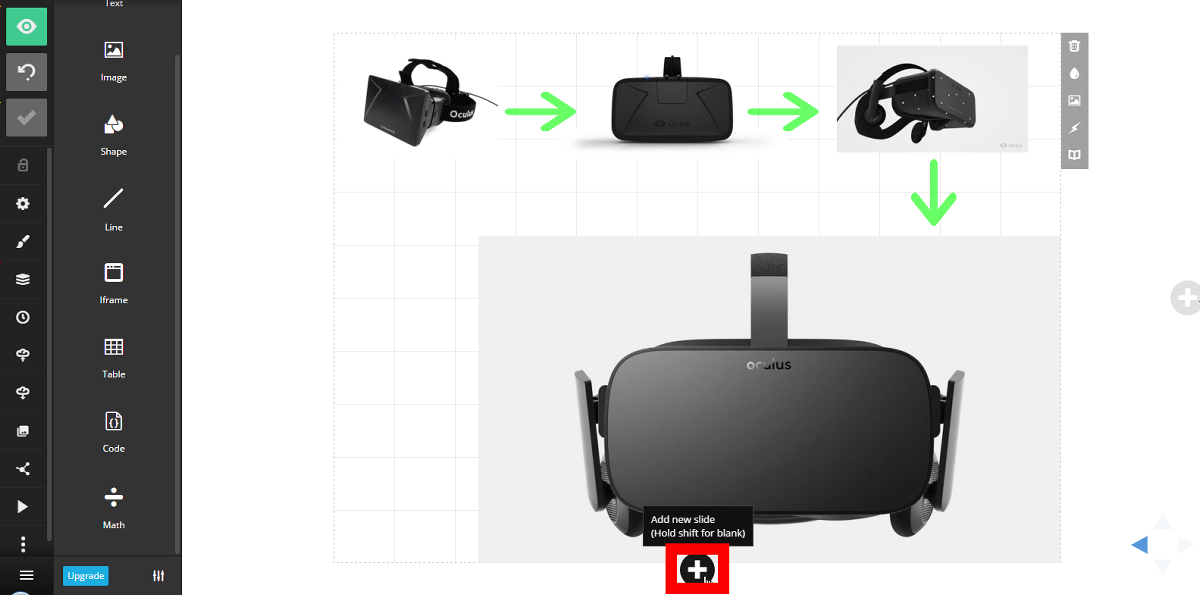
It is also possible to add a slide downward like this.

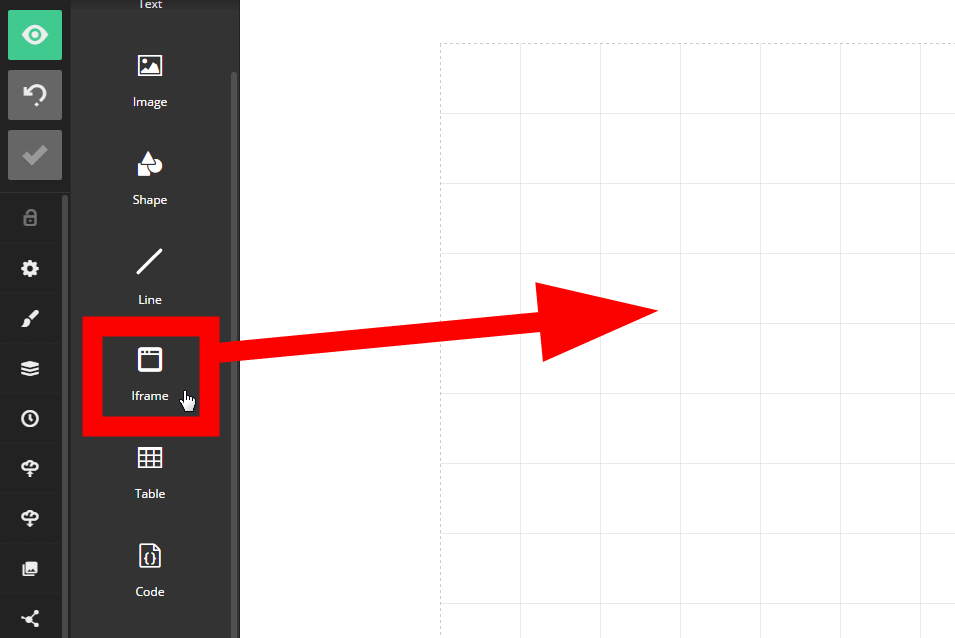
· Movie embedding
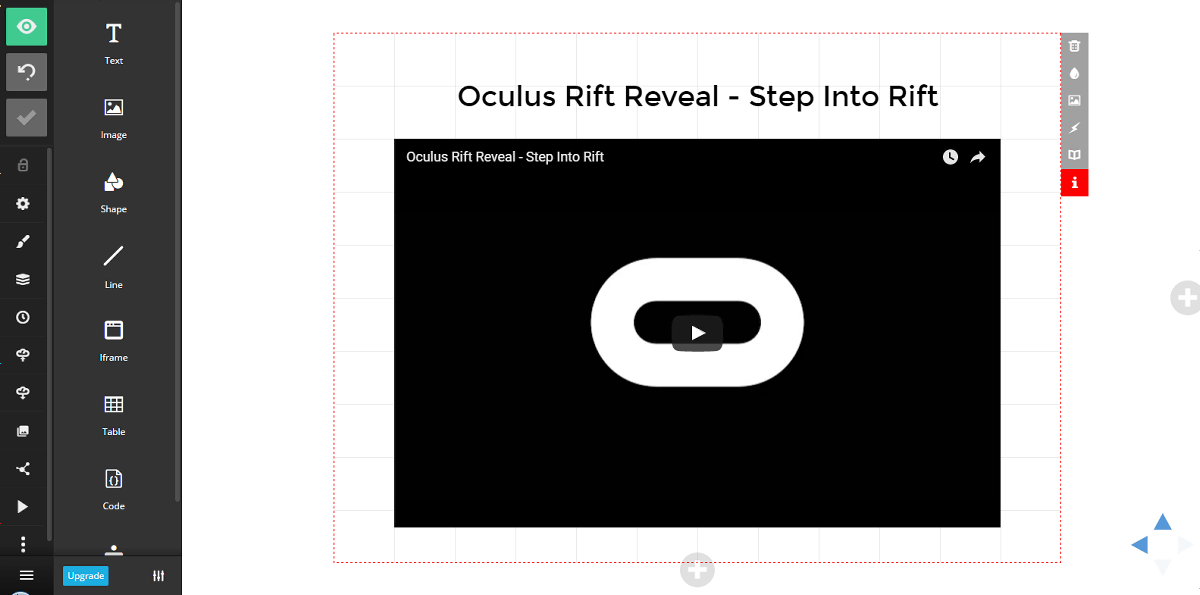
It is also possible to embed movies corresponding to iframe tags. Drag and drop "iFrame" onto the slide ... ....
Double-click the "iFrame" icon that appears.
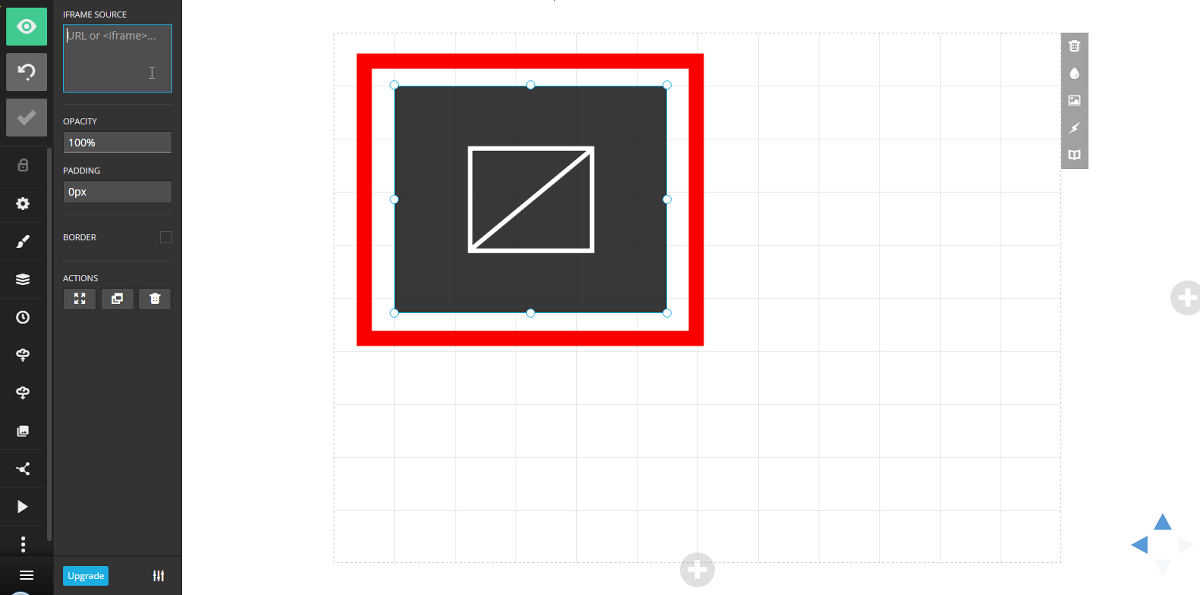
If you enter the URL for Iframe such as YouTube or Vimeo into the "IFRAME SOURCE" on the left, the movie will be embedded.
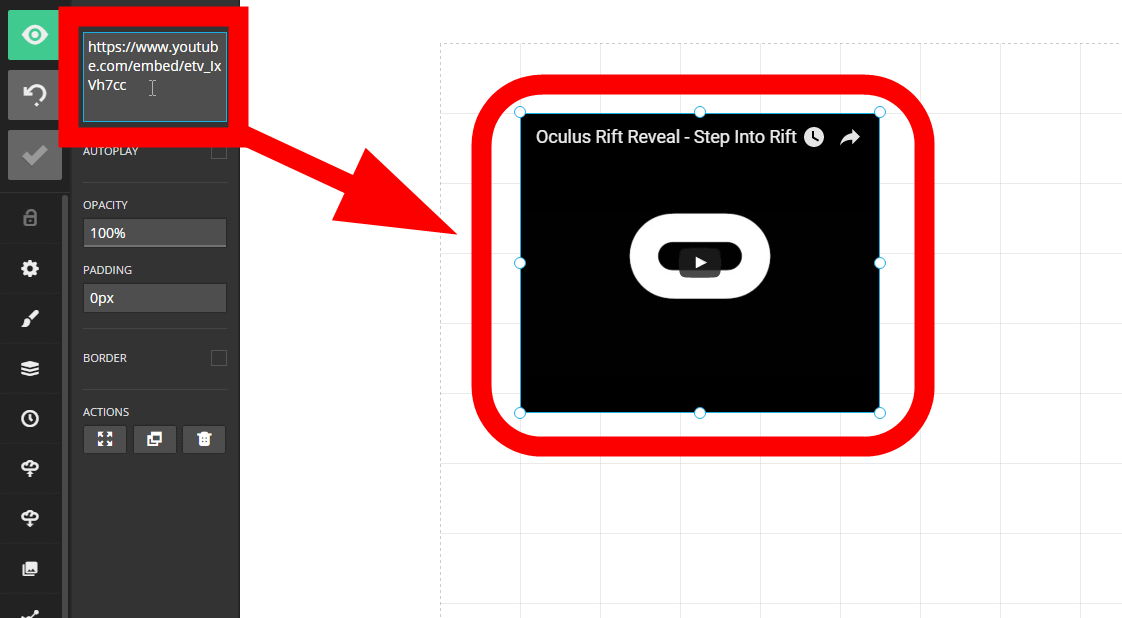
The size and arrangement of the movie is free.
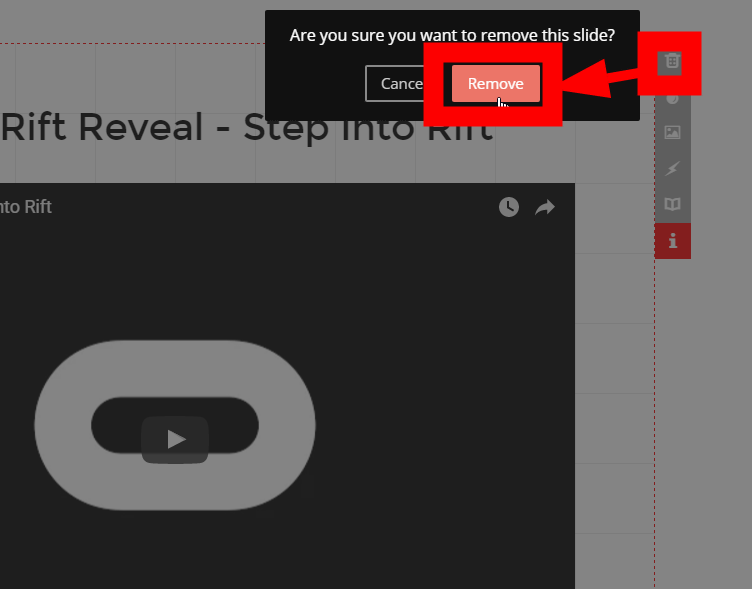
· Slide erase
To delete the slide, click "Trash" → "Remove" at the top right of the screen and it is OK.
· Change slide arrangement
Click the "Arange slides" icon ......
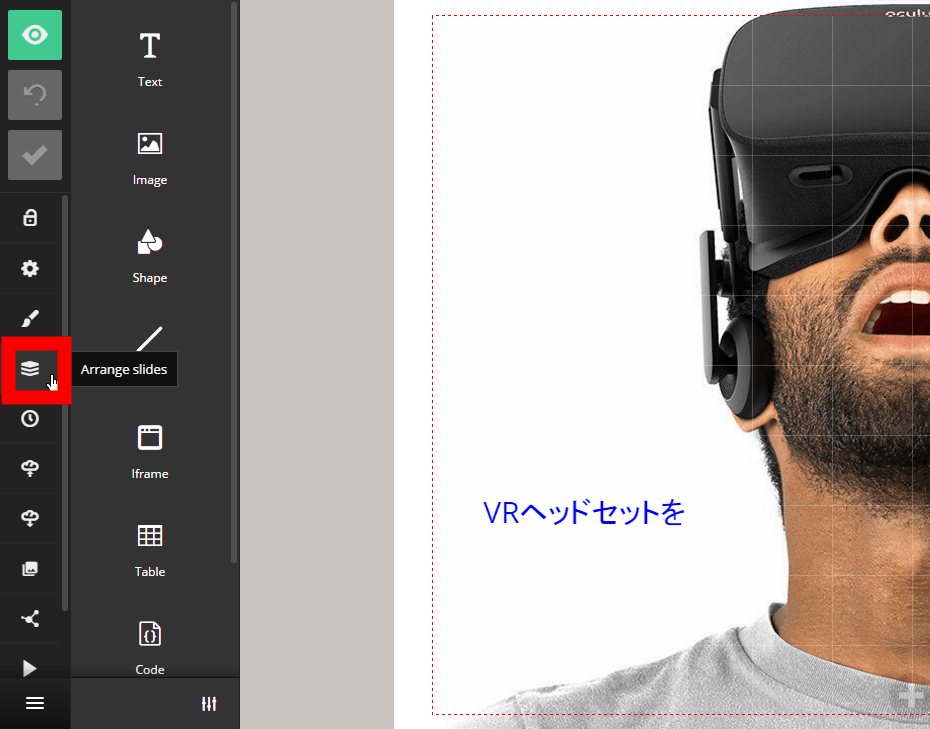
You can easily change the order of slides by moving the slide thumbnails that appear in the right pane.
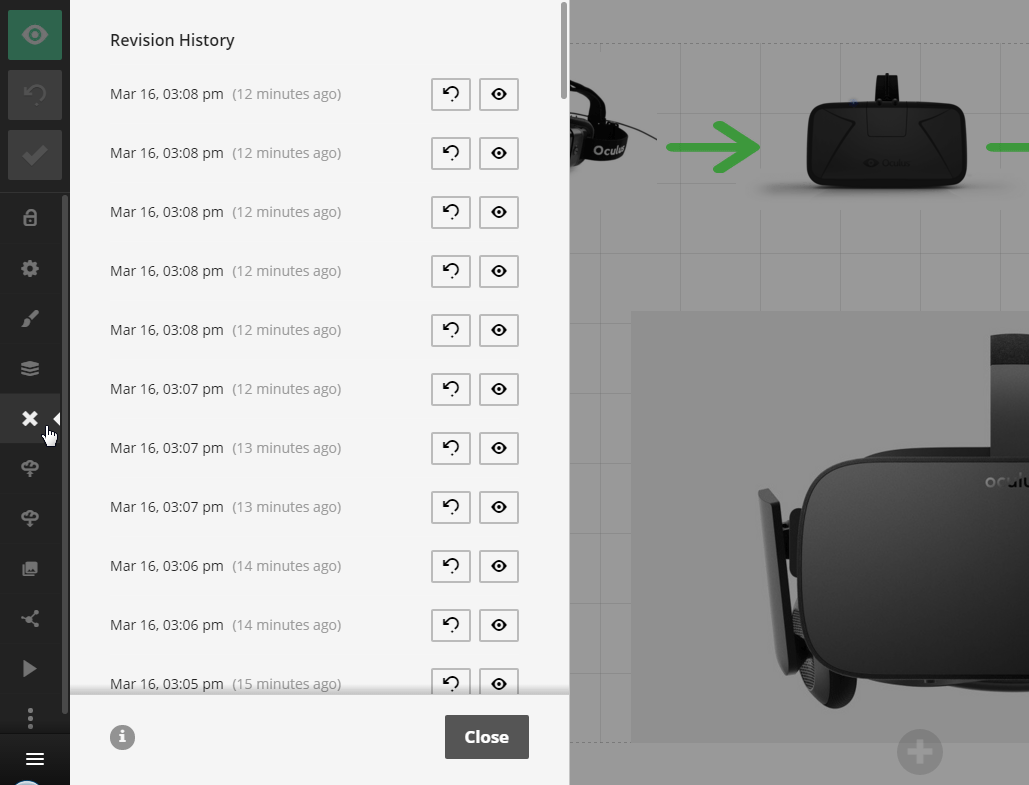
· Edit history
Slides can also go back to the editing history. Click the "clock" icon on the left side of the screen ......

Since the editing work is displayed in chronological order, it is easy to redo the operation.
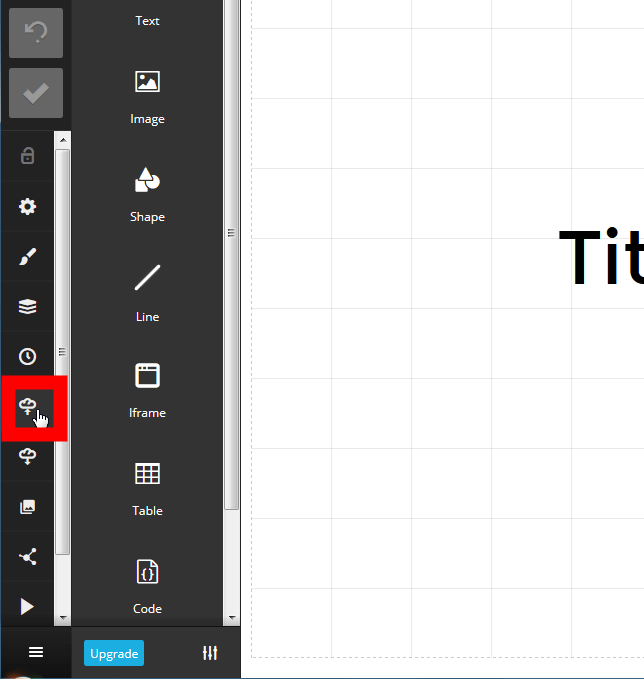
· Importing PowerPoint files
Slides also supports importing PowerPoint files and PDF files. Click the "Import" icon.
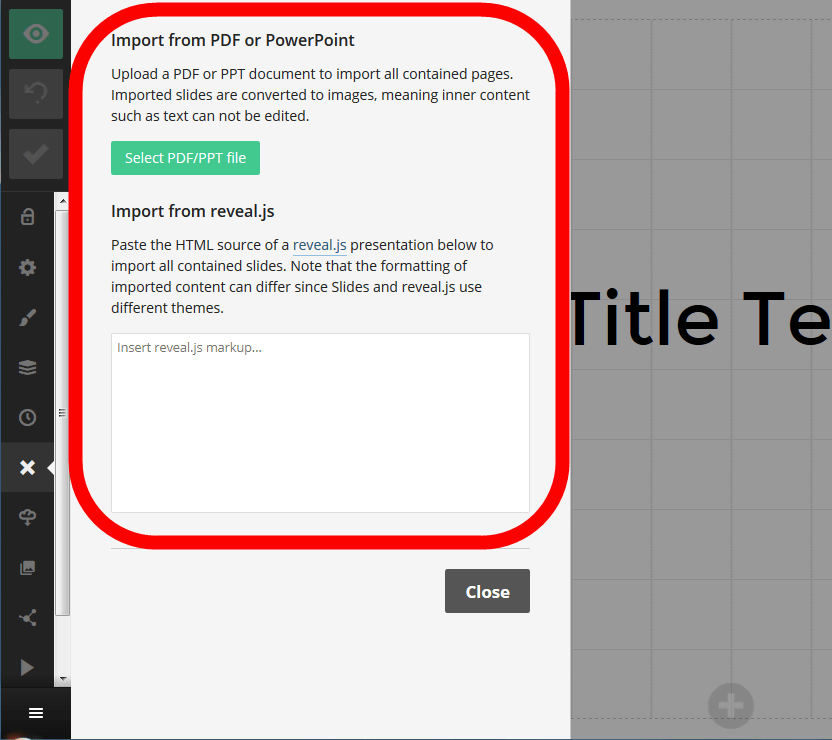
To import PDF / PPT file, click "Select PDF / PPT file", If you import HTML of revaljs, you can enter it in the text box.
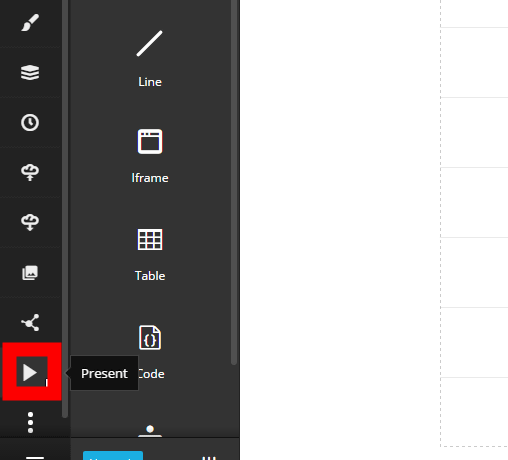
◆ Presentation mode
To display slides in presentation mode, click the "Present" icon on the left side of the screen.
Display method options are displayed on the left side of the screen.
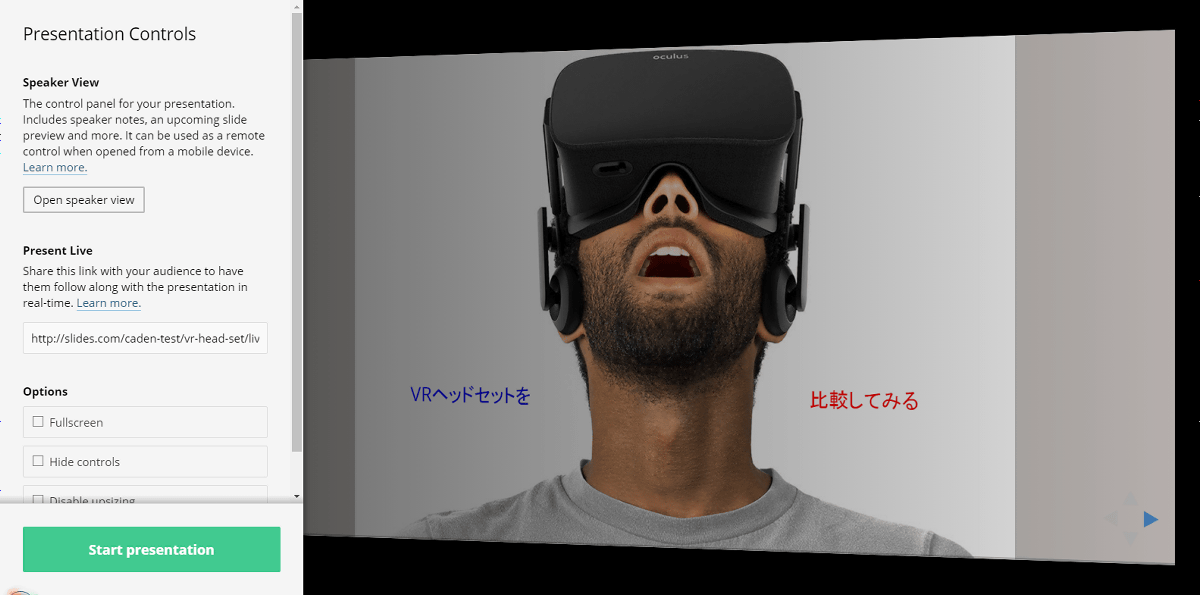
· Full screen mode
By clicking "Start presentation" you can display slides in full screen mode. For normal presentation using a projector etc, enough use of this mode is sufficient.

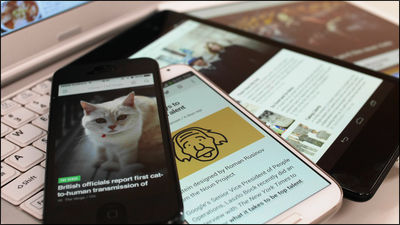
Also, Slides displayed by web browser can be displayed on smartphone. Since it is possible to log in simultaneously with a PC, you can connect a PC to a projector and present a smartphone instead of a remote control.

· Speaker view mode
And speaker view mode is overwhelmingly recommended by Slider. Clicking "Open speaker view" ......
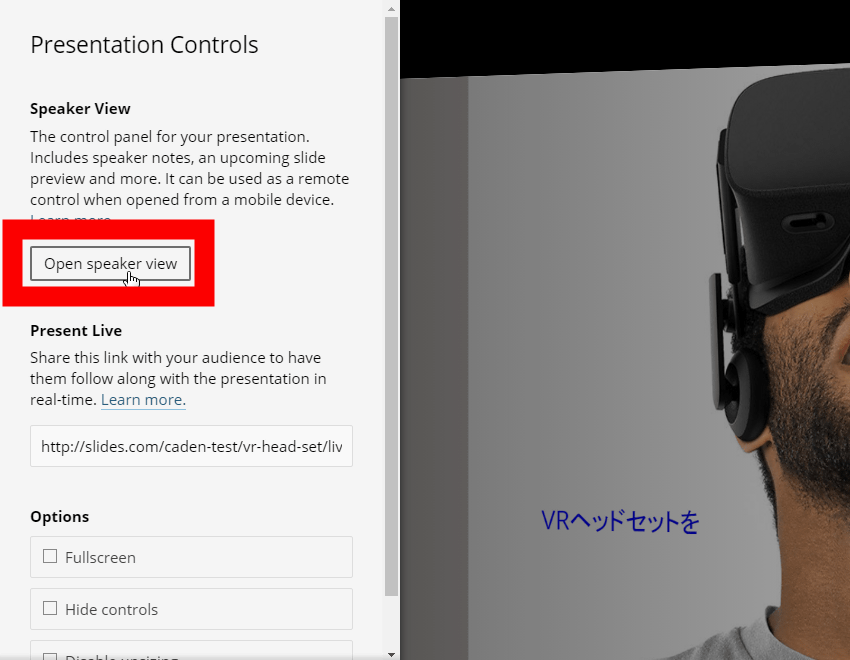
You can display the next slide and time on the right side of the screen while displaying the slide being displayed on the left side of the screen. Also, the function to write a note as a note in the bottom margin is ant. These supplementary information can also be displayed on smartphones and can also be slid by flick input, so it can be used as a remote control.

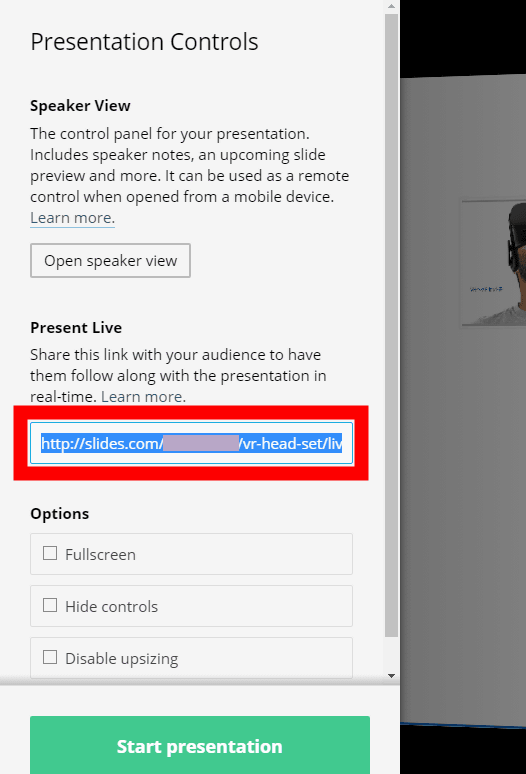
· Live distribution mode
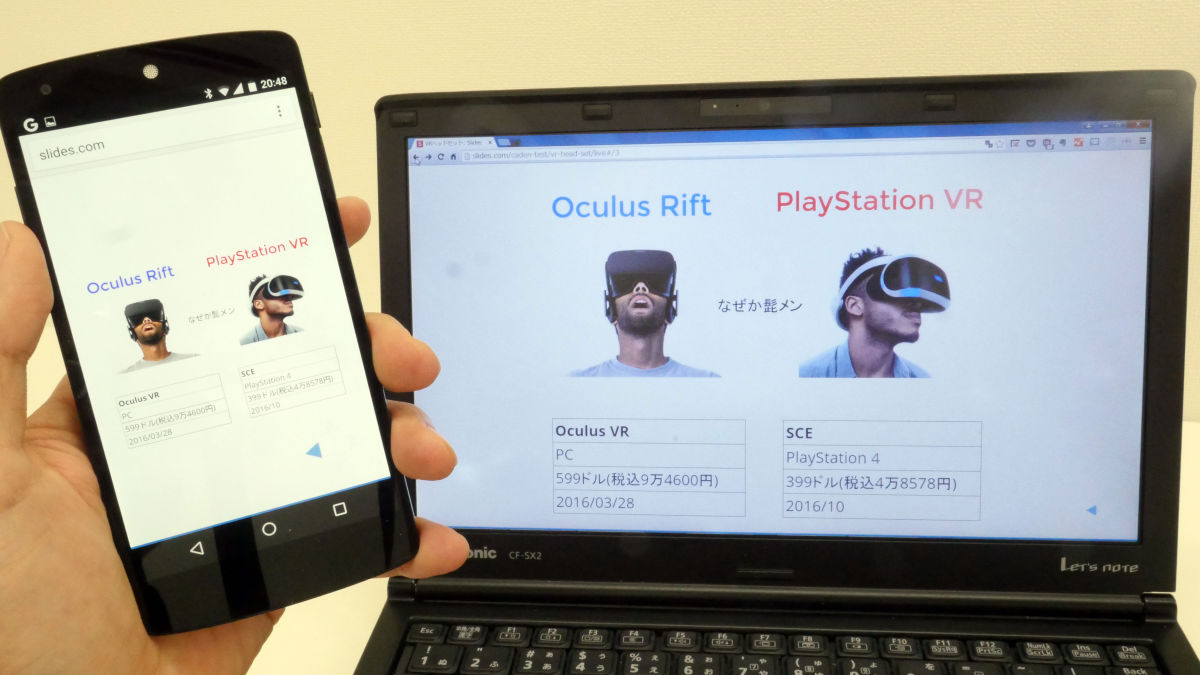
In addition, Slides has a live distribution function "Present Live" that can share the presentation state, which is quite powerful. People who access the displayed URL can view the presentation screen in the browser, so even if you do not have a projector you can present it.
You can understand the feeling of operation in Present Live by watching the following movie. In addition, the black PC on the left is the screen of the presenter operating the speaker view mode, and the smartphone and the silver color PC display the screen to watch the presentation live.
I made a presentation remotely with "Present Live" of presentation creation tool "Slides" - YouTube
There was a time lag in switching slides, but I was able to share the presentation screen with PC and smartphone. Live view viewer's embedded movie does not support automatic playback, but it is possible for the live viewer to manually play the movie.
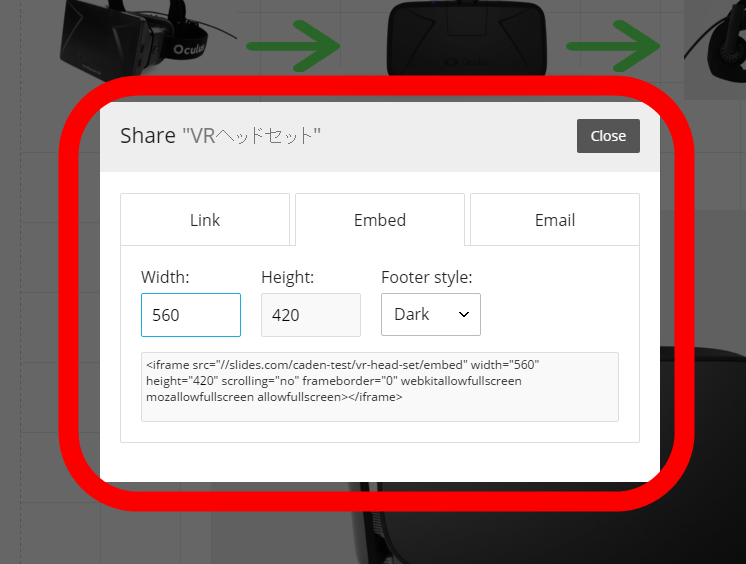
The deck (presentation material) can also be shared with others. Click on the "share" icon on the left of the screen ... ...
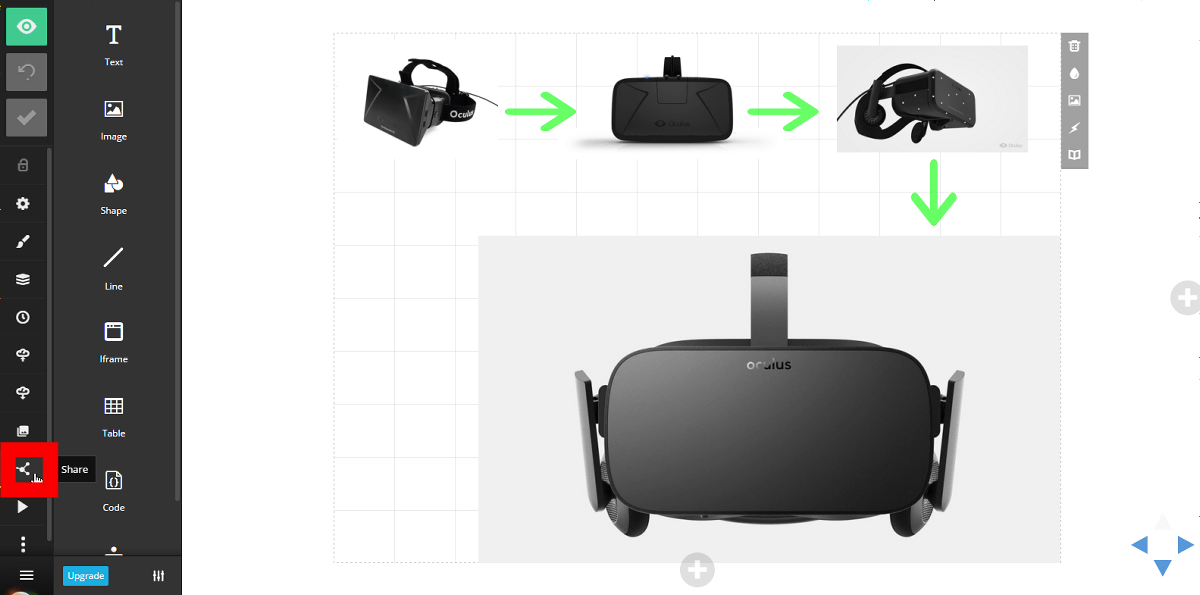
With this feeling you can share deck's link destination URL, embed code and mail.
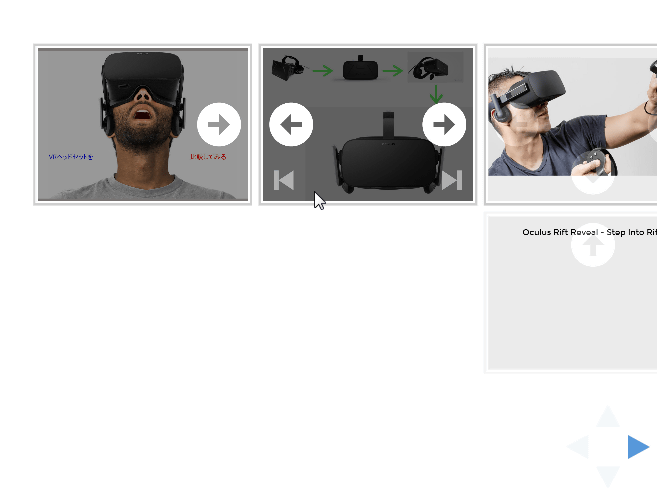
Embedding the deck I made for testing is like this. By clicking the "▲" button at the bottom right of the screen, you can move the slide up, down, left and right.
The multi-functional Presentation Tool Slides is not suitable for creating confidential presentation materials, as deck is released to the public on the "Free (Free)" version. To the contrary, "Pro" version of 6 dollars a month (about 680 yen), you can create private private deck, upgrade the capacity of deck to 2 GB, HTML writing function that can use offline state, PDF output of deck, CSS Support customization function, Google Analytics function. In addition to the private deck & Google Analitics collaboration, the "Team" version that can be used up to 12 people at a rate of 12 dollars (about 1400 yen) per month plus deck capacity unlimited, subdomain customization function of public URL, versatile theme editing / template, team Memory shared media library function, deck synchronization function, online priority support and so on and it has become a content of content.
I tried using the Team version
There is a 30-day free trial in the paid Team version, so I tried it for trial.
· Upgrade to paid version
Click "User name" → "Upgrade" in the upper right of Slides page.

Click "Select" of "Team" version.
The team name, subdomain name, credit card information entry screen opens.

After entering the necessary information, click "Create team".

After waiting for a while, the top screen for the team was displayed.

· Private deck
A big advantage of the paid version is the private mode that allows you to create a deck private. Click on "creator's name" of deck created by team members who have already created and displayed on the top screen of the team ... ...
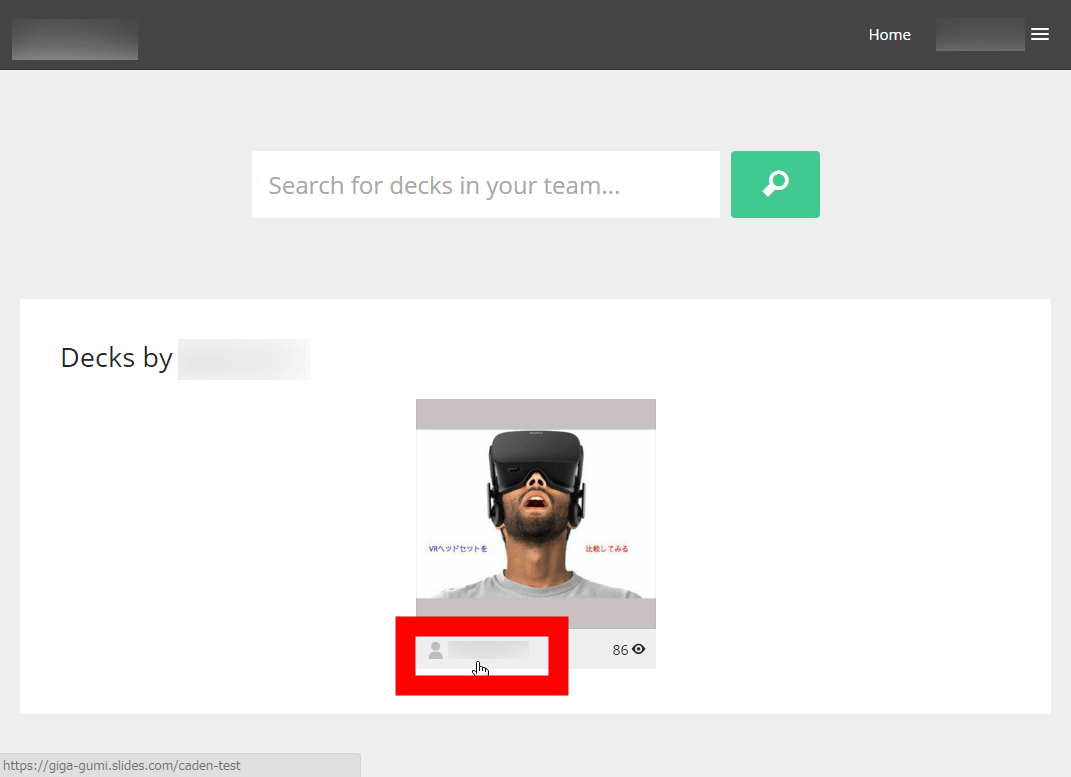
Click "Key" button.
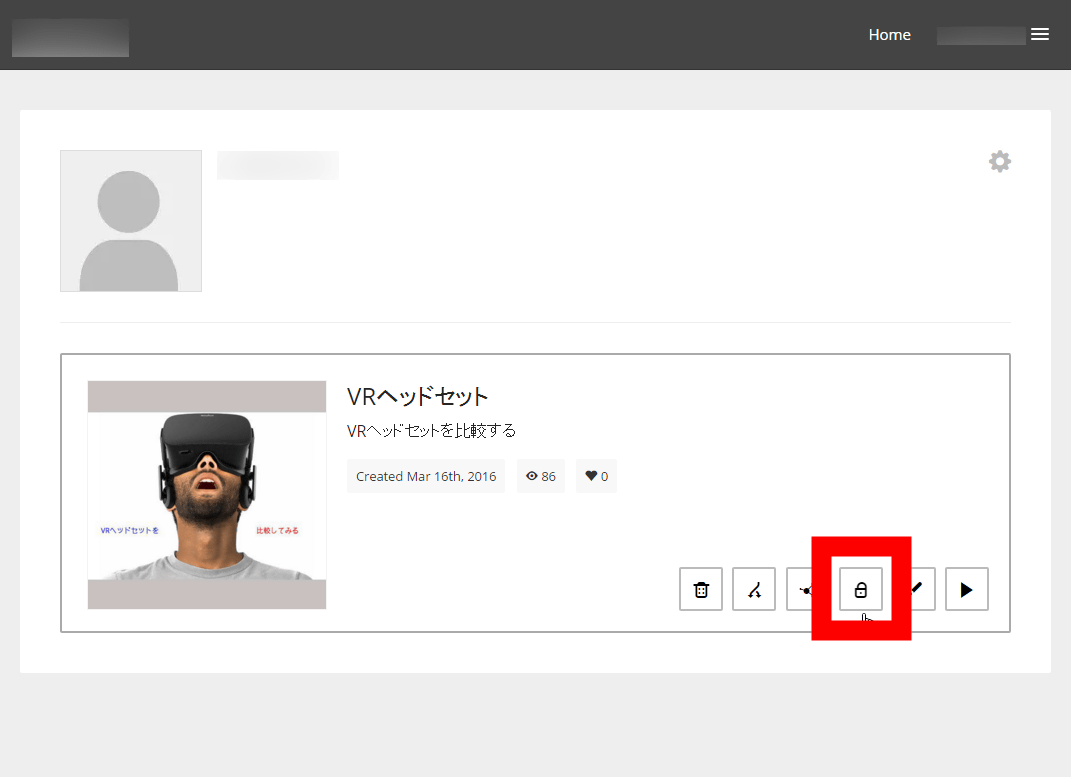
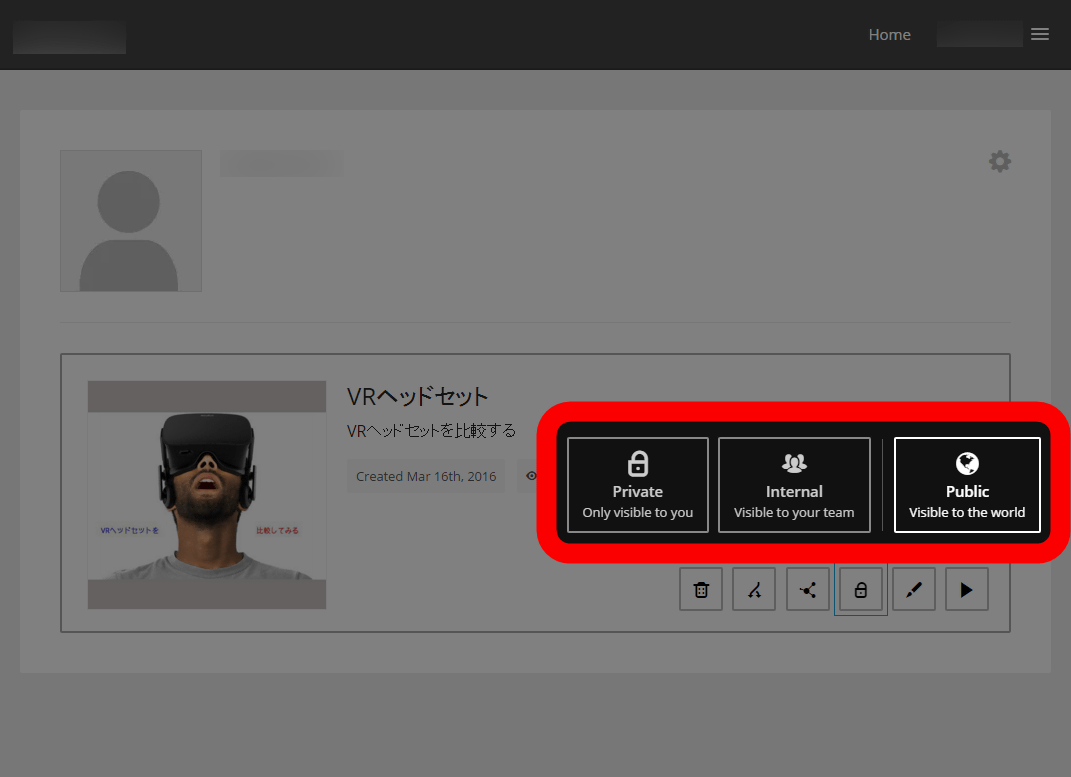
You can choose the status from three types, "Private (only you can view it)" "Internal (available for team members only)" "Public".
· Private live distribution
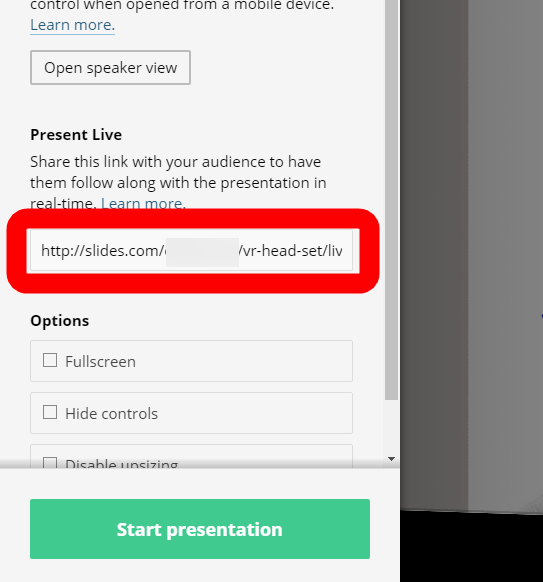
さらに、有料版ではチーム固有のサブドメインが与えられます。無料版では「http://slides.com/ID名/deck名/live」だったライブ配信用のURLが……
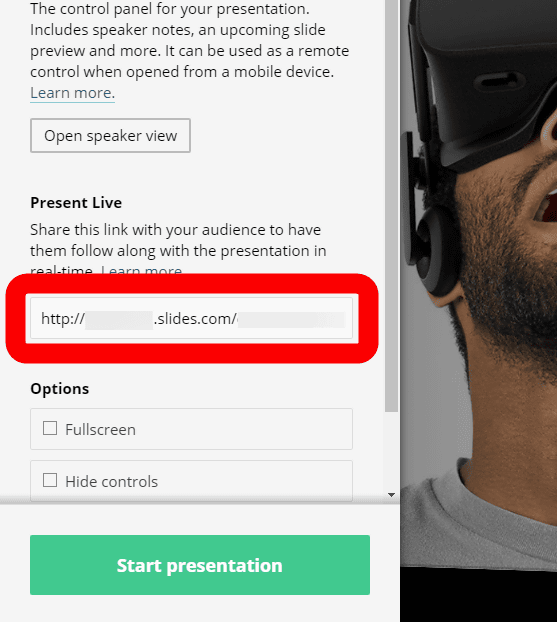
有料版では「http://サブドメイン名.slides.com/deck名/live」に変更されています。これで、チームメンバー以外の人によるライブ配信視聴をブロックできます。
·various settings
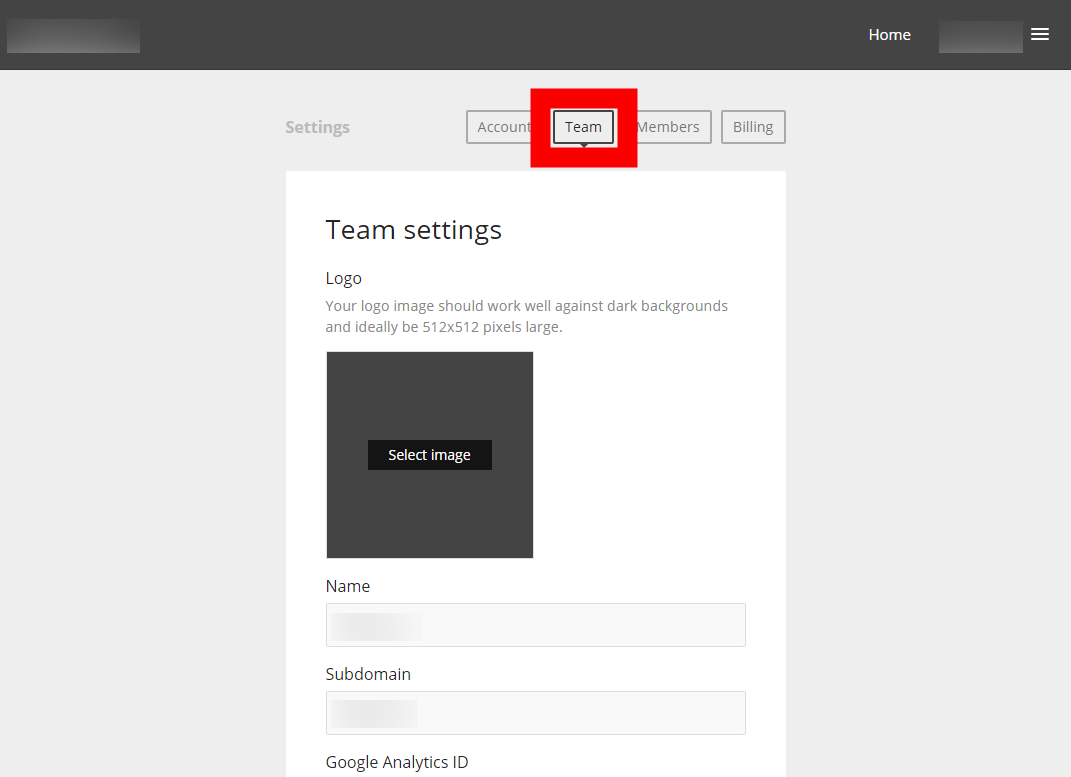
Click on the logged in "member name" → "Settings" in the top right of the team top screen.
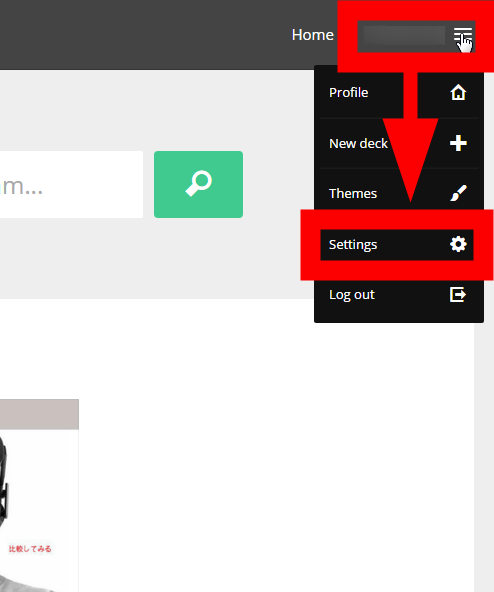
Then tabs are added to the setting screen besides individual accounts.
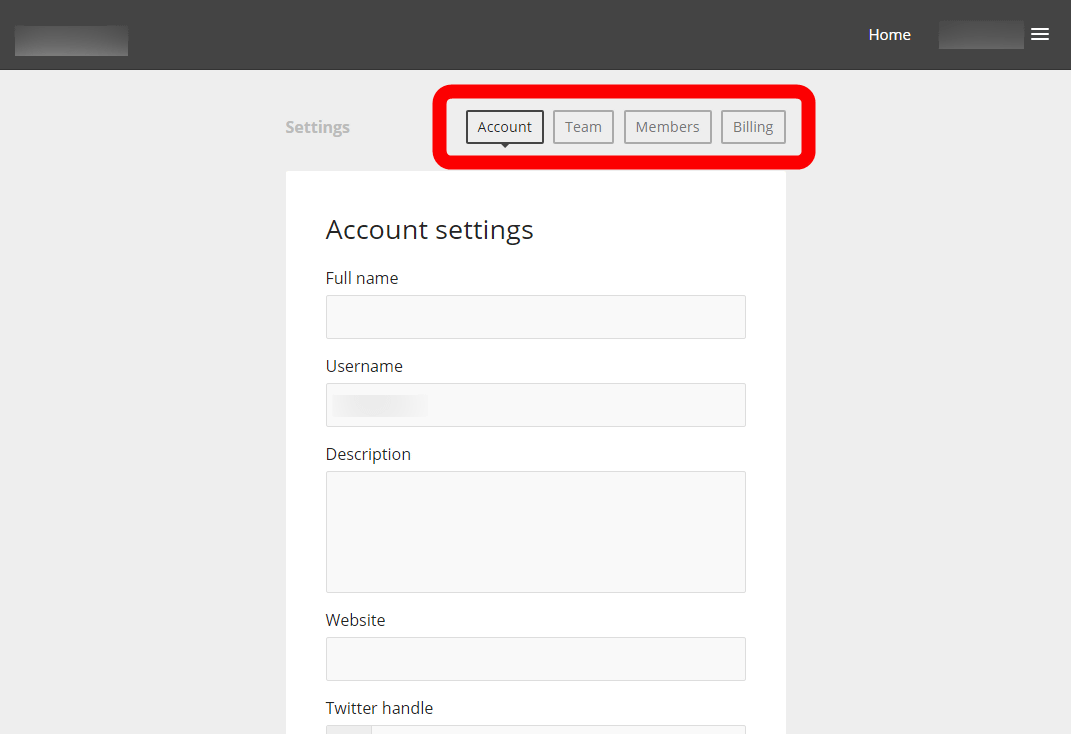
On the "Team" tab, you can change information on teams such as team images and team names.

In the "Members" tab, you can see information on team members.

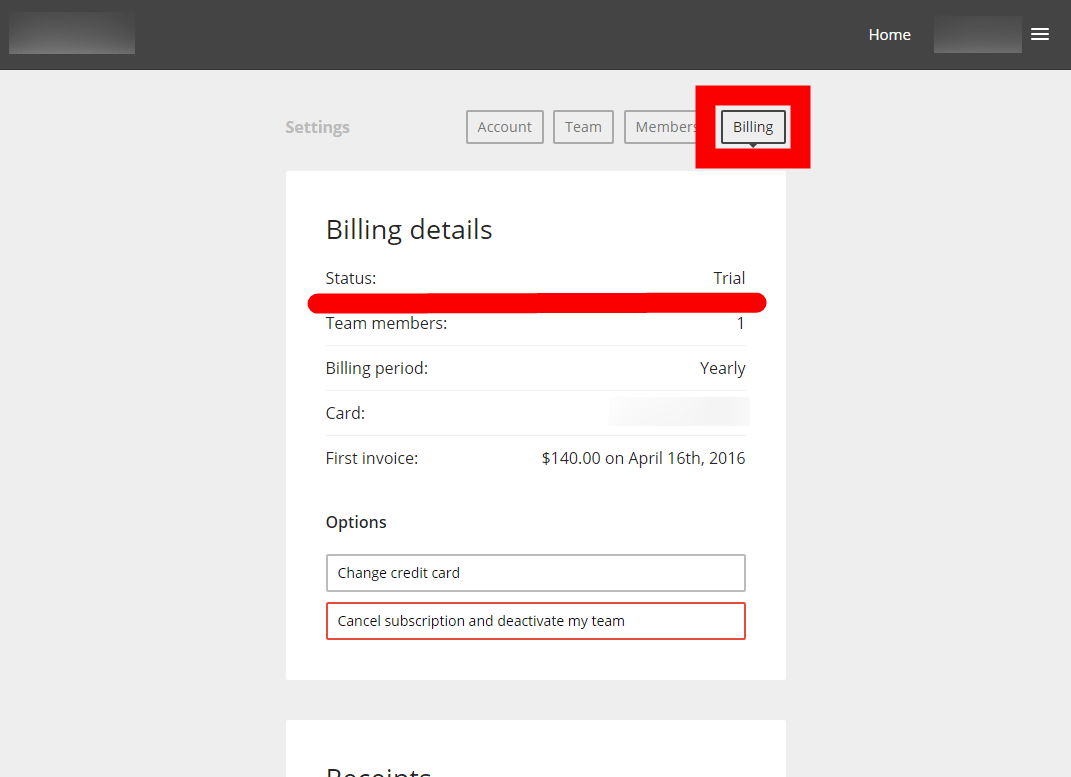
Information on payment is displayed on the "Billing" tab, "Status" is set to "Trial" during free trial.
·theme
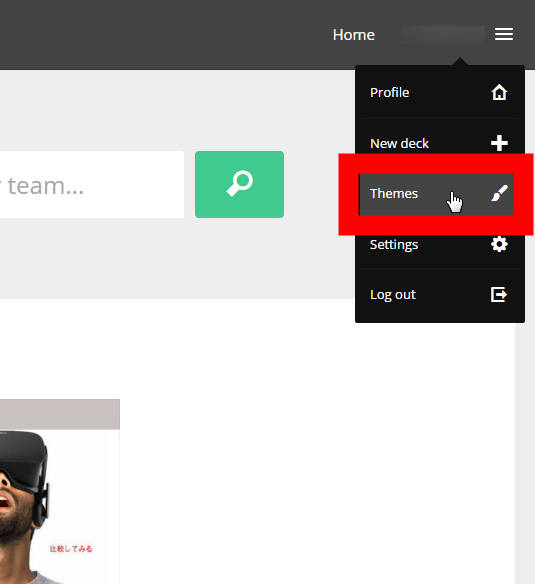
You can add themes in the paid version. Click "Temes" on the team top screen.
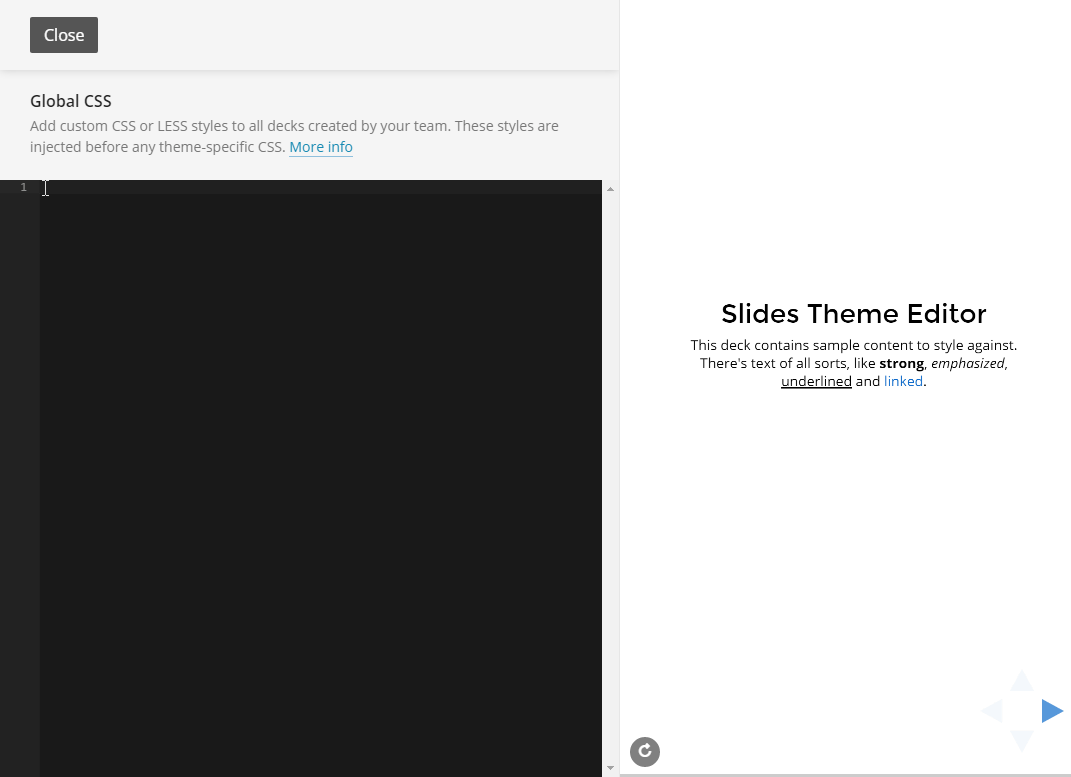
Click "Edit Global CSS" ......
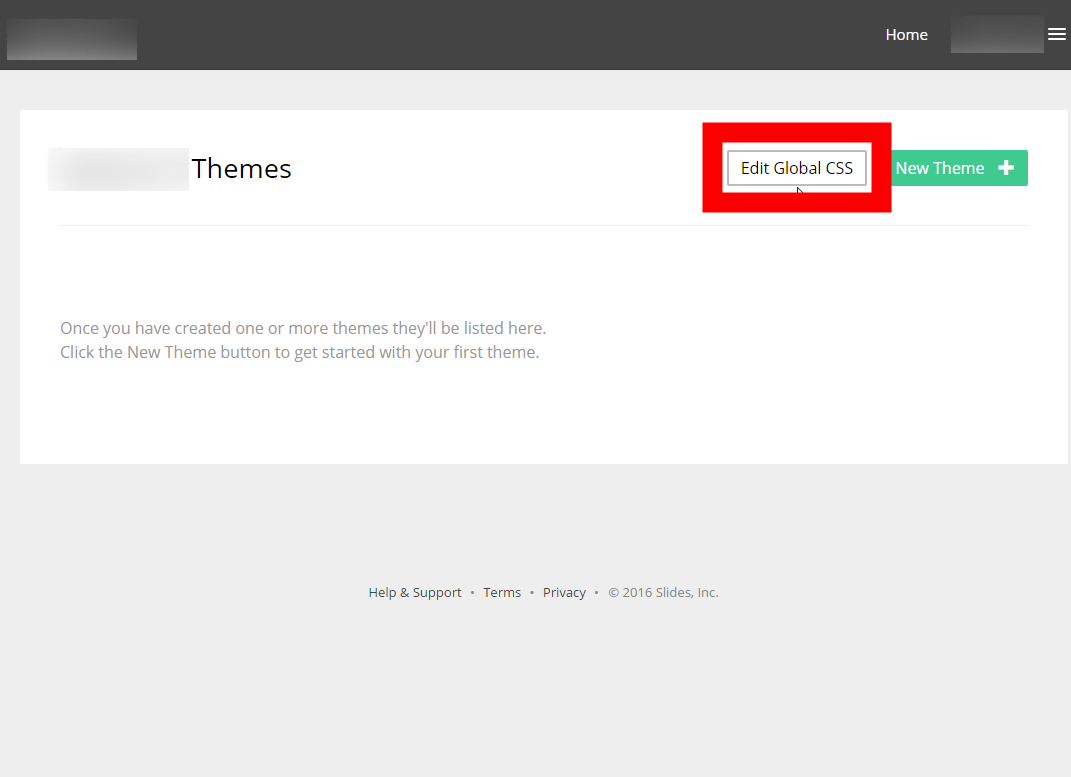
You can create themes in CSS.
· Google Analytics feature
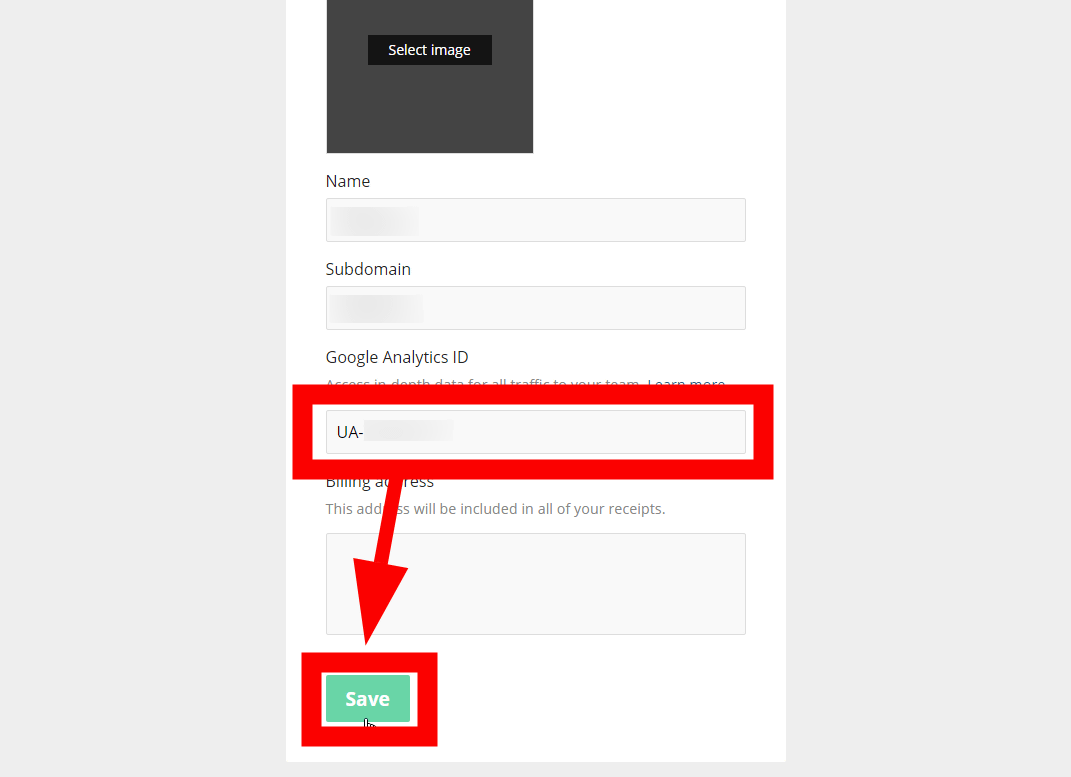
Click "Team" tab of "Settings" ... ....
In "Google Analytics ID", enter the tracking code that starts with "UA -" issued by the Google Analytics service and click "Save".
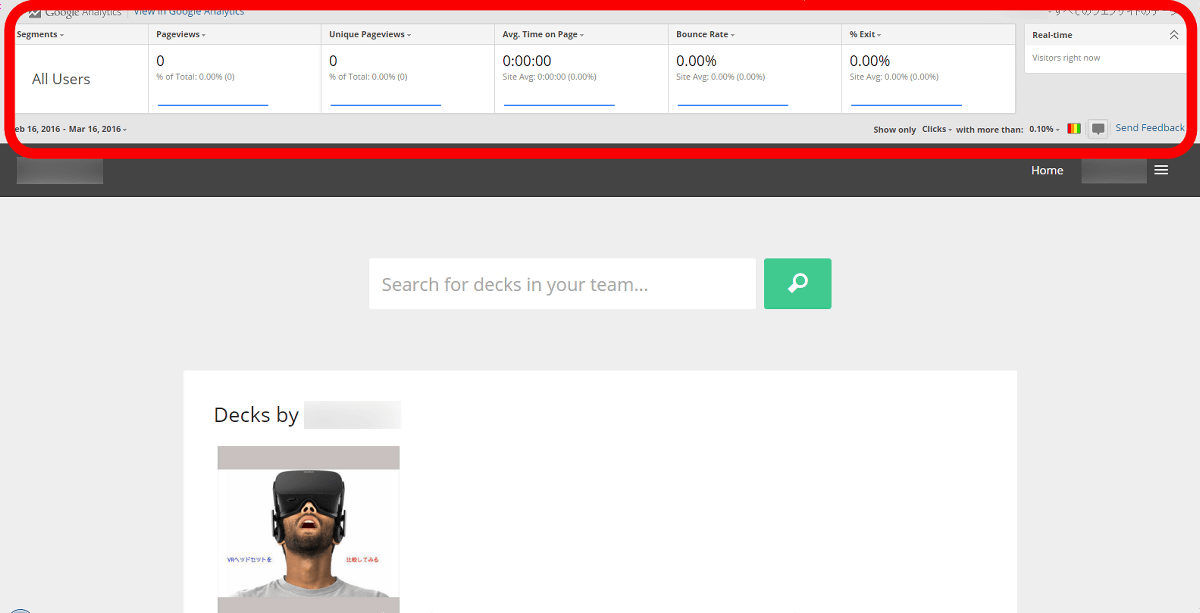
Google official Chrome extensionIf you put in, Google Analytics display appears at the top of the screen. You can analyze deck's access information in real time.
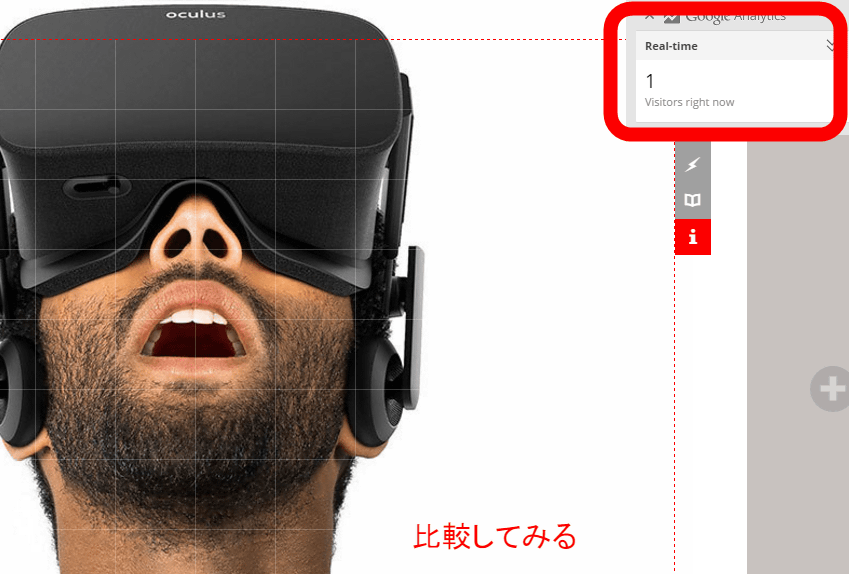
Click "minimize button" at the top right of Google Analytics display ... ....
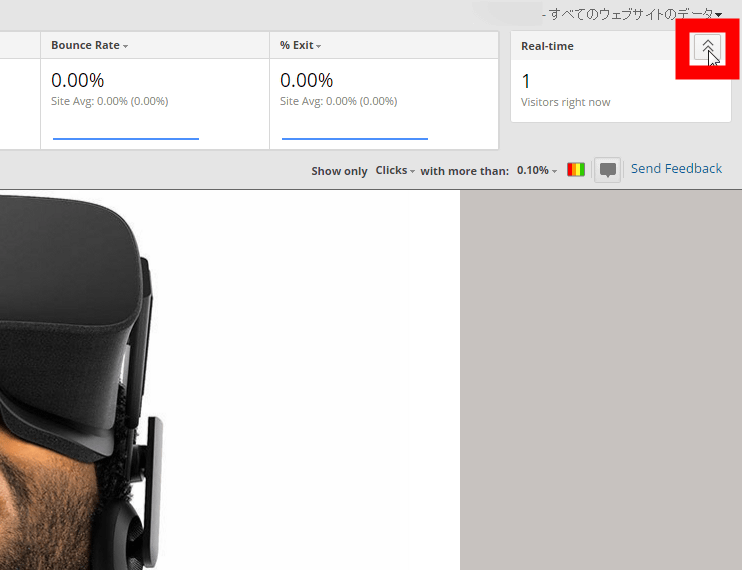
It can also be minimized. You can also hide it by clicking the "X" button displayed at the top left in the minimized state.
· External output function
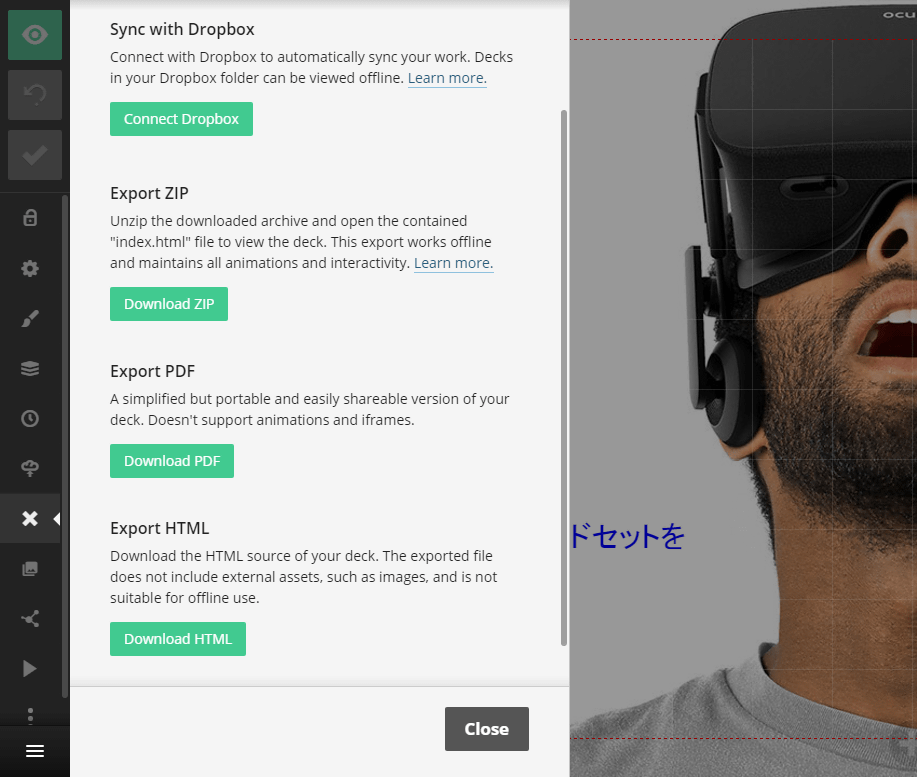
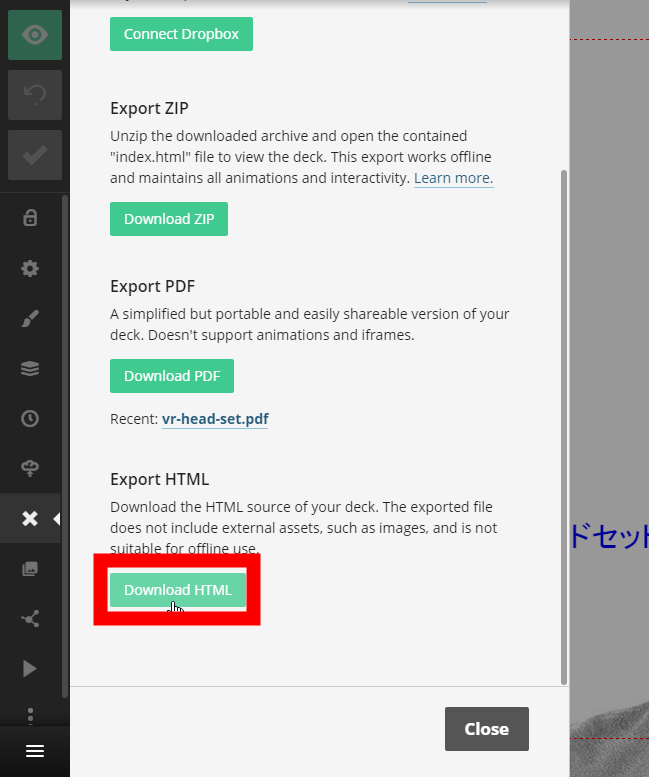
In the paid version, the external output function has been enhanced. Click the "Export" icon ......
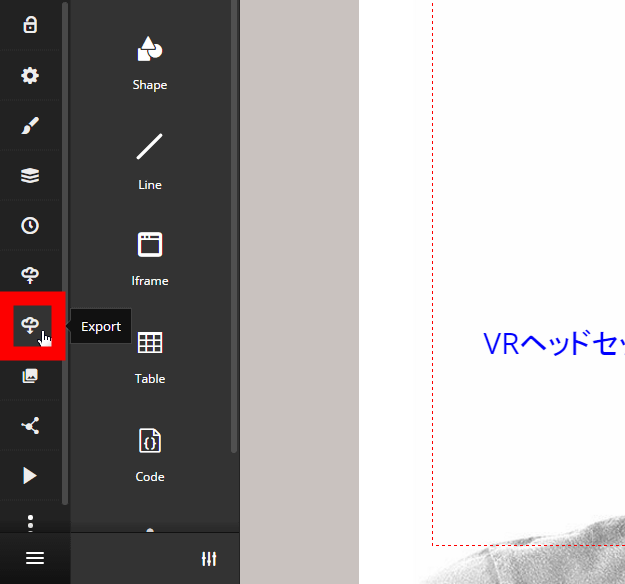
Deck can be linked with Dropbox, or saved as ZIP file, PDF file, HTML file.
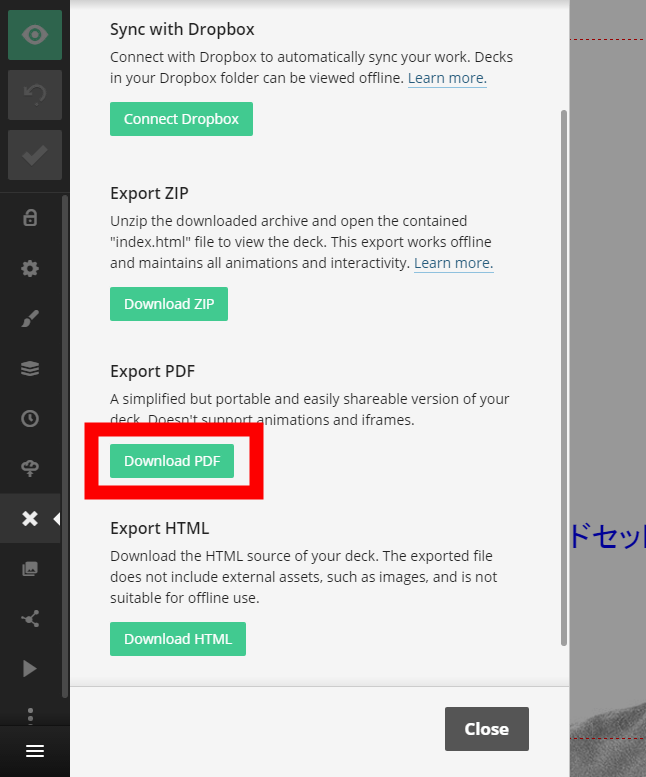
If you want to output as a PDF file, click "Download PDF" OK.
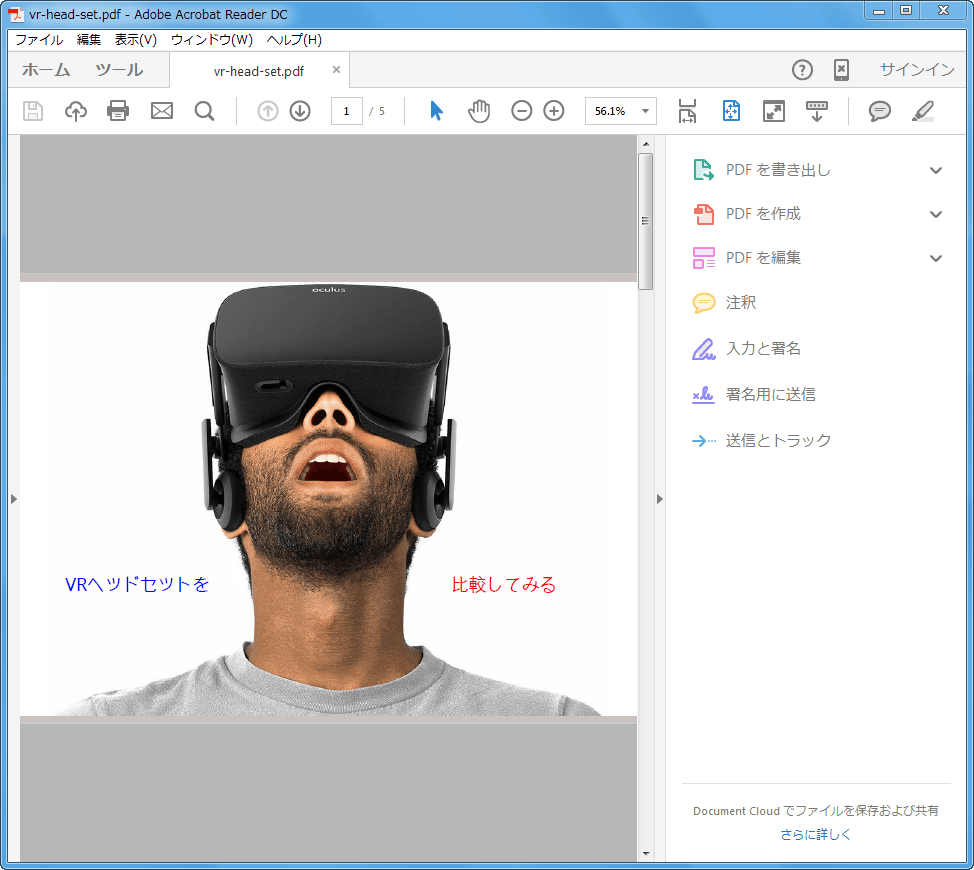
Deck can be saved as a PDF file.
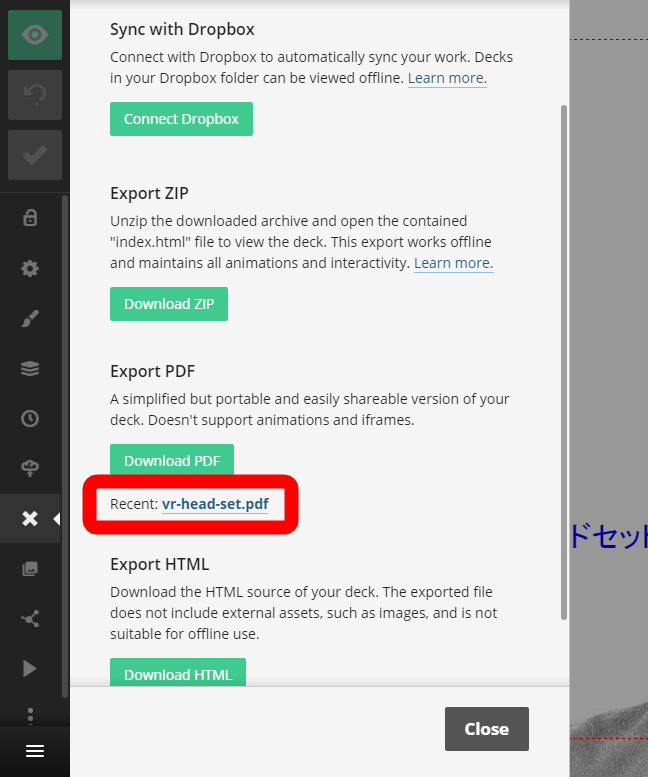
In addition, the saved history is supposed to remain.
· Offline mode
In the paid version, deck can be saved in HTML format, so you can view presentation materials even in offline environments. Click "Download HTML" in "Export HTML" to save the HTML file.
Drag and drop the saved HTML file onto the browser screen ......

Deck can be displayed even in offline environment.
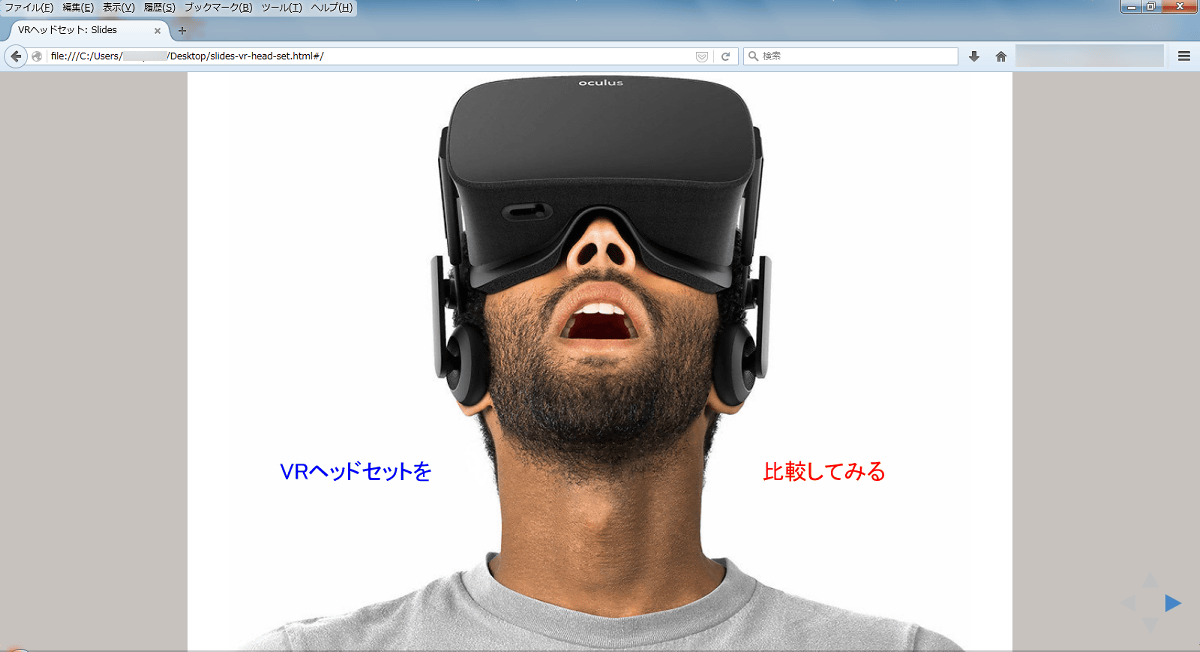
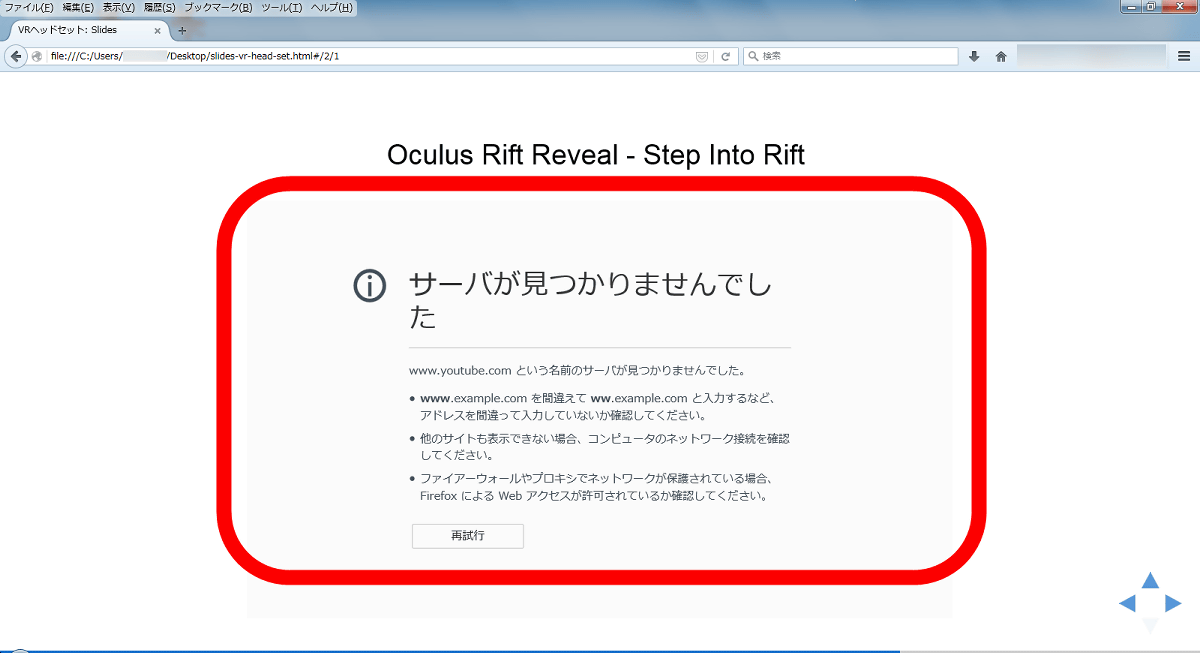
Please note that the embedded movie can not be played because it is offline.
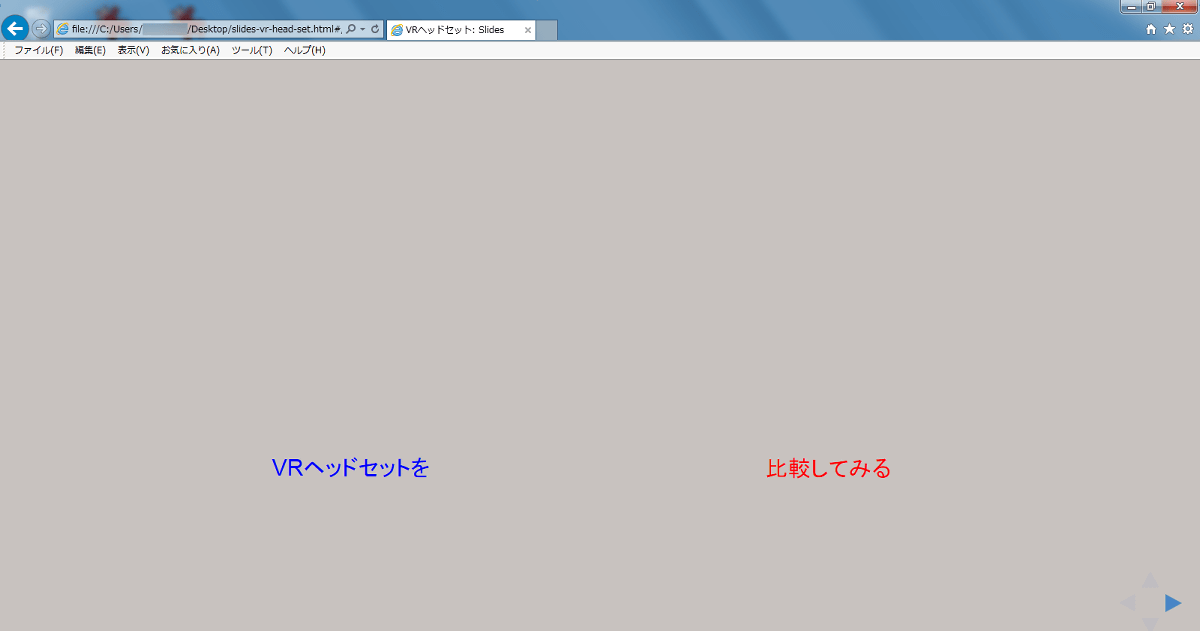
Also, in Internet Explorer somehow the image was not displayed.
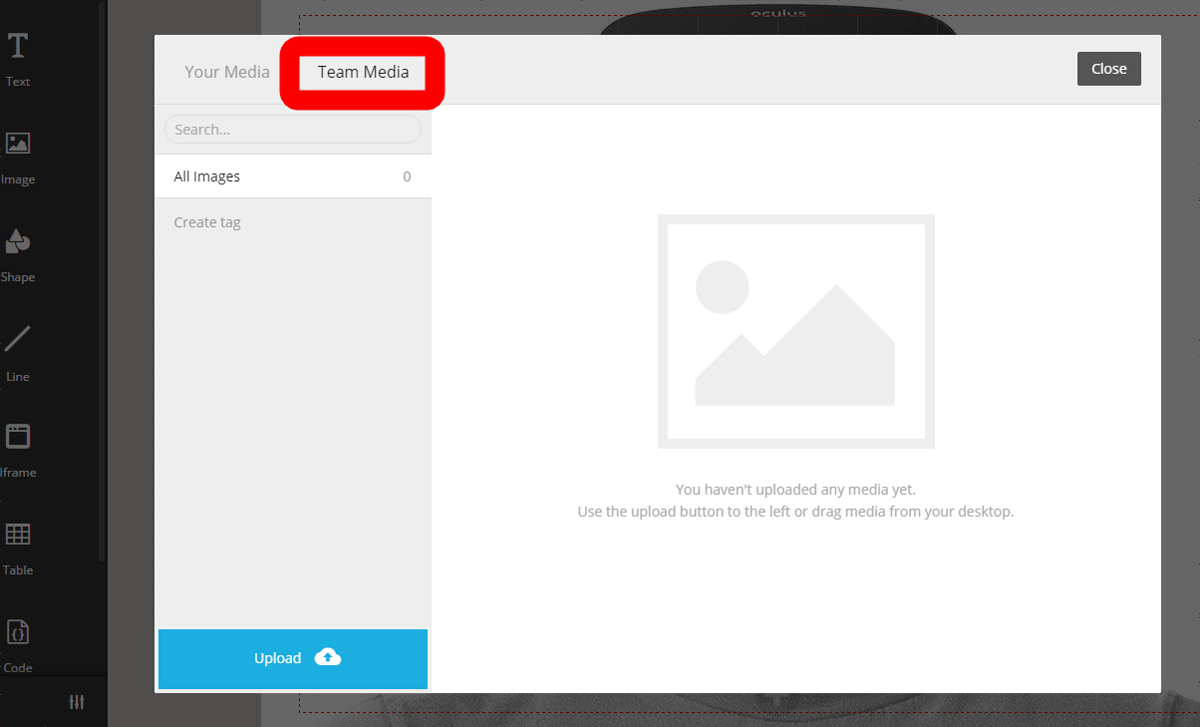
· Shared media library
In the paid version, it is possible to share the media library with team members. Click the "Media library" icon ......
A new "Team Media" tab has been added, and if you save the image here, you can use the image with team members.
Related Posts:
in Video, Web Service, Smartphone, Review, Design, Web Application, Posted by darkhorse_log