I tried using the palm-sized 'Tepra' Lite LR30 that can be printed from a smartphone

The palm-sized label printer 'Tepra' Lite LR30 , which allows you to easily create labels by operating it from your smartphone app, was released by King Jim on Tuesday, August 20, 2019. This 'Tepra' Lite LR30 is the first smartphone-only Tepra, and although it is the smallest in the history of King Jim, it has abundant functions such as inserting photos taken with smartphones and creating caricatures. So I tried using it right away.
'Tepra' Lite LR30 | King Jim
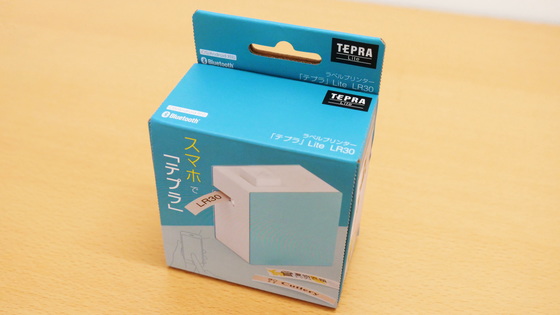
The package looks like this.
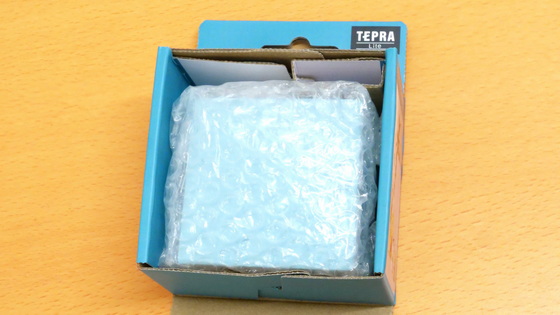
Open the box.
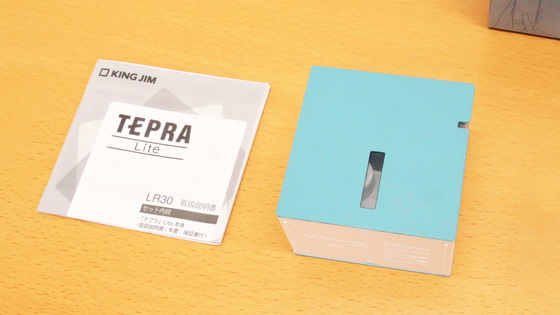
The contents are the instruction manual, 'Tepra' Lite LR30 main body.
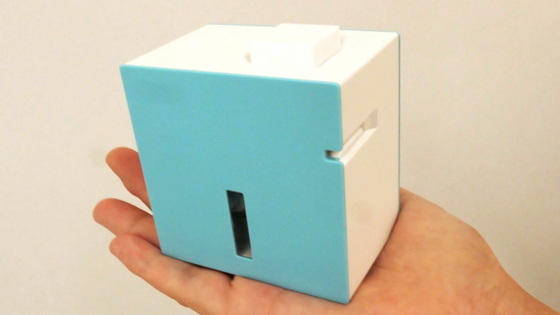
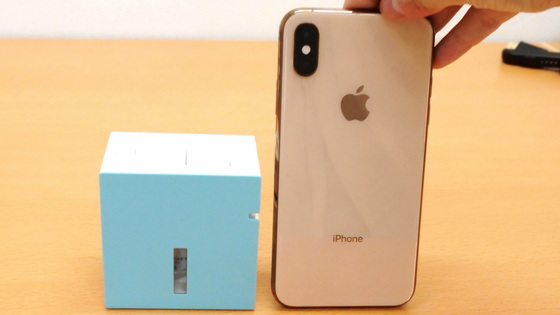
The dimensions are approximately 71 mm x 46 mm x 76 mm, which is a 'hand-held' size. Since it is battery-powered, it can be placed anywhere.
When placed side by side with the iPhone XS, it's about half the height.
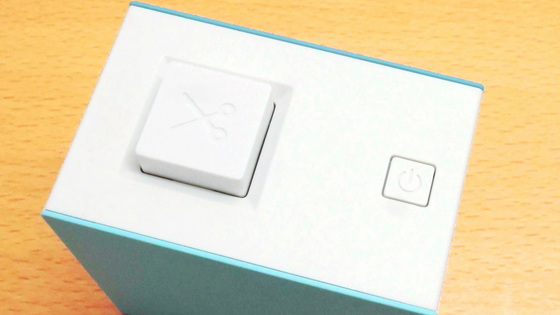
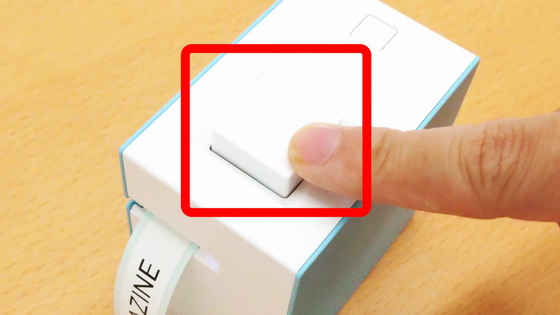
At the top of the main unit is a button for cutting tape (left side) and a power button (right side).
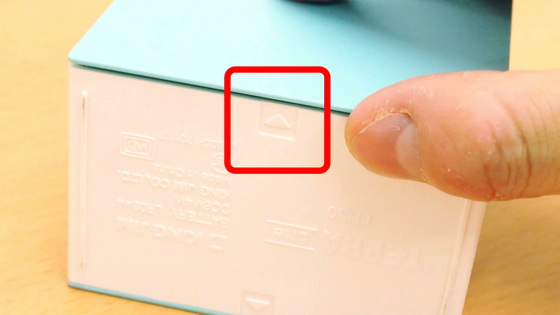
On the bottom of the main body, a '△' mark is written to remove the side lid.
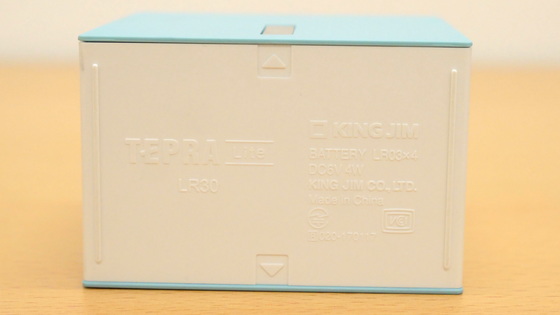
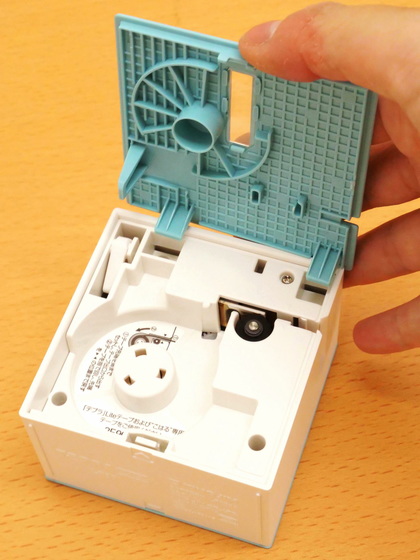
To refill the tape, first hook your fingernail on the '△' mark on the side with the window to check the tape and open the lid.
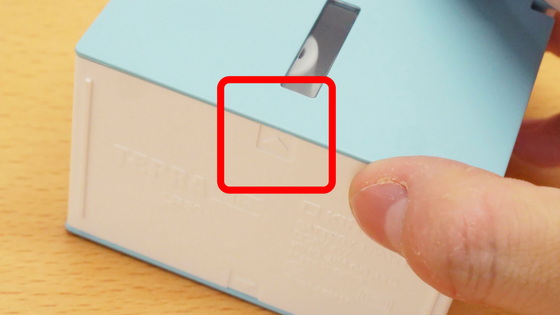
There was a dent to set the tape when opened.
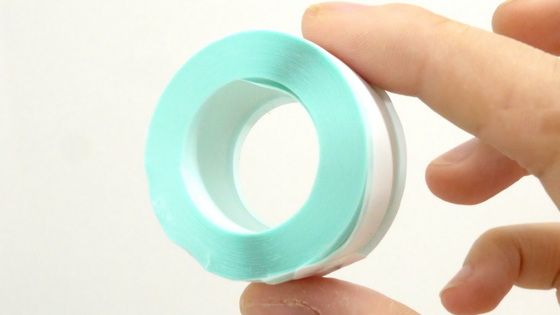
Use a tape with a width of 15 mm.
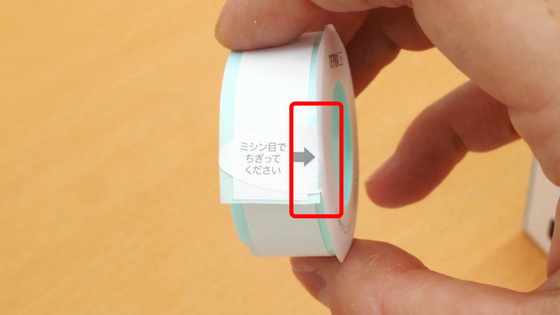
Before setting the tape, tear off the tip of the tape along the perforations.
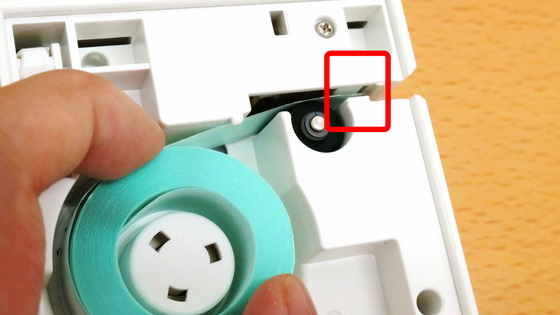
There is a '△' mark in the red frame, so align the tip of the tape with the mark.
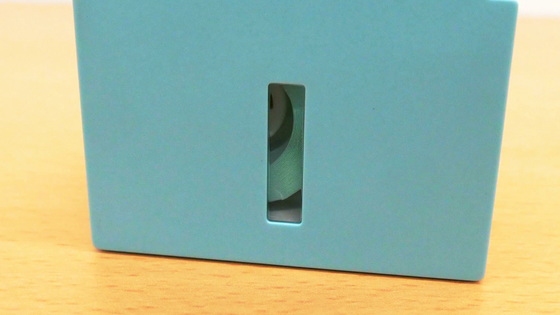
You can check the remaining amount of the set tape from the window on the side.
To insert the battery, hook your fingernail on the '△' mark on the side that does not have a window to check the remaining amount of tape, and open the lid.
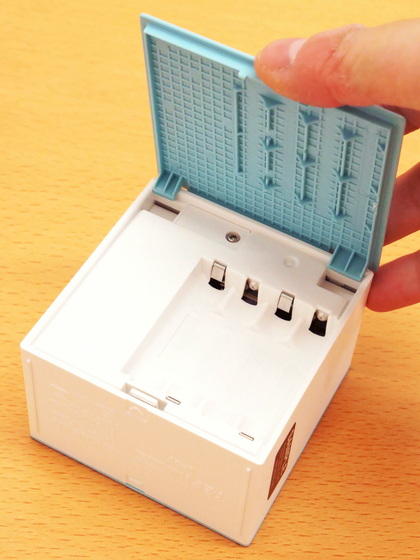
When opened, there is a recess for setting 4 AAA batteries.
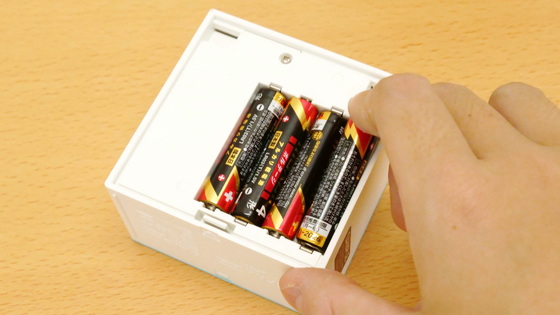
Set the batteries.
Press the power button to turn on the power.
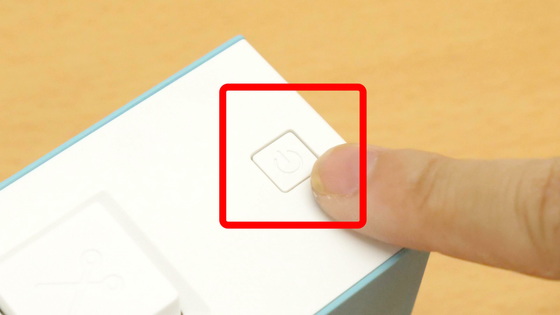
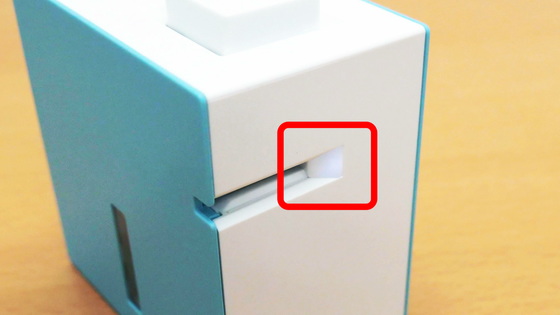
If the LED in the red frame glows white, the power is turned on.
To use 'Tepura' Lite LR30, the dedicated application ' TEPRA Lite ' is required. 'TEPRA Lite' can be downloaded from the App Store and Google Play.
TEPRA Lite-Google Play App
'TEPRA Lite' on the App Store
https://apps.apple.com/jp/app/tepra-lite/id1475058311
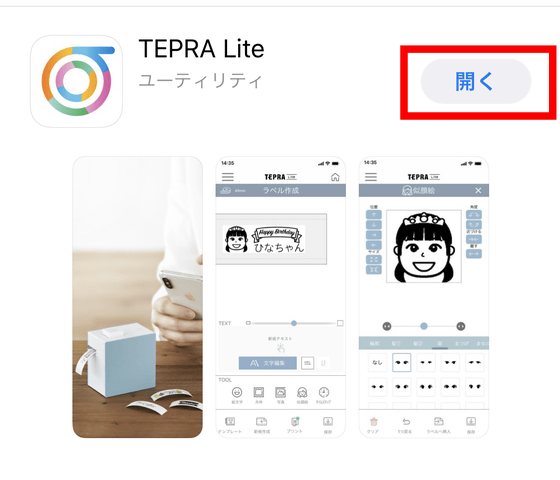
This time we will use the iOS app. Tap 'Open' when the installation is complete.
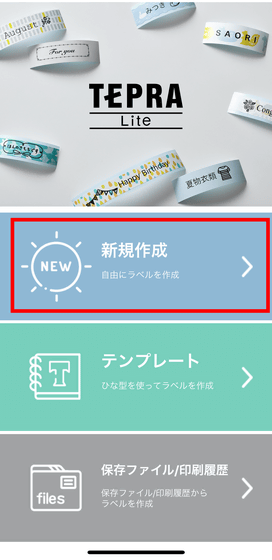
The 'TEPRA Lite' home screen is displayed. Tap 'New' to create a label.
The label creation screen looks like this. The print preview is displayed in the red frame.
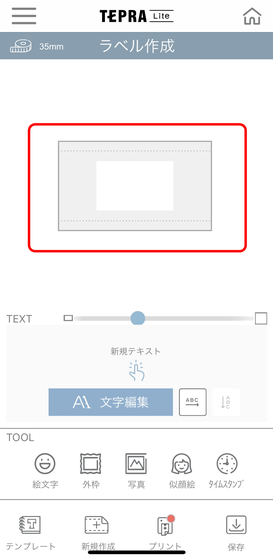
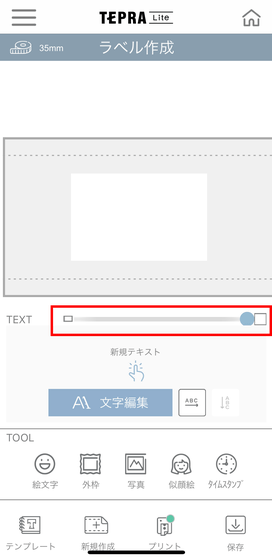
You can scale the print preview by sliding the red frame.
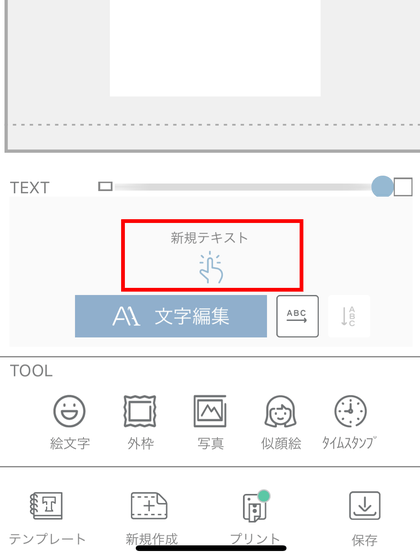
Tap 'New Text' to insert text.
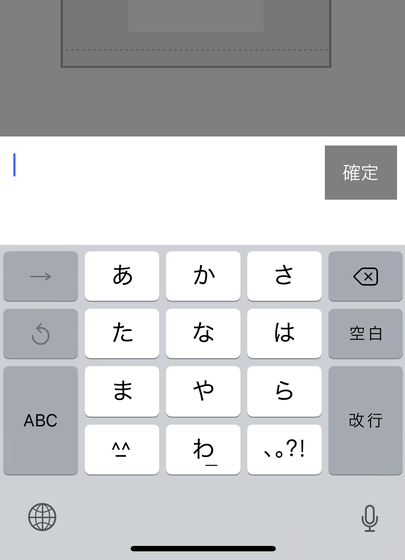
Enter the text you like. The label length is automatically adjusted according to the length of the characters.
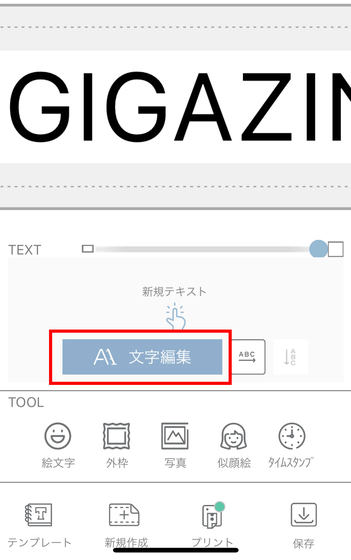
Tap 'Edit text' to change the font type and size.
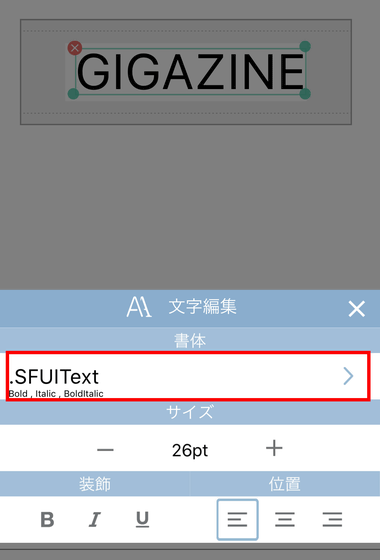
Tap the font name displayed in 'Typeface' to display the font list.
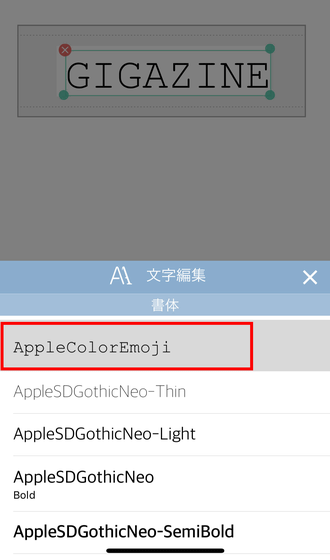
A preview of the font characters will be displayed, so select the font you like and tap it.
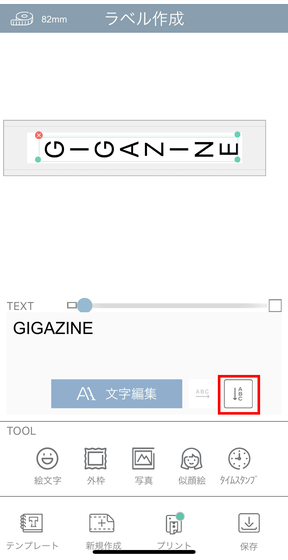
You can also change the text to vertical writing by tapping the icon in the red frame. Useful when creating labels to be attached to the spine of books.
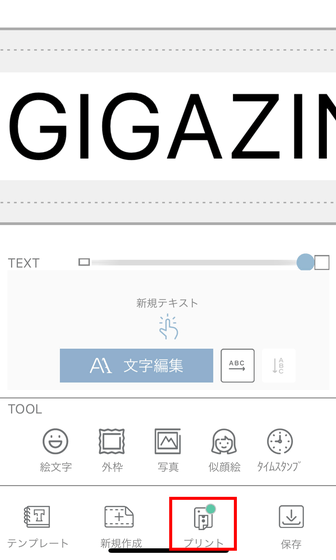
When the label is complete, tap the 'Print' icon to print it.
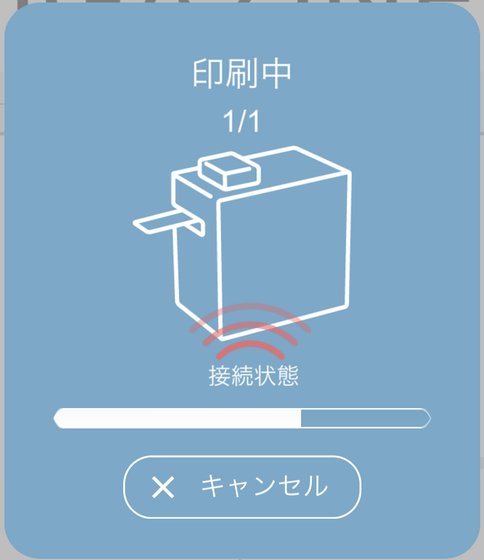
A dialog will appear and printing will begin.
After printing, cut the tape by pressing the button with the scissors mark on the top of the main unit.
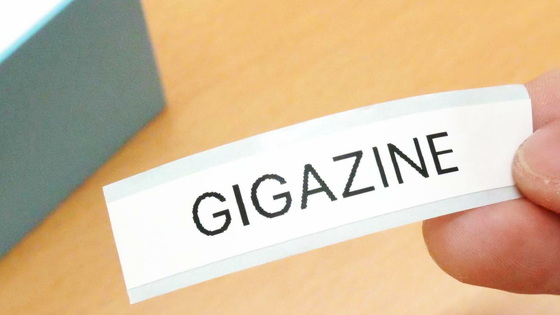
I was able to print beautifully.
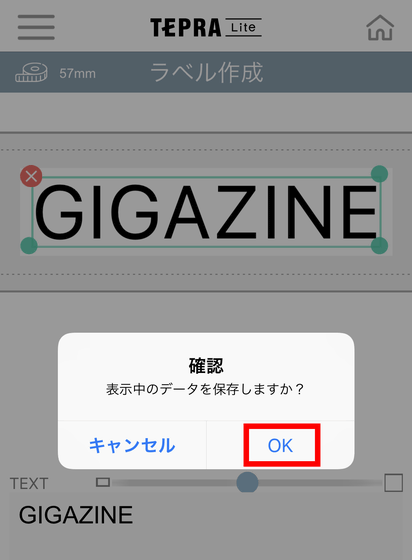
If you want to save the created label design, tap the 'Save' icon.
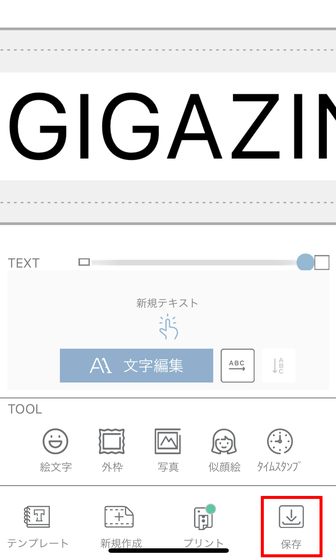
Tap 'OK' to save.
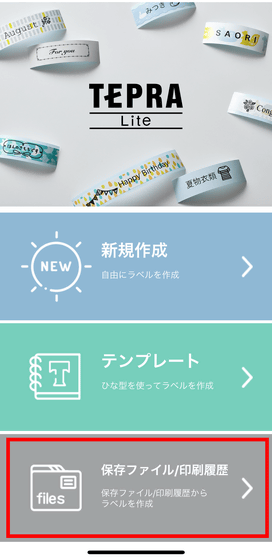
To refer to the saved data, tap 'Saved file / Print history' from the home screen.
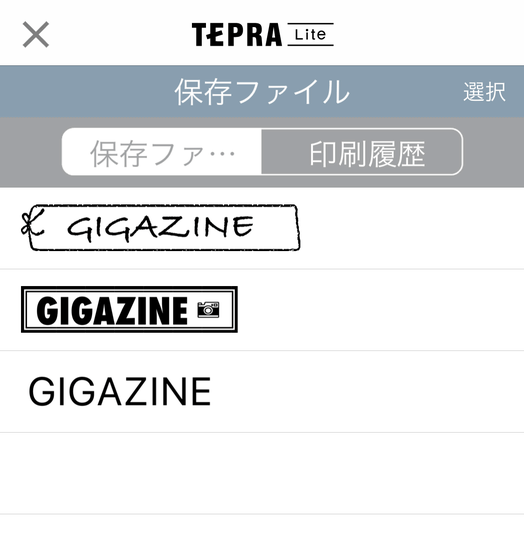
Since you can check the saved label with an image, you can check at a glance what kind of label is saved.
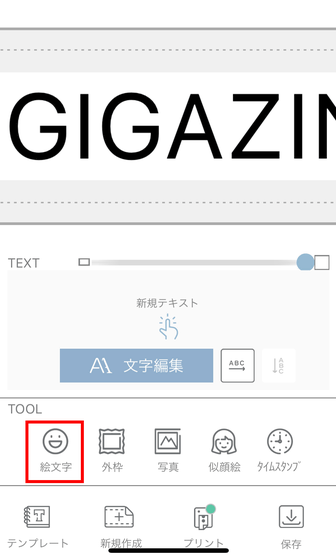
You can also insert a pre-prepared pictogram. Tap the 'Emoji' icon.
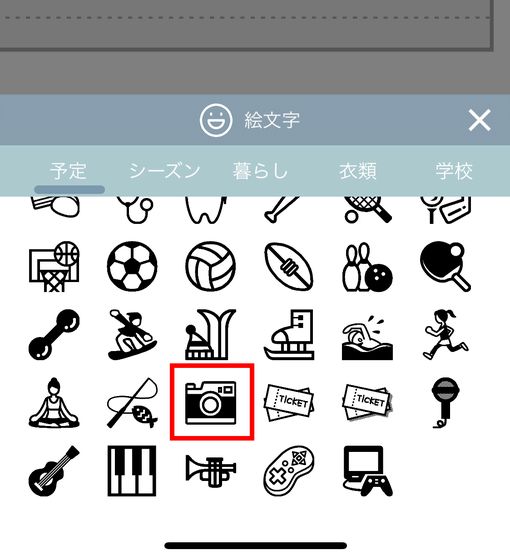
Select the emoji you want to add and tap it.
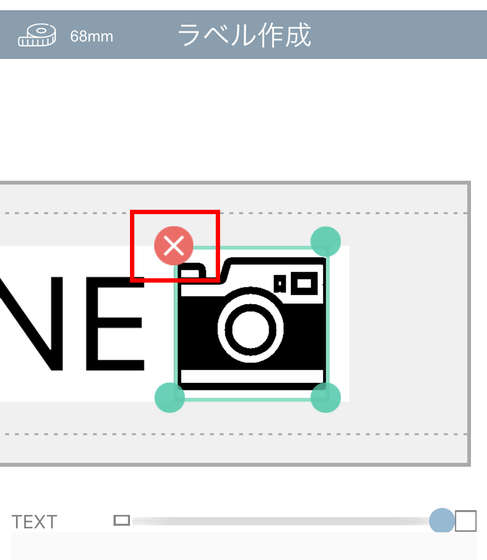
You can delete pictograms and texts that you have inserted by mistake by tapping the 'x' displayed in the upper left.
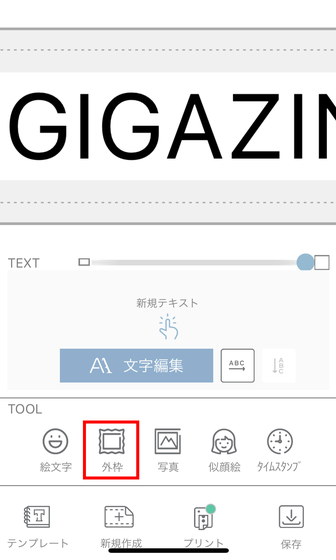
Tap the 'Outer frame' icon to add an outer frame layout.
Select the outer frame you want to add and tap it ...
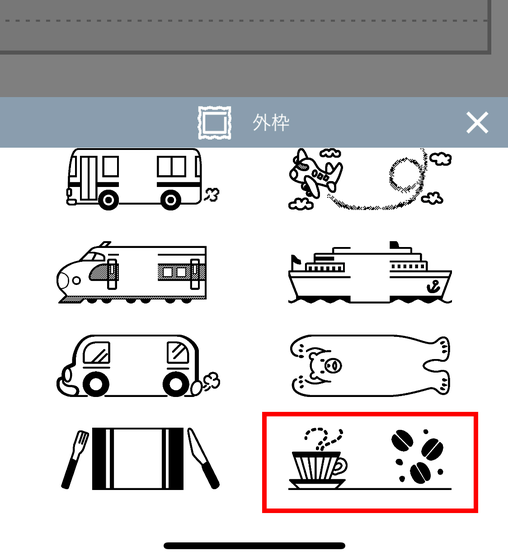
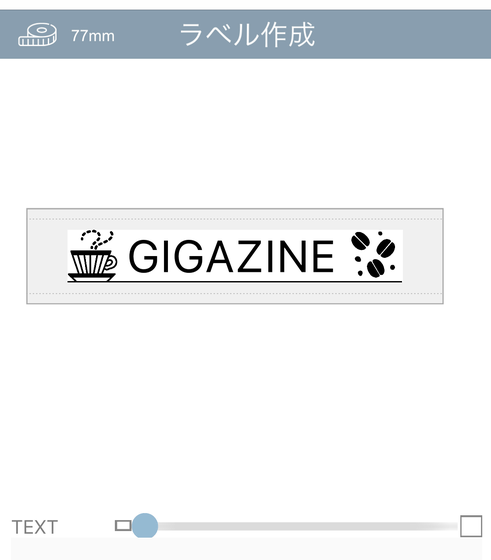
An outer frame is added to fit the text you type.
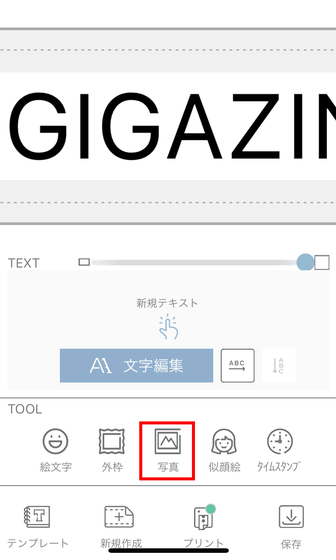
You can also take data from a photo and create a label. Tap the 'Photo' icon.
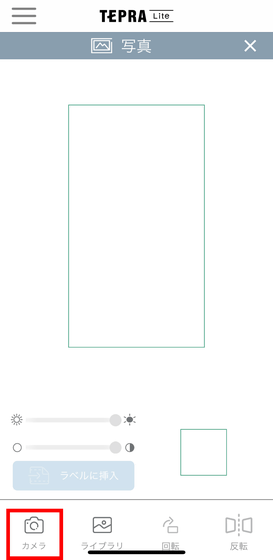
Tap 'Camera' to start shooting.
I will try to capture handwritten characters.
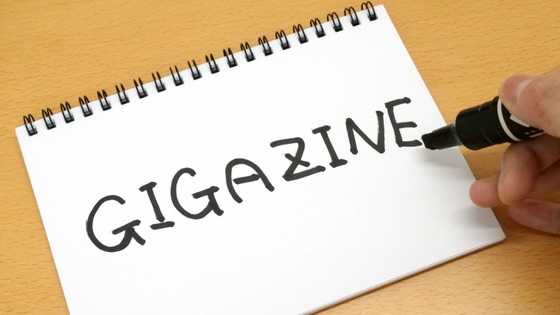
When you capture the image, it looks like this. If you want to use it in landscape orientation, tap 'Rotate' to rotate the image by 90 degrees.
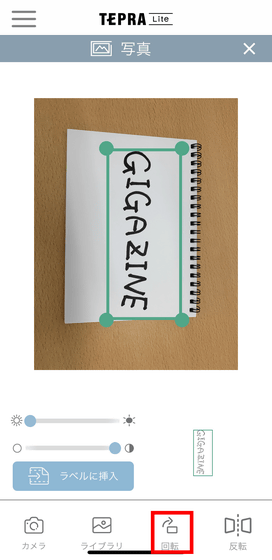
You can change the range of the captured area by sliding the green circles at the four corners of the selection.
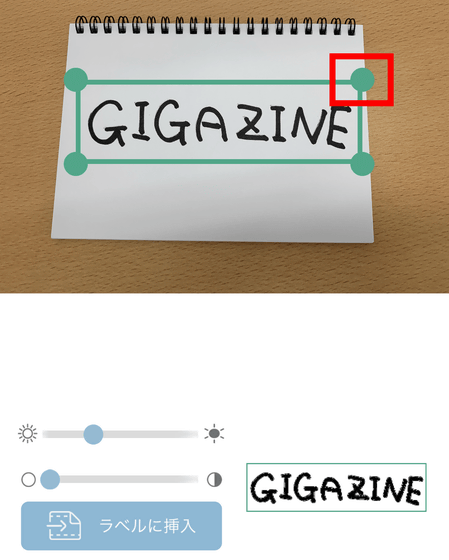
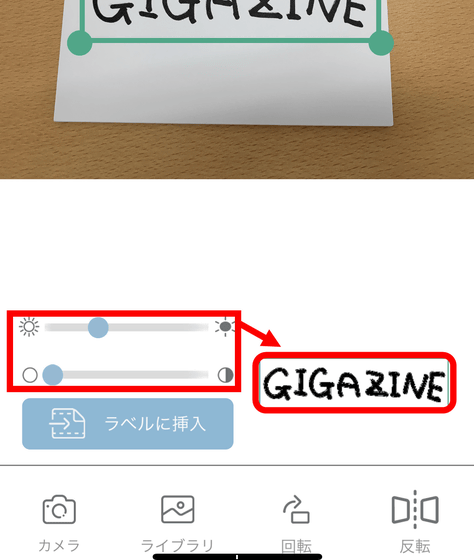
You can adjust the brightness and contrast with the slider in the red frame on the left, and the preview is displayed in the red frame on the right.
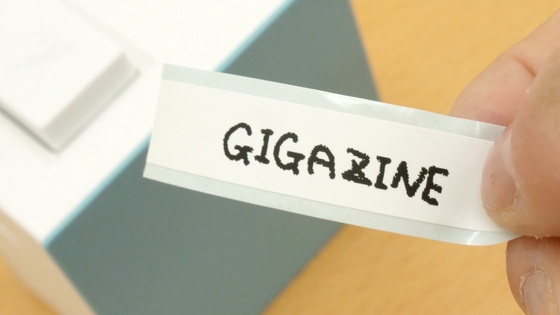
I was able to print even handwritten characters.
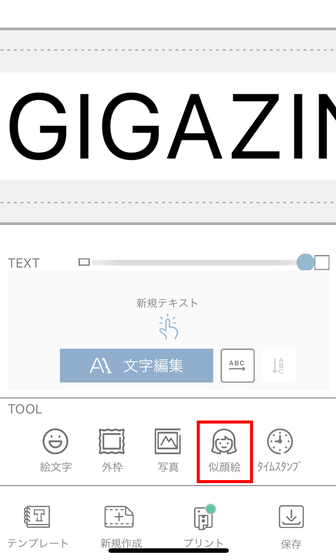
You can also add caricatures to create unique labels, such as when creating name labels for family and friends. Tap the 'caricature' icon.
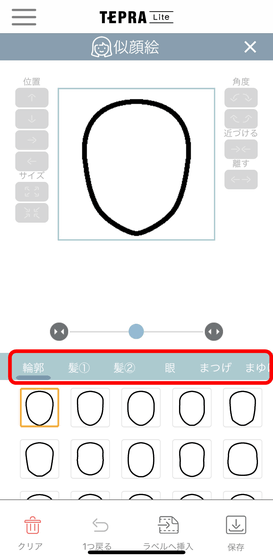
Select parts such as 'contour' and 'hair' to create a caricature.
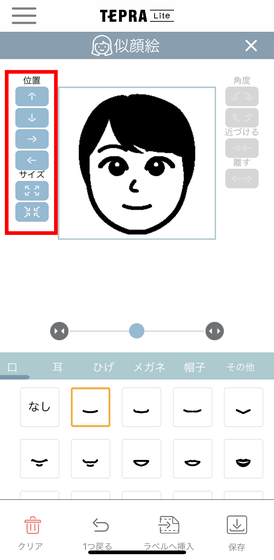
The position and size of each part can be adjusted.
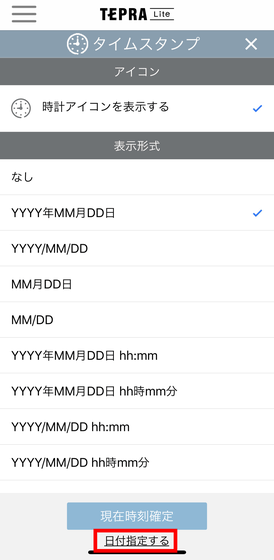
Tap the 'Time' icon to create a time label for the album or a label for the expiration date.
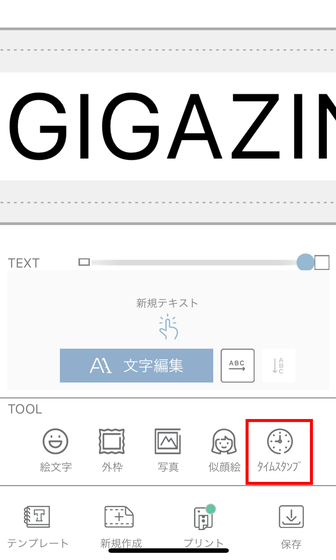
To insert by specifying the time and date, tap 'Specify time' at the bottom of the screen.
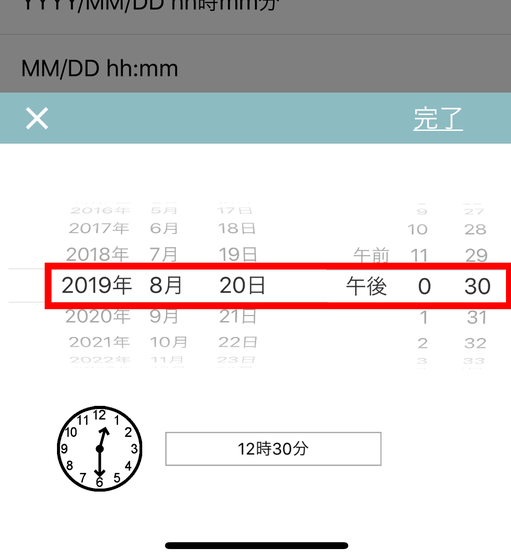
The clock icon is an analog clock that points to the specified time.
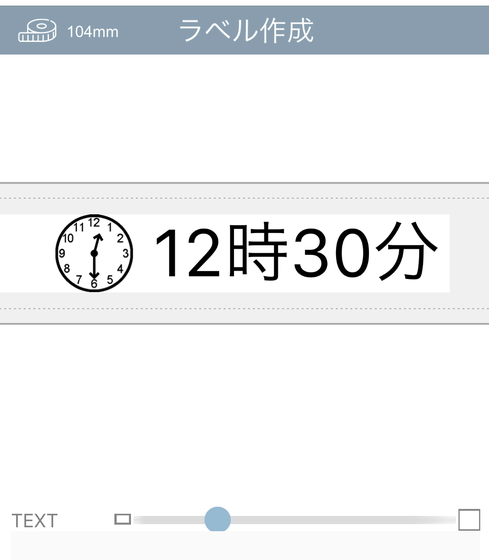
When you insert time, it looks like this.
Various templates are available for those who are 'not confident in their taste' or 'difficult to think of elaborate labels'. Tap the 'template' icon.
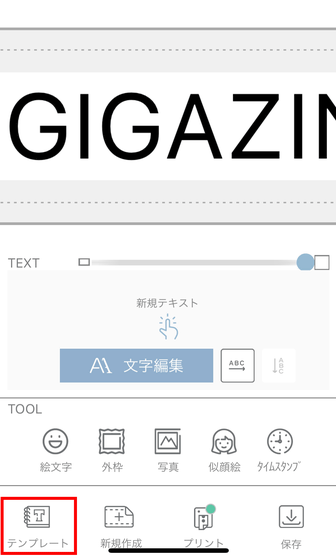
The template menu is divided according to the scene, and you can select from 'Name', 'Organize and store', and 'Gift decoration'. When you tap 'Name' ...
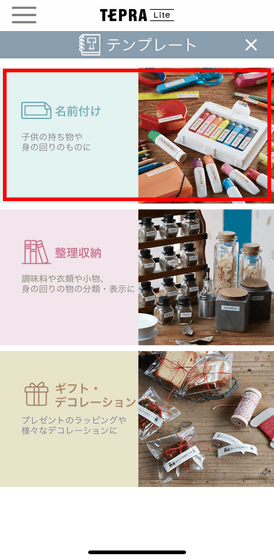
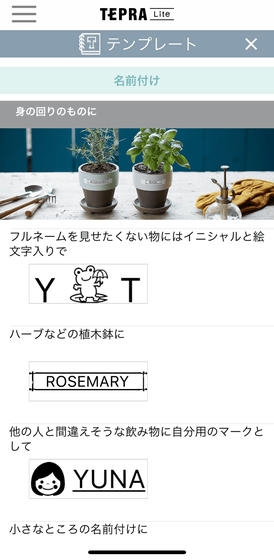
There was a label template for putting a name label on your belongings and for distinguishing types such as plants. Just looking at the template will help you to use it.
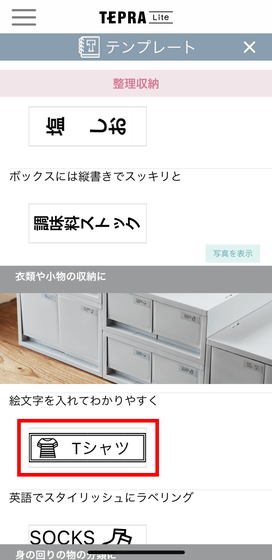
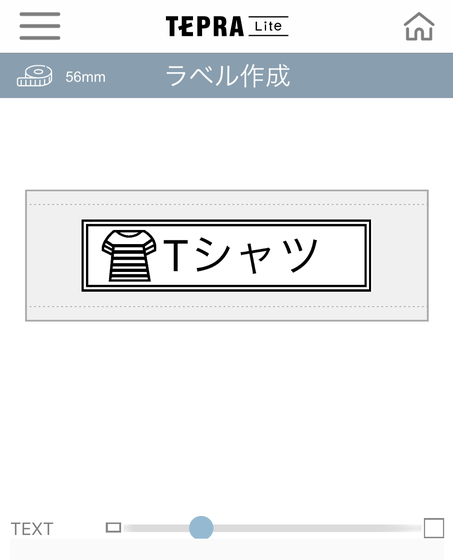
In the 'Organize and store' category, there are templates for sorting seasonings and clothing. Select the 'T-shirt' template as a trial.
Then, the screen changed to the label creation screen, and you could edit and print immediately. By using templates, you can easily create labels without worrying about design.
'Tepra' Lite LR30 was available for purchase on Amazon.co.jp at the list price of 7344 yen (tax included) at the time of article publication.
Amazon | King Jim Label Printer 'Tepra' for smartphones Lite Blue LR30 Ao | Stationery / Office Supplies | Stationery / Office Supplies
Related Posts:
in Hardware, Smartphone, Review, Posted by darkhorse_log


