"Omoidori (Omoi Dori)" review which can scan the album film photos in a clearly clear way on the iPhone Review
When you say "I want to import photos taken with a film camera to iPhone", it is troublesome to import them into a PC with a scanner every time and edit them, but if you take a picture with a camera, reflection or reflection of light comes in It also can not be captured in a beautiful state. So, using the iPhone's camera to make it possible to scan photos beautifully was "Omoidori"is.
Omoidori (Omokori) - iPhone Album Scanner
http://omoidori.jp/
In addition to the main body of Omoidori this time, I also purchased a photo presser that prevents deflection of pictures when scanning rose pictures.
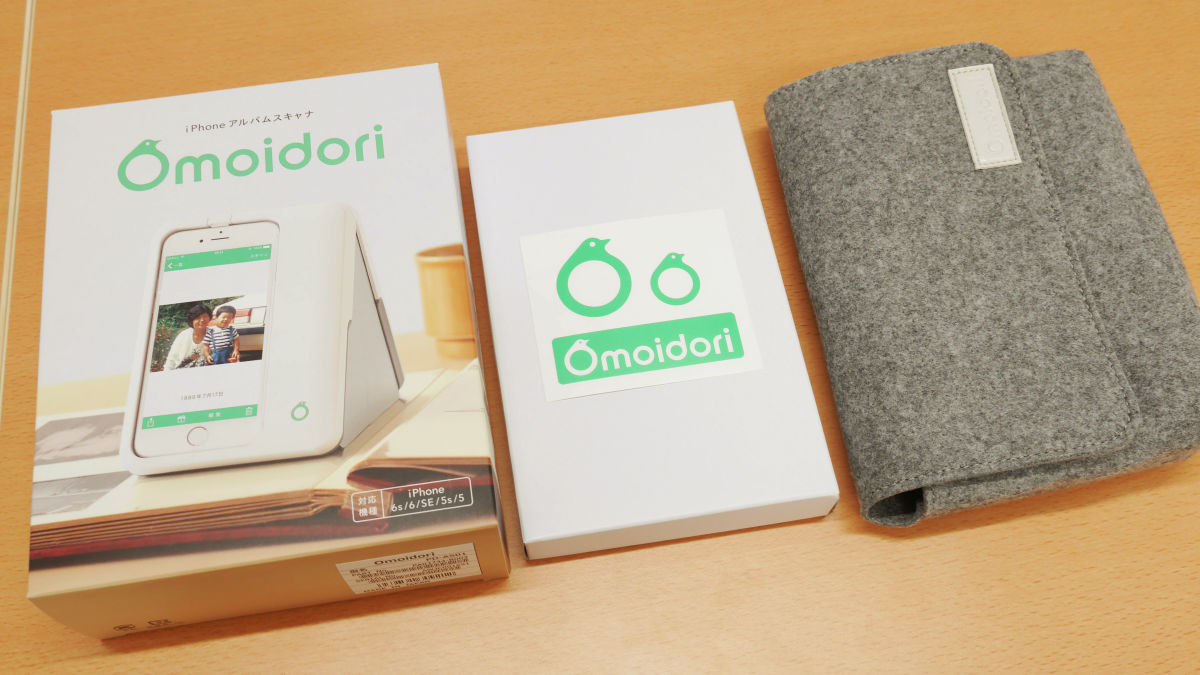
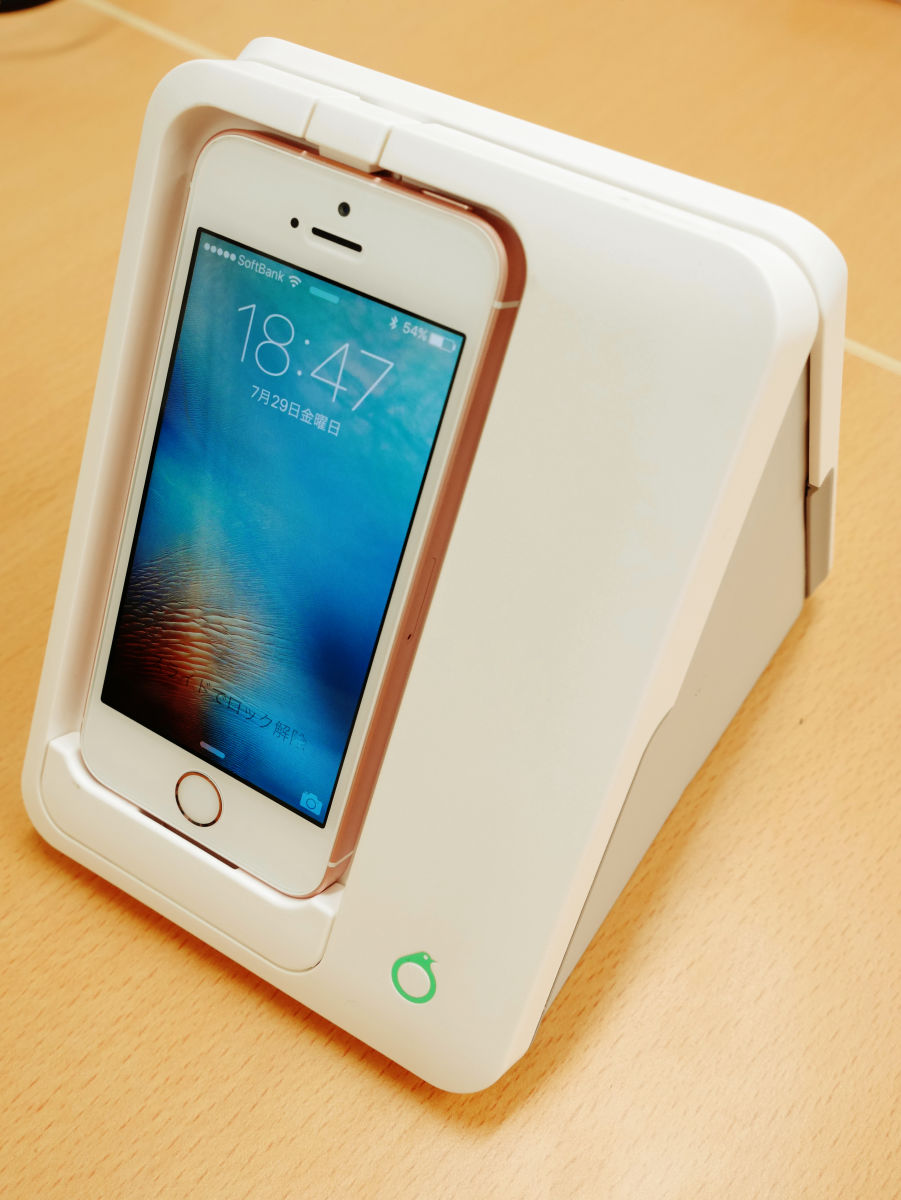
Omoidori's box contained the main body · instruction manual · attachment for iPhone SE / 5s / 5, 2 AAA batteries.
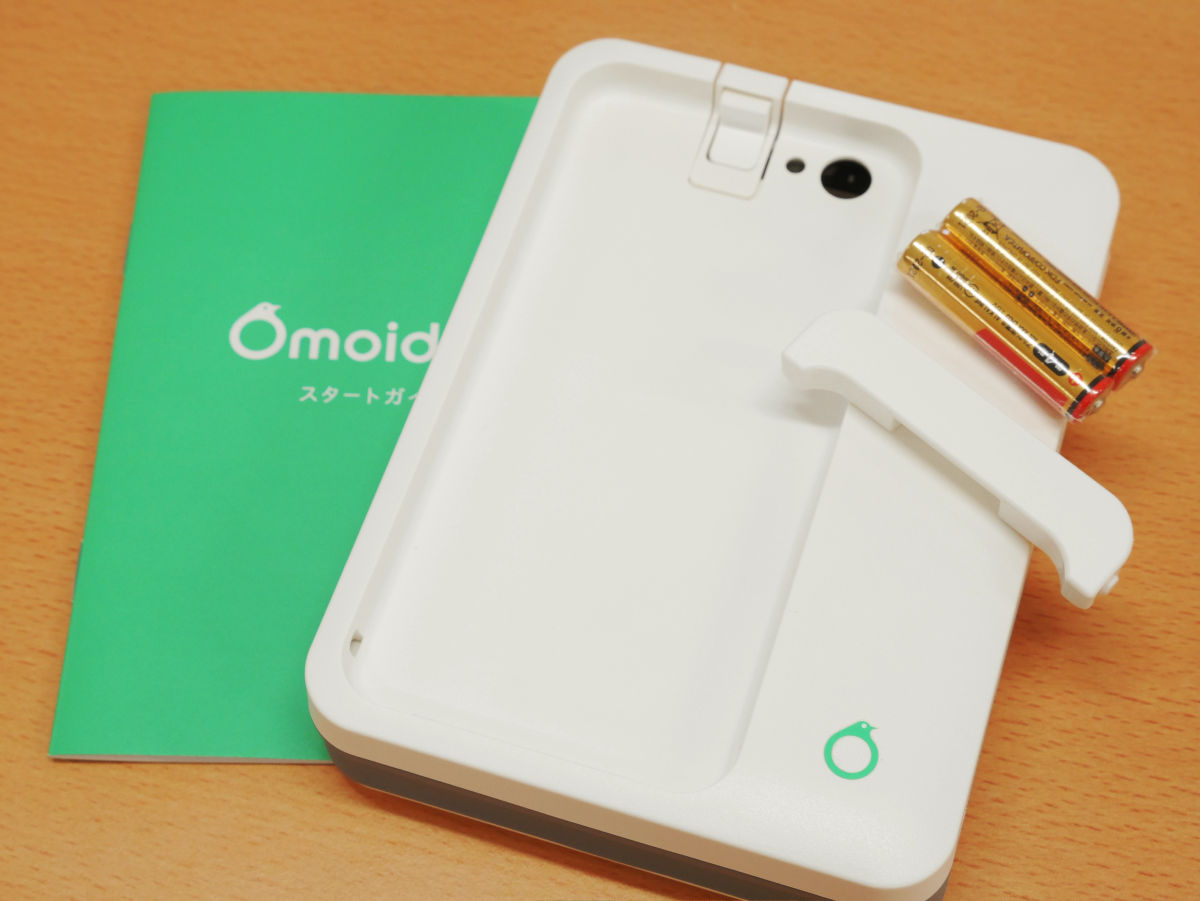
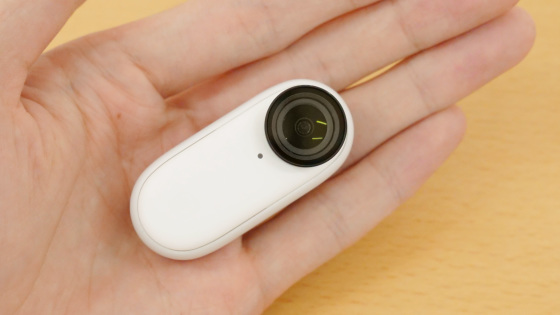
The body size in the closed state is 19.6 × 15.2 × 6.2 cm, and the weight is 458 g.
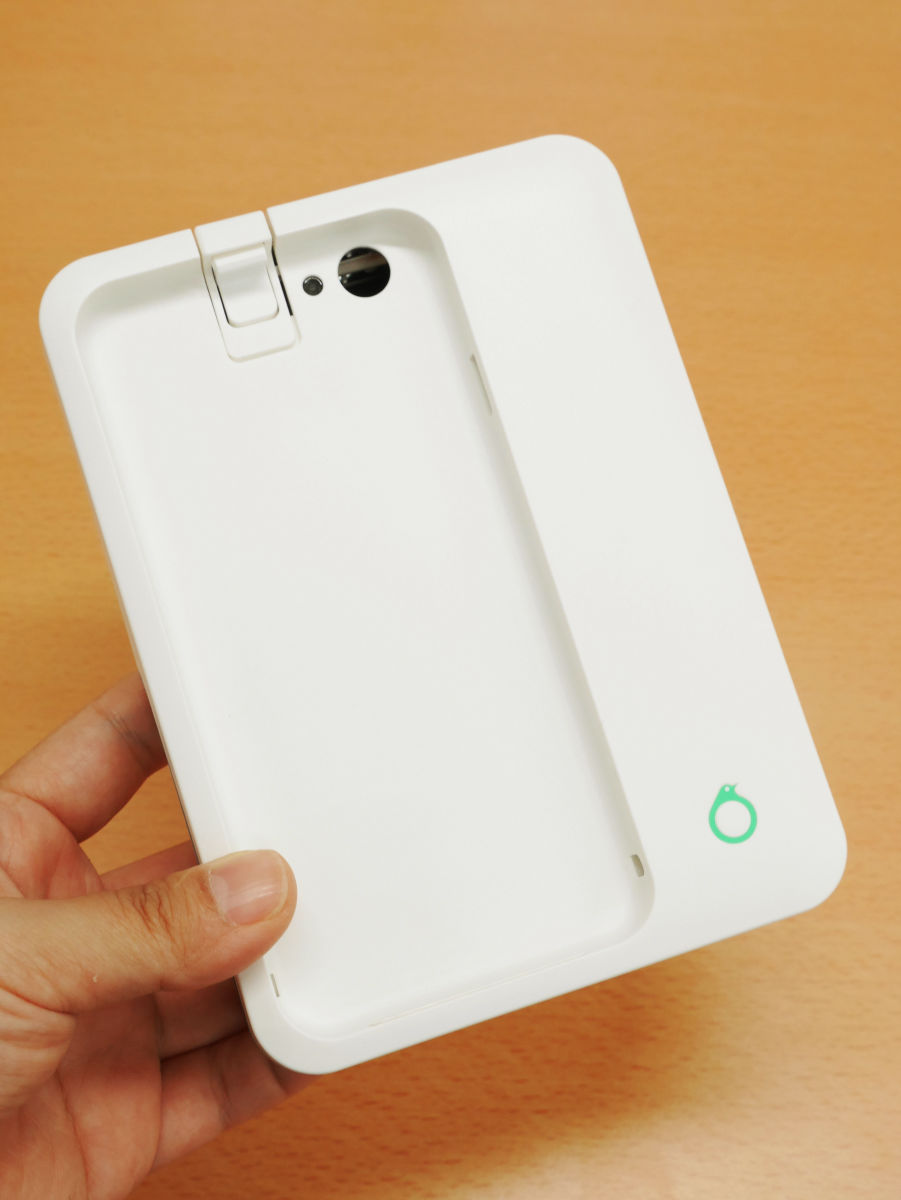
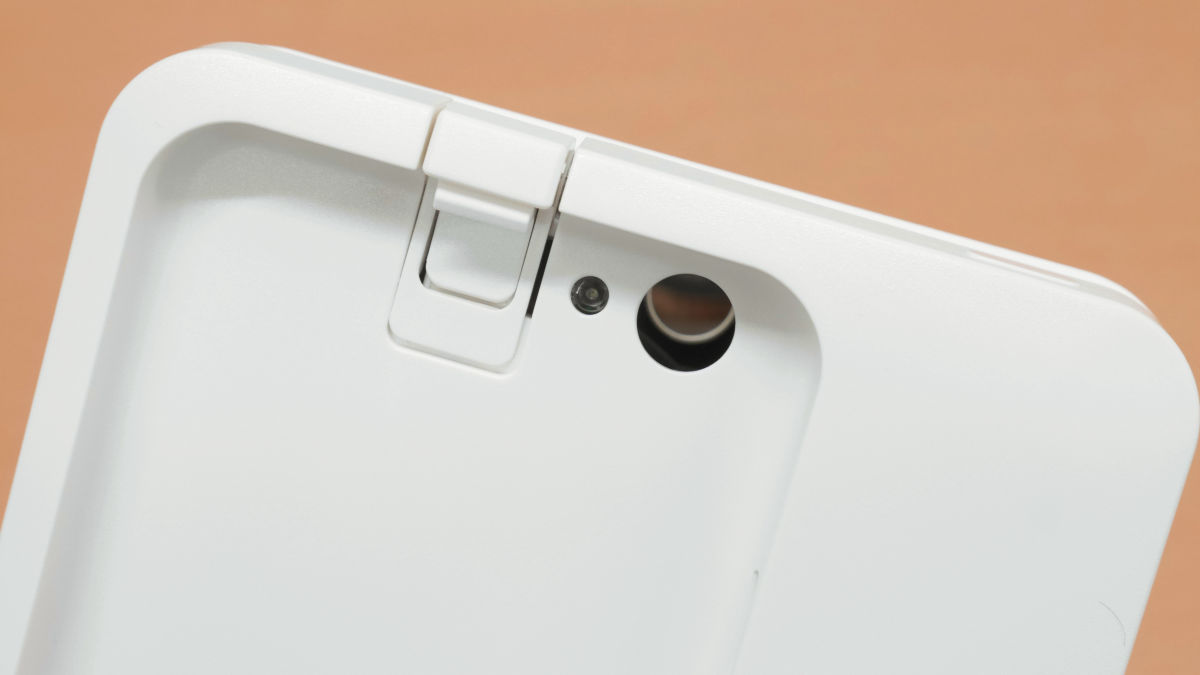
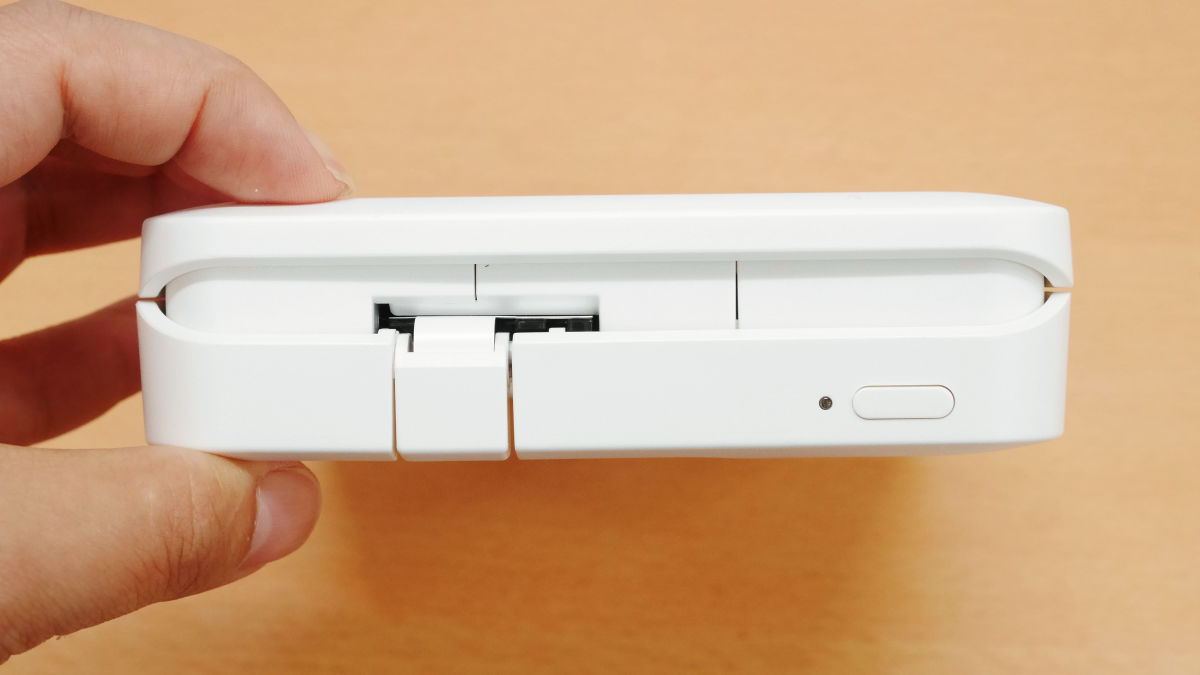
There is an iPhone eject lever on the upper part of the front, there is also a lens hole so that you can shoot with iPhone.
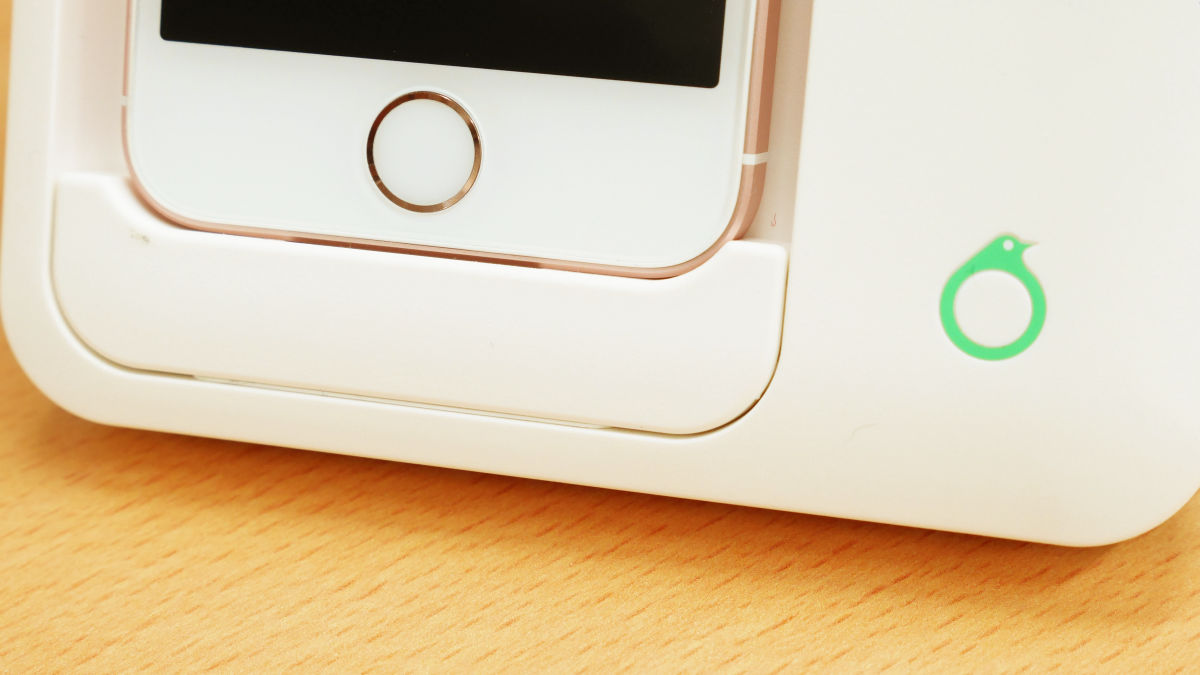
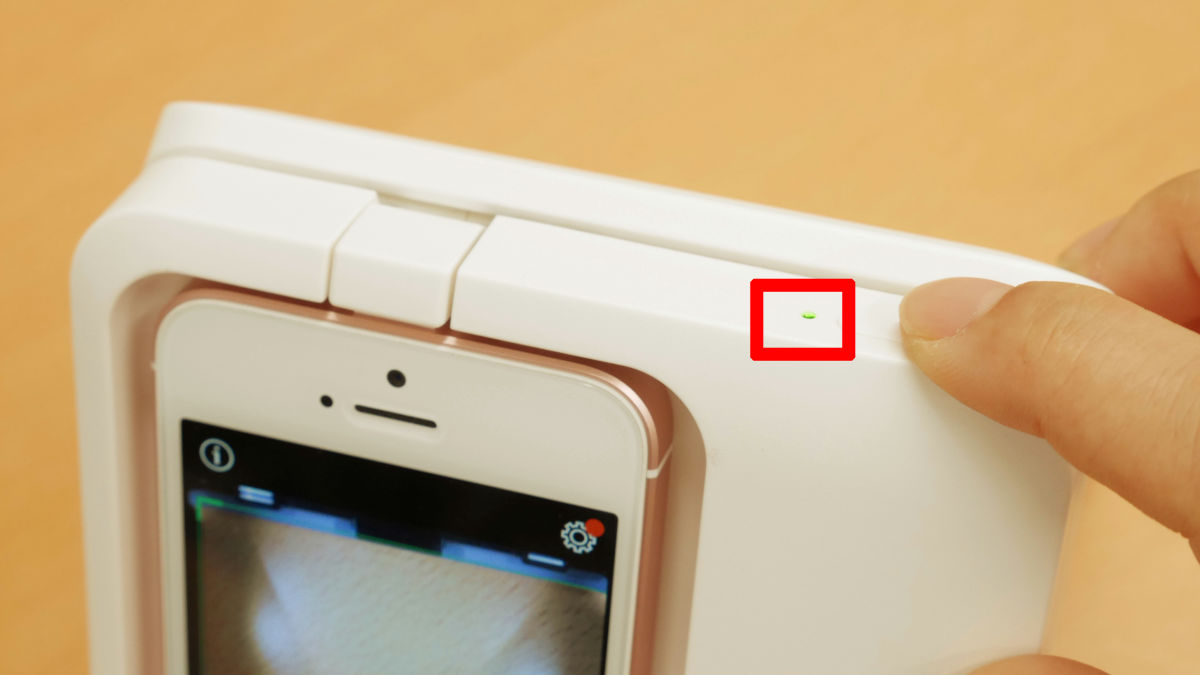
When I looked at the top, I could check the battery level lamp and the sub switch on the right side.
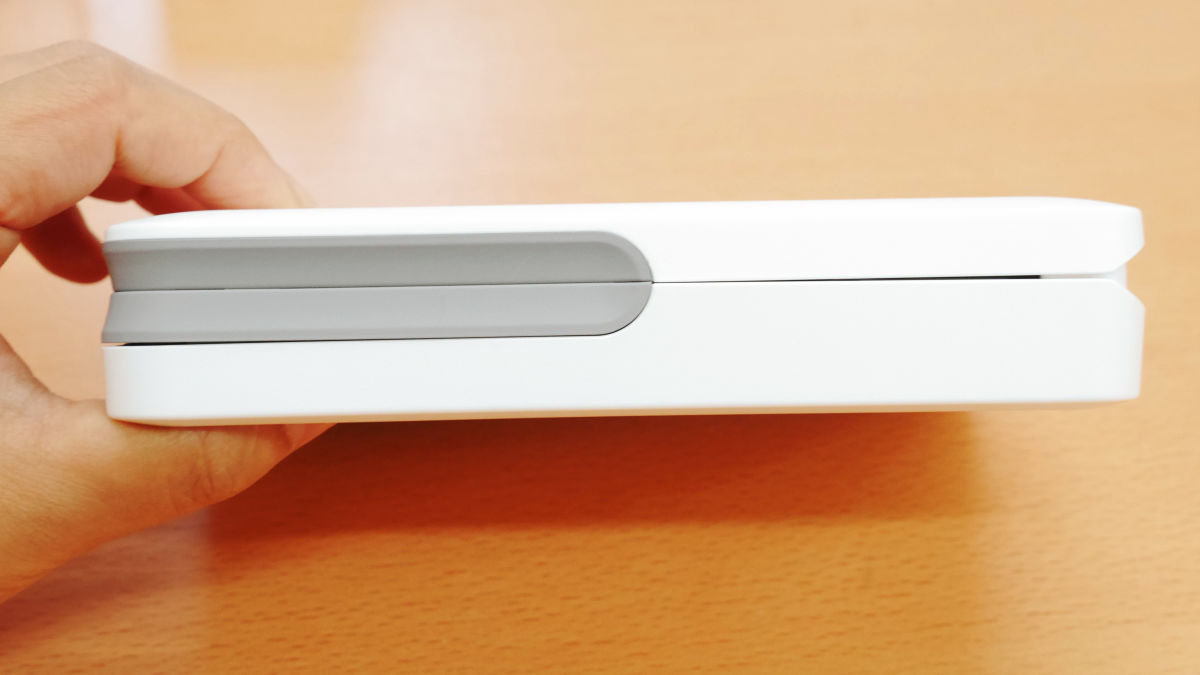
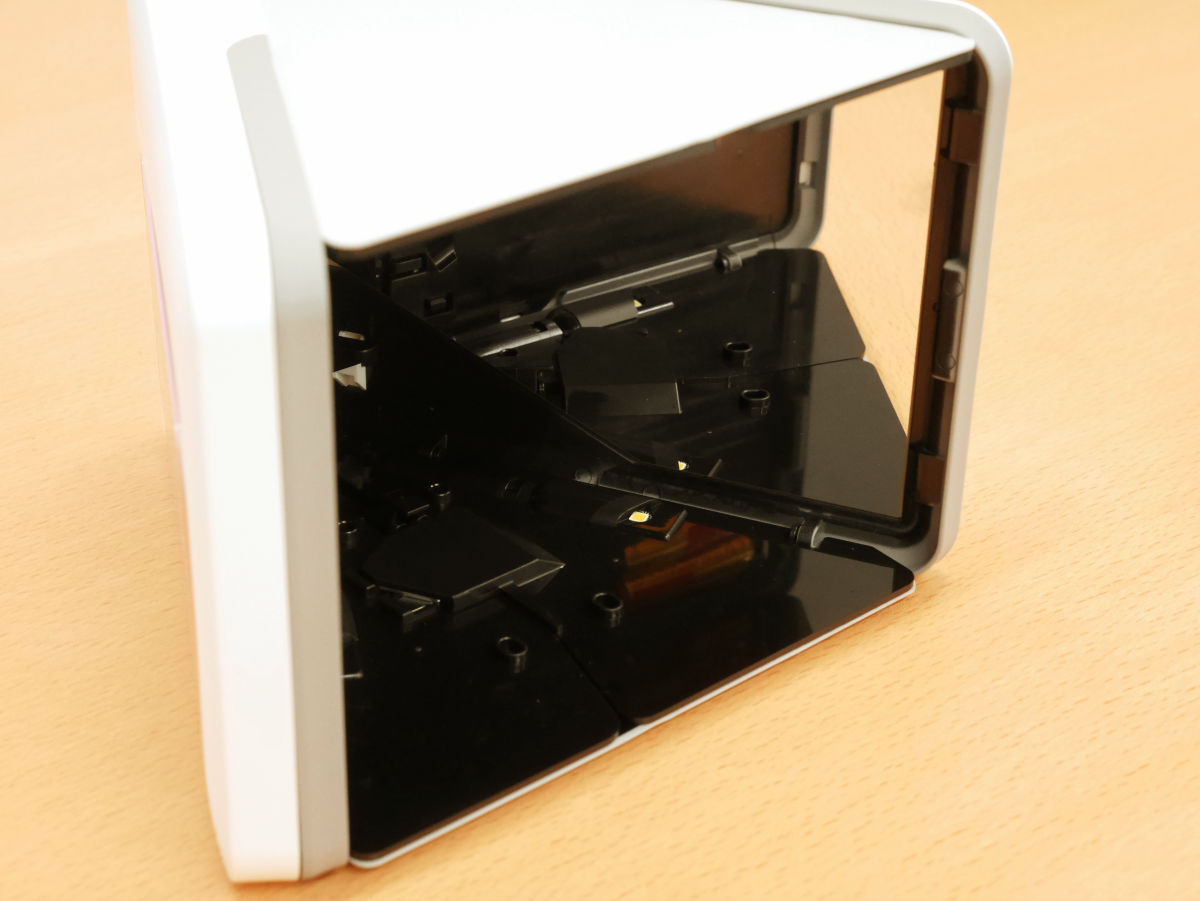
The side is like this. The gray part is a grip for opening and closing ......
When it opens, the main body will become independent as follows.
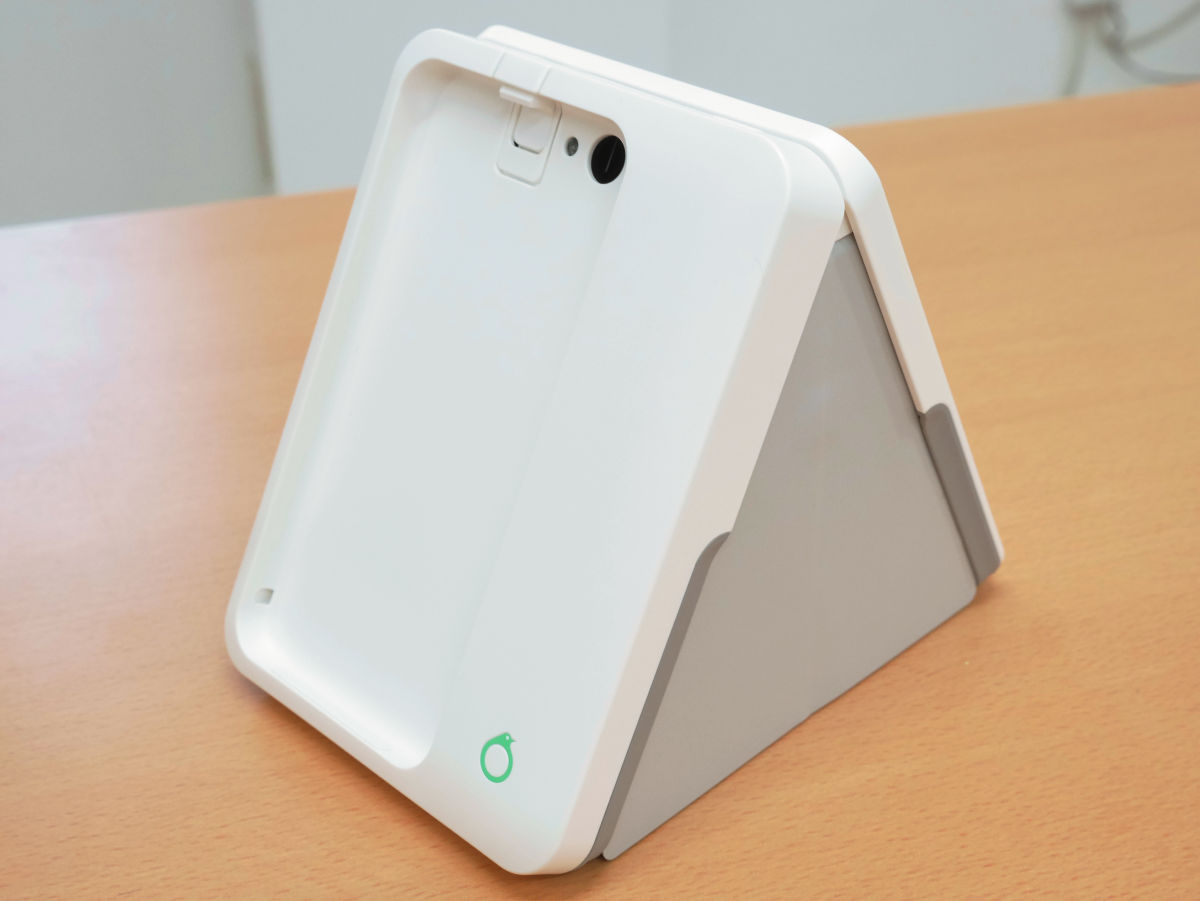
Frame is the size that iPhone 6 fits snugly.
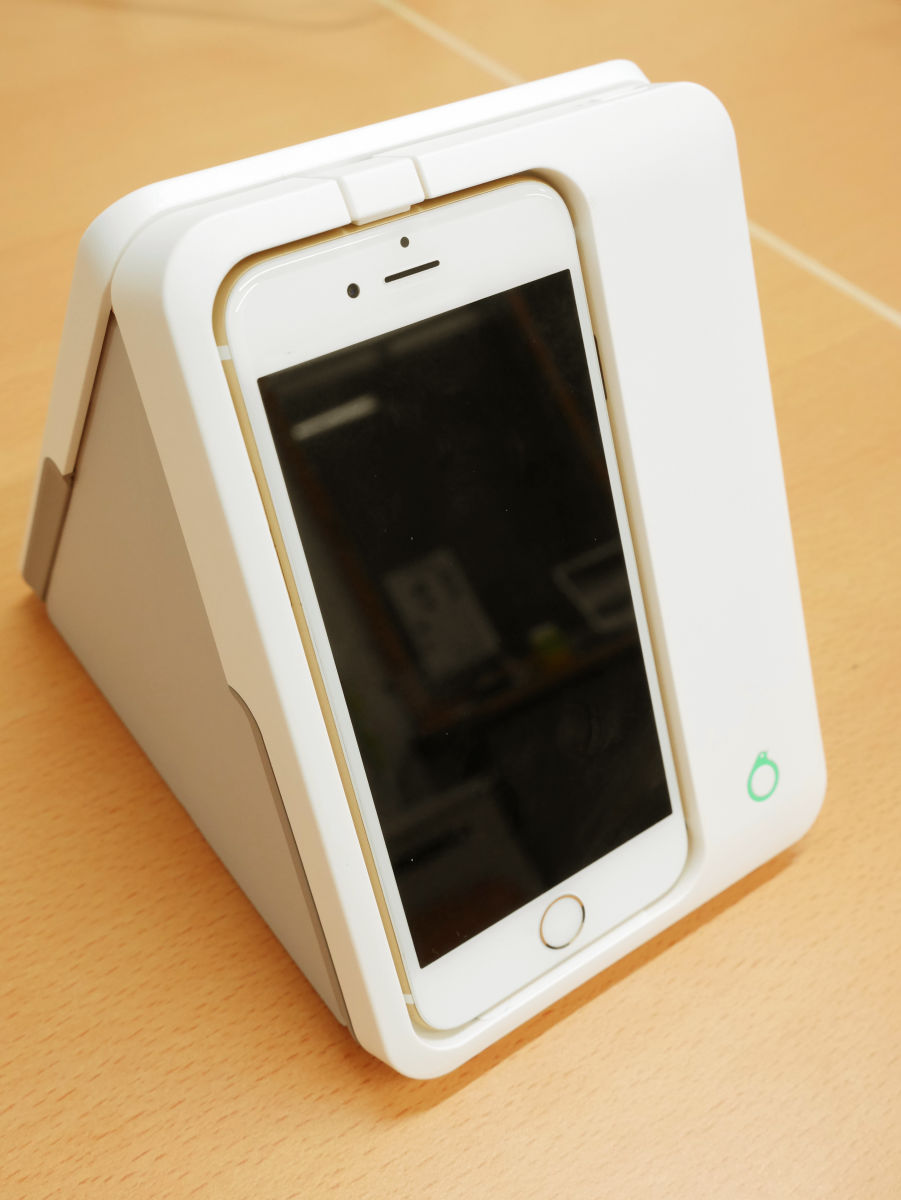
You can also use the iPhone SE / 5s / 5 by placing the attachment under the frame.
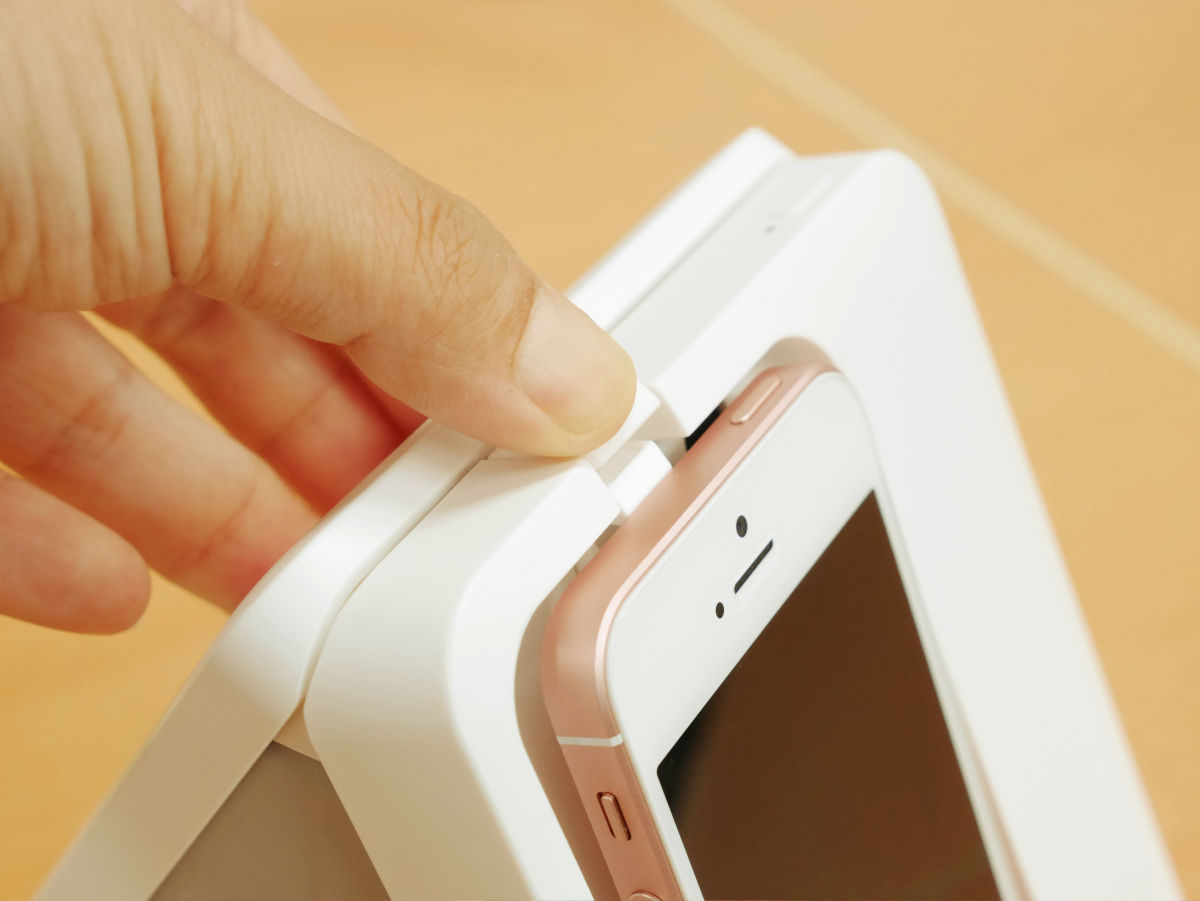
Holding the iPhone eject lever pushes out the top of the iPhone.
When folding up, grab the opening and closing grip from the outside OK.
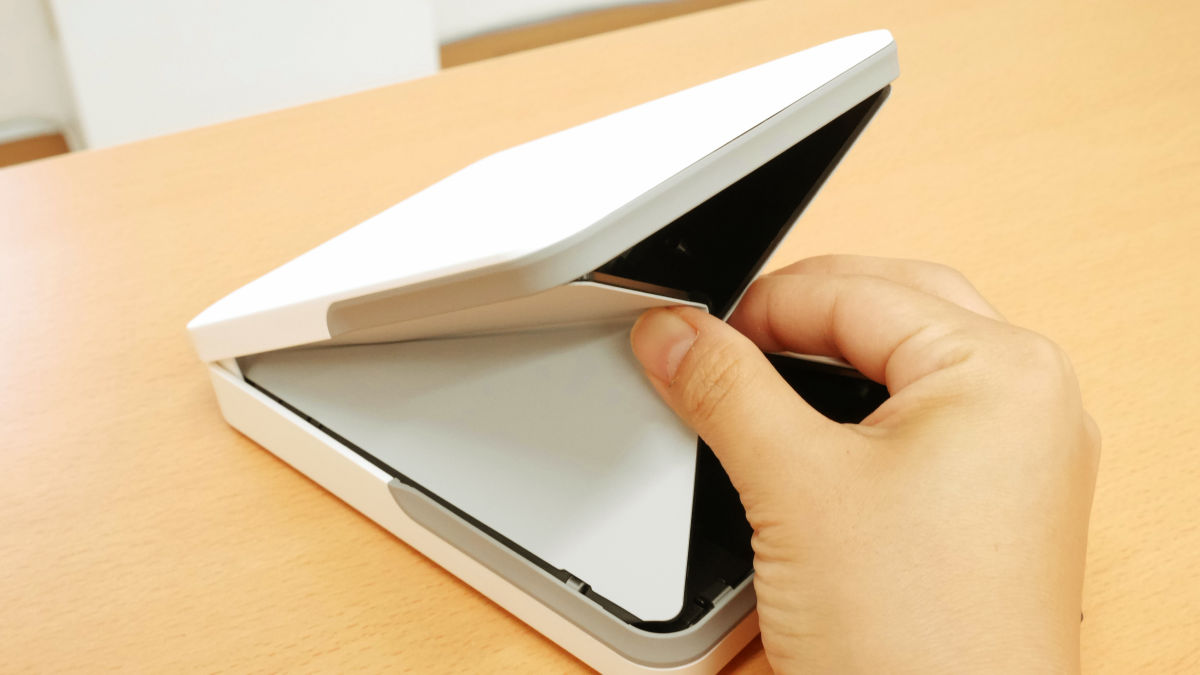
Since Omoidori moves with batteries, first remove the battery cover inside the main unit and set two AAA batteries.
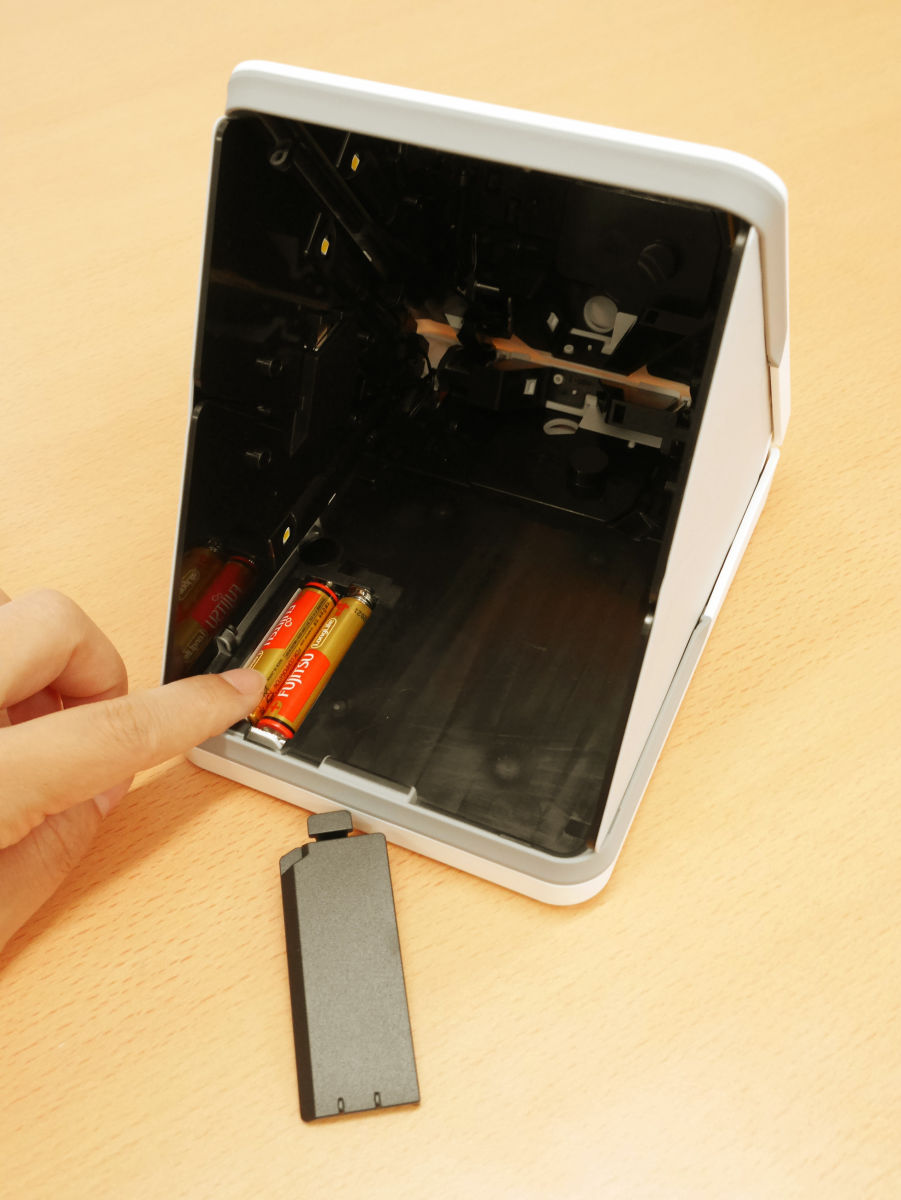
The opposite side of the battery outlet is a mirror, it seems to be a mechanism to reflect the picture with a mirror and shoot with the camera.
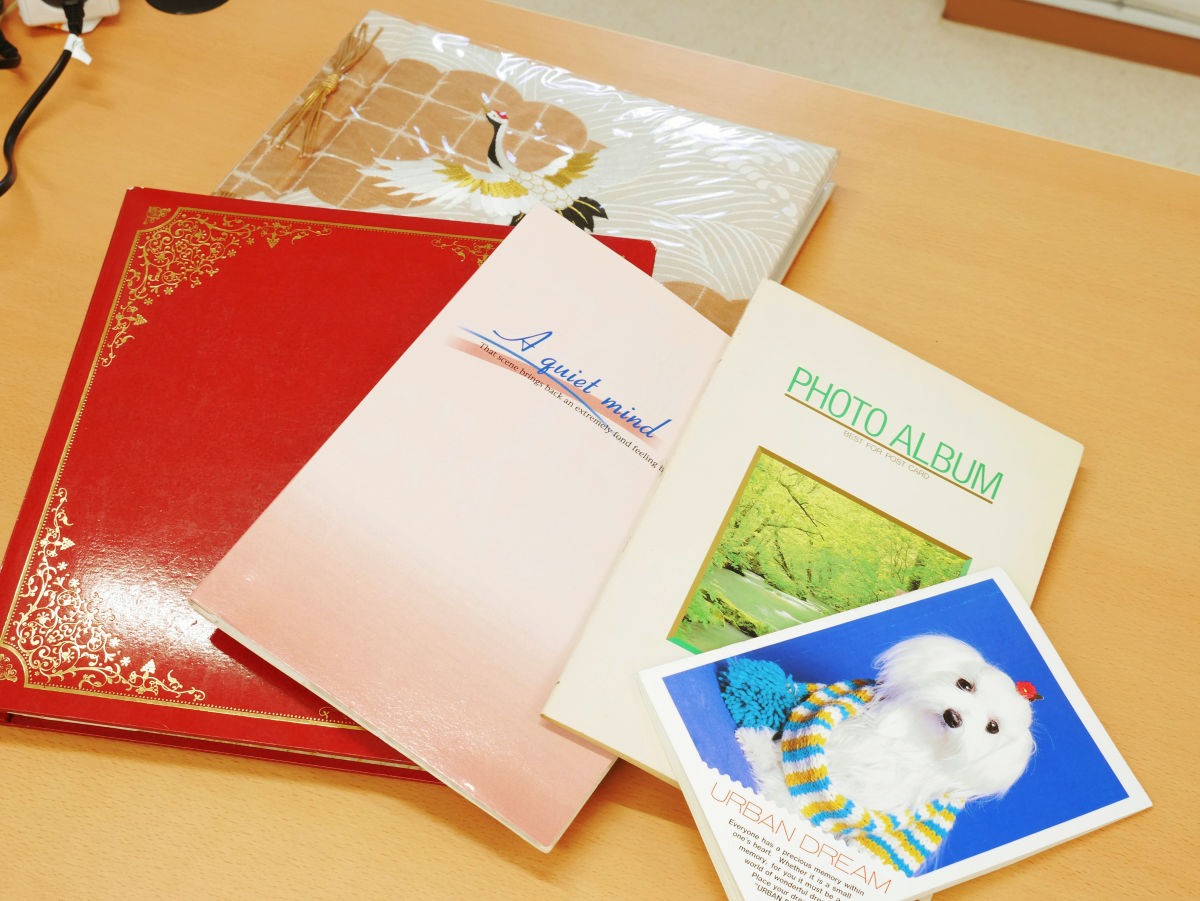
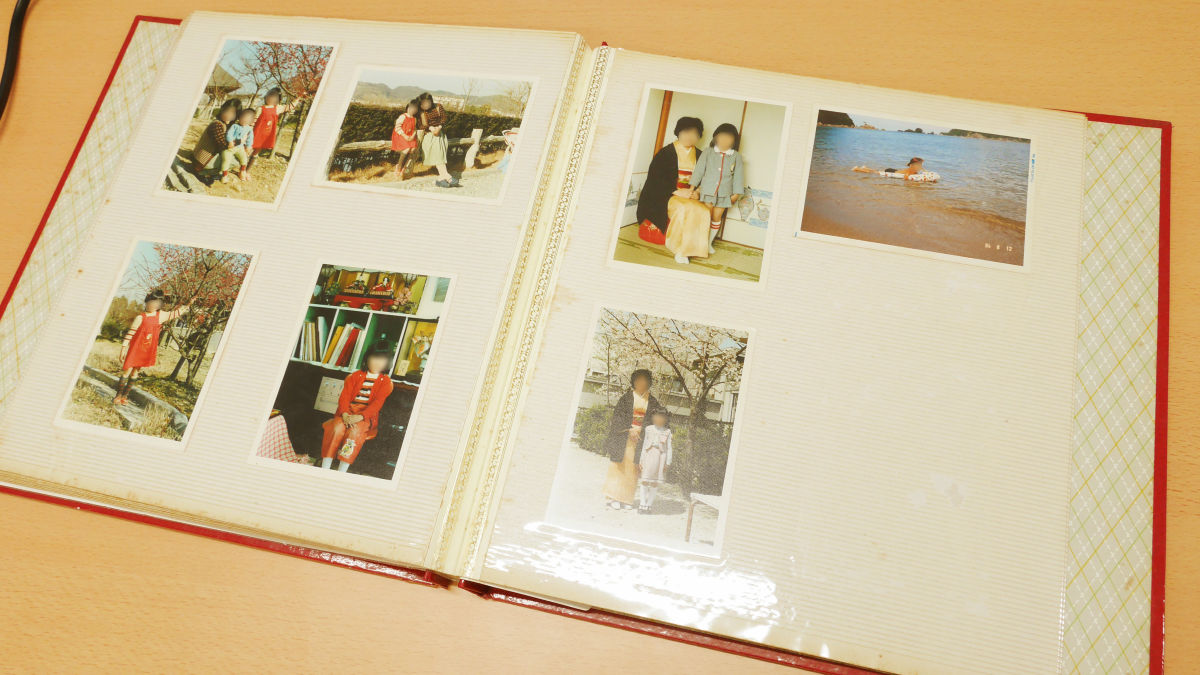
So I will actually use Omoidori to scan the photos of the album I slept at my house.
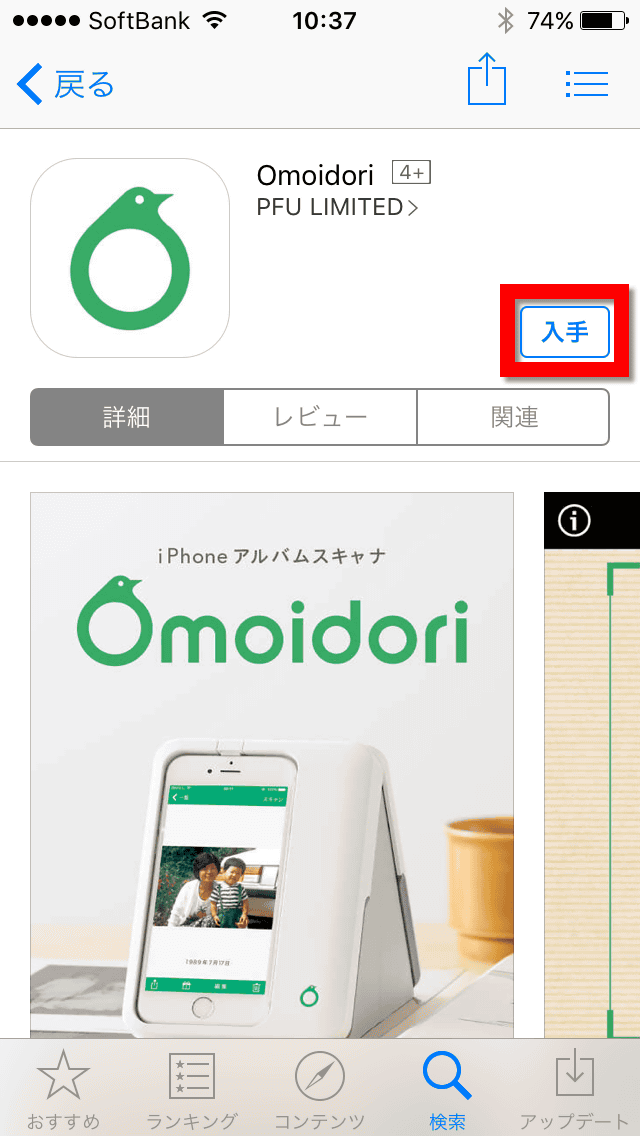
First install the application from the App Store.
Omoidori on the App Store
https://itunes.apple.com/jp/app/omoidori/id1099667321
Open the Omoidori page on the App Store and tap "Get".
Tap "Install" ......
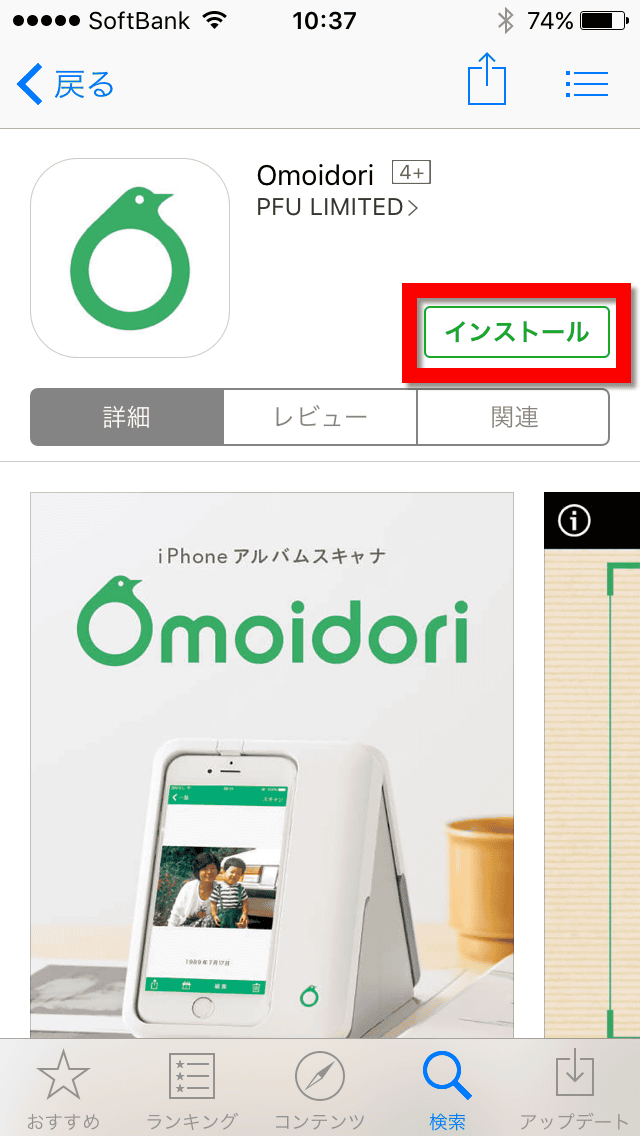
Tap "Open" to launch the application.

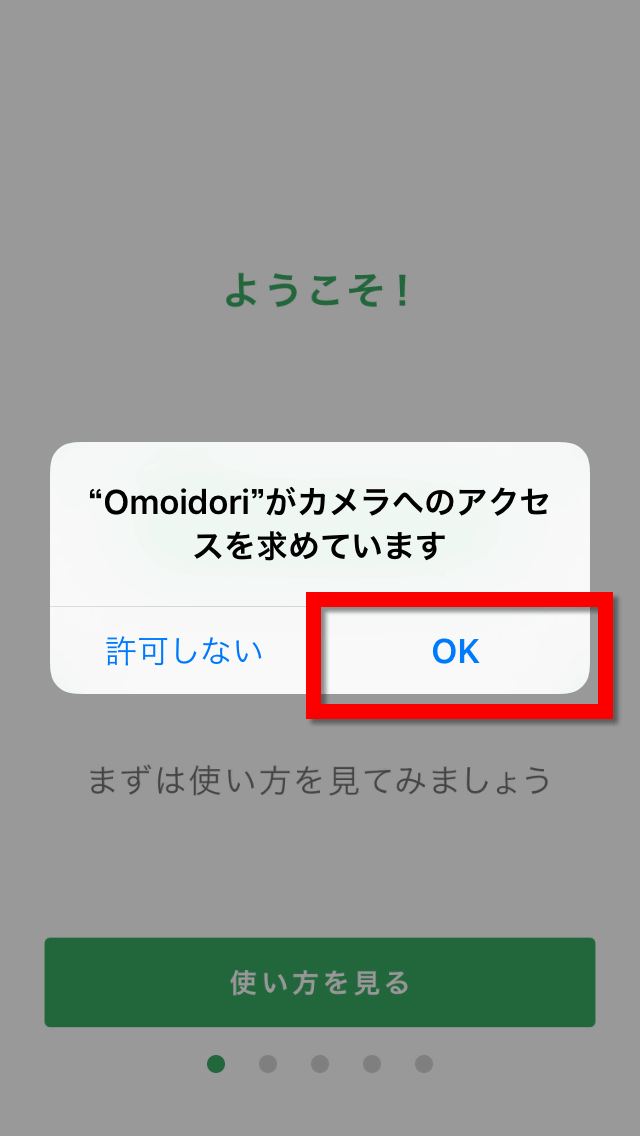
"Omoidori" will send you a notification. Are you sure? "So tap" OK ".

Next you will be asked for permission to access the camera, so also tap "OK".
As the explanation of how to use begins, as you slide the screen ... ...
Since it will change to the screen saying "Let's get started!", I will tap "tojo".

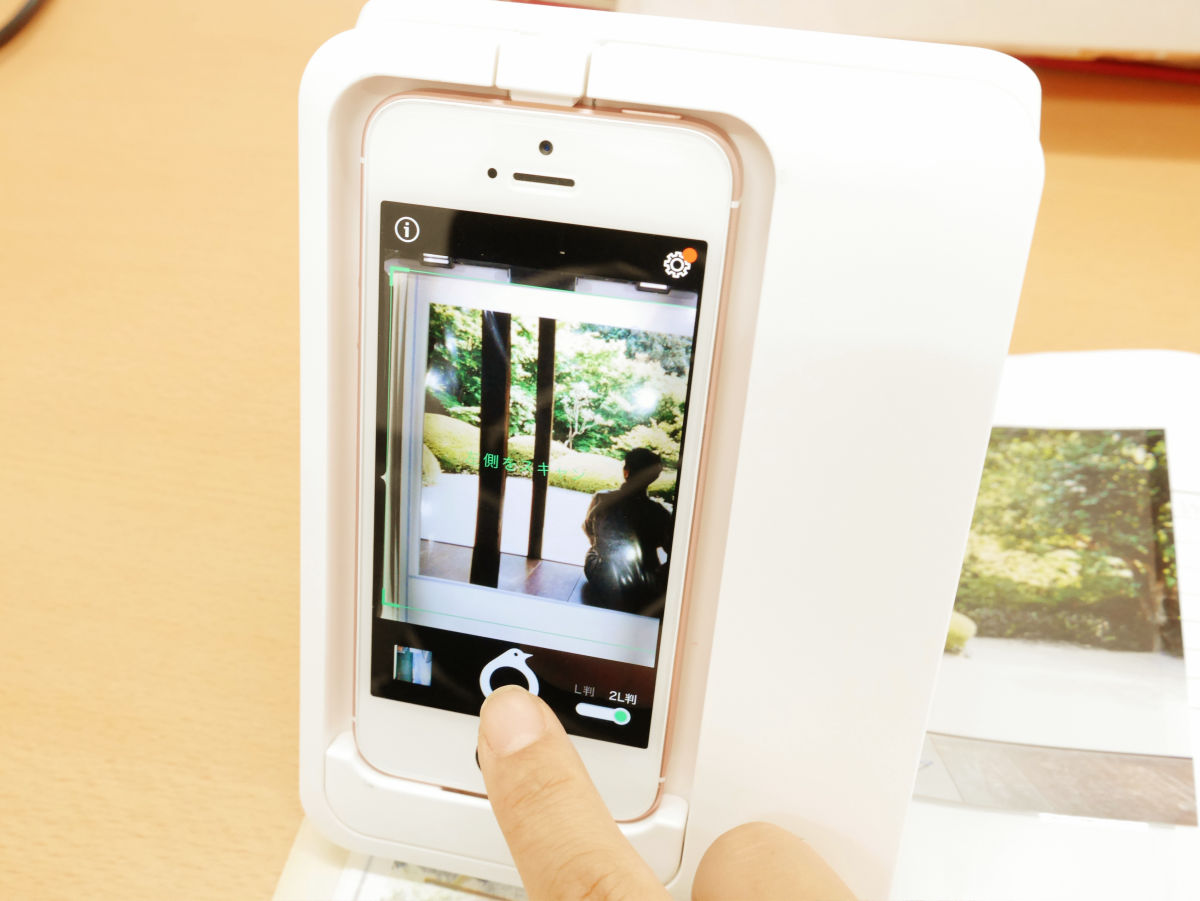
Then the subject is displayed with the display turned upside down.
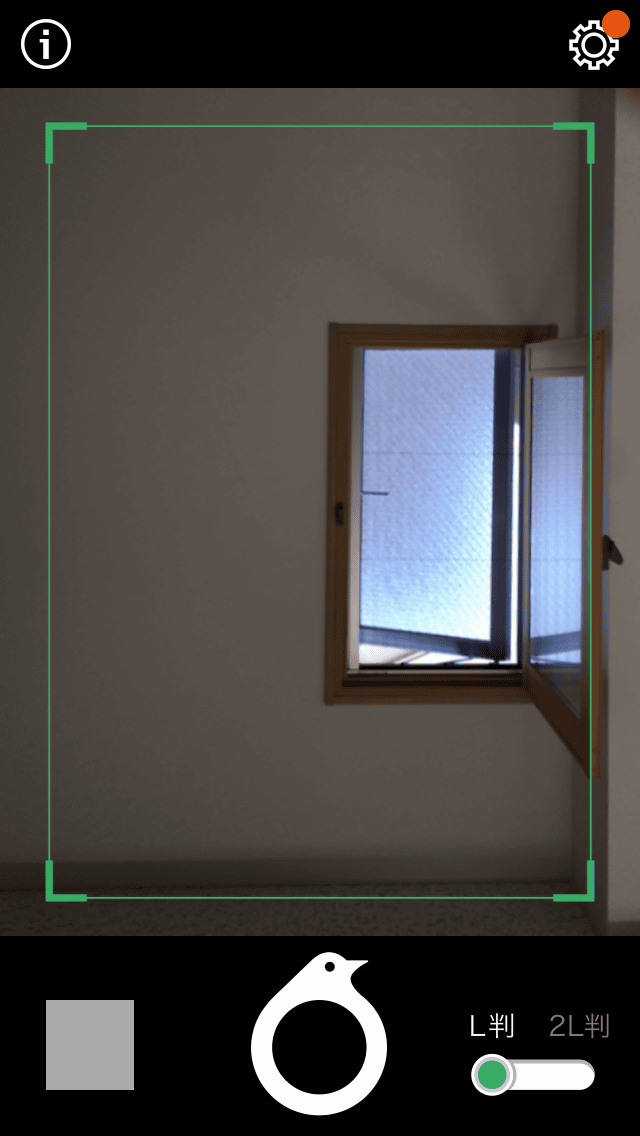
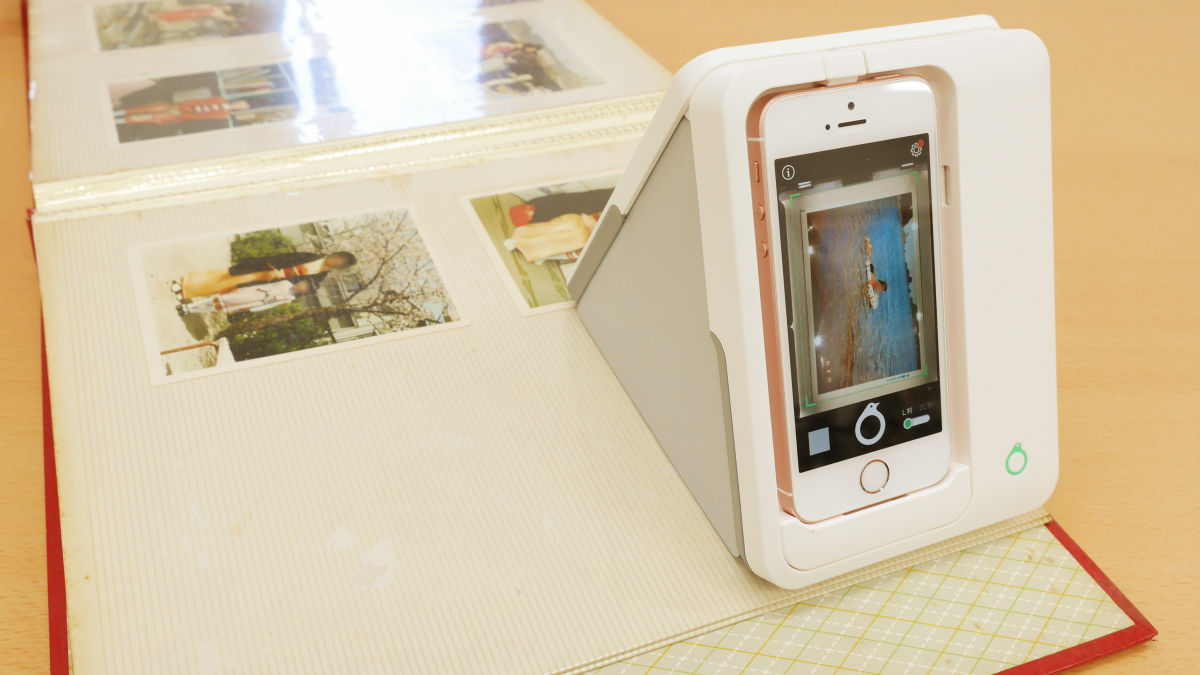
With the application of Omoidori launched, fit the iPhone into the Omoidori body and push the side button on the top. Then, the green light next to the button will light, and you can take a picture with the light inside the main unit.
Fly around Perry and the album ......
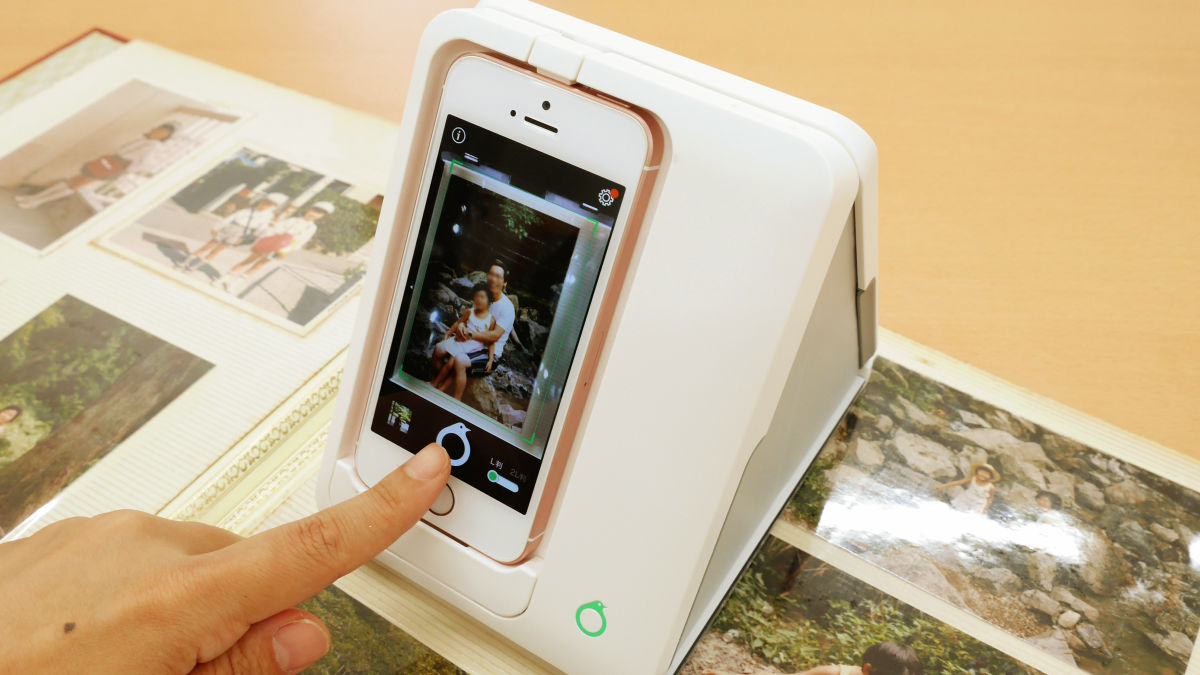
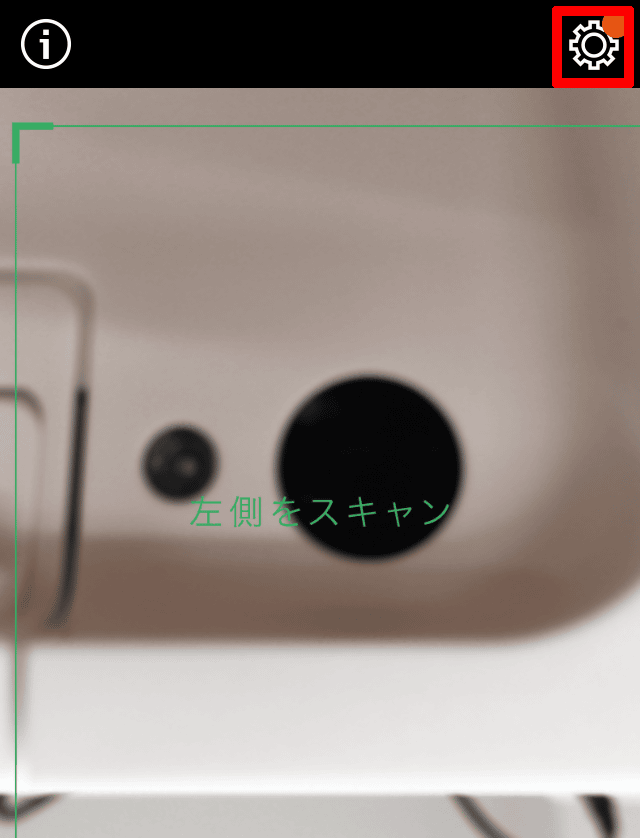
Place Omoidori in the activated state on the photo.
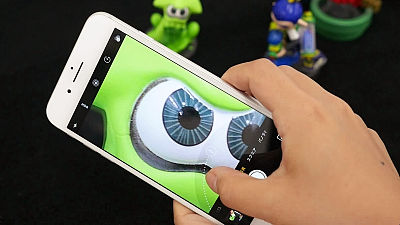
The iPhone display looks something like this. There are light reflections at the four points on the left and right of the photo, and you can see that the light is lit inside the main body. However, the worry that "If you shoot a photo as it is, the reflection will be reflected ... ...".
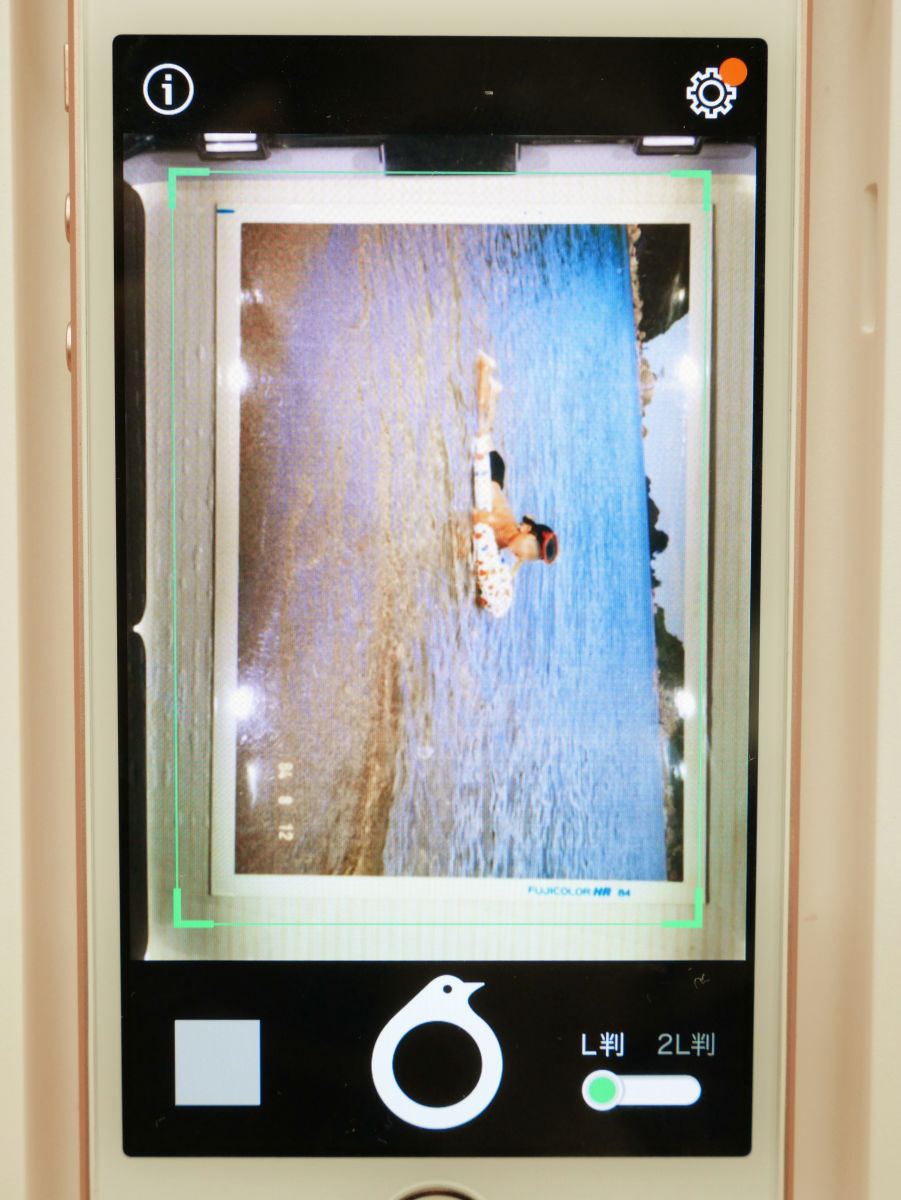
While worrying, I'll go forward for the time being. Just tap the round button displayed at the bottom of the application to complete the scan.

Pictures taken are displayed small on the bottom left of the screen, so when tapping ... ...
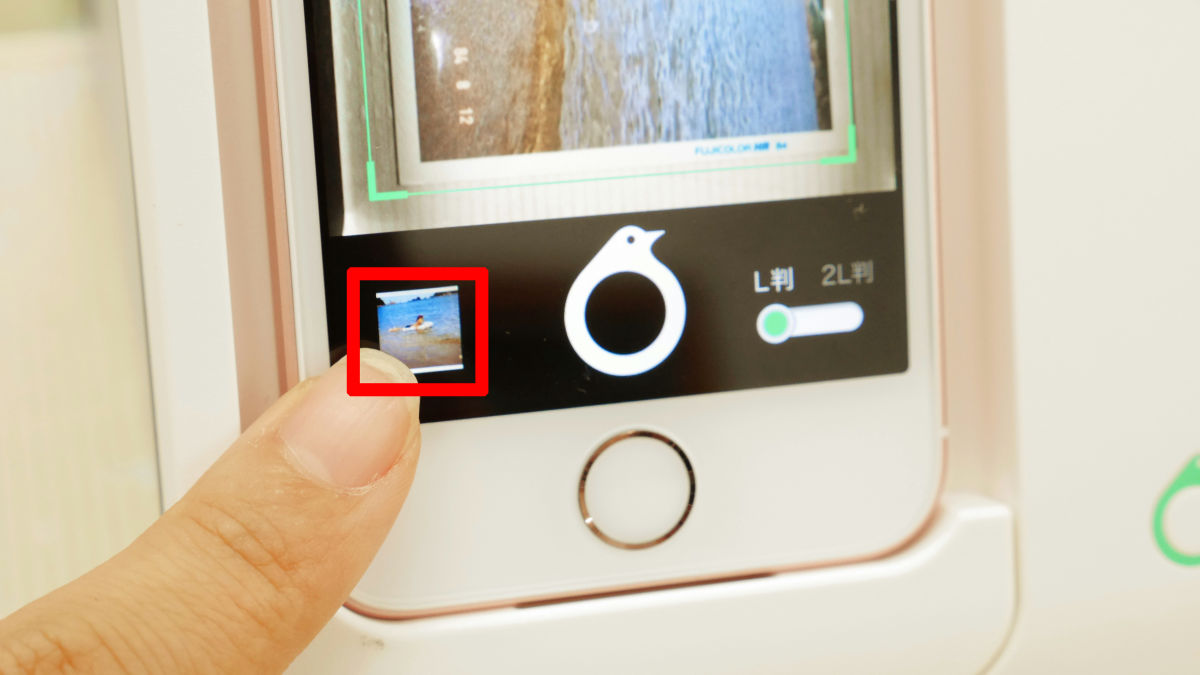
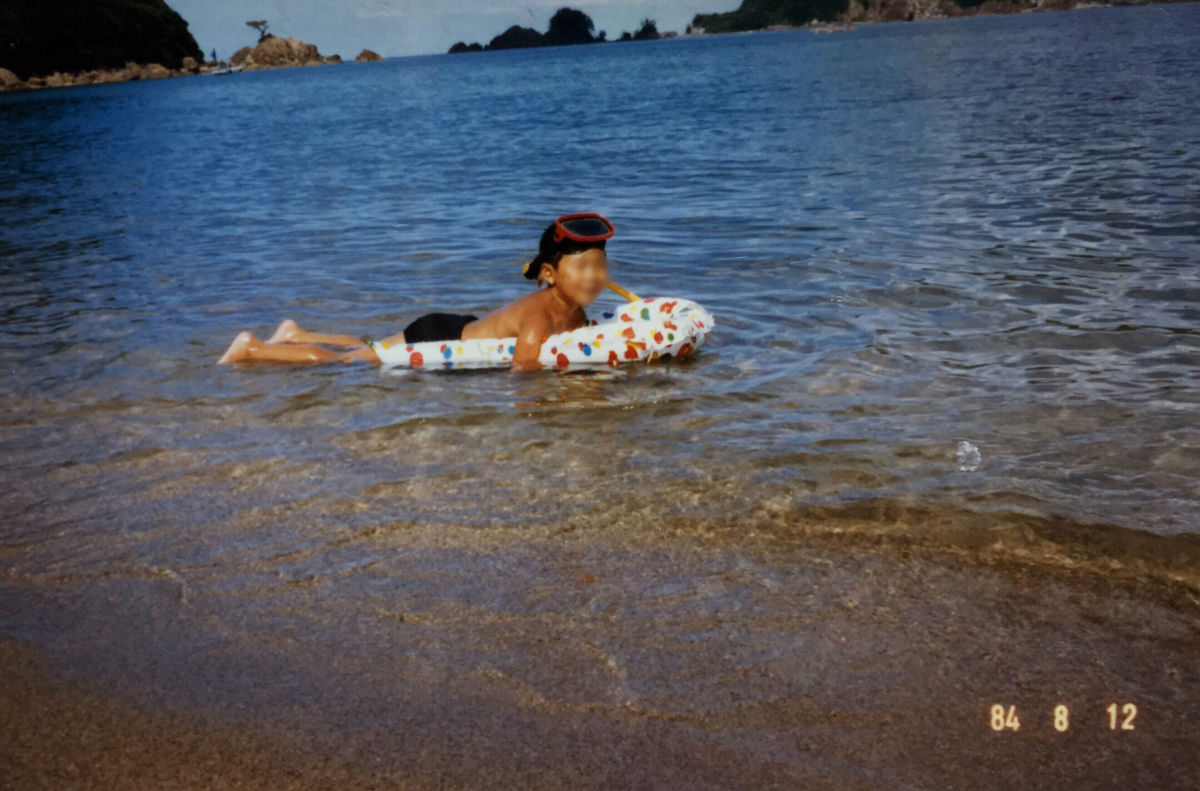
Photos like this were captured.
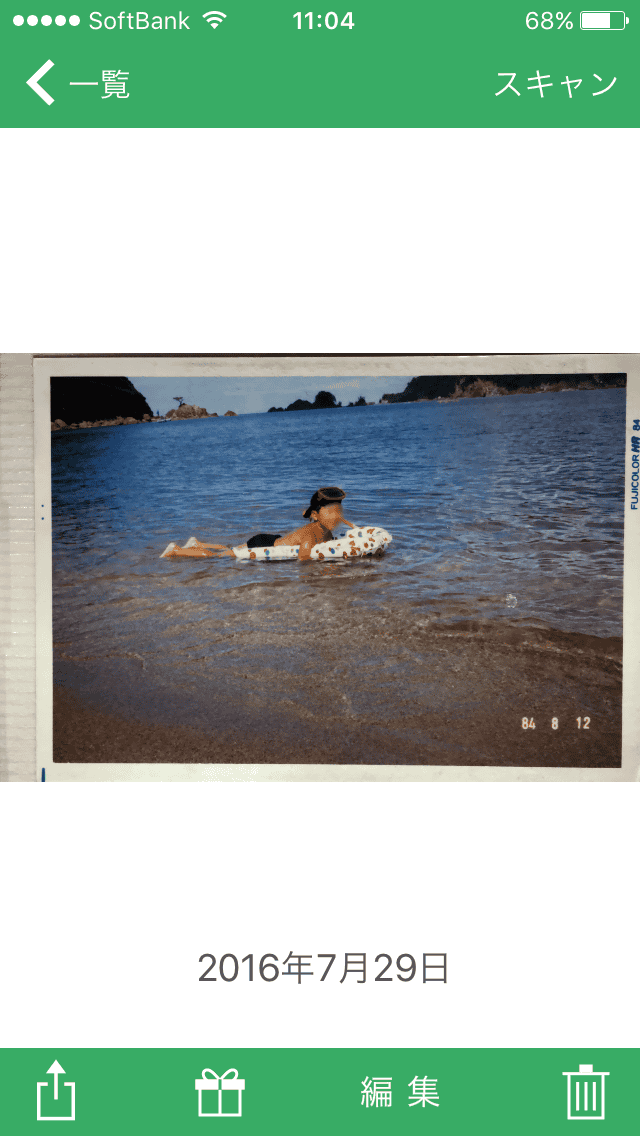
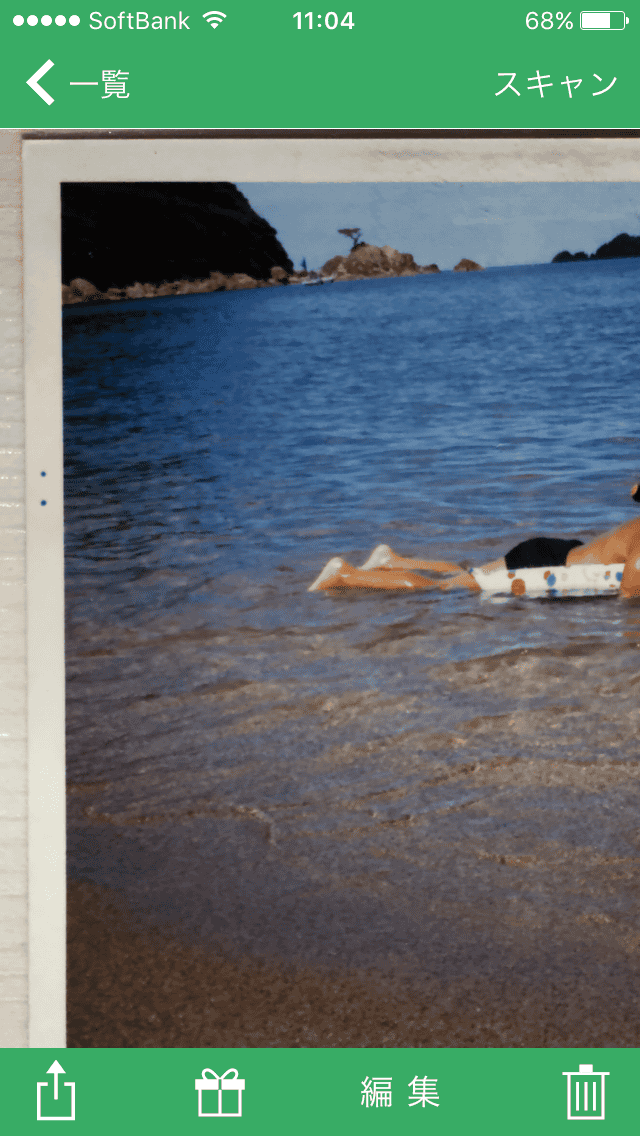
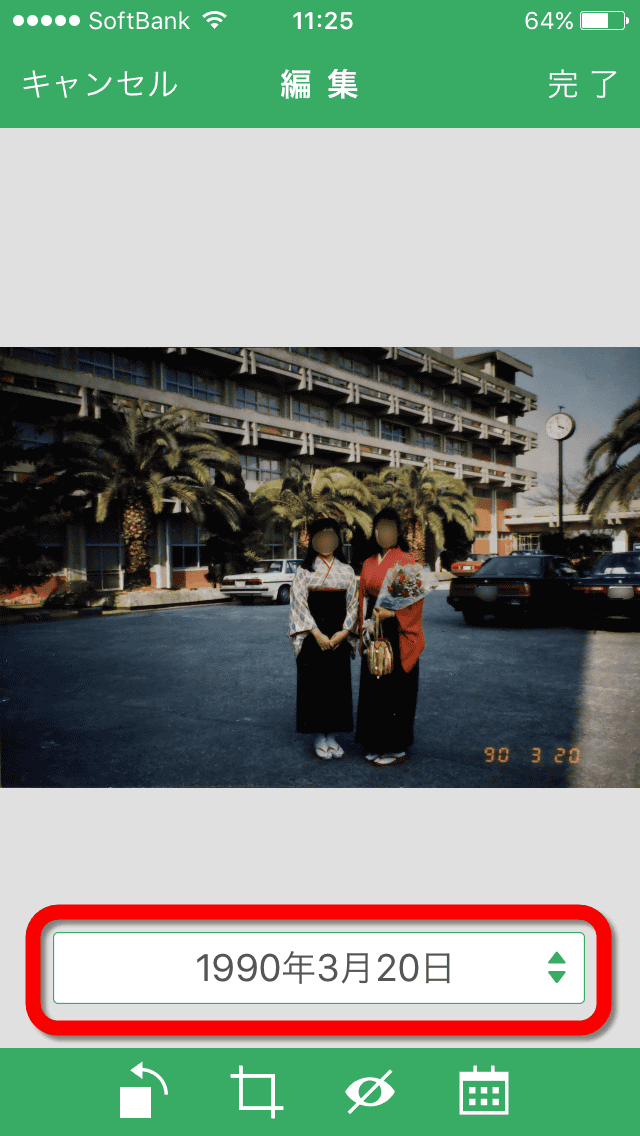
Even if it is enlarged, the reflection of the light confirmed on the scan screen is not reflected, and unlike "a picture taken with a smartphone", the state of the photo as it is without any reflection is readable. In this state, the shooting date is still set for the scanned date.
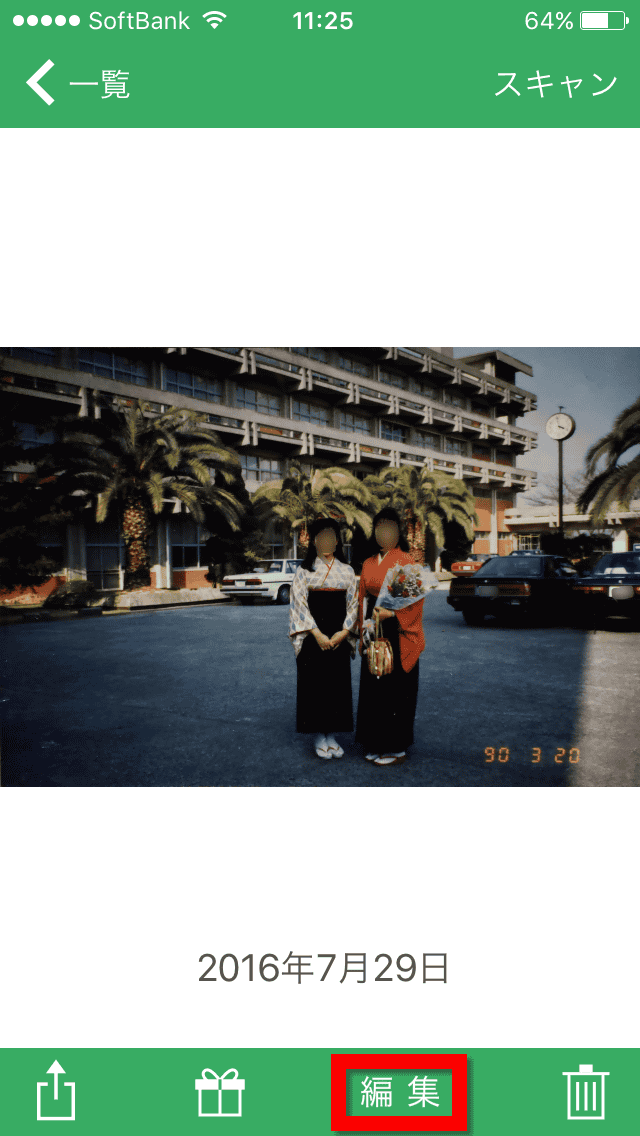
Tap "Edit" at the bottom of the screen ......
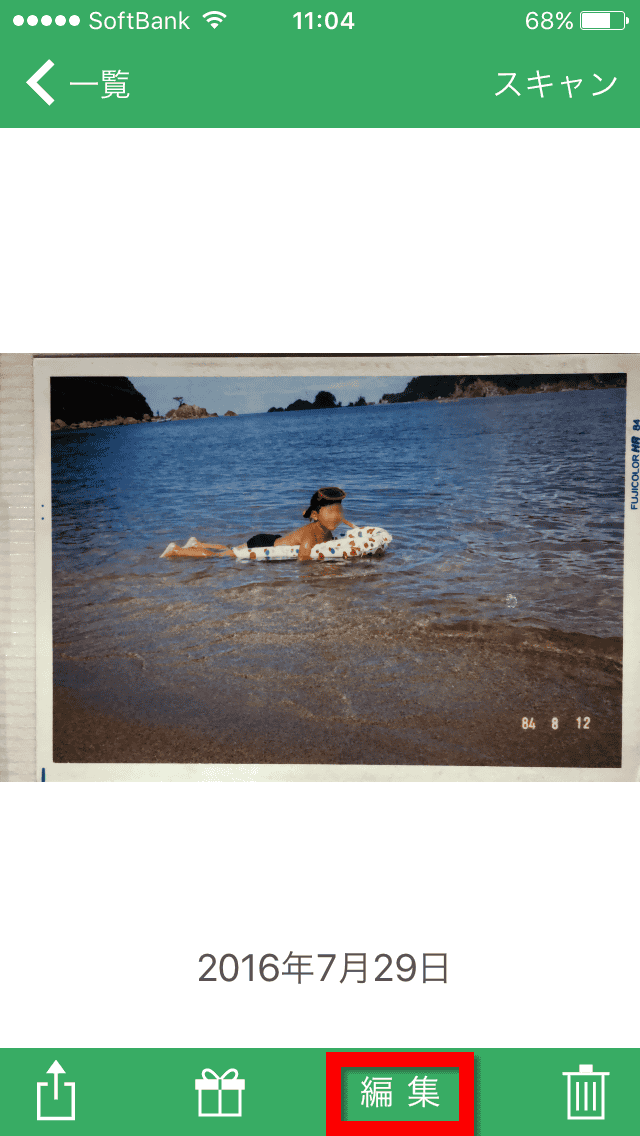
You can perform rotation, trimming, red eye prevention, date setting and so on. Tap the calendar icon to set the date.
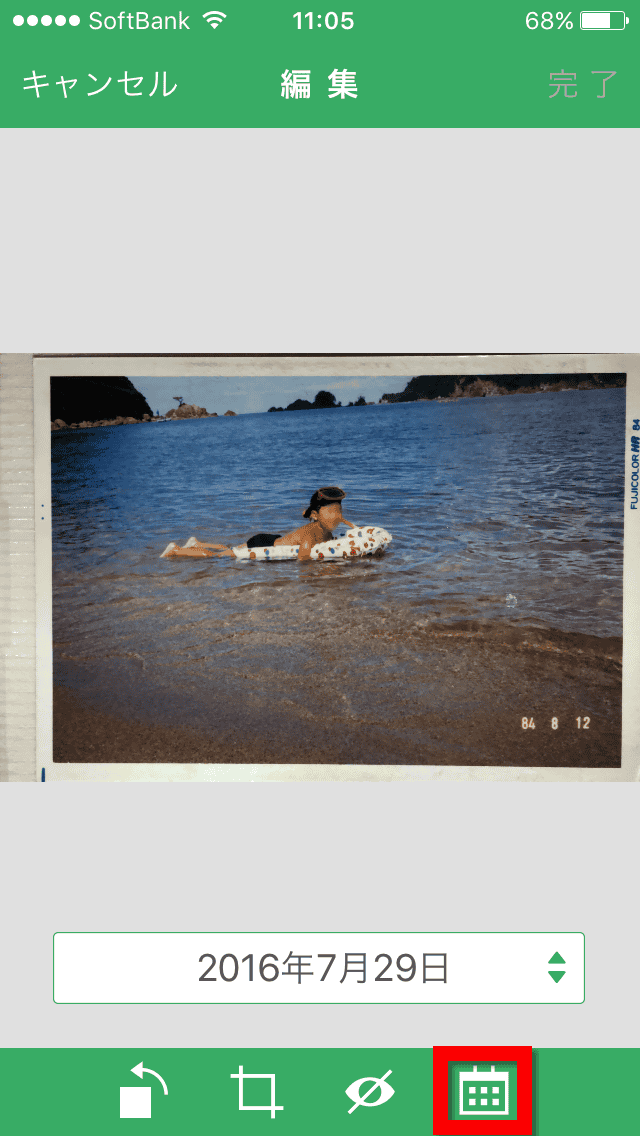
Here, it automatically reads the date stated in the photo ... ... Although it was supposed to be, although "84.8.12" is written, it is recorded as "April 12, 2008" It has been done.
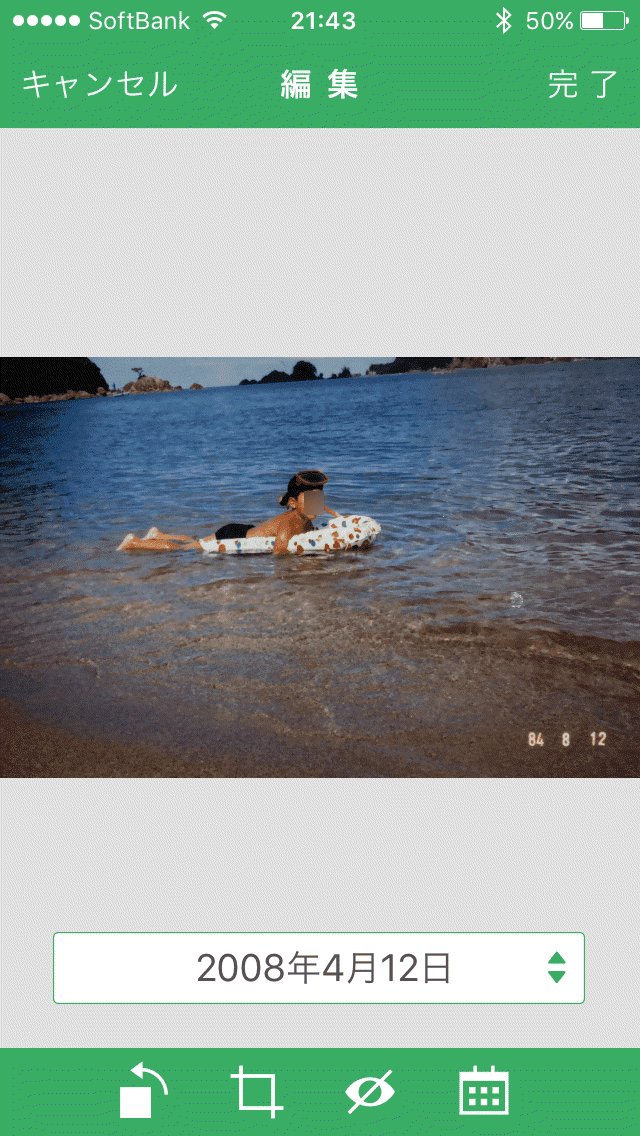
In such a case you can set the date manually.

Besides this, trimming and rotation are also possible.
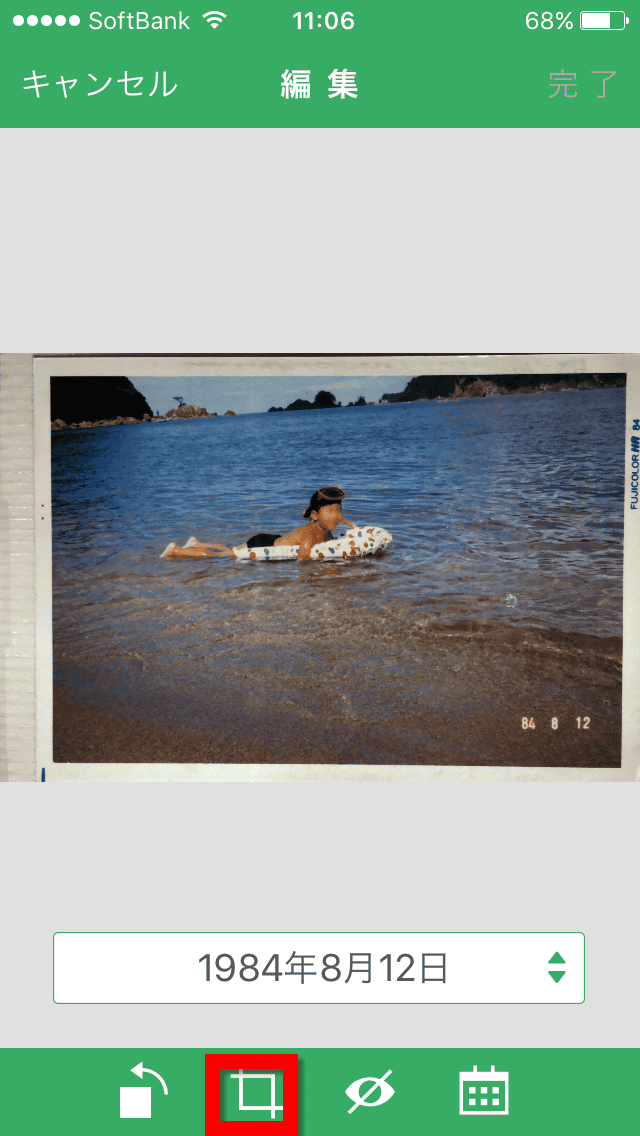
Cut off extra parts ......

It is possible to save only the part of the picture without frames, on the iPhone.
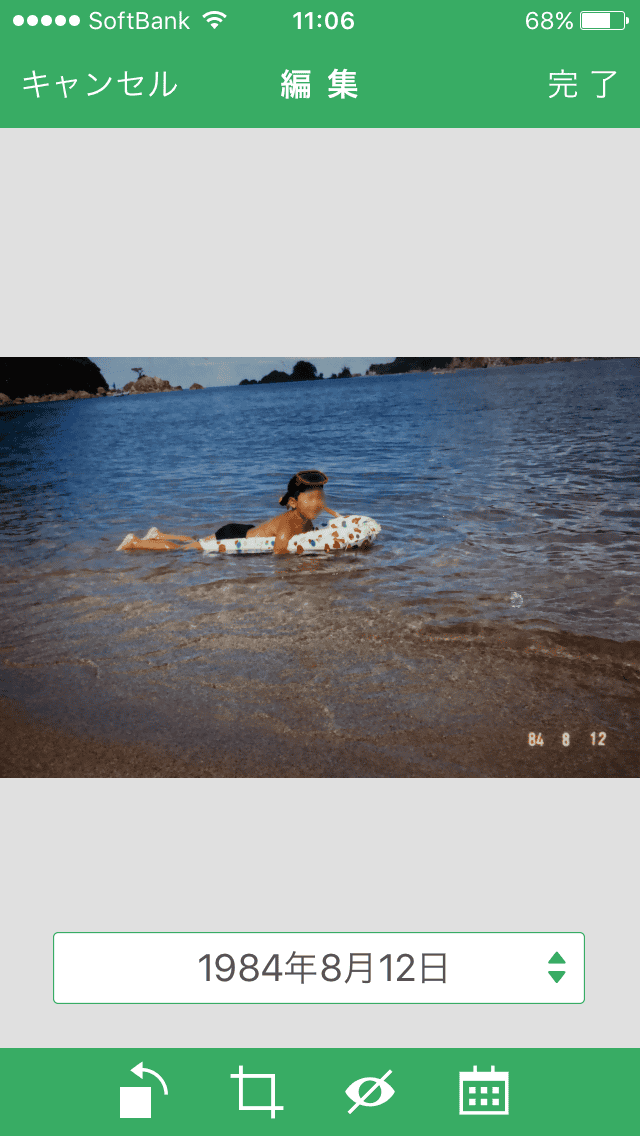
When it is "OK with this" and you press the completion button at the upper right of the screen, "I saved the photo on the camera roll. Are you sure you want to delete the photo before editing?" Tap "Delete" as you are asked.
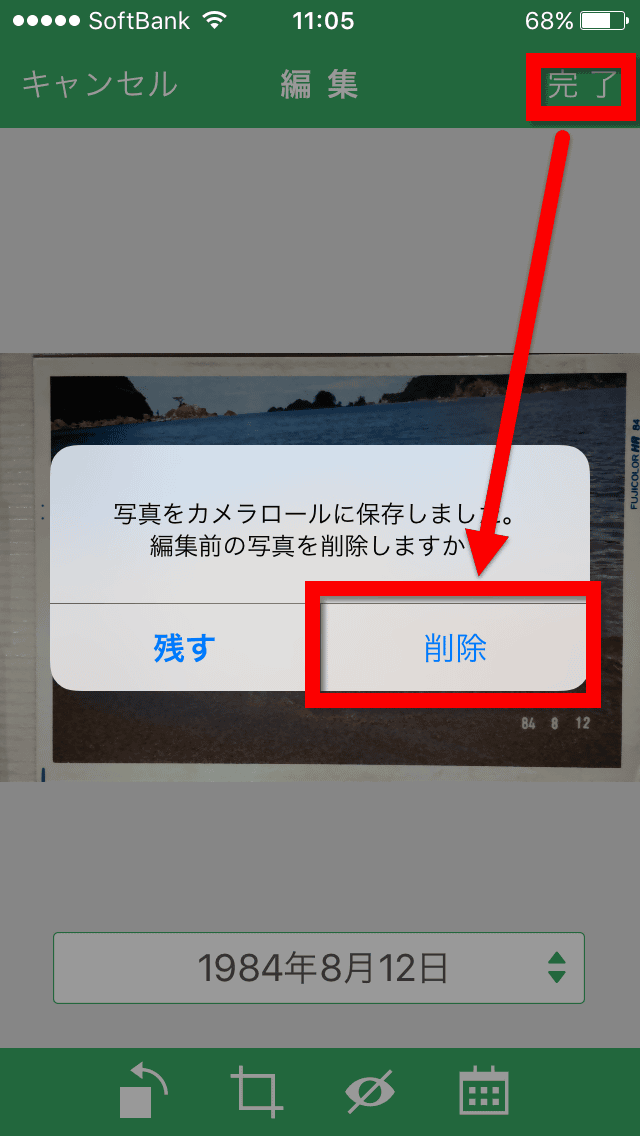
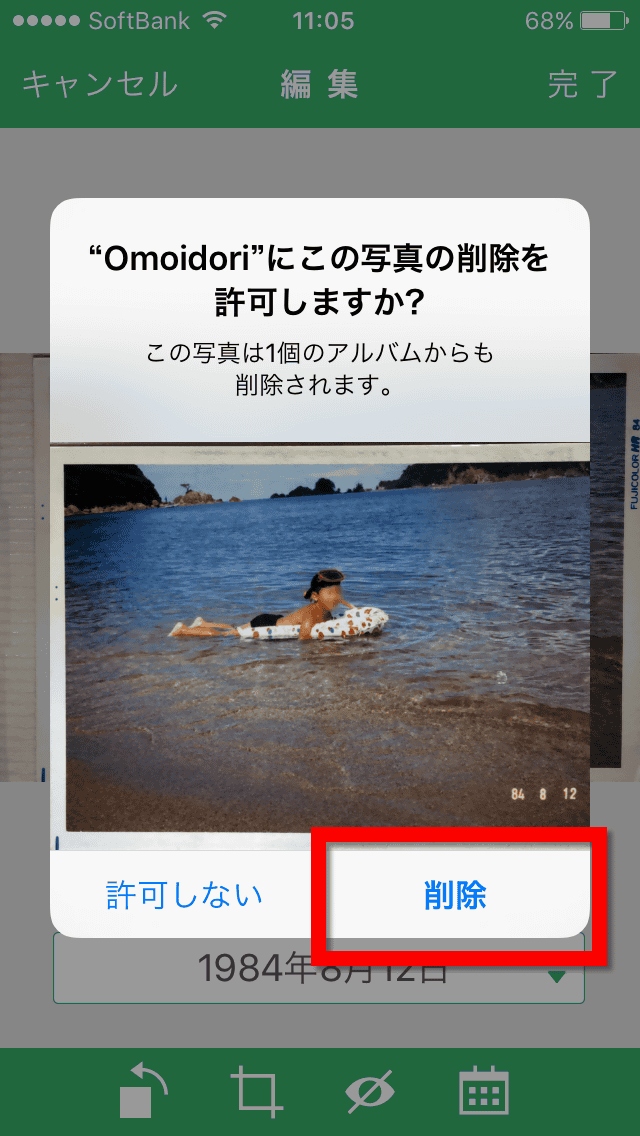
Furthermore, "Do you want to allow" Omoidori "to delete this photo?" As you are asked "Delete" selected. This leaves only the pictures in the final edited state in the terminal album, and there are no extra pictures before editing.
When I looked at the album, the scanned photos were saved like this.
I failed to recognize the date automatically, so I tried it with another photo. Take a picture of the date and tap "Edit".
Tap the calendar icon ......

The date and time displayed under the photo has been automatically changed to the same date as described in the photo.
Pictures taken on sideways ... ....
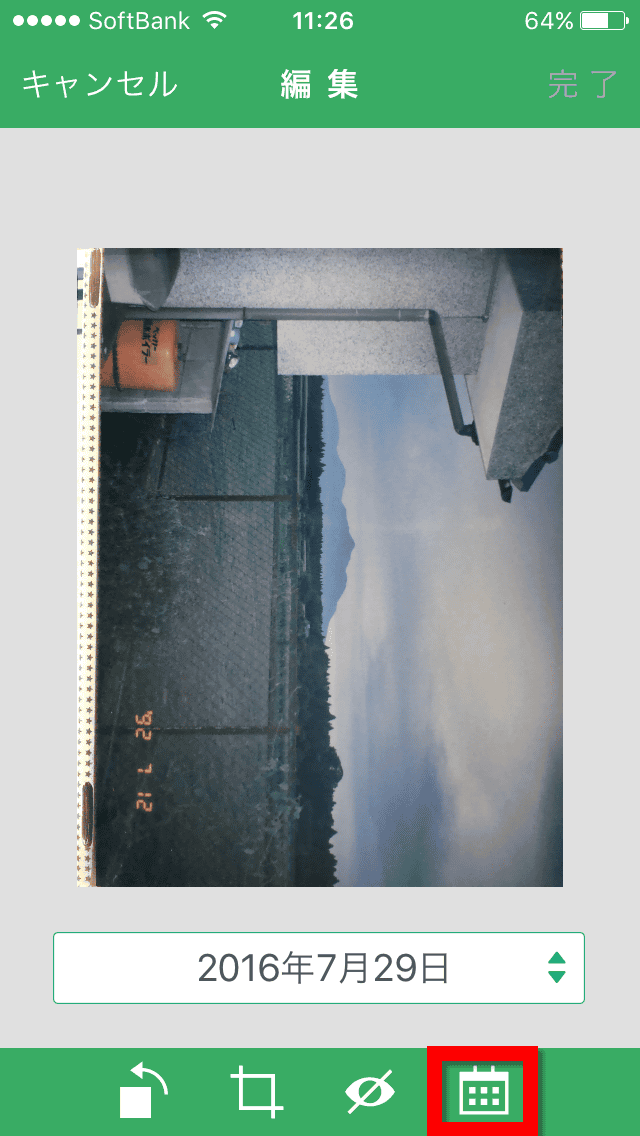
From the number "92 7 12", the date "July 12, 1992" has been properly drawn out. Apparently there are cases where it can be recognized and there are cases where it can not be recognized. officialAccording to the support page, When it is difficult to distinguish the background from the date, the accuracy of the recognition rate will decrease.

In addition, it is possible to synthesize by split scanning with even larger pictures than the L plate. When sliding the slide at the bottom right of the screen from "L version" on the left to "2 L version" on the right, first scan the left half of the photo.
Then slide the main unit to the right and scan the right half of the photo ... ...
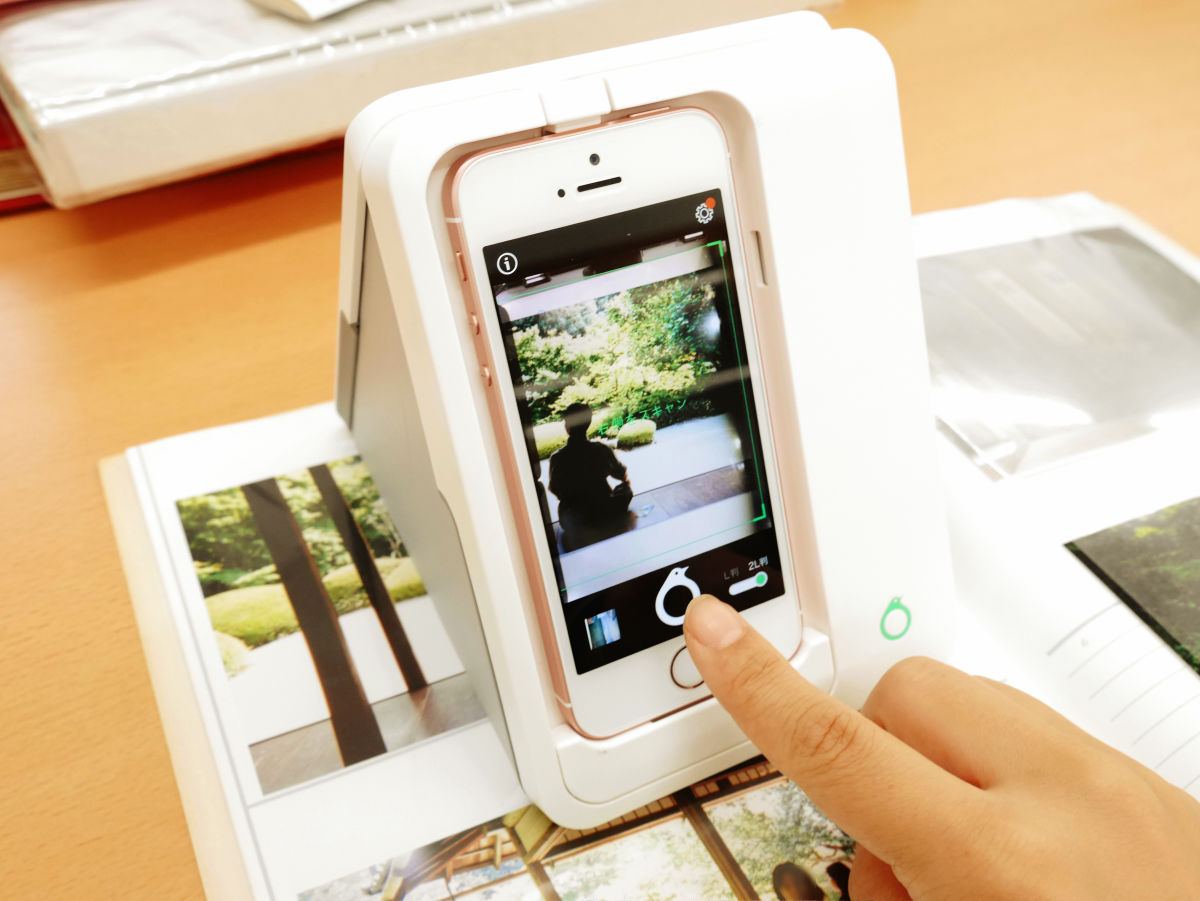
Photographs are automatically synthesized.
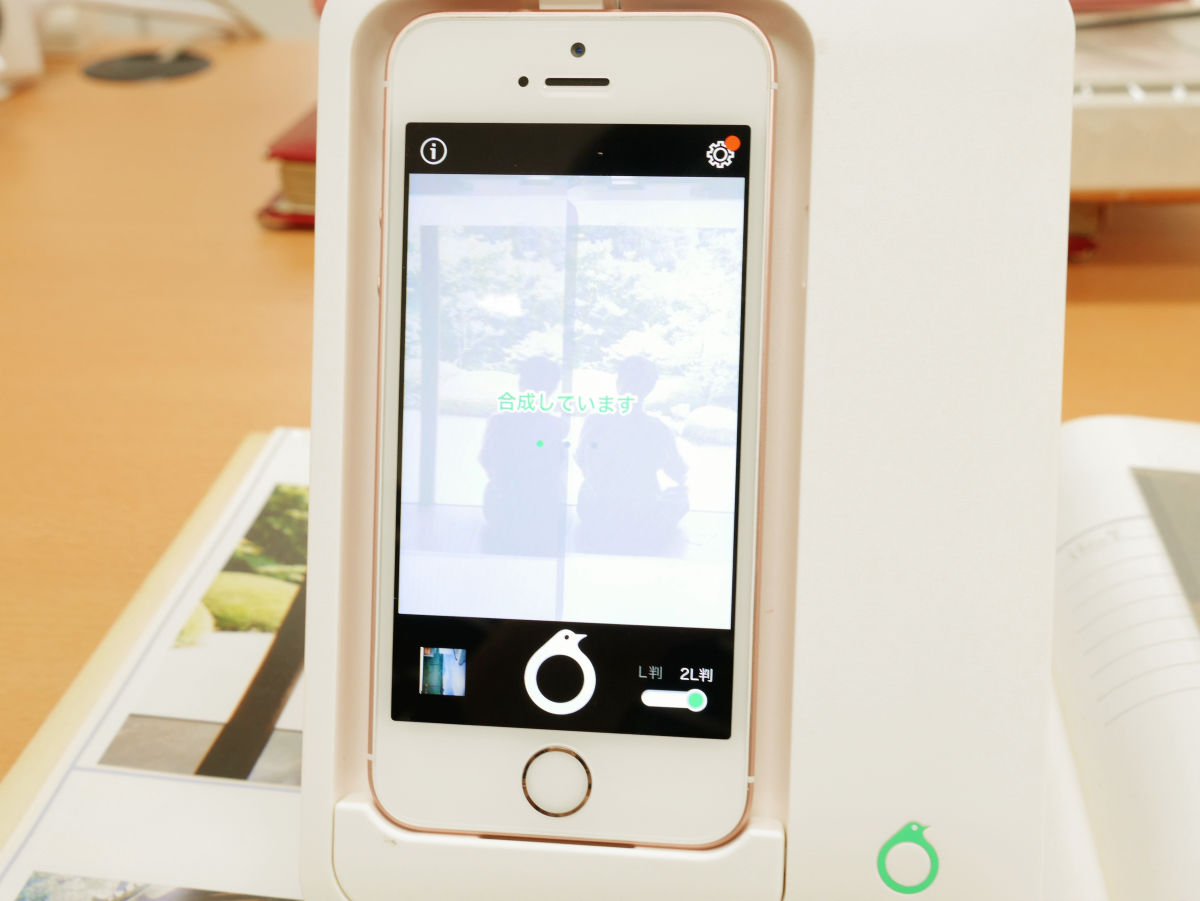
The completed photograph is kore. It is seamless that I do not know that it was scanned in two.

Also, if you save the photo without including it in the album, the picture comes curling as well.
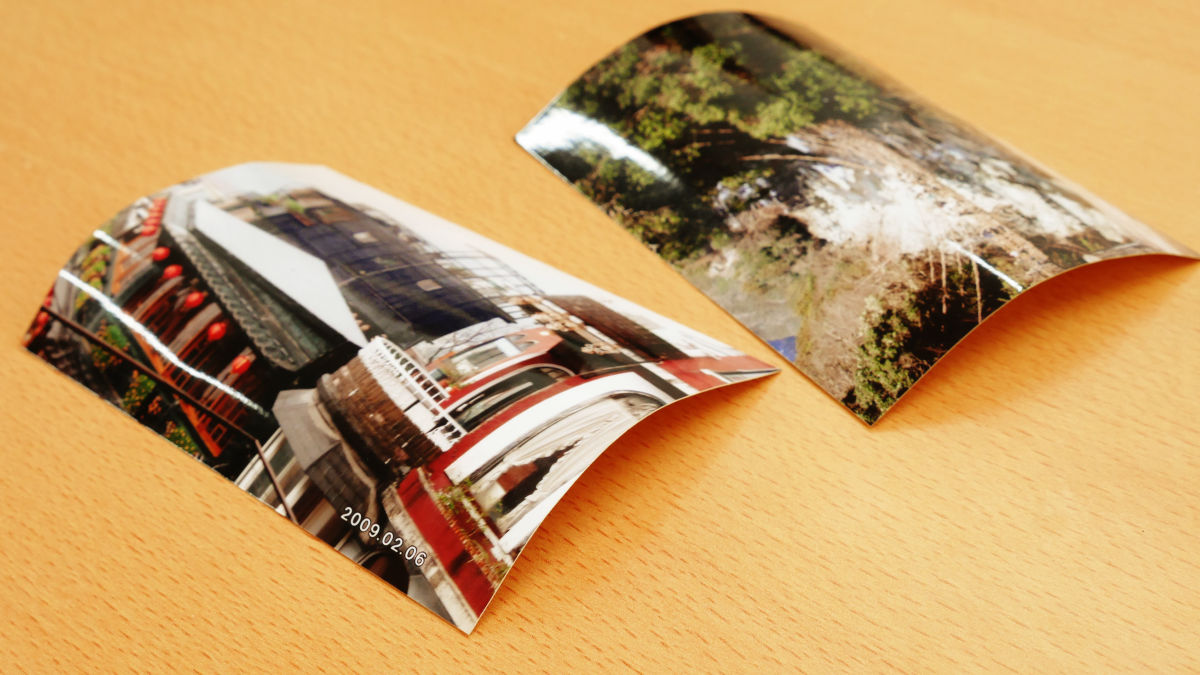
In such a case you can use the optional photo presser OK.
Since the lower part of the main body and the photo presser are glued with a magnet type, it is OK if you shoot the same as before with the photo presser laid down.
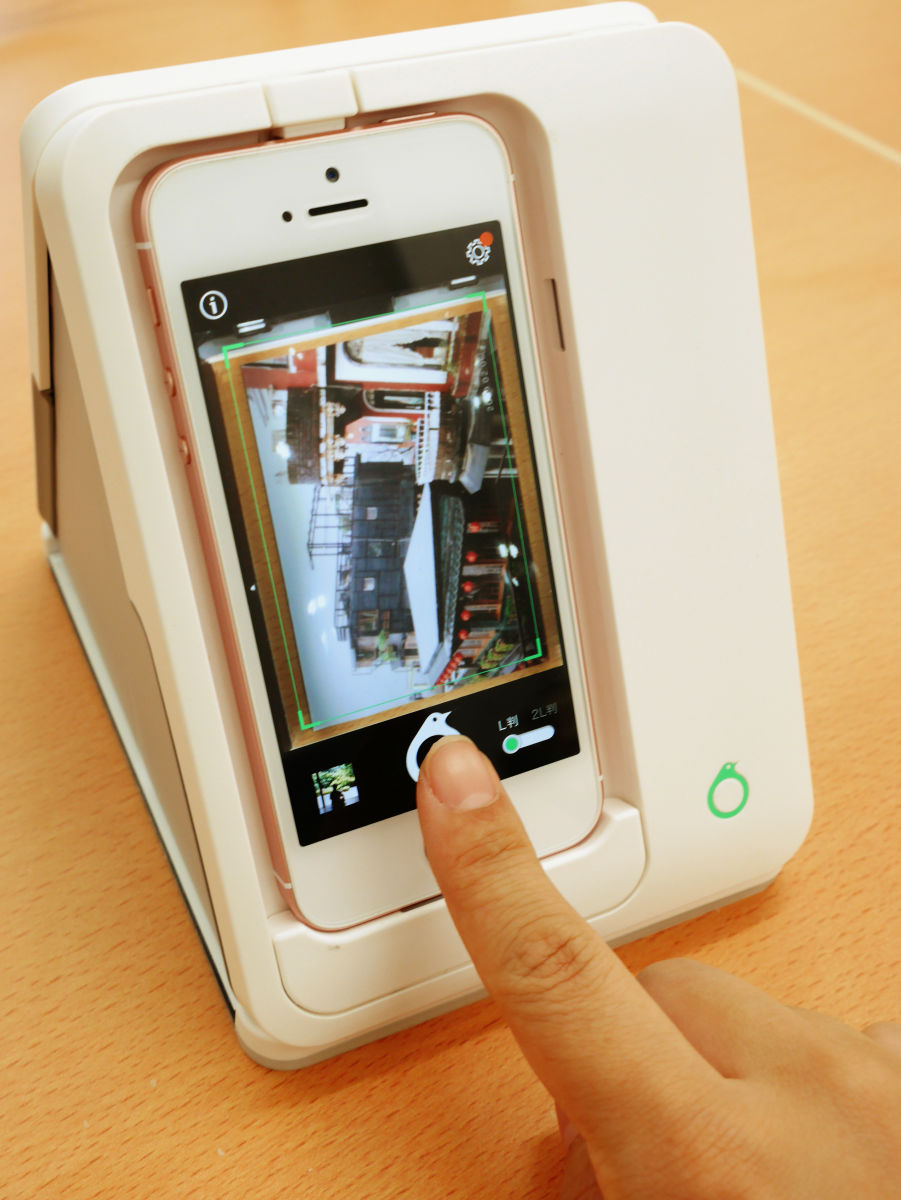
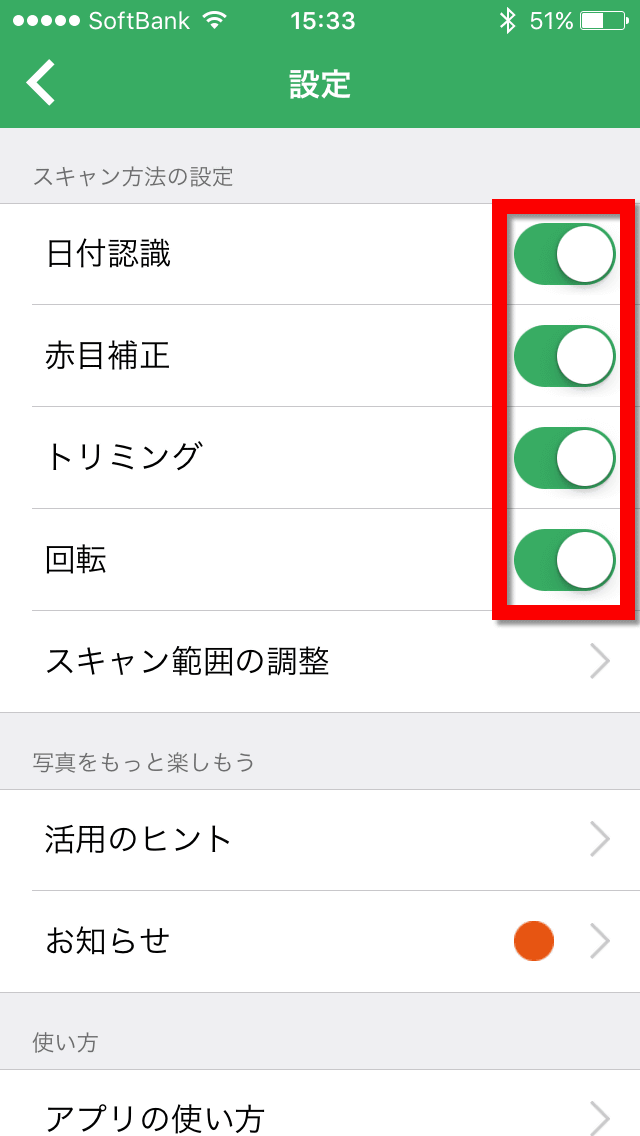
At this time, tap the setting icon in the upper right of the screen before scanning.
If you change all the date recognition, red eye correction, trimming, rotation etc. to ON ... ....
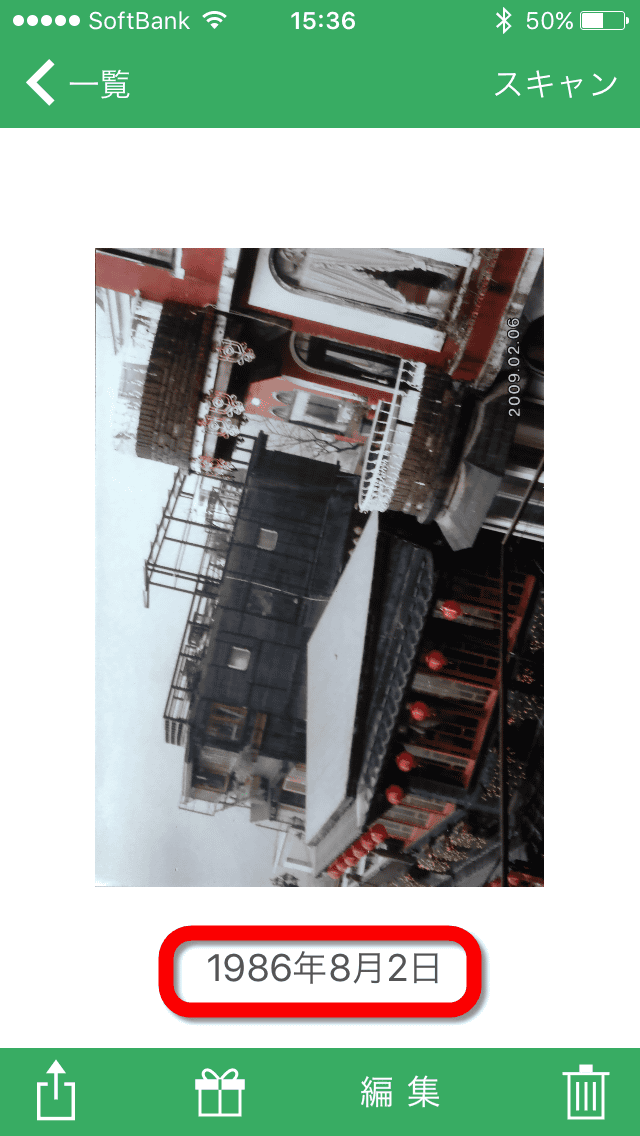
It is scanned with extra things cut off like this. It seems that date recognition was also executed automatically, but because the background is cluttered, the word "2009.02.06" was recognized as "August 2, 1986".
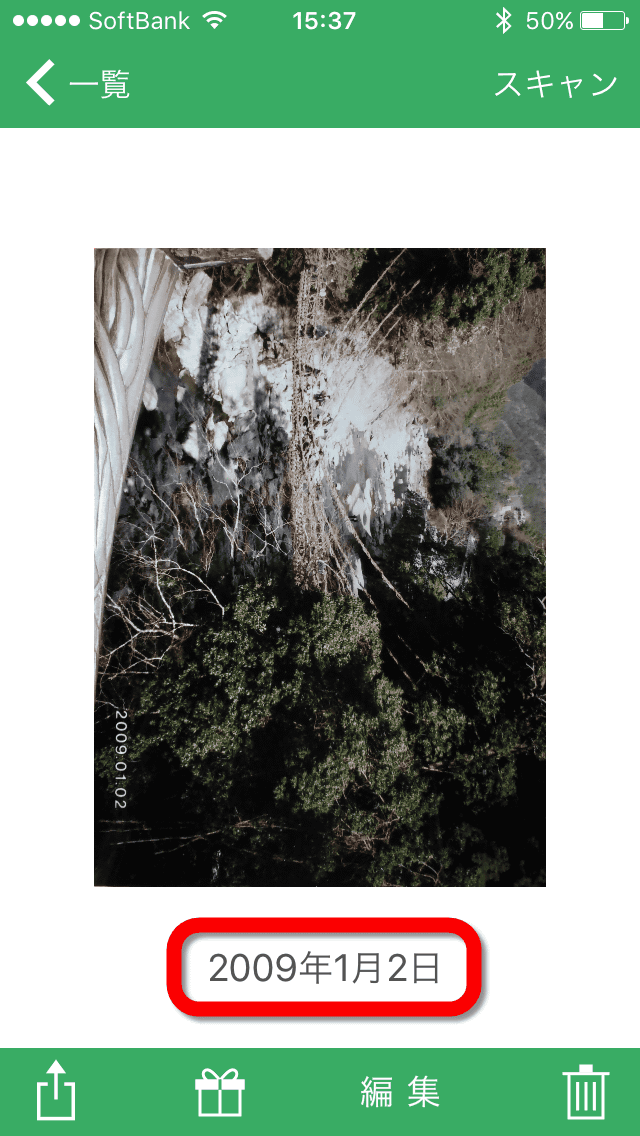
However, if it was a white character on a dark background, "2009.01.02" was properly recognized as "January 2, 2009".
Furthermore, tap "select" from the list screen.
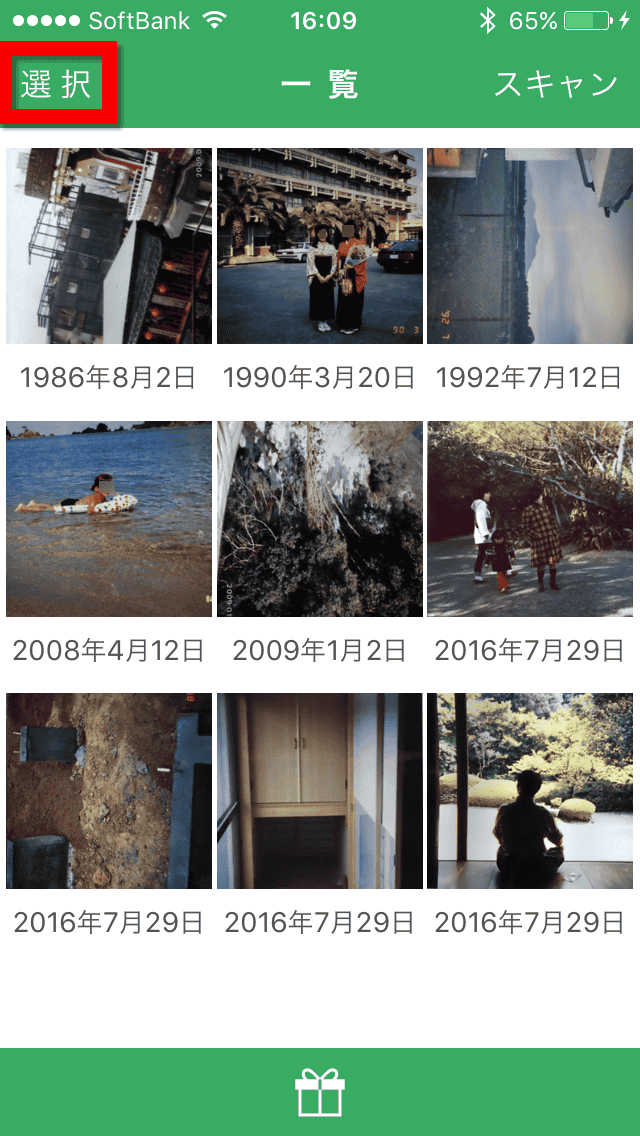
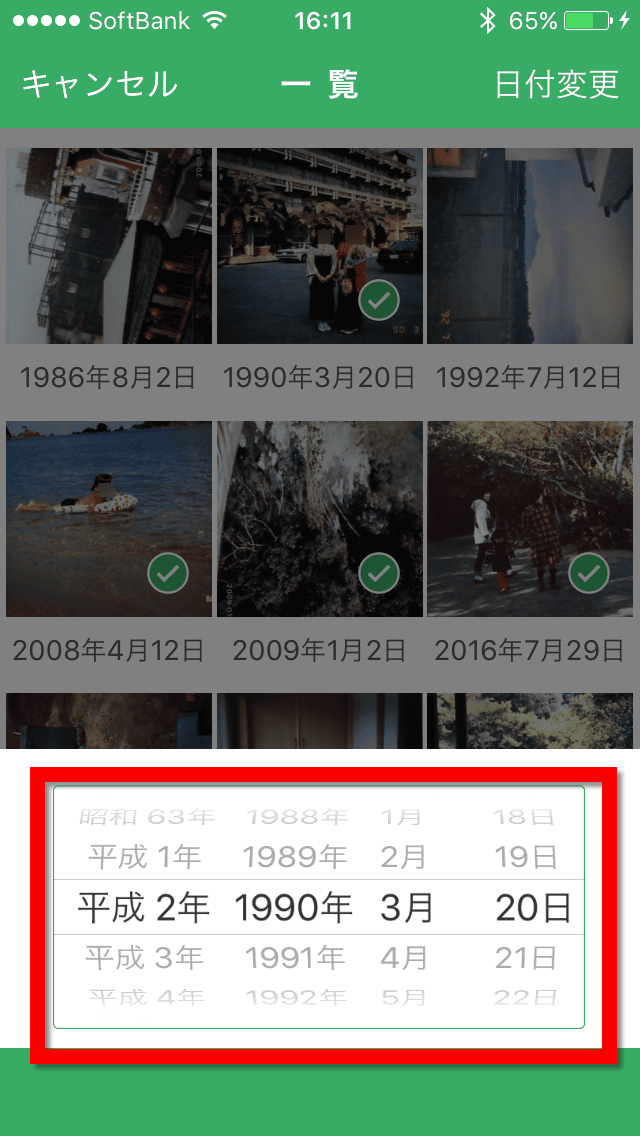
After selecting the photo and pressing the calendar icon ... ....
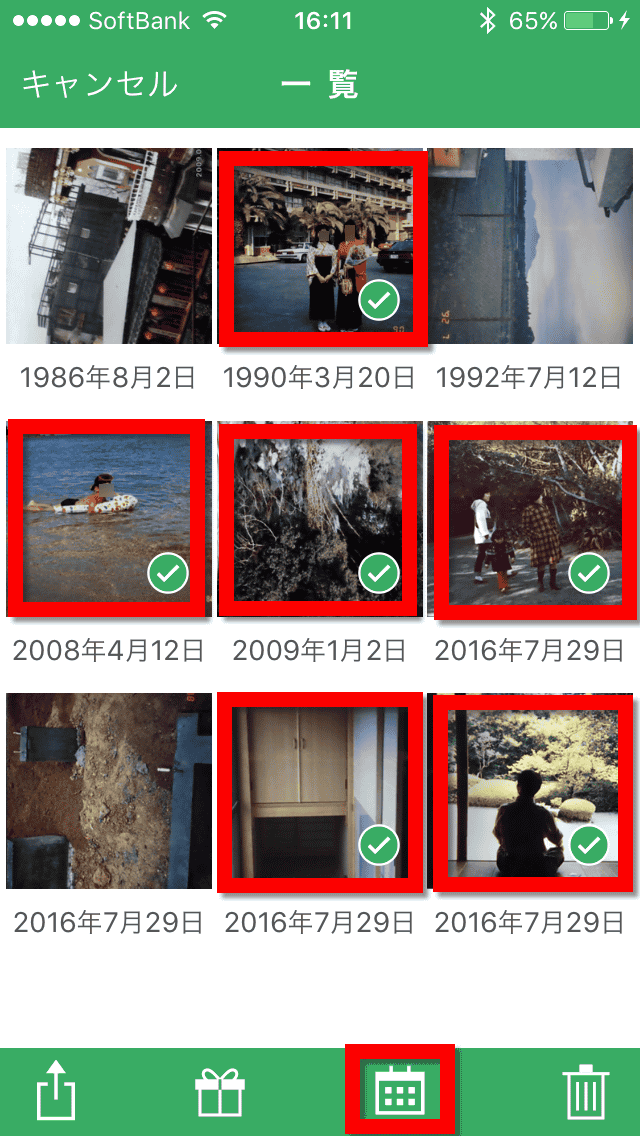
You can change the date of the selected photo at once. In the photo list, photos are arranged in order of date.
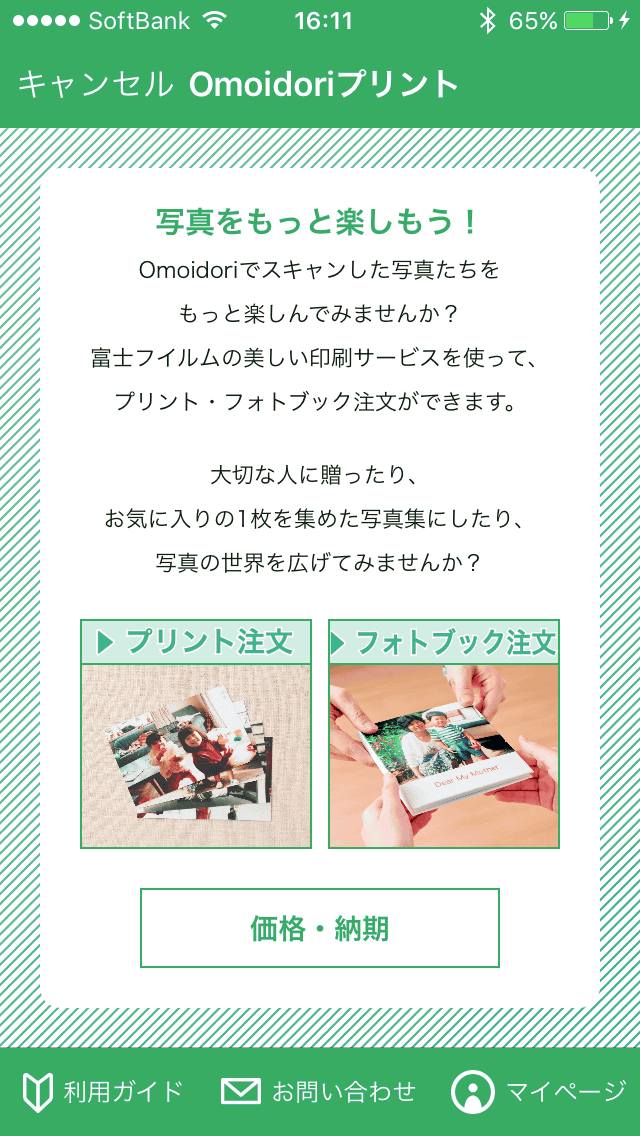
Also, when you tap the gift icon with the picture selected ......
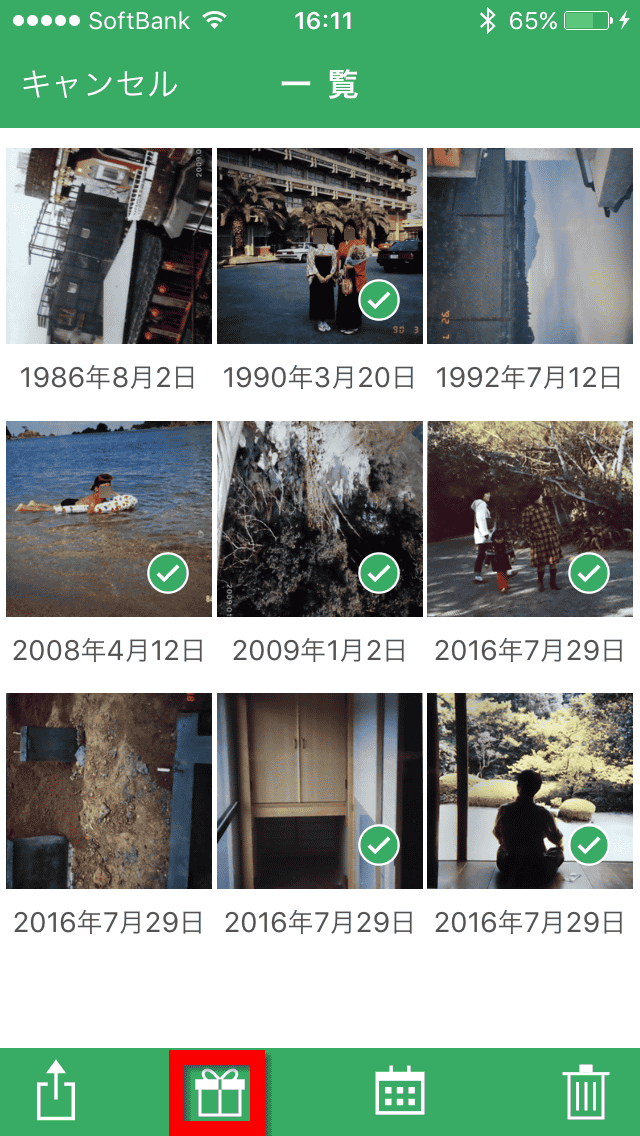
You can also make photo books etc using Fuji film printing service.
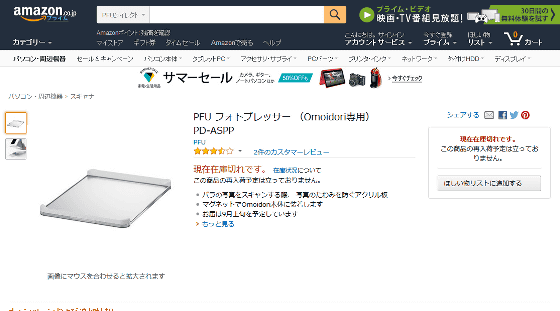
In addition, although Omoidori main body can be purchased at Amazon at 12,798 yen, photopresser is out of stock as of article creation now.
Amazon | PFU Omoidori PD-AS01 | Mobile phone · Smartphone accessory Online shopping

Amazon.co.jp: PFU Photo Presser (for Omoidori only) PD-ASPP: Personal Computer · Peripheral Equipment
Related Posts: