Synology's external SSD 'BeeDrive' usage review that makes it easy to copy data from smartphones and create backups

There should be many people who have the problem that the storage capacity of the device is insufficient due to the increase in the size of images and videos as the performance is improved, such as the high image quality of smartphone cameras. Synology's external SSD ' BeeDrive ' not only makes it easy to copy device files via Wi-Fi, but also makes it easy to create PC backups, easily solving the problem of insufficient storage space. It is a backup hub compatible with both smartphones and PCs. I actually tried using such BeeDrive.
BeeDrive | Your Personal Backup Hub
The BeeDrive package looks something like this. BeeDrive has a model with a storage capacity of 1 TB and a model with 2 TB, and this time we will use the 1 TB model.

Inside was a quick start guide, BeeDrive main unit, USB Type-C cable, and an adapter that converts the USB Type-C terminal to Type-A.

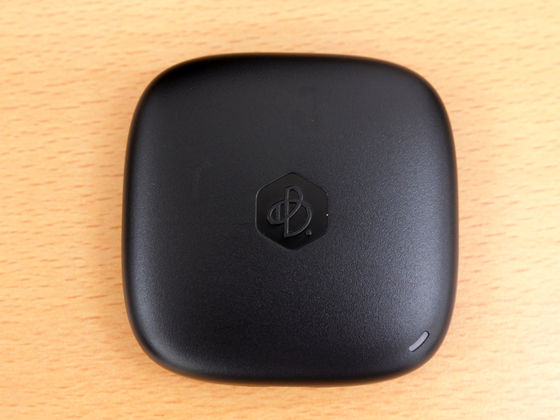
The top of the BeeDrive main body looks like this. There is a BeeDrive logo in the center and an indicator showing the BeeDrive status in the lower right.
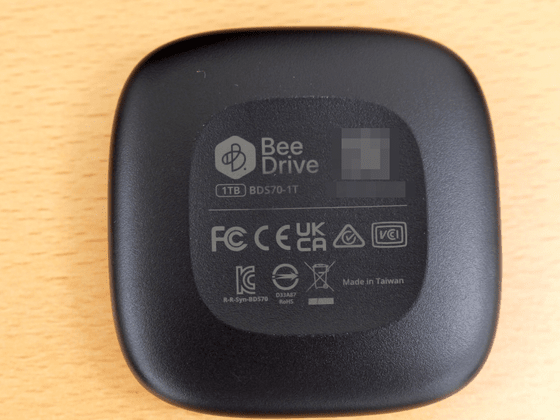
Various certification marks are listed on the back side.
A USB Type-C port is located on the side.
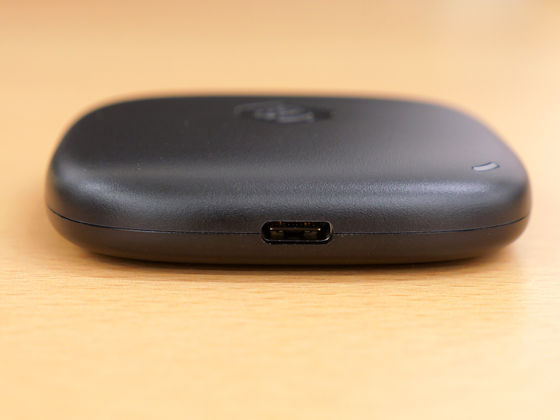
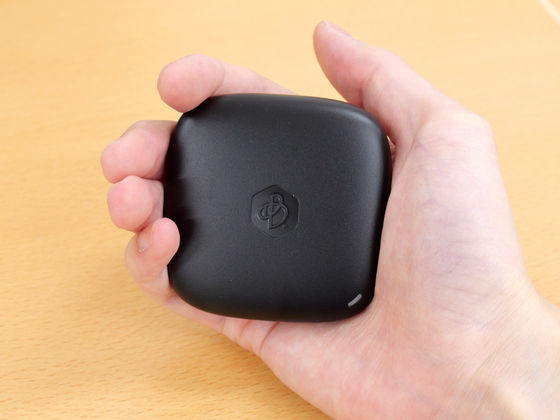
The size of the BeeDrive main unit is 65 mm wide x 65 mm deep x 15 mm high, which fits comfortably in the palm of your hand.
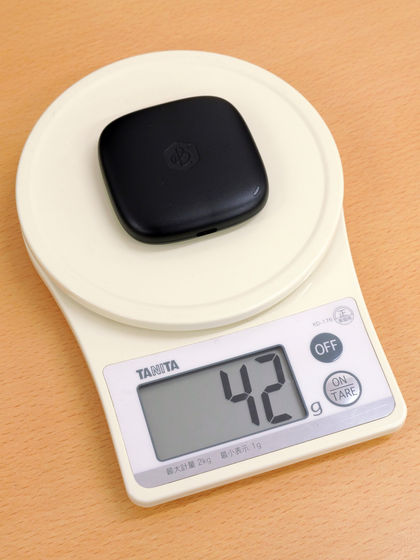
The actual weight is 42g.
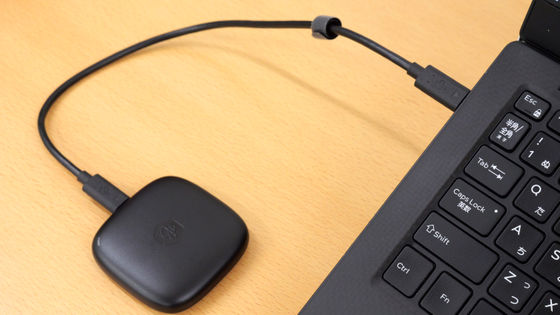
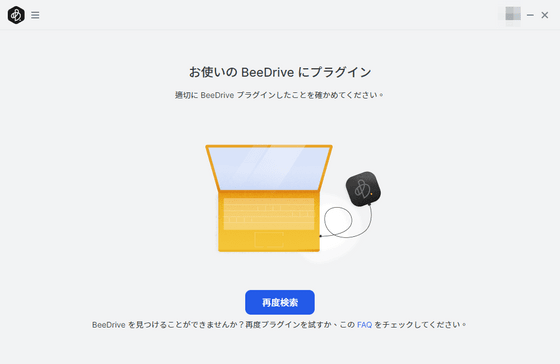
I will try using BeeDrive at once. First, connect the included USB Type-C cable to the BeeDrive main unit and connect it to the USB Type-A or Type-C port of your PC. BeeDrive does not work by itself, so you need a wired connection with a PC or smartphone.
Then the BeeDrive installer will be displayed automatically, so click it.

The installer started up. Agree to the terms of use and select Install Now.

After waiting about 15 seconds, 'Your BeeDrive is ready' was displayed. Click 'Start now'.

Next, log in to your Synology account. Click 'Sign in'.

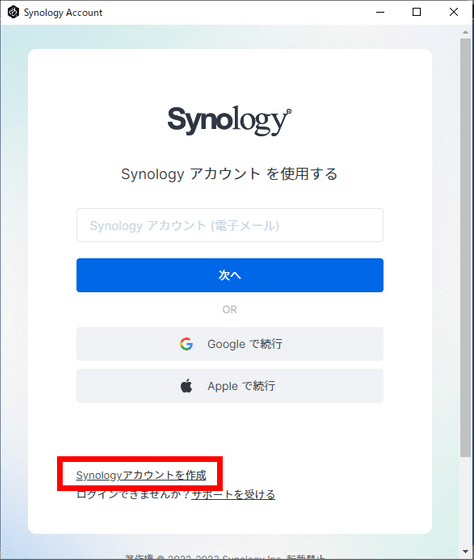
You can log in with a Google account or log in with Apple, but this time we will create a Synology account. Click 'Create Synology account'.
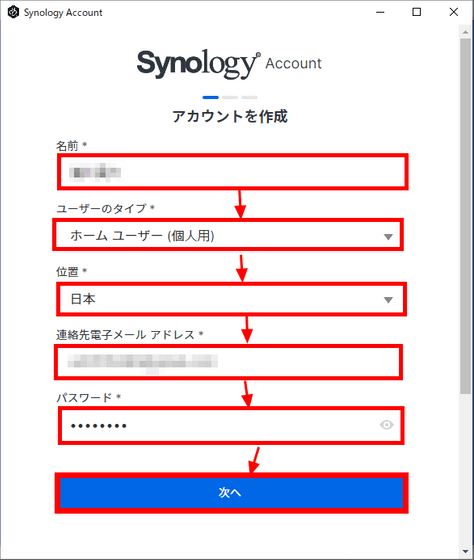
Enter your name, user type, etc. and select 'Next'.
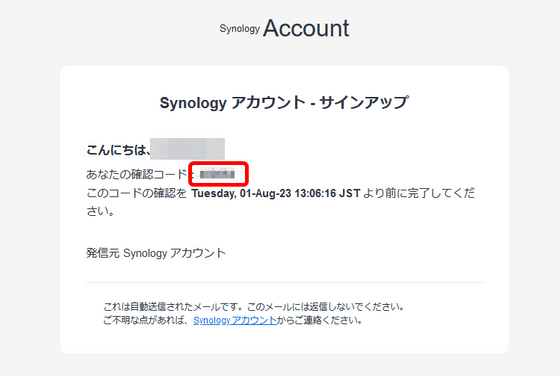
A 6-digit verification code will be sent to the email address you entered.
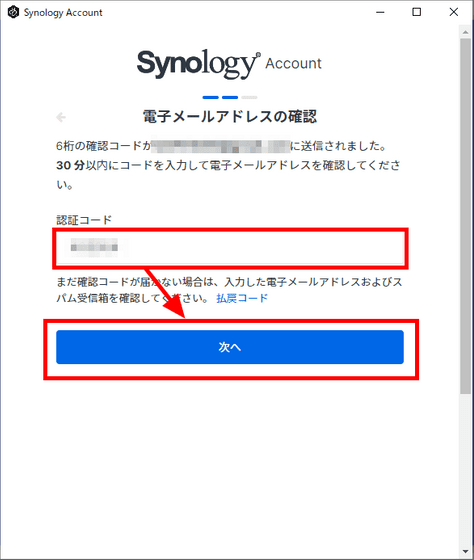
Enter the 6-digit authentication code and click 'Next'.
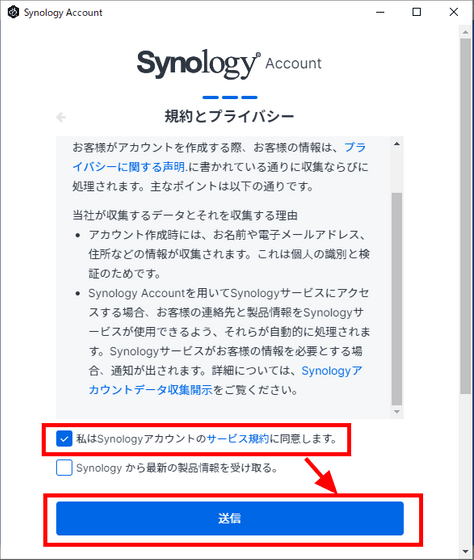
Agree to the terms of service and click 'Submit'.
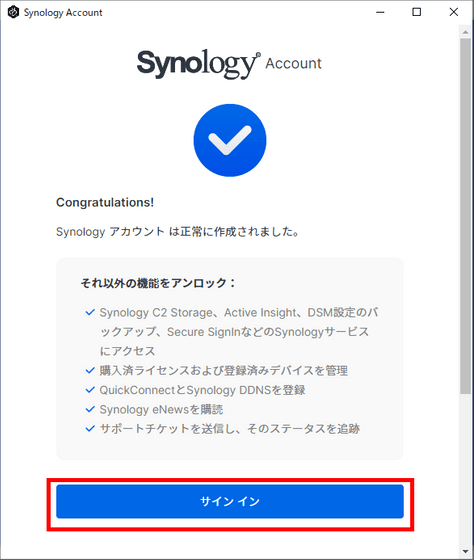
This completes the creation of your Synology Account. Click 'Sign In' to finish.
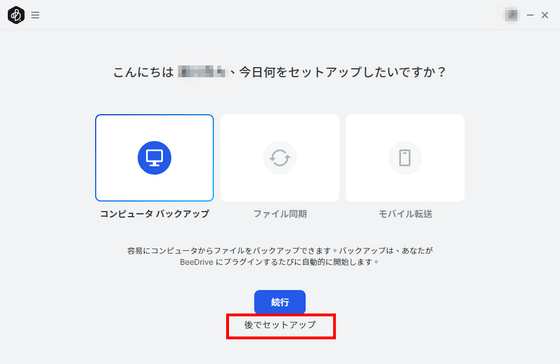
The BeeDrive setup screen is displayed, but this time I chose 'Set up later'.
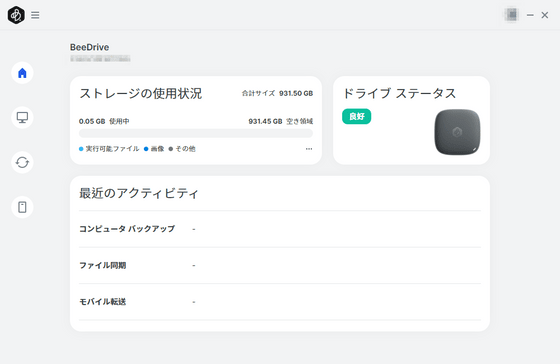
The home screen of BeeDrive looks like this.
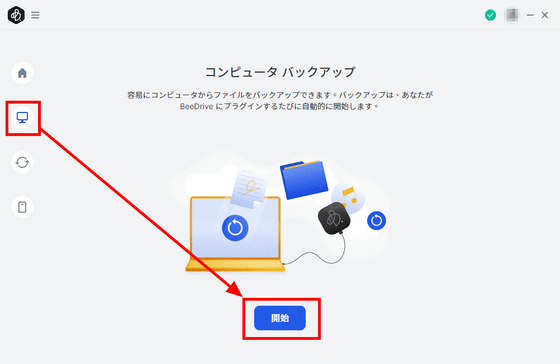
◆ Creating computer backups
BeeDrive allows you to create backups of data stored on your computer. Select the PC icon from the BeeDrive home screen and click 'Start'.
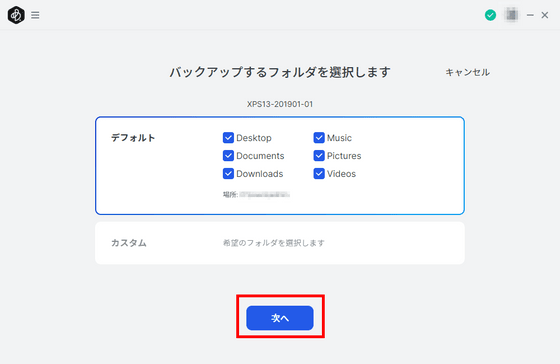
Select the folders you want to back up and click Next.
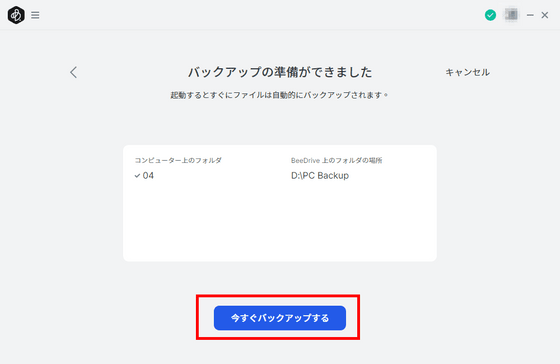
Since the backup is ready, select 'Backup now'.
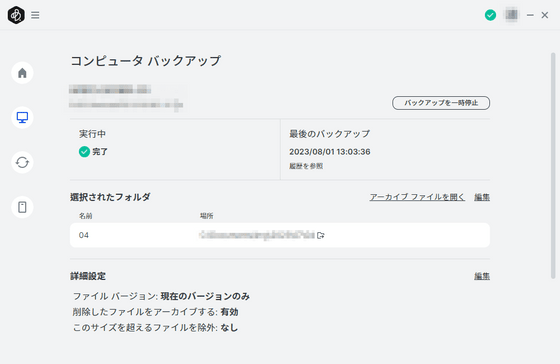
Your backup is now created. When a new file is added to the specified folder, a backup is automatically created, so even if the data is accidentally deleted from the PC, the data can be recovered.
◆ File synchronization
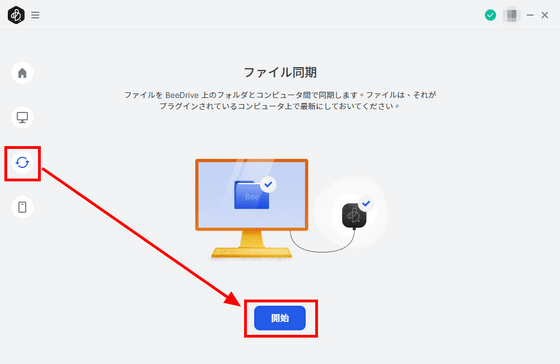
To synchronize files, select the synchronization icon from the home screen and click 'Start'.
Select the folders you want to sync. This time I chose 'Default' and clicked 'Next'.
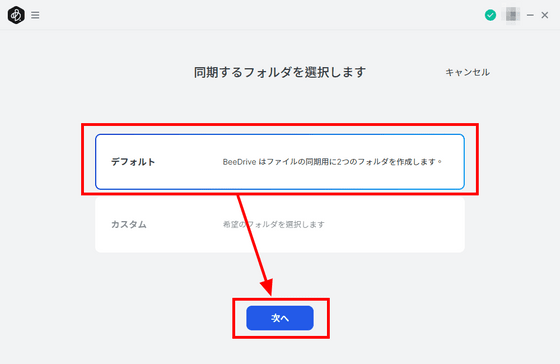
Click Sync Now when you are ready.
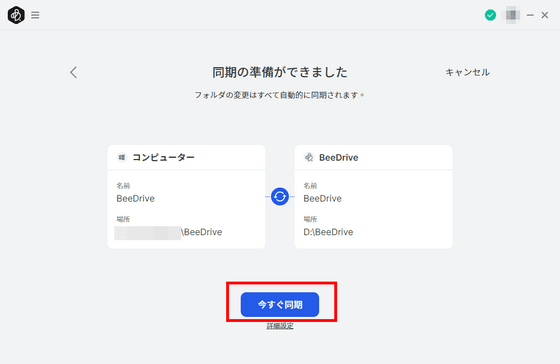
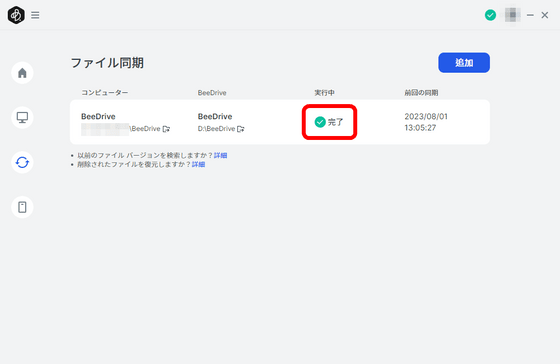
A folder for synchronization is created on the PC and BeeDrive main unit side, and the data is now synchronized.
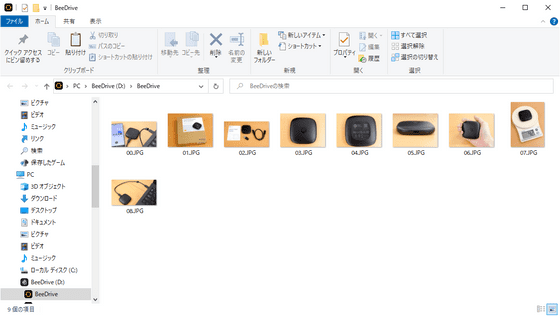
By synchronizing files, you can add, delete, and edit files in the synchronization folder when BeeDrive is connected to another PC. First, I added the images to the synchronization folder on the main PC. At this point, '00.jpg' to '08.jpg' are synchronized.
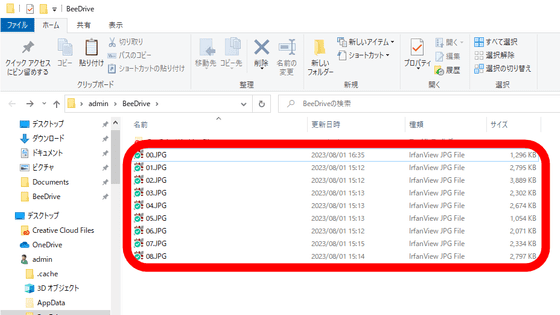
'00.jpg' to '08.jpg' are automatically added to the synchronization folder of BeeDrive.
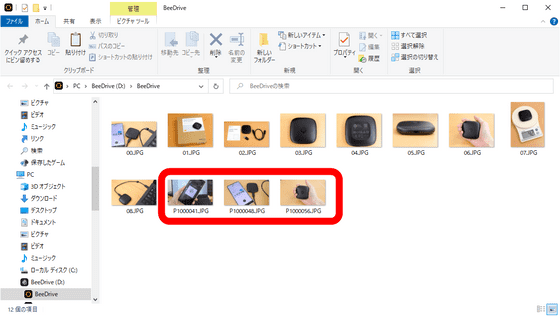
Furthermore, I connected BeeDrive to another PC and added 3 images to the synchronization folder of BeeDrive.
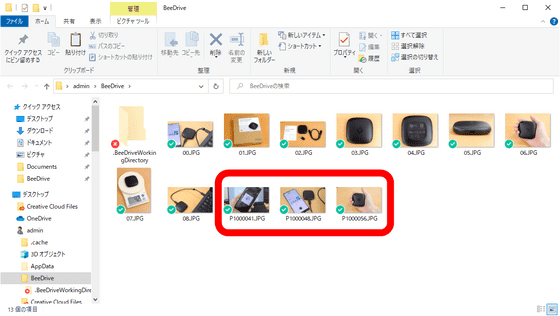
When I connected BeeDrive to the main PC again and checked the sync folder on the PC, the images I added on another PC were automatically synced.
◆ Cooperation with smartphones
Select the smartphone icon from the home screen and click Start.
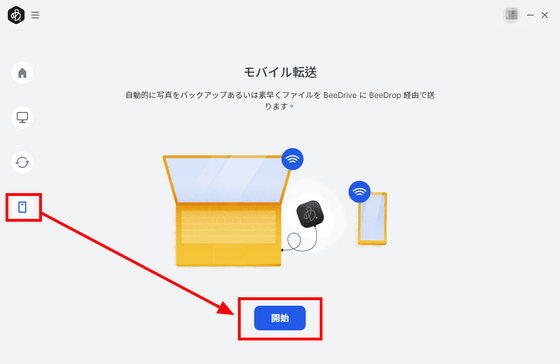
Then, the QR code required for cooperation was displayed.
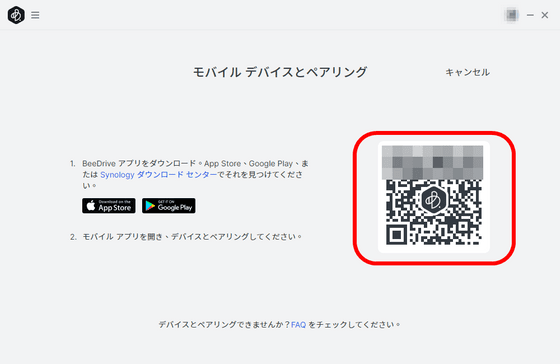
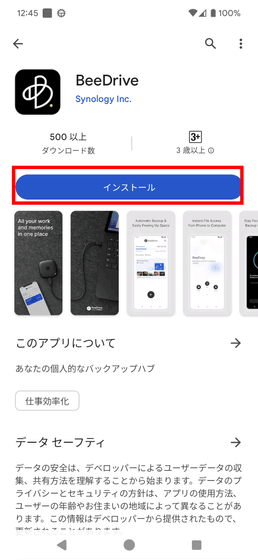
In order to link BeeDrive with a smartphone, it is necessary to install the 'BeeDrive' application on the smartphone. The 'BeeDrive' application has
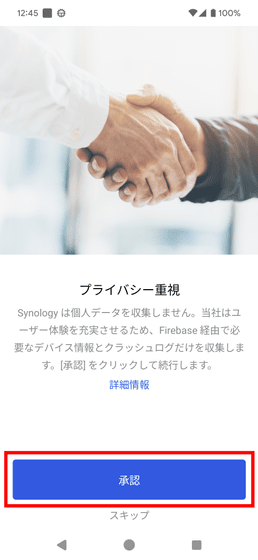
When you open the app, you will be asked for your privacy consent, so tap 'Approve'.
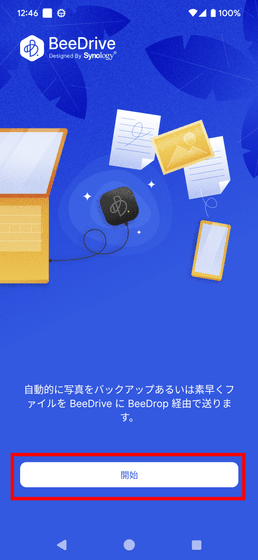
Tap 'Start' to start setting.
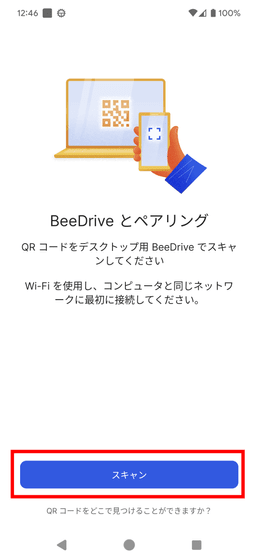
When 'Pairing with BeeDrive' is displayed, tap 'Scan'.
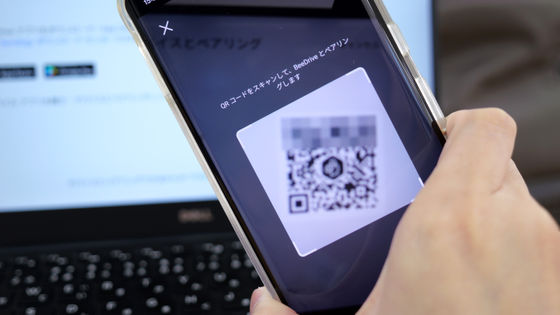
Since the camera will stand up, scan the QR code earlier.
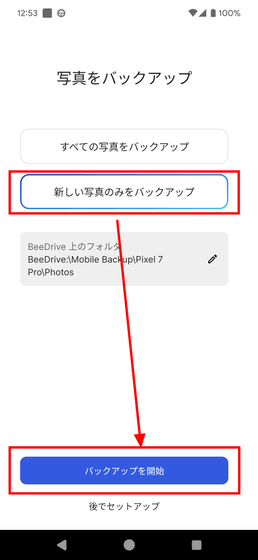
Once the scan is complete, you will be able to choose how to back up your photos. This time, I chose 'Back up only new photos' to back up only the photos taken after that.
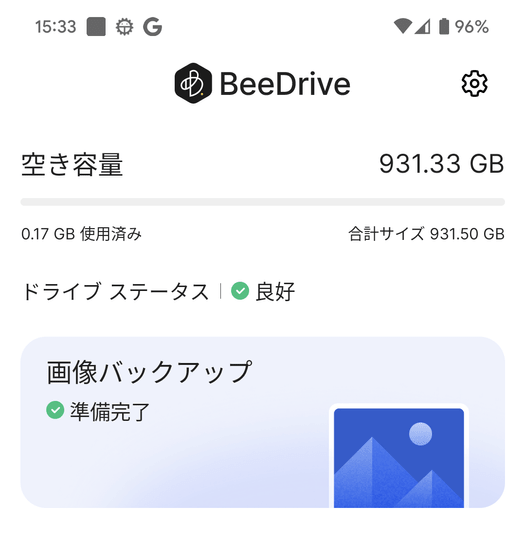
This completes the linkage between BeeDrive and smartphone. Images taken with smartphones will be saved to BeeDrive from now on.
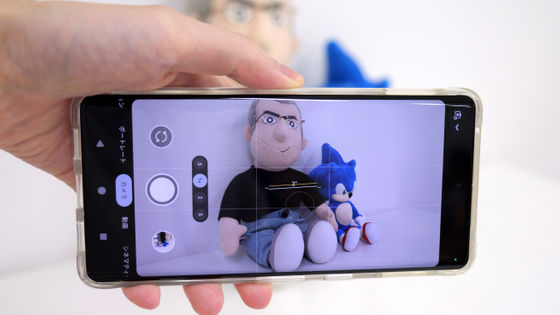
I tried shooting with a smartphone.
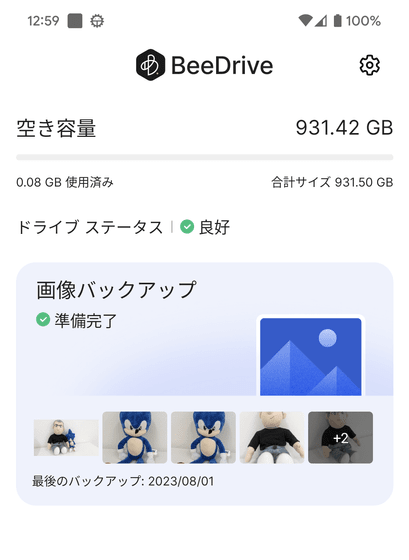
Then, the image backup will be automatically transferred to BeeDrive.
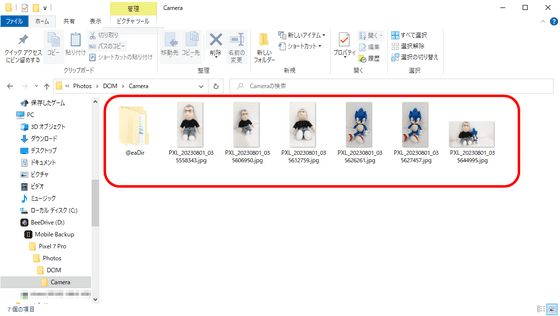
If you check it on the folder on your PC, you can see that the same image as taken with your smartphone is saved.
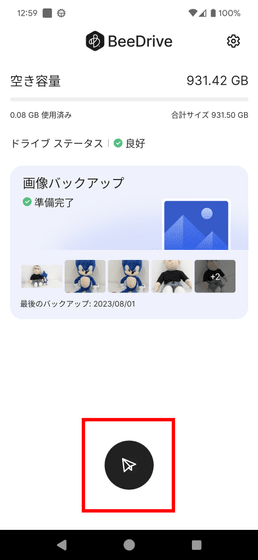
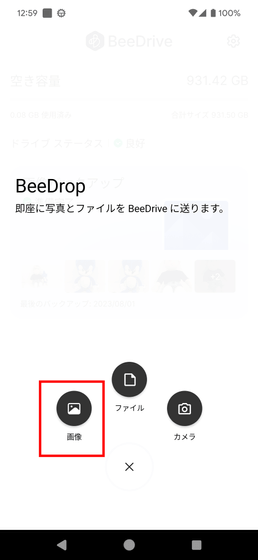
It is also possible for the user to select and back up images and files on the smartphone. First, tap the icon at the bottom of the application screen.
This time I tapped 'Image'.
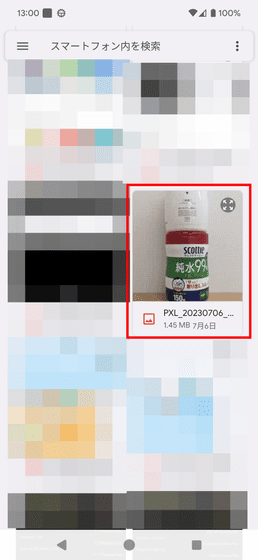
Select the images you want to back up.
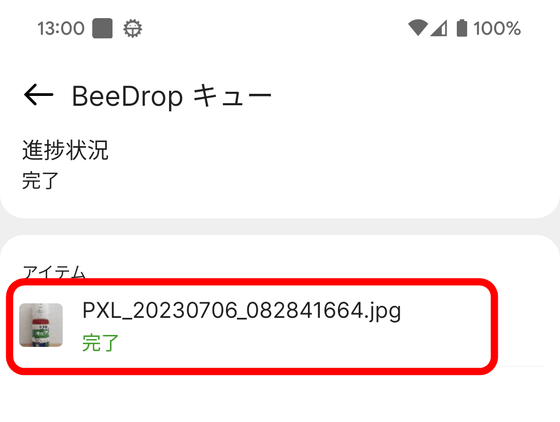
Transfer completed.
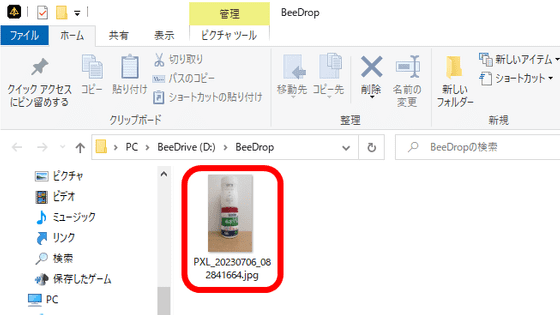
When I checked the PC, the images transferred via Wi-Fi were saved in a folder dedicated to transfer from the device called 'BeeDrop'. The 'BeeDrop' folder saves only images and files transferred from the smartphone other than backup data of the smartphone or PC, or data saved on the PC.
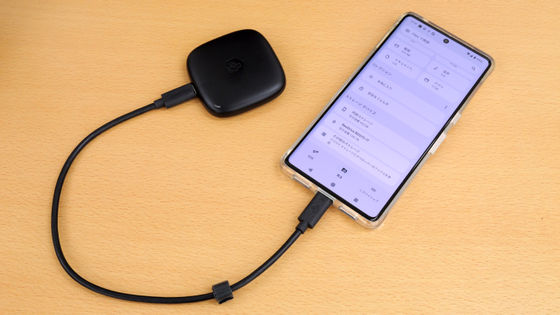
In addition, I tried connecting BeeDrive to my smartphone.
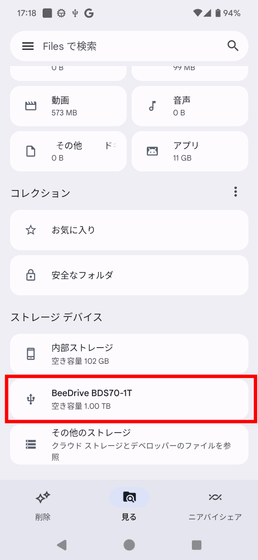
'BeeDrive BDS70-1T' is displayed in the file management application of the smartphone.
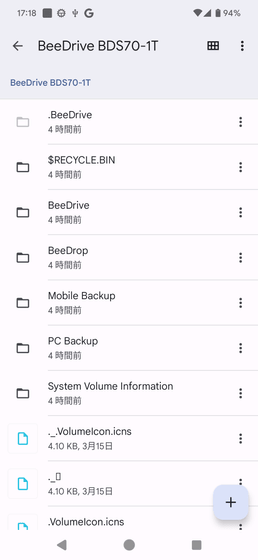
When you open BeeDrive, you can open folders on your smartphone as well as on your PC.
By opening the BeeDrive folder, you can check the saved images on your smartphone.
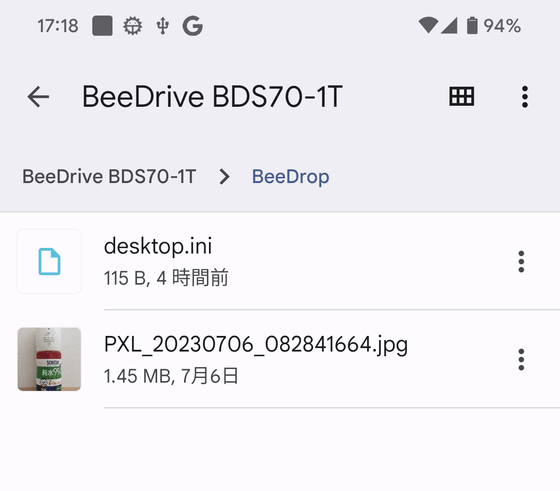
In addition, when BeeDrive was connected to a smartphone, writing to BeeDrive could not be performed. In order to transfer data from your smartphone to BeeDrive, it is essential to connect BeeDrive to your PC.
BeeDrive allows you to back up your PC and smartphone data more and more without going through difficult procedures. In addition, even if you delete files on your smartphone, the data saved in BeeDrive will not disappear, so you can easily solve the lack of space on your smartphone. In addition, by using the 'computer backup function' and 'file synchronization function', it was possible to link PC and smartphone data while reducing the risk of data loss.
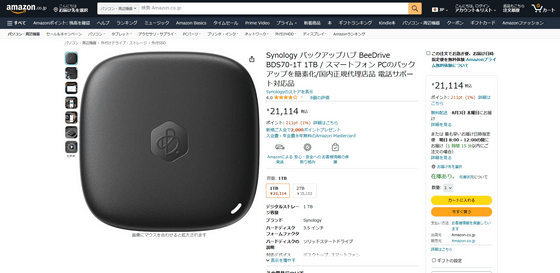
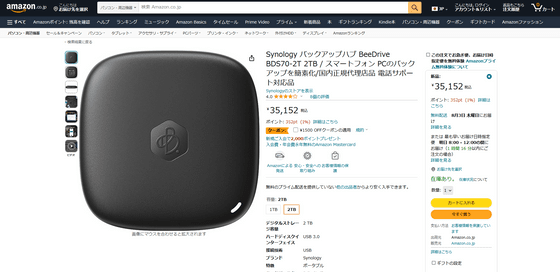
The price of BeeDrive on Amazon.co.jp is 21,114 yen including tax for the 1TB model and 35,152 yen for the 2TB model at the time of article creation.
You can also get BeeDrive from the following gift articles.
GIGAZINE Summer gift large release project ``Please answer the questionnaire and bring them all!''-GIGAZINE

Related Posts:


