'Olive' review that allows full-scale video editing with free & easy and light operation
Thanks to video sharing services like YouTube and TikTok , sending movies has become familiar, but aside from submitting movies you just uploaded, if you edit them in earnest, you will be charged movie editing software or high-spec PCs There seems to be many people who feel that hurdles are expensive. Although " Olive " is free open source software, it is possible to do full-scale editing work like combining multiple movies with light action, so I downloaded it and made a movie.
Olive - Professional Open-Source Video Editor
https://www.olivevideoeditor.org/
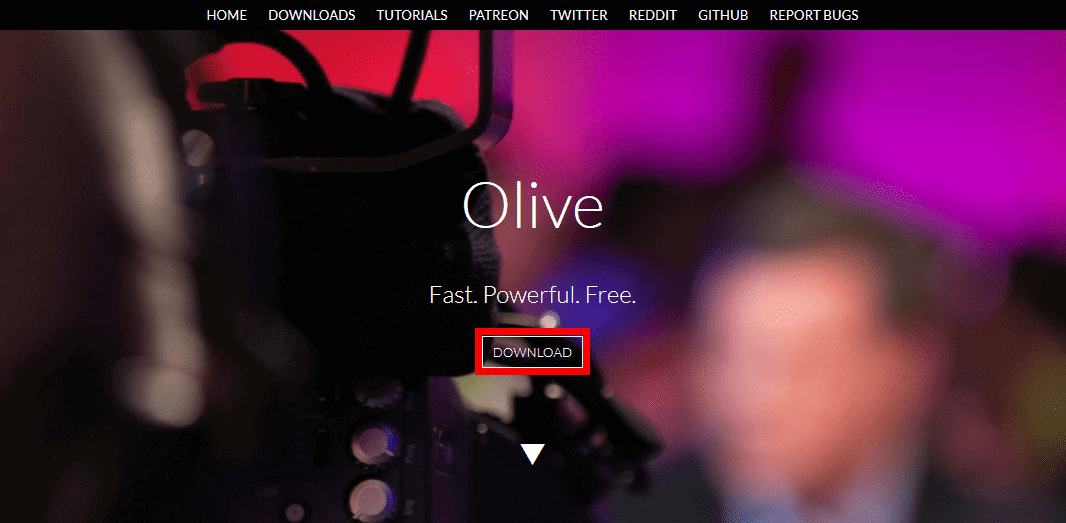
◆ Installation - Please visit the above site and click "DOWNLOAD".
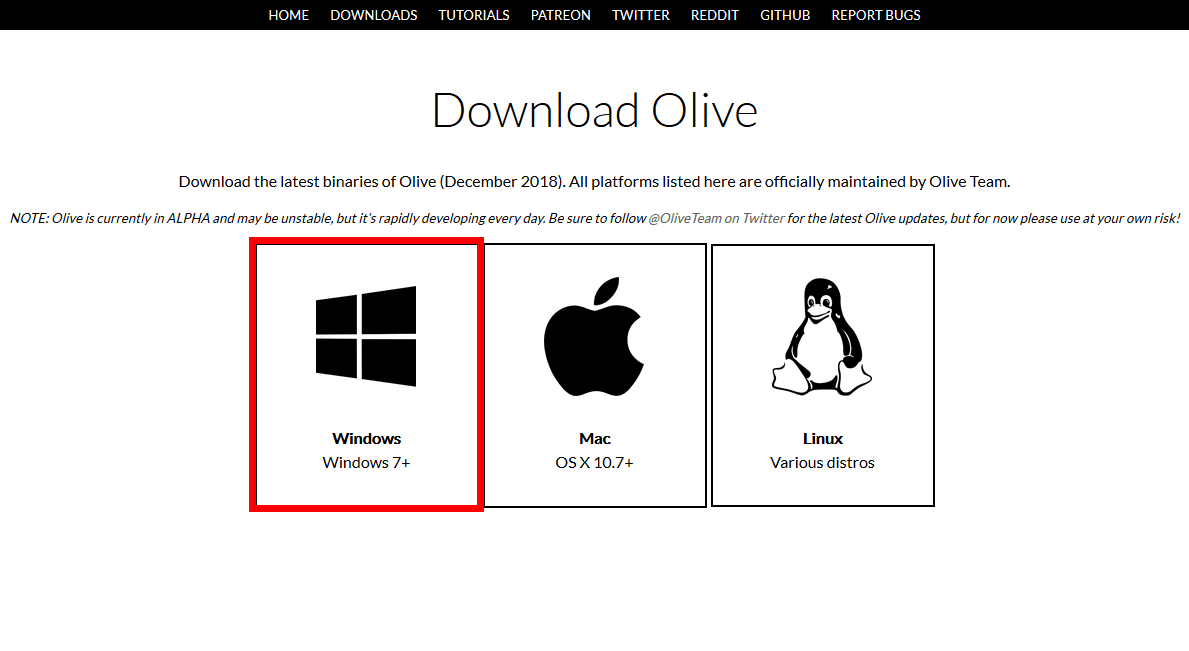
Moves to the screen for selecting the OS. Since the OS of the PC to be installed is Windows, click "Windows".
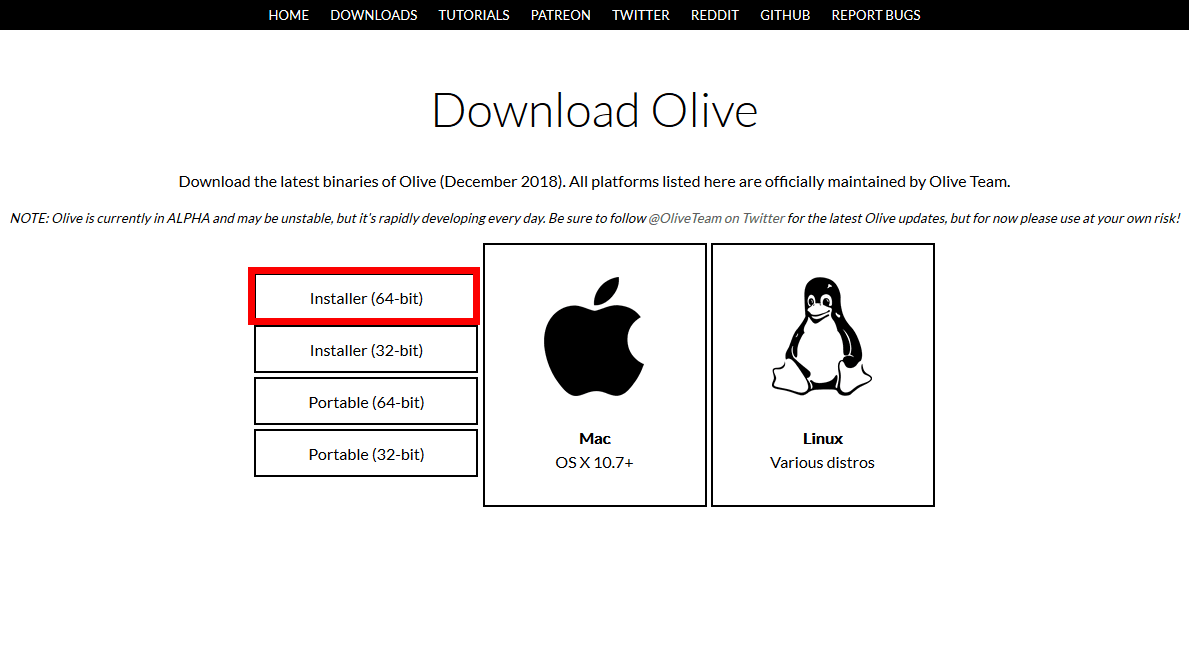
You can choose between 32-bit version and 64-bit version for either installed version or portable version. This time I will install the 64 bit version.
Execute the downloaded file and click "Next".
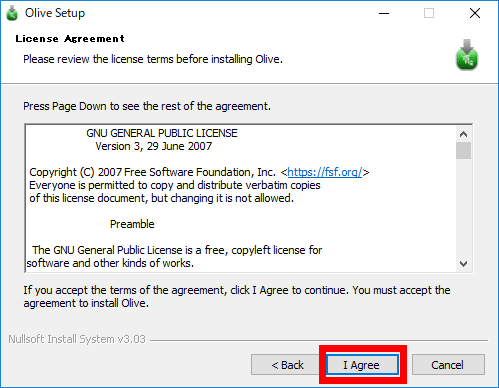
Click "I Agree".
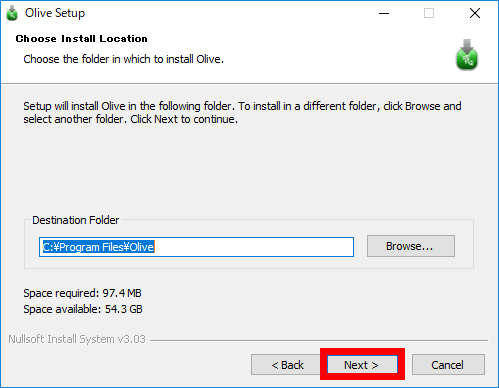
Click "Next".
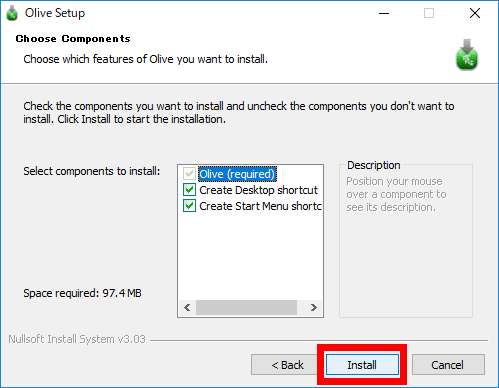
Click "Install".
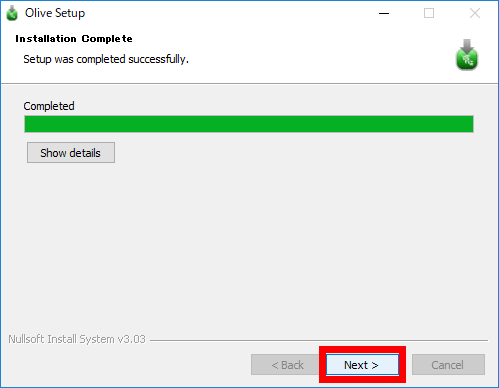
Click "Next".
Click "Finish".

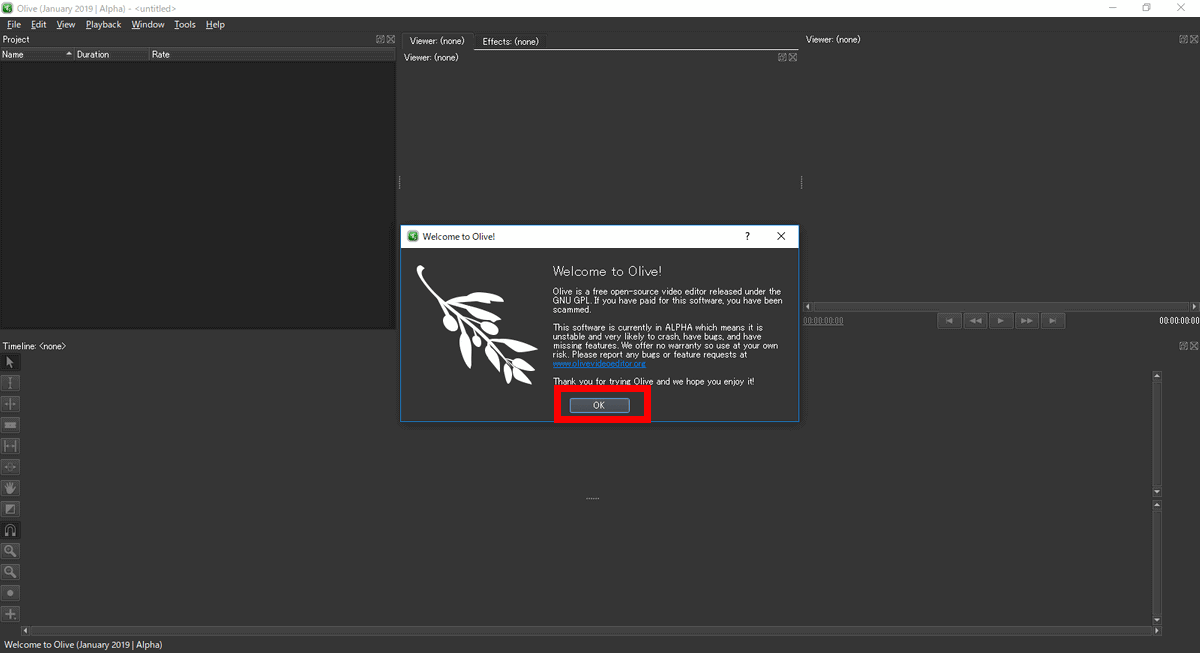
This is the first start screen of "Olive". Click "OK" to close the dialog.
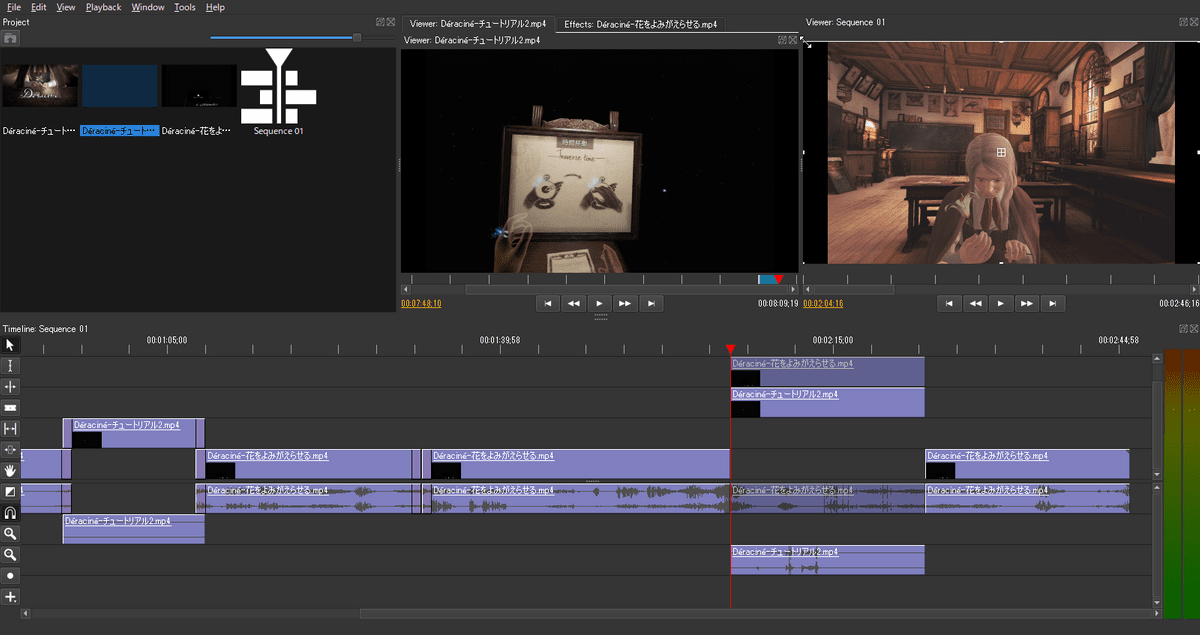
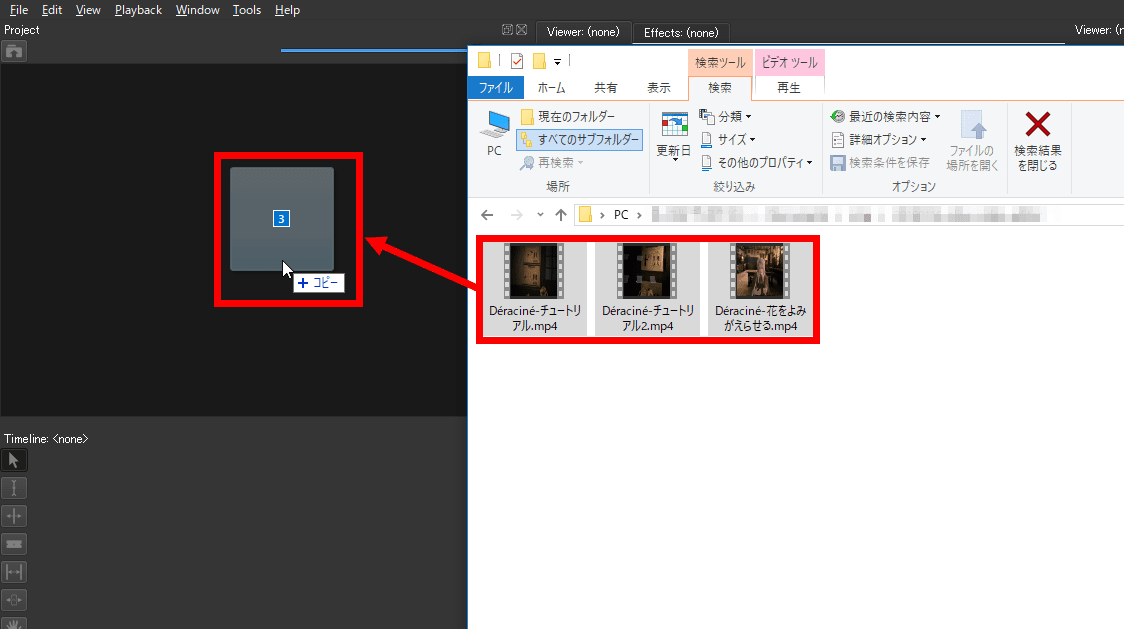
◆ Opening Movie to Edit <br> This time we have combined three movies of VR game named " Déraciné " which we reviewed earlier, so that even those who have never seen this game can watch a movie that shows the atmosphere and flow of the game I will make it.
First, drag and drop the movie you want to edit to Olive and open it. Drag and drop with multiple files selected, it is possible to add them all together.
Double-click on the thumbnail of the opened movie to play the movie.

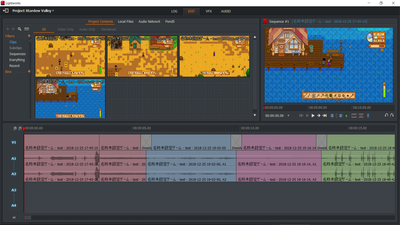
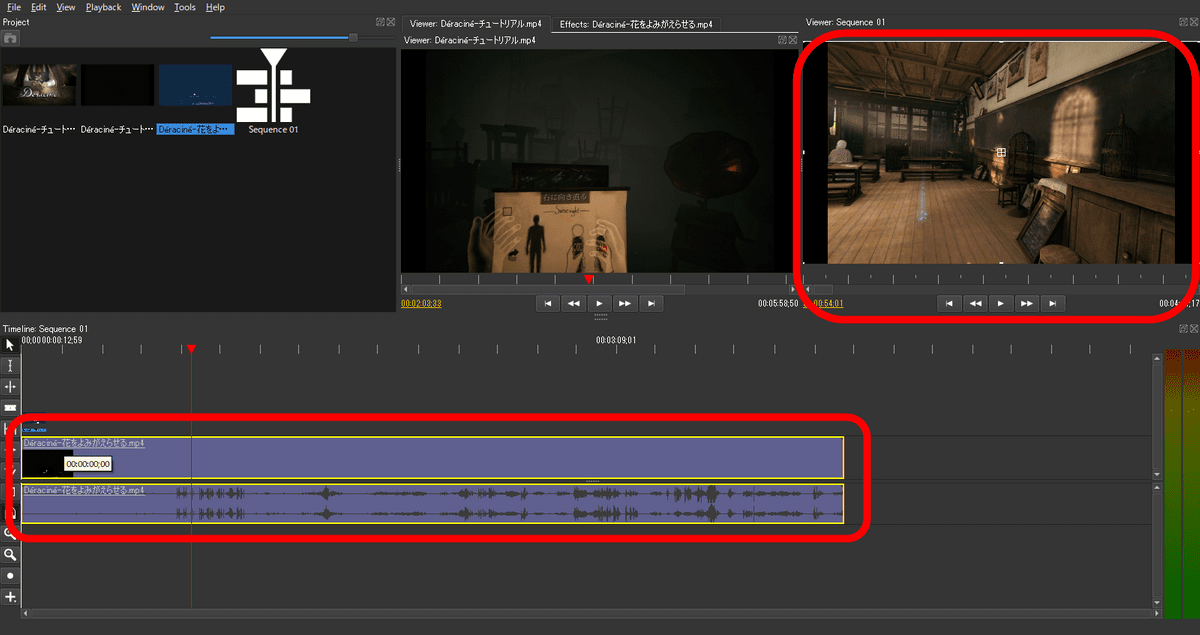
To start editing, drag and drop the movie you want to edit onto the timeline.
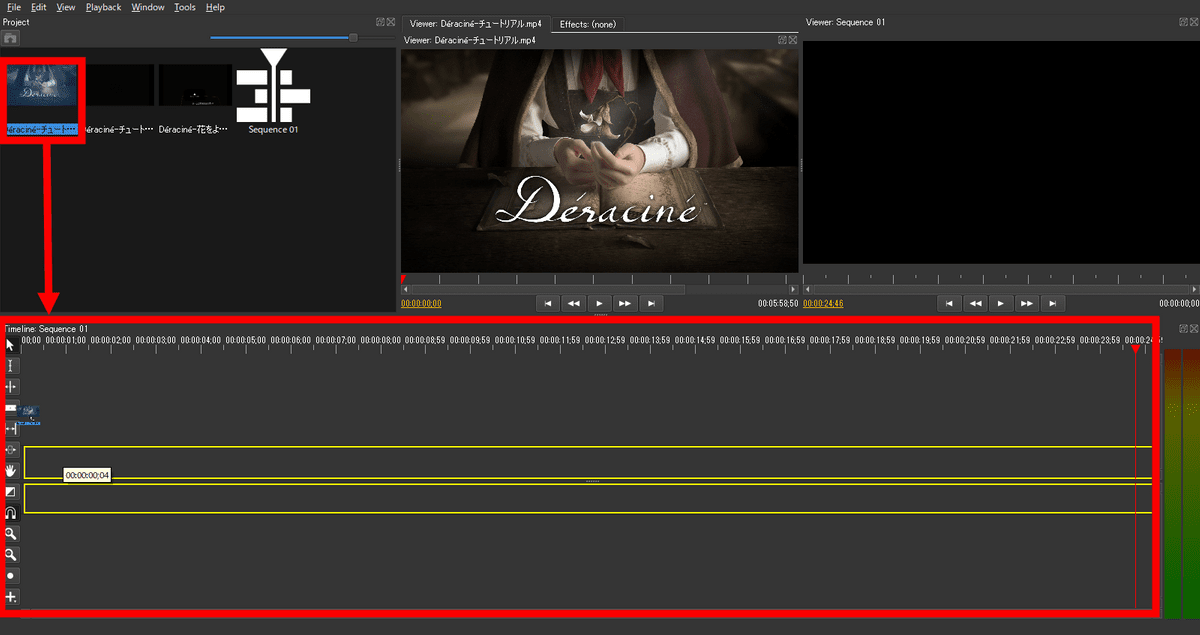
Of the yellow frame on the timeline, the top is the movie image and the bottom is the audio. Also, a preview of the movie on the timeline is displayed in the upper right of the screen.
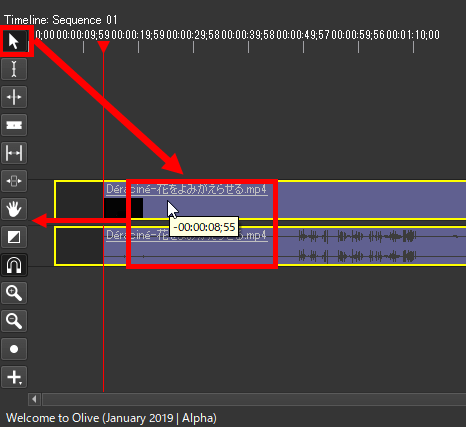
◆ Cut Movie <br> I will cut the beginning part of unnecessary movies.
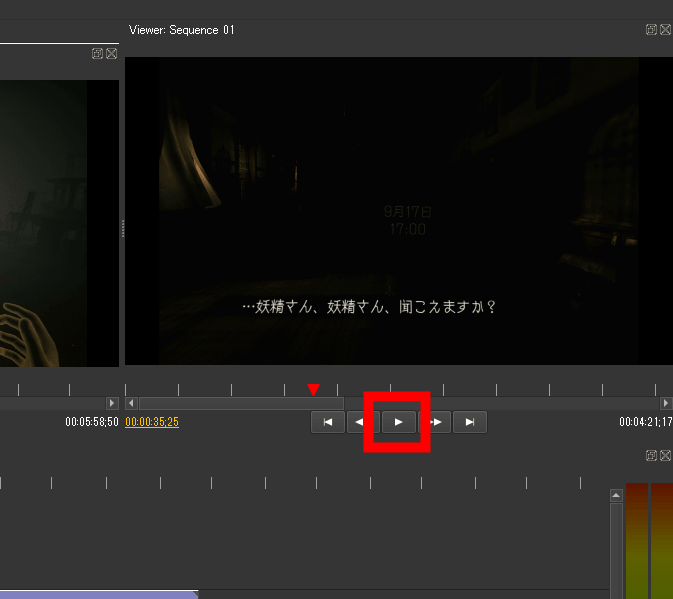
While playing the movie you want to edit in the right window, decide where to cut and temporarily stop with the "play / stop button" at the bottom of the movie.
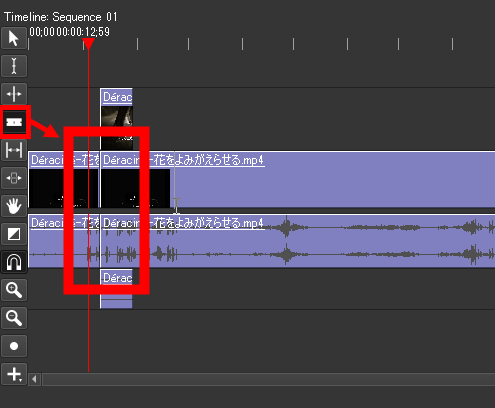
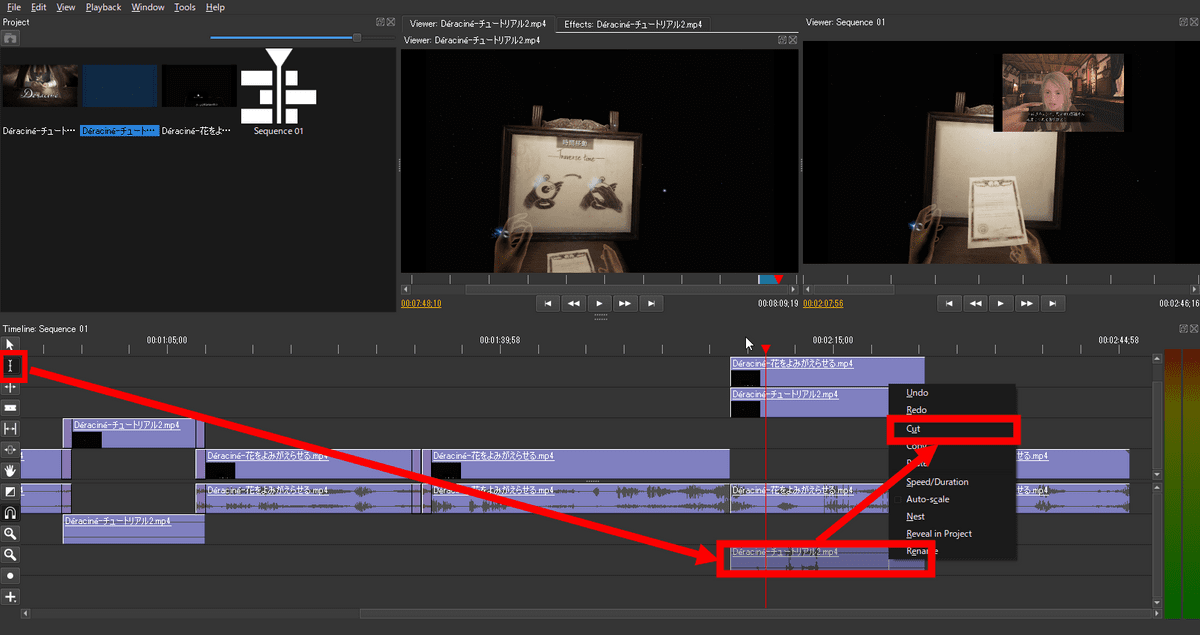
Click the razor icon "Razor Tool" from the tool bar on the left side of the timeline.
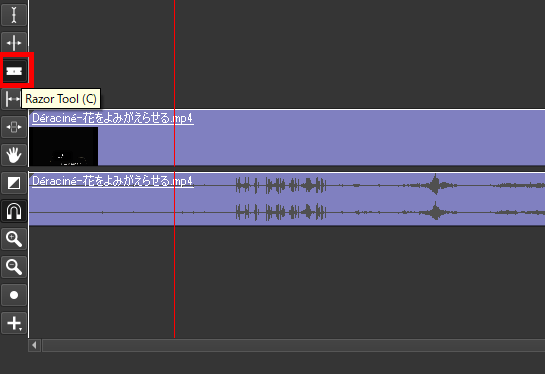
Since the red line indicator on the timeline has stopped at the point where the movie is stopped, move the cursor to the indicator and click on it to split the movie.
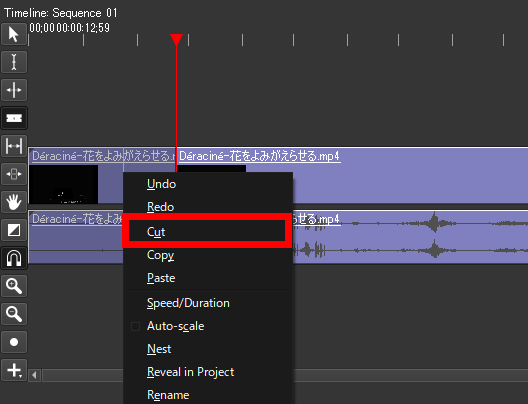
Right-click the divided left part and click "Cut". Then, the beginning part which was unnecessary was cut.
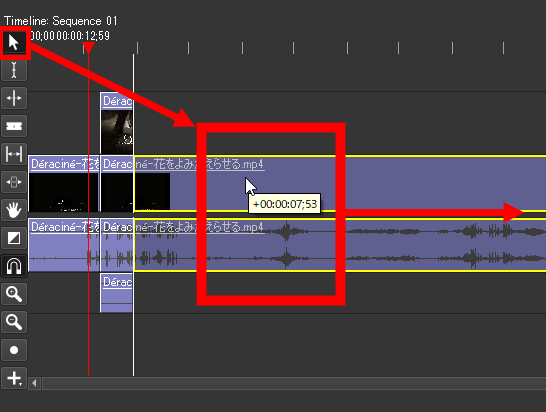
You can leave a blank but click on the icon at the top of the toolbar, release "Razor Tool" and drag the movie to the left to fill in the blank.
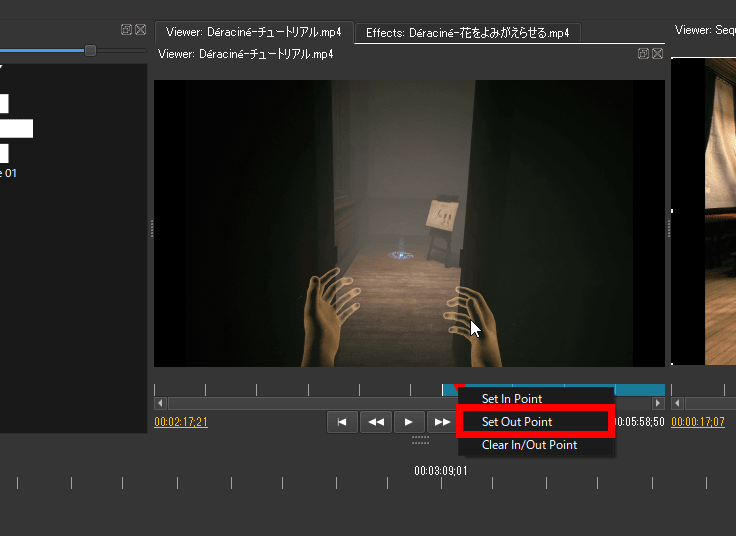
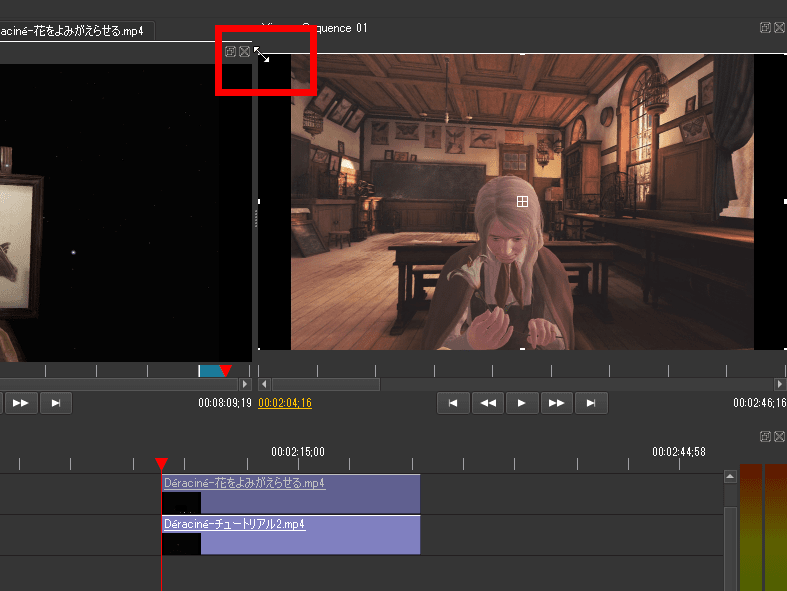
◆ Insert another movie - I want to insert the movie of the tutorial, so double click on the thumbnail of the movie to play it. When you reach the starting point of the part you want the movie to insert, right click on the red "▼" indicator and click "Set In Point".

When you reach the end point of the part you want to insert, right click on the indicator as well and click "Set Out Point".
Since the start and end points of the movie you want to insert are fixed, drag & drop the left window to the timeline.
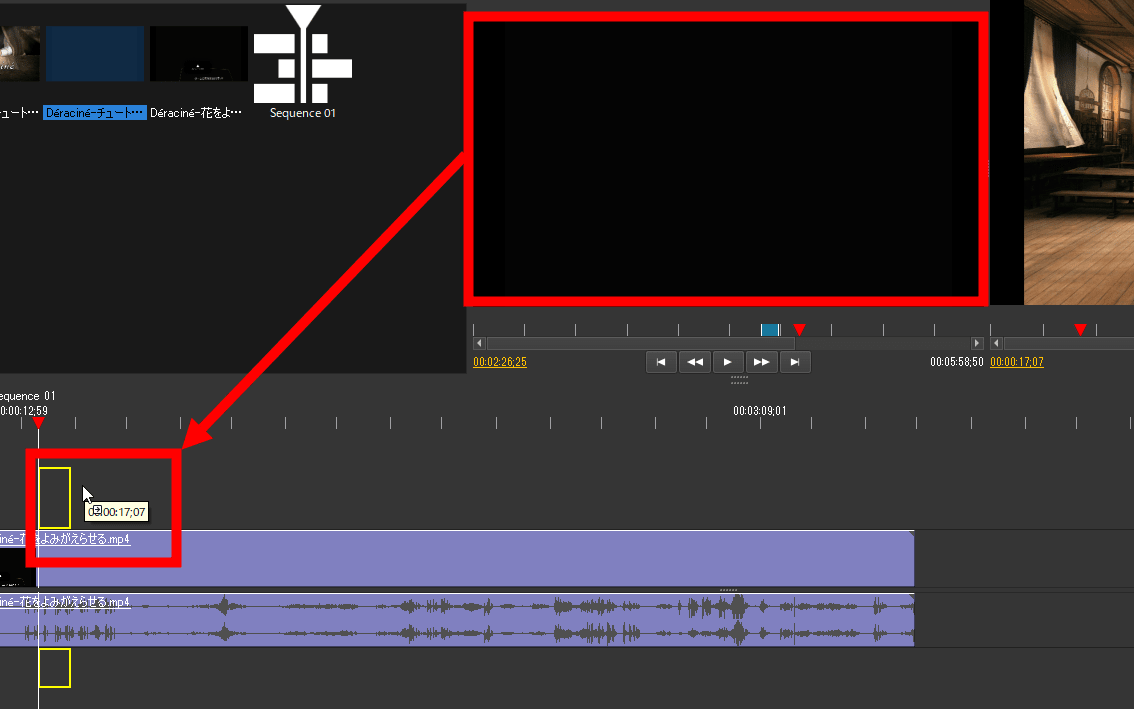
The tutorial movie is displayed above the editing movie on the timeline. As it goes upward, it is displayed in front of the movie, so if you keep it, the tutorial will be overwritten on the editing screen.
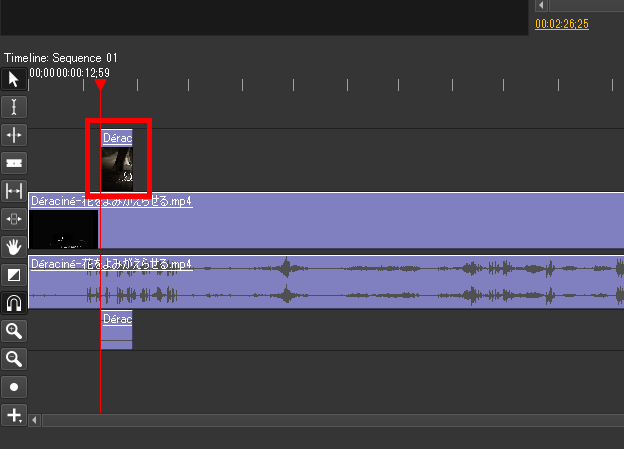
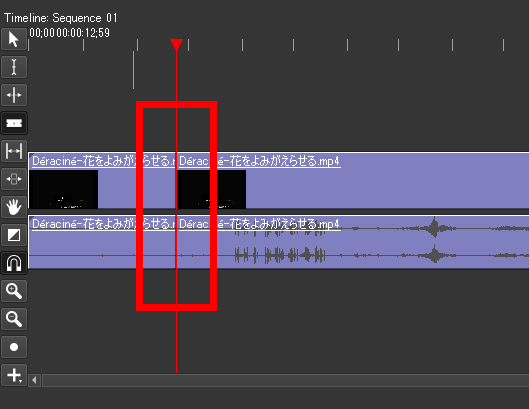
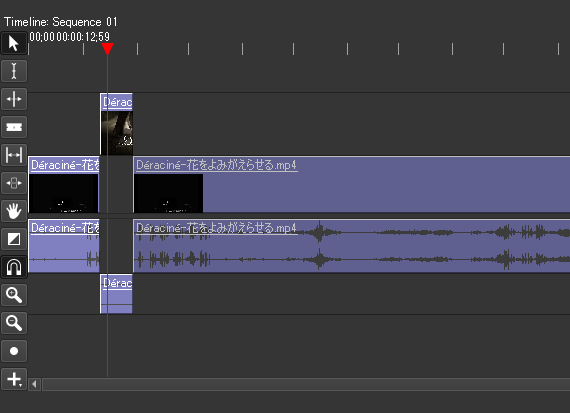
Just like before, split the movie with "Razor Tool" ...
After releasing "Razor Tool", drag the movie to the right this time.
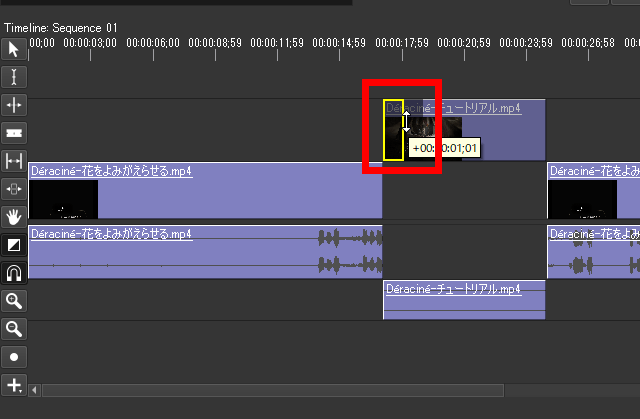
Now the movie for editing and the inserted movie are now continuous, but as it is, the movie suddenly switches, so I will insert a fade-in effect.
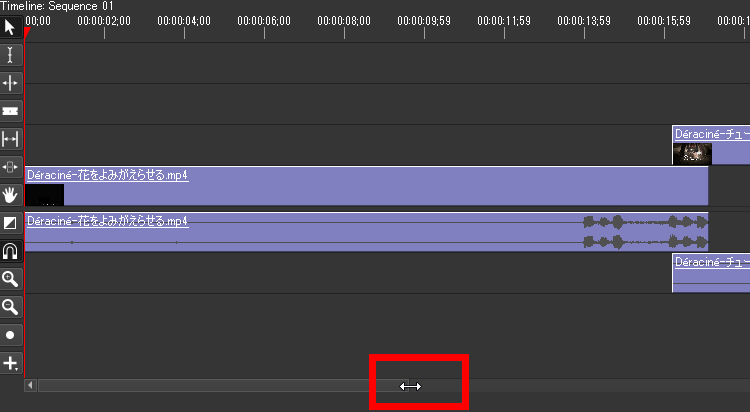
In order to do fine work, adjust the length of the lower scroll bar with drag & drop and enlarge the display ......
Click the monochrome square icon on the left toolbar and click "Cross Dissolve".
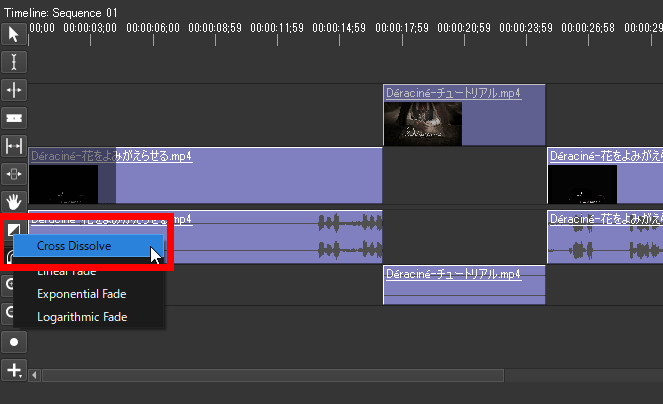
After that, clicking on the start point of the inserted movie allows you to add a fade-in effect that slowly displays the inserted movie.
◆ Insert a small window wipe into a movie - I want to display the editing movie that becomes the main part while switching to the tutorial movie, so I will do editing "picture in picture" to put a small window wipe in the movie .
In the same way as before, specify the part you want to insert from the left window and drag & drop it to the timeline.
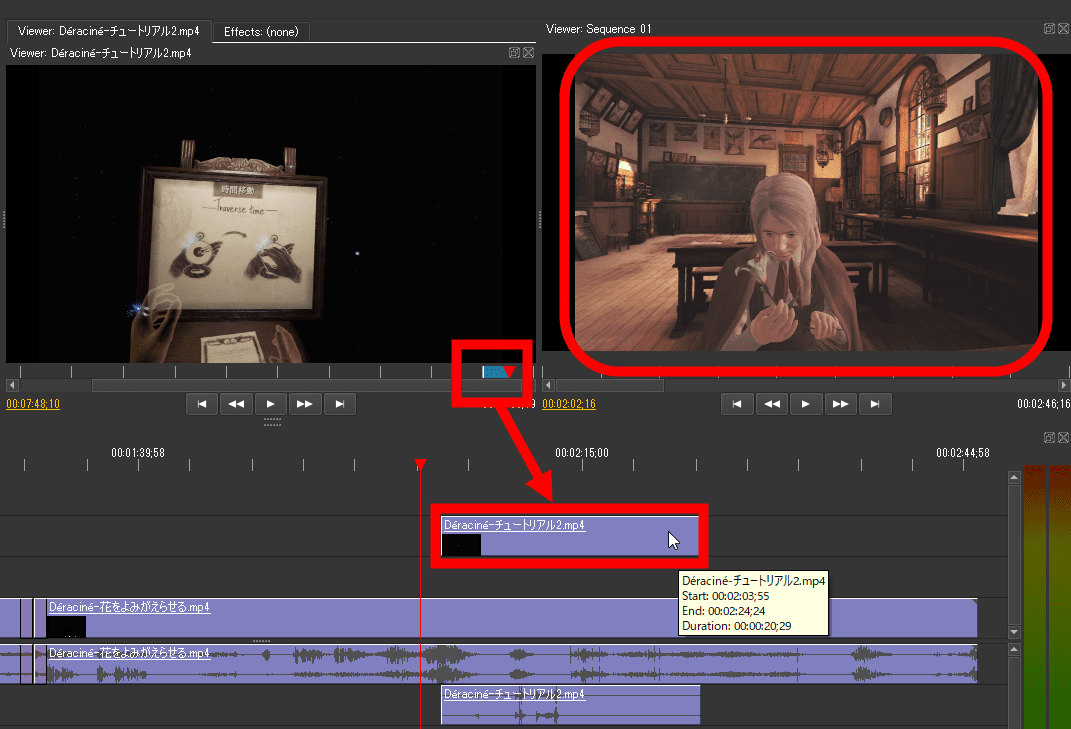
Cut the main movie with "Razor Tool" and drag and drop it onto the inserted movie.
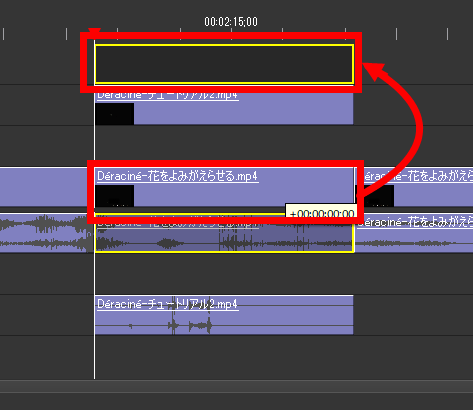
When you move the cursor to the frame of the right window, a white frame is displayed ......
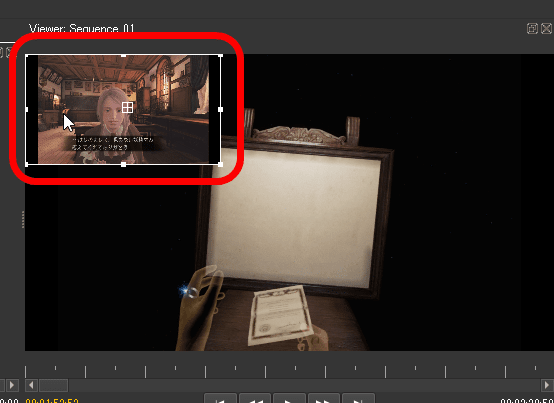
Drag it to shrink it. By doing this, a small main movie is displayed in front of the movie of the inserted tutorial.
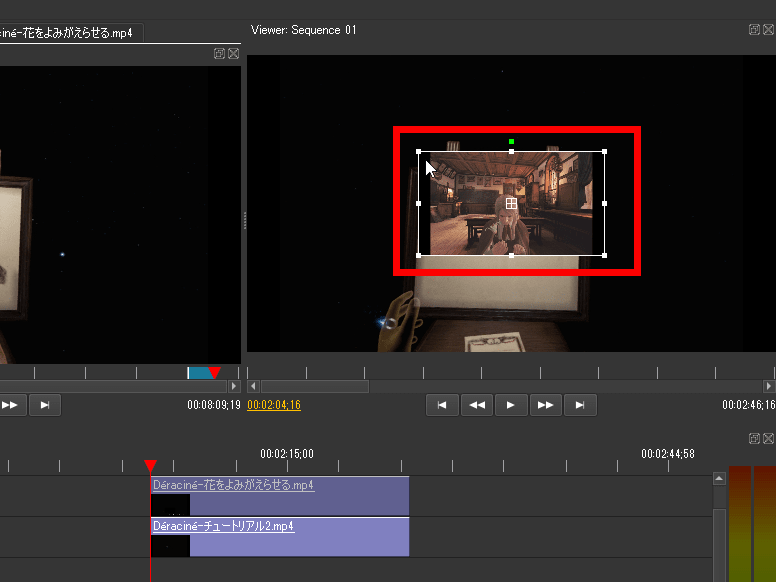
You can place movies in front of the screen where you like on the screen.
You can cut the audio of the tutorial movie by selecting "Edit Tool" second from the top of the tool bar and then right-clicking the audio below the timeline and "Cut".
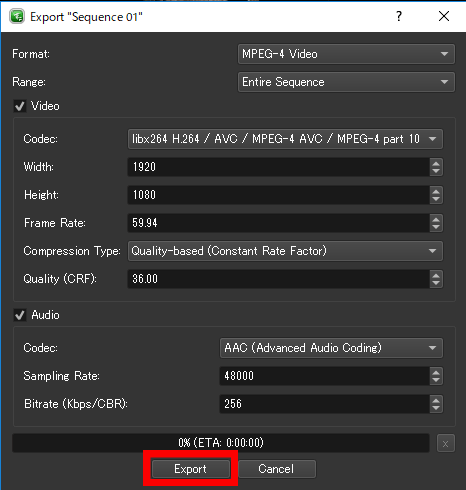
To save the movie, click "File" in the upper left corner, and then click "Export".

Click "Export" again.
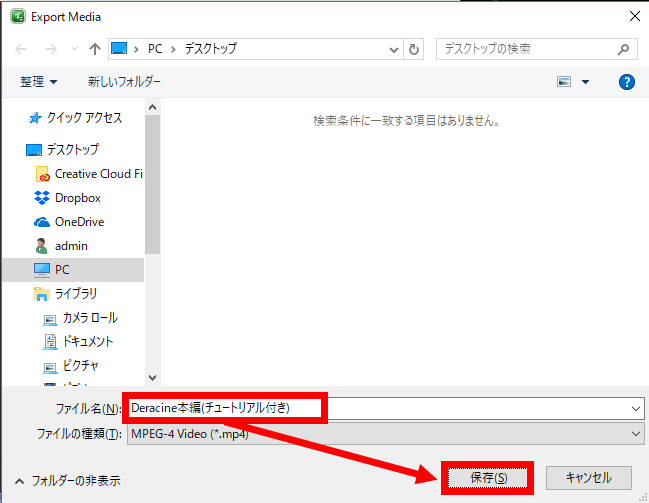
Specify an arbitrary folder, enter the file name, and click "Save".
A movie edited with "Olive" for trial is kore.
I tried to make digest movie of game with free video editing software "Olive" - YouTube
"Olive" is an excellent movie editing software which can do editing while previewing multiple movies in parallel, while free software, but also works crisply. On the other hand, there is a problem that there is a high probability crash when closing before editing an opened movie file in the timeline, with only the alpha version being somewhat unstable in motion, the full screen playback button of the movie is not functioning It is a drawback. Nonetheless, since functions have been improved / added in real time, such as a problem fixed in half day from reporting, it is expected for future updates.
In addition, because it is not yet supported in Japanese at the moment so far, people who say "to operate in English a bit ..." are also considering using free movie editing software " OpenShot Video Editor " corresponding to Japanese It might be nice to see it.
Related Posts: