I tried using the free video editing software "OpenShot Video Editor" which even beginners can easily use

Many people have thought that they wanted to post movies on a video posting site such as YouTube, but at the same time there are many people who thought that "it seems to be difficult to edit movies ..." and eventually did not do it Should Open source movie editing software which can be handled easily even by a beginner who is interested in such a video post and is free to use "OpenShot Video EditorI tried using it.
OpenShot Video Editor | Free, Open, and Award - Winning Video Editor for Linux, Mac, and Windows!
http://www.openshot.org/
◆ Download and Installation
First of all, download the latest version from the official page of "OpenShot Video Editor". Click "Download v 2.4.1".
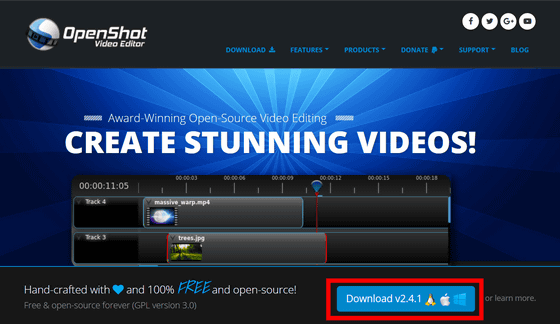
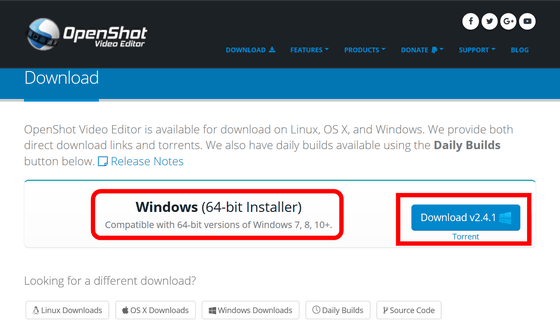
"OpenShot Video Editor" has Windows, Linux, and macOS versions, but this time we will download the Windows version.
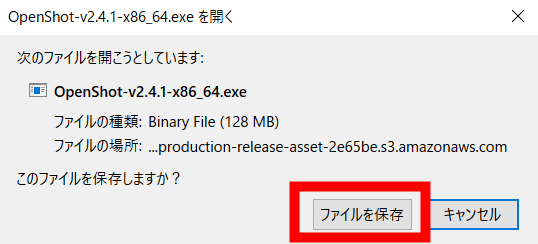
Click "Save file".
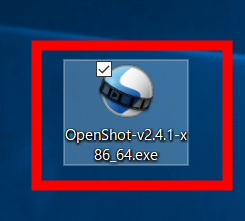
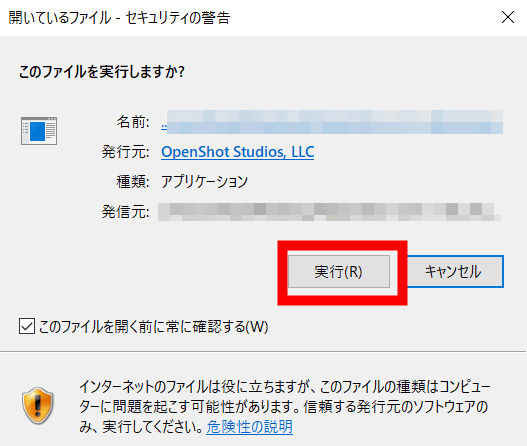
Launch the downloaded installation application.
Click "Execute".
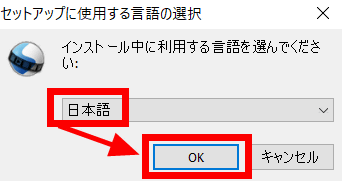
Set the language to be used during installation to "Japanese" and click "OK".
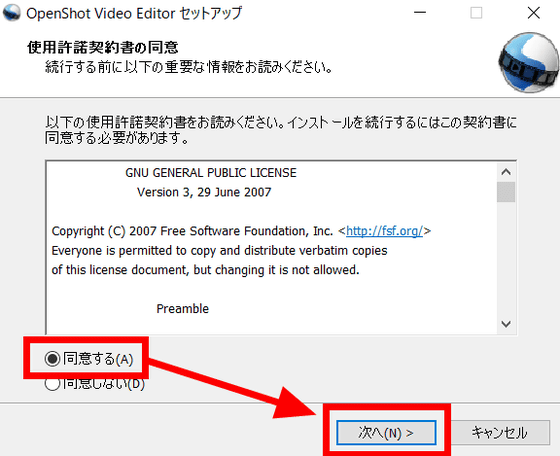
Please check "I agree" and click "Next" because you are prompted to agree to the license agreement.
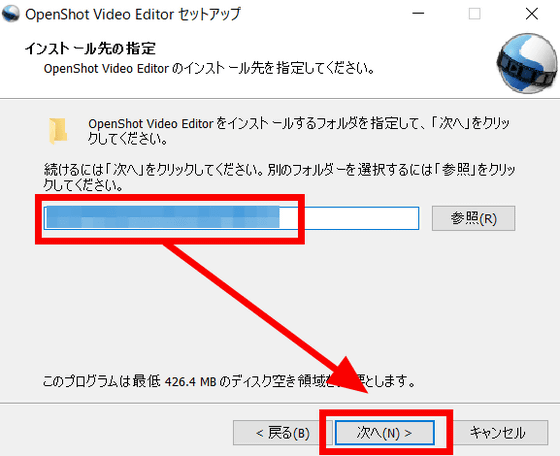
Specify the installation destination and click "Next".
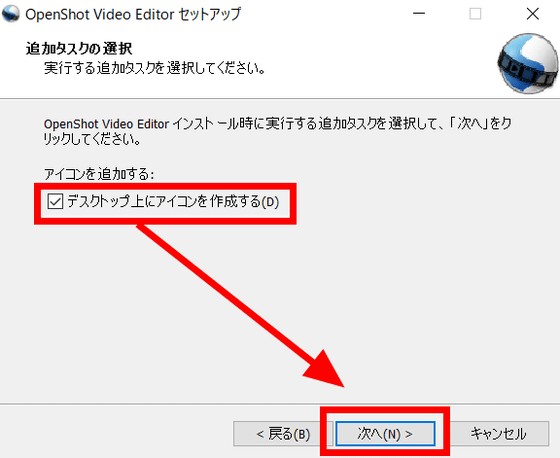
If you want to create an icon on the desktop, check it and click "Next".
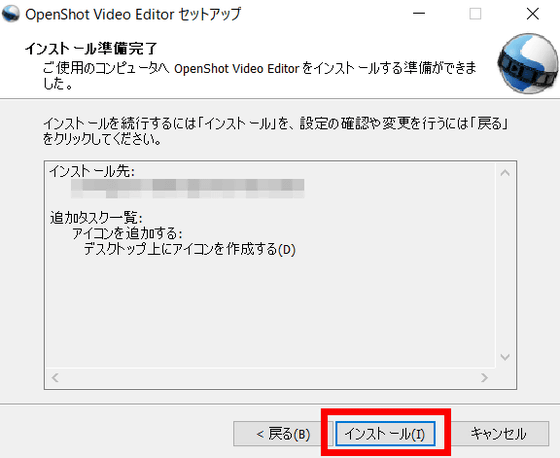
Click "Install".
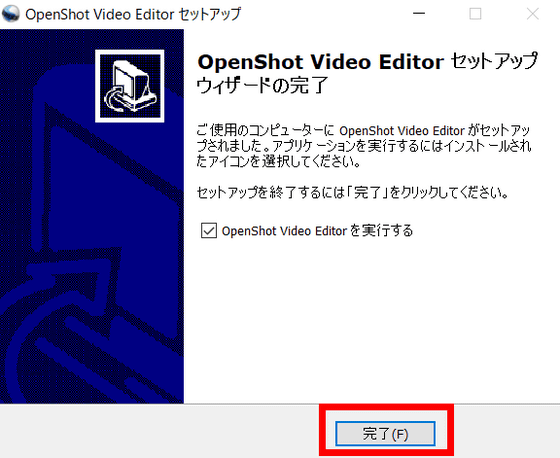
Click "Finish" to complete the installation.
◆ Tutorial
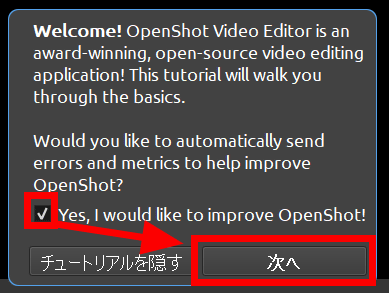
When "OpenShot Video Editor" is started for the first time, a tutorial is displayed on the screen. If you do not want to see the tutorial, click "Hide tutorial" at the bottom left of the tutorial screen.
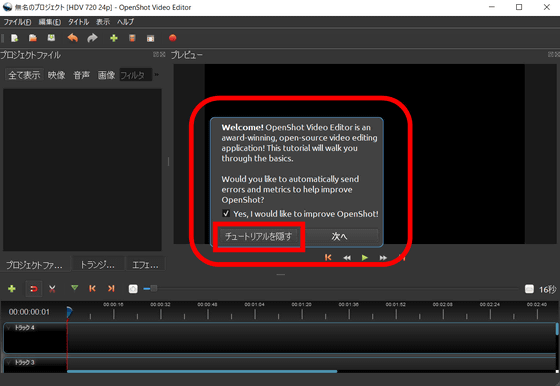
If you want to see the tutorial, please check the check whether you want to officially send the defect of "OpenShot Video Editor" automatically, then click "Next".
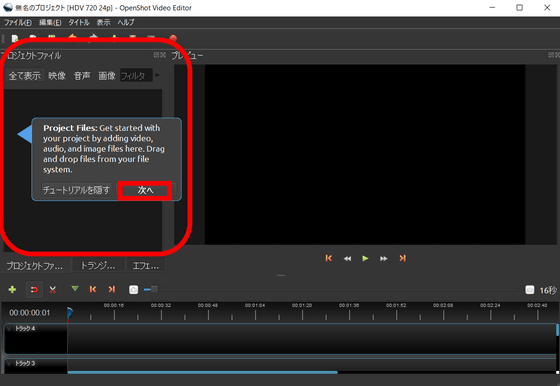
The left side of the screen is where you place "project file" you want to edit with "OpenShot Video Editor" such as movies, music, images. It is possible to move files by drag & drop from their own folder.
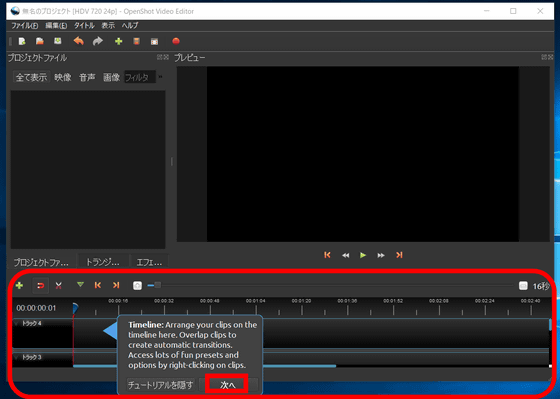
"Timeline" at the bottom of the screen. Here you can edit multiple videos, music, images using various tools.
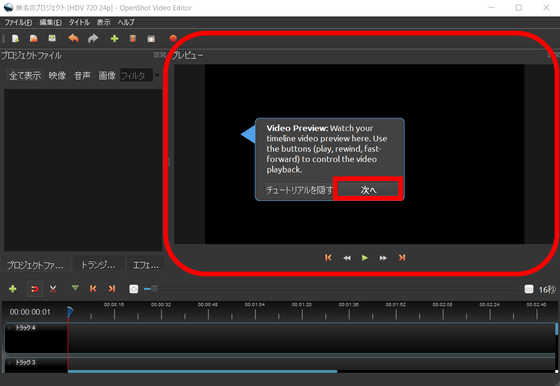
The "Preview" screen is displayed from the center to the right of the screen, and the movie being edited is displayed here in the timeline.
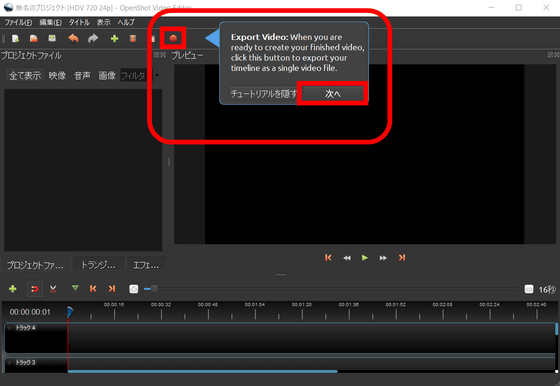
The red button at the top of the screen is the "export button". You can export a movie edited on the timeline as one video file by pressing this button. Press "Next" to end the tutorial.
◆ Preparing for movie editing
Now I will edit the movie. "OpenShot Video Editor" includes "MPEG-4" "MP4" "AVI" "MOV"FFmpegYou can edit movie files of all formats corresponding to. First, drag and drop the movie you want to edit to the project file place of "OpenShot Video Editor" by drag & drop.
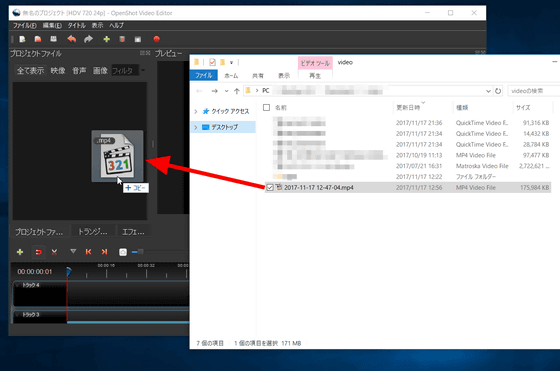
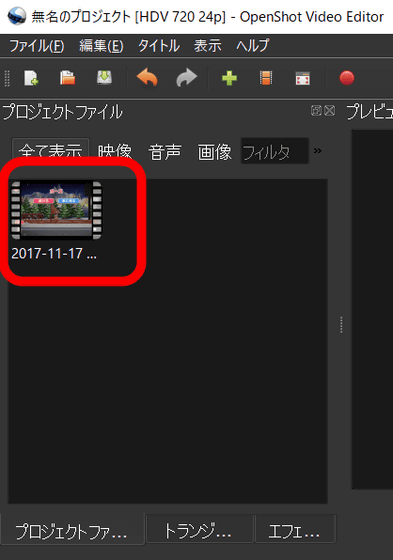
Then, the selected movie has been added to the editing screen of "OpenShot Video Editor" as a project file.
In addition, you need to add the file to the timeline to edit the project file. Dragging the movie in the project file place and pulling it to the timeline ... ...
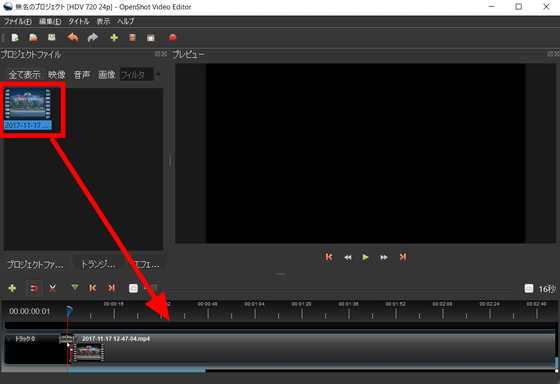
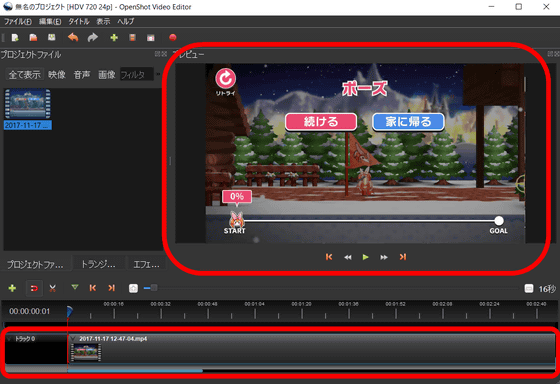
The movie of the project file is added to the track "Track 0" on the timeline, and the movie is displayed on the preview screen.
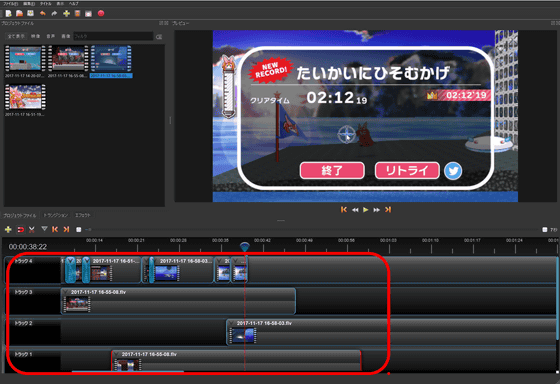
It is possible to add different project files to each track. This is useful when composing multiple movies.
◆ Cut out unnecessary parts with "Scissor tool"
Well, I thought that the game could be played well, but when I look back at the preview screen it is a terrible play sequence. The character has been snapped into a log of spit.
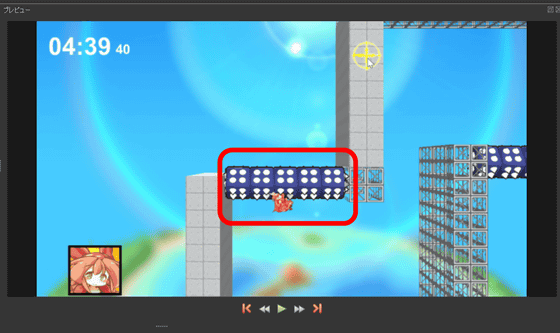
Since it is not possible to publish a movie that is too fetish, I cut out only the part I was able to play well and make a movie. When editing a movie, the easier it is to edit the narrower the movie you want to display in the timeline, so click the "+" button at the top of the timeline to extend the scale of the timeline and change the scale.

The scale of the timeline can be adjusted to 1 second at the minimum and 800 seconds at the maximum.

When the range you want to cut is decided, click the scissors icon above the timeline.

When you click the end point of the part you want to cut the movie on the timeline, a break in the movie has been made. The starting point of the cut is set as the starting point of the movie, so it is not specified. Currently, this one movie is divided into two moving parts (clips).

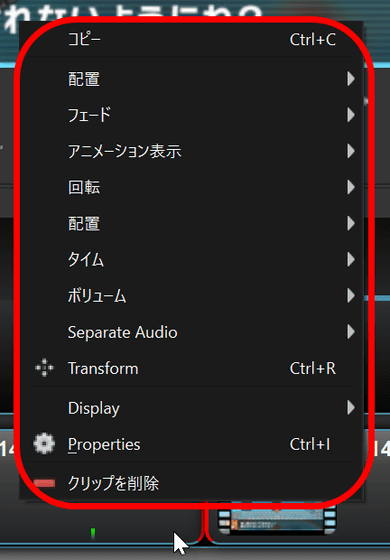
Click the scissors icon to release the scissors tool, then right click on the clip you want to cut and the menu is displayed. When you click "Delete Clip" from the menu screen ... ...
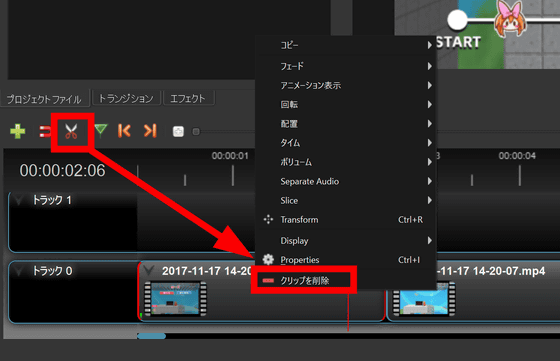
The selected clip has been deleted.
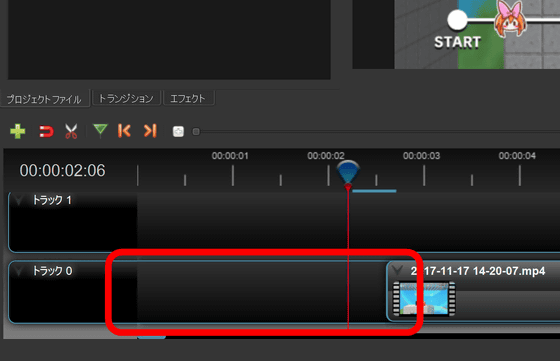
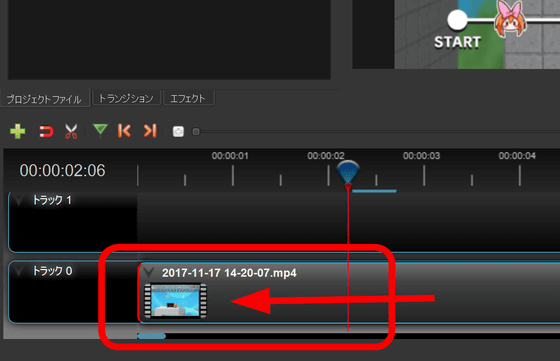
If you move the remaining clip to the start of the timeline by dragging it, the movie will be played from the beginning of the clip that was left behind.
Clip cut out a part of the movie ......

You can cut it without problems.

If you overlap a clip of the remaining movies a little by dragging, you can join the movies, although there is a sense of incongruity that the screen switches abruptly.

◆ Seamlessly join two clips with "transition tool"
If you want to join movies more smoothly, click on the magnet icon to the left of the scissors icon.
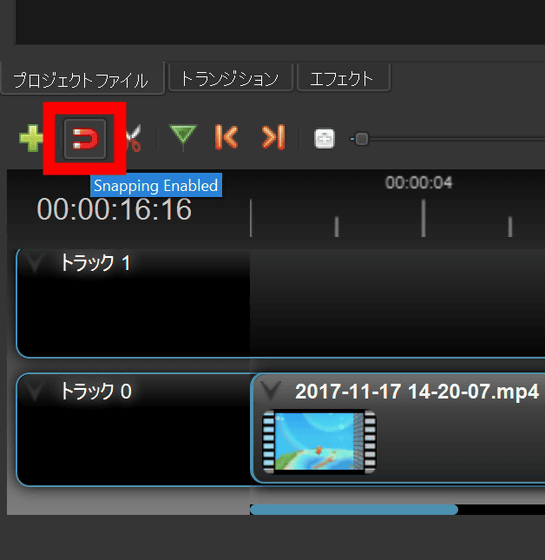
If you drag the clip while overlaying it with the magnet tool selected, a mark will be displayed between the two clips. The special effect of the scene change is applied to the scene in which this mark is displayed, and it is possible to join the two clips smoothly.

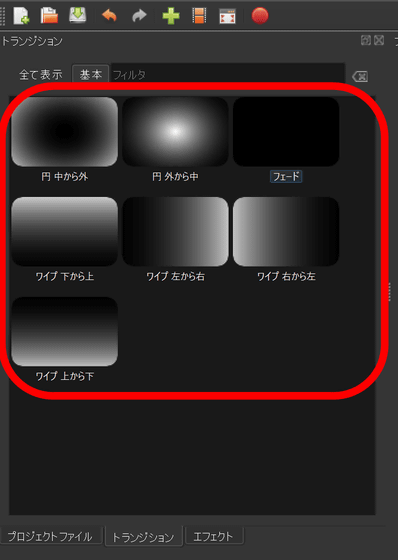
The effect used for this scene change is called "transition", and "OpenShot Video Editor" can change the effect of "transition". When you click "Transition" at the top of the timeline ... ...
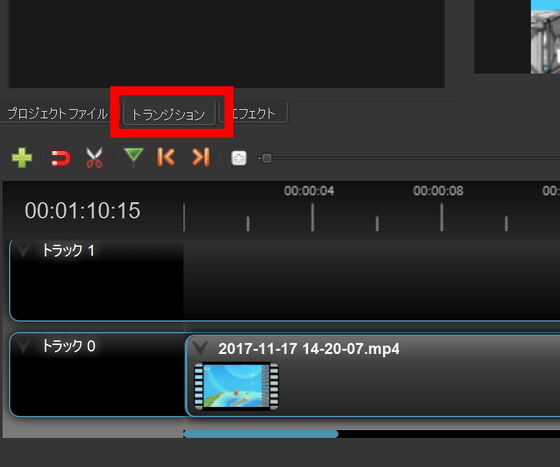
The effect of the transition that can be used in "OpenShot Video Editor" is displayed.
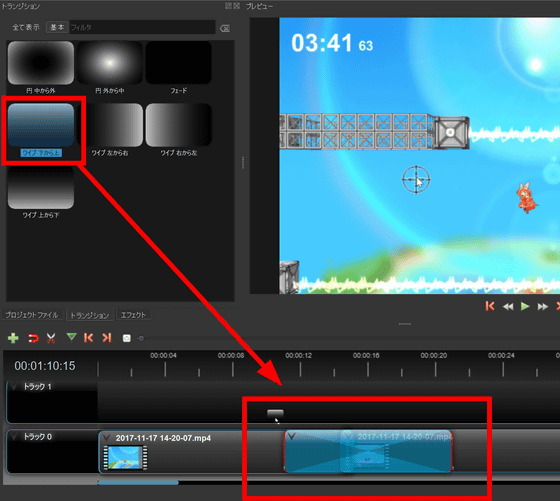
The effects of the transition are reflected only by dragging and dropping to the joint where you want to use.
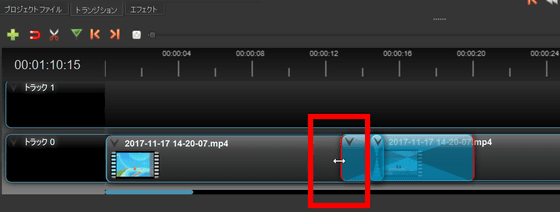
You can freely change the length of the transition by dragging the cursor over the transition mark displayed on the timeline.
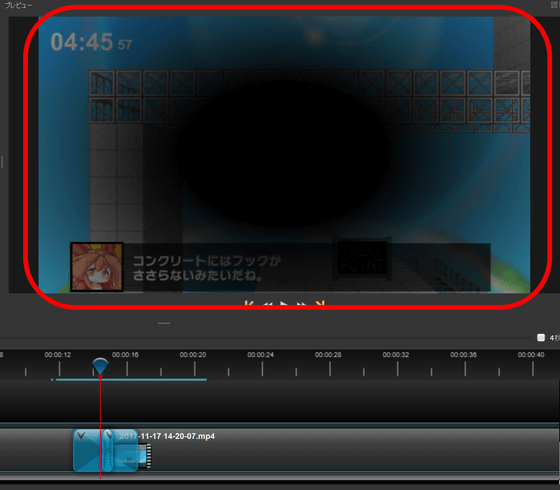
You can check the transition you used immediately on the preview screen.
In addition, transitions can be inserted not only at the joint of the clip, but also in the middle of the clip. It might be useful when you want to make sharpness on movies.

A movie that connects two clips with a transition "fade" is this.
I tried connecting two clips with "OpenShot Video Editor"
◆ Other editing tools
You can also apply effects to whole videos. Click "Effects" at the top of the timeline and select the effect you like. When you drag the effect you want to use to the clip cut with the scissors tool ......
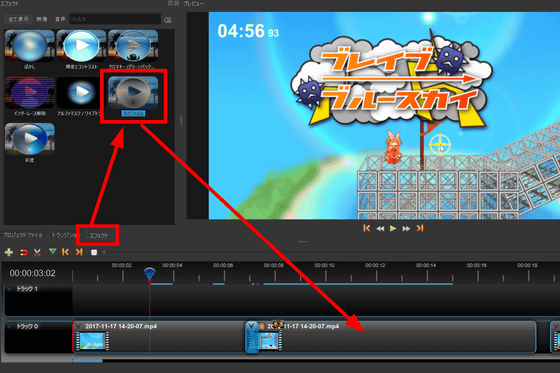
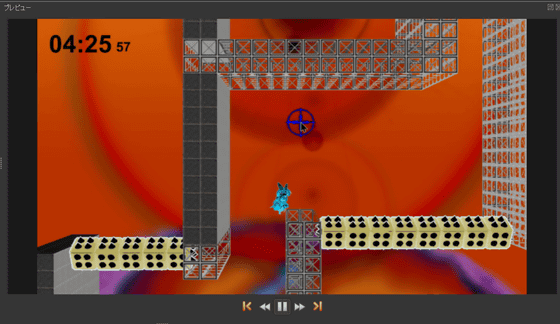
The game screen became a surprisingly amazing video. Be careful not to misunderstand how to use when using effects.
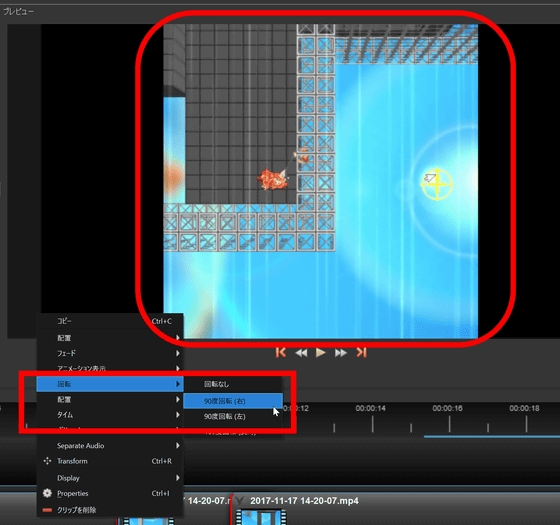
Also, right click on the clip will display the menu bar. Various editing is possible from here.
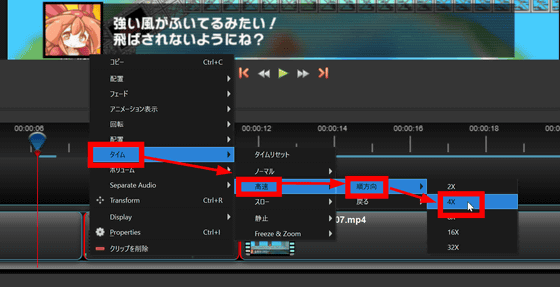
In "Time", fast forward or slow playback of the selected clip is selected ......
You can rotate the screen.
◆ Exporting movies
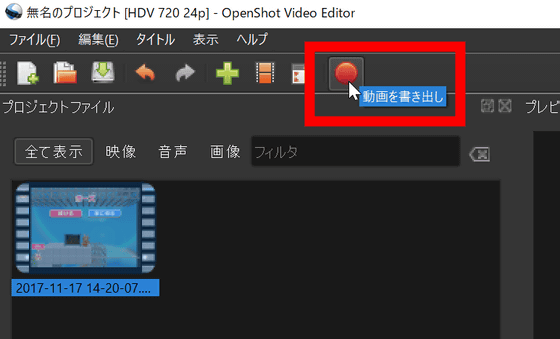
After editing the movie, next you need to export the movie in a format compatible with various video playback software. Click the red circle button on the upper left of the screen.
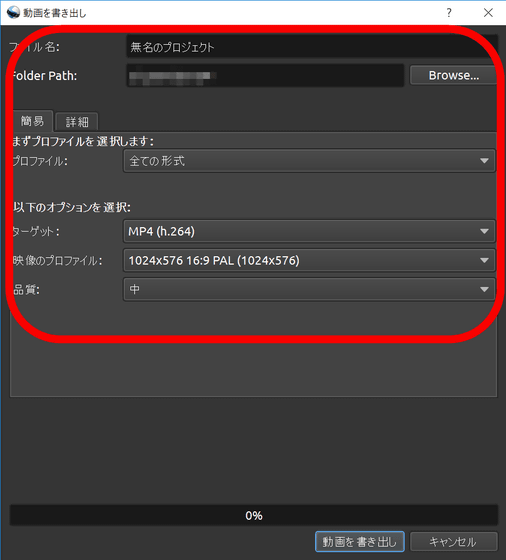
The video export setting screen opens.
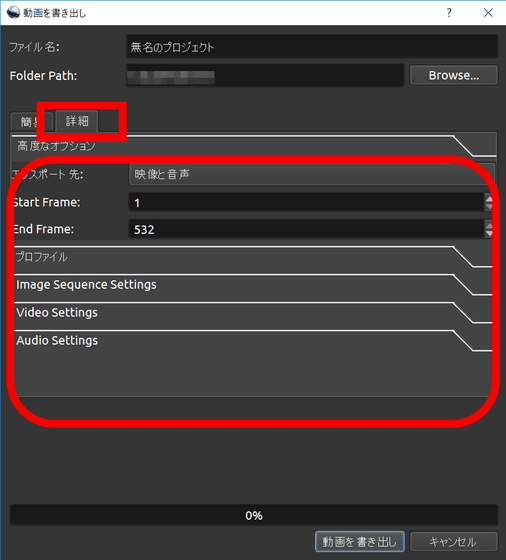
You can set export settings in more detail by clicking "details" on the upper tab.
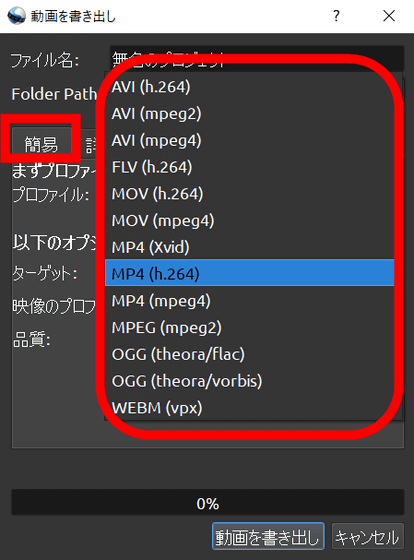
The file formats that can be output with the "simple" setting are "AVI (h.264)" "AVI (mpeg2)" "AVI (mpeg4)" "FLV (h.264)" "MOV (h.264)" "MOV "OGG (theora / flac)", "OGG (theora / vorbis)", "WEBM (vpx)", "MPEG (mpeg 4)" "MP 4 (hp) "Has become.
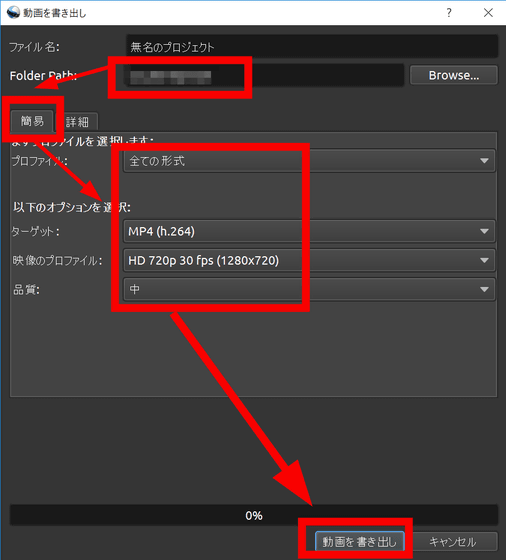
When "Simple" setting is sufficient, please set the folder to save, the format to export, image quality etc., and click "Export Movie".
After waiting for a while ... ...
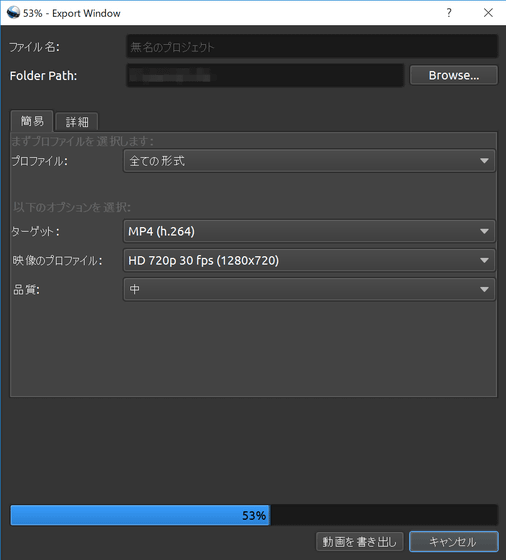
The edited movie is exported in the specified format.
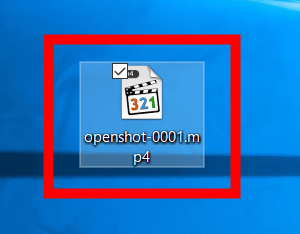
A movie edited with "OpenShot Video Editor" for trial is kore.
I tried editing game videos with free video editing software "OpenShot Video Editor"
"OpenShot Video Editor" can not do that much advanced editing work, but since it is available for free and operation is not so difficult, "I'm interested in editing movies but I do not know if I really want to be a hobby, I hesitate to buy movie editing software ... "I felt it was easy for beginners to get out of hand.
Related Posts:
