Wacom Intuos Pro Paper Edition "capable of laying in illustration drawn with paper and a pen and loading it in a PC and also as a pen tab
Wacom's newly developed writing pressure level of 8192 level high-definition "Wacom Pro Pen 2" can be loaded and used as a pen tab, it is also possible to divide the illustrations written with paper and pen into layers "Wacom Intuos Pro Paper Edition"is. What kind of comfort do you have in mind? So I actually tried using it.
Wacom Intuos Pro Paper: Creative pen tablet | Wacom
http://www.wacom.com/ja-jp/products/pen-tablets/intuos-pro-paper
This is the package of "Wacom Intuos Pro Paper Edition".
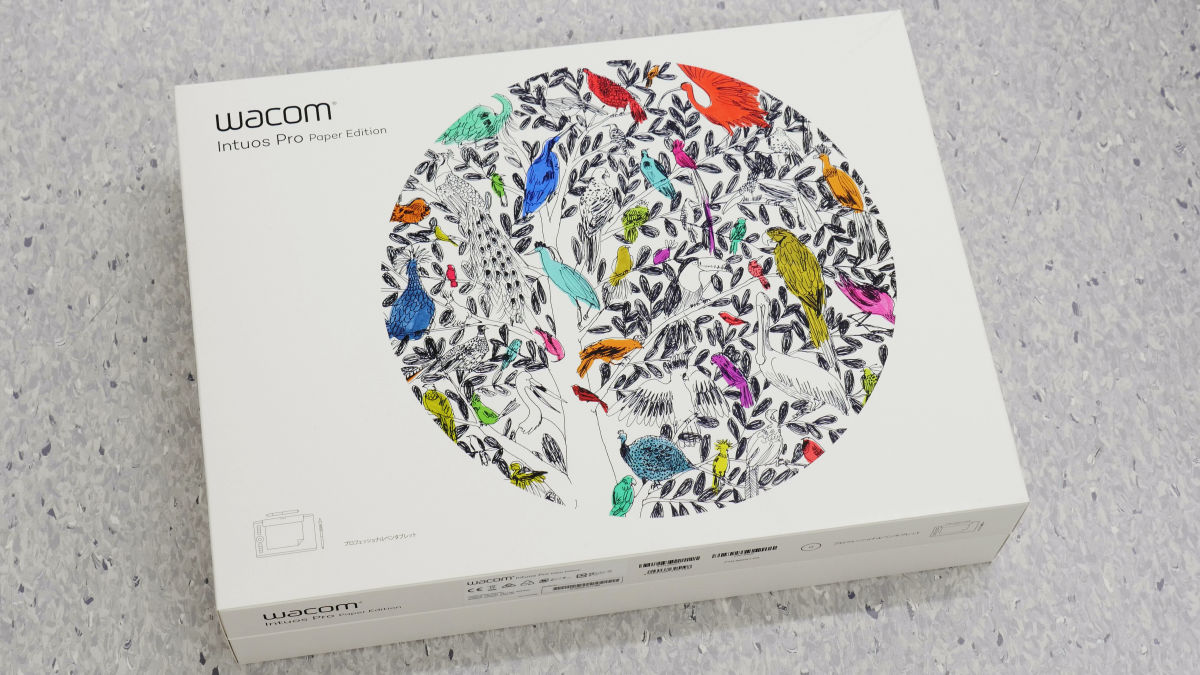
The Wacom Intuos Pro Paper Edition is a set of two boxes.
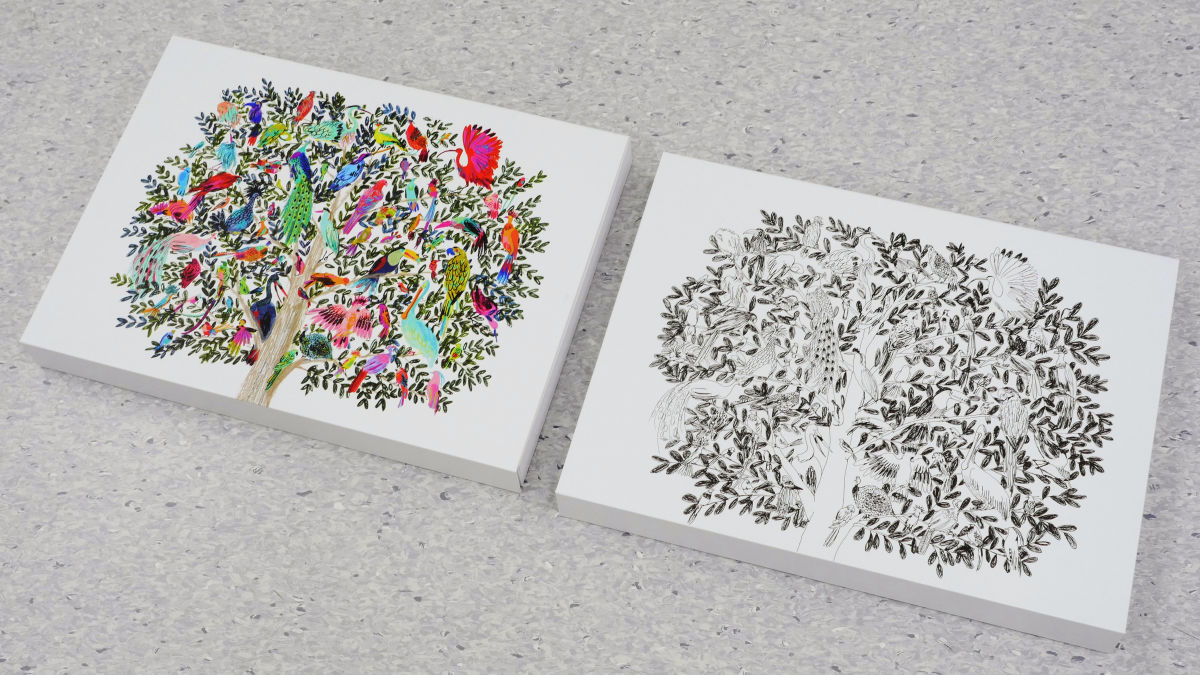
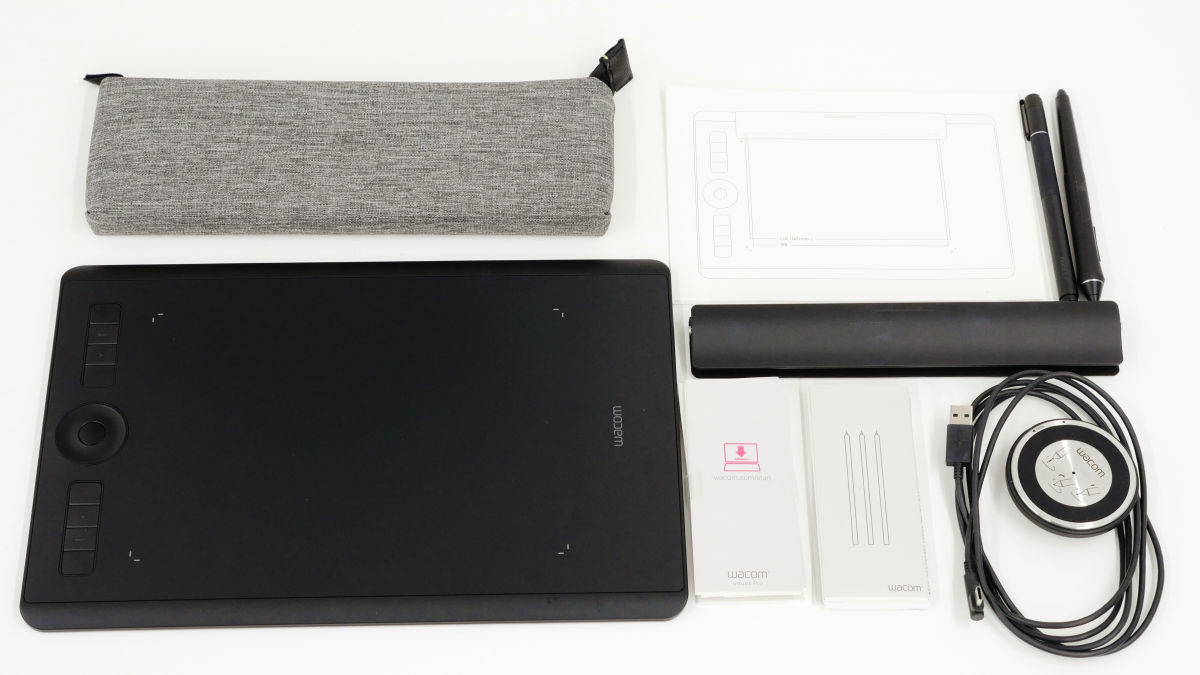
Try opening it looks like this. One box contained Wacom Intuos Pro main body and accessories, and the other box contained accessories attached only to the Paper Edition, such as a pen pressure sensing gel ink pen "Wacom Finetip Pen" and accessory cases. If you do not need Wacom Finetip Pen etc. and want only PentabYou can purchase it only by "Wacom Intuos Pro".

The inside of the box looks like this in all. Wacom Intuos Pro main body, Wacom Pro Pen 2 (writing pressure pen with eraser), pen stand (included 6 replacement wicks (6 standard wicks, 4 felt wicks included), Wacom Finetip Pen, paper clip, 10 A5 paper, accessory case , Coloring, 3 replacement wicks for Wacom Finetip Pen, overlay sheet sample, USB Type-C cable, quick start guide, regulation sheet, warranty card, important product information (IPI) etc are included.
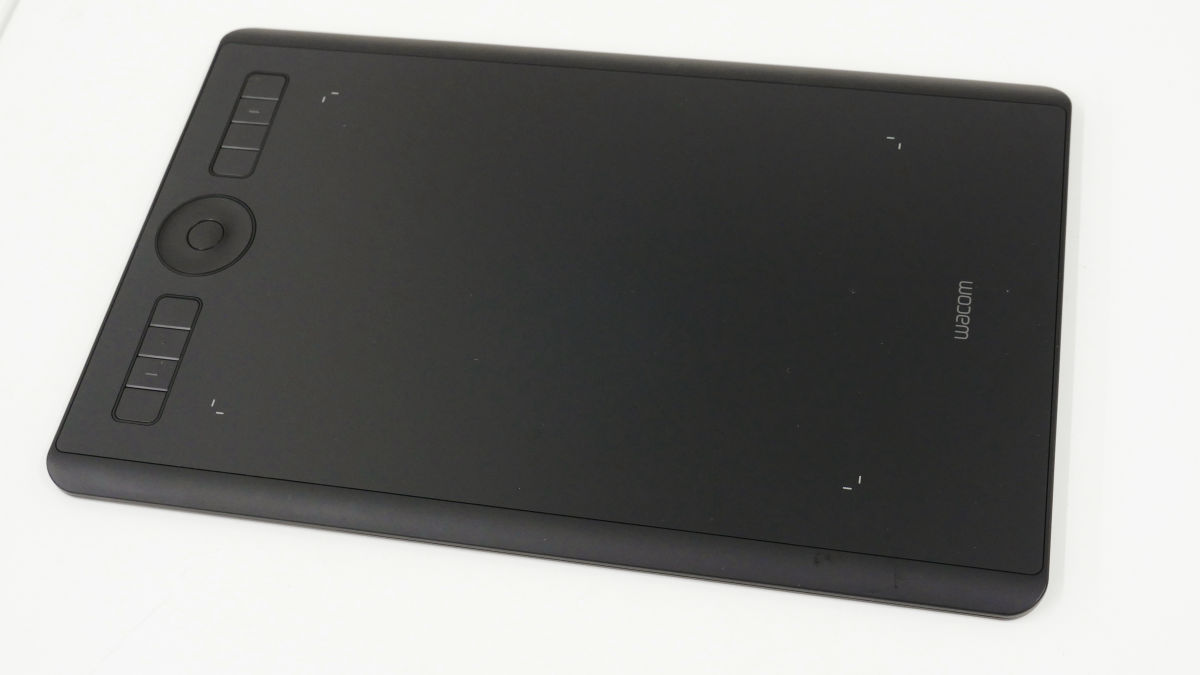
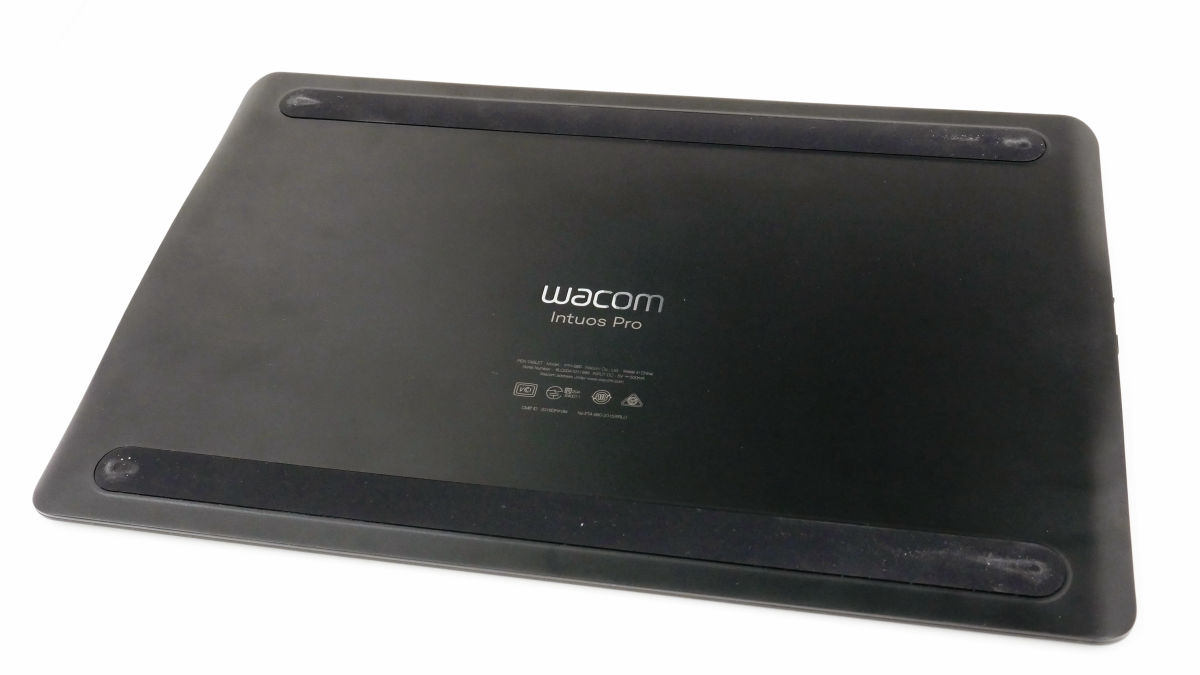
This is the main body. The main body has M size of 338 × 219 × 8 mm and L size of 430 × 287 × 8 mm, and this time it is M size one to review. It weighs about 700 grams.
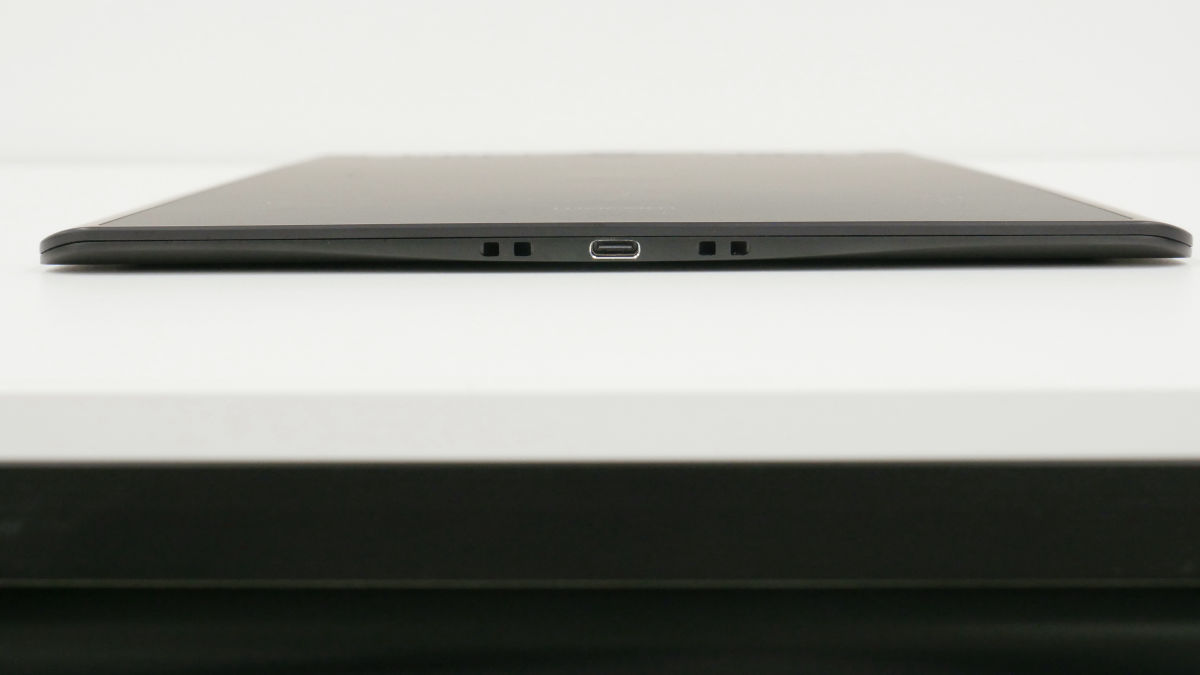
USB Type-C port on the right side of the main unit.
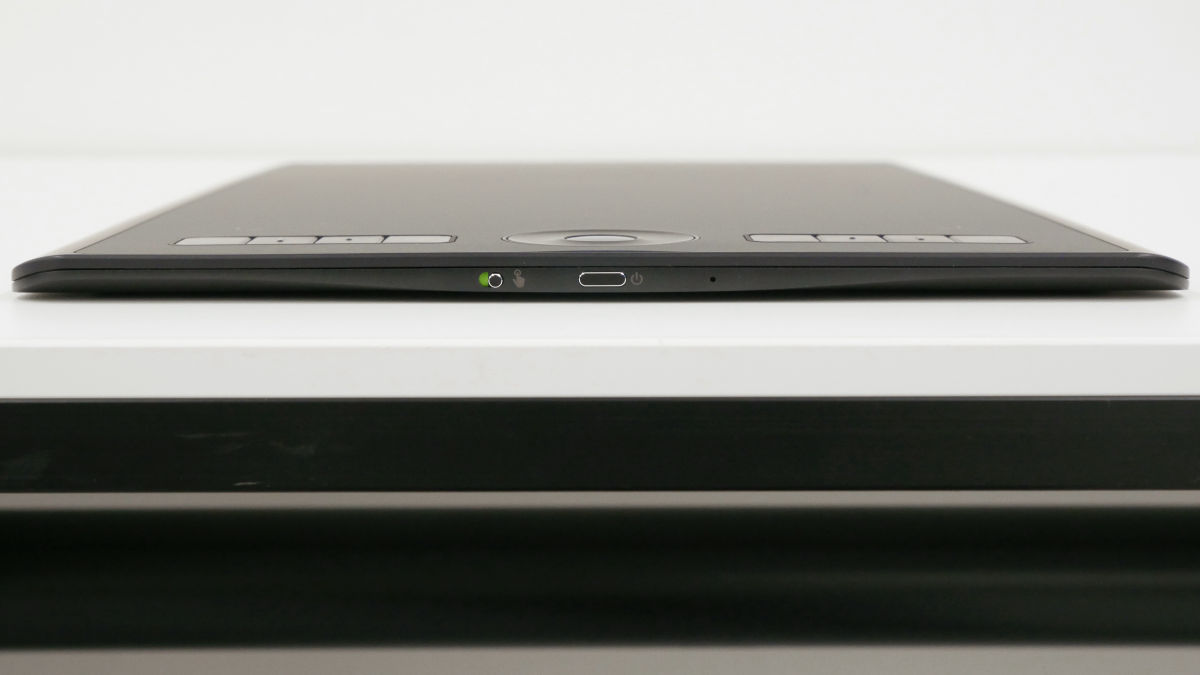
Looking at the side, the thickness is 8 mm, its thinness is impressive. Touch function ON / OFF switch, power button is on the left side.
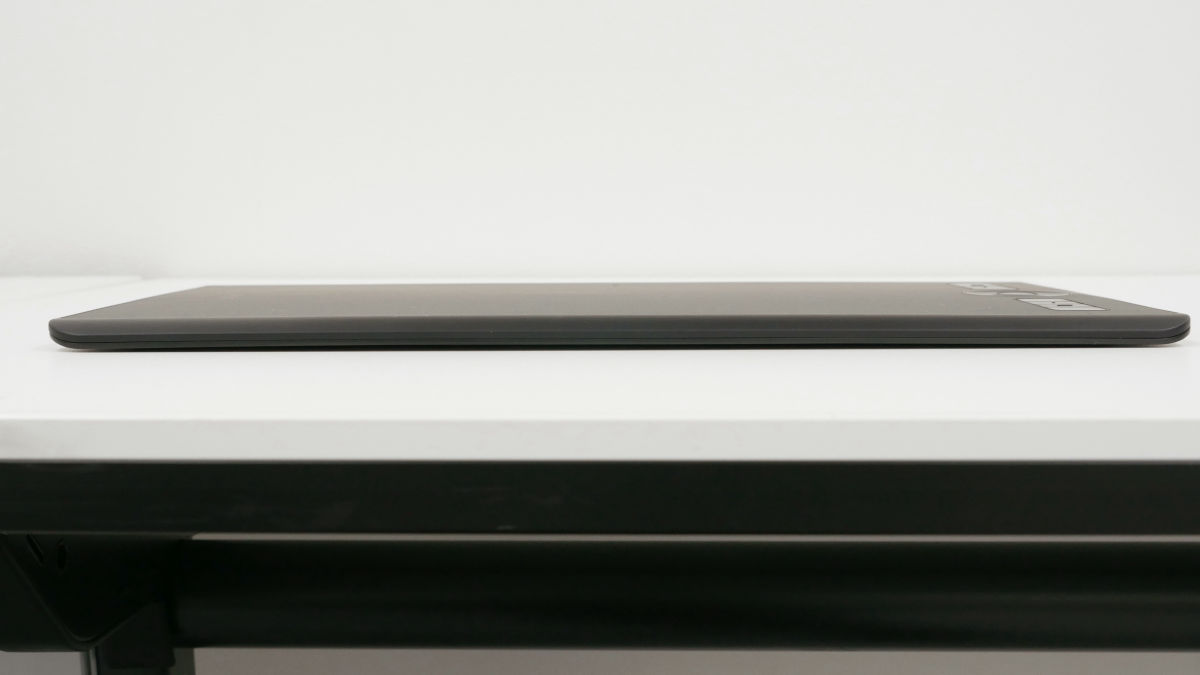
There is nothing especially on the upper and lower sides.
On the back of the main unit, slip on two places above and below.
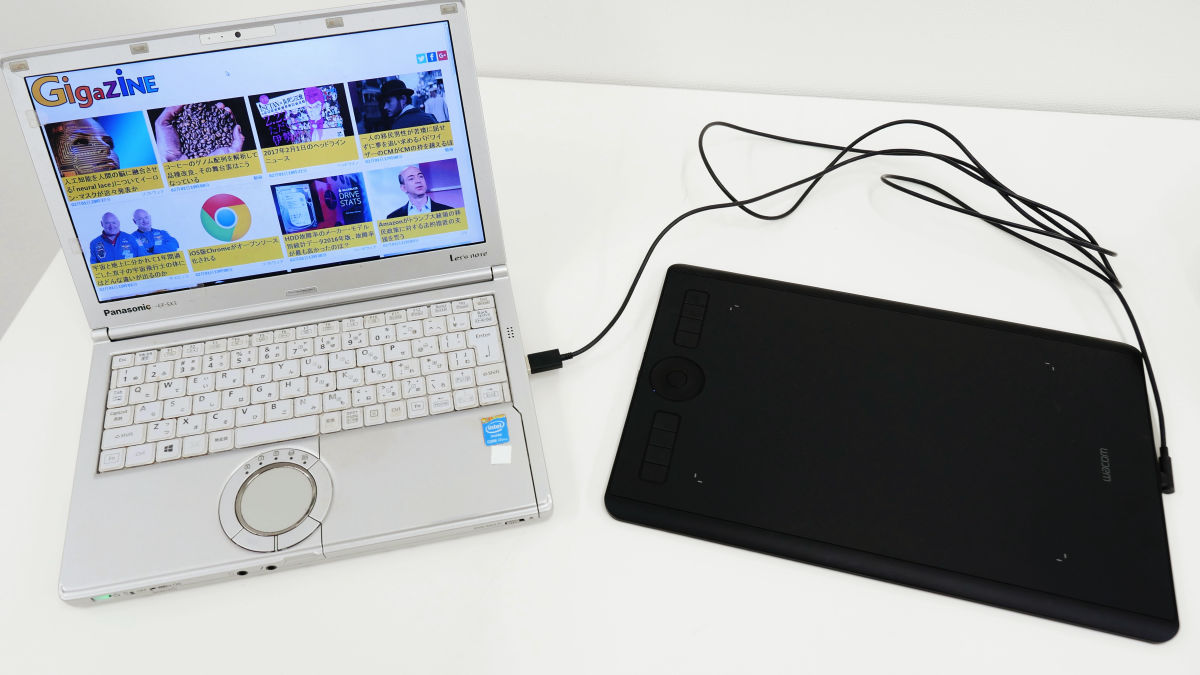
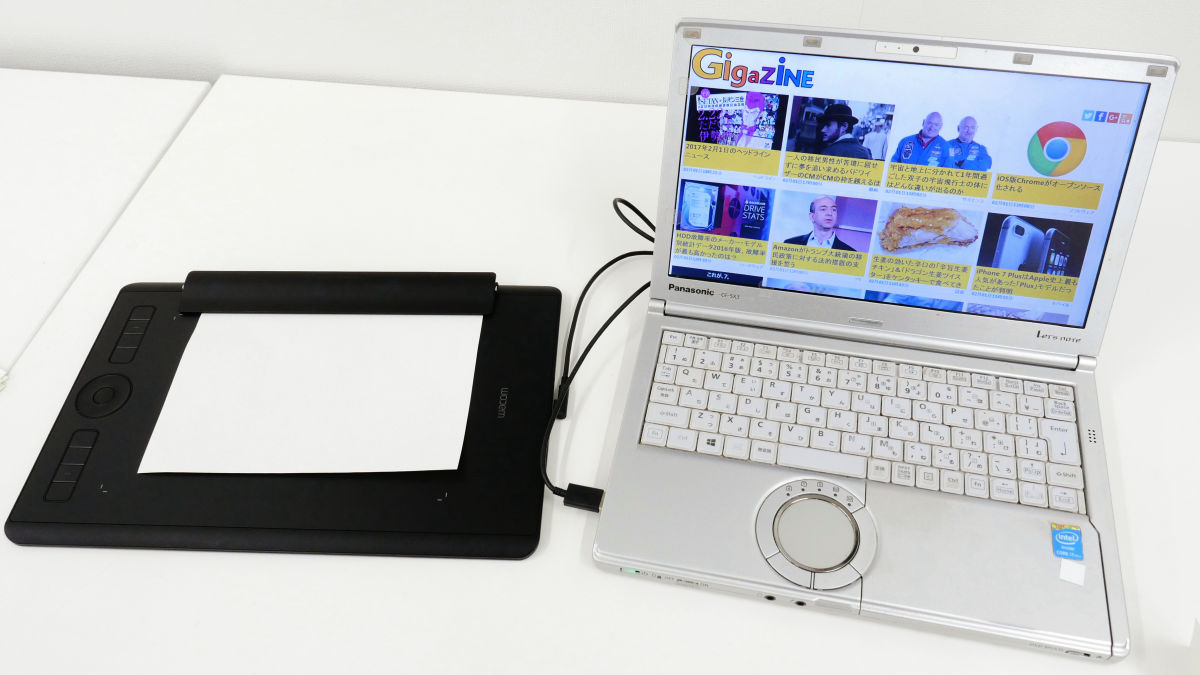
So I will actually use Wacom Intuos Pro. First of all connect with PC using USB Type-C cable.
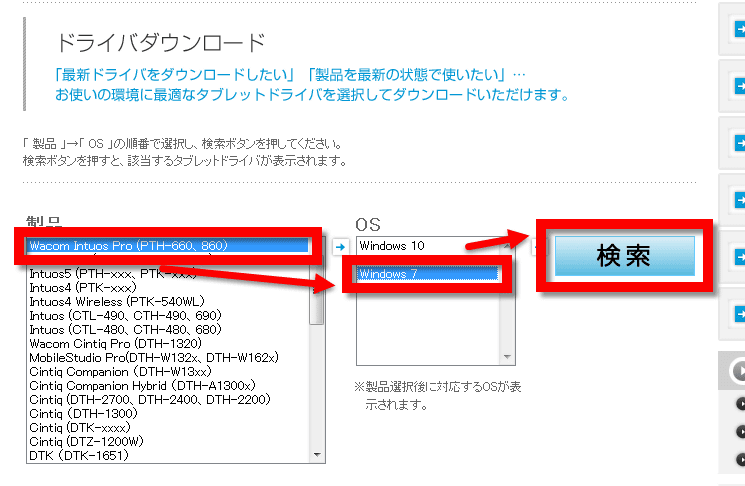
Next, the tablet driver corresponding to PCDownload from hereI will install it. For this time, select "Wacom Intuos Pro (PTH - 660, 860)" "Windows 7" and click "Search".
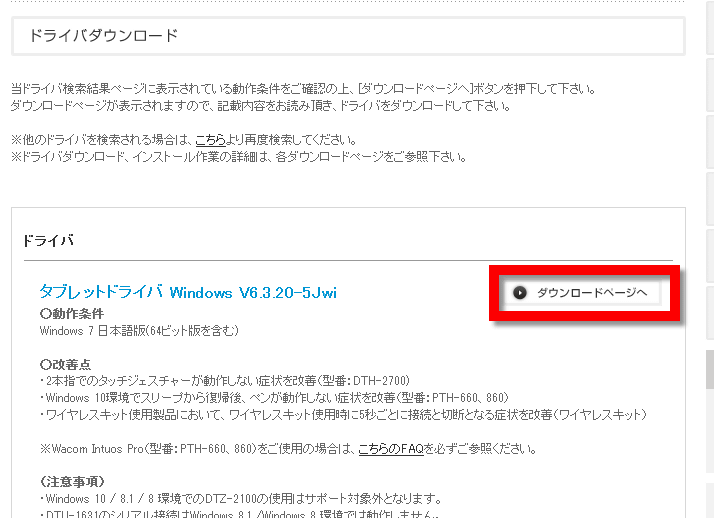
Click "Go to download page".
Click "Download".

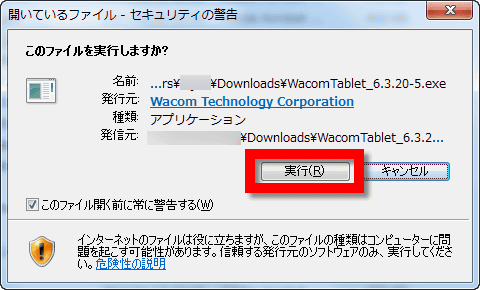
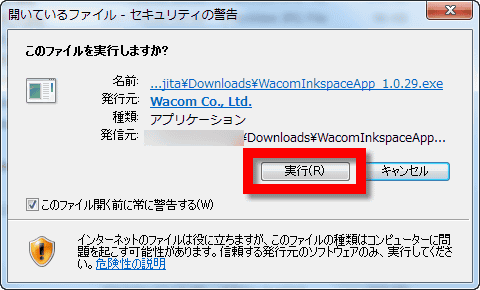
The following executable file will be downloaded, so click on it to launch it.

Click "Execute".
Click "I agree".

Click "Install" ......

The pen tablet driver was installed correctly. Click "OK" ...

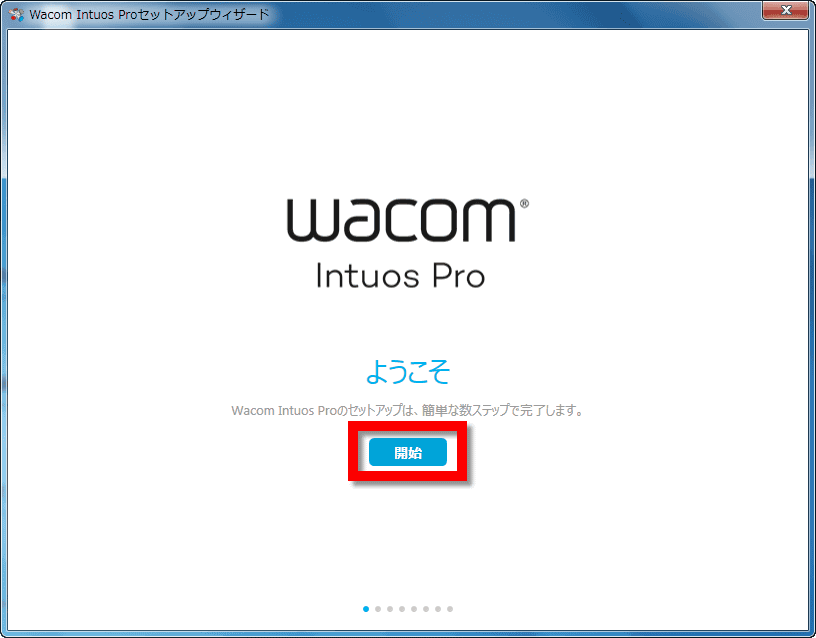
The Wacom Intuos Pro Setup Wizard will launch, so click "Start" to proceed.
I will sign up "I will do it later".

In the case of selecting the direction of the tablet, the function key comes to the left by default, and for the right-handed person click "next" as it is.
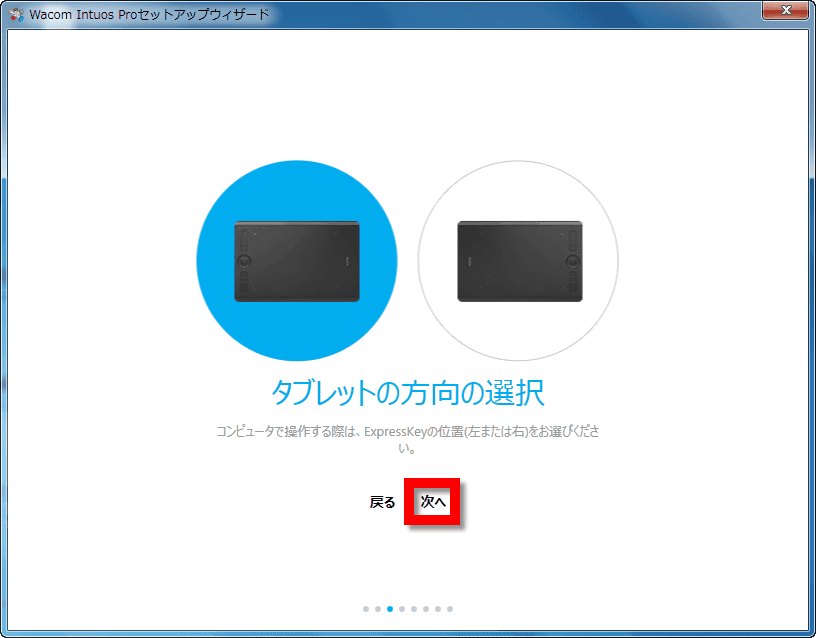
Click "Next".
Finally click "Finish" ......
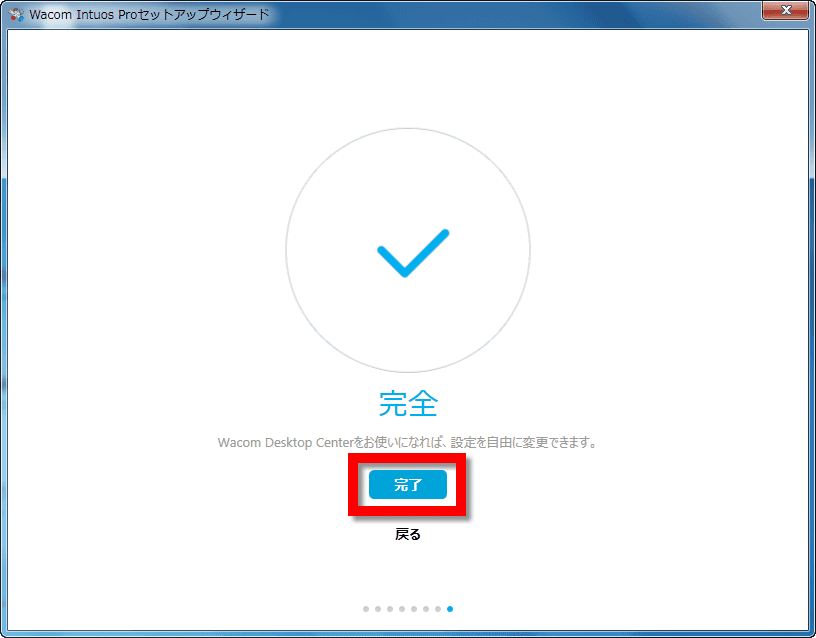
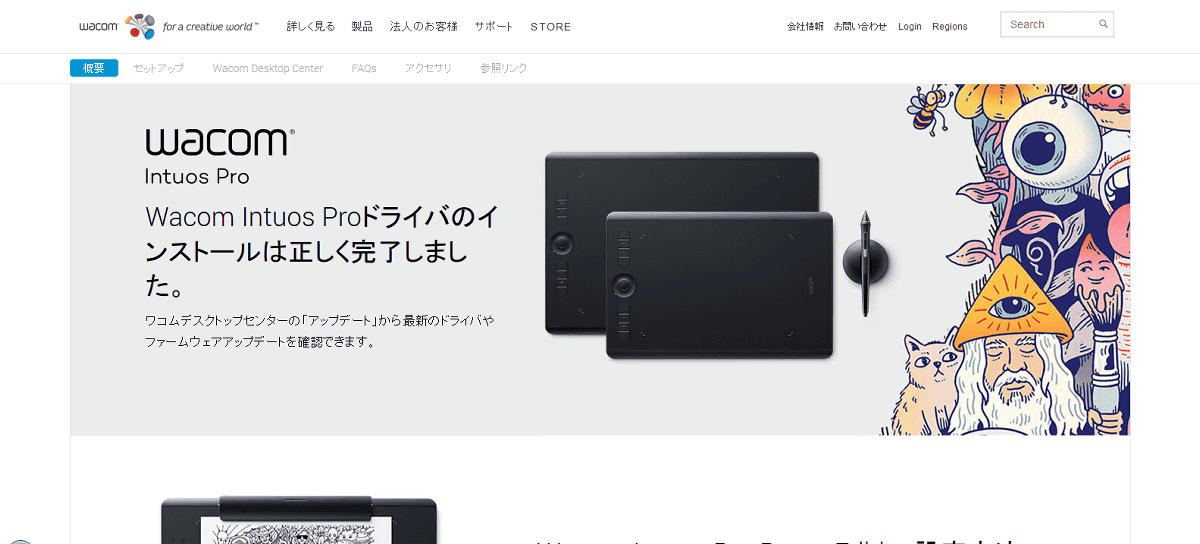
I jumped to the website and the message "Installation of the Wacom Intuos Pro driver was completed successfully" was displayed.
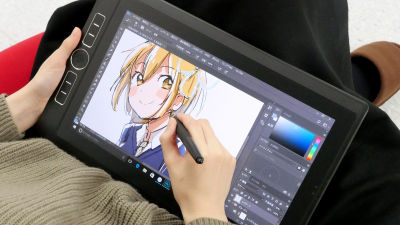
Now that the connection is complete, you can use it as a pen tablet. Because it carries Bluetooth, it can connect even wirelessly.
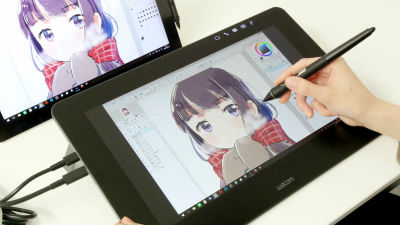
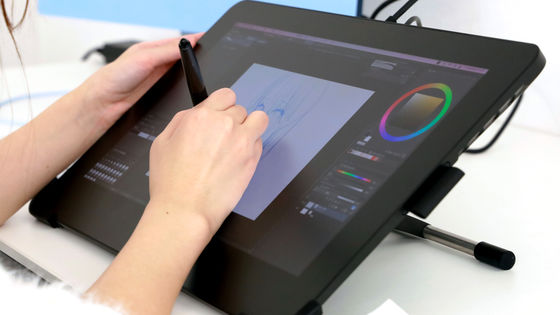
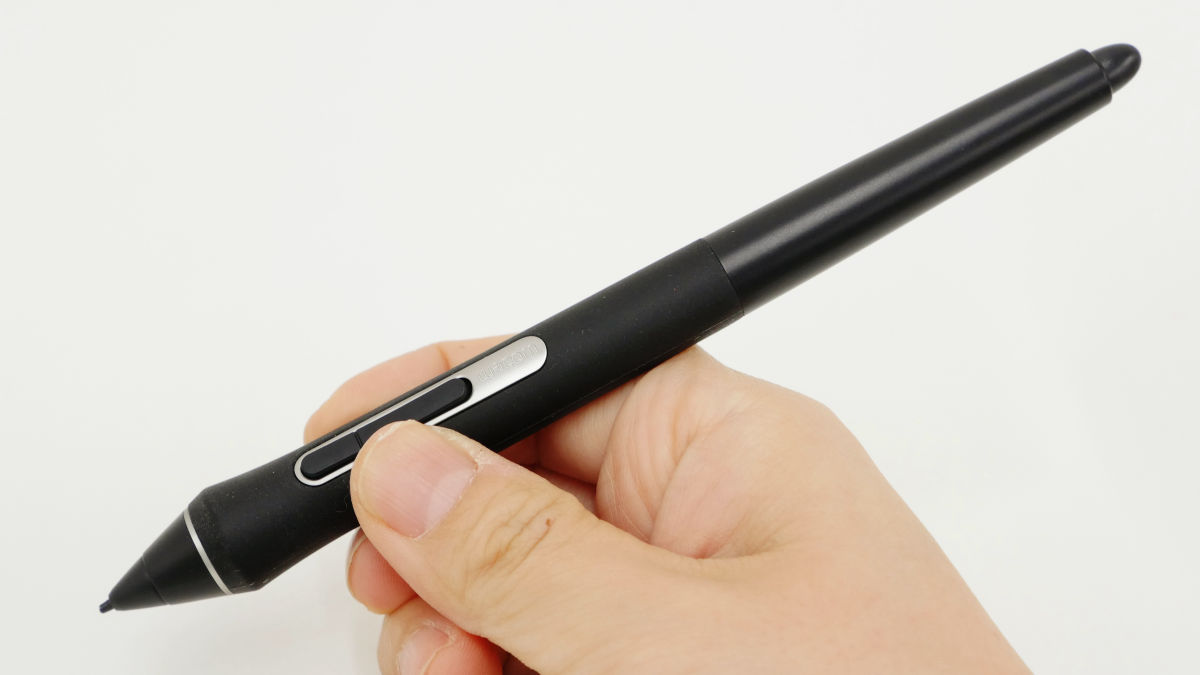
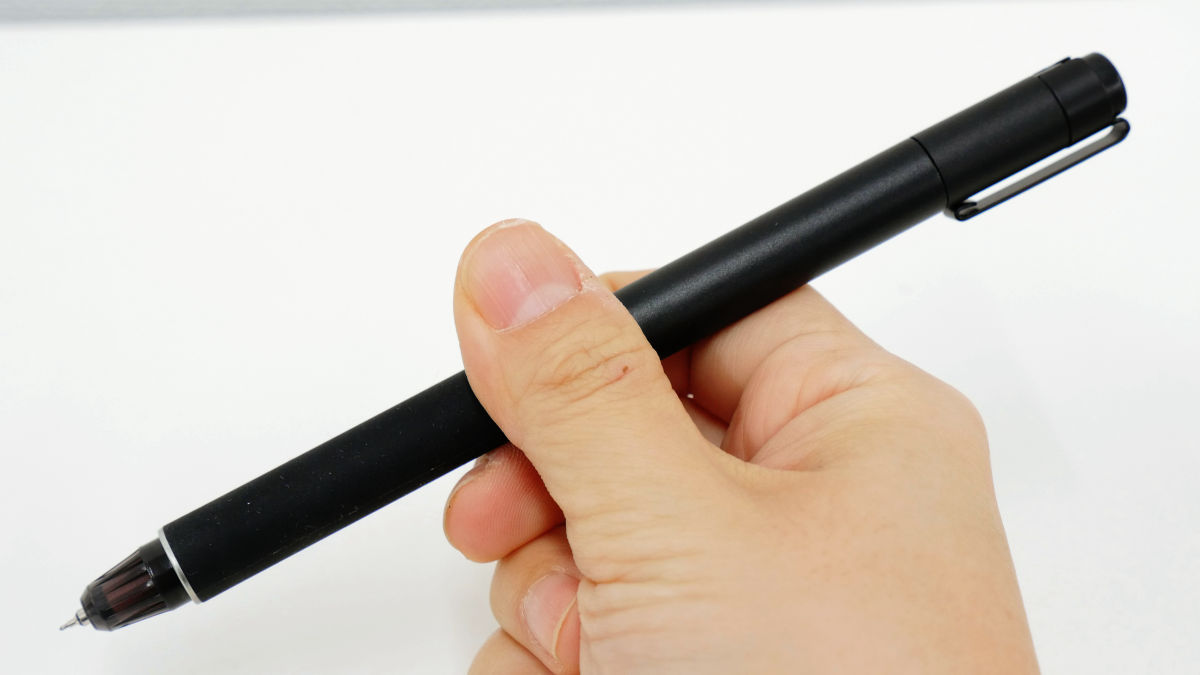
The feature of the new Wacom Intuos Pro is "Wacom Pro Pen 2" which has 8192 level writing pressure function. The inclination detection level is ± 60 level and supports natural inclination. Battery less, battery less.
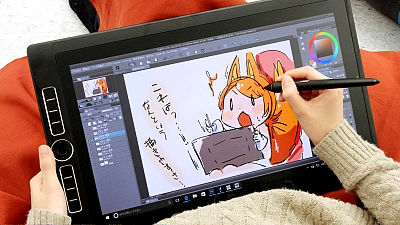
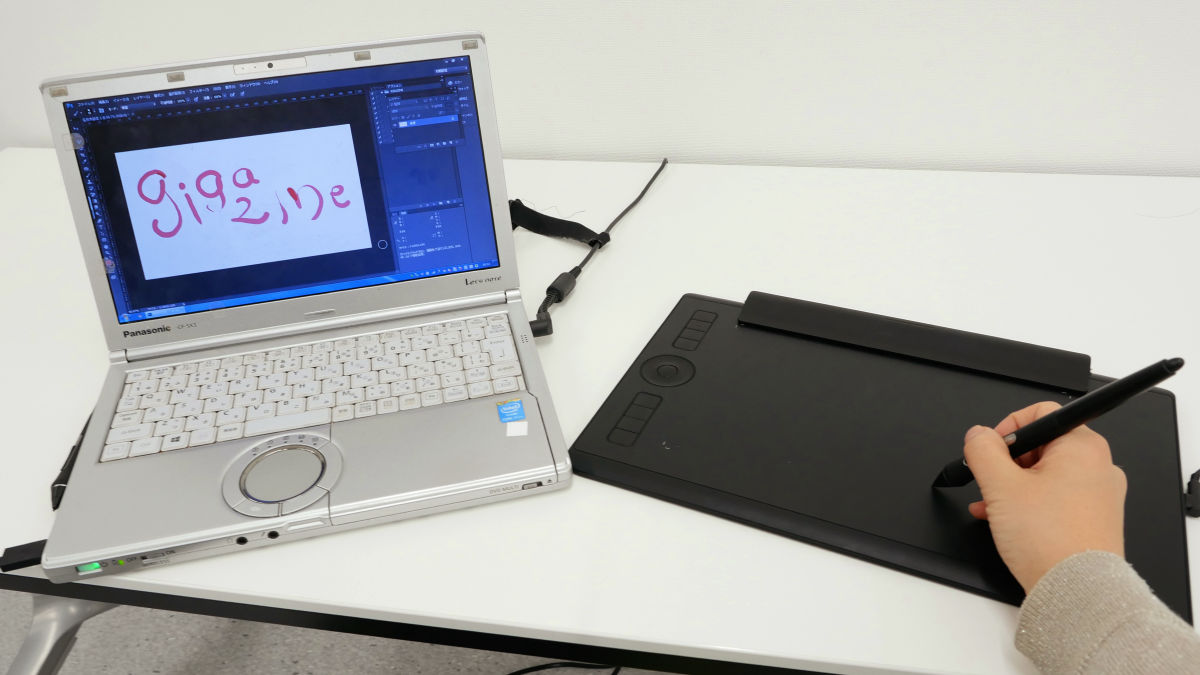
Top image of GIGAZINEFamiliarMeraI also had you actually use it.
I tried drawing with "Wacom Intuos Pro" - YouTube
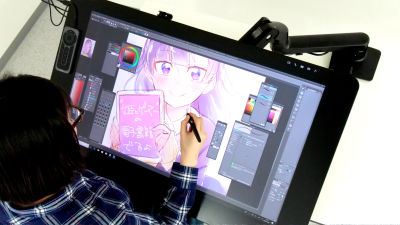
"Wacom MobileStudio Pro 16"Or"Wacom MobileStudio Pro 13"Wacom Cintiq Pro 13"When using Wacom Pro Pen 2 it is mera who remembered the impression of" overwhelming parallax ", but in the case of Wacom Intuos Pro it is not an LCD tablet, so there is no" parallax "in the first place, Wacom Impression that Pro Pen 2's ability is hard to understand. We found that Wacom Pro Pen 2 is more powerful with liquid crystal tablets. However, delicate pen pressure detection is alive, frustration does not accumulate while writing illustration on inclination, it seems that tracking ability does not matter.
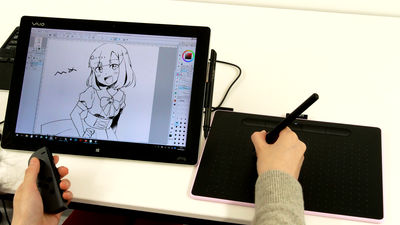
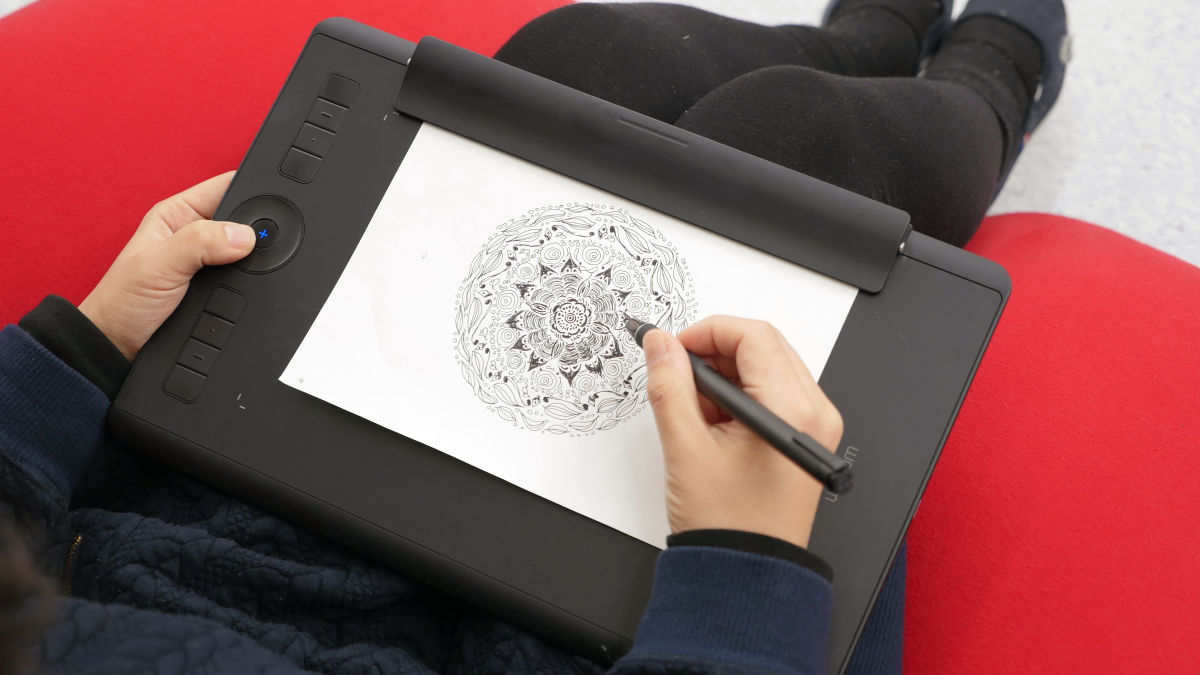
Also, in addition to using Paper Edition of Wacom Intuos Pro as a pen tab, you can also import coloring and processing work into PC by drawing with paper and pen. First of all, insert the attached A5 paper in a tablet with a paper clip.
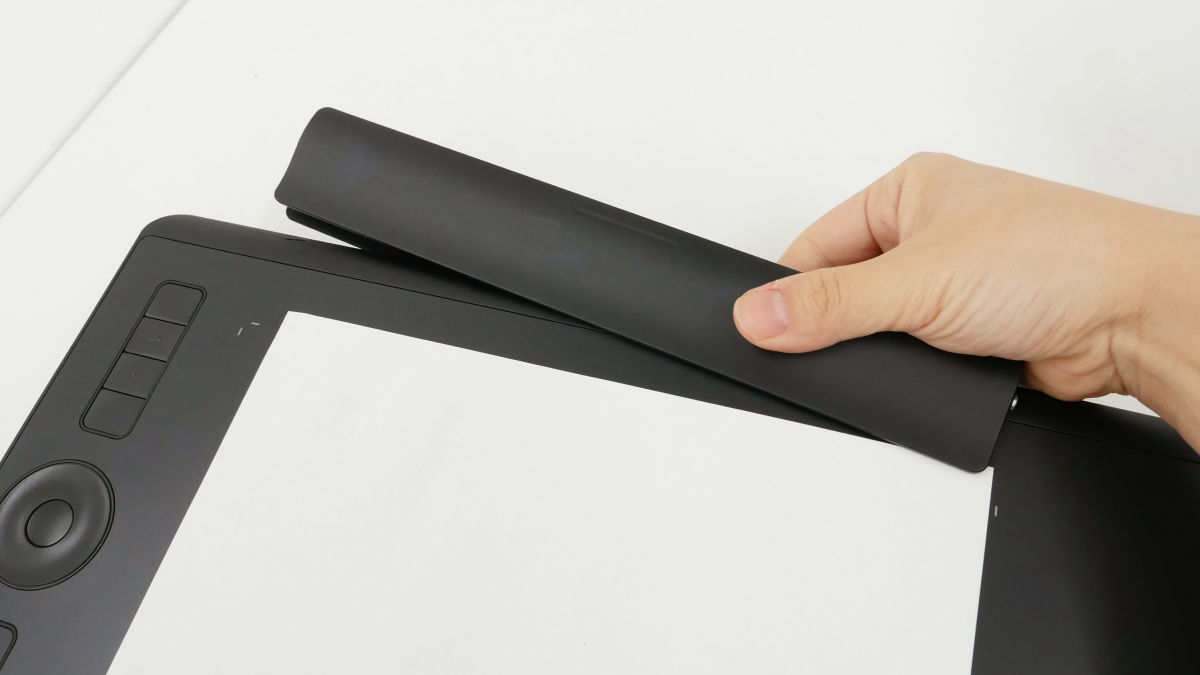
Like this.
In the case of drawing with paper and pen, it is necessary to download & install "Inkspace" software,from hereThis time, select "Windows" and download.

Click "WacomInkspaceApp_1.0.29.exe".

Click "Execute".
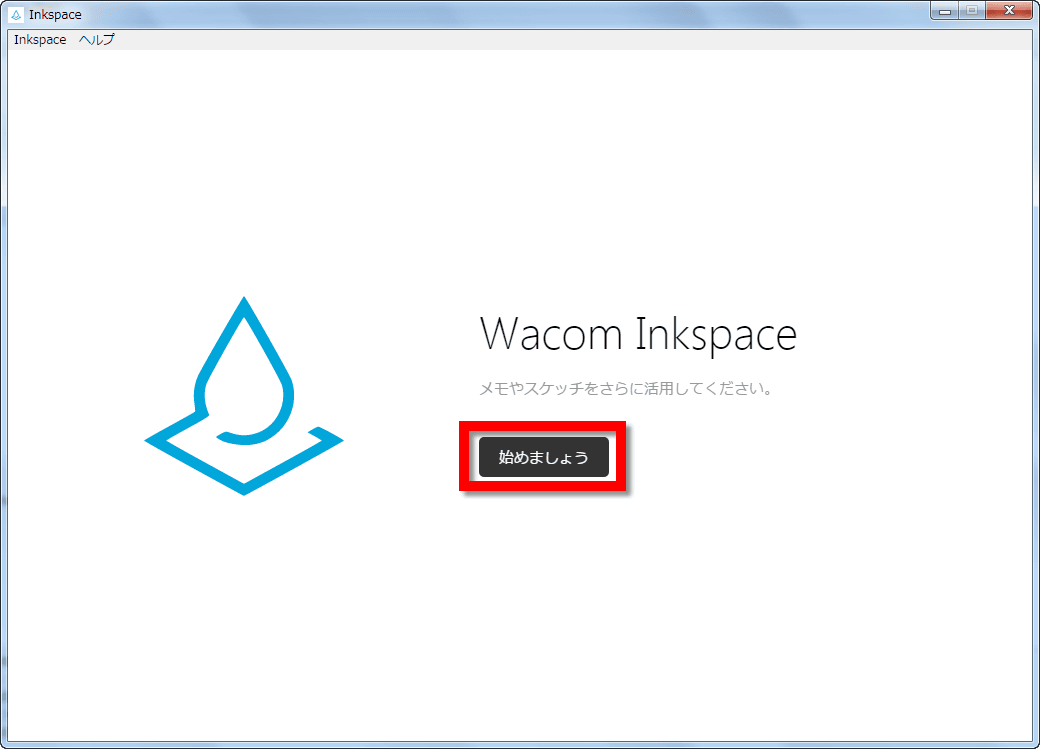
The screen like this will appear, so click "Let's get started".
Click "I agree".

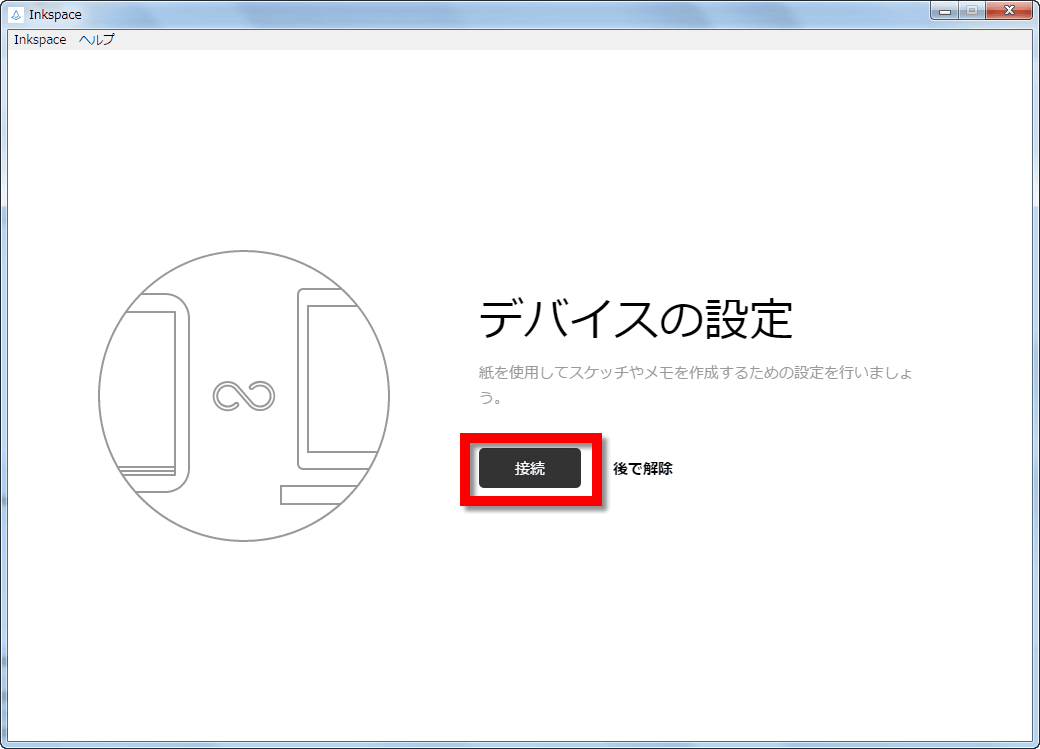
Click "Connect".
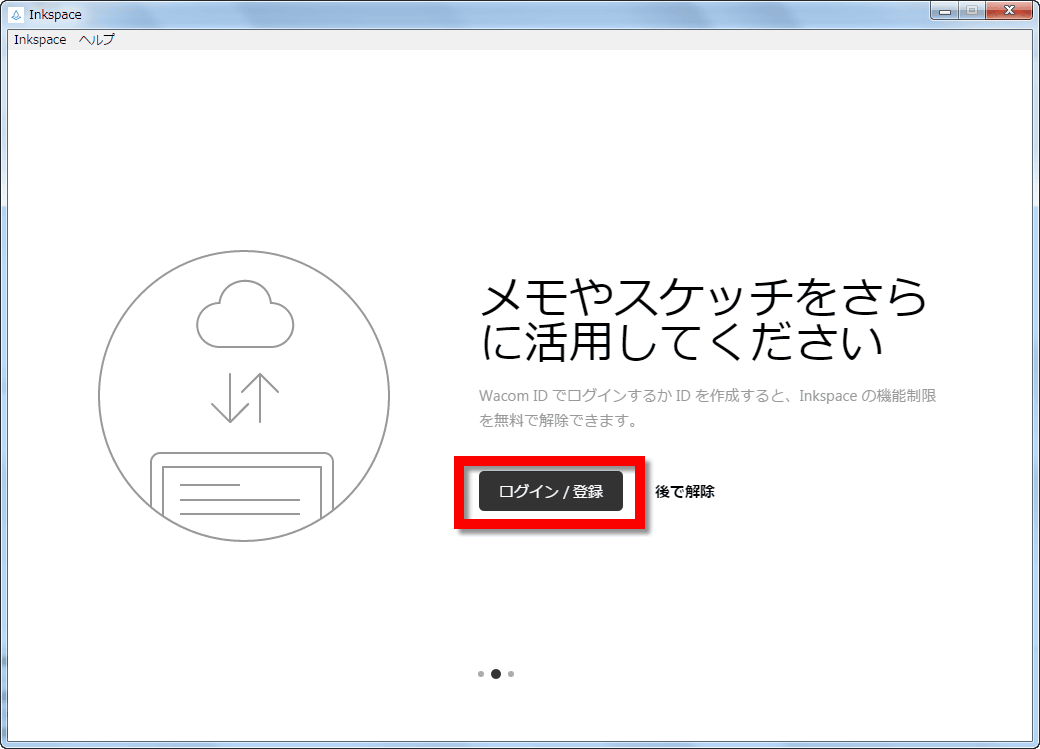
I skipped Wacom ID registration earlier, but this time I will "log in / register" to cancel the Inkspace function restriction.
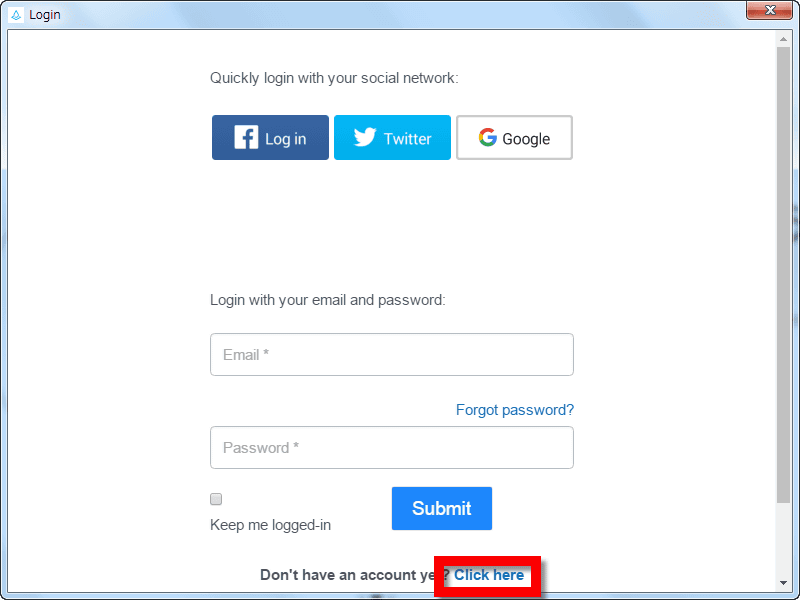
If you do not have an account yet, please press "here here".
Enter and select e-mail address, name, password, language, country etc ... ....
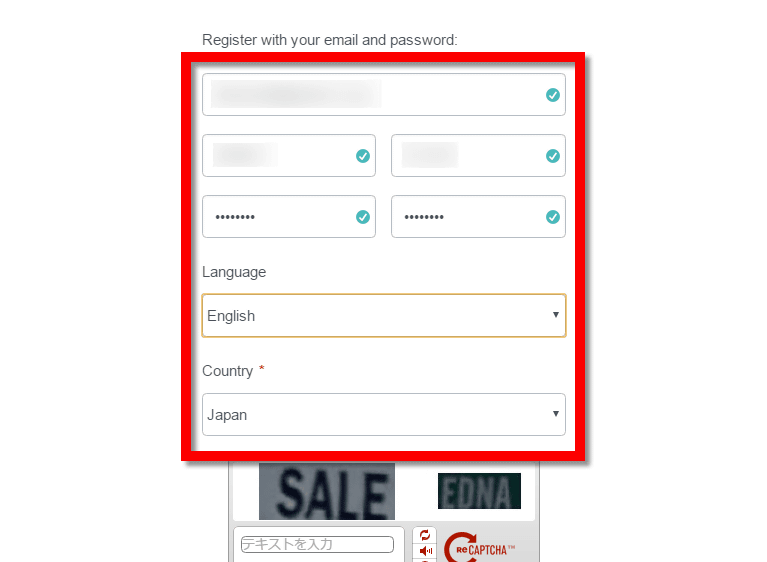
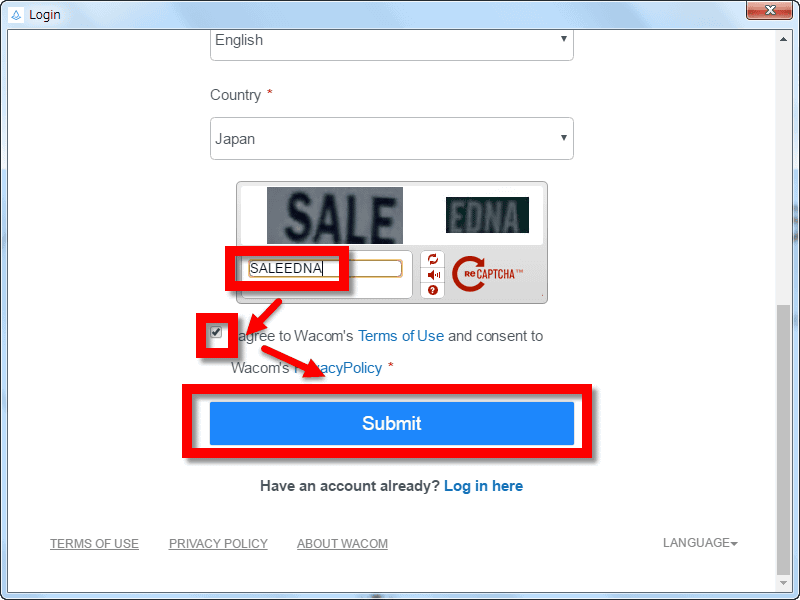
Enter the CAPCHA character, agree to the terms of service and press "Submit".
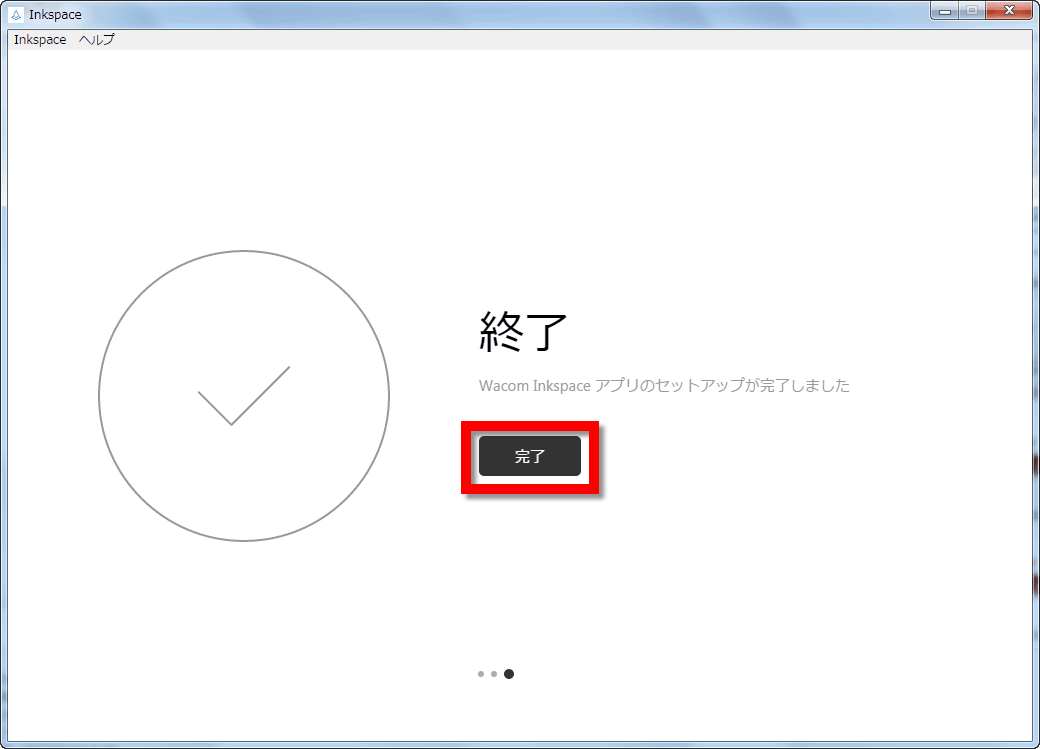
When you press "Finish" ...
As this explanation appears in simple way, press "next" to proceed.
Finally the home screen like this appeared.
Drawing at Inkspace is done with exclusive Wacom Finetip Pen.
When you move Wacom Finetip Pen closer to the tablet, a green + mark lights up in the middle of the wheel.

Furthermore, when I stuck the pen tip to the paper, the + mark turned blue.
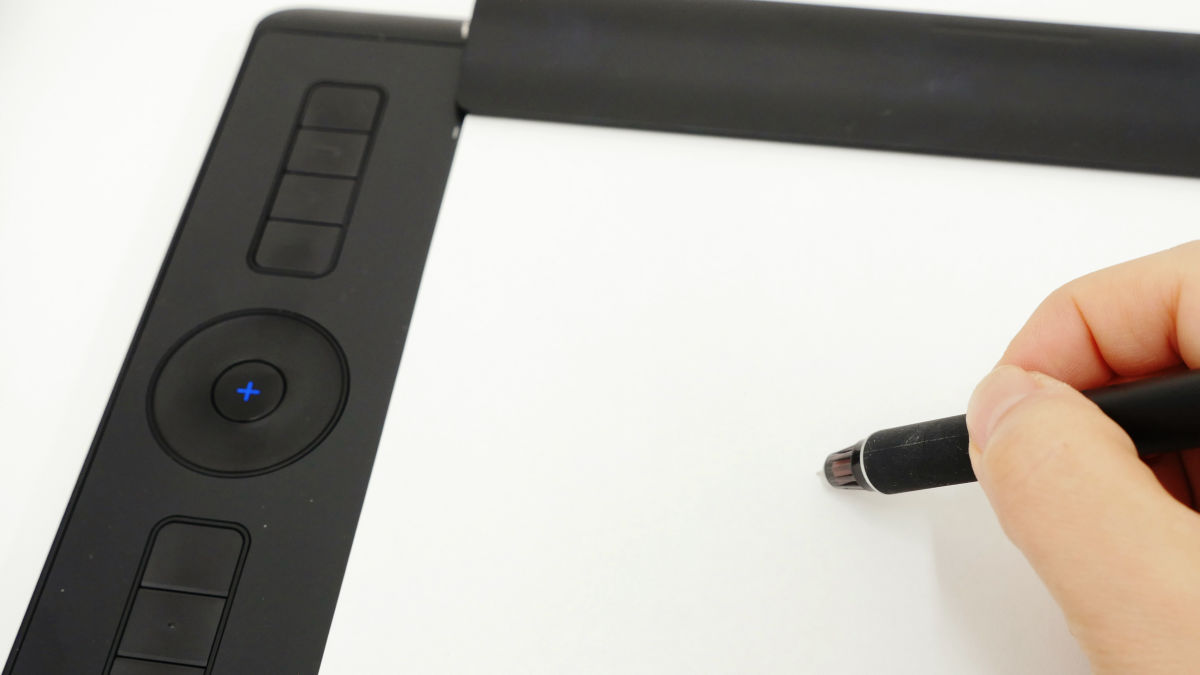
If the + mark is lit blue, you can draw with Wacom Finetip Pen as you like and OK. Since what you wrote is not reflected on the PC in real time, you can paint towards the paper without checking the PC.

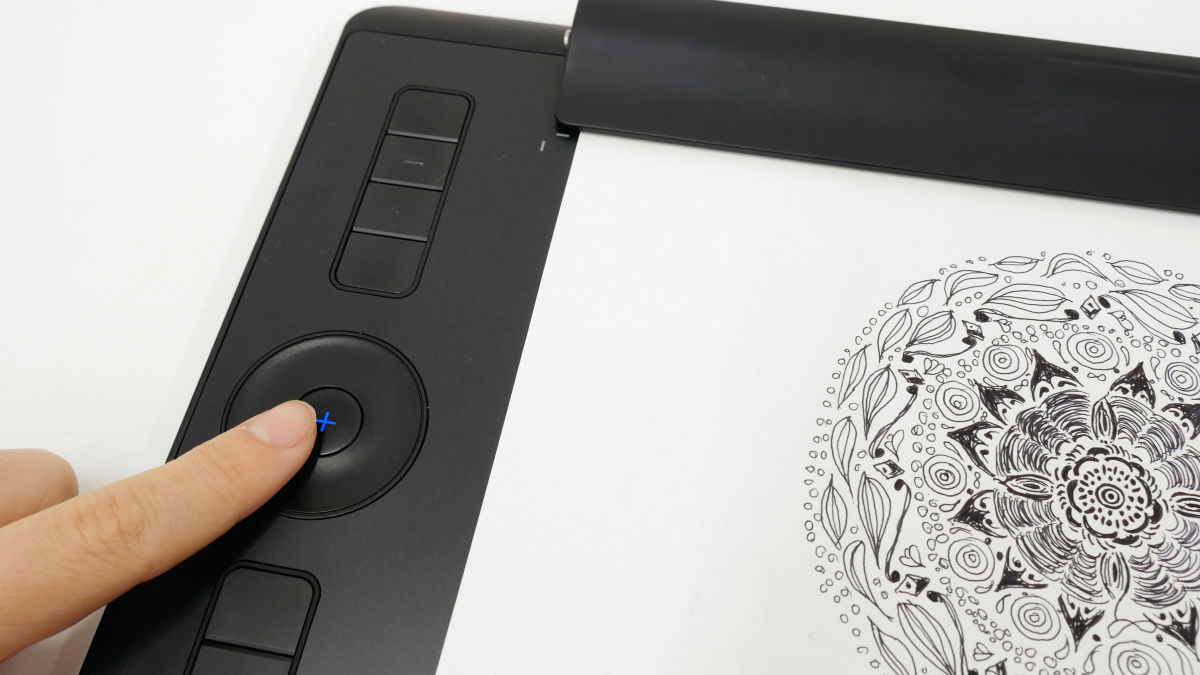
If you press the blue + button twice during writing, it will save it as the same paper / new layer.
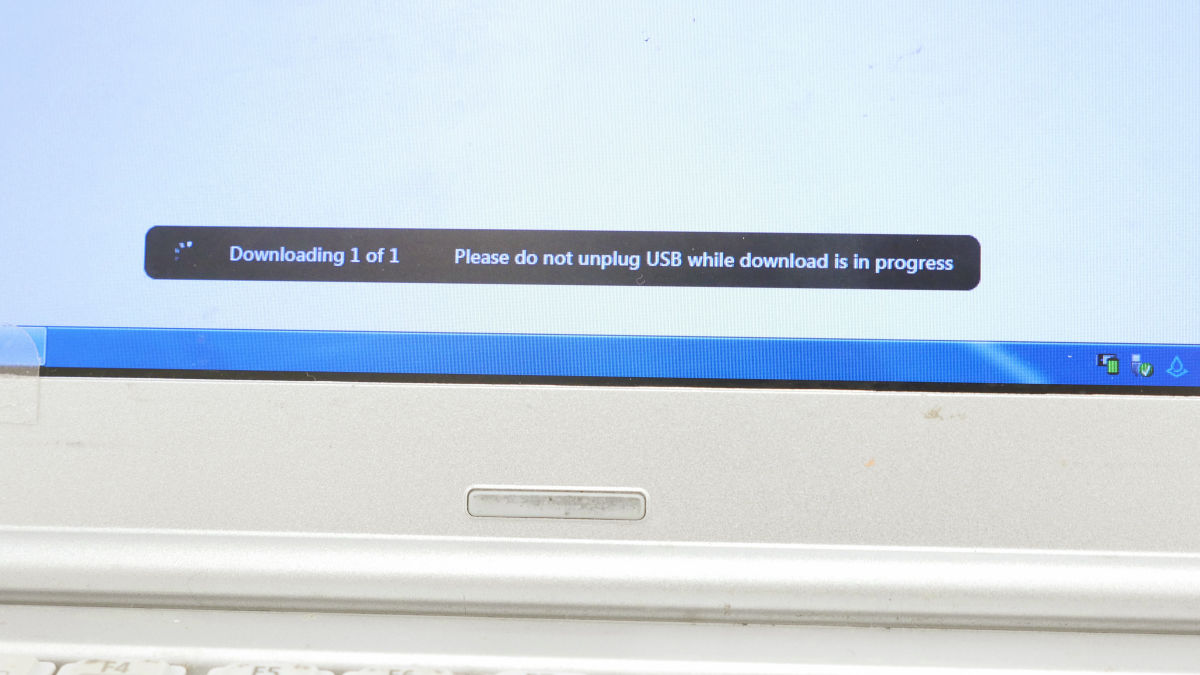
Then, when you press the center button of the wheel with the tablet and main unit connected with the USB Type-C cable, the data is taken in to the PC all at once.
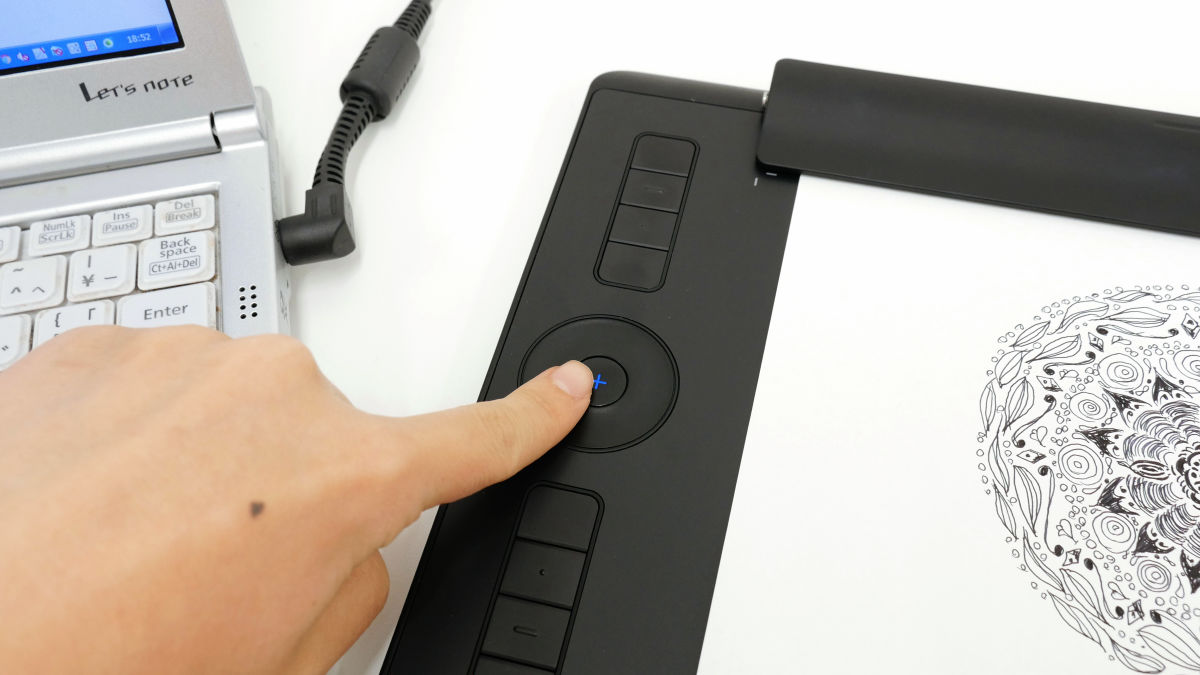
So when you draw using Wacom Intuos Pro and Wacom Finetip Pen you do not need to connect with a PC. After carrying only Wacom Intuos Pro and writing ideas and illustrations as you like, you can connect it with the PC and capture the illustration collectively. The continuous operation time of the Wacom Intuos Pro main unit is up to 10 hours, and the pen tablet body can store up to 200 pages.

The more illustration you wrote over time, the longer it will take in the capturing time, it can take several minutes.
So if you actually incorporate the illustration like this. Click "Edit" ......
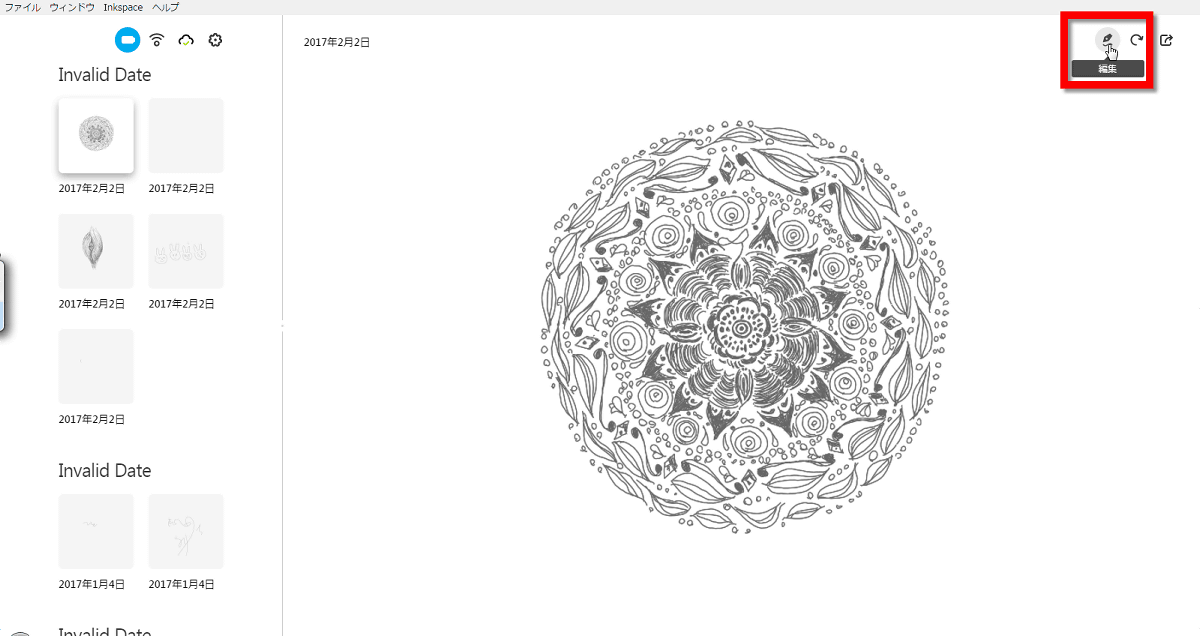
I will move to the screen like this.
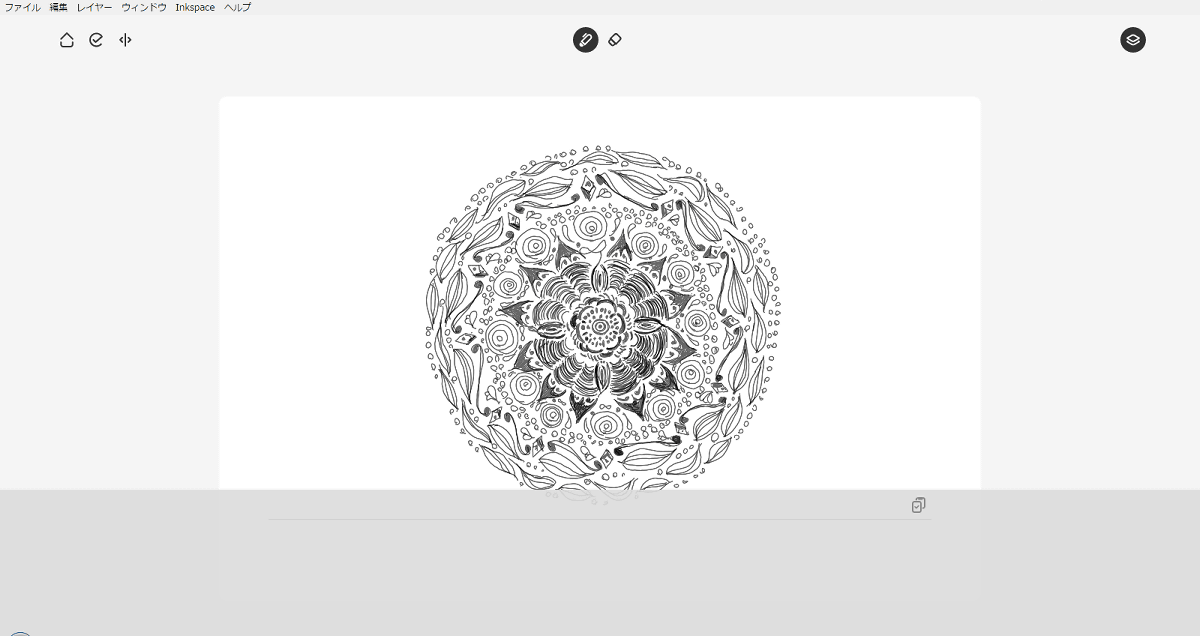
"Save" and "Close" are displayed in the file menu in the upper left of the screen
"Edit" in the edit menu
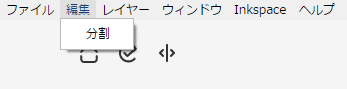
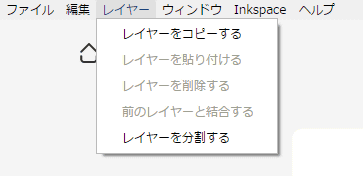
The layer menu includes "Copy layers" "Paste layers" "Delete layers" "Merge with previous layers" "Split layers" etc. In that way, in the editing menu, Illustrations and the like that I wrote can be divided into layers and can be divided.
By the way, use Wacom Pro Pen 2 when adding once after importing.

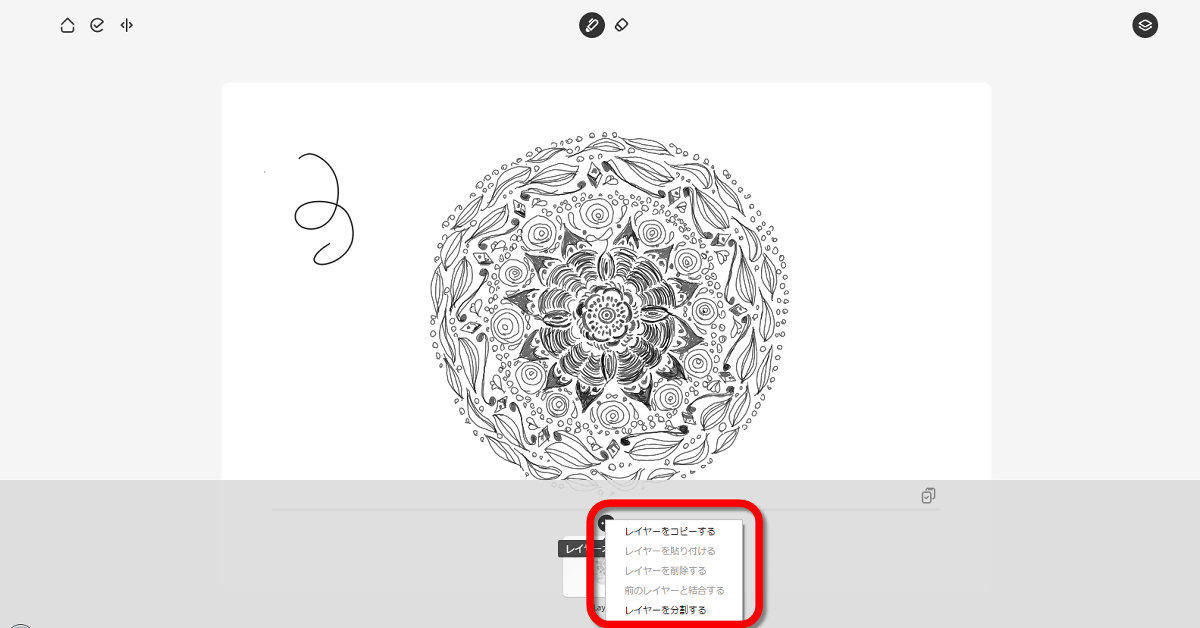
Click "Layer Options" at the bottom of the screen ... ...

Menu such as "Copy layer" and "Split layer" appeared.
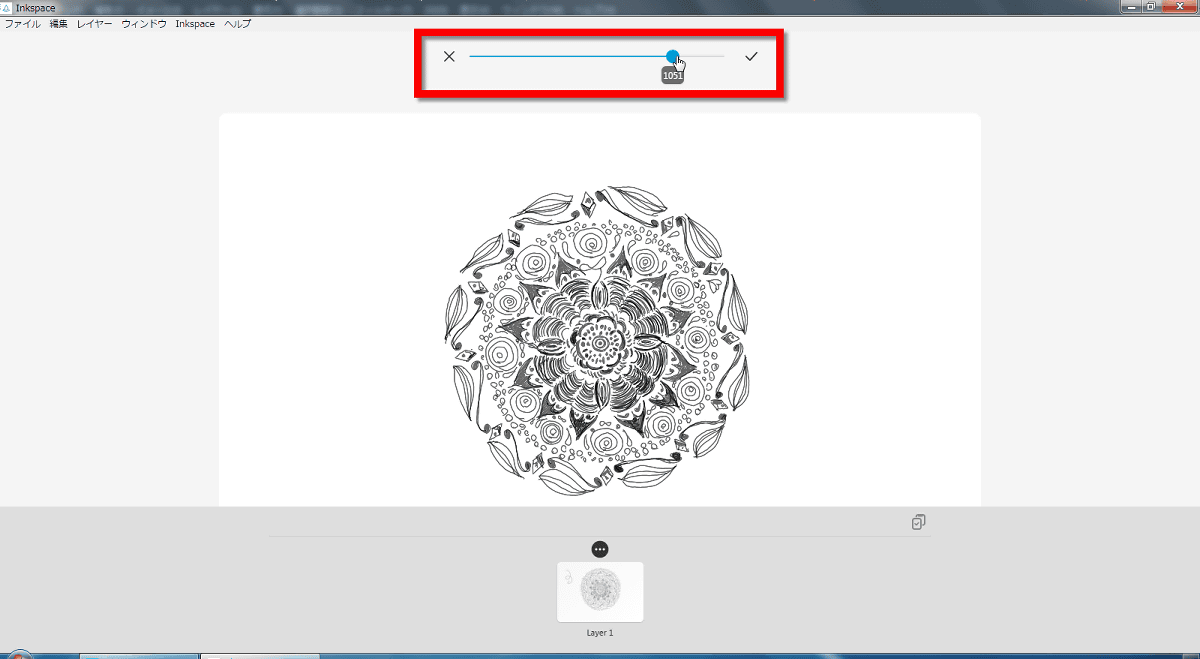
When you select "Divide Layers", a slide bar appears at the top of the screen. By moving this bar, it is possible to rewind a stroke one stroke, so you can stop at any position and divide the layer.
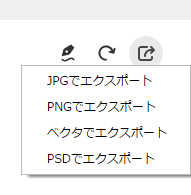
In addition to editing buttons on the home screen, rotation buttons, export buttons, etc. are lining up.

When I looked at the export, the output format was "JPG" "PNG" "vector" "PSD".
The price is M size 'Wacom Intuos Pro Medium' is 39,800 yen, 'Wacom Intuos Pro Paper Edition Medium' is 44,800 yen, L size 'Wacom Intuos Pro Large' is 49,800 yen, ' Wacom Intuos Pro Paper Edition Large "is 54,800 yen.
Wacom Intuos Pro Series / Wacom Store
http://store.wacom.jp/products/list.php?category_id=275
Related Posts: