Hardware & software setup procedure of VR headset "Oculus Rift" Summary
In 2016, it is said that "VR first year" is due to the start of sales of 3 large VR headsets "Oculus Rift", "HTC Vive" and "PlayStation VR". Meanwhile, in preparation for "Oculus Rift"High spec PCOculus Rift finally arrived at GIGAZINE editorial department who was waiting for preparing. So I actually set each setting and summarized how to set up Oculus Rift to be able to play.
Oculus Rift | Oculus
https://www.oculus.com/en-us/rift/
That's why Oculus Rift arrived.
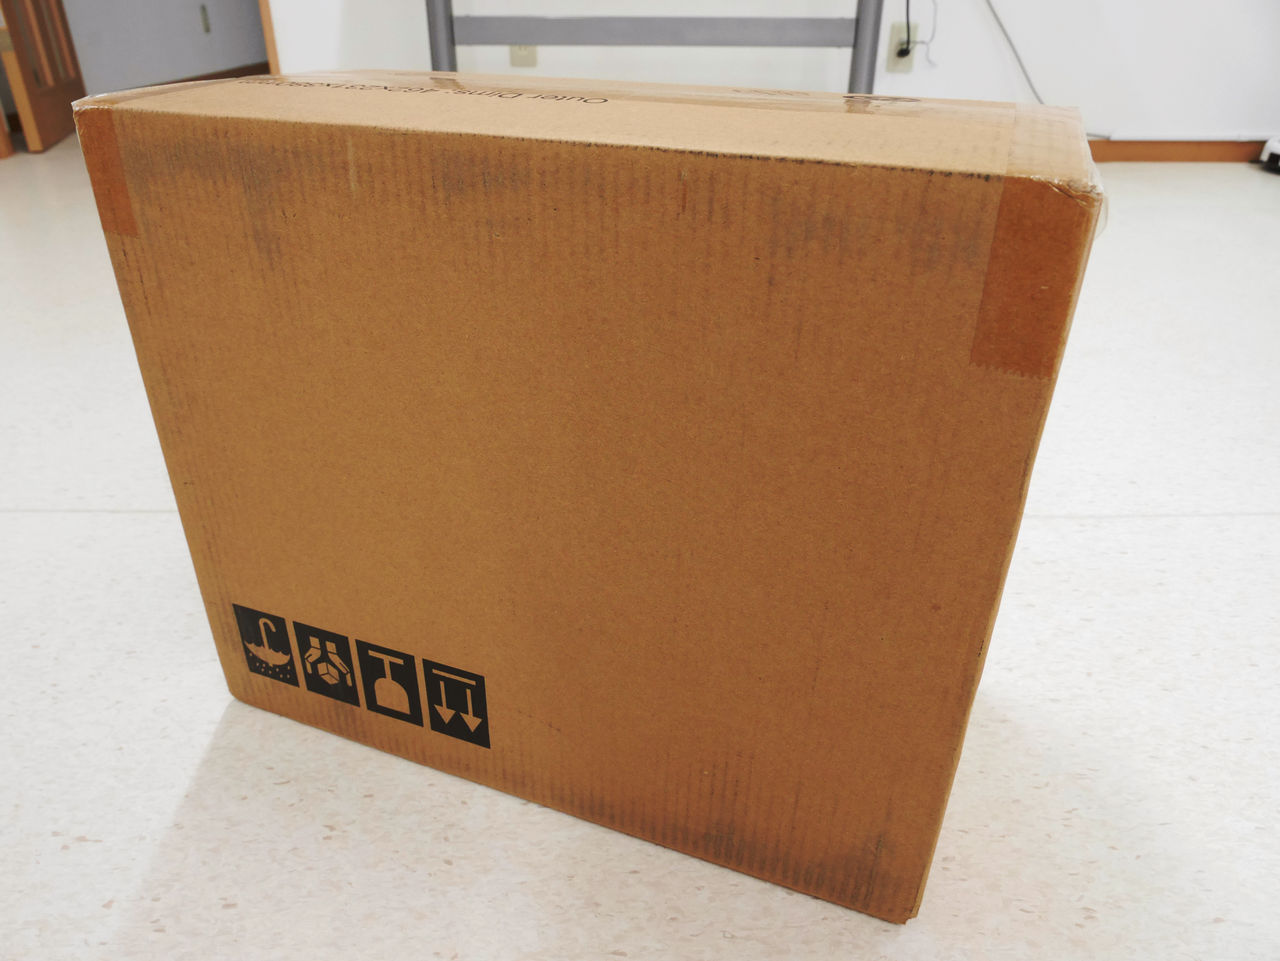
There was a white box inside.
The back side looks like this.

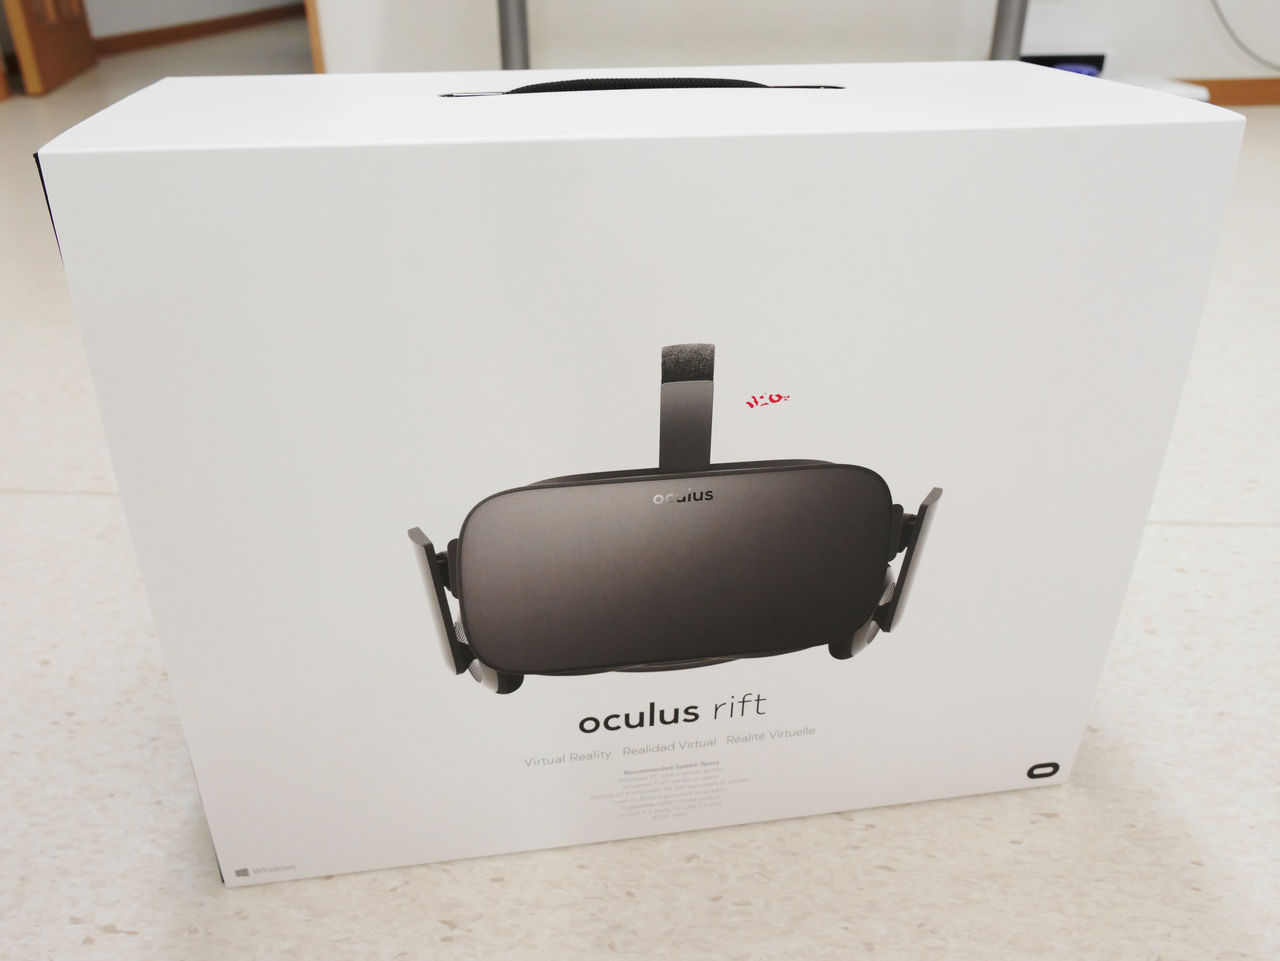
There was an additional black box in the white box.
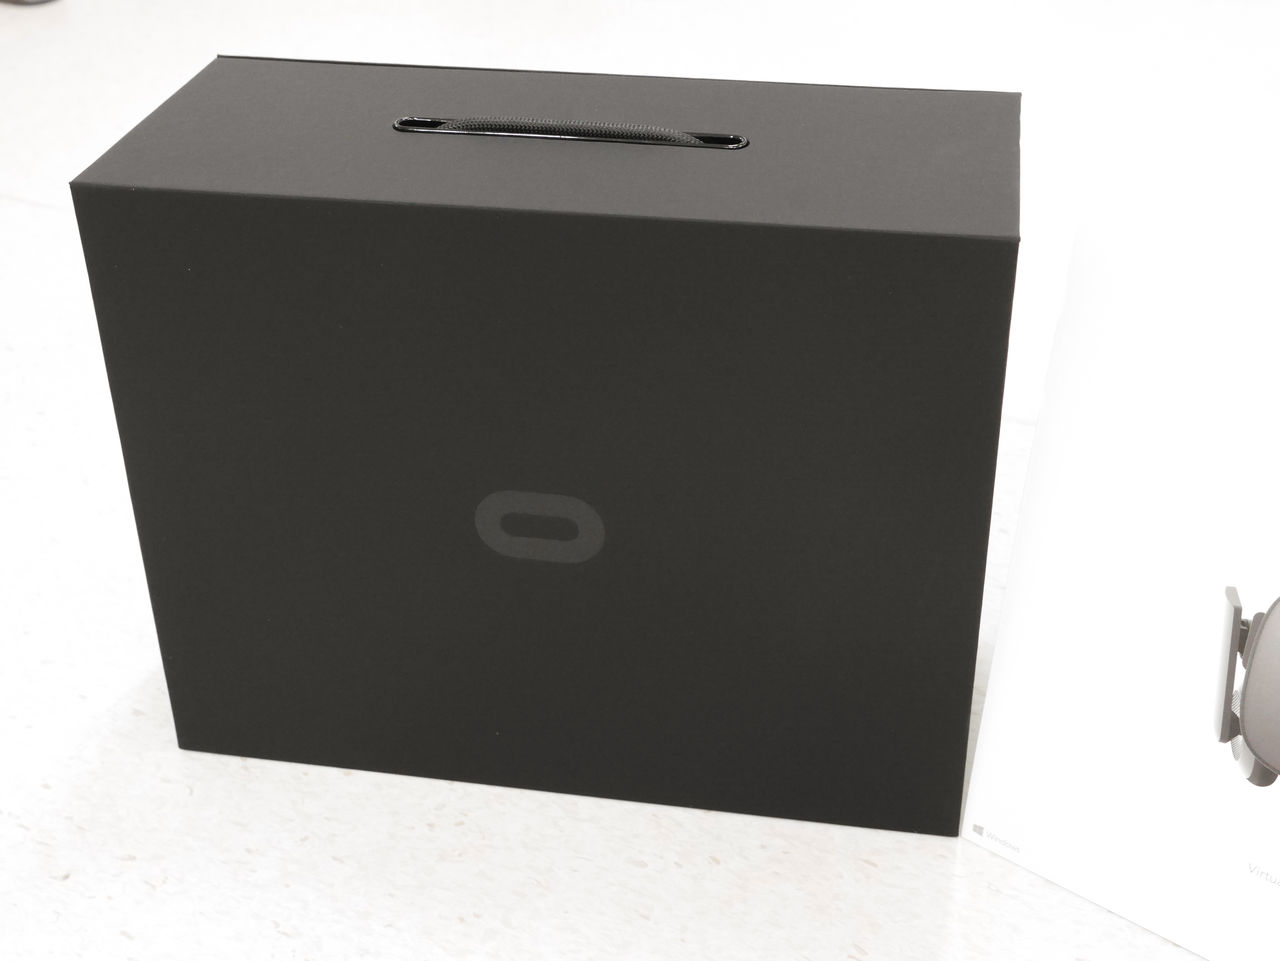
Opening a luxurious black box, it contains a set for playing Oculus Rift.
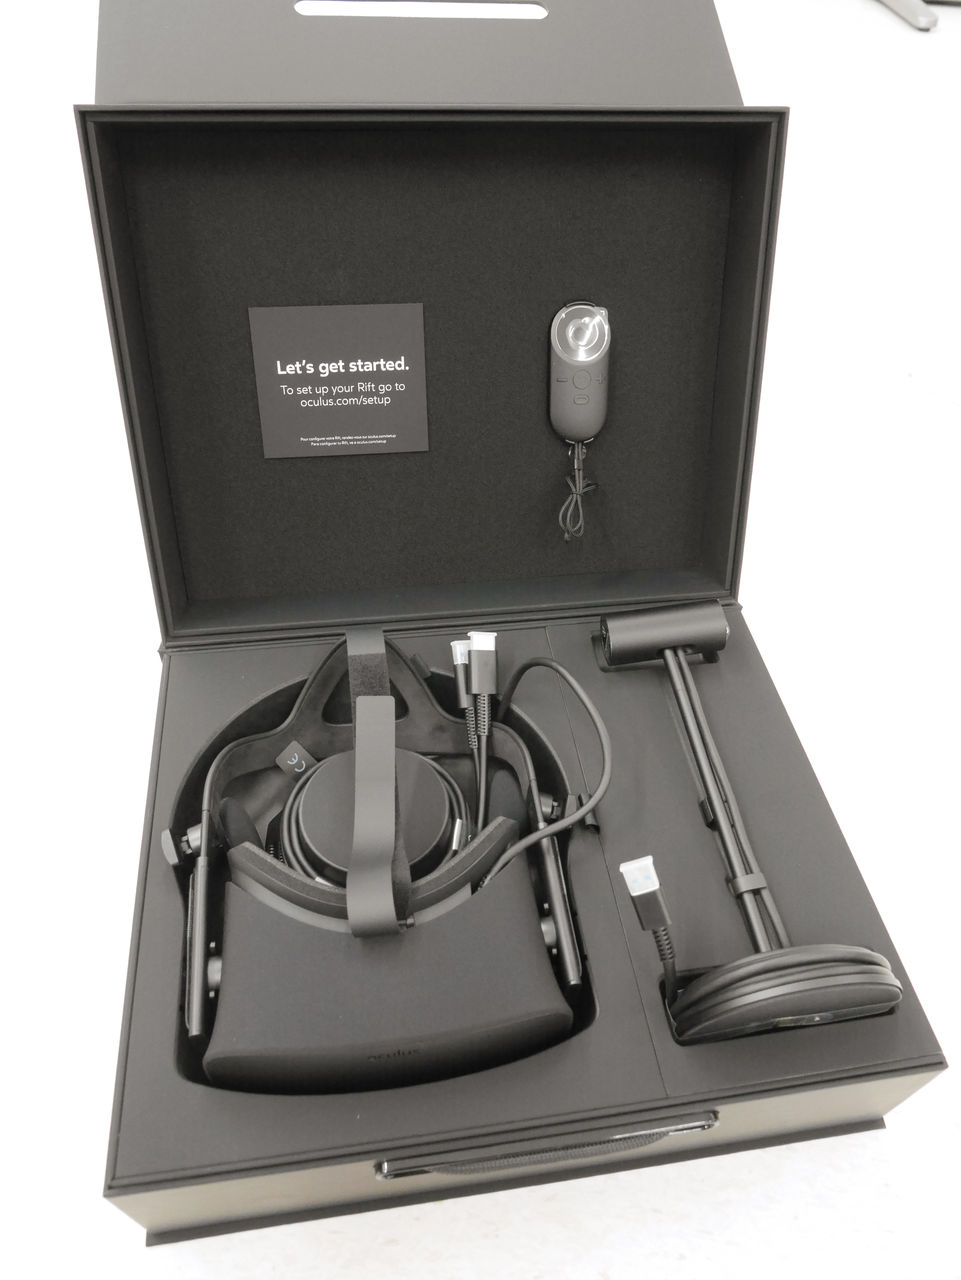
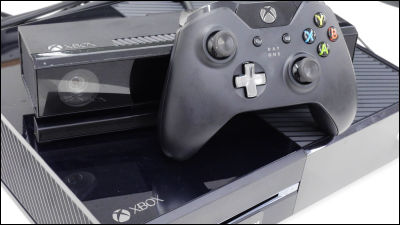
On the right side the bottom opens so that the Xbox controller is in it.
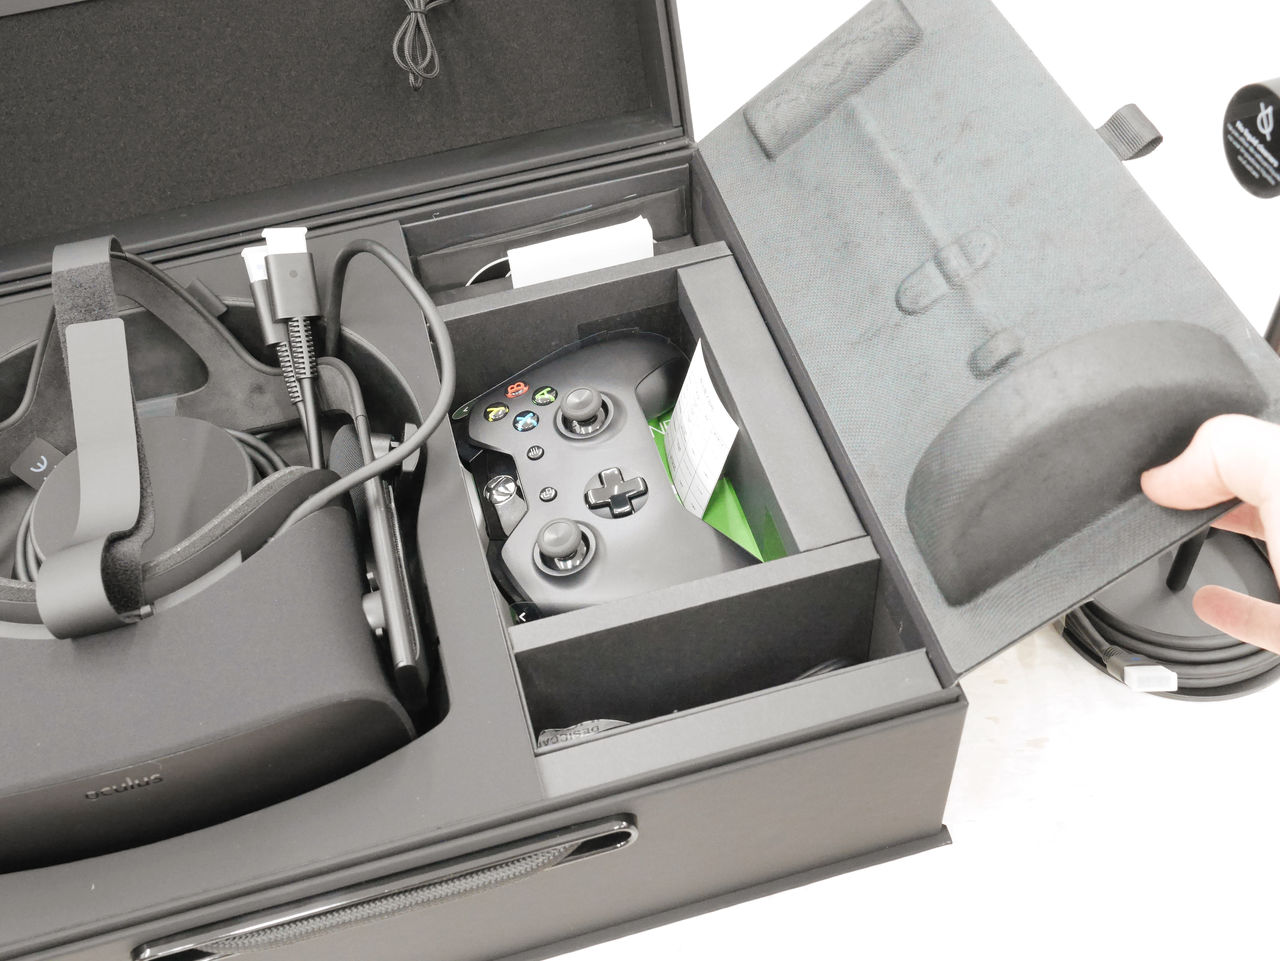
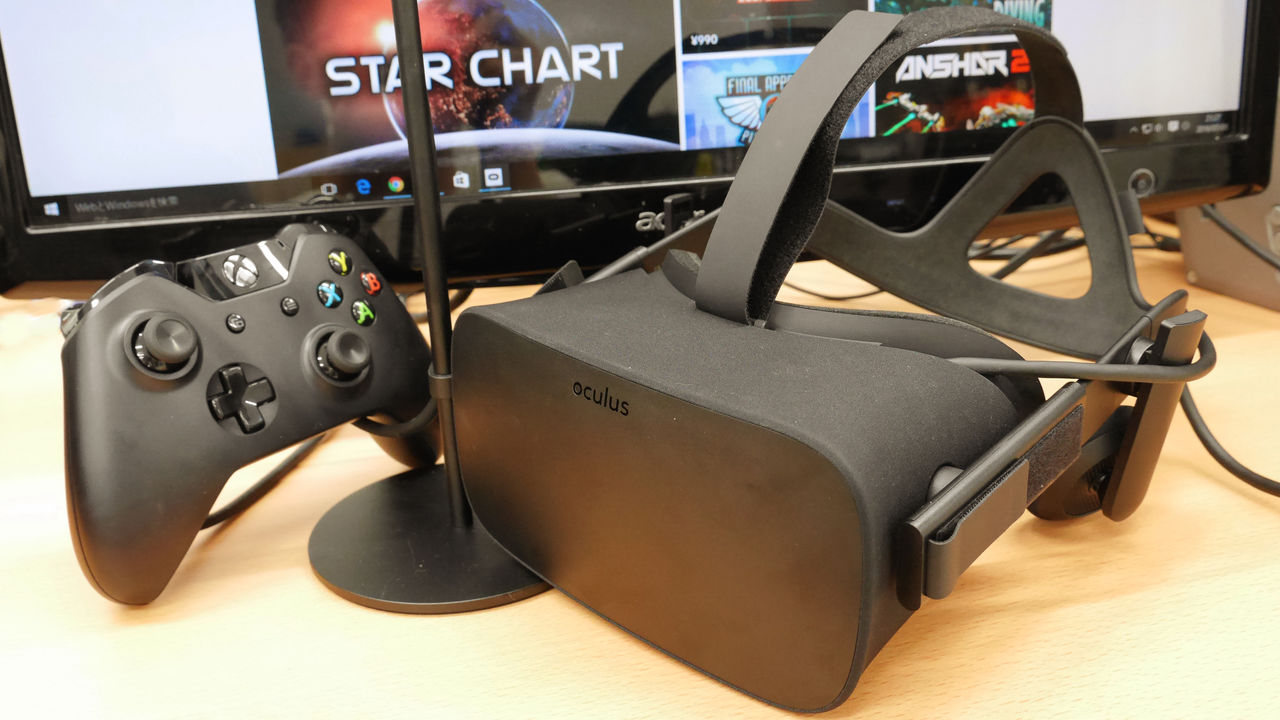
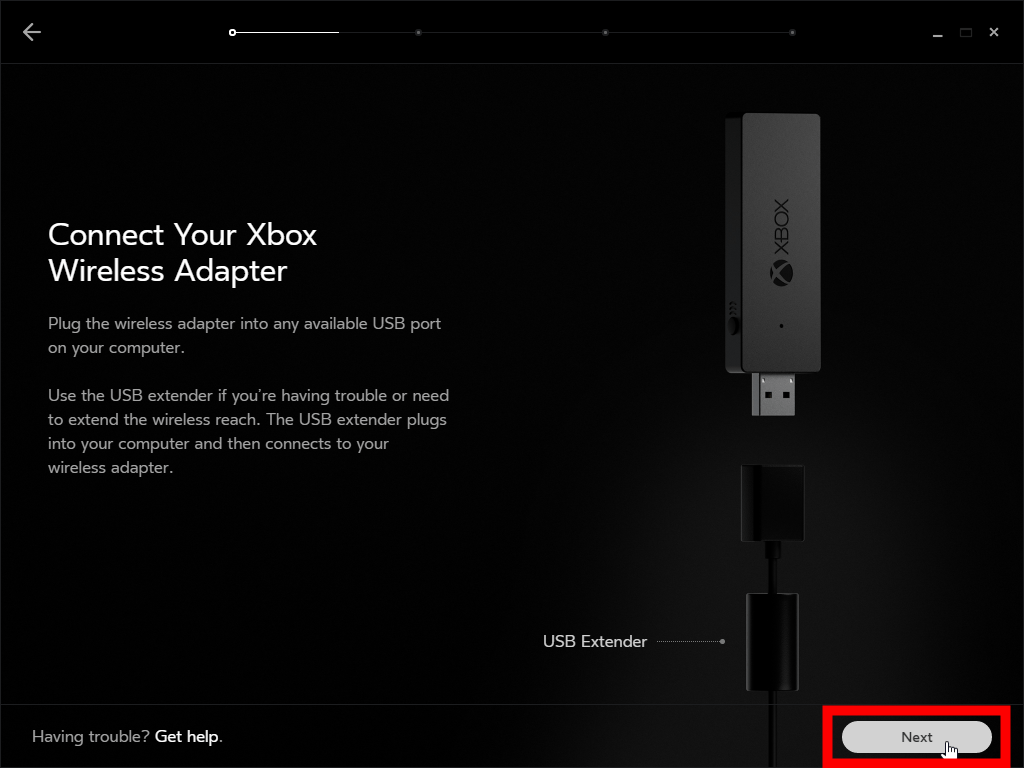
The contents are as follows, Oculus Rift main body · sensor · Xbox controller · USB cable · Oculus Remote etc. The Oculus Rift kit shipped to Japan is not included with "Xbox Wireless Adapter" which wirelessizes the controller of the Xbox, so be careful.

◆ Oculus Rift Setup ~ Software Edition ~
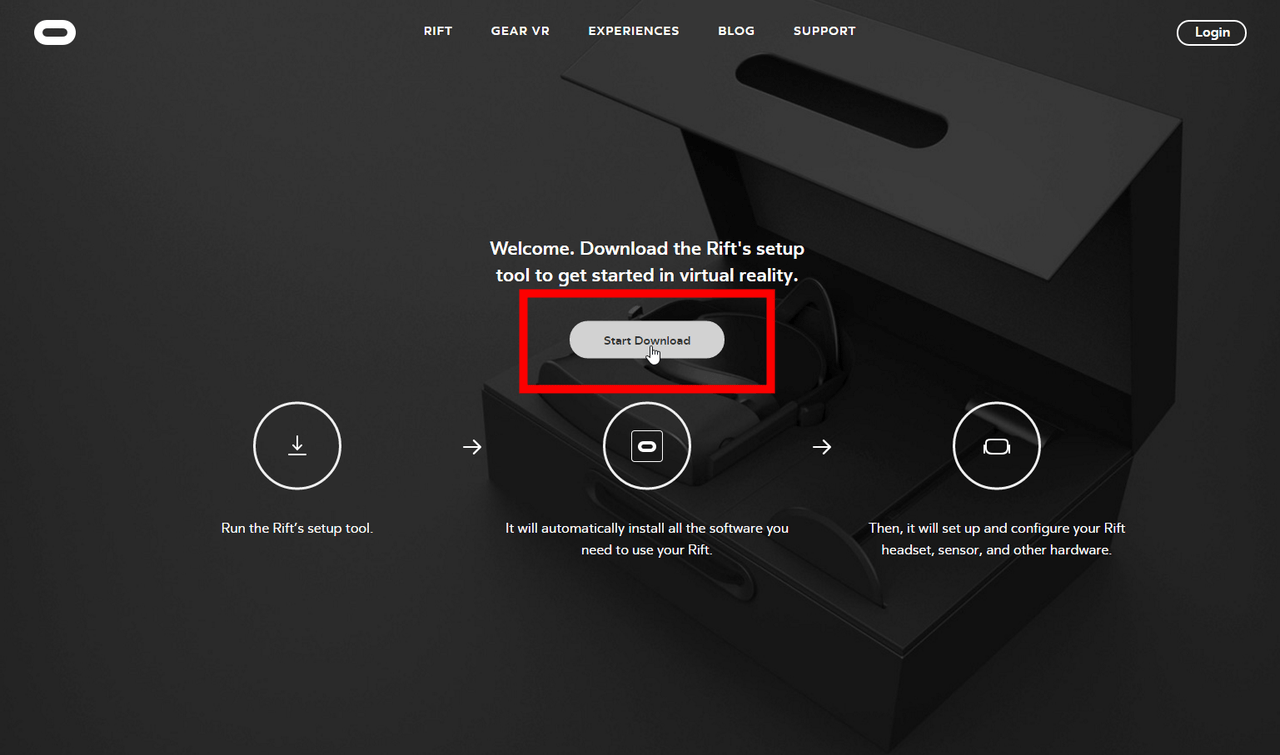
After checking all the contents, you need to install the software "Oculus Setup" necessary to play Oculus Rift. Let's update the graphic board of the PC to be used before installation to the latest version. Oculus Setup can be downloaded from the following page.
Oculus Rift Setup | Oculus
https://www.oculus.com/en-us/setup/
First, click "Start Download"
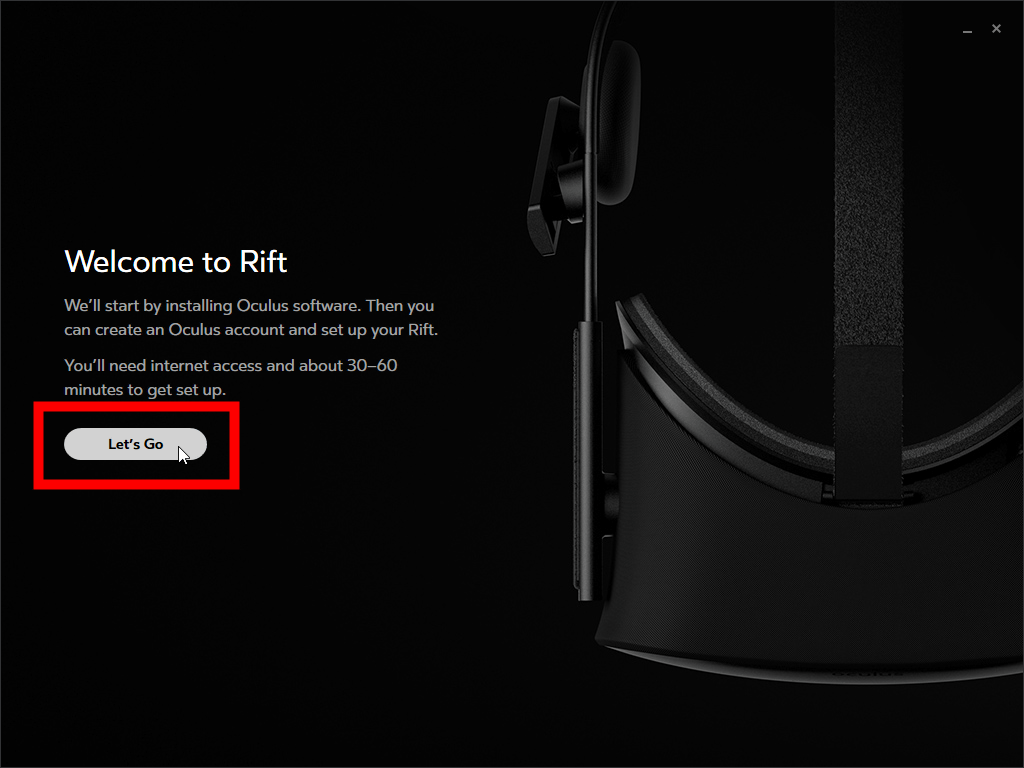
Click "Save File" to launch the installer.

When launching the installer, the following screen will be displayed. Click "Let's Go". It took from 30 minutes to 60 minutes.
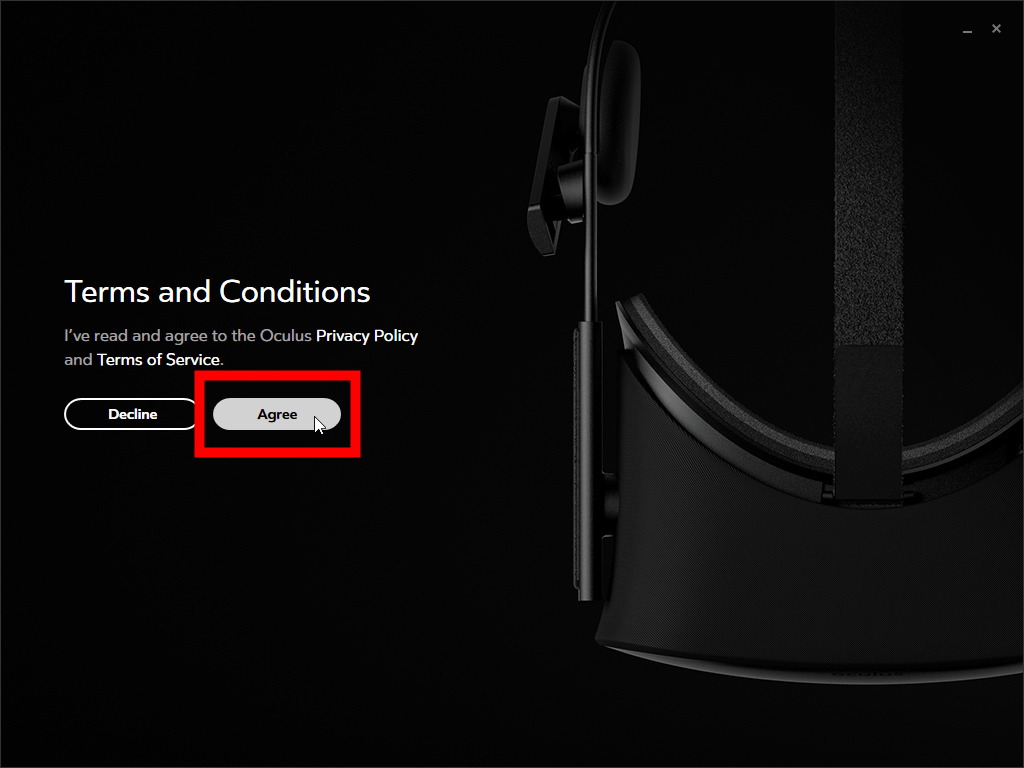
Click "Agree"
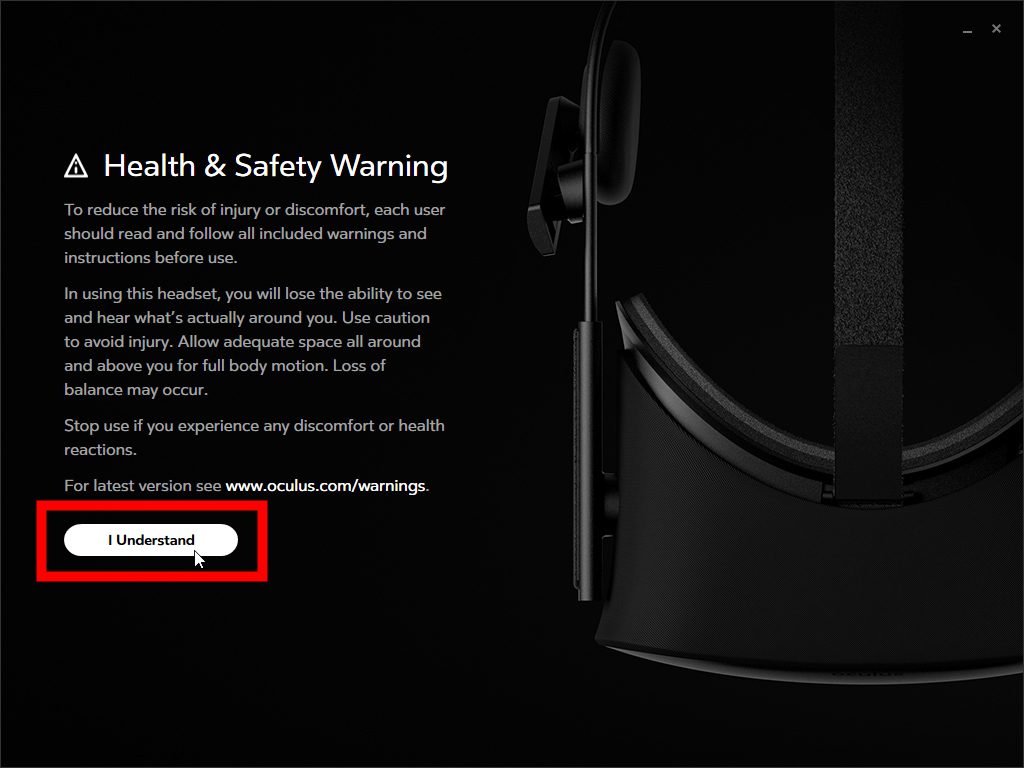
Click "I Understand"
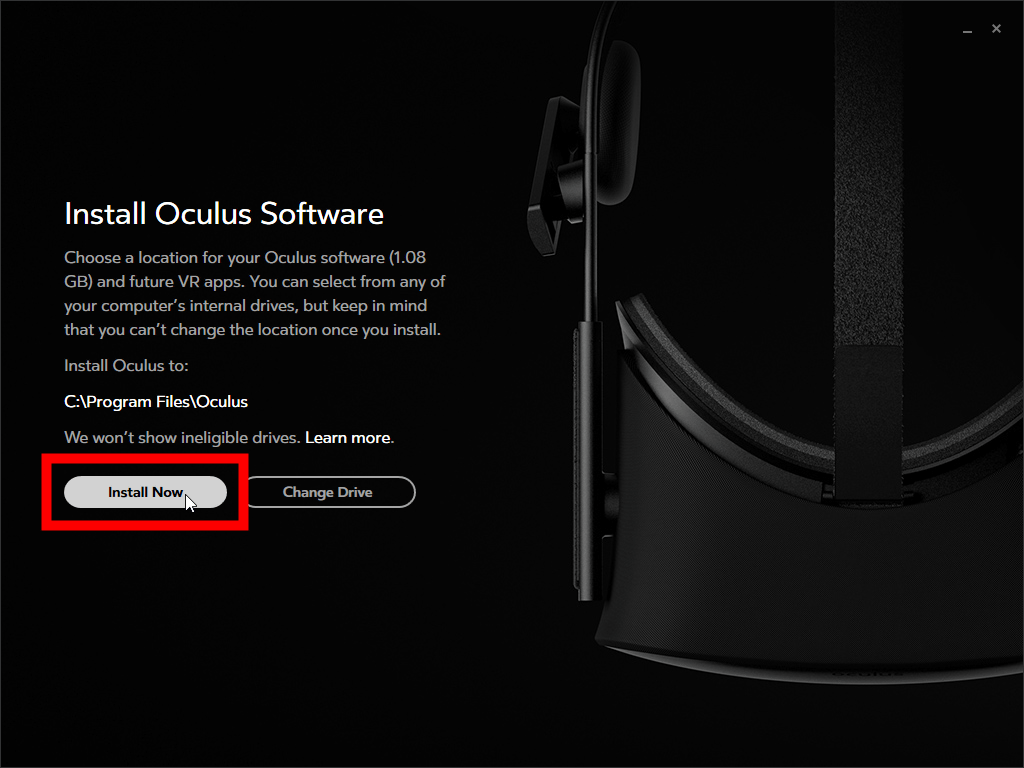
Install the 1.08 GB software required to start Oculus Rift. Click "Install Now" to install on C drive. However, since all the VR software to be installed in the future will also be stored in the C drive, you can also change the installation destination from "Change Drive" to another drive such as D drive.
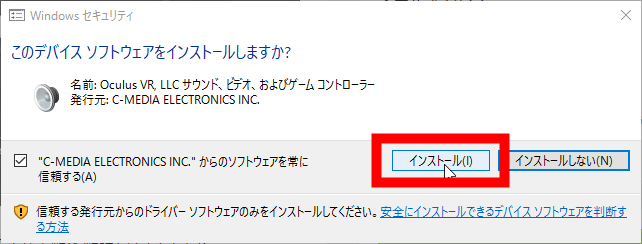
Click "Install" when you finish downloading the software
Click "Next" when installation is completed

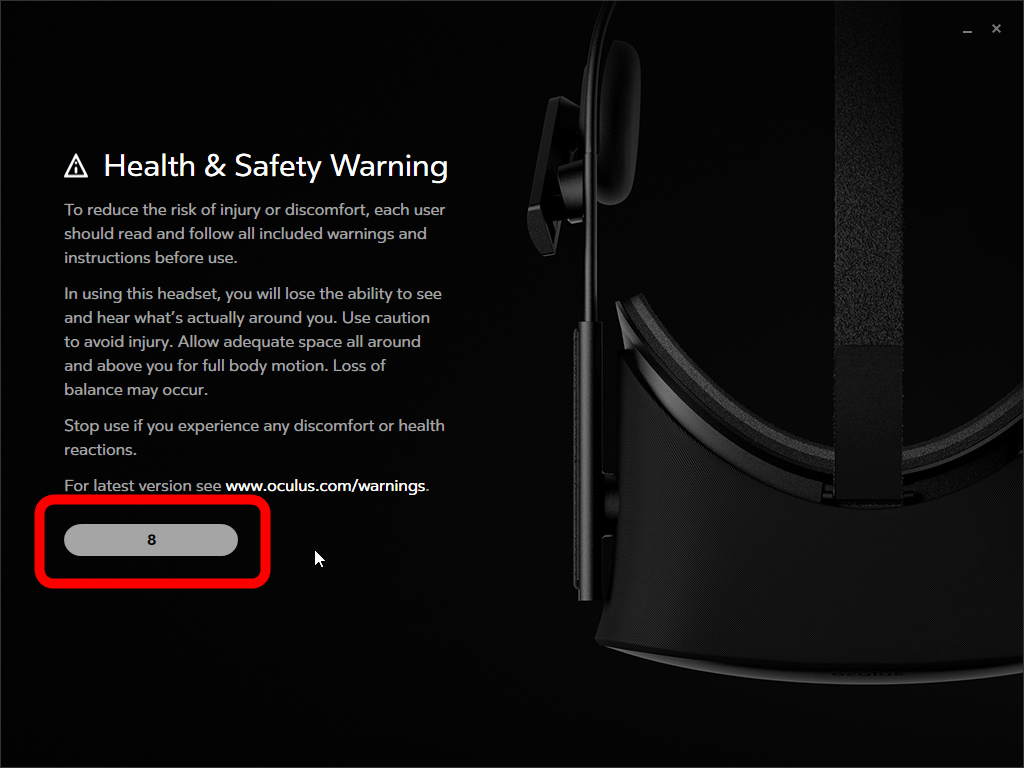
Precautions on health are displayed and counted for 10 seconds. After 10 seconds the button to go to the next page will be displayed. The software installation is complete.
◆ Oculus Rift Setup ~ Hardware Version ~
From here it is setup of Oculus Rift main unit and peripheral equipment. If you follow the software instructions, it is OK, so click "Next" first.
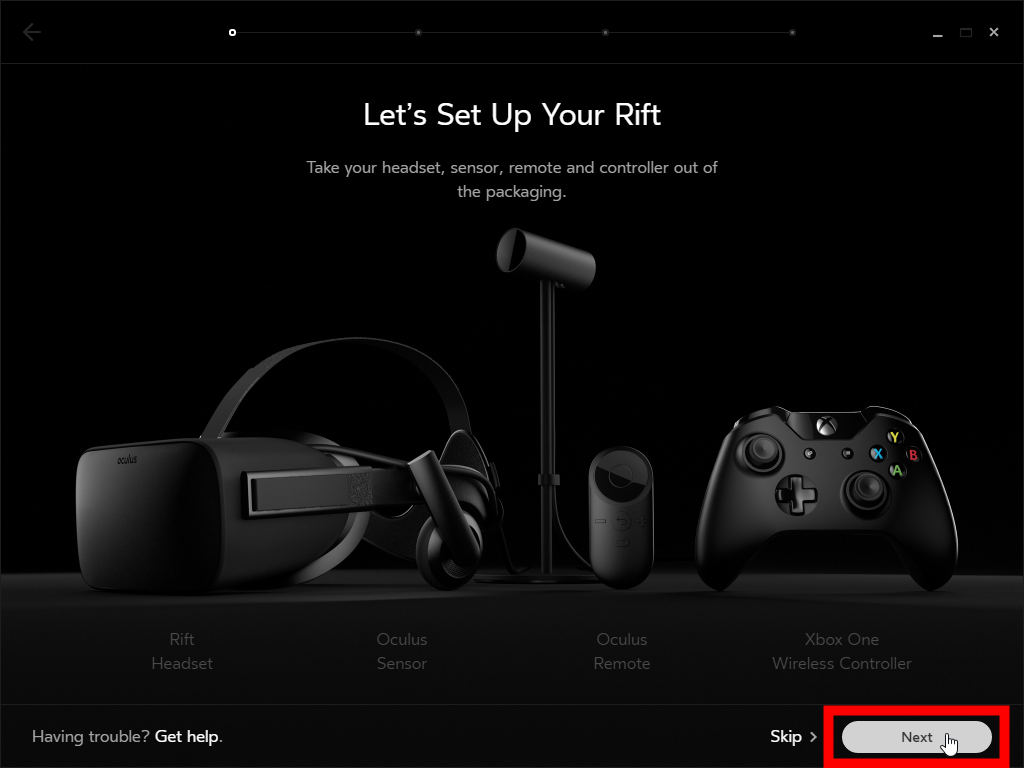
After peeling off all the stickers etc. attached to the Oculus Rift main unit and peripheral devices, click "Next"

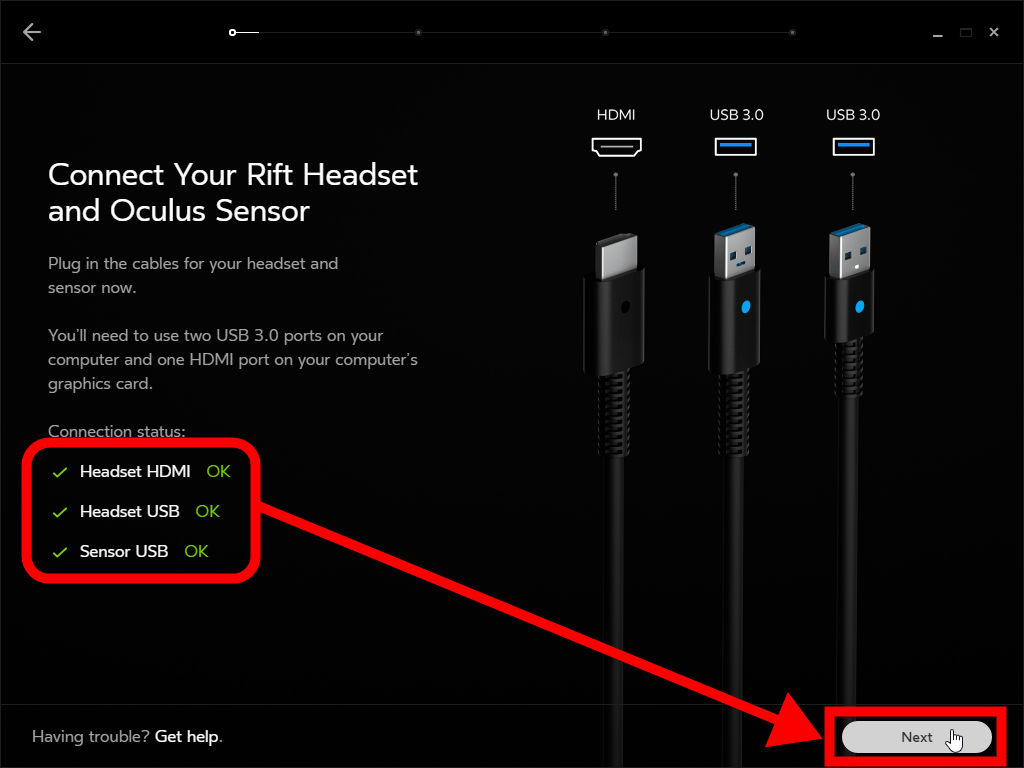
Oculus Rift Connect the HDMI and USB that are extending from the main unit and USB of the sensor to the PC. Please beware that both USB must be connected to the USB 3.0 port. After connecting everything, check the display on the screen, so click "Next" when all are checked.
Click "Update Now" to keep the firmware of Oculus Rift main unit the latest version.

Click "Continue" when the update is completed

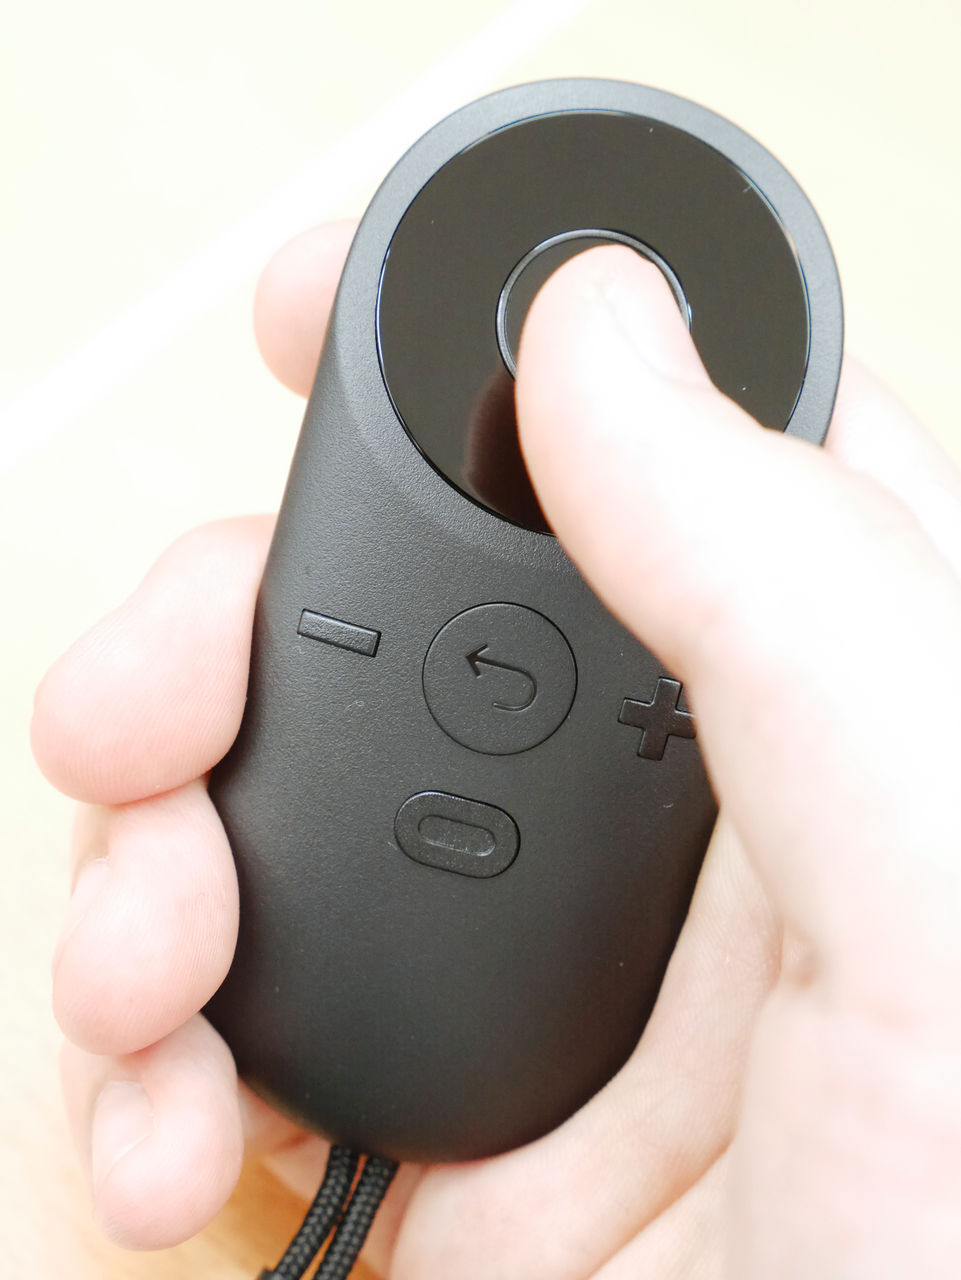
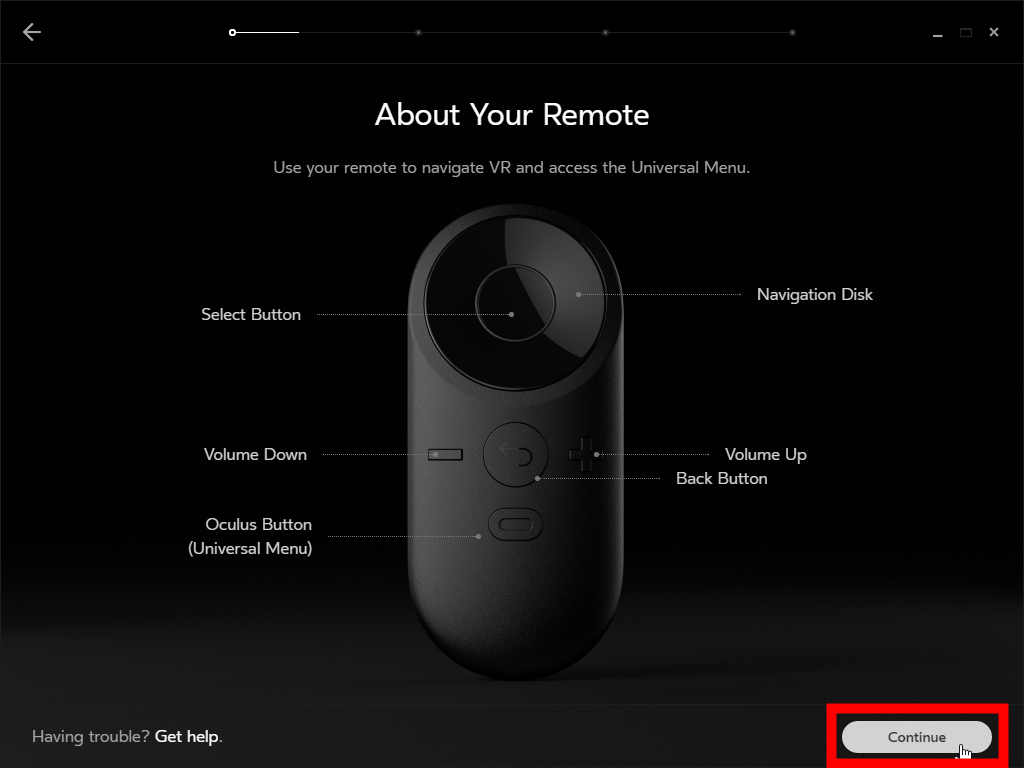
Then pull out the insulation seal of Oculus Remote and push the decision button on the top to recognize Oculus Remote. When "Remote" is checked, click "Next".

Oculus Remote is like this, with the part to which the thumb is applied is "decision", its surroundings are "direction", the bottom is "back", the ends are "volume", the bottom is the role like home button It fulfills "Oculus button".
After confirming the position of the button, click "Continue"
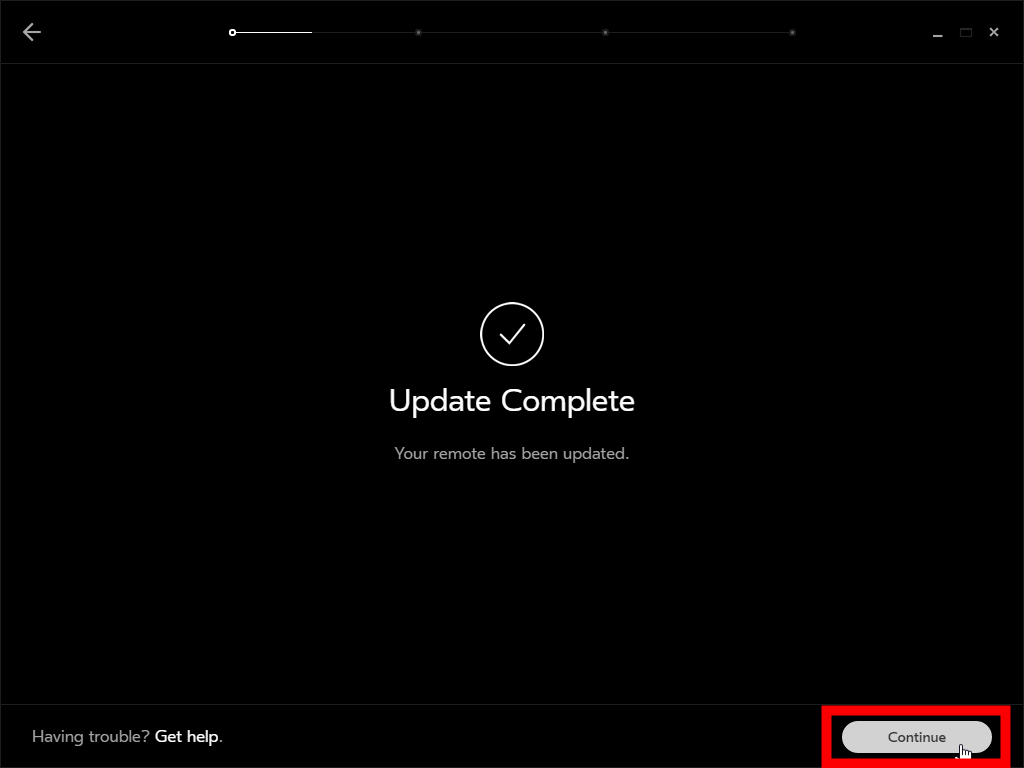
We also update the firmware of Oculus Remote.
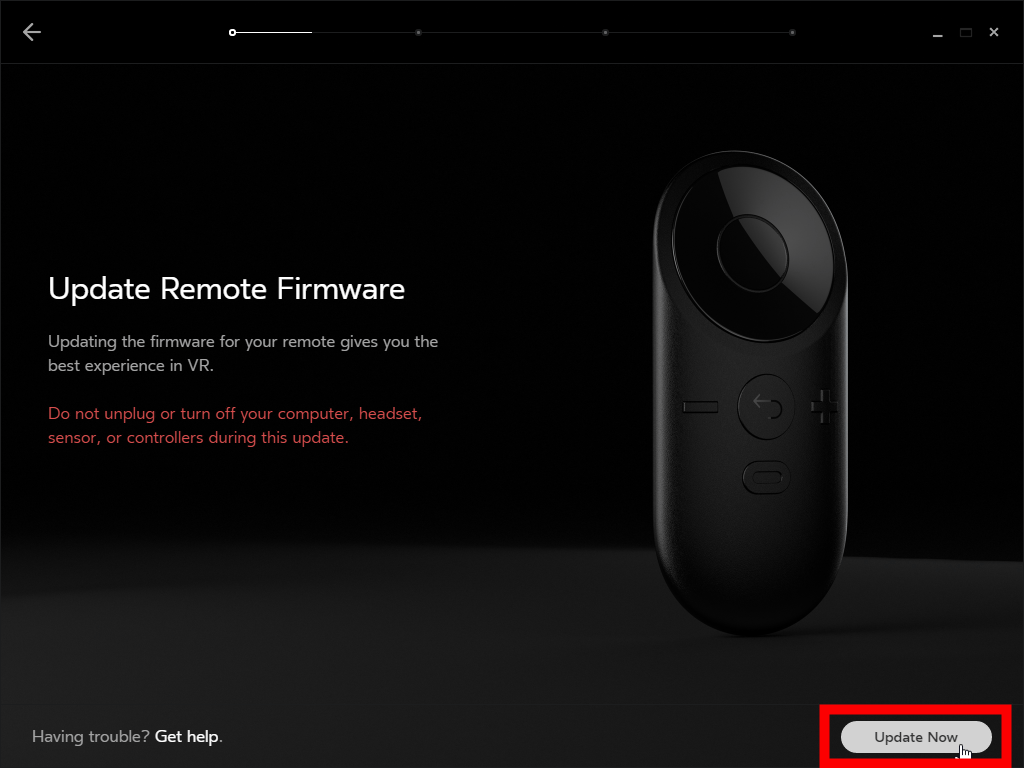
When you are done click "Continue"
Click "Next" to configure the controller
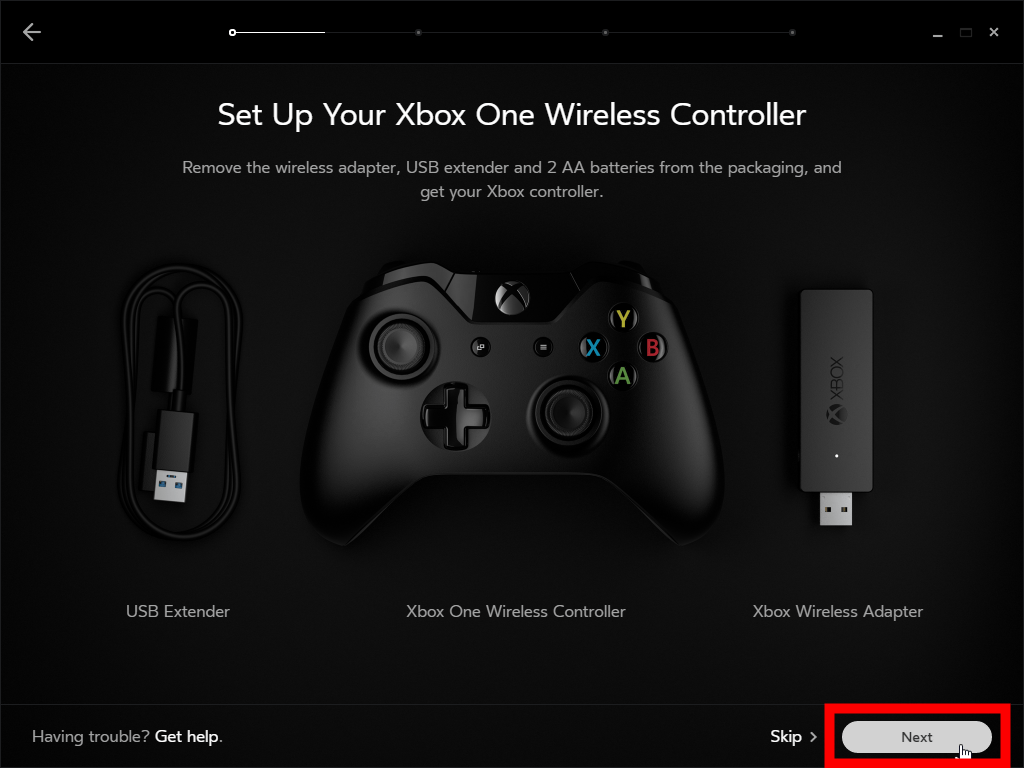
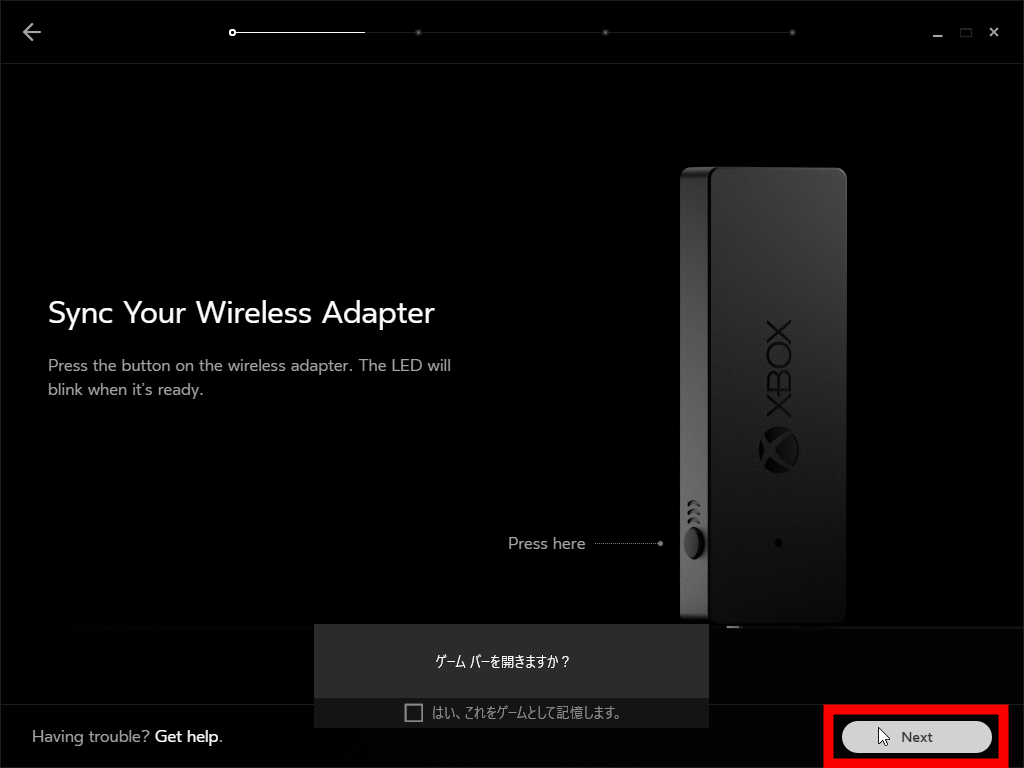
Although there is no wireless adapter in the Japanese version, click "Next" without worrying about it.
Click "Next"

Click here also through "Next"
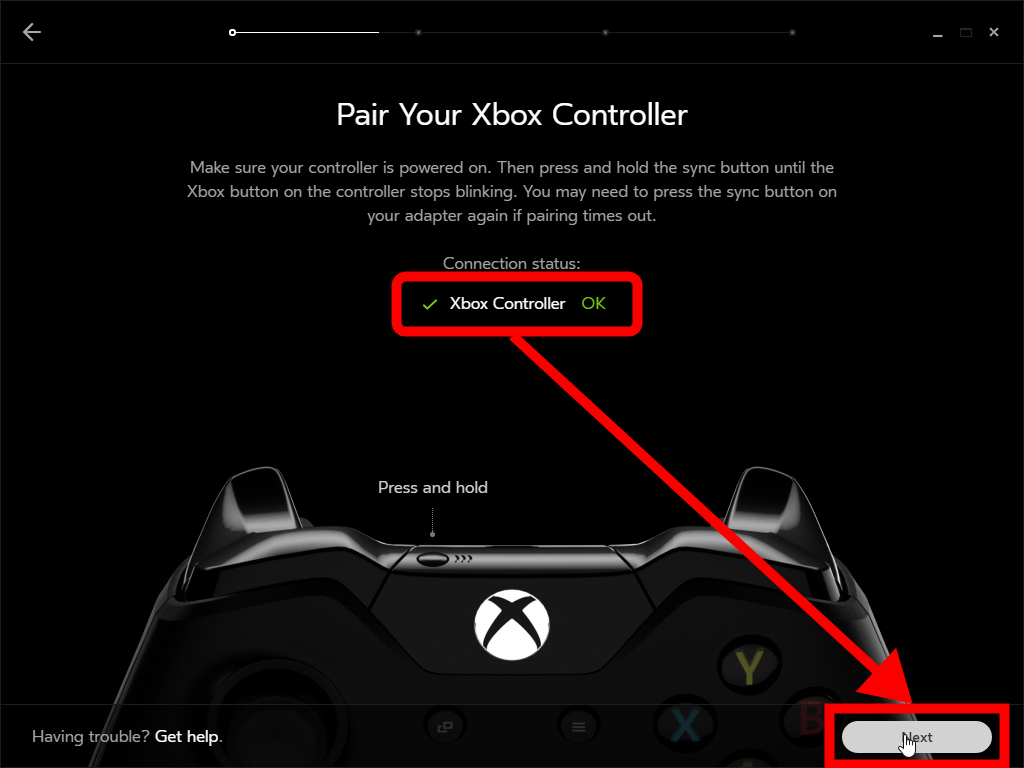
If you connect Xbox controller with PC with USB cable, it will be recognized, so click 'Next' when 'Xbox Controller' is checked.
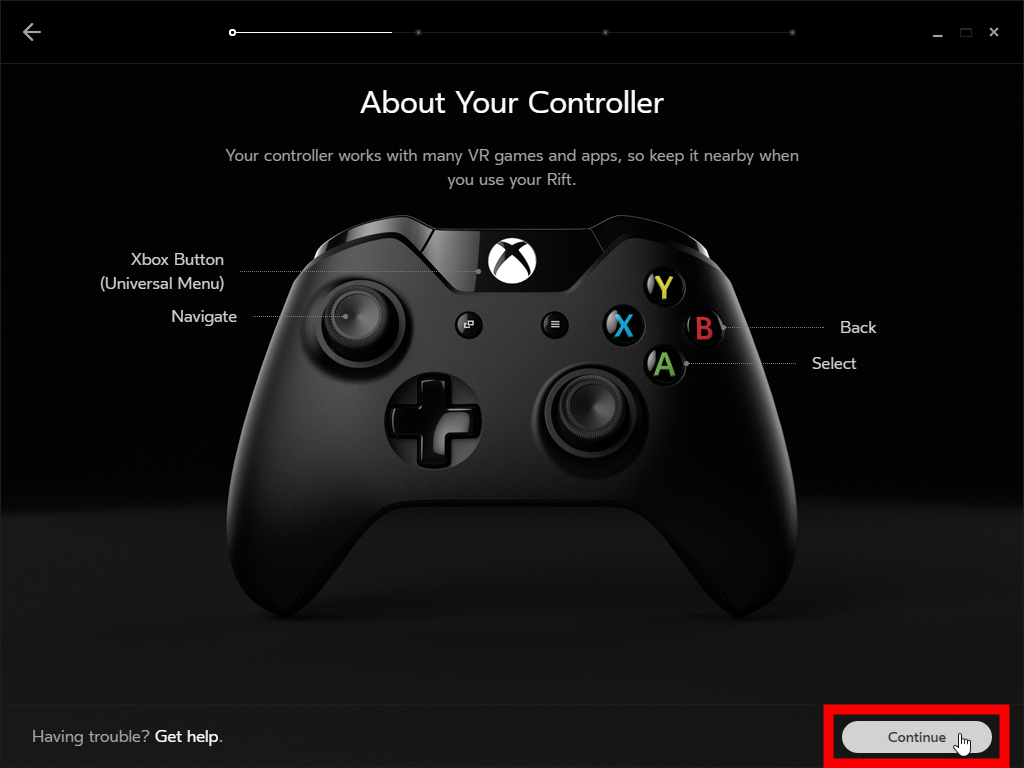
The "A button (decision)" and "B button (back)" of the controller of Xbox are opposite to the position of "○ button (decision)" and "× button (back)" in PS 4, It may be hard to use if there is not.
The last is setting up the sensor.
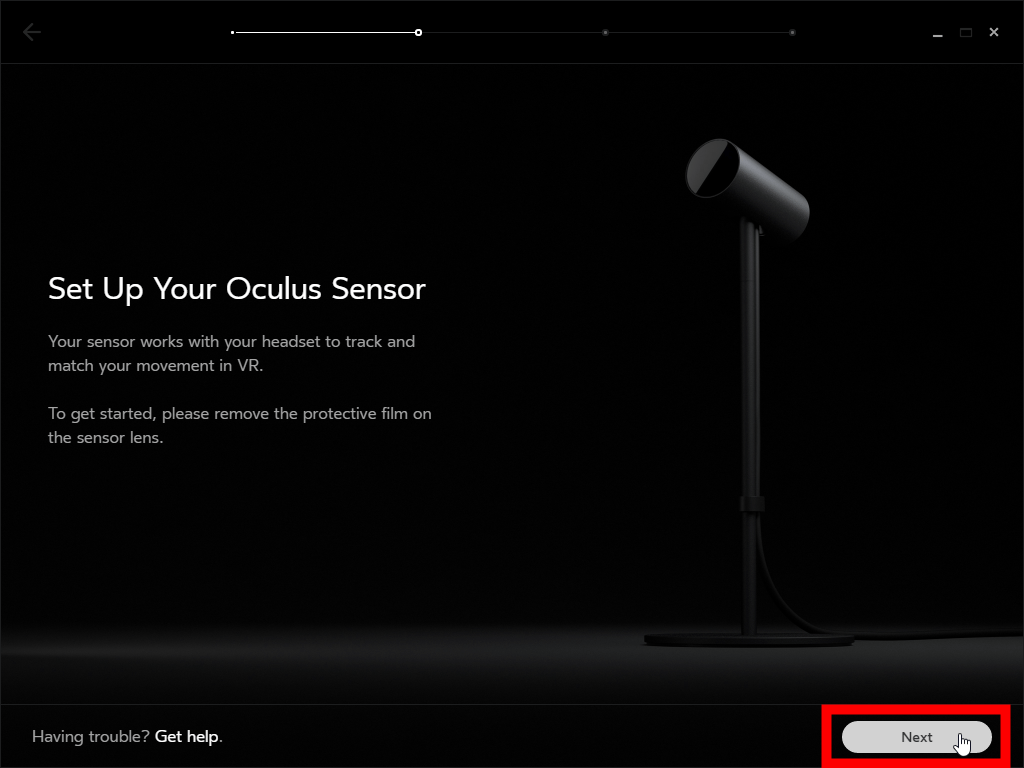
I enter the height, but since it is a unit of the United States, click the toggle of "Metric units" to turn it on.
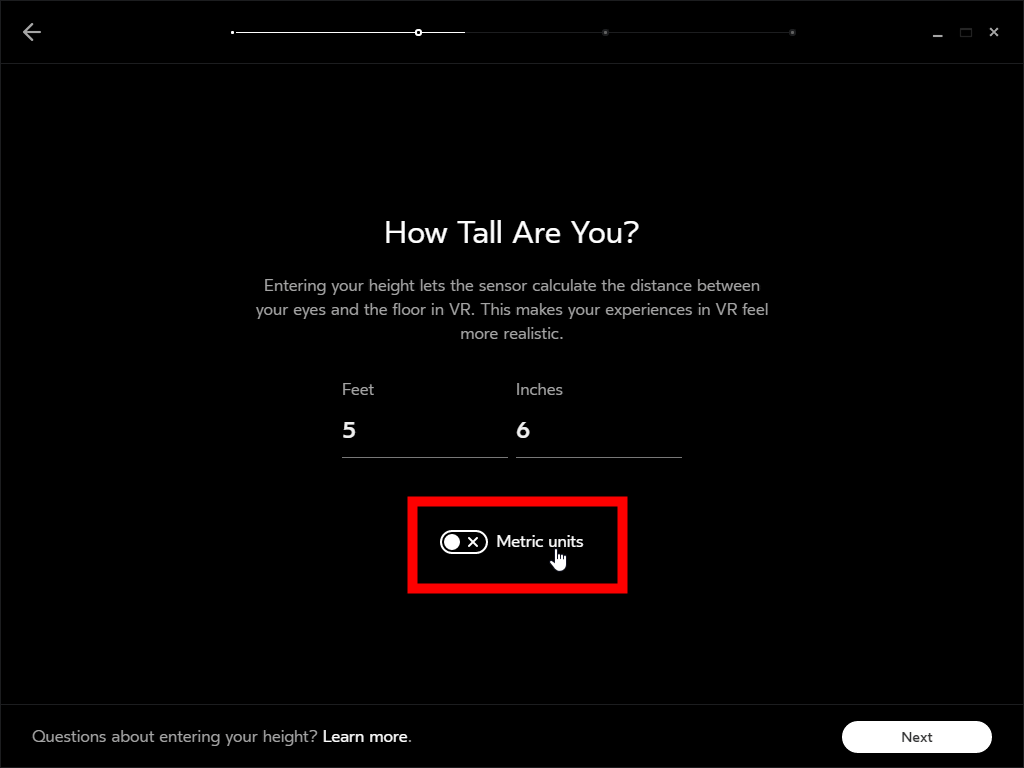
Then, because it becomes "cm" notation, enter your height and click "Next".

As you are instructed to put the sensor in front of you, set it around the side of the display. I will place it about 1 meter away from the head wearing the Oculus Rift.

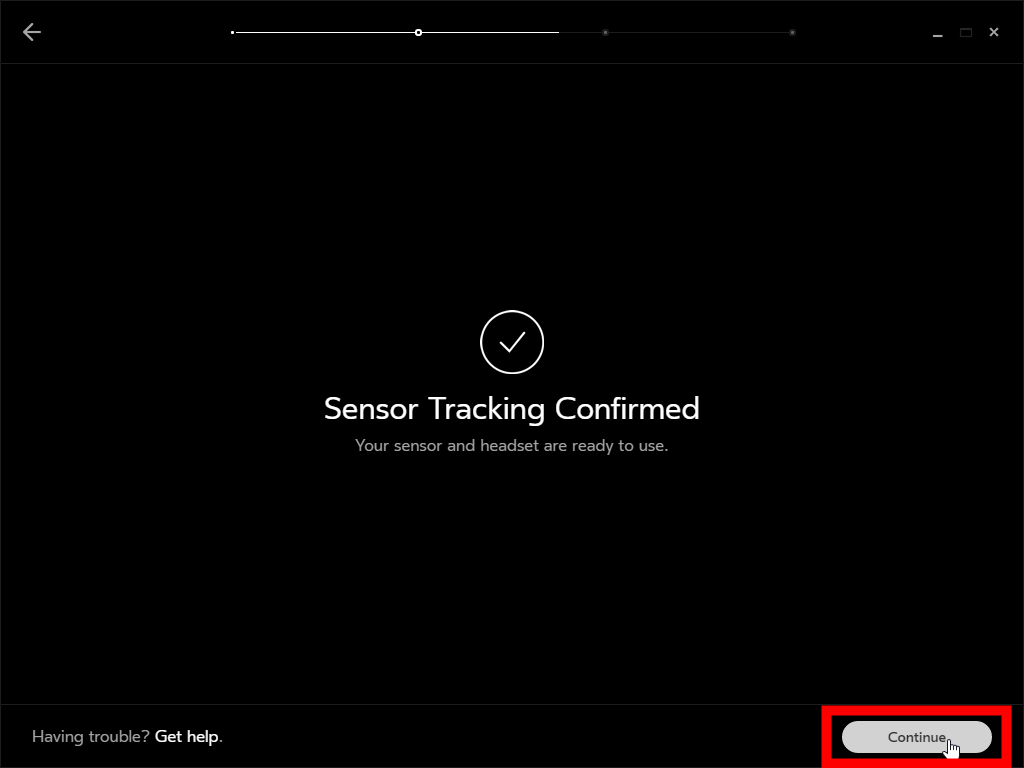
After placing the sensor, move the Oculus Rift left and right in front of the sensor to make the sensor recognize Oculus Rift.

When the sensor recognizes Oculus Rift, click "Continue".
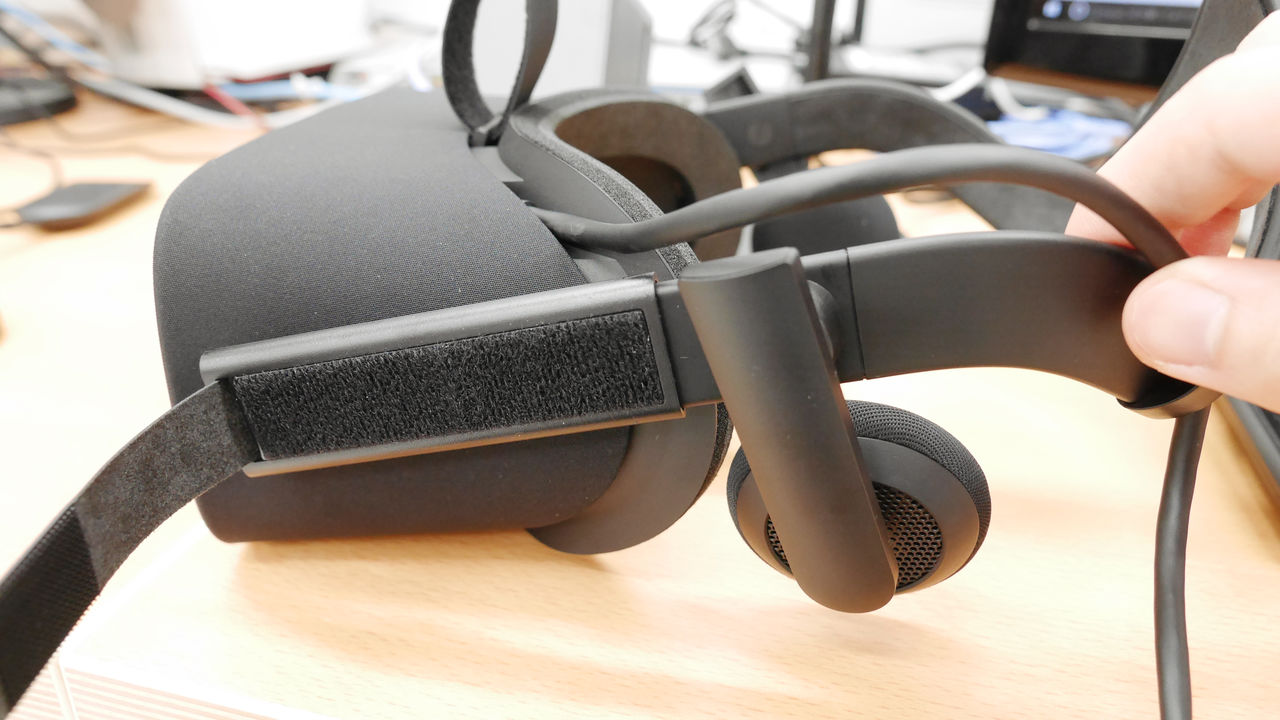
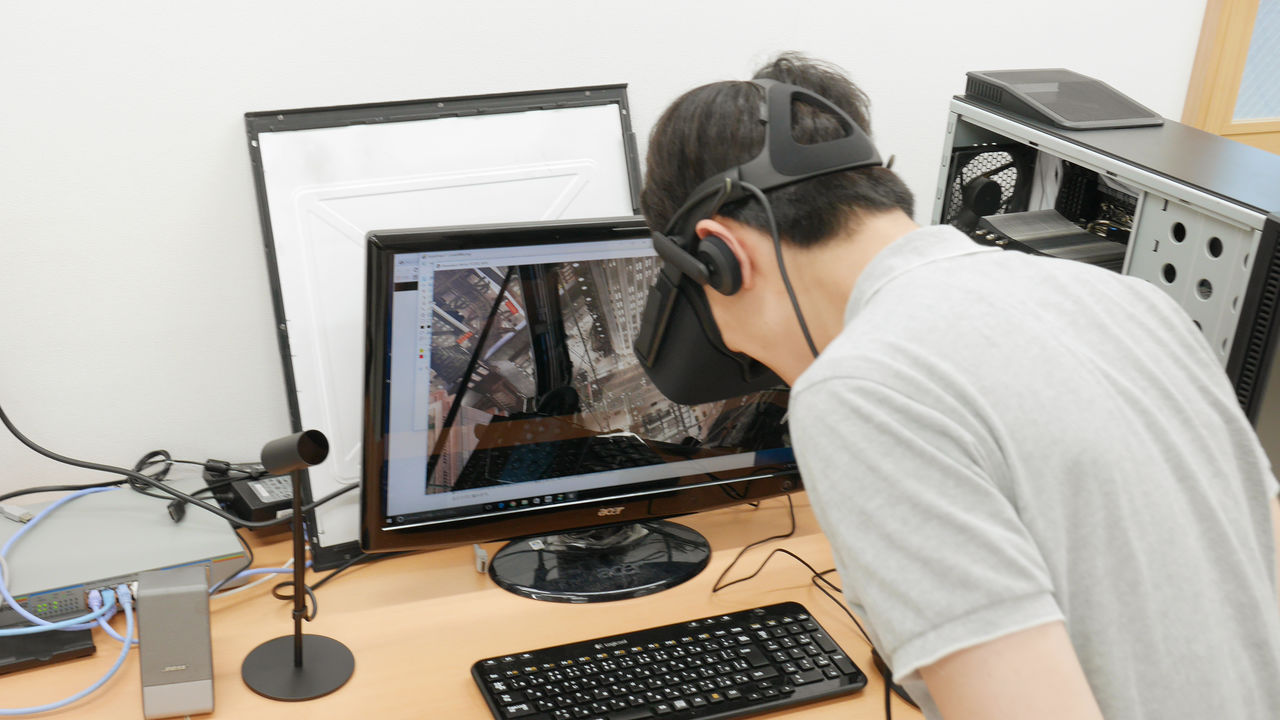
Now that we are ready to play, I will adjust the Oculus Rift so that it can be firmly attached to my head.

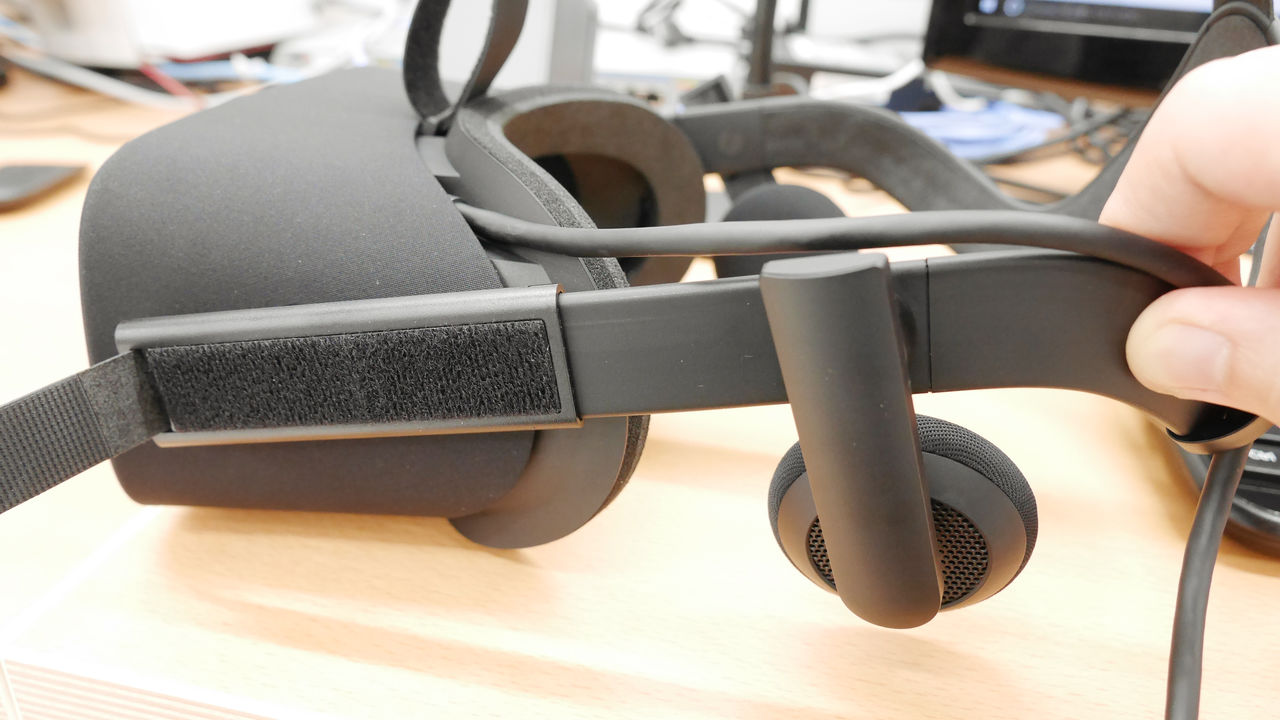
Adjust each part with 3 belts on both ears and head.

If you loosen the left and right belts, you can stretch the part of the border called glasses, so if you tighten the belt in a position that is perfect for your head OK.
Finally wearing Oculus Rift on his head.

With the feeling like this when you actually wear this, if the person wearing eyeglasses is naked eye will not be in focus, attach Oculus Rift without removing the eyeglasses. To wear glasses together If you loosen all the belts to the maximum, it will be easier to wear. However, glasses are not designed to be considered, so comfortable to wear for glasses users is bad.
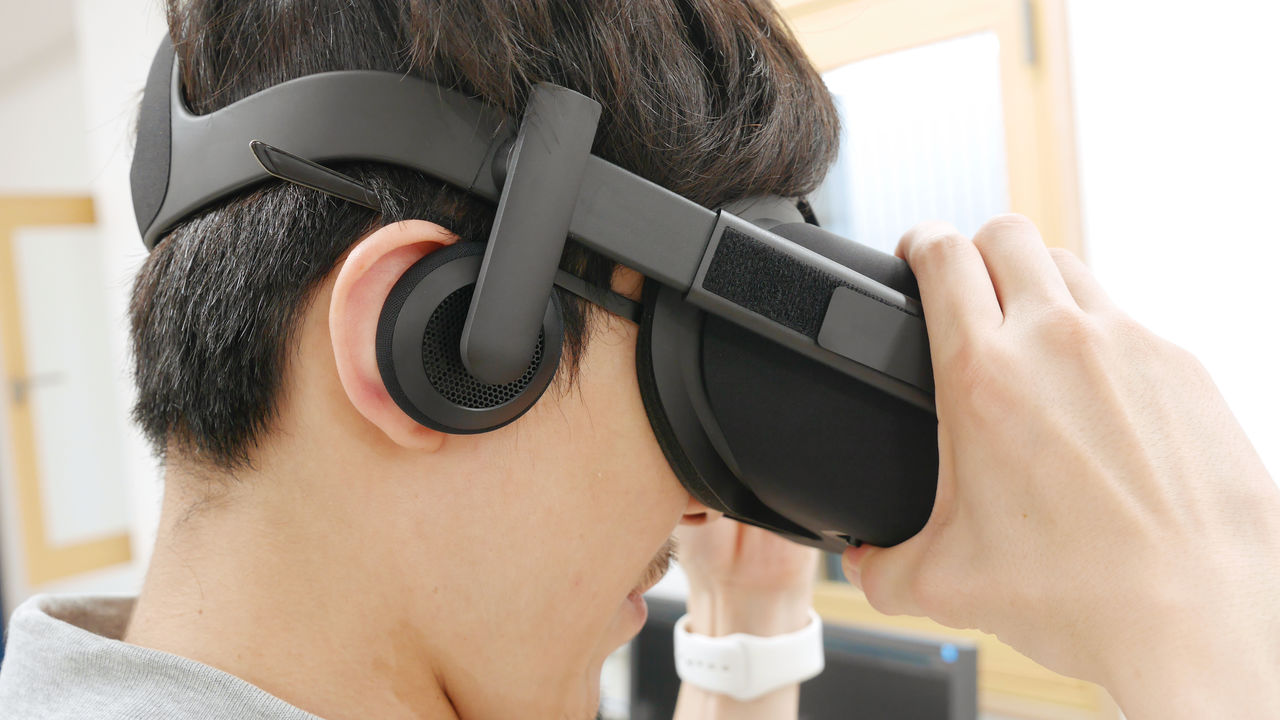
When you can firmly install it, click "Next".
Click "Continue".
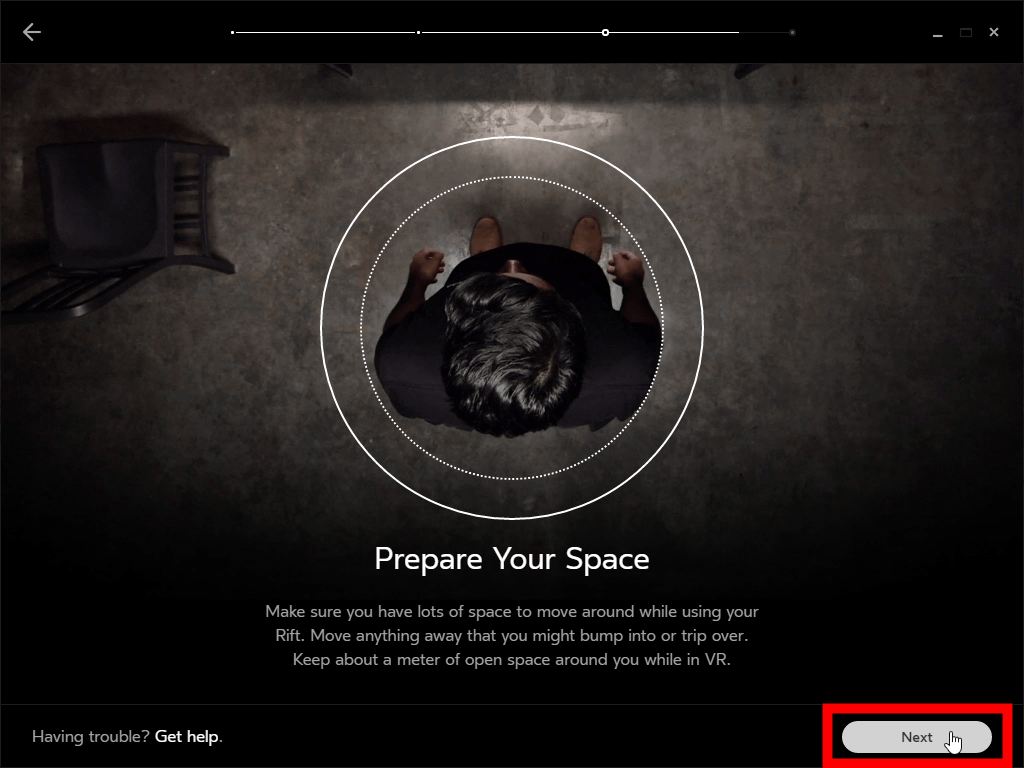
When playing, let's check if there is anything that will hit the surroundings.
By sliding while pressing the button on the bottom side of the Oculus Rift, the position of the lens can be adjusted to the left and right according to the position of the eye.
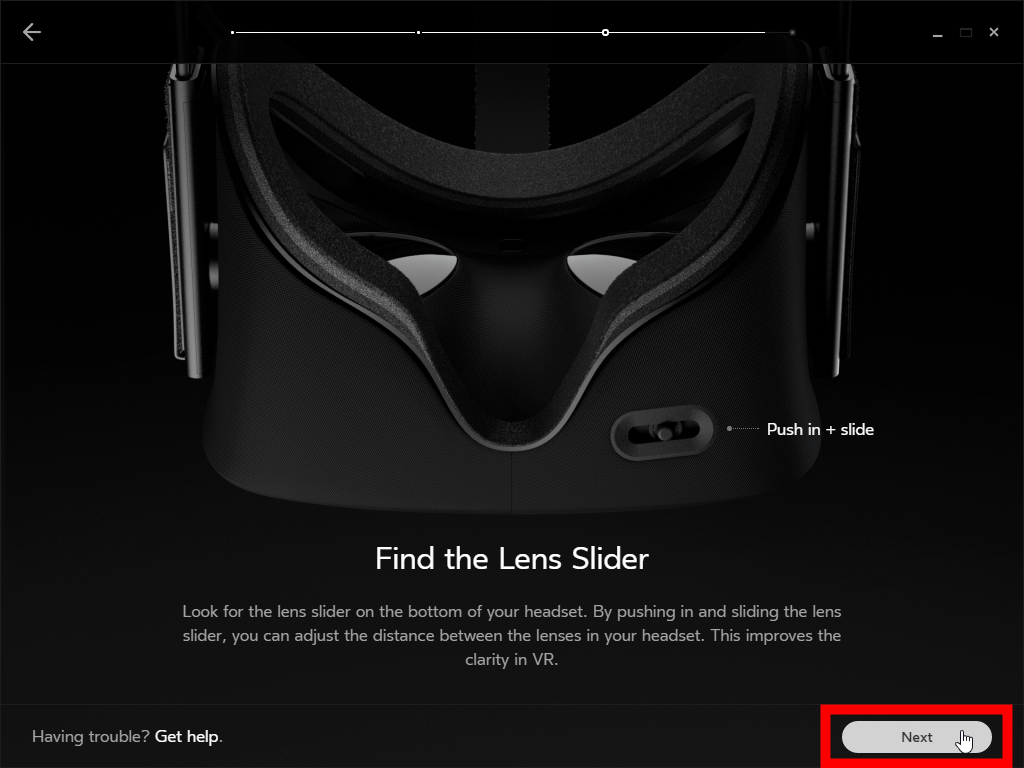
The button looks something like this.
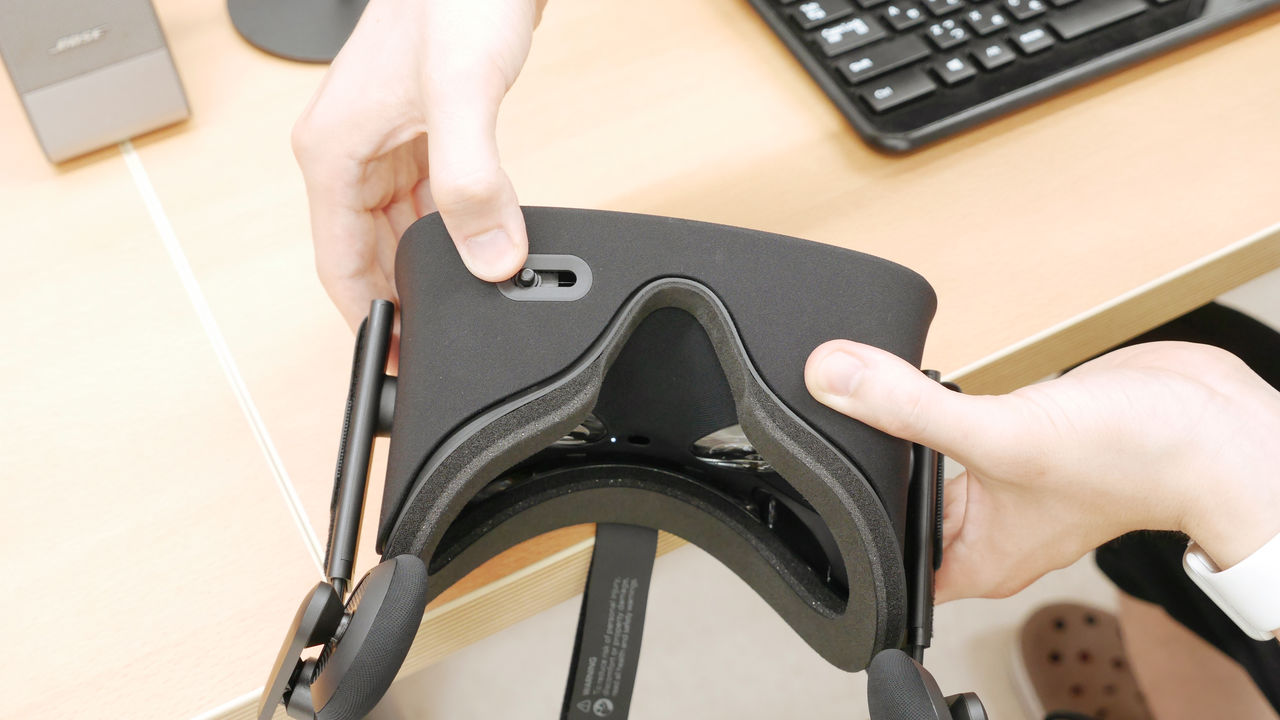
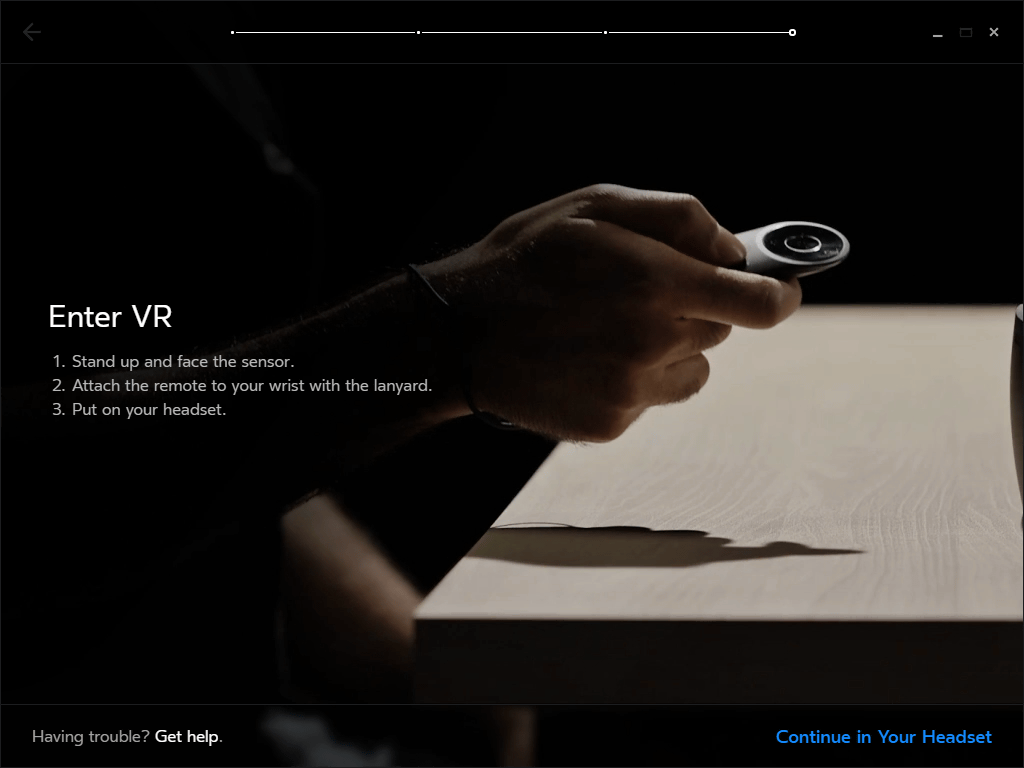
With Oculus Rift wearing, you can operate with your right thumb.
Therefore, when you wear Oculus Rift as described above, the Oculus Rift side displays an adjustment screen such as face orientation. If you proceed according to the instructions, you can see the official demo where you can experience the beauty of Oculus Rift graphics.
When you actually play the demonstration, you can enjoy the following images with the VR headset.
I tried the official demo of the VR headset "Oculus Rift" - YouTube
The official demo is to reproduce several images in omnibus format and to quickly experience the performance of Oculus Rift. The scene suddenly stood on the roof of a skyscraper is very realisticTamahyunthing.
After finishing the demonstration setup is complete. Click "Visit Store" ......
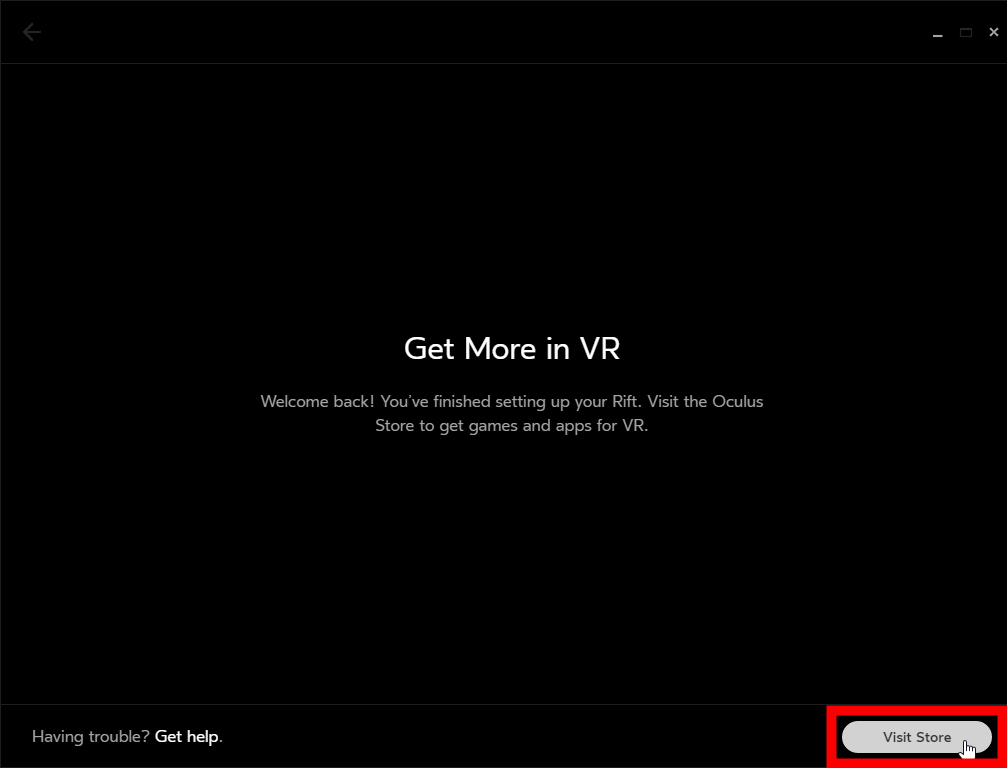
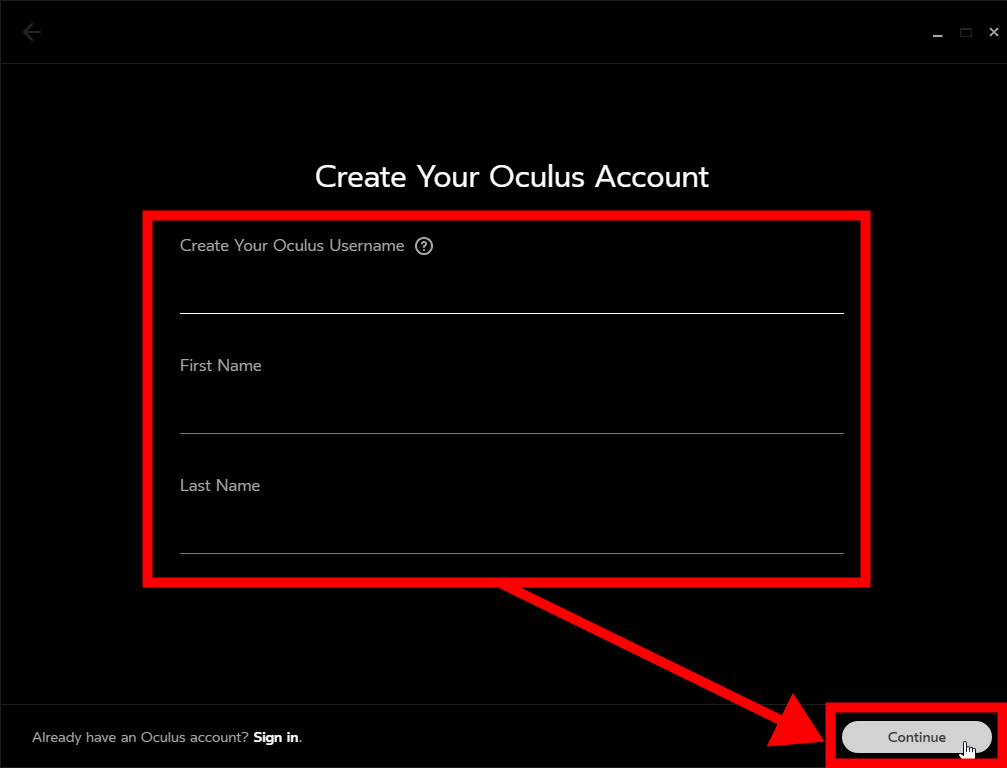
Enter your user name and full name, create an Oculus account and click "Continue".
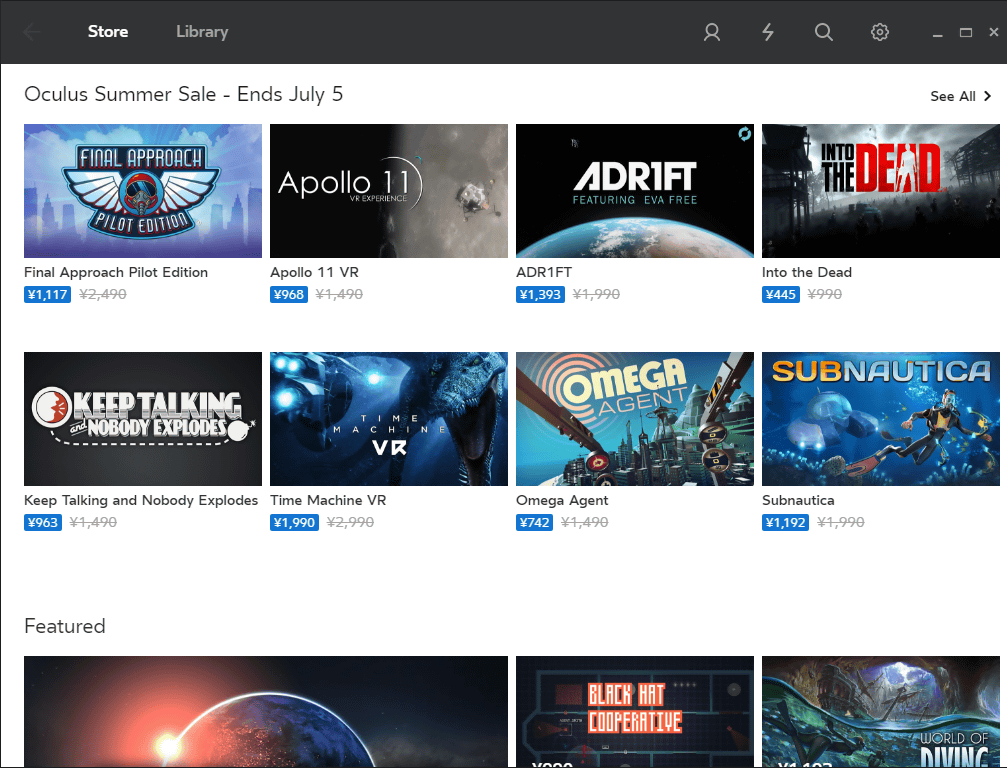
Then the Oculus store opens, installing your favorite apps and becoming fully immersed in the world of VR.
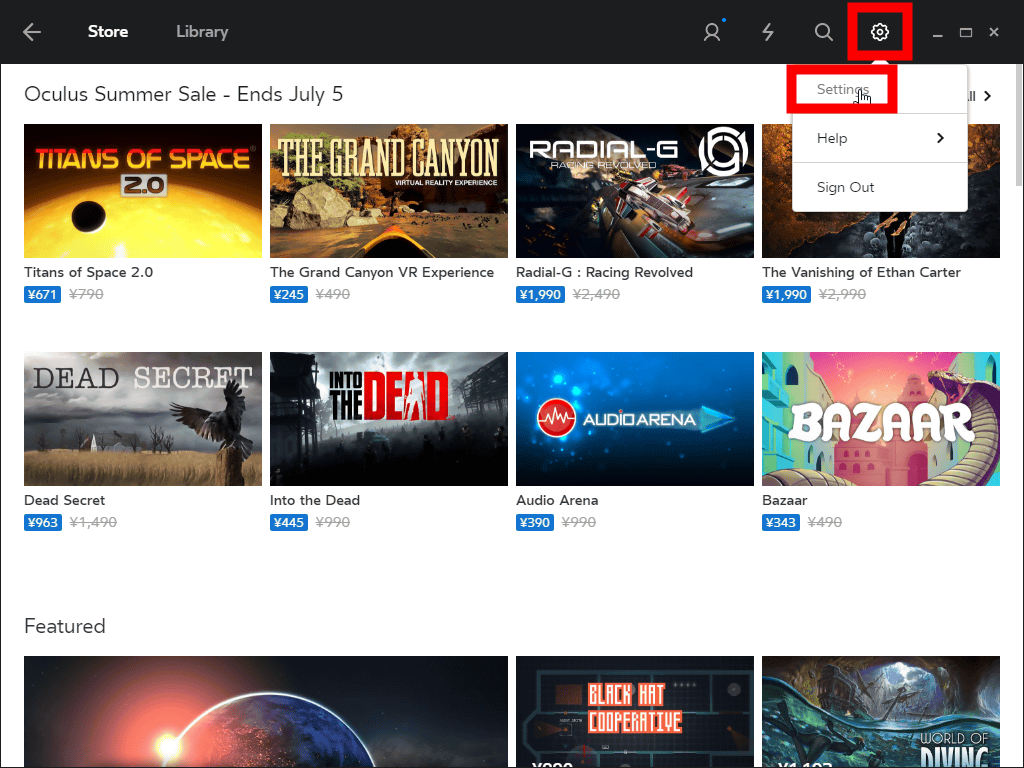
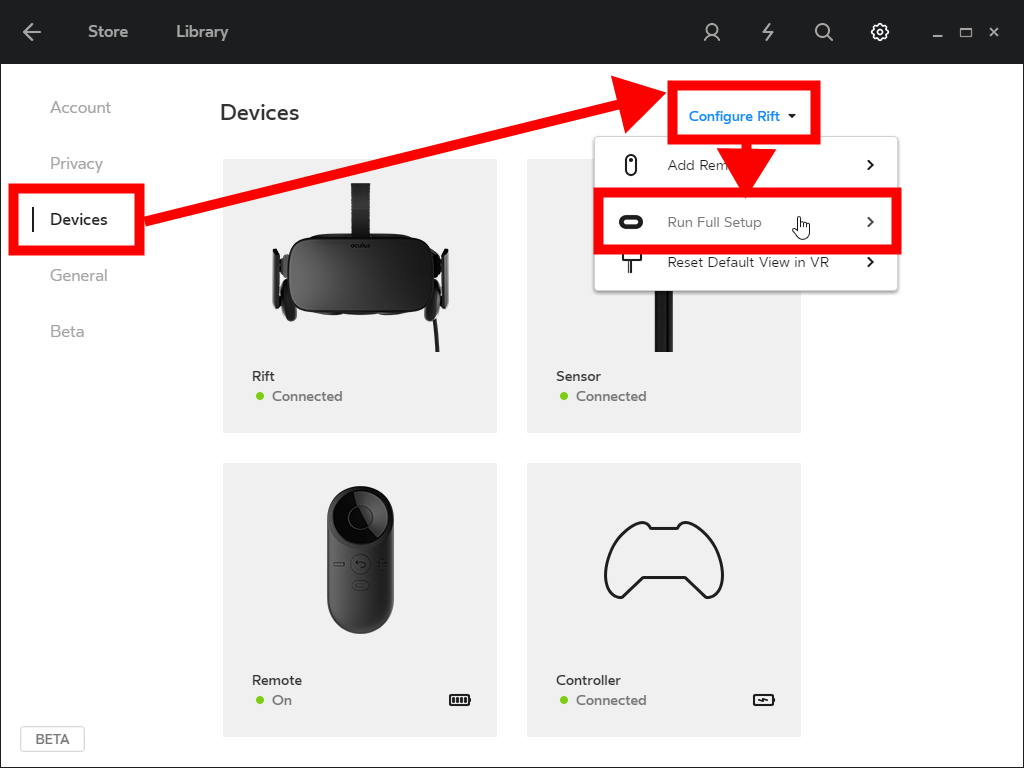
The official demo can be seen as many times as you set it up again. Click "Setting" from the gear icon in the upper right of the Oculus store.
From "Devices" to "Configure Rift" with "Run Full Setup" you can setup again and if you want to see only the demo you can quickly reach if you skip all.
Related Posts: