Presence of a hand controller that recognizes hand movement in virtual space is too strong VR headset "HTC Vive" setup & VR game play
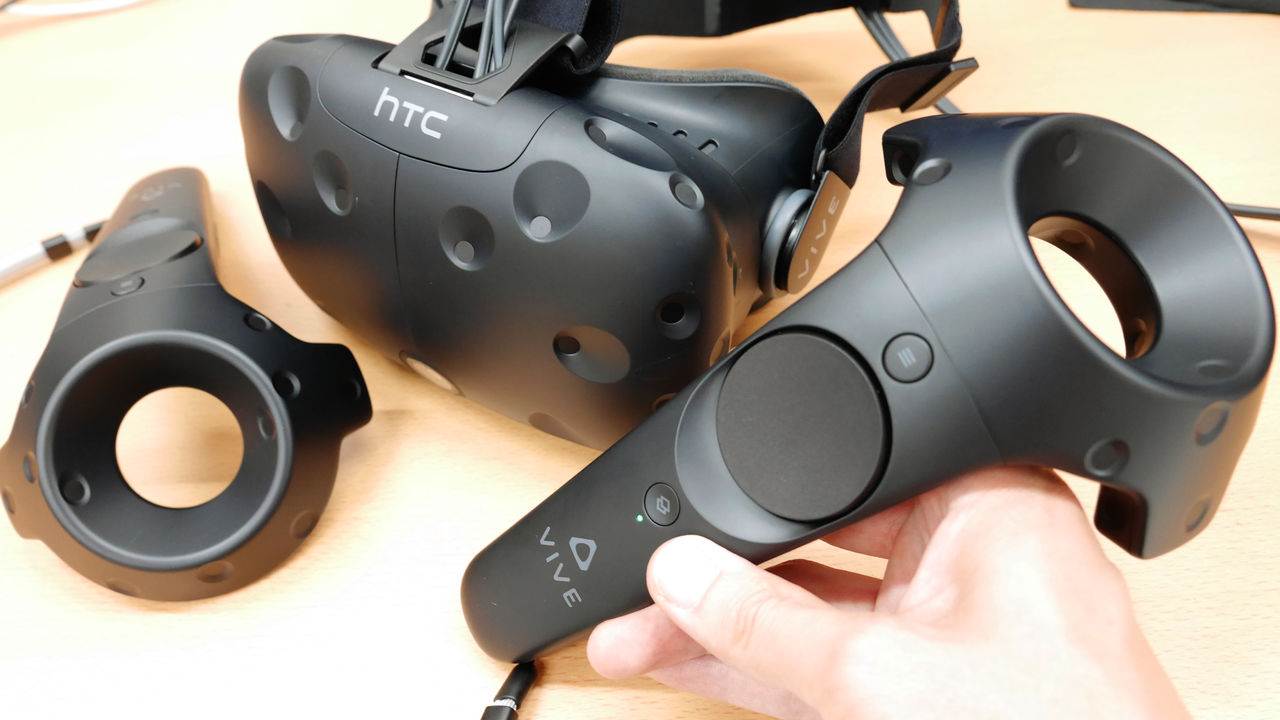
It was called the first year of VR and it gave the market promptly in 2016 "HTC Vive"Is a VR headset jointly developed by the game platform Steam and HTC, which requires a high spec PC as well as Oculus Rift. While operating Oculur Rift with a small remote control or Xbox One controller, HTC Vive features a hand controller that recognizes the movement of the hand and operates intuitively. HTC Vive finally reached the editorial department of GIGAZINE, so I tried playing several VR games that I could set up and play with unique hand controller.
Vive | Home
https://www.htcvive.com/jp/
Vive | installation
https://www.htcvive.com/jp/setup/
◆ Photo review
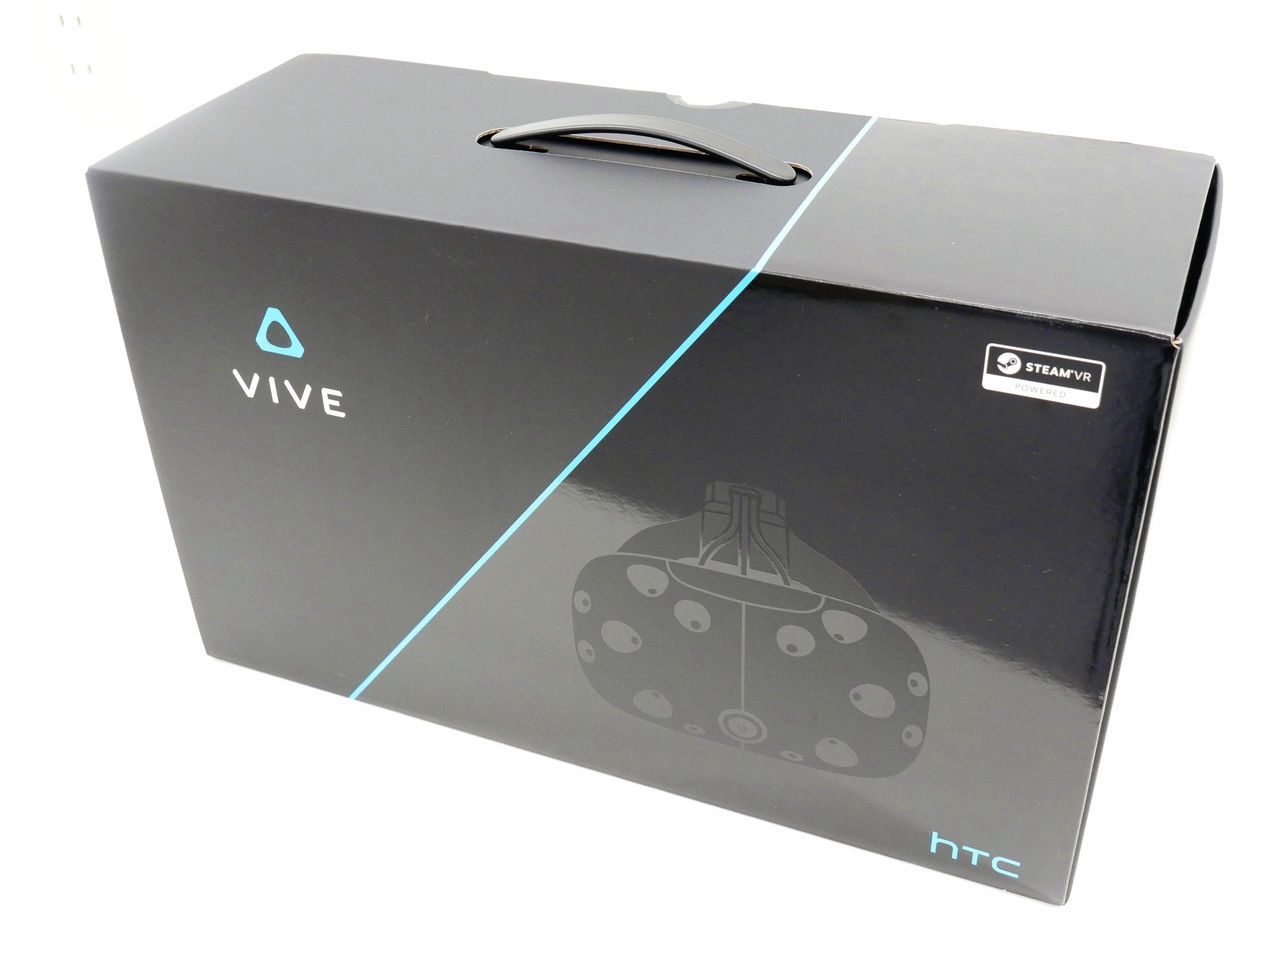
HTC Vive arrived in a black box.
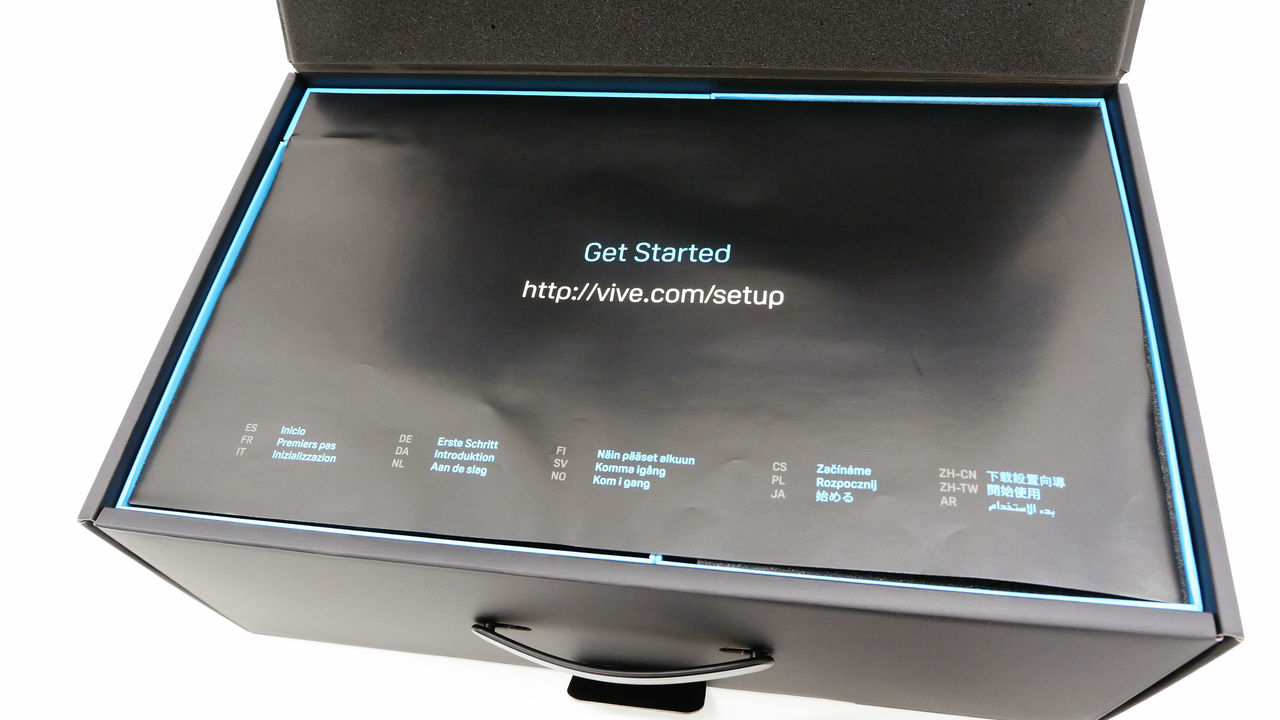
Instant opening.

There is a start guide written "Get Started" in it.
The contents are as follows.
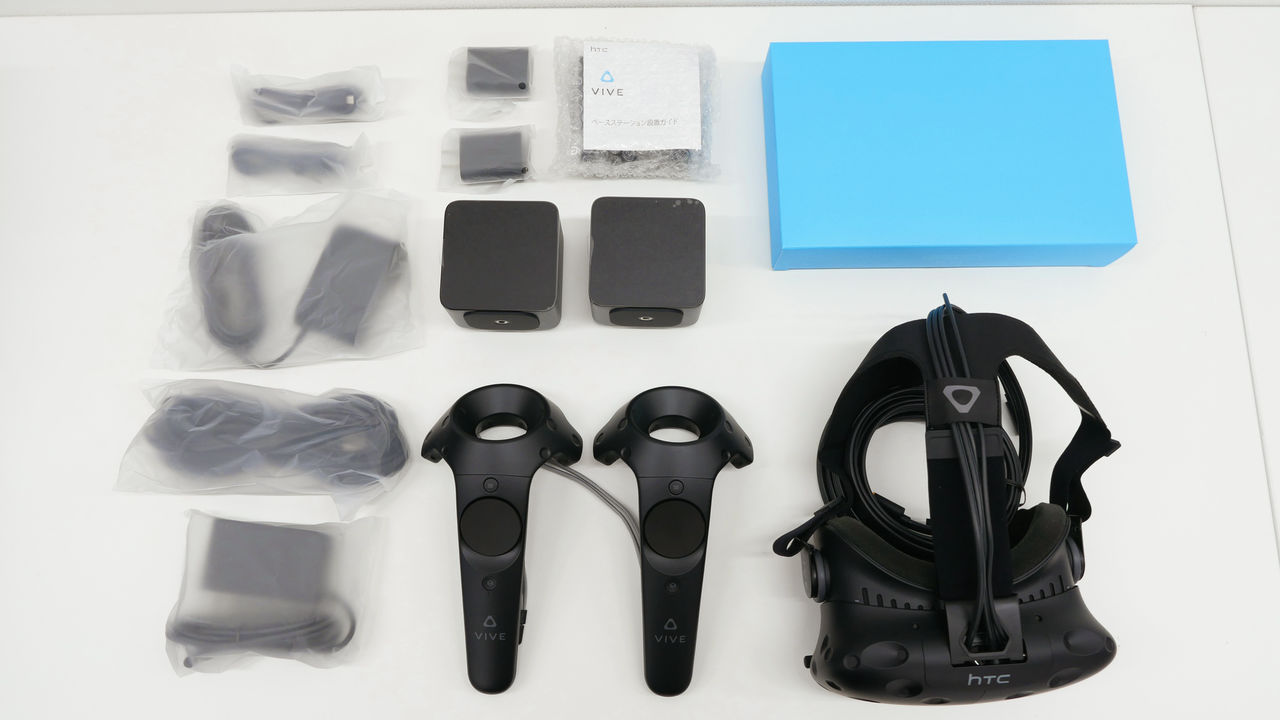
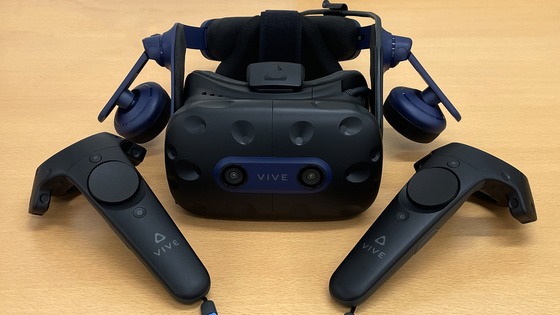
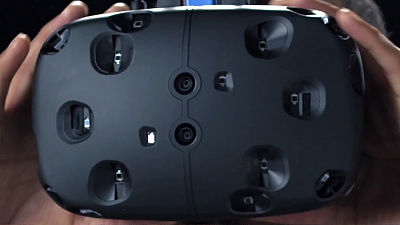
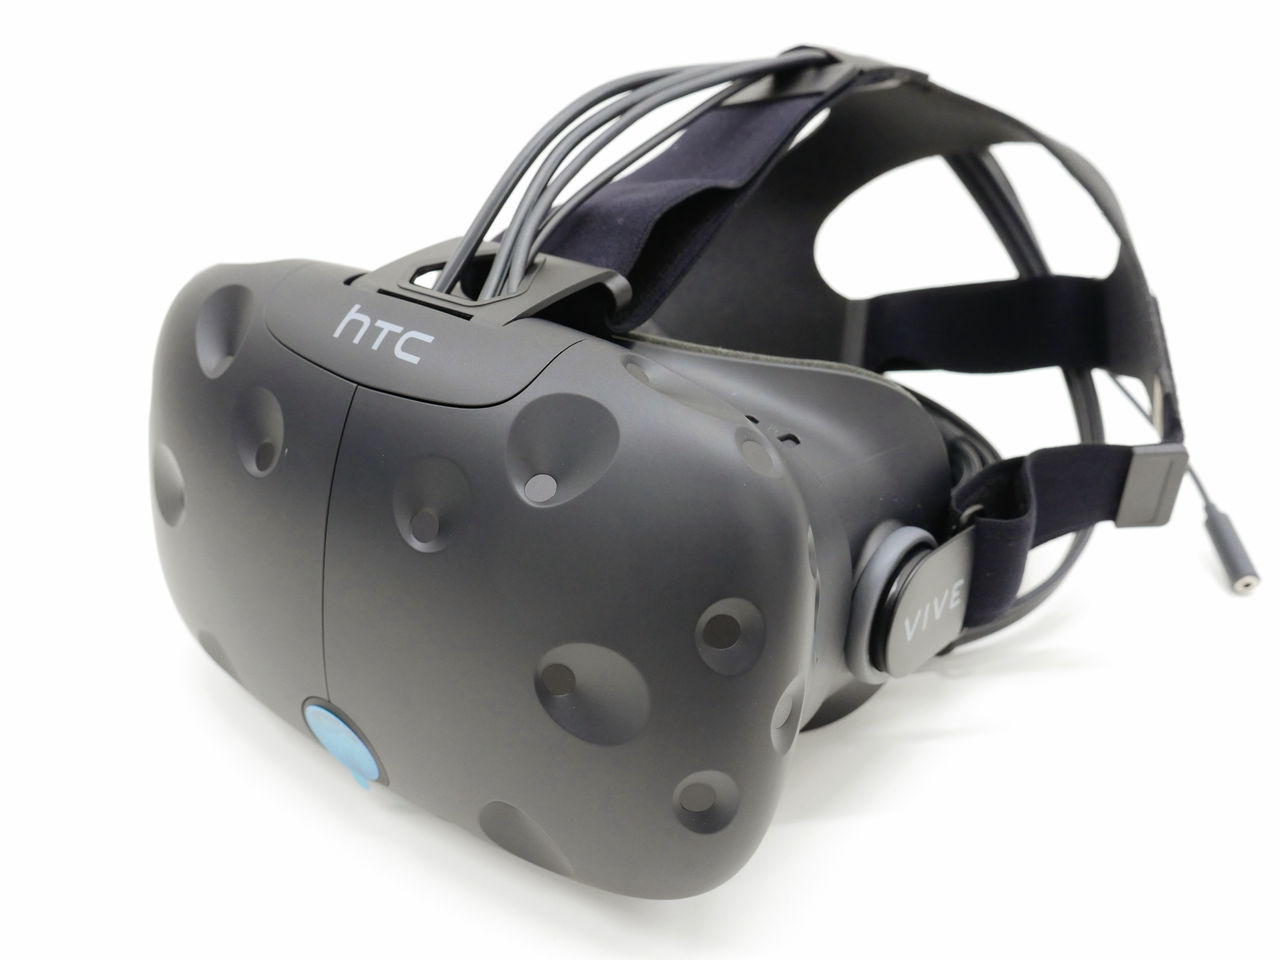
The body looks something like this, the sensor is embedded in the characteristic deco boko.
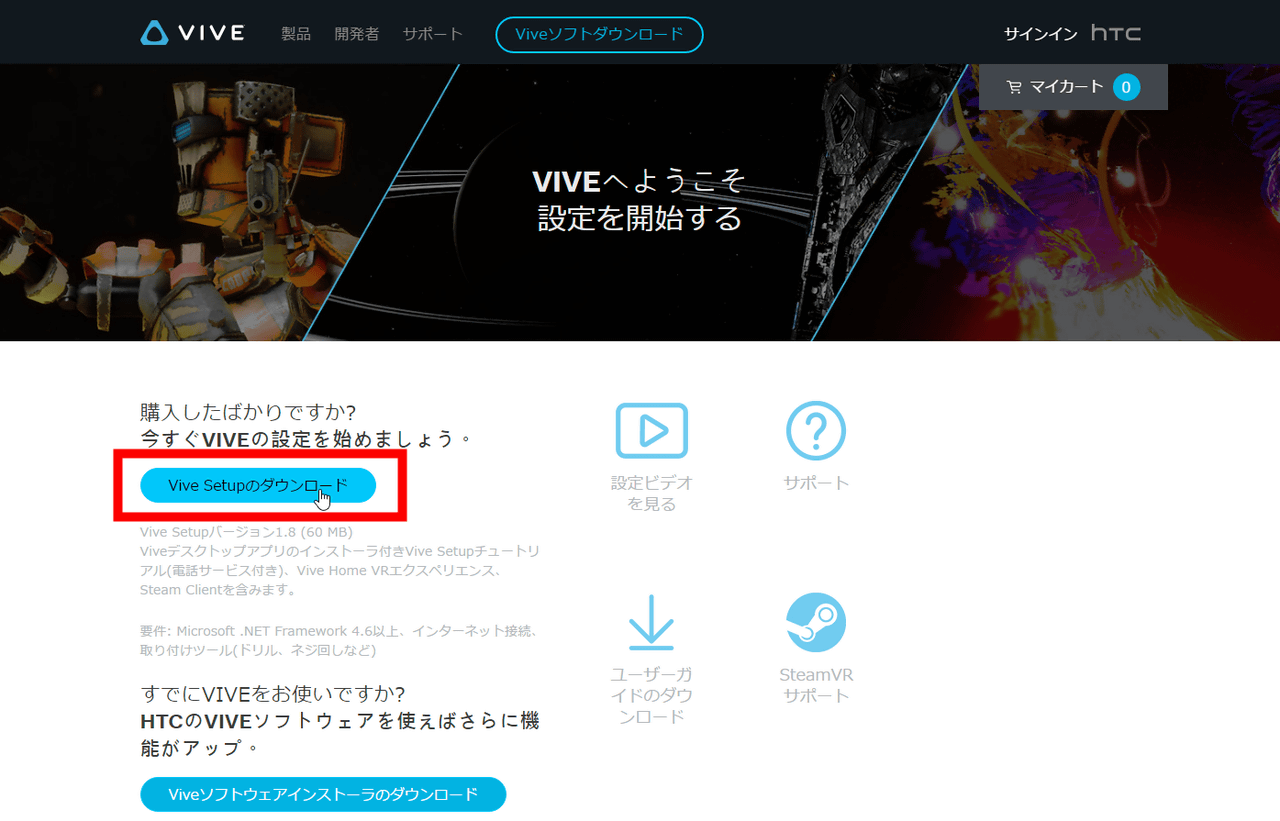
◆ Setup of software and hardware
First of allInstallationAccess "page and click" Download Vive Setup ".
Open the installed "ViveSetup".
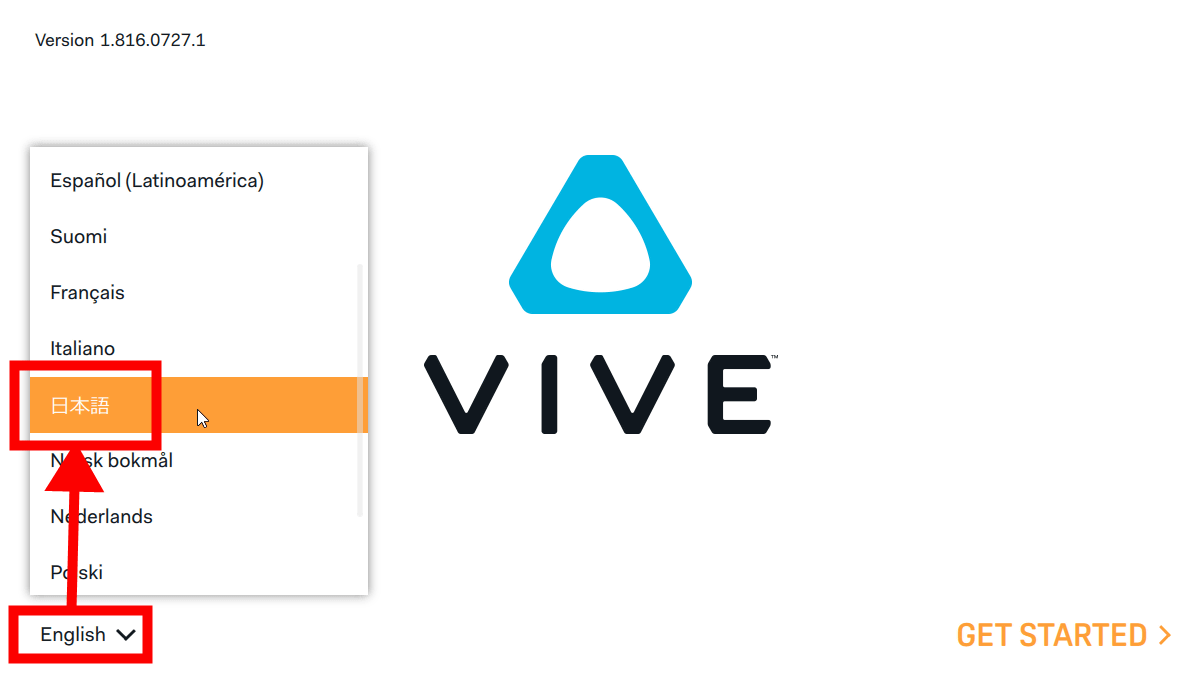
When the setup software starts up, click "English" and change the language to "Japanese".
Click "Let's begin".
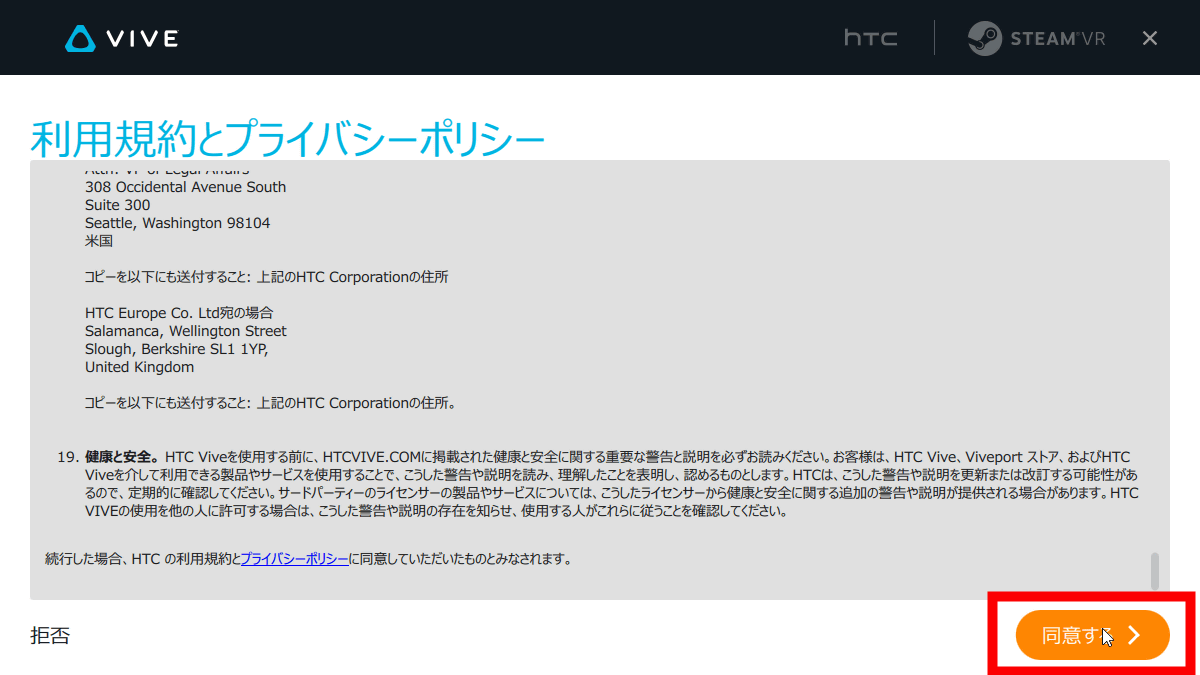
Click "I agree".
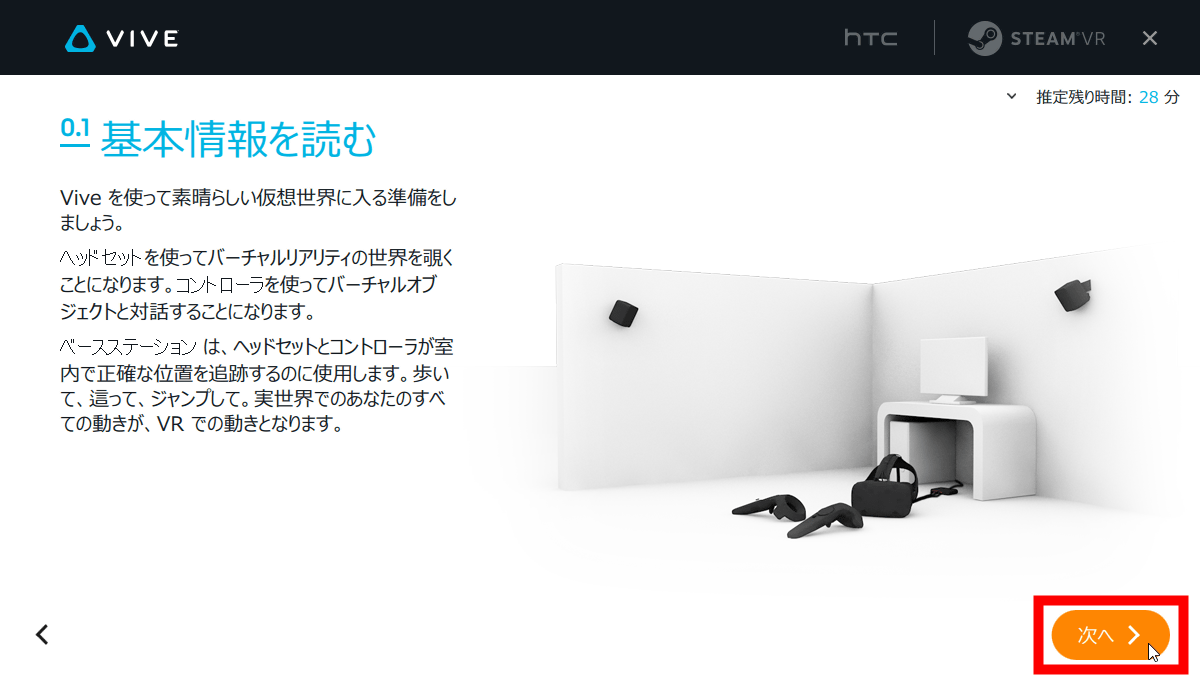
It took about 28 minutes to set up Vive. Click "Next".

Click "Next".
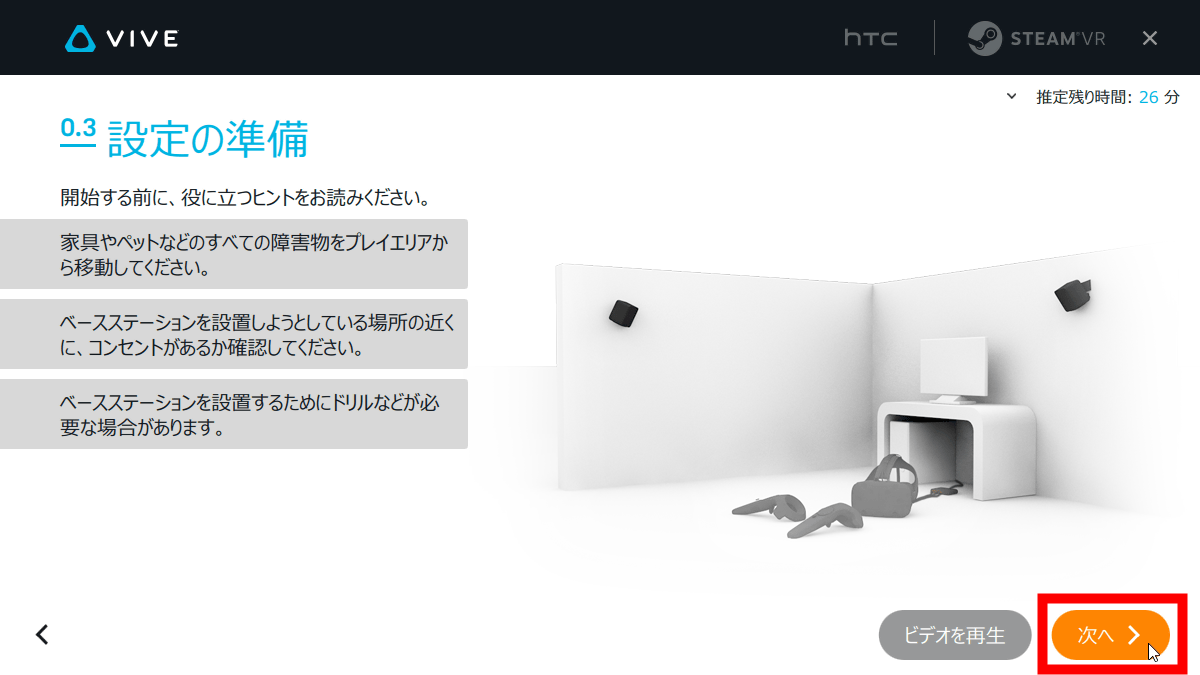
The room scale (room size) for playing Vive needs an area of at least 2 meters by 1.5 meters. The maximum distance between the base stations must be 5 meters apart.
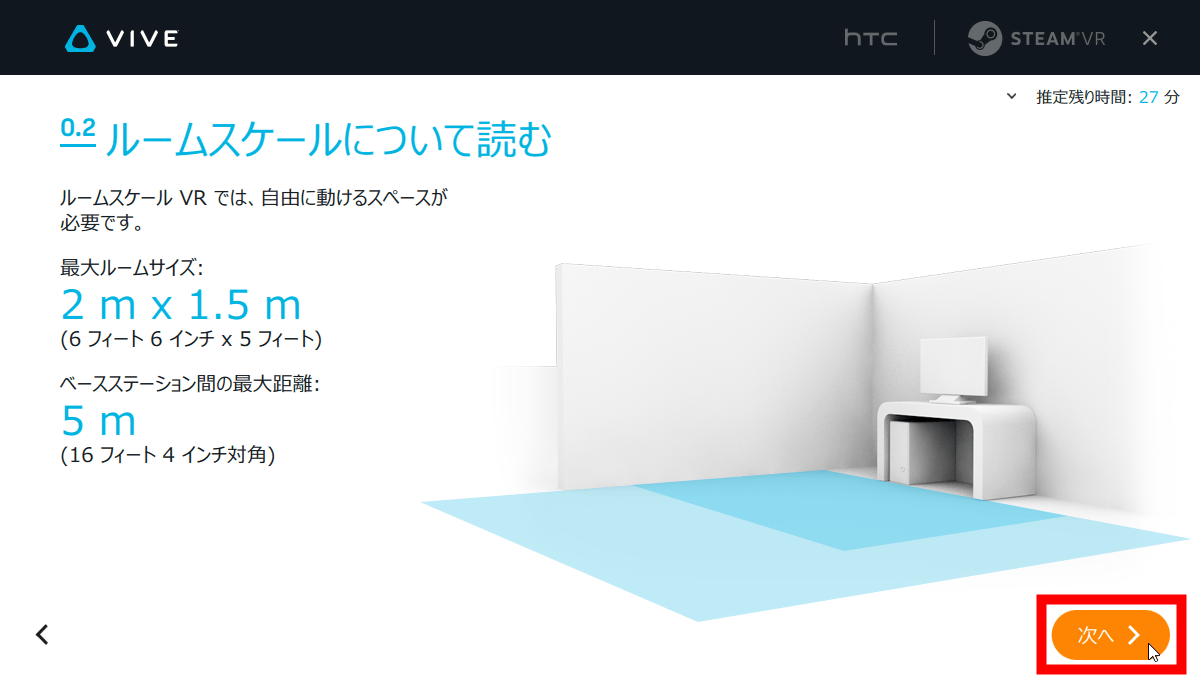
Organize in advance so that things do not remain in the area to be played, and click "Next".
Get the software necessary for playing Vive from "Install".

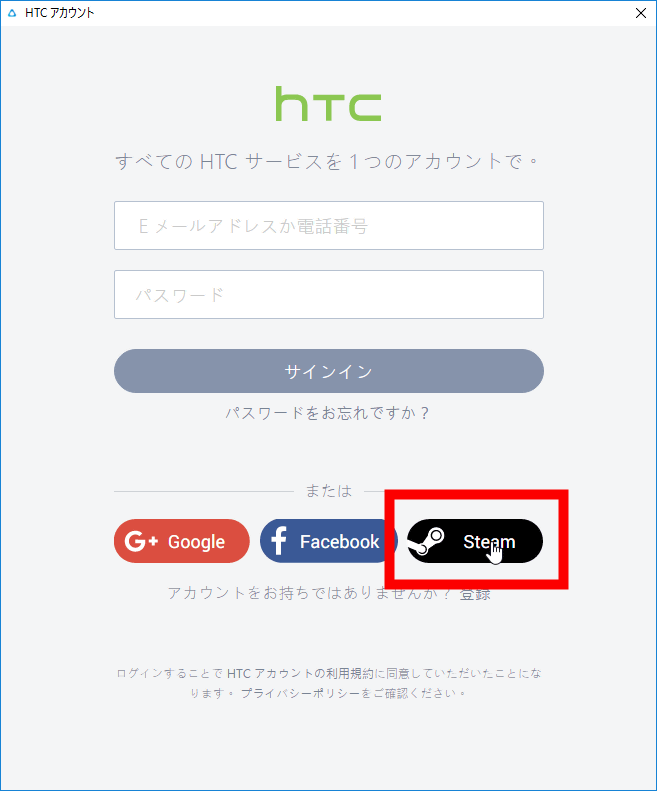
Although it will take some time to install, you will be prompted to register the HTC account required to use Vive on the way. You can sign in with either email address, Google, Facebook, or Steam. This time I chose Steam.
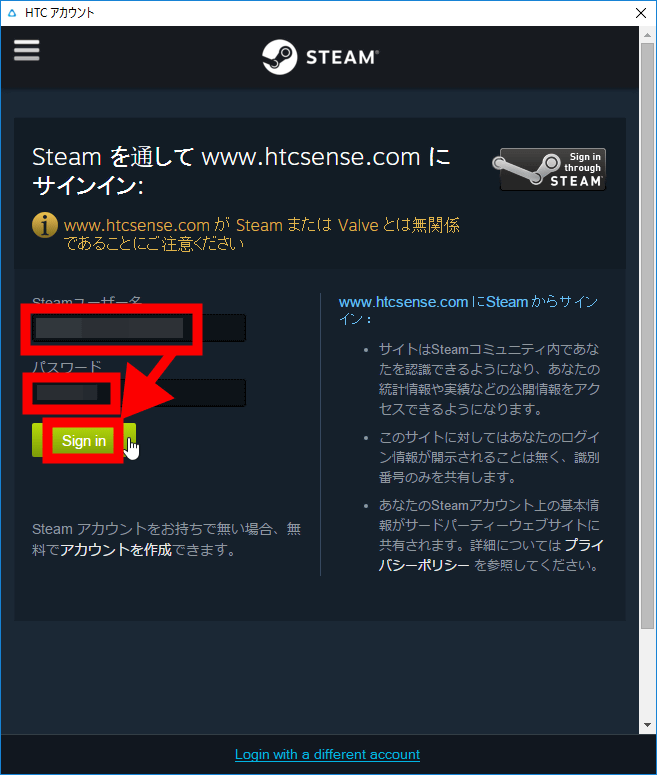
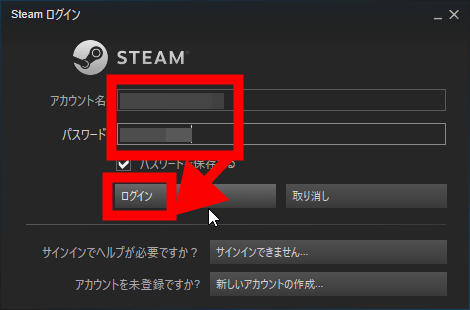
Enter Steam login information and click "Sign in".
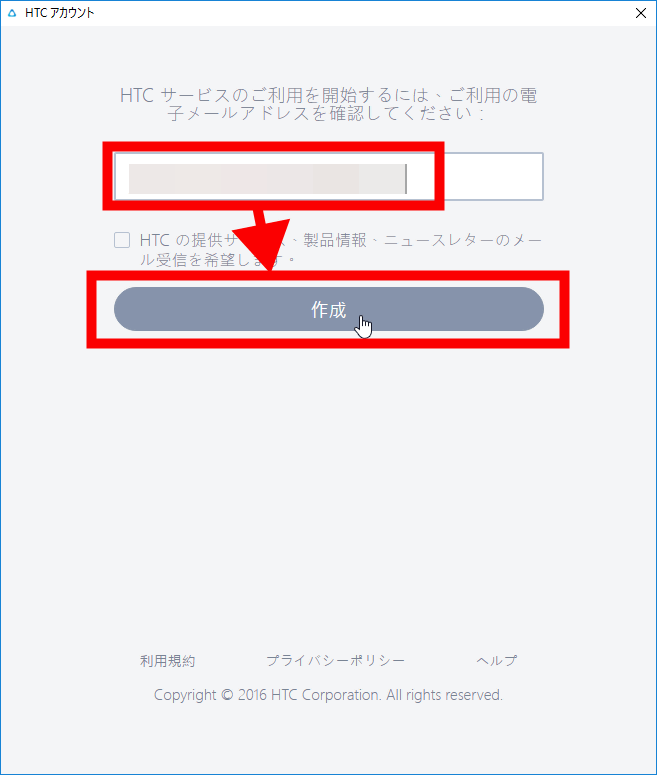
Enter what you use as the email address of the HTC account and click "Create".
You will also be asked to log in with the Steam account required to play Vive, so enter login information and click "Login".
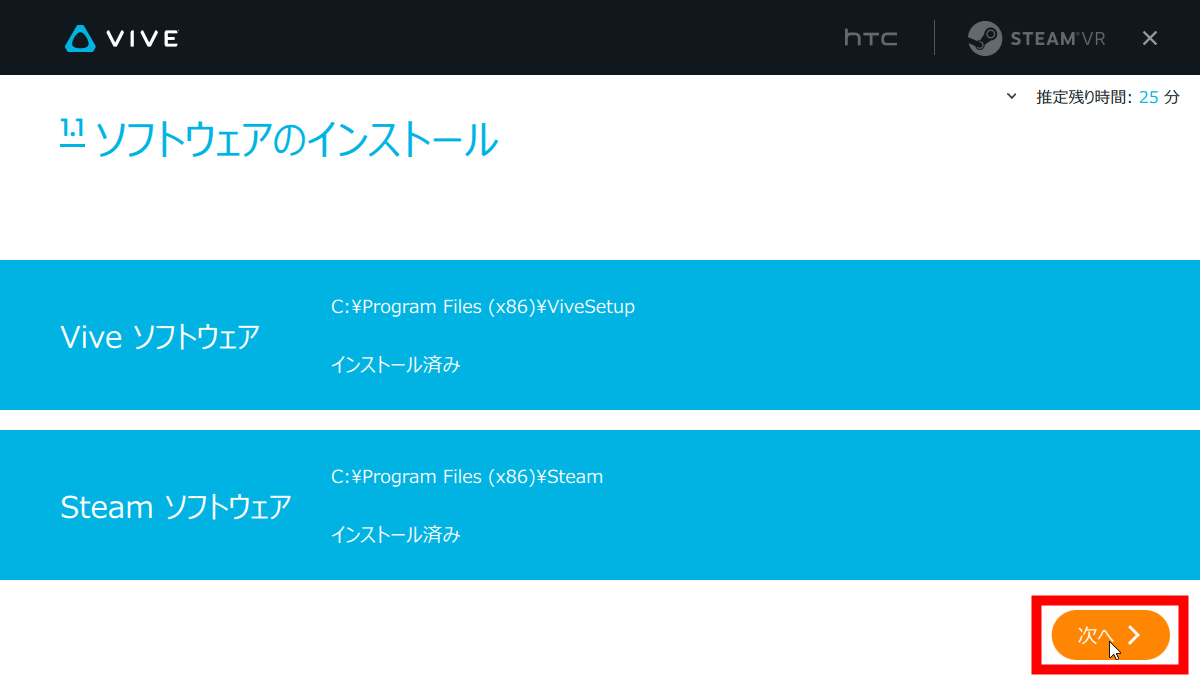
Click "Next" when installing Vive and Steam's software. Your software configuration is now complete.
Next prepare the base component that is in the box.
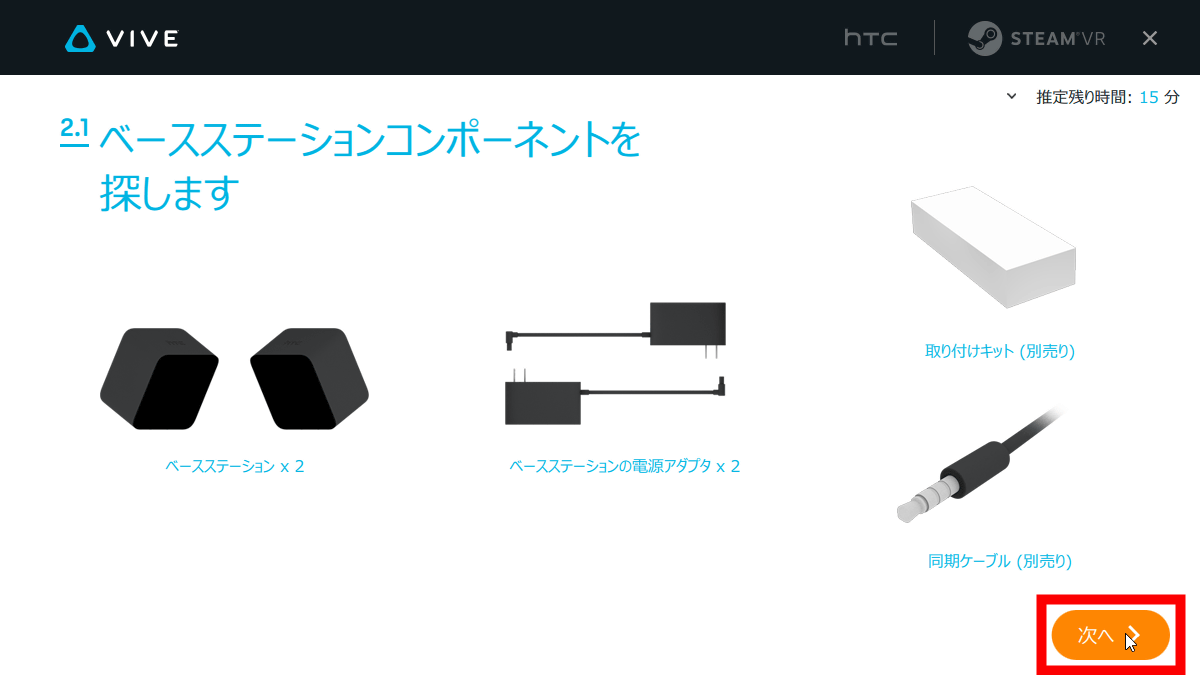
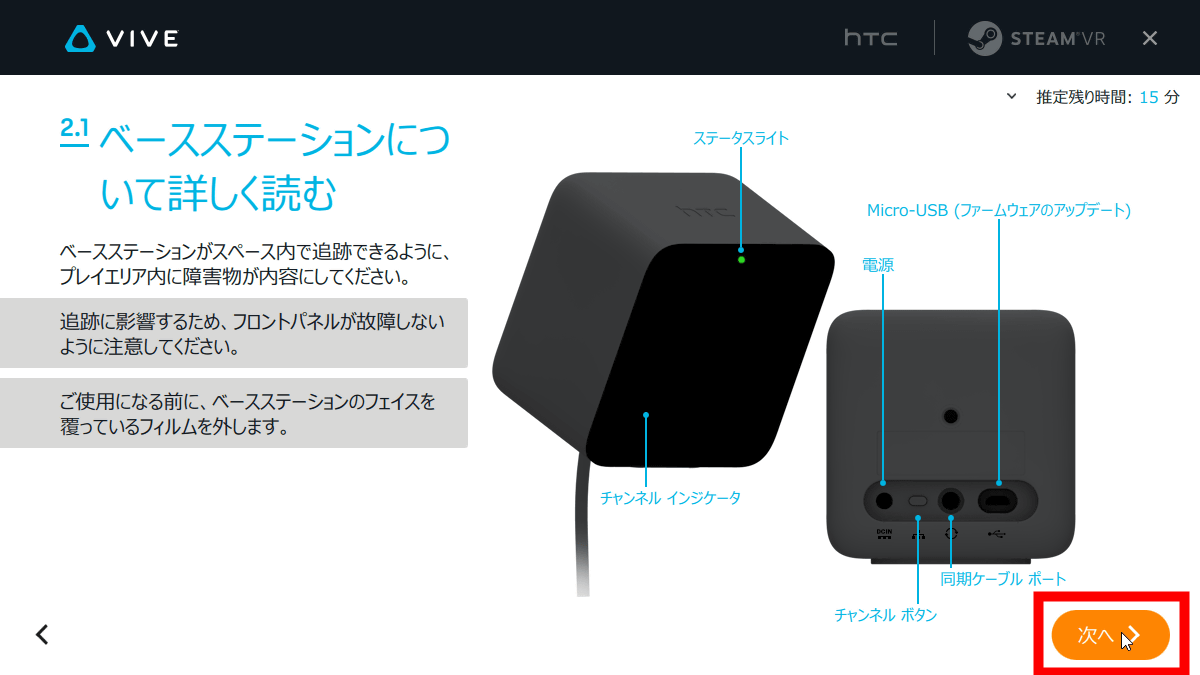
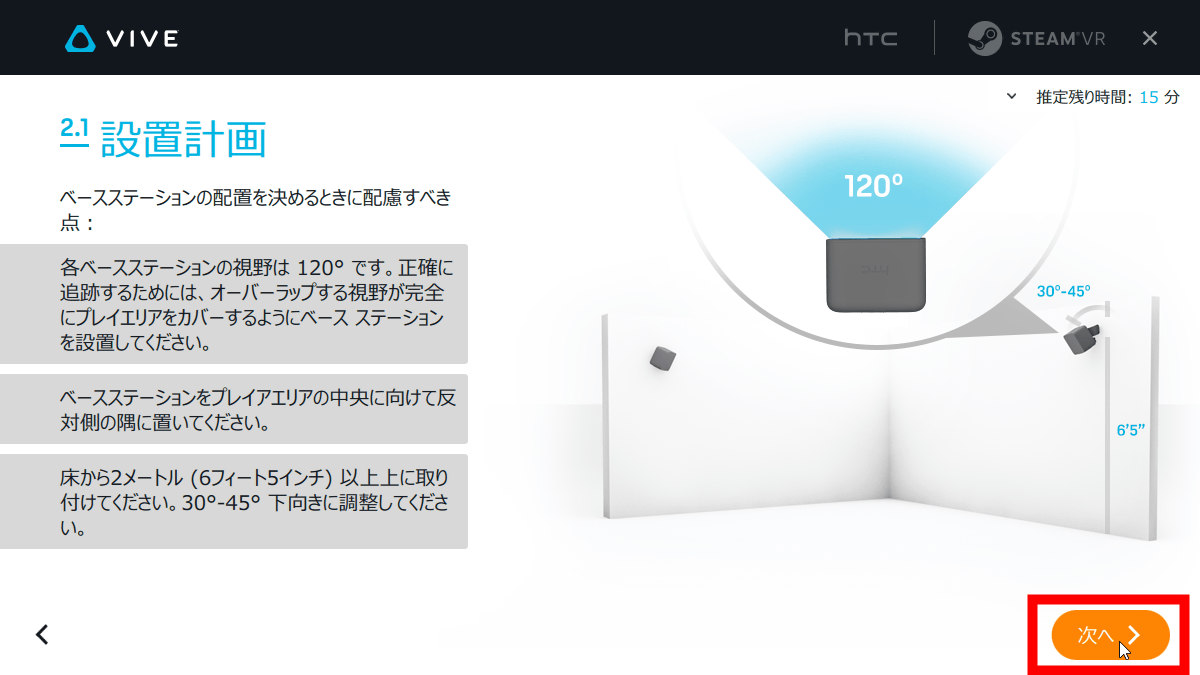
After reading the description of the base station, click "Next".
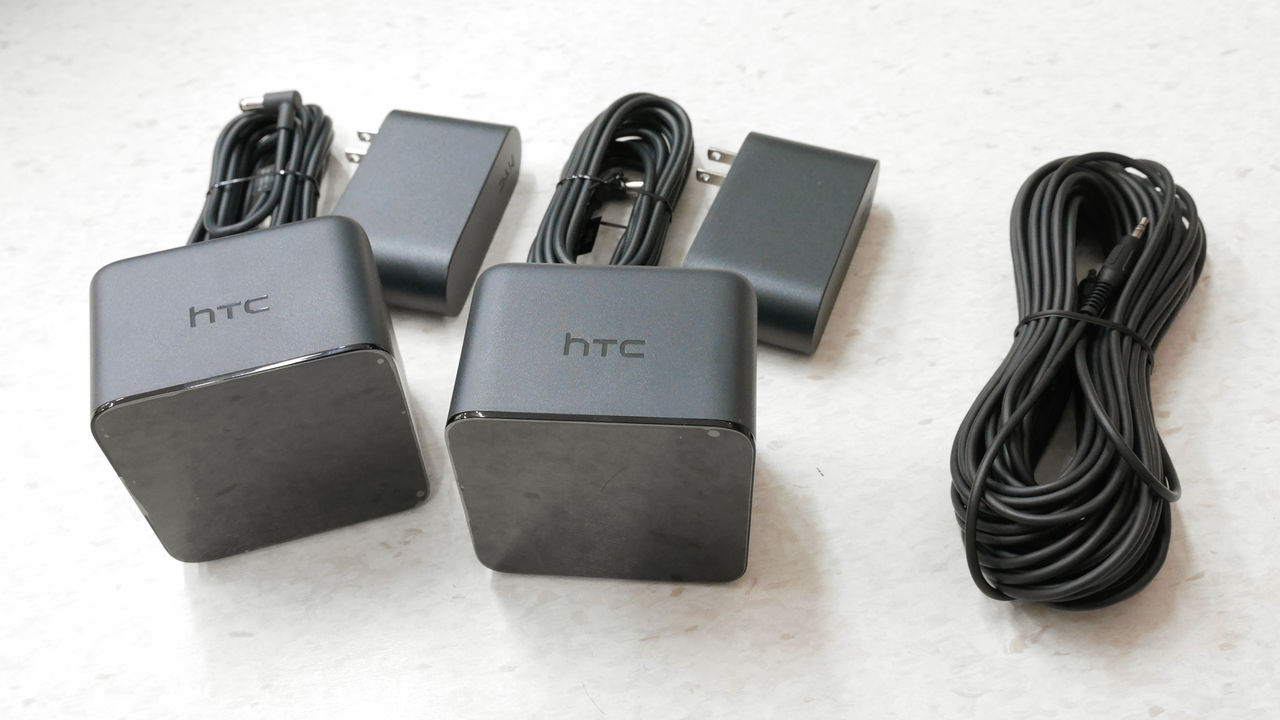
What you need is two base stations and two base station power adapters. In some cases, the included synchronization cable may be necessary.
Place the base station so that it is diagonally located at two corners of the play area, tilting 30 degrees to 45 degrees from 2 meters above the floor. Since the viewing angle of the base station is 120 degrees, placing it so as to overlap the center of the play area will accurately track the equipment.
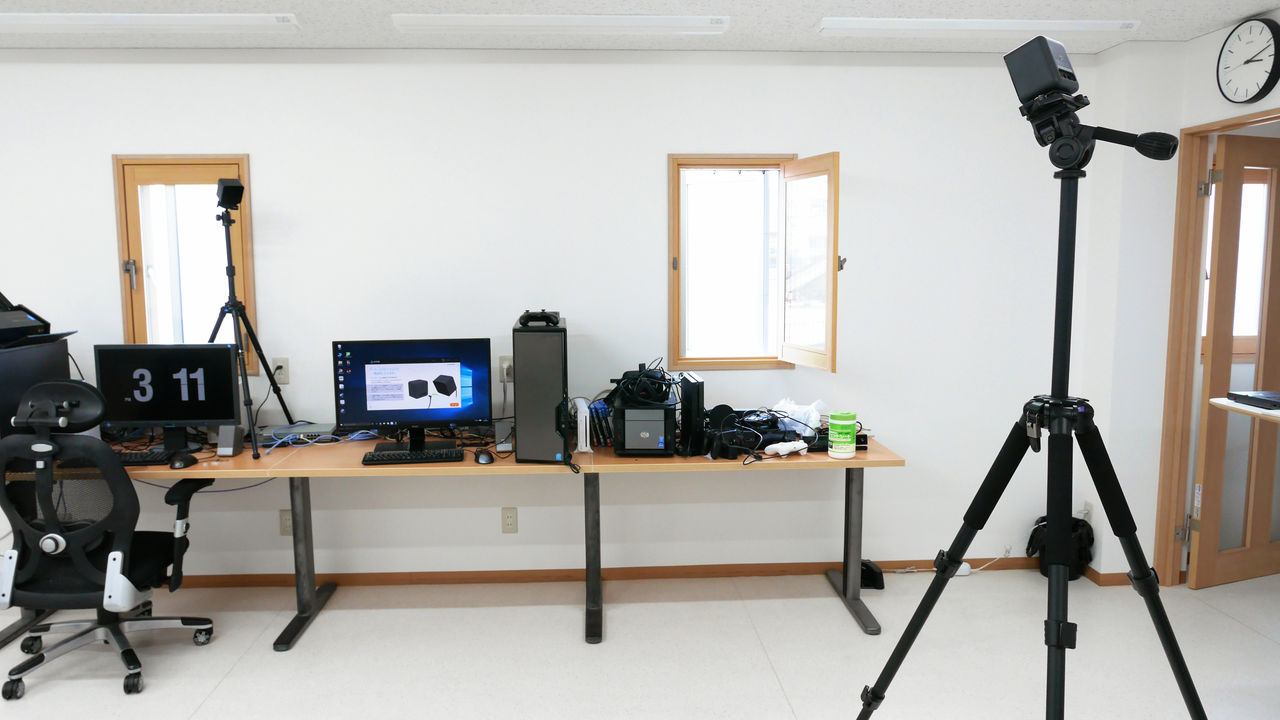
To install the base station, screw it to the wall with the attached mounting kit, or attach it to a tripod or light stand and install it. Although it becomes considerably huge when it comes to a tripod of 2 meters or more, there is no problem even if you place a stable small tripod or light stand on a high place.

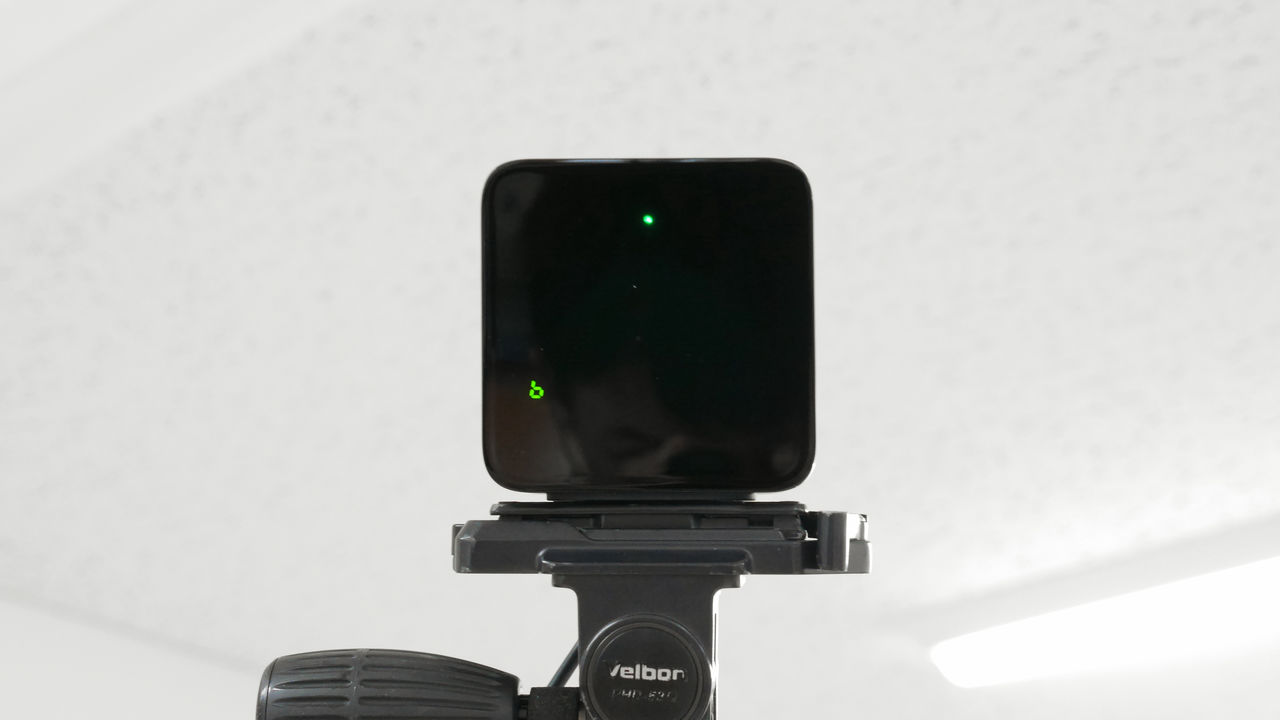
That's why I tried installing it like this.
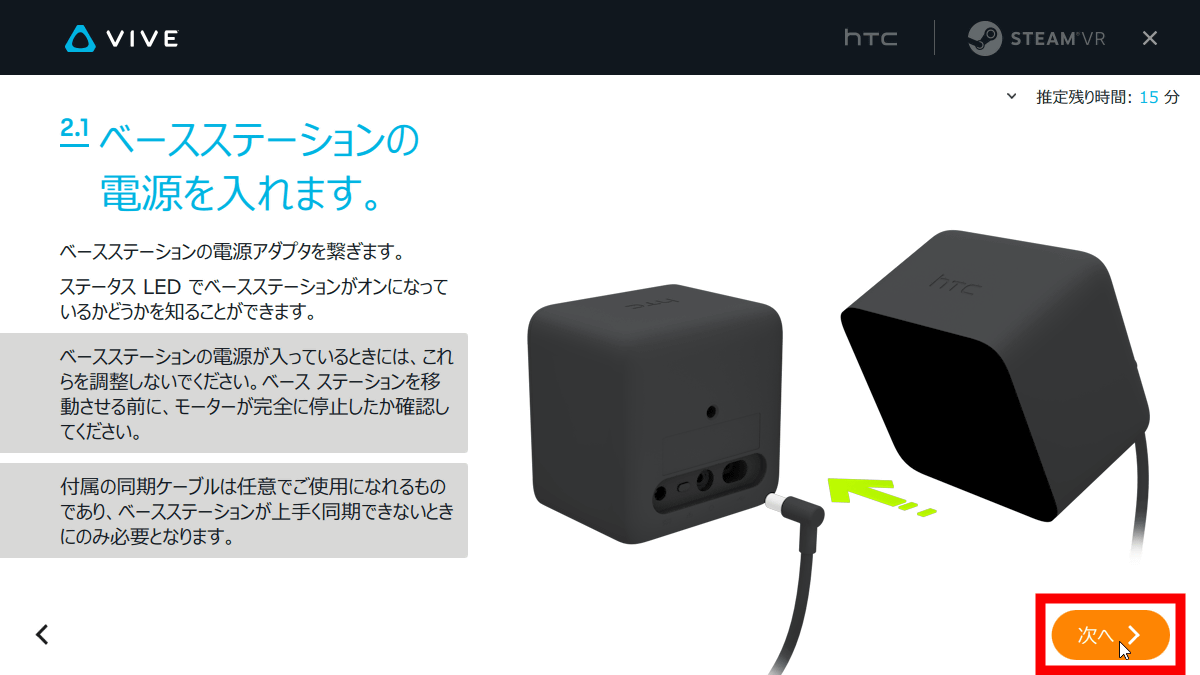
After placing the base station, connect it to the power adapter.
Then "channel" is displayed in alphabet at base station ... ...
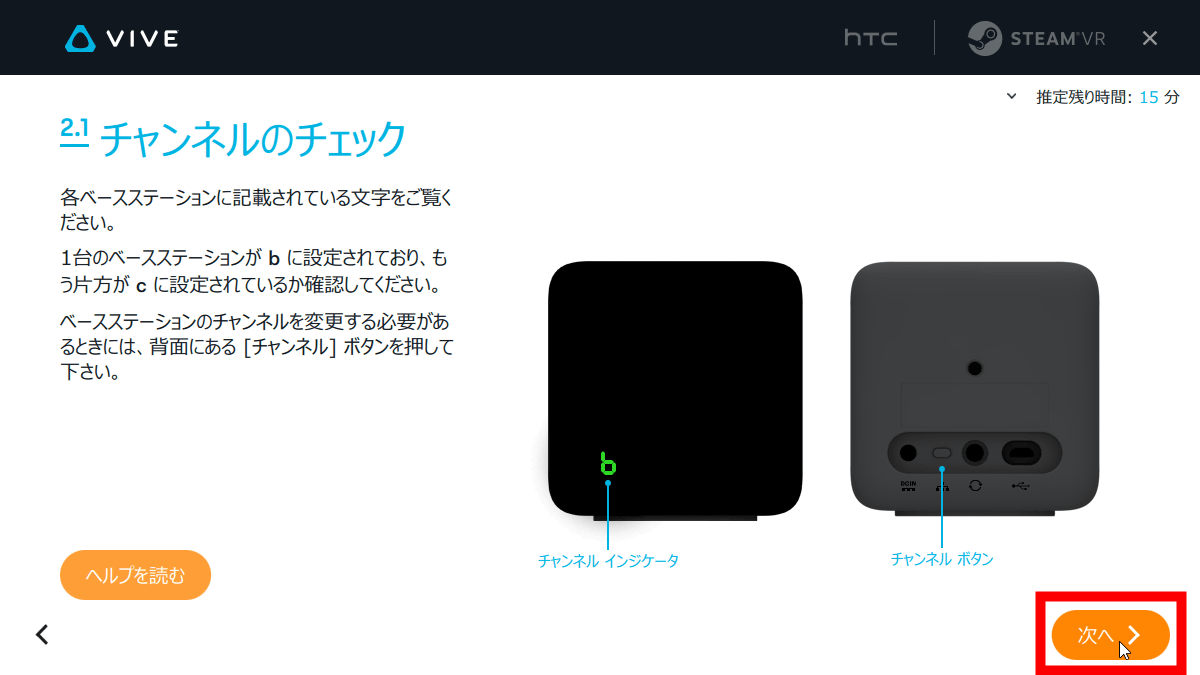
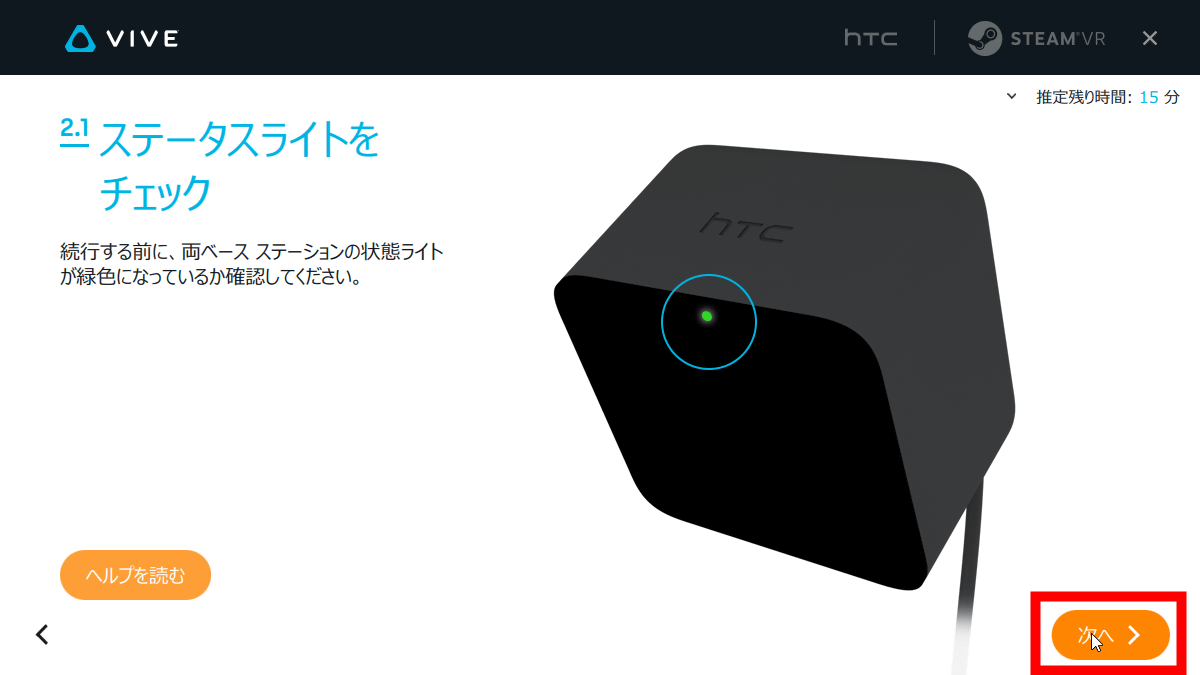
The status light indicating that the power is turned on also lights up, so check the base station.
With this feeling the top lights up in green, at the bottom left is "b" ......
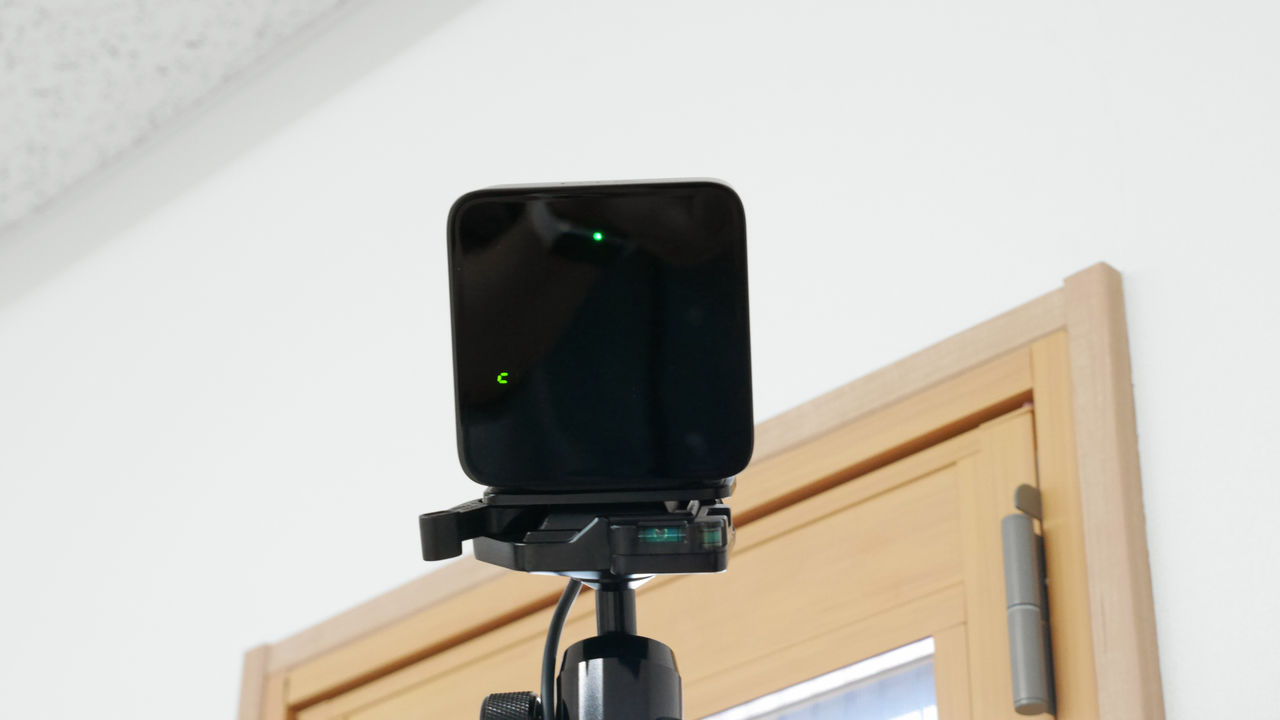
If the alphabet "c" appears, it is OK. If it is not displayed, use the "channel button" on the back of the base station to switch.
Next, prepare the components of the headset.
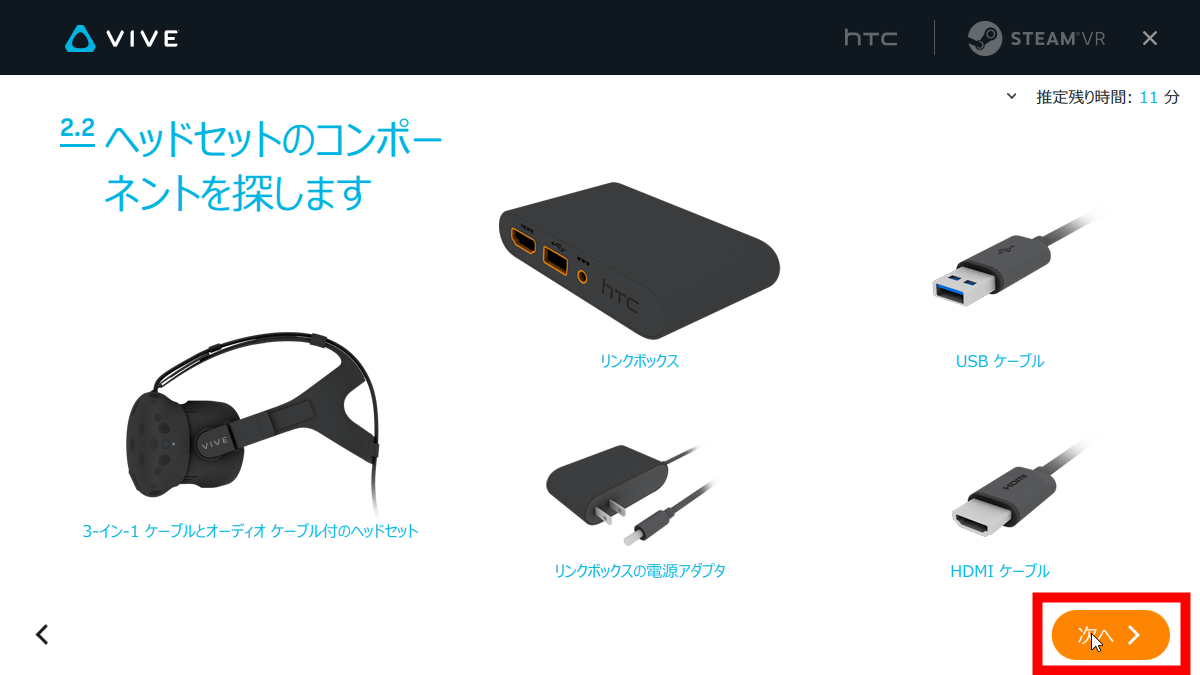
What you need is power adapter for link box · link box · USB cable · HDMI cable · Vive main unit.
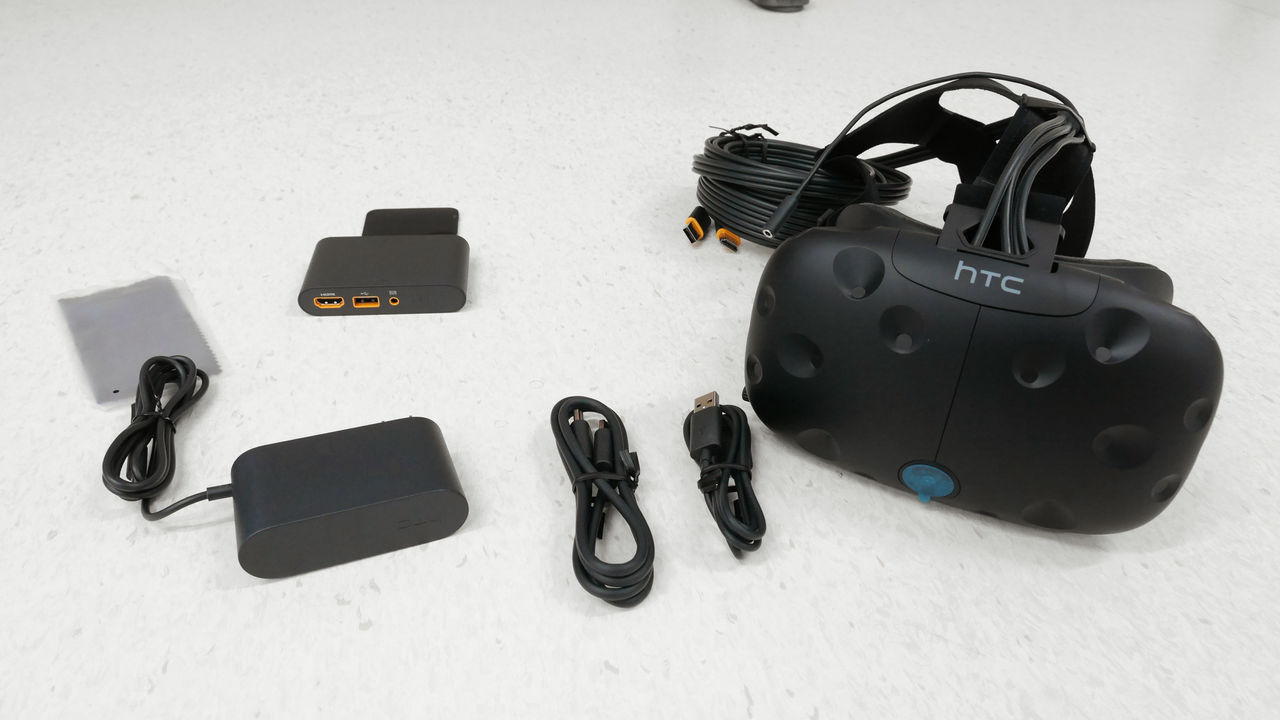
Peel off the headset film and so on.

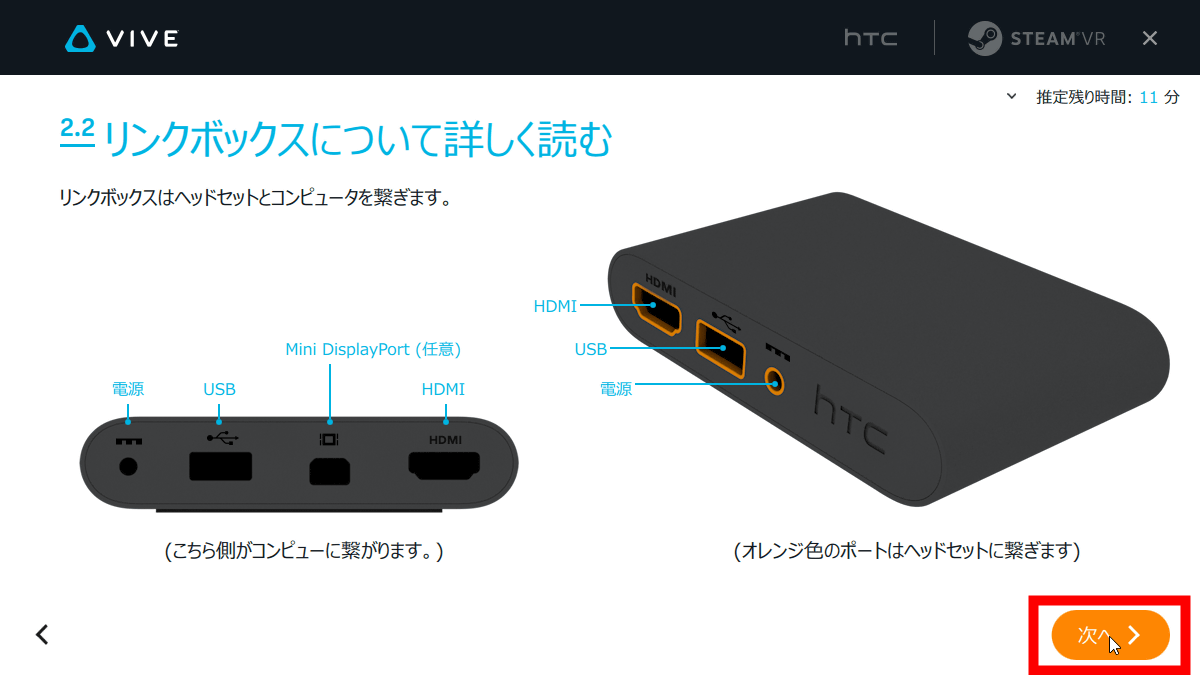
After reading the description of the link box, click "Next".
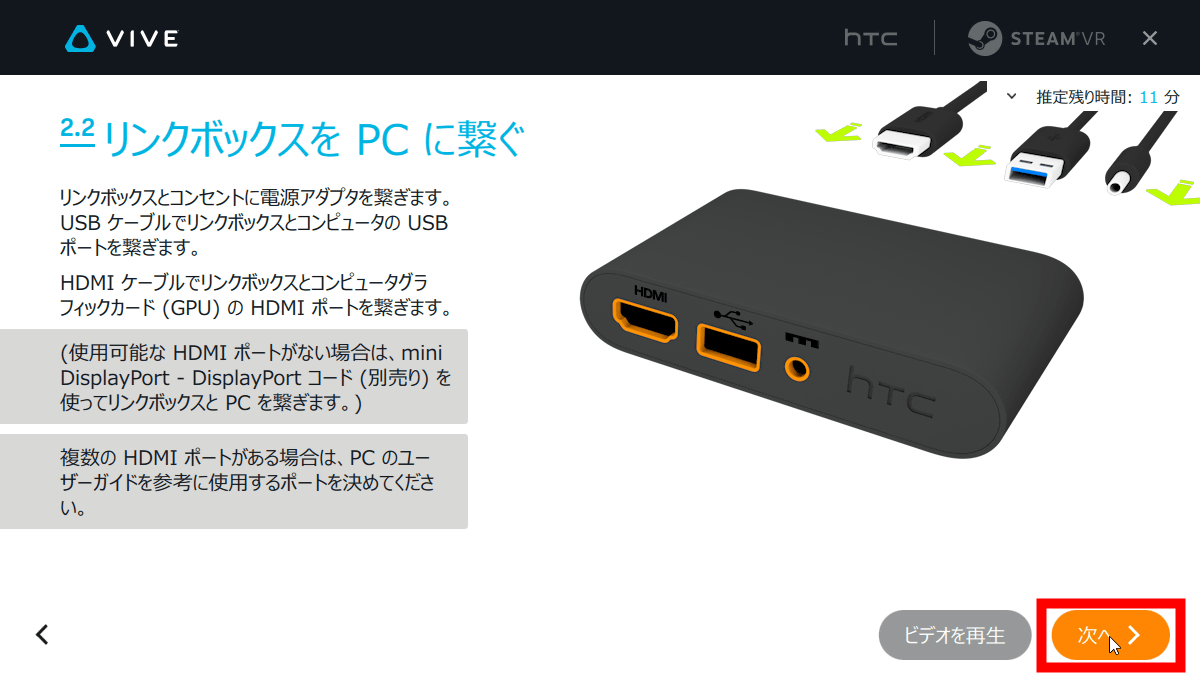
Connect the power adapter from the back of the link box, and connect the PC and link box with USB · HDMI.
Connect the Vive 3 in 1 cable plug on the other side.
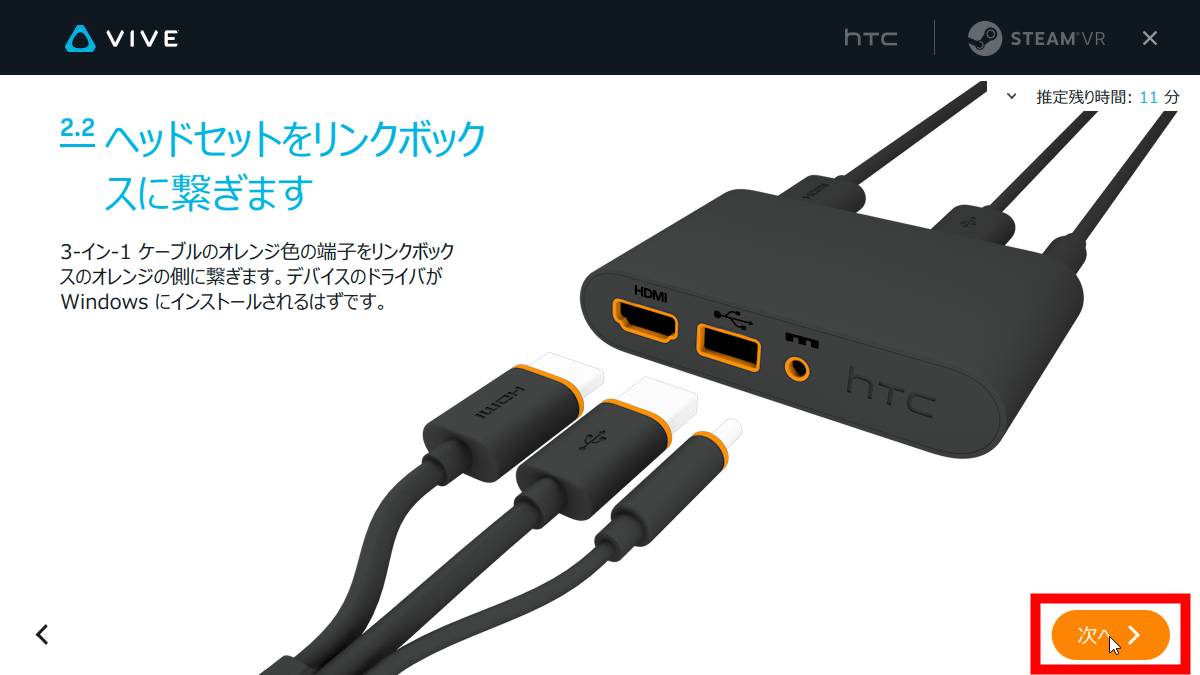
It is like this when actually connecting.

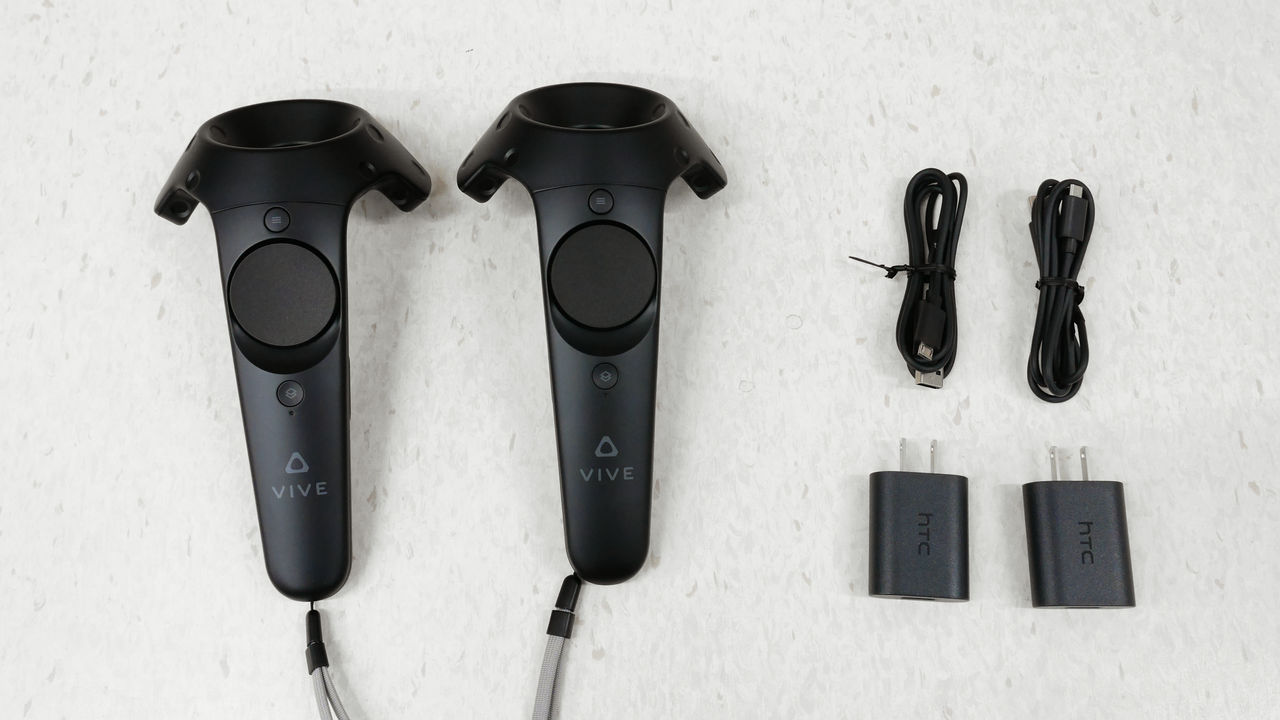
Next, prepare the components of the controller.

Controller × 2 · Power adapter · USB cable should be put out respectively.
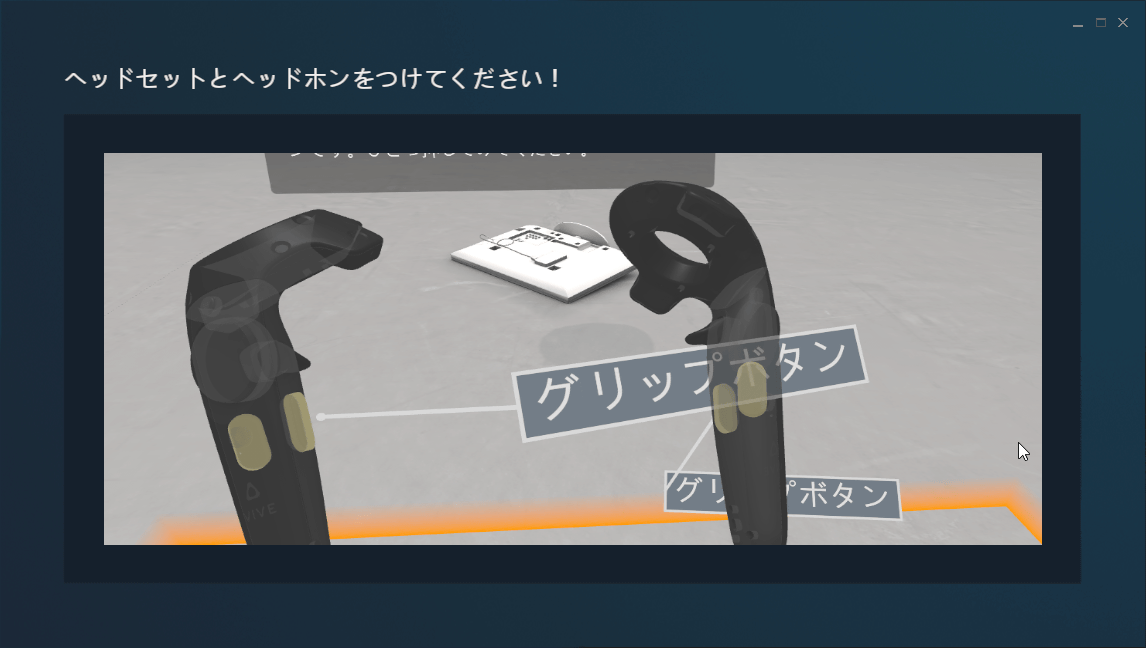
After confirming the button arrangement of each controller, click "Next".

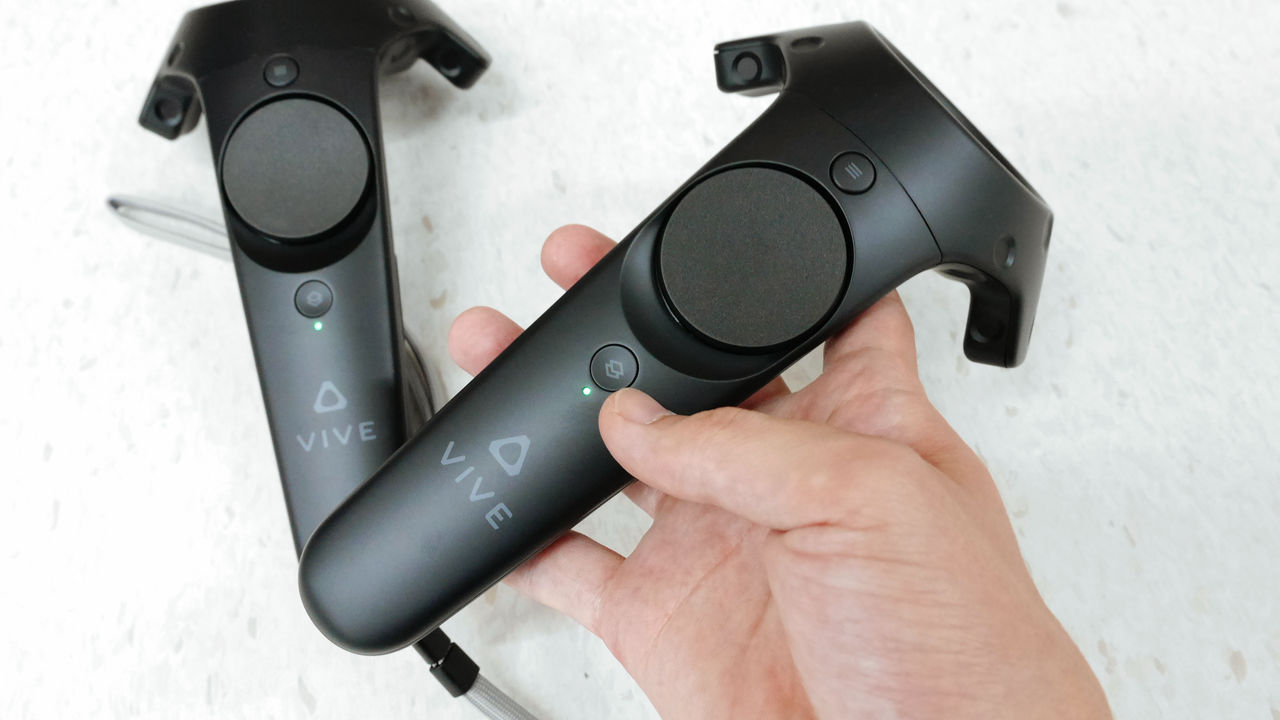
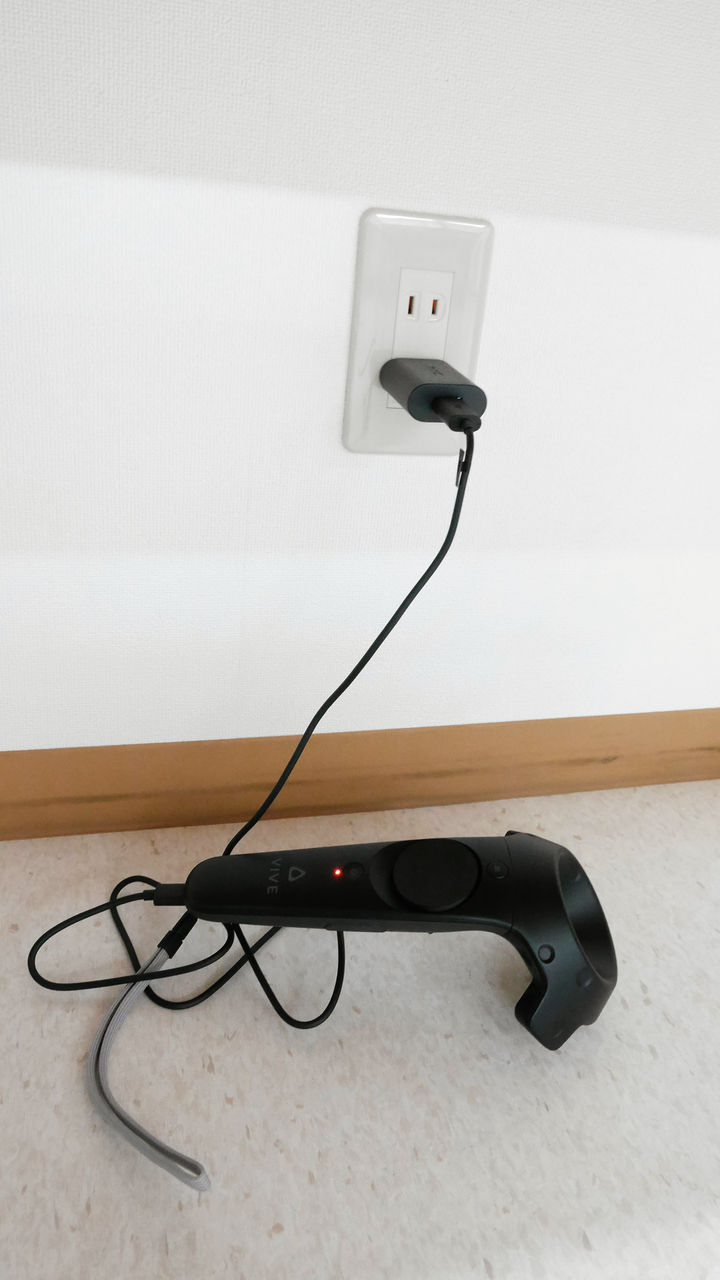
Press and hold the system button under the trackpad to turn on the power.
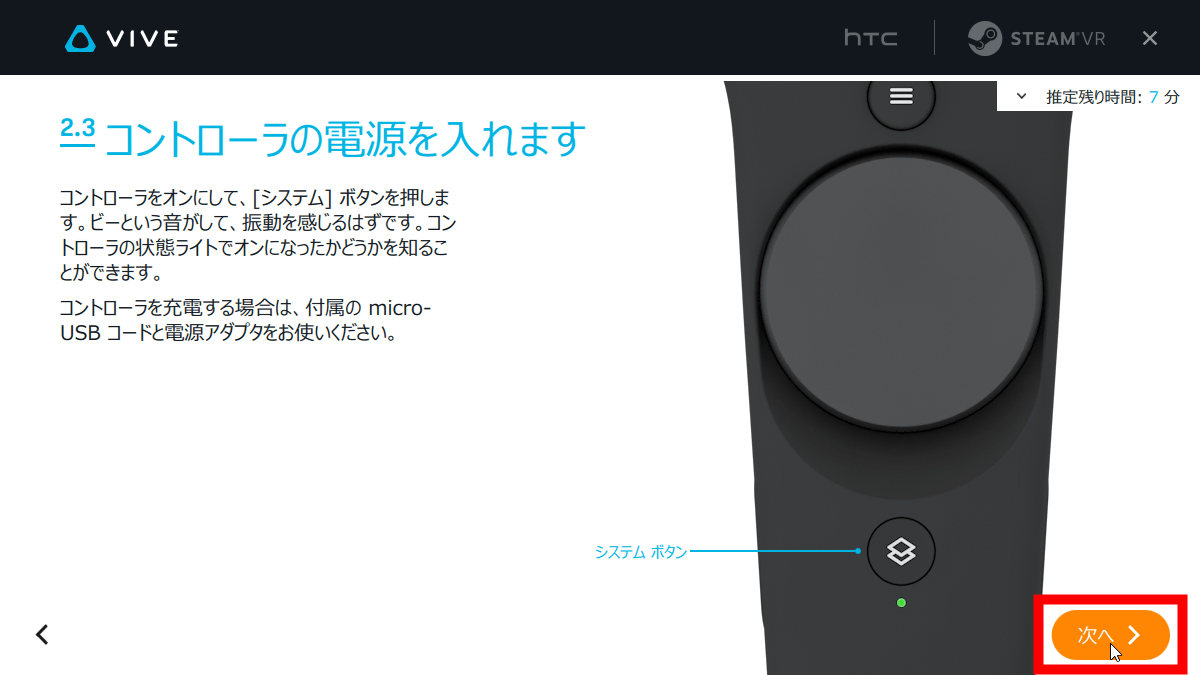
When turning on the power, the bulb vibrates and the green lamp glows to shine.
If you do not have a battery, connect it to the included power adapter and let it charge.
After connecting all the devices, click "Start SteamVR".
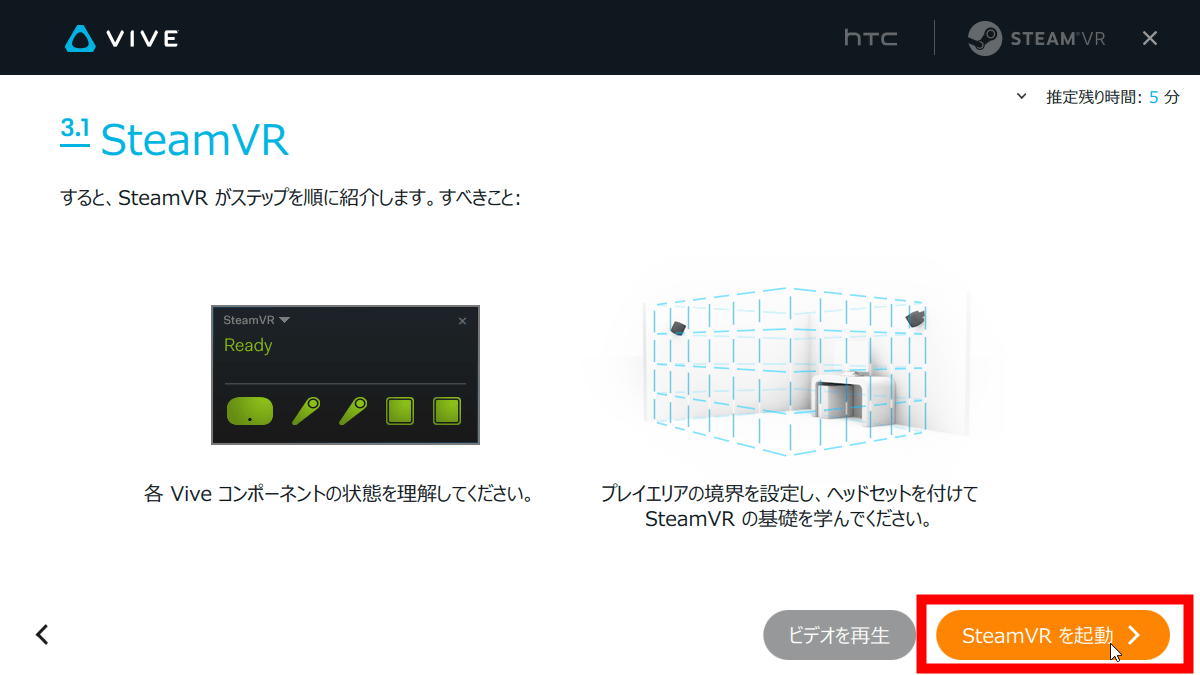
The first screen of SteamVR looks something like this.
Separately, there is also a window showing the connection status of each component, and it is necessary to update it if the firmware is not up to date.
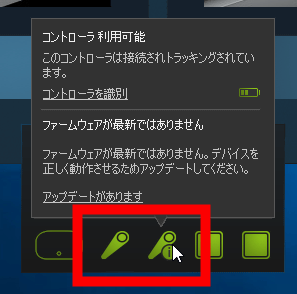
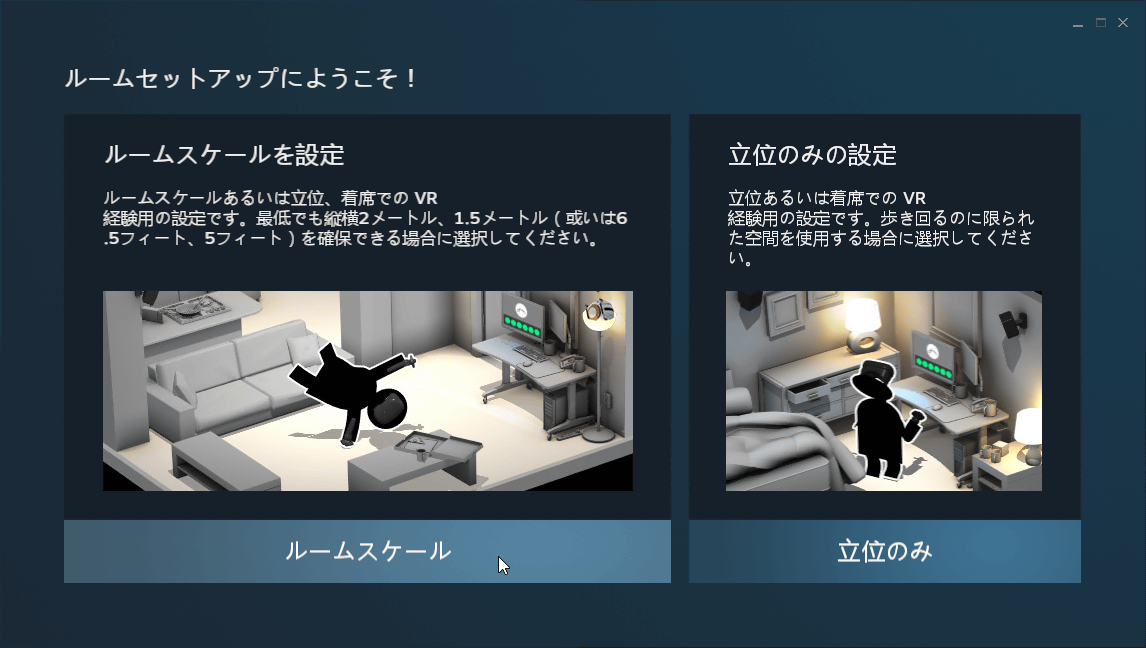
That's why after updating the firmware, click "Room Scale".
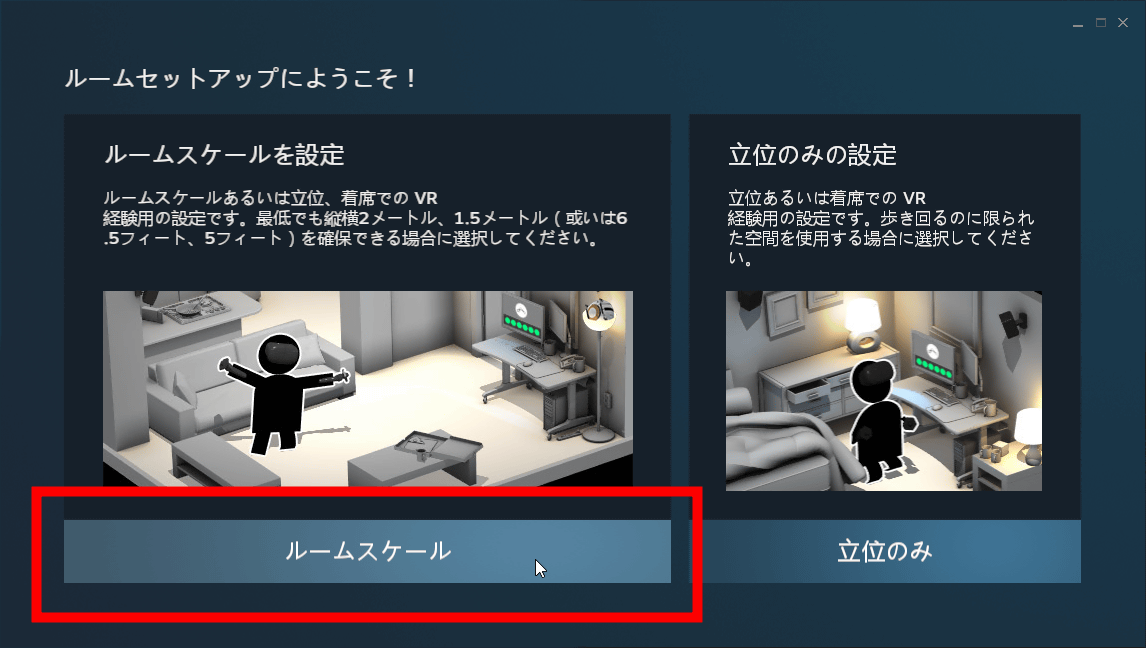
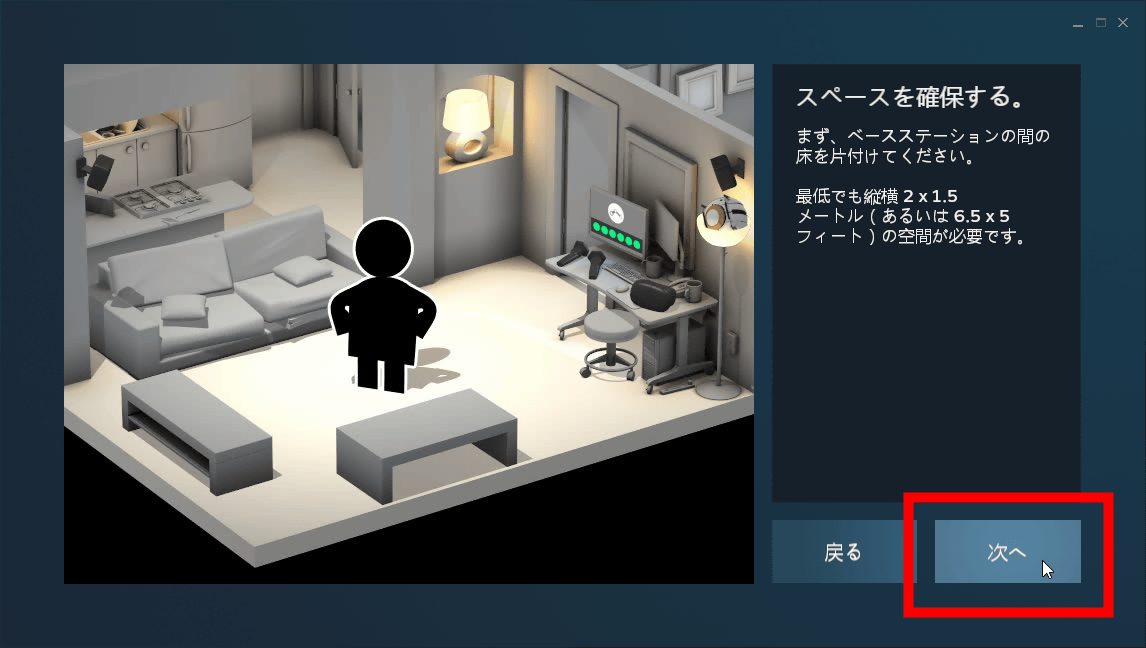
First of all, I will put the chair and thing in the area to play.
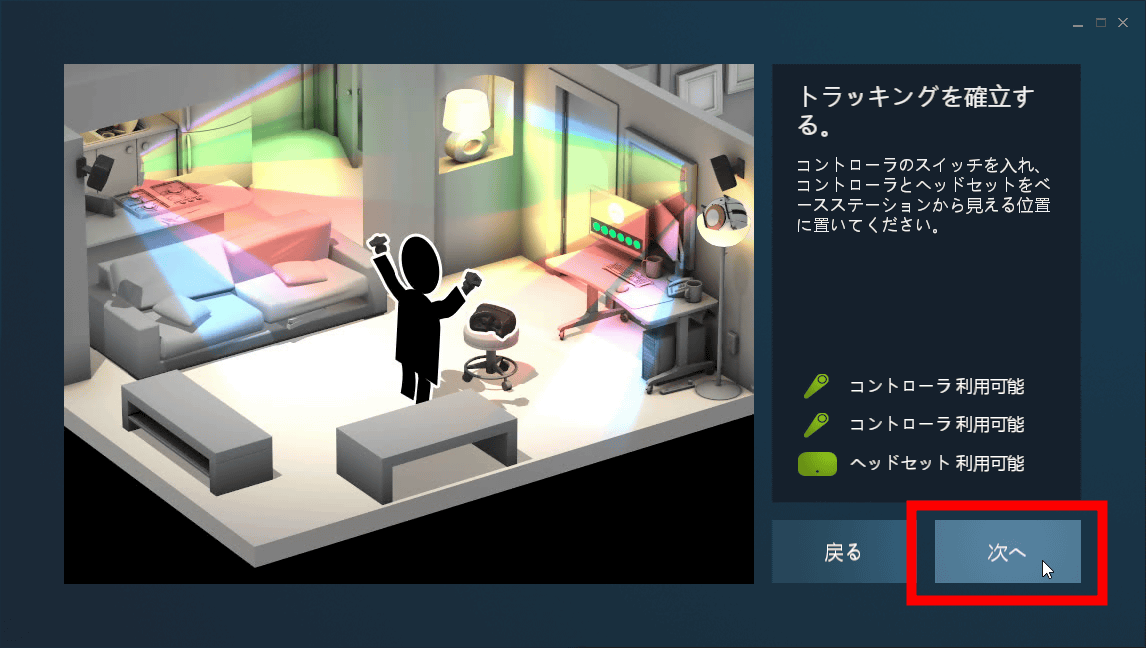
With the headset in the middle of the play area, hold the controller you turned on.
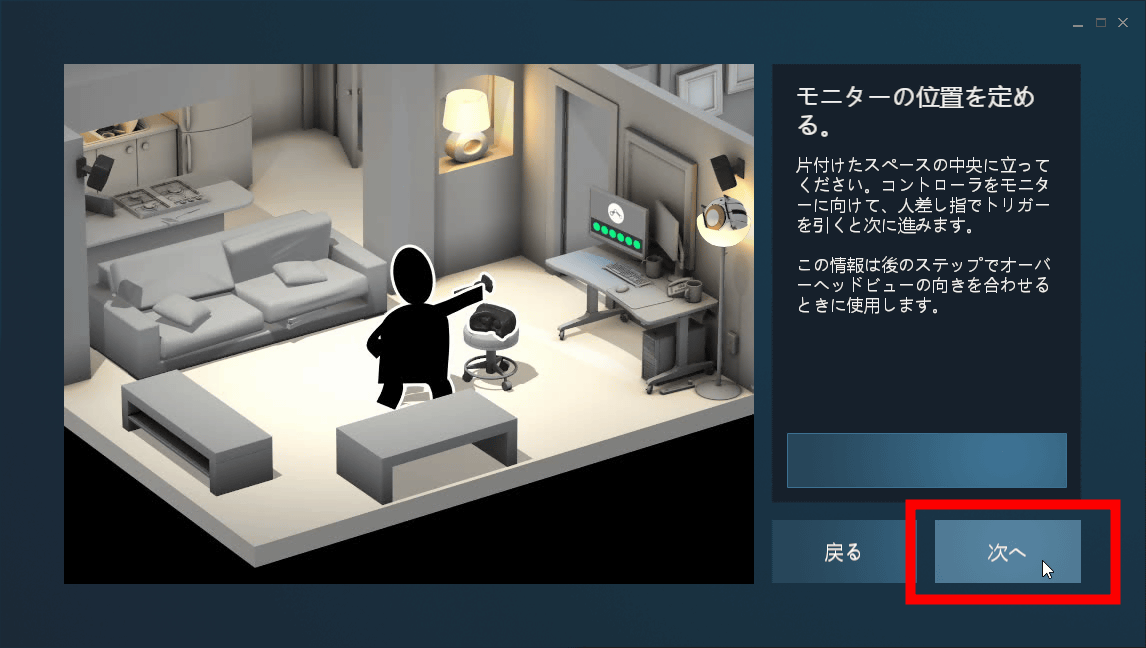
To set the monitor position of the PC, hold the controller toward the monitor and push the trigger button.
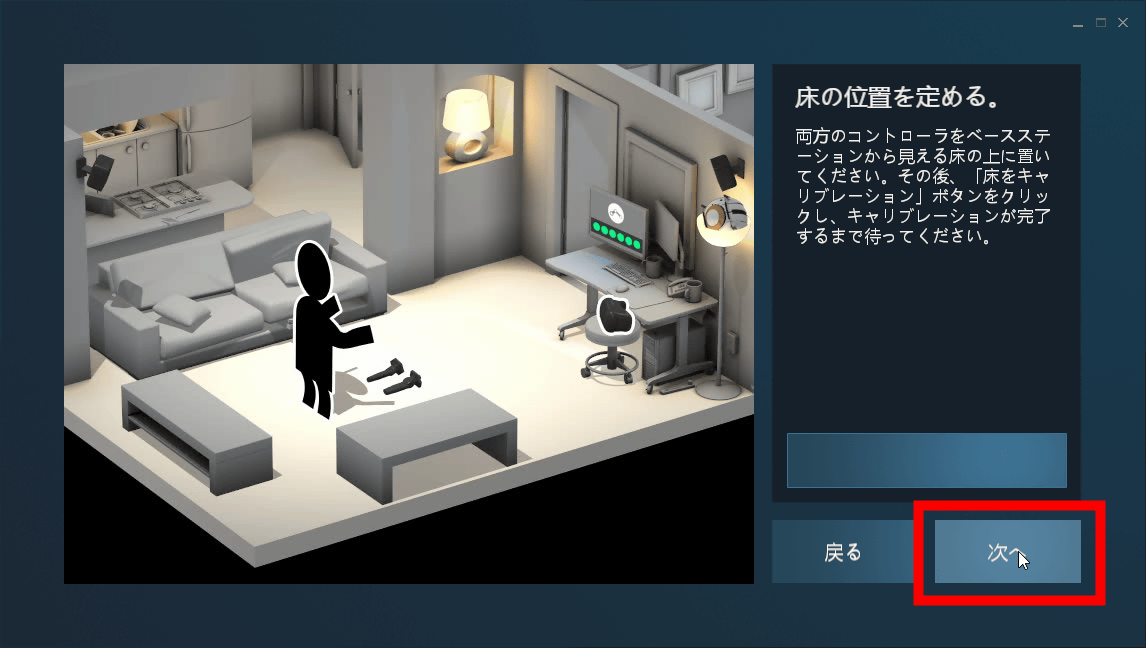
In order to recognize the position of the floor, place the controller in a position visible from the base station and click "Next" to perform the calibration.
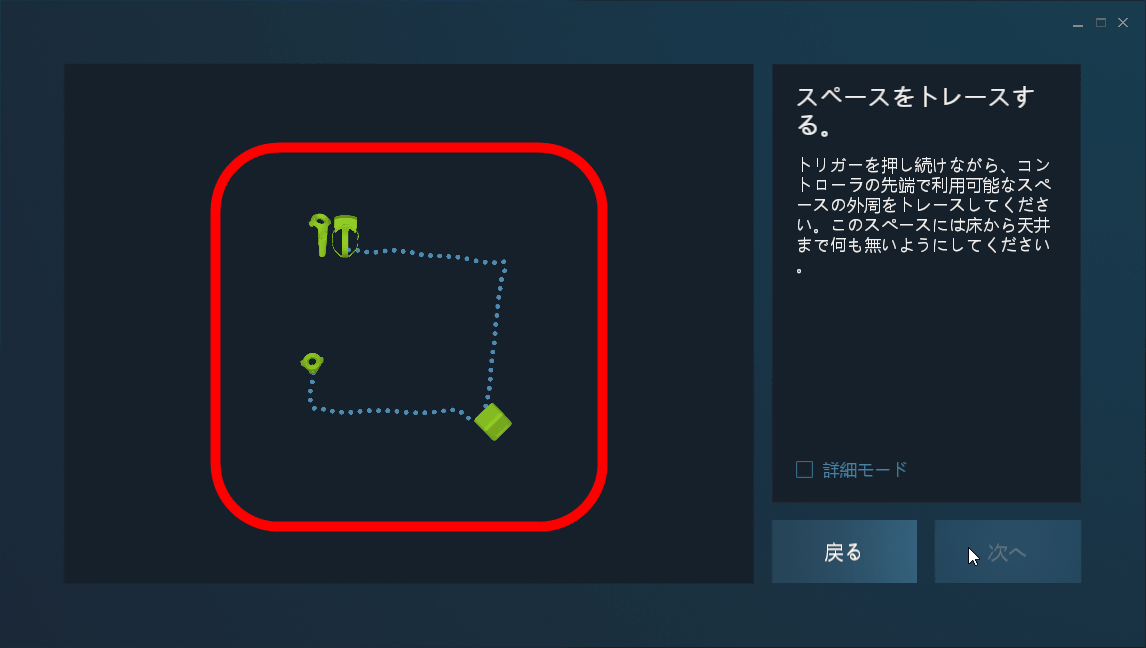
Click "Next" to track the room to play.

Hold down the trigger button on the controller and walk around the area, tracking lines will be drawn on the screen.
Connect the square and release the trigger button, the area will be recognized.
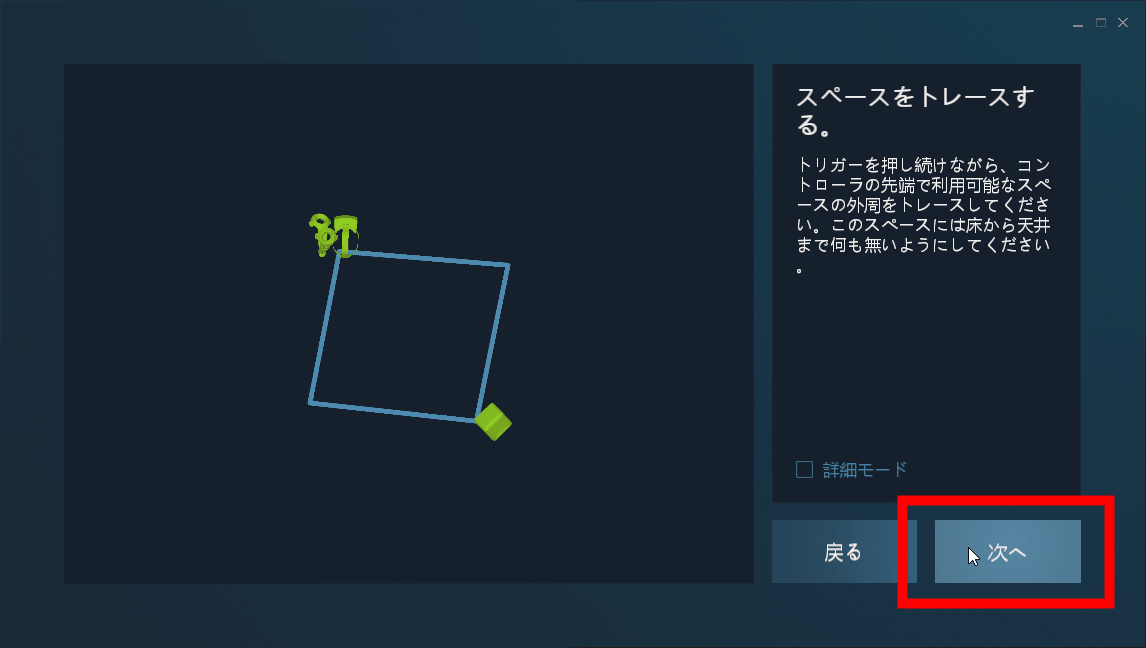
Click "Next" in this state.

Then the play area was set. If the placement of the base station does not satisfy the minimum area, it will be redone, so if it fails it is necessary to replace the position of the base station farther.

Now that all setup is complete, click "Next".

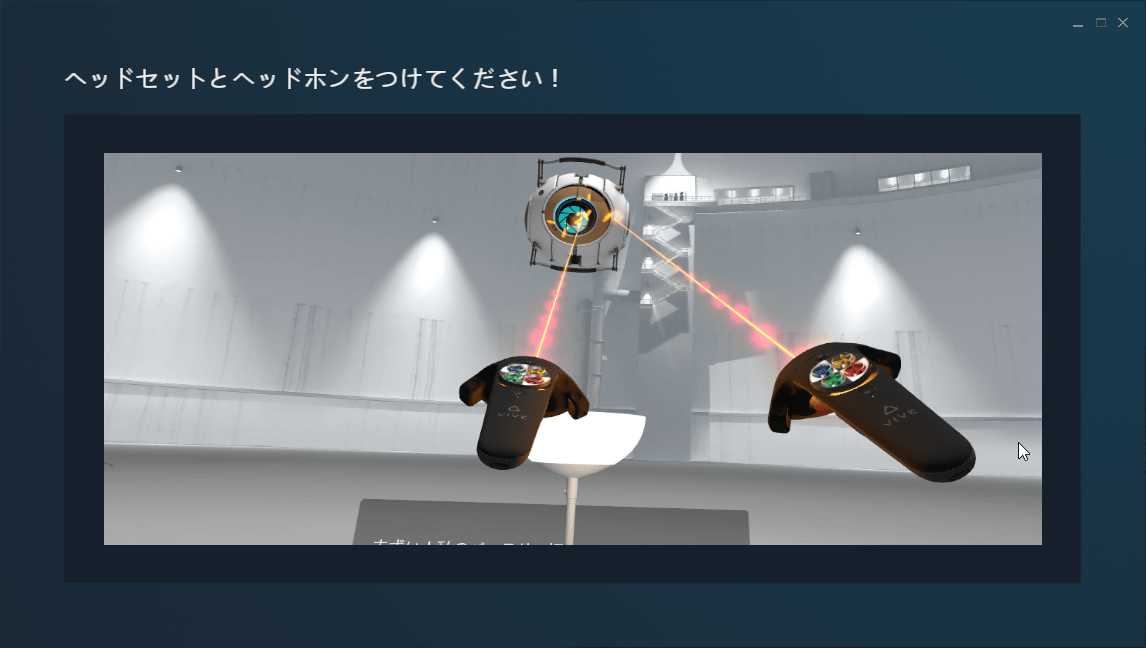
Tutorial starts when you attach headset and headphones.
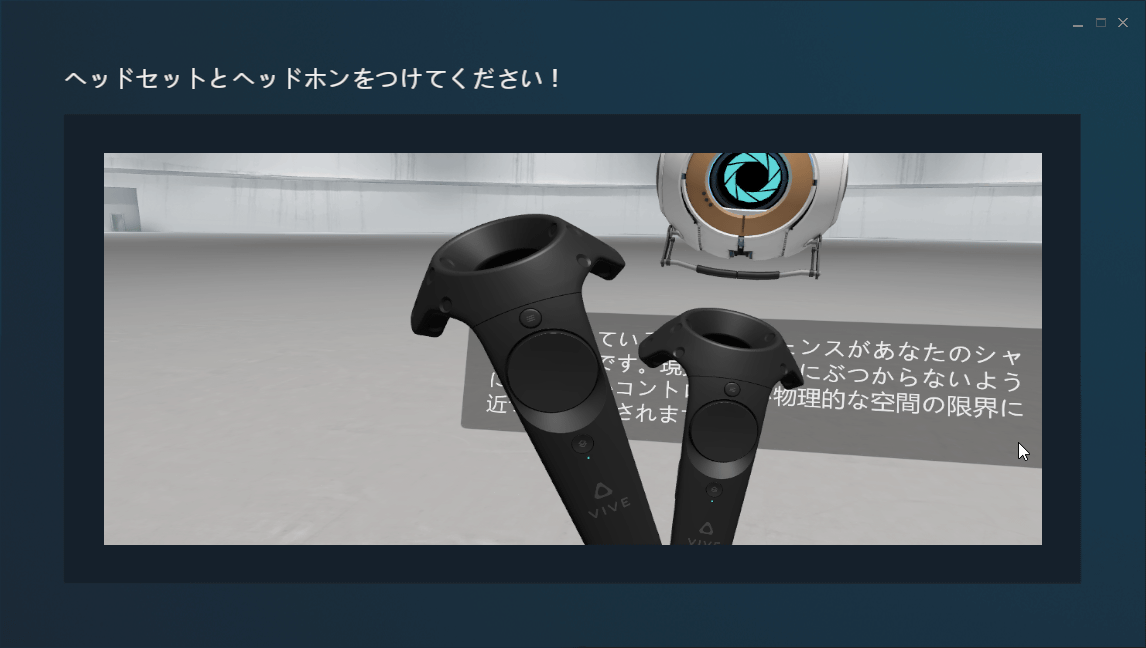
In the view of the headset, the controllers that you have are reflected as it is, you should be surprised that you can track the position accurately.
After receiving the lecture on how to use each button, you can download the favorite software from Steam and you can play VR game as much as you like. Steam has a category of free games, so it's a good idea to try out some free games first.
◆ I checked the power of the hand controller of HTC Vive
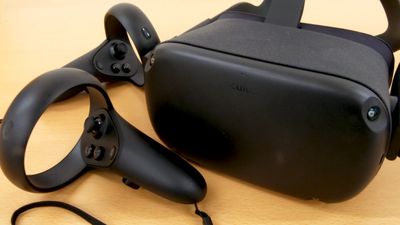
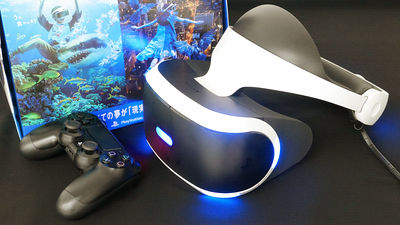
Unlike Oculus Rift, HTC Vive comes with a hand controller from the beginning. Since it is possible to accurately display the movements of hands in virtual reality, it is clearly possible to experience different experiences from previous games. Setting is somewhat more difficult than Oculus Rift, but once you play it you will think that there was a hard time. The PlayStation VR which is released on October 13, 2016 also has a hand controller, and Oculus Rift plans to release a hand controller separately. The hand controller seems to be indispensable to the VR headset.
As a game utilizing the existence of Vive's hand controller, "VRMultigames"PITCH-HIT: Rampage Level"NVIDIA VR Funhouse"Should be felt free and easy" VR SUGY ... ".
"VRMultigames" is a free VR game in which multiple games are packed, "Bow fight" fighting the enemies approaching with a bow on the left and arrows on the right at the time of article creation, paying out the soccer ball that flies with both hands "GoalKeeper" to drop, "Drone Fight" to shoot down the imminent killer drones with a light saver and a gun is playable, and a title will be added in the future. You can see how Bow fight is playing from the following movies.
A free VR game pack "VRMultigames" that shoots enemies with bow and arrow with both hands looks like this - YouTube
"PITCH HIT" is a game where free batting can be played as much as you want in the ballpark in virtual space. When the ball hit the ground, "Gashan!" And a lot of things to break are installed, so if you skip a nice hit you can break various things and skate it. The contents of the play can be seen from the following.
Target a home run with a free VR game "PITCH HIT" that you can experience a virtual batting center - YouTube
"NVIDIA VR Funhouse" is a free VR game created by NVIDIA, there are hammer, bat, baseball, ball and soccer ball on a shooting shooting base of festival opening, so that you can throw and hit to any place It is becoming. It is possible to switch the performance of the graphic board to low, medium and high in the game. The state of the actual playing is contained in the following movie. Since these movies are output as "one eye" or "binoculars", the way they are reflected differs, but the person wearing the headset is a single screen and the whole is wider viewing angle I can see it.
Play Hammer, Butt, Baseball Ball, Soccer Ball, Play Free VR Game "NVIDIA VR Funhouse" - YouTube
HTC Vive can be purchased from the following page with tax of 107,884 yen.
Shopping Cart - HTC Vive Store | HTC Vive Cart
https://vive.degica.com/c/cart
Related Posts: