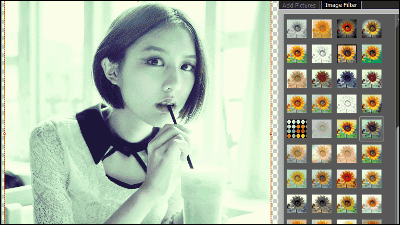
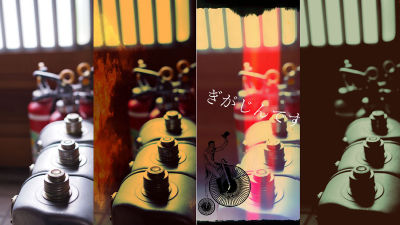
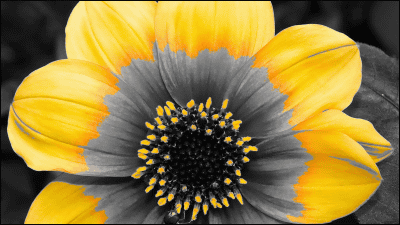
Polarr 3.0, a multifunctional web application capable of free professional image processing, released, Windows applications that can be used offline were also released, so I actually tried using it
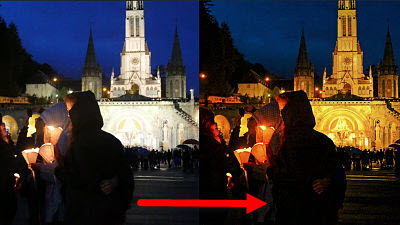
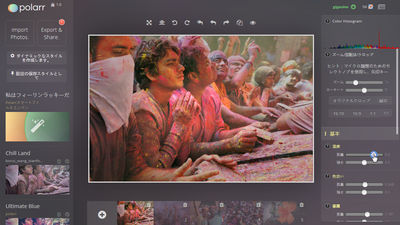
It can be used without downloading, it can process images crisply with intuitive operationYou might be asked "Are you working in a National Geographic?"An application that can create beautiful photosPolarr"Web application version (browser version) will brush up the design, evolve to" version 3.0 ", will be released on Thursday, 15th. Since I was able to touch that Polarr version 3.0 earlier before publication, I tried to see how comfortable and how the image was processed.
Photo Editor | Polarr: iOS, Android, Windows, Online Photo Editor
https://www.polarr.co/
The official publication of the web application version Polarr version 3.0 is October 15th, but if you access the following page you can actually use it.
Polarr Online Photo Editor 3.0
https://v3.polarr.co/
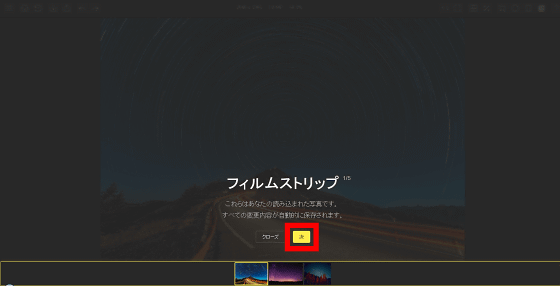
When you access the page, the following tutorial starts. As a feature of Polarr, the list of photos loaded at the bottom of the screen is displayed first, so it is easy to work with multiple photos concurrently. Click "Next" to proceed.
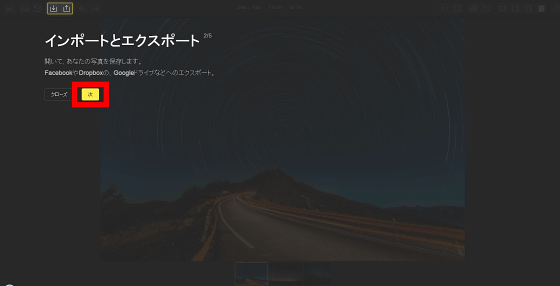
Import and export from the button on the upper left of the screen. Images can be uploaded from folders in the PC, images on Facebook, Dropbox, Google Drive can also be opened directly.
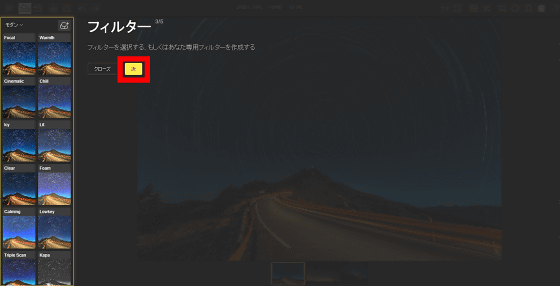
The filter is on the left edge of the screen.
You can make fine adjustments from the menu on the right side of the screen.
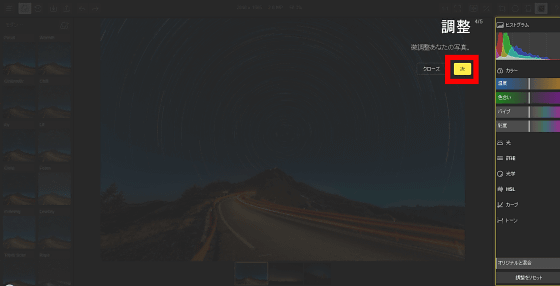
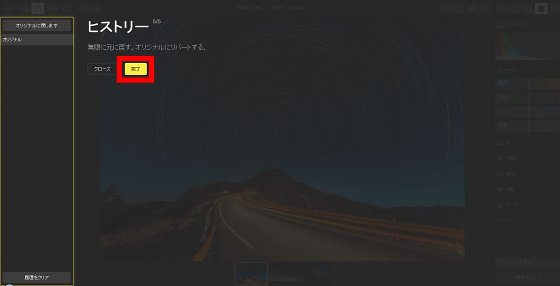
Also, since there is a history function, you can do "return to the stage of filtering" and "return to the stage where brightness was adjusted" instead of pushing the "return" button, the efficiency of the work is improved I will. Finally press "Finish" ...
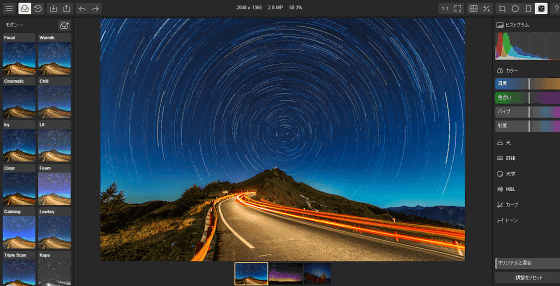
This is the home screen of the application. By default the sample image is displayed.
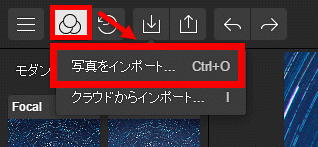
First of all, since it is necessary to read the image to be processed, click the "Import" button on the upper left of the screen and click "Import photos".
Select the image saved in the PC and click "Open".
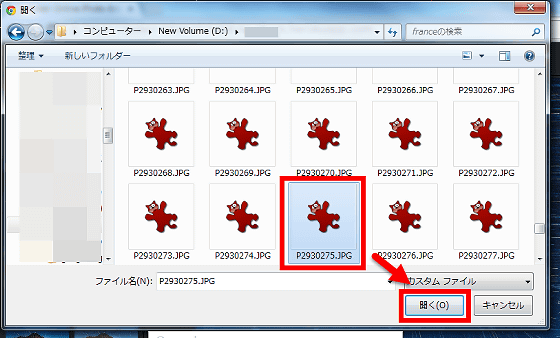
Then, the image of the selected church was displayed in the place where the picture of the starry sky was.
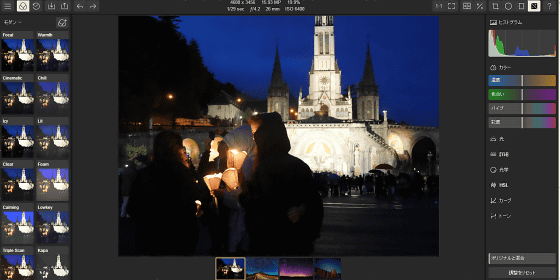
First of all, try using the filter to process the image with one click.
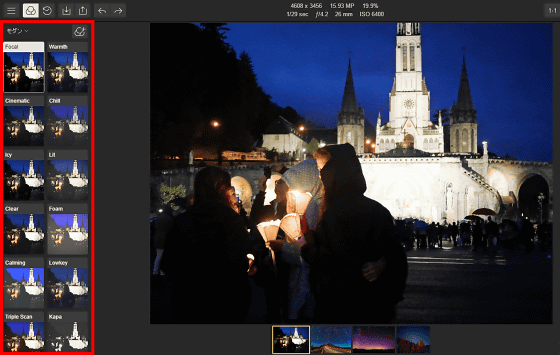
Choosing "Triple Scan" makes it feel a little reddish and fashionable.

"Foam" changes whitish.
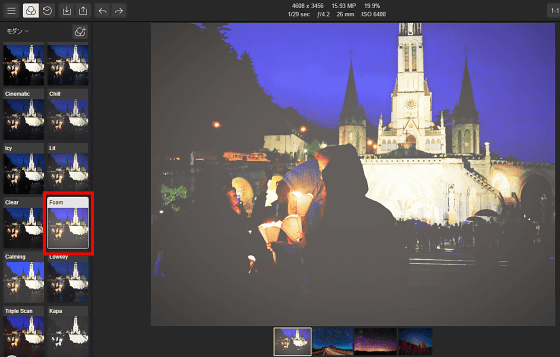
"Lowley" has a somewhat lower contrast, and it got a soft impression.
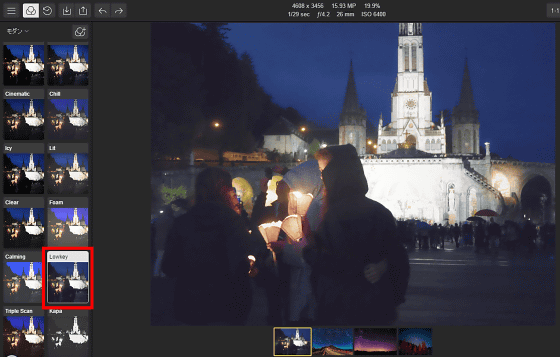
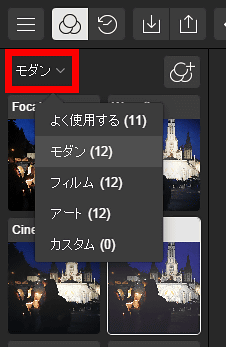
If you look closely, there is a drop down menu at the top of the filter menu, and when you open it, the filter type was categorized as modern (12), film (12), art (12). Since I was watching the modern filter till then ... ...
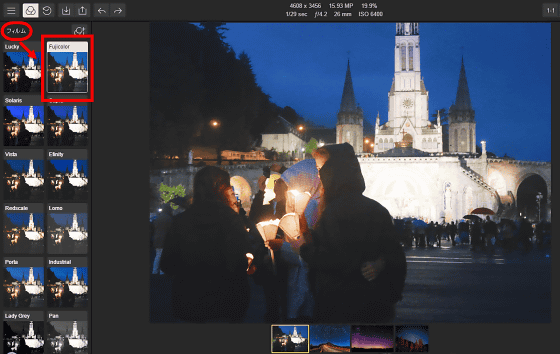
Let's look at the filter of the film this time. Film has a filter which imagined each manufacturer such as "Fujicolor" "Lomo" "Vista". Fujicolor feels as follows.
Furthermore, it is possible to change the category even by sliding the filter menu sideways.
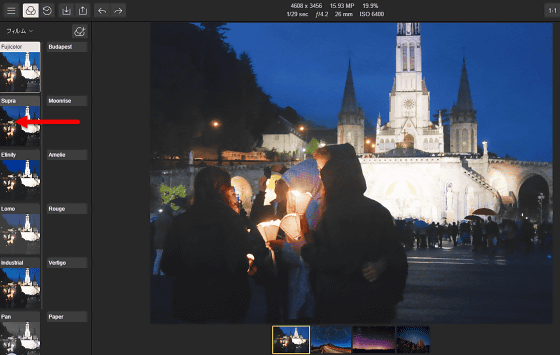
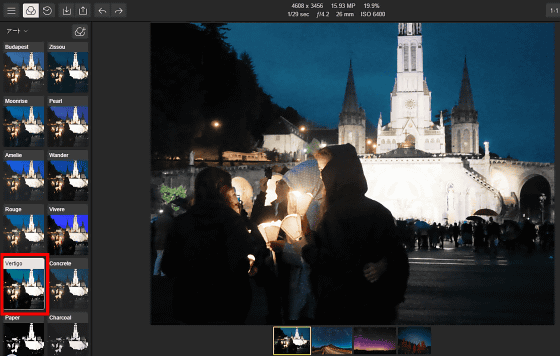
Art filters include "Budapest", "Pearl", "Moonrise", "Vertigo", etc. Vertigo chooses a slightly yellowish color.
Since the menu button is on the upper right of the screen and the image adjustment menu is on the right end, you can change the details that can not be adjusted with the filter alone.
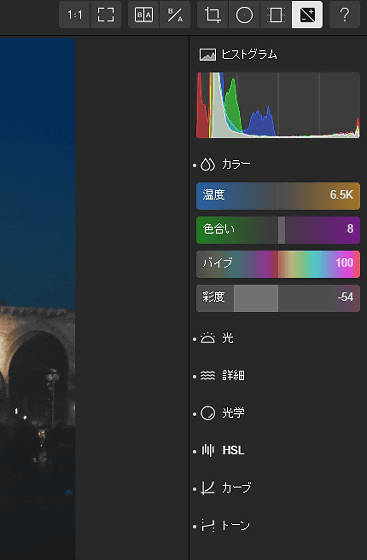
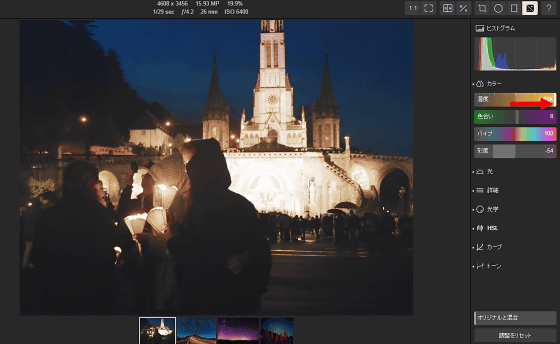
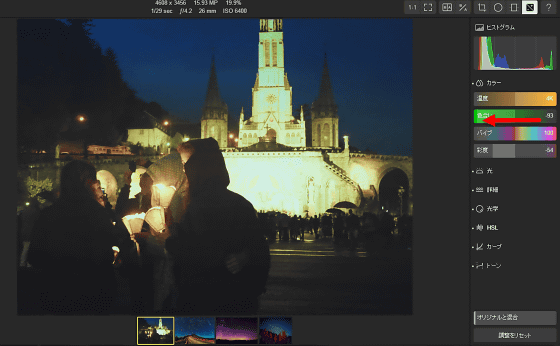
Image adjustment menu is divided into "color" "light" "detail" "optical" "HSL" "curve" "tone", color is intuitive with slide "temperature" "color" "vibe" "saturation" It is supposed to be able to be changed in a different way. For example, when pushing a color slide to the right side, the image got warmer overall.
On the contrary, moving the slide to the left side will result in a cold image.
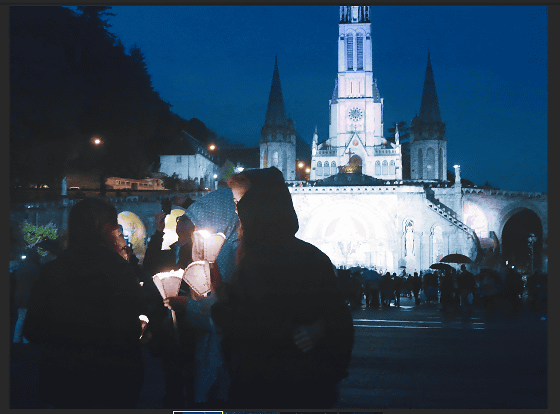
Adjust color tones ......
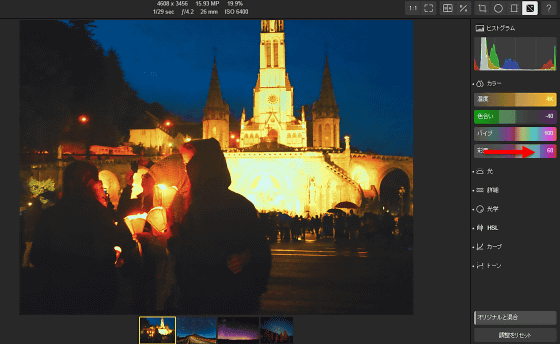
You can change the vividness freely by vibes and saturation.
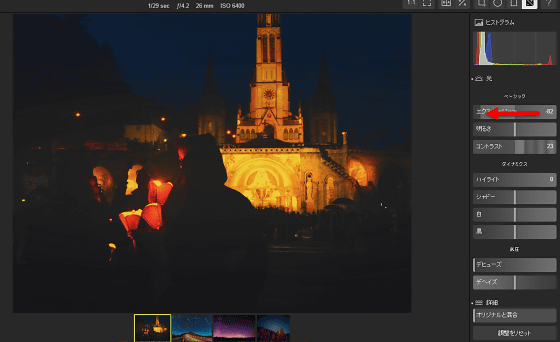
Also, "Exposure", "Brightness", "Contrast", etc. can be adjusted on the "Light" menu. When setting the exposure to -42, the light intensity decreases and it looks like a shadow picture.
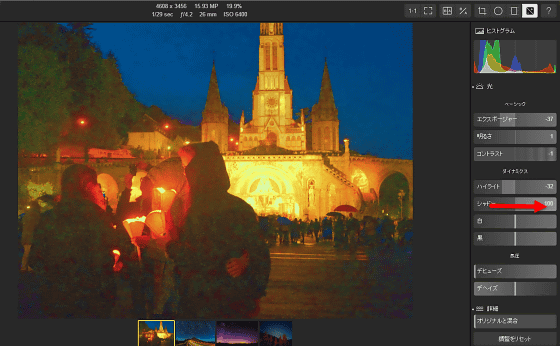
In addition, you can also make adjustments for light from "Highlights" and "Shadow" menus. When the value of shadow is set to 100, the shadow of the whole screen got thinner and it became a slightly disgusting picture.
Furthermore, moving the slide "item of pressure" can also create a faintly blurred atmosphere.
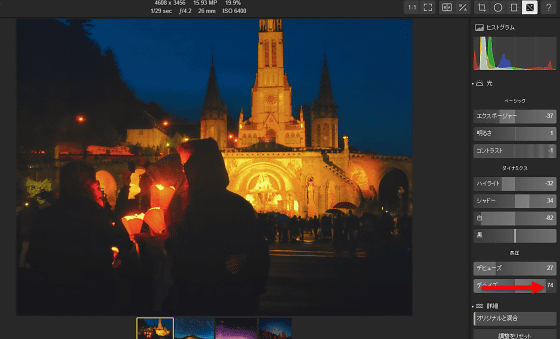
Also, the original image was difficult to see the decoration of the church, but by moving the slide "clarity" or "sharp", it was possible to clearly embellish the decoration.

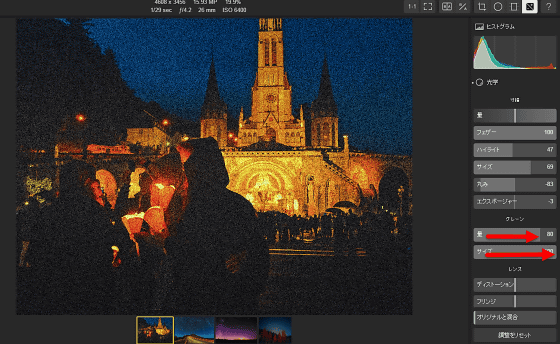
Besides this, from the item "GRANE" it deliberately makes the image look smooth and textured ... ...
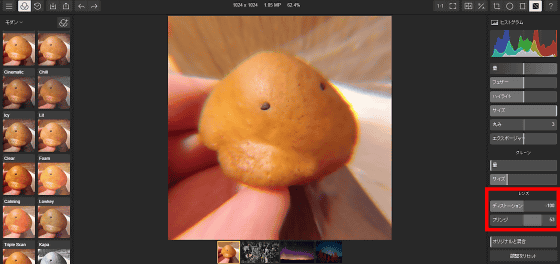
There are also special effects such as deforming with "Lens".
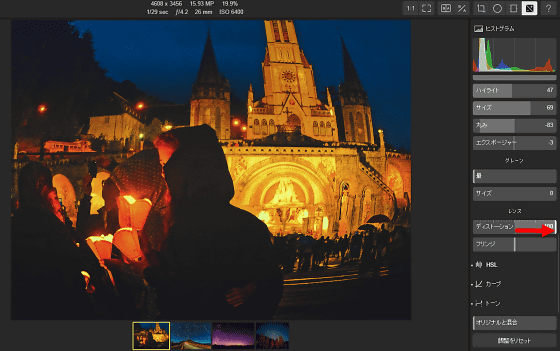
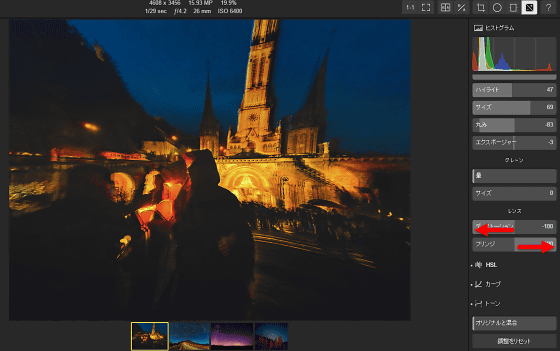
Move the two slides "distortion" and "fringe" of the lens into an image with a speedy feeling.
In addition, it is also possible to control only some colors such as red, blue and yellow contained in the image.
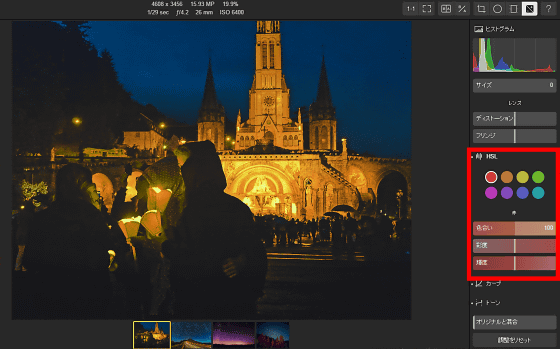
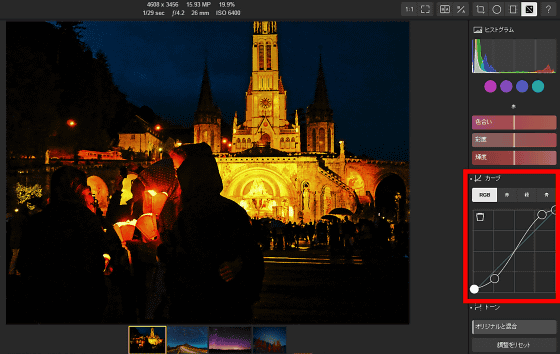
You can also adjust using curves.
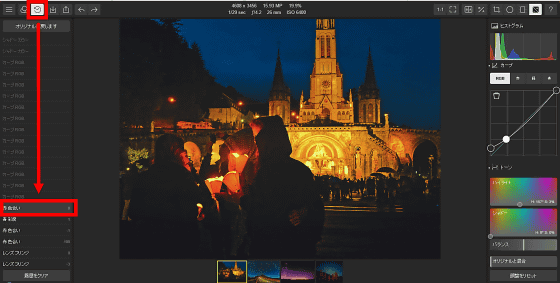
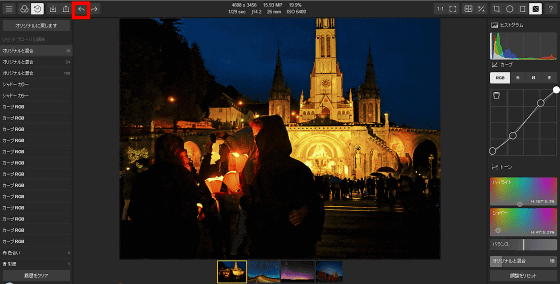
People who tinker with various images and who knows what they are doing ... ... Choose "History" in the menu on the upper left of the screen, and if you return to any point you've been doing so far OK.
If it seems that processing is a bit too tight ..., you can also "mix with the original" from the slide at the bottom right of the screen.
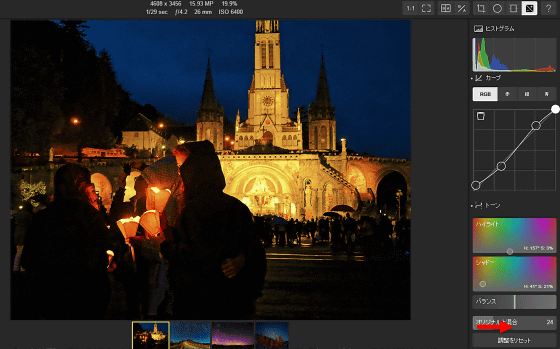
You can return to the initial state at once by pushing "reset adjustment" beneath "mixed with original".
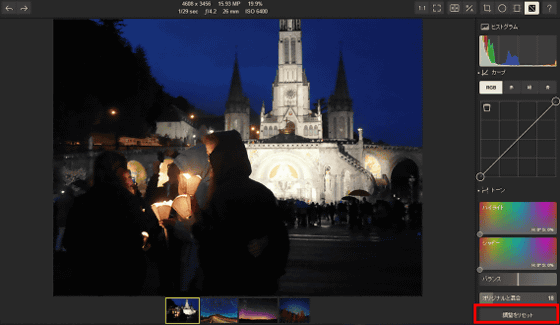
Also, there are also "back" and "forward" buttons on the upper left of the screen, so if you accidentally press "return" button even if you accidentally "reset" the adjustment, there is no problem.
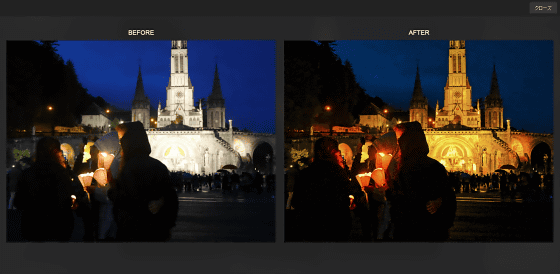
Furthermore, clicking "Before & After Show" at the upper right of the screen ... ...
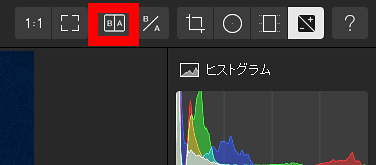
You can see at a glance how the image changed compared to the beginning.
Adjust the tilt from "Crop & Straight" ...
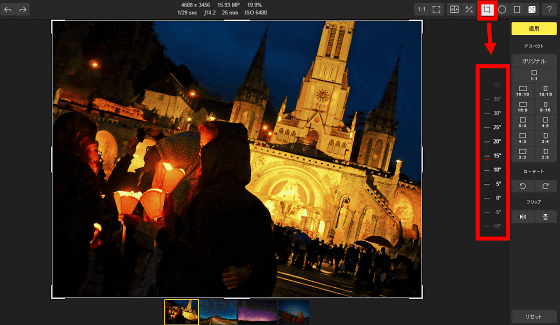
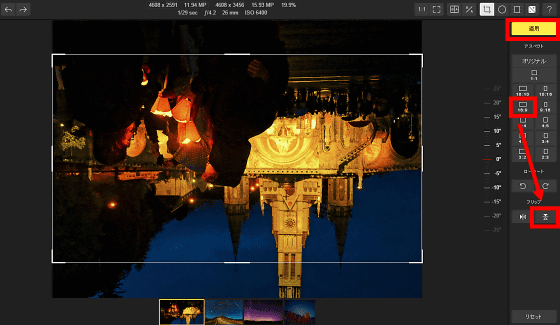
You can trim, left, right, upside down. Click "yellow" apply button when "this is reality".
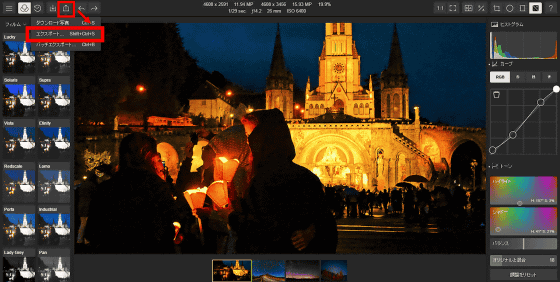
The completed image can be stored directly in the cloud, not just within the PC. When you press "Export" button on the upper left of the screen and select "Export" ...
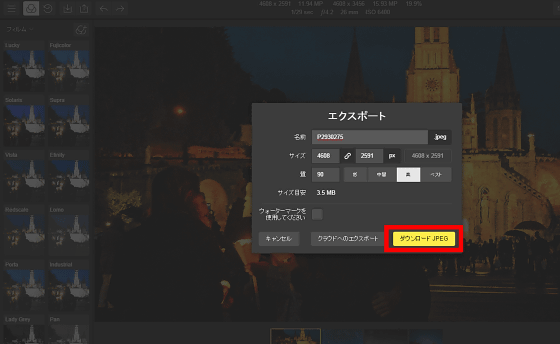
After selecting the name, size, image quality, etc., "export to cloud" "download JPEG" was to be chosen. When download JPEG was selected this time, JPEG image of 4608 × 2591 was saved in the PC.
In addition, it is also possible to open files directly from the cloud, so it is convenient to be able to process images even when there is no data at hand. Press Import and select "Import from cloud".
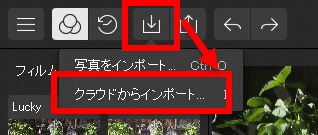
The following screen will be displayed ......
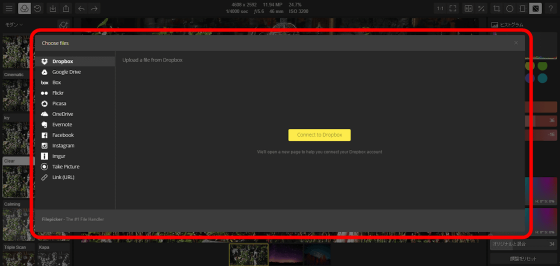
While "Dropbox" "Google Drive" "BOX" "Flickr" "Picasa" "OneDrive", etc., while selecting Google Drive this time click "Connect to Google Drive".
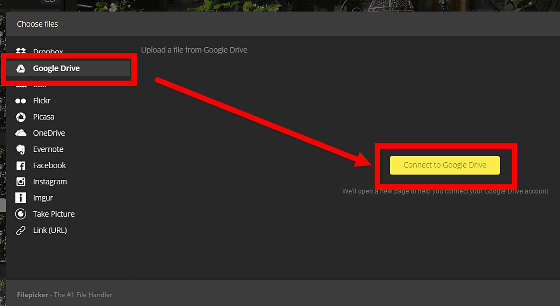
The following screen will be displayed, so click "Permit".

Since the image list in Google Drive is displayed ......
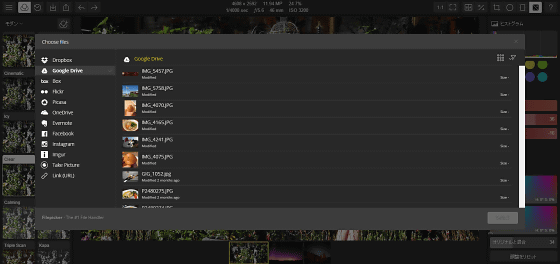
Select an image and press "Select one file". You can choose more than one image at a time.
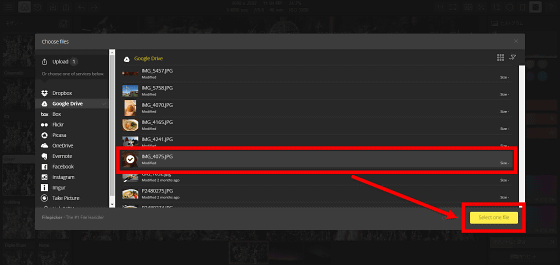
If you click "Upload" ...
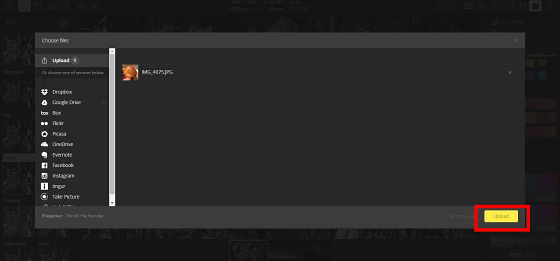
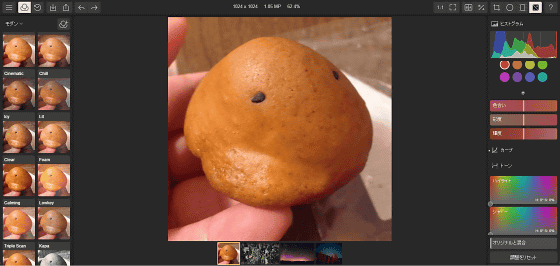
Like this, the image of the maniqued chicks stored in Google Drive has been displayed.
Adjusting the "distortion" and "fringe" from "lens" and trying out momentum ......
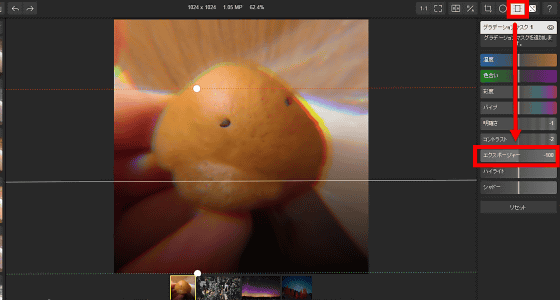
Try creating a dark atmosphere from a gradation mask.
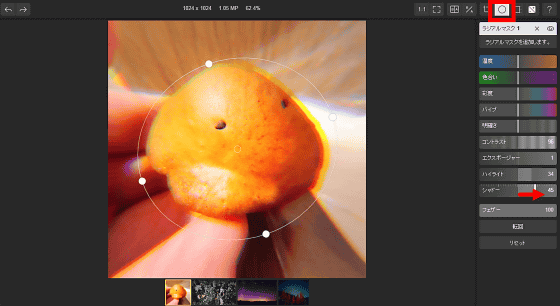
If you use a radial mask it is also possible to process images by selecting points.
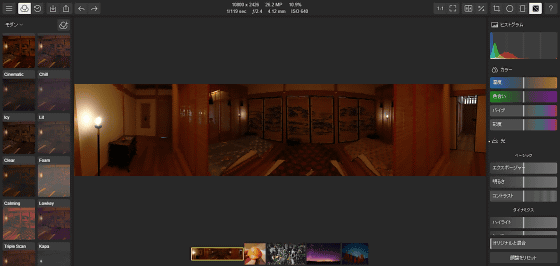
As mentioned above, while Polarr is good at changing the impression of the image, it is also easy to modify the image "slightly dark" or "do not have rough".
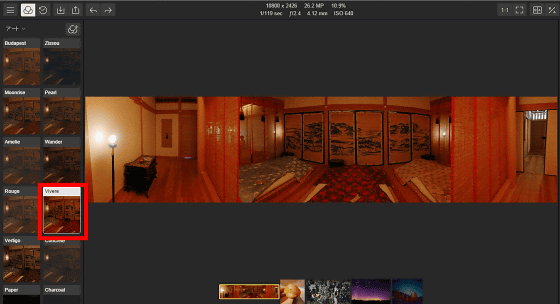
Brighten the image with a single filter ......
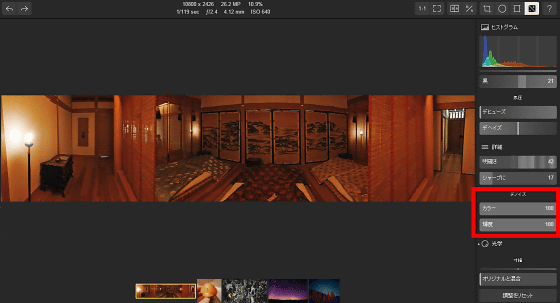
It is also possible to ease the noise from "Denoise".
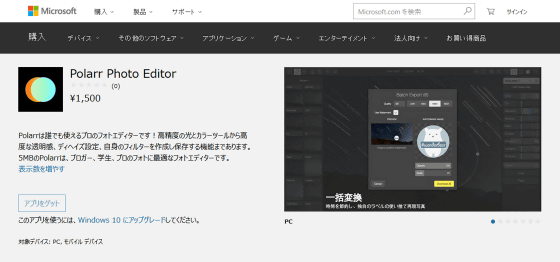
The Windows 10 application version of the image processing application "Polarr" will also appear on October 15 (Thursday) as well as Polarr version 3.0. The price is 1500 yen, which is now available to use the full functionality of Polarr in an offline environment.
Polarr Photo Editor - Microsoft Store's Windows application
Related Posts:
in Review, Software, Web Service, Posted by darkhorse_log
