"NexImage" which can process Photoshop grade images online
It is an online image processing service using DHTML and AJAX.
There are a layer function and a function to adjust the contrast automatically, and you can use a variety of representative filters such as sharpness, blurring, gray scale, gamma value correction, negative / positive reversal. Crop out, rotate, flip, resize, anything you can do.
Also, there is a "return to original" function properly, it is possible to return at any number of stages. This is safe.
The image uploaded for editing can be downloaded to your personal computer at the end and saved. The file format is also wide and can be saved in JPEG · GIF · PNG · BMP · TIF · PICT · PCX · TGA · PCD format. JPEG can specify compression ratio, GIF can specify color number and dithering.
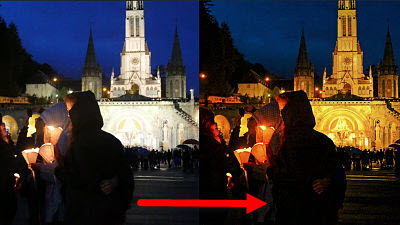
That's why I tried using "nexImage" with an image actually taken with a digital camera.
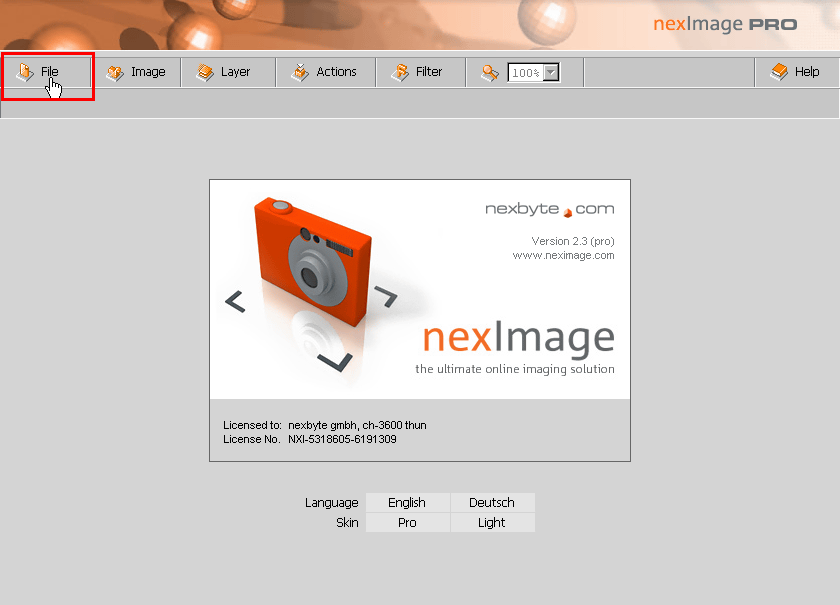
NexImage :: The ultimate online imaging solution
http://neximage.com/en/home/
To actually use it from here.
http://demo.neximage.com/
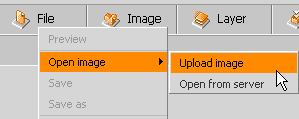
First, upload the image. Click "File"
Go to "Open image" → "Upload image"
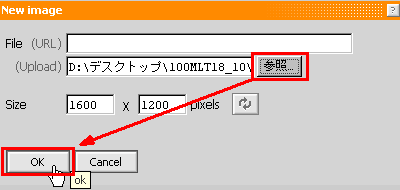
Press "Browse" to select the image you want to upload and click "OK"
Wait for a while and it will be like this. The palette on the left, the image uploaded in the middle, the layer palette on the right. It seems to refer to the operation screen of Photoshop.
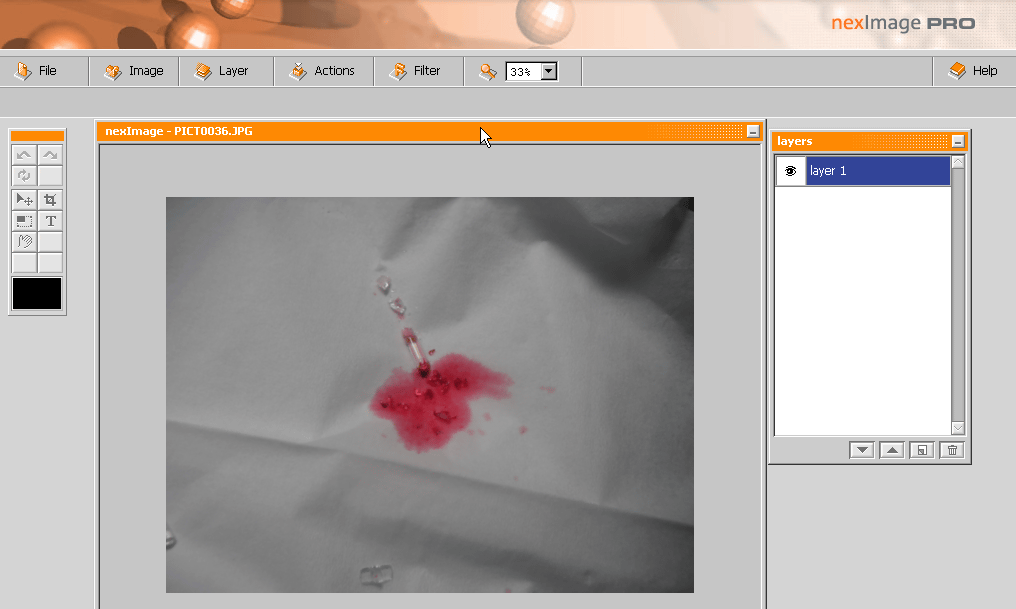
Image can be resized, rotated, reversed from "Image"

From "Layer" you can perform similar operations on the images on the layer. Also, a histogram is prepared.

It is displayed like this. You can also switch per RGB properly.

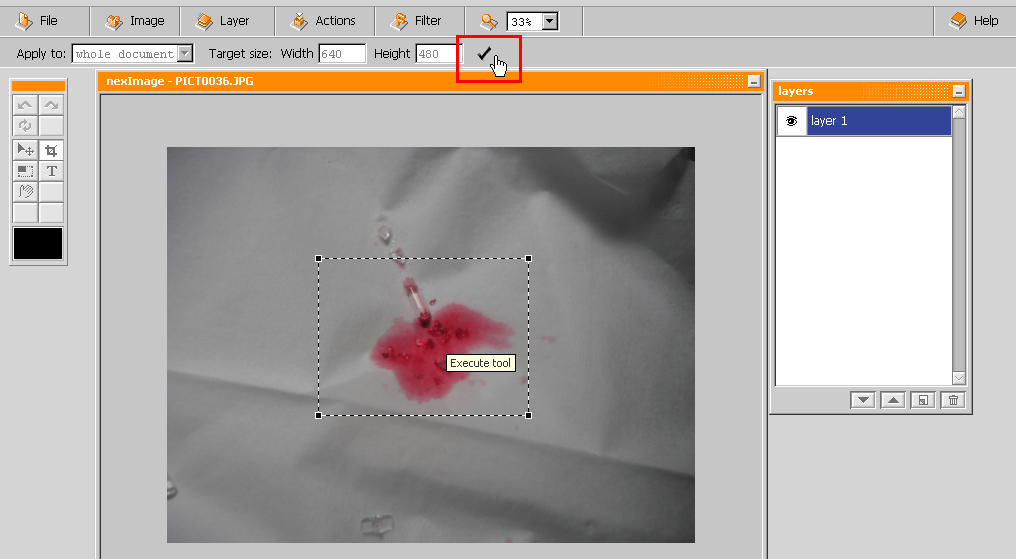
"Actions" is the same as the action function of Photoshop, it can do a series of operations fully automatically. It's like the macro function of Word and Excel. In this example, I chose "Optimize 640 x 480" which automatically corrects after cutting out with a frame of 640 × 480

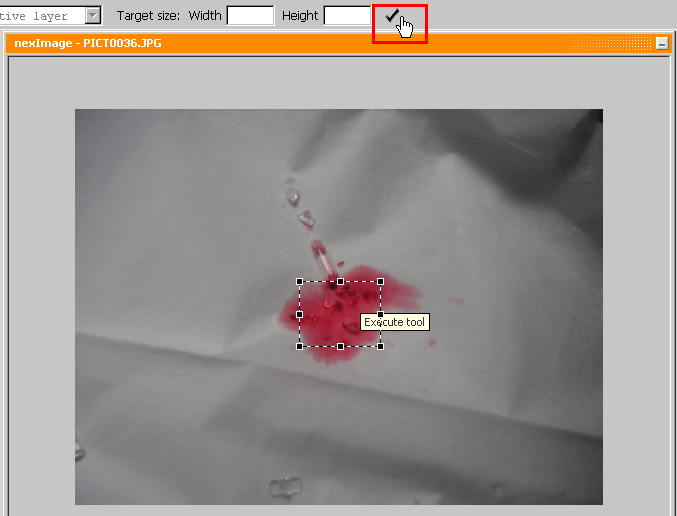
As the frame appears, move it to the part you want to cut out and click to fix the frame
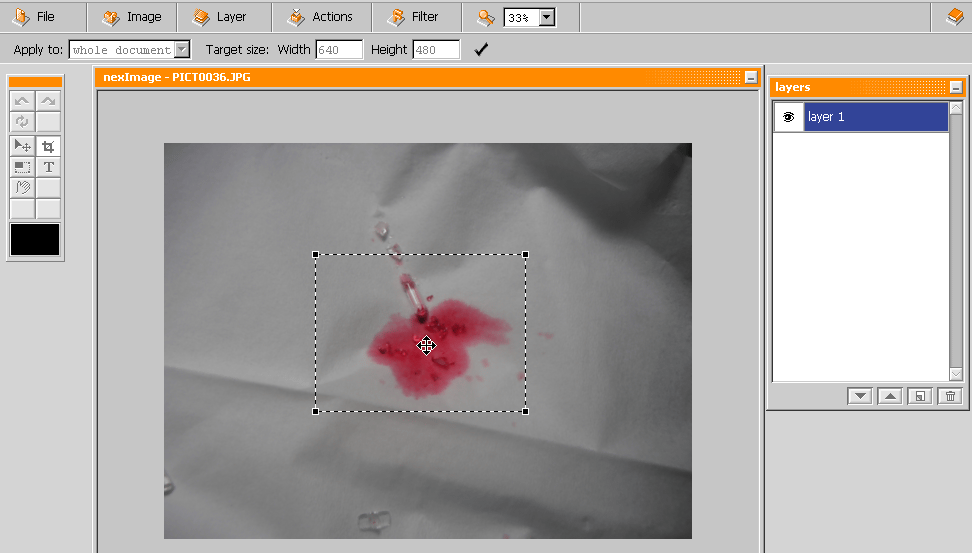
Then click the check mark above
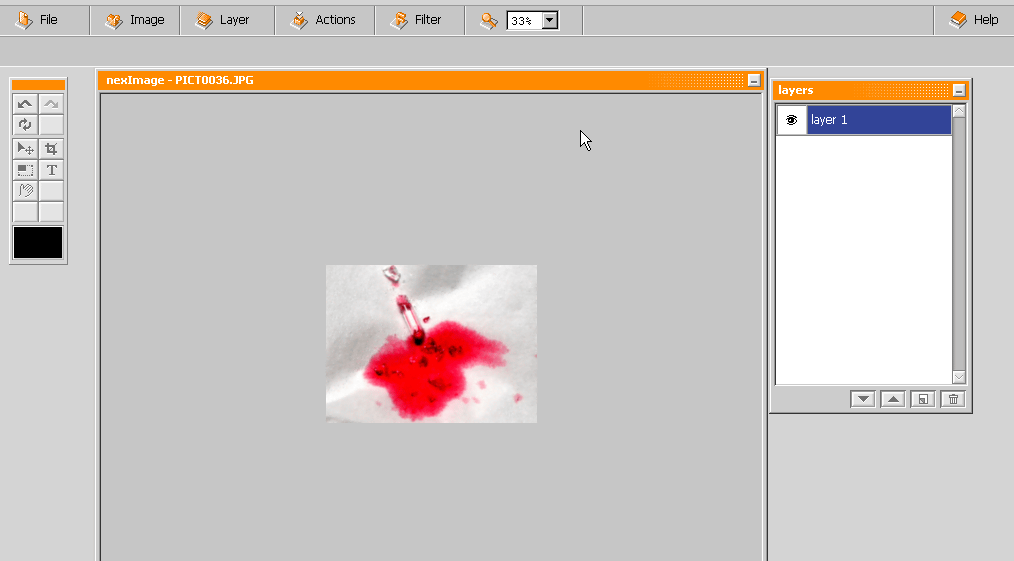
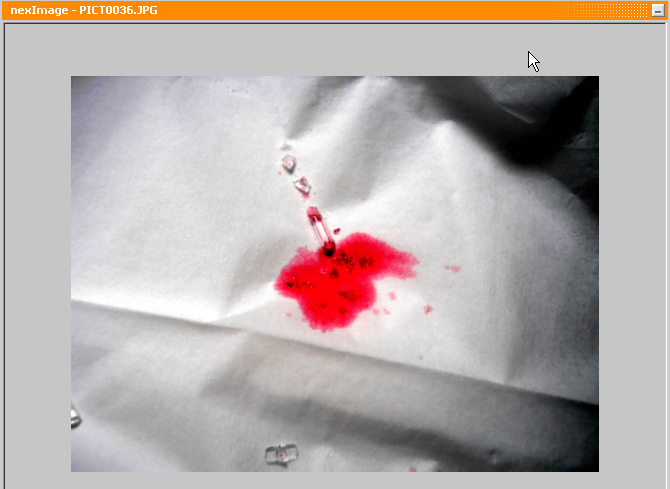
Then it becomes like this
Next time I add a watermark image. It is a function called a watermark.

In this way, the logo image was automatically inserted in the upper right of the image. You can see it by clicking on the icon on the left palette to return to the original, but it seems after several operations are performed automatically

Next, try executing "Image effects"

Specify the range and click the check mark
When you move the slider like this, the preview image also changes. It is clear that AJAX etc. are used for the burrigari

Various filters can be used from "Filter"

In this time, we will use "Auto contrast" and adjust the contrast automatically

It became like this
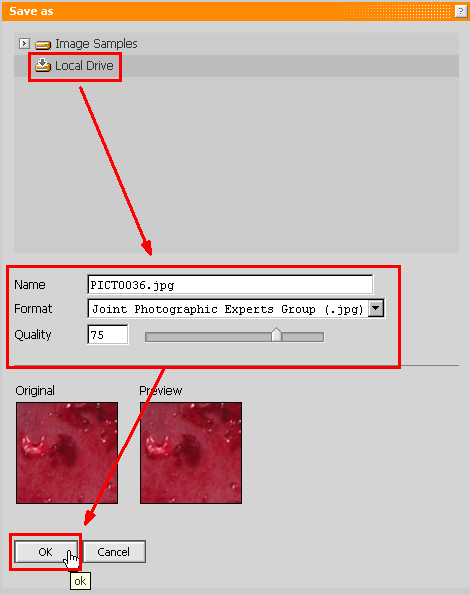
Finally, to save the processed image Select "Save" from "File"

Select "Local Drive", then select the image format and options you want to save and click "OK"
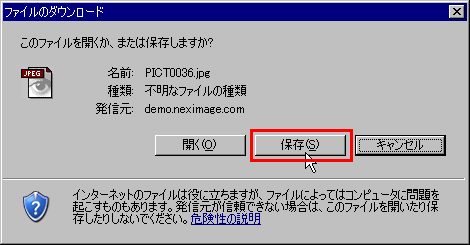
Click "save" to complete
In addition, all of these are "demos", and all of the above functions can be used free of charge.
This is itself sold. In the product version, it seems that various extended functions such as recording and saving of plug-in functions and actions, and processing all the images in the specified folders all in full automatically are available.
In addition to online using this "nexImage" there is also "Preloadr" to work with Flickr.
Preloadr: Image processing powered by nex Image
http://preloadr.com/
If you log in to Flickr account via "Preloadr", you can upload images to Flickr after processing. It is a nice touch with applications.
Related Posts:

in Web Service, Review, Posted by darkhorse_log