Guide for easy creation of original PC even for beginners 【Software installation】

If you want a desktop PC of your choice, if you want to make it yourself, as a guide to making original PC easily even for people who challenge their own PC for the first time "Guide that even beginners can easily create original PCs [Hardware Assembled Edition]Already posted an article. Since the assembly of the hardware is completed, I finally install the OS and put it in a state that can use the PC. My own PC making way guide 2nd bullet "Software installationIt's like this.
How to assemble your own PC can be confirmed in the following article.
Guide for easy creation of original PC even for beginners [Hardware Assembled Edition] - GIGAZINE
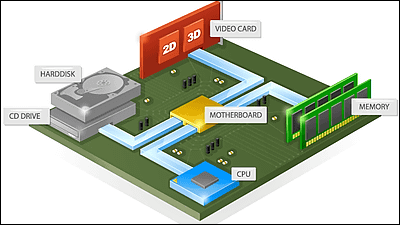
(Part configuration)
· Motherboard: ASUS "H97I-PLUS"
· CPU: Intel "Pentium G3258 (Anniversary Edition)"
· Memory: CFD ELIXIR "W3U 1600 HQ - 4 G / N"
· Power supply: ERMAX "ERX 430 AWT"
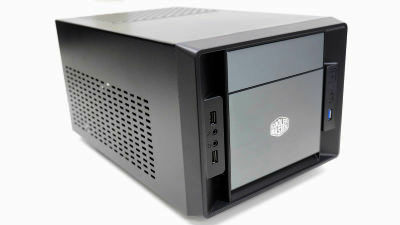
· PC case: Cooler Master "Elite 120 Cube"
· Storage (SSD): Toshiba "CSSD-S6T128NHG6Q"
◆ Install USB memory creation
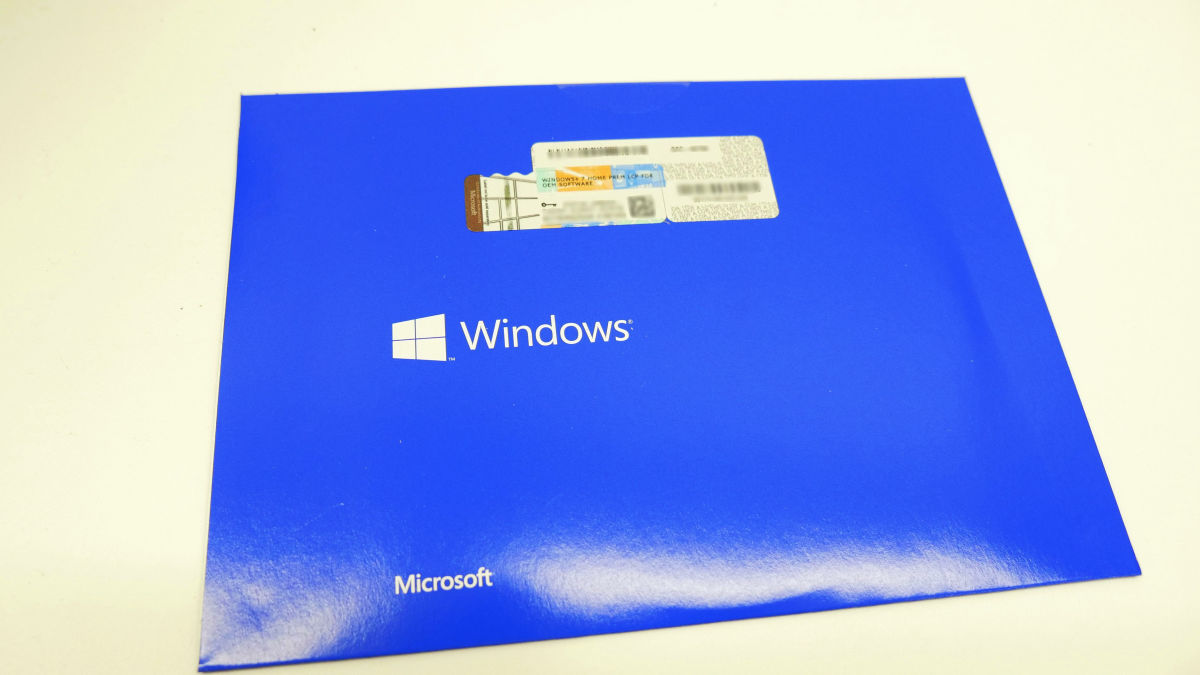
This time install "Windows 7 Home Premium (64 bit)" as OS.
Since the completed self-made PC does not have an optical drive, it will be installed using the USB memory, but since the installation speed itself is overwhelmingly faster than the optical drive, even if there is an optical drive, Windows is installed with USB memory The meaning is much ant, so there is no loss by knowing the way. If you are installing from the installation DVD with optical drive, please leave it to "◆ UEFI setting" below and it is OK.
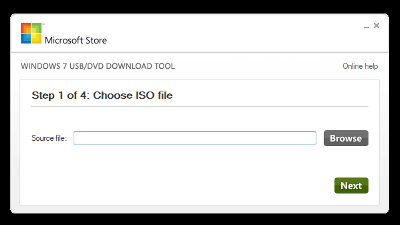
· ISO file conversion
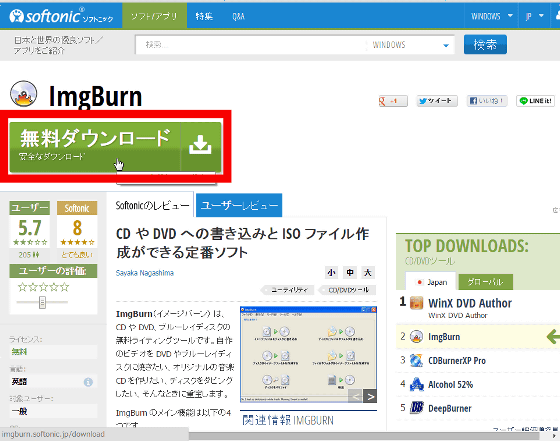
First of all, I will make the contents of the installation DVD an ISO file using lighting software etc. If there is no writing software, free software "ImgBurn"OK if you use OK.
First of allThis siteDownload ImgBurn from. Click "Free Download".
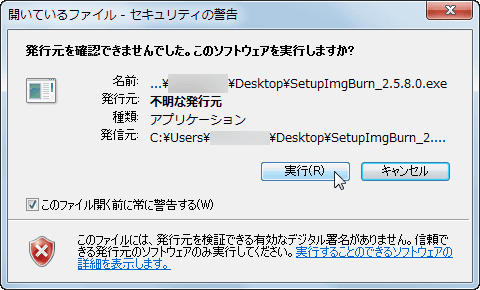
Run the downloaded installer and click "Run".
Click "Next".

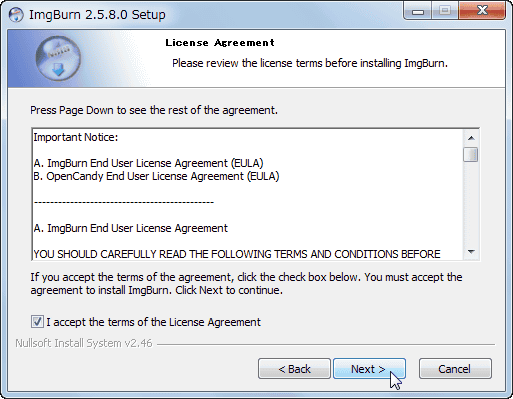
Please check "I accept the terms of the License Agreement" and click "Next".
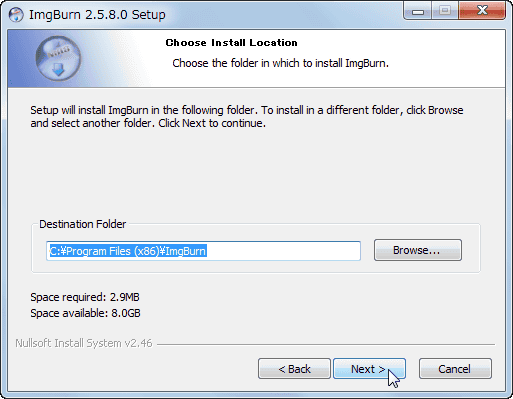
Click "Next".
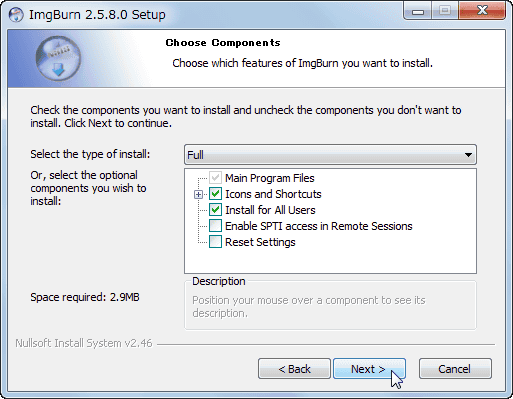
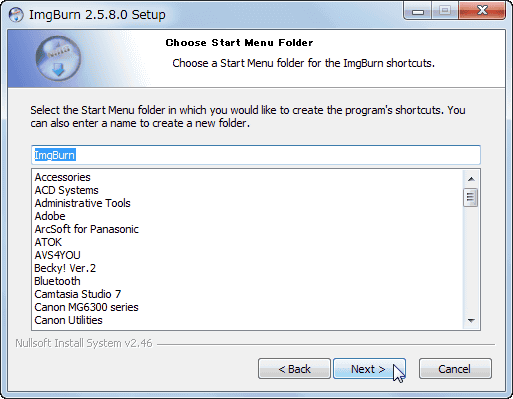
Click "Next".
Click "Next".
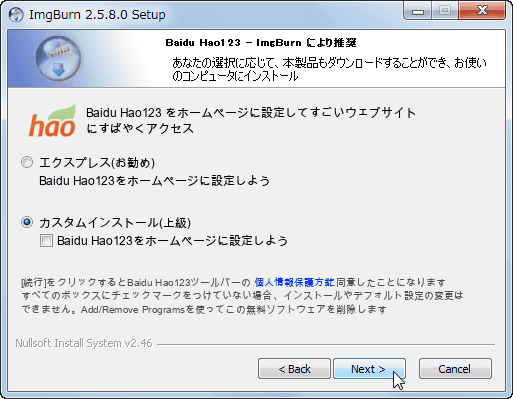
After unchecking "Let's set Baidu Hao 123 as homepage", Click "Custom installation" → "Next".
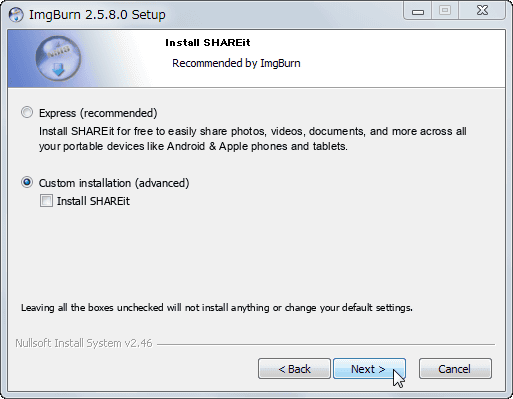
After unchecking "Install SHAREit", Click "Custom installation" → "Next" to complete the installation and ImgBurn starts.
I put the installation DVD of Windows 7 in the drive here.
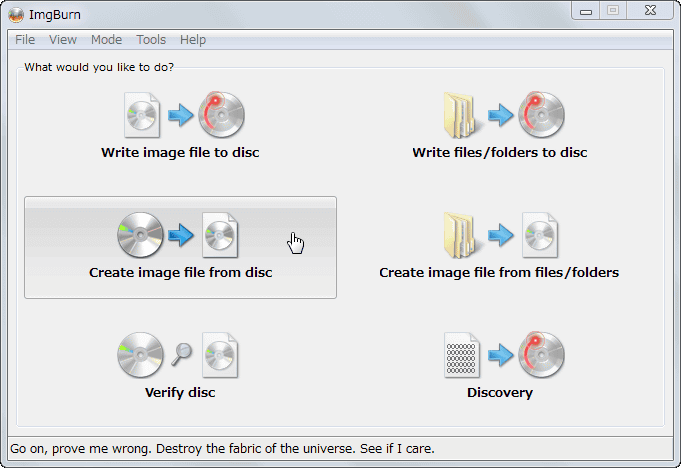
Click "Create image file from disc".
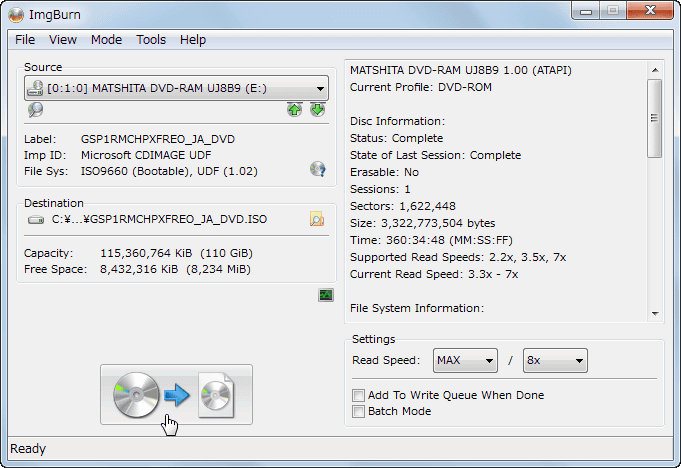
In "Destination", specify the location where you want to save the ISO file and click the image icon.
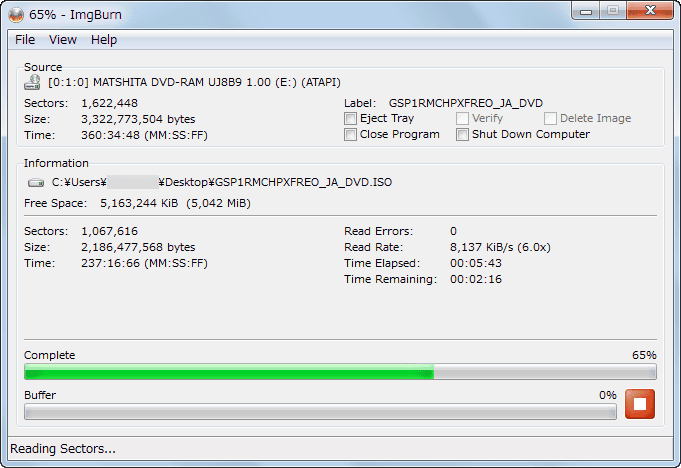
Wait for the ISO file to be completed.
· Write ISO file to USB memory
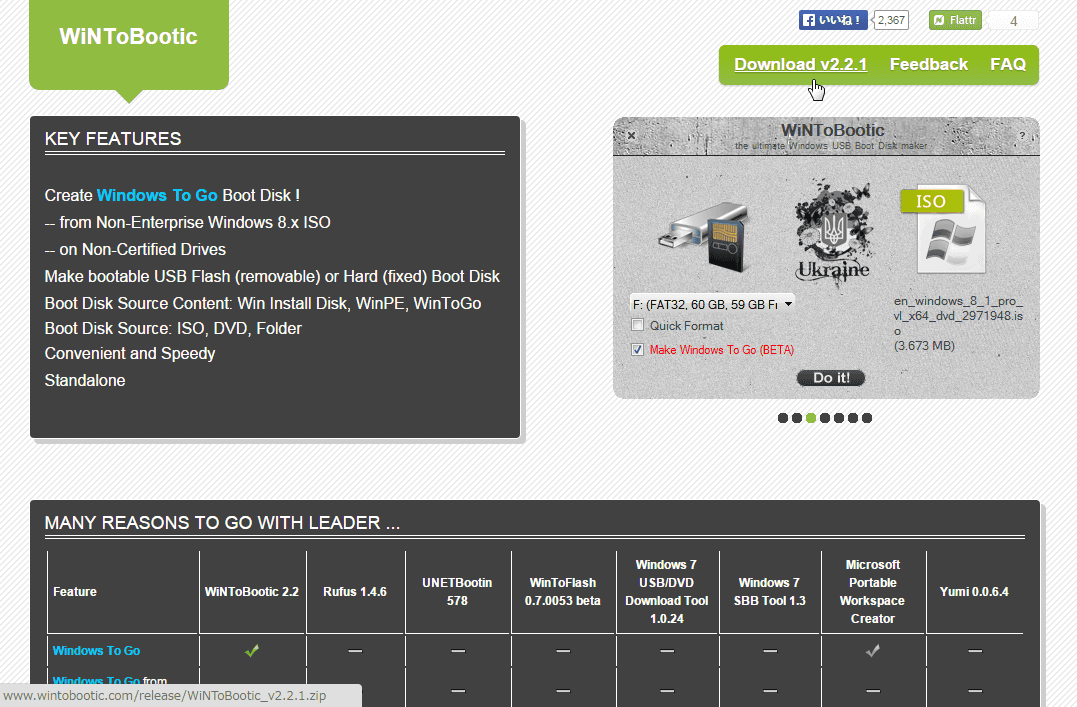
next,"WiNToBootic"To the USB memory in the boot mode.
This pageClick "Download v2.2.1" of "Download v2.2.1" to download the downloaded file as "ExplzhExtract it with "WiNToBootic.exe" in the folder and WiNToBootic will start up.
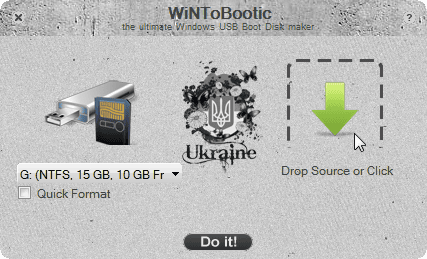
Insert USB memory for installation into the PC and make it recognized, click the "↓" icon and specify the ISO file created earlier.
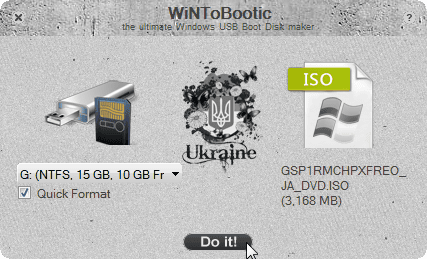
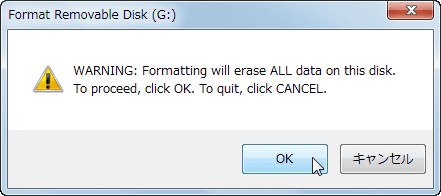
Check "Quick Format" and click "Do it!". Incidentally,Attention is paid because the USB memory is completely initialized once.
Click "OK".
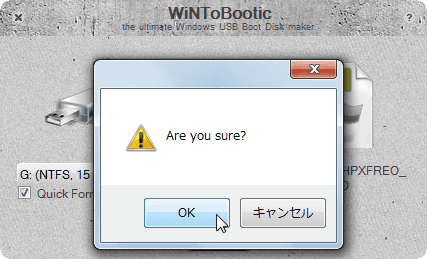
Click "OK".
Following the USB memory format ......
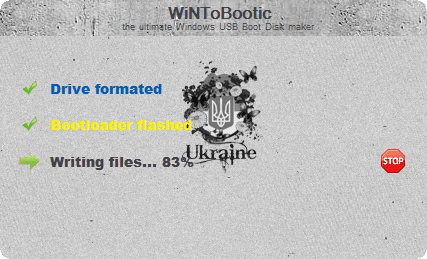
As data is written, wait for a while and installation USB memory is completed.
◆ Setting up UEFI
When you turn on the power of your homebrew PC created without OS installed,UEFIWill start. TraditionalBIOSUnlike the screen UEFI of the graphical UI can be operated not only with the keyboard but also with the mouse.
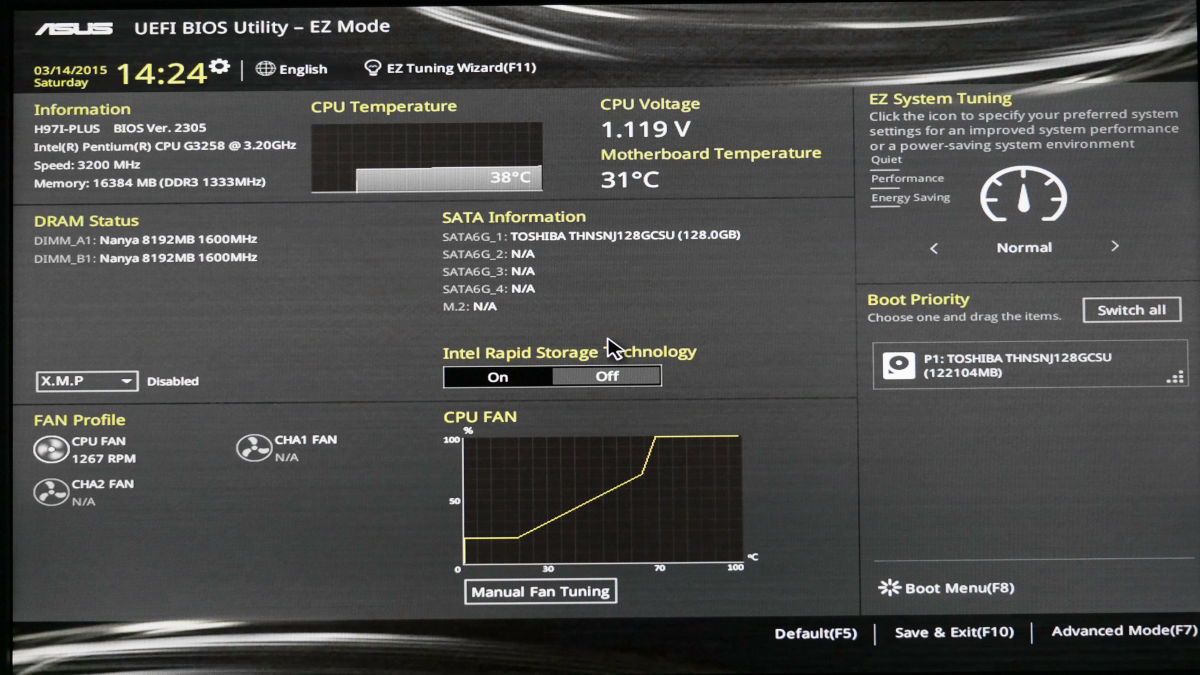
First, click "Advanced Mode" in the lower right.

Click the "Main" tab → "Language" → "Japanese" to make UEFI Japanese.

By default, H97I-PLUS 'UEFI does not need to change settings especially for installing Windows 7 because optical drive and USB memory are already registered on the boot destination media. So, I'll carefully check what settings are possible. If you say "I want to install Windows 7 as soon as possible!", Let's go to "Install Windows 7".
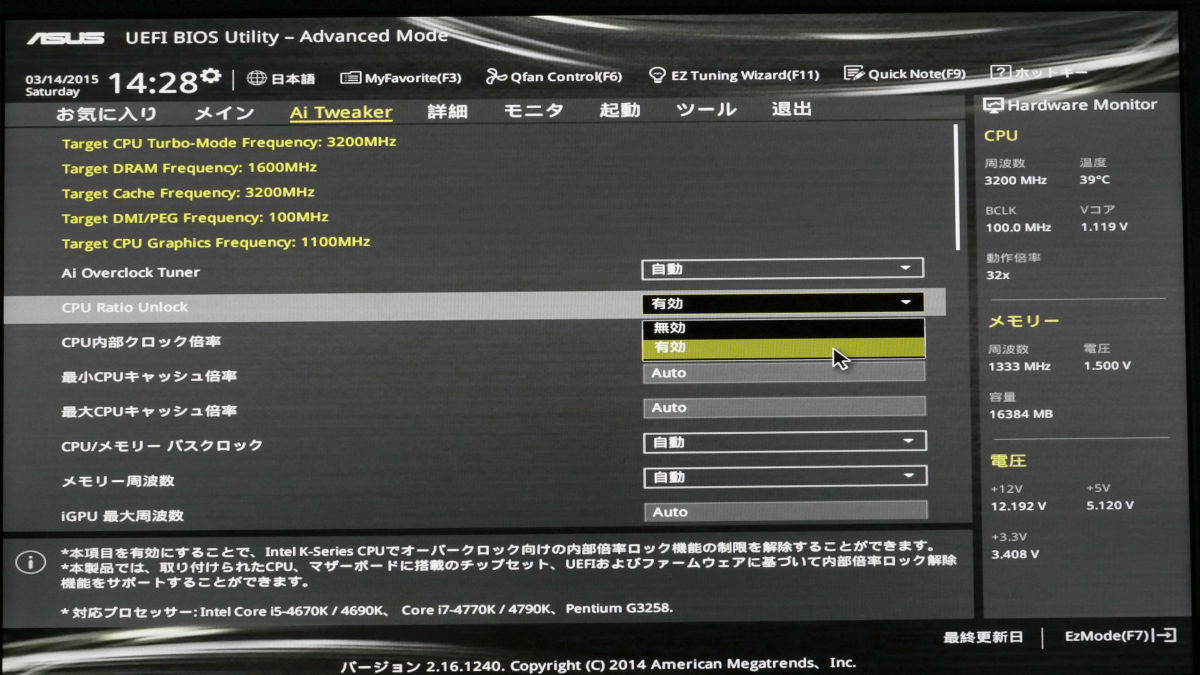
Opening the "Ai Tweaker" tab opens the CPU setting screen. On this screenOverclocking (OC)You can set such as.
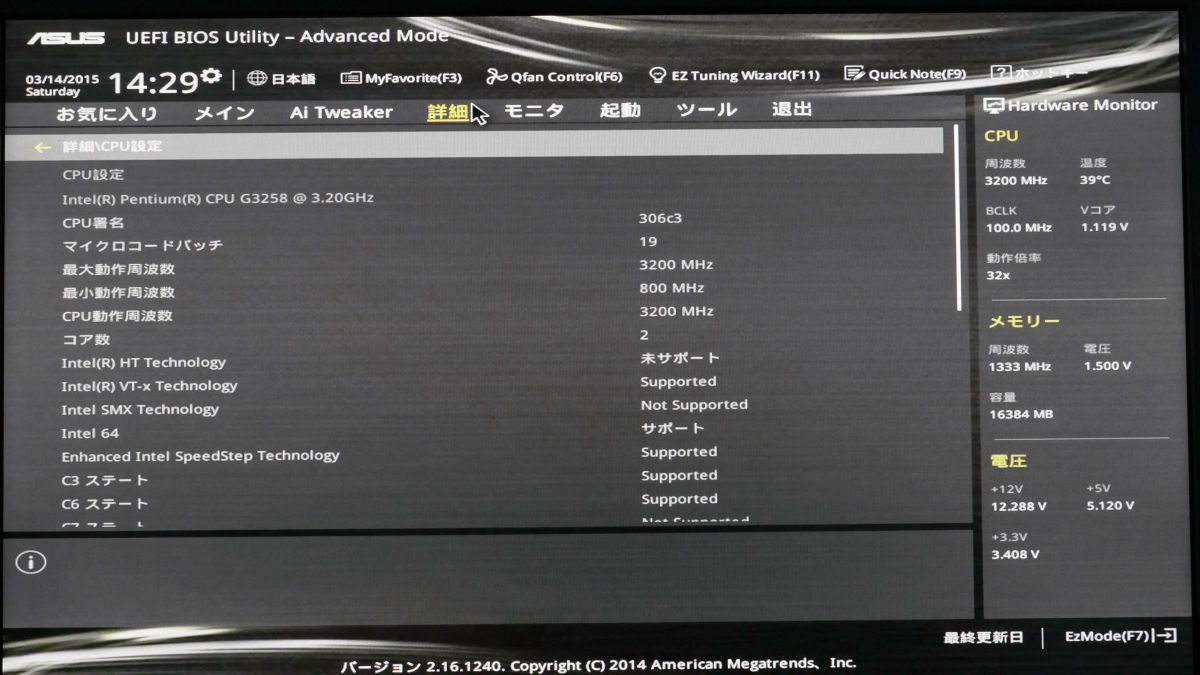
On the "Details" tab, you can check the CPU setting status.
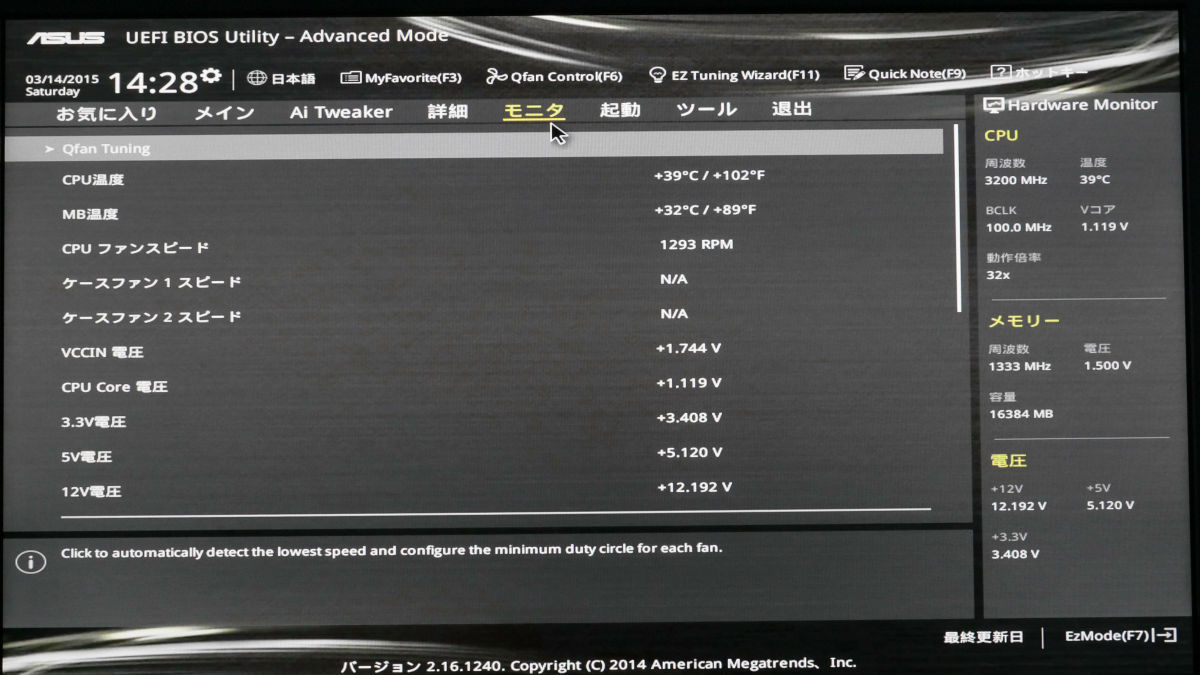
On the "Monitor" tab, you can monitor CPU and motherboard temperature, fan speed (RPM), CPU voltage and so on.
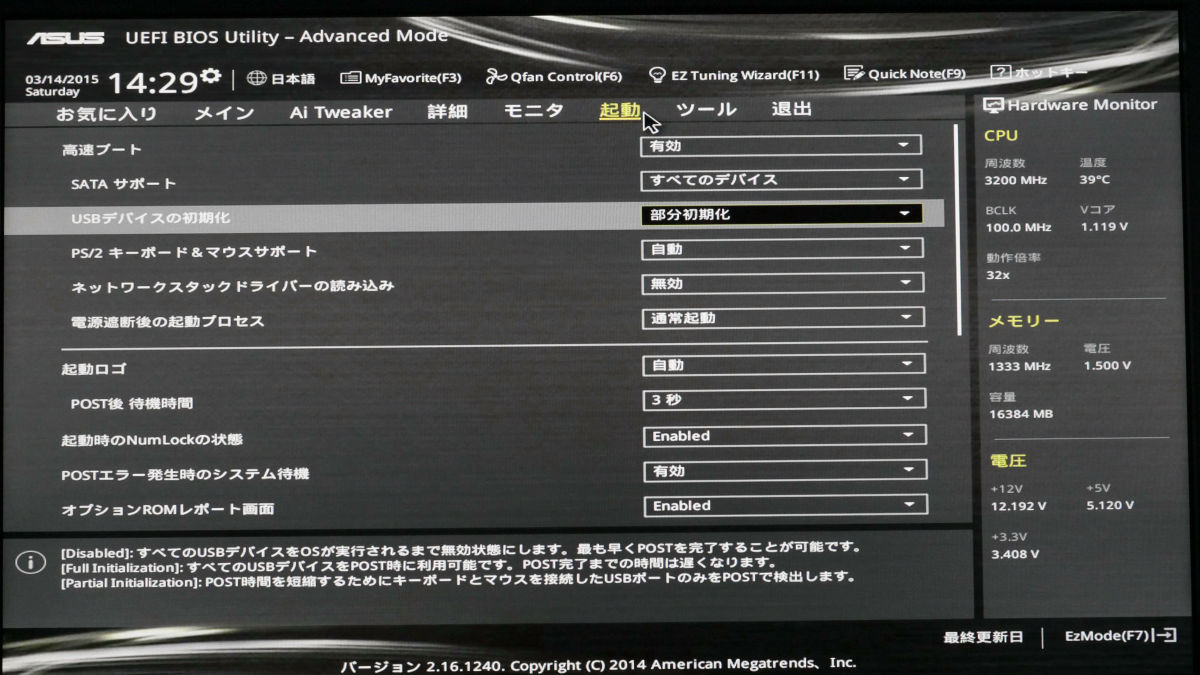
On the "Startup" tab, you can change the ON / OFF of the fast boot, the presence or absence of the display of the boot logo, the setting of the standby time of the POST screen, and so on.
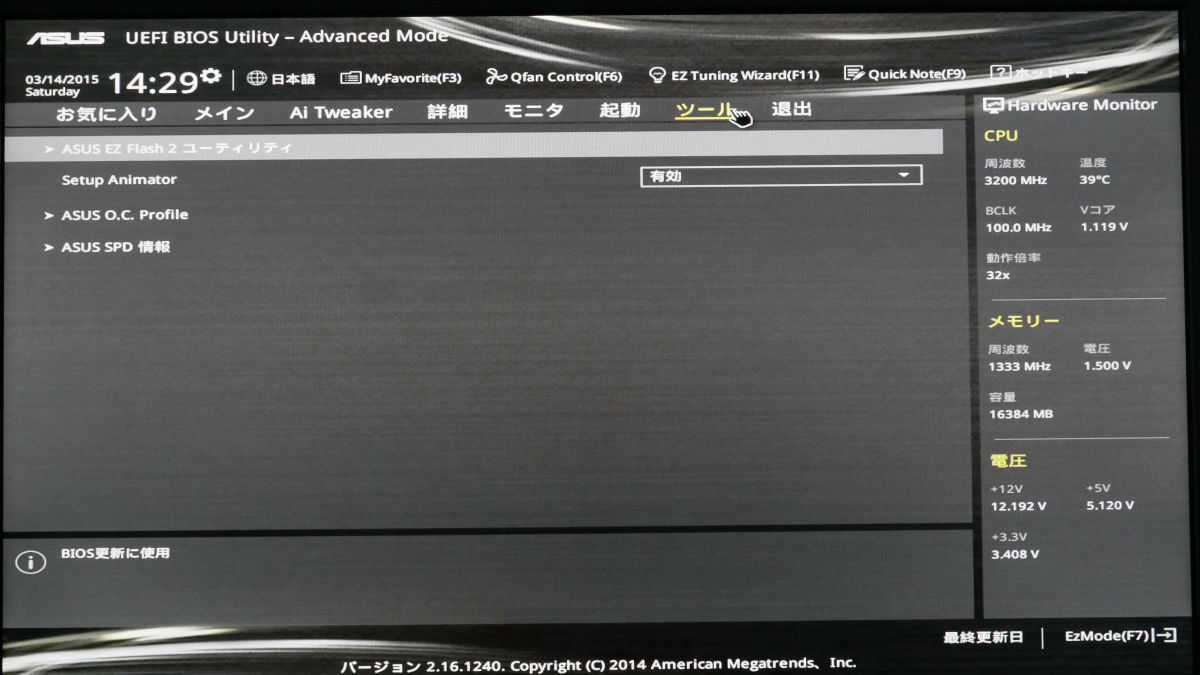
ASUS proprietary tools are available on the "Tools" tab.
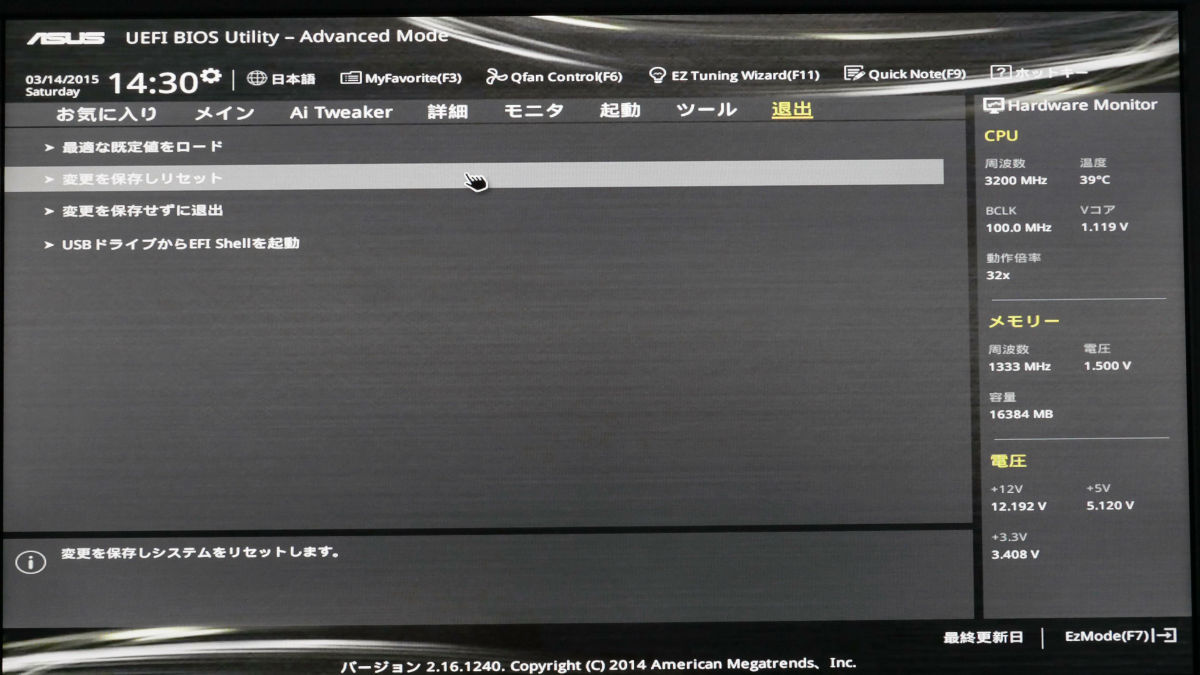
Finally, open the tab "Exit", click "Save changes and reset" ... ....
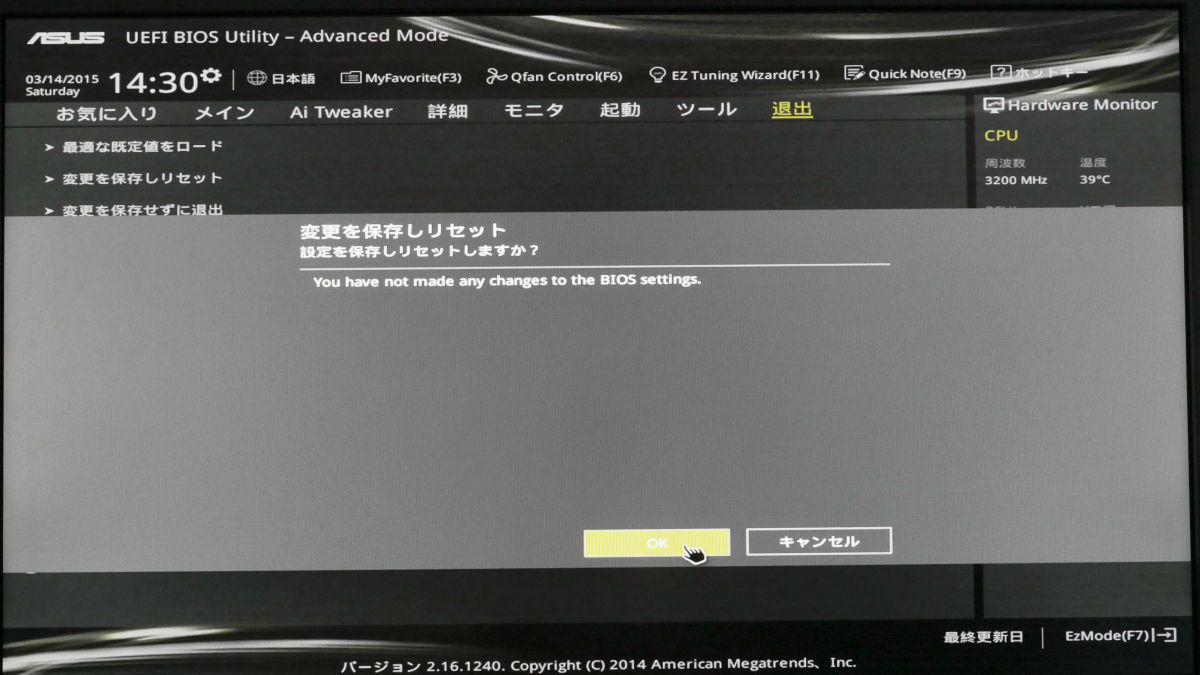
Click "OK" to save the settings and restart the PC.
◆ Installing Windows 7
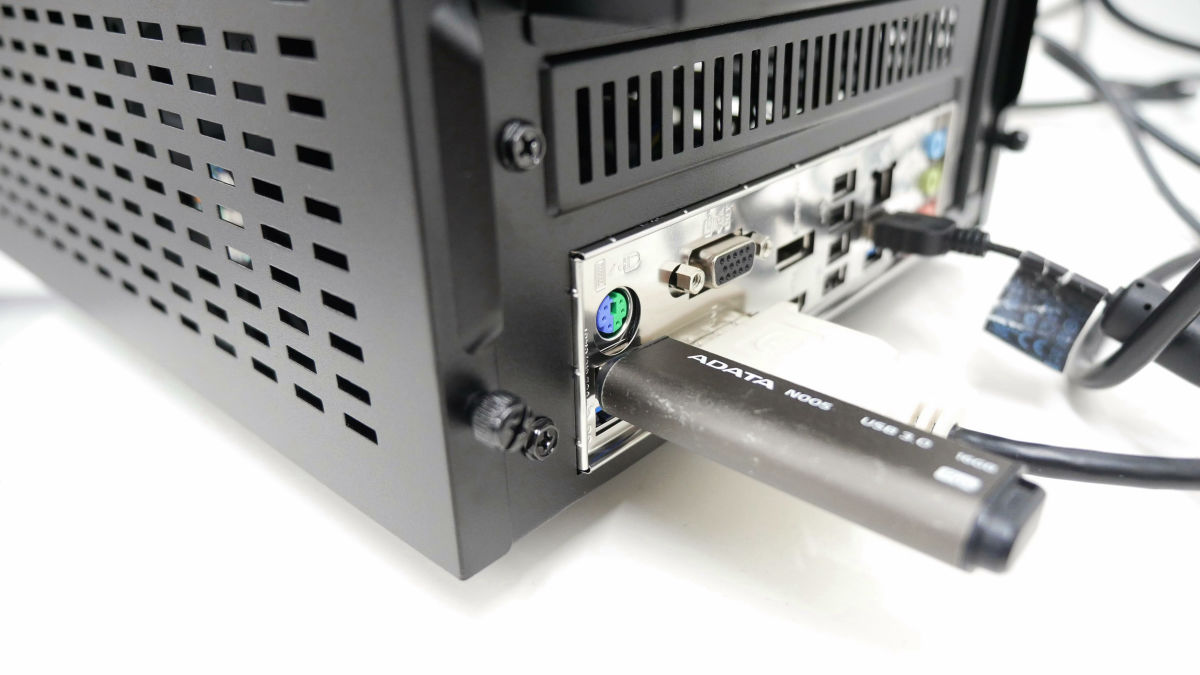
Finally I will install Windows 7. If there is an optical drive, put the installation DVD of Windows 7 into the drive, if there is no optical drive, install the installation USB memory created earlier on the back of the caseUSB port on the I / O panelInsertion.
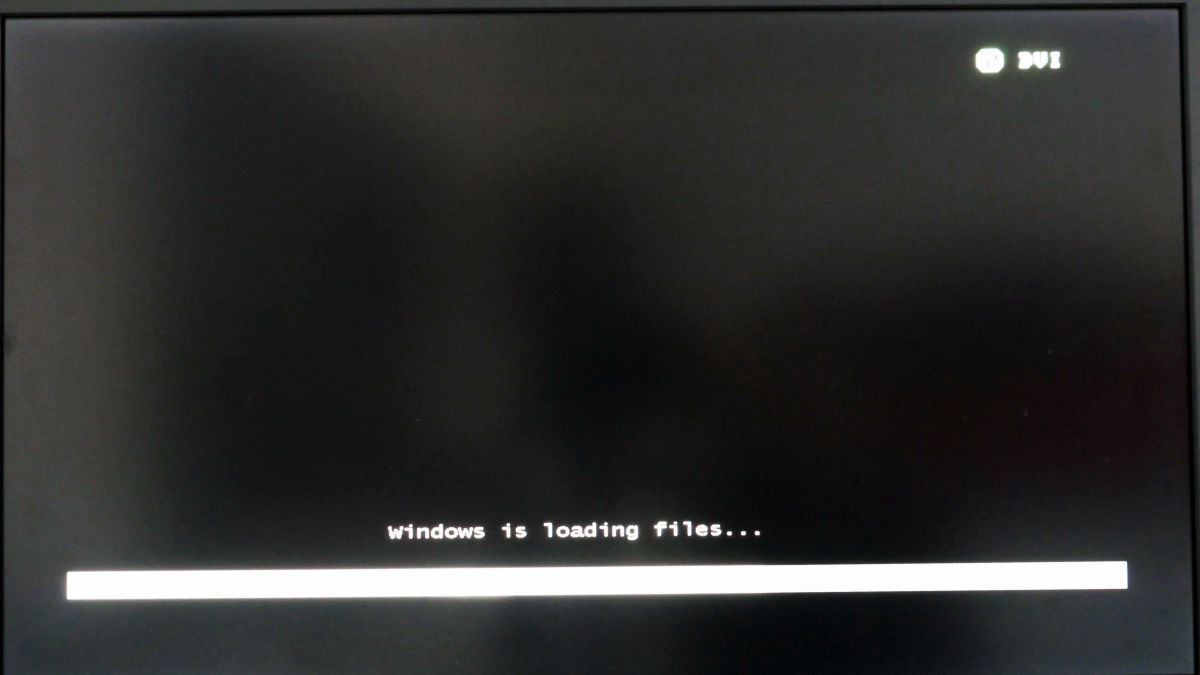
When you turn on the PC by pushing the power button of the PC, it starts up from Windows installation media.
After confirming that the language and keyboard settings are correct, click "Next".

Click "Install now".

I will wait for a while.

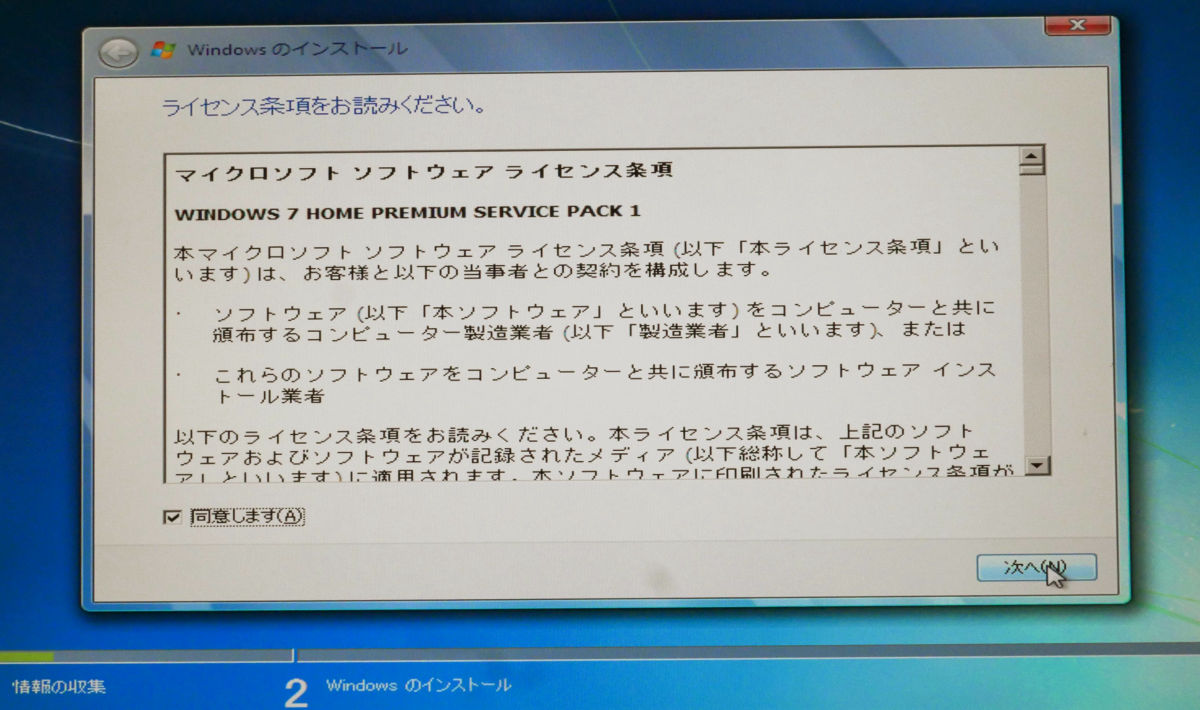
Check "I agree" and click "Next".
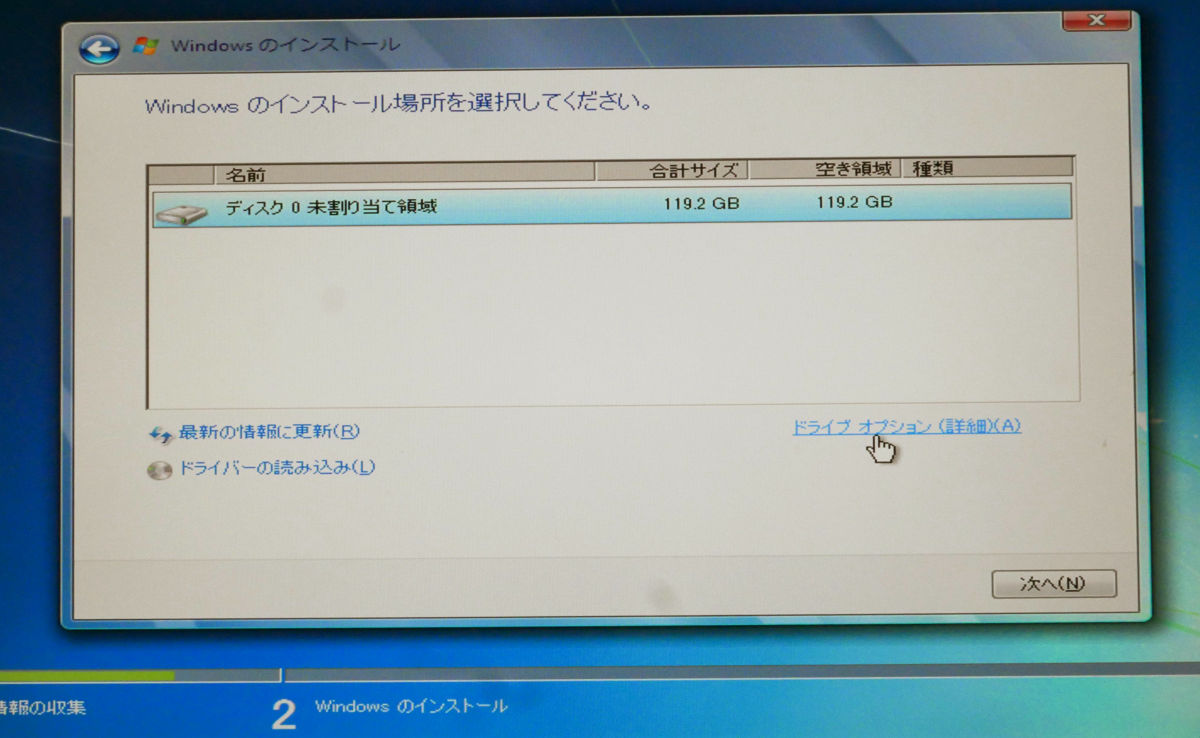
Click "New installation".

It is possible to switch off the partition and change the installation destination from "Drive option". Since this time installing it as one system drive (C drive) without partitioning to SSD, click "Next".
Installation will start and wait for a while.
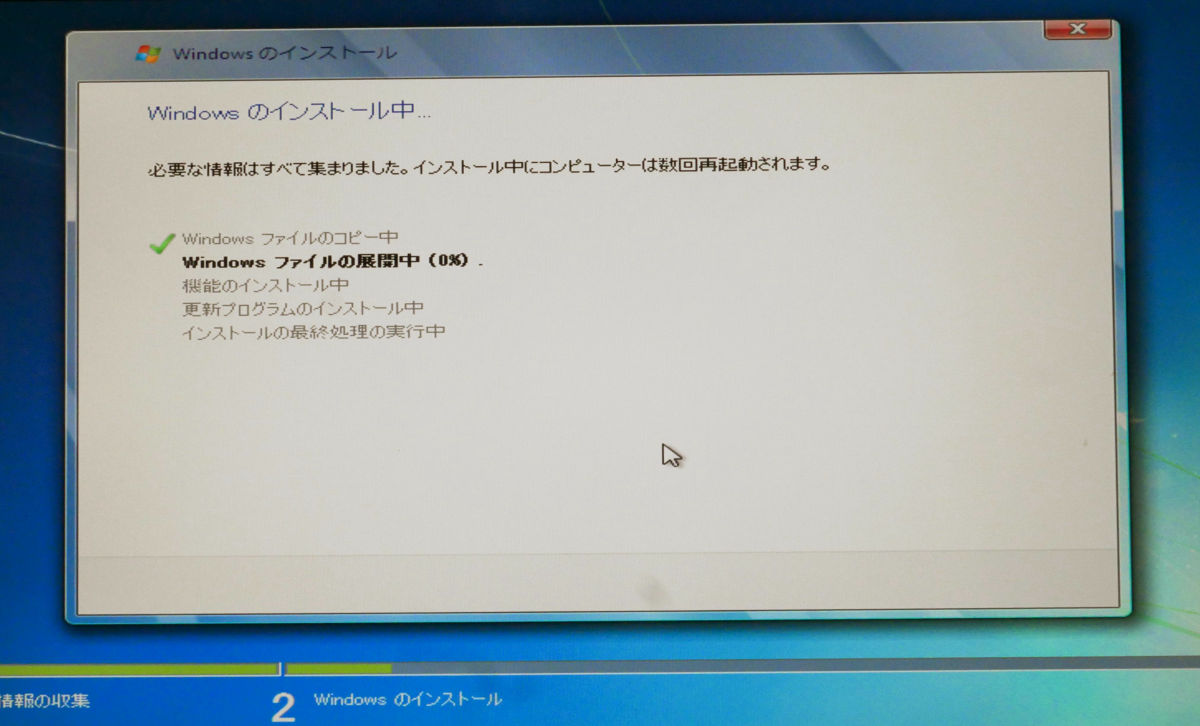
In addition, although the PC restarts several times, operation is unnecessary especially because it waits.

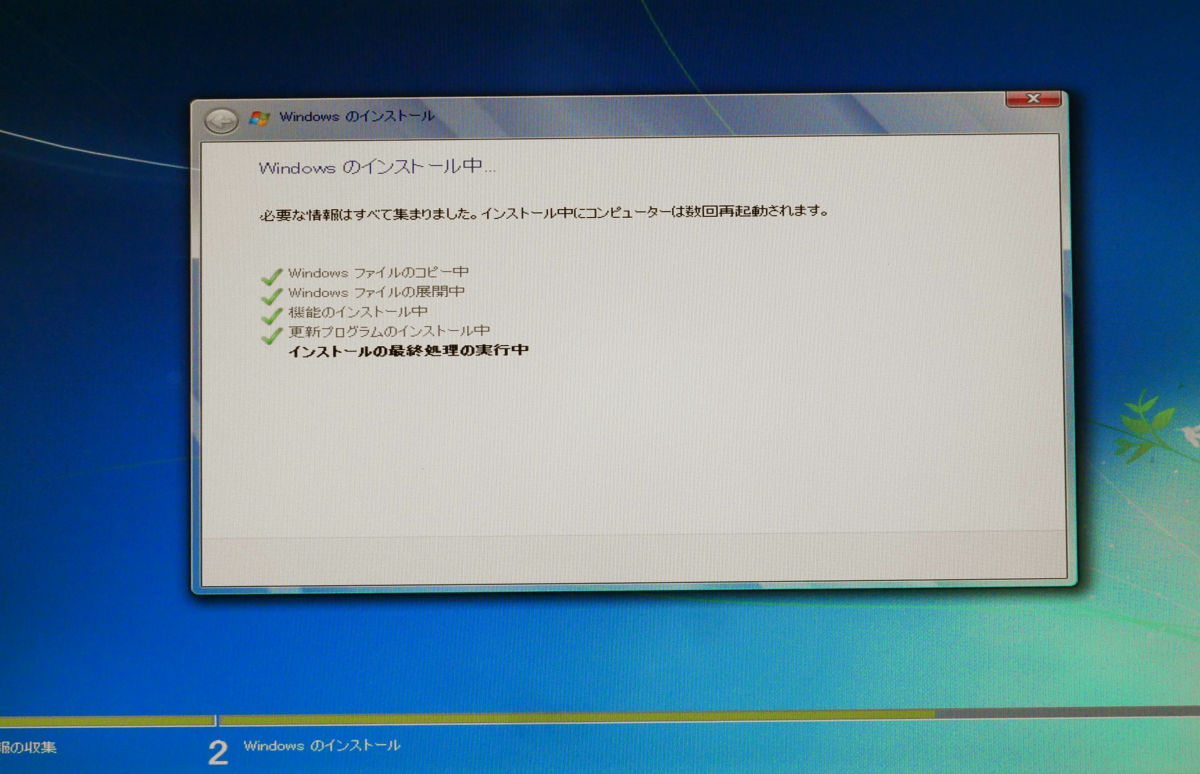
Final processing of installation is in progress.
Checking performance. A little more to complete installation.

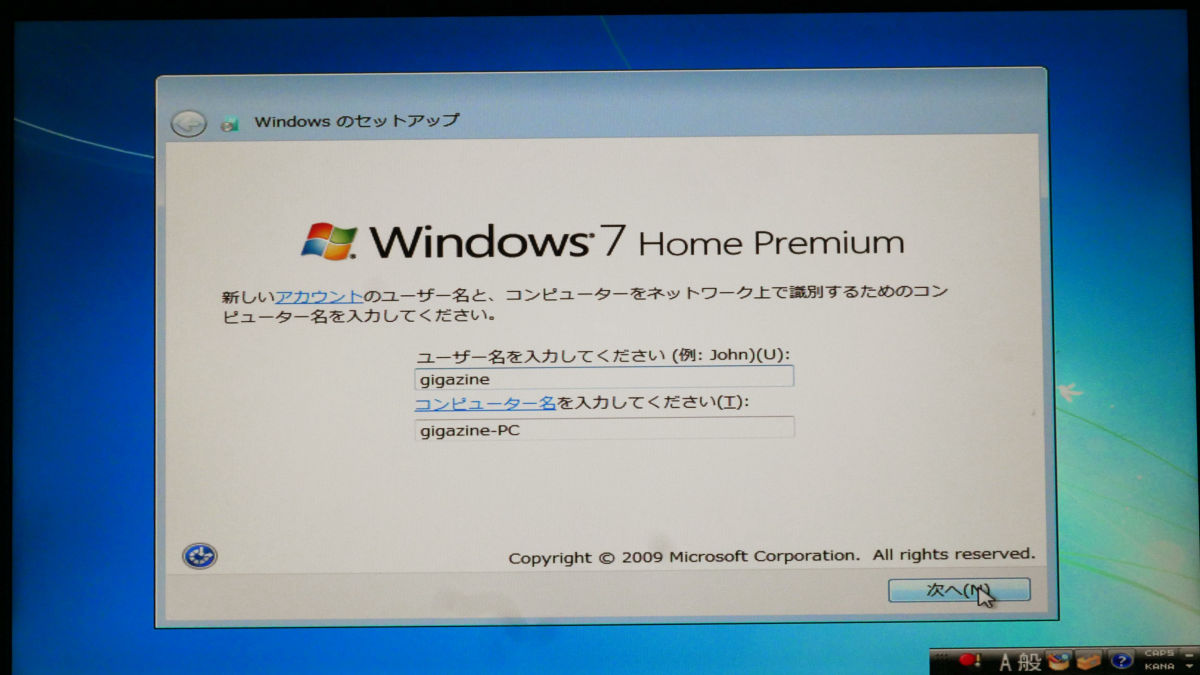
Enter user name and computer name and click "Next".
Since setting driver is done after Windows 7 installation finishes, it is recommended to set password later. Click "Next" without entering anything.

Enter the Windows 7 product key and click "Next".
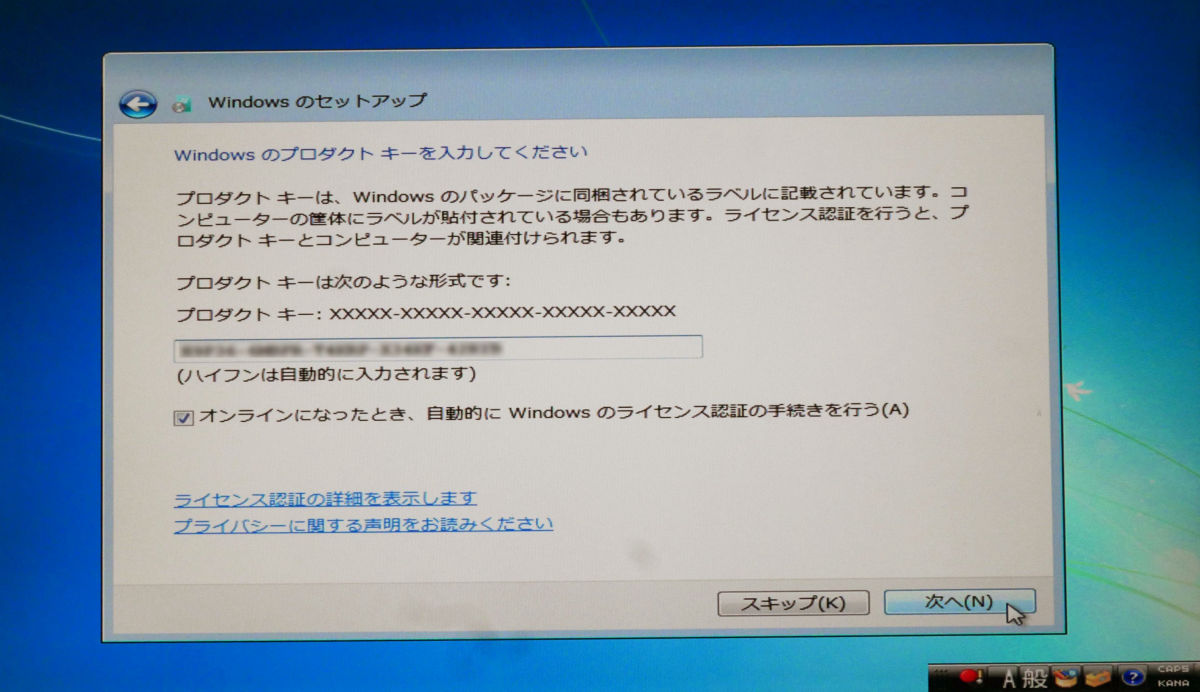
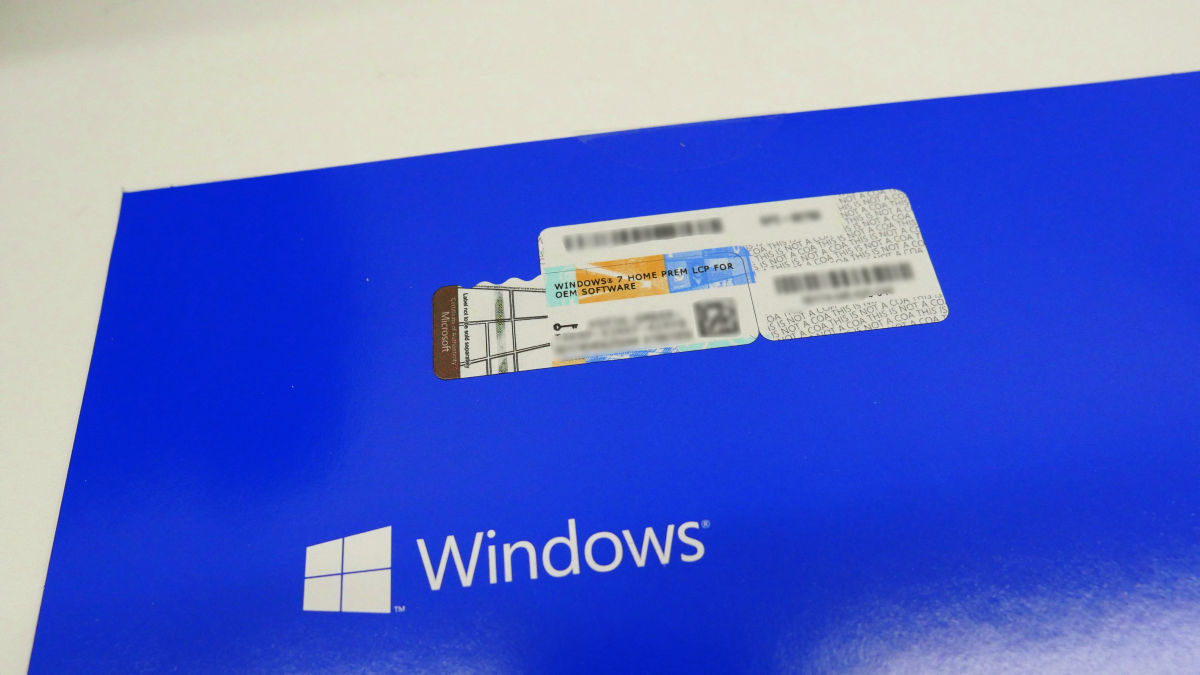
In addition, the product key is stated on the sticker affixed to the DVD package.
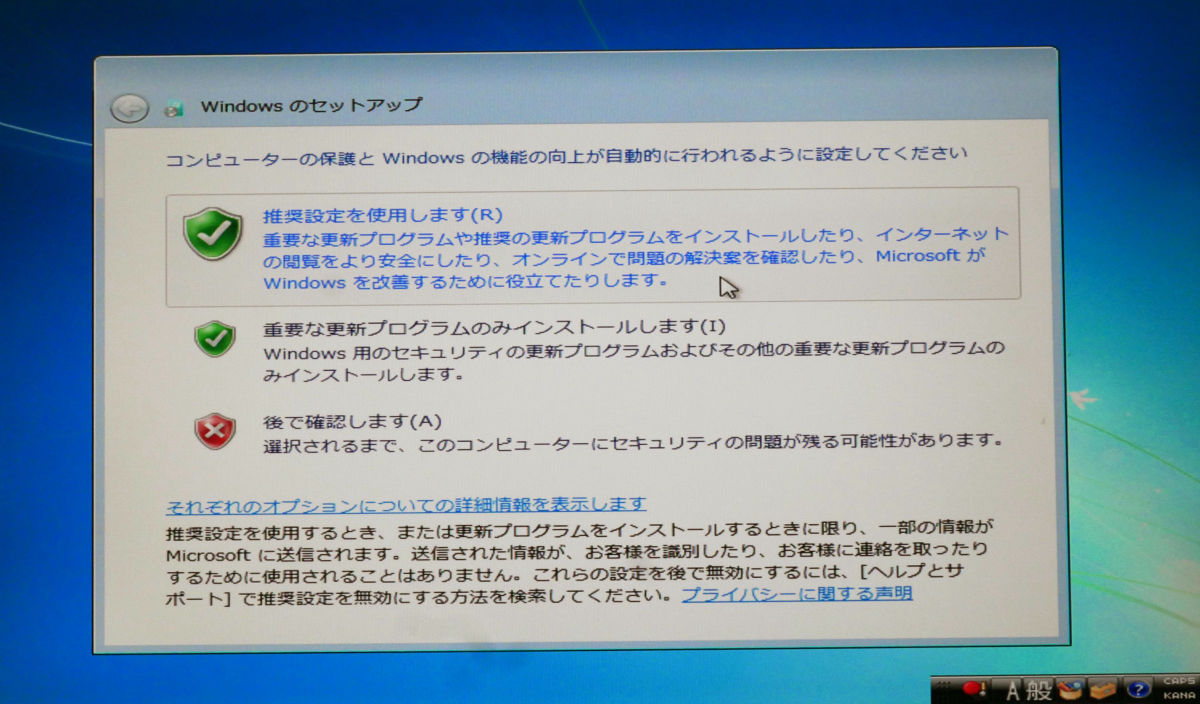
Click "Use recommended settings".
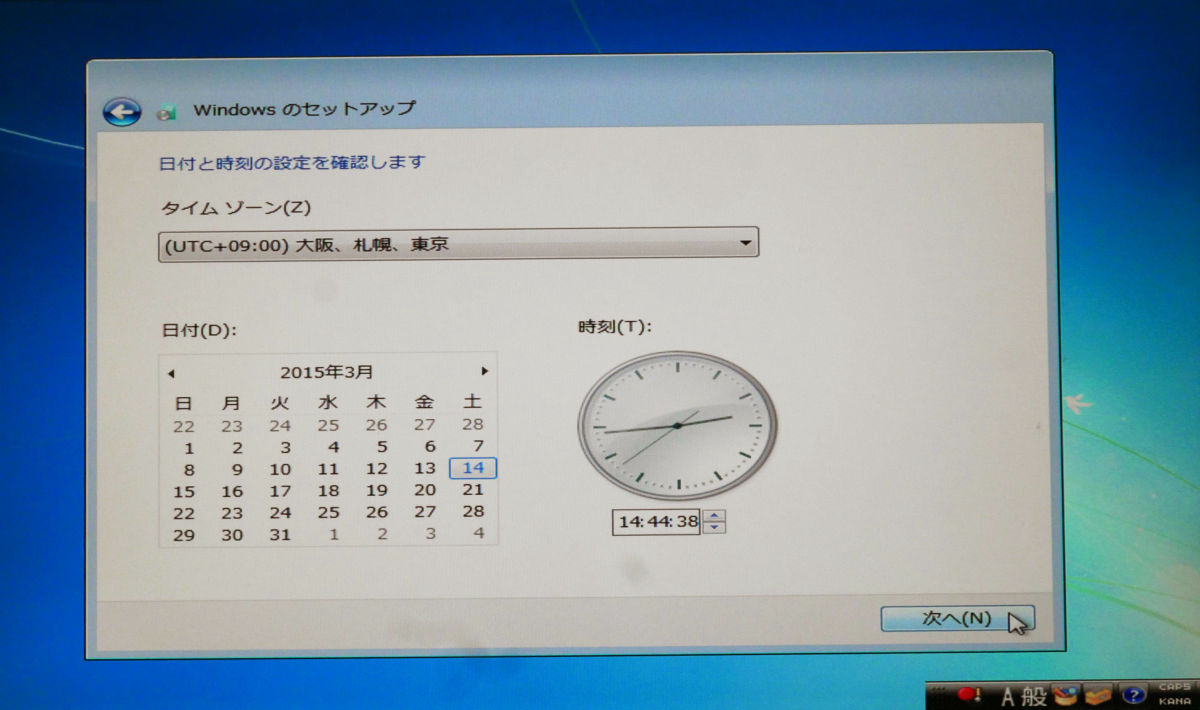
Specify the time zone and click "Next".
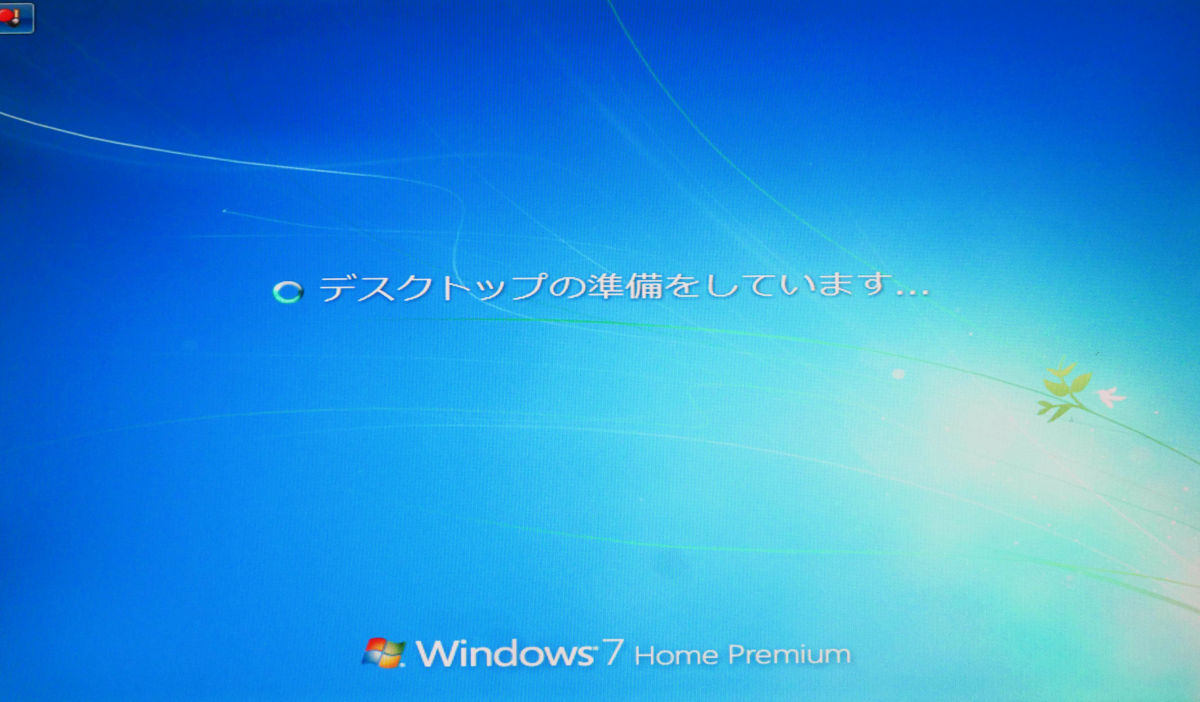
Preparing the desktop.
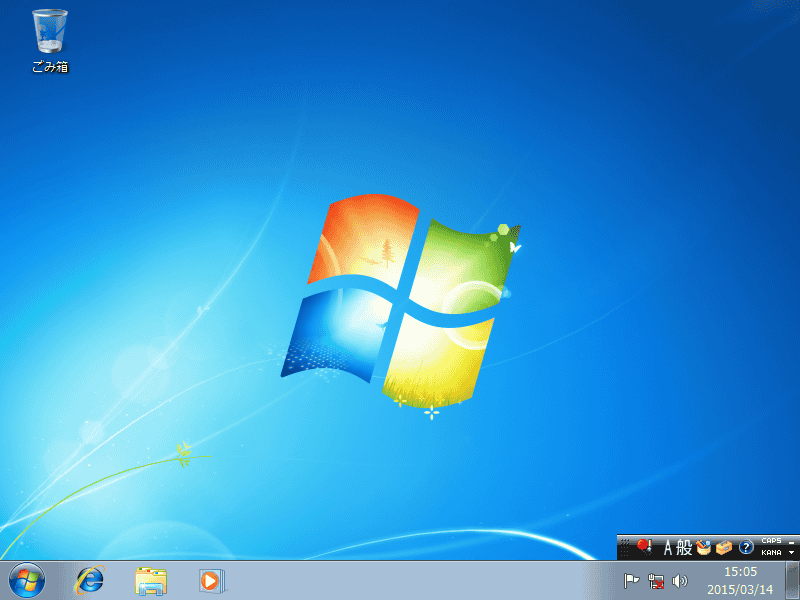
The desktop screen starts up and installation of Windows 7 is completed.
◆ Installing the driver
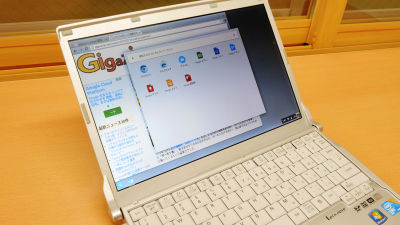
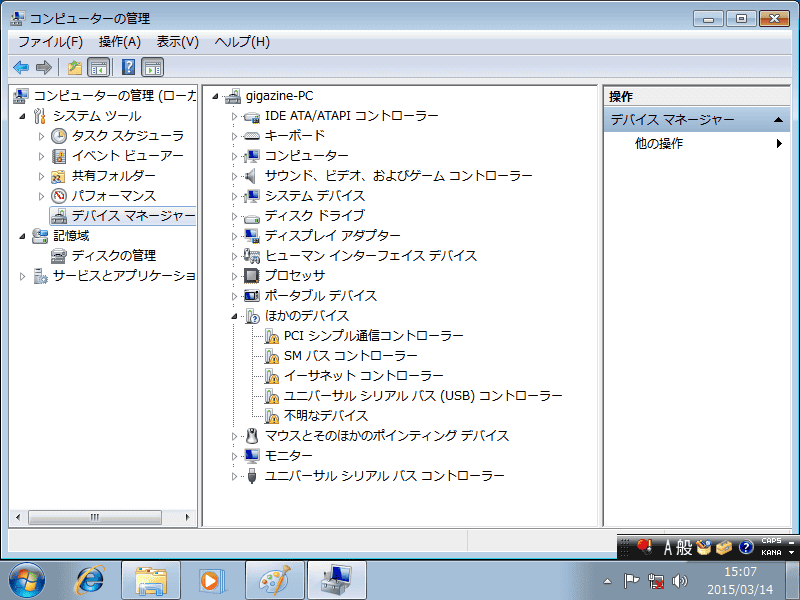
I finished installing Windows 7 but in this state I can not use PC properly. This is an image that opened the device manager. A "!" Icon is attached to an uninstalled driver. By installing all of these drivers all functions of PC can be used.
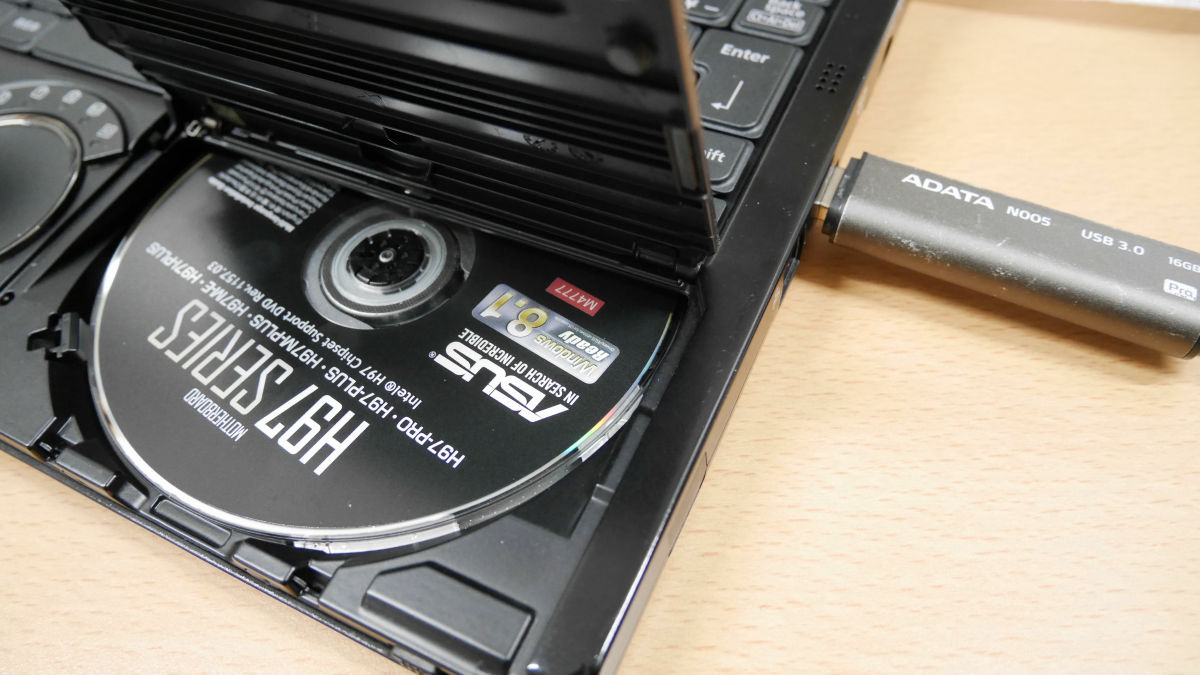
That's why the driver installation work. There is also a method of "downloading the latest driver from the Internet", but as the ASUS motherboard comes with a driver DVD that automatically installs all necessary drivers, install it using this It's very easy to recommend. If there is an optical drive in the PC, you can boot it by launching the driver DVD. Since there is no optical drive this time, I will copy all the contents of the DVD media all the time to the USB memory.
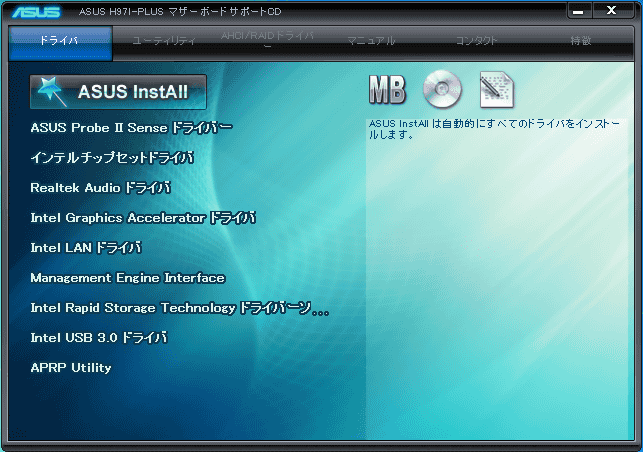
Insert the USB memory in your PC, execute "Setup.exe" in the copied file.

Click "ASUS InstAll" on "Driver" tab.
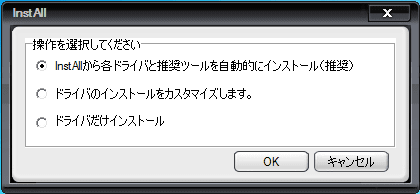
Click "OK".
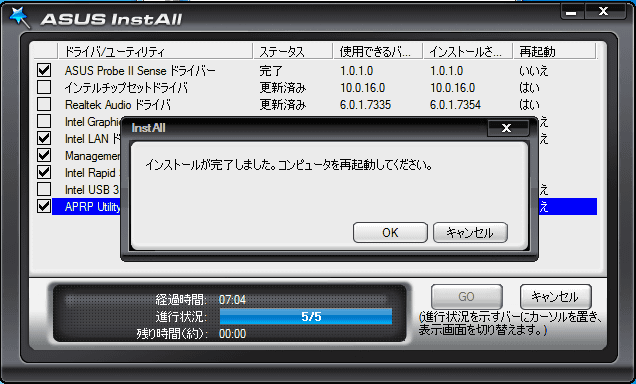
After that, install the driver automatically, it restarts accordingly as necessary, just waiting for OK.

When the driver installation is completed, click "OK" and restart the PC.
After rebooting, confirm that all the "!" Attached to the driver of the device manager have disappeared, finally completed the original PC! ...... I'd like to say, but I still have work.

◆ Final work
· Windows Update
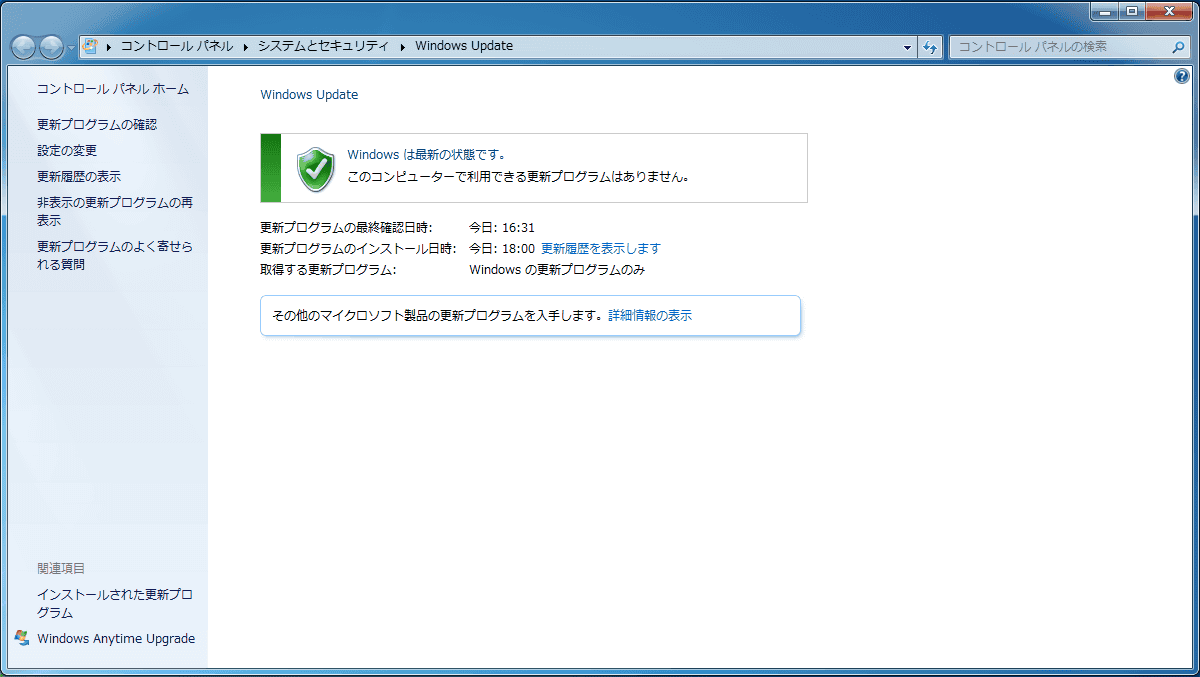
The first of the remaining work is "Windows Update". By the way, the number of Windows Update is about 200 in all.

It took me more than an hour to wait for the installation to be completed and set it to the "latest state". How much time it takes Windows Update to be longer than Windows 7 installation work time.
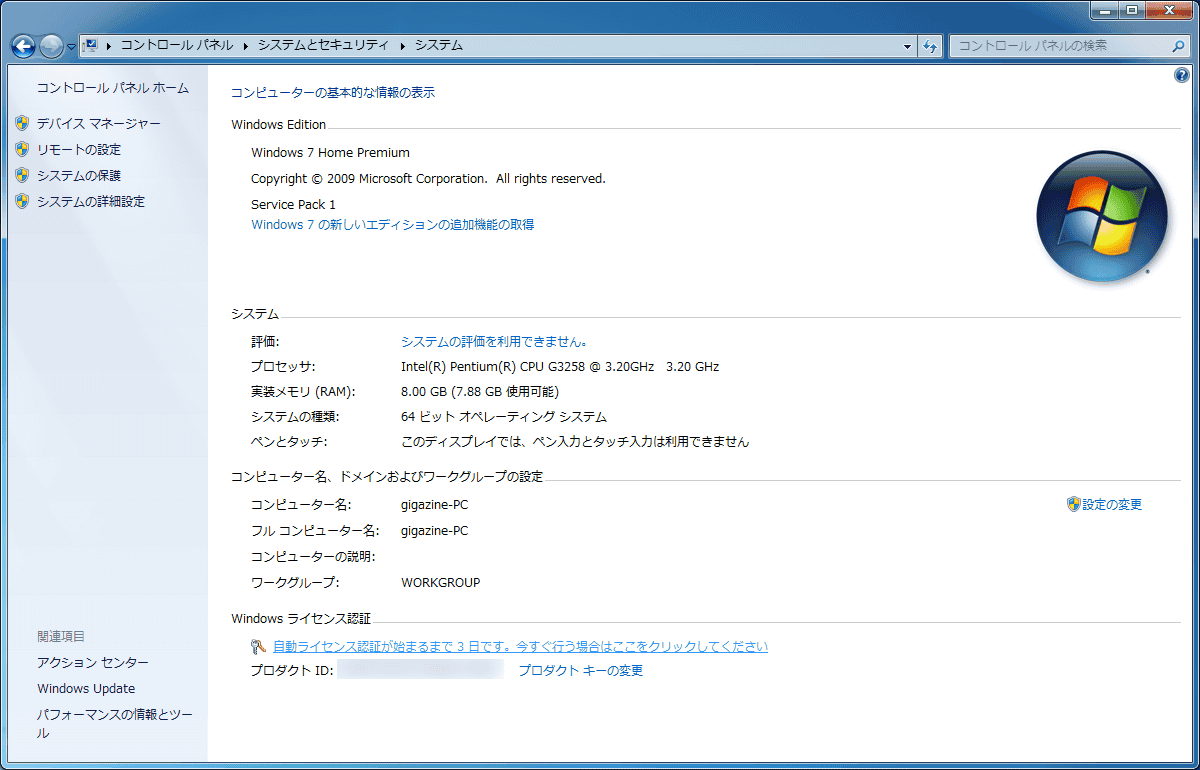
· Activation
The second task is license activation. Click "Windows Activation" link under "Control Panel" → "System and Security" → "System".
Click "I'm going to activate Windows online now".
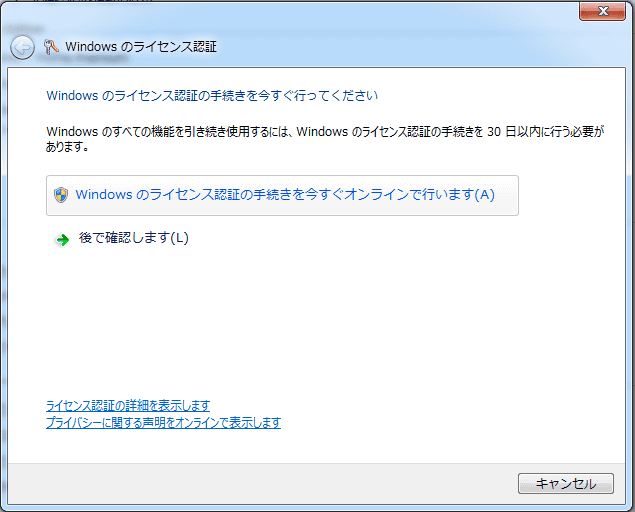
Wait a while ......
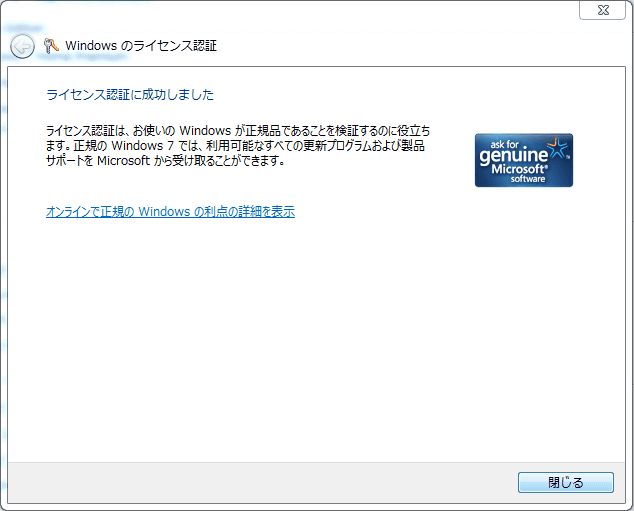
If the authentication is successful, it is OK. Finally completed my personal computer.
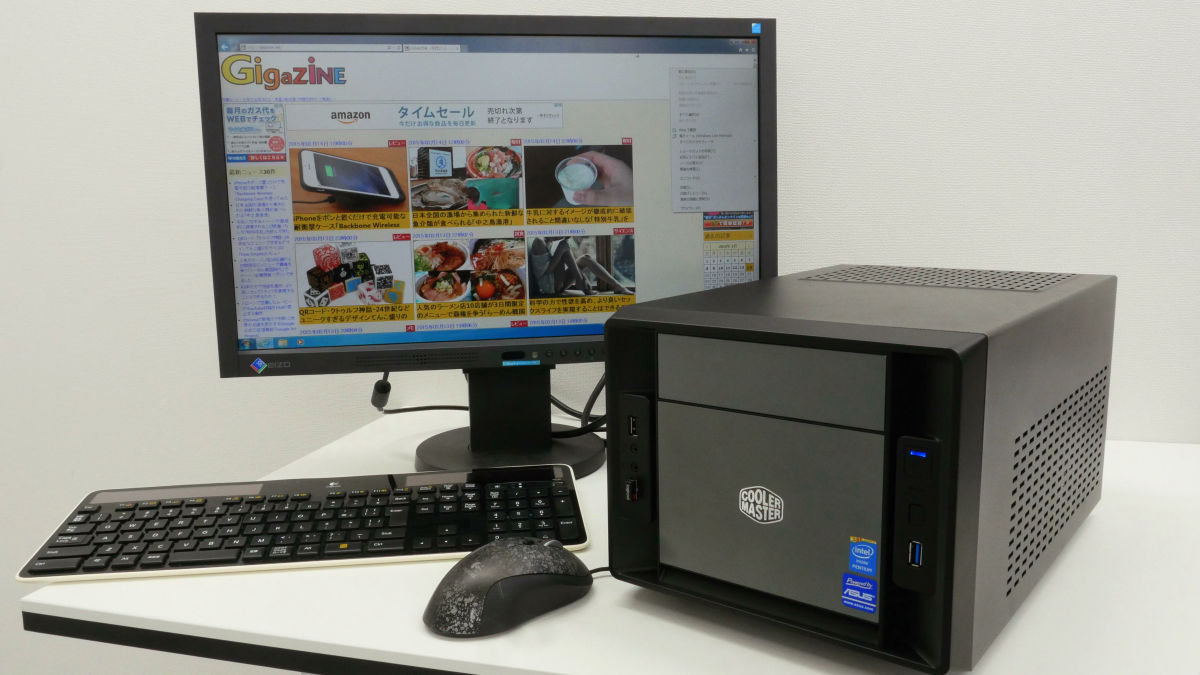
In commemoration of the completion, I attempted to stick the Intel seal attached to the CPU on the front panel of the PC case and the ASUS seal attached to the motherboard. Of course, you can use the PC without sticking the seal.

◆ bonus
Windows Express Index, The processor has 7.1, memory 7.2, graphics 4.9, game graphics 6.4, primary hard disk 7.9.
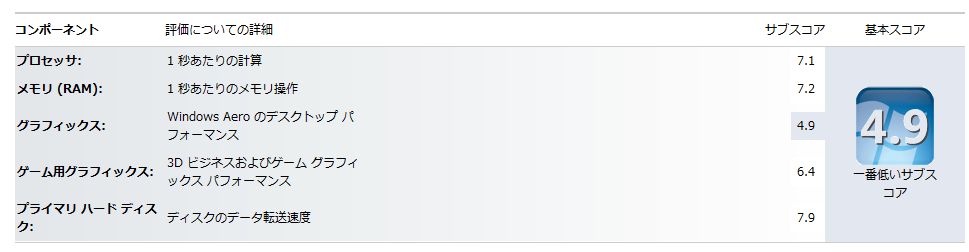
According to Microsoft, "PCs with a score of 2 are generally adequate for basic tasks such as word processors and web browsing, at least 3 is required to run Aero Desktop Experience, using graphically intensive software In general, a score of 4 or higher is required. "It is said that the specifications of this machine do not have any problem for normal use.
◆ Summary
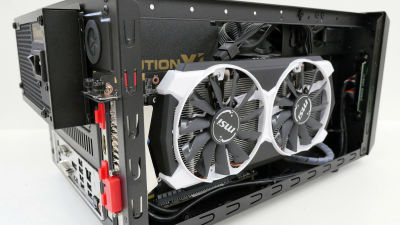
With this feeling, the Windows & amp; driver installation work has been completed and a comfortable original machine has been completed. It is no doubt that attachment will spring up if it is a self-made PC made over time. In addition, you can play 3D games by inputting high-performance graphic boards, change to an ultra high-speed SSD with PCI-Express connection, add capture boards, record terrestrial digital broadcasts, BS and CS broadcasts, It is a great ant to make "evolution" on occasion every time everything that you want to do comes out as you aim at the performance of OC and crawl the CPU. We will continue to post articles on our own PC parts using this cube PC so please look forward to it.
· Continued
I tried overclocking by making the small cube type homebrew PC crisp and water cooled - GIGAZINE
Related Posts: