I actually installed "PC-BSD 7.1" which is created based on FreeBSD and can be easily set up

Previously at GIGAZINEI explained the installation of FreeBSDThe thing that I was keenly aware of was that it was not graphical, it was difficult to stick with command line based installation method anyway. Even if you say that it is functionally superior, you can not deny the height of the doors of the very first stage. However, specialized for desktop PC "PC-BSD"in the case of,What you can use "quickly, easily"It is said that it is made aiming at, so you can easily install it on a graphical screen. In short, PC - BSD is not a derivative version of FreeBSD, but FreeBSD and the desktop environmentKDEIf you think that it is easy to install, OK.
You can also use FreeBSD's Ports properly, there is no dependency problem, you can install software with few clicks PC-BSD specific "PBIIt is also beneficial to be able to use the system called "system."JailCan be set with GUIWardenFunctions frequently used for server applications, etc. are also enhanced and enhanced.
So, from the PC - BSD site download the PC - BSD 7.1 using FreeBSD 7.2 - PRERELASE and install it, and the procedure to where you can enter Japanese properly is as follows.
First of all, the ISO file of PC-BSD 7.1hereDownload from
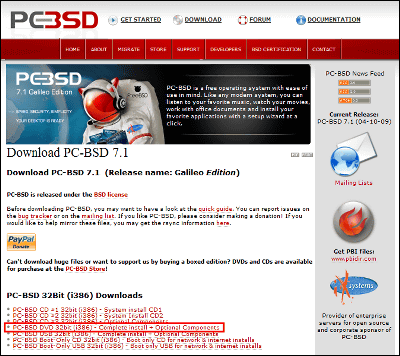
Select the site to download. Select a Japanese site.
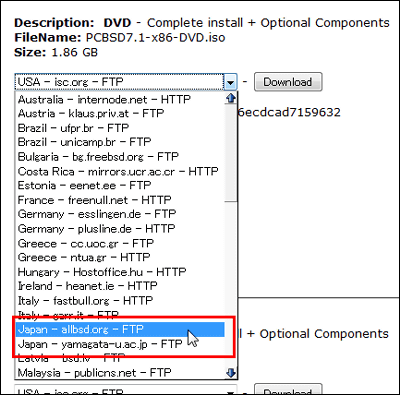
After deciding the download source, press "Download" button
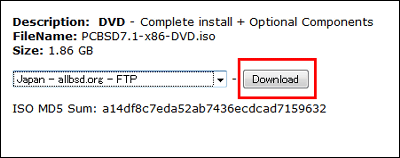
Click on "ftp://pub.allbsd.org/pub/pcbsd/7.1/i386/PCBSD 7.1-x86-DVD.iso" as the link will be displayed

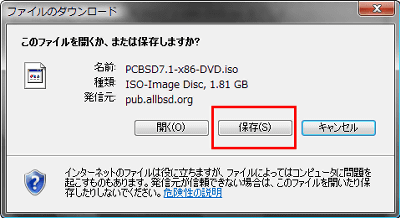
Click Save
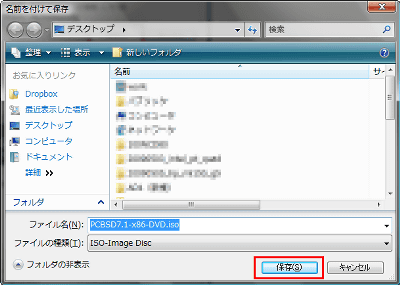
Decide where to save the ISO file and click "Save".
Since I have 1.8 GB capacity, let me wait patiently.
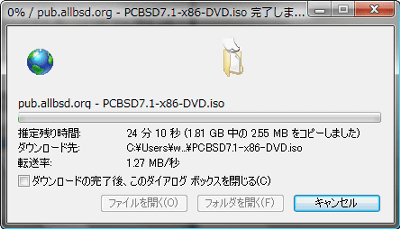
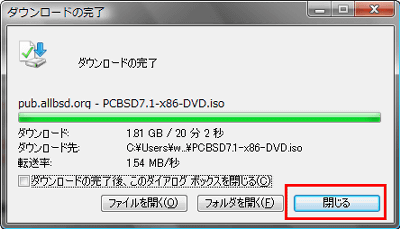
Download completed in about 20 minutes. Next we will install it immediately.
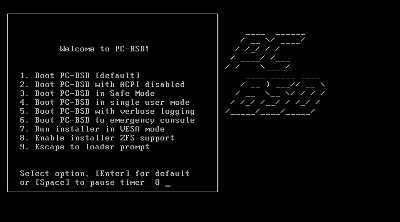
Because I could not prepare hard this time,VMwareI installed it using. Startup screen. It is like BSD system.
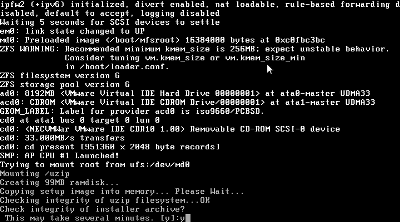
As soon as you start the installation you will be asked "Maybe it may take several minutes?", Enter "y" and press "Enter" key.
When waiting for a while, a graphical screen like this will appear, so installation starts.
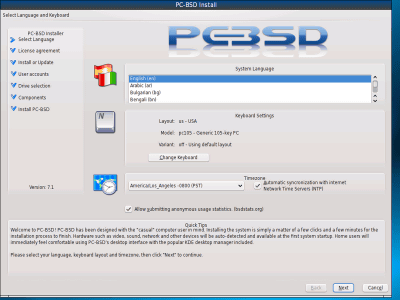
Language selection first. To use Japanese without hesitation, please select "Japanese (ja)".
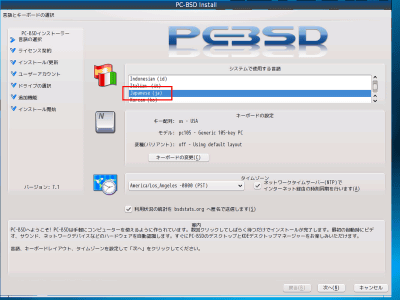
Next is selection of the keyboard. For the model, select "jp 106 - Japanese 106-key", select "jp - Japan" as the key layout, and click the "Save" button.
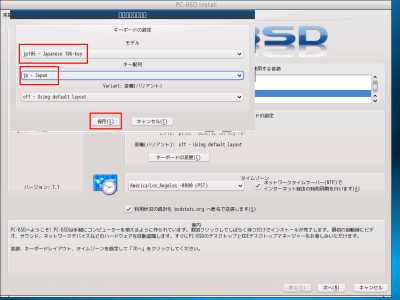
Select "Asia / Tokyo + 0900 (JST)" as the time zone and click the "Next" button.
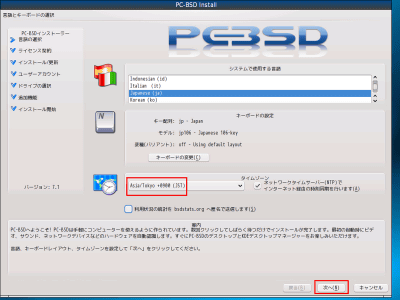
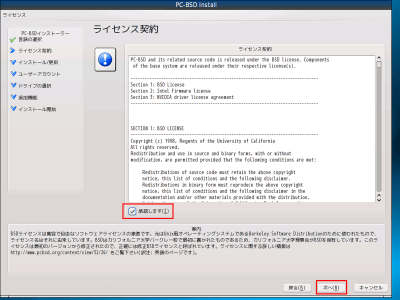
License agreement. Although it is a text of English, after reading the contract contents all the way, check the checkbox of "I approve" and click the "Next" button.
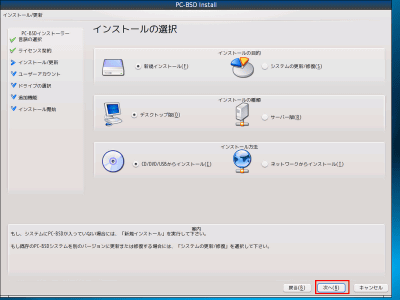
Installation choice. Otherwise, click the "Next" button.
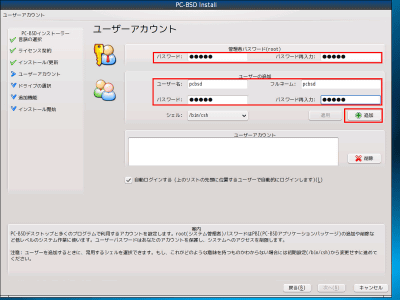
Create a user account. Enter the administrator (root) password. Since you can not proceed unless you also add users, enter the user name, full name, password and click the "Add" button.
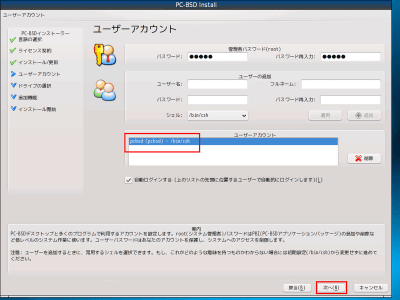
Confirm that the user who registered earlier in the user account is registered, and click "Next" button.
Drive selection. Select the disk that is displayed in "Detected hard disk drive".
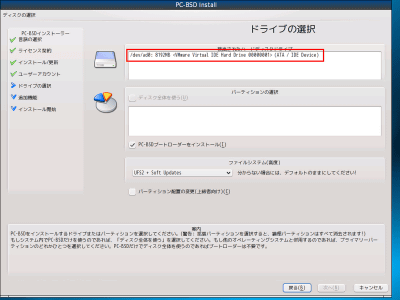
Confirm that the disk is displayed in "Select partition".
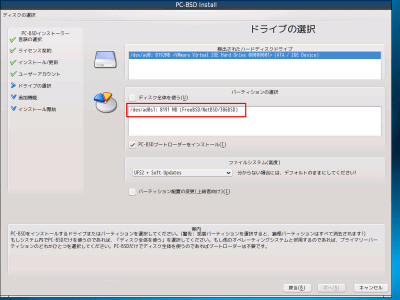
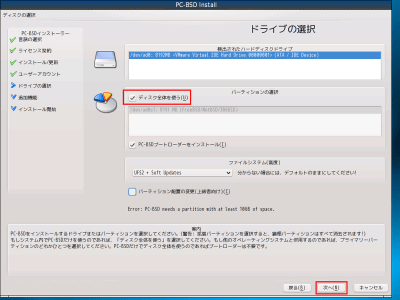
In this case I will not dual boot, so check the checkbox for "Use entire disk" and click the "Next" button.
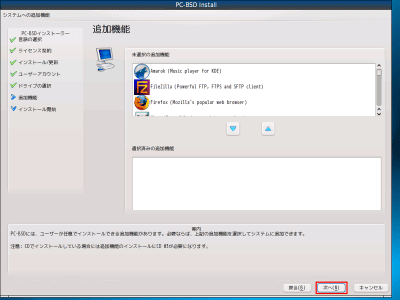
Additional functions. Do not enter anything here and click the "Next" button.
Installation preparation is complete. Click the "Next" button.
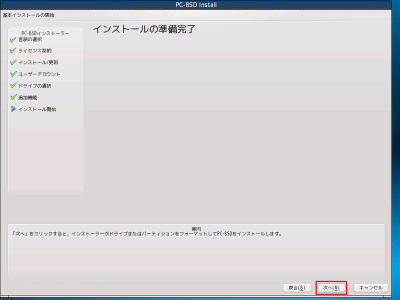
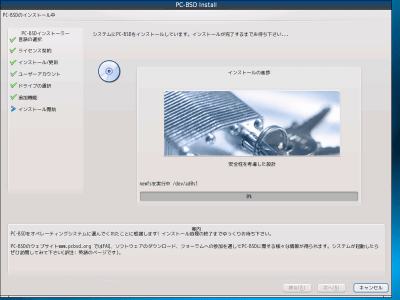
It will be installed on the hard disk with the contents so far set up. Depending on the performance of the machine, it will take about 20 minutes, so let's wait slowly without hesitation.
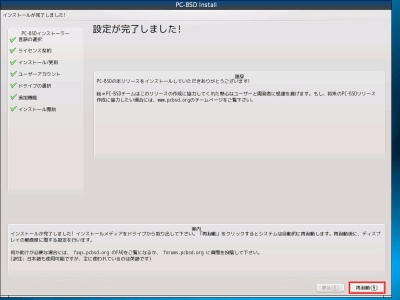
"Setting is completed!" Click the "Restart" button and wait for restart.
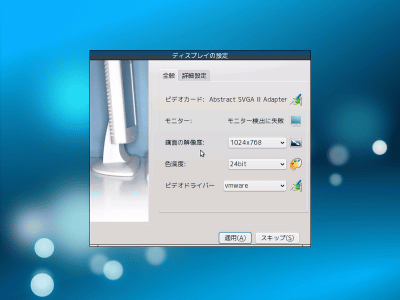
When restarting, the display setting screen will be displayed, so press the "apply" button.
Start up
During startup
Startup complete
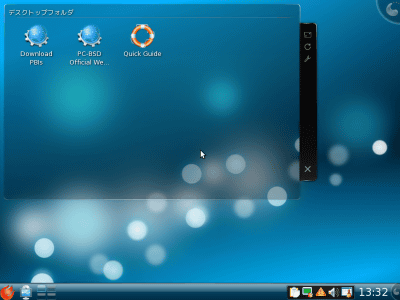
Next, because Japanese input can not be done by default setting, I will use Japanese. First, start the browser.
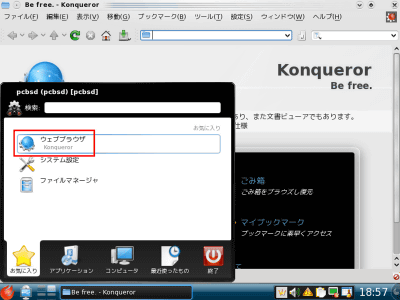
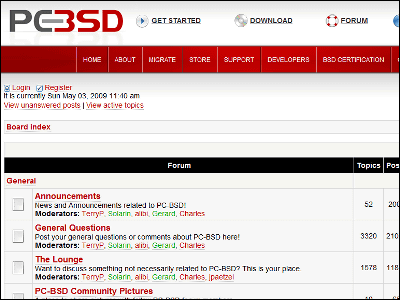
hereDownload from PC - BSD Forum 's site.
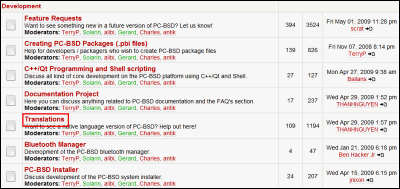
Click Translations in Development segment
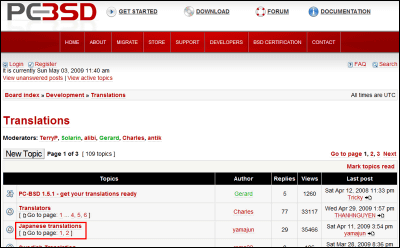
Click on Japanese translations.
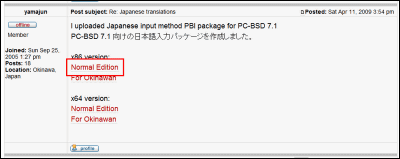
Click on Normal Edition on x86 version
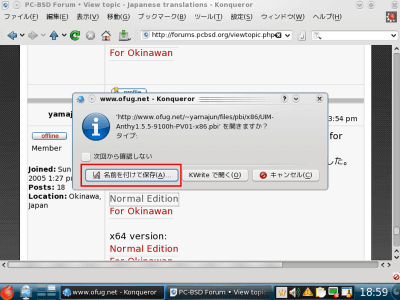
Click "Save As"
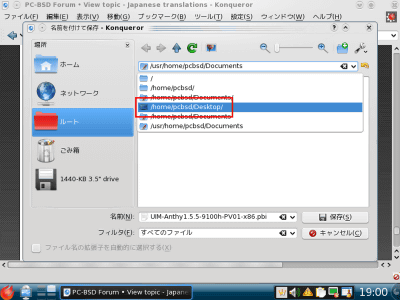
Select Desktop
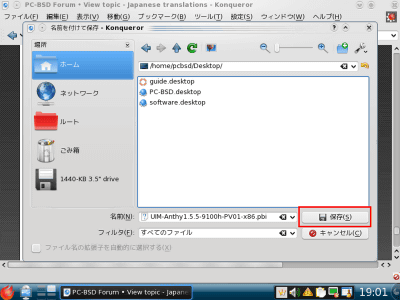
Click "Save"
Downloading.
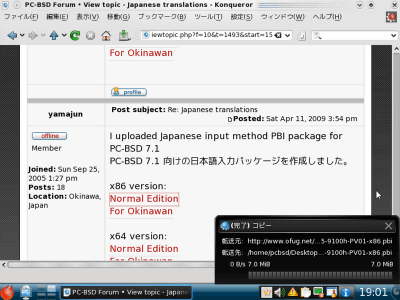
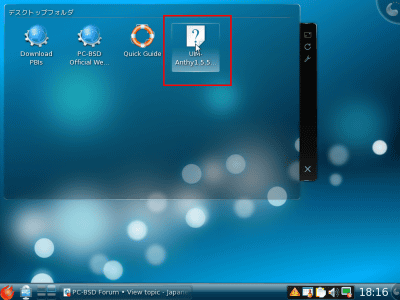
When the download is completed, "UIM - Anthy 1.5.5 - 91Ohh - PV01 - x86.pbi" has been created in the desktop folder, double click.
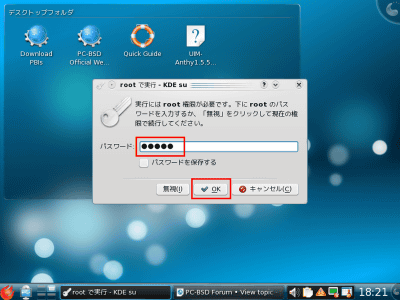
Enter the root password and click "OK" button
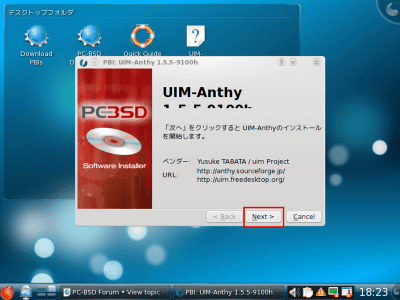
Click "Next" button
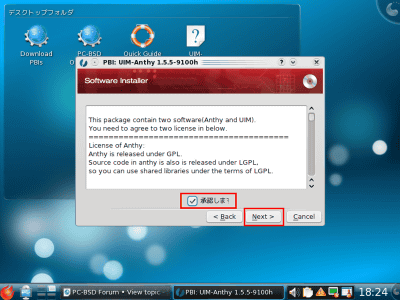
Please check the box of "I approve" and click the "Next" button.
Click "Next" button
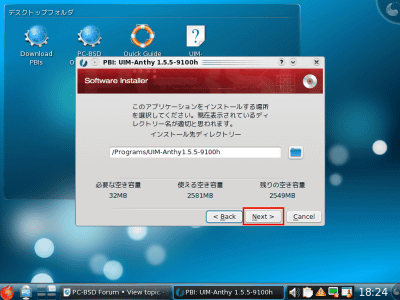
Click "Next" button
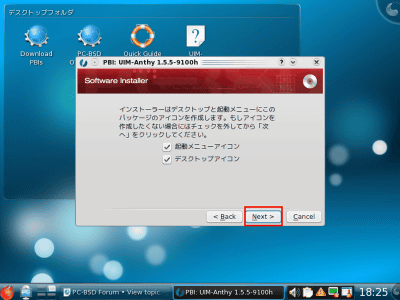
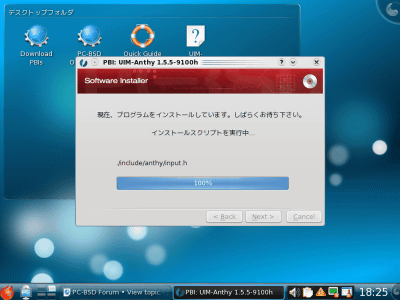
Installing
Click "OK" button
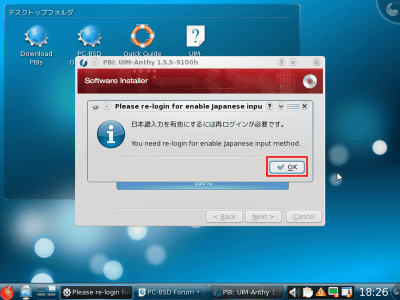
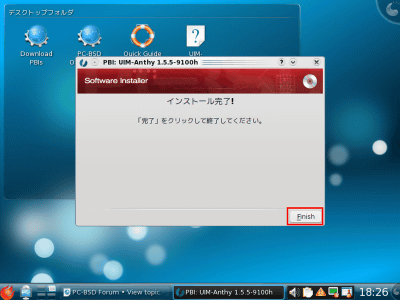
Click "Finish" button and installation is completed. Please login again to enable the setting.
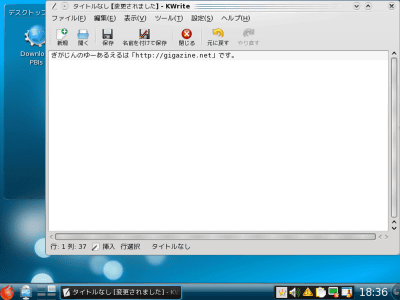
Please log back in and open Notepad and enter Japanese. I could enter Japanese without problems.
Once this is done, the basic setting is completed. laterPbiDIRPlease download the pbi file from, and do a fine custom.
Related Posts:

