Review using ``editable-website'' that allows you to create a website that allows you to directly edit the contents as it looks

When creating a website, it is common to write the code yourself or use a CMS such as WordPress. However, these methods tend to be complicated even when creating a very simple website, and without knowledge, it is difficult to find ``where editing will change the appearance of which part''. ' editable-website ' is a site creation tool with specifications that pursue 'easy to understand' that you can edit directly by simply moving the cursor to the place you want to edit while keeping the screen of the website you are familiar with. I actually used it and tried it.
Make your website editable
michael/editable-website: A SvelteKit template for building CMS-free editable websites
https://github.com/michael/editable-website
You need to install node.js to use editable-website. From the URL below, select the installation method that matches your environment.
Installing Node.js using a package manager | Node.js
https://nodejs.org/en/download/package-manager
Additionally, install PostgreSQL. Open the PostgreSQL download page and download version 15.2 for 'Windows x86-64'.
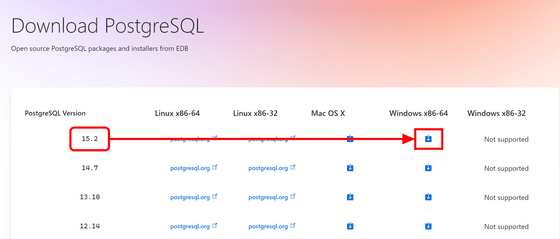
Double-click the downloaded installer to run it.

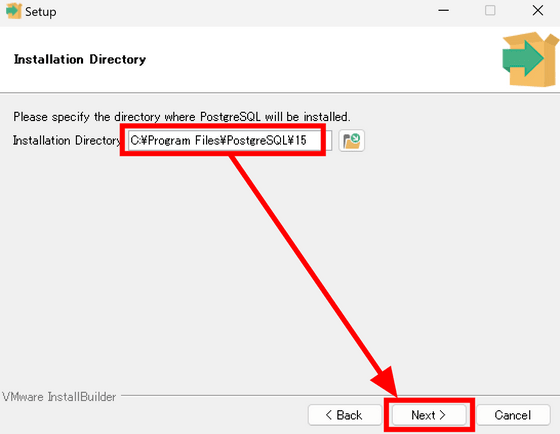
Confirm the installation location and click 'Next'. Make a note of this installation location because it will be used later when passing Path.
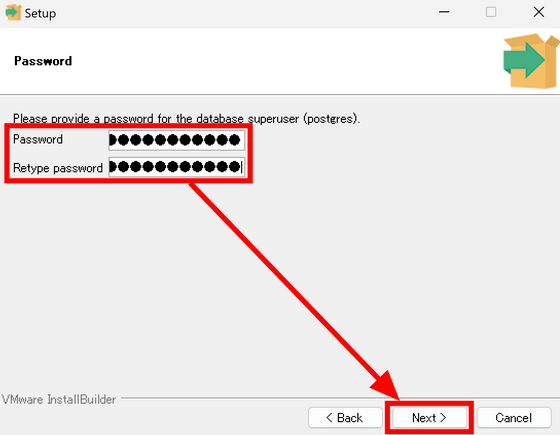
Decide the password of the superuser and click 'Next'. Many of these settings will continue, but if you click 'Next' without changing all other settings, it is OK.
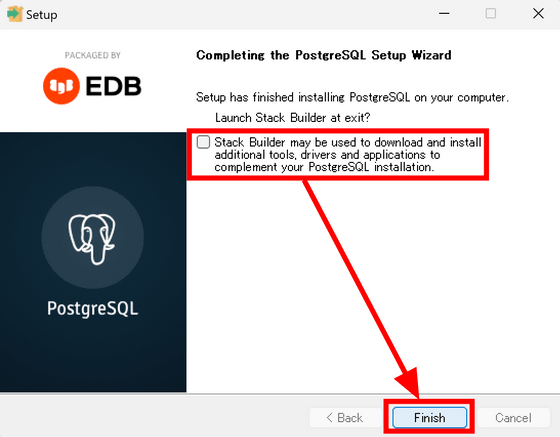
After installation, uncheck the setting to start Stack Builder and click 'Finish'.
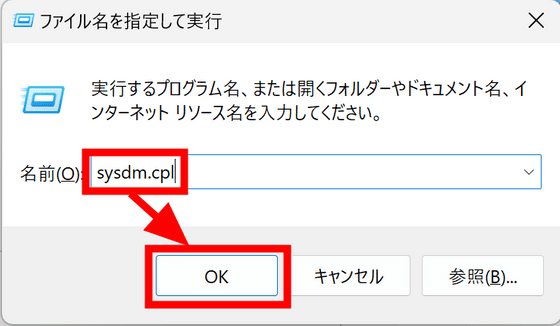
Next, pass the Path to the PostgreSQL folder. Open 'Run' with 'Win key + R', enter 'sysdm.cpl' and click 'OK'.
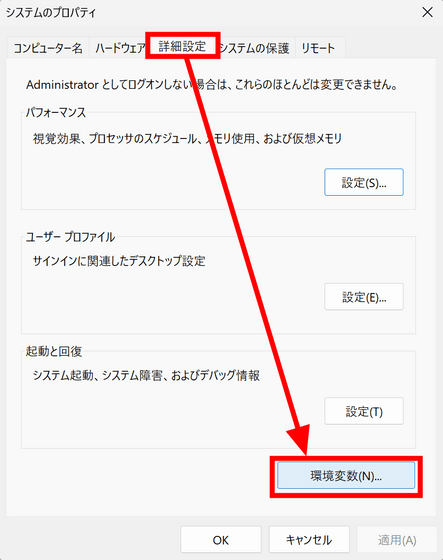
Open 'System Properties', click 'Environment Variables' on the 'Advanced' tab.
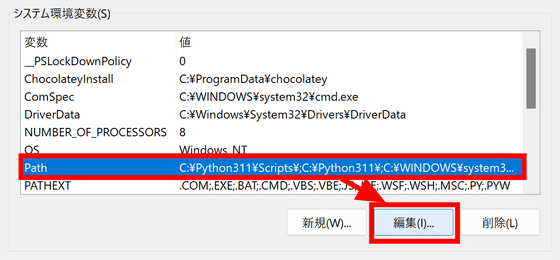
Click 'Path' in the system environment variable and click 'Edit'.
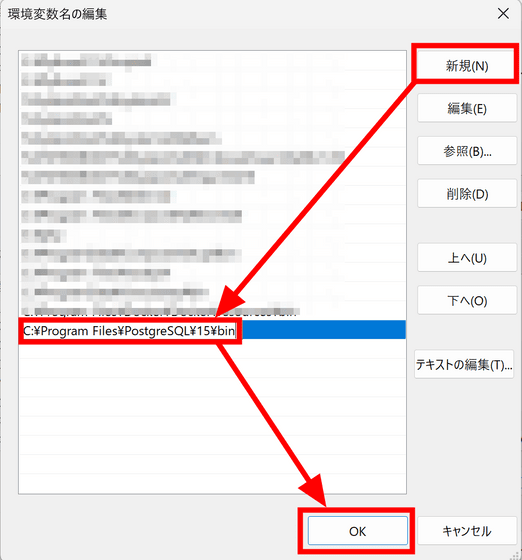
Click 'New', specify 'bin' under the folder you selected when installing PostgreSQL, and click 'OK'.
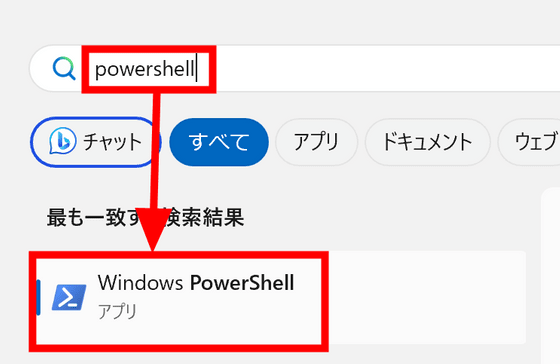
Then start a shell. If it is Windows, it is OK if you use Powershell.
In order to omit entering the password required when connecting to PostgreSQL, set the password specified during installation in the environment variable 'PGPASSWORD'. For Powershell, you can specify it with the following command.
[code]$Env:PGPASSWORD = '[Rewrite this part to password]'[/code]
Enter the following command to connect to PostgreSQL.
[code]psql -h localhost -U postgres[/code]
Create a database with the name 'editable-website' and disconnect from PostgreSQL with 'Ctrl + C' key.
[code]CREATE DATABASE 'editable-website';[/code]
Next, prepare the editable-website code. Open
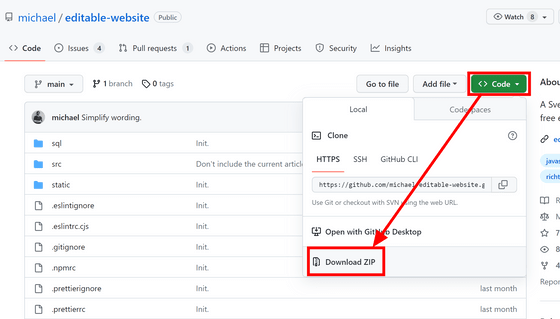
Select the downloaded ZIP file and click 'Extract All' to extract it.

To open the expanded folder in a shell, right-click the folder and click 'Copy path'.
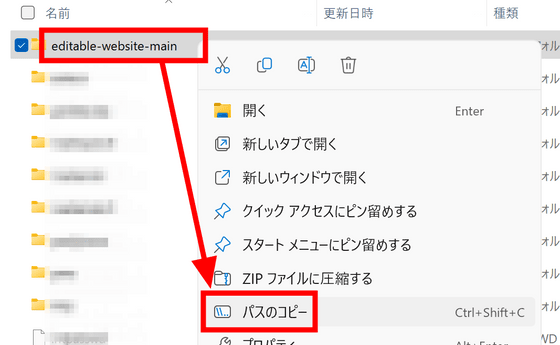
Enter the following command in the shell and move to the editable-website folder.
[code]cd [paste the copied path here][/code]
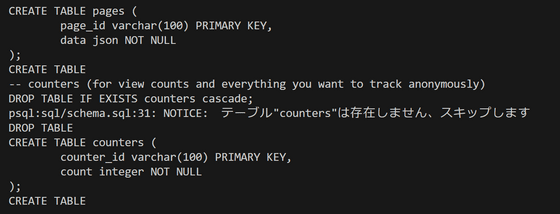
Enter the following command to initialize the database.
[code]psql -h localhost -U postgres -d editable-website -a -f sql/schema.sql[/code]
The necessary tables will be automatically created as shown below.
Next, prepare the storage. It seems that you can use any S3 compatible storage, but this time we will use the original AWS S3. First, open

Enter an easy-to-understand user name and click 'Next'.
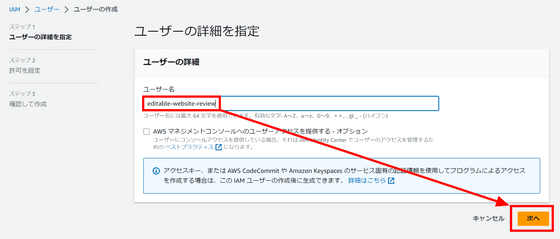
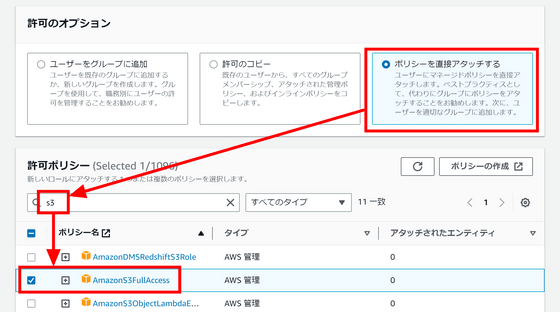
Click 'Attach policy directly', enter 's3' in the search field, and check 'AmazonS3FullAccess'.
Click 'Next' in the lower right.
Click 'Create User'.
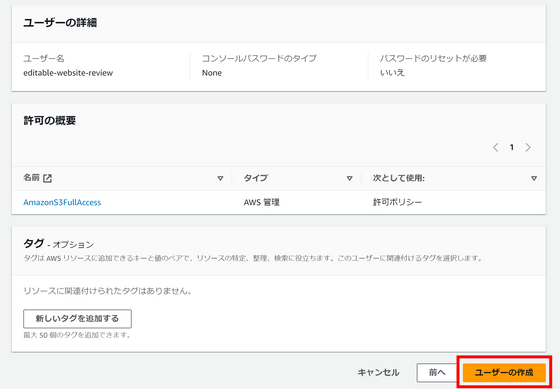
Go back to the user page, click the created user to open the detail screen.

Click 'Security Credentials'.
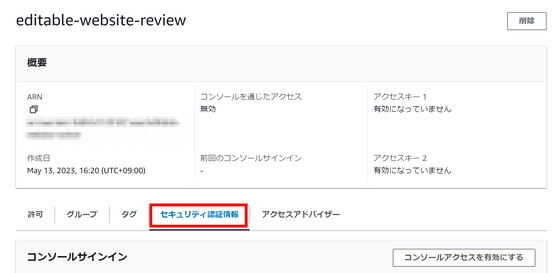
Click 'Create access key'.

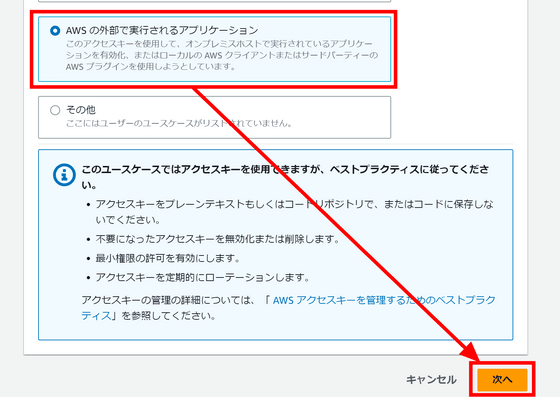
Click Application that runs outside of AWS and click Next.
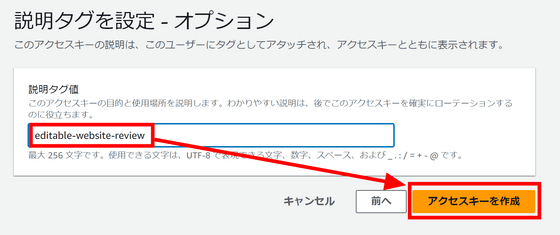
Enter an easy-to-understand description of the access key and click 'Create access key'.
Copy the access key and secret access key and save them.
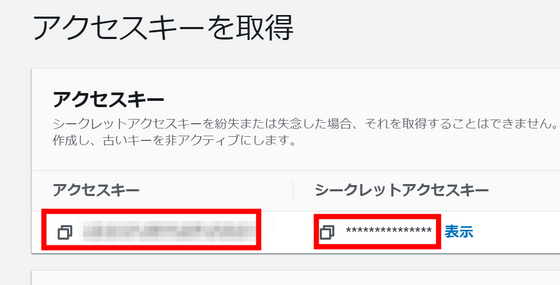
Next, open

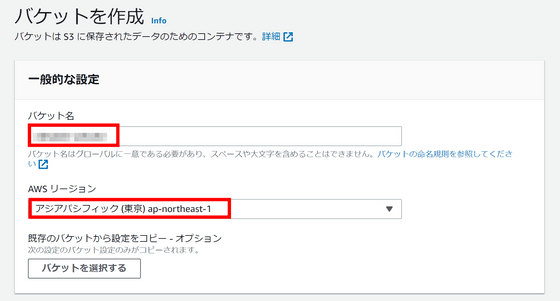
Give the bucket a meaningful name and set the region to Asia Pacific (Tokyo). Since the bucket name must not overlap with any other bucket, it is necessary to add a random number at the end.
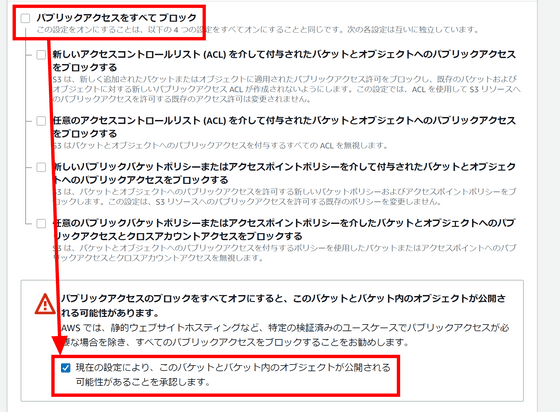
Scroll down and uncheck 'Block all public access' and check 'Due to current settings...' below.
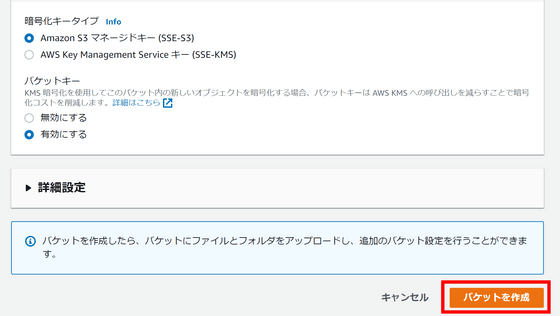
Scroll to the bottom and click Create Bucket.
Create a file with the name '.env' in the folder downloaded from GitHub and expanded, and set the environment variables with a text editor.
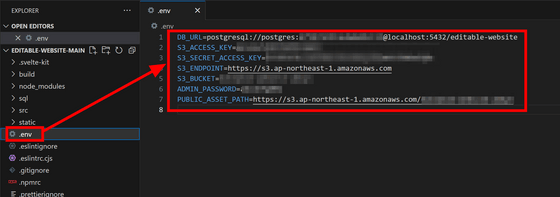
The environment variables to be set are as follows.
[code]DB_URL=postgresql://postgres:[password specified during postgreSQL installation]@localhost:5432/editable-website
S3_ACCESS_KEY=[created AWS user access key]
S3_SECRET_ACCESS_KEY=[created AWS user secret access key]
S3_ENDPOINT=https://s3.ap-northeast-1.amazonaws.com
S3_BUCKET=[S3 bucket name]
ADMIN_PASSWORD=[Password for logging in to editable-website, create and enter]
PUBLIC_ASSET_PATH=https://s3.ap-northeast-1.amazonaws.com/[S3 bucket name][/code]
Next, install the necessary libraries with the following command.
[code]npm install[/code]
After installing the library, start the development environment with the following command.
[code]npm run dev[/code]
If the following message appears, preparation is complete. Copy the URL part.
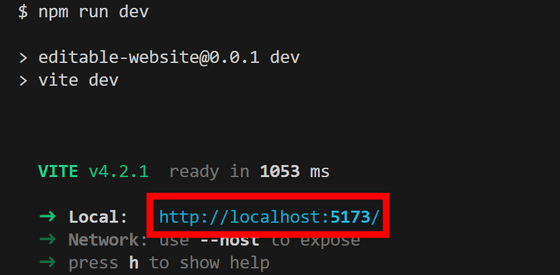
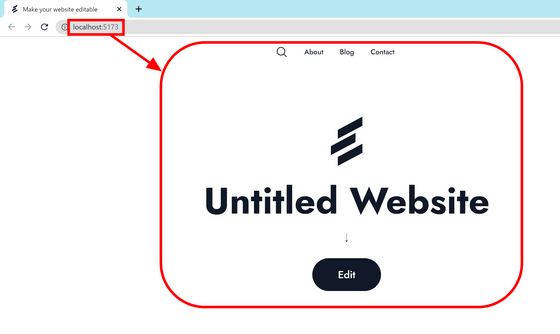
You can access the page by launching the browser and entering the URL you copied earlier in the address bar.
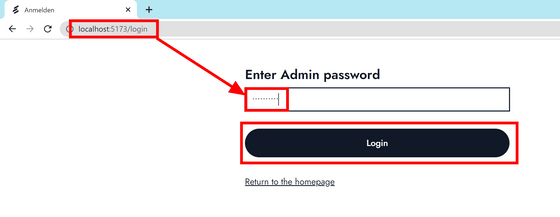
Enter '/login' at the end of the URL to open the login page, enter the password set in the environment variable and click 'Login'.
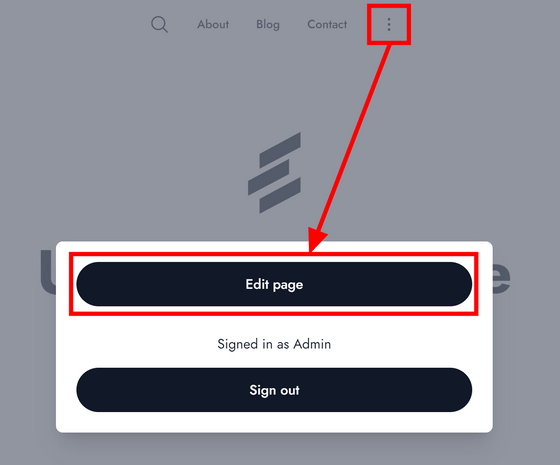
You will automatically return to the top page. Click on the button with three points added at the top and click 'Edit page'.
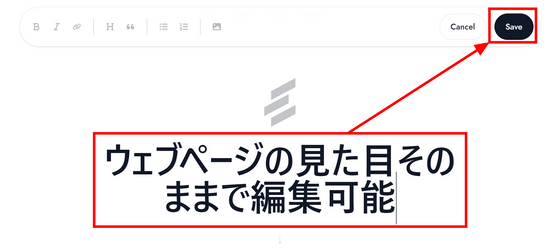
Then you can edit part of the displayed page as it is. After editing, click 'Save' to save.
You can build for production by entering the command 'npm run build', but when I actually tried it, an error occurred and I could not proceed.

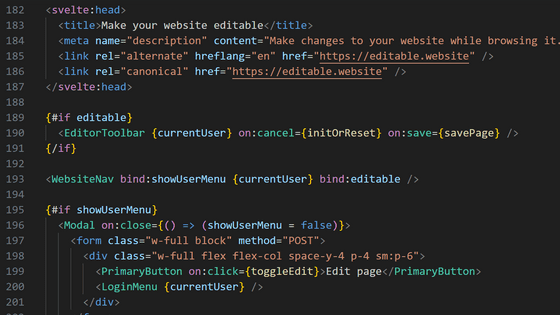
In addition, it is necessary to edit the template written in
Related Posts:
in Software, Review, Web Application, Posted by log1d_ts

