'HashiCorp Boundary' that can manage system authentication in a 'gateway' and perform detailed authority management
In order to manage a large-scale system in an organization, it is necessary to manage the authentication system and set appropriate authority, but it is a fact that there are many barriers to overcome when actually trying to realize it.
Boundary by HashiCorp
https://www.boundaryproject.io/
Announcing HashiCorp Boundary
https://www.hashicorp.com/blog/hashicorp-boundary
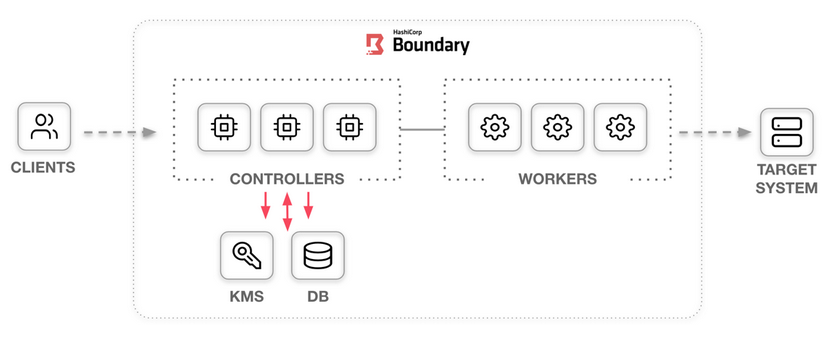
In the past, when accessing a server or database, the system was directly accessed by executing SSH commands, etc., but access privileges cannot be set in detail, and there is a risk that unintended operations will be executed as they are, leading to failure. was. Boundary solves this problem by acting as a 'gateway' in system-wide authentication, allowing you to integrate and manage various authentications to your system.
Boundary is available for Windows, macOS, Linux,
First, execute the following command to install Boundary.
[code] curl -fsSL https://apt.releases.hashicorp.com/gpg | sudo apt-key add-
sudo apt-add-repository 'deb [arch = amd64] https://apt.releases.hashicorp.com $ (lsb_release -cs) main'
sudo apt-get update && sudo apt-get install boundary [/ code]
For trial purposes this time, execute the following command to start Boundary in development mode.
[code] boundary dev [/ code]
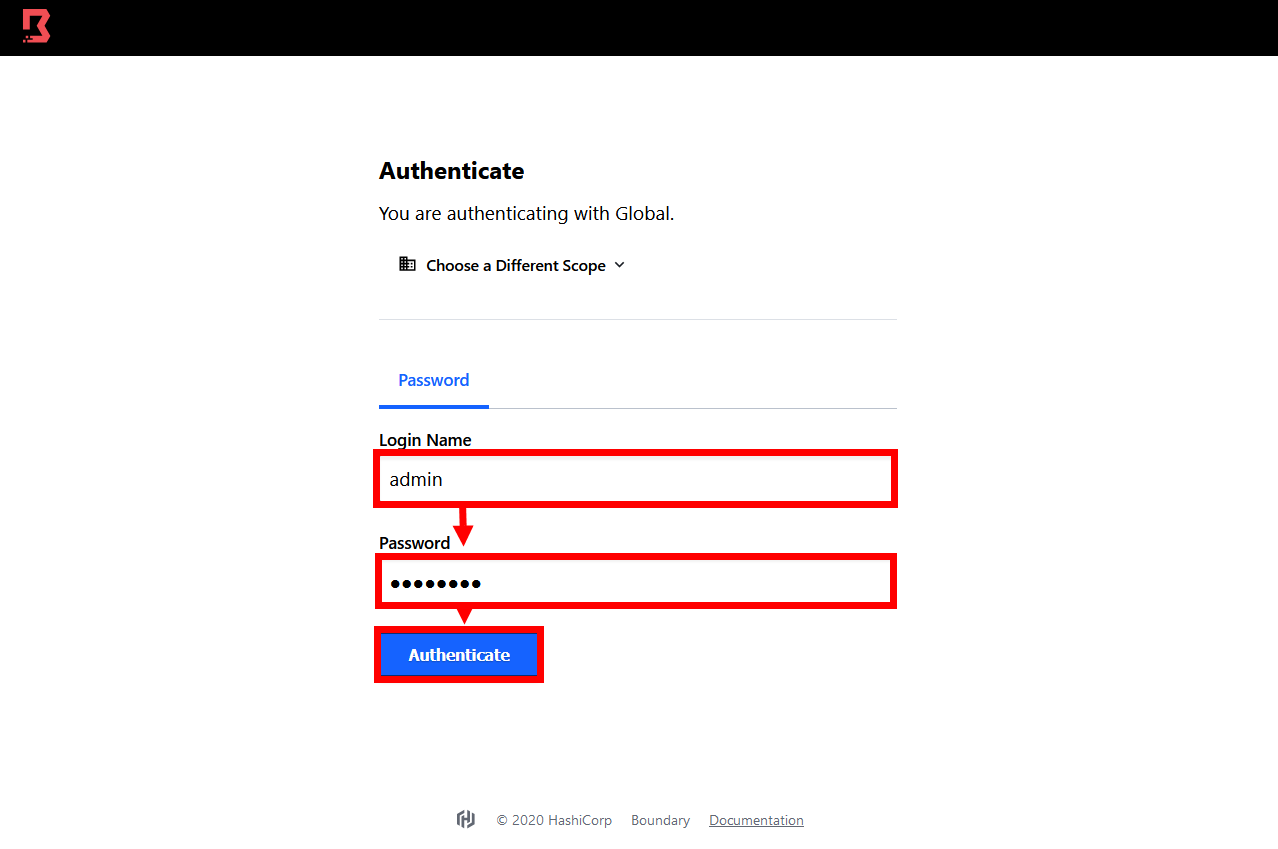
When I started Boundary, the user name and password required for authentication were displayed.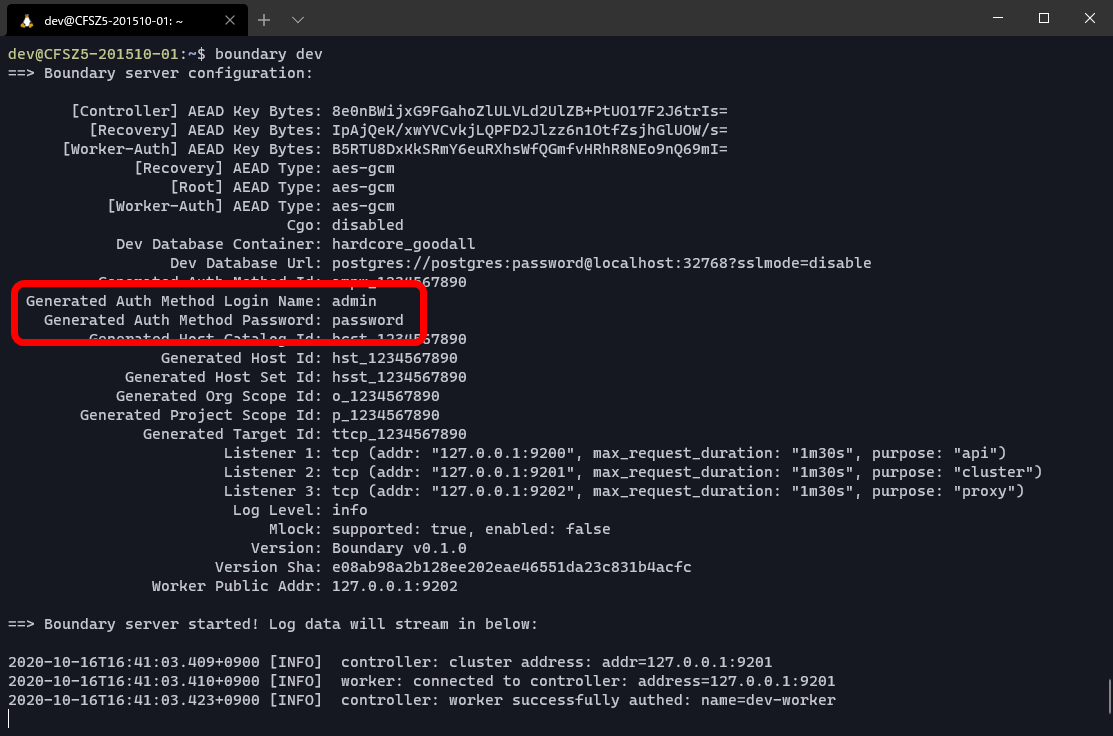
When you access 'http://127.0.0.1:9200' with the browser of the host running Boundary, the login screen of Boundary is displayed, so enter the user ID and password generated at startup. In test mode, the username is 'admin' and the password is 'password'.
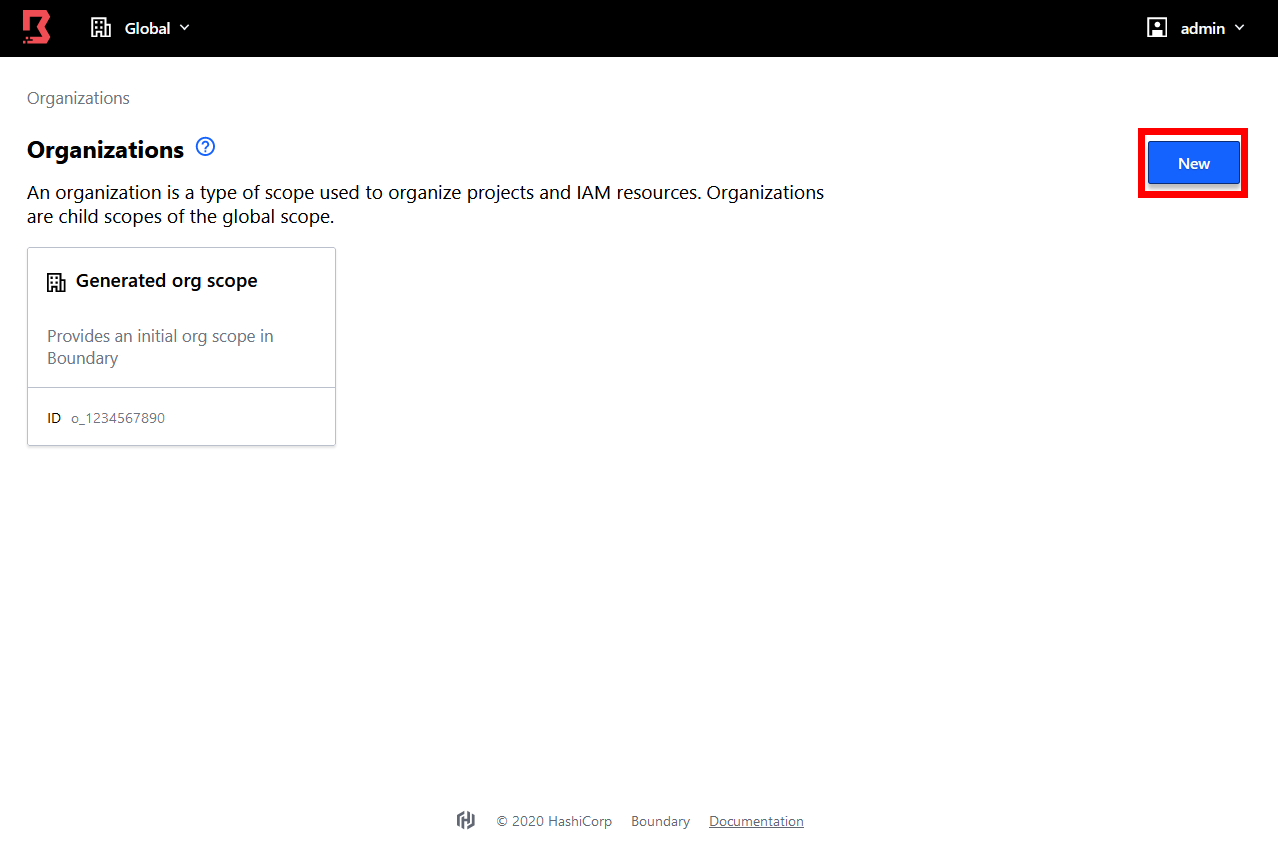
The screen for selecting 'Organizations' of Boundary is displayed. The default organization is prepared, but this time click 'New' to create a new organization.
Enter the organization name and click 'Save' ...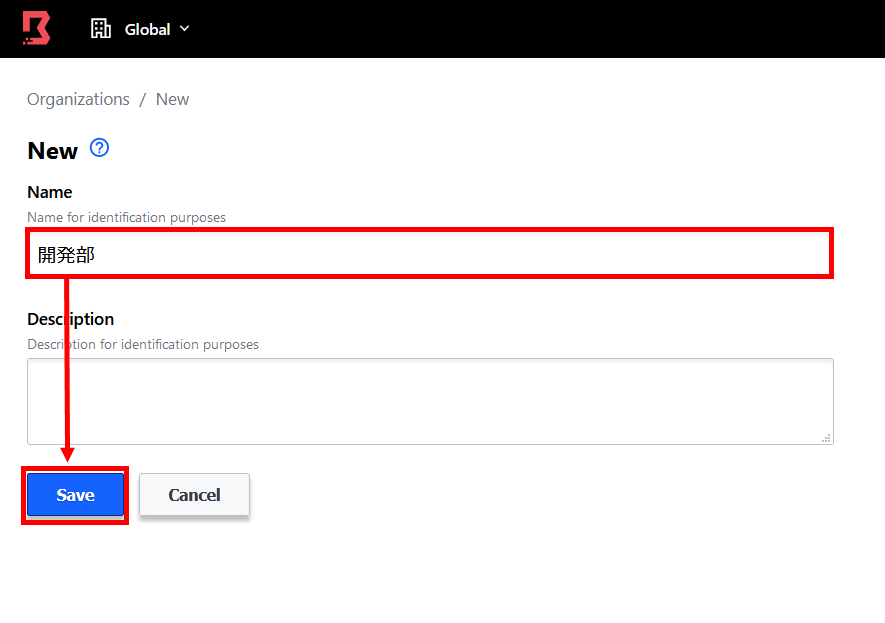
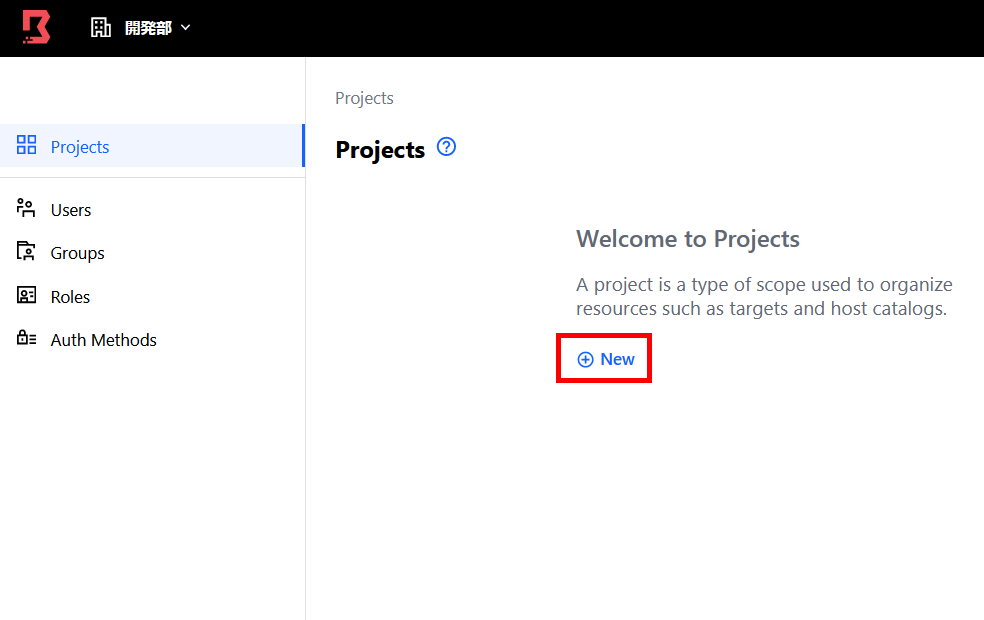
A new organization will be created and you will be taken to the screen to manage the project. Click 'New' to create a new project.
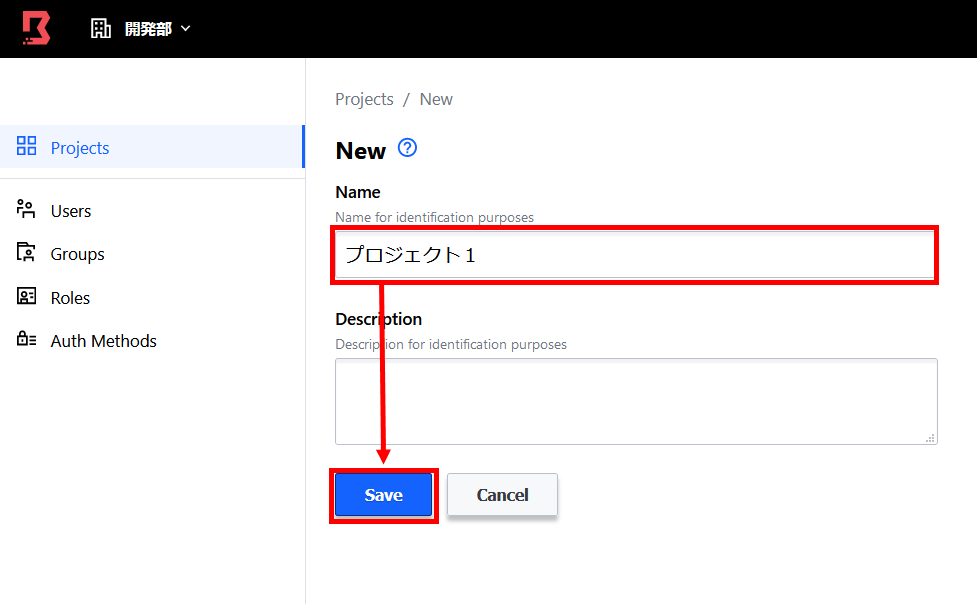
Enter the project name here as well and click 'Save' to create the project.
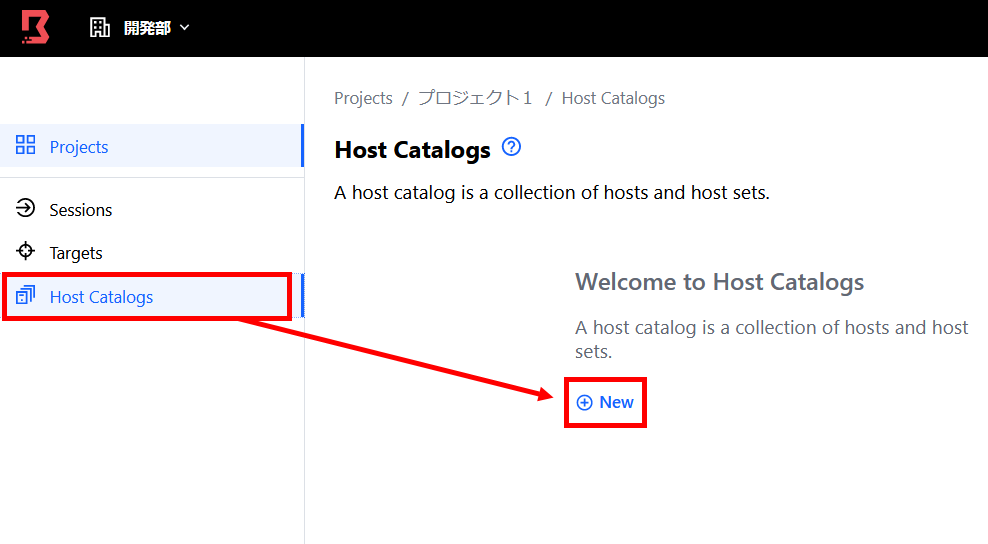
The project has settings called 'Sessions', 'Targets', and 'Host Catalogs'. Click 'New' from 'Host Catalogs' to set the host to be managed in the project for the time being.
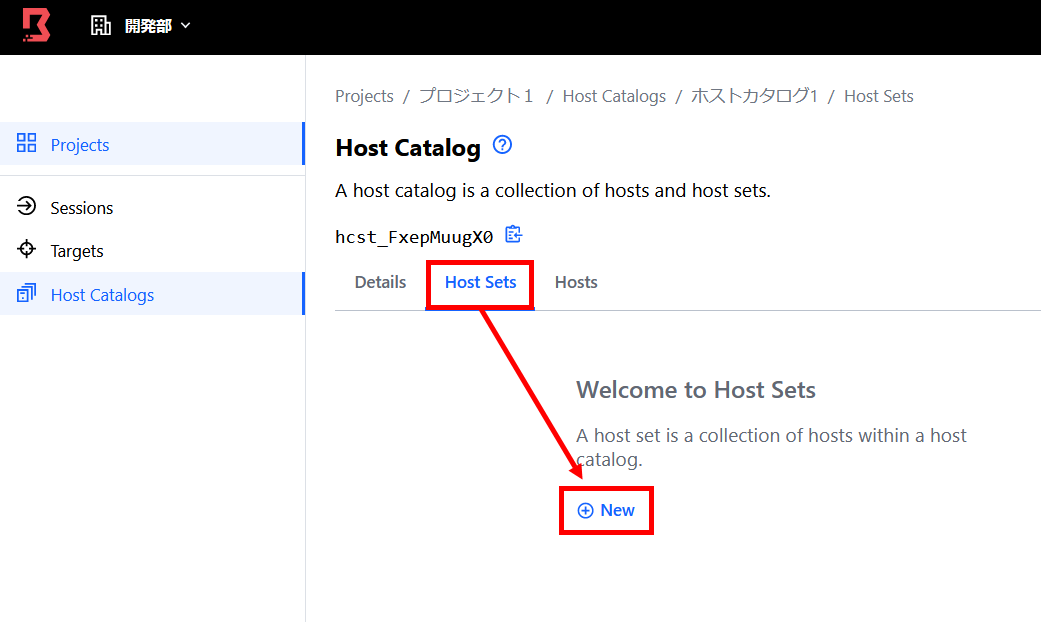
Enter the host catalog name and click 'Save'. The host catalog is a list of hosts managed by Boundary.

A host set, which is a collection of hosts, is available in the host catalog. Click 'New' from 'Host Sets'.
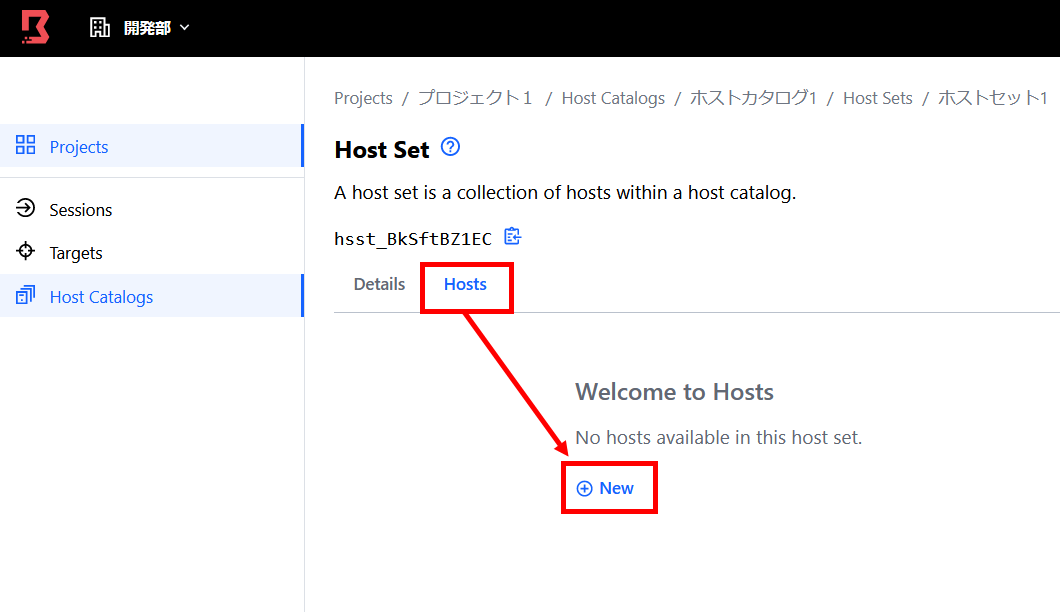
Enter the host set name and click Save.

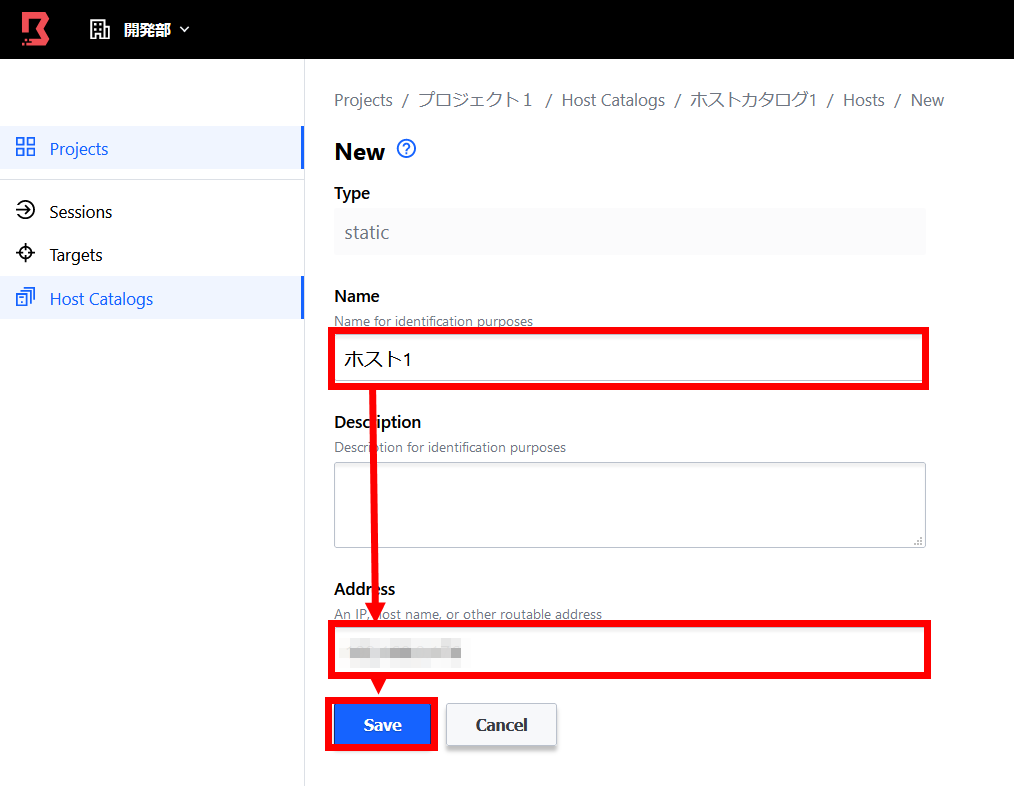
Then click 'New' from 'Hosts' to register the host.
Enter the host name and IP address and click 'Save'.
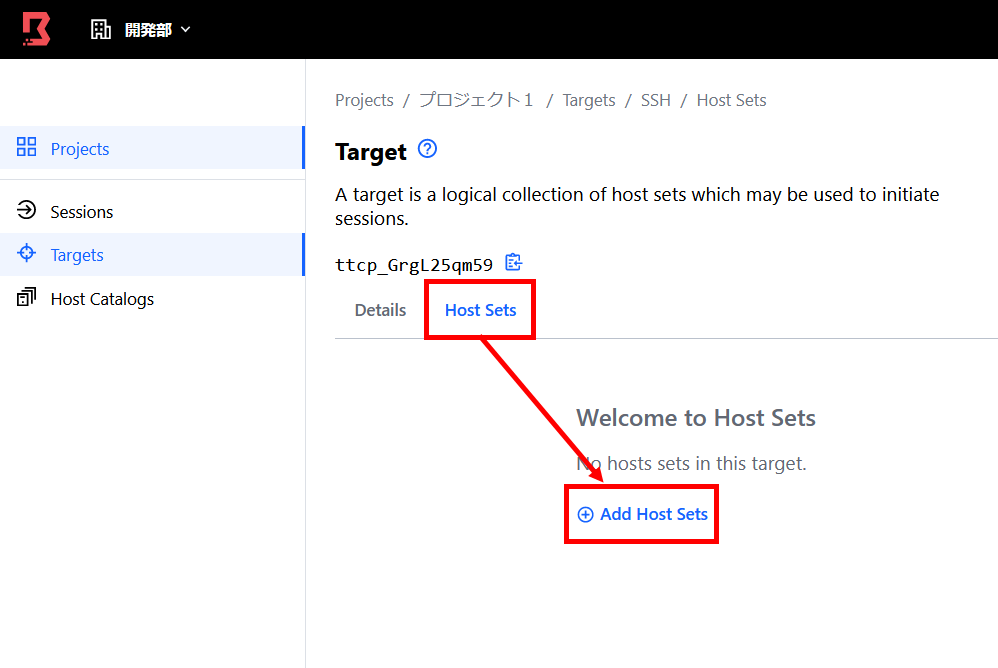
Go to Targets> Host Sets> Add Host Sets to add a host set to your target.
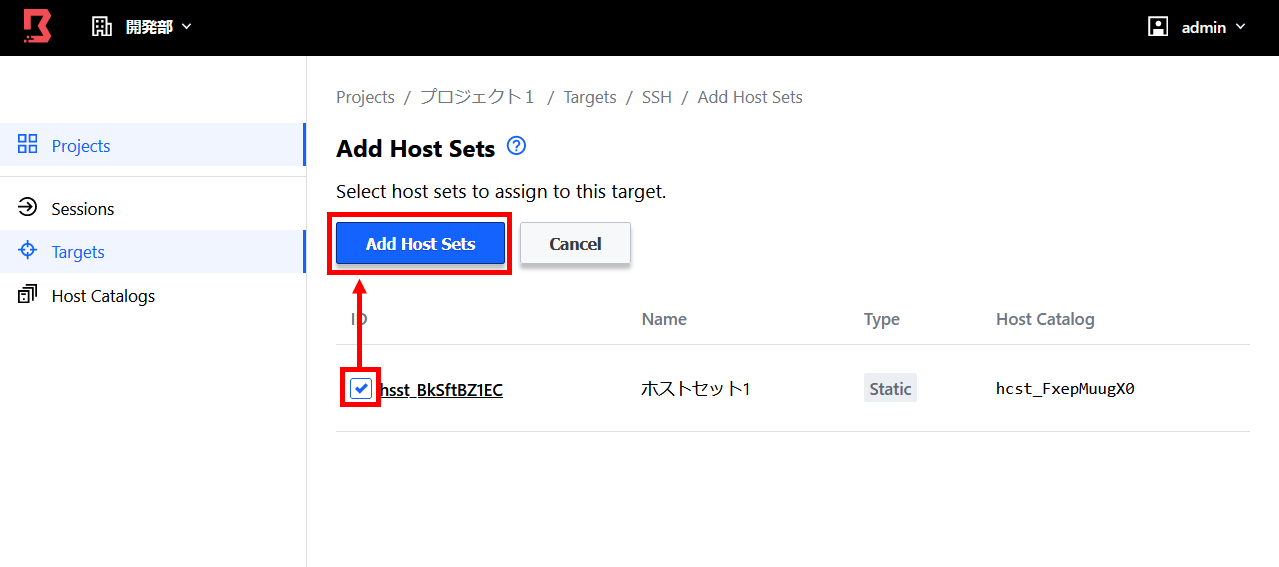
Select the host you set earlier and click 'Add Host Sets'. This completes the host catalog settings.
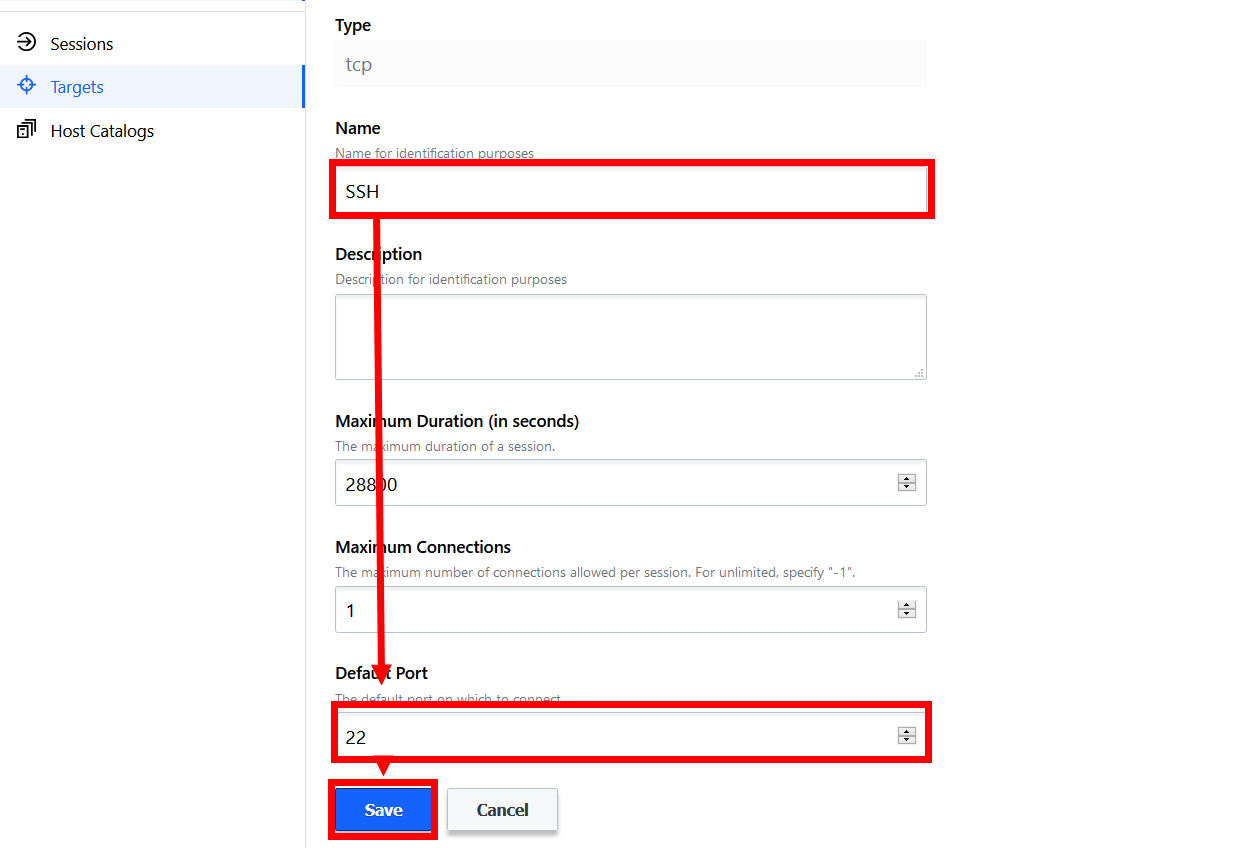
After registering the host in the host catalog, register the target. The target is the service you want to connect to, and specifically, SSH, Redis, Postgres, etc. are registered.

Enter the target name and port and click 'Save' to complete the basic settings for connecting to the project. Boundary manages connection destinations by dividing them into 'hosts' and 'services', enabling easy and detailed authority management.
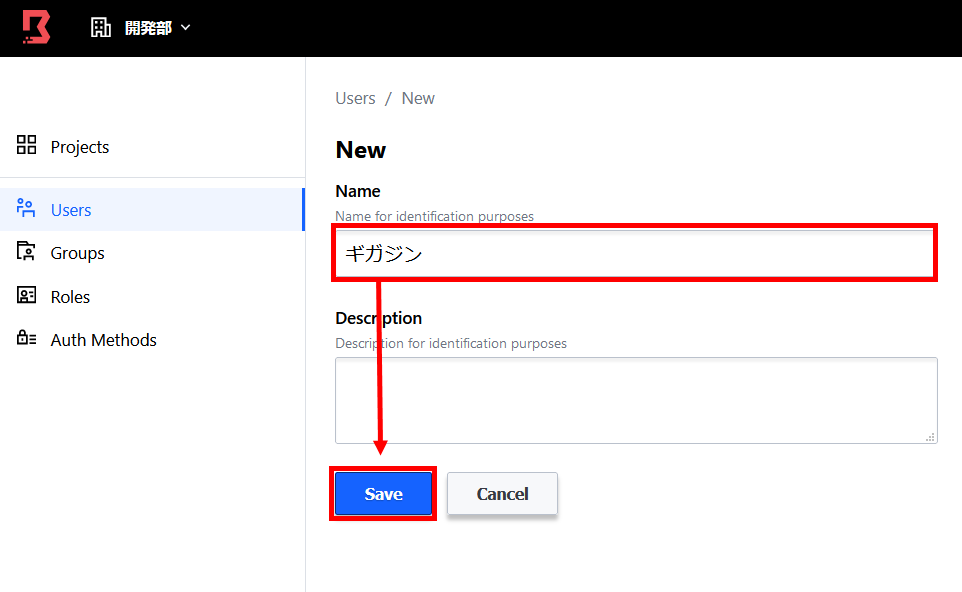
Next, set permissions for users and groups in the project. First, click 'New' from 'Users' to add users.

Enter your user name and click 'Save'.
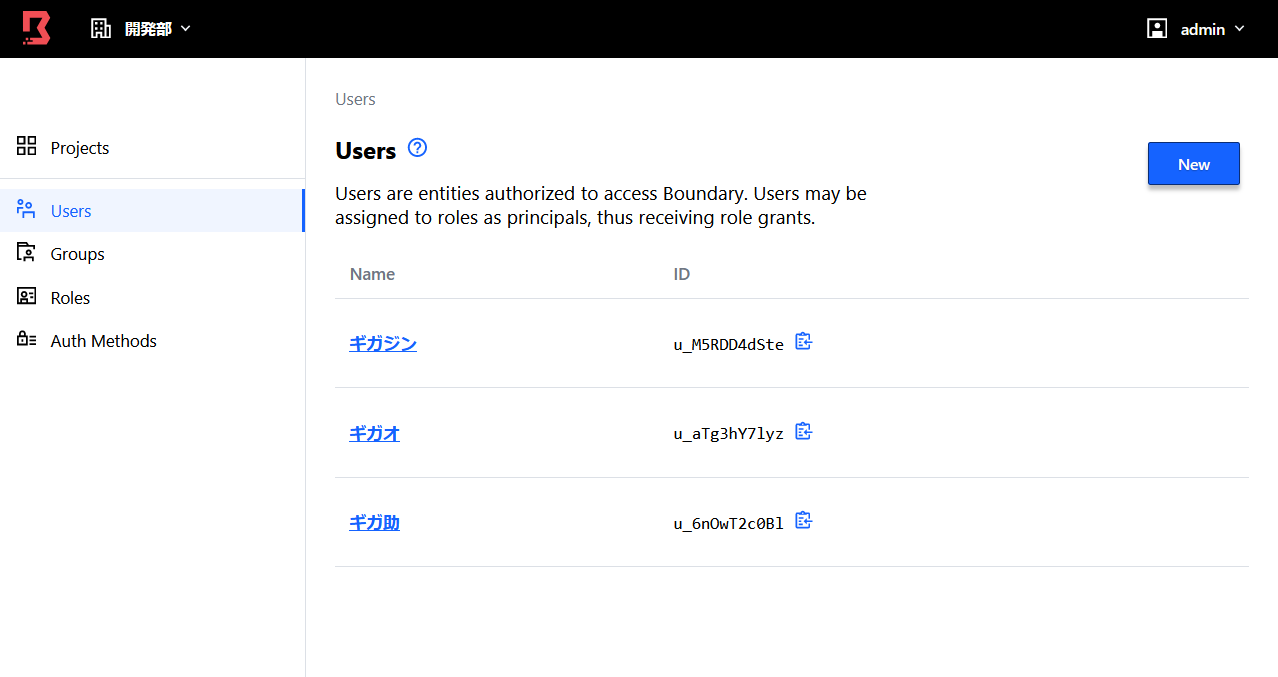
Register the user like this.
Groups can be added in the same way from 'Groups'.
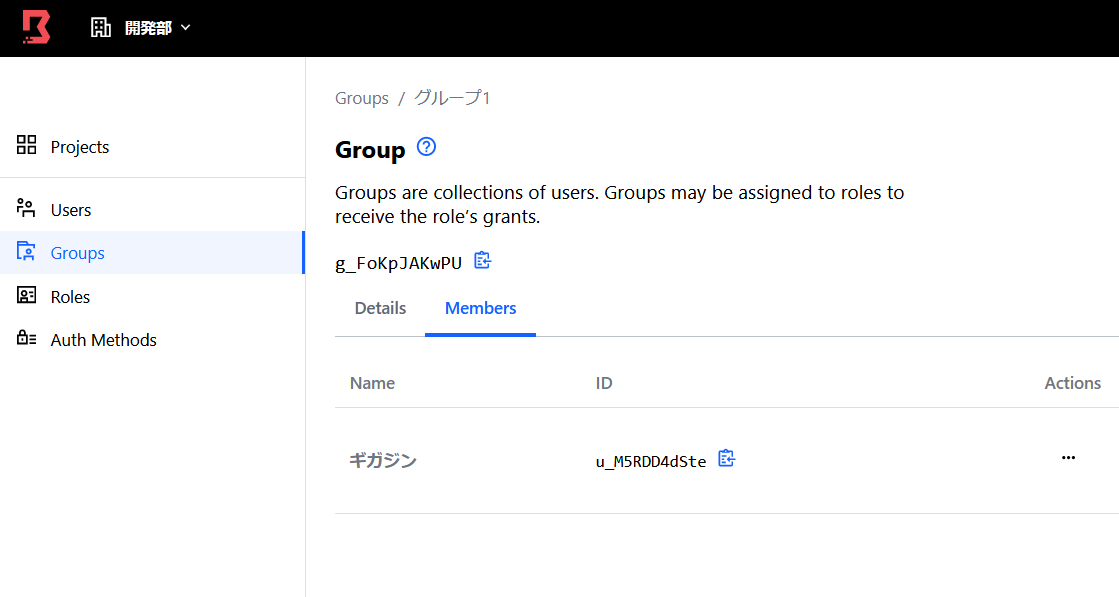
In addition to setting the name of the group, it is also necessary to set the users to join the group.

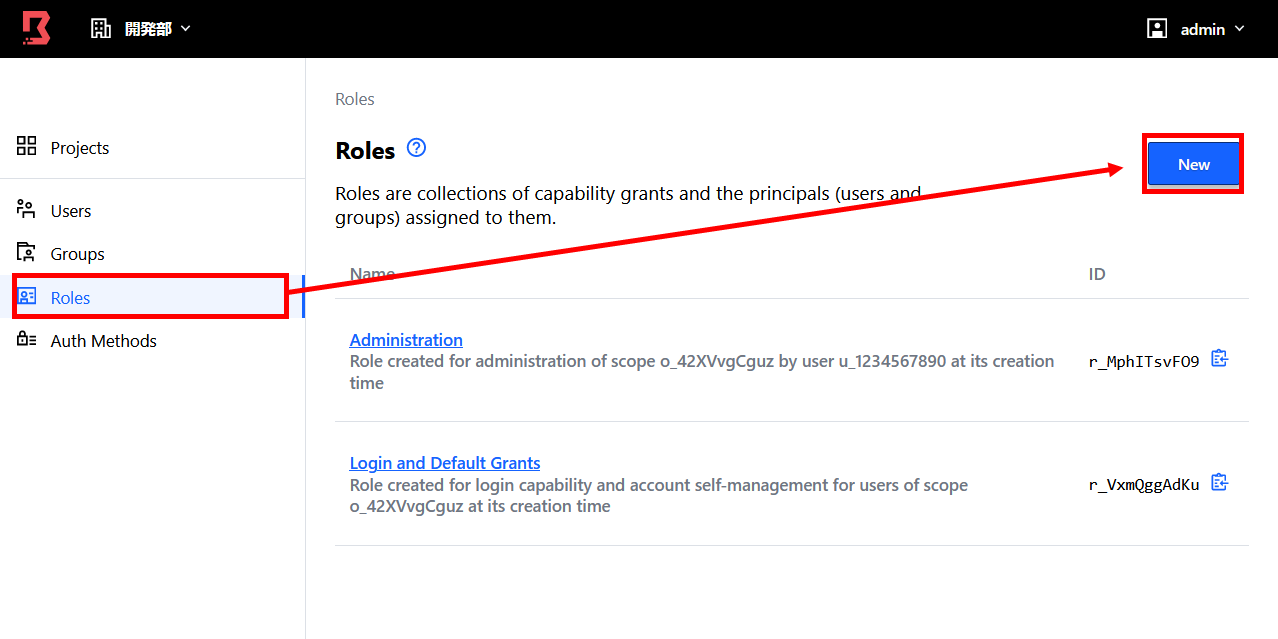
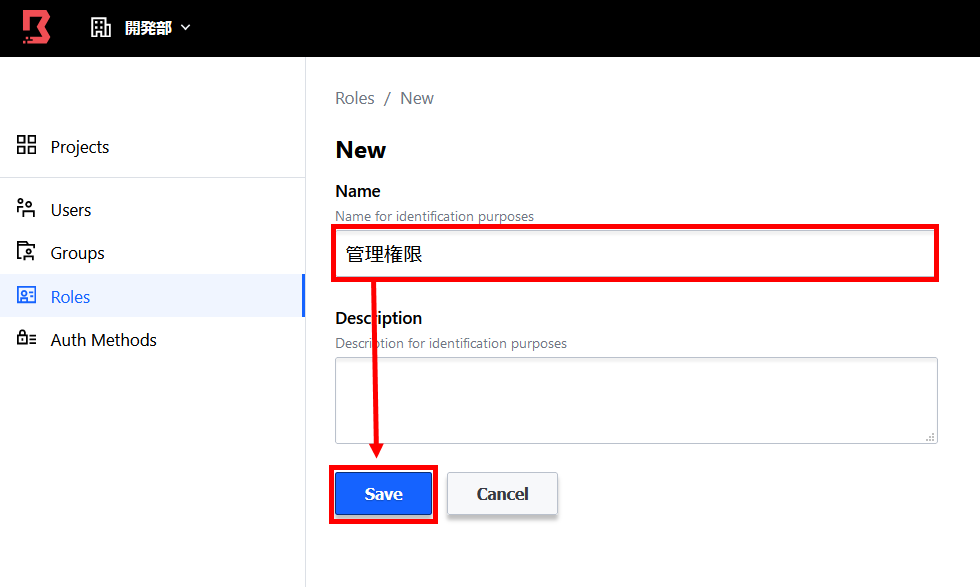
In 'Roles', set the targets and hosts that can be accessed for each user or group. Click New from the Roles tab to add a role.
Enter the role name and click 'Save'.
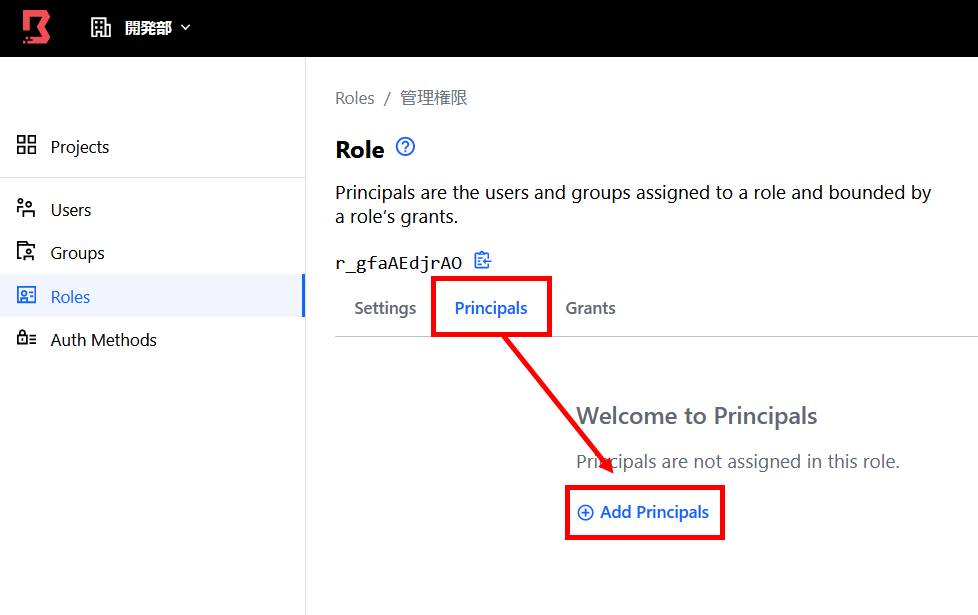
Click 'Principals' and then 'Add Principals'. Select the users and groups to which the permissions apply.
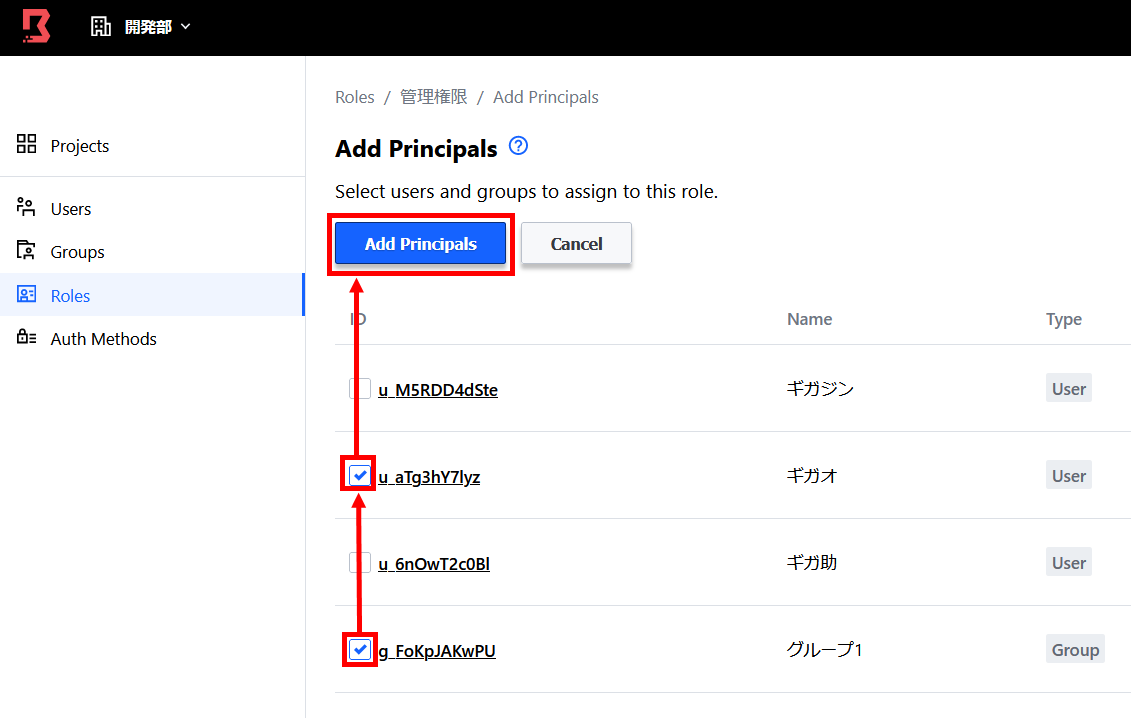
Select users and groups and click 'Add Principals'. The role is now applied to the selected user or group.
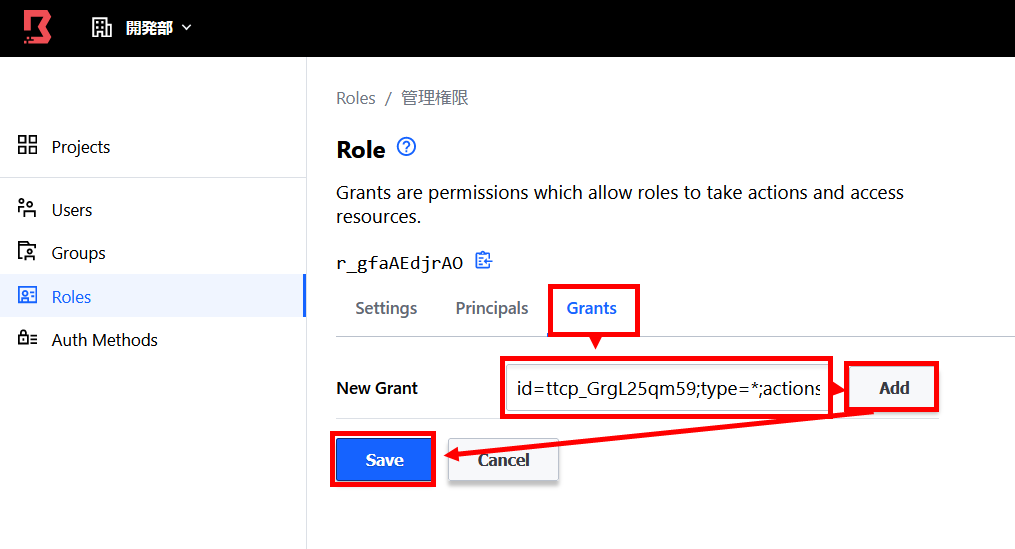
In 'Grants', set 'what' and 'what operations' are allowed in this role. The description format is like 'id = ID of target or host to allow; type = type; actions = actions to allow', and when you can describe it, click 'Add' and then 'Save'.
In the 'Auth Methods' item, set the 'Authentication method with Boundary' when each user accesses the system via Boundary.
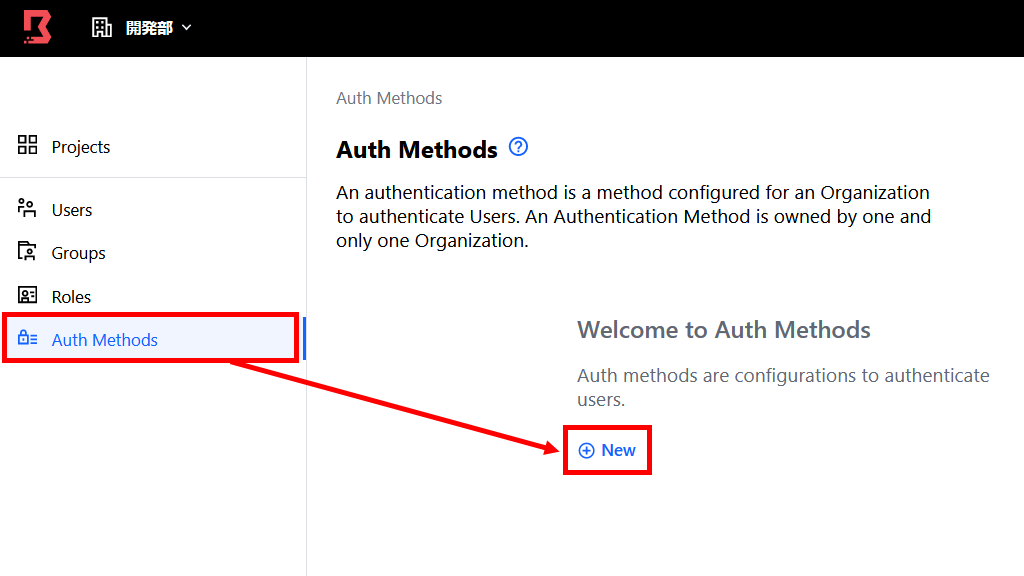
Enter the authentication name here as well and click 'Save'.

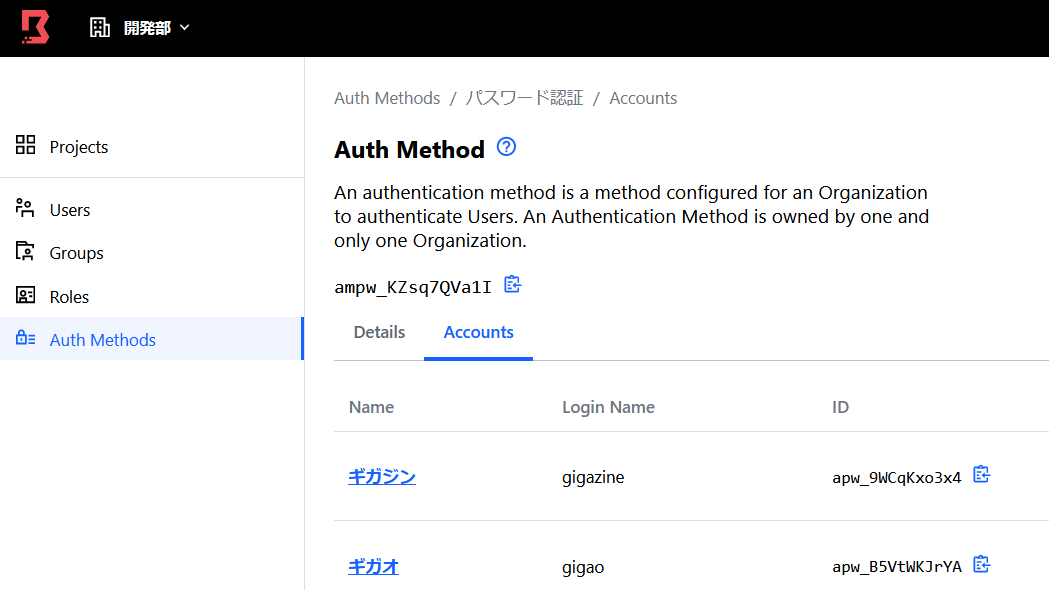
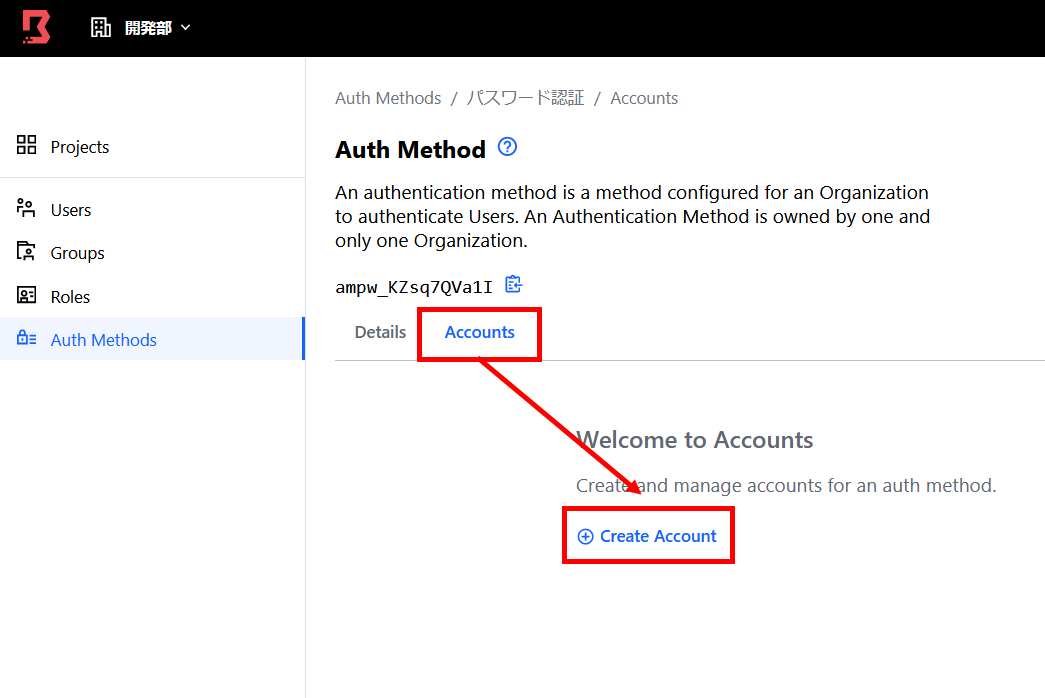
Click 'Create Account' from 'Accounts' to set up an account that uses this authentication.
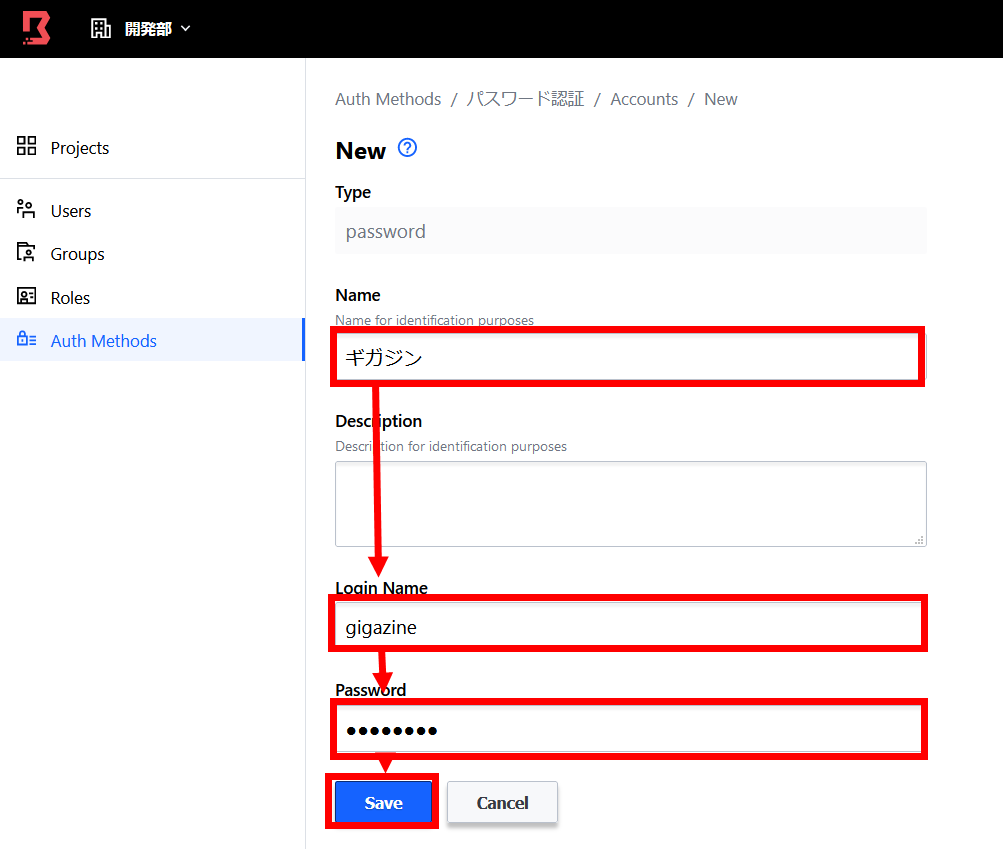
Enter your account name, login name and password and click 'Save'.
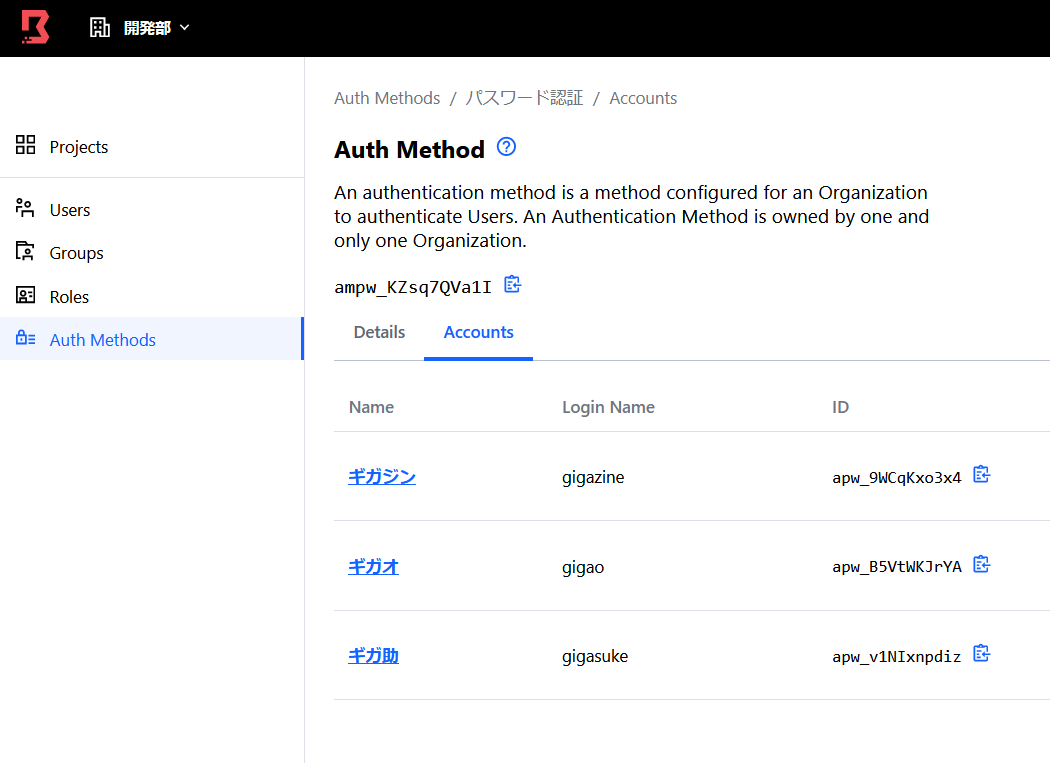
Like this, we prepare an authentication method for each user.
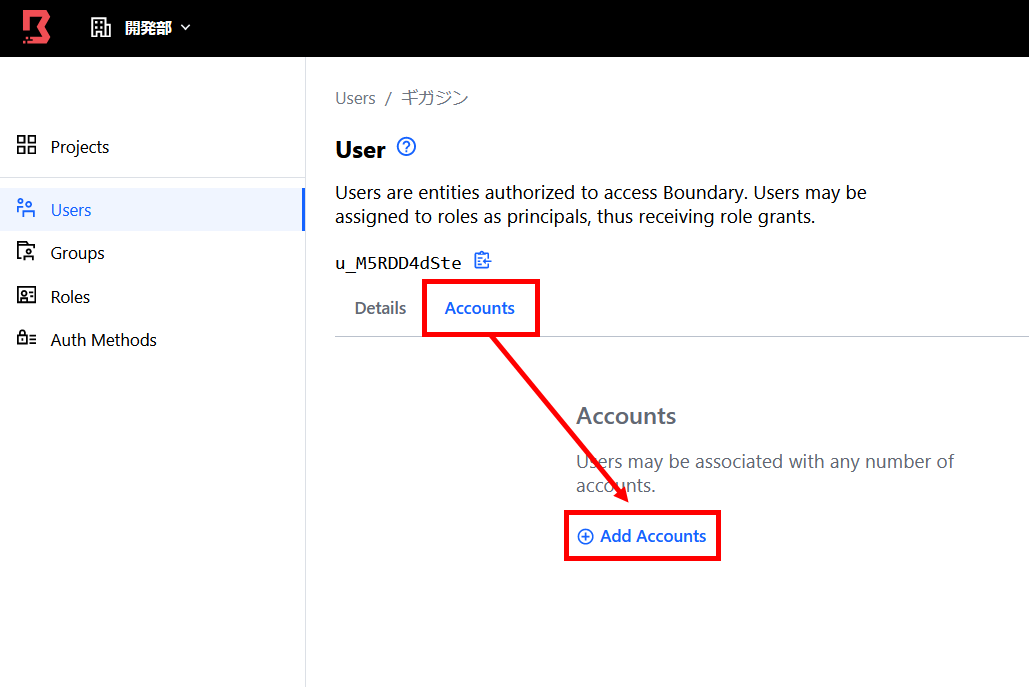
After that, click 'Add Accounts' from 'Accounts' in the user settings ...
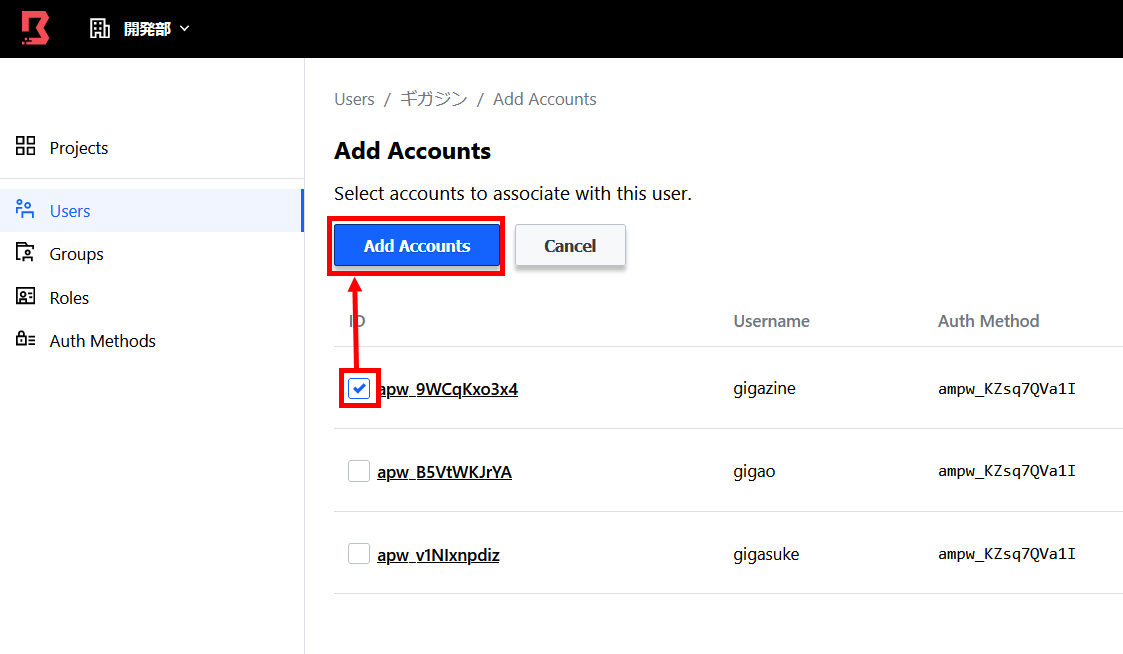
Assign the prepared account to the user and click 'Add Accounts'. This completes the Boundary settings.
I thought I could connect with this, but I couldn't connect normally. It was not possible to connect even with the account provided by default. If it works properly, execute the following command to pass Boundary authentication ...
[code] boundary authenticate password -auth-method-id = ampw_1234567890 -login-name = admin -password = password [/ code]
It seems that you can access the target via the Boundary command.
[code] boundary connect ssh -target-id ttcp_1234567890 -username james [/ code]
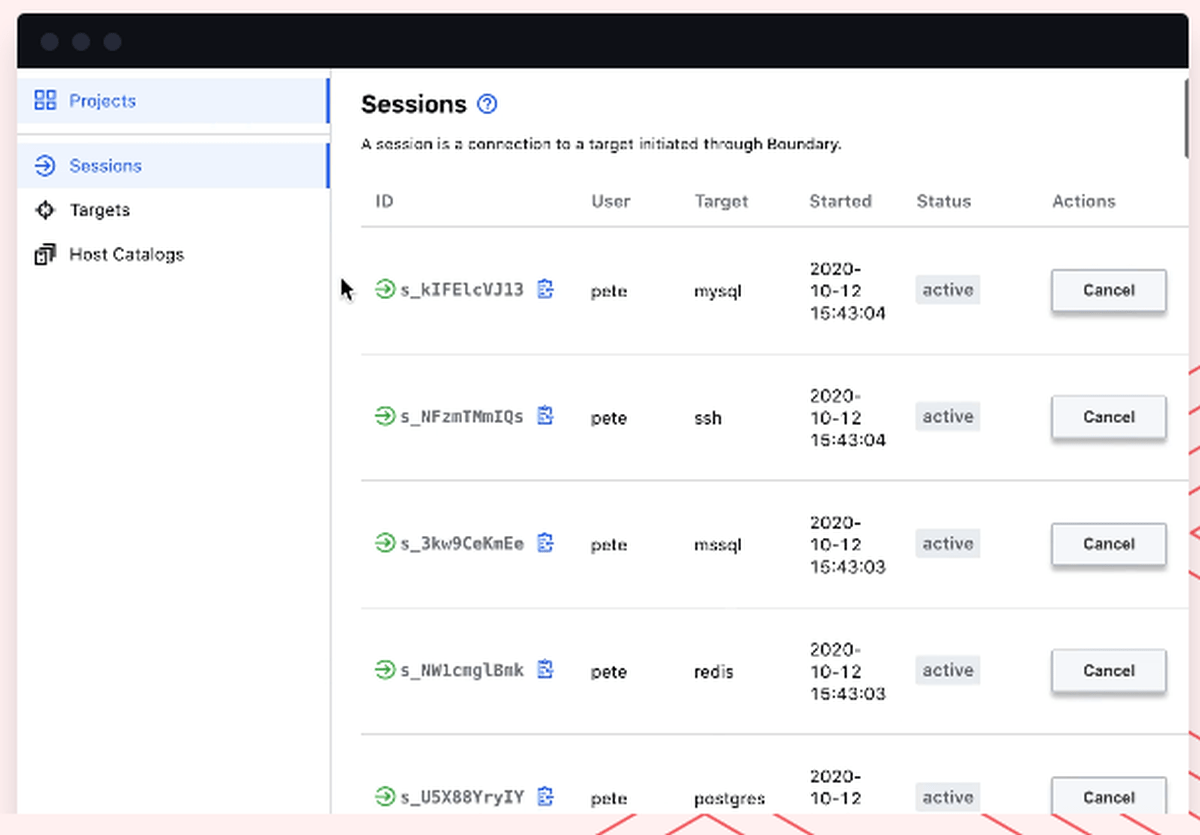
Also, when a target is accessed, you can see a list of which users are connected to which target in the 'Sessions' of the project.
Related Posts: