How to skip 'Let's connect to the network' and create a local account on 'Windows 11 Home (22H2)'
I summarized a simple method to set up a
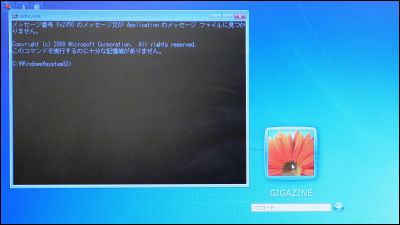
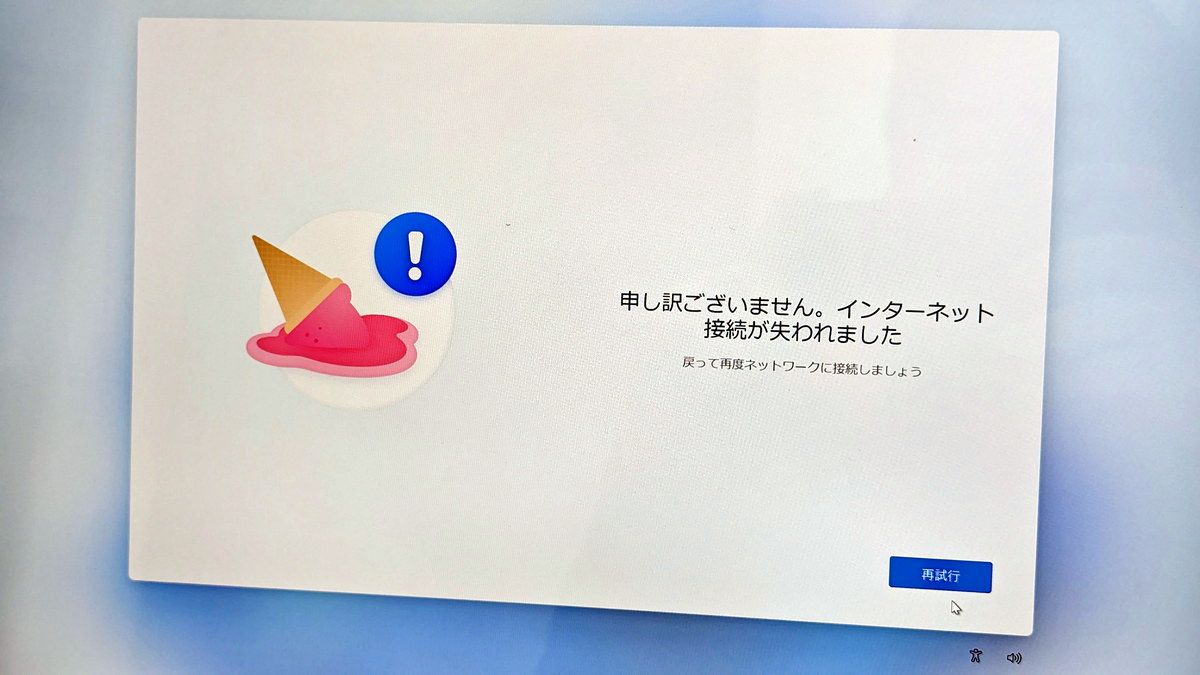
When the 'Let's connect to the network' screen appears, press 'Shift + F10' to open the command prompt, type ' cd oobe ' and press Enter.
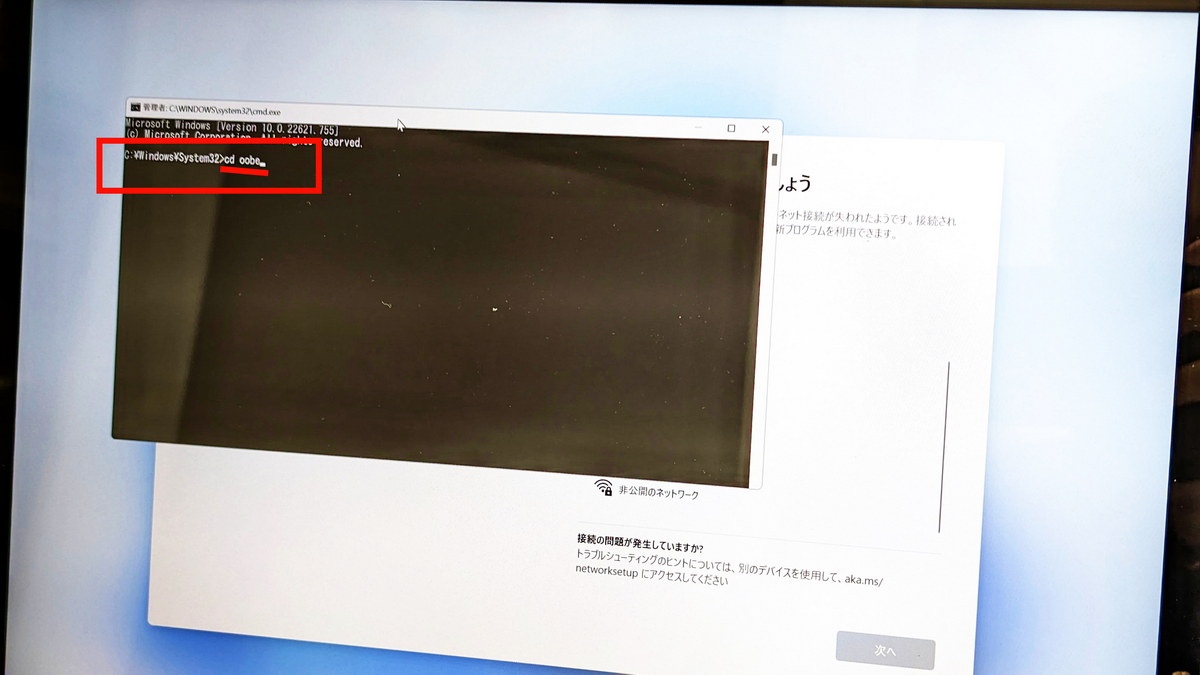
Then type “ BypassNRO.cmd ” and press Enter
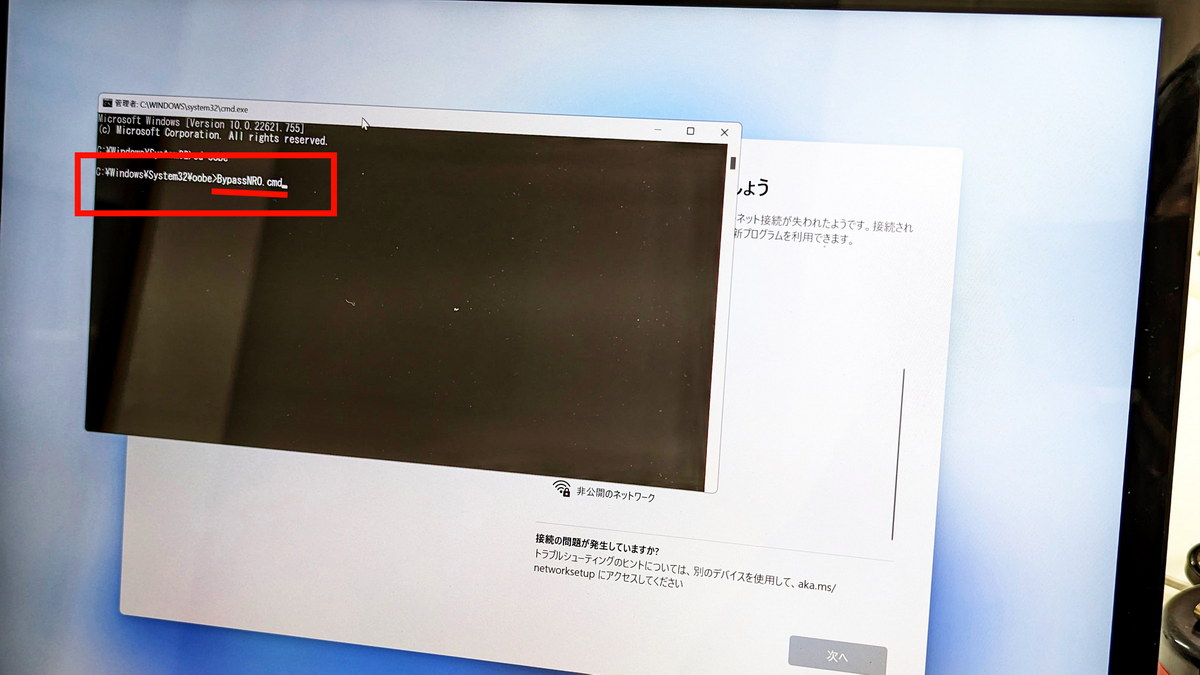
The setup process will be interrupted, restarted, and proceed to the 'Let's connect to the network' screen again
Then a new button 'You are not connected to the Internet' will appear, so click

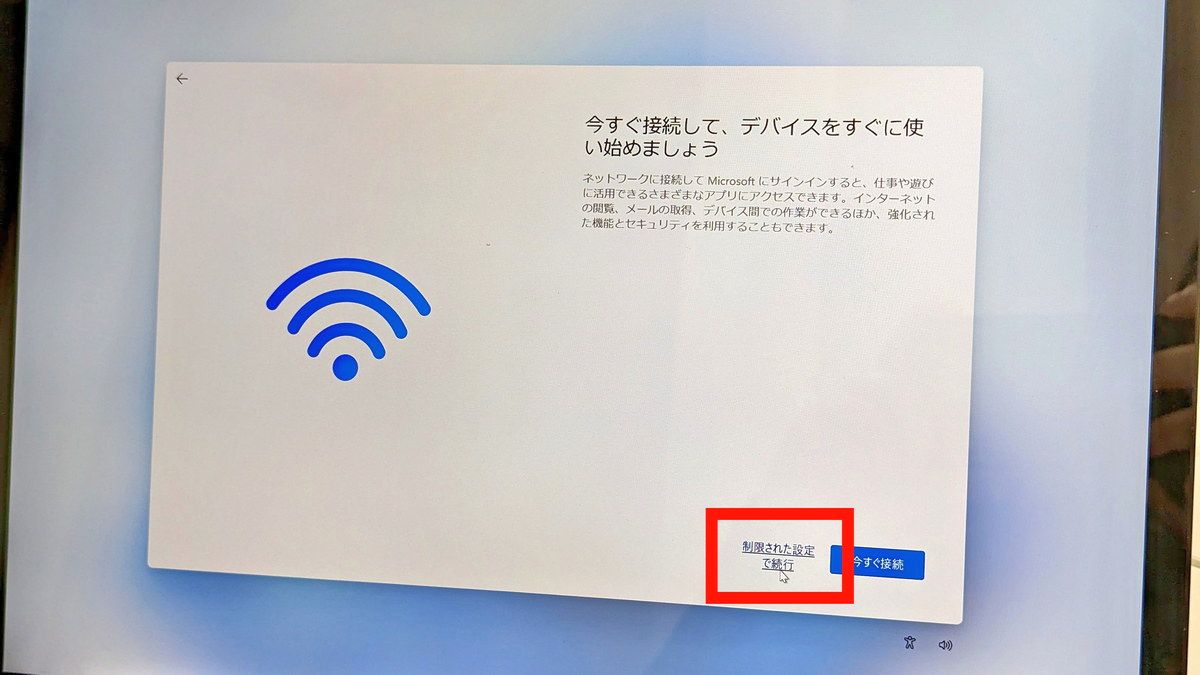
Click 'Continue with limited settings'
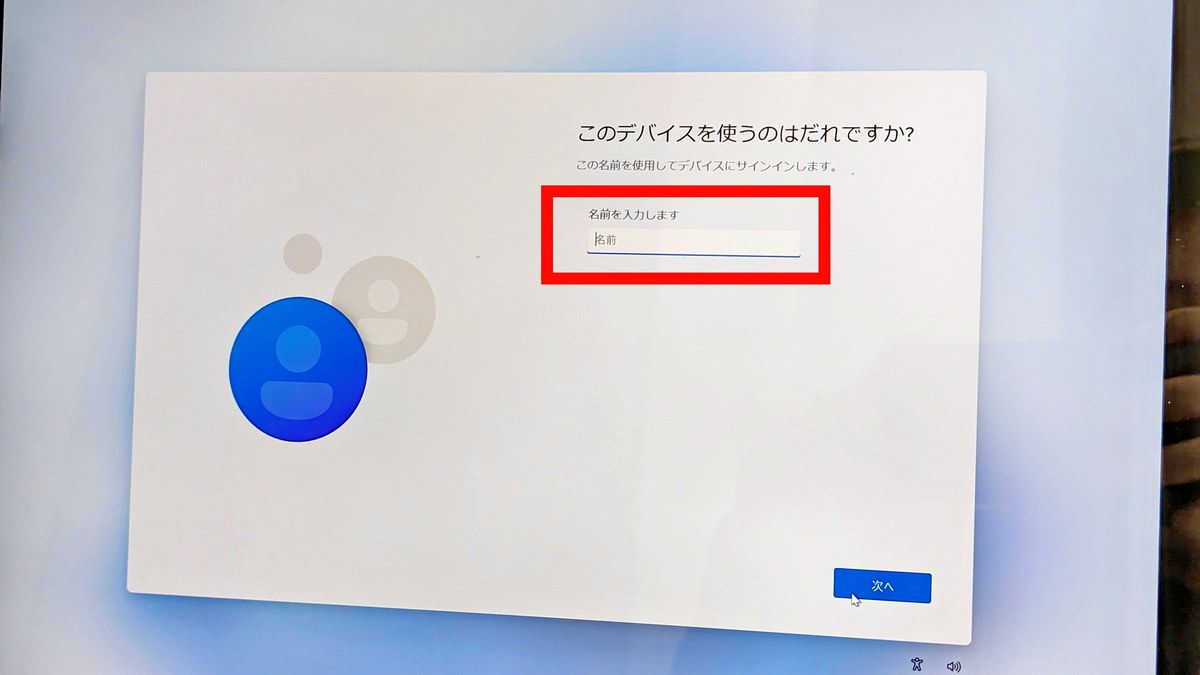
After that, it is OK if you set up a local account in order
Related Posts: